My First DIY project!
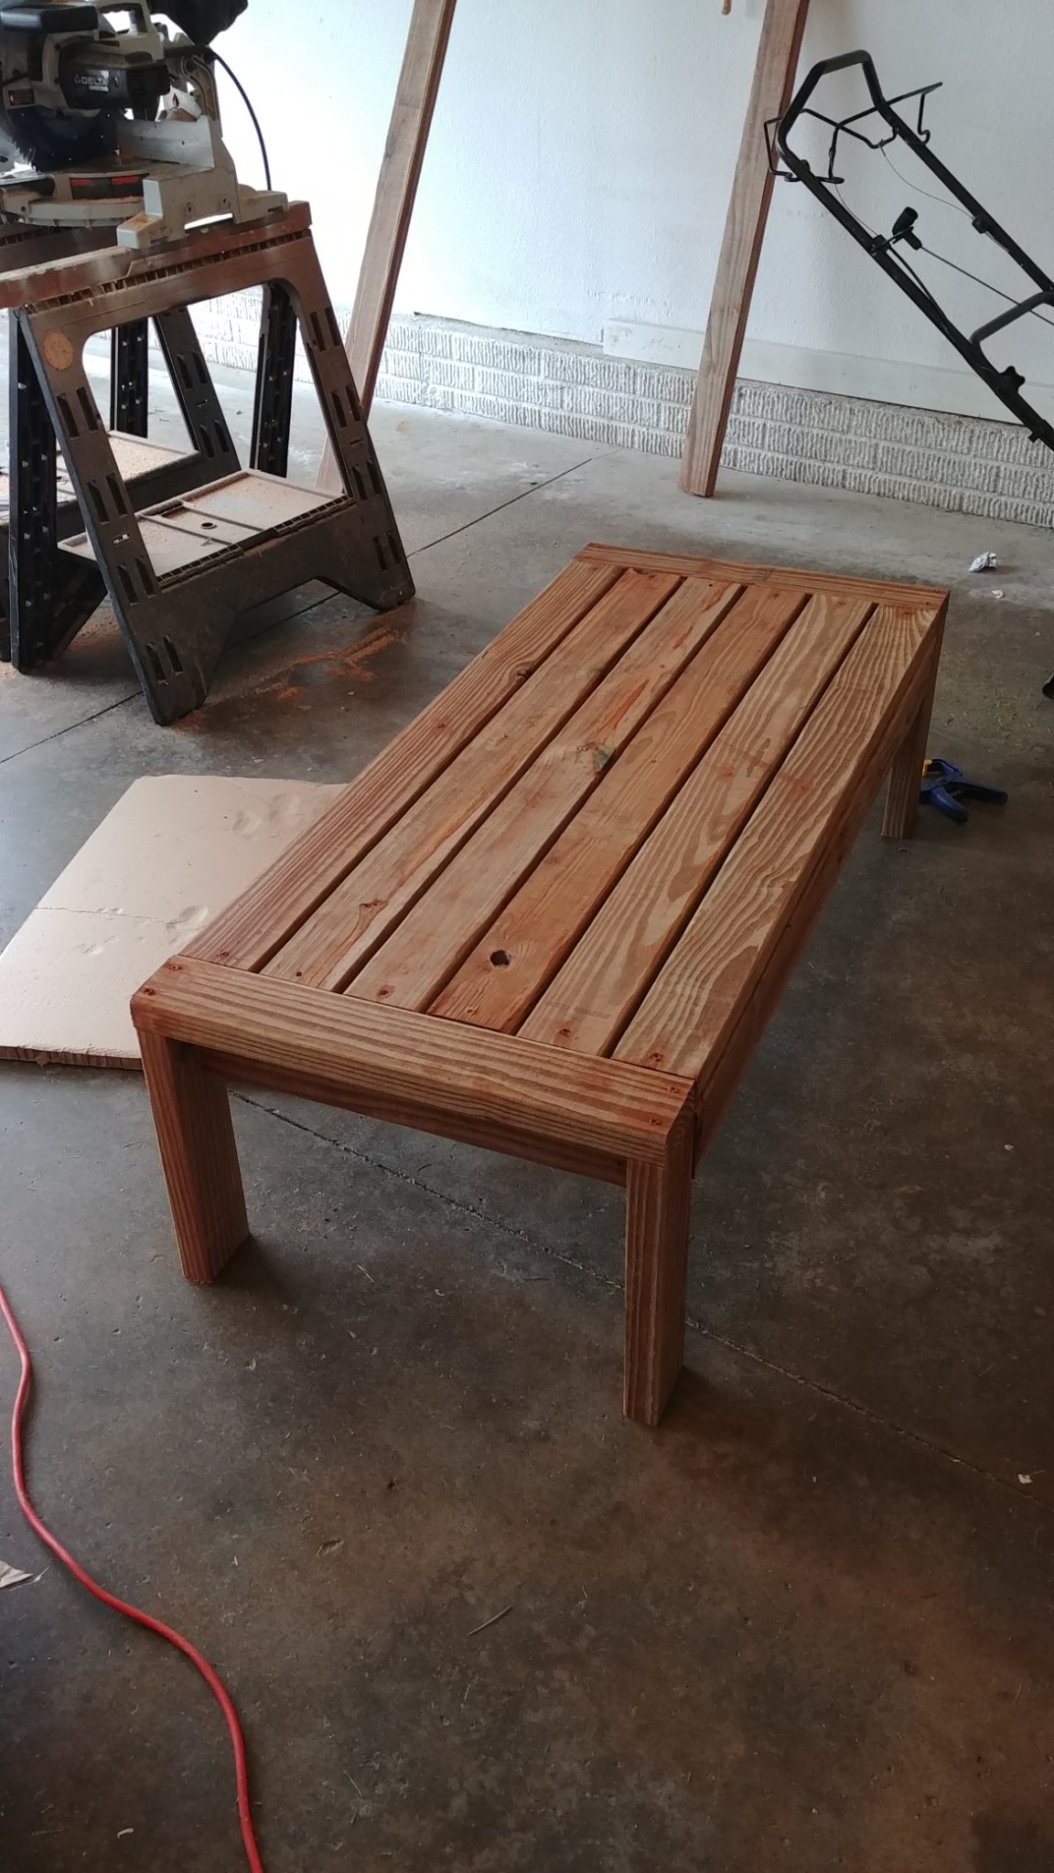
For my first ever DIY project this was easy and fun. Didn't take long at all, less than 2 hours. Will be making the sectional also.

For my first ever DIY project this was easy and fun. Didn't take long at all, less than 2 hours. Will be making the sectional also.
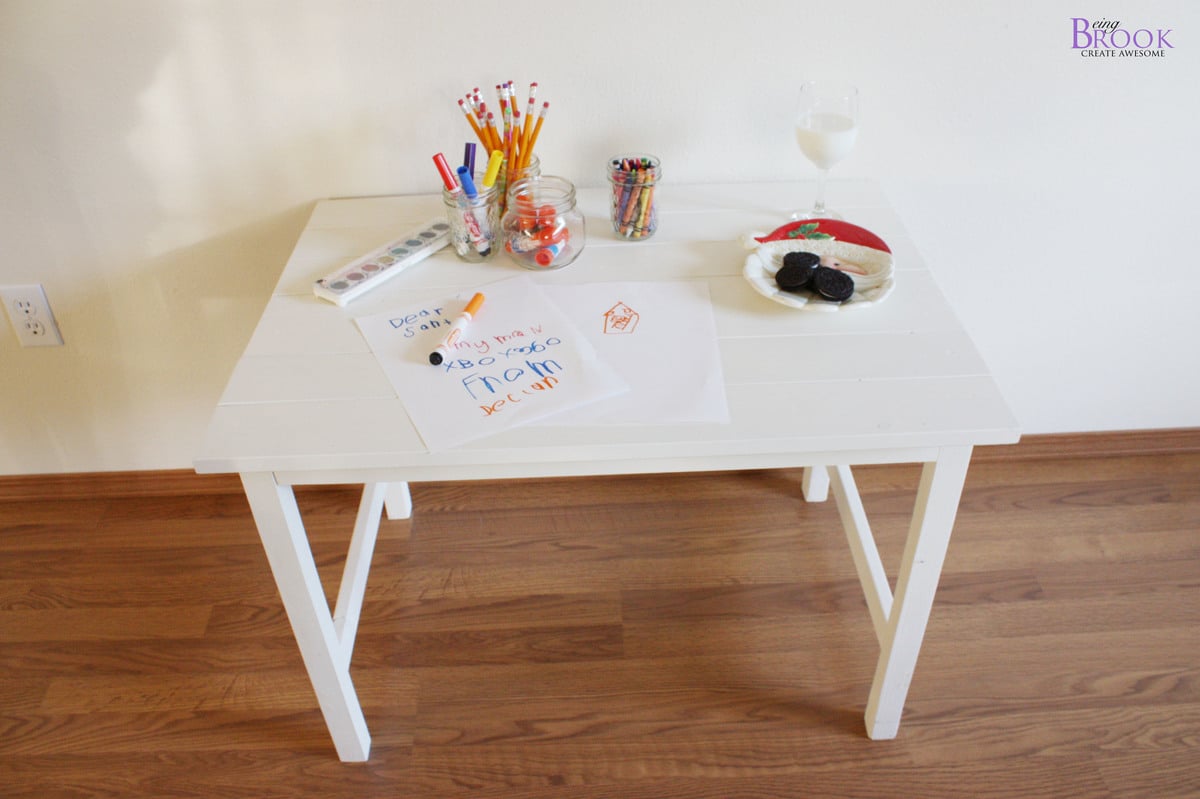
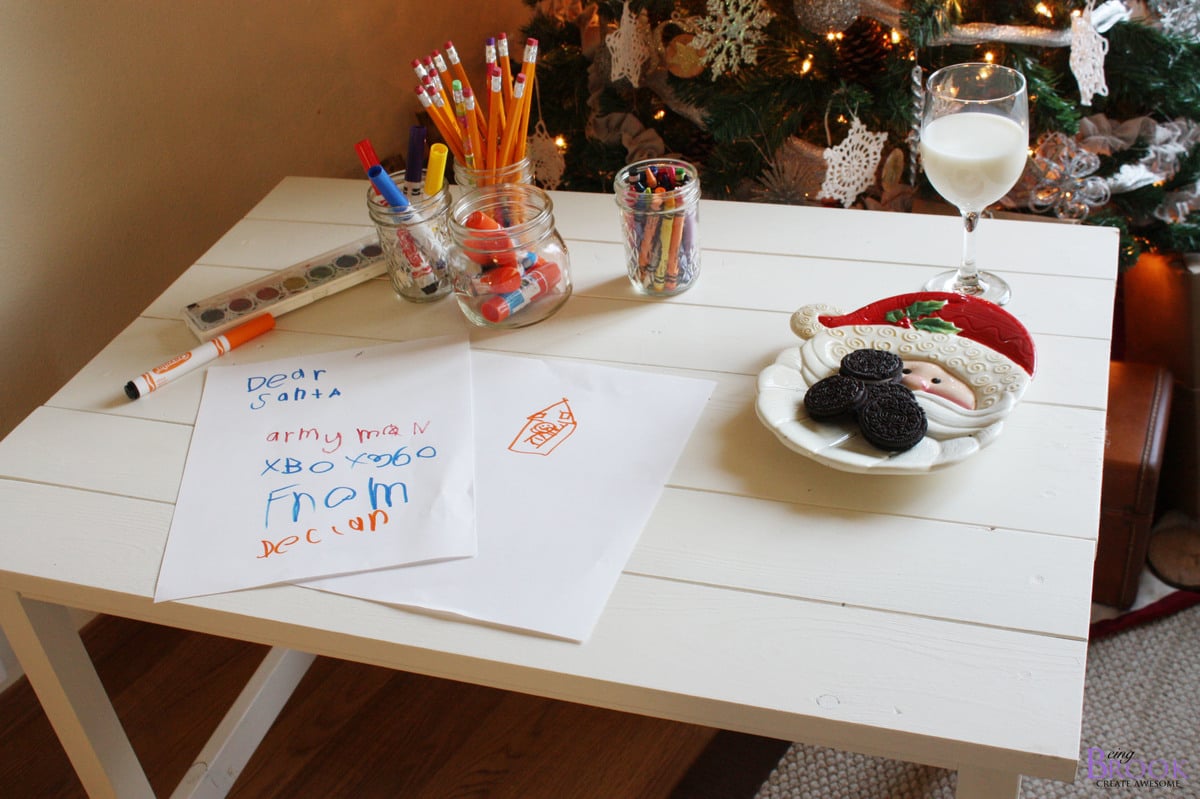
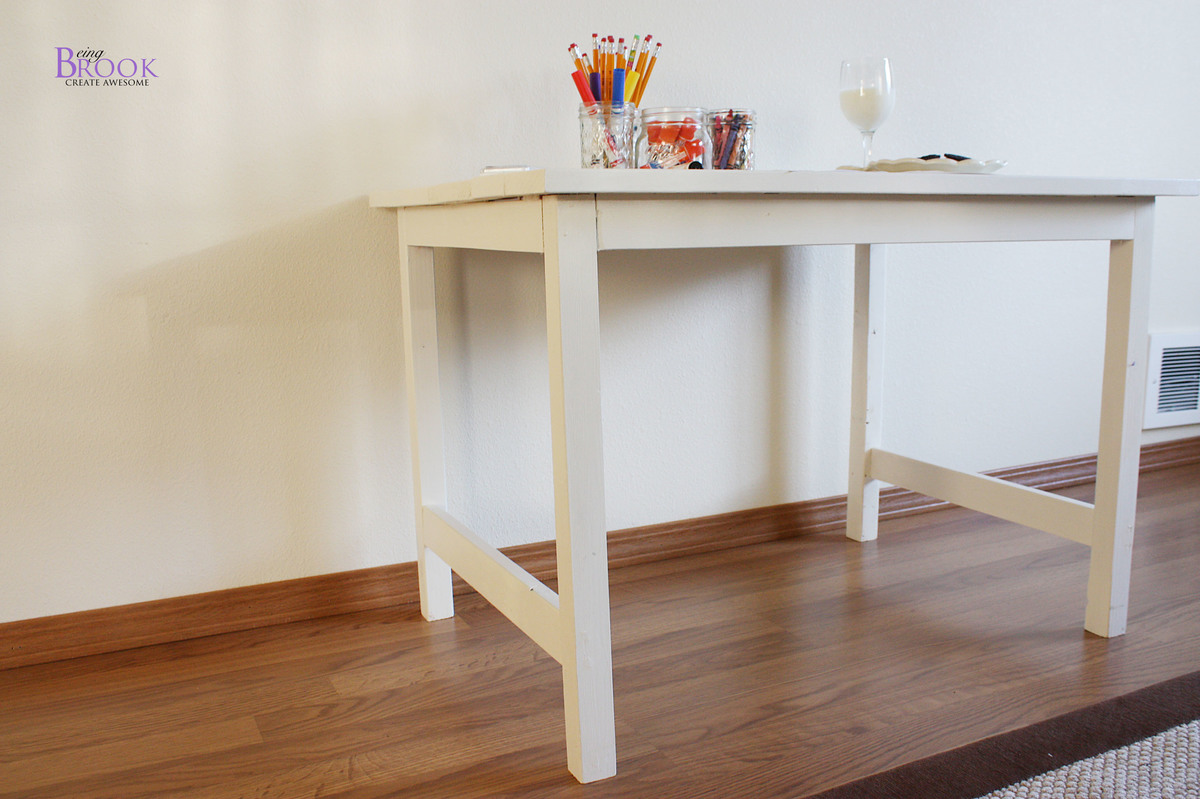
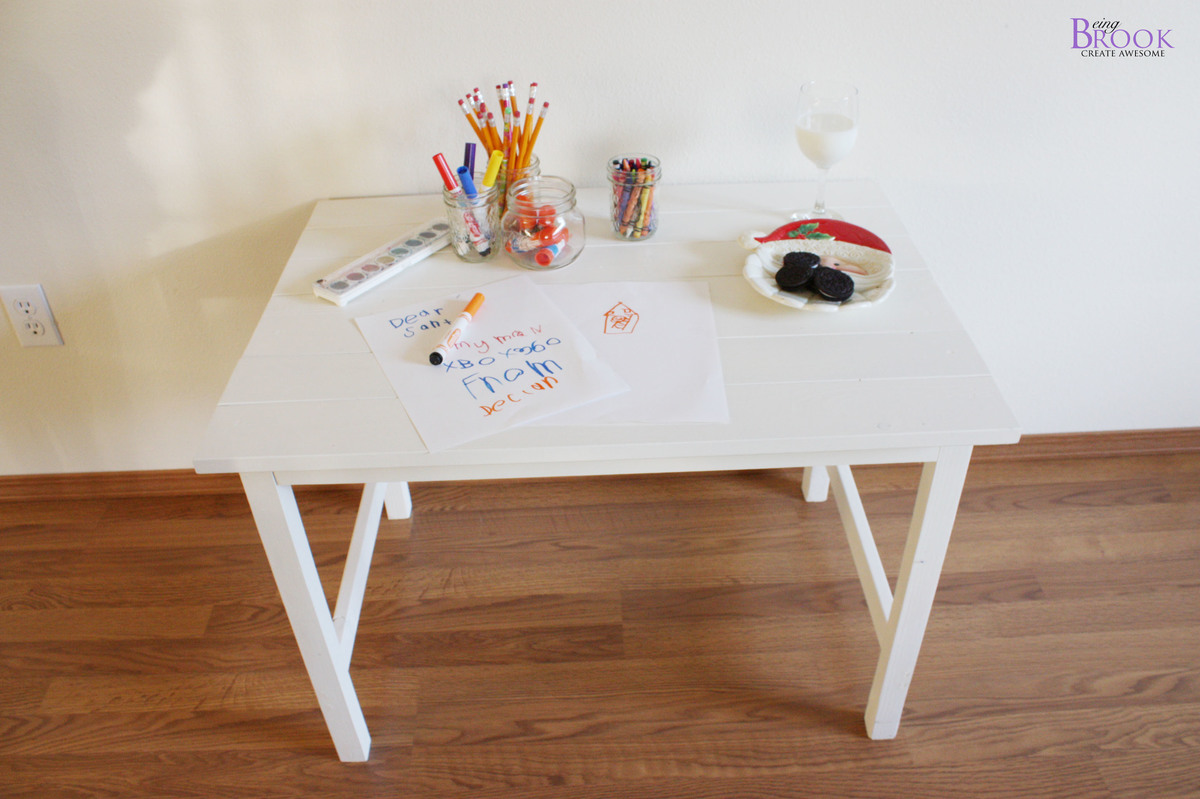
My husband and I built the art table to give our 3 year old for Christmas. We have had great success building from other Ana-White plans and the Clara table was no different. We did modify it by adding a 1x3 to the legs to give it more stability. I think the table is great without it but we have older kids too and wanted to make sure the table could withstand them sitting on it or leaning against it.
The table was built with scraps from our garage so the top is modified slightly because of that. I think the only thing we bought for this project was a 2x2 for the legs. Can't beat a $3 table!
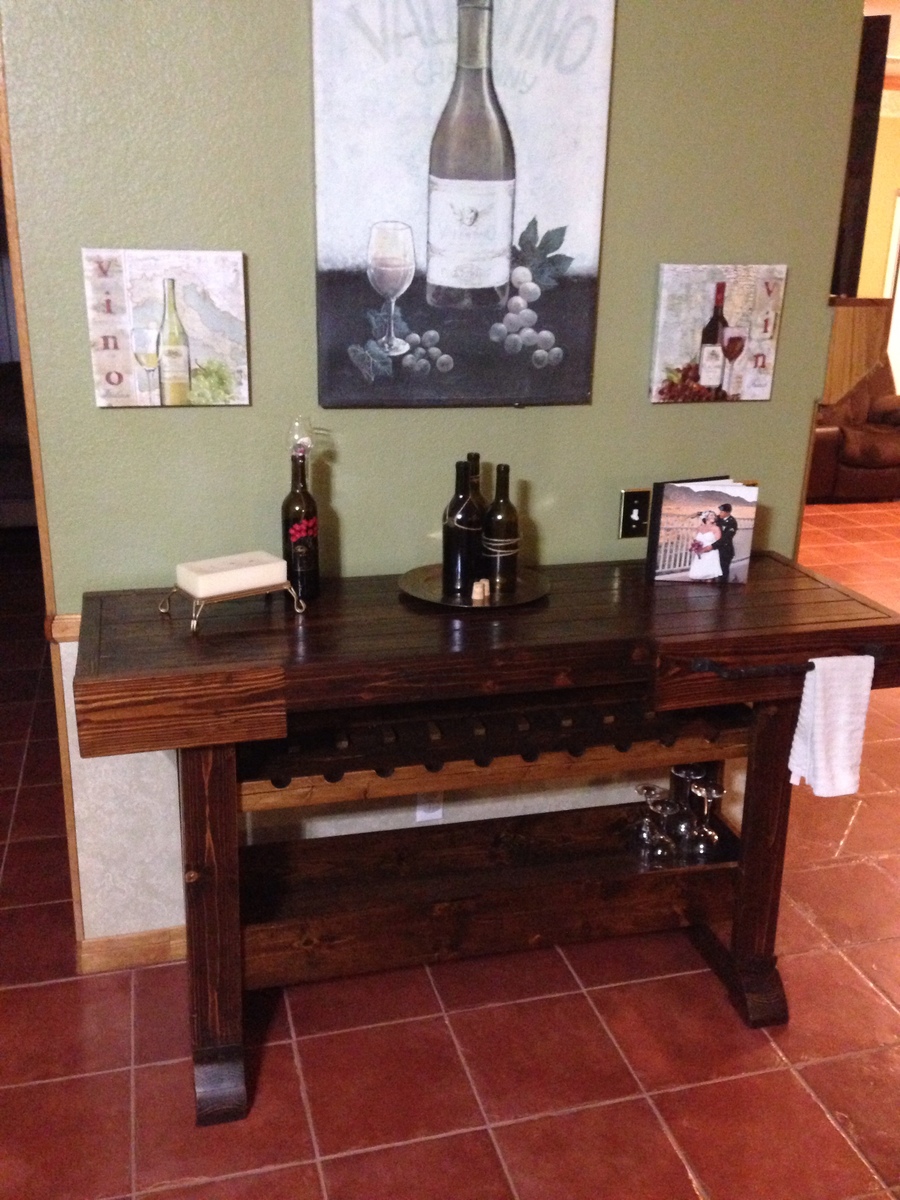
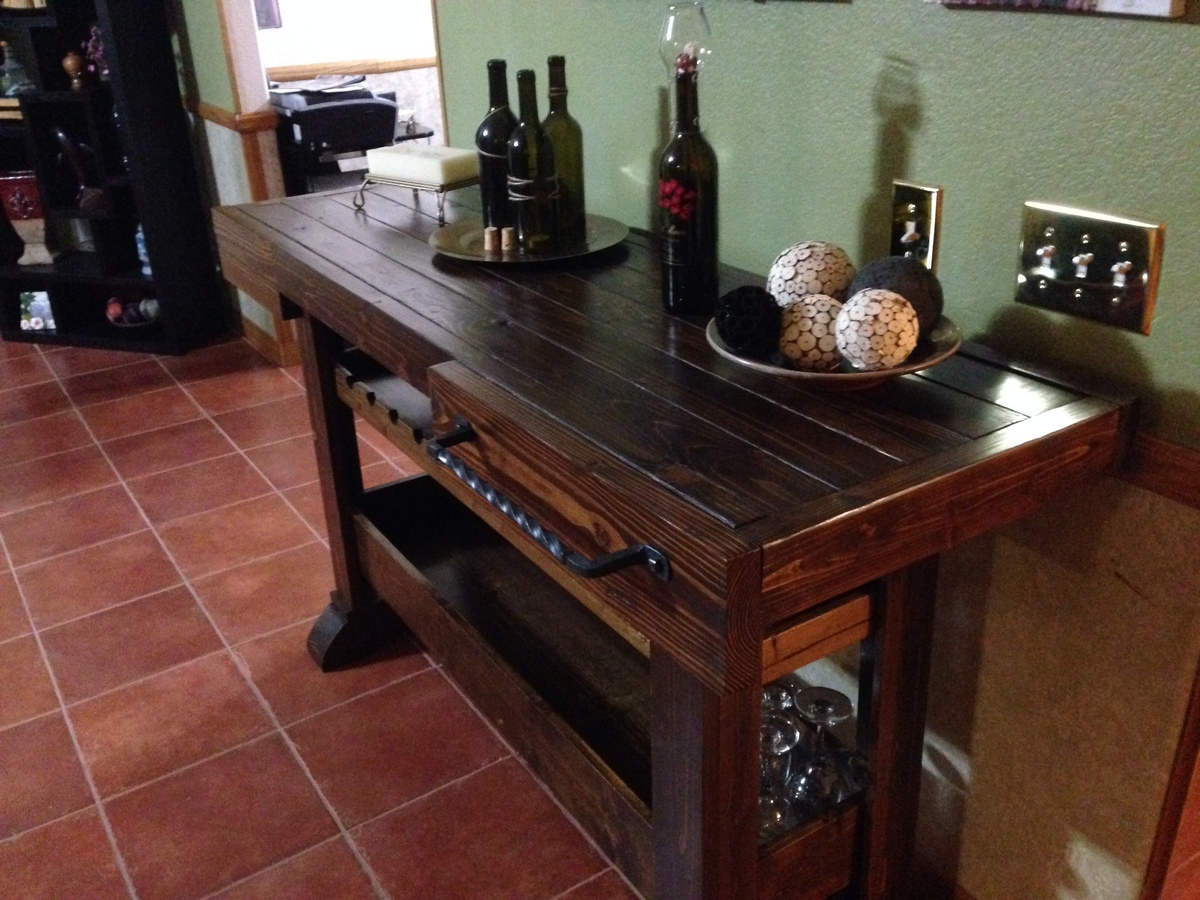
So this is my first attempt at woodworking. In fact it's the first time I've really created anything with my hands. I came across this website and saw all of the wonderful creations people have made and decided I wanted to give it a try. I saw the Workbench Console and loved the design of it. I knew my sister-in-law was looking for a console table for her new house and being a wine lover I figured I'd give those plans a go. I added a second shelf for wine bottle storage and flipped around the tabletop. I really wanted to have a towel rack attached to it as well but after scouring the hardware stores I couldn't find anything that "fit" the look I wanted so I called a buddy of mine who is a blacksmith and with his expert guidance he taught me how to make the towel rack I wanted. I'm proud to say I made everything on that table including the hardware (minus all of the wood screws of course ;)
To be honest, when I went into this project I wasn't too sure about what the results would be, but I was very pleasantly surprised with how well it turned out when it was finished. So much so that after surprising my sister with her new table I've already started on another console for my own living room wall. This site has been very inspirational and has shown me that anyone can build fantastic pieces as long as the desire is there! Thanks Ana!
P.S. This project took a long time for me to complete mainly because I had no experience at all going into it. Now that I've put one together I've noticed the next one coming together much faster.
Fri, 11/08/2013 - 10:20
YOu have created an amazing piece that will last a lifetime! Thanks for sharing, so glad you found a new love for building!
Fri, 11/08/2013 - 21:27
Thank you for the kind words. It's been fun to see the response from friends and family. It's kind of hilarious to me that I've only built one table and now I have requests coming from family, friends and co-workers for everything from end tables to entertainment centers! But first things first, I'm piecing together my new console table for the living room. I just wish I had more time during the day to spend on it!
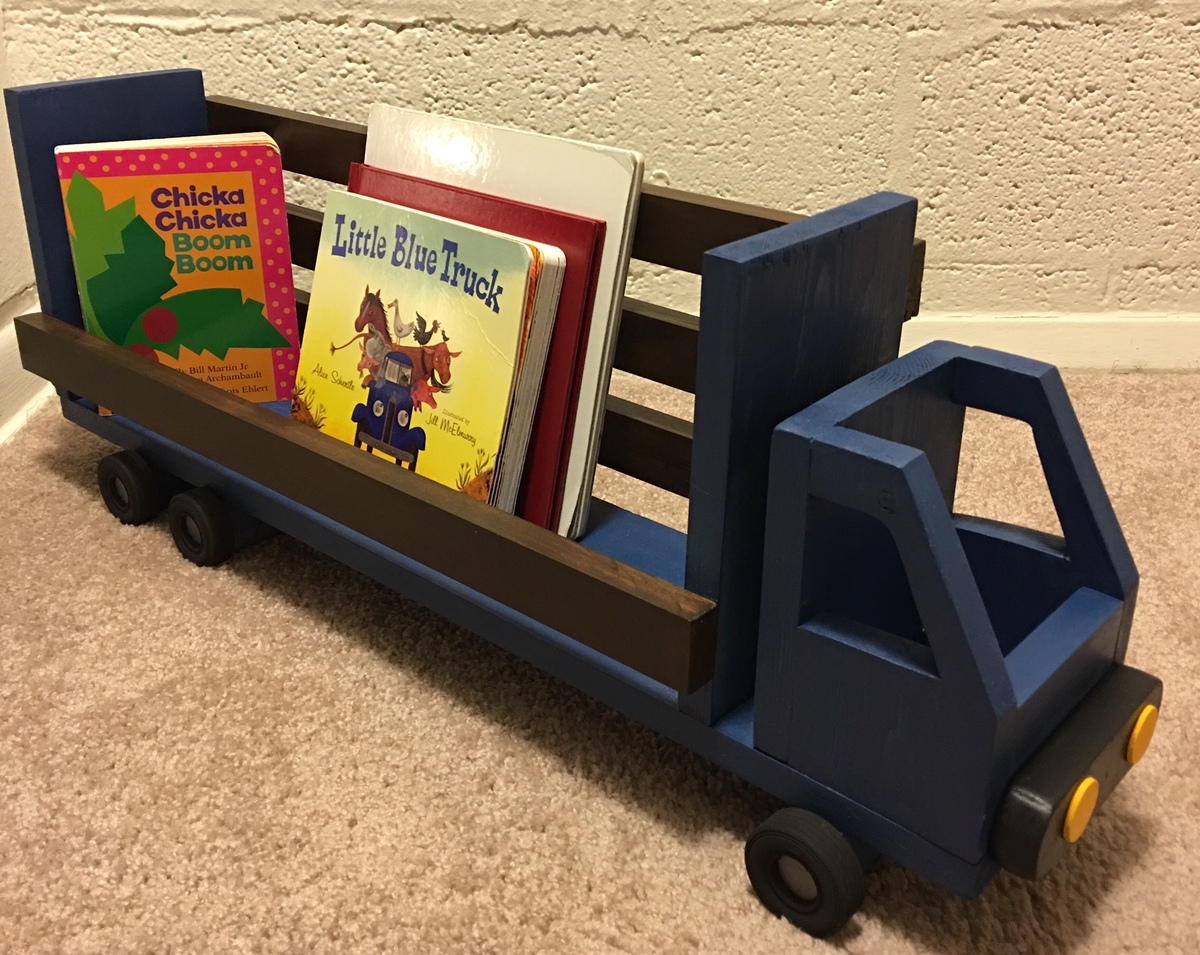
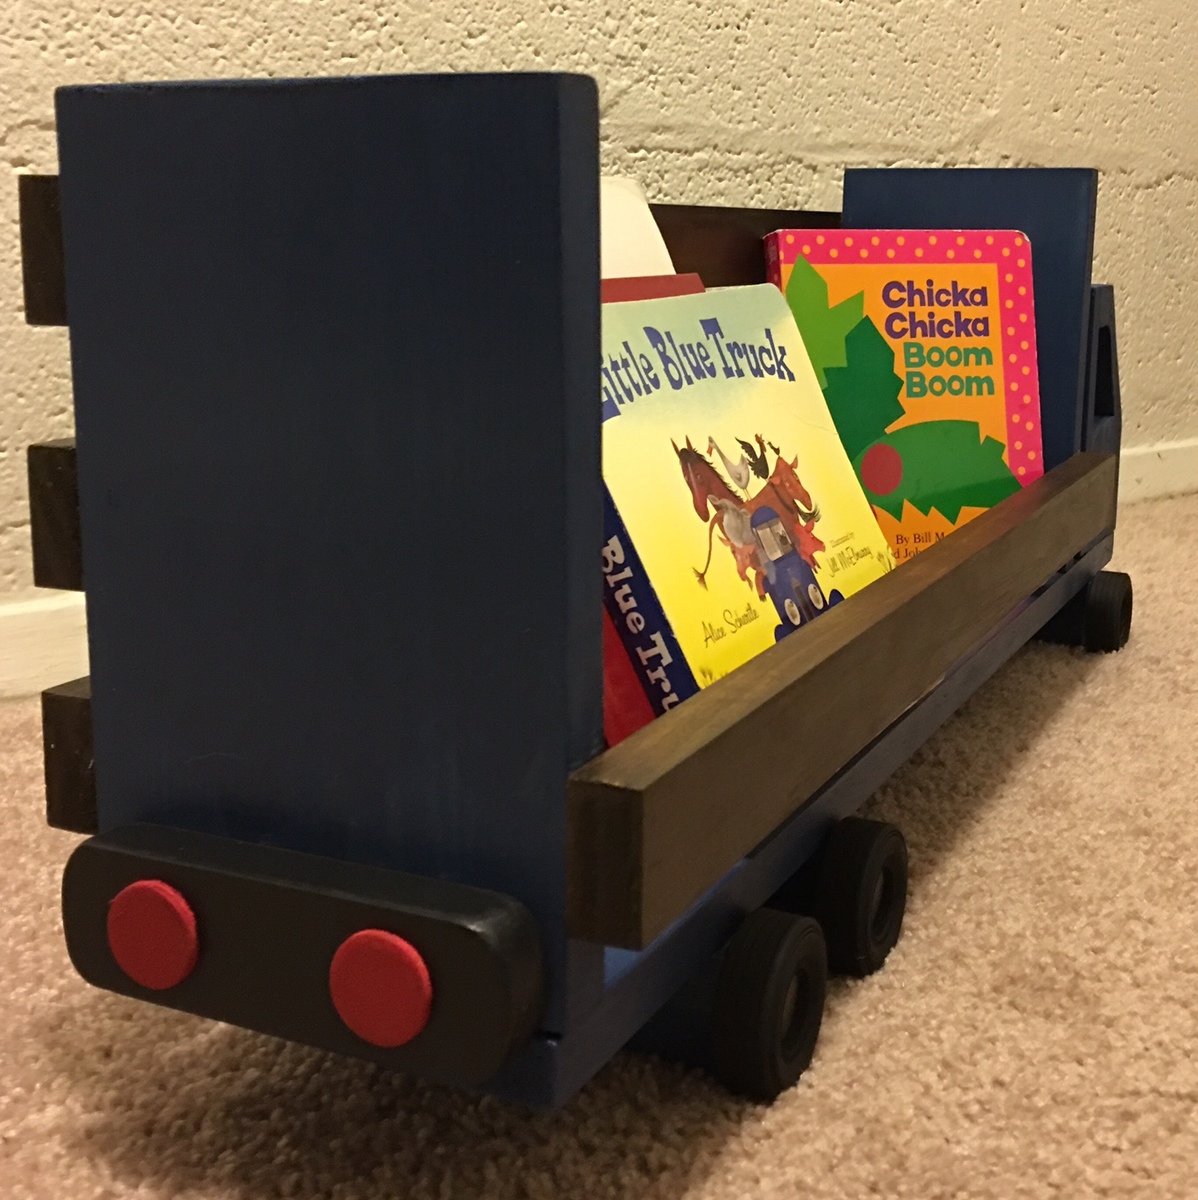
Loved making this shelf!
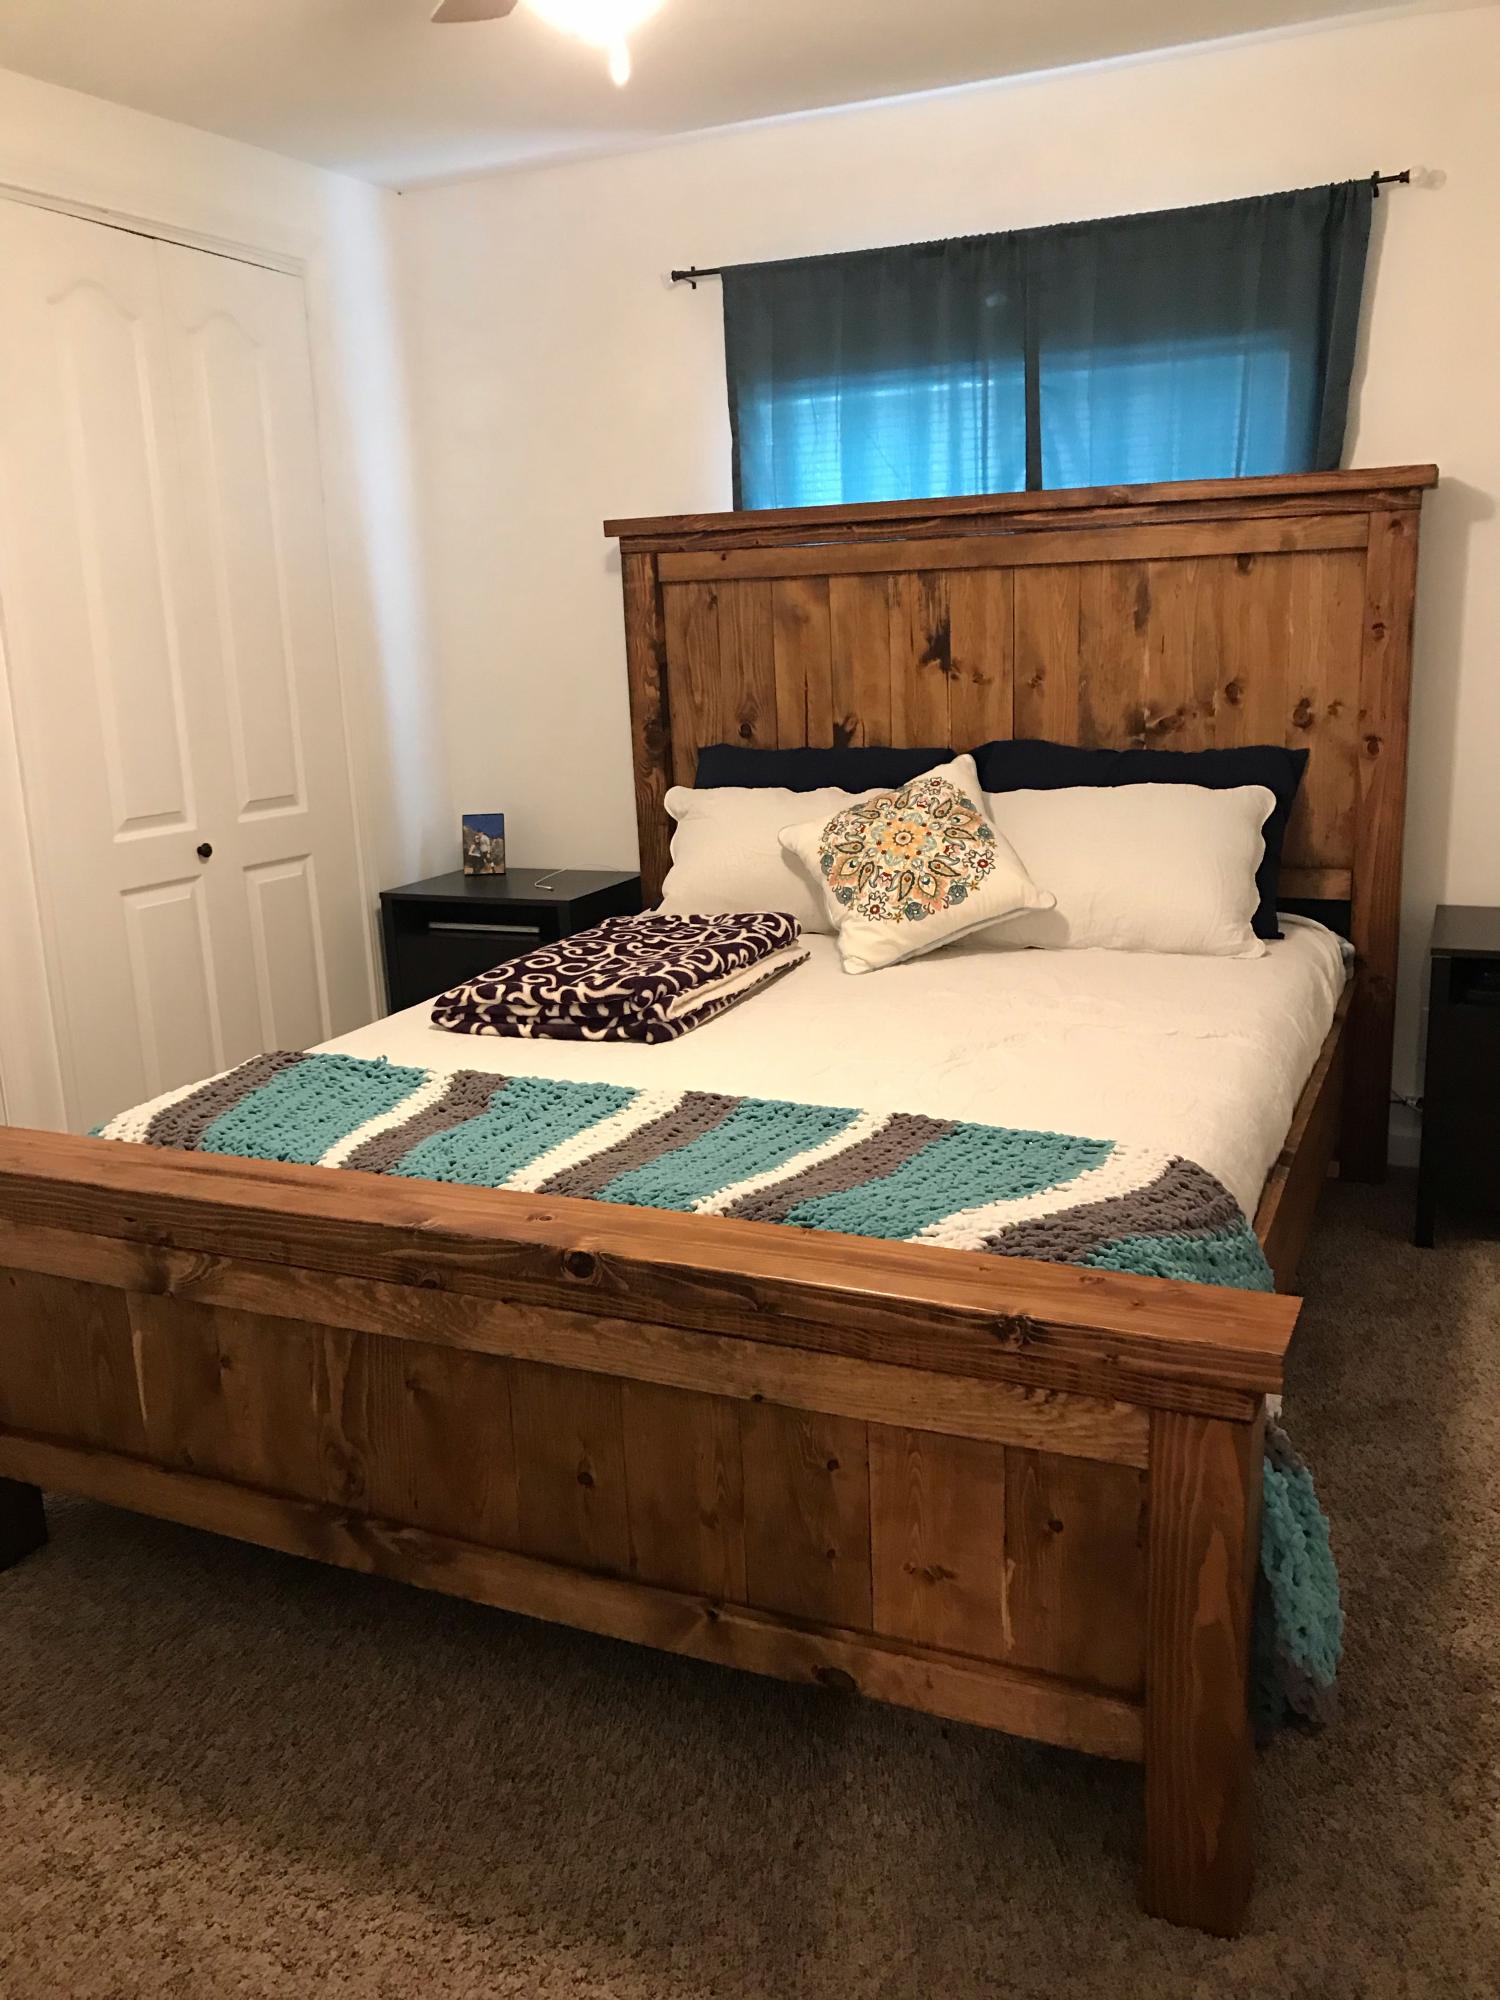
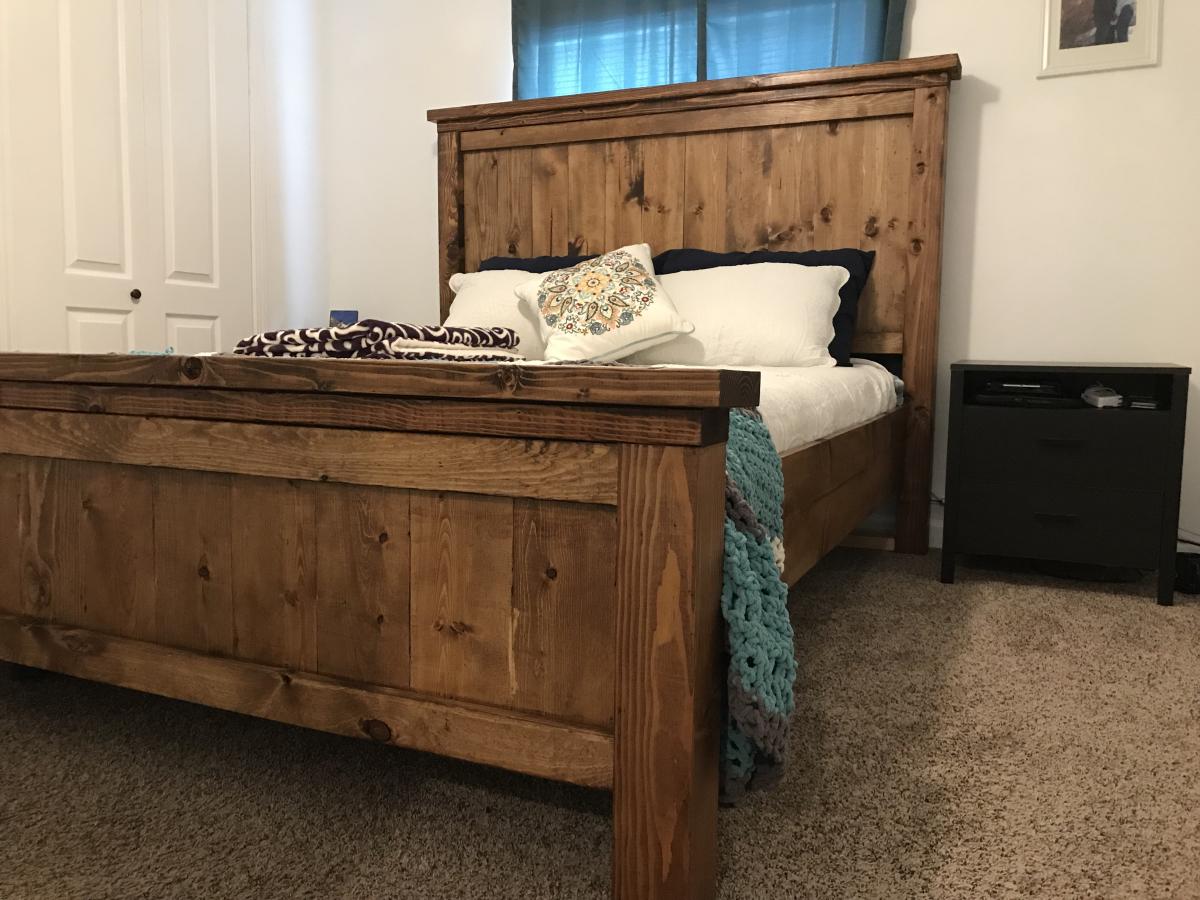
This was my first project I have ever done. The plans seemed pretty simple, so I gave it a try and it came out even better than I thought.
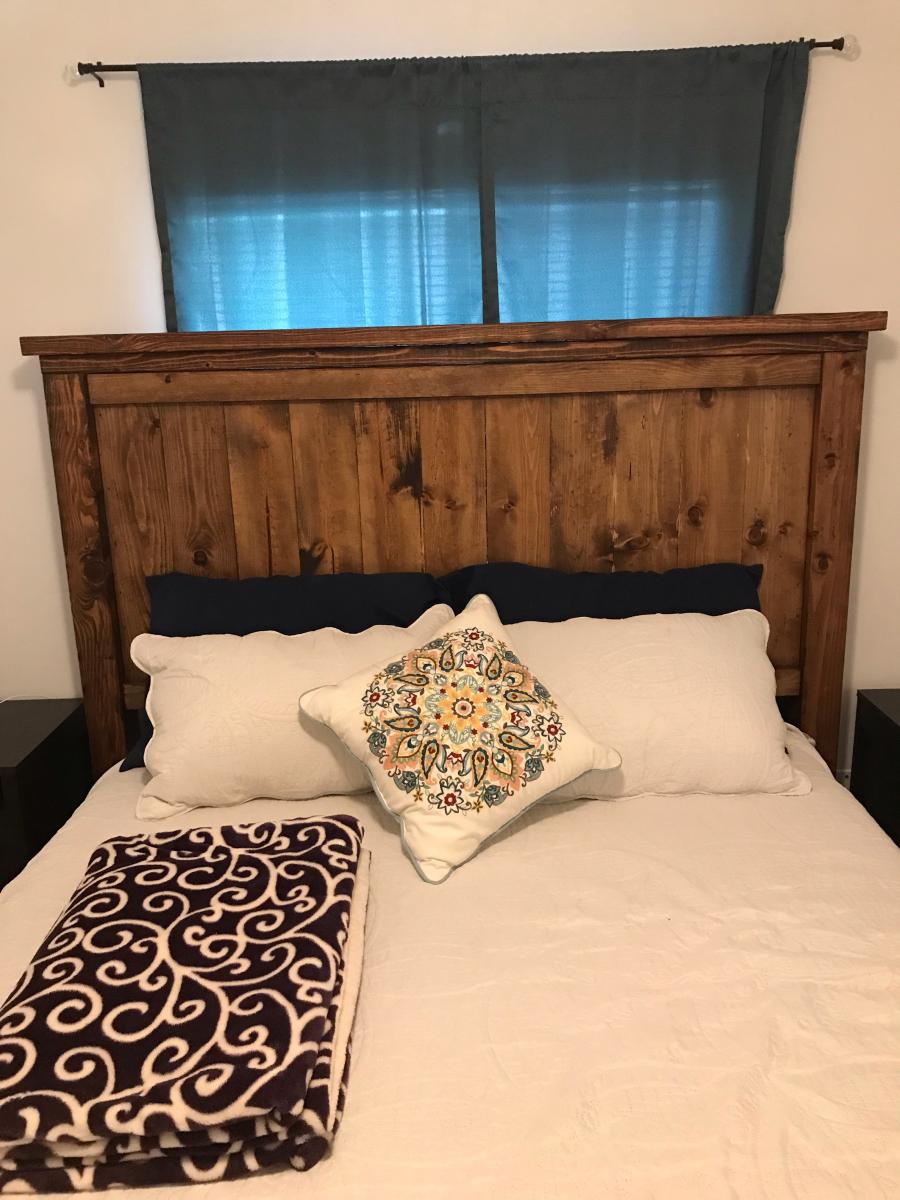
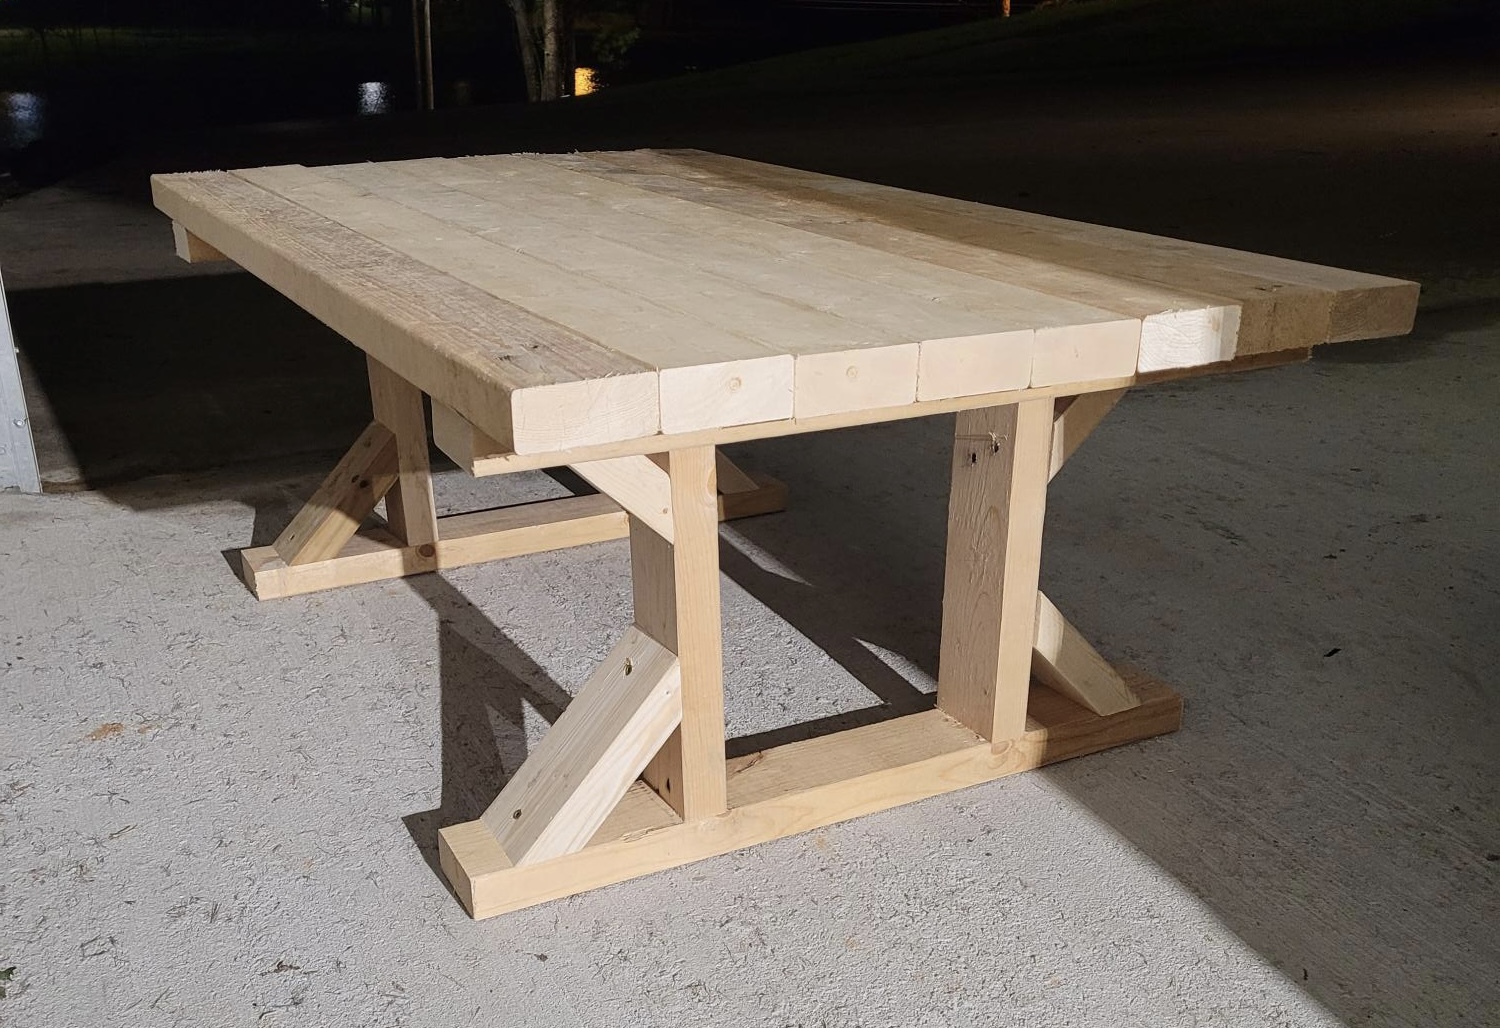
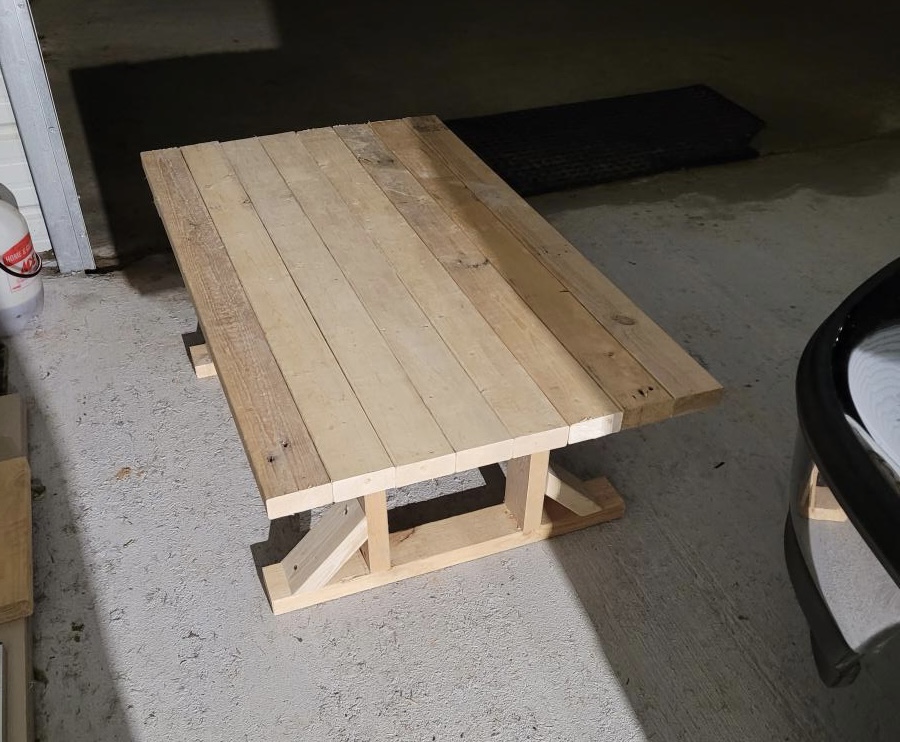
I'm building for stress management and it's working out well
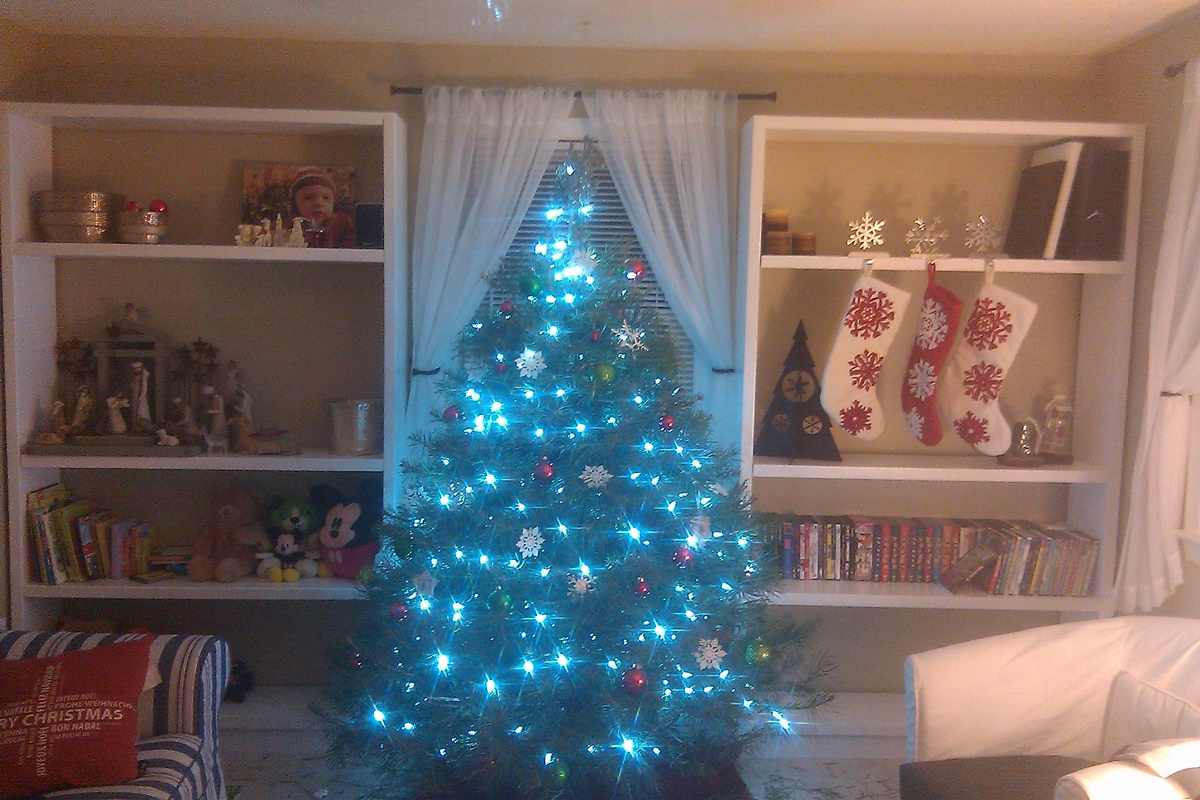
We have the IKEA Lack furniture in our living room and wanted the shelves to match. We also wanted them to take up more of the wall. the shelves measure 80" tall by 47" wide and are made out of 2x12s. Three of the shelves are 15" and the other is 24" since it is to be used for larger display items.
The shelves are secured with 3inch deck screws, sunk in and filled with wood filler.

Built for my daughter's new home. Tried to match finish to recently obtained Hitchcock Furniture Harvest Fanback chairs.
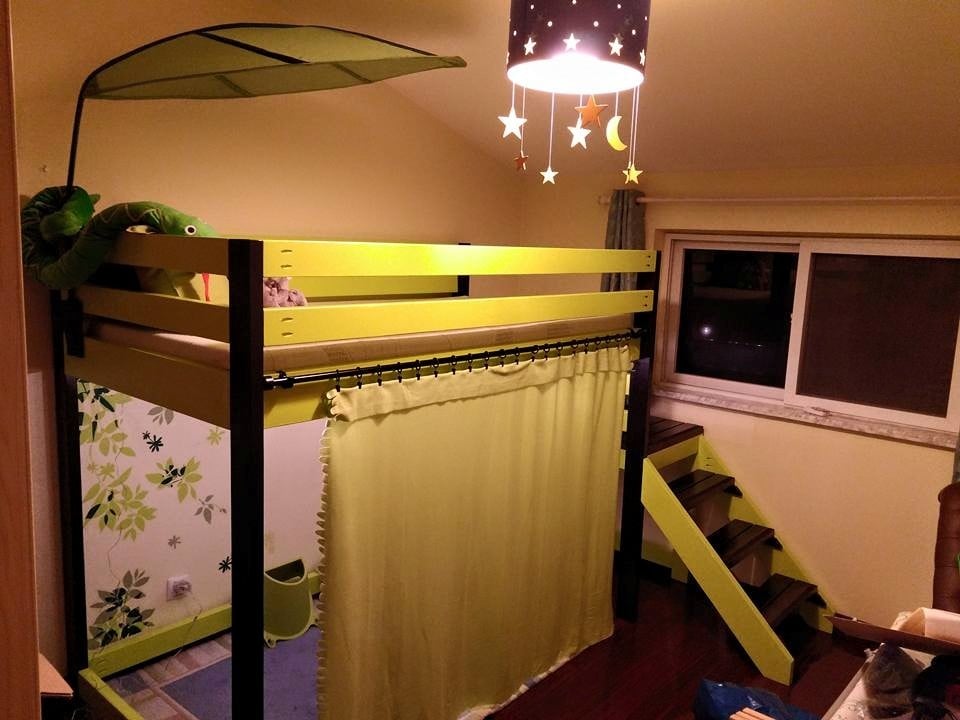
Thanks for the great plan!
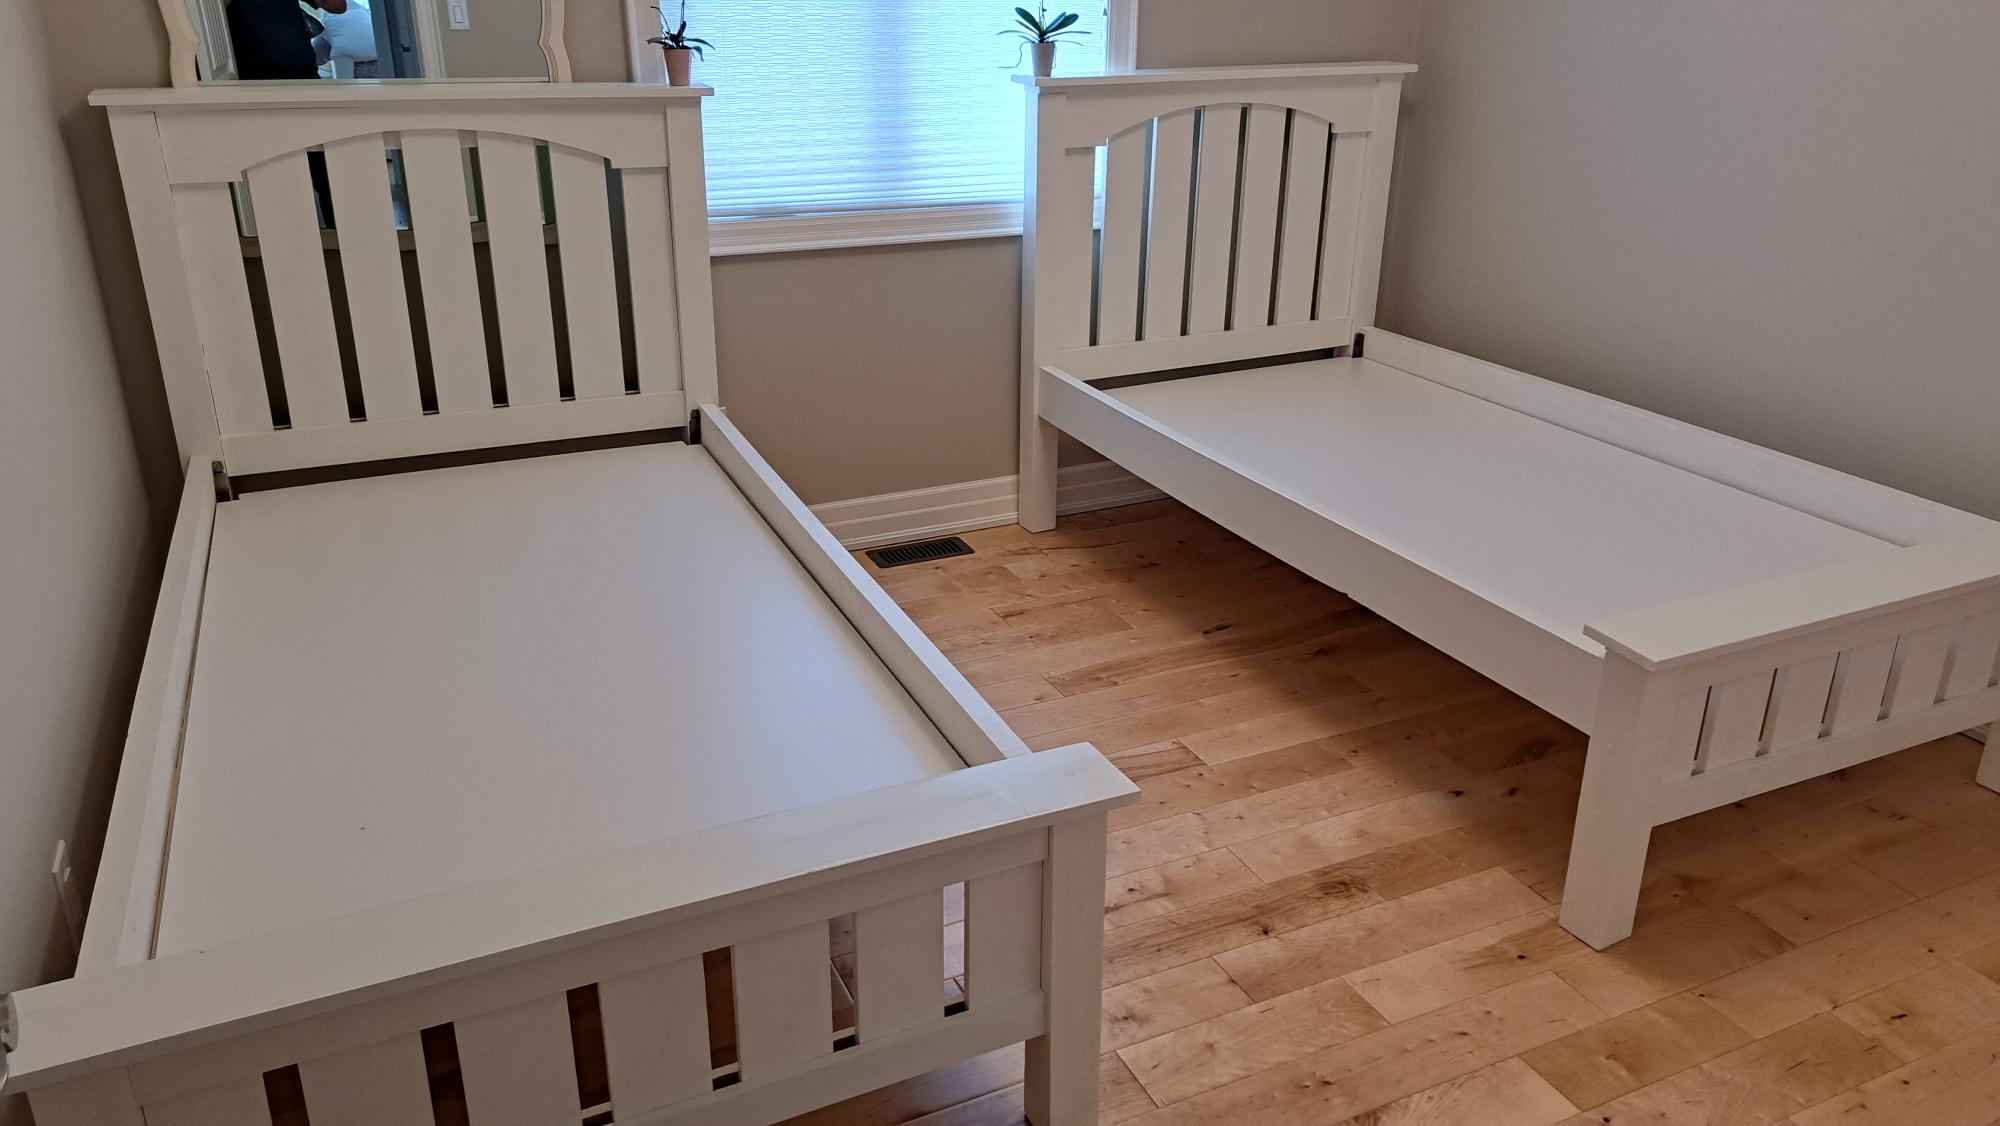
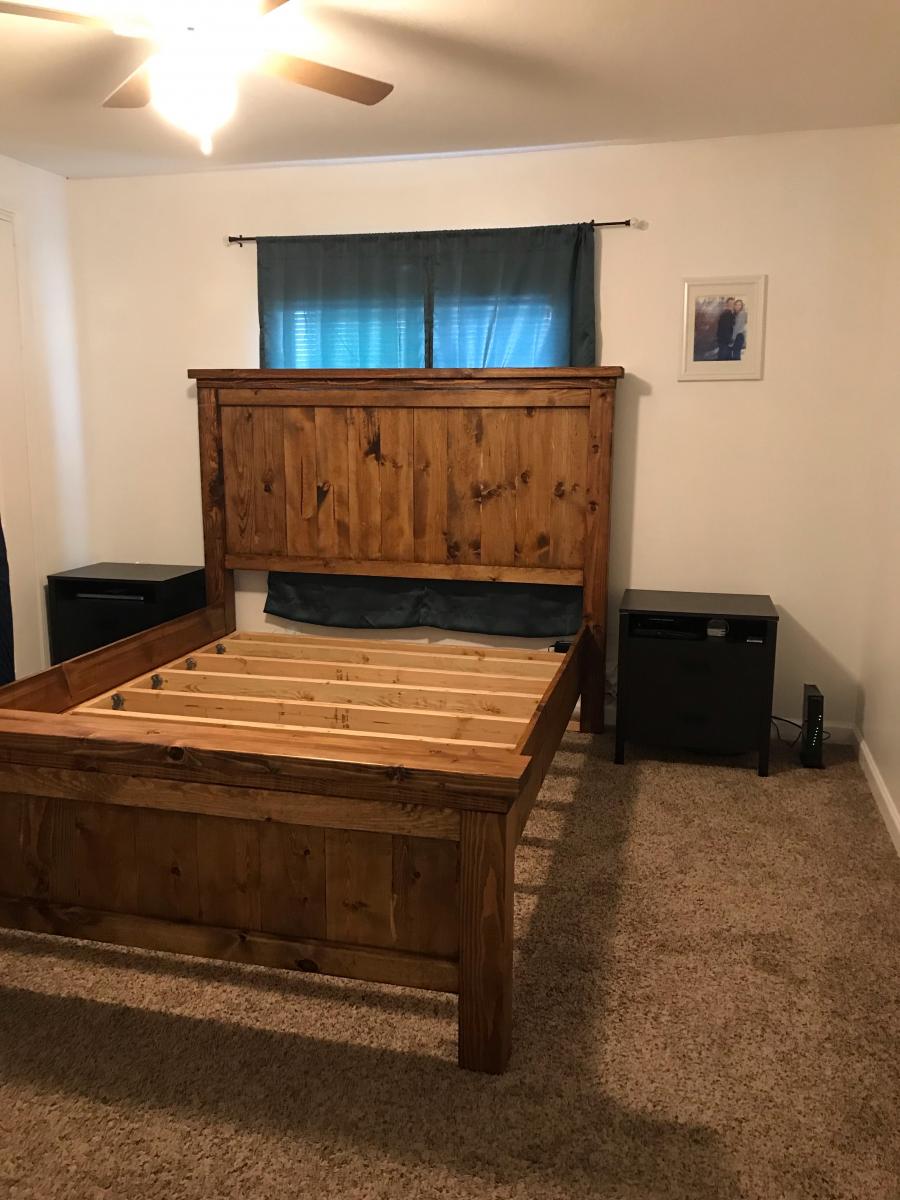
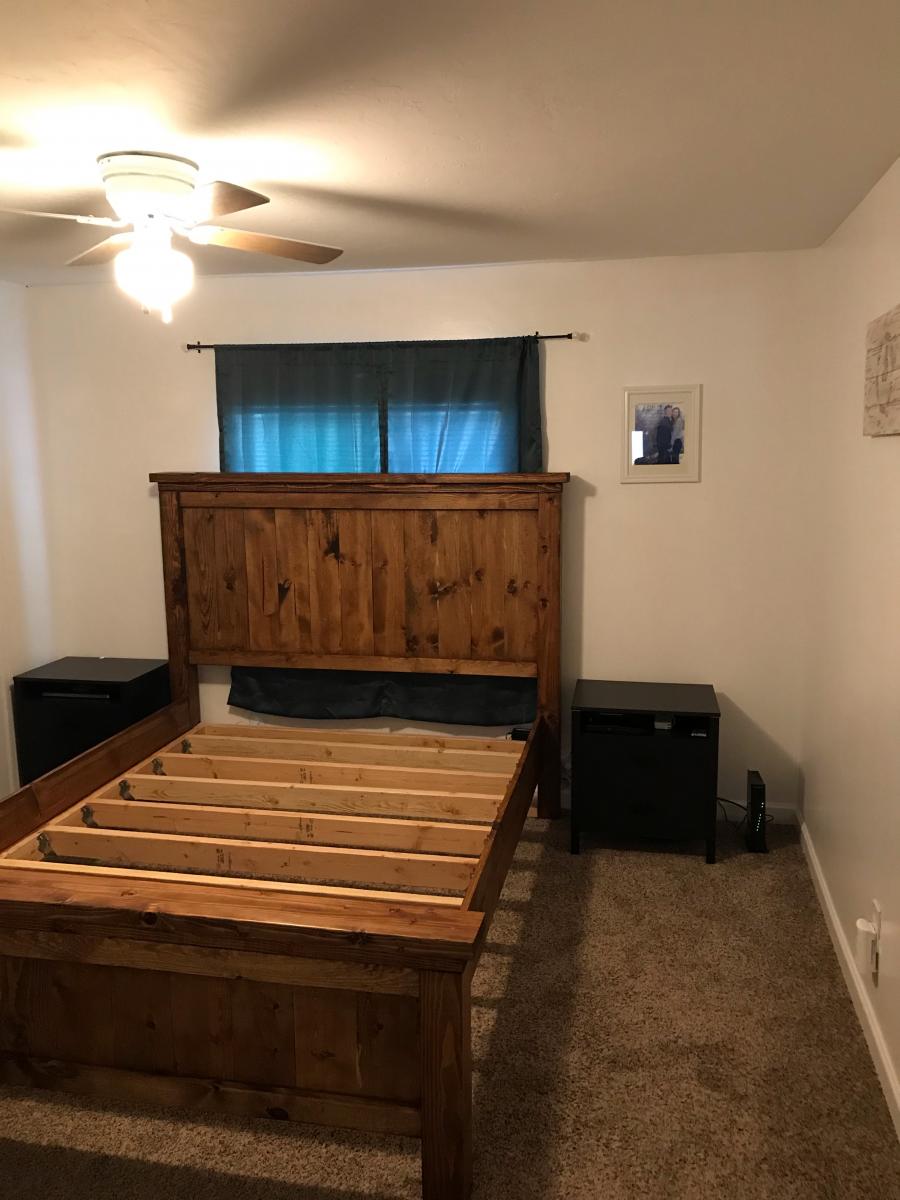
Twin beds - adapted from a queen bed Ana White plan.
Please visit http://blog.prettyinprints.com/2011/12/rolling-dress-up-cart/ to view our step-by-step pictures.
We used scrap wood and were able to make each cart for only $7. We spent a lot of time making sure the finishing was nice (a LOT of sanding/repainting/filling) and this is what we created! Thanks for the inspiration, Ana-White.com!
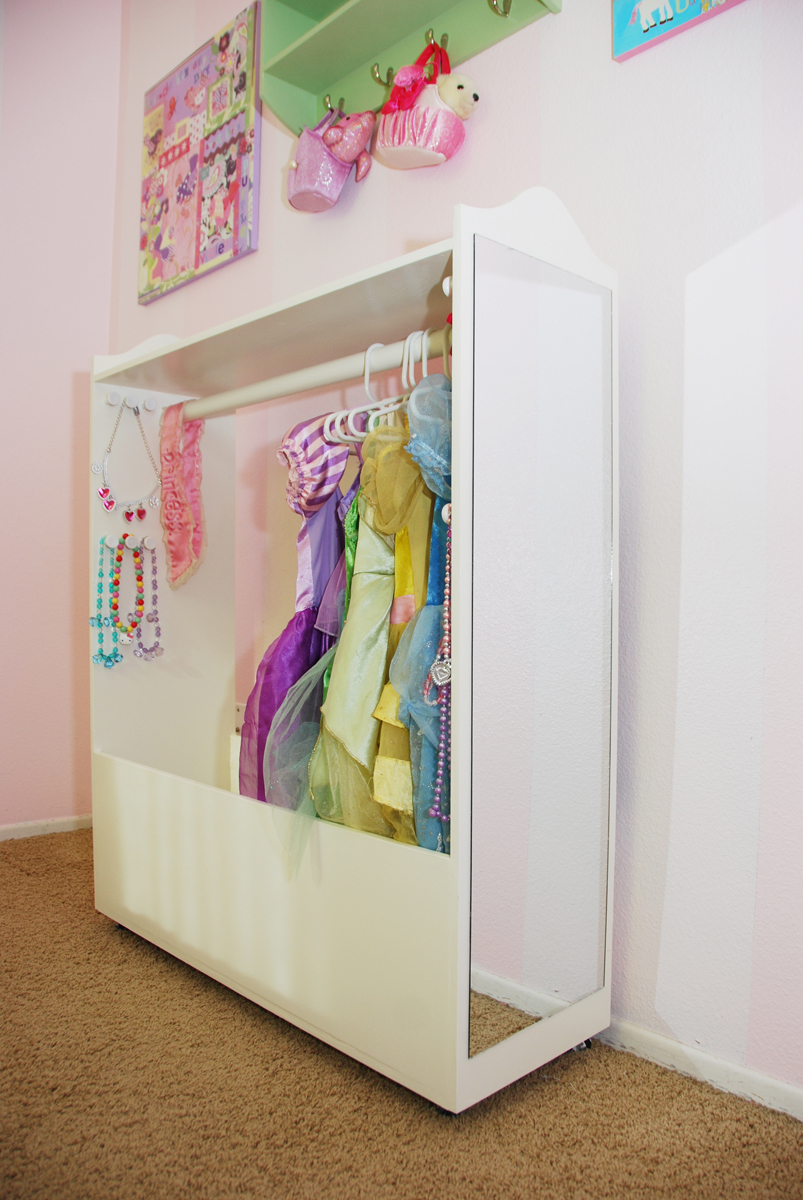
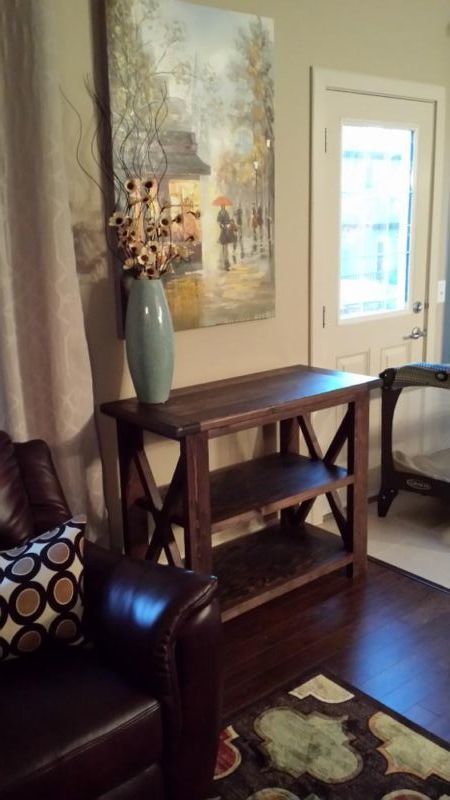
Great Plan. Modification on the dimensions is all. Looks good!!!
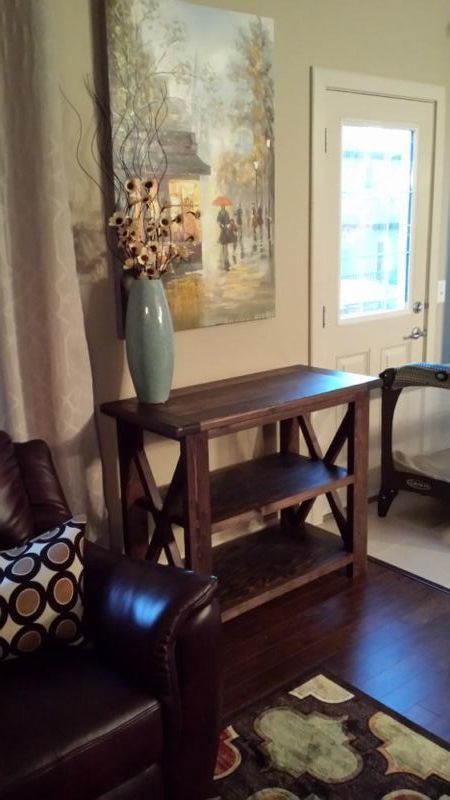
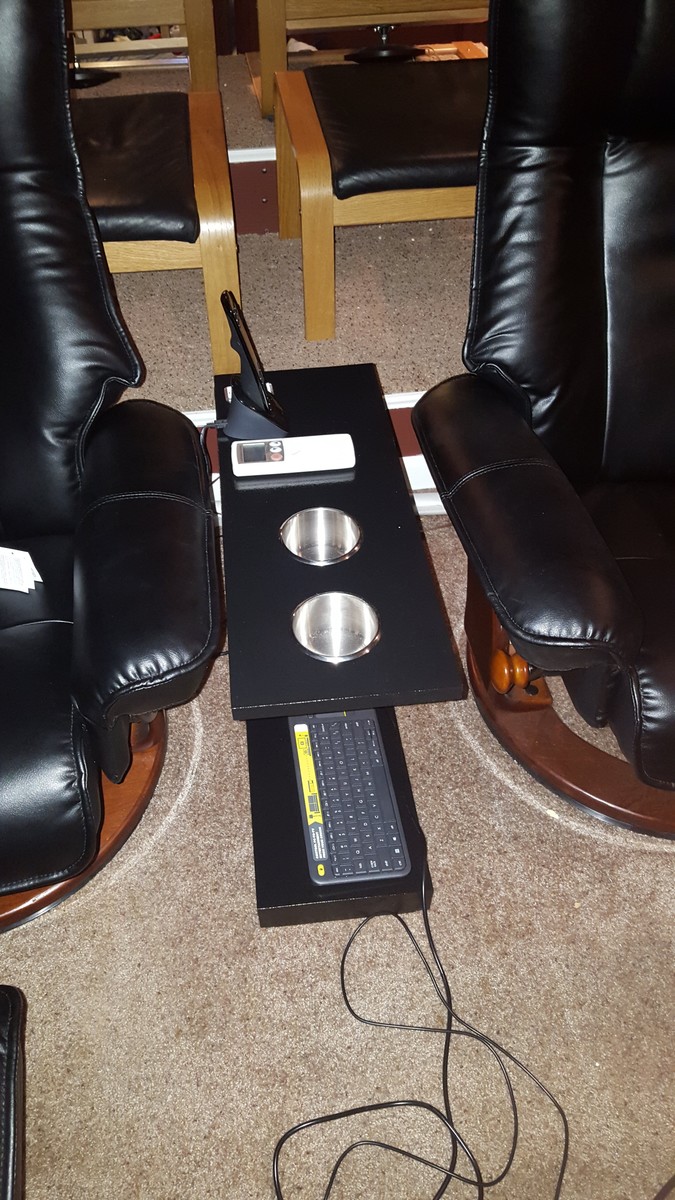
I modified the Rolling C Cart Plan to build this center console for my home theater. My dimensions are a bit different than Ana's. 24" long and 19" high. In order to keep the center of gravity back I doubled the center splines to give it a bit more heft aft of the cup holders. It was made from 1x10's as to not be too wide. I skipped the rolling wheels as it isn't going to be moved once in place. I used 2 coats primer, 3 coats semi-gloss black, and 3 coats of Minwax PolyCrylic to finish it off. All with light sanding with 240 grit paper on my Bosch Oscillating tools to smooth out each layer. It took about 4 days with all the painting, sanding, and drying time involved. I love this build and plan to build 2 more for the back row of theatre seats.
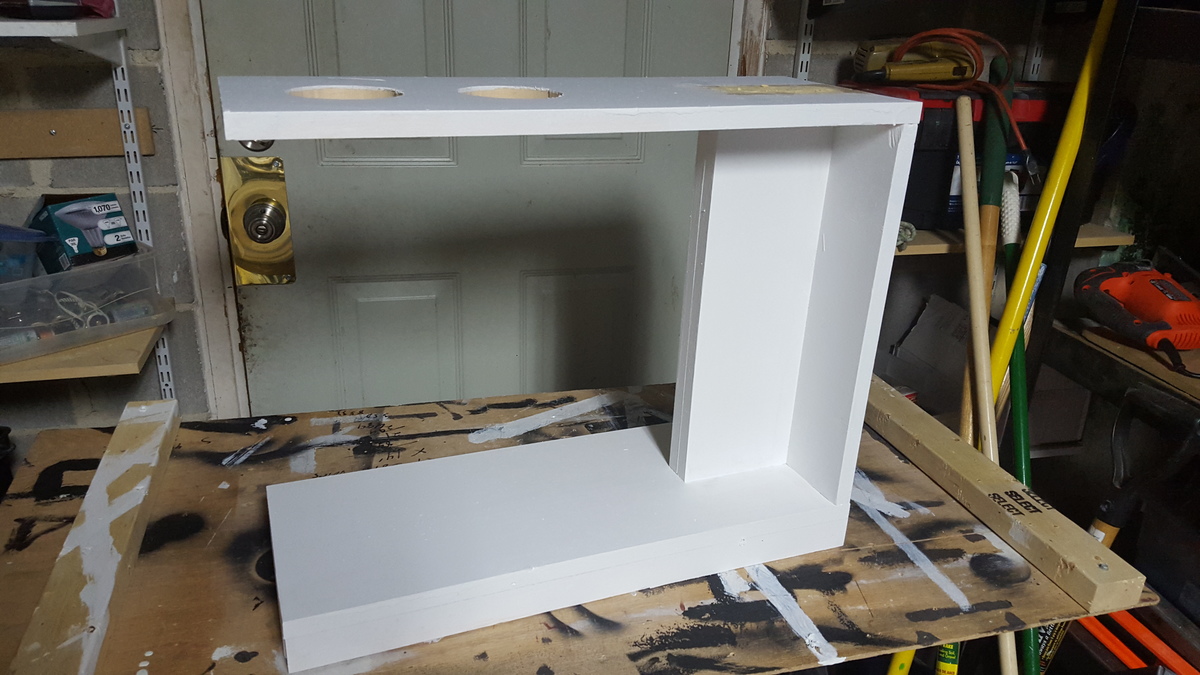
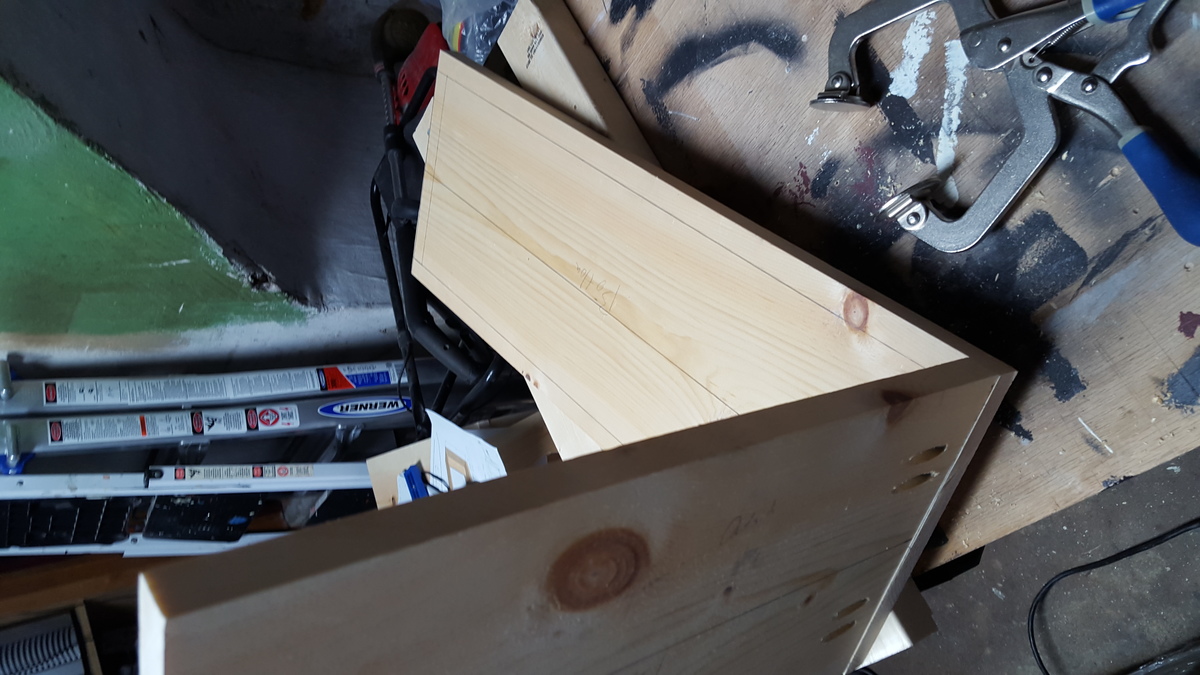
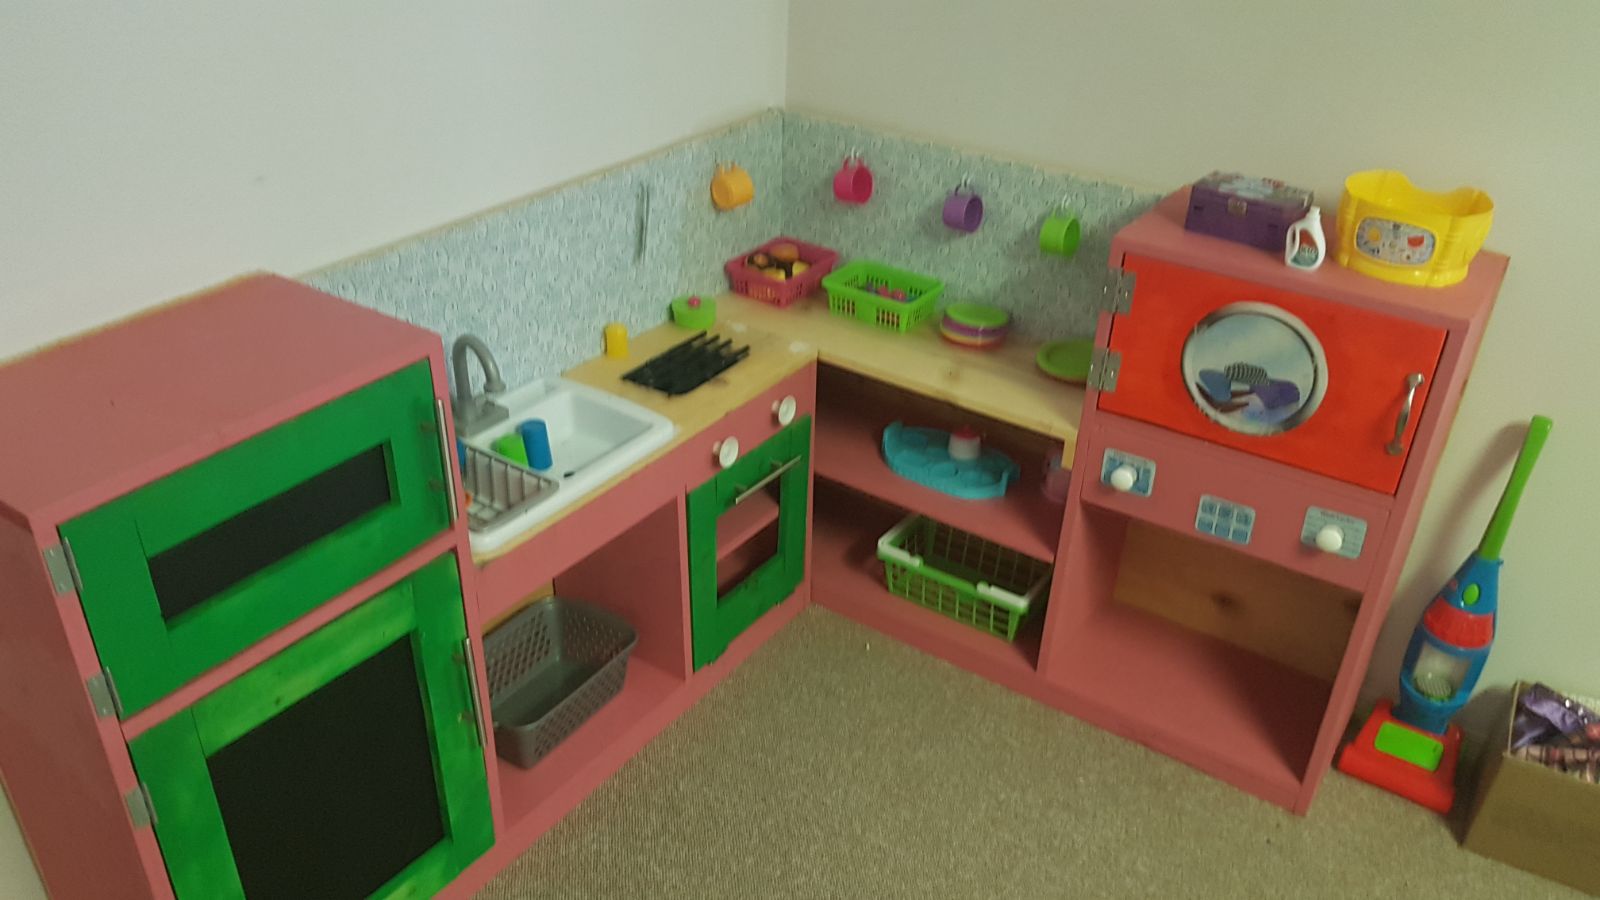
I built this for my Granddaughter, which i must say she loves it.
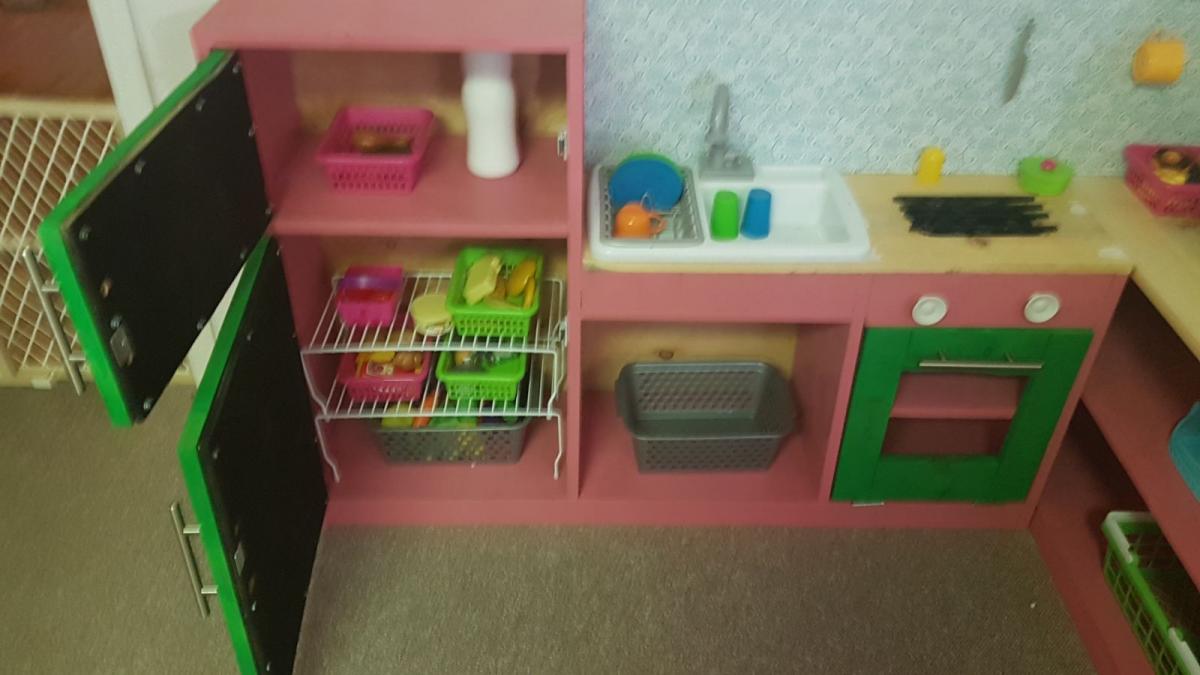
I built two of the same centers and turned one around to build the washer instead of a fridge.
I attempted to make light up burners by purchasing 4 solar lights from the dollar store and gluing them into a shallow pan. when a pot is placed on top of the solar panel the light comes on. it is not as bright as i would have liked but she likes it. I purchased a play sink from Walmart that has a small pump in the tap so she had running water in her sink.
The hardest par of this build i found was the doors. i do not have the device to make pocket holes so i drilled holes in the edges and attached the frames of the doors together with wooden dowels.
This project was definitely a learning experience for me but i had a lot of fun building it.
Thu, 07/18/2019 - 19:26
On to the next Project........
Thank-you for providing this site with all the detailed plans......I Love it!!
Fri, 07/19/2019 - 16:10
Thank you for using our plans! We love this kitchen, there will be hours and hours of play here! We appreciate you adding a brag post - it is very helpful! Ana
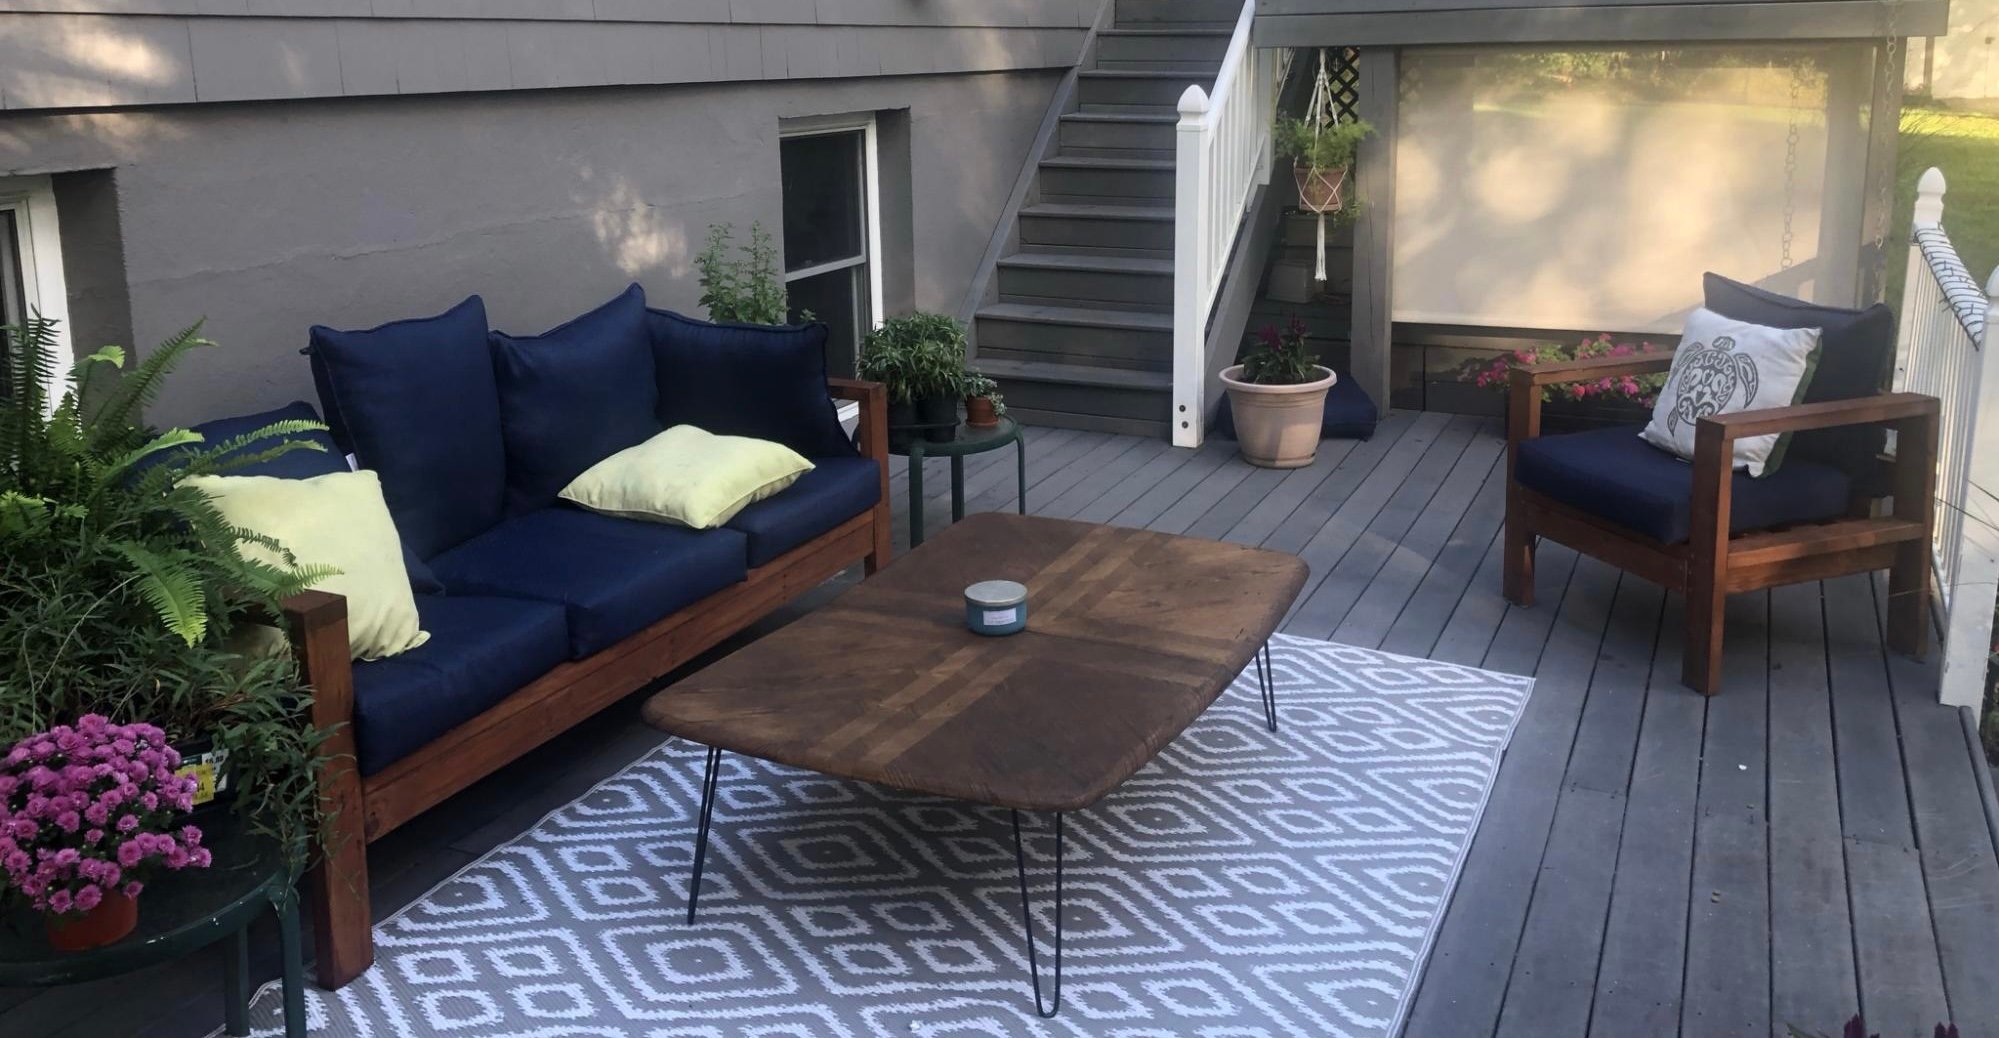
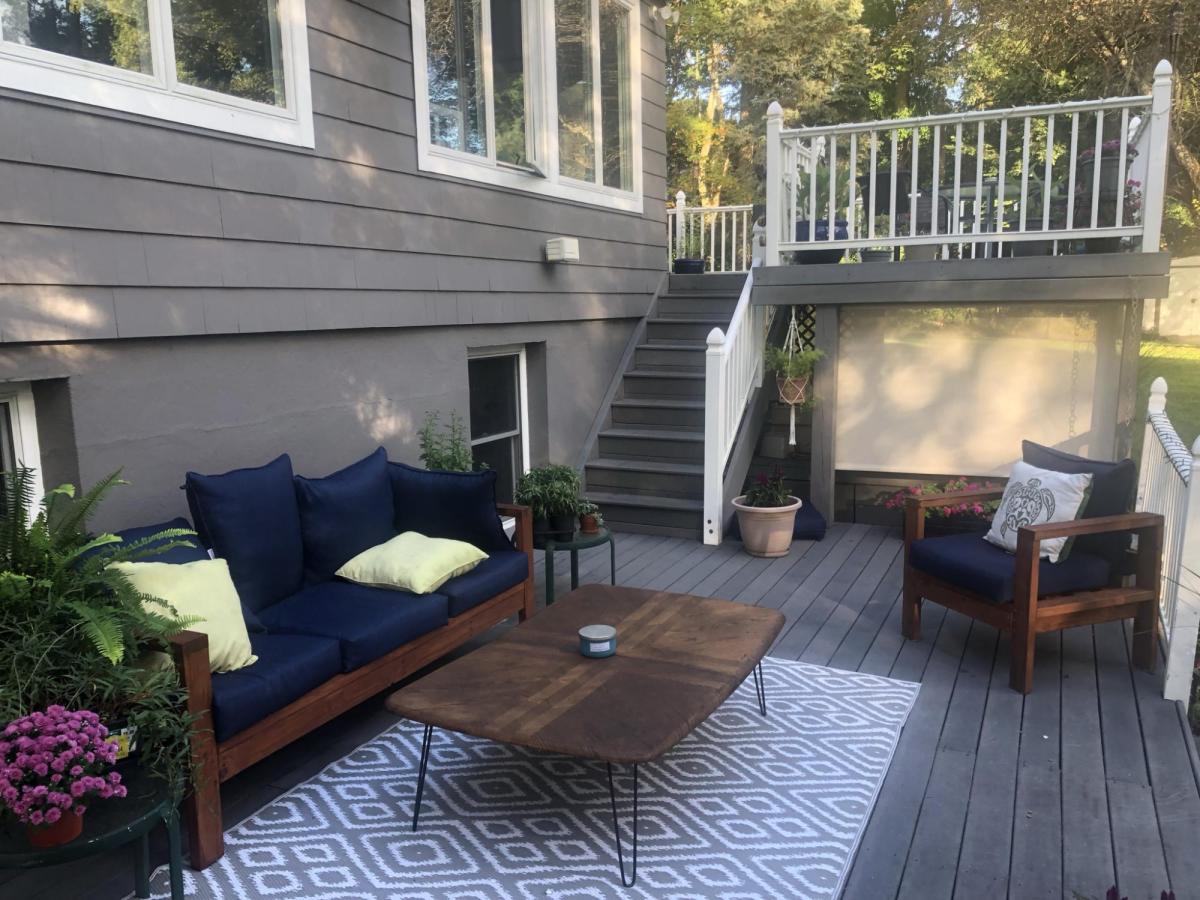
We couldn't be happier with our outdoor lounge, and the plans for the 2x4 sofa and chair couldn't have been easier. Most of all, I'm so proud to have been able to make this myself! Thank you Ana!
I made this for my daughter for Christmas. She has done nothing but sit at it and play and put on "makeup" for hours! It is a hit! Thanks Ana!!!!
I did add a support with pocket holes in the back to make it more sturdy (you can see it behind the stool). And you will notice my top trim is not 2 inches like it should be. I used all free wood that I had collected . I did buy a 2x2 for the stool because mine was too warped. The top of the stool is not round because I only have a miter saw. I found a great little cupboard door from the restore for $1 that I cut square for the top. Since I am new to this it took me a little longer than some people, plus the time I put is including making the stool as well.
Mon, 12/26/2011 - 10:41
You did a great job! I am new to Anna's site and want to make all kinds of stuff. I love the princess theme.
Sun, 01/01/2012 - 21:23
Thanks for all the nice comments! Mandirckard, I hope you get to make it! It is fun when you can re-make something that otherwise would be thrown out, cupboard doors could be reused for lots of things!
Fri, 09/20/2024 - 09:31
Absolutely amazing! I just want to do the same thing for my kids as well. Would you mind telling me more about the cost and measurement? Basically, I have been waiting for some thrilling games. I found a few of them like poker tournament in Winnipeg from where you can get game ideas. Here are some of the poker tournaments you can join in Winnipeg:
Regular Tournaments at Club Regent Casino
Annual BOMA Poker Tournament
Manitoba Poker Championship
What do you think? I will wait for your further reply.
I was looking all over for the perfect desk to hold my large computer and give me some crafting space. Not finding what I was looking for, I stumbled upon Ana-White.com and I was so excited when my husband agreed to build me this desk! It's perfect and beautiful and I absolutely love it! The plans were easy for him to follow and we had fun making it together.
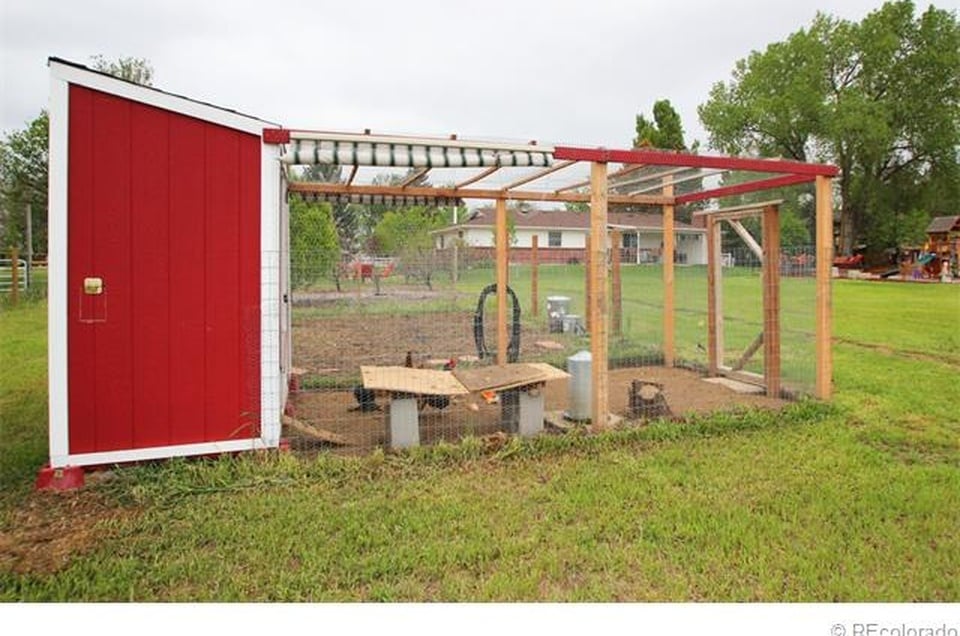
It took a while to come together and made several modifications but it is a great coop and was a major selling point of the house when we were relocated. I had added a main tray under the roosts and a door to srape the poop out. This made keeping the coop clean very easy.
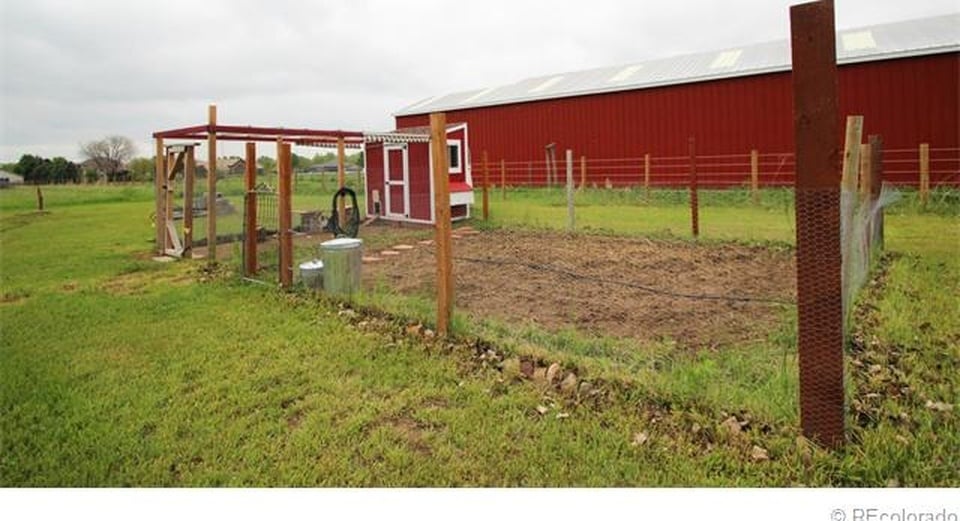
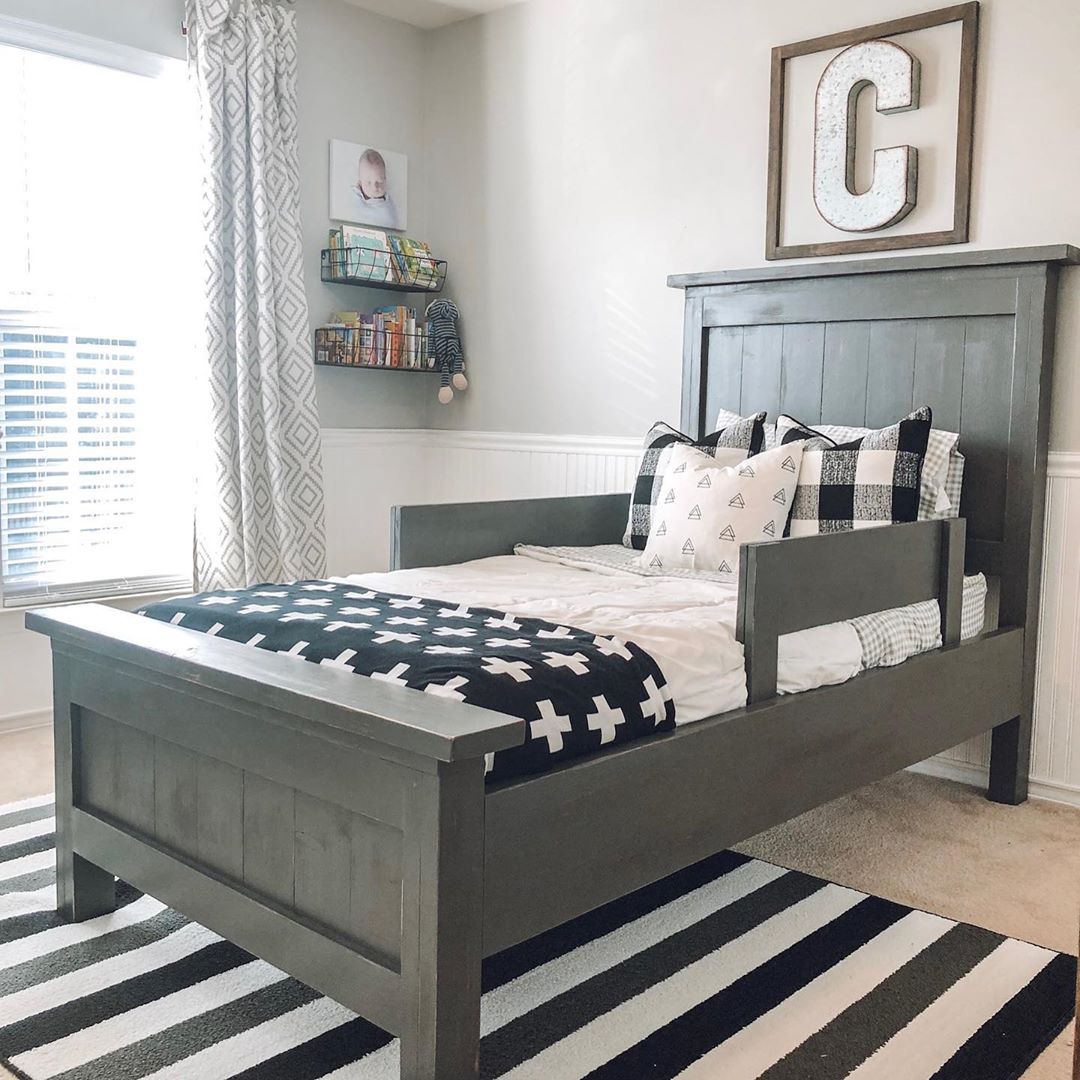
For more photos and details, see my Instagram post here.
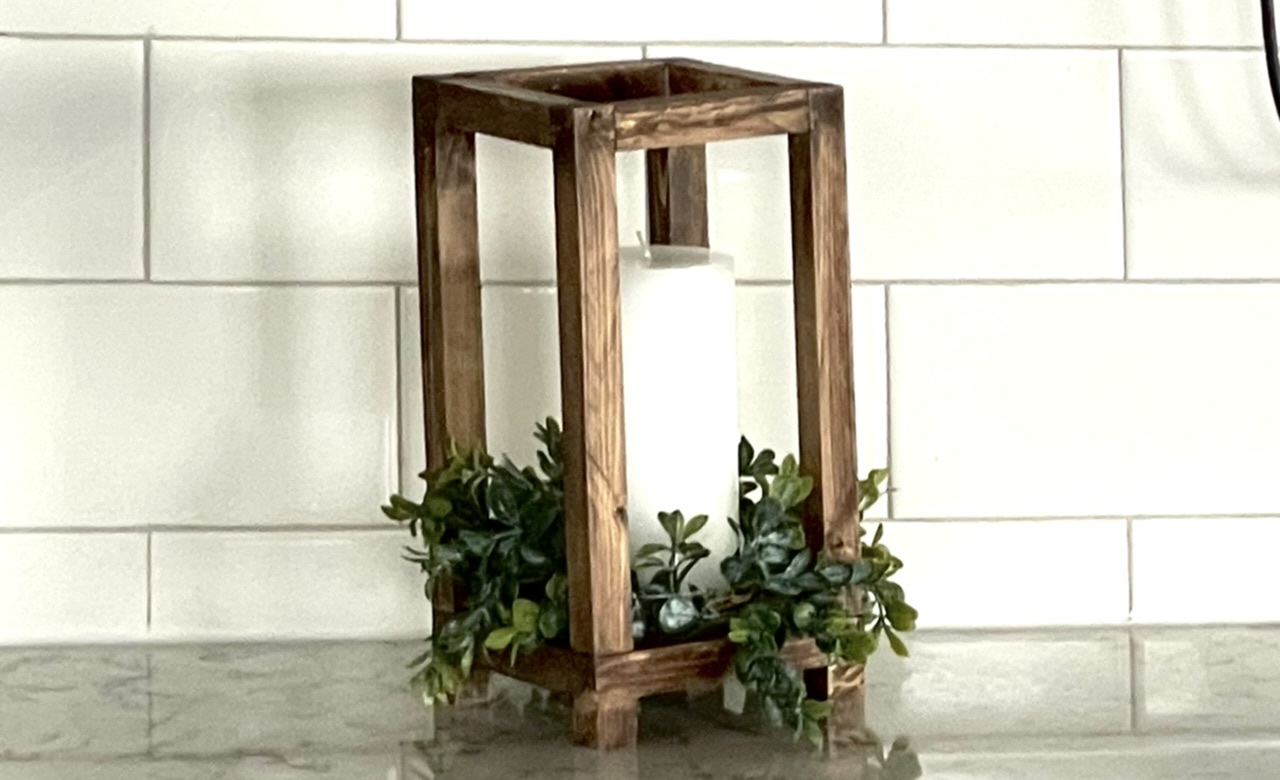
Super cute this is the smallest size with the tiny feet at the bottom
Comments
Ana White
Thu, 06/20/2019 - 10:57
Looks awesome! Thanks so…
Looks awesome! Thanks so much for adding a brag post! Can't wait to see the sectional.