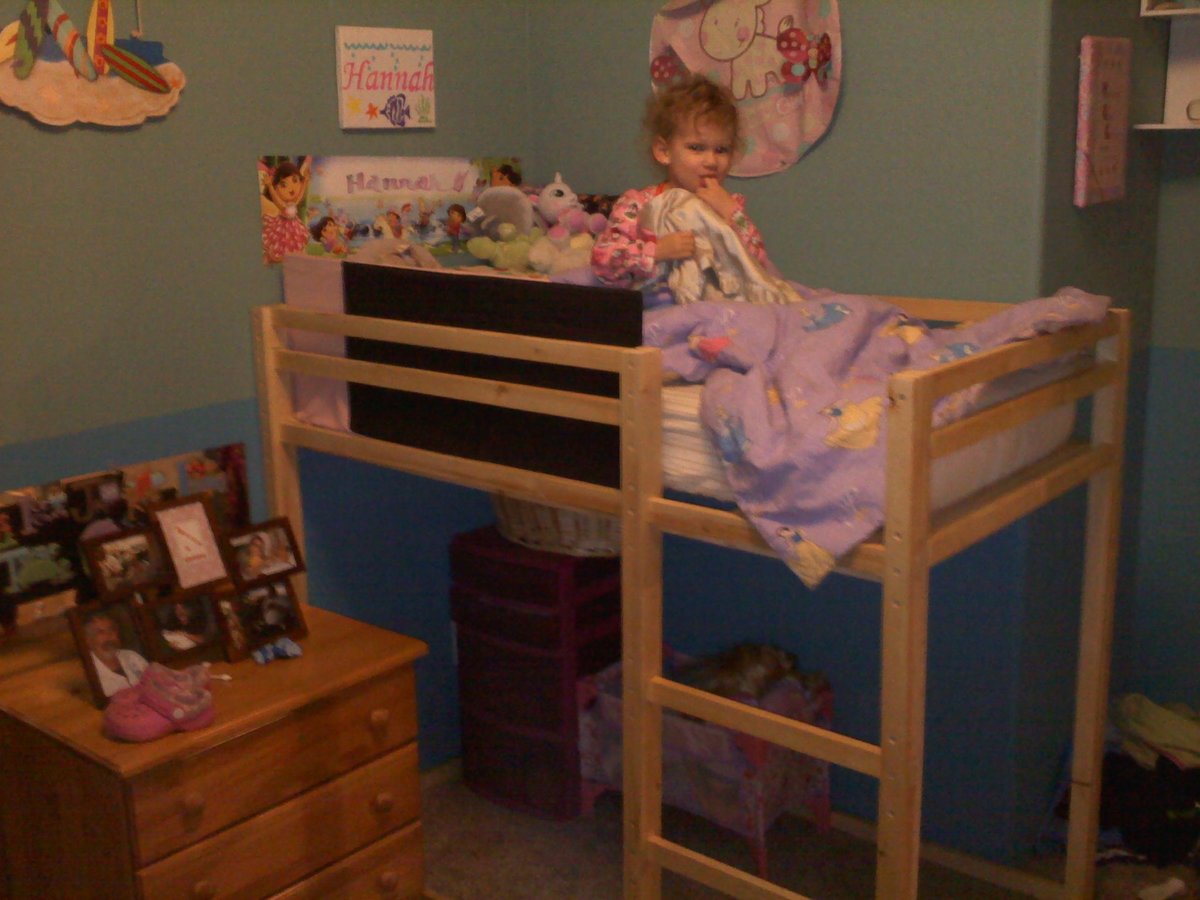
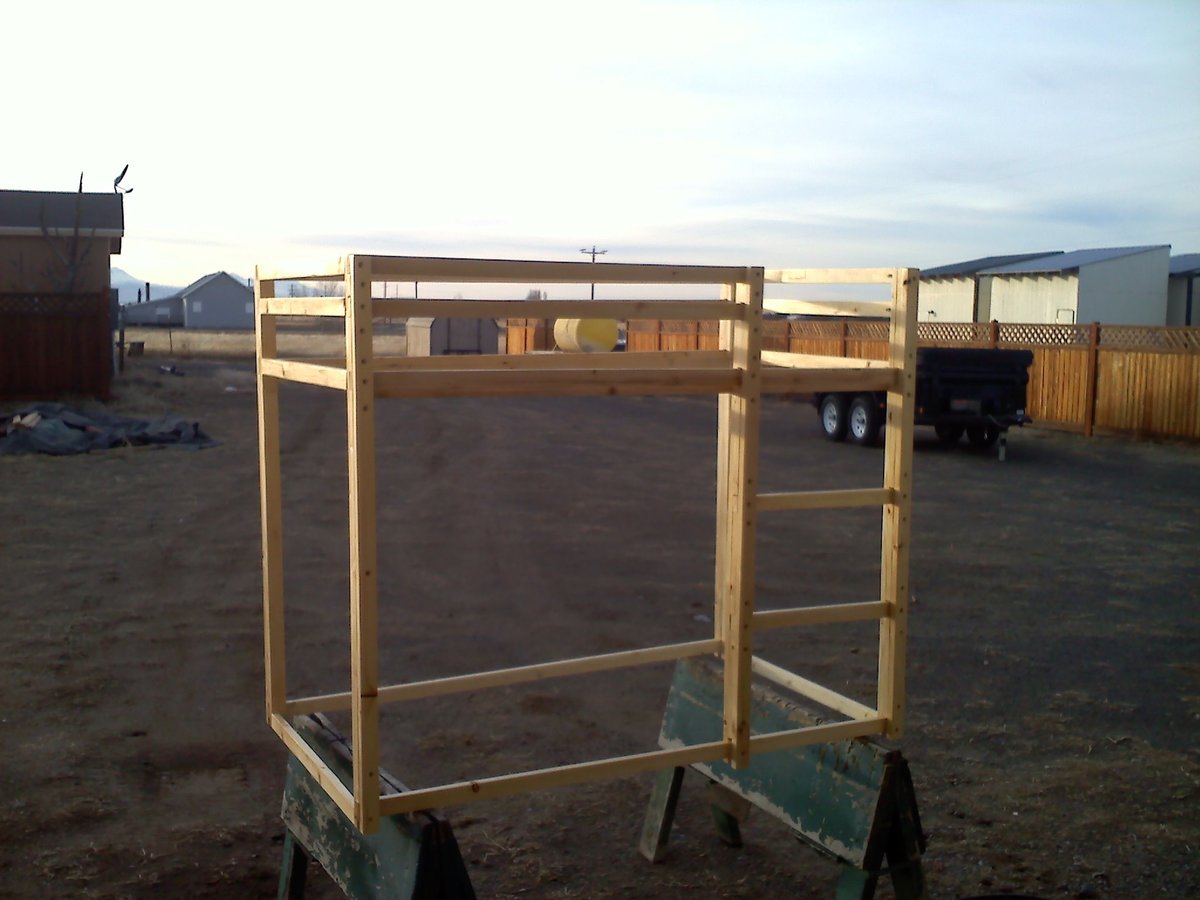
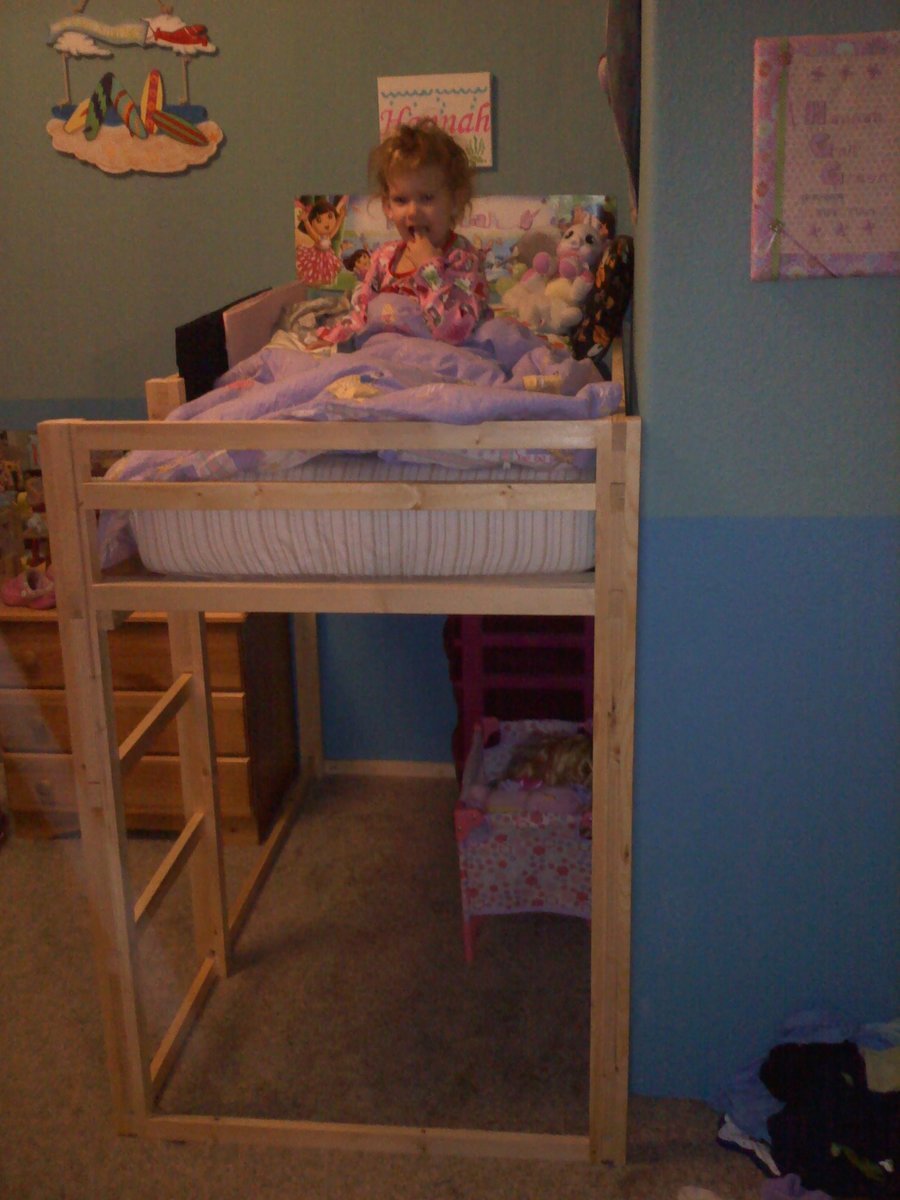
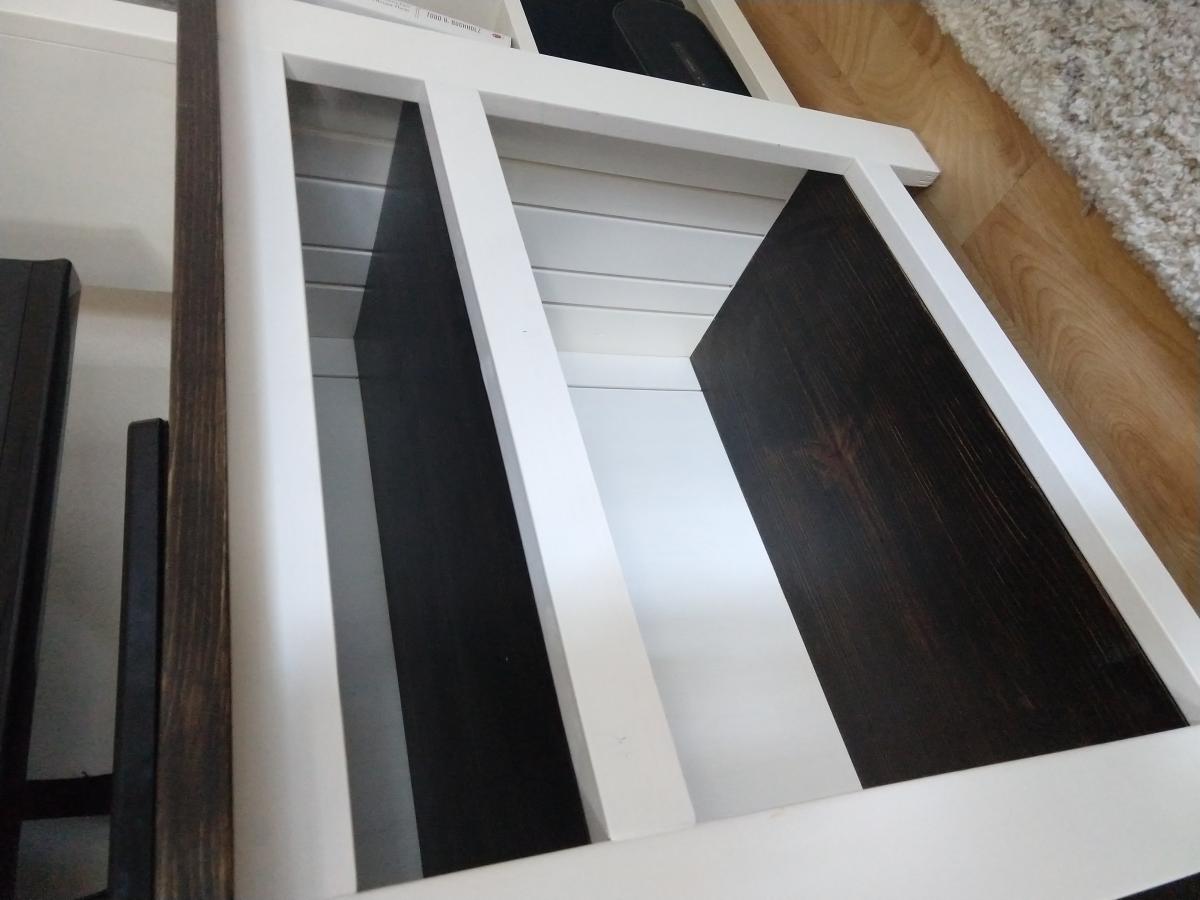
Modified loft bed from cabin bed
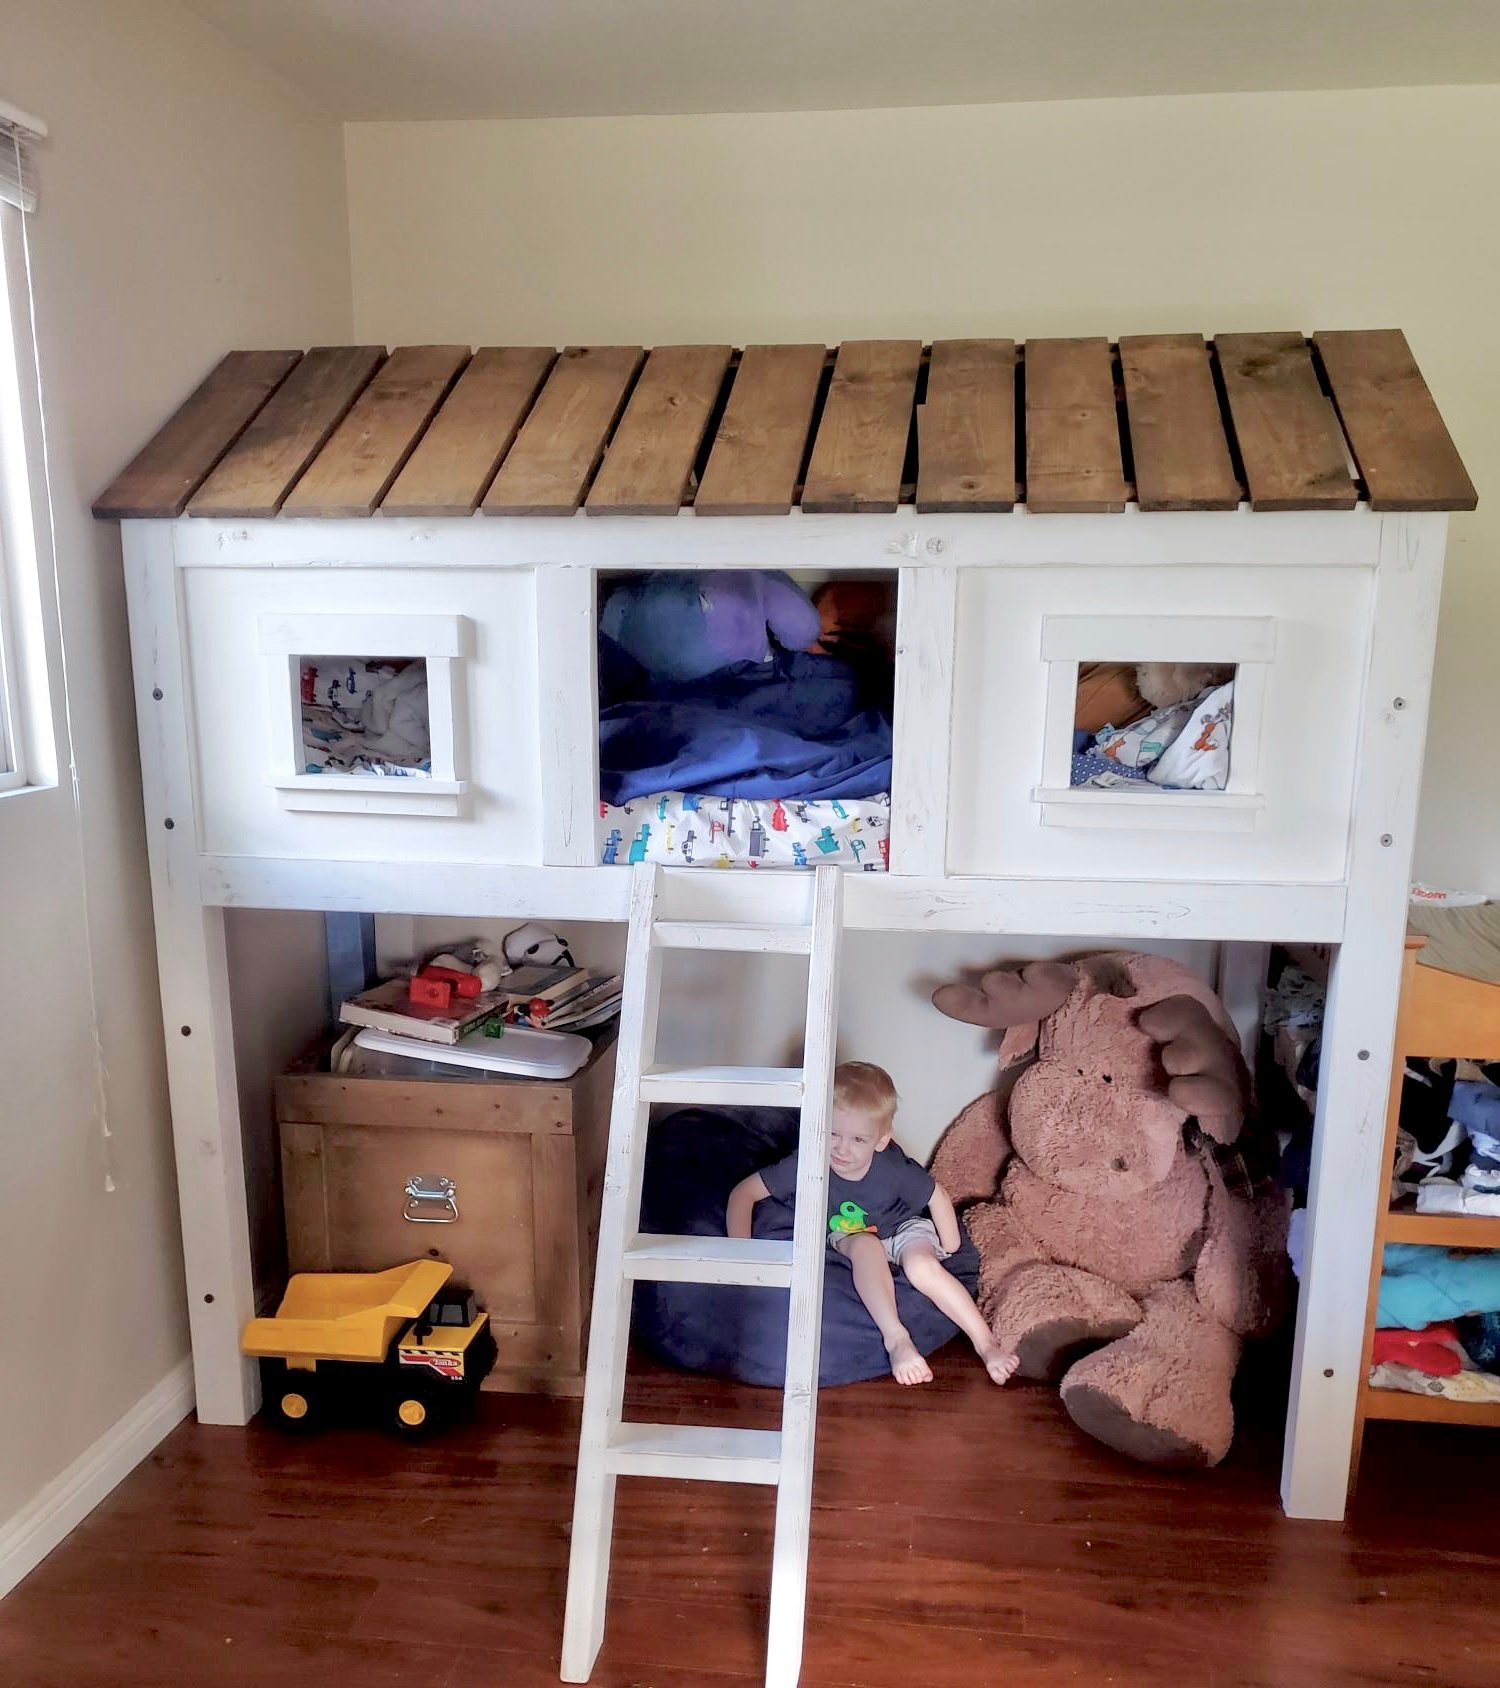
We modified the cabin bed plans to a loft bed. This created a space for little man to have all his own area. We also made the roof on a hinge so that we could open up the roof for easy bedding changes. Also used Jen's modifications so we can take the bed apart and move it easier.
Built from Plan(s)
Estimated Cost
300
Estimated Time Investment
Weekend Project (10-20 Hours)
Finish Used
White flat paint, dark walnut roof
Recommended Skill Level
Intermediate