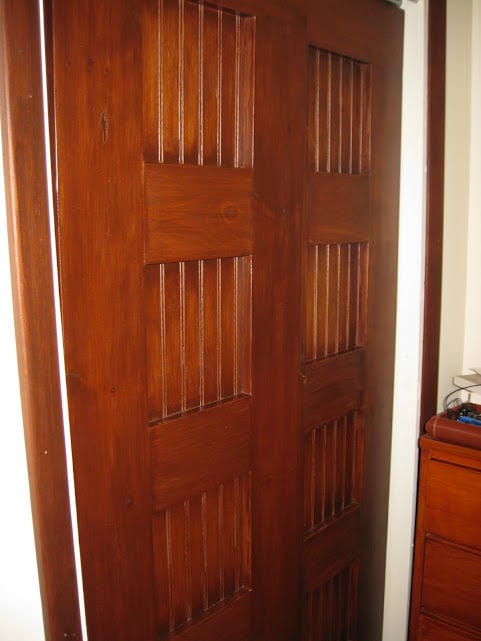
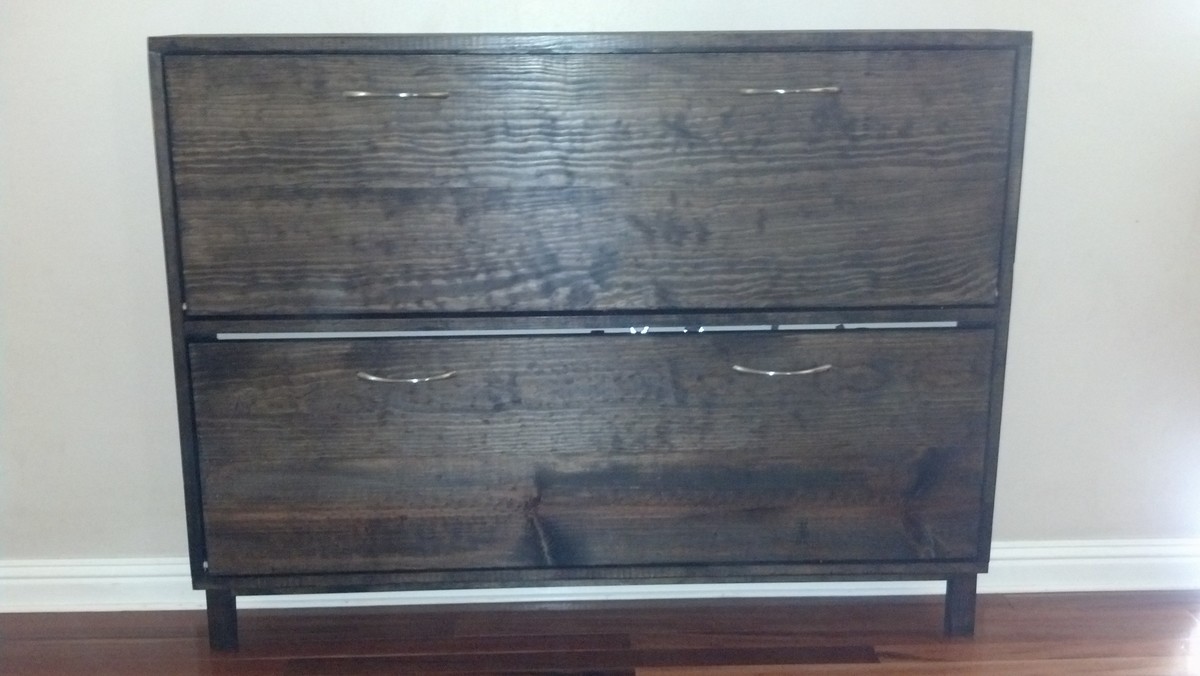
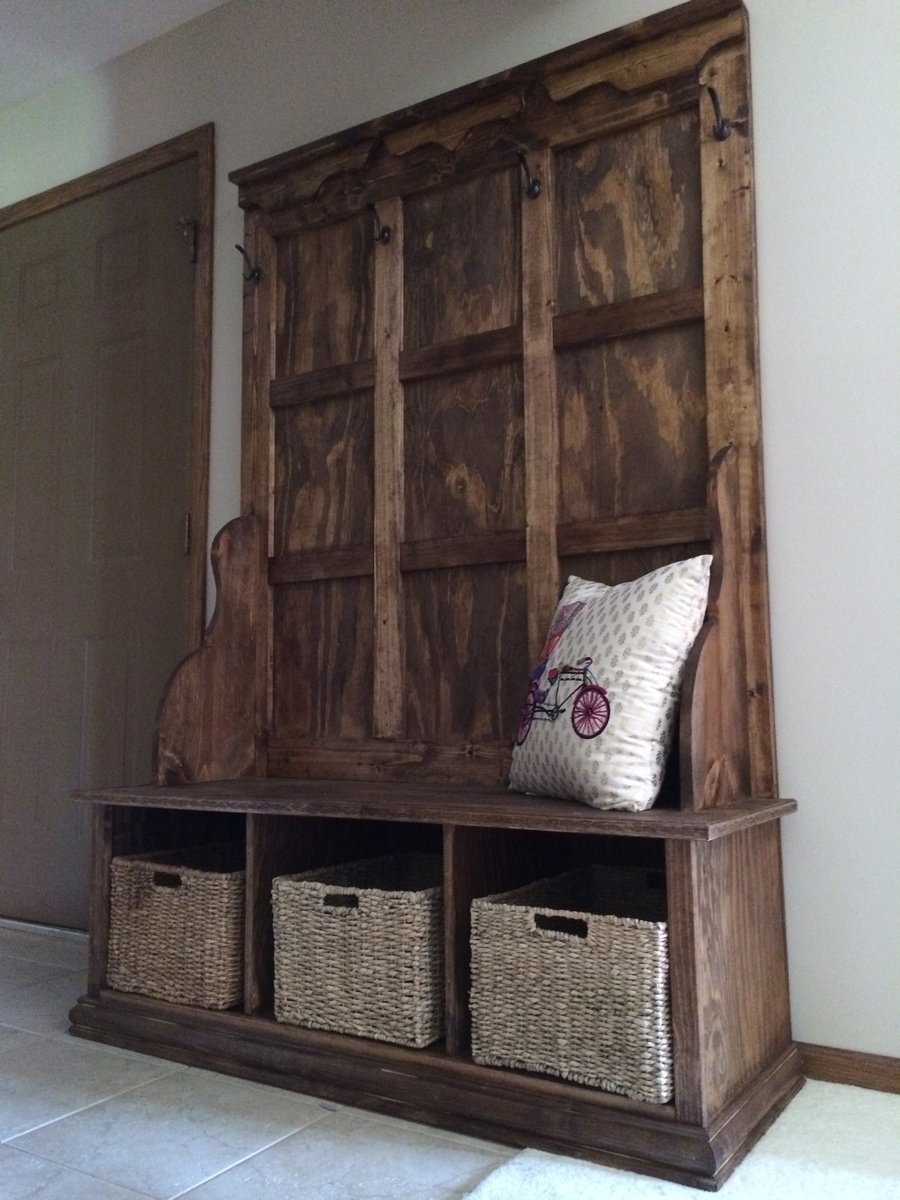
Corner Cabinet (reclaimed bi-fold version)
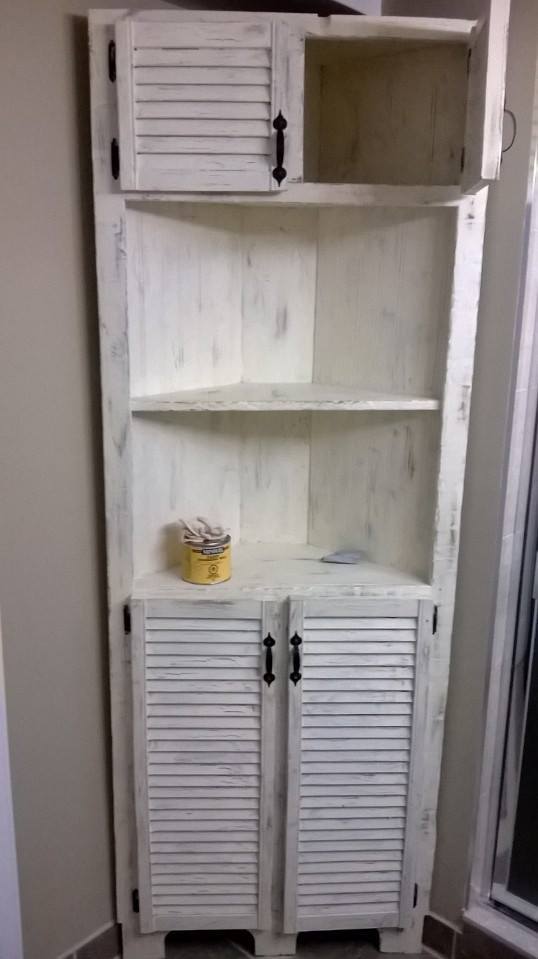
With a newly finished bathroom we were looking for some stylish storage that fit the space.
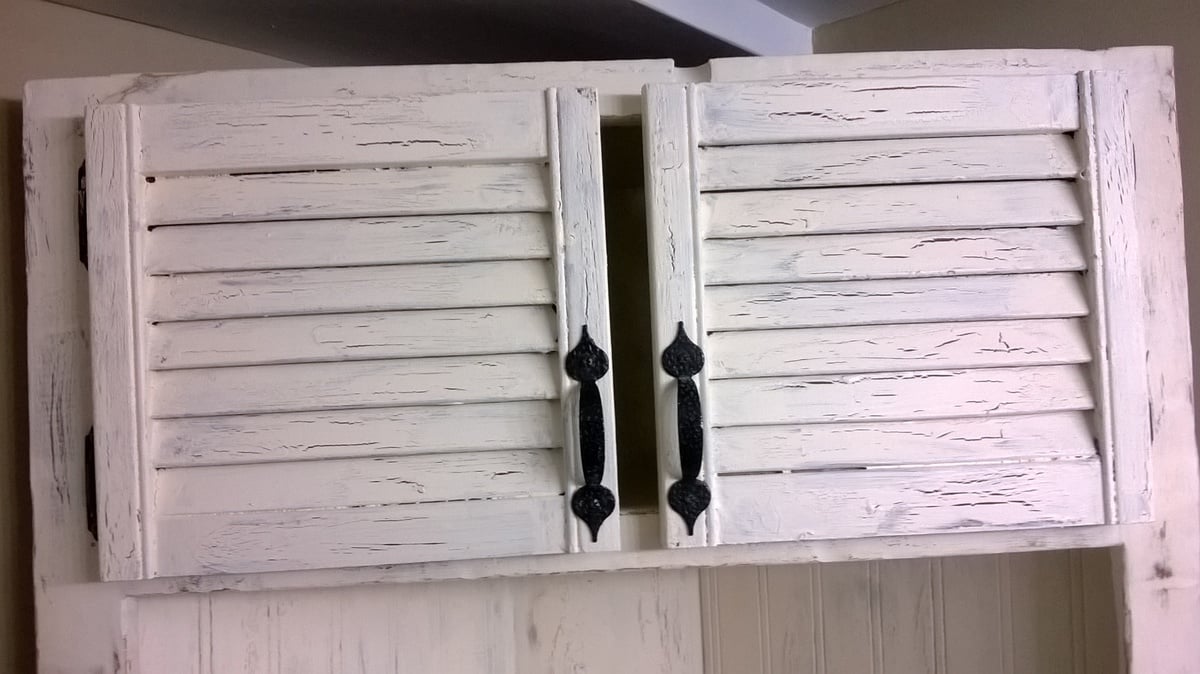
During the demo a number of pieces of cabinetry came down and a salvage most of that wood. I also had a couple bi-fold closet doors in my garage that i decided to put to use.
We're totally satisfied with the end product and will be continuing to try our hand at custom pieces.
Built from Plan(s)
Estimated Time Investment
Weekend Project (10-20 Hours)
Finish Used
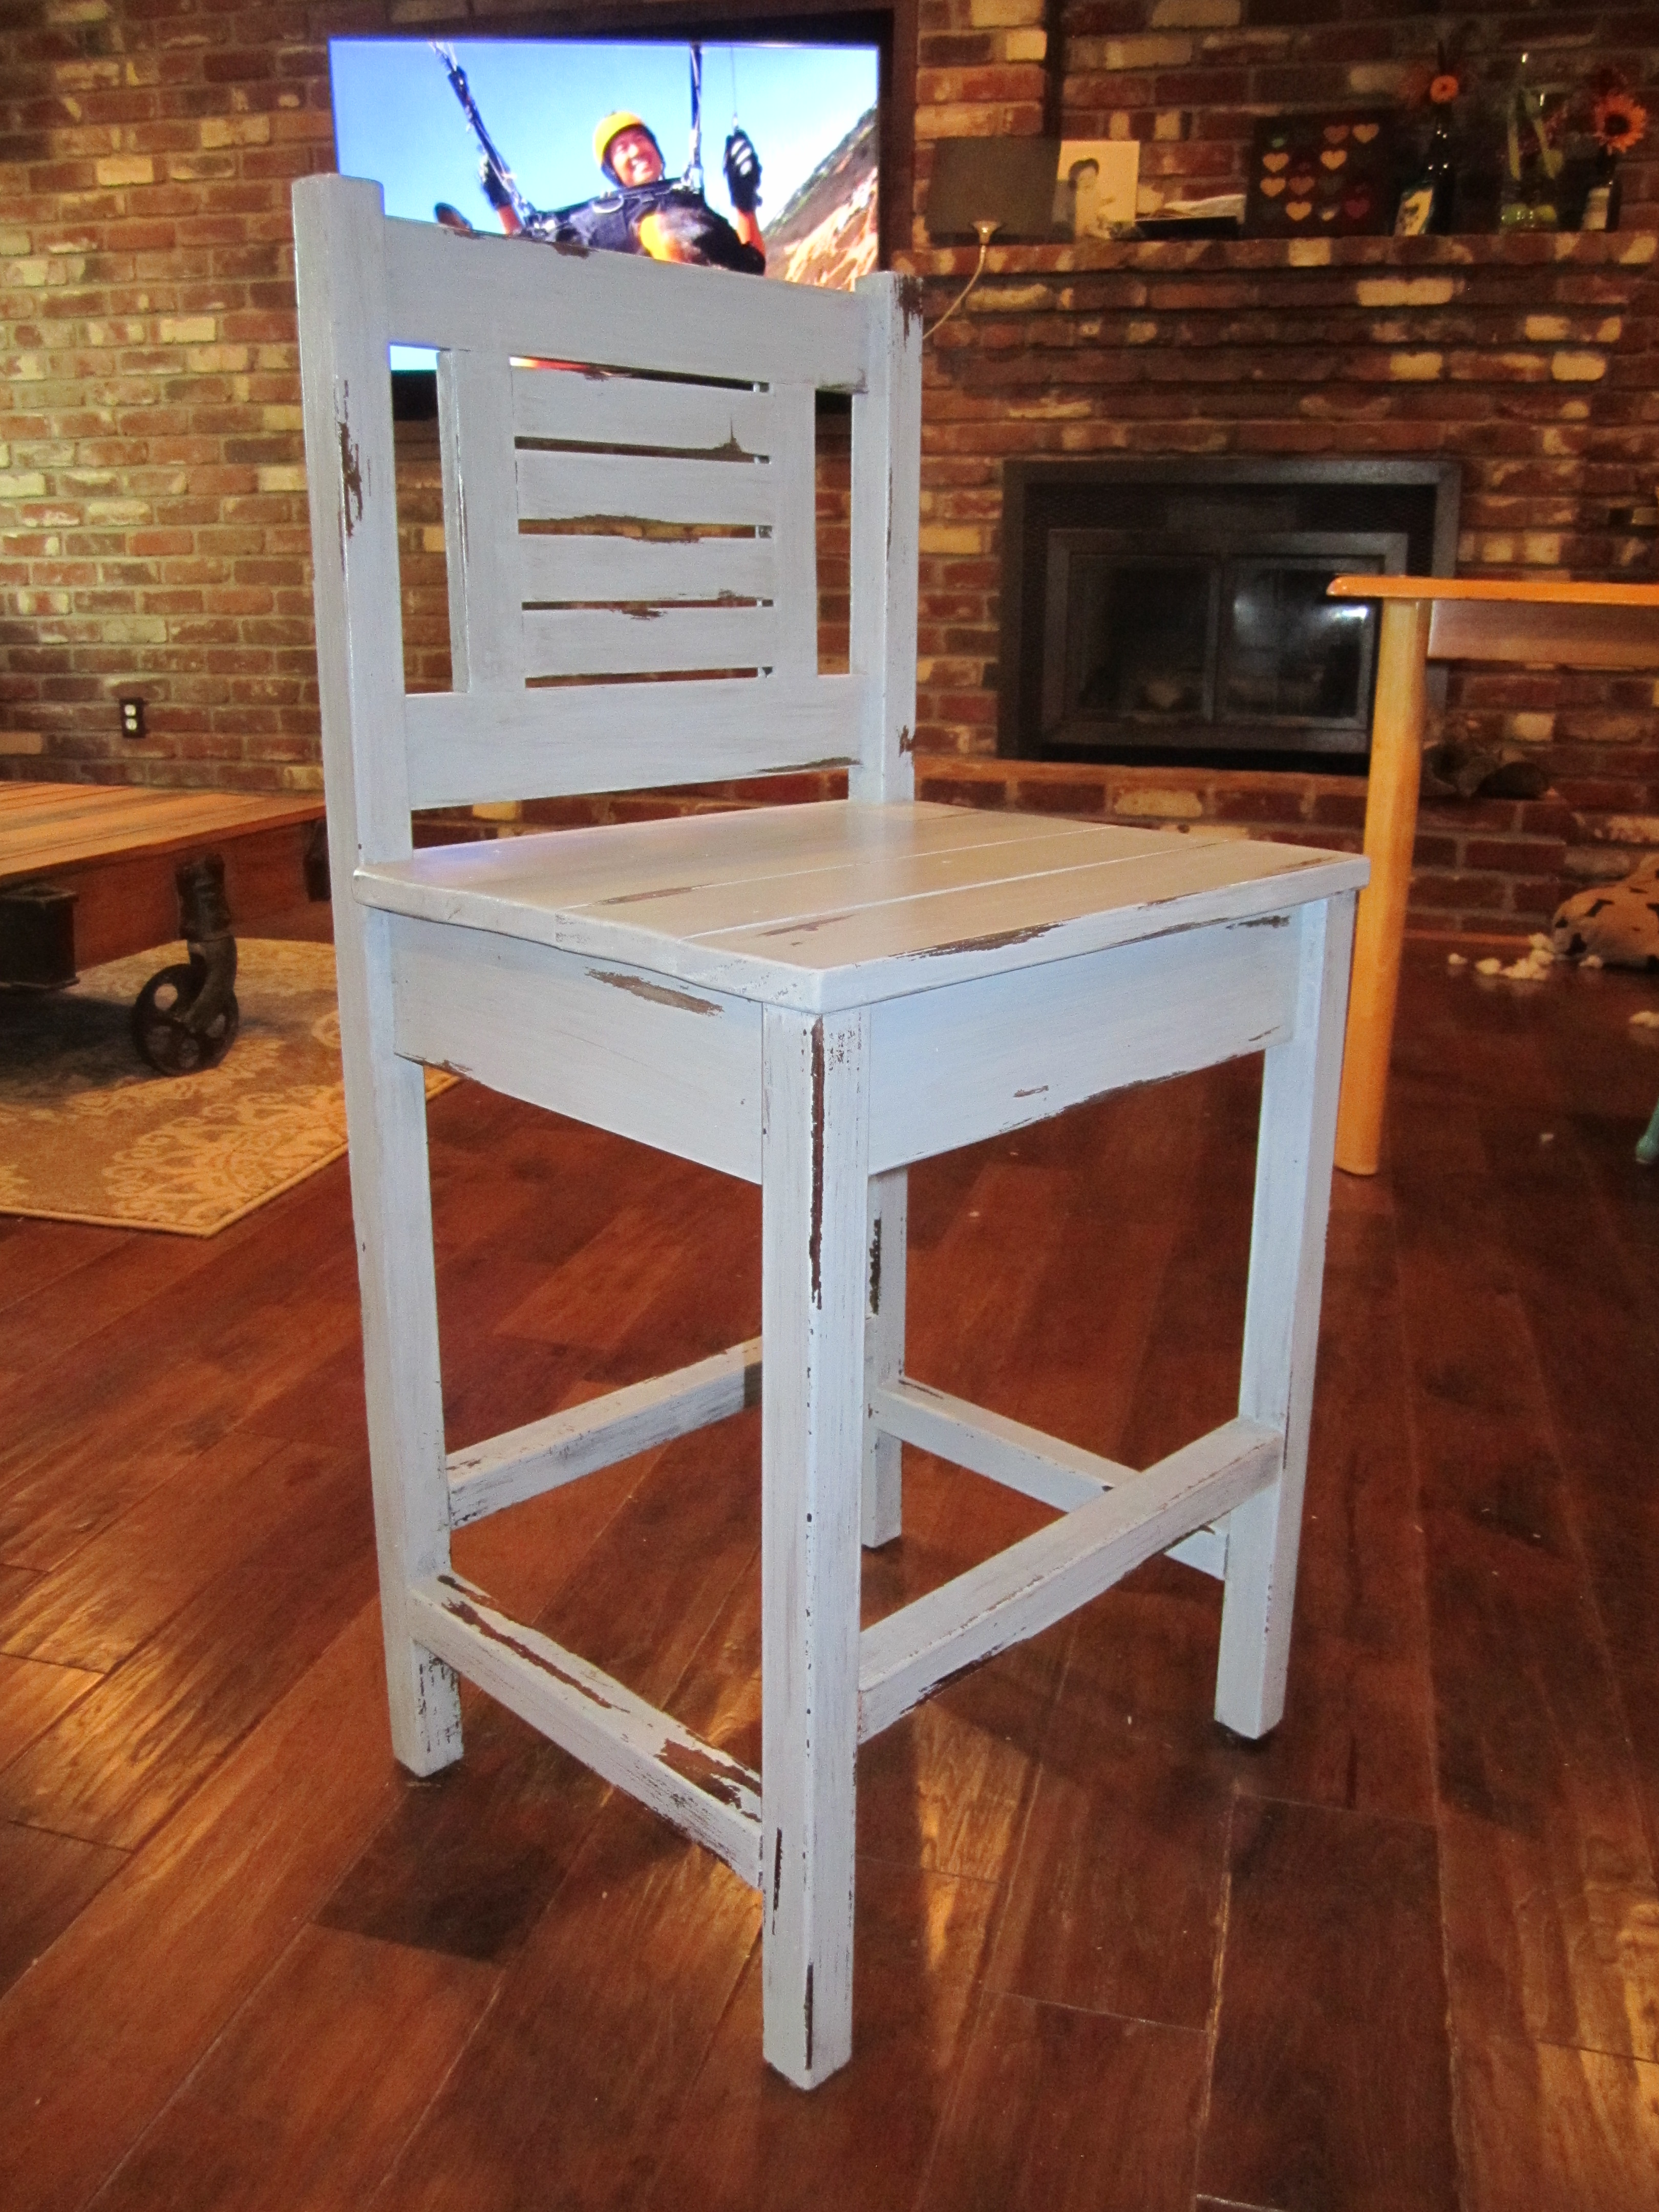
We used some left over chocolate paint primer as a base. Then we tried our hand at getting a crackle finish the cheap way. (White glue).
By applying good gobs of white glue in many places and waiting till it was tacky to touch. We then applied our homemade 'chalk paint' which was created by mixing our desired paint colour with a small amount of matching unsanded grout.
Once dry we distressed and sealed with a dark tinted wax paste to give it that aged look.
Recommended Skill Level
Beginner