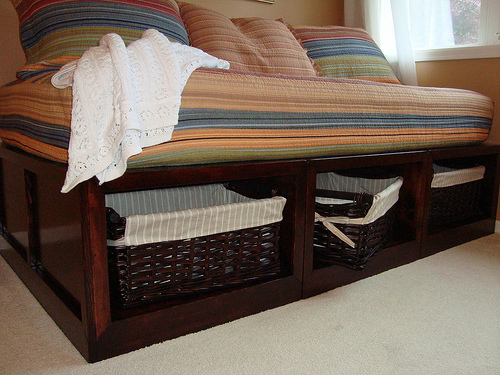
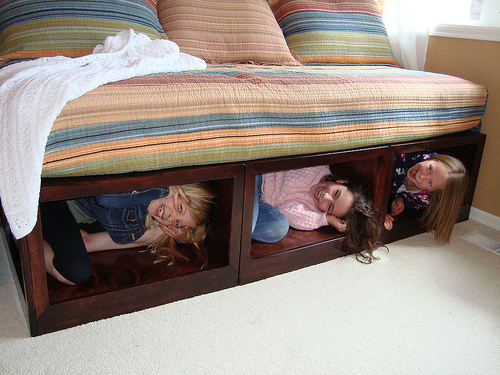
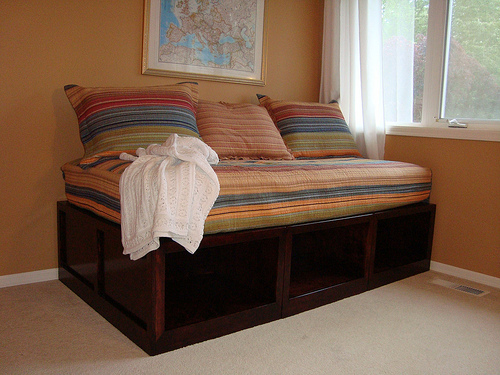
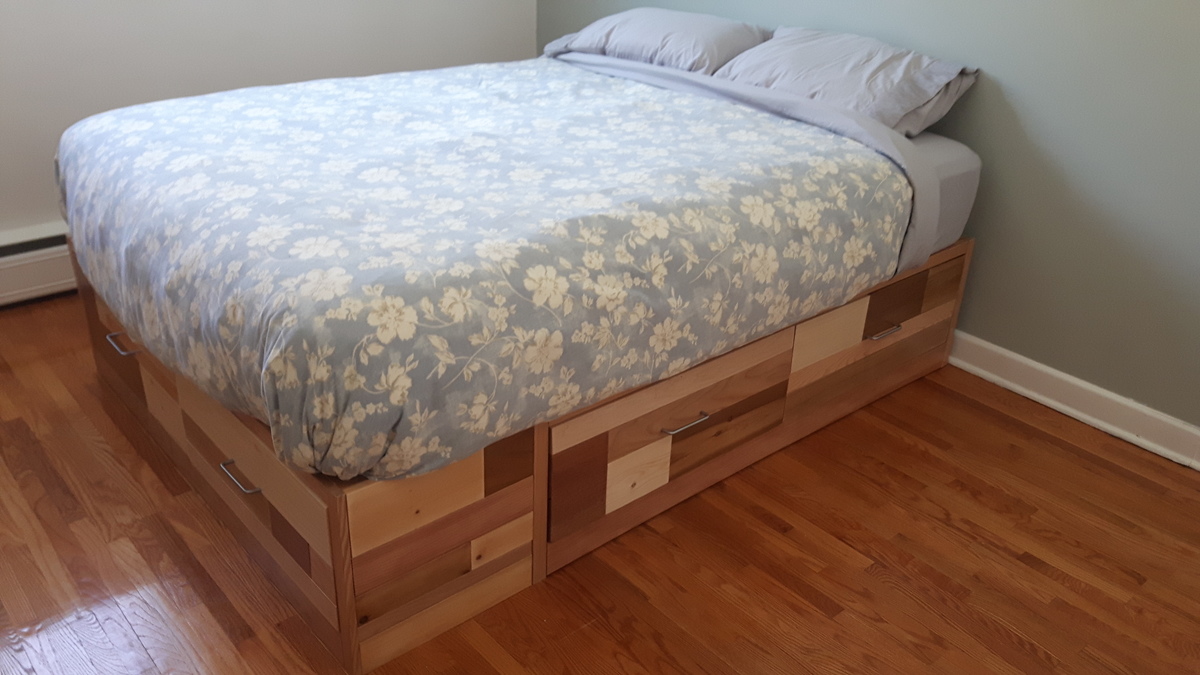
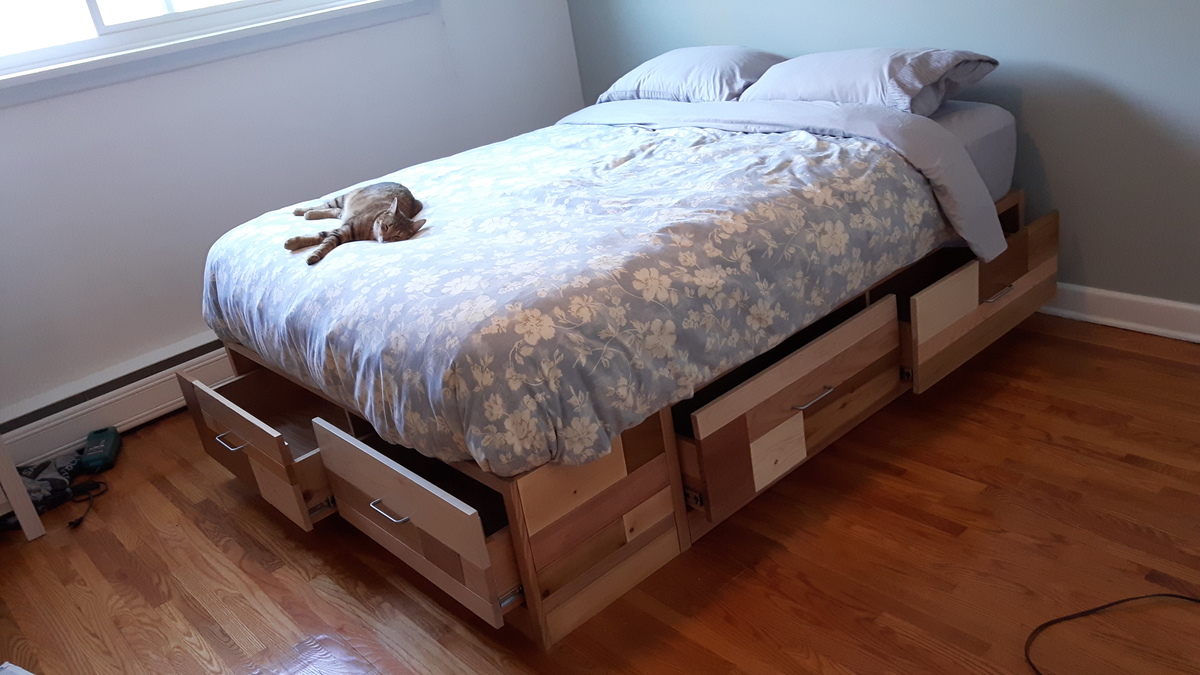
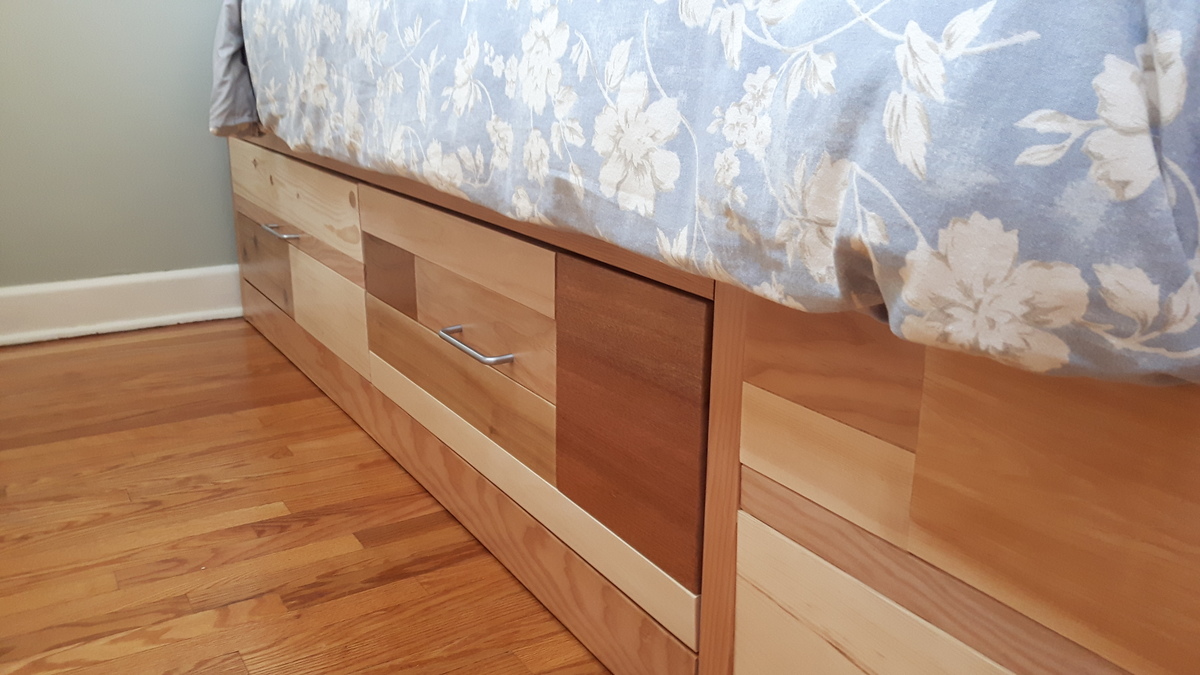
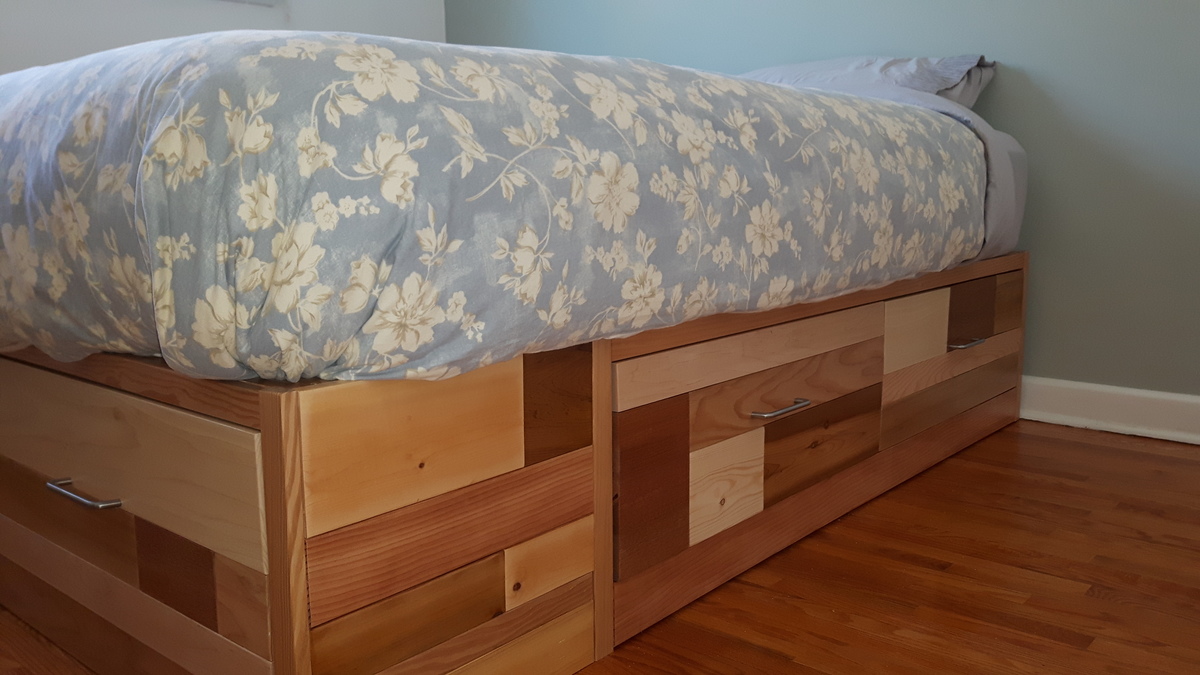
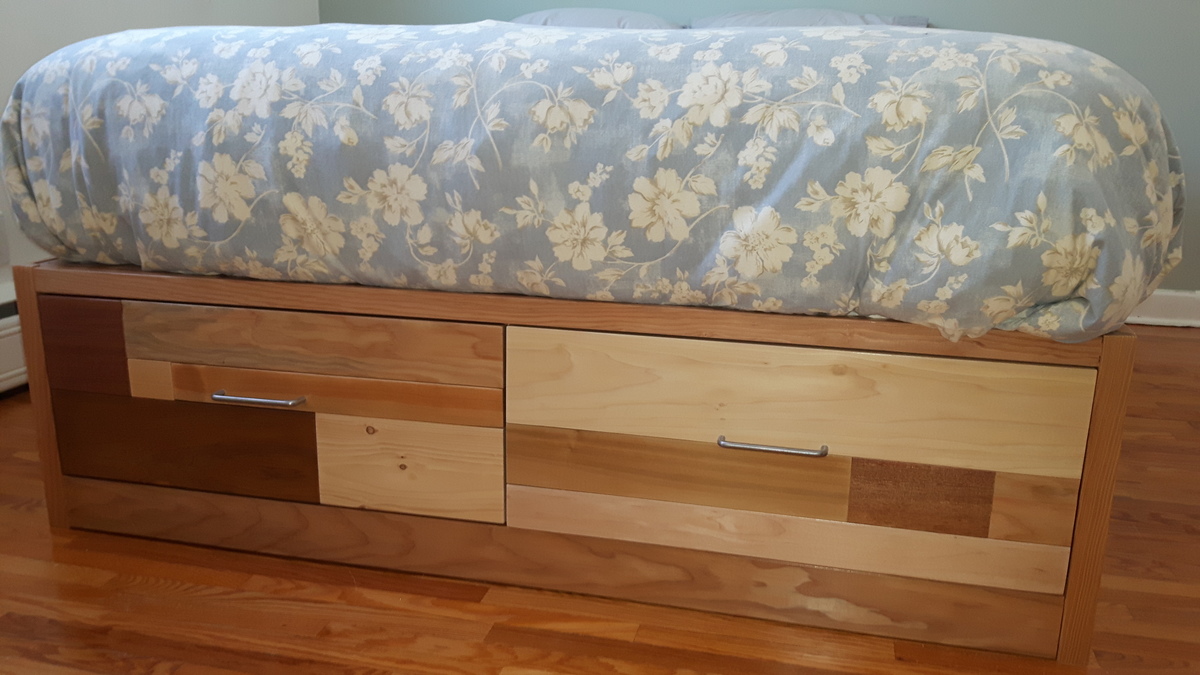
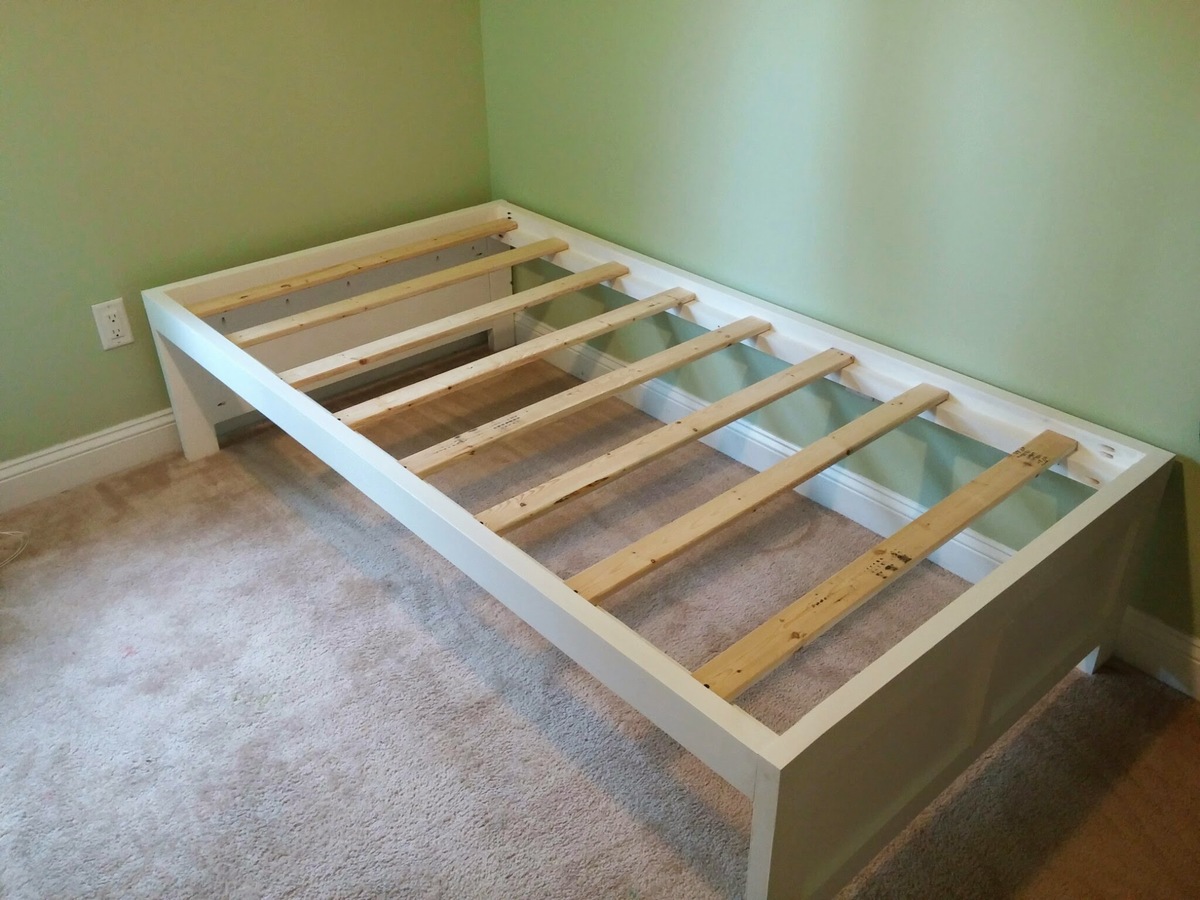
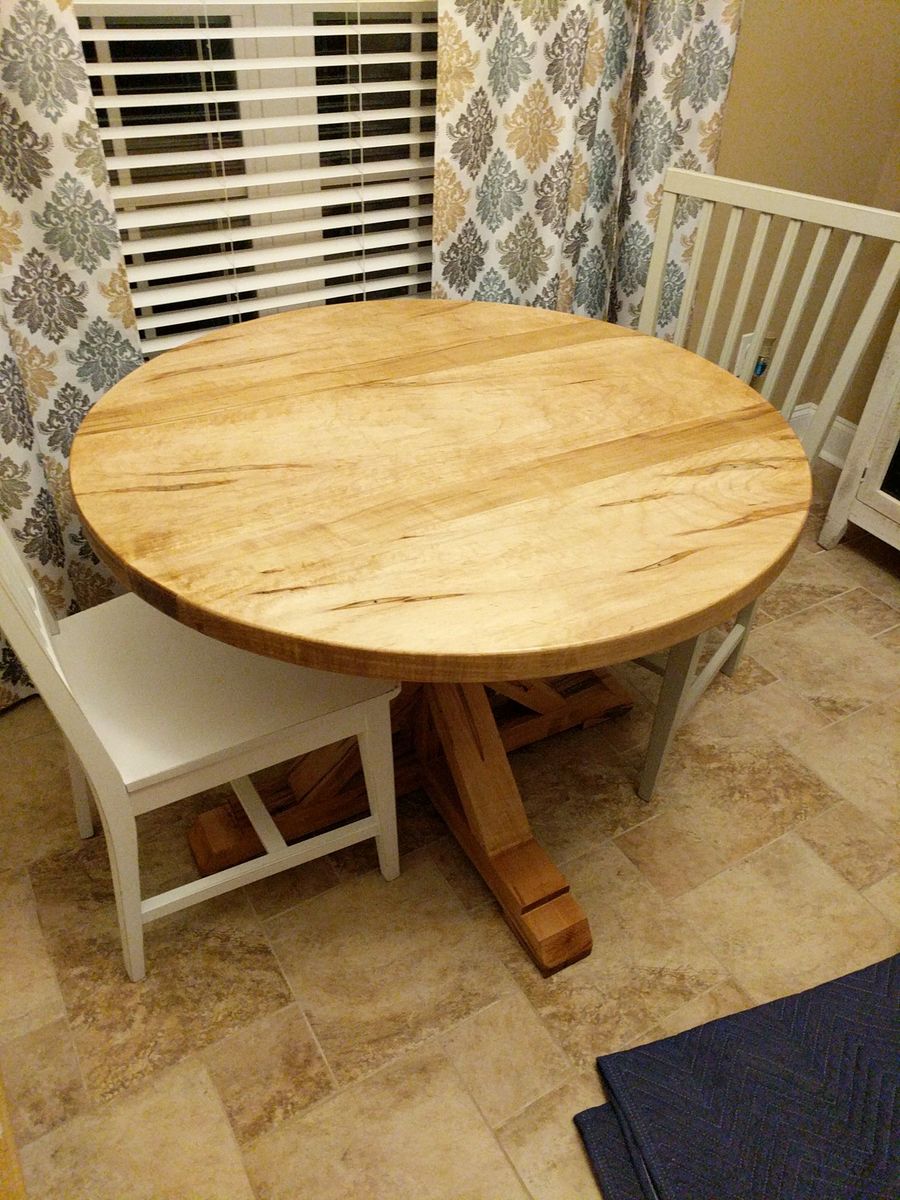
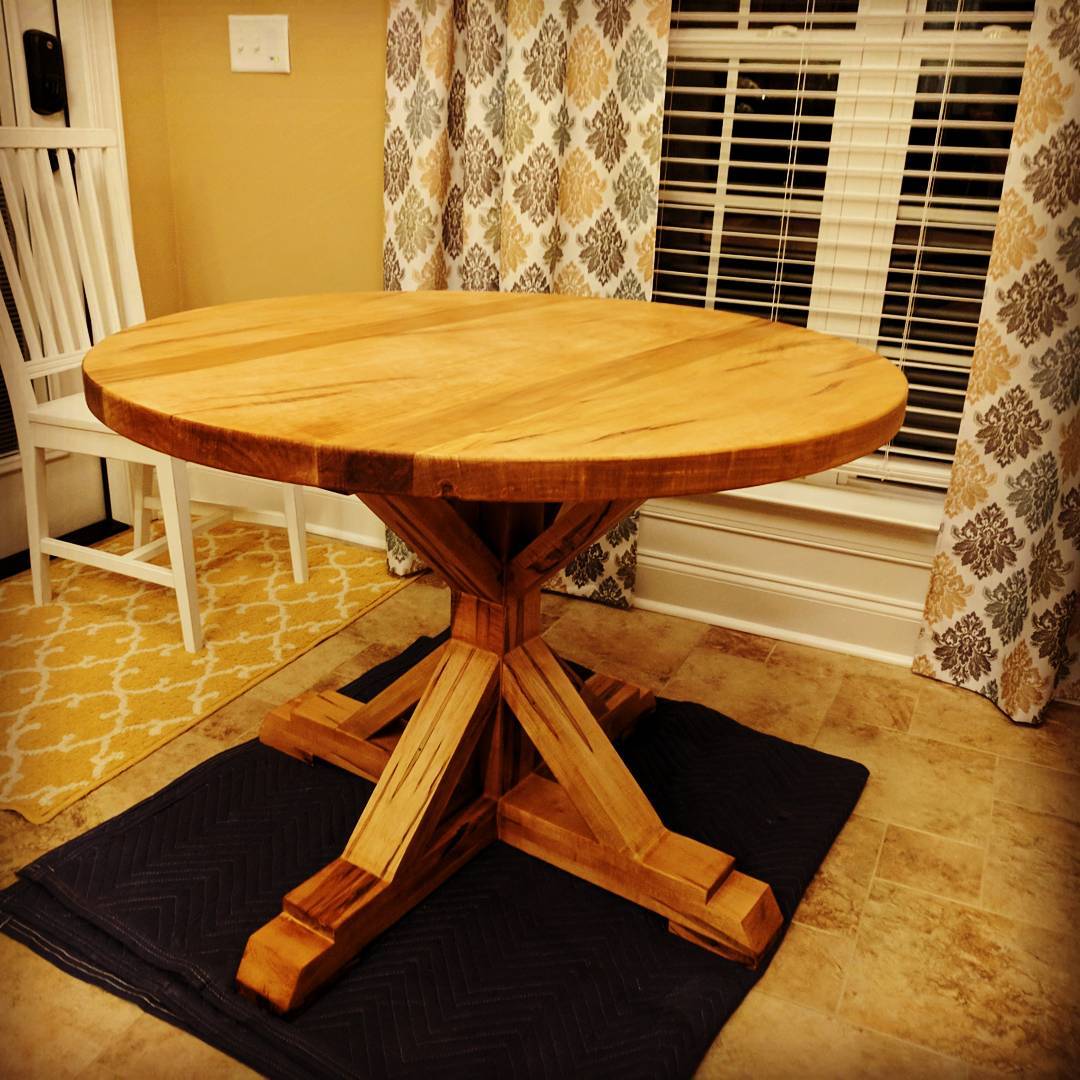
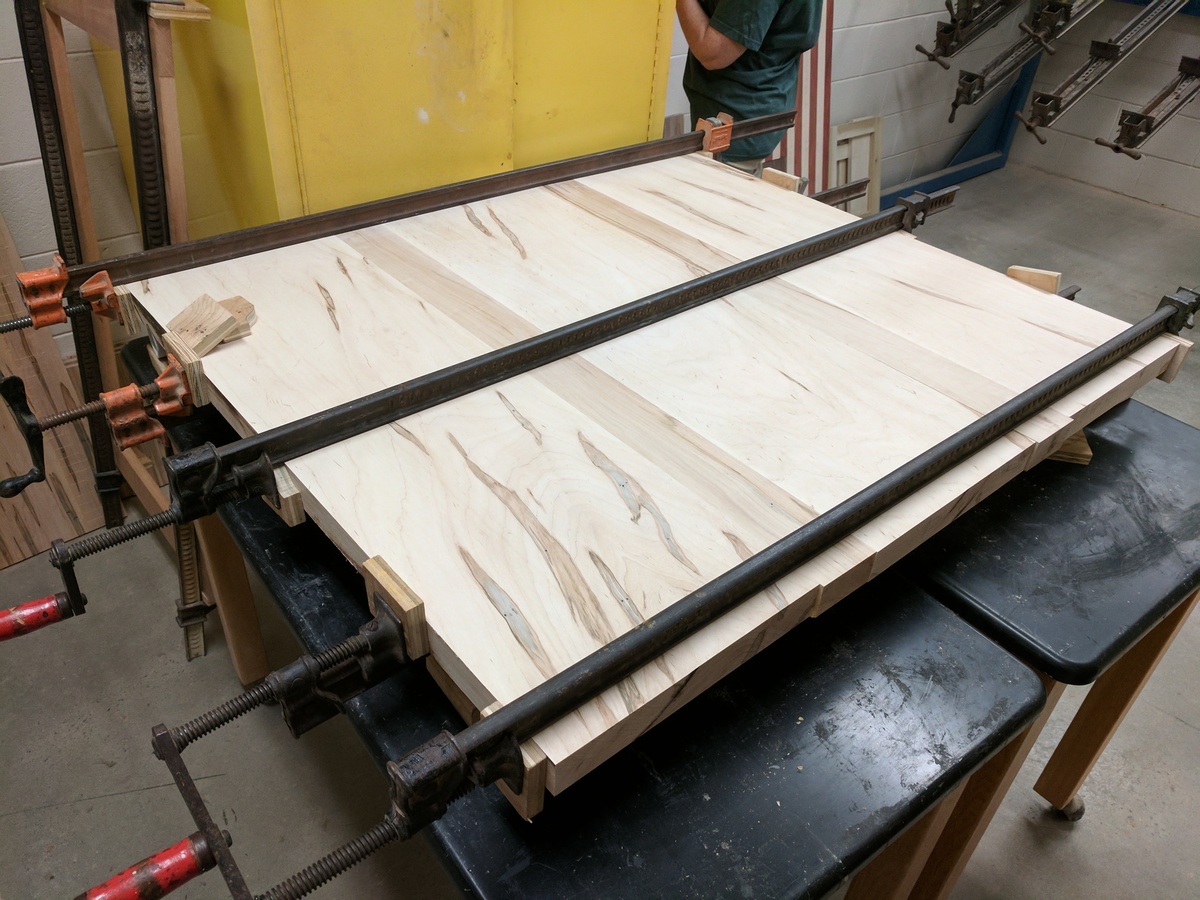
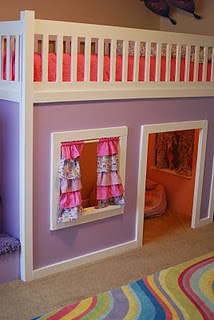
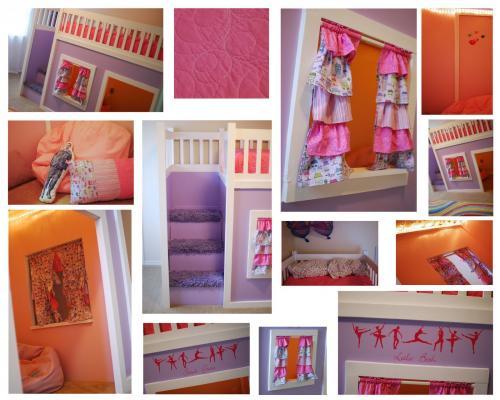
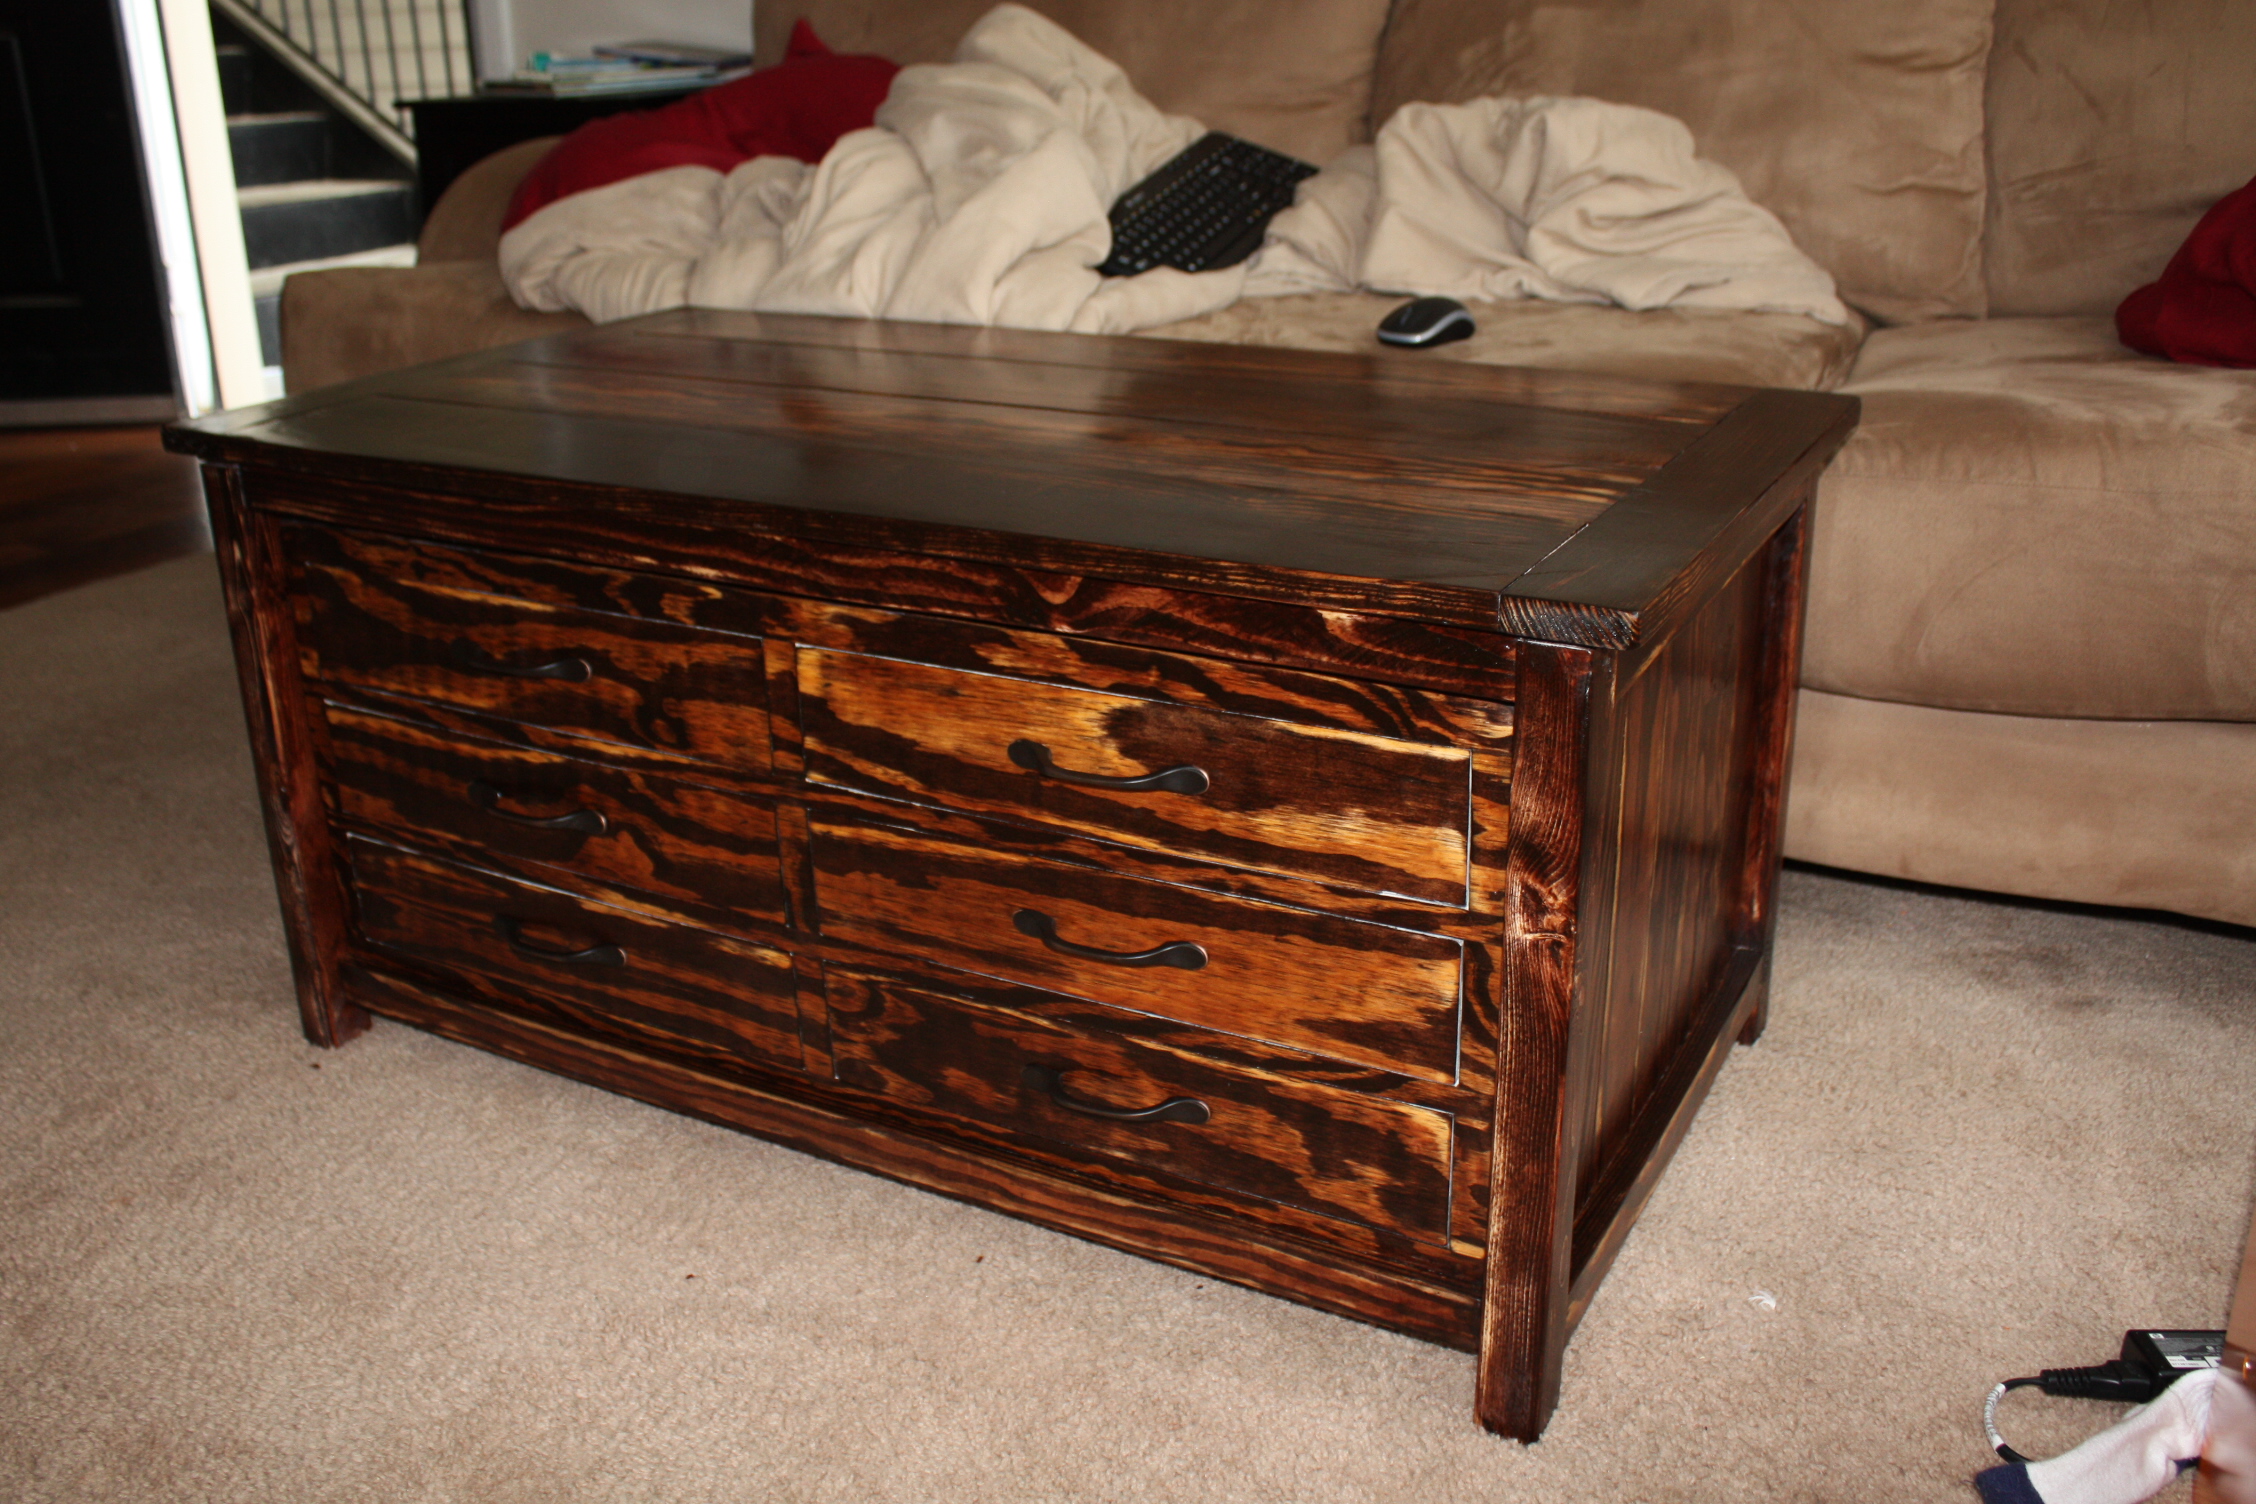
We wanted to build my daughter a smaller bed with lots of storage. I really liked the Daybed plans on here, so we used those and made a few minor adjustments. First, we wanted the bed to sit inside the frame of the bed, instead of just sitting ontop the frame. This will prevent the matress from sliding around. We did this by adding 3 inches on both the length and width of the bed. After building the bed you probably only need to add 1-2 inches, but it still turned out fine. I glued and screwed strips on the side rails a few inches down and then attached my 3" strips to the rails. I also increased the height of the bed slightly by addinga few inches to the 2x4 sides. Also, instead of using 1x12 boards for the construction of the bed, we used 3/4 plywood. This let me make the sides and drawer taller than 12" and also saved a lot of money. I was able to make the whole bed from 2x4s and one sheet of plywood, plus I bought a sheet of MDF for the bottom of the main drawer. This brought the entire cost of the bed to around $150 in materials.
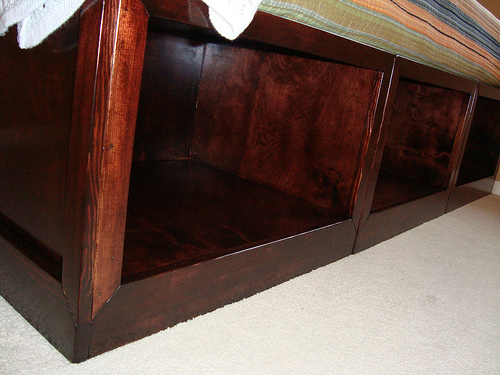
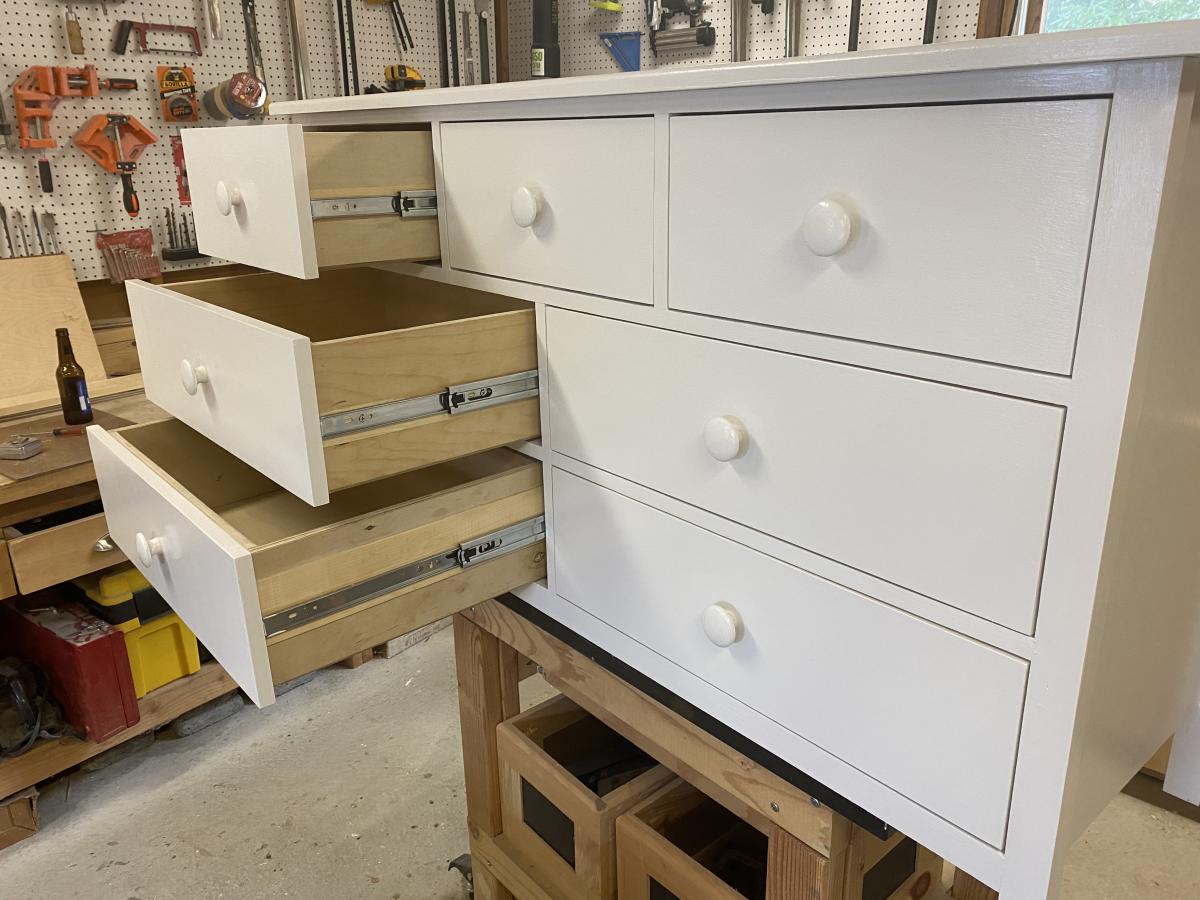
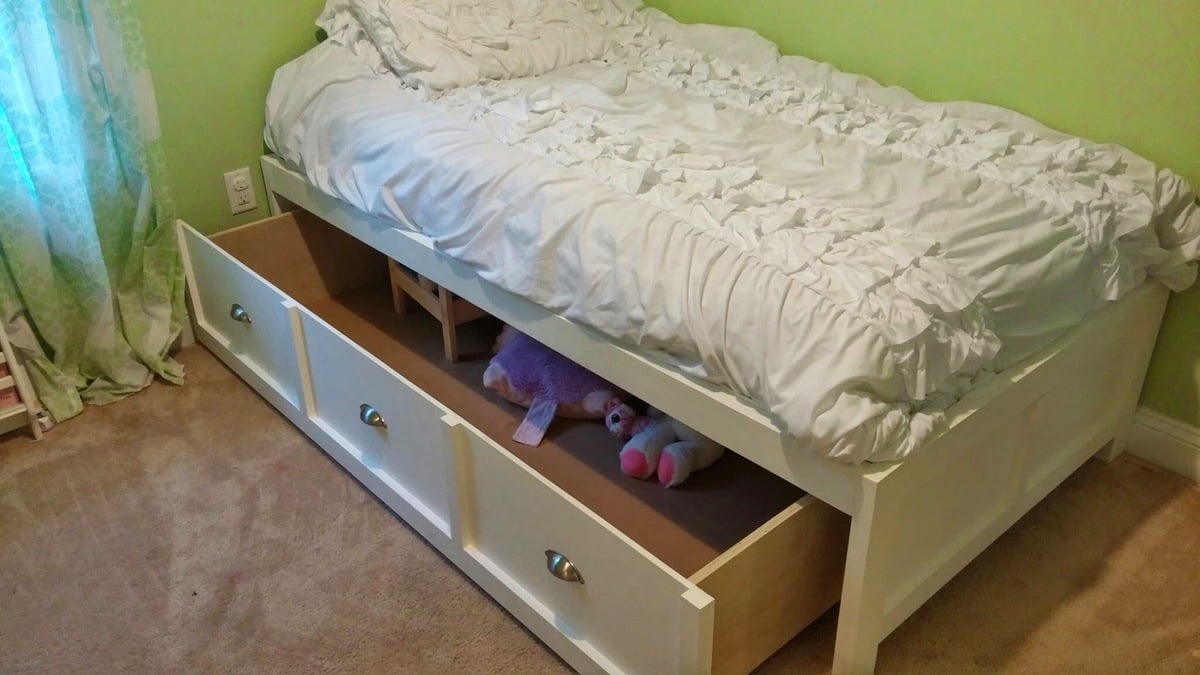
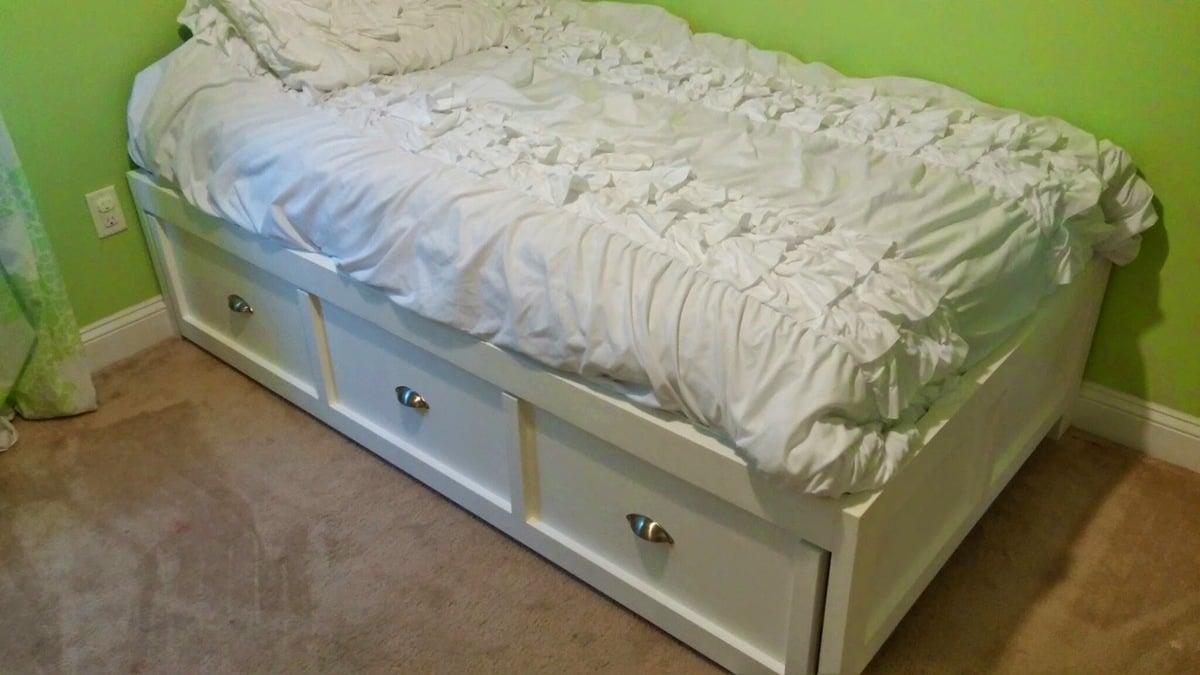
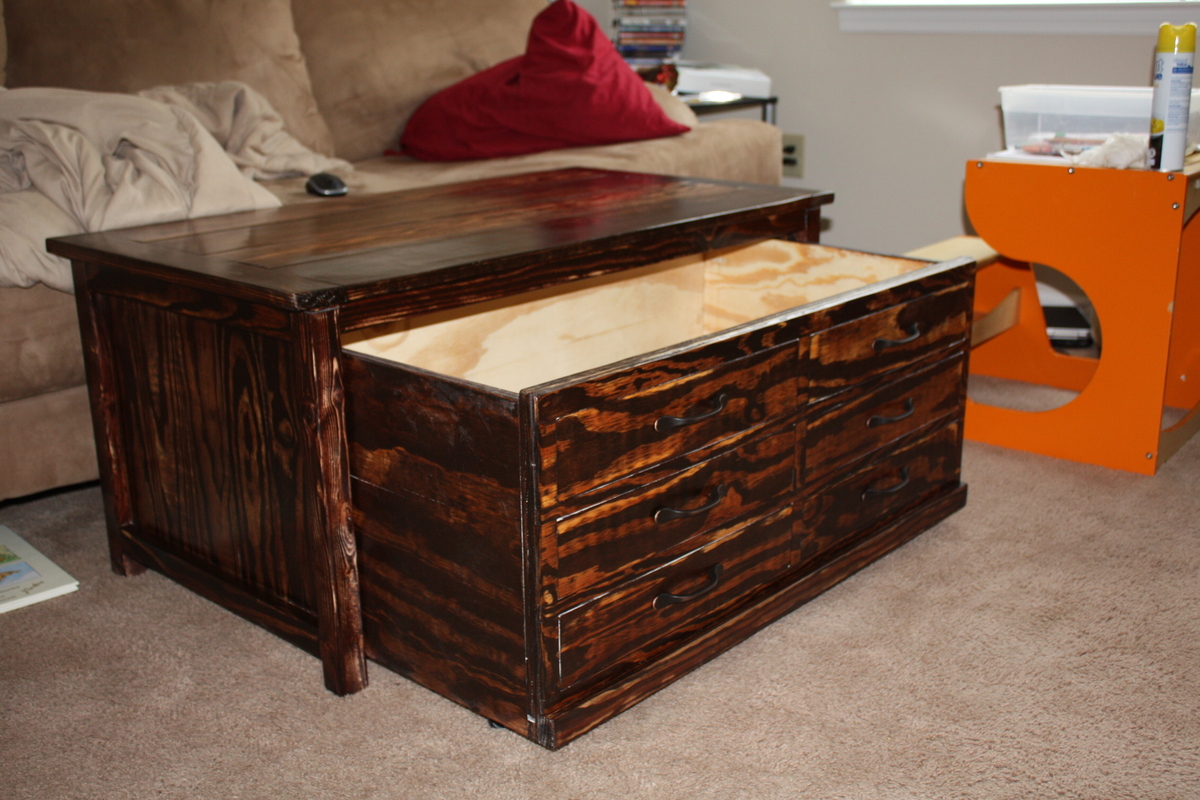
For the bottom drawer we wanted one large storage area instead of 3 seperate drawers. The main reason for this is so we would use it as a trundle in the future if we wanted to. I build the drawer bottom out of a large piece of MDF, and maded the sides out of 3/4 plywood. I cut a 1/2" rabbit on the bottom of the drawer sides so the bottom sits flush. My main reason for doing this was because the boards are different colors (MDF and plywood) and I knew I was not going to be painting the drawers. The drawer sides and attached by pockethole screws which are hiddle. The front pocket hole screws are hidden by the front drawer face and the rear screws could only be seen if you look behind the bed.
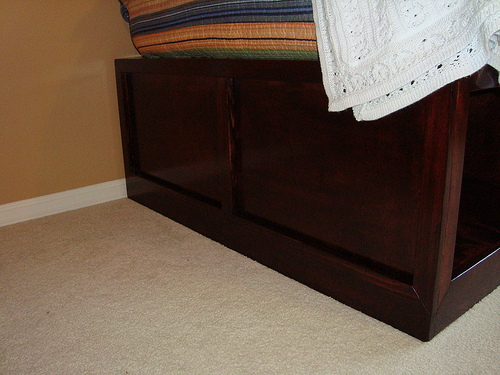
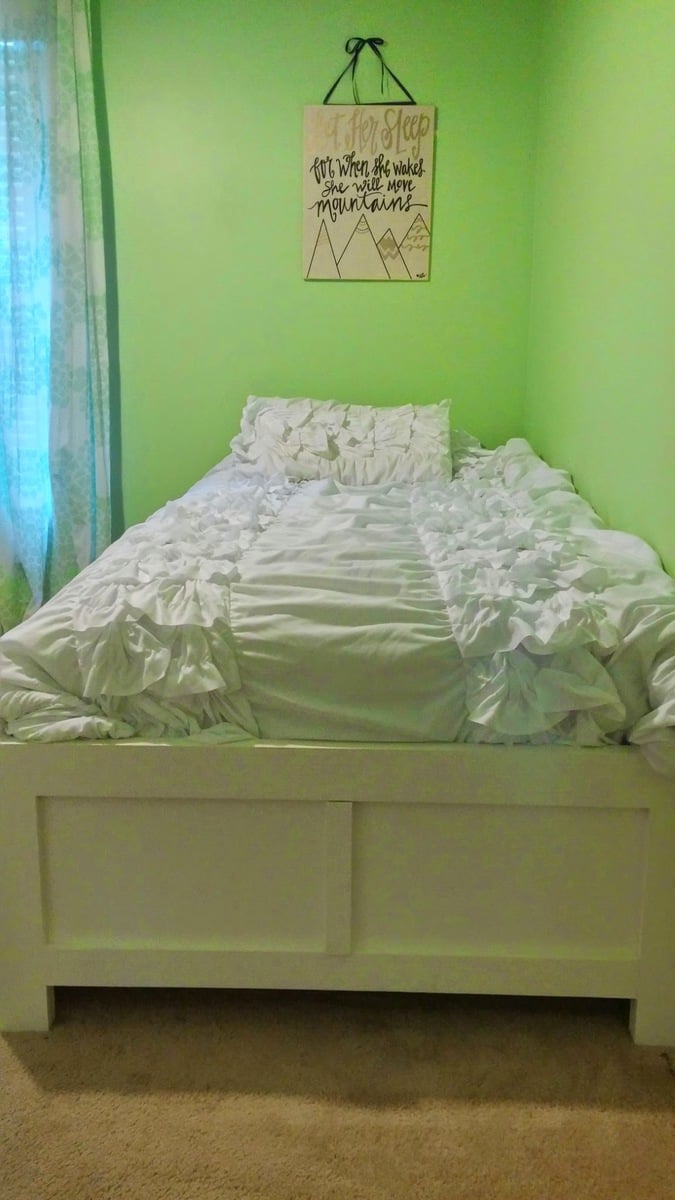
I used homemade chalk paint and put about 4 coats on the entire surface. The finish was done with a high quality paste wax which was put on, let dry, and then buffed. I put 3 coats of wax on the finished project.
The bottom of the drawer has 6 straight casters on the bottom for easy pull out.
The contruction of the bed was done in about a day, but the finishing took longer due to the multiple coats and letting the wax dry.