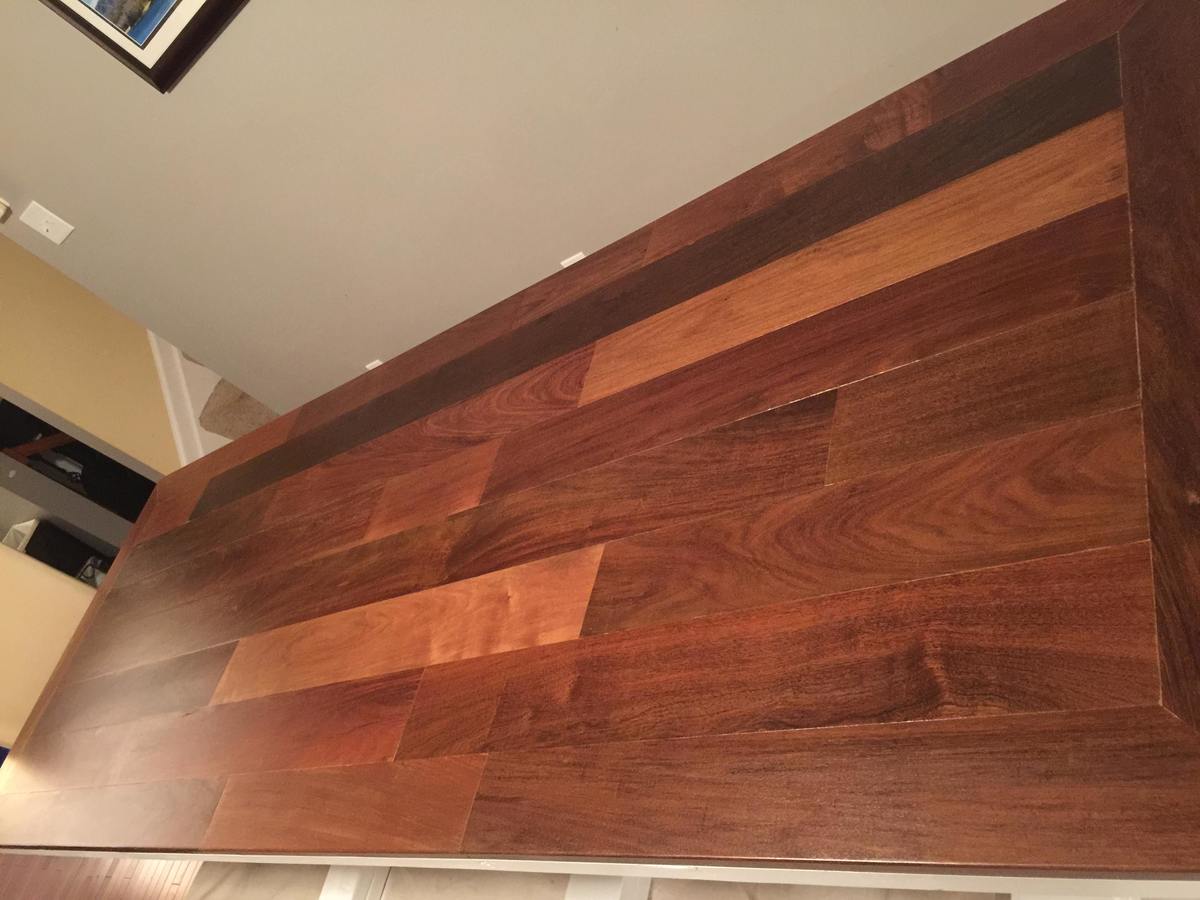
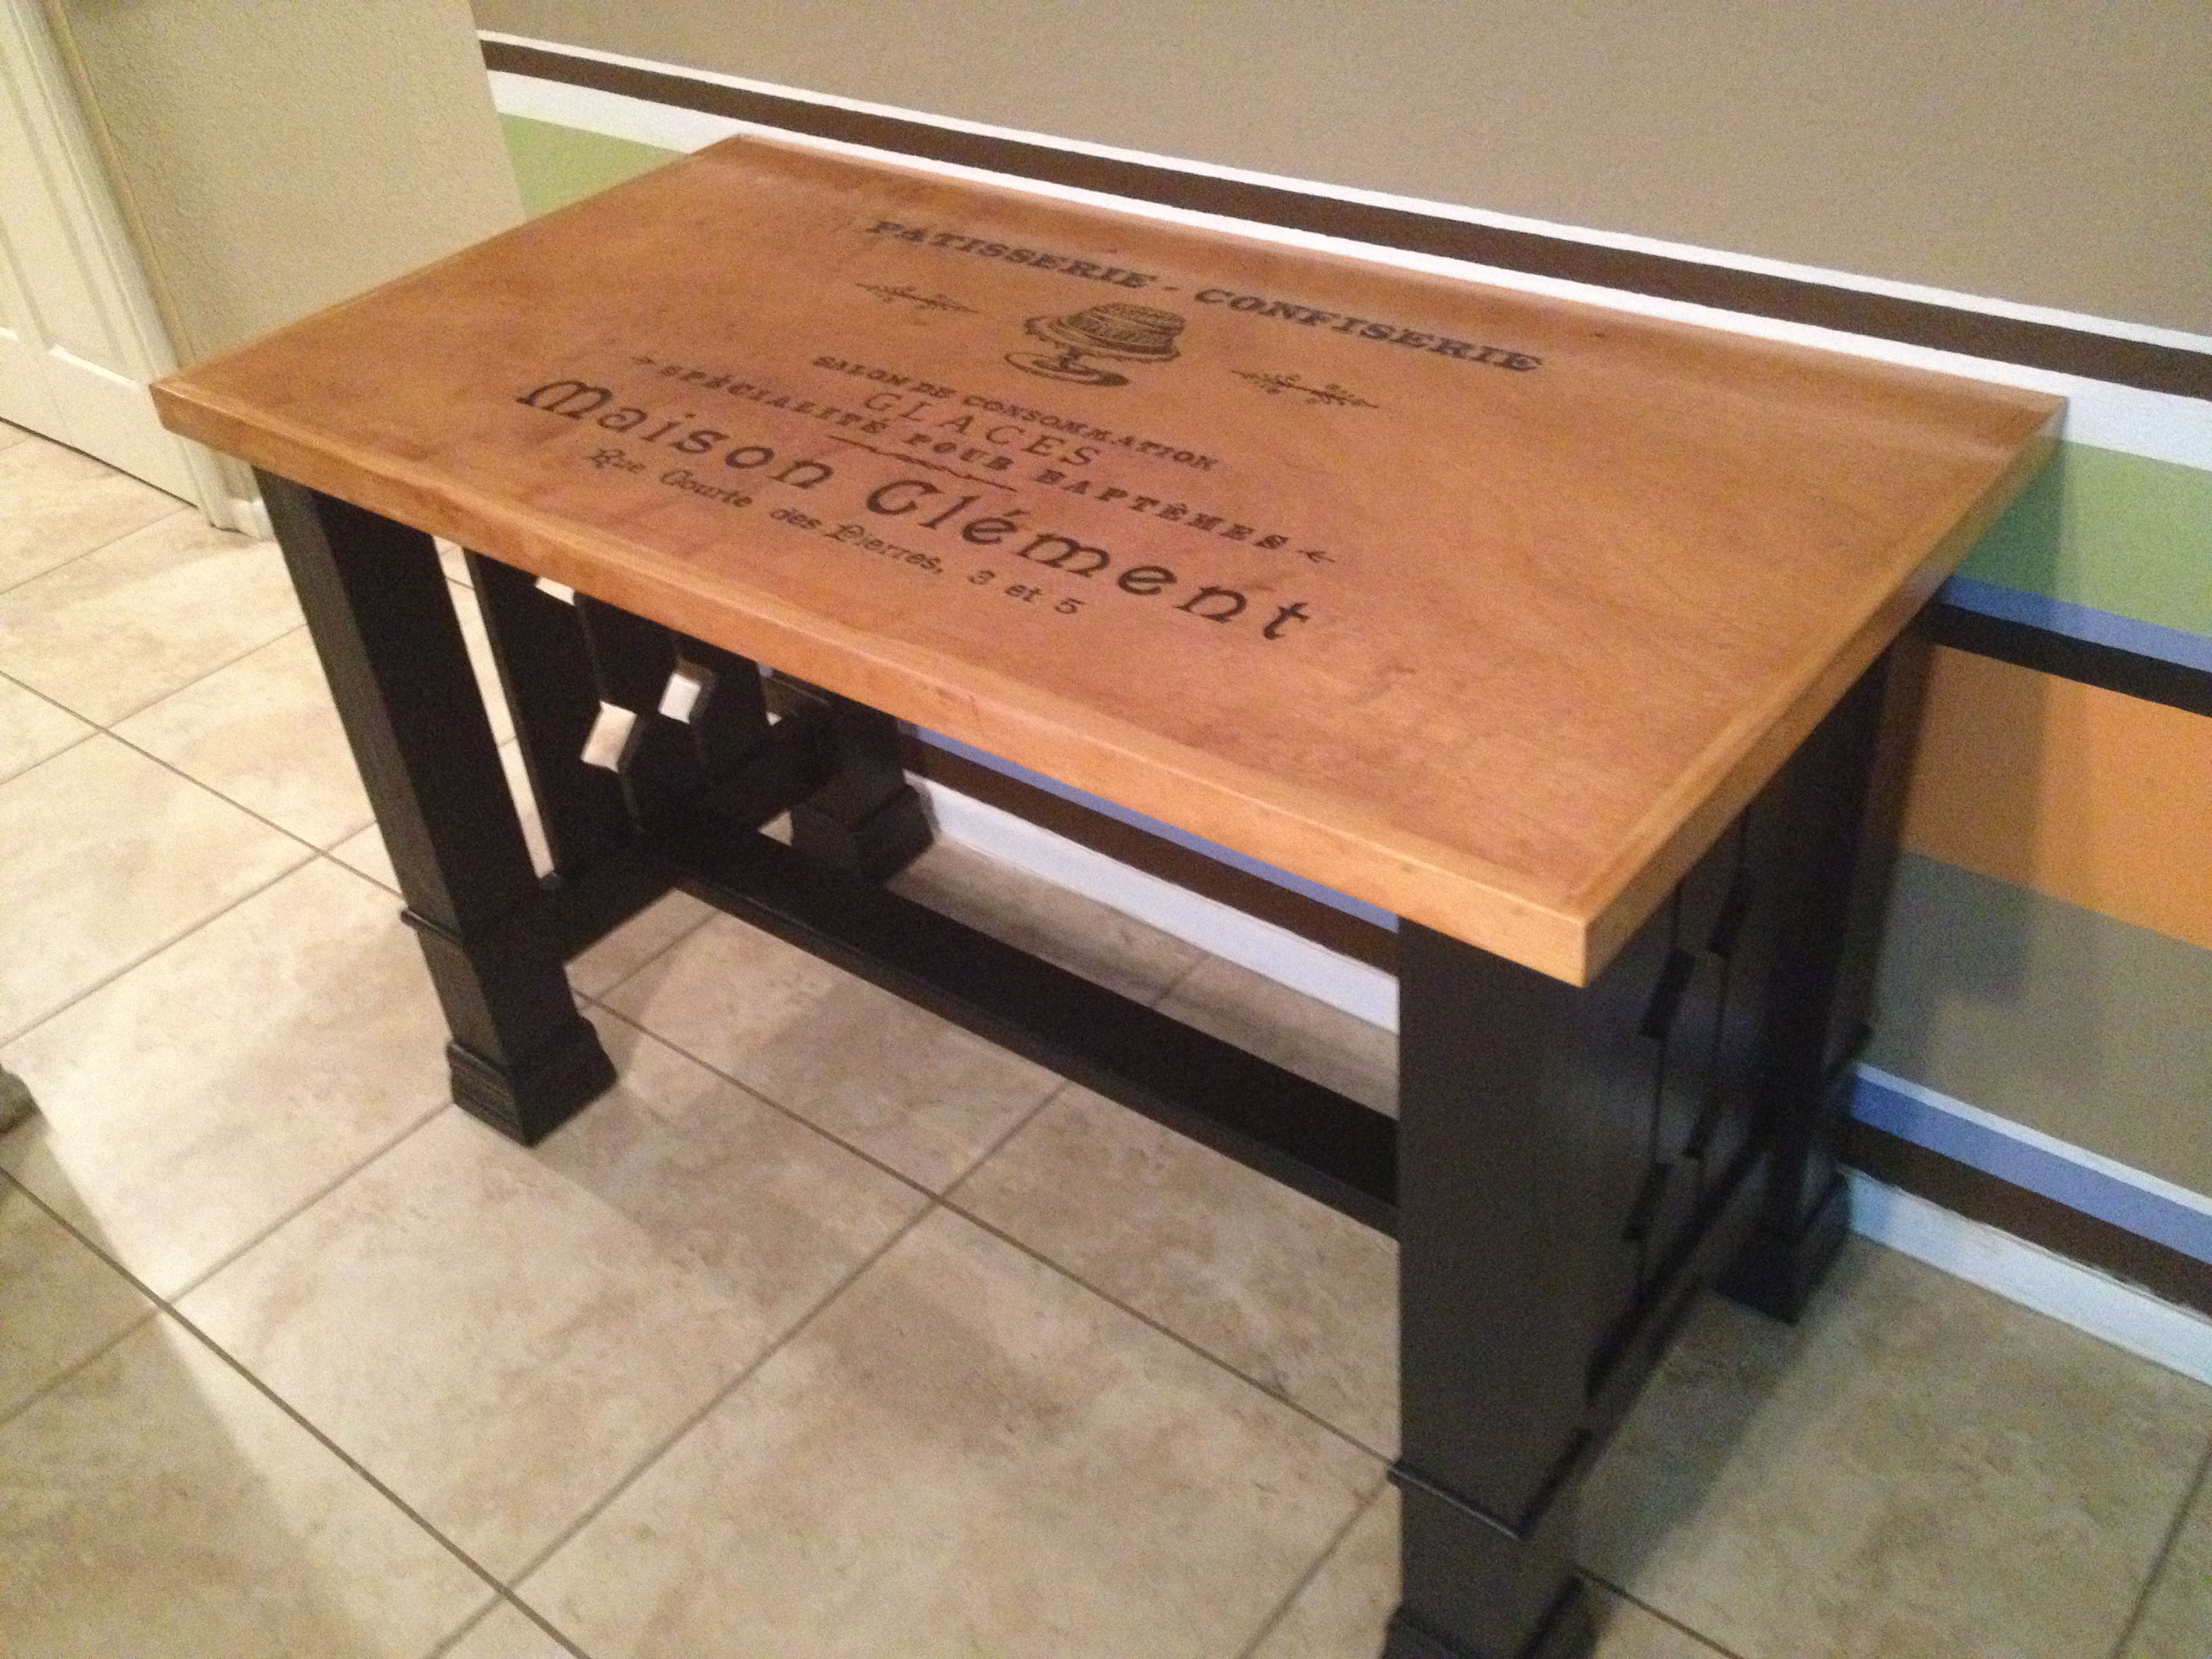
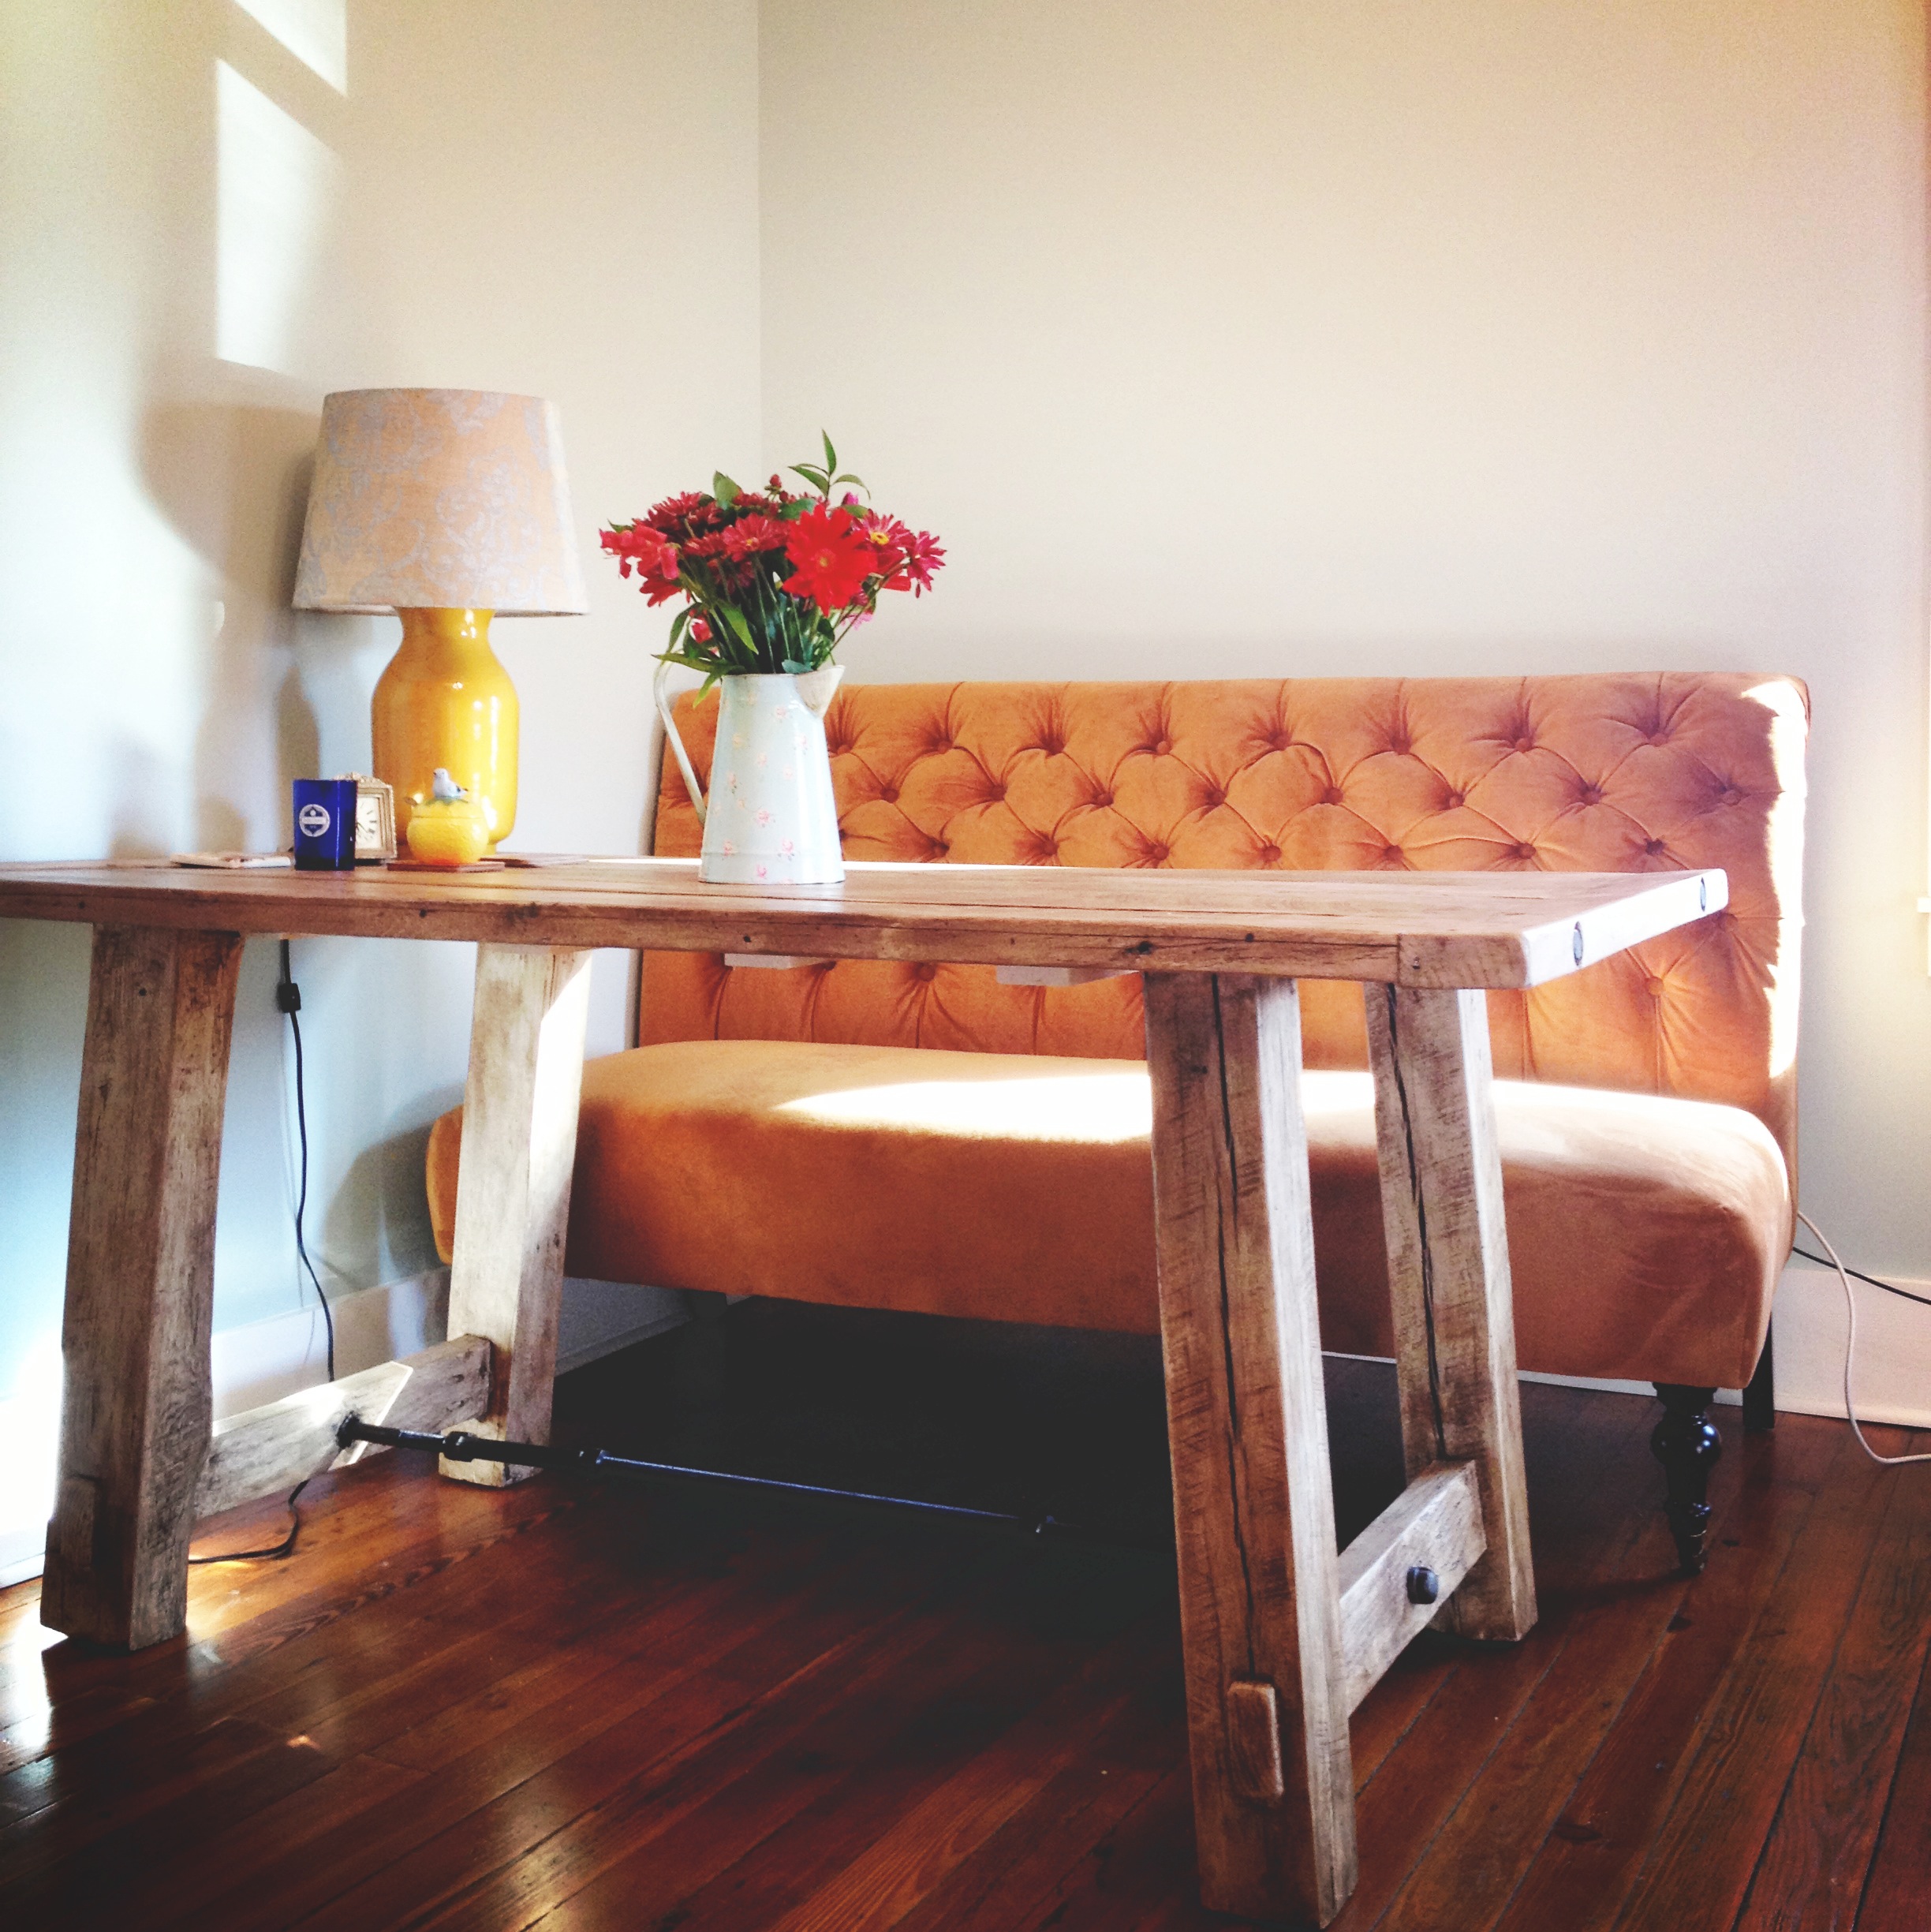
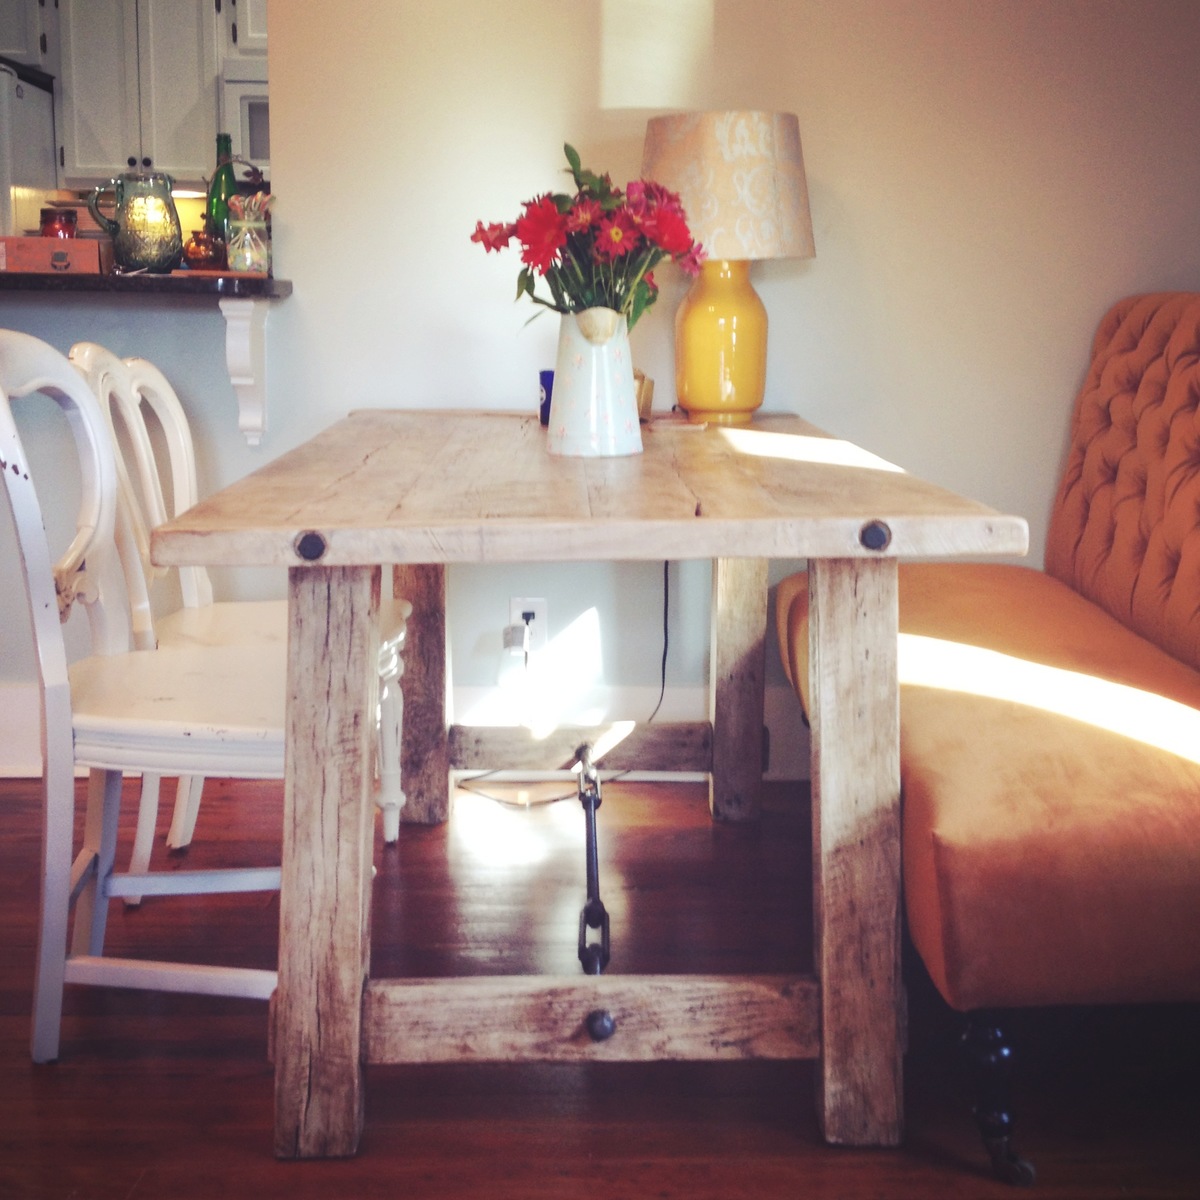
Little yellow console table
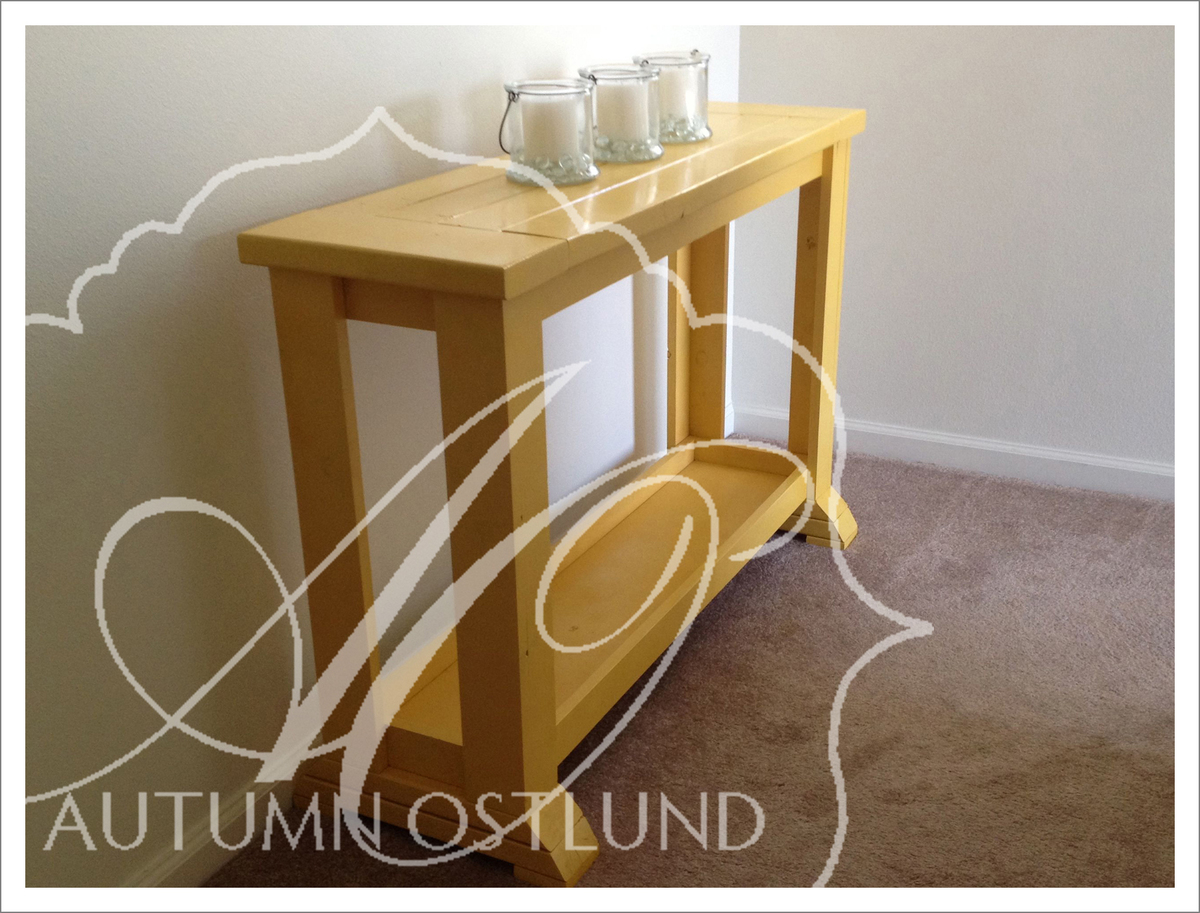
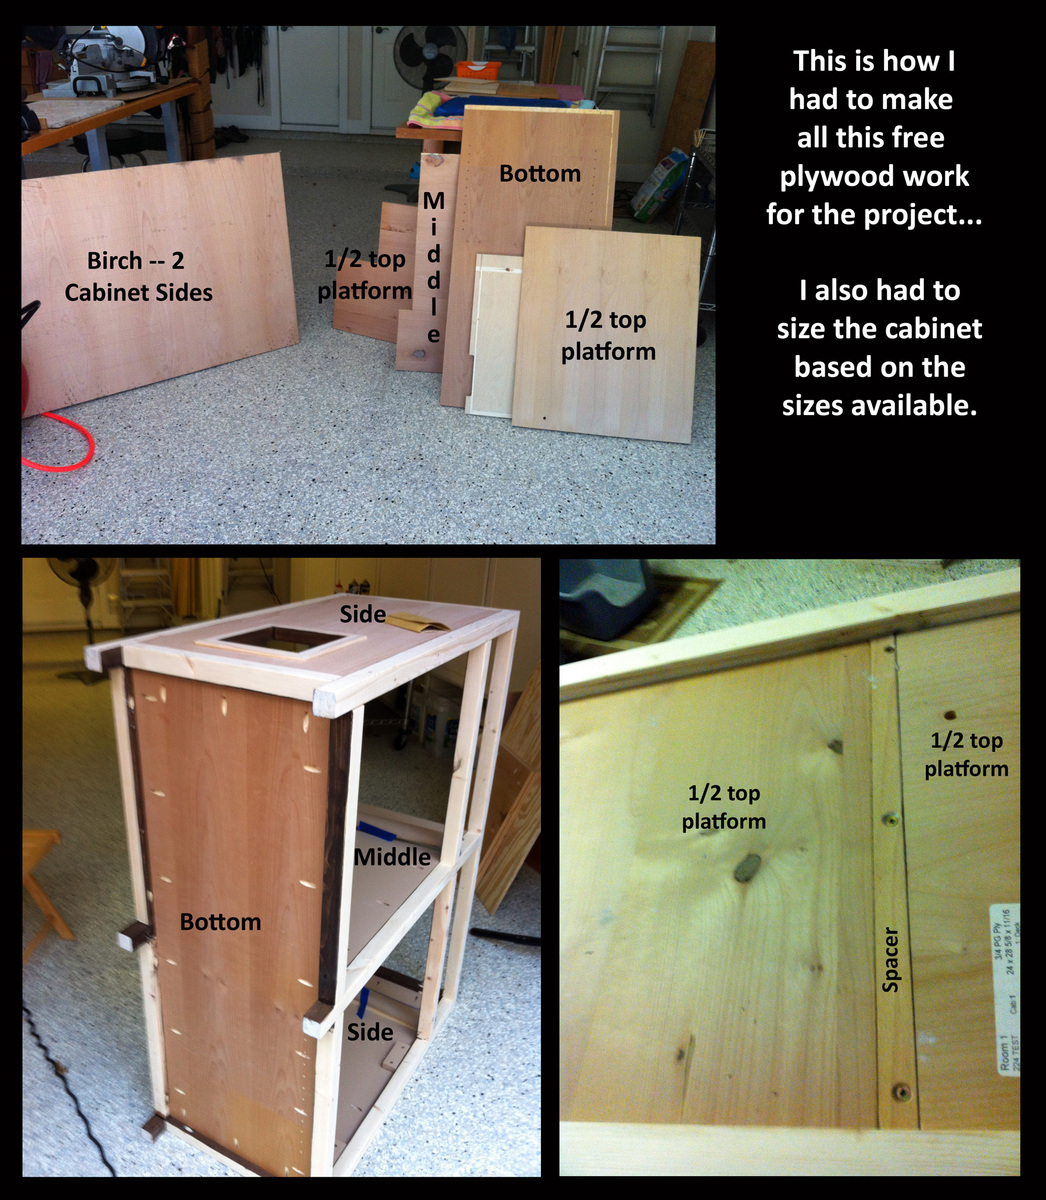
I combined the workbench console and tryde console plans to make this perfect for our upstairs hall.
Built from Plan(s)
Estimated Time Investment
Afternoon Project (3-6 Hours)
Finish Used
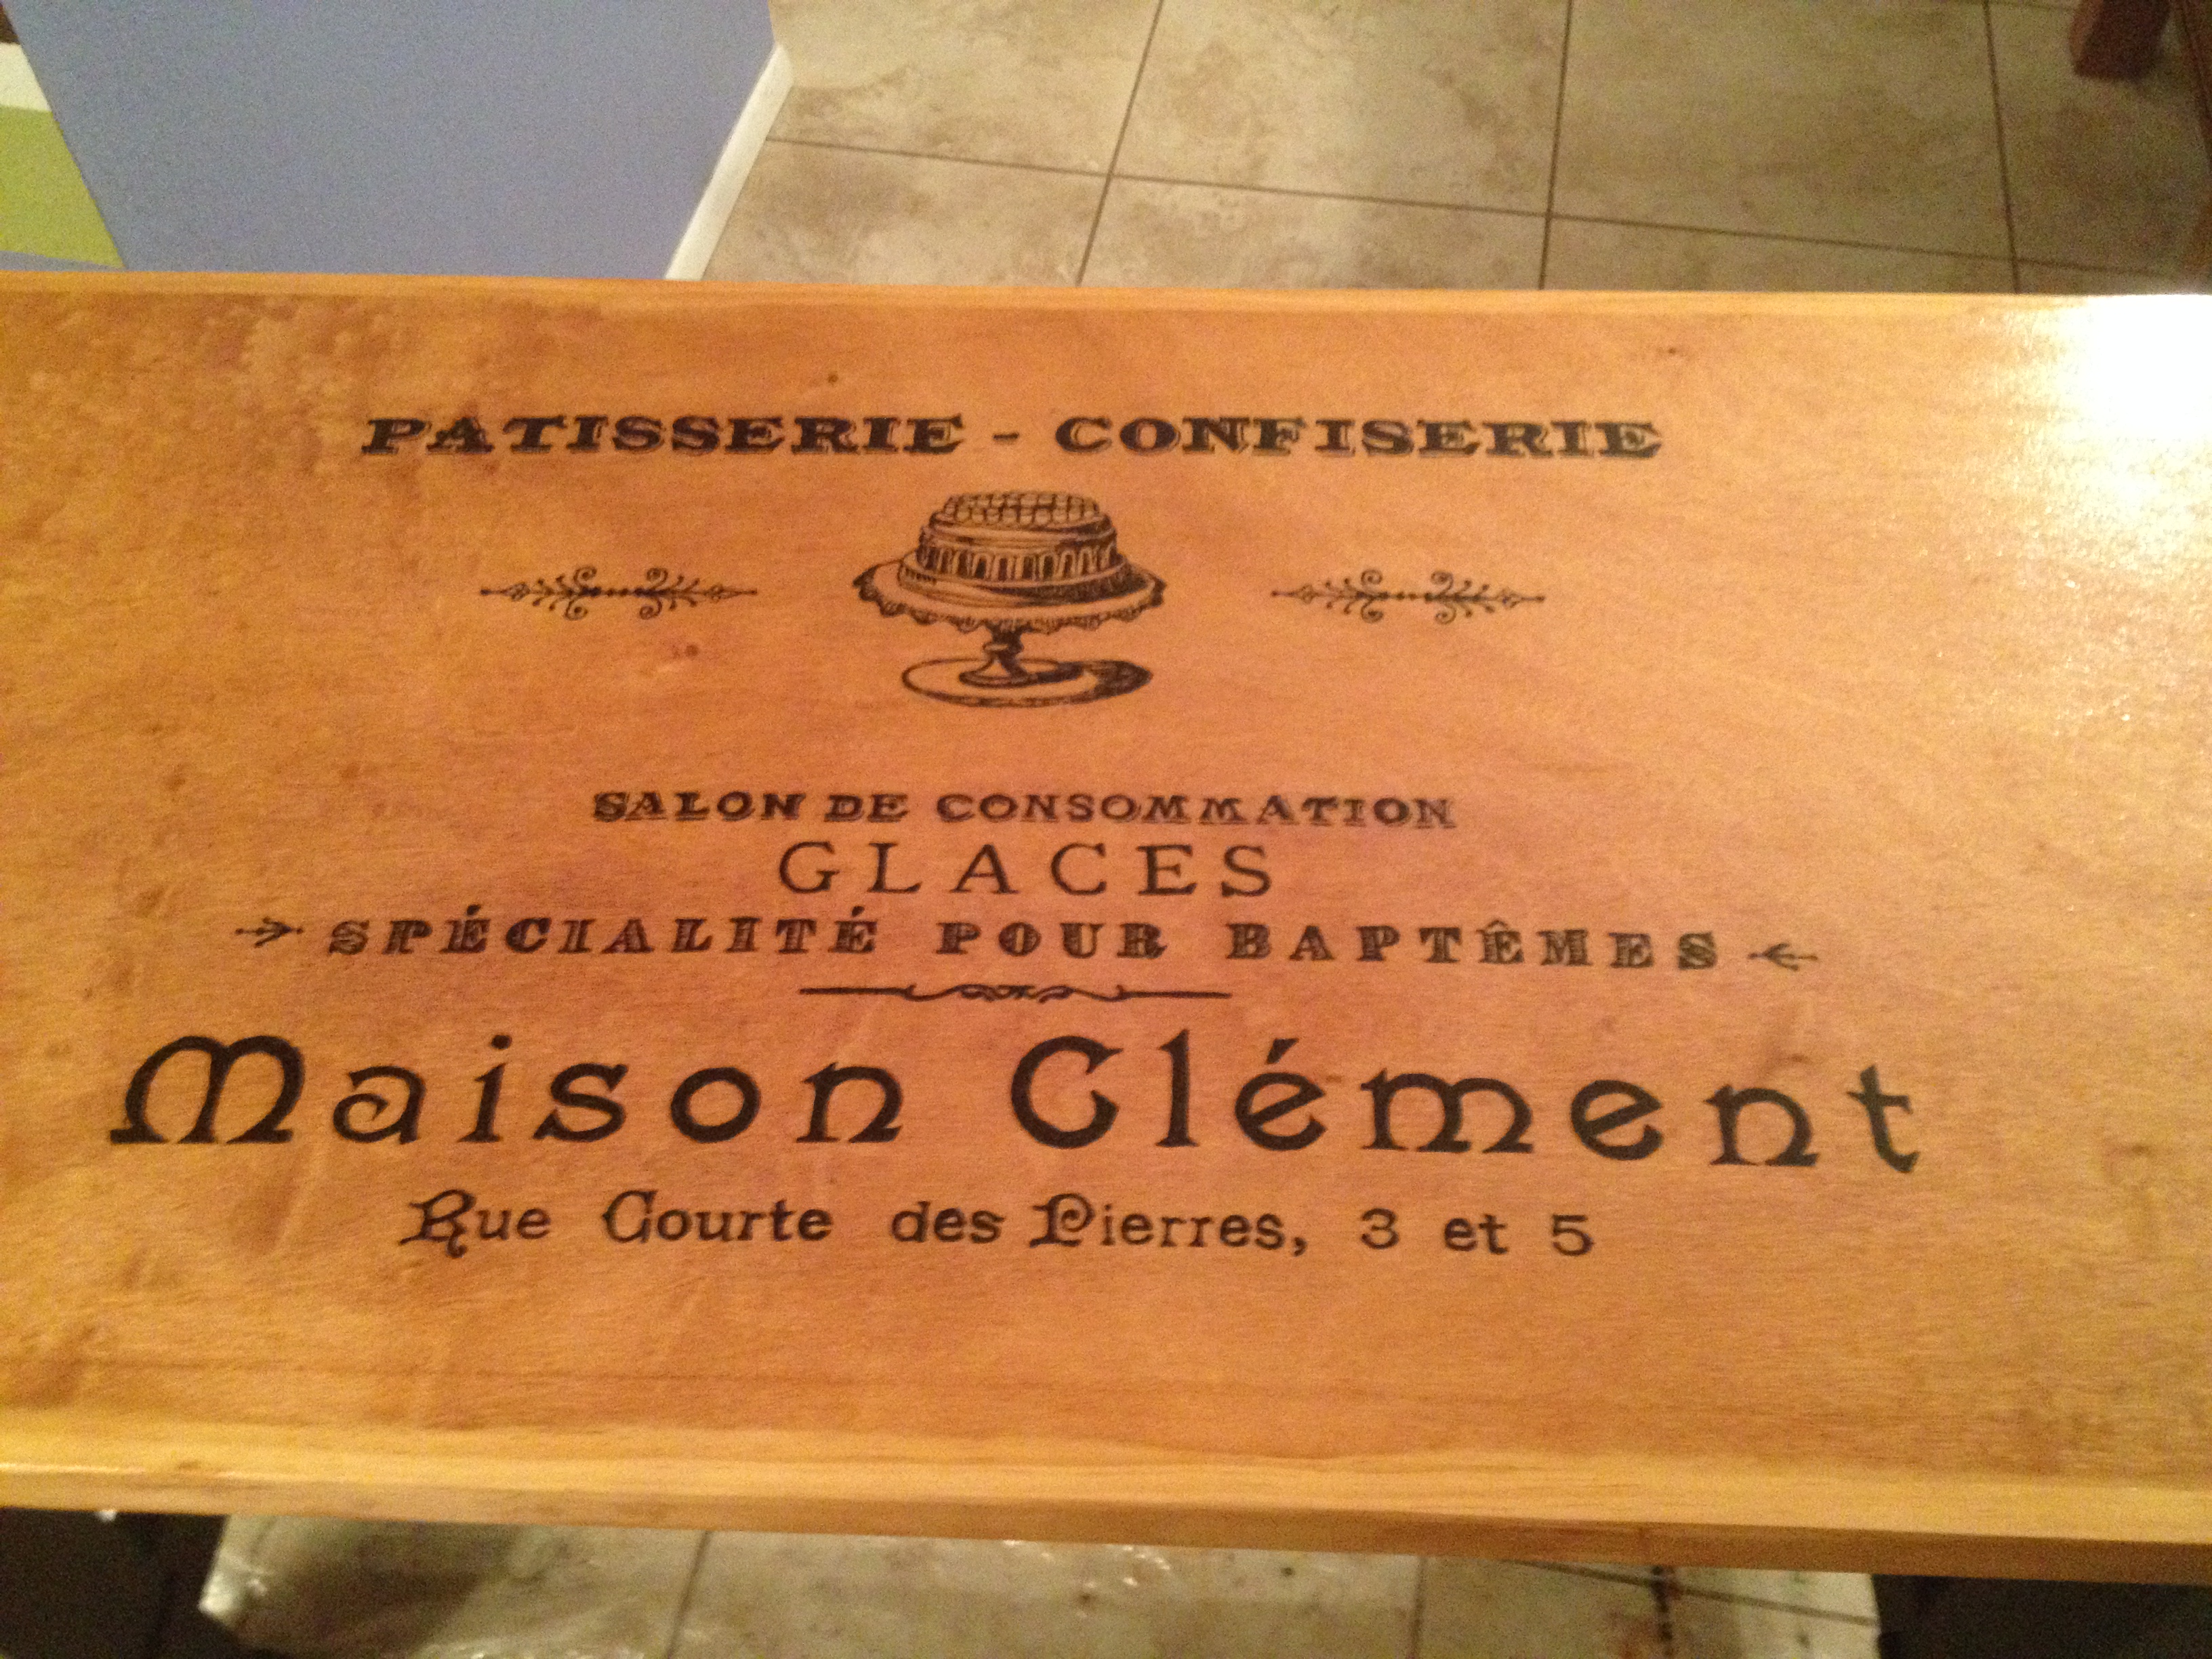
Spray painted yellow (it was really humid here and I wanted it to dry quickly) lacquered for a super shiny finish.
Recommended Skill Level
Beginner


Comments
themcmullens
Sun, 08/04/2013 - 08:33
Cute!
This is very cute! I love the yellow!
jgarvin6
Sat, 01/04/2020 - 22:17
Great job!
Great job!