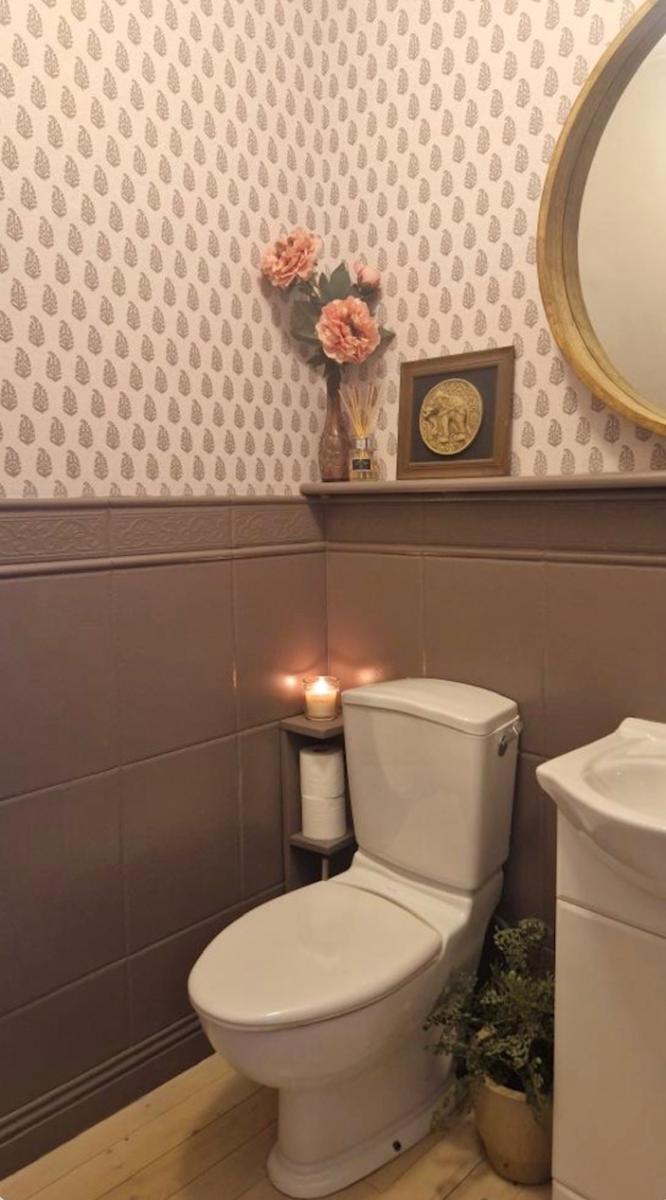
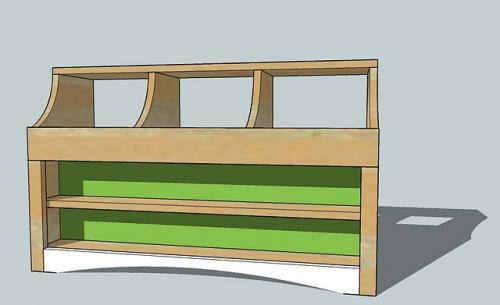
Floating Corner Shelf

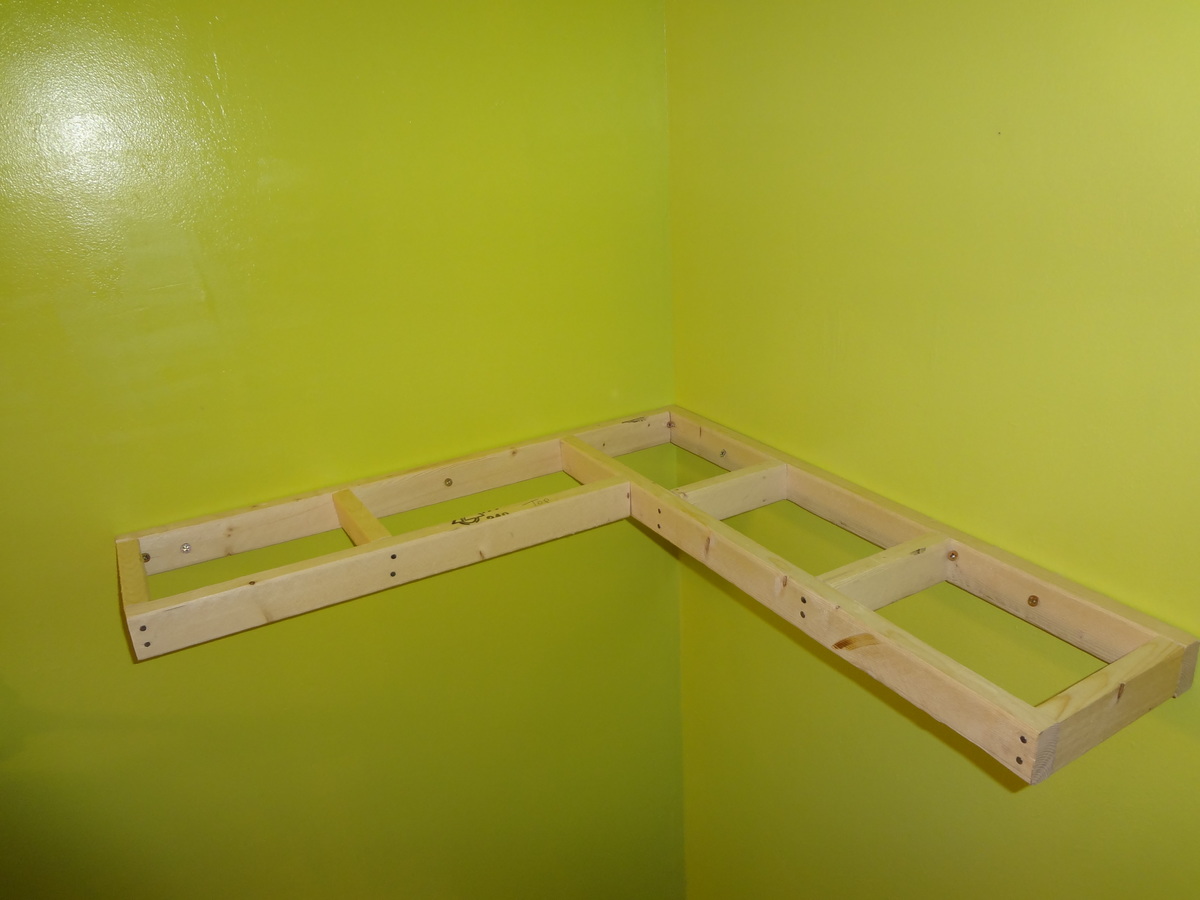
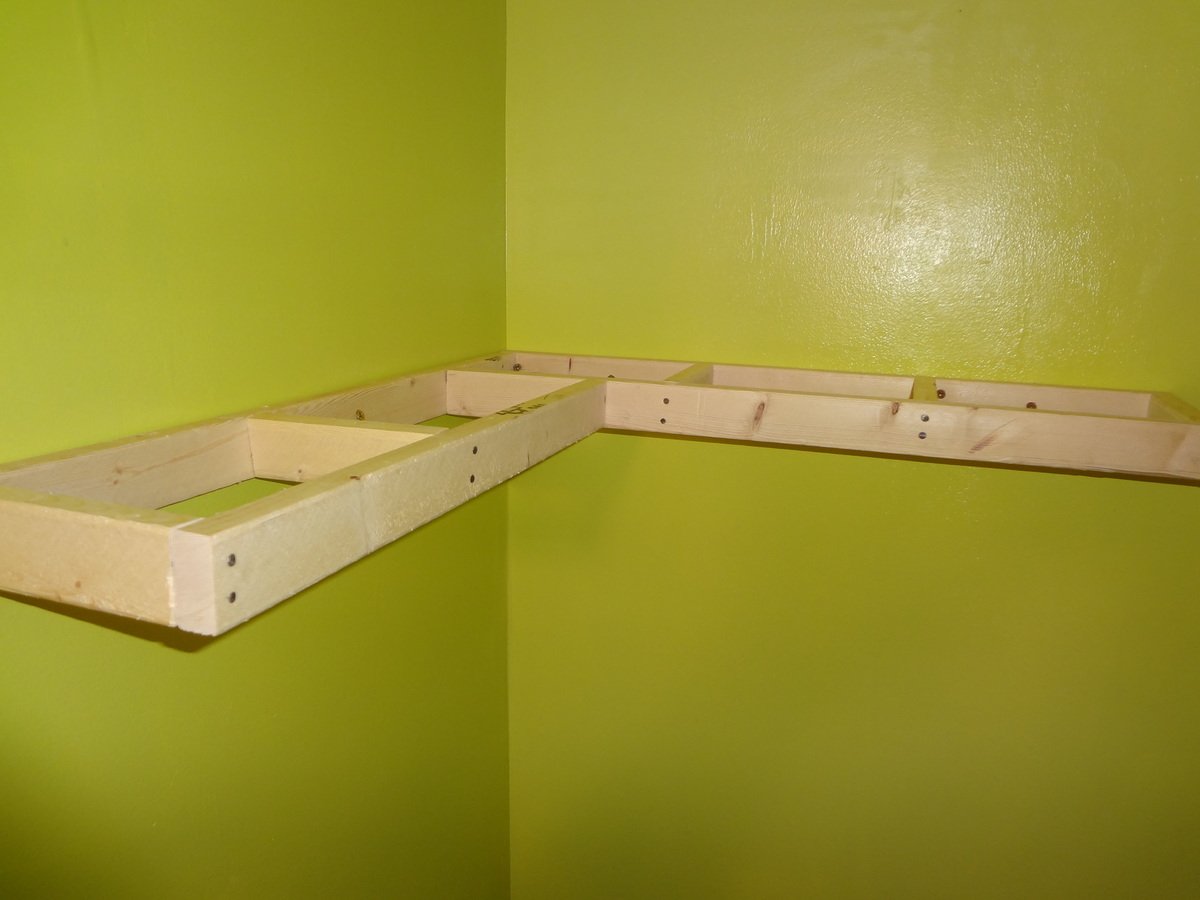
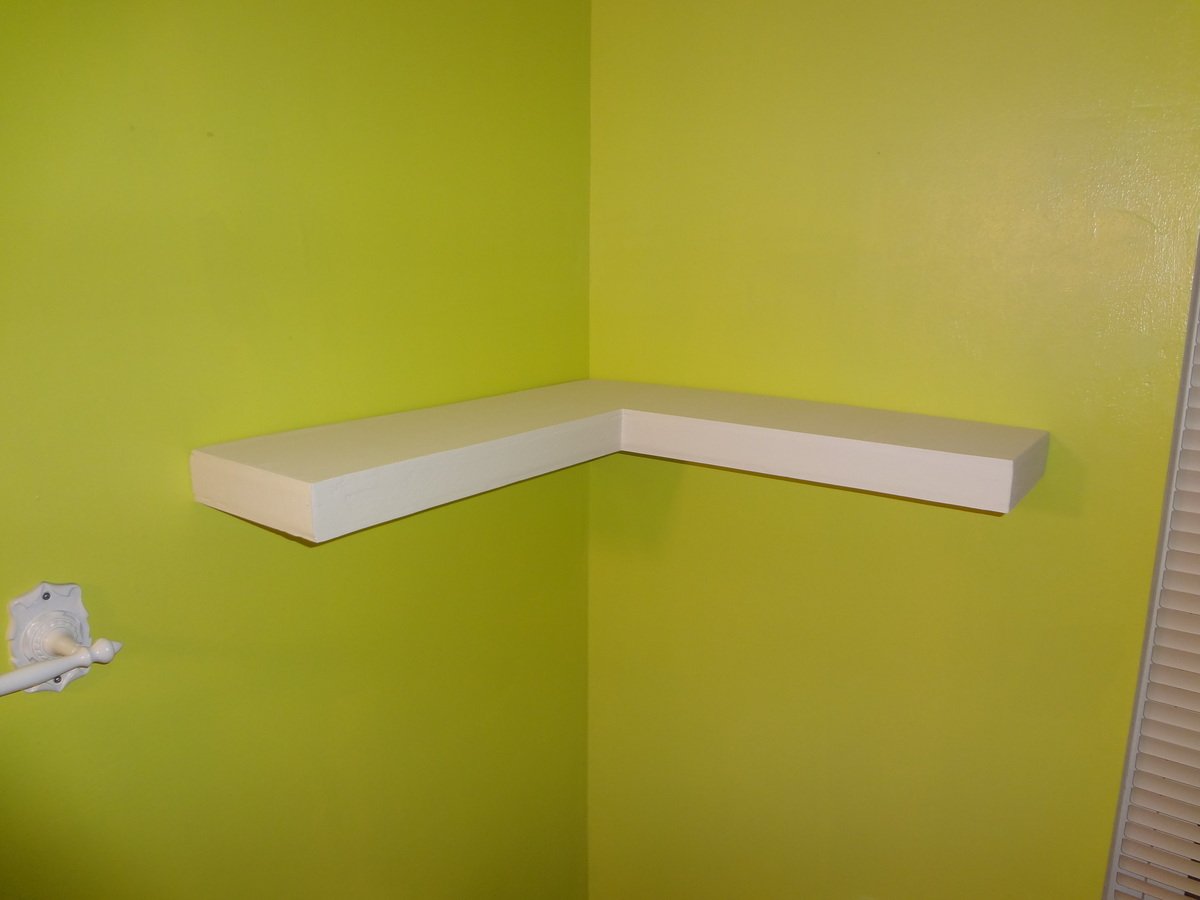
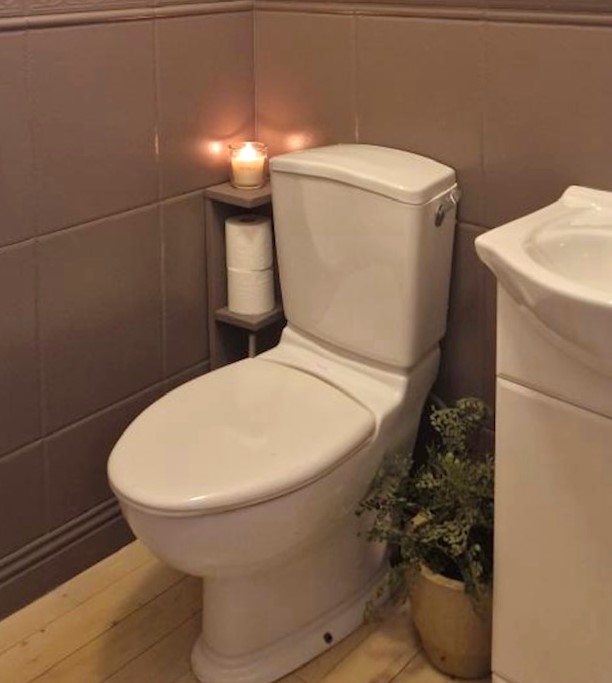
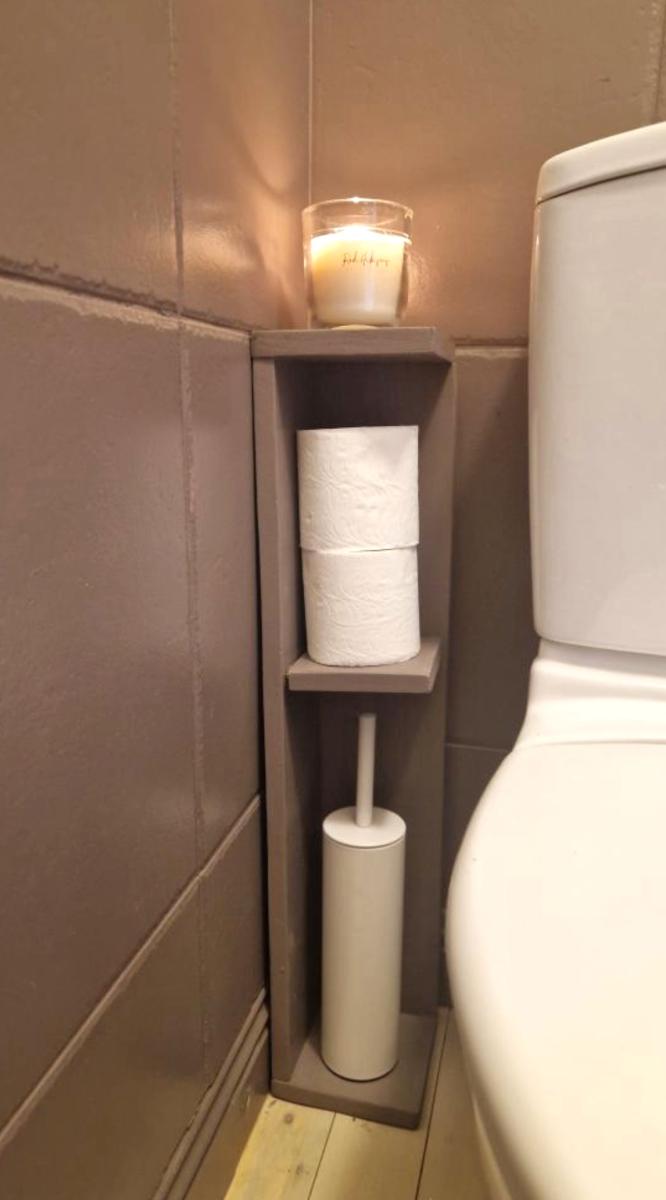
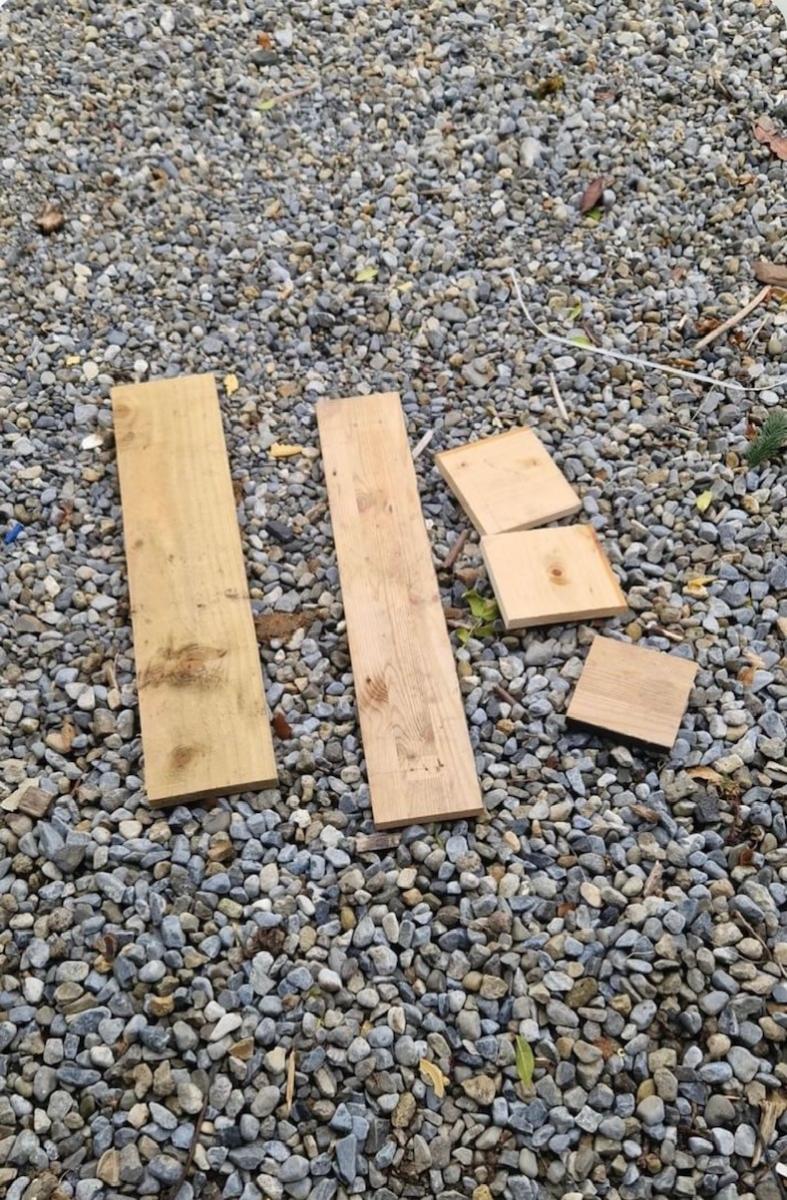
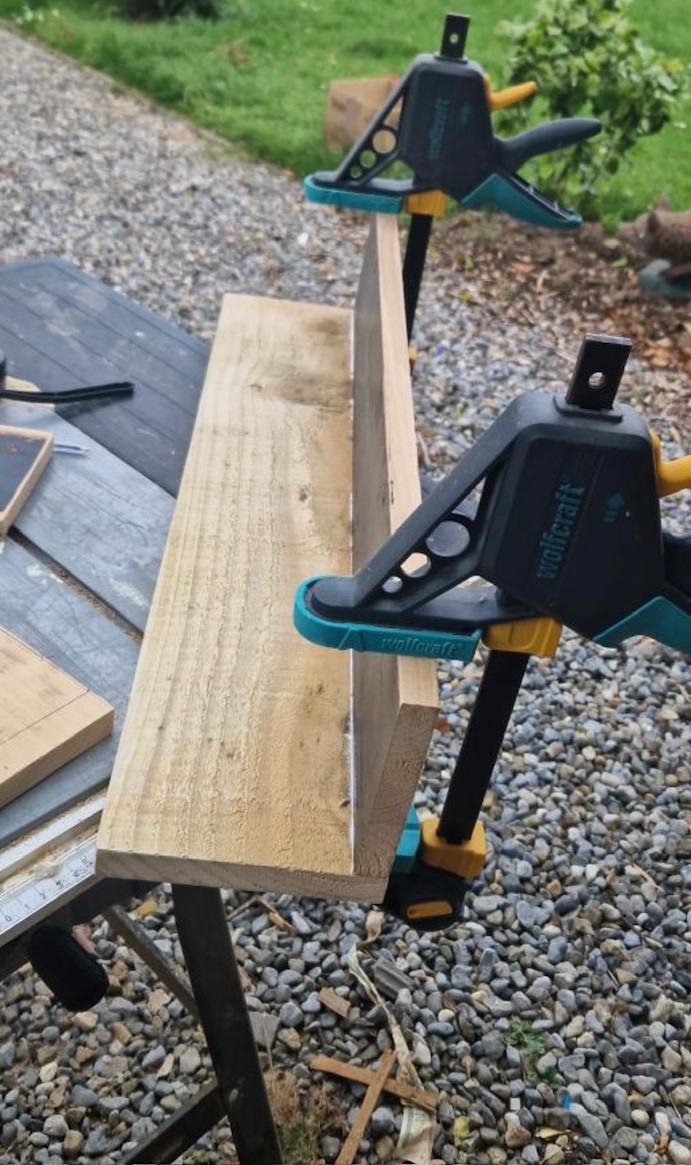
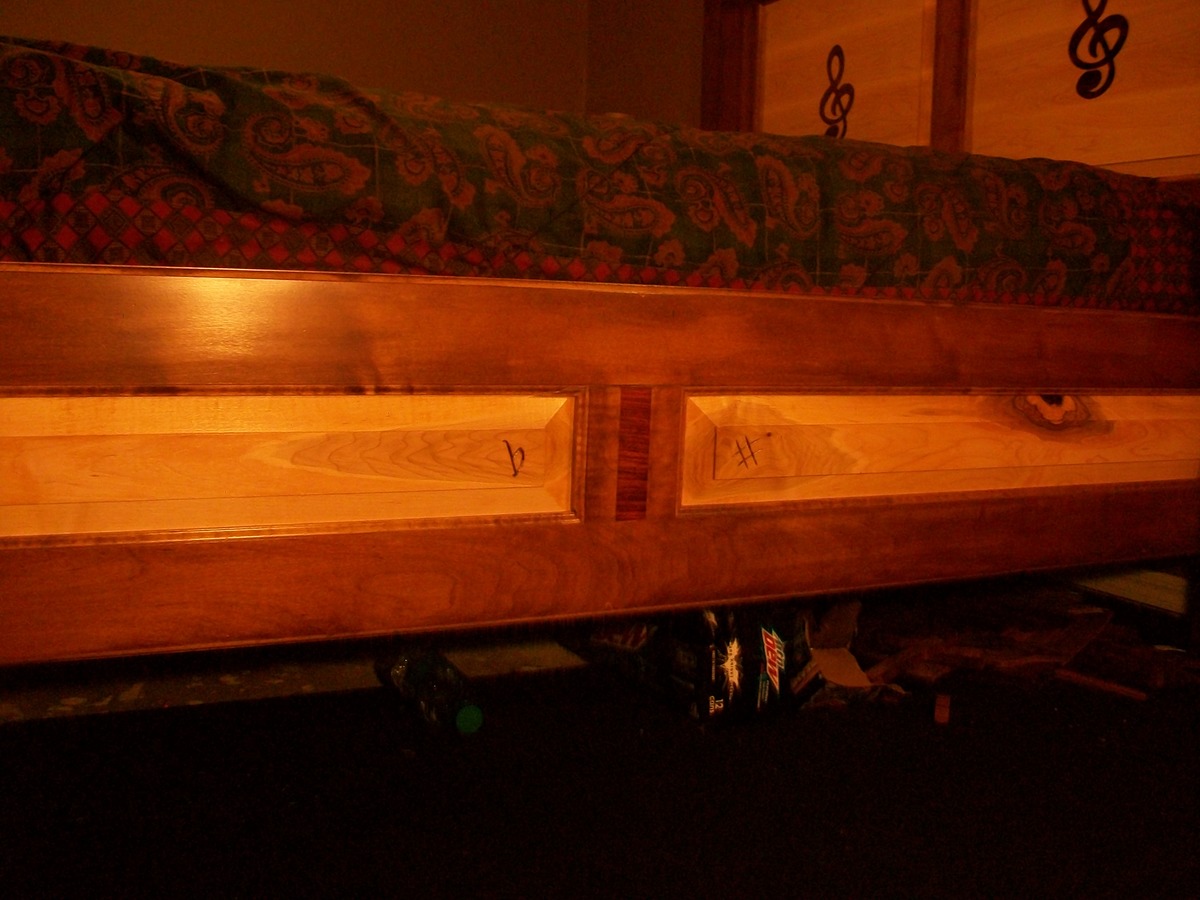
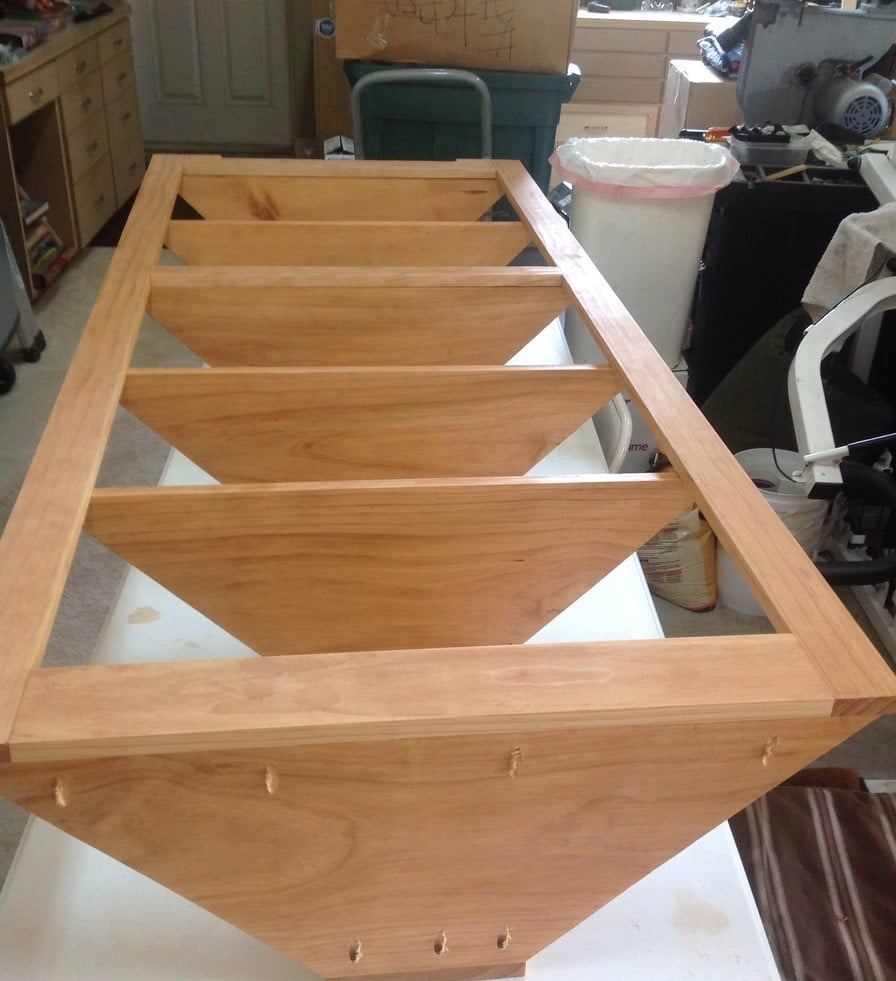
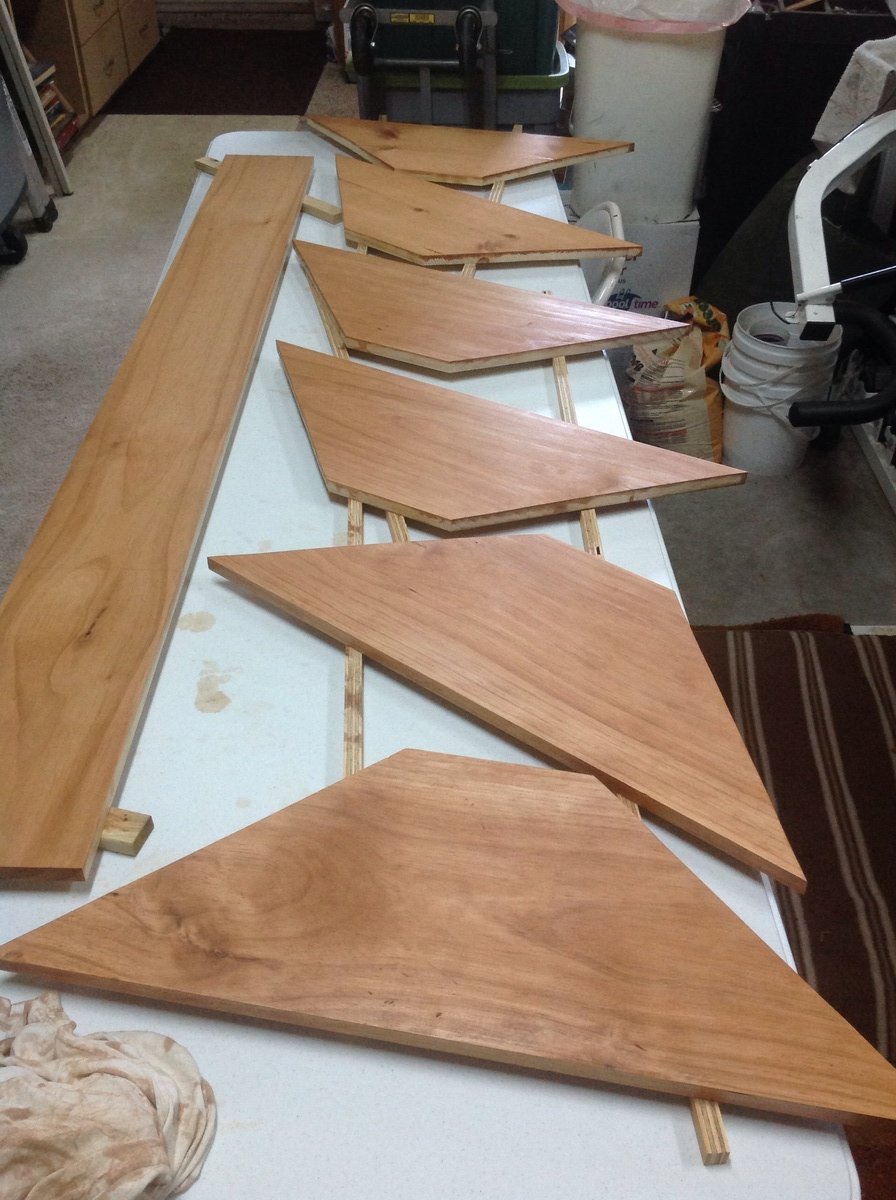
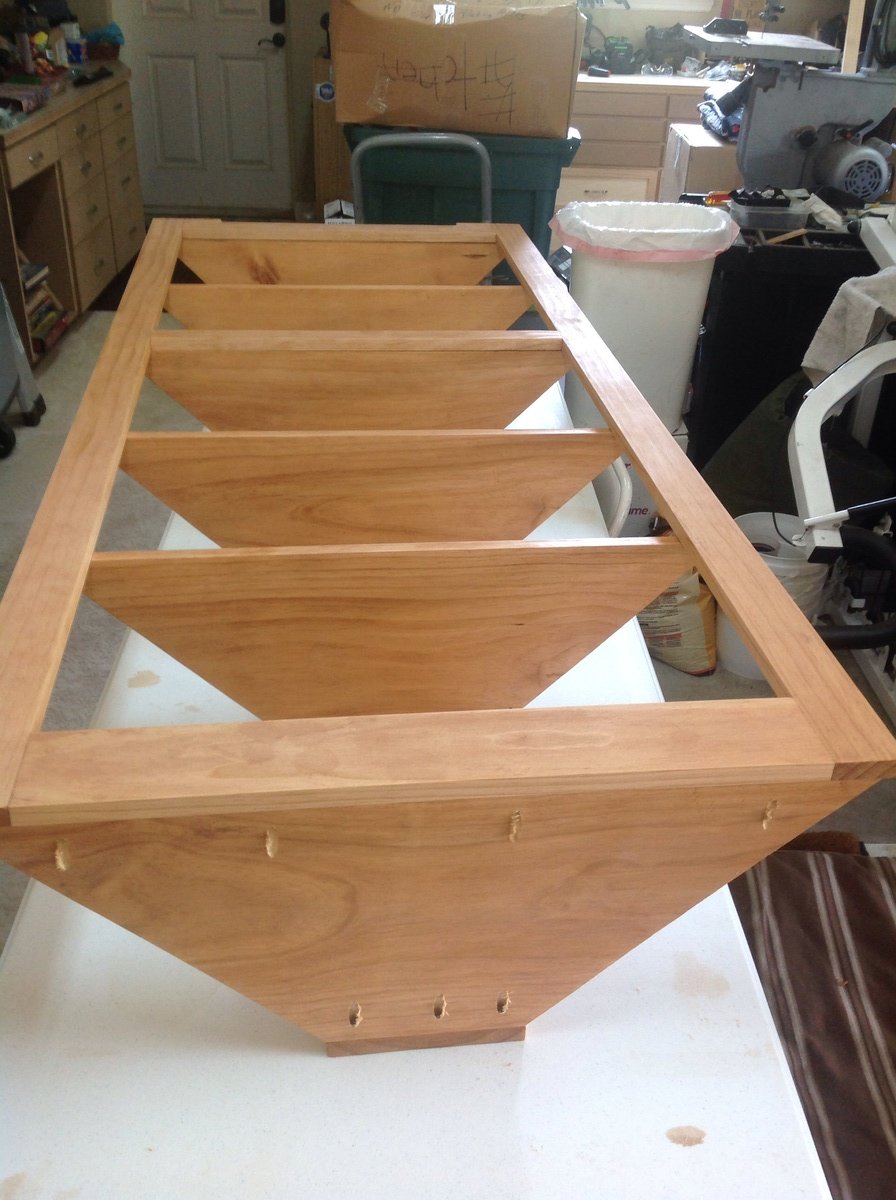
I wanted to do floating shelves in my bathroom but I have very limited space so I decided I was going to do floating shelves in a corner where I did have space. This is not going to be the only shelf, I will make another one to go above it. I was tired of having no storage space for things like toilet paper and towels so now we can use these floating shelves to do that for us :) Tomorrow I'm going to build the second one to go above this one. Making it for a corner is really no different than making it straight. The sleeve fit right over the frame I built and it looks beautiful I think :)
Estimated Time Investment
Afternoon Project (3-6 Hours)
Finish Used
White semi-gloss paint
Recommended Skill Level
Intermediate


Comments
otterone06
Wed, 03/18/2015 - 19:49
plans
how do I get these plans?
jmr712
Wed, 07/27/2016 - 00:40
Plans
Hi,
Love these shelfs!! what did you use to cover them please?