Community Brag Posts
Lap desk
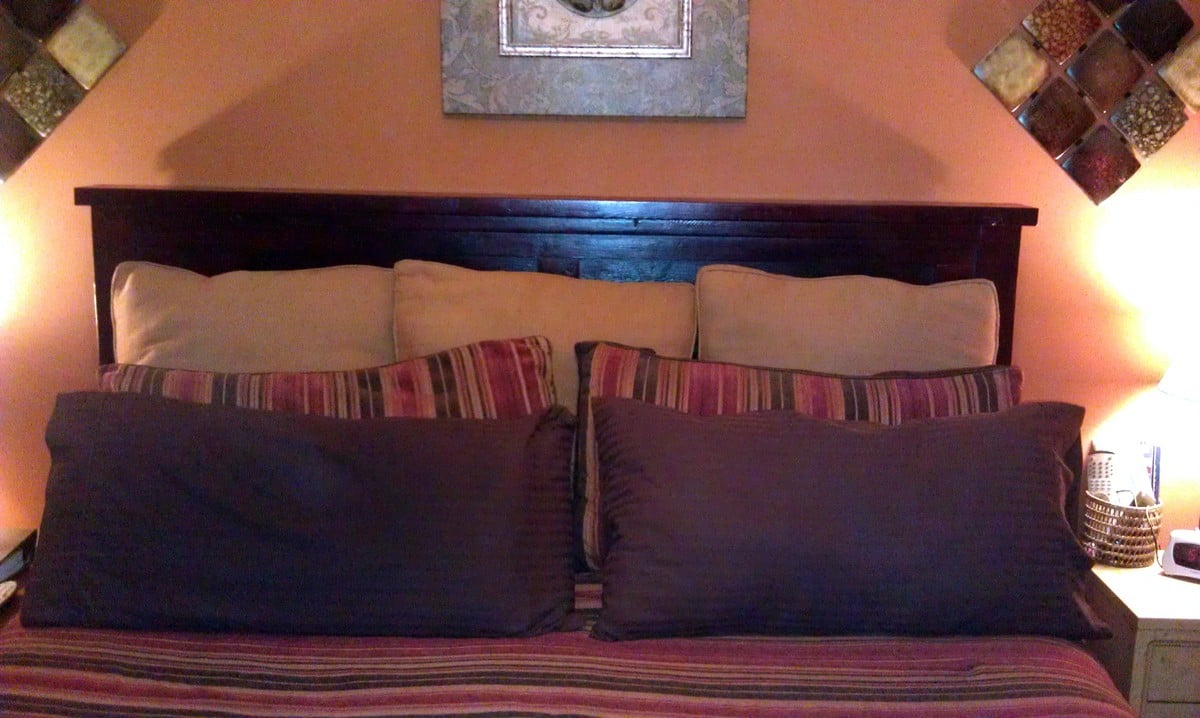
This project was fun and easy to do. I made two of them so my husband and I could each work, watch movies or whatever while sitting in bed. The kids also use them sometimes during the day for playing on the computer or for having a snack. These little lap desks are super sturdy and very useful. They only cost me about $5 each to make.
Pallet Frame
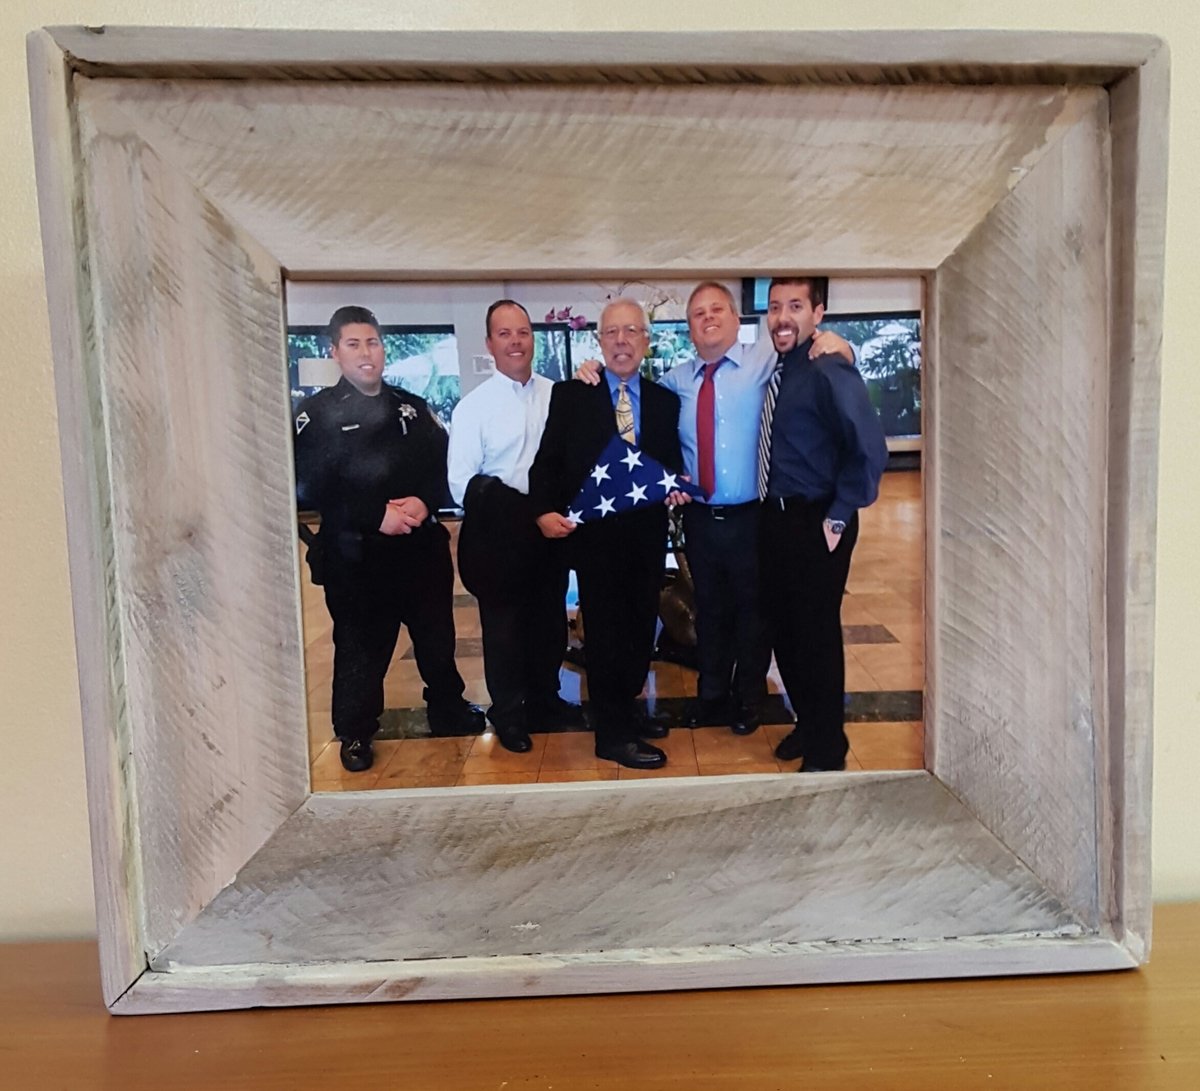
My son and I bulit this 8x10 frame from a pallet for a Christmas gift for my dad, who is standing in the center.
Epoxied Craft Table
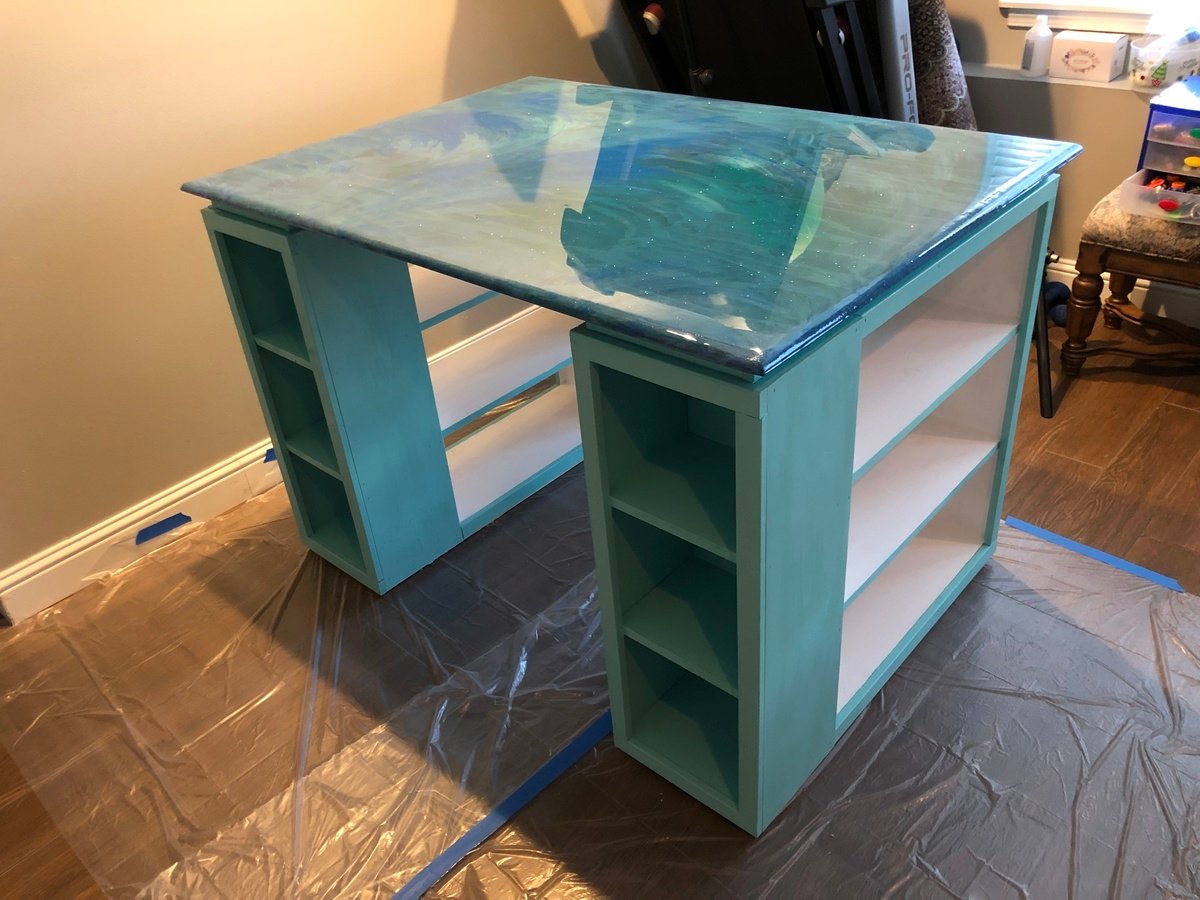
I built this table for my wife. I added a 1/4 round to the edge of the table. She did all of the finish work including the top which is Unicorn Spit and epoxy. I turned out really nice. Thanks for the plans!
Comments
Farm House Toy Box
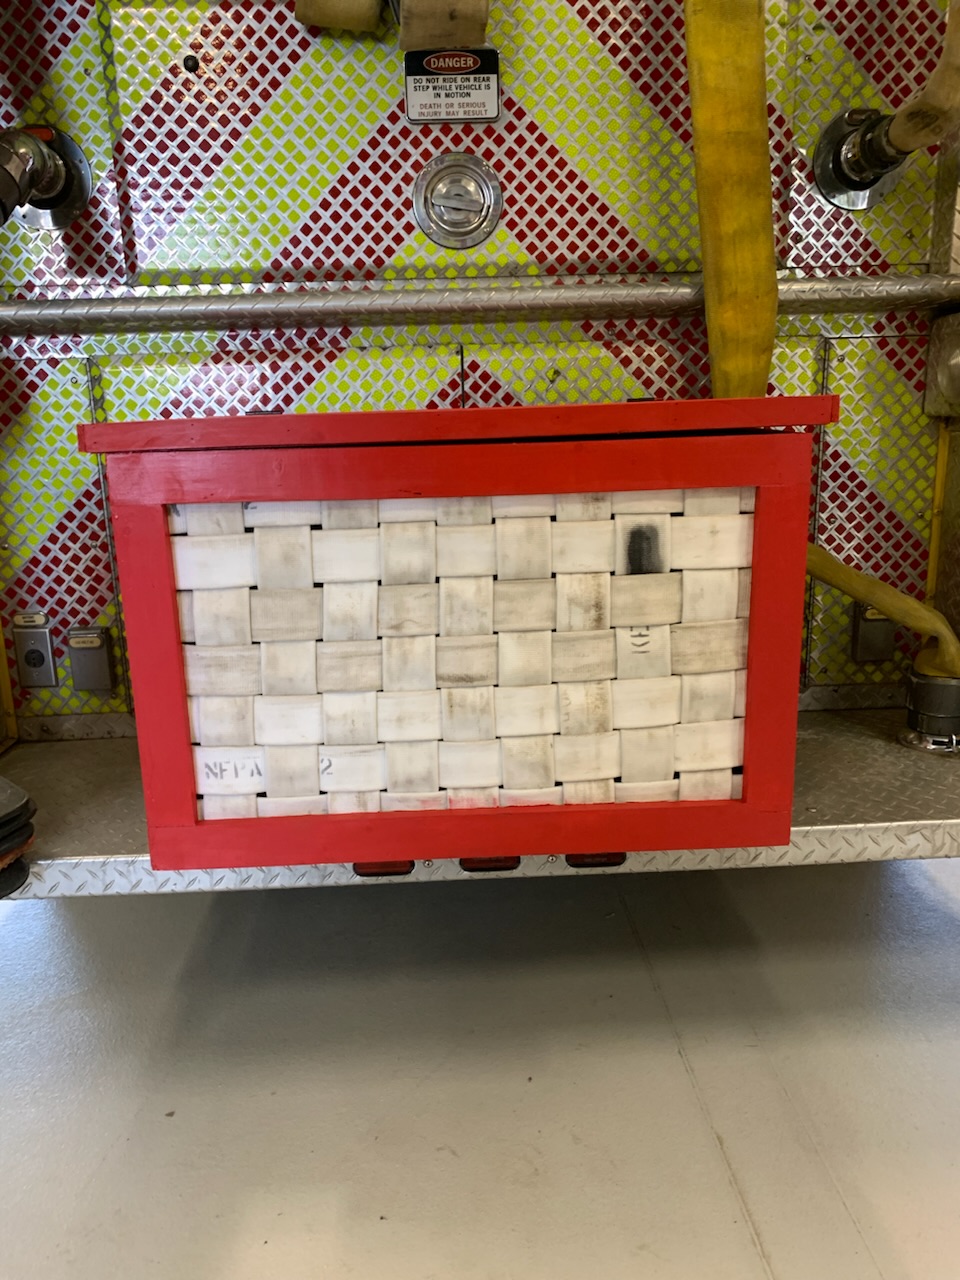
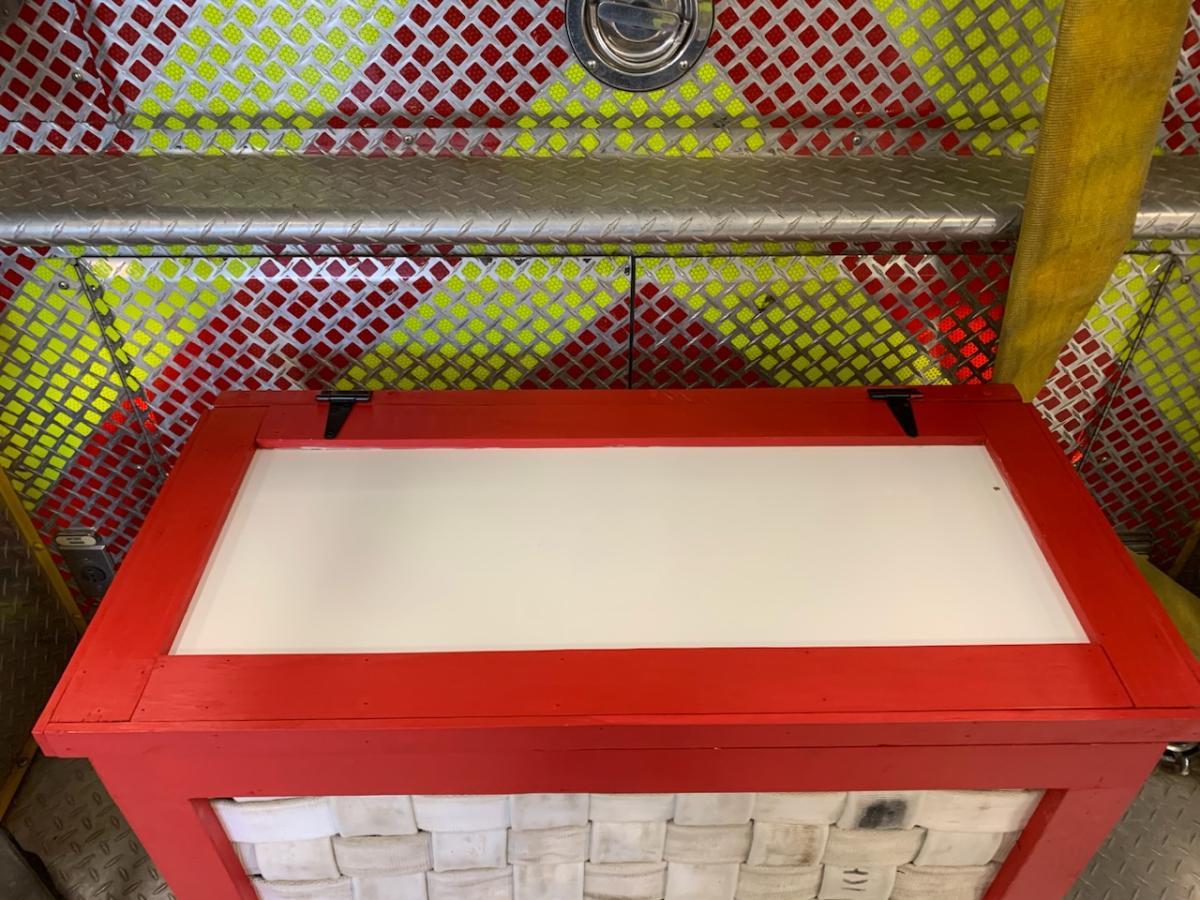
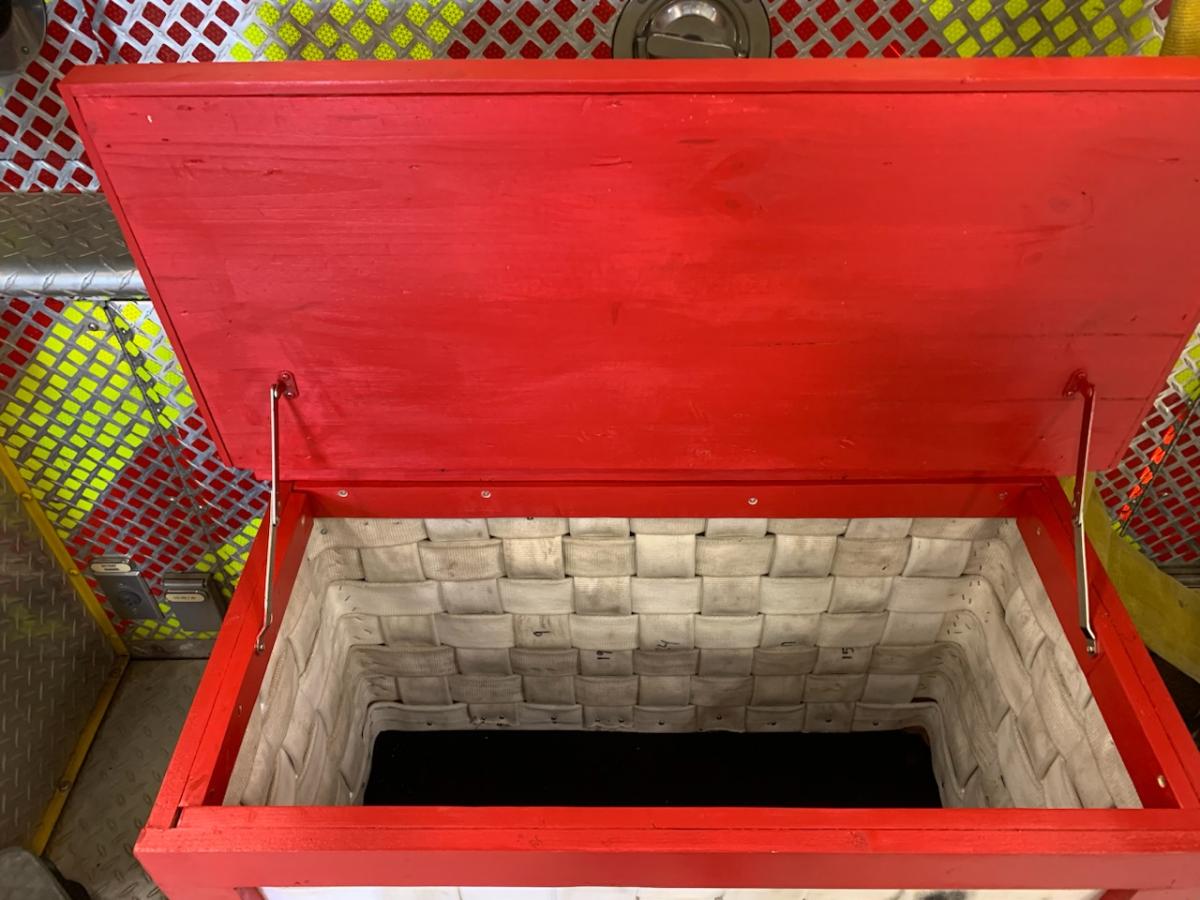
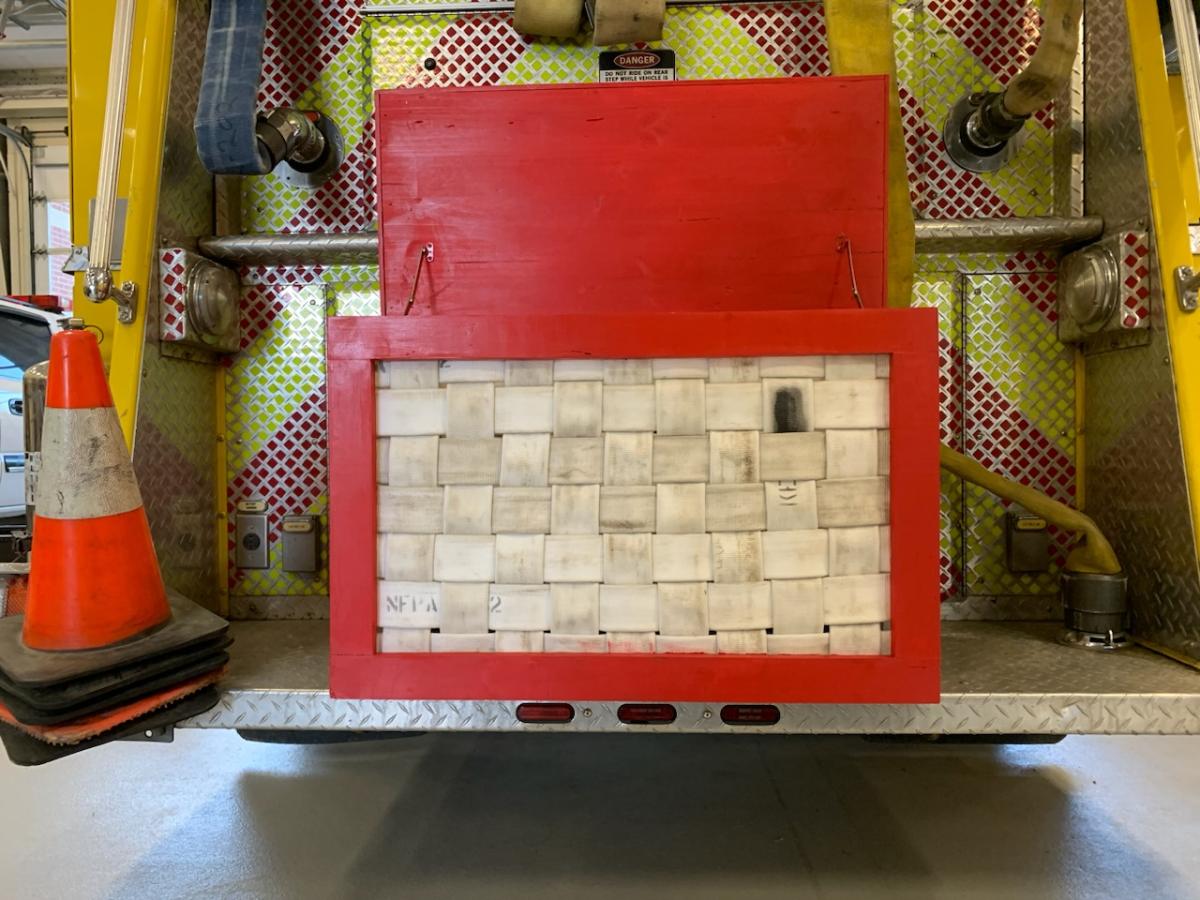
Made this using your farm house toy box plans. Modified slightly as I incorporate old firefighter equipment into most of my projects. Built the frame but instead of slats used retired fire hose. Complete with a white board on the lid. Plans were perfect and allowed me to easily modify to get the result I wanted.
Comments
Sat, 02/04/2023 - 22:03
Super cool!
Love the material repurpose, looks fantastic, thanks for sharing!
Modified Sand Box with Lid
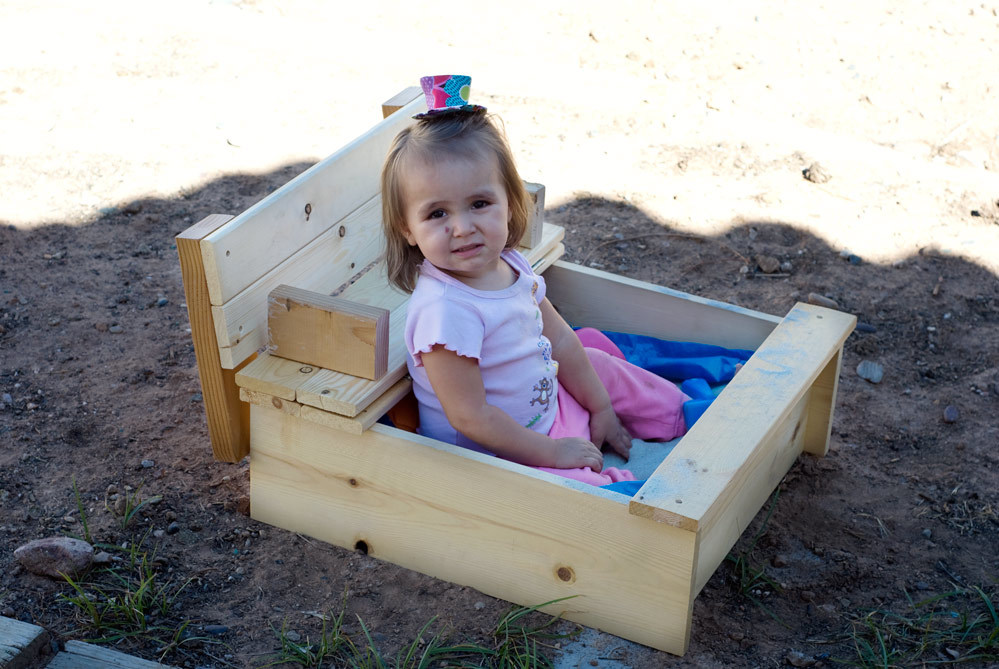
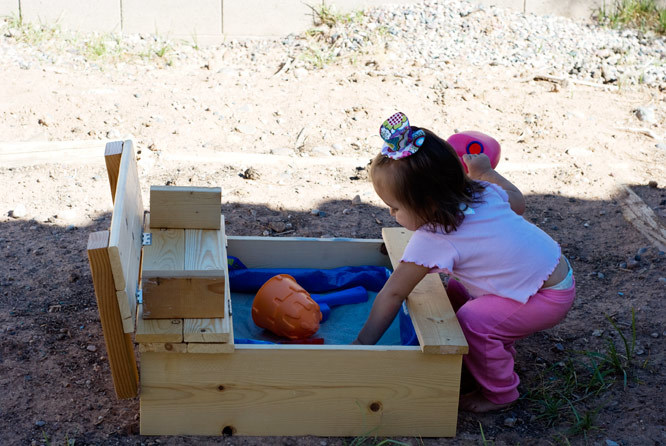
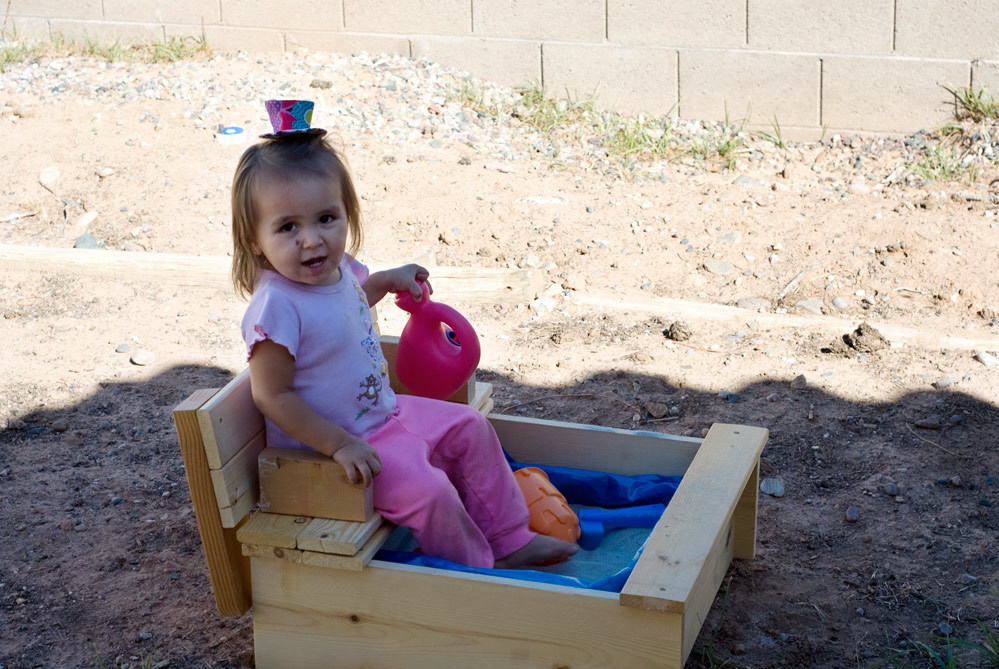
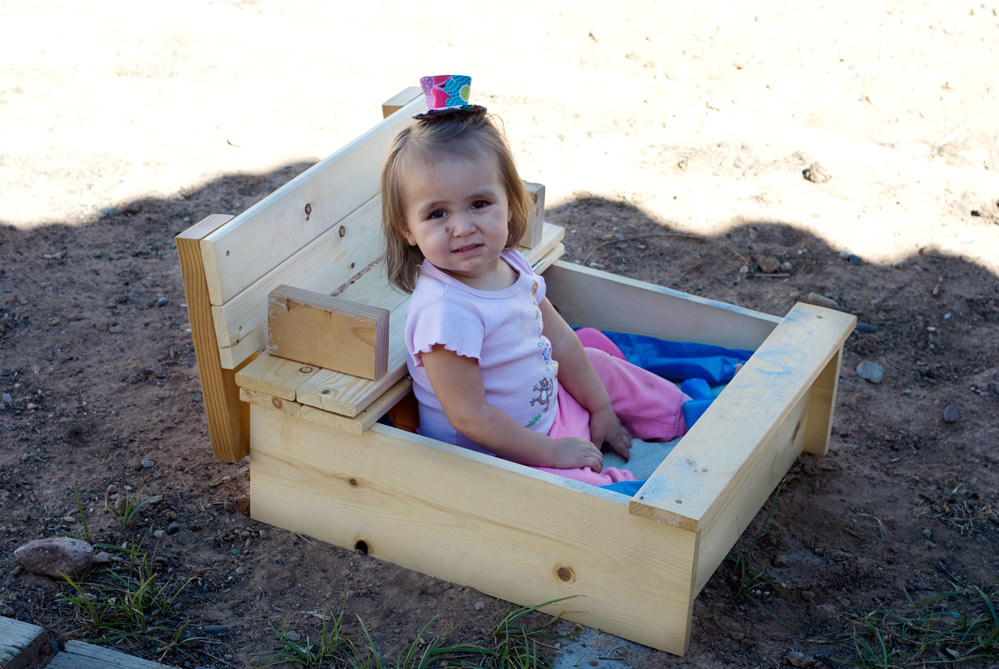
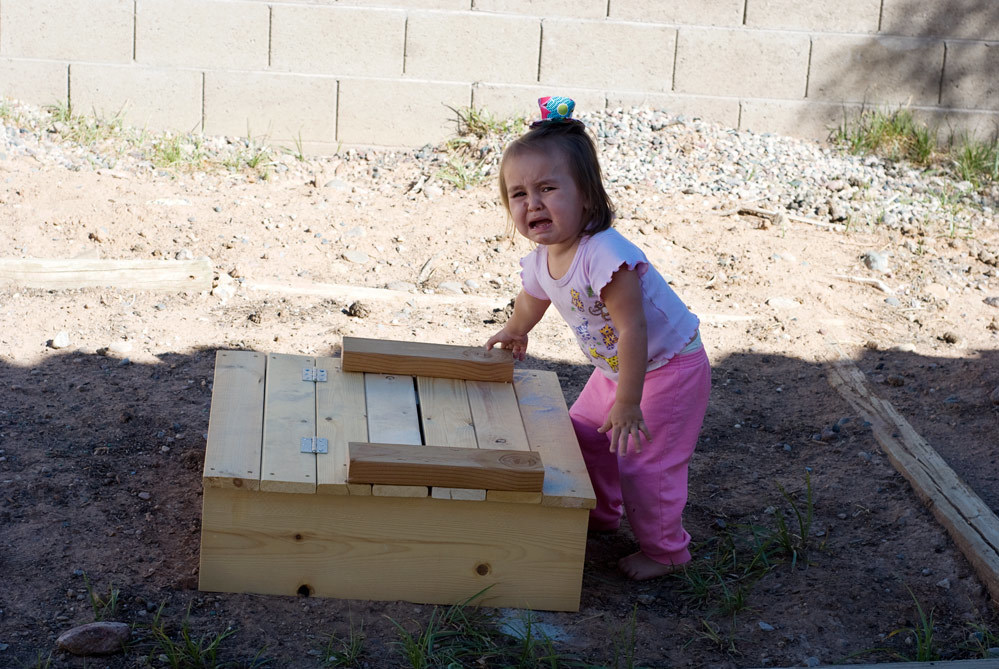
When I saw someone post this sand box request on Ana's facebook page, it was like the sand box of my dreams! Our backyard is a work-in-progress, and we're constantly in different areas, so I knew that I would need a much smaller, transportable size. When the back yard is finished, I'll definitely build the full-sized sand box... But until then, I've got this 2' x 2' box, some sand in an IKEA bag, and a happy little toddler, who cries every time I try to close this to get photos. :-)
Comments
Wed, 10/19/2011 - 08:45
Awesome sandbox, may have to
Awesome sandbox, may have to try this in the spring. I am home on maternity leave (in Canada where we get a year) and luckily managed to score one of those happy, content babies who don't need a lot of my time... so I am bored to tears and looking for projects. I found Ana's site which lead me to your sandbox and the picture of your gorgeous little girl crying when the sand box was closed; that made me laugh so much I had to comment; too cute!!
You and Ana look like the Charlie's Angels of DIY! Thanks for the pictures, inspiring.
In reply to Awesome sandbox, may have to by Andy O (not verified)
Thu, 10/20/2011 - 14:08
Charlie's Angels of DIY!!!???!
Your comment about the Charlie's Angels of DIY TOTALLY cracked me up! I LOVE THAT! Wouldn't really say that I'd make the cut, though... But thanks!!! :-)
I'm SO jealous of a year maternity leave. My baby was also VERY undemanding, and I built my first project when she was 5 weeks old. Yay, go us!!! :-) I'd love to see this if you do build it! What other projects are you planning?
Storage Bed
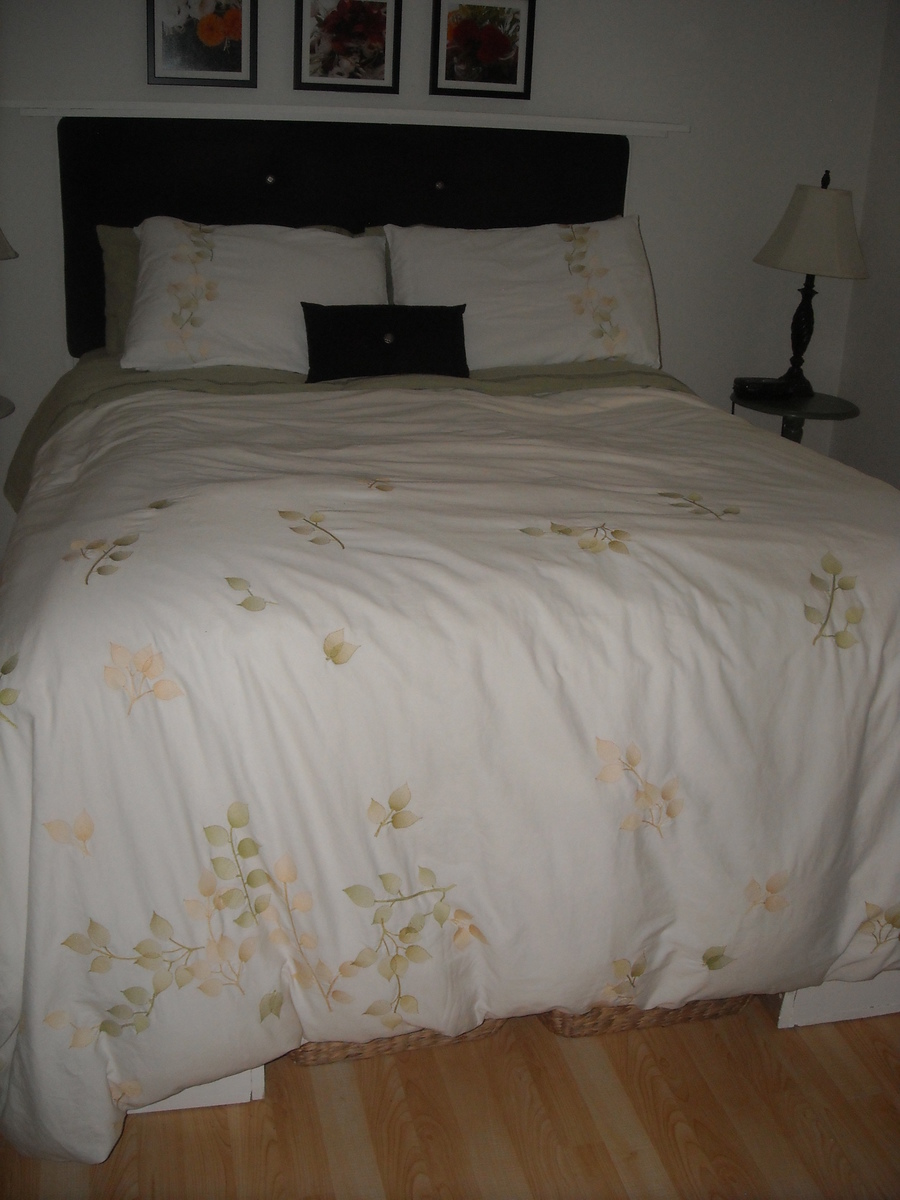
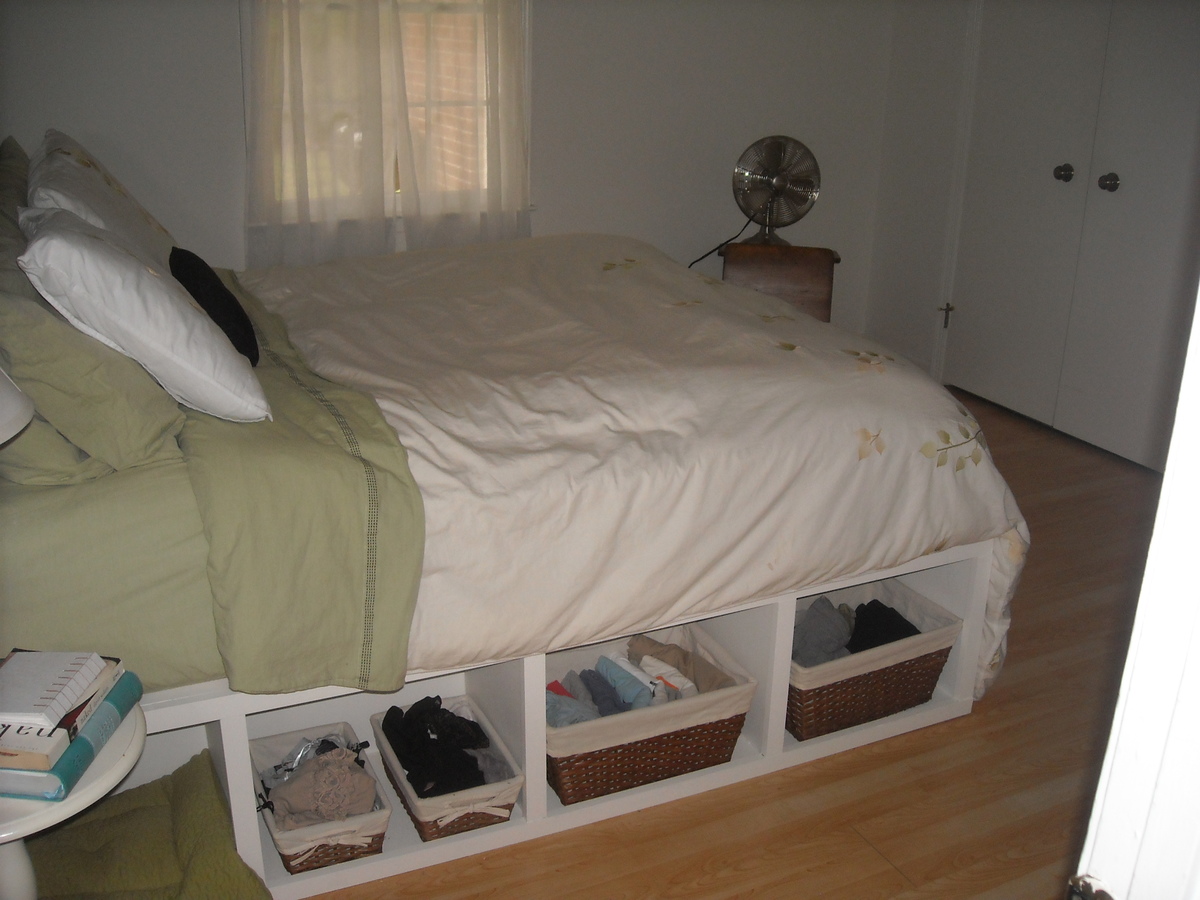
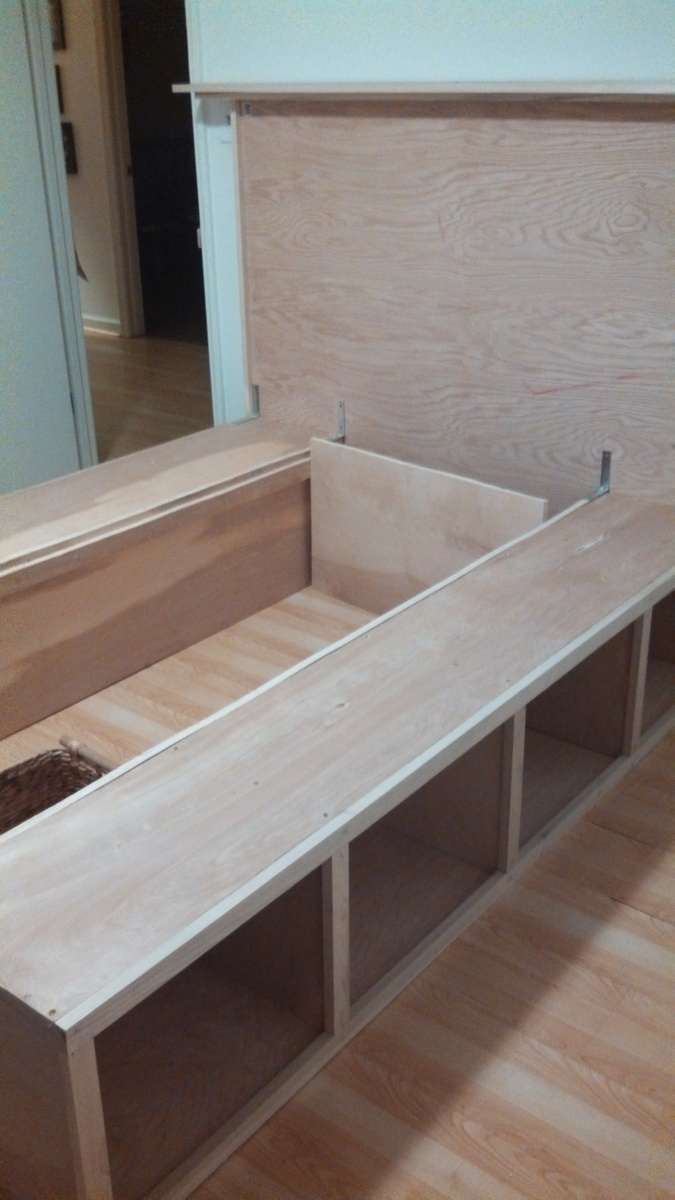
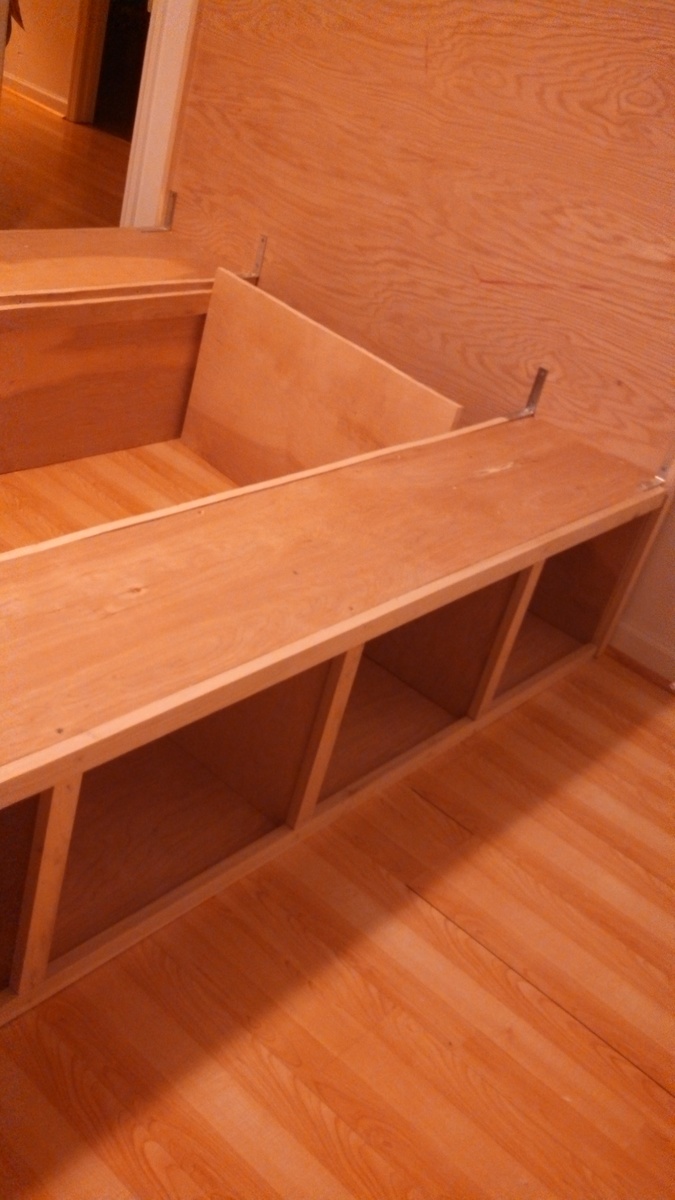
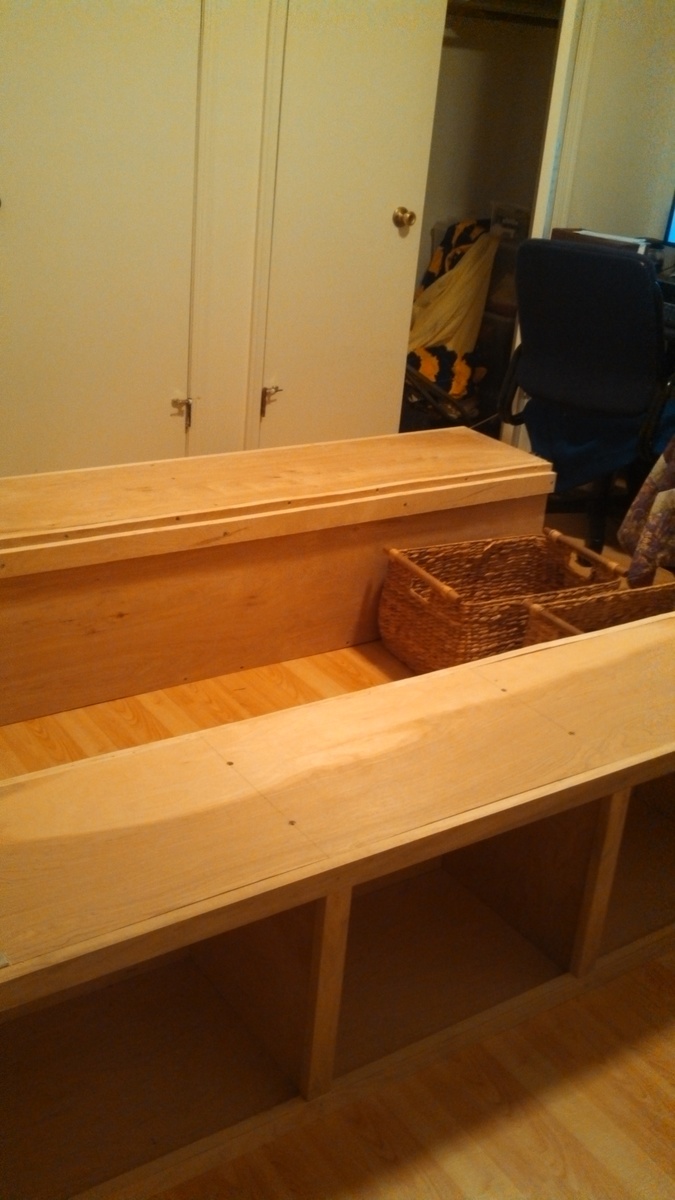
Sorry there aren't more pictures of the building of it. We ended up rushing through it because a storm was moving in. In total it took about 4 hours to build the boxes and headboard. We already had the upholstered portion of the headboard that I made from scrap a few months ago so we made the bed to fit around it. We decided to leave it without a footboard so that we could slide things underneath easier. This has made storing things underneath very easy, we even keep our laundry baskets tucked underneath and we can have easy access. By making the cubbies slightly smaller we were able to make a total of 4 cubbies on each side and we can store all of our clothes and were able to get rid of our dresser.
Hexagon Puzzle

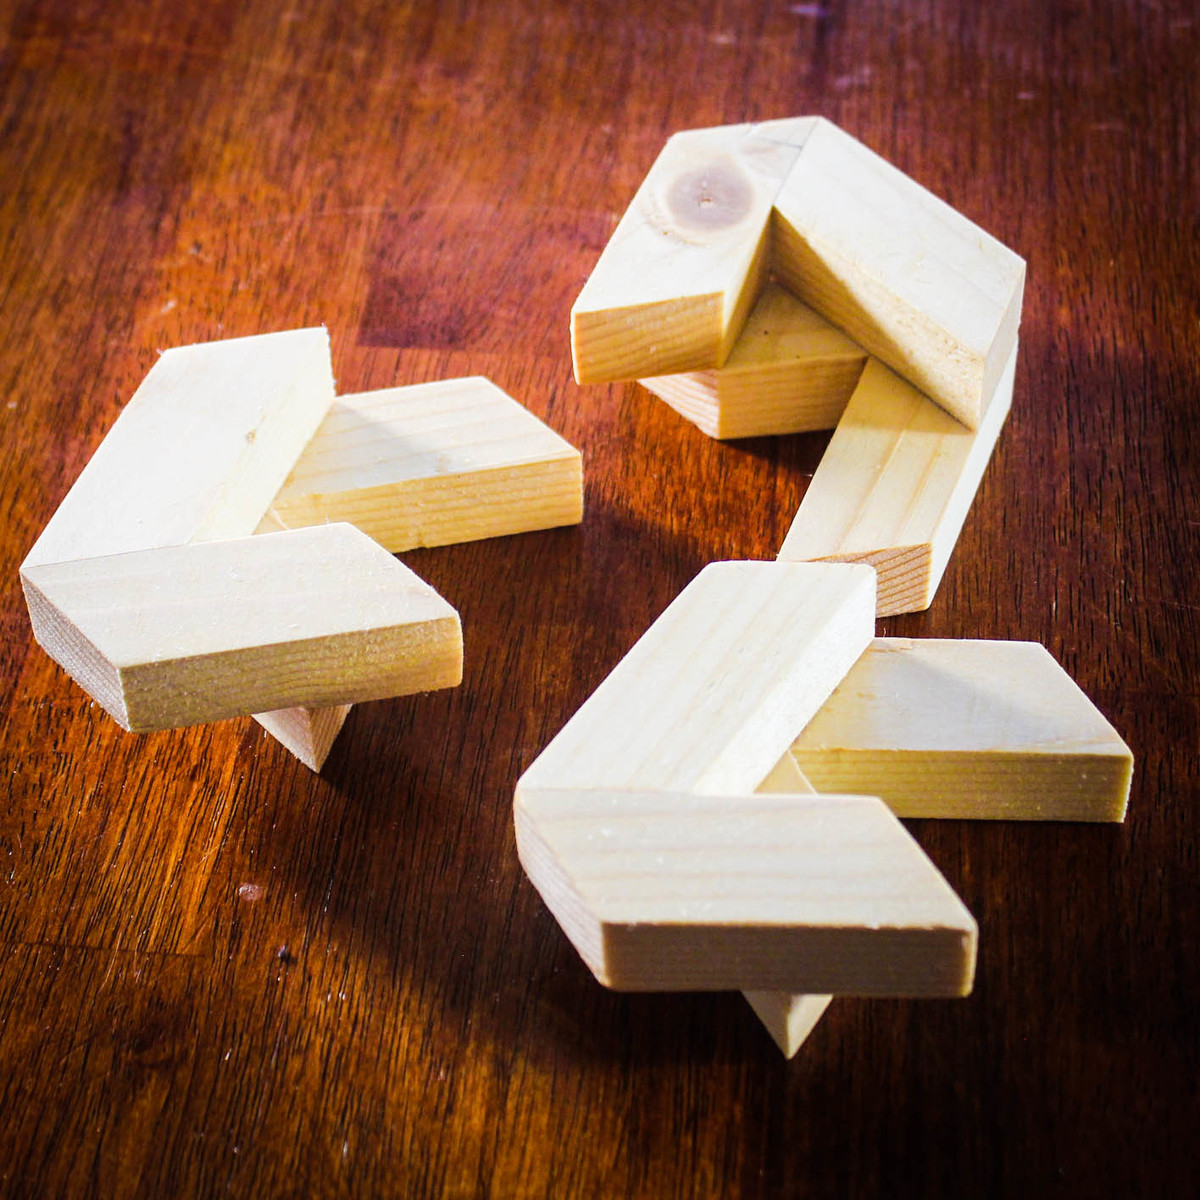
This is a fun and simple project to make. It consists of 12 pieces that are all the same size. The pieces are glued together to make 3 assemblies. Getting it apart or putting it together is the challenge. As always, there is a trick.
Build Instructions: https://www.instructables.com/id/Hexagon-Puzzle/
Solution: https://youtu.be/QUmHdIprCl0


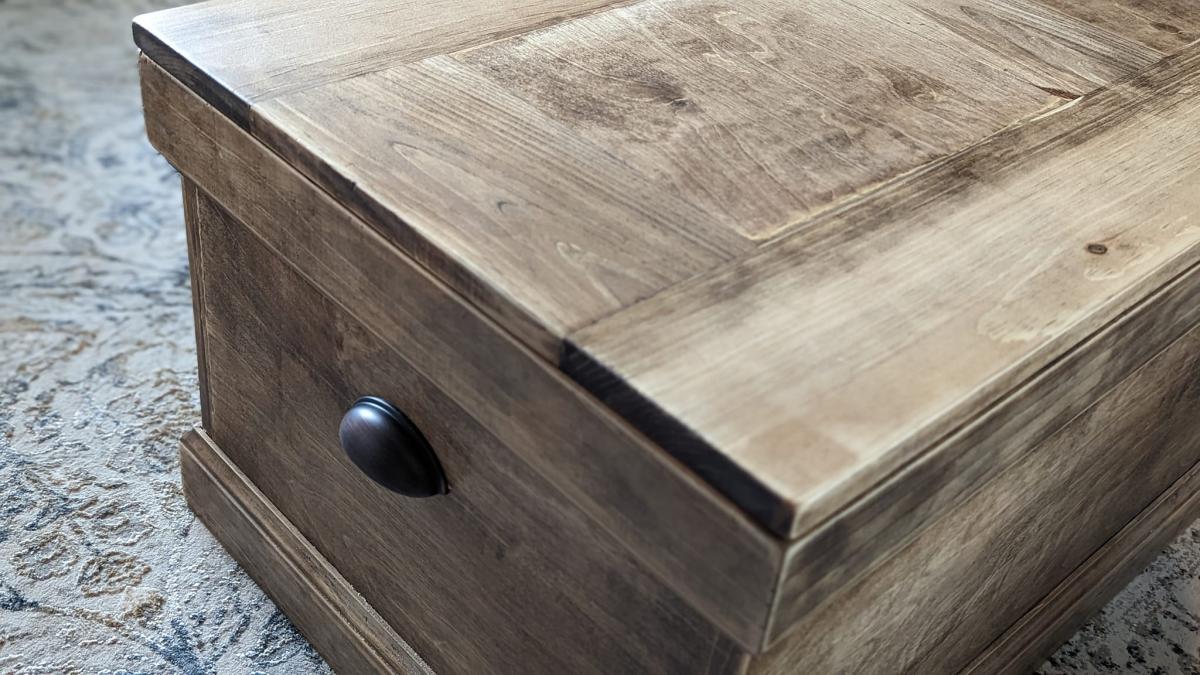
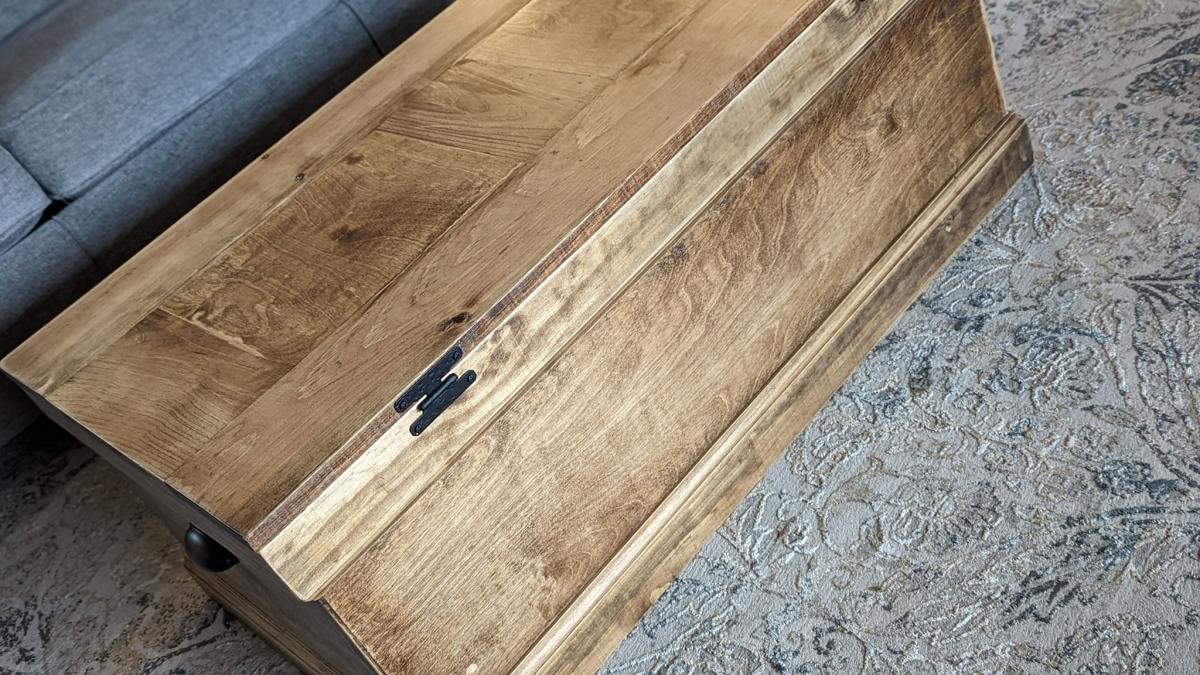
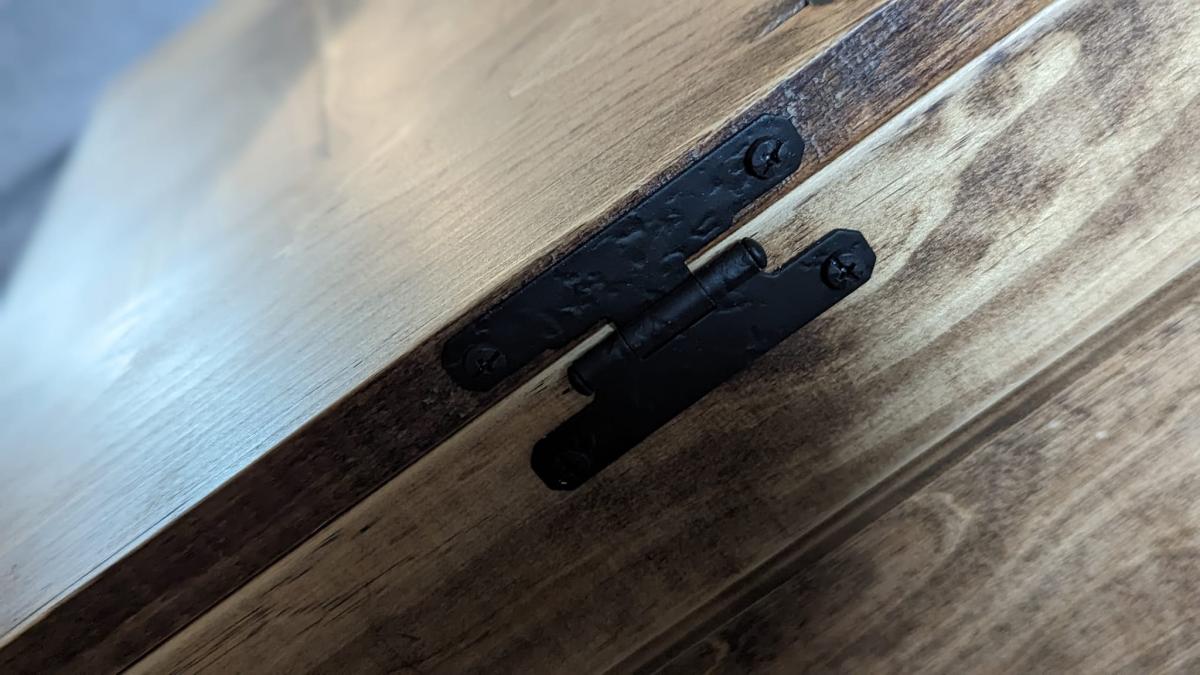
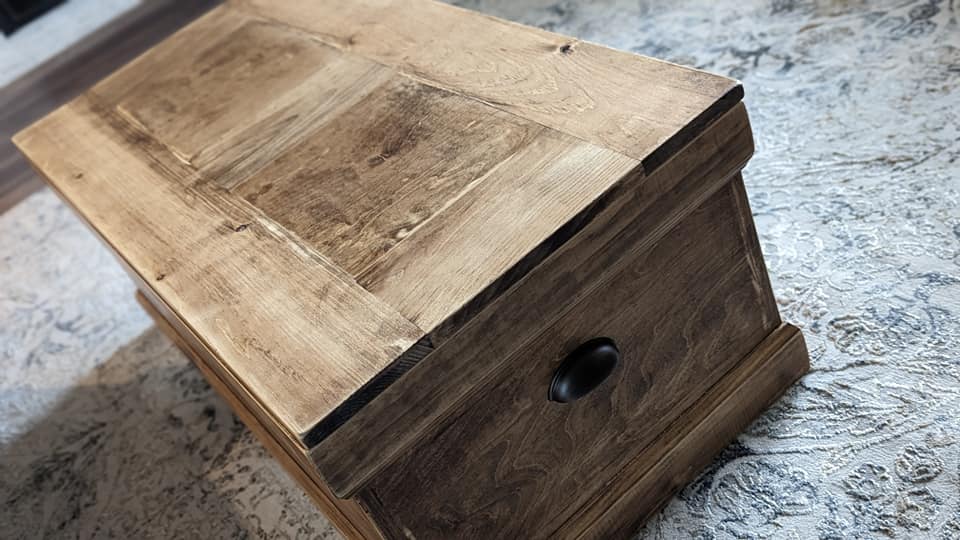
Becca Trunk
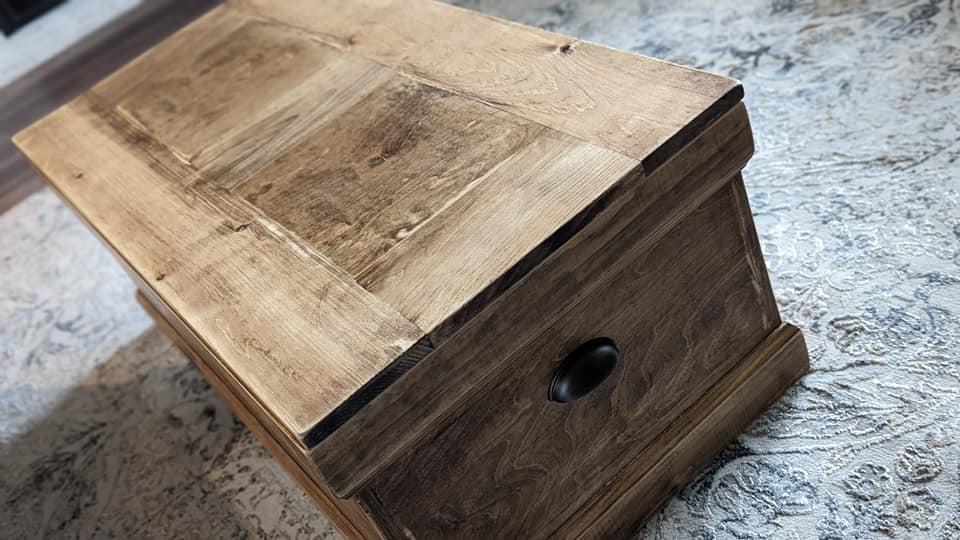
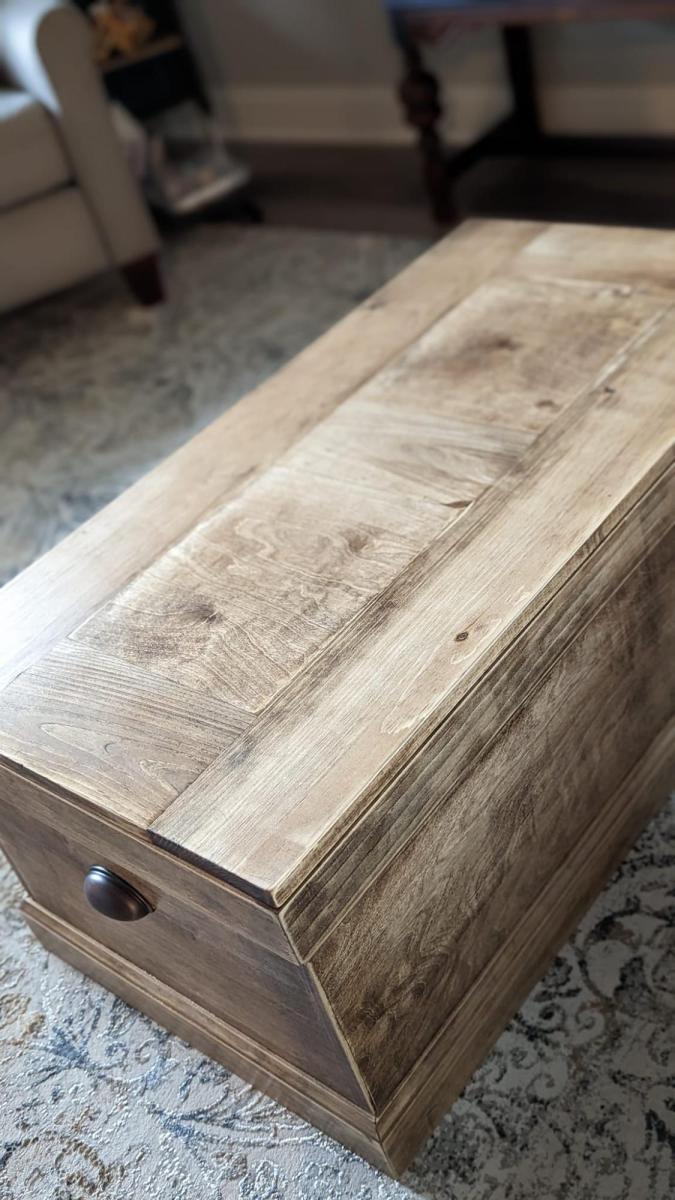
Thank you Ana for your detailed plans. Always so easy working on your projects.
Comments
Fri, 02/10/2023 - 09:11
Gorgeous Trunk!
This is so pretty, love the finish! Thank you so much for sharing.
One happy little girl! And one happy Mommy!
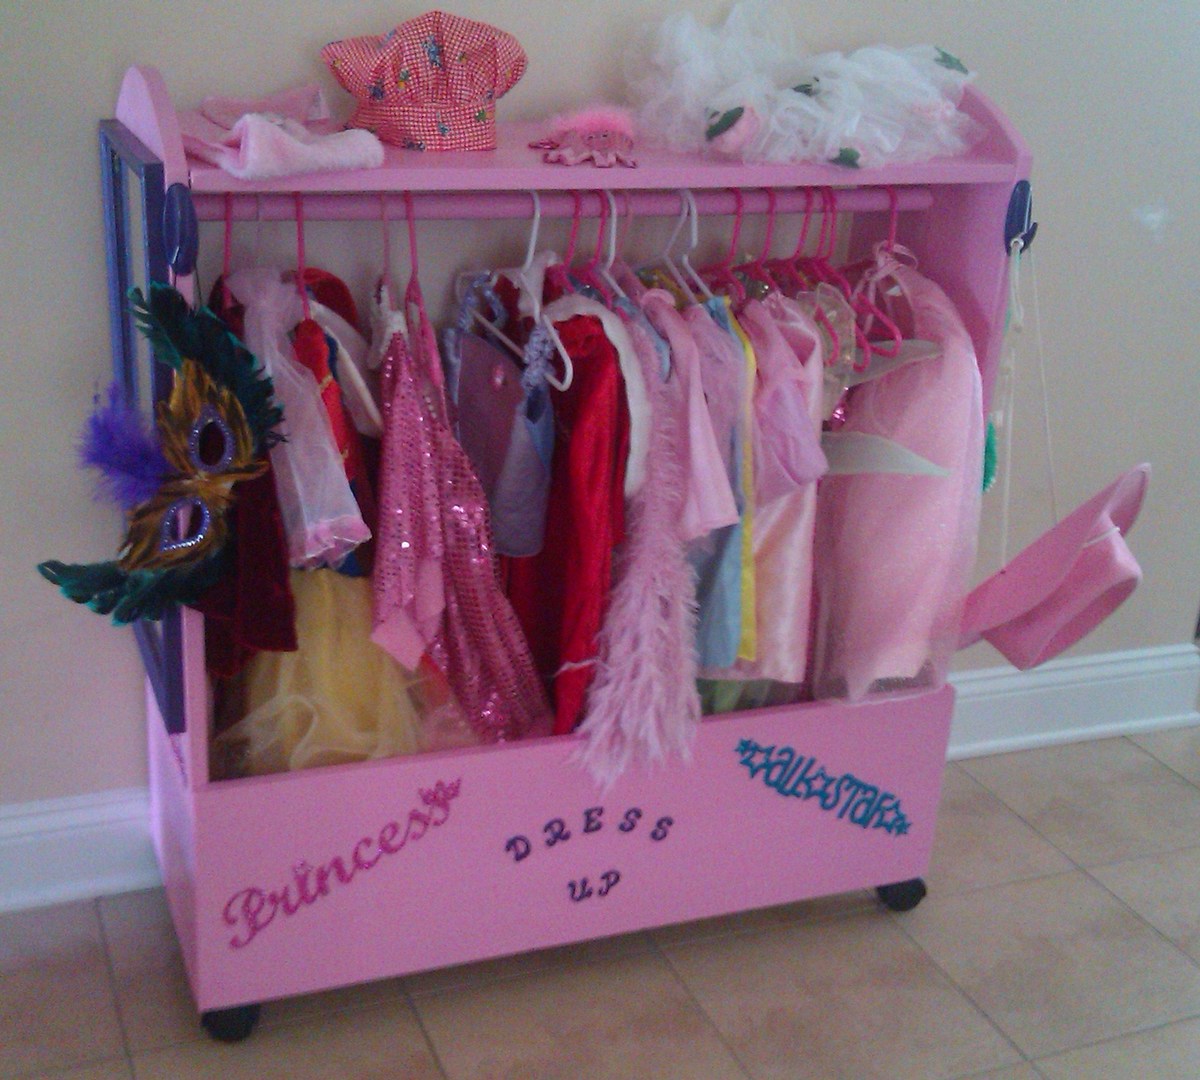
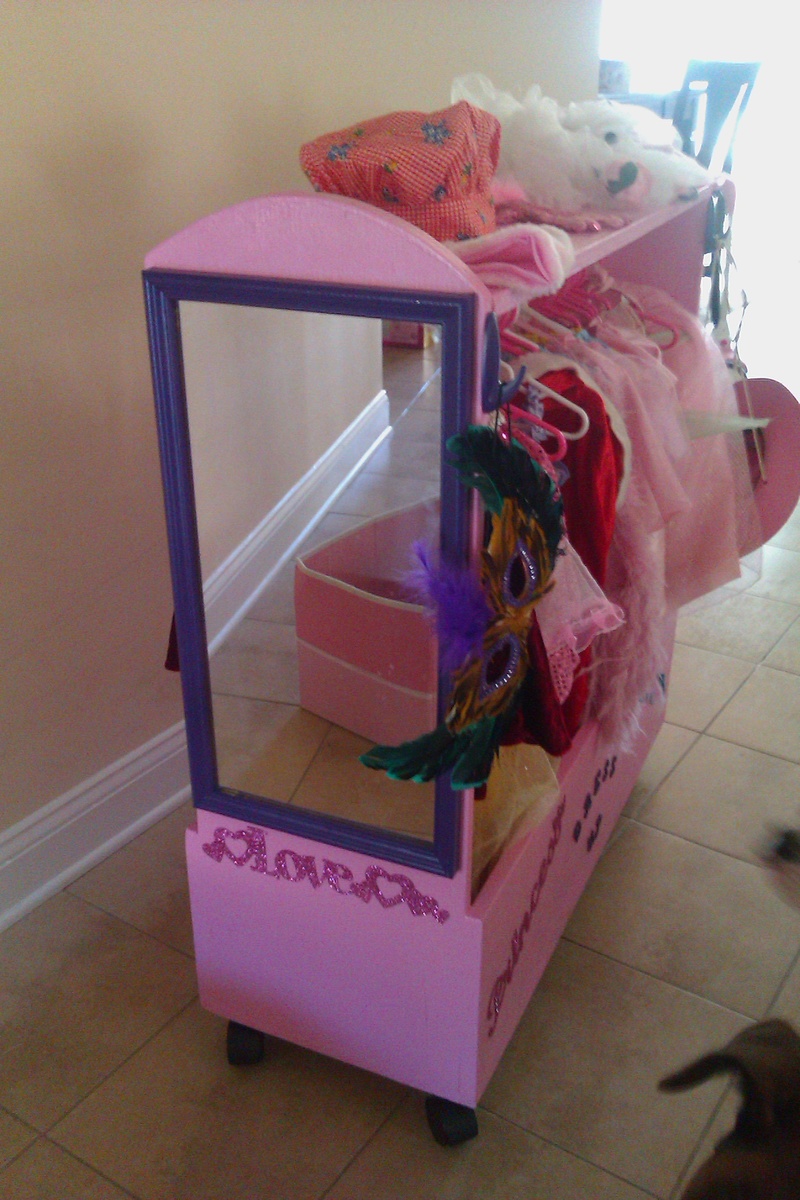
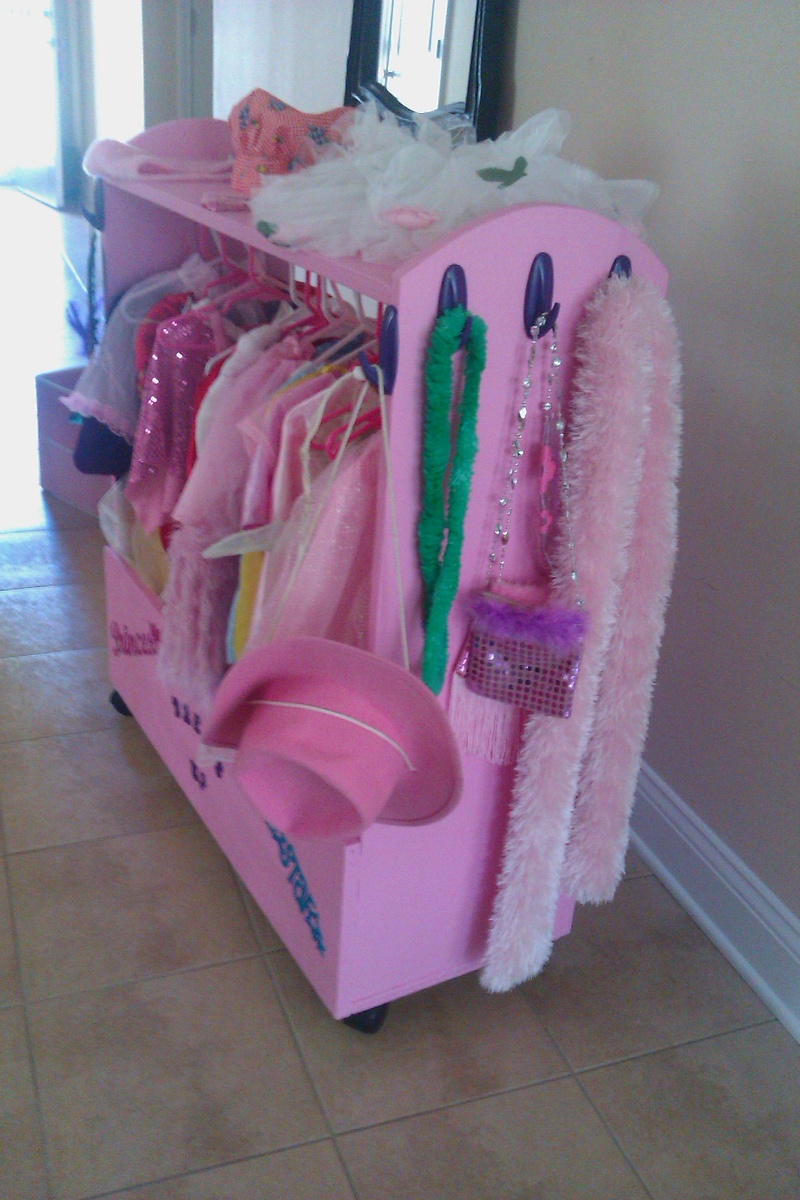
One of the first projects from my new "workshop". I added a mirror to one end and hooks to the front and other end. My 3 year old was ecstatic about helping build it and I enjoyed every minute of it! What a fantastic way to bond and teach and grow, for both of us! Thanks for the site and the plans Ana!!!
Comments
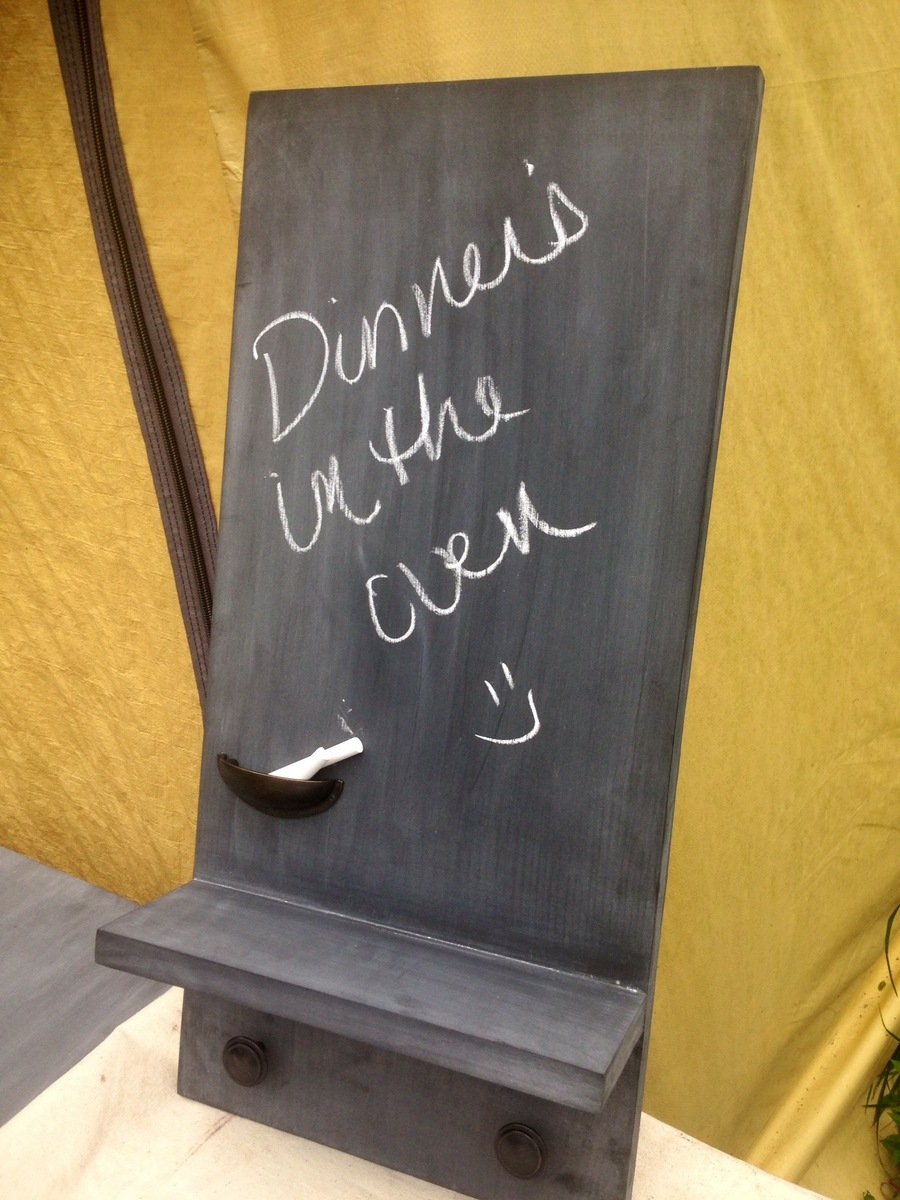
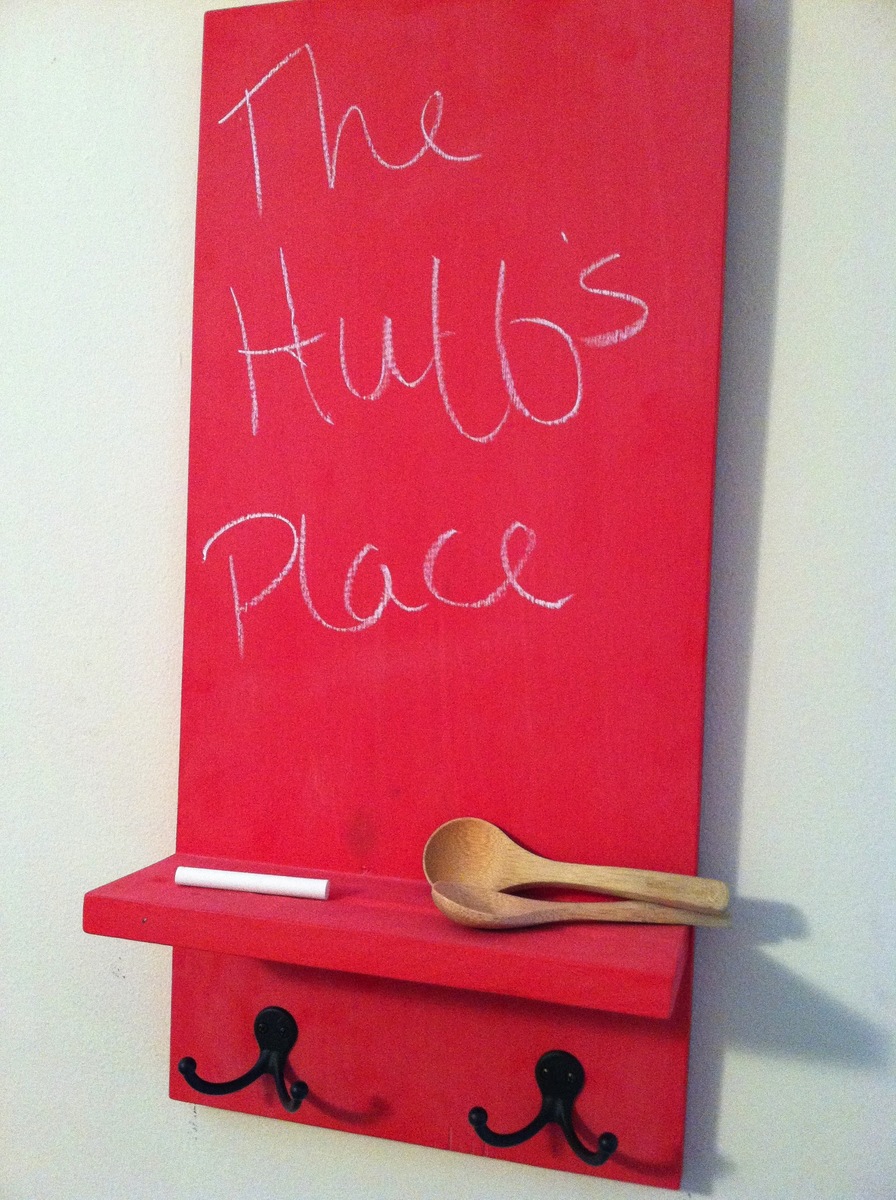
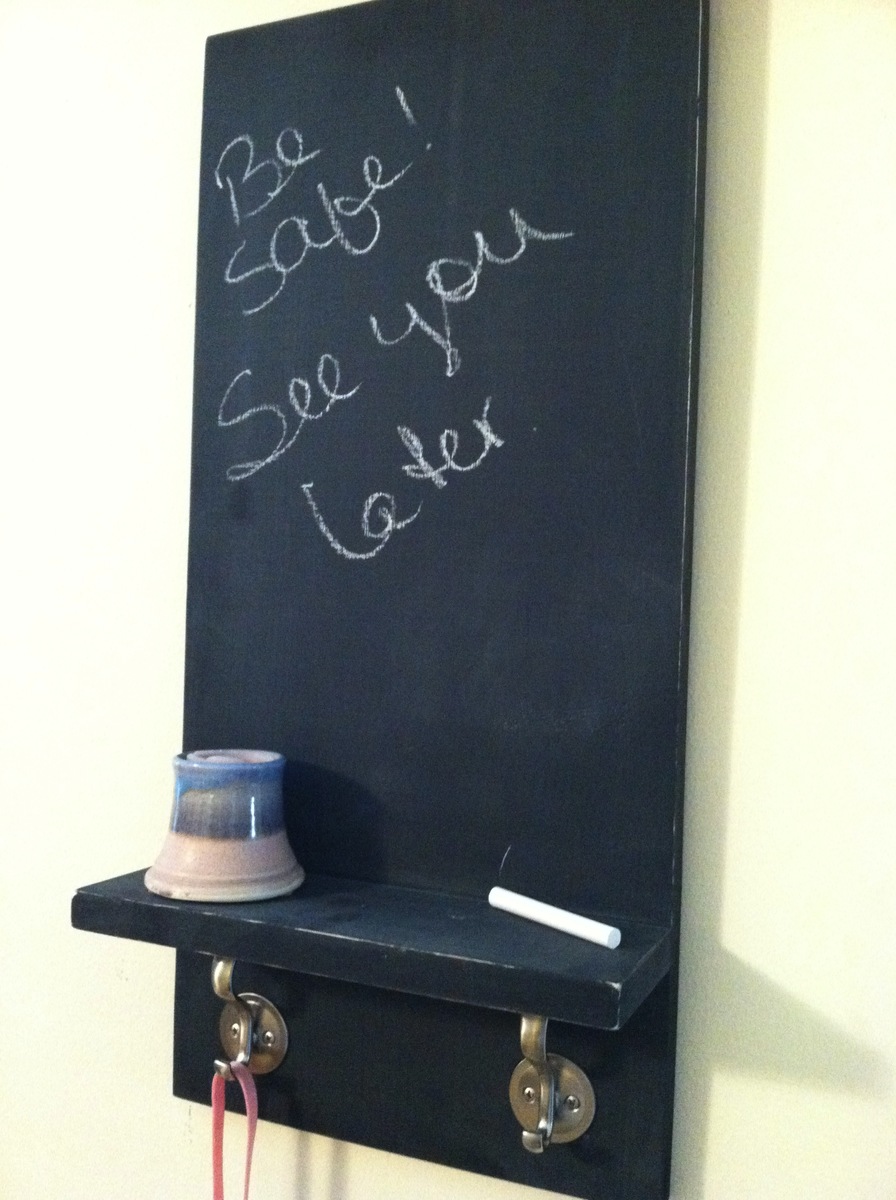
Chalkboard Shelf from Scraps
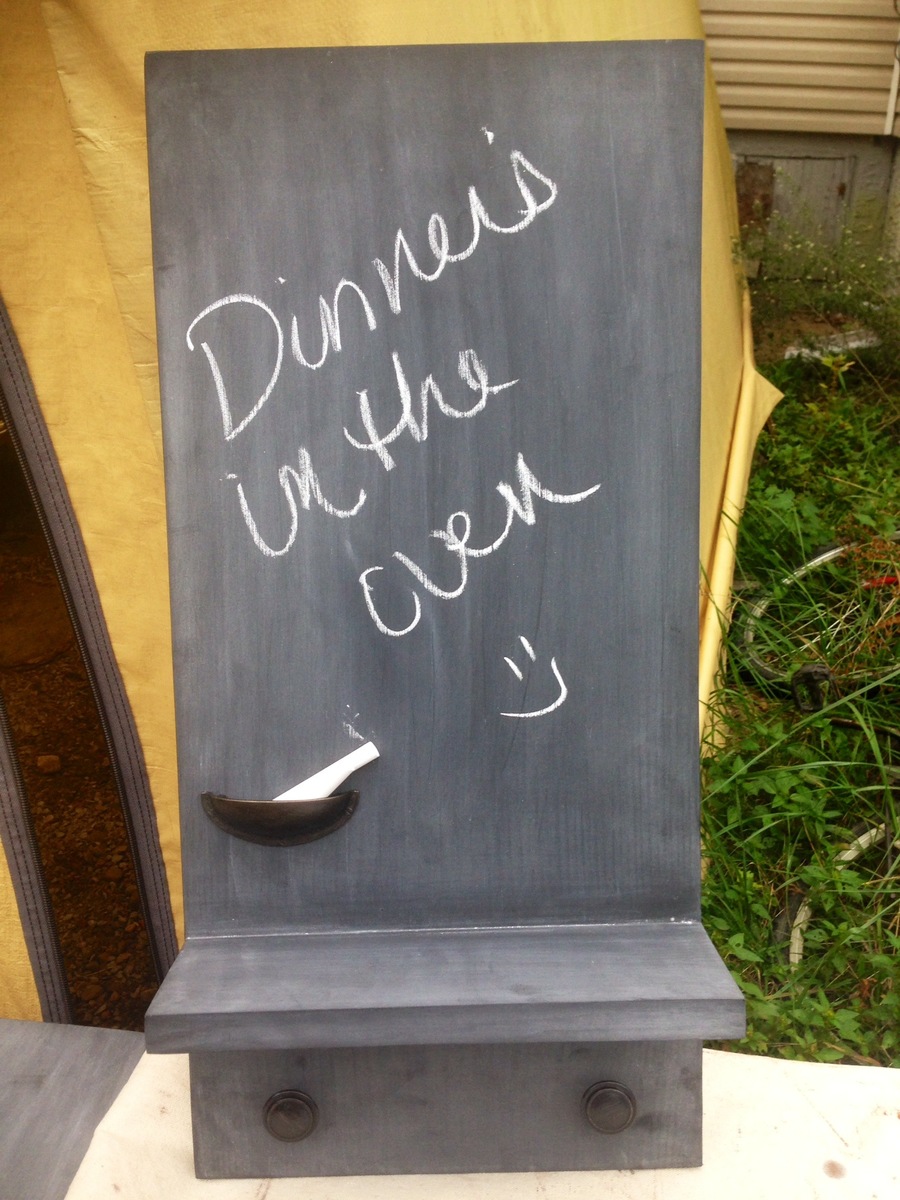
I have made so many of these and love it. Different colors for different people. Making your own chalkboard paint is so easy also. Thanks Ana!
Love how our long version turned out
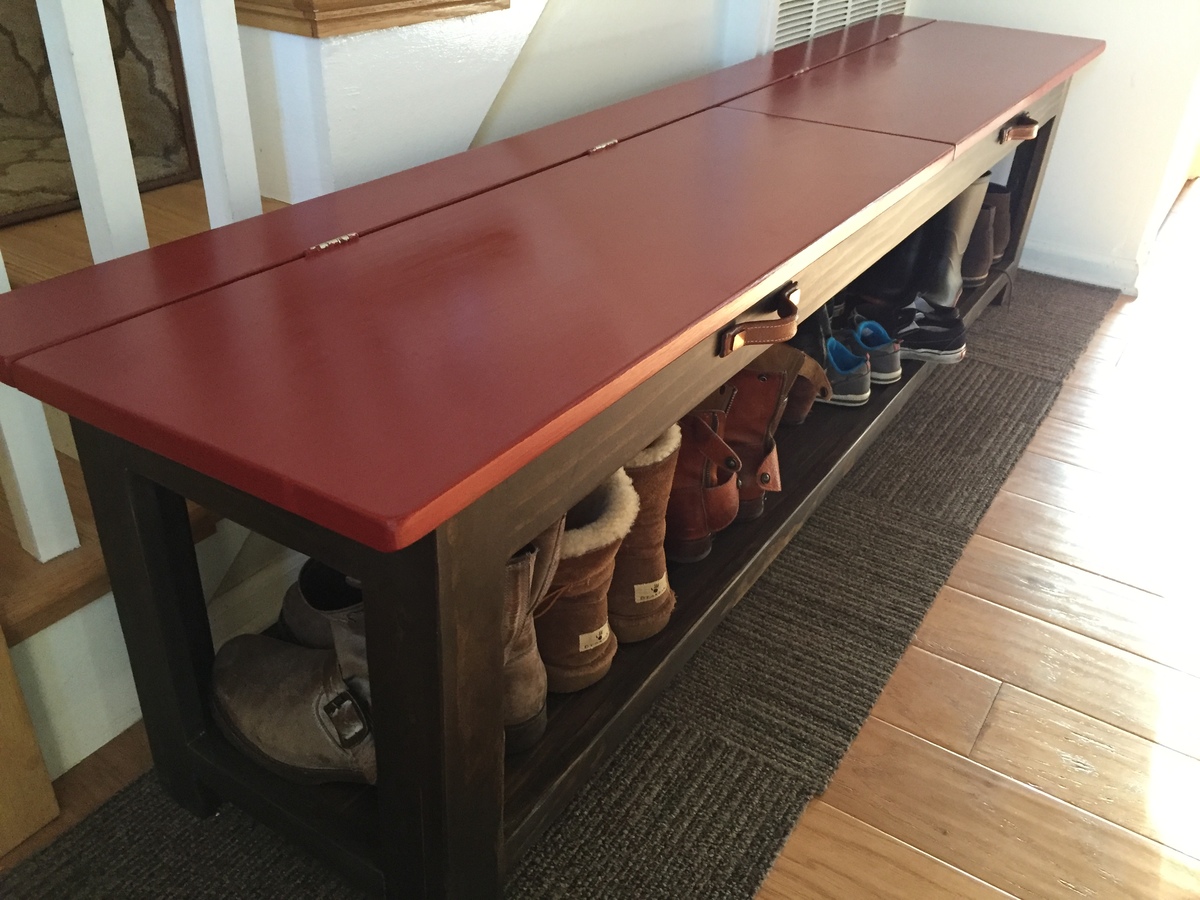
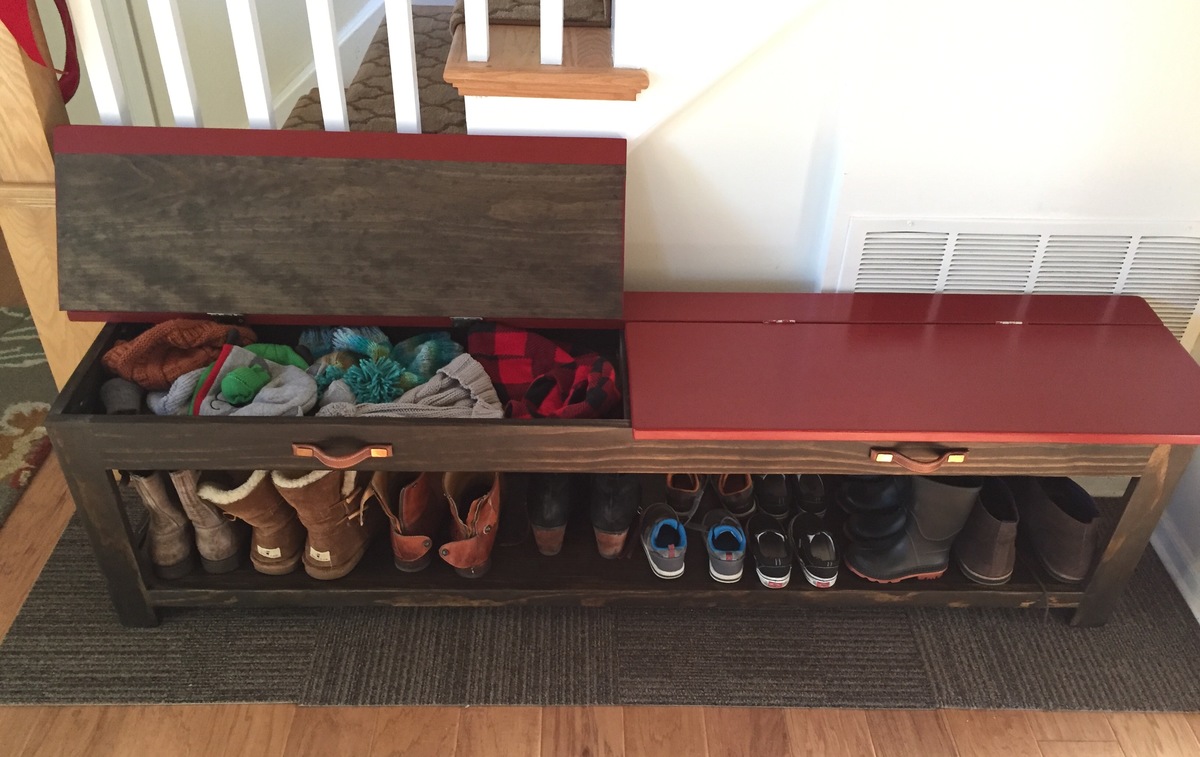
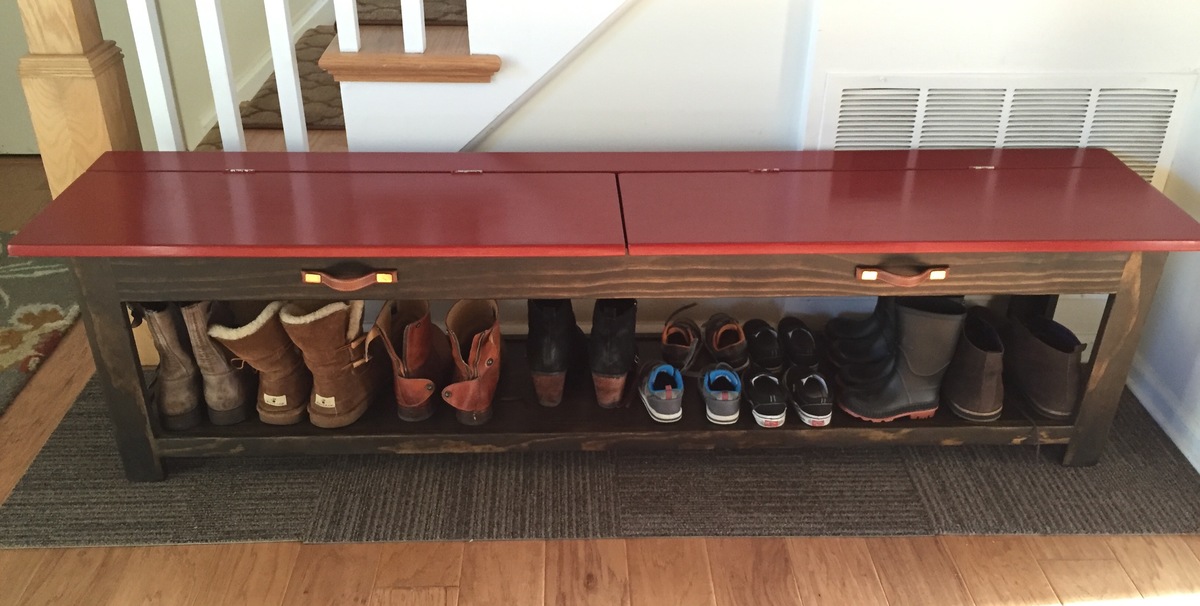
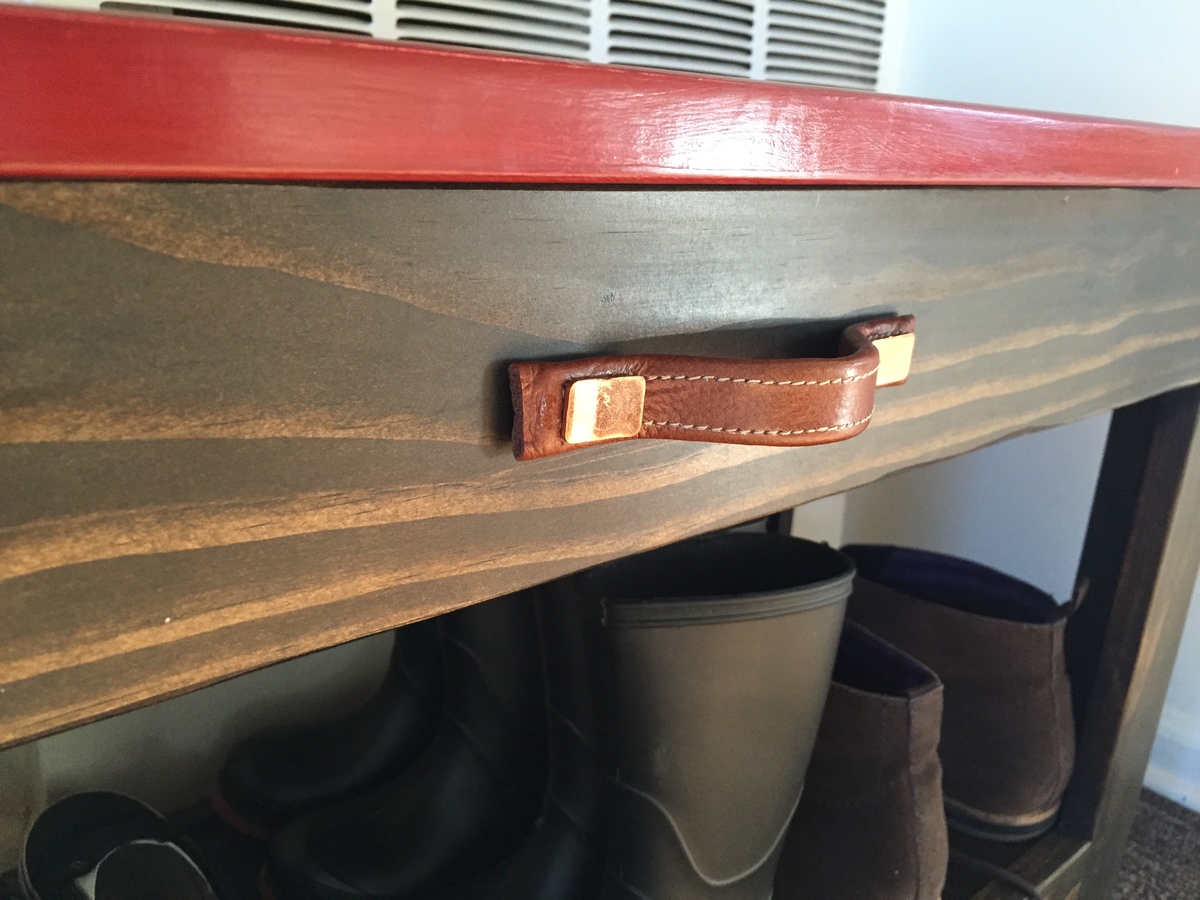
We decided to make our bench 5.5 feet long, without a supporting middle piece. Inside the top storage there is a middle piece of wood supporting the top. So far this is holding up really well and seems very sturdy so I am not worried about the length. The plans were relatively easy to follow, and having the wood cut at the store helped although it was not 100% accurate. For us, the wood alone cost around $100. I also chose to paint the top rather than staying the entire thing, which ended up adding to the cost. I would guess that this entire bench cost around $150 to make, including supplies and paint, and multiple weekends work since I was working only during our twins nap time. But totally worth it! We are getting so much use out of this, and it gets complimented every time people see it.
My daughters platform bed
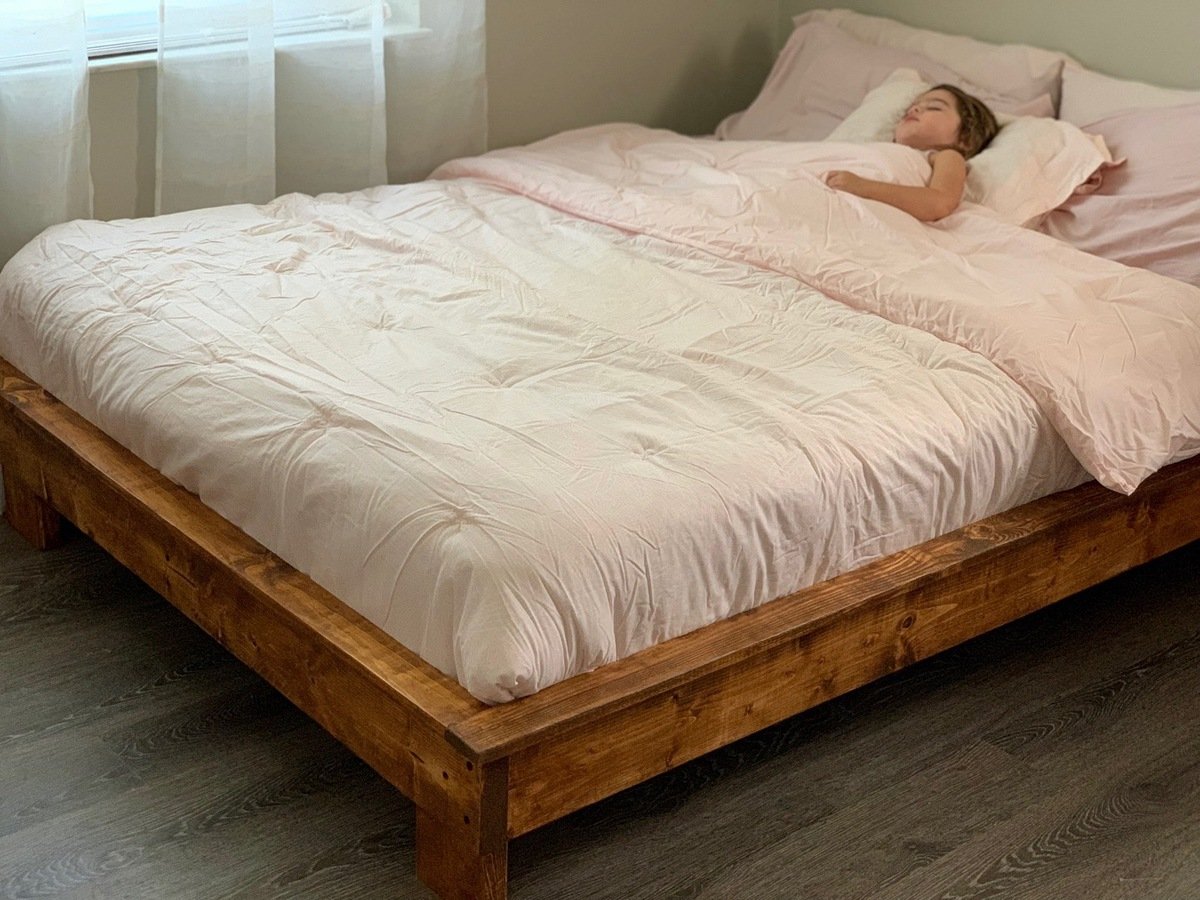
I’m in love with how well this bed turned out. Modified by using a 2x4 for middle support and 1x4’s for slats. It was less money and felt better for support.
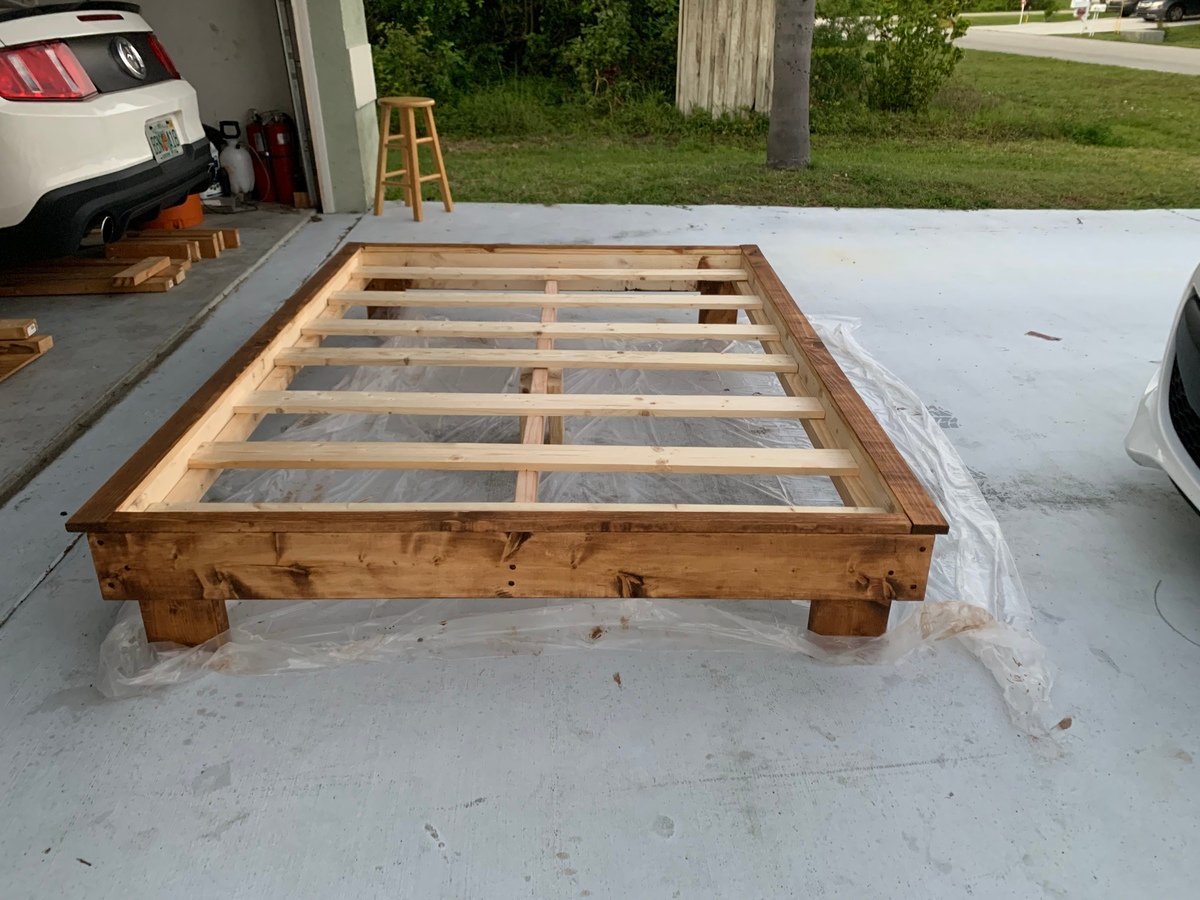
1st furniture piece
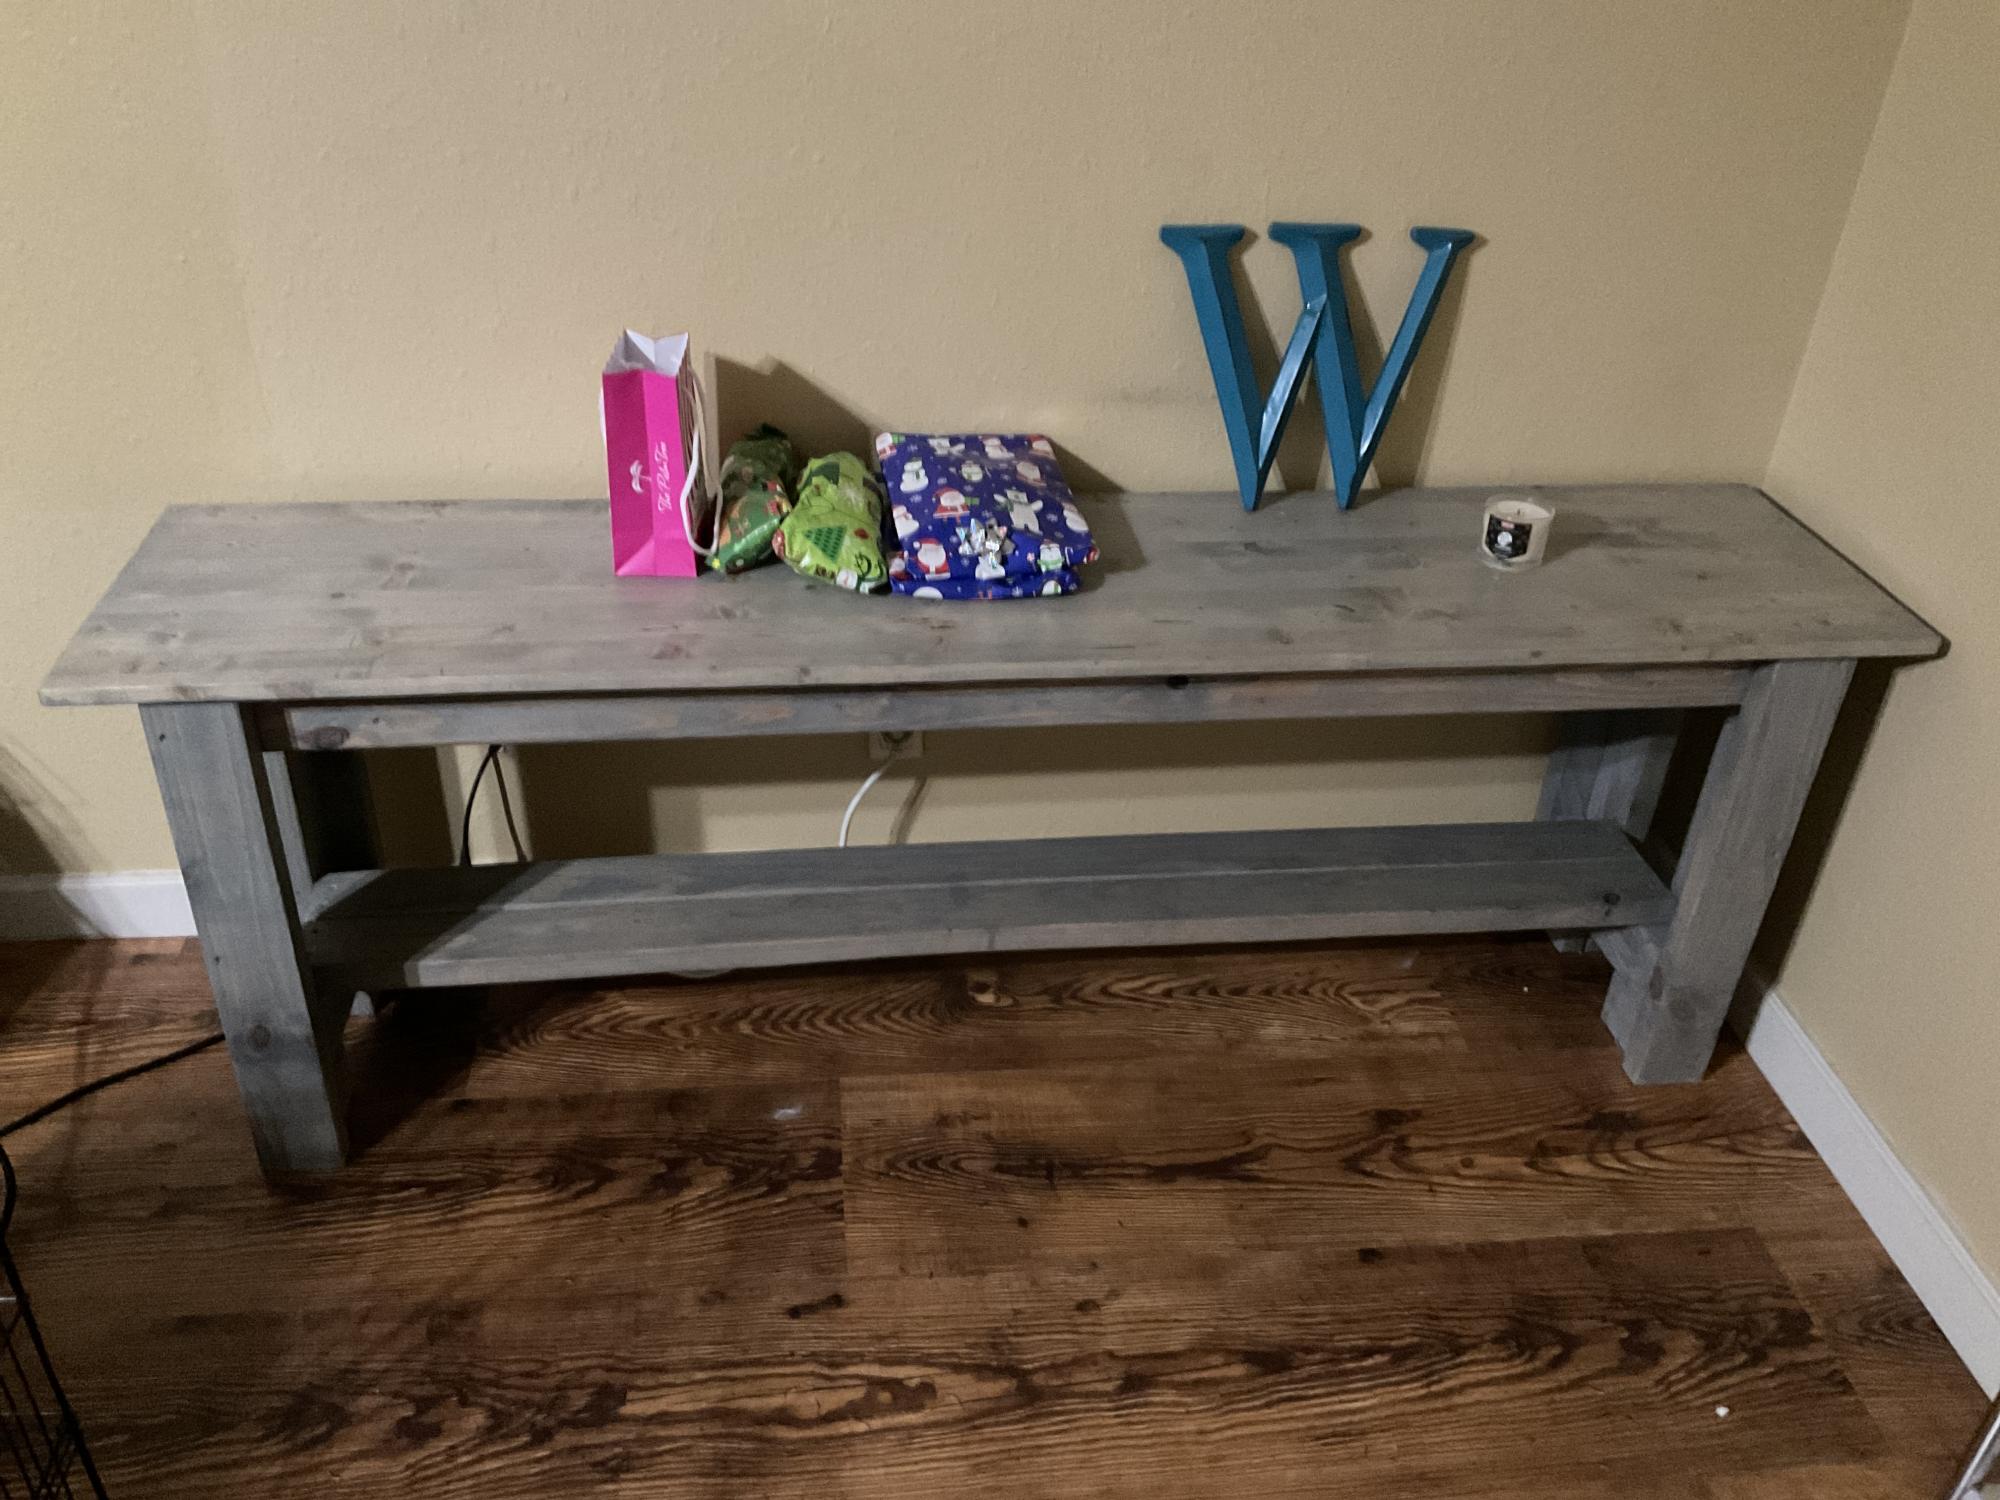
I used your sturdy workbench idea and made it a nice table for behind our couch.
Salsa Console
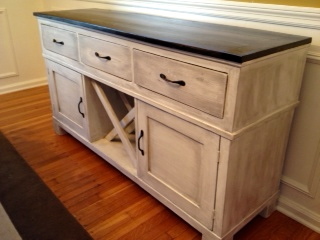
We recently built our version of the Salsa console to use as a buffet/sideboard in our dining room. It turned out beautifully and we couldn't be happier with it! Check out our blog for more details :)
Comments
Jamie's Little Car
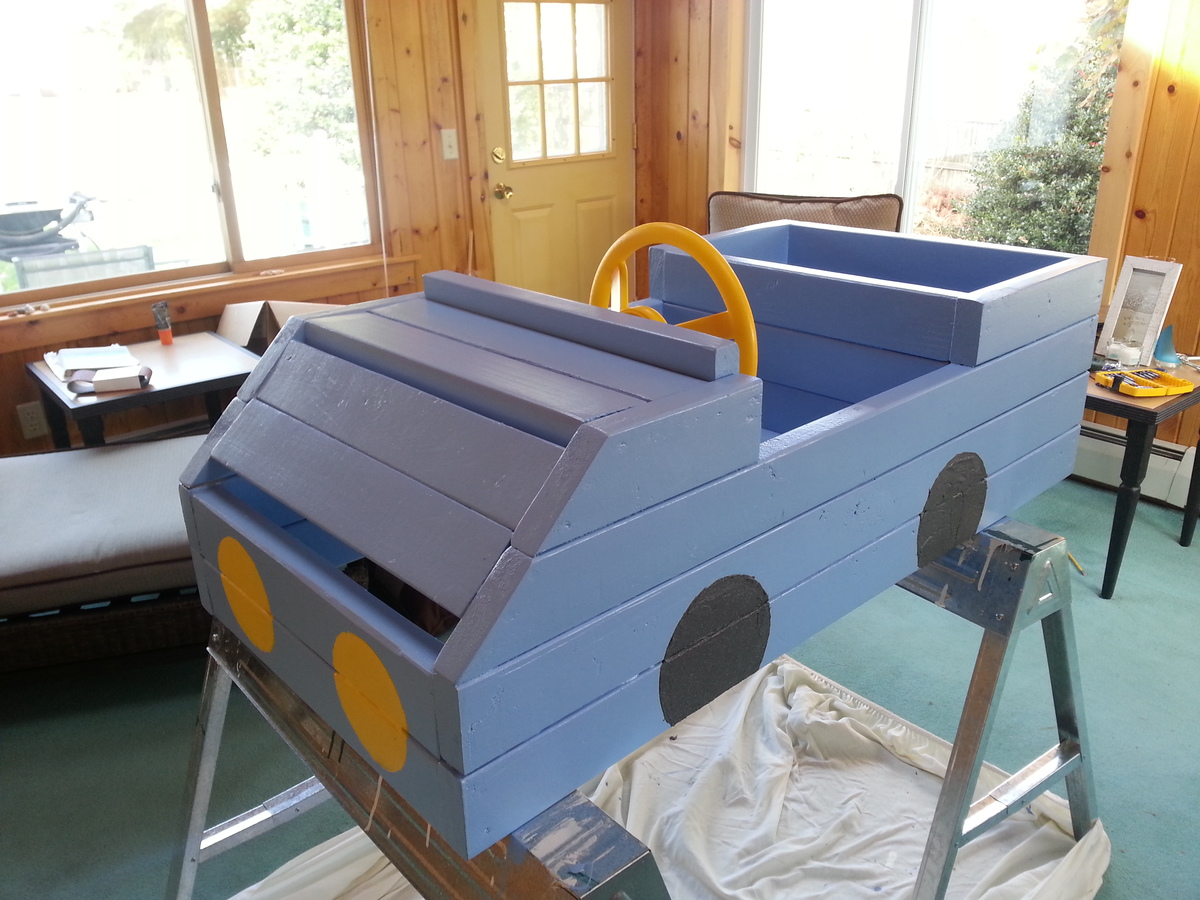
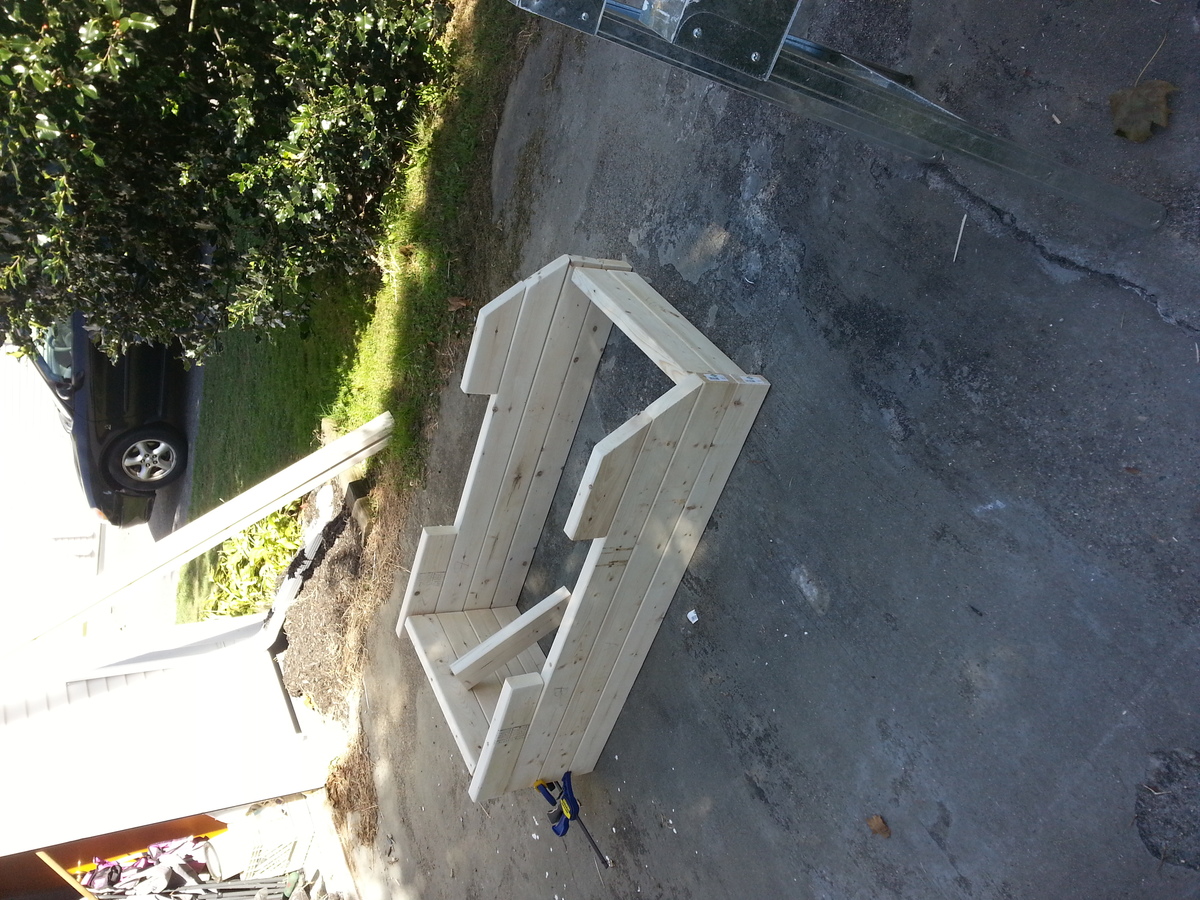
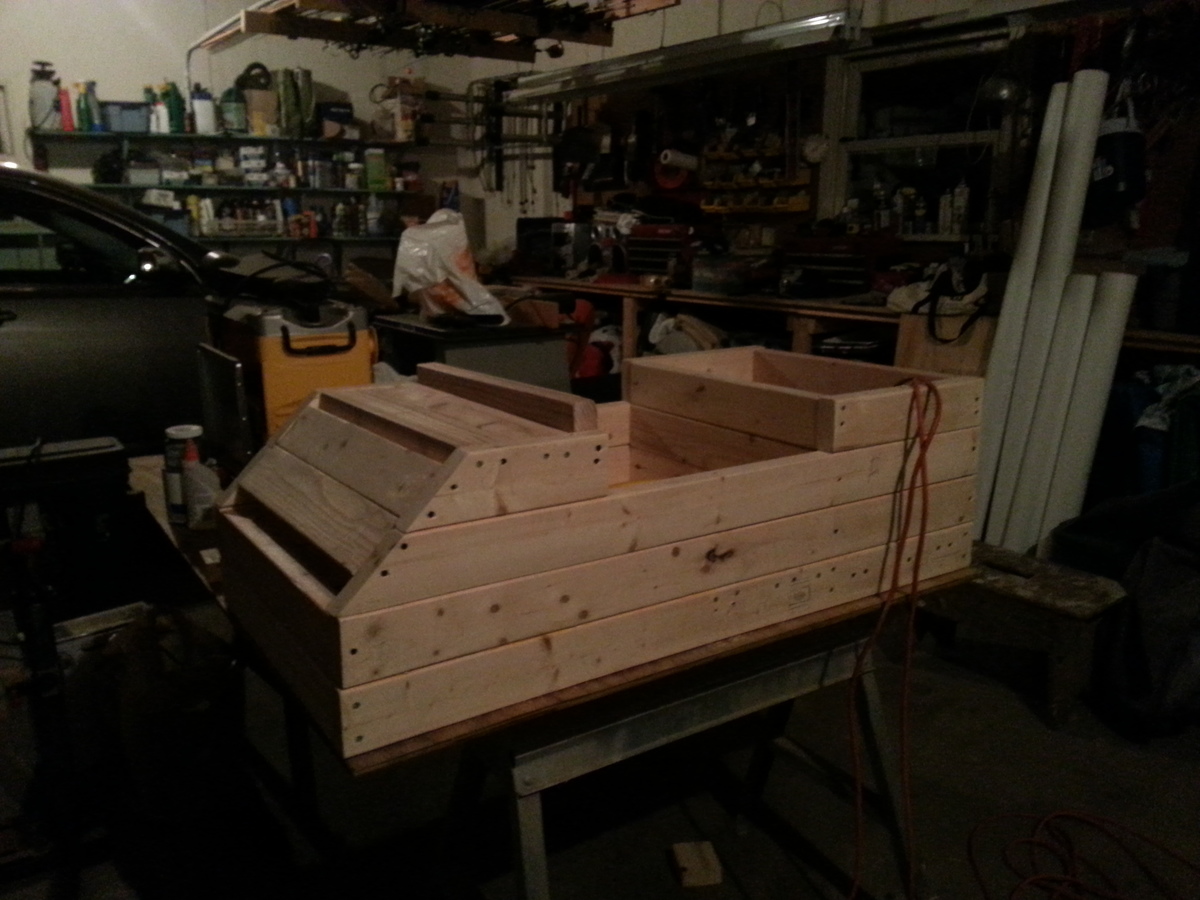
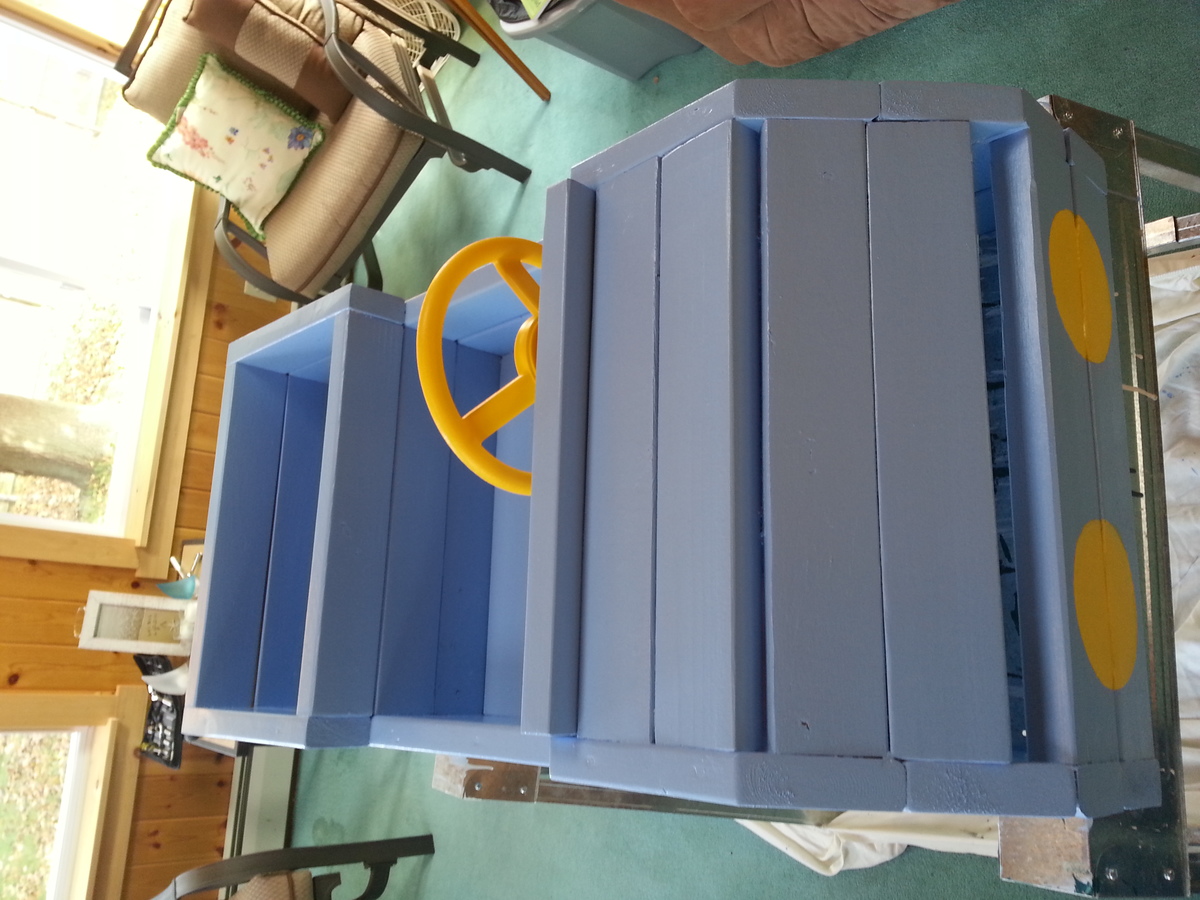
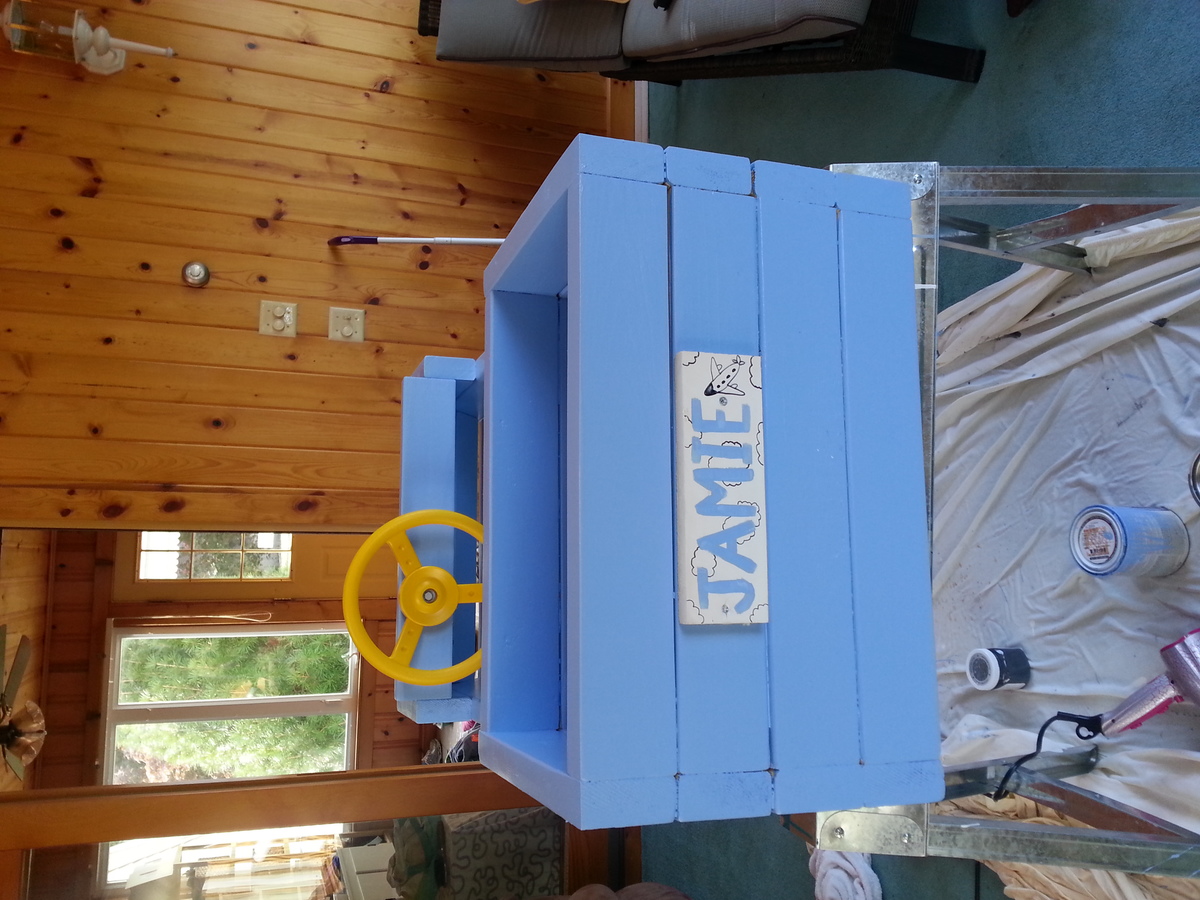
This was my second build (easier than my first project...the Adirondack chair). Its a heavy piece and plenty sturdy as a birthday present for my one year old nephew and his sister and cousins to play on. Bought a plastic steering wheel from amazon.com. the textured paint (Anchor Gray - textured metallic by Martha Stewart was perfect for the wheels). Couldn't find the plans on ana-white but did get them from http://www.morelikehome.net/2012/10/day-26-build-little-car.html?m=1
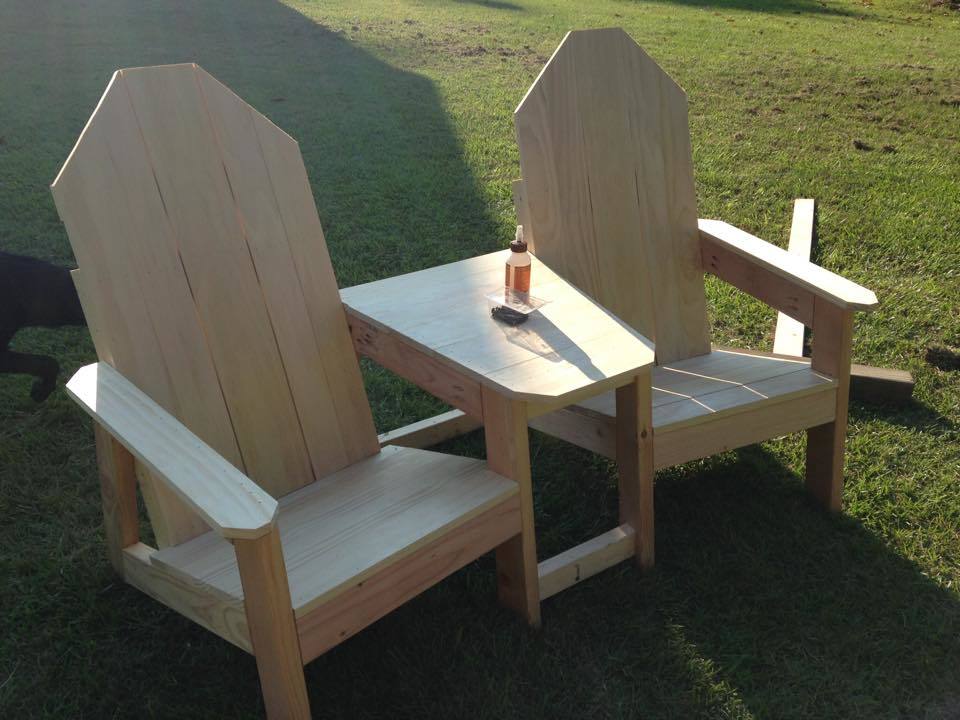
adirondak chair set
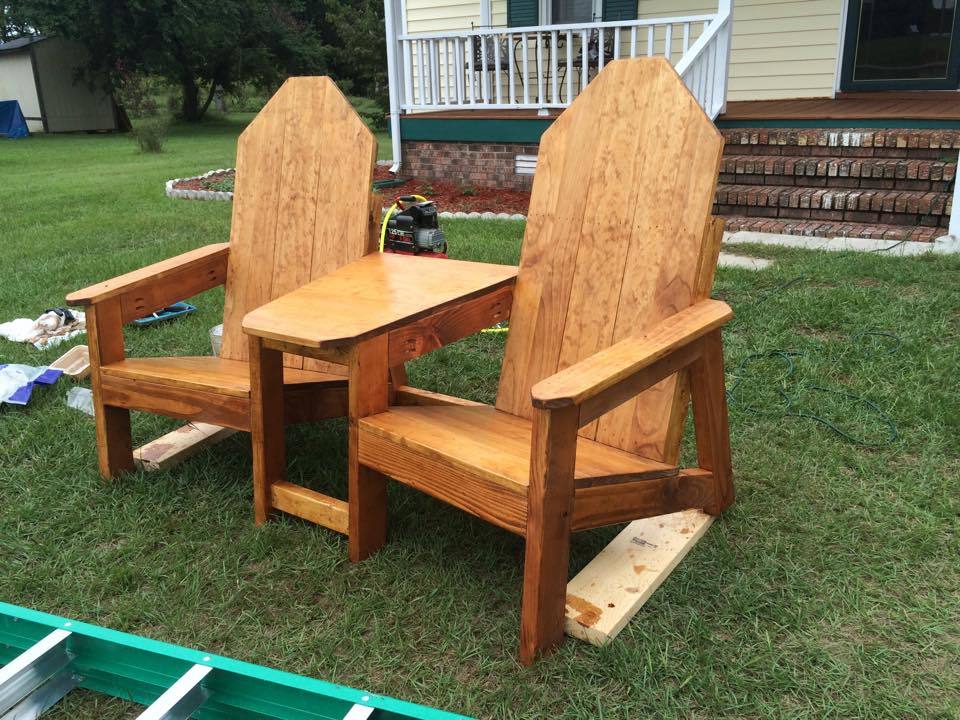
custom set of adirindack chairs i bulit for my deck. they are angled in at 20 degrees. i came up with the plans myself after looking at an older set i had purchased that were falling apart.
Workbench modified with casters
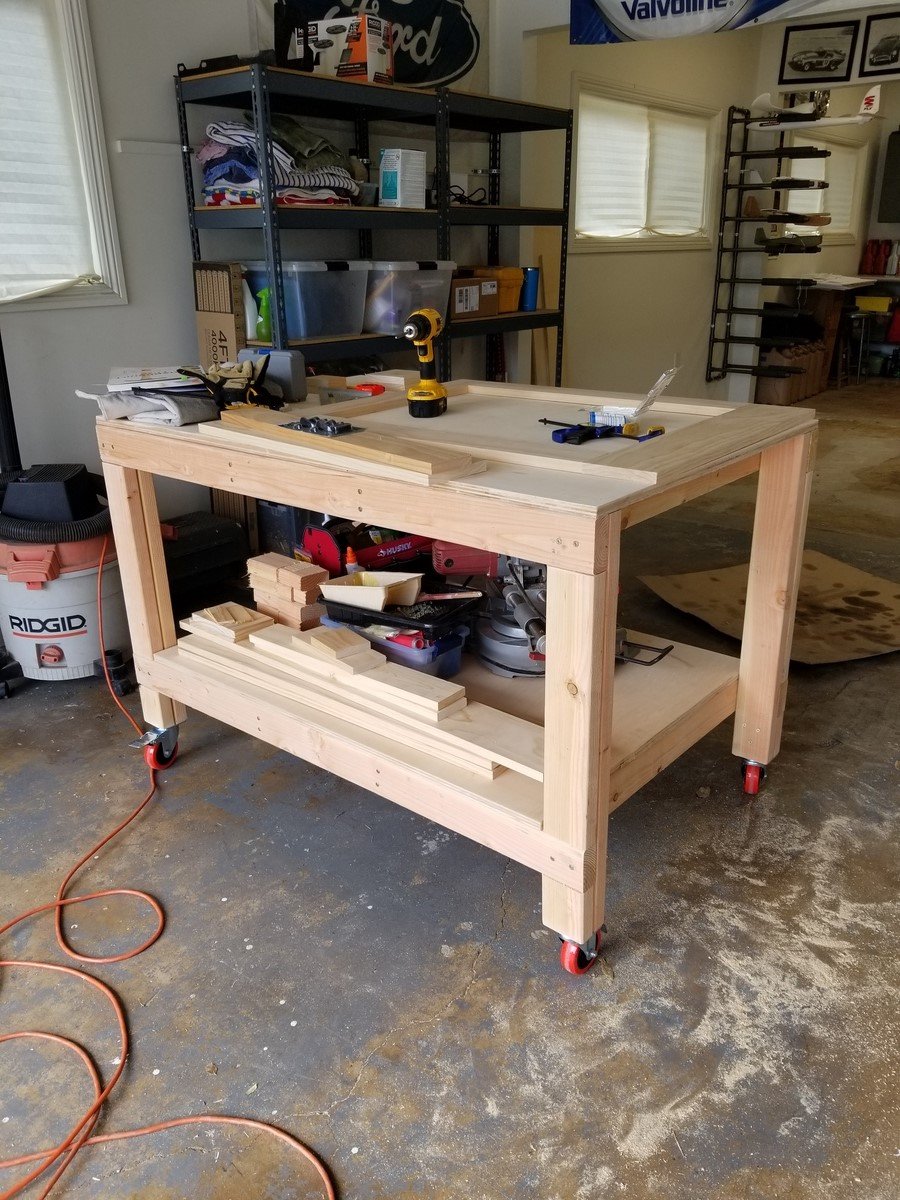
I love this workbench! I added casters so I can move it around the garage, outside, wherever it's needed. I just took 4 inches off the bottom of the legs. My hubby is admiring my handy work and planning on making one for himself.
Comments
Wed, 01/25/2023 - 14:31
So Pretty! Question:
Love this with the casters! So beautiful. I'm new here and wondering at what point you took 4 inches off the legs. Did you build the table and then just cut off the legs? Or did you adjust the measurements of the cuts? Thanks in advance! :)
Mon, 01/30/2023 - 02:32
4-inch is only the height of the wheel itself.
The overall height of a 4-inch caster wheel is a little over 5 inches with the mounting bracket, so that also needs to be taken in to consideration. 2nd photo shows the overall dimensions, but to me the bracket and brake area appear to be a bit more than 1.03 inches. https://amzn.to/3DkMKzB
I think the best bet would be to have and measure the overall wheel height, prior to measuring and cutting the lumber.
Crafting Console
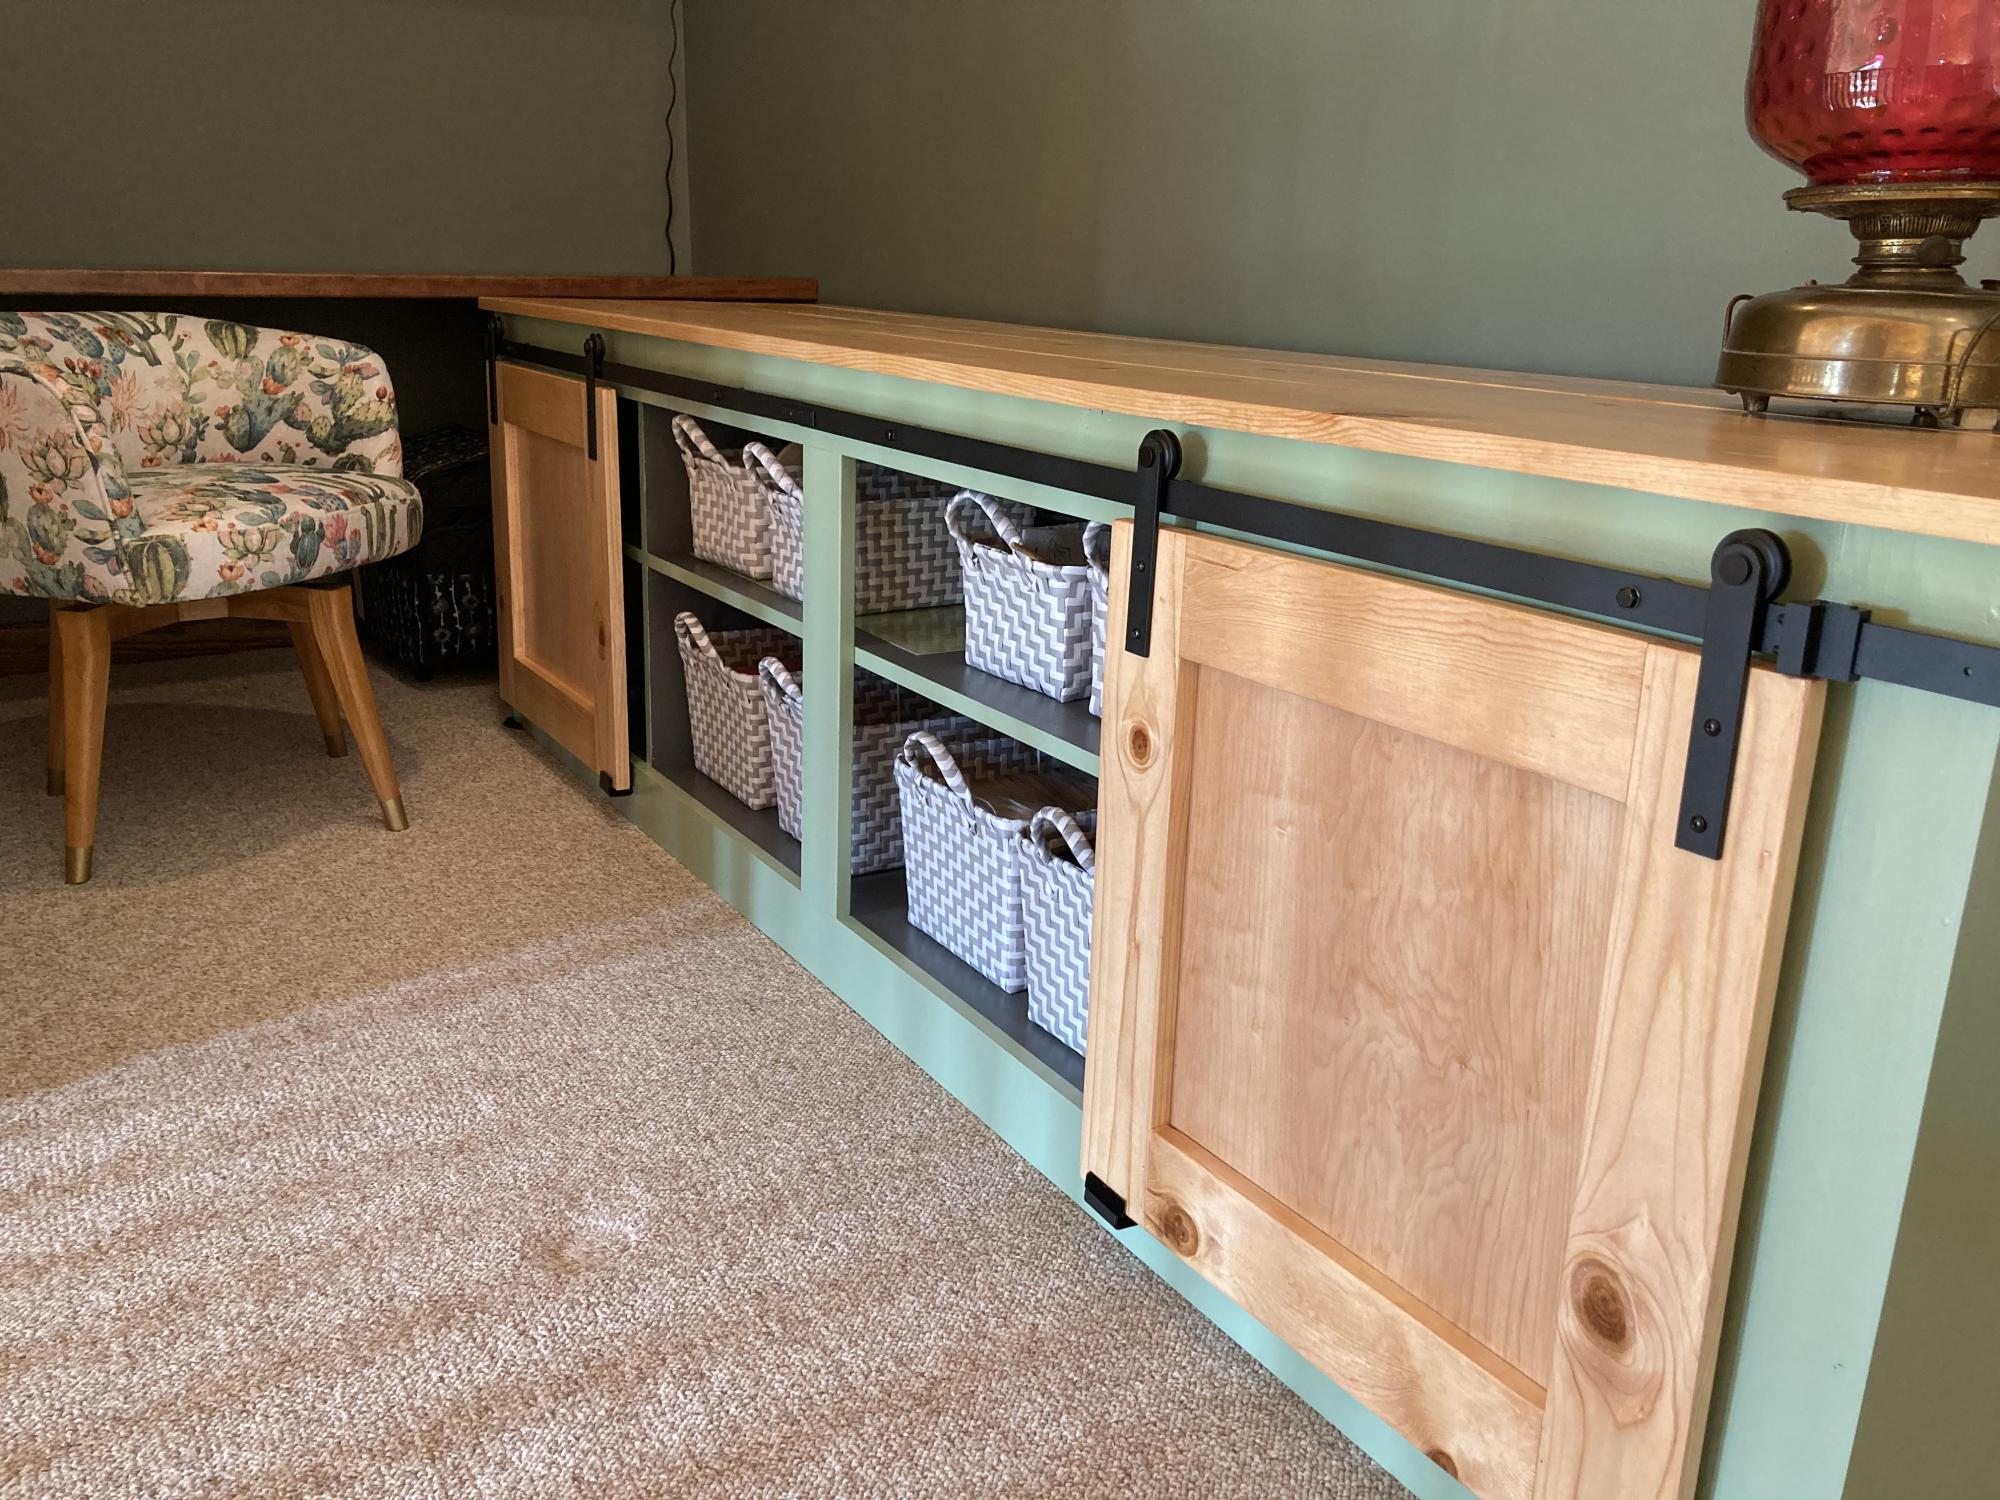
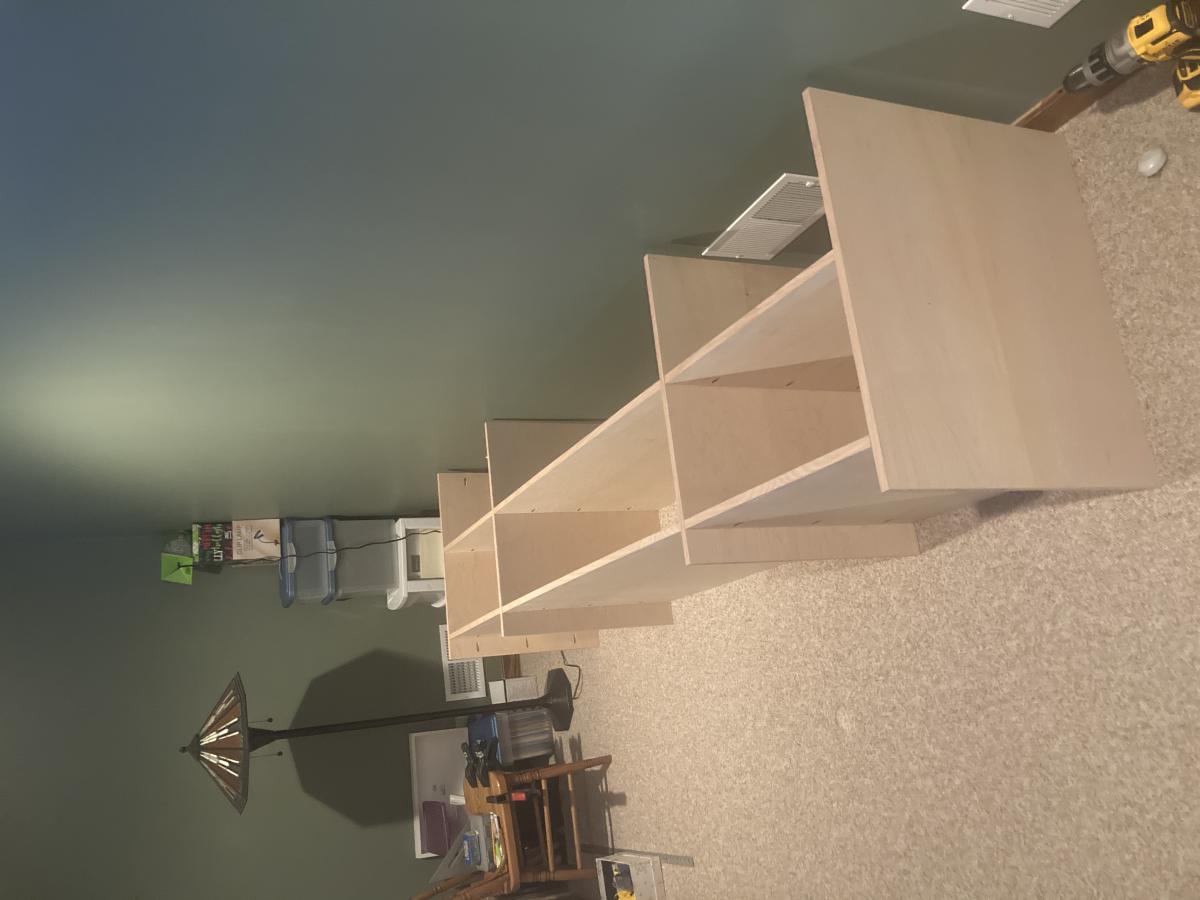
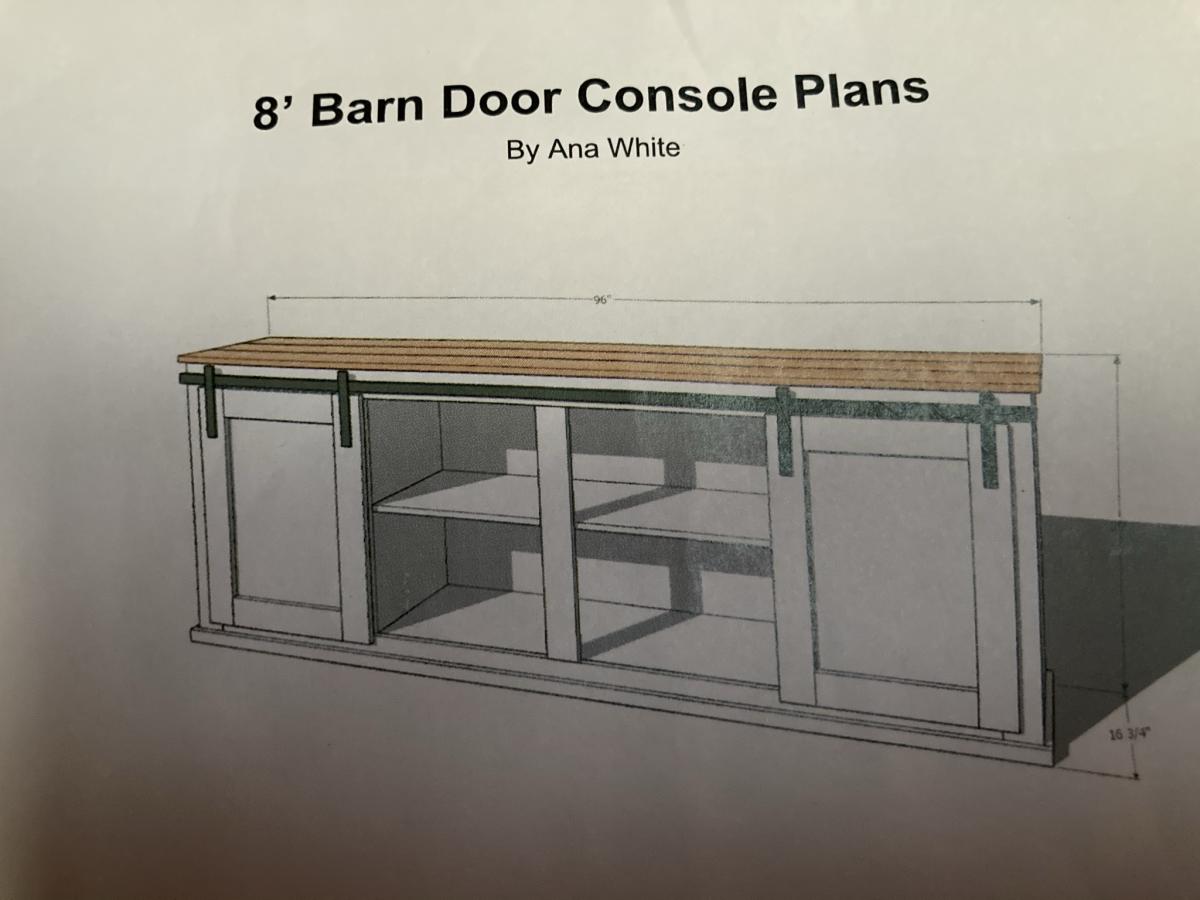
I had a loft space that was not being utilized so I created a crafting space using an Ana White Barn Door Console plan. I just started building furniture 5 years ago using a jigsaw, a miter saw, and a power drill. You are never too old to start
Comments
Convincing My Hubby
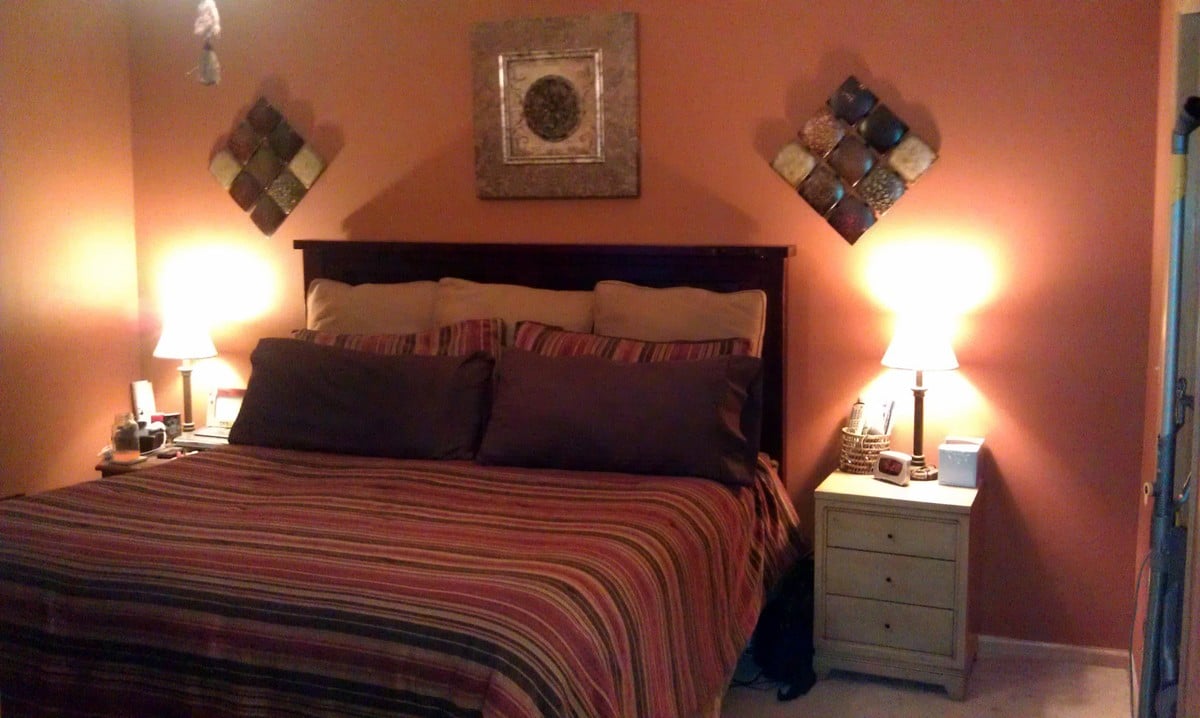
After finally getting my husband on the Ana White bandwagon, He cut all the wood for me and we assembled it in one afternoon. We used plywood instead of the planks, omitted the 2x4, using just the 2x6 on top, and we also attached 1x4s to the front of the "posts" that we made with 2 2x4s to cover the seam. I took about 2 or 3 days to sand and stain it and now he wants to build more!
