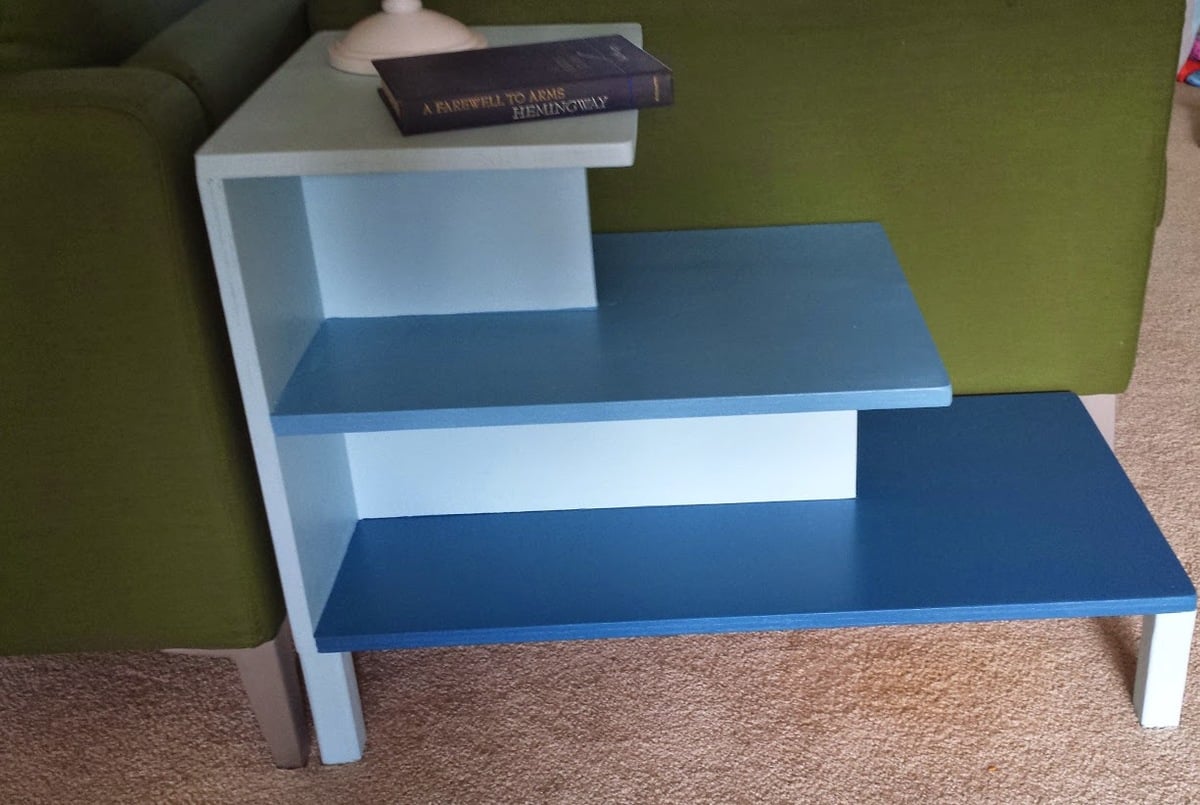
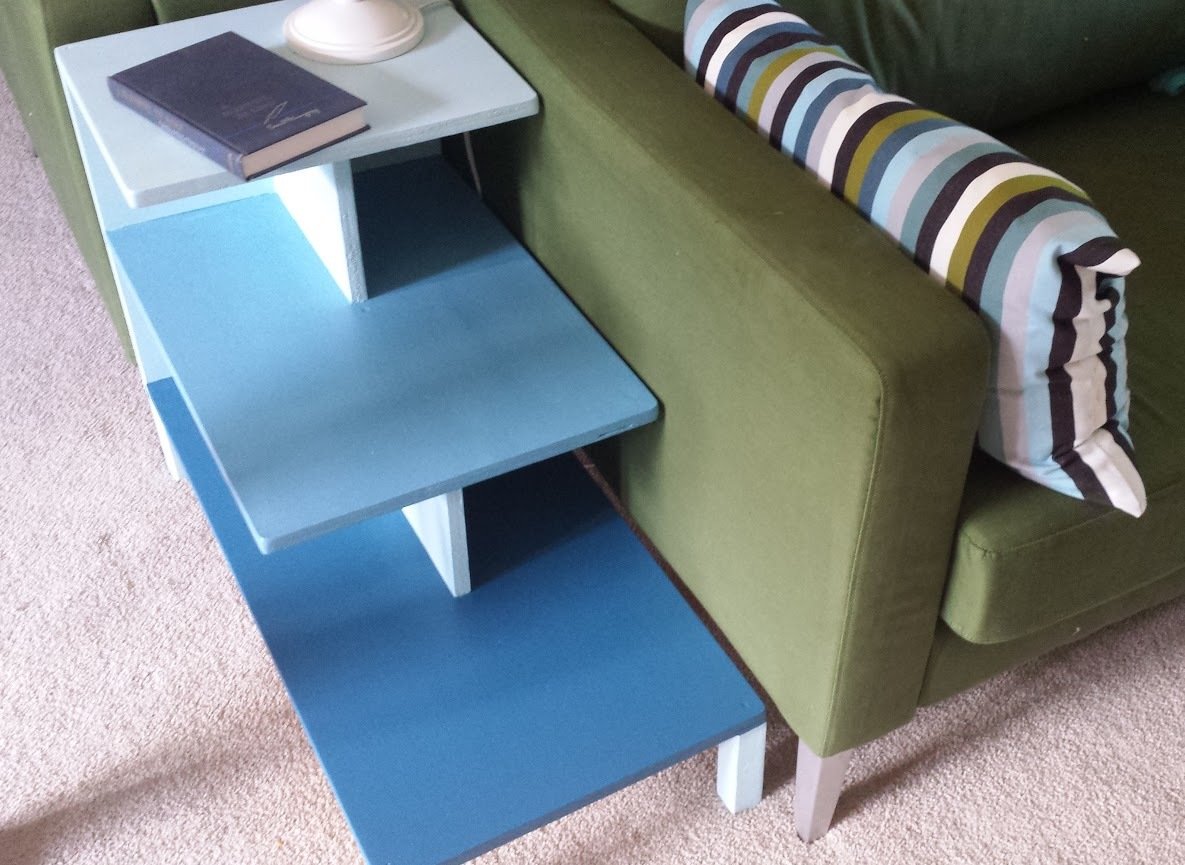
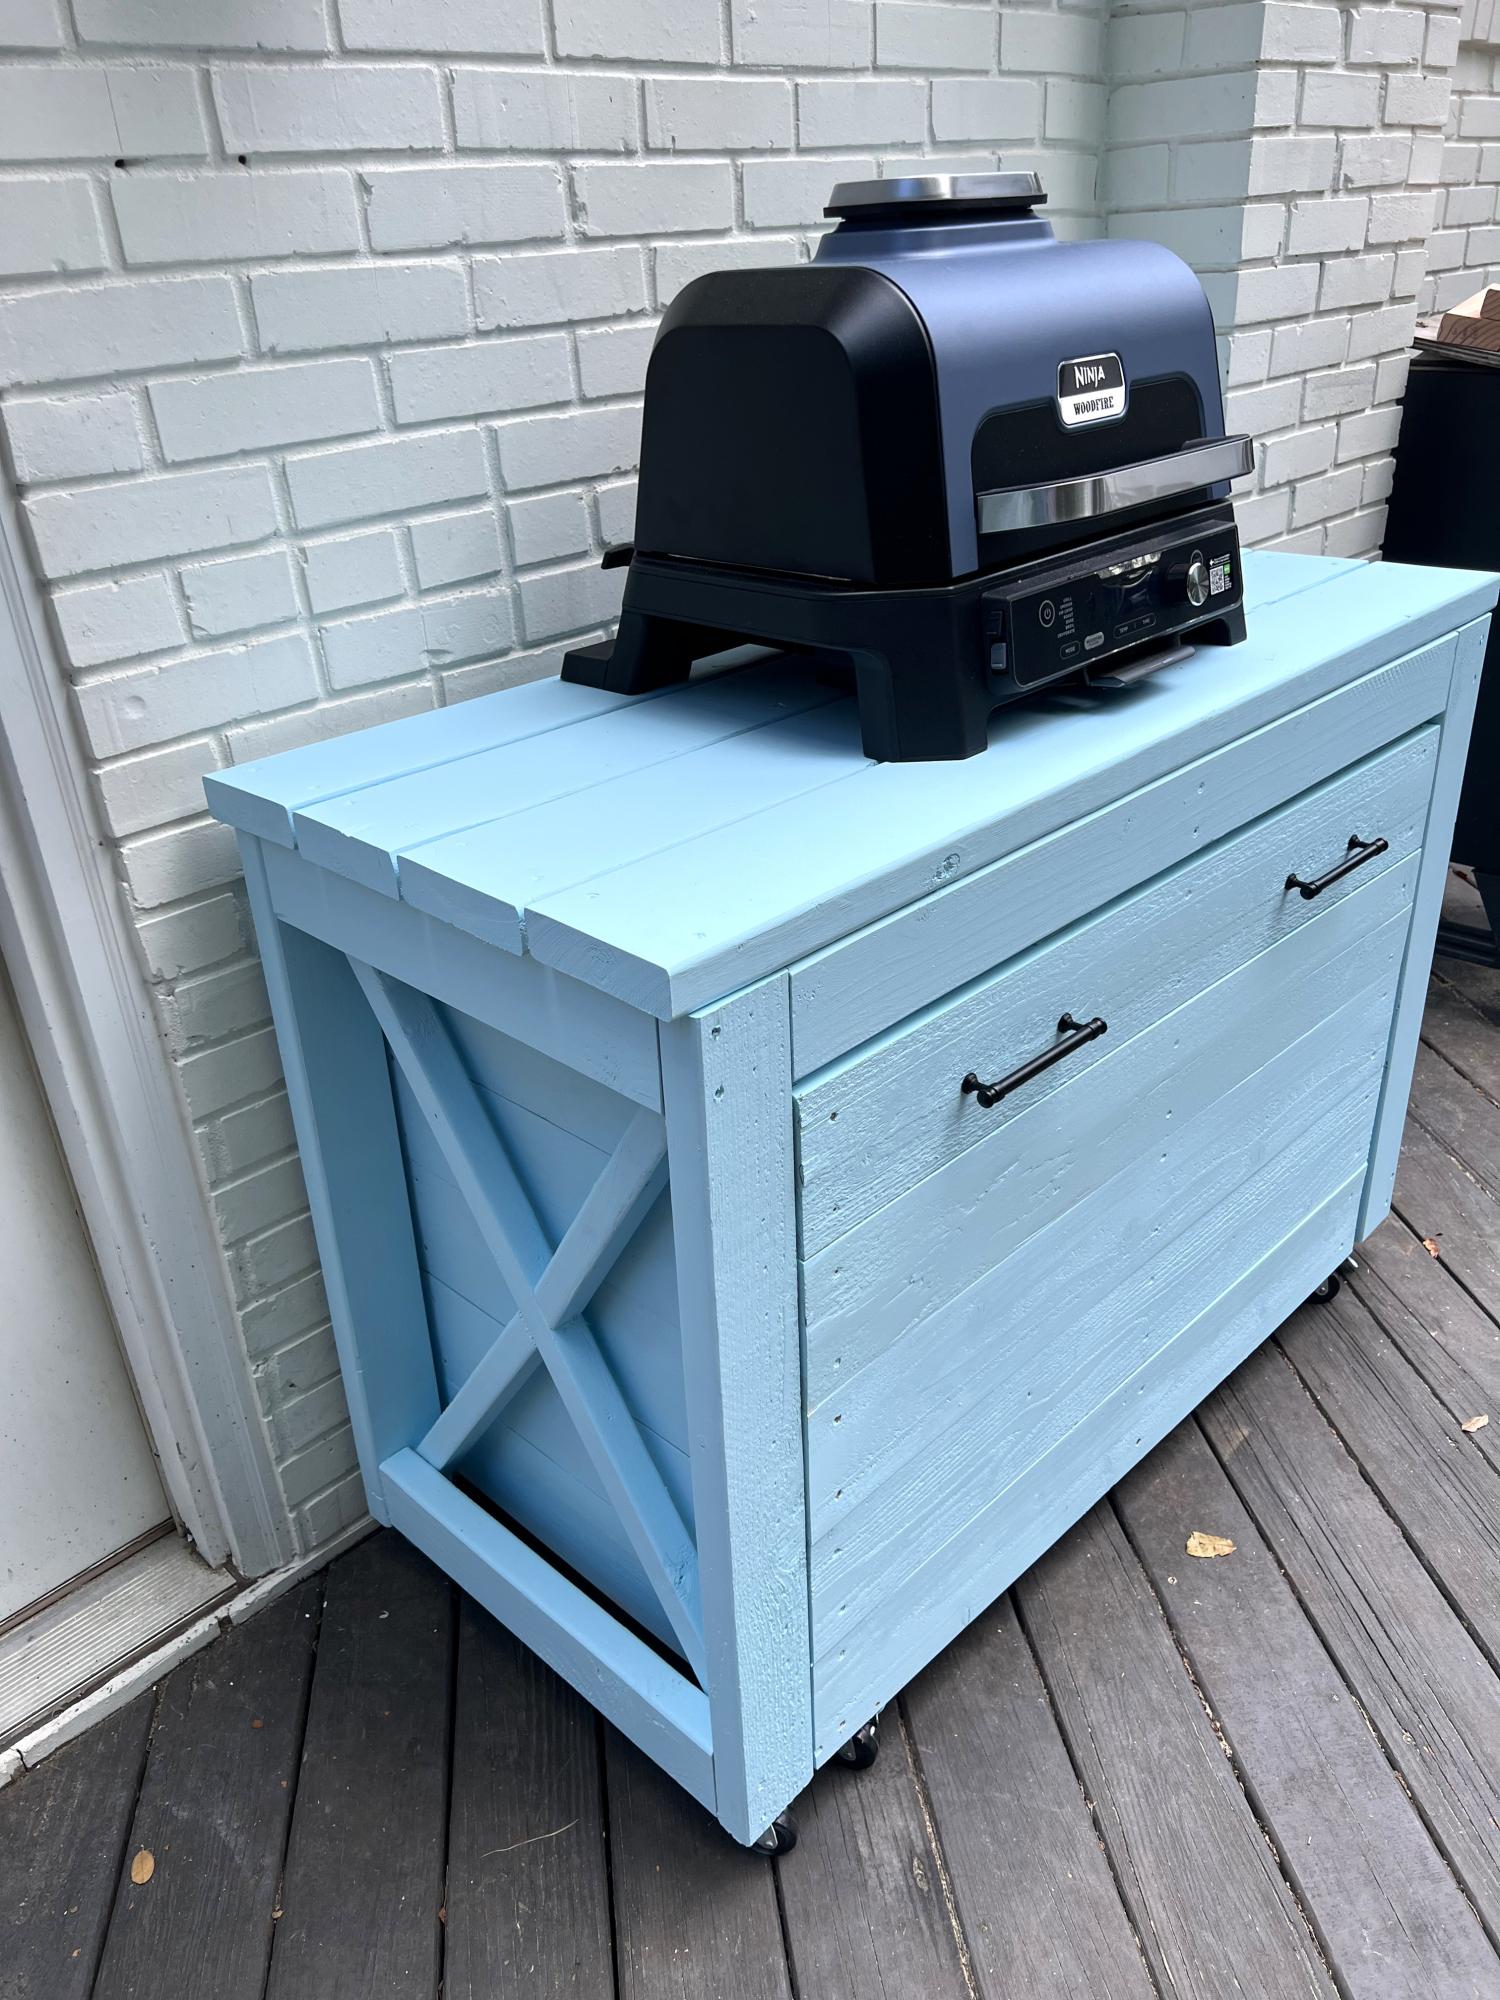
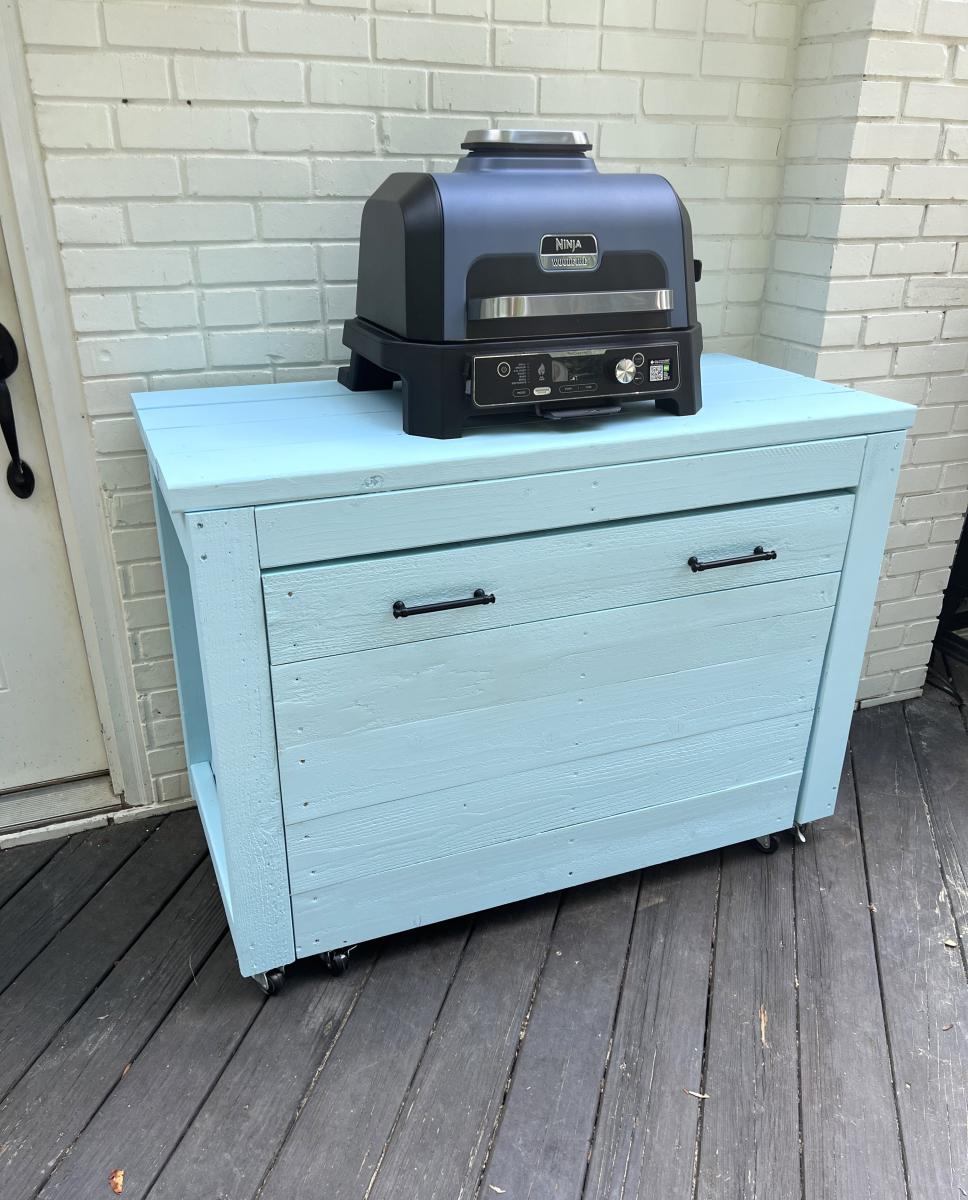
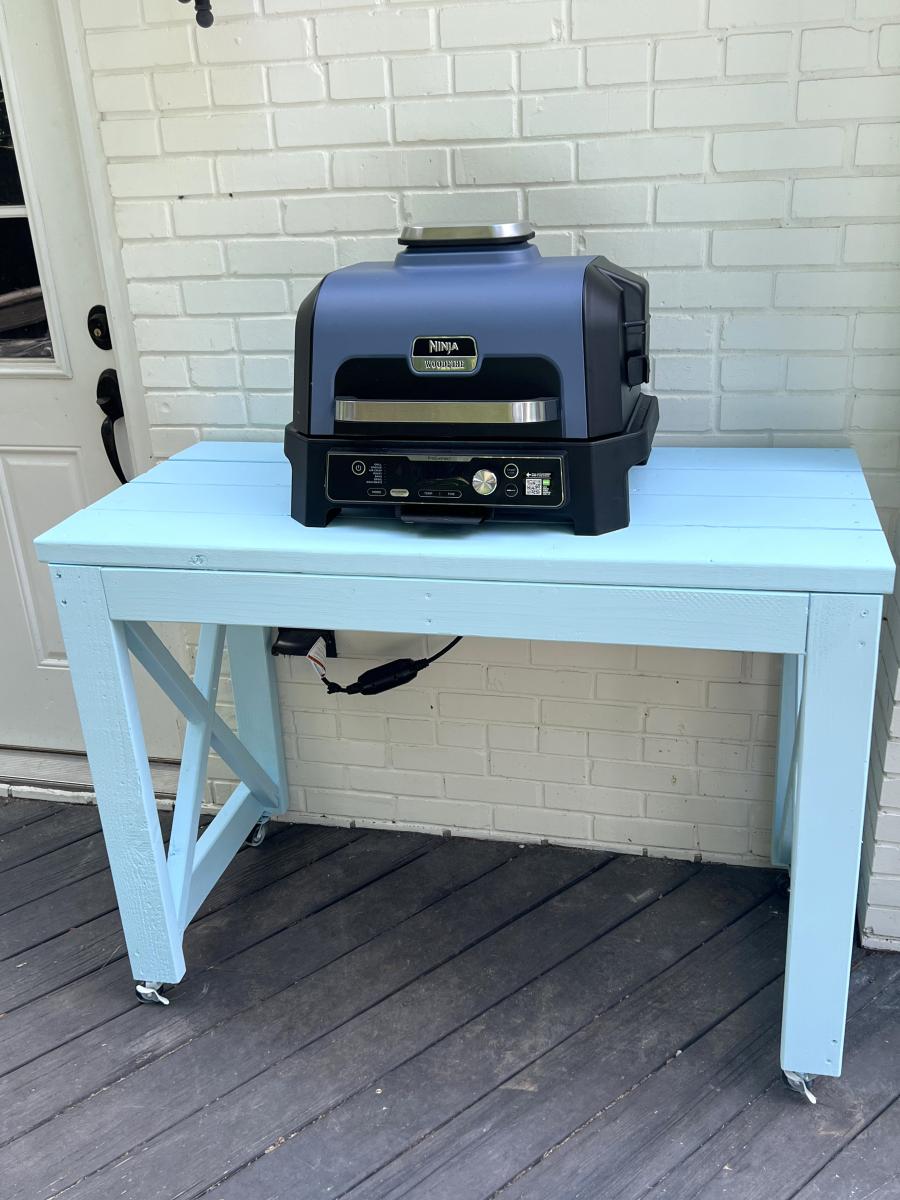
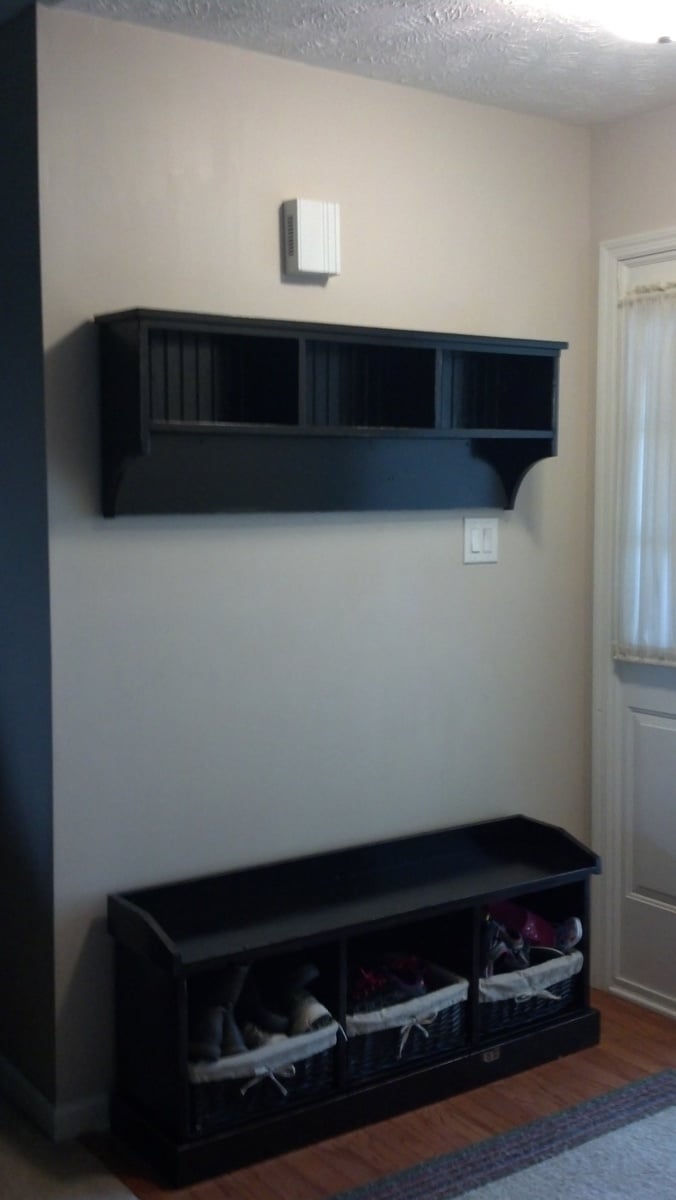
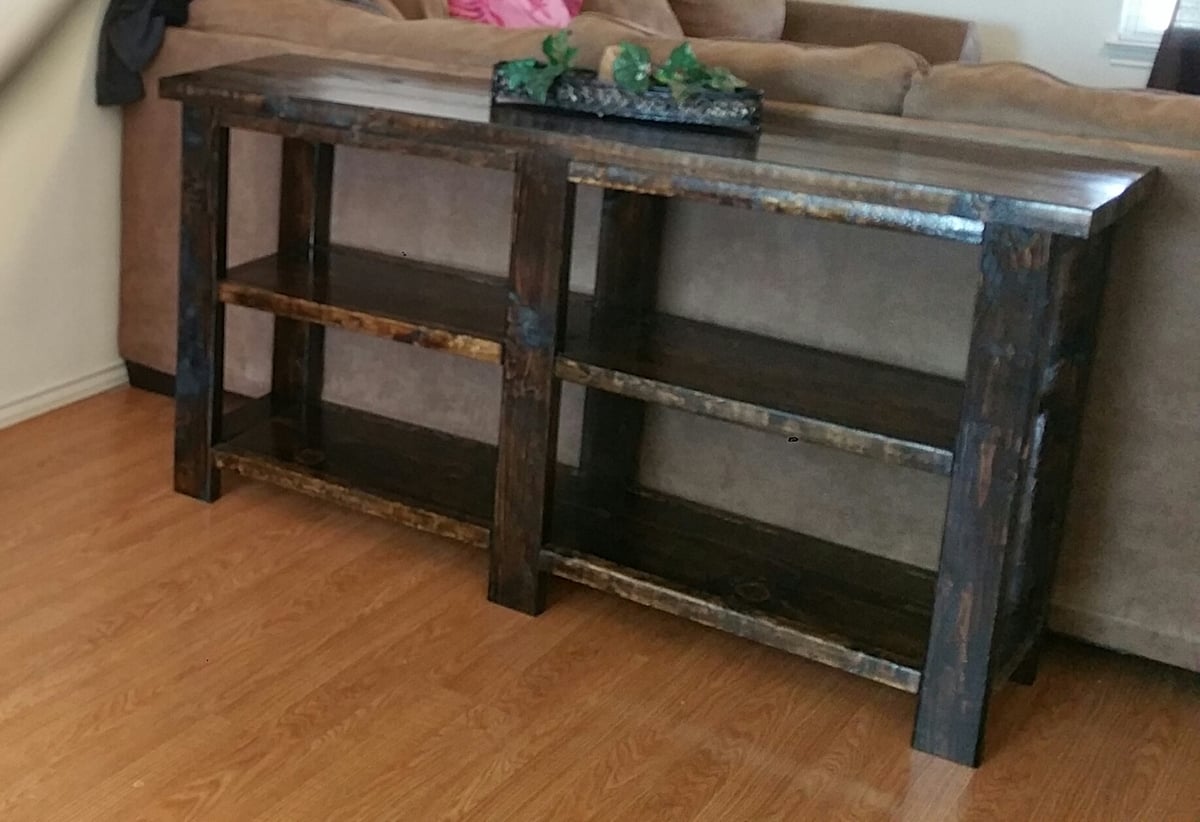
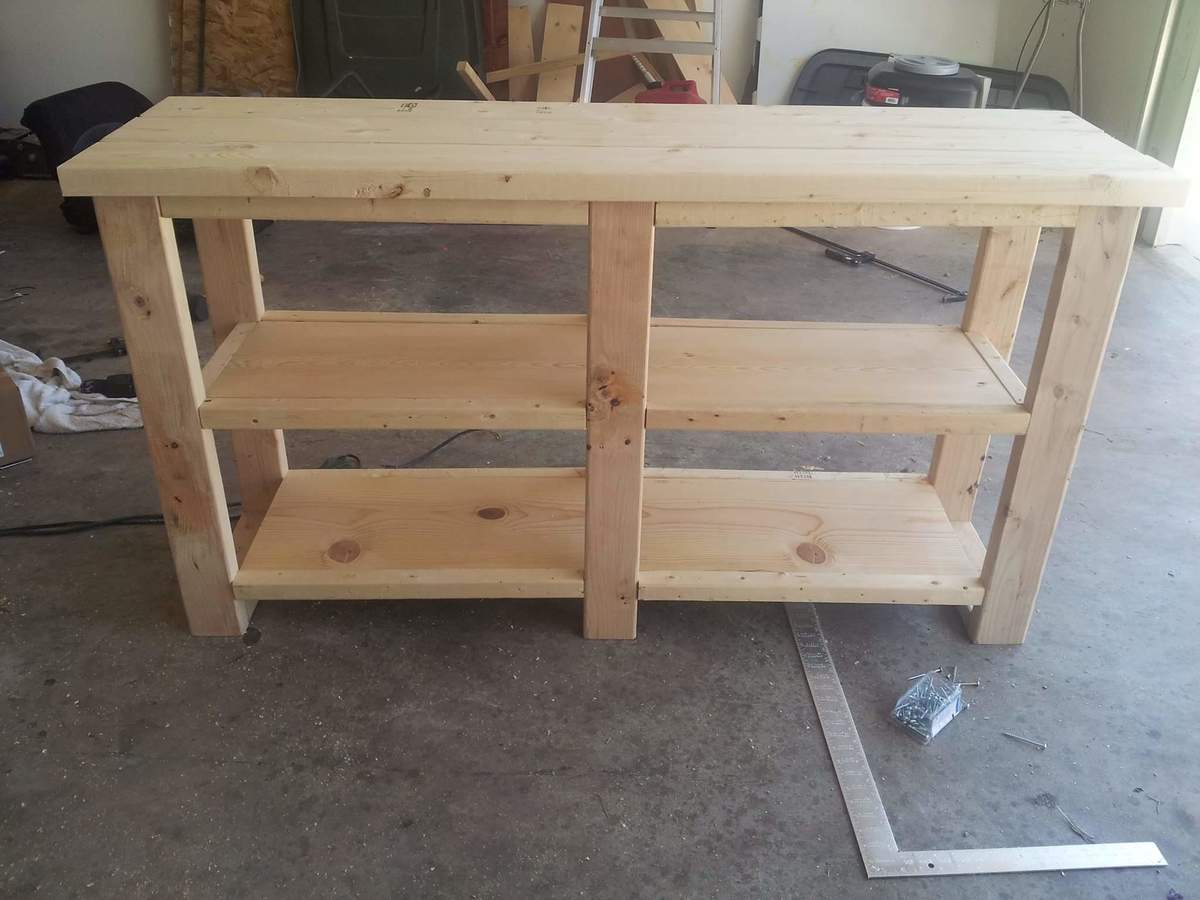
Balin Console Table with a twist
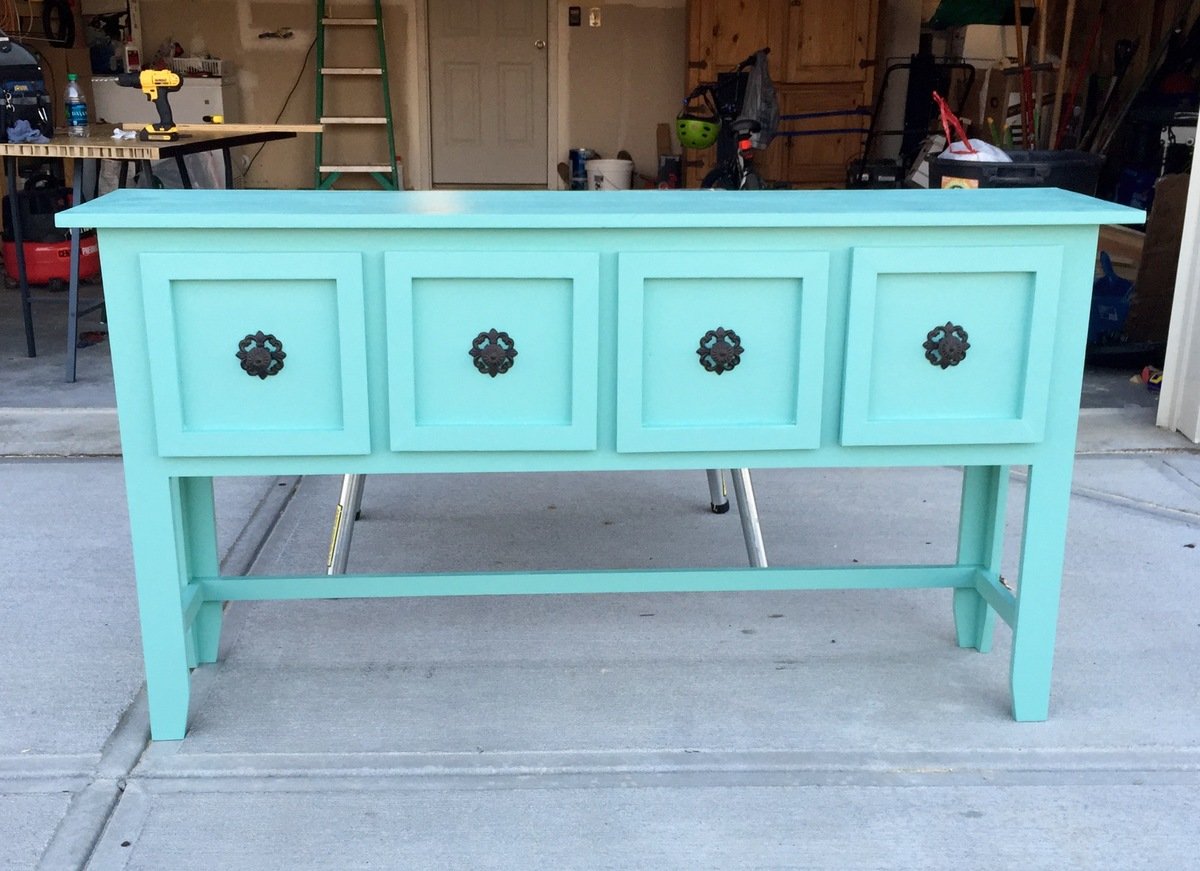
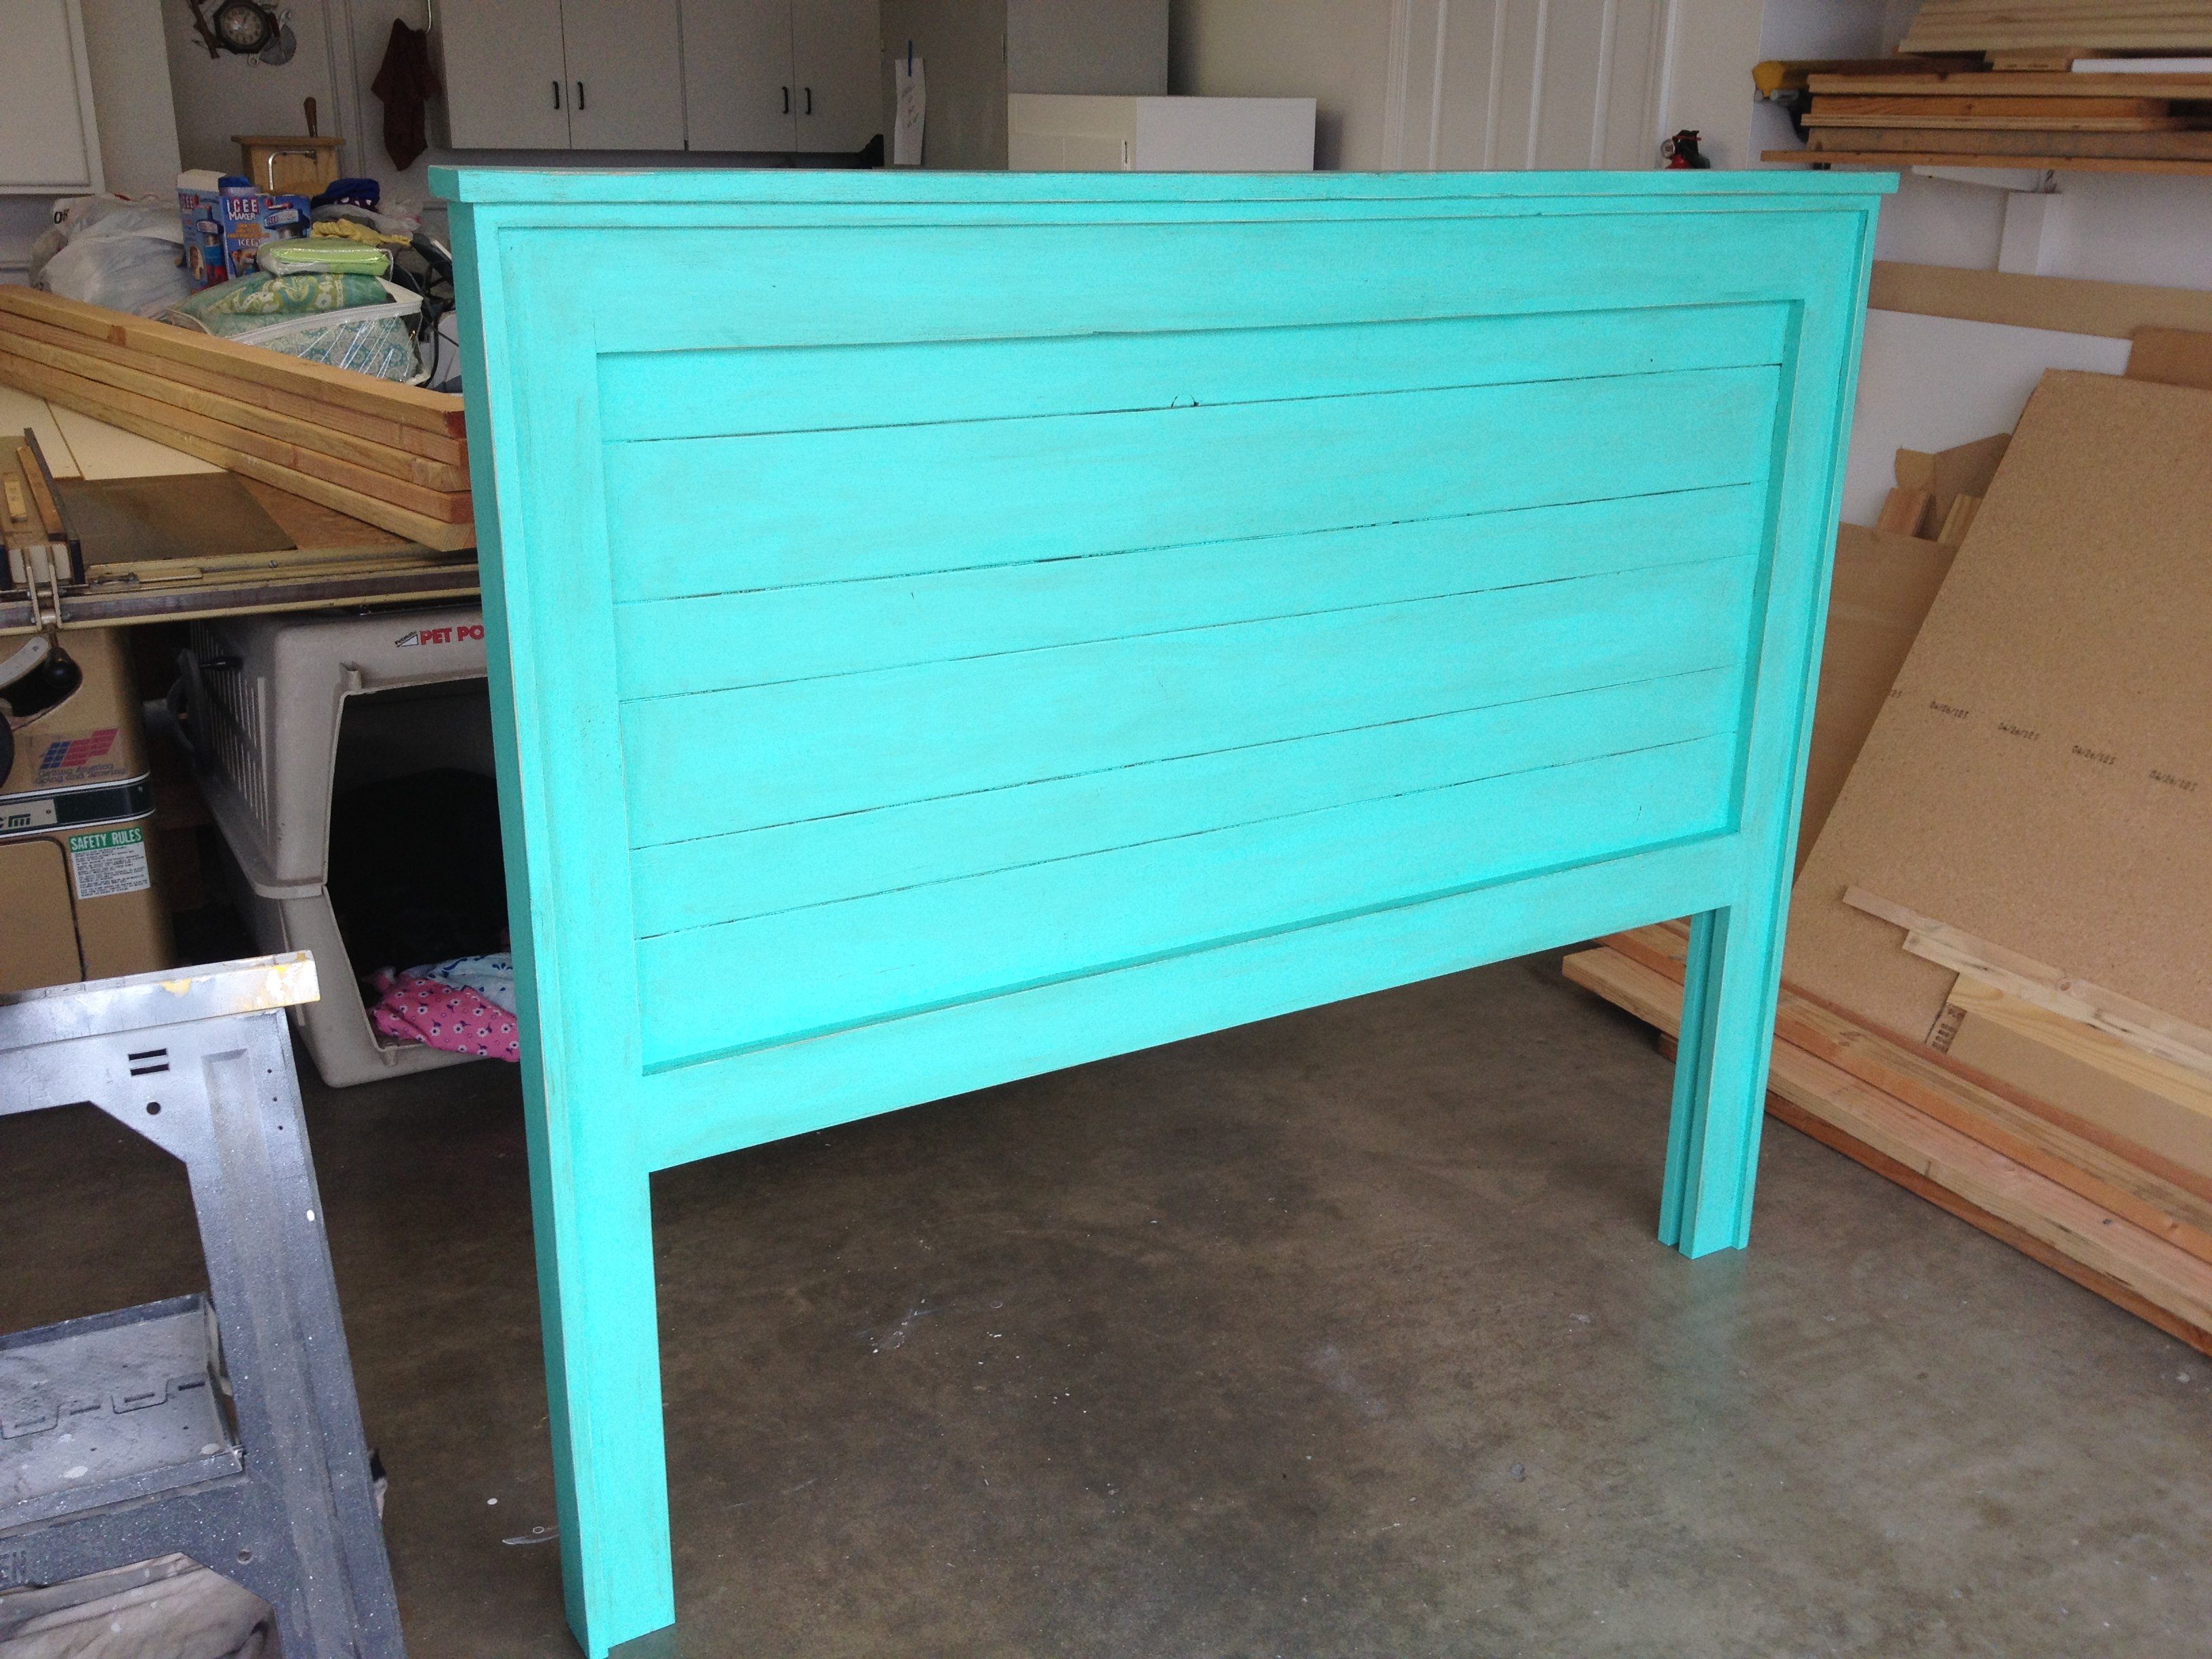
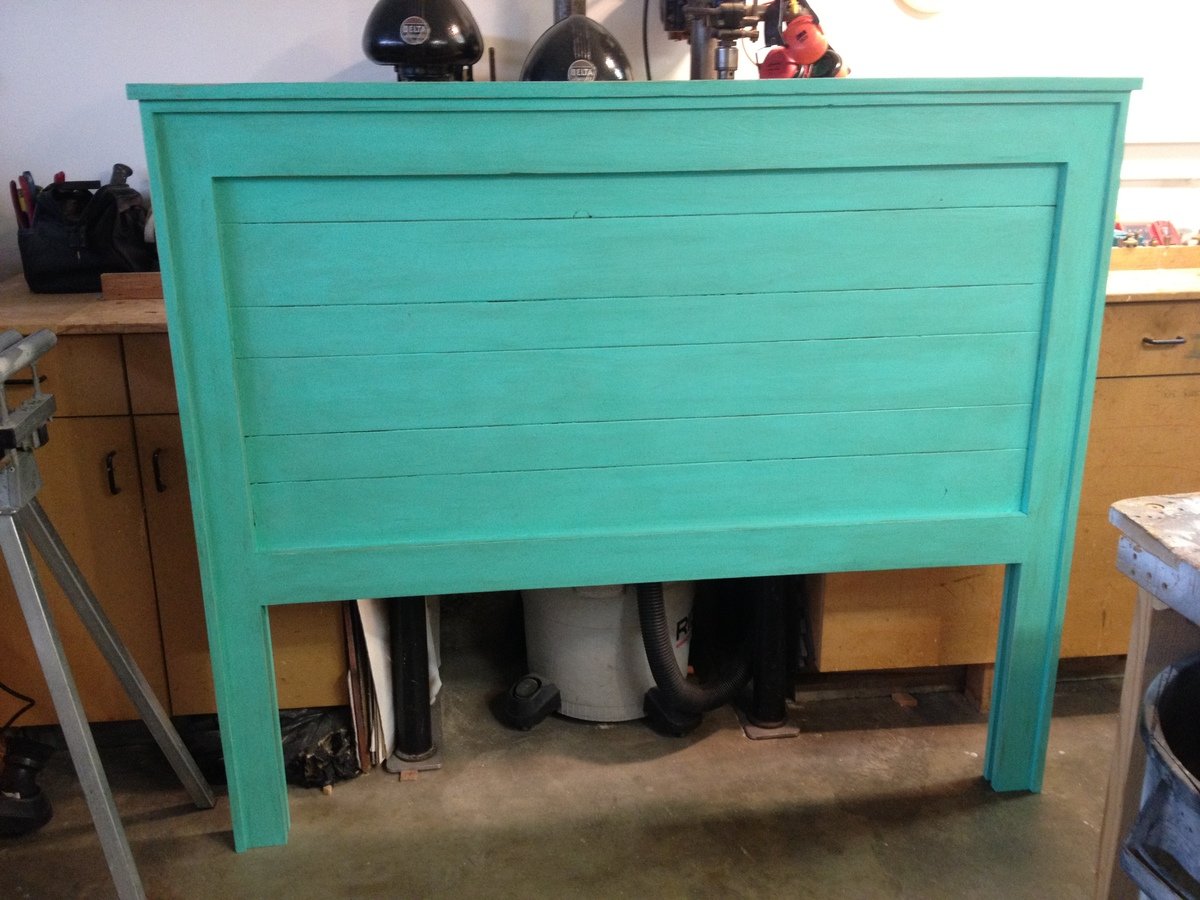
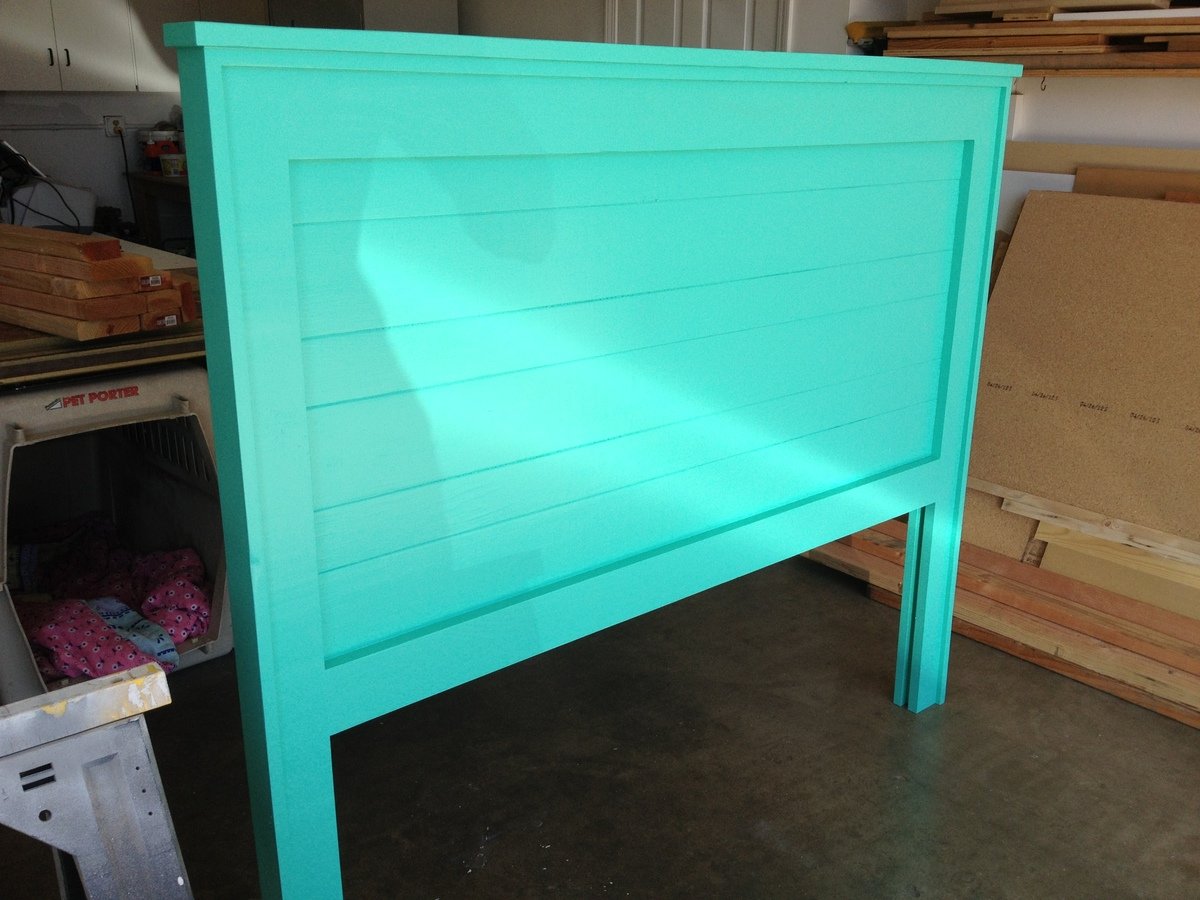
We needed an entry way table with storage. The Balin Console Table was the perfect size for our needs. I modified the drawers by attaching a wood frame around each one. I decided to taper the legs with my mitre saw. The hardware was purchased at Pottery Barn ($4/each) and the color is Valspar Turquoise / Gray - Semi Gloss. I extended the leg length 6" to make the cabinet counter top heigth (plans call for a table heigth).
Project was easy (8 hours) from construction to finish.
One advantage I had was using a sliding power mitre saw with a 12 1/4" cross cut for the 1x12 material. It's possible to get a decent cut with a circular saw but the sliding compound mitre saw definitely makes that portion of the project go much quicker.
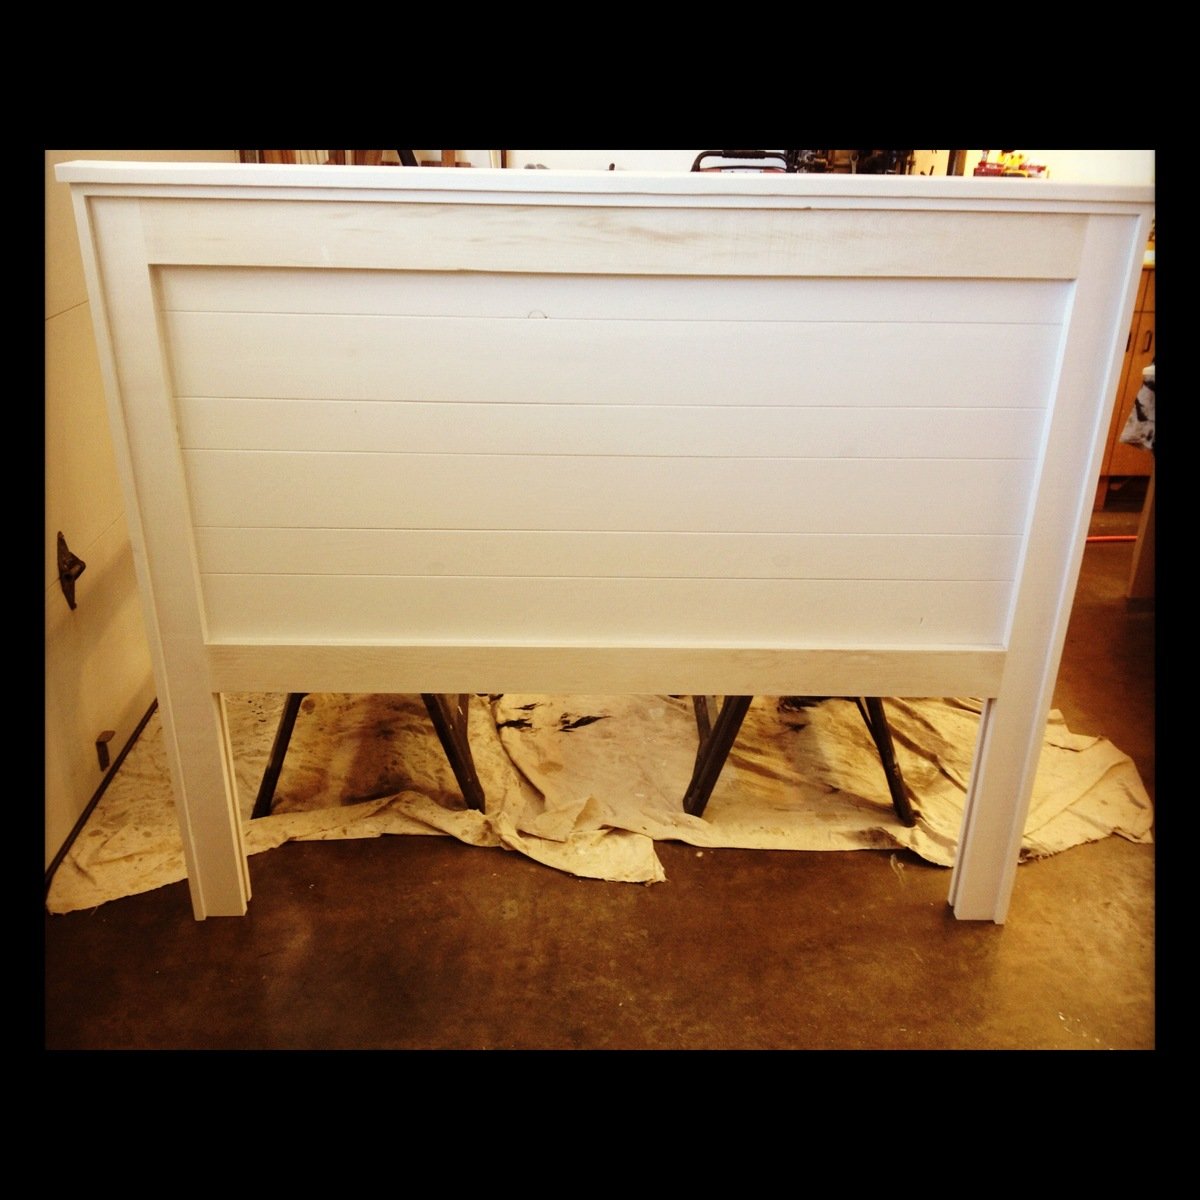
For best results, I recommend finish sanding with 220 grit and 2 coats of paint rubbing with steel wool after first paint application.