Community Brag Posts
Free Standing Barn Door Cabinet
I needed a pantry cabinet for my walk through kitchen (I have a generic 1970's ranch with a walk through kitchen--10' wide and the dining area is small, so I wanted lots of storage with minimal depth) and I am a big fan of cabinetry that looks like furniture--when I saw this project, I knew I had to make it.
I enlisted the help and guidance of my 73 year old Mom----she has been making things for years and has an entire basement full of all the woodworkig machines I will ever need. We started this project about a month ago and have been working at it on and off since (my Mom is a thinker and has lost sleep over a few issues we ran into, but the final design is AWESOME! Thanks Mom!).
I would have loved a much wider cabinet, but the wall I will be putting it on had a few items that I did not want to move or cover up (light switches & a cold air return). I ended up making the cabinet 89" tall (my ceilings are only 91") and 57.5" wide (I'm a stickler for symmetry and I wanted the white space on either side of the cabinet to be the same. This project took a couple of weeks to complete due to work, kids, pets, etc). I just had my son and better half carry it in tonight and it fits perfectly----now to clear out all my upper cabinets and start taking them down so I can fix my ceiling and start making my kitchen cabinets!
Thanks Anna!
Comments
Wed, 12/12/2018 - 22:35
So amazing!!! Love hearing
So amazing!!! Love hearing about your mom too! Thanks for sharing a photo!
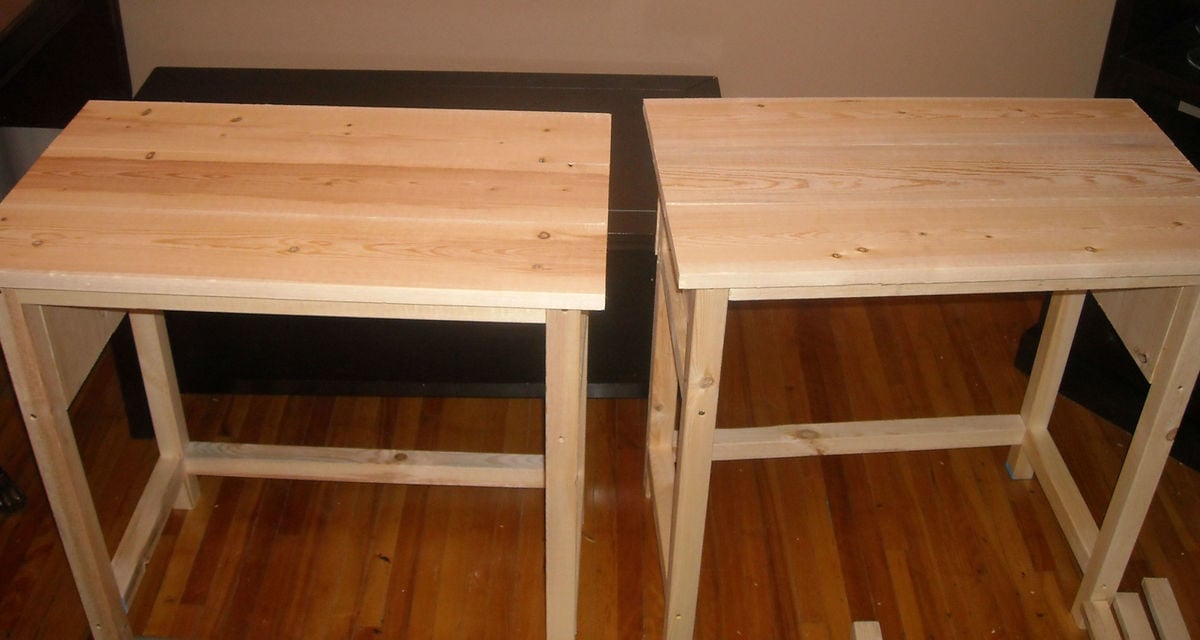
Our Farmhouse Bedside Table
Our first project
Comments
Rustic X Console
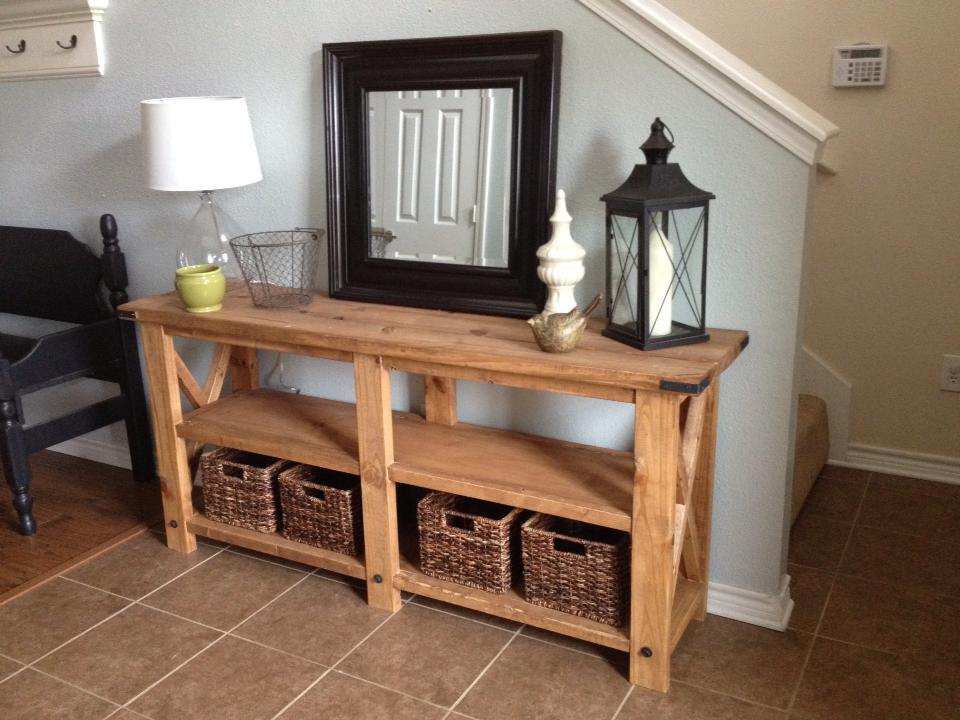
So I needed a bigger entry way table for our new house and this one fit my style and I love it! Mine is only 5.5' long so I did have to do some remeasuring. If you also need yours to be 5.5' my measurements were 5.5' for the top 2x6 pieces then the the two bottom shelves are 55" and the 12 (6 for front 6 for back) 2x2 pieces are 26". All of the other measurements stayed the same. Also I already had everything else besides wood so just the wood cost me $75.
Comments
Lemonade Cart
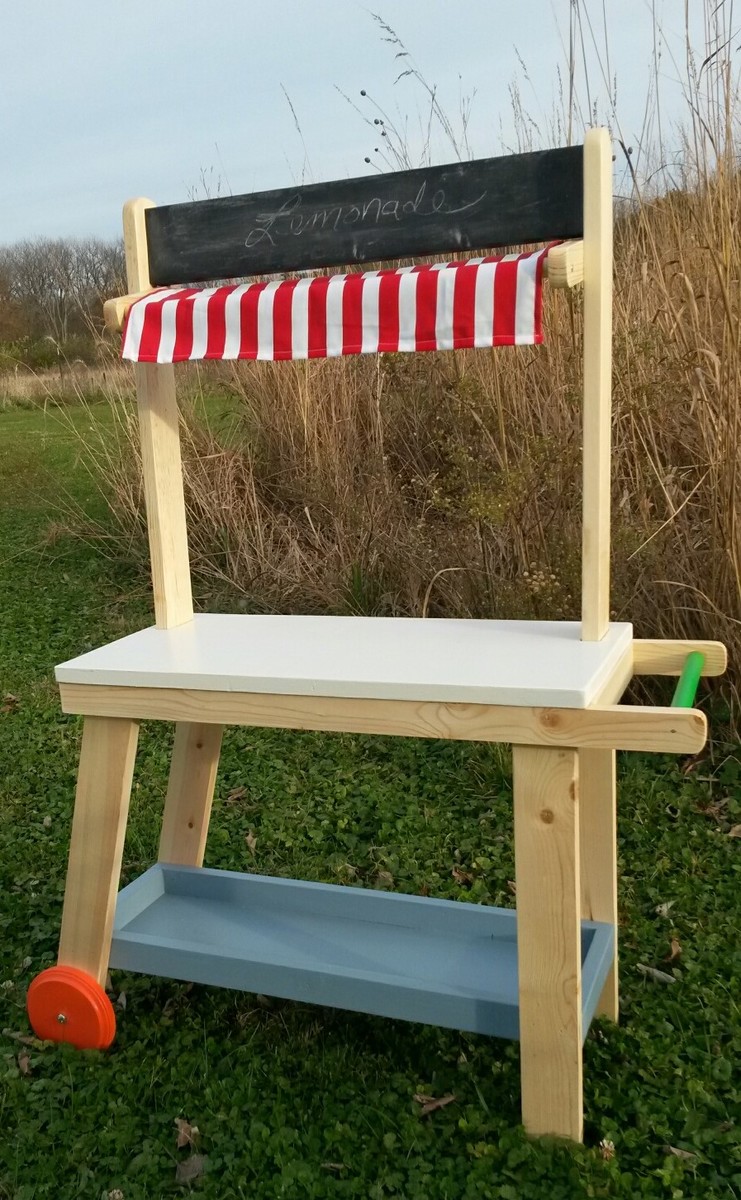
From the minute I saw this on Ana White's site along with That's My Letter, I knew I had to build it! It is soo adorable and turned out better than I anticipated! Great directions and was easy to build.
Doll Pram Love!
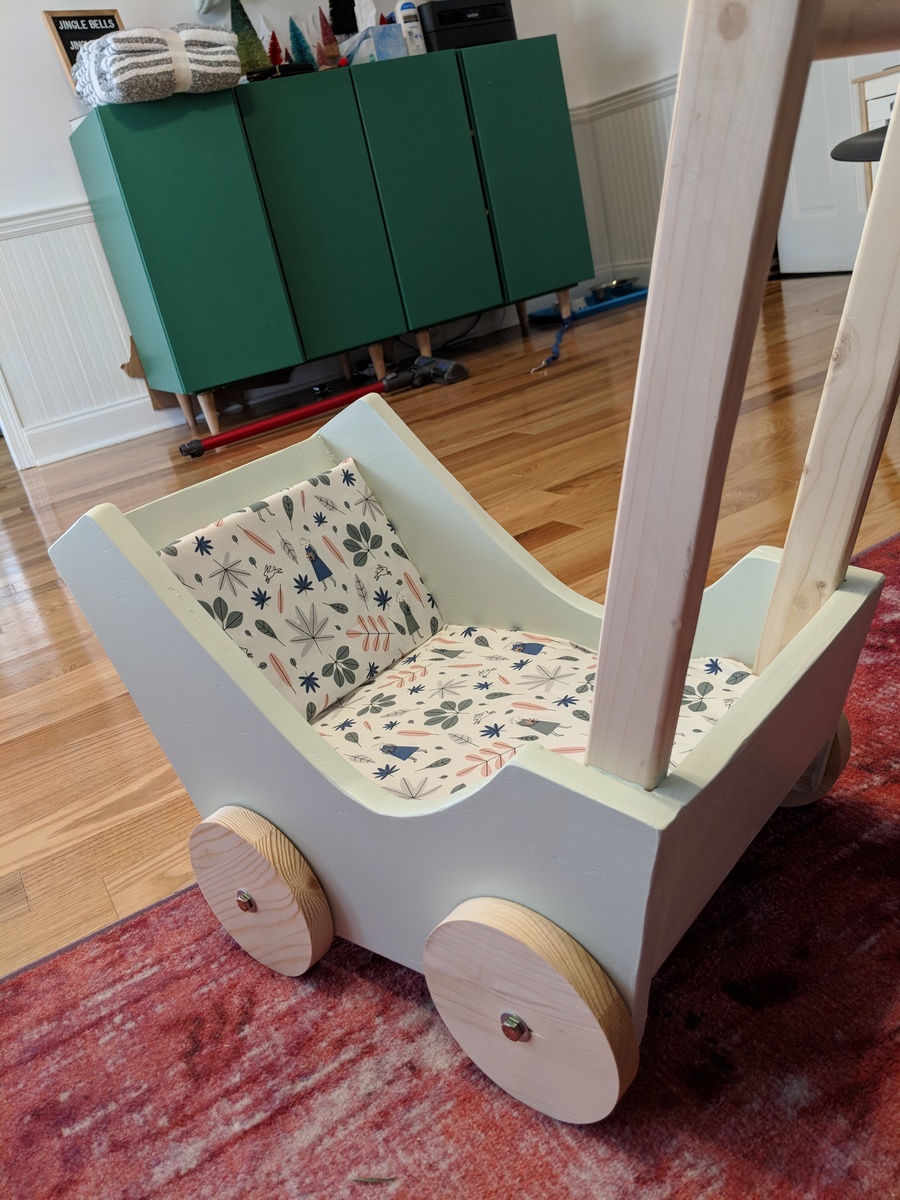
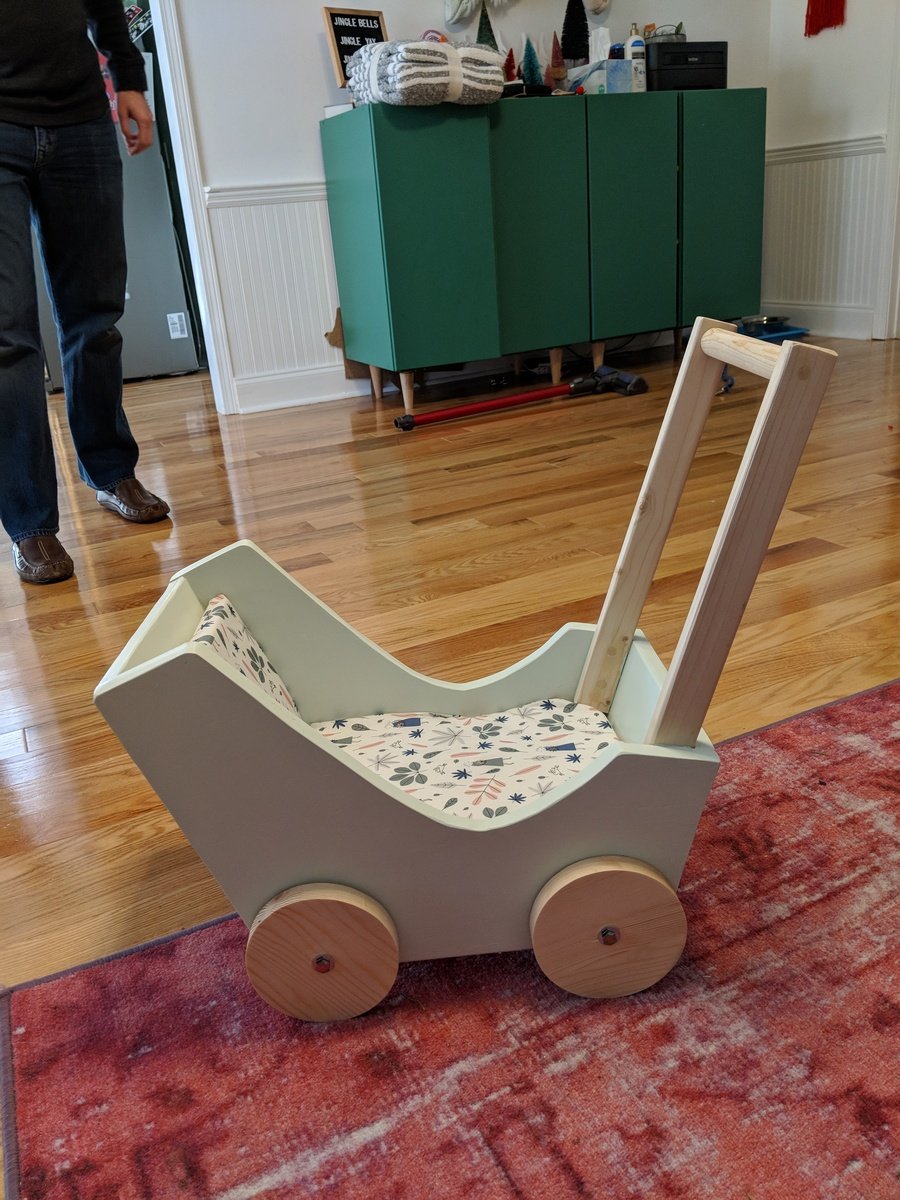
This was a fun build! It was my first time to use the jigsaw, so my sweet hubby showed me the ropes! Such a great project and my little girl absolutely loves it.
Comments
Easiest 2x4 Drawer Bench
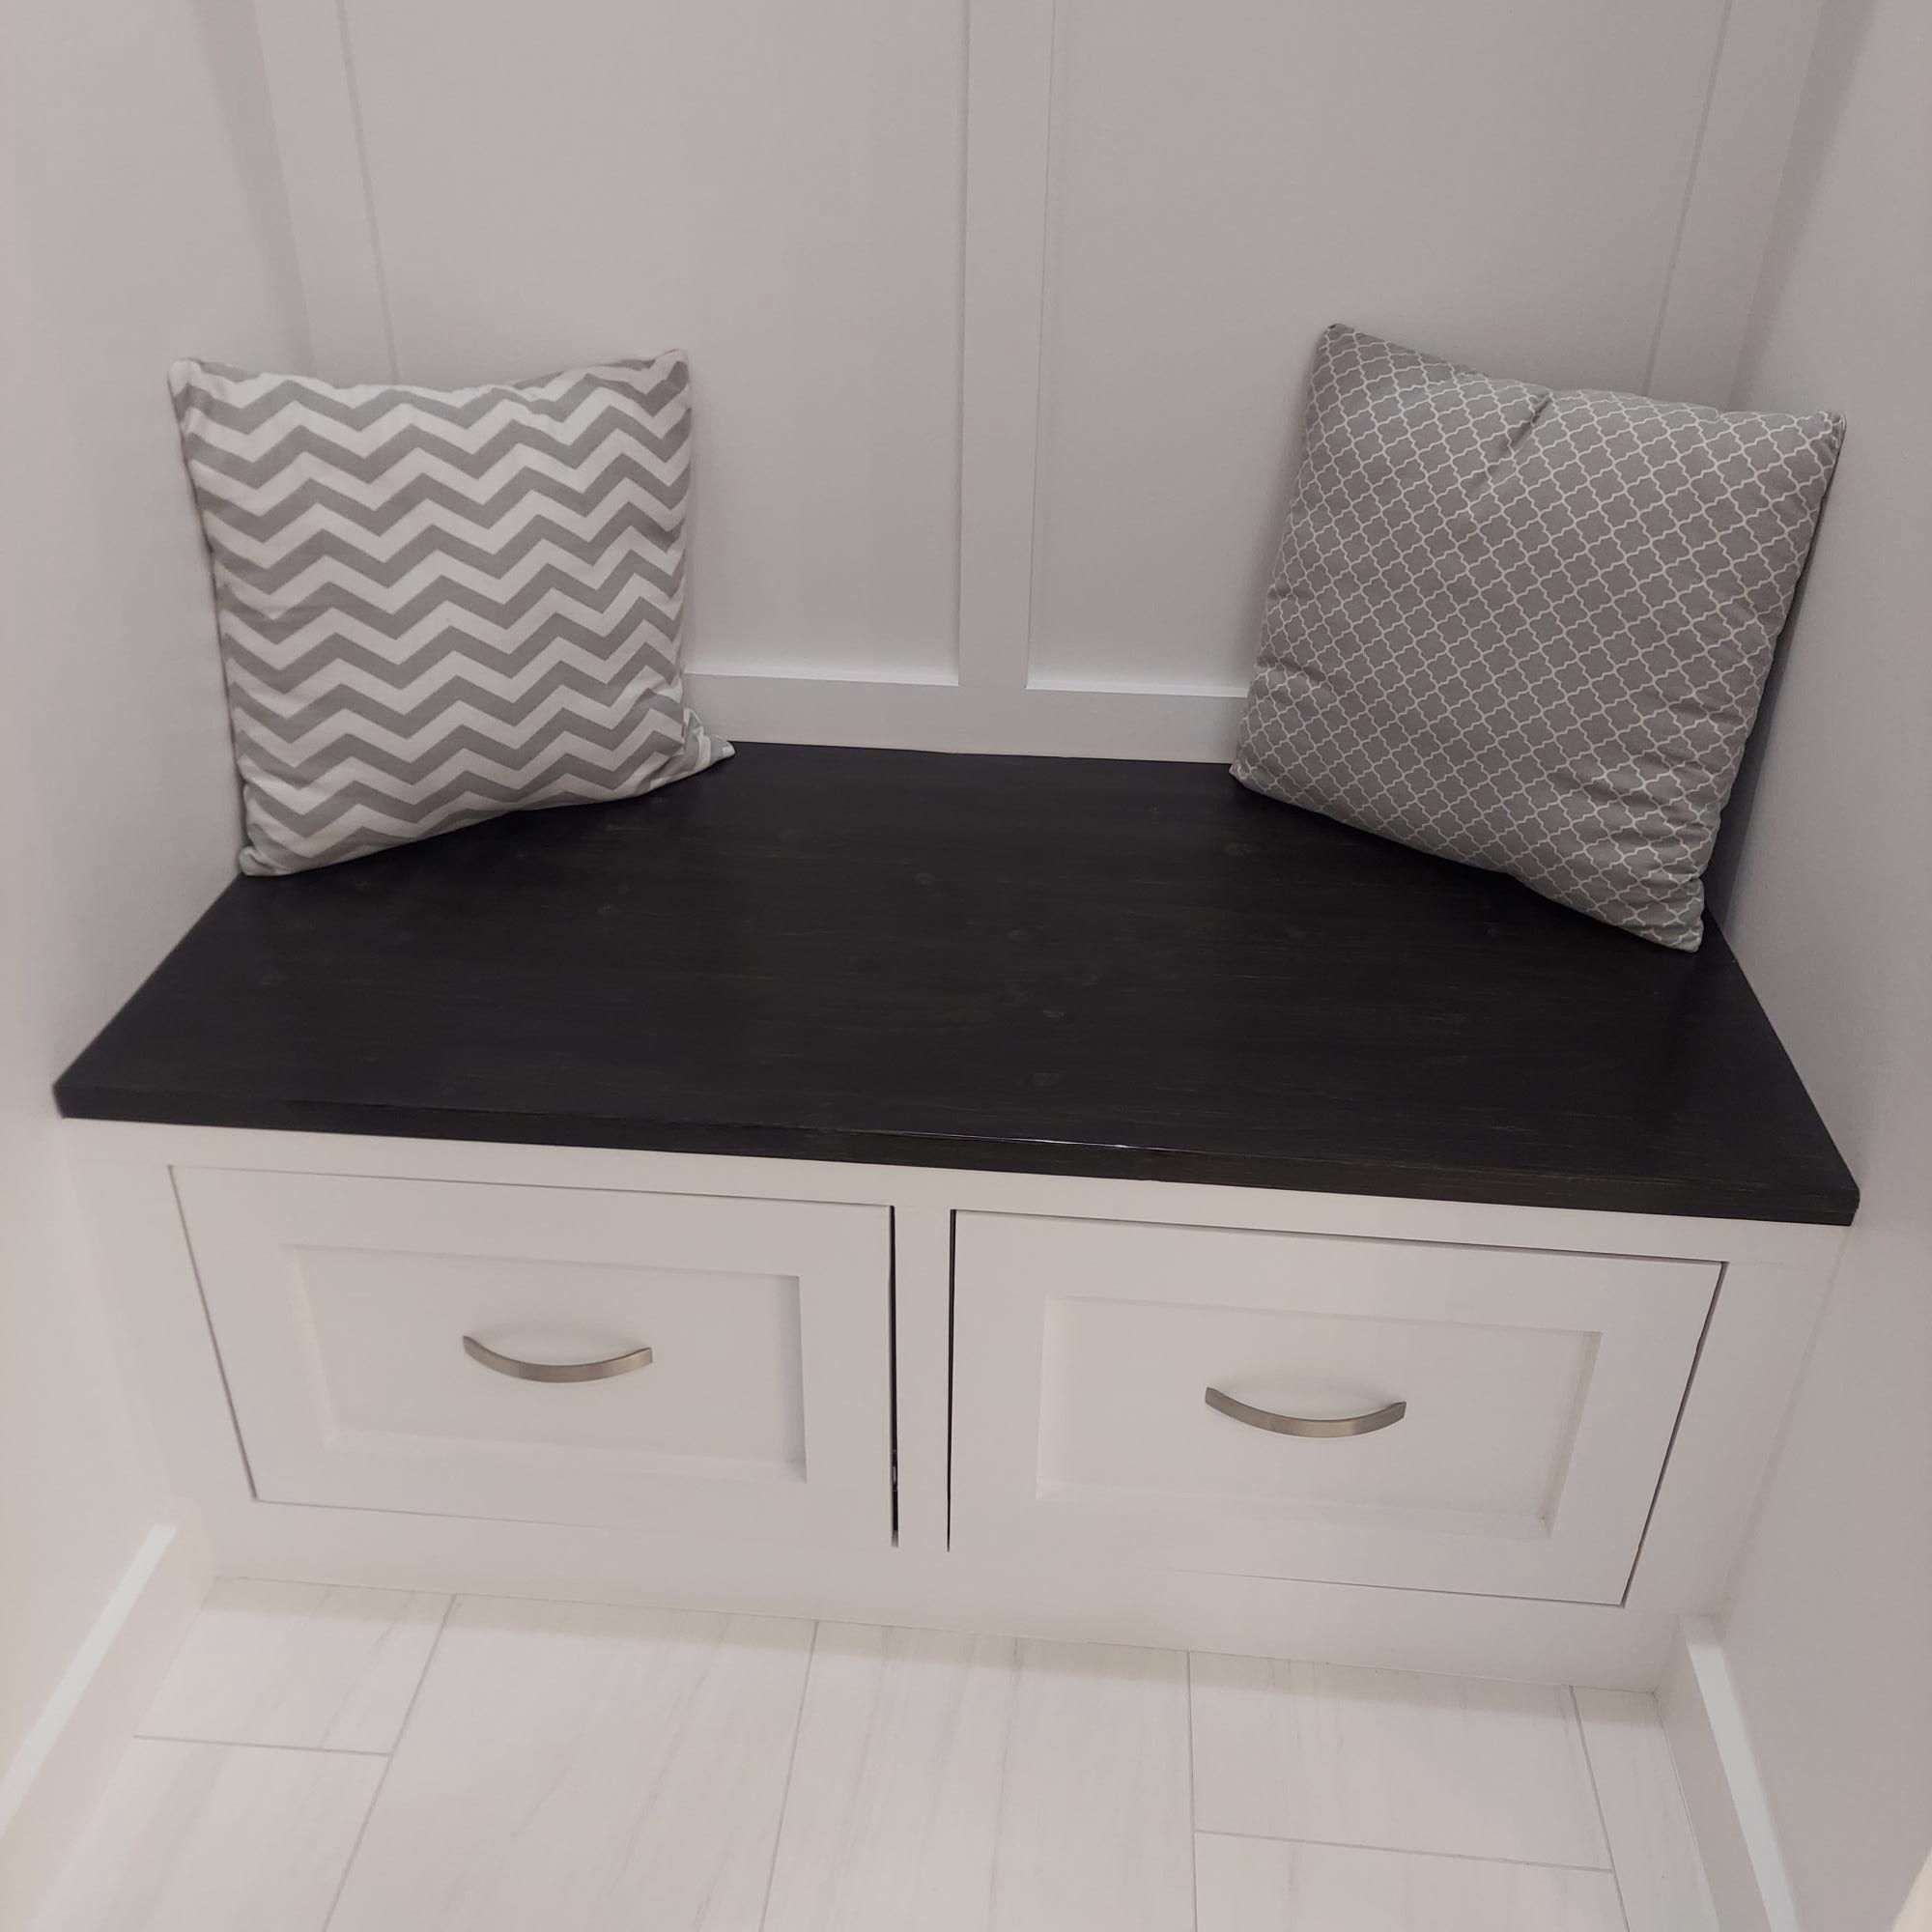
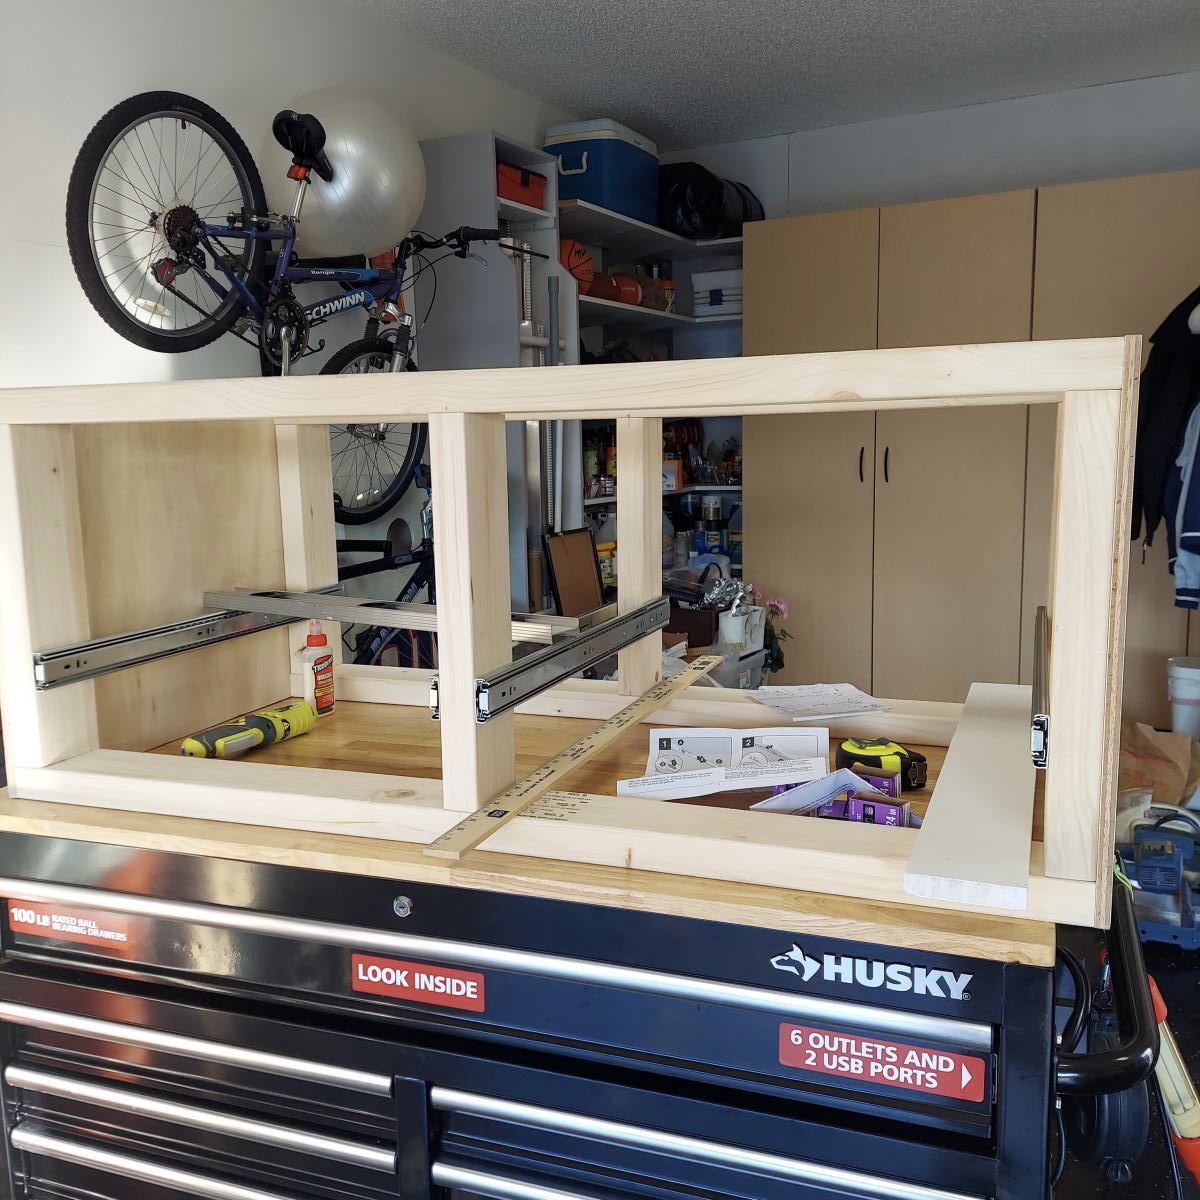
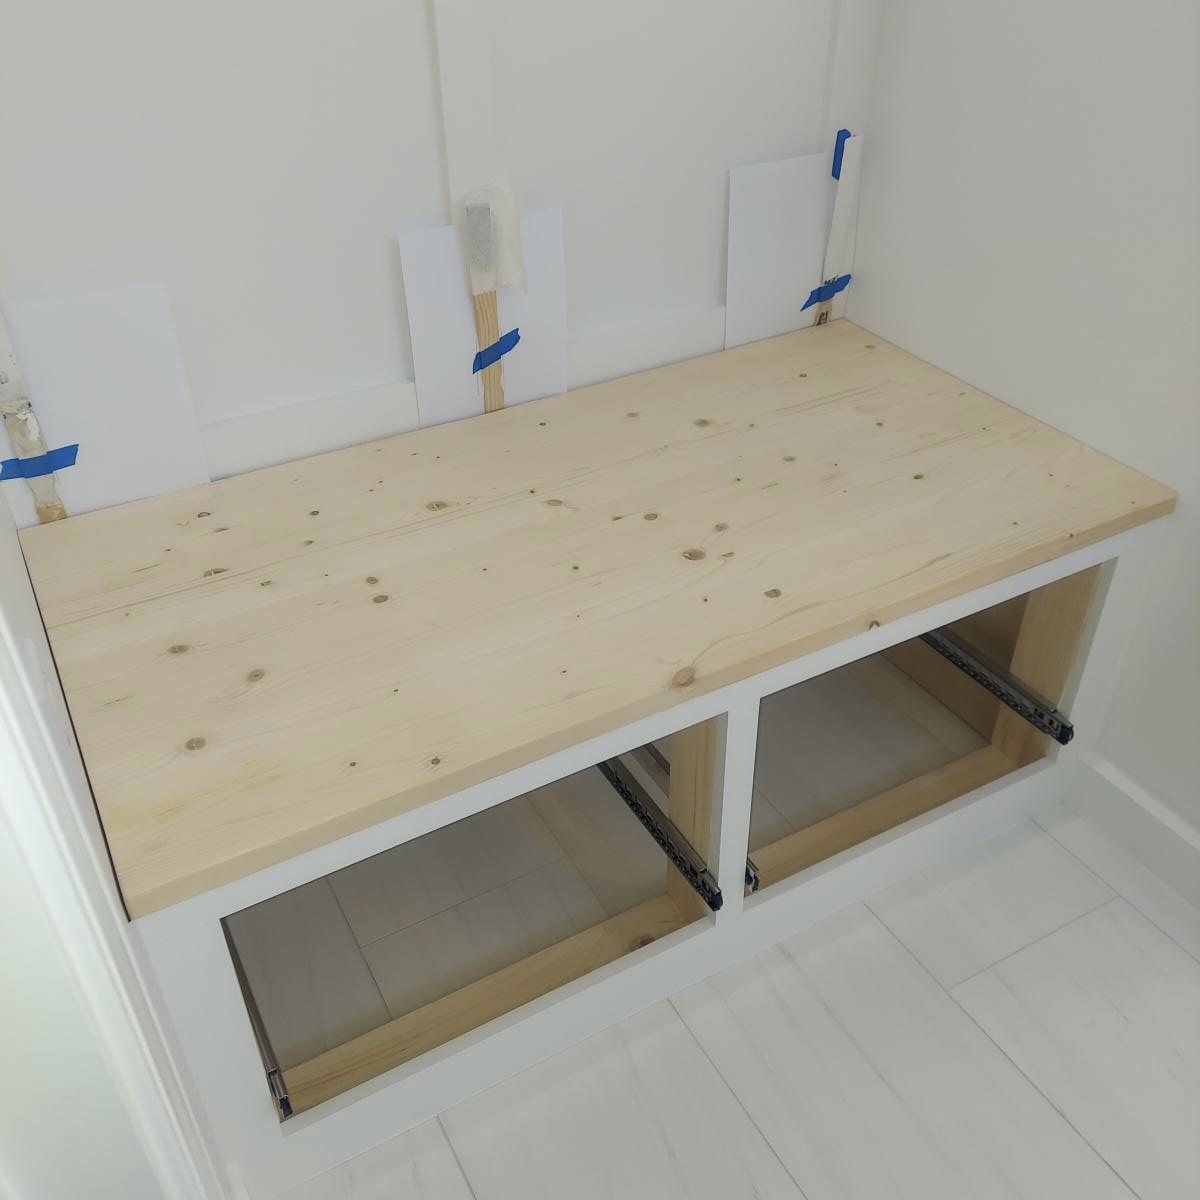
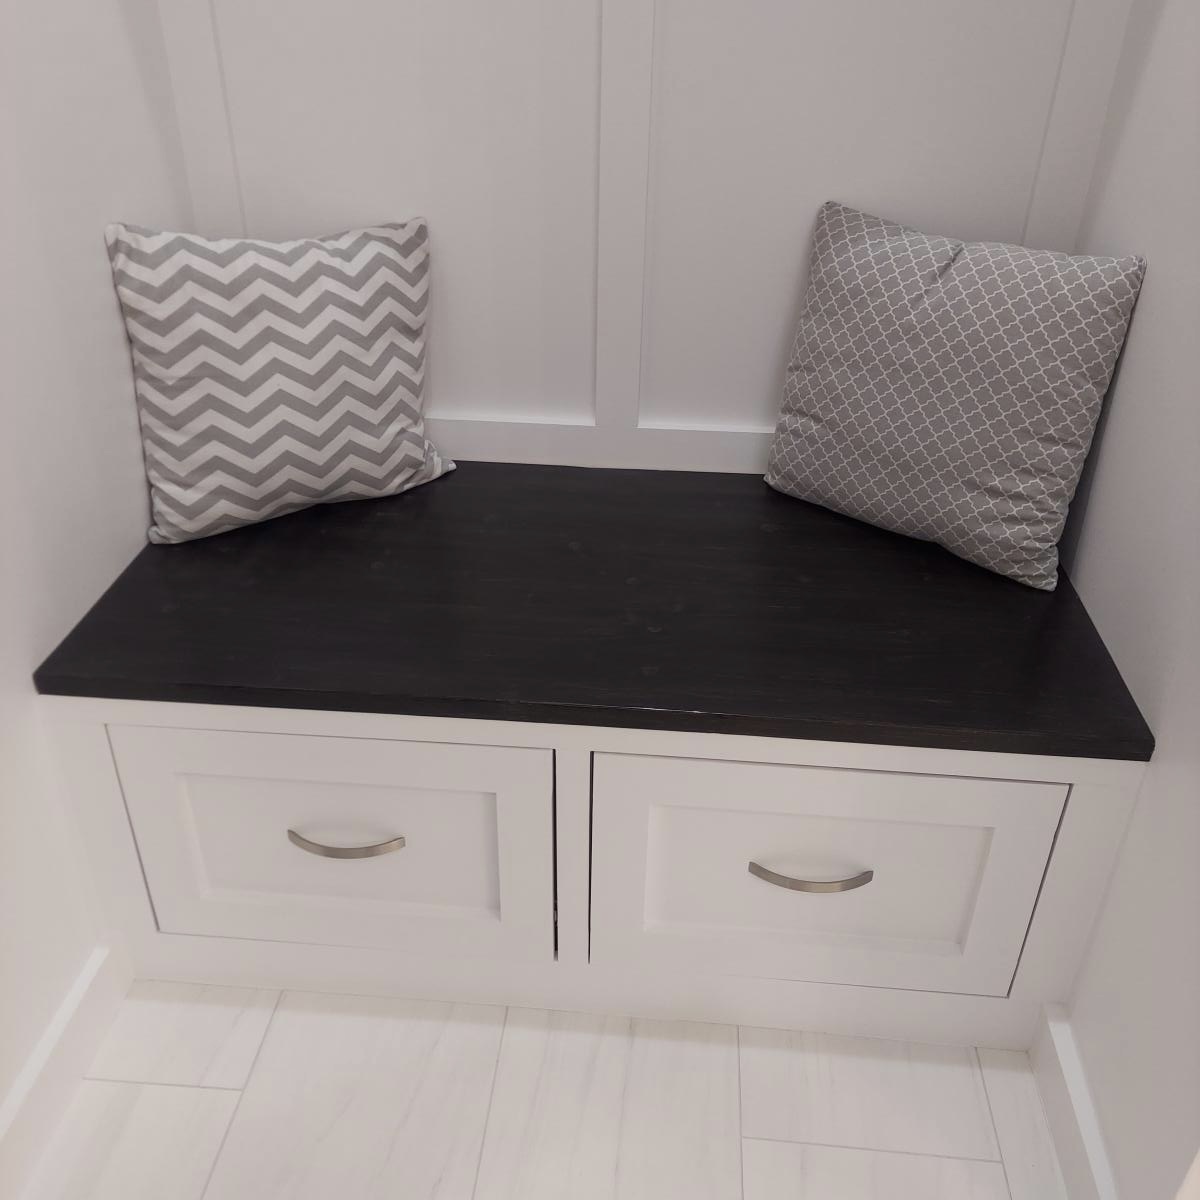
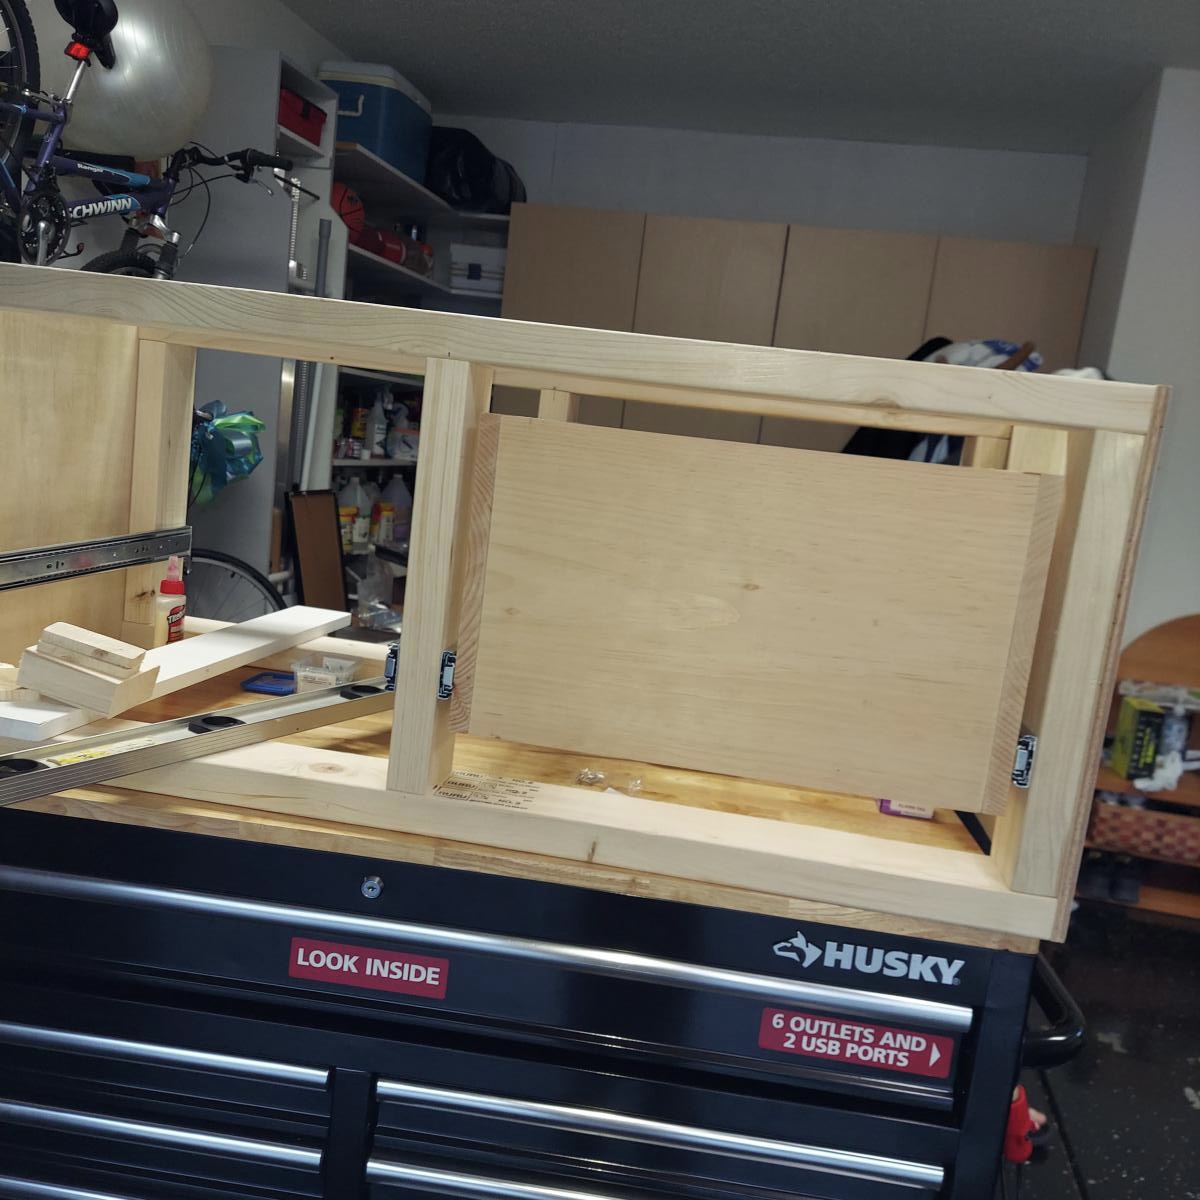
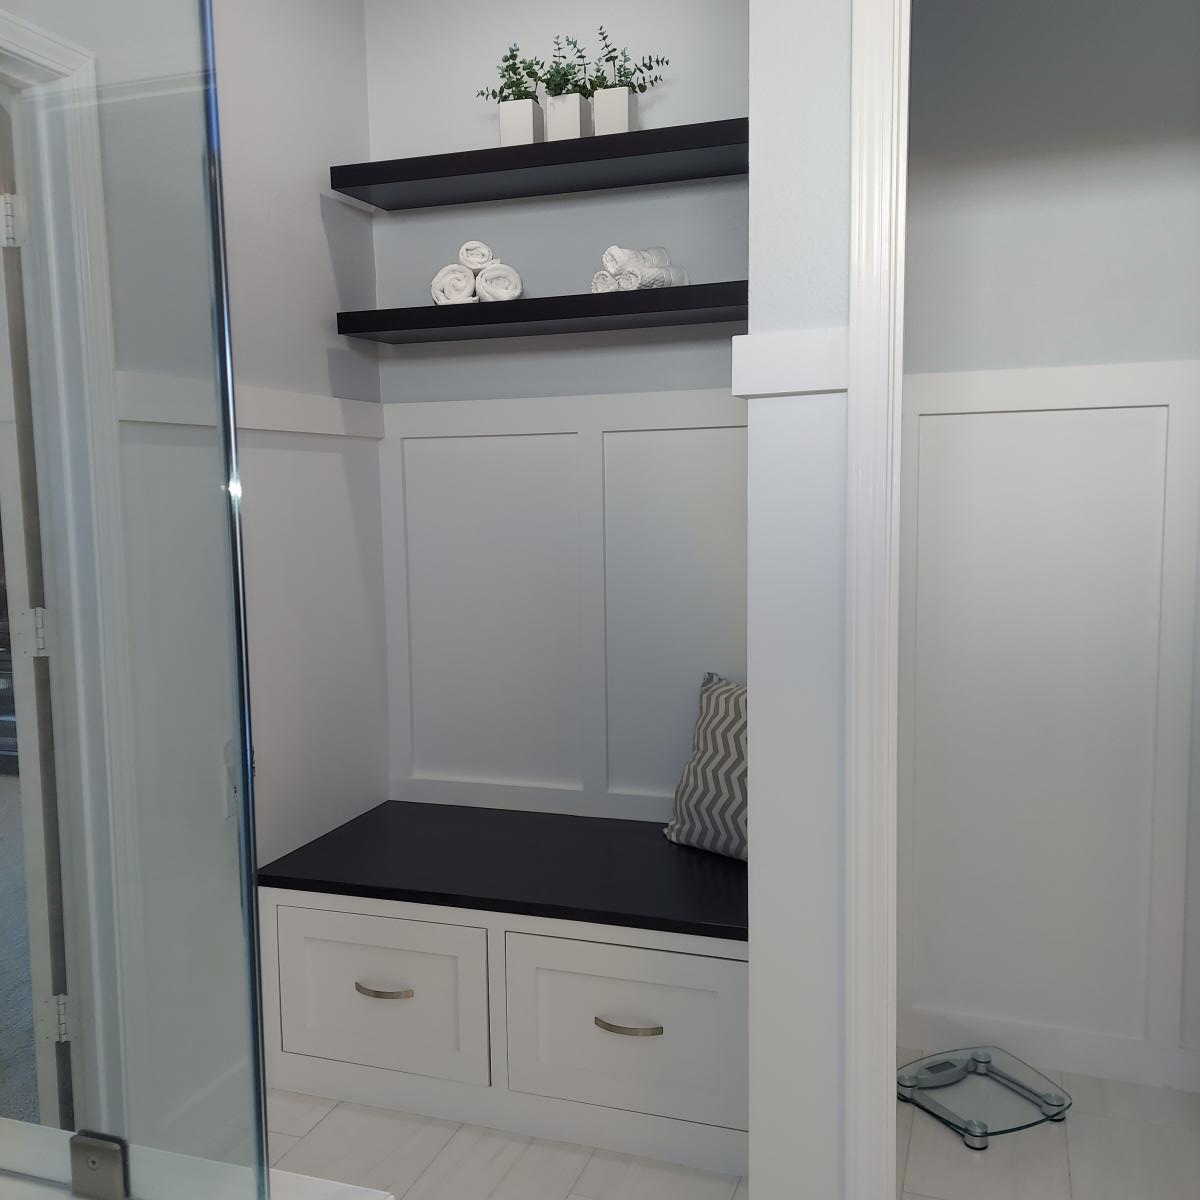
Ana, I am so greatful for your videos. You gave courage to create this 24" deep x 48" wide bench. We remodeled our bathroom by transforming our tub into a walk in shower. We removed the small old shower stall which left a space where we created this nook. The drawers are our new laundry "baskets." We also added board and batten in the rest of the bathroom. Everyone loves the design and I have you to thank. Many blessings to you and your family. Alice
Comments
Ribbon Holder
My husband wasn't home this week, so I had to create something.. He's just lucky that I didn't give the kitchen a makeover! ;]
I modified and improvised with what I had lying around... I used a 1x4 for the bottom because I didn't have enough 1x2 scraps left, but then I decided to put the lettering on it because I thought it looked too plain. I like how it turned out!! :]
Comments
Fri, 08/12/2011 - 10:51
Thank you!
I used a word document and found a font I liked and then used that to paint the lettering on myself. :]
Fri, 08/12/2011 - 16:05
I love this mod! Lots of
I love this mod! Lots of ribbons, only a little bit of space. Sits on your desktop too!
In reply to I love this mod! Lots of by Ana White
Fri, 08/12/2011 - 16:26
It's Just what I needed! :]
It's Just what I needed! :] Thanks for the inspiration!
Farmhouse Queen Bed and Fancy X desk
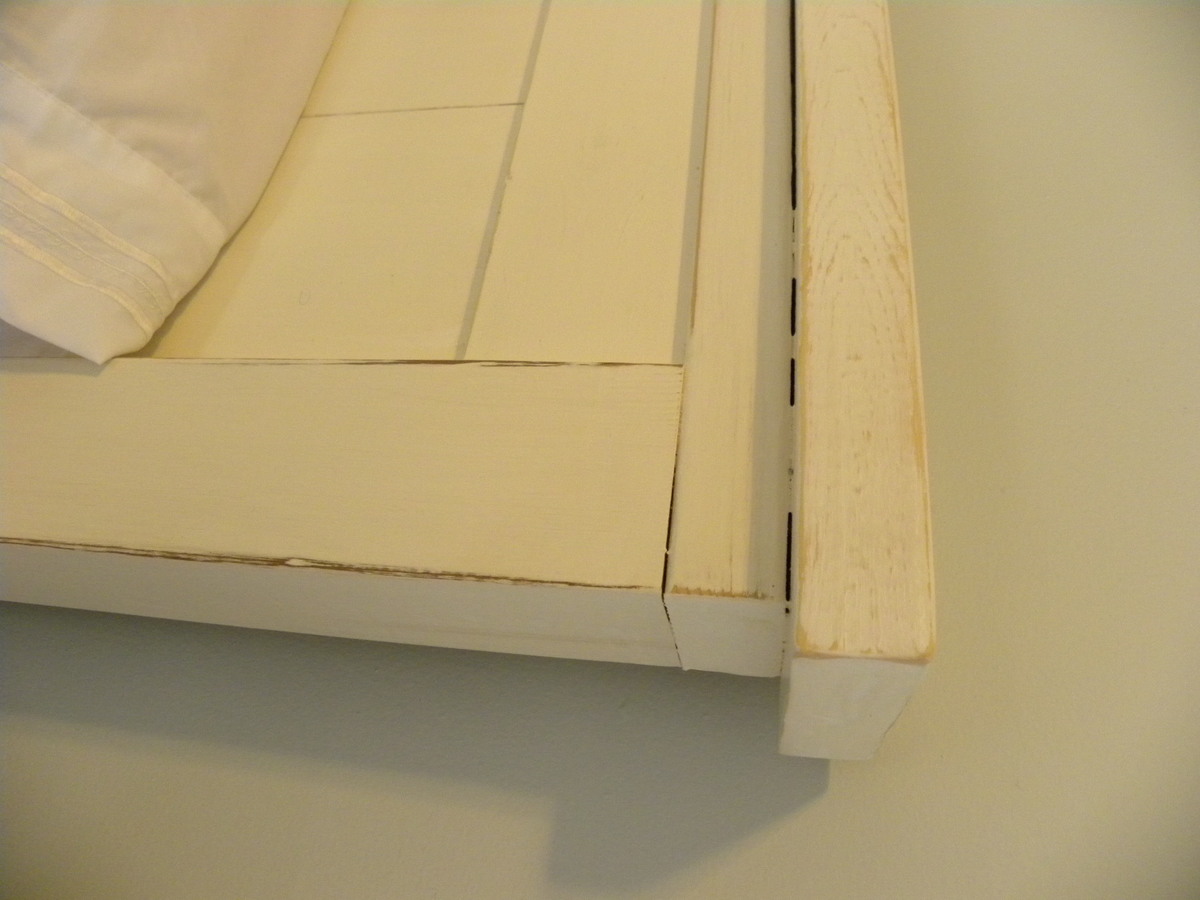
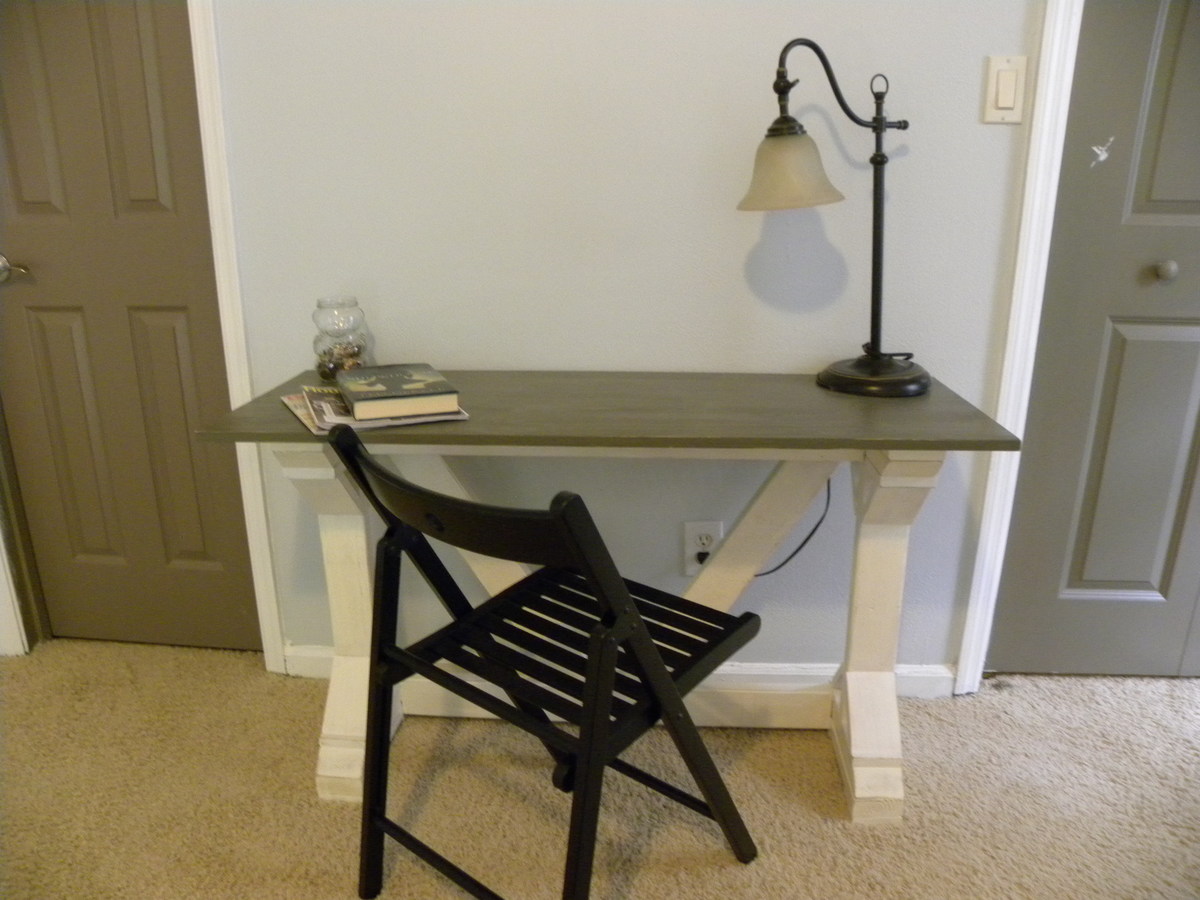
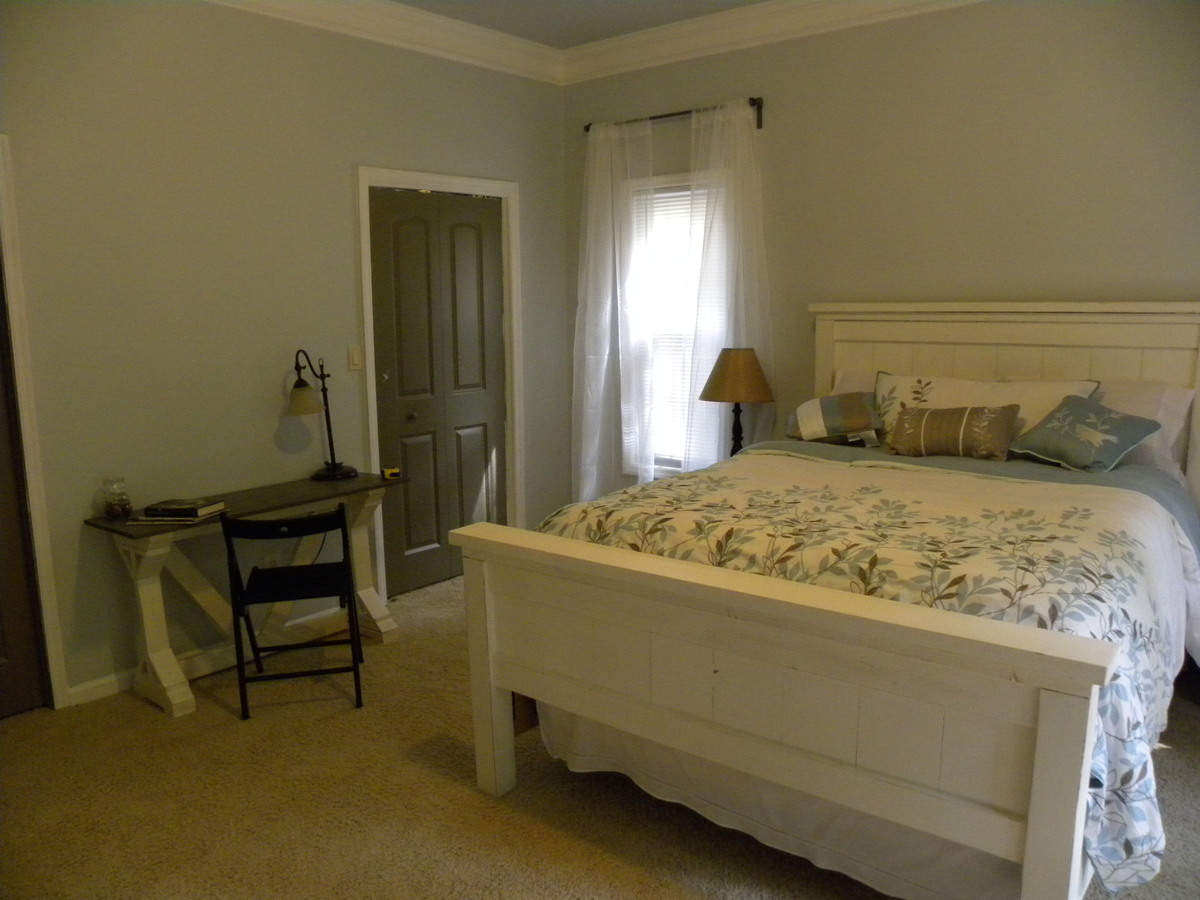
We built the Farmhouse queen bed and fancy X desk for our bedroom. It was relatively easy and looks so great! The bed is made of pine and cedar. (It is really really hard to find pine 4x4 posts that aren't pressure treated around here.) We used pine for the desk. Paint color on the bed and base of the desk is Behr "Polar bear" with a coffee stain distress. The desk top is Benjamin Moore "Dash of pepper." The bed cost about $175 to build and the desk cost $30. (We used a lot of scraps for the desk.)

Comments
Thu, 09/05/2013 - 17:03
Beautiful!
Your bed and desk are beautiful! Great job on this build, and I love the colors!
Wood Tilt Out Trash
Very easy to do. Love how it has improved the look in our kitchen since the original garbage can is no longer an eye sore.
http://thefelicianojourney.com/2015/10/30/diy-wood-tilt-out-trash-bin/
Built in dry bar
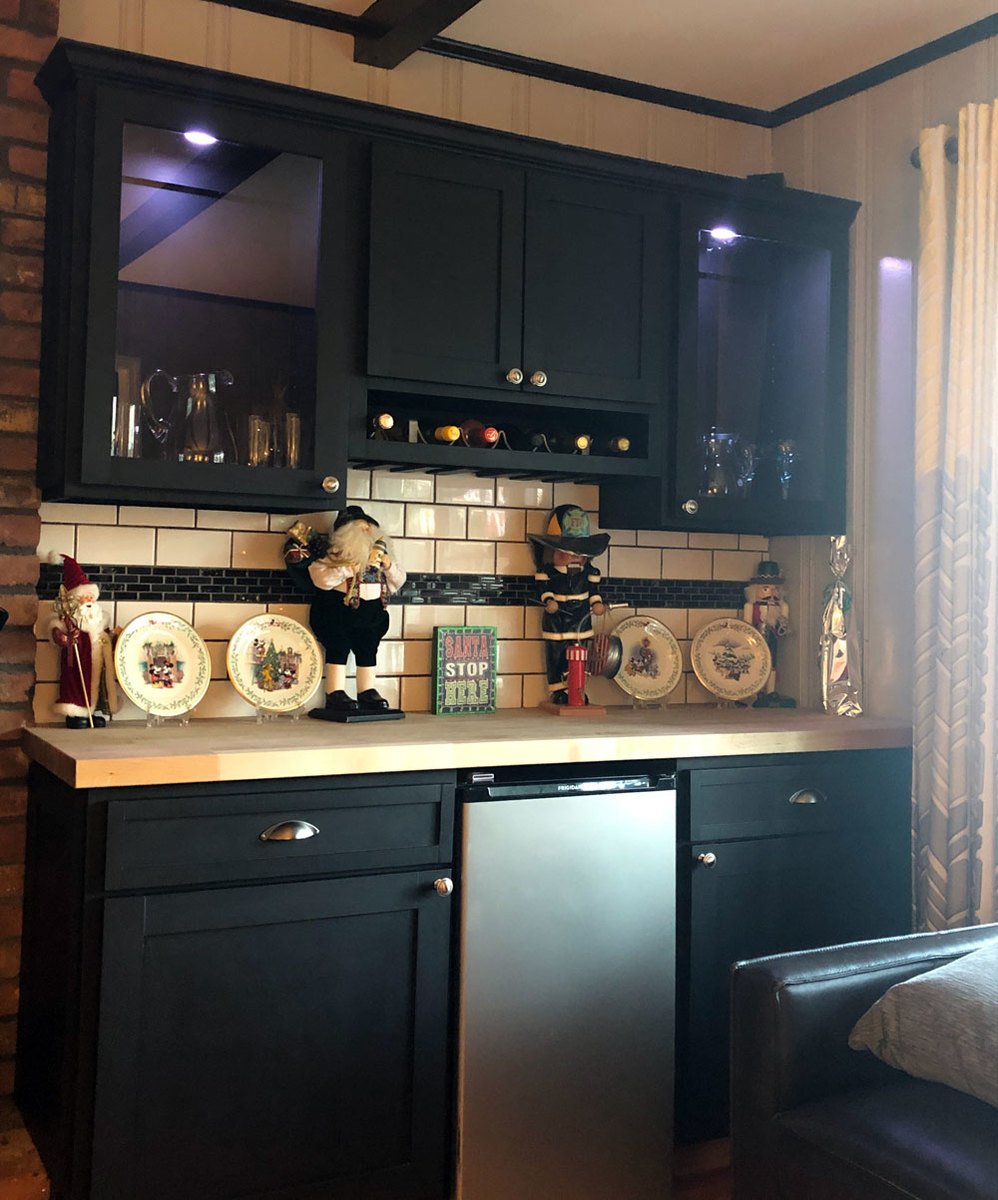
My husband and I worked on this for a few months, no rush. This is the outcome and all we need to do now is get one glass shelf for each cabinet. This is a great place to store all liquors and glassware. The drawers are a nice addition. The paint it black chalk paint with wax finish. All materials were purchased at Lowes or Home Depot.
Beginner Farm Table
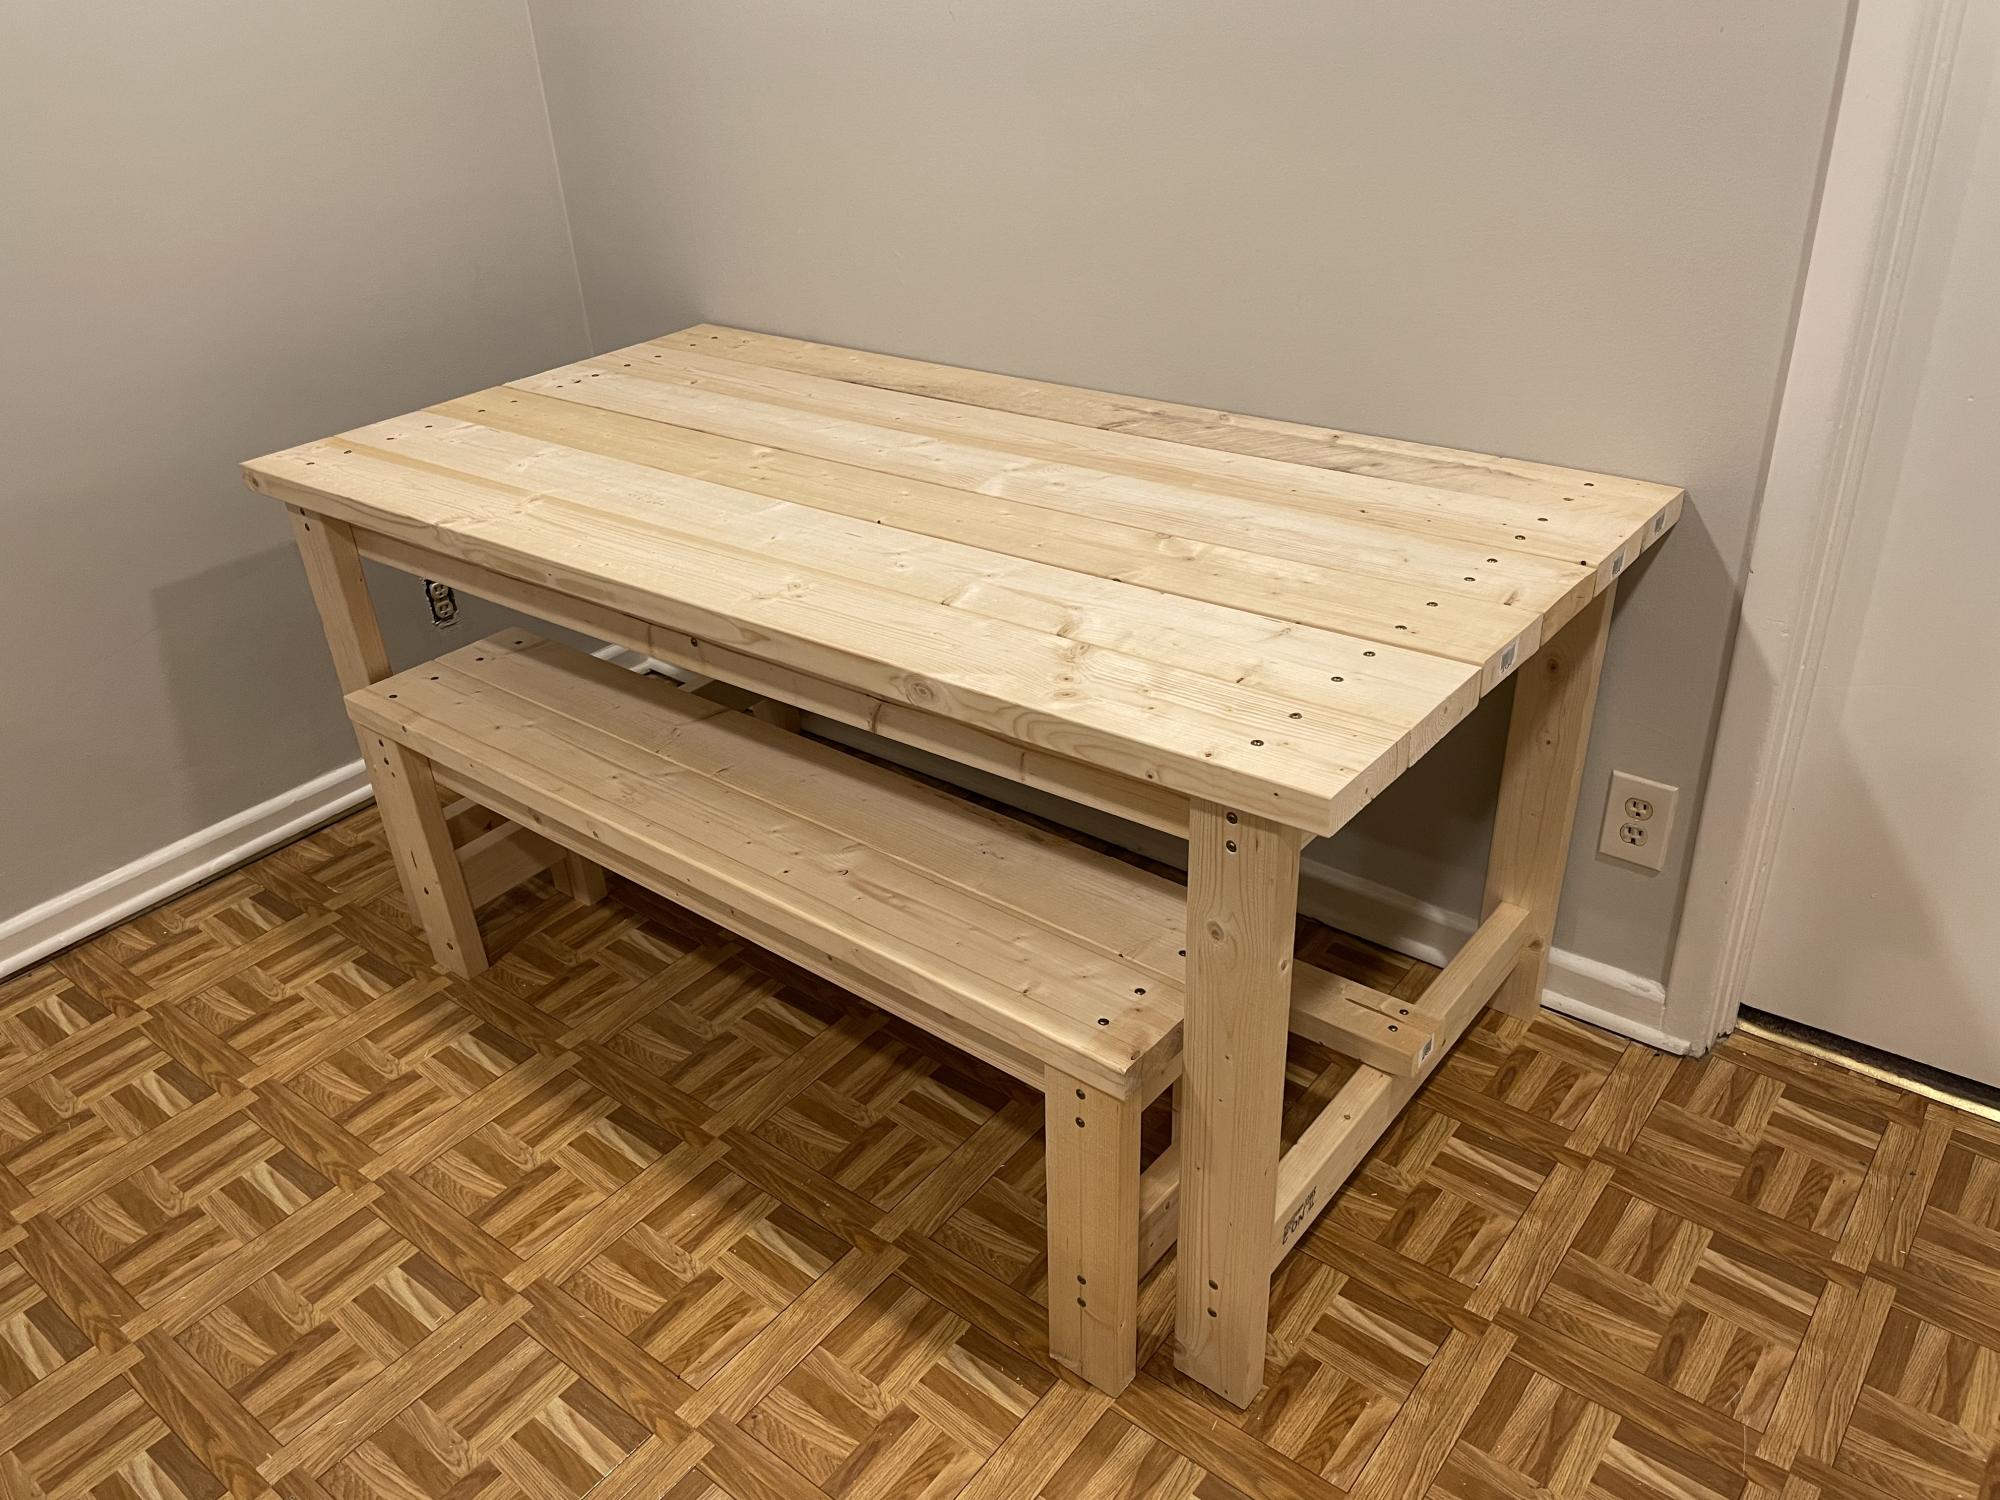
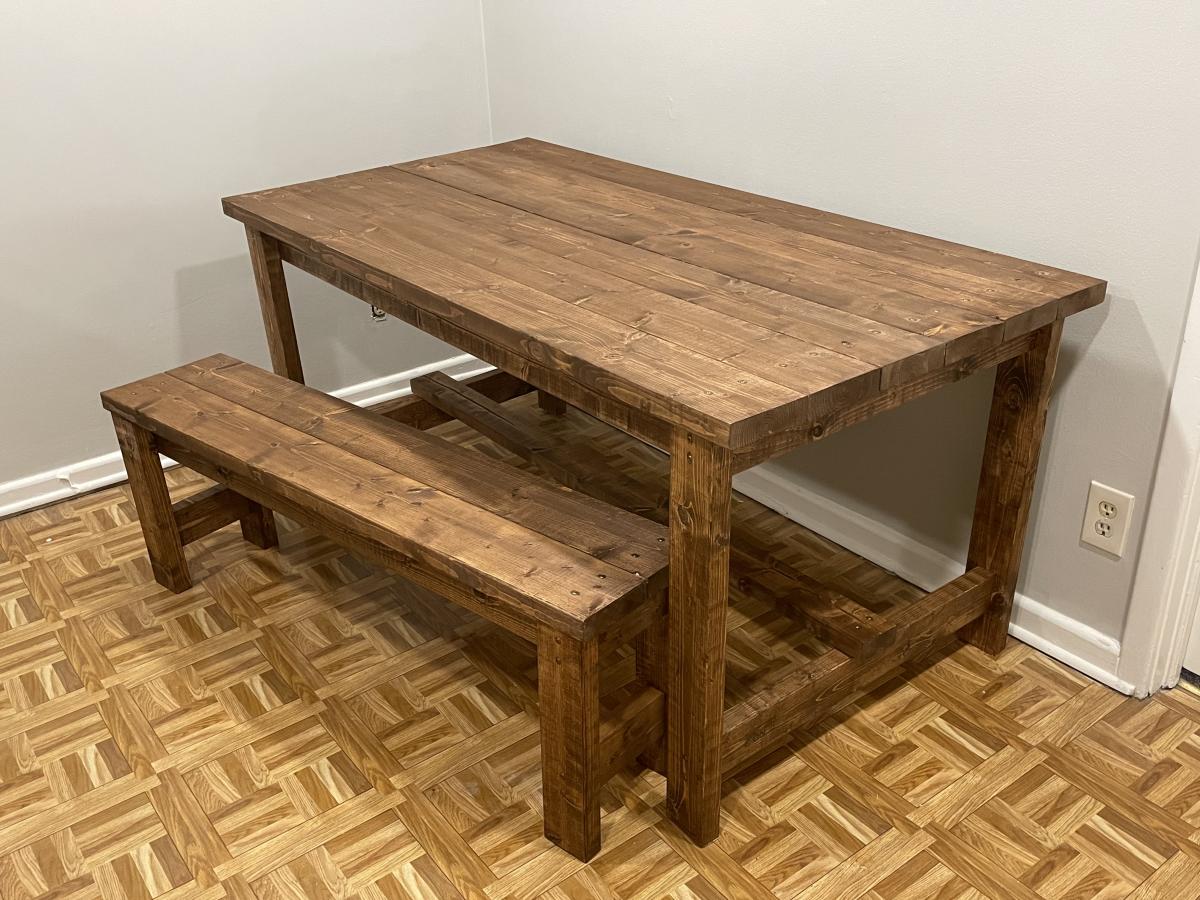
I’m in the process of renovating my kitchen and dining area and needed a rectangular table fitting against the wall. I couldn’t find the dimensions I needed so I set out to build my own! I tweaked the beginner farm house table and bench plans to fit my space and voilà! Perfectly what I needed! Thank you, thank you, thank you!
Comments
Kids' Step tools
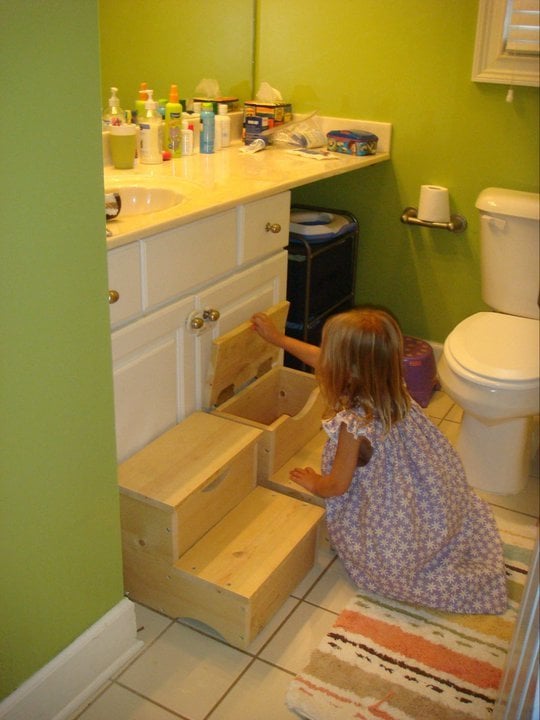
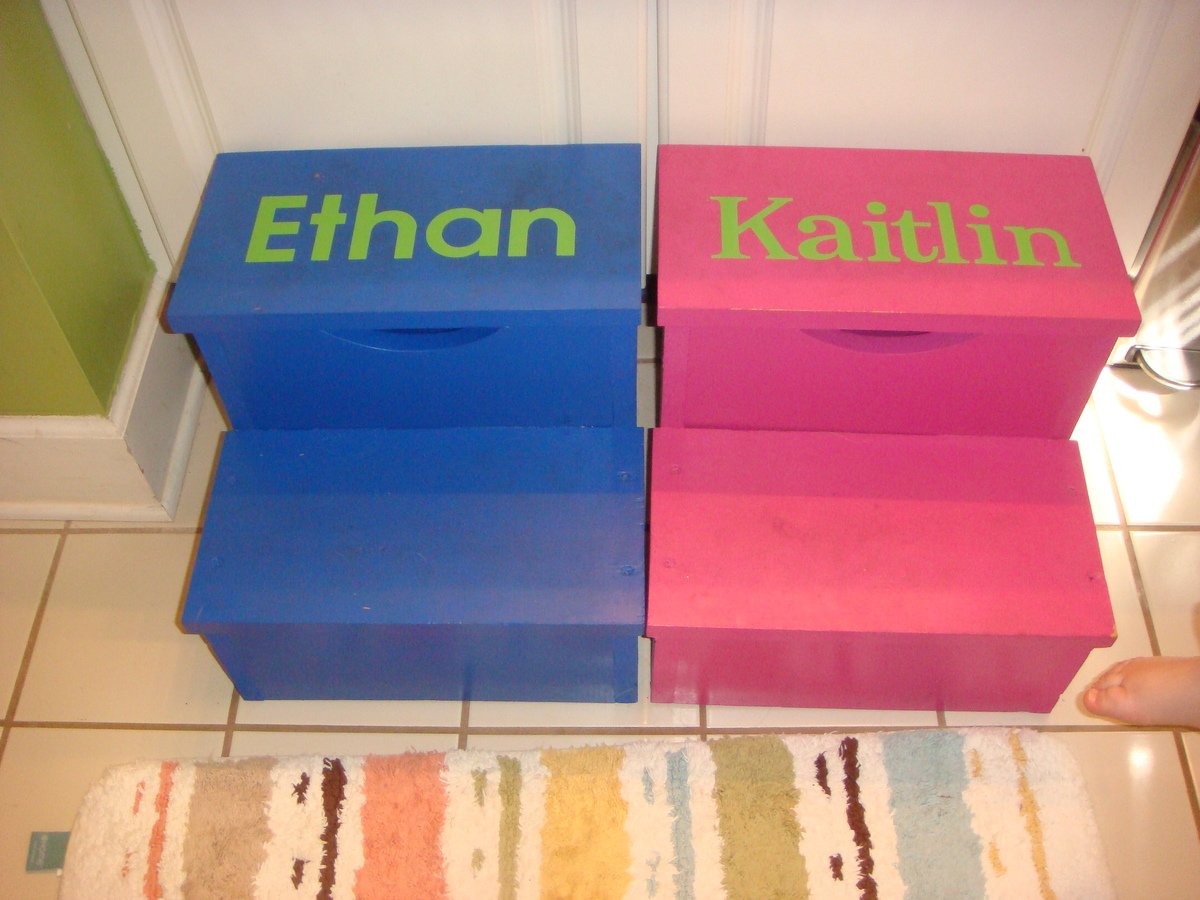
I made matching step stools for my kids.

Compago Table
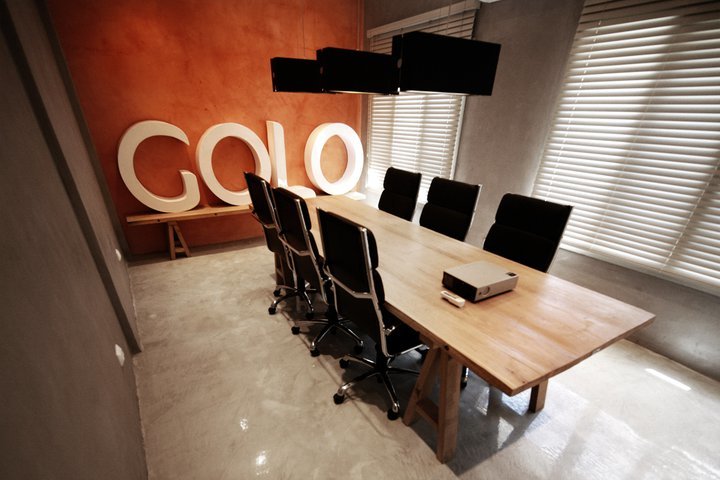
This was the first table i built a couple of years ago at the age of 19, it is just a simple trestle leg table made from white oak. The dimensions are 10 feet long by 3 feet wide.
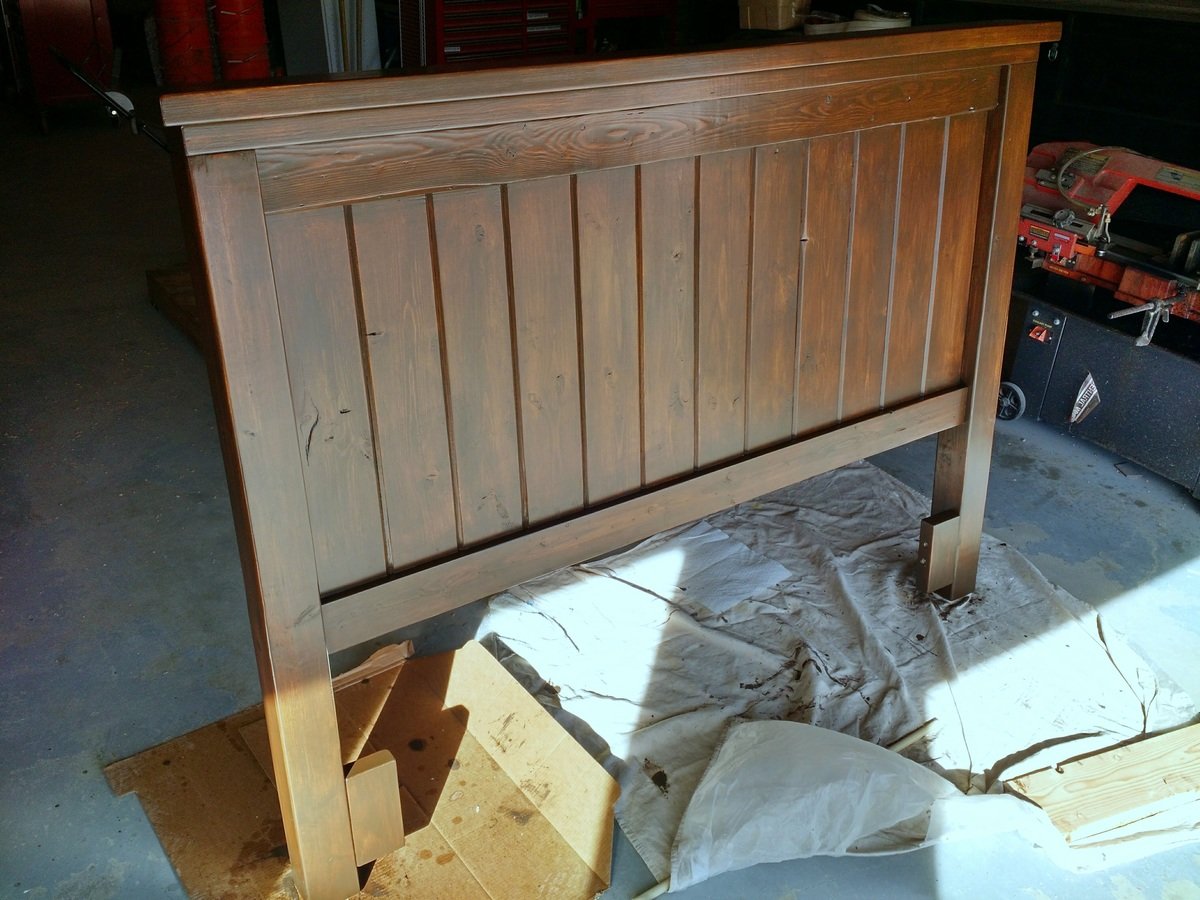
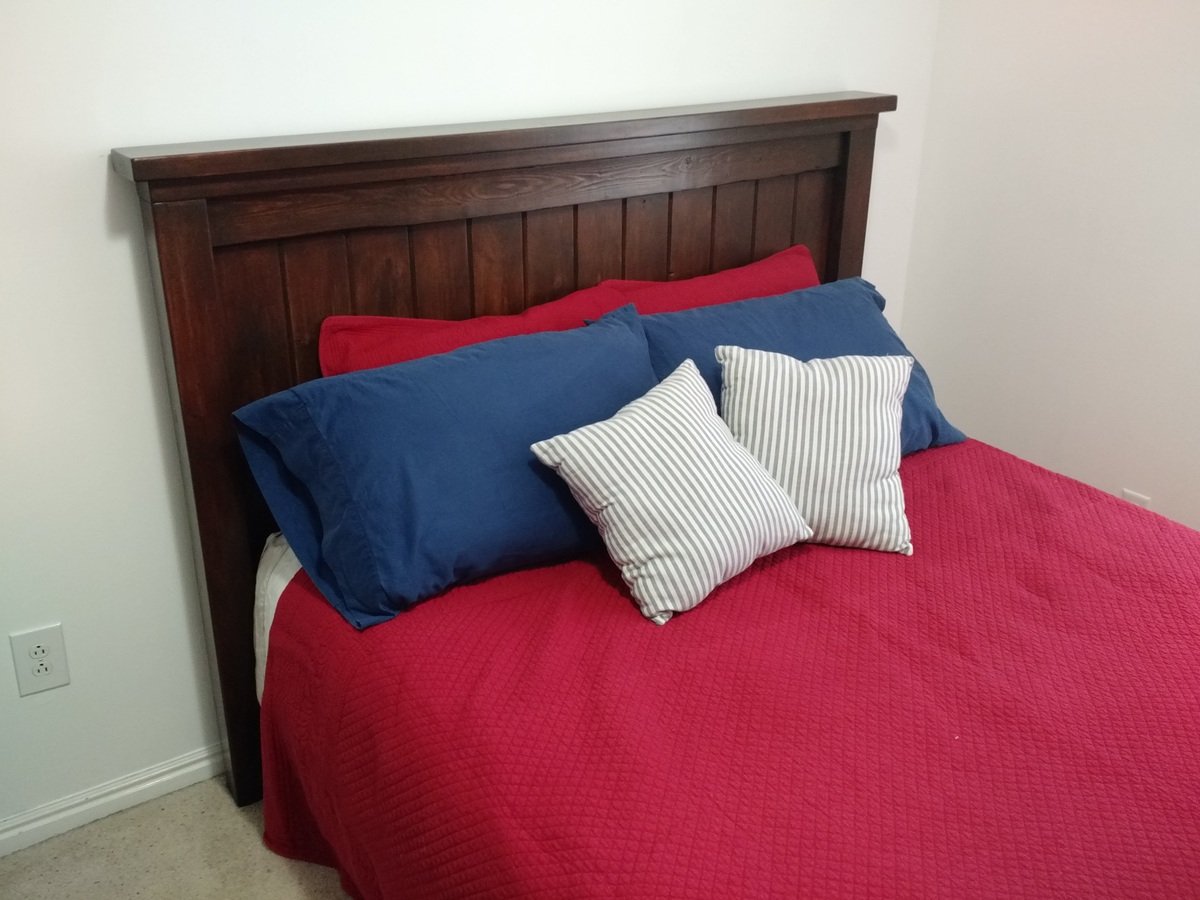
Farmhouse Queen Headboard
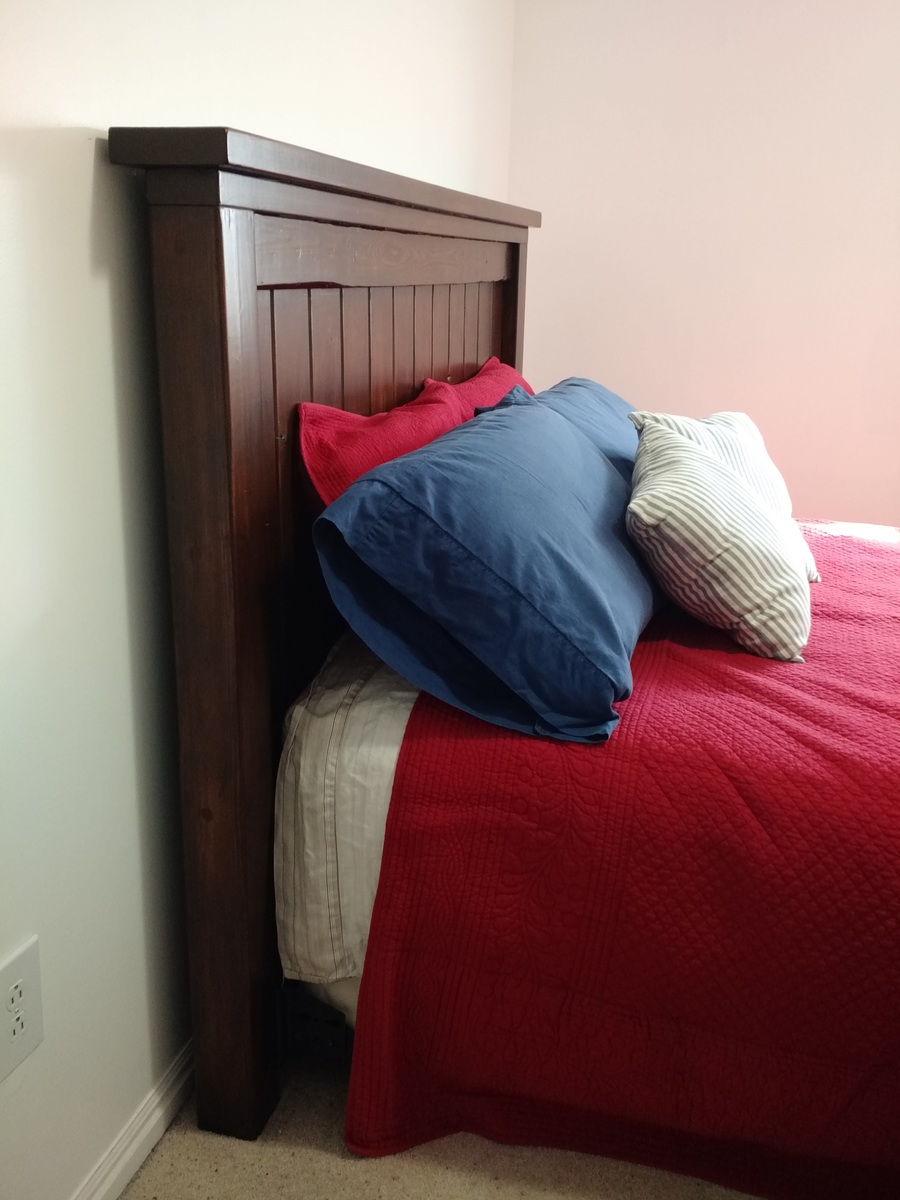
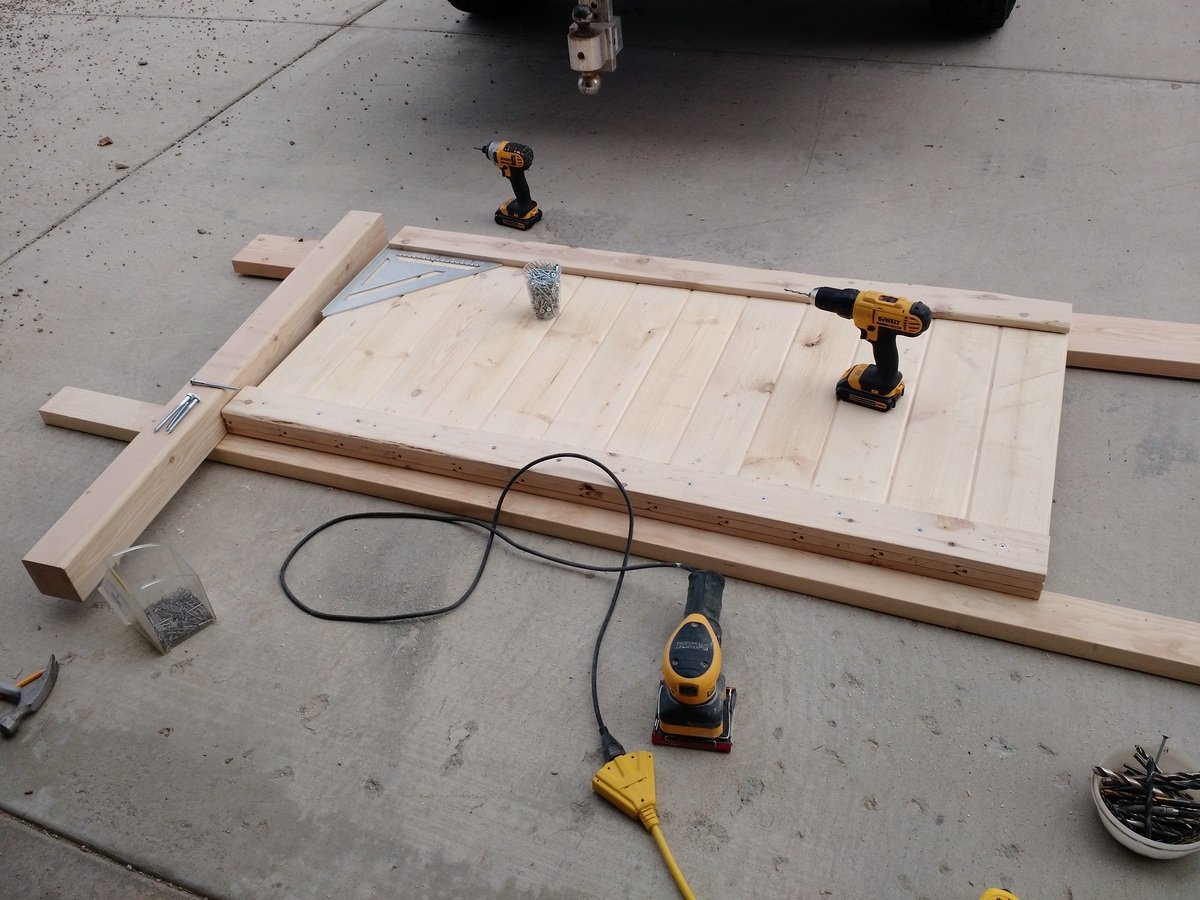
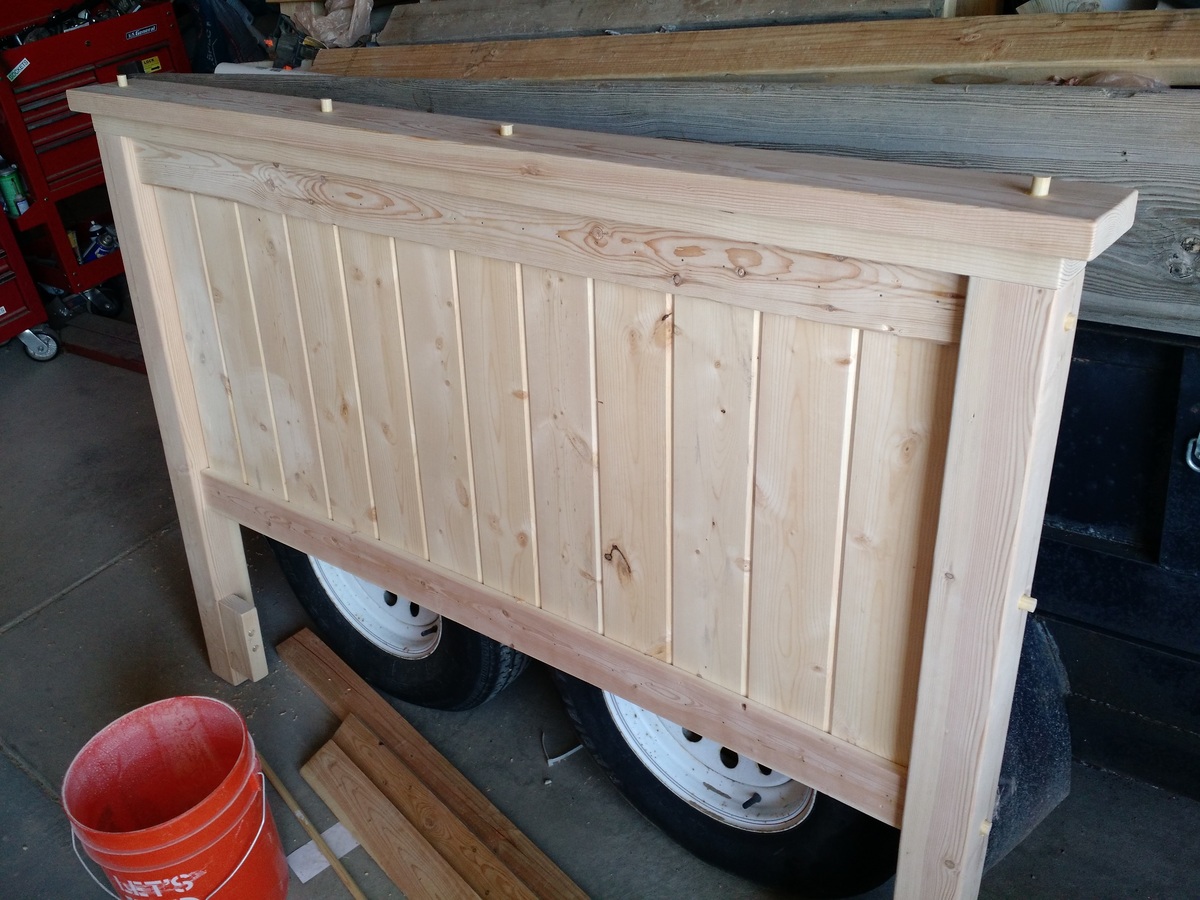
I built this for my mom's guest room. She watched my kids and I worked in the garage.. couldn't have been a better vacation! :)
I used 6" (finished size 5") tongue and groove boards for the panel, shorter posts and screwed main structure pieces together using 5-1/2" lag bolts and plugging with 3/4" dowel pieces. I added woodedn blocks at the bottom of posts for attaching metal bed frame.
My dad didn't have any pipe clamps so I ended up using a wratcheting strap! HA! Use what you can and save money! :)
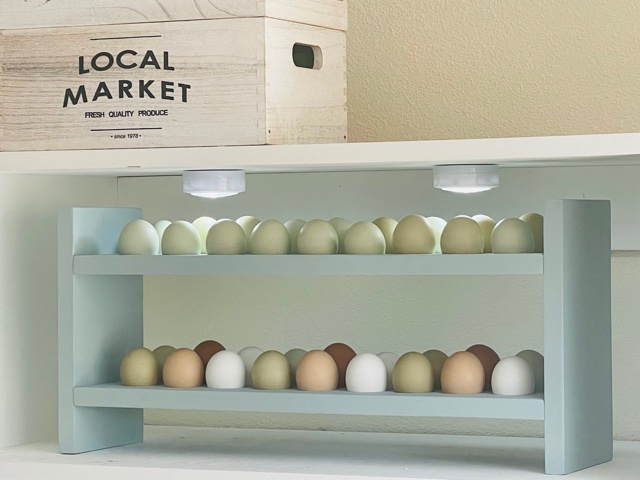
Fresh Egg Storage
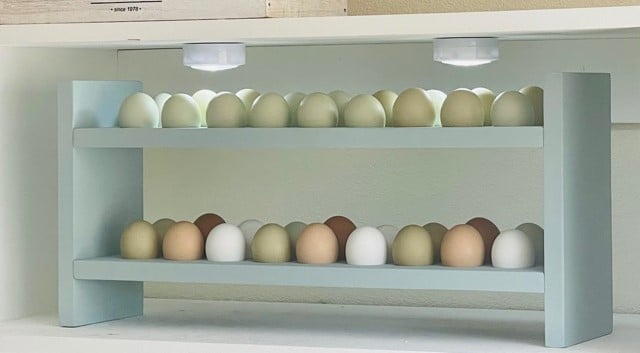
Love this project! Quick, easy and beautiful.
Tilt-Out Trash Can (Slightly Modified)

We built this tilt-out cabinet for our trash and plan to build a matching one for our recycling. We modified it a little and used bead board on the face of the cabinet to match some other elements in our kitchen. We painted it bright red using some leftover paint and absolutely love it!
We ended up not using any mechanism to prevent the drawer from falling to the ground - the trash can we purchased is JUST big enough that it stops the drawer from opening all the way, which is great!
There are more pictures below and on our blog, http://strawbridgestuff.com


Comments
In reply to plans by project maker
Thu, 03/01/2012 - 09:40
We used Ana's plan for a
We used Ana's plan for a tilt-out trash can, http://ana-white.com/2011/04/wood-tilt-out-trash-or-recycling-cabinet, and just used some beadboard paneling instead of doing the raised panel on the door. Hope that helps!
Fri, 09/07/2012 - 12:35
Trash bin
Your trash bin looks great. I too love the beadboard. I am putting a lot of beadboard in a small house I am planning on renting until my kids are out of college, then I want to make it into a place I can teach sewing and make furniture covers.
Thu, 10/29/2015 - 08:51
Sketchup file?
Is there a sketchup file for this plan? I would like to modify it alittle but it would take me awhile to reproduce due to my bad sketchup skills.
Thanks!
Sun, 03/27/2016 - 01:31
Trash Can
I love this! I live in a one bedroom apartment and I just have a space between the fridge and a cabinet for pots and pans where the bin sits. I've always found this ugly to be honest but haven't known how to change it but this is perfect, thank you!
Basement Storage from 2x4s!

I am so happy with how this shelving unit turned out! I adapted Ana's plans to the size of our closet space - the shelves are actually 33" deep. One side of the wall is studs, which is how I secured the unit. Now we can put away all of our Christmas decorations!
This might be my proudest build to date...crazy since it's just a closet shelving unit :D
Comments
Fri, 01/04/2019 - 13:32
This is perfect for your
This is perfect for your space! I know how that is, sometimes a simple project can be the best! Thank you so much for sharing a photo and using our plans. We appreciate you! Ana
Doll Farmhouse Bed
One of my first projects and first attempt at sewing since 7th grade!
Simple, Cheap and Easy Console Table
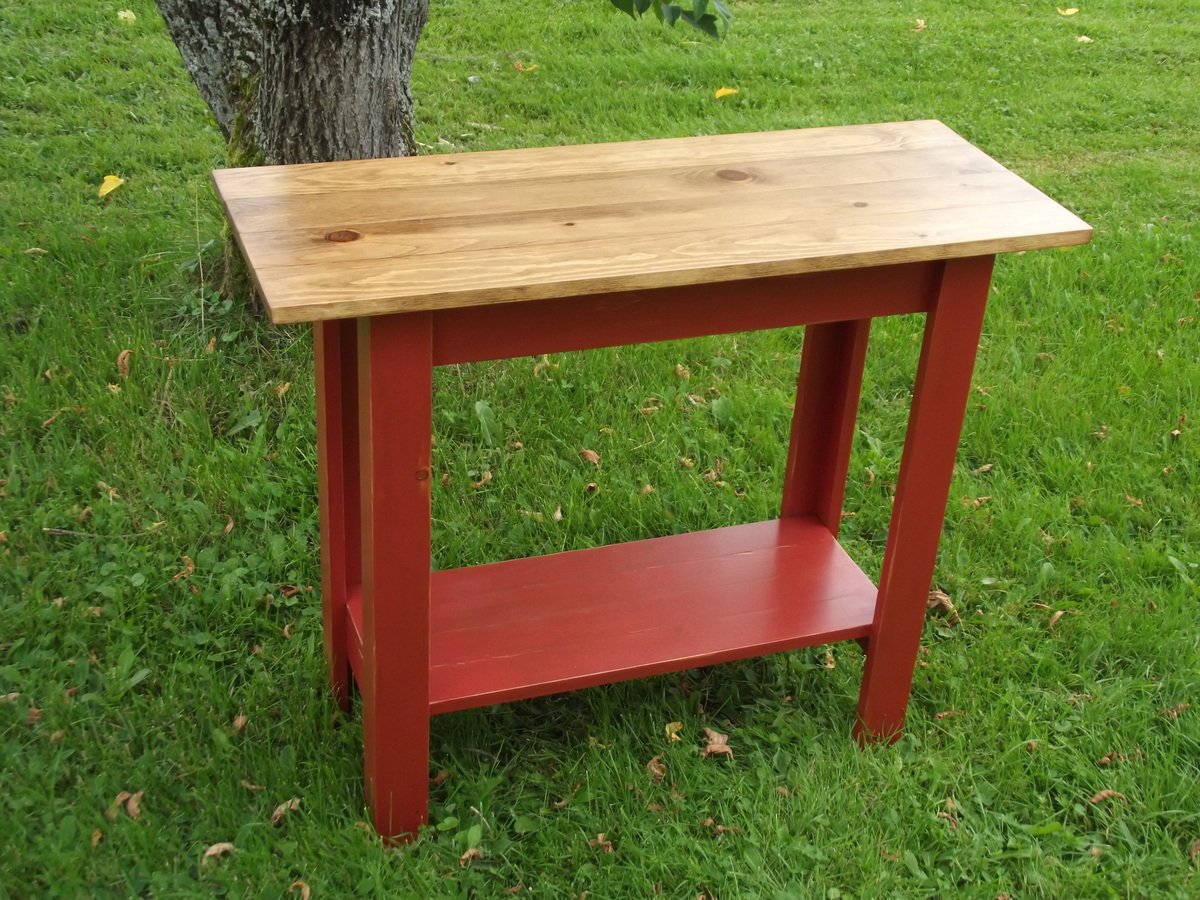
I used Ana's plans for the Simple, Cheap and Easy Console Table and modified it. I used 1x4 boards for the top of my table and added a bottom shelf using 1x3s. The top is stained with Minwax Early American and the bottom of the table has 2 coats of red paint and a chocolate glaze. I lightly sanded some areas of the table (it was my first time distressing a piece of furniture so I didn't want to overdo it) and then I used a chocolate glaze to get a distressed look. I finished it with 3 coats of Polyurethane.
Farmhouse Table with Reclaimed Lumber Top
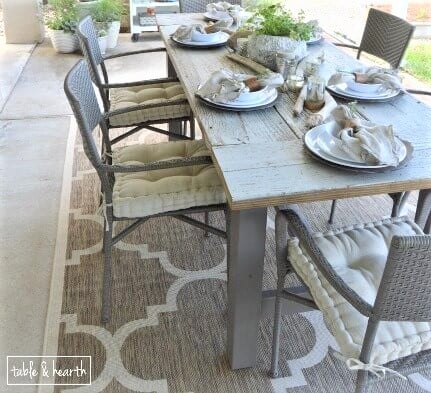
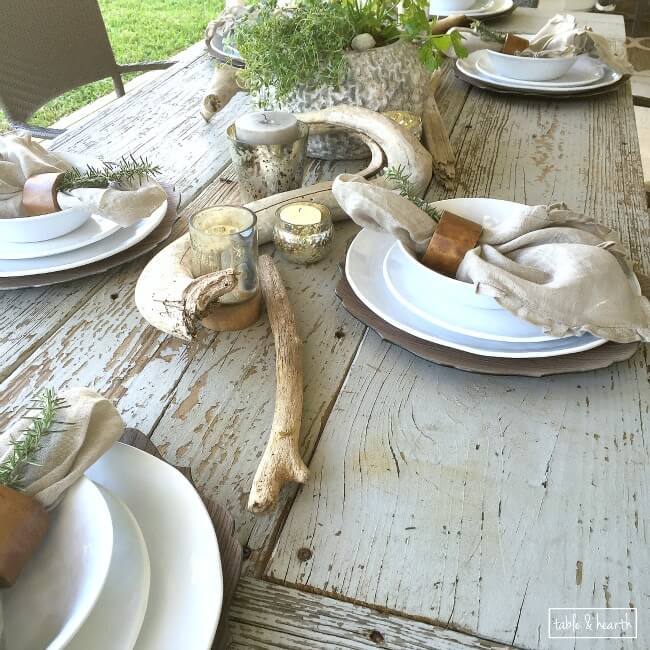
We found this beautifully chippy lumber on the side of the road and snagged it knowing it would make a perfect table top someday. When I decided to build a table for our back patio makeover, I knew exactly what I had to make the top out of.
This was my very first build and the pocket hole plans made it so much easier than I thought it would be! I built the top first then modified the cut list dimensions based on the top. I also flipped the ends around so the braces would show on the inside instead of the outside.
I seriously can't get enough of the top, it's so pretty and I don't have to worry about it at all since it's already wonderfully rustic. The table fits six chairs perfectly. We are looking forward to having many evenings around this table with family and friends!
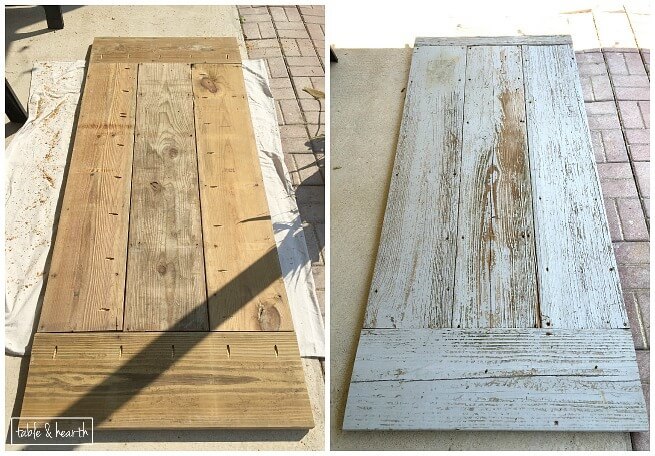
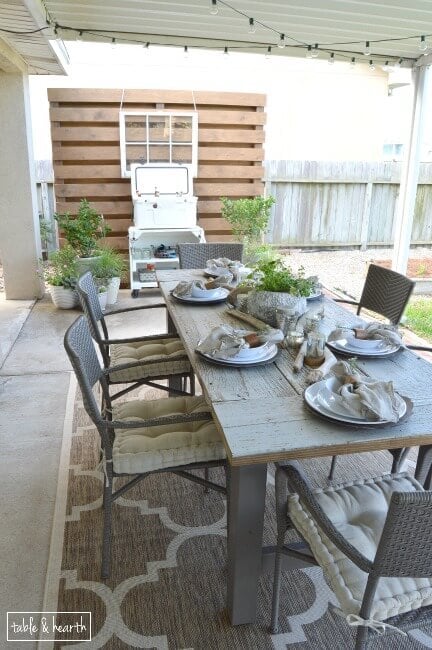
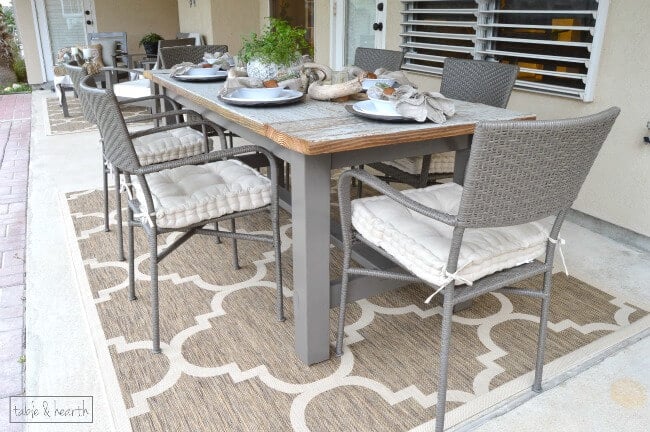
For the top, I sealed the underside with Thompson's Water Seal clear waterproofer, and have plans to seal the top with Miss Mustard Seed's Tough Coat Sealer (http://missmustardseed.com/2015/09/cleaning-sealing-chipping-antique-pieces/)
Comments
Fri, 09/30/2022 - 18:16
Stunning work!
WOW, this is amazing, thank you so much for sharing your beautiful table!
