Community Brag Posts

Sweet Pea Cottage

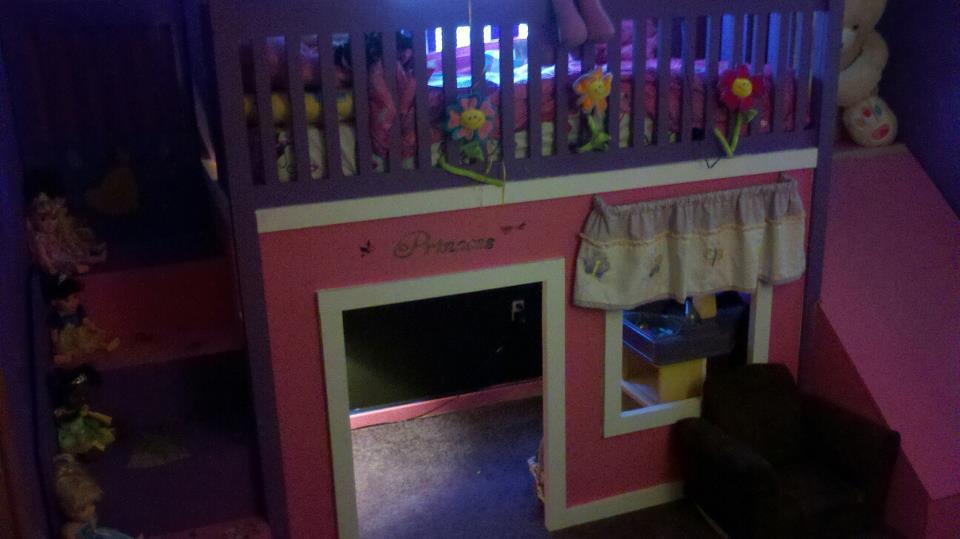
What's a mom to do when she can't choose between the cabin bed, the little cottage loft bed and the sweet pea garden bed? Head over to google sketchup and sketch up a set of plans incorporating favourite aspects of all three beds! This one had been in the planning stages for over a year and I’ve called it “Sweet Pea Cottage”. It took me about 3 months to build in my spare time and I couldn't be happier with how it turned out. Of course our daughter loves it as well! Who wouldn't want to sleep in their own little house bed! :) I used spruce and 3/4" purebond plywood for the main build. To give the plywood panels a planked look, I cut the front into various size rectangles so I could run them through my table saw using a 1/4" dado blade before assembling the pieces together with pocket holes. The roof panels and dormer are 1/4" plywood glued and screwed to a frame and then I used construction adhesive to adhere the dormer to the front roof panel as well as adhere the cedar shakes. Painted with Behr Pure Ultra White and topped with a satin polyacrylic. I left the cedar shakes raw but if I built it again, I think I would top them with some sort of flat or matt sealer as the rough texture makes dusting them a bit difficult. One of the first questions I get is "how difficult is it to make the bed?". Surprisingly it's not that hard. Because the bed is so open on each end and we have it set up in her room with access on three sides, it's easy to manoeuvre the mattress a bit to change the bedding.

Comments

April1360

Thu, 02/17/2022 - 08:15

I love this bed. I would like to make one for my Grand-daughter. Do you have plans for this cute bed? I just signed up today so I wasn't able to see the comment section. I'm sorry if this has already been asked.

The Coffee Table of Fun

Submitted by QueenMahin on Mon, 03/21/2011 - 03:59

Hello Fellow Ana White Fans!

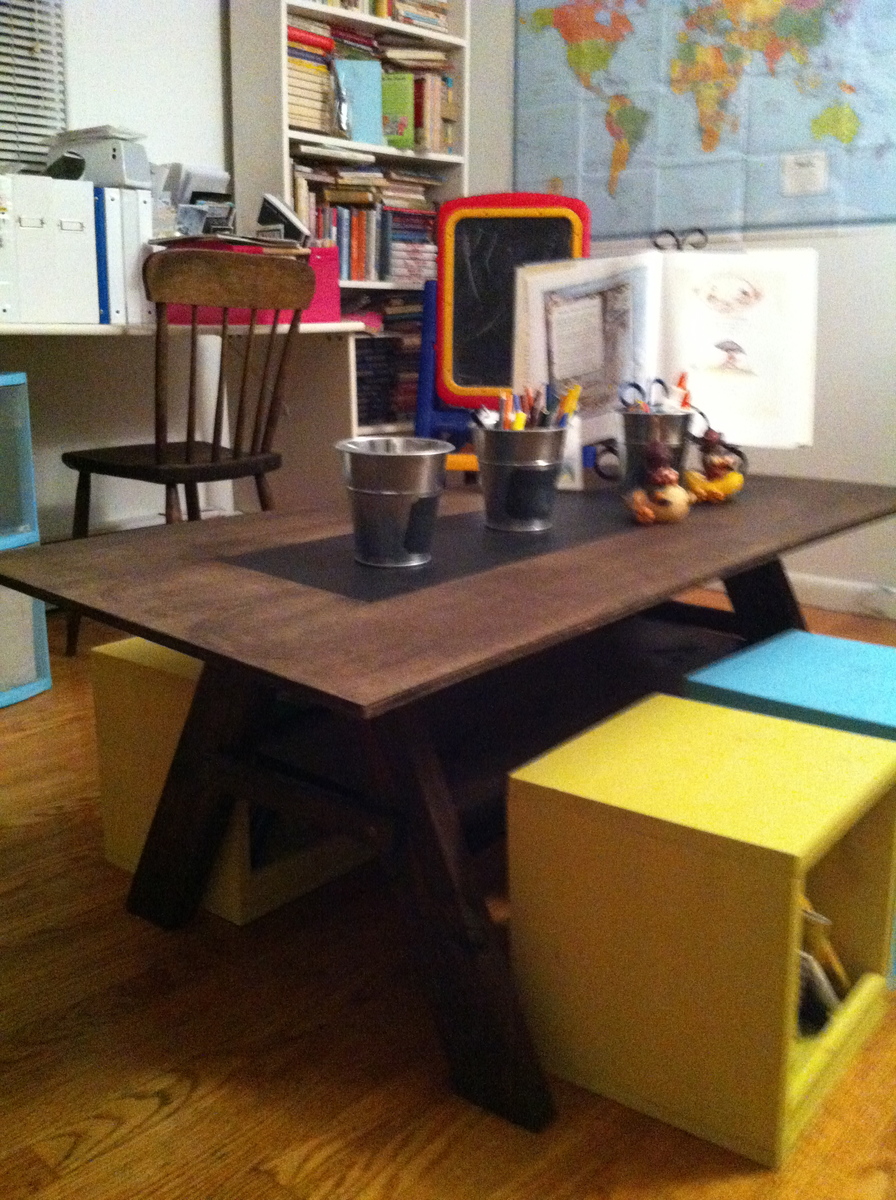
This is from Ana White's lego coffee table plan, but my daughter is not a huge fan of legos, so we’re just calling this project the Coffee Table of Fun!  Indeed it was a fun build.  This project gave me the excuse I was looking for to buy a kreg jig.  Certainly a kreg jig was not required, as the plan calls for a plywood top and bottom, but Ana revealed in the comments that she made her table by planking 1x6 boards with the kreg jig.  I was nervous at first with the kreg jig (it comes with a whopping big bit), but now I see a world of new possibilities in building with this awesome tool.

This table came together very quickly.  In fact, perhaps it was too quick, because I made a substantial mistake during the build.  In step 8 of the plan, adding the top sides, I missed the fact that the top side was supposed to be flush with the top support, not with the box itself, so that there would be a ledge for the top to rest on.  I didn’t realize my mistake until I added the top ends (correctly), and then measured for the top piece.  Then I scratched my head after realizing that the 3 planked 1x6 boards were not going to fit at all.  Oops!

I was disheartened at first, because I didn’t know what to do.  By the way, Ana has included a “How-To’s” section on this new site for fellow builders to submit tips.  I’d love it if someone could give some pointers about fixing mistakes.  Is there any recourse once a board is glued and screwed?  Anyway, I took some quiet time to think about the project and had an “Aha!” moment.  I ended up attaching 1x2 pieces around the inner edges of the two compartments to create the ledge for the top to rest on.  Then, instead of the three planked 1x6 boards that I’d planned on, I used 6 1x3’s planked together to make the top.  Yes, there was an unexpected detour from the plan, but it all worked out just fine.   I’d rather not make mistakes, but at my current level of experience, I think that mistakes are inevitable, and the mistakes actually give the piece a story and a little extra personality.

Looking forward to the next project!

Cheers!

Estimated Cost
$50
Estimated Time Investment
Weekend Project (10-20 Hours)
Finish Used
Stain with Minwax poly shades - pecan satin
Recommended Skill Level
Beginner

Rustic X Bench

I adjusted the measurements for the console to make a bed bench. The over all length is 66.5", making each horizontal 2x2 26" long. The 2x4 legs are now 18" heigh. Love the end result.

Built from Plan(s)
Estimated Cost
$50-80 depending on supplies on hand
Estimated Time Investment
Weekend Project (10-20 Hours)
Finish Used
Behr Shiny luster
Kona stain/poly
Recommended Skill Level
Intermediate

Comments

Richard6959

Thu, 01/30/2020 - 09:49

What was used for the decorative circles at the bottom of each leg? Its not mentioned anywhere in the plans and I can't tell from the pictures what was used. Please explain. Thanks. 

Alaskan lake cabin bench

Im building these for a friend to sell at alameda county flea market. It takes me a couple day to do one if its on spare time

Estimated Time Investment
Day Project (6-9 Hours)
Finish Used
One was painted with chalk paint cut in half with semi gloss black and clear laquer. Other is all clear laquer
Recommended Skill Level
Beginner

Distressed Milk paint technique

My client wanted a distressed paint look for these custom doors that I built . Not knowing how to do this I immediately looked for some tips from Ana White . I found a link on your page to do this using gel stain and milk paint . It worked very well , I had to do a couple trial and errors do get the exact desired effect we were looking for but in the end I would have been lost with out your tips .

Thanks Tony Curtis
FB @ Rockwood Designs Rustic Furniture
Instagram @ Rockwooddesigns_TonyCurtis

Comments

coffee table

I used the coffee table framing system, and doubled the dimensions.. I had used the Kreg system, and it was so easy, and quick...

Estimated Cost
80.00
Estimated Time Investment
Week Long Project (20 Hours or More)
Finish Used
I used water based walnut stain, and water based high gloss finish.
Recommended Skill Level
Intermediate

Washer / Dryer Stand

Submitted by Myk3 on Fri, 06/07/2013 - 14:04

I followed the plan, but added some floor molding to the top and bottom. I did this to attempt to cover the seams from the plywood / 2x4s.

Estimated Cost
$150-$200
Estimated Time Investment
Weekend Project (10-20 Hours)
Finish Used
Navy Blue paint, two coats with Behr with primer.
Recommended Skill Level
Beginner

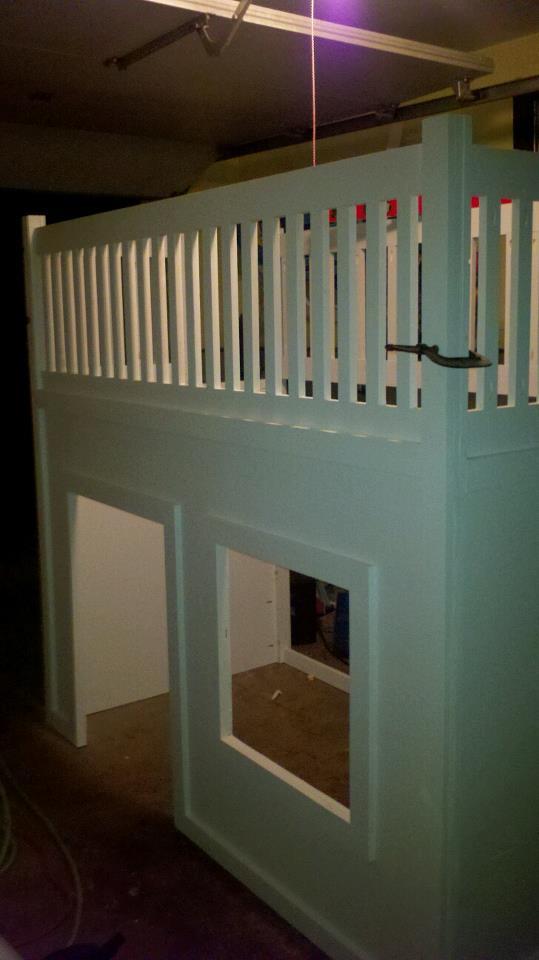
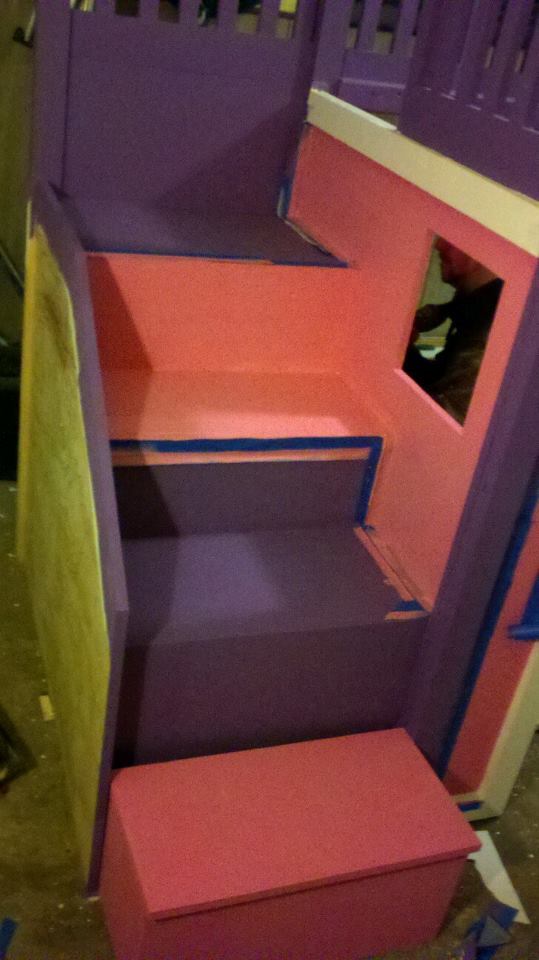
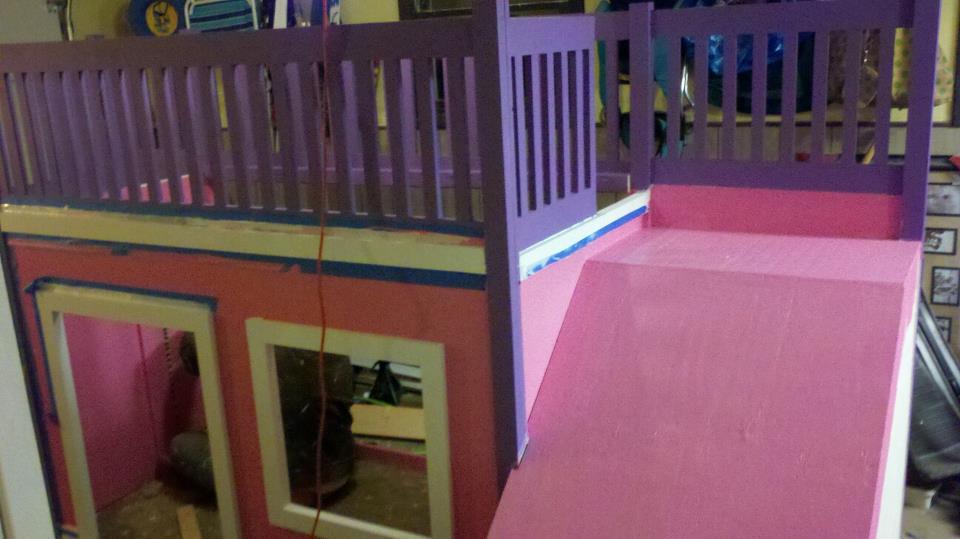
Clubhouse Bed Home Depot Style

Plans were easy to follow. After my younger daughter fell down the original ladder, I changed them out with steps. They have a better incline. I finished assembly in day one. Then paint on day two.

Built from Plan(s)
Estimated Cost
500
Estimated Time Investment
Weekend Project (10-20 Hours)
Finish Used
paint
Recommended Skill Level
Intermediate

Comments

Dresser with Changing Table

Submitted by dhoop31 on Sun, 10/15/2017 - 05:52

Was asked to build this with an added changing table on top.  Built it for my neice her first child.  

Estimated Cost
350.00
Estimated Time Investment
Week Long Project (20 Hours or More)
Finish Used
Acrylic paint
Recommended Skill Level
Intermediate

Toilet shelf

Submitted by Lukilla on Fri, 10/22/2021 - 17:54

We had someone ask us to make one of these for them, and we couldn't resist making one for ourselves. Fun easy build and adds some style to our bathroom.

Minwax early American stain on the finish

Comments

Tryde Coffee Table

Submitted by ke263565 on Sun, 03/27/2011 - 16:48

built coffee table based off easy to follow plans - couldn't find untreated 4x4 but just painted it and hoped

Built from Plan(s)
Estimated Time Investment
Weekend Project (10-20 Hours)
Recommended Skill Level
Beginner

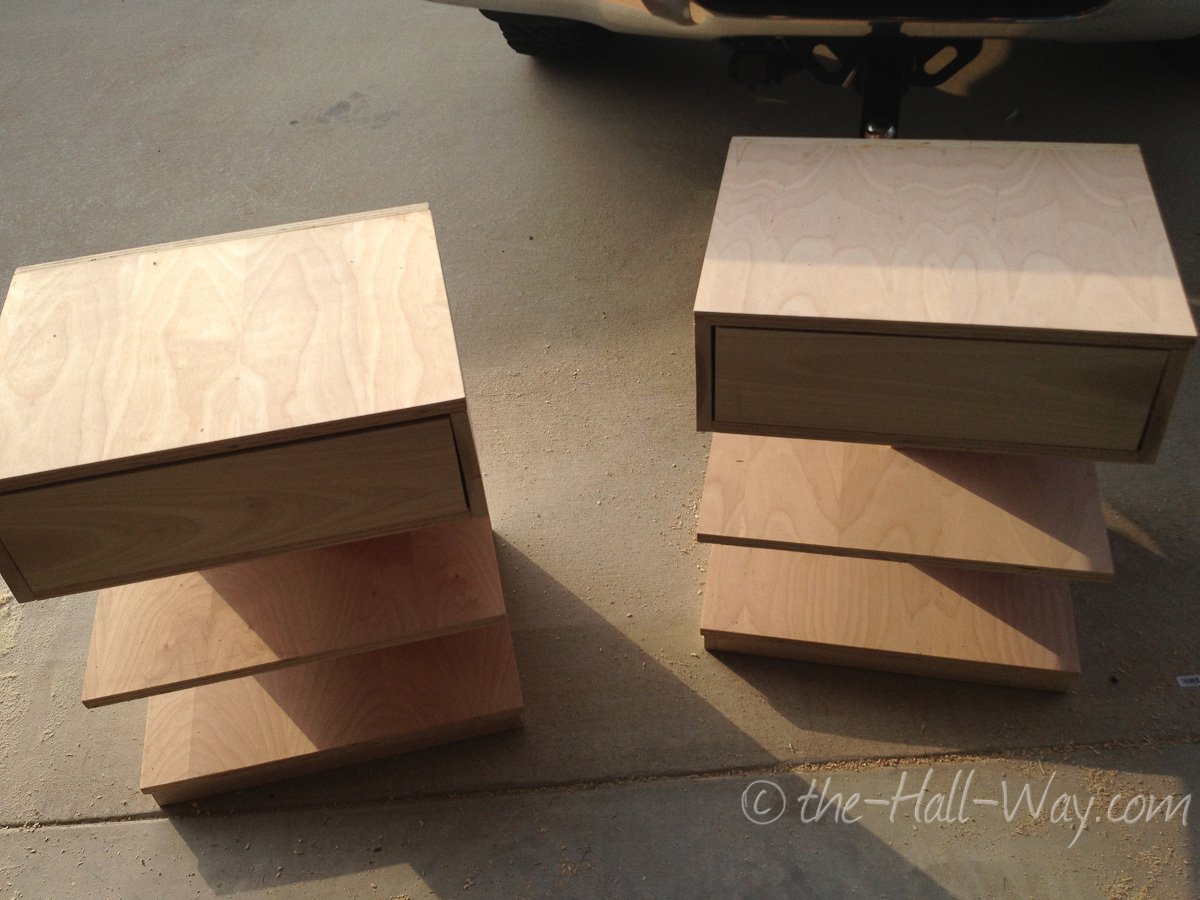
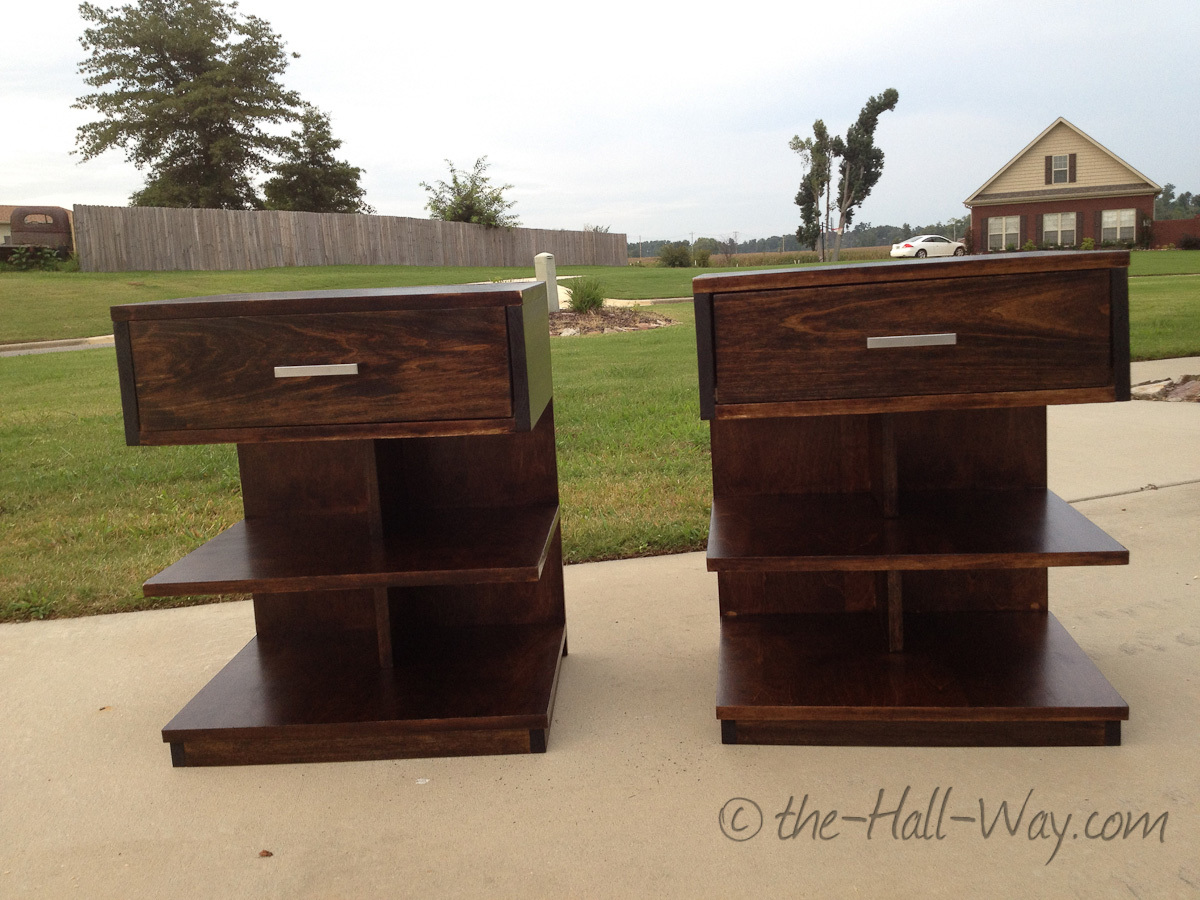
Bedside night stand

Submitted by Zacharary on Sun, 06/09/2013 - 15:13

Made from farmhouse plans

Estimated Cost
$60
Estimated Time Investment
Day Project (6-9 Hours)
Finish Used
Paint and stain
Recommended Skill Level
Beginner

Comments

Outdoor Wooden Snowflake

Great plan from Ana White! I changed a few things with the size of the snowflake and I added a long stake to put it in the ground outside!

Built from Plan(s)
Estimated Time Investment
Afternoon Project (3-6 Hours)
Finish Used
Metallic Silver and White spray paint
Recommended Skill Level
Beginner

Barn Door Storage Wall and Trestle Desk

Submitted by Anonymous (not verified) on Mon, 10/23/2017 - 10:14


Some of my first builds... I built this wall unit with sliding barn doors and the desk in front of it.

By Kraig Faulkner

Recommended Skill Level
Intermediate

Comments

Modern Farmhouse Bed

Submitted by Anonymous (not verified) on Fri, 11/05/2021 - 13:34

After living in a 19ft travel trailer and touring the country, moving every three months as a travel nurse, for four long years, it was awesome to build our bed frame!
I swapped out the 1x4s on the headboard with pallet wood, and finished the whole thing with 000 steel wool and vinegar stain.
Absolutely love it! And man! Do we sleep well now!!!

Built from Plan(s)

Comments

Look What I Made!

This was my first project to build although I cut wood for another project a year ago. The plans were simple and easy to follow. Now I want to build more! Thank you Ana!

Built from Plan(s)
Estimated Time Investment
Day Project (6-9 Hours)
Finish Used
Red Mahogany Minwax stain for the base cabinets,
Black satin latex paint for desktop, Polyurethane. I didn't want a uniform color on the entire desk so I stained the cabinets with my favorite stain color and painted the desk top black.
Recommended Skill Level
Beginner

Comments

Fancy X Farmhouse Table outdoors

Submitted by mark_s on Mon, 06/10/2013 - 21:46

my first project, loved how this came out. Thank you so much for the easy plans. I made this for my wife as a surprise mother's day present. She loves it, we will be using it all summer. Made with Redwood, and just a clear coat finish.

Built from Plan(s)
Estimated Cost
$600
Estimated Time Investment
Weekend Project (10-20 Hours)
Finish Used
minwax spar urethane (outdoors)
Recommended Skill Level
Beginner

Rustic Whitewash Box

We recently got a new puppy and the toys were all over the house. I decided to make a simple yet practical box for his toys....I'm sure the box will be chewed up soon :)

Wood type: Pine
Finish: Water based polyurethane, Minwax walnut stain, white acrylic paint.
Cut List: Only one 1" x 6" x 8' board was needed for this box.

Full detail instructions on my blog:
http://www.woodworkingfourdummies.com/blog/rustic-whitewash-box

Cheers,
Ian

Estimated Cost
8 dollars
Estimated Time Investment
Afternoon Project (3-6 Hours)
Finish Used
Water based polyurethane, Minwax walnut stain, white acrylic paint.
Recommended Skill Level
Starter Project

Farmhouse table

Submitted by Chalkie on Wed, 11/10/2021 - 16:49

We moved into our house 2 years ago that was built in 1935. We recently decided to knock a wall down separating our kitchen and dining room to make it 1 large kitchen with a dining table. While removing the wall, I decided to repurpose those old 2x3 wall studs into our dining table. The wall also contained random 4x4s, which was perfect for the legs. It took a while for me to figure out what kind of leg style would work with the amount of wood I had to use. The fancy X farmhouse table was the perfect leg design for what I needed. I must say, wood from the 30s is MUCH different than the wood today.

Built from Plan(s)

Comments