Community Brag Posts

Workbench modified with casters

Submitted by ogie287 on Tue, 04/02/2019 - 20:06

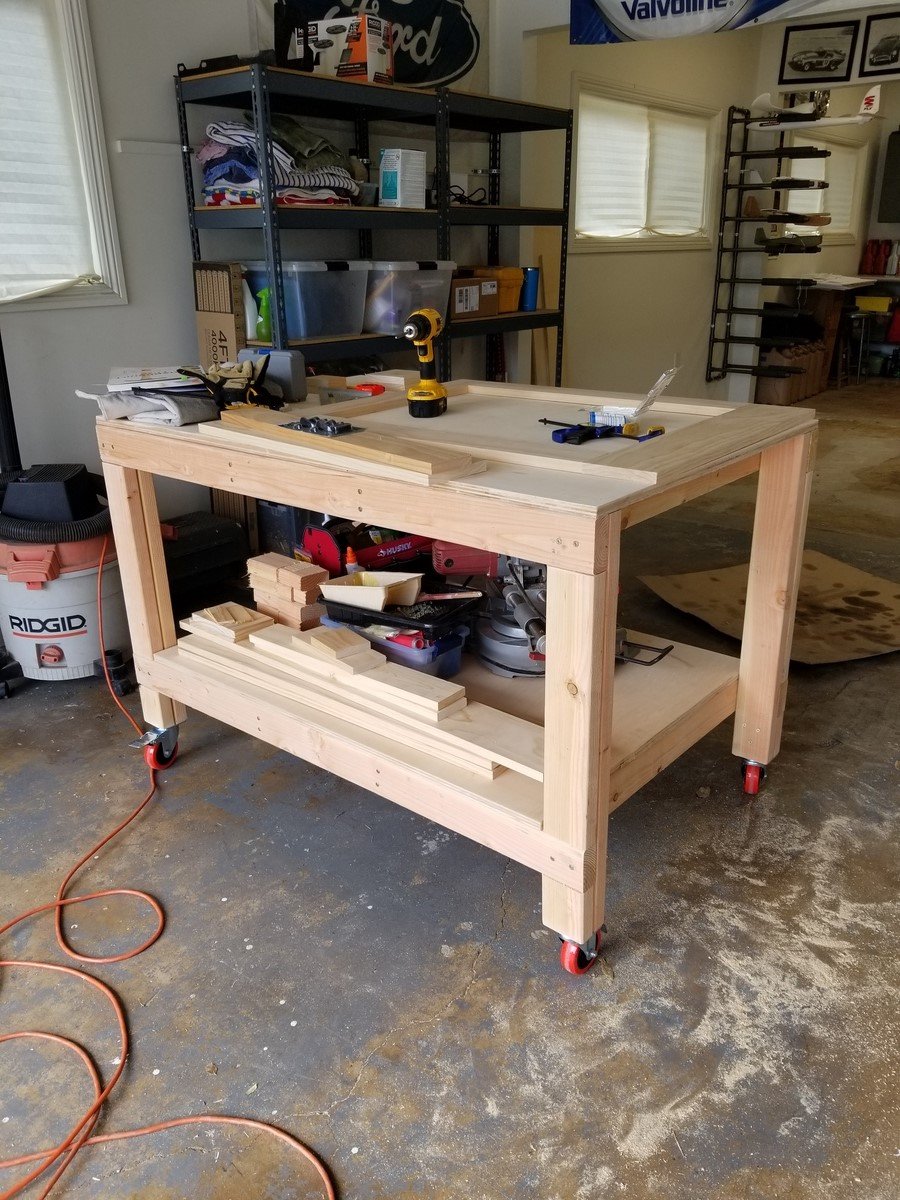
I love this workbench! I added casters so I can move it around the garage, outside, wherever it's needed. I just took 4 inches off the bottom of the legs. My hubby is admiring my handy work and planning on making one for himself.

Estimated Cost
$130
Estimated Time Investment
Afternoon Project (3-6 Hours)
Finish Used
None
Recommended Skill Level
Beginner

Comments

JBeecher

Wed, 01/25/2023 - 14:31

Love this with the casters! So beautiful. I'm new here and wondering at what point you took 4 inches off the legs. Did you build the table and then just cut off the legs? Or did you adjust the measurements of the cuts? Thanks in advance! :)

JimCoz516

Mon, 01/30/2023 - 02:32

The overall height of a 4-inch caster wheel is a little over 5 inches with the mounting bracket, so that also needs to be taken in to consideration. 2nd photo shows the overall dimensions, but to me the bracket and brake area appear to be a bit more than 1.03 inches. https://amzn.to/3DkMKzB
I think the best bet would be to have and measure the overall wheel height, prior to measuring and cutting the lumber.

Crafting Console

Submitted by Anonymous (not verified) on Tue, 02/21/2023 - 17:18

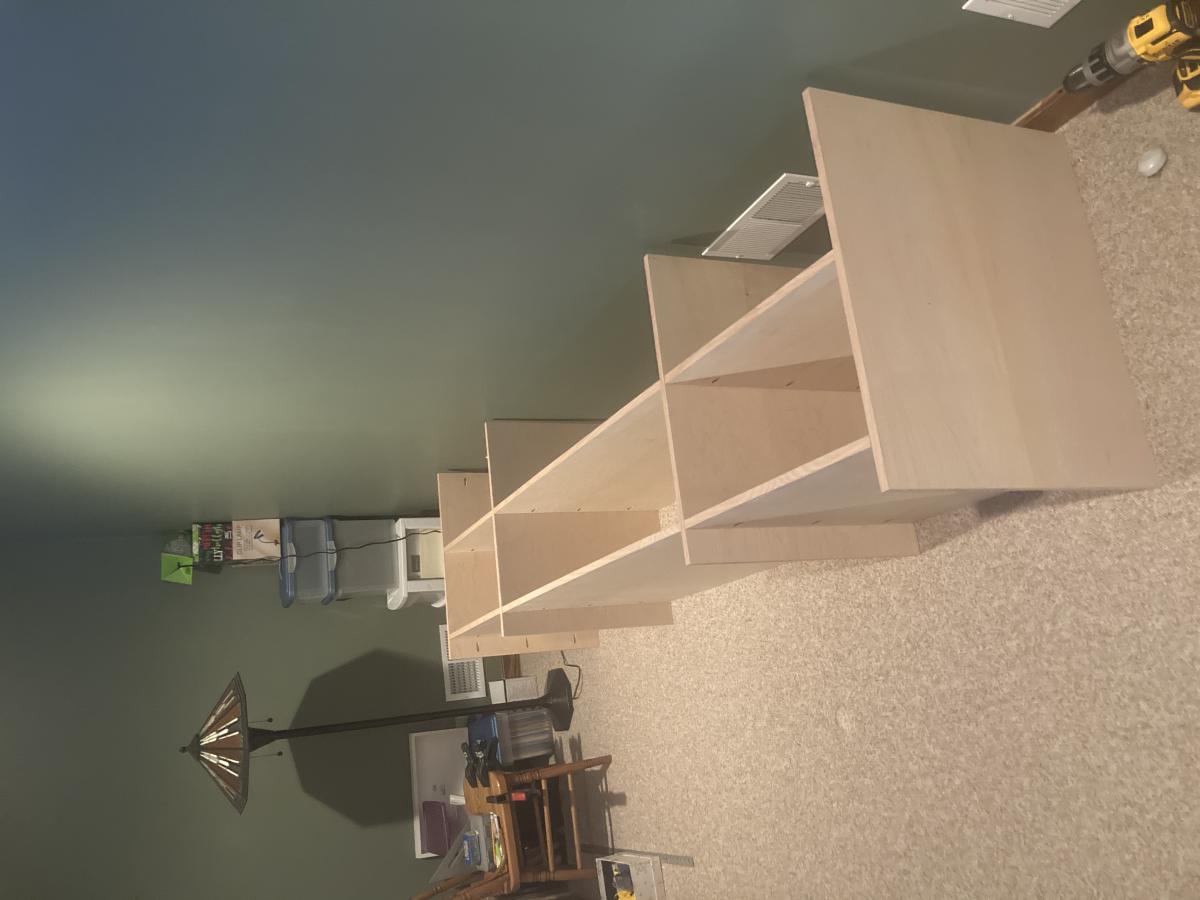
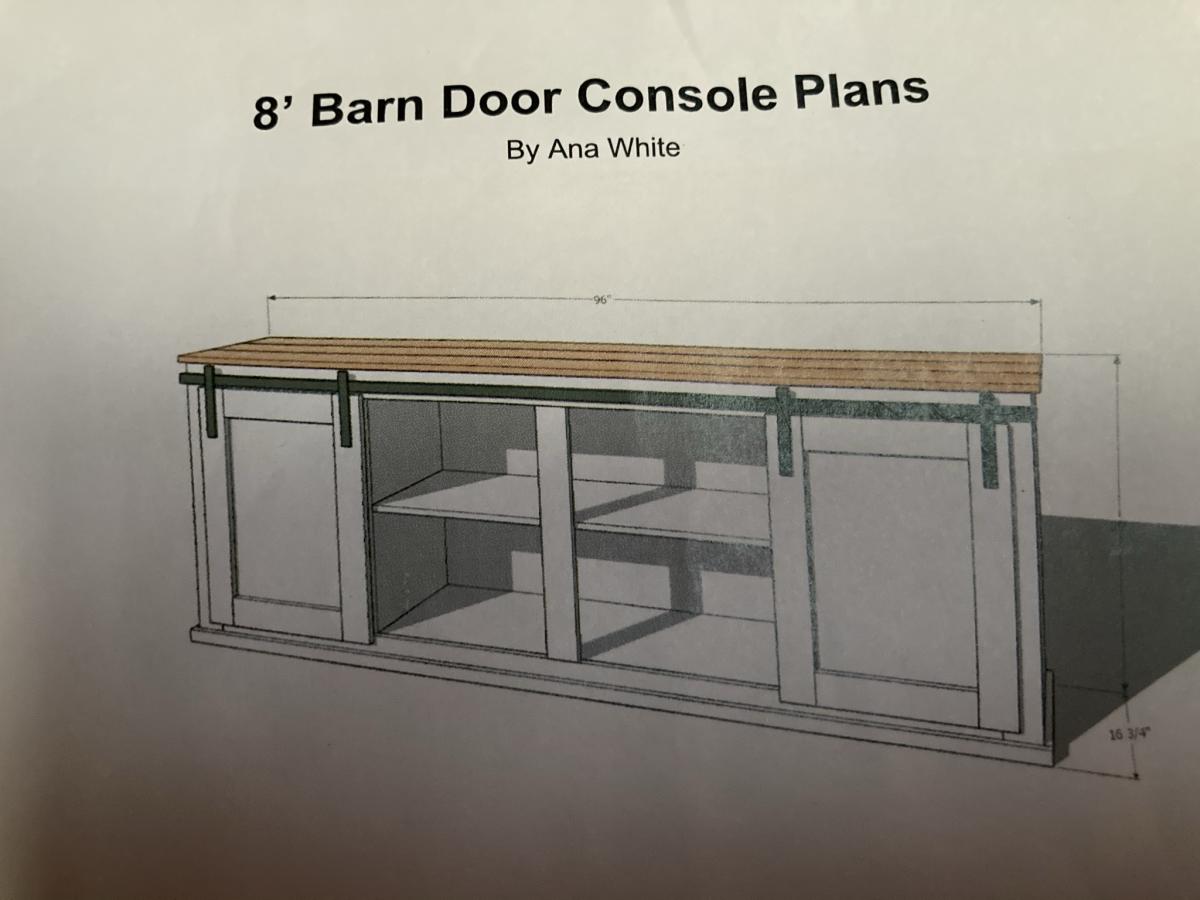
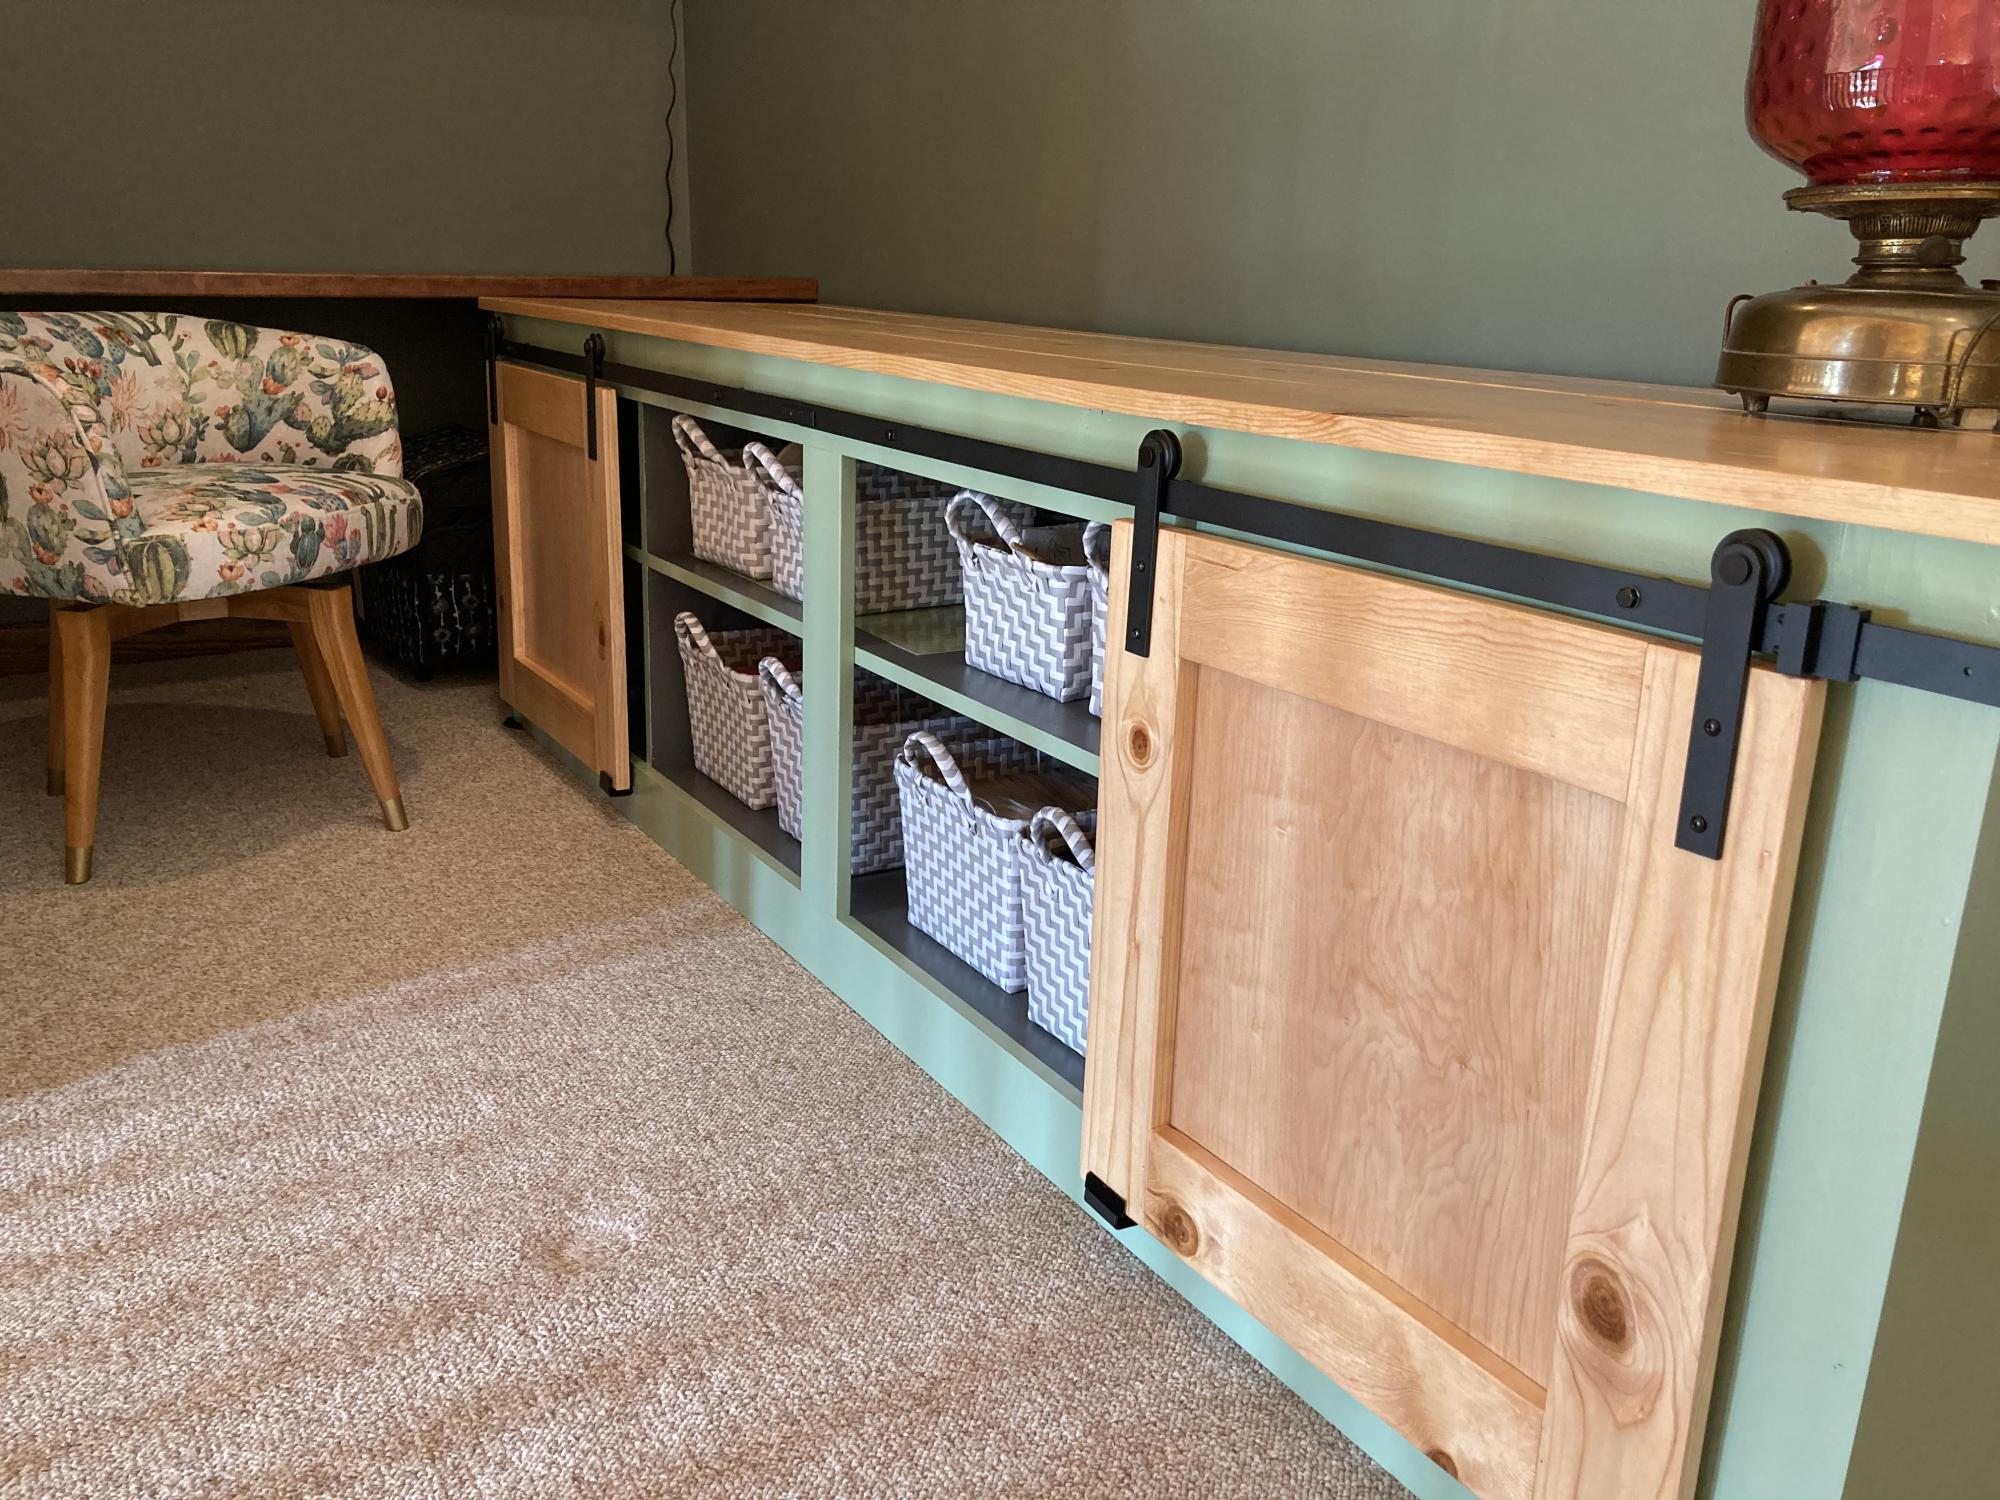
I had a loft space that was not being utilized so I created a crafting space using an Ana White Barn Door Console plan. I just started building furniture 5 years ago using a jigsaw, a miter saw, and a power drill. You are never too old to start

Comments

Convincing My Hubby

Submitted by Klem413 on Mon, 10/31/2011 - 18:52

After finally getting my husband on the Ana White bandwagon, He cut all the wood for me and we assembled it in one afternoon. We used plywood instead of the planks, omitted the 2x4, using just the 2x6 on top, and we also attached 1x4s to the front of the "posts" that we made with 2 2x4s to cover the seam. I took about 2 or 3 days to sand and stain it and now he wants to build more!

Estimated Cost
70.00
Estimated Time Investment
Weekend Project (10-20 Hours)
Finish Used
1 coat of Minwax Wood Conditioner and 2 coats of Minwax Polyshades Bombay Mahogany with #000 steel wool in between coats.
Recommended Skill Level
Starter Project

Comments

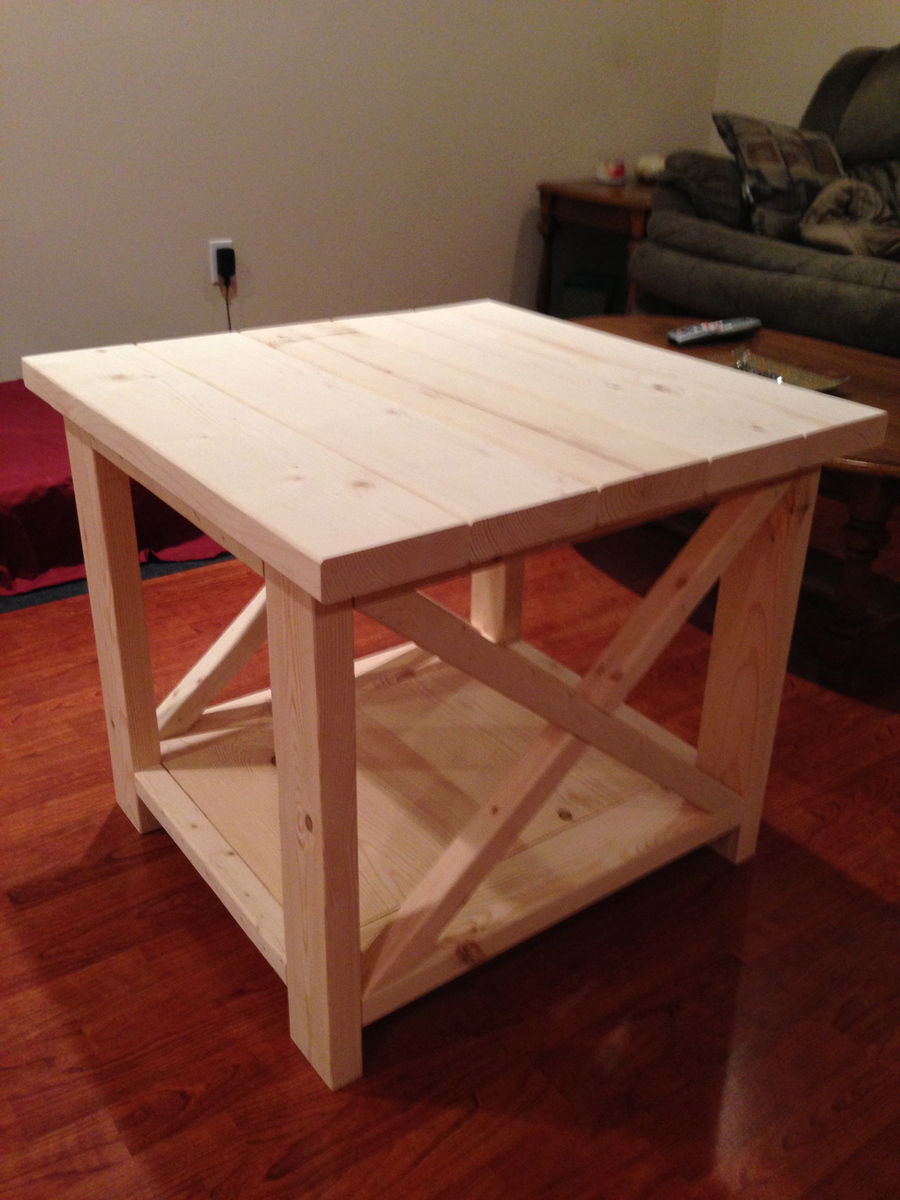
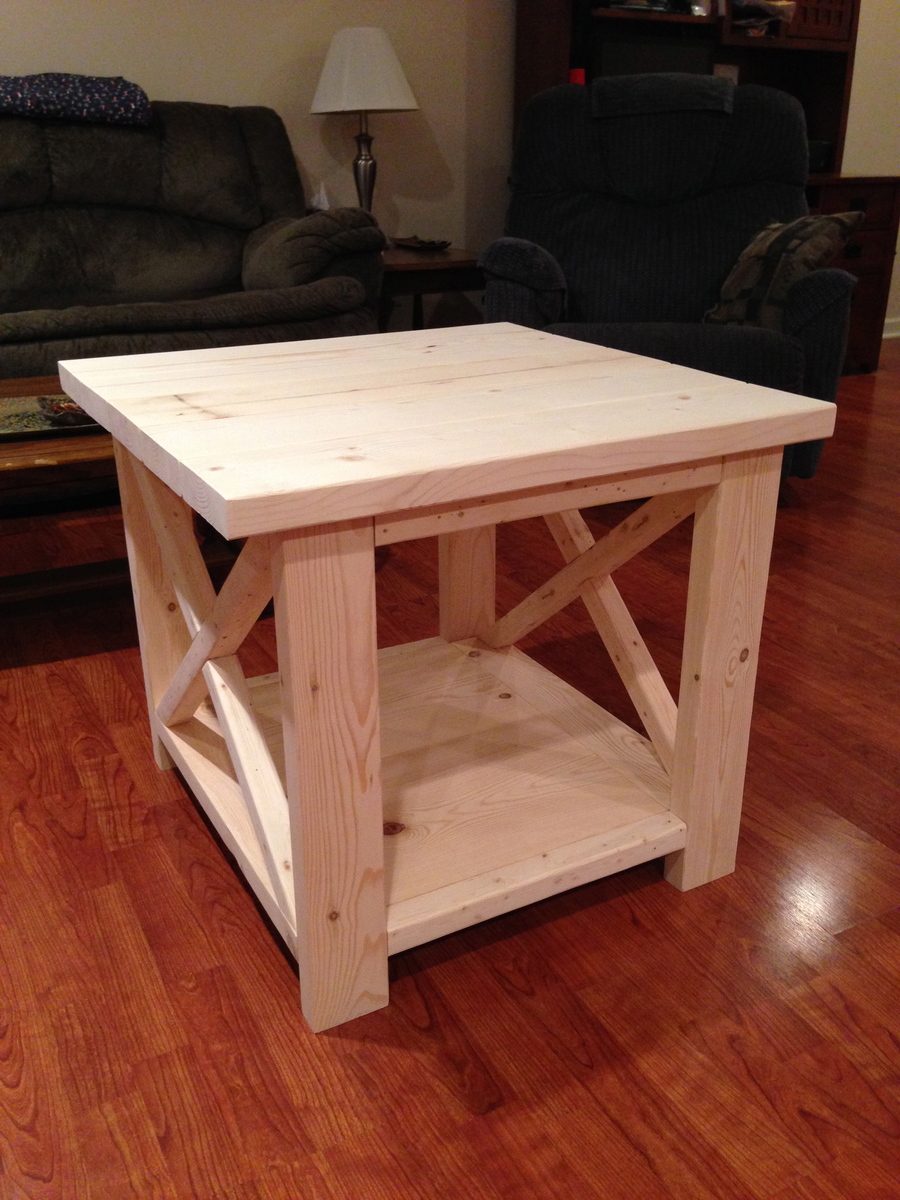
Rustic X end table

have not put a stain on this yet, waiting to make a pair before doing that

Built from Plan(s)
Estimated Cost
$45
Estimated Time Investment
Day Project (6-9 Hours)
Finish Used
not finished yet
Recommended Skill Level
Beginner

Perfect Size Side Table

Submitted by J Spitzley on Thu, 01/07/2016 - 07:36

We were looking for a narrow side table for the little space we had at the end of the sofa. This table was perfect size, exactly what we were looking for and incredibly easy to make.

Built from Plan(s)
Estimated Cost
Less than $50.00
Estimated Time Investment
Day Project (6-9 Hours)
Recommended Skill Level
Beginner

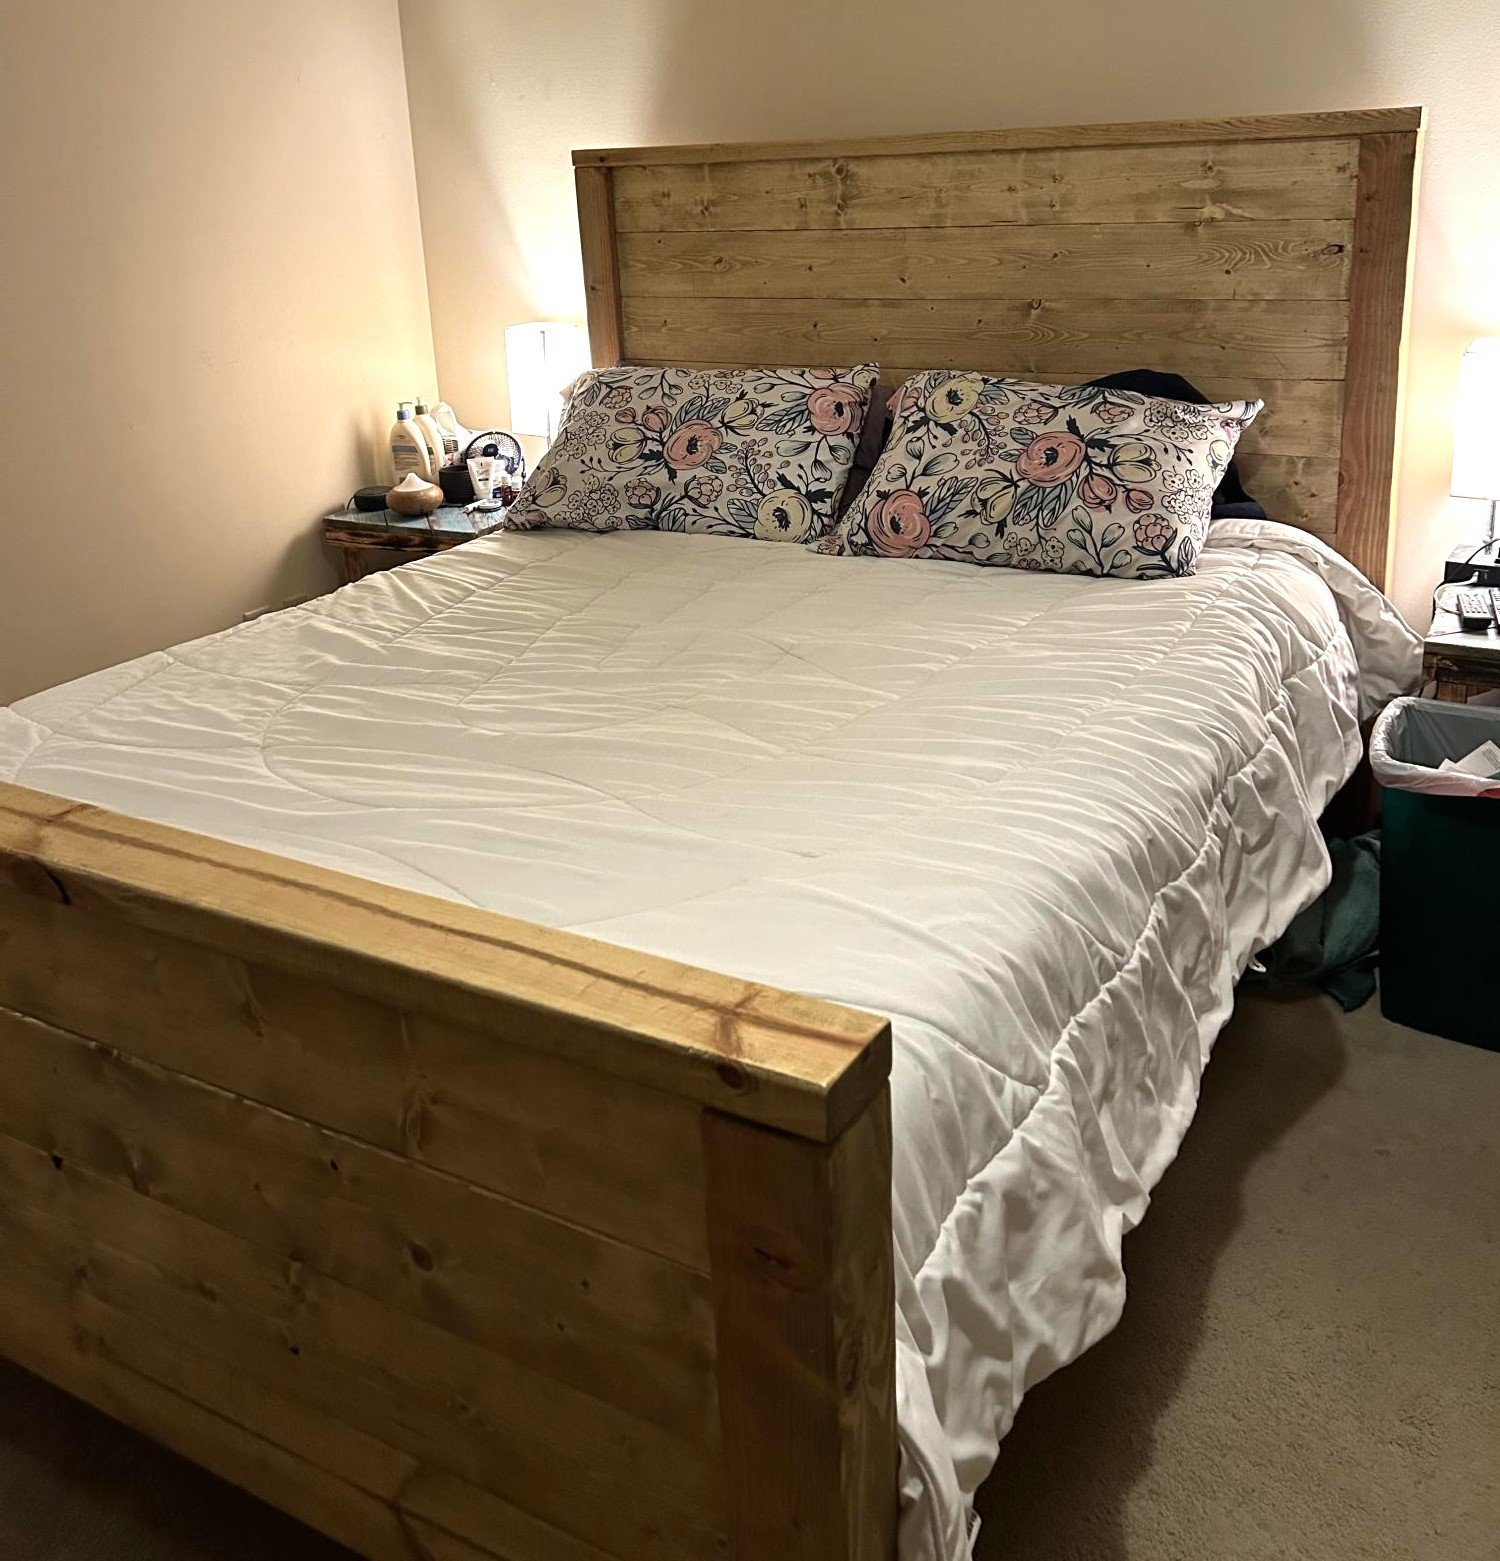
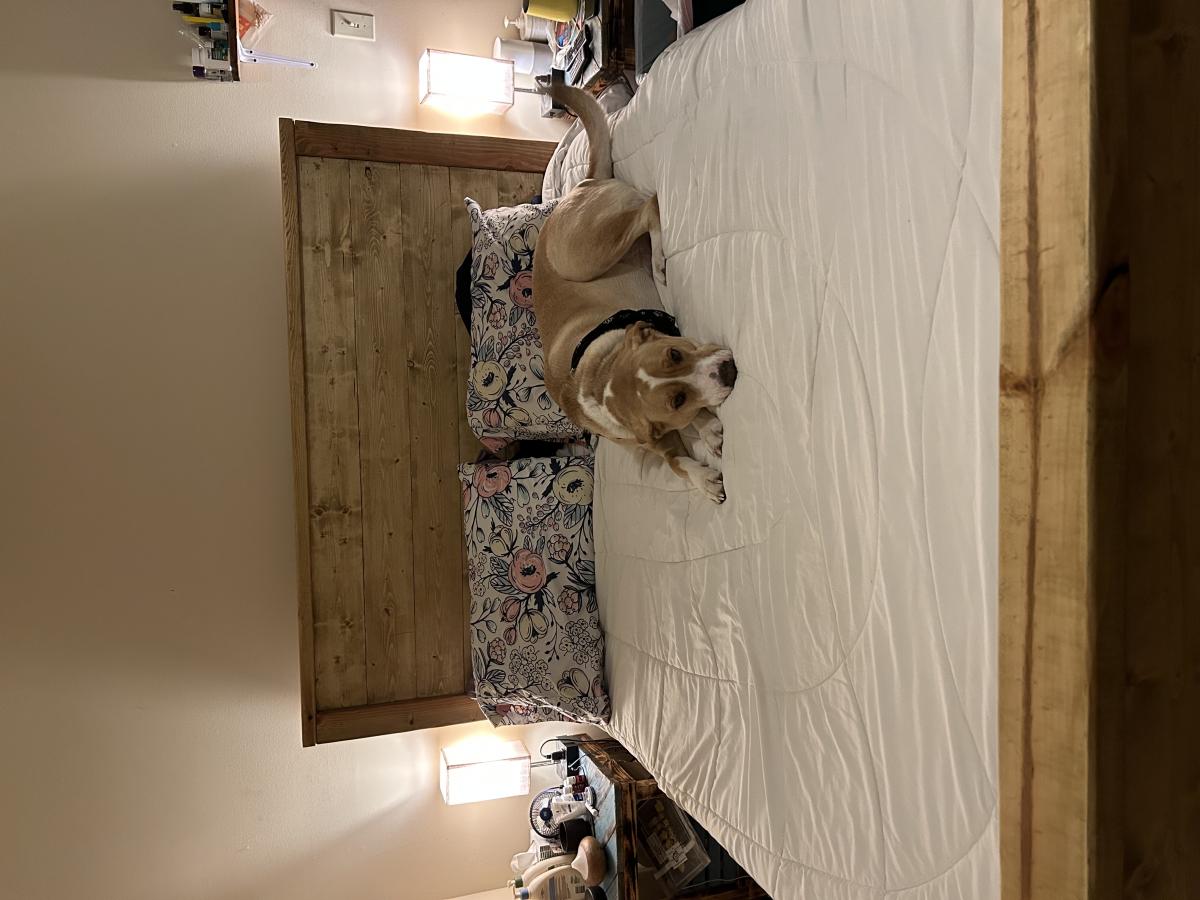
Modern Farmhouse Queen

Submitted by Anonymous (not verified) on Sat, 02/25/2023 - 18:59

We made the footboard a little taller, pattern was simple to follow and adjust to meet our needs.

Built from Plan(s)

Comments

Reclaimed Wood Farmhouse Vanity

Using the Farmhouse Vanity plans as a guide, I built this enclosed farmhouse vanity out of a neighbor's old cedar fence and topped it with leathered granite and a ReStore sink. The finished vanity is amazing! For more, check out my blog.

Estimated Time Investment
Day Project (6-9 Hours)
Finish Used
None! That's the beauty of reclaimed wood.
Recommended Skill Level
Intermediate

Comments

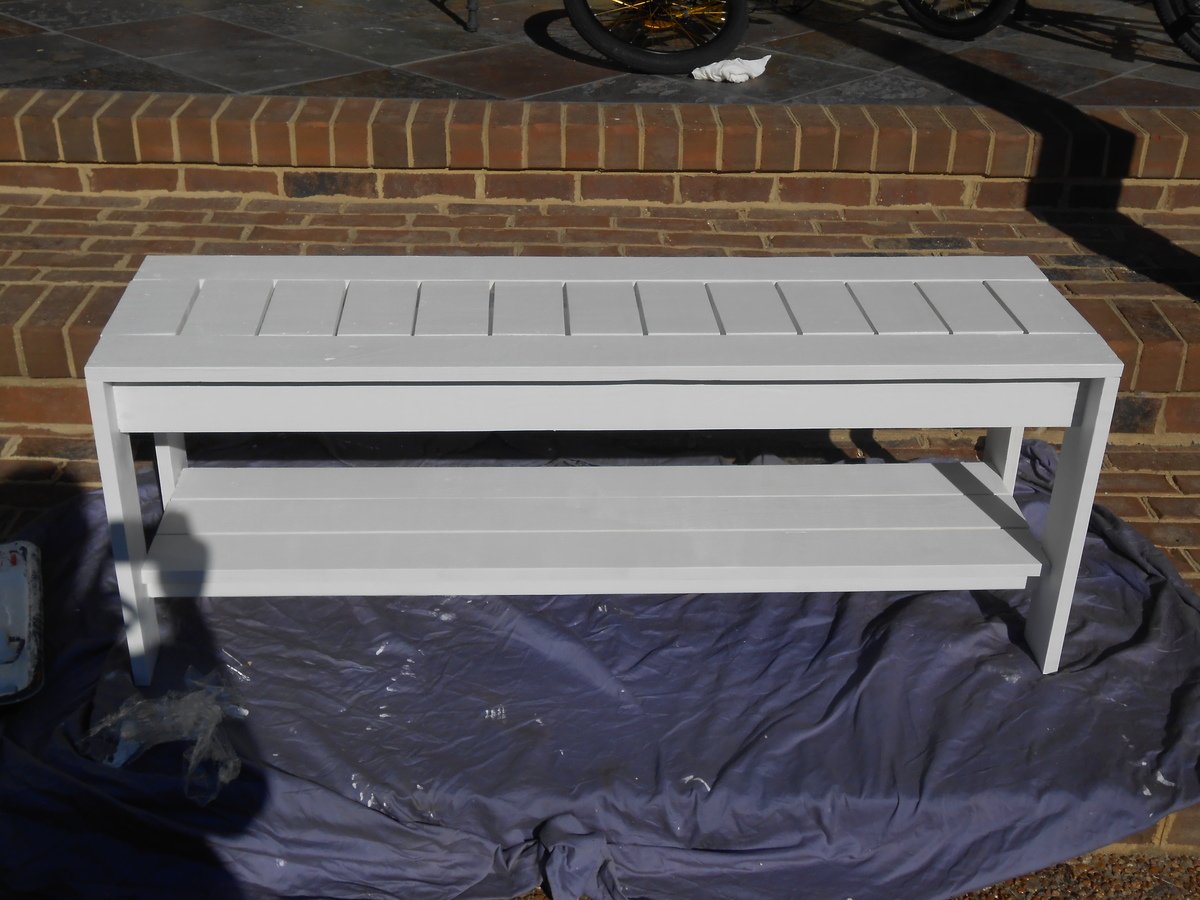
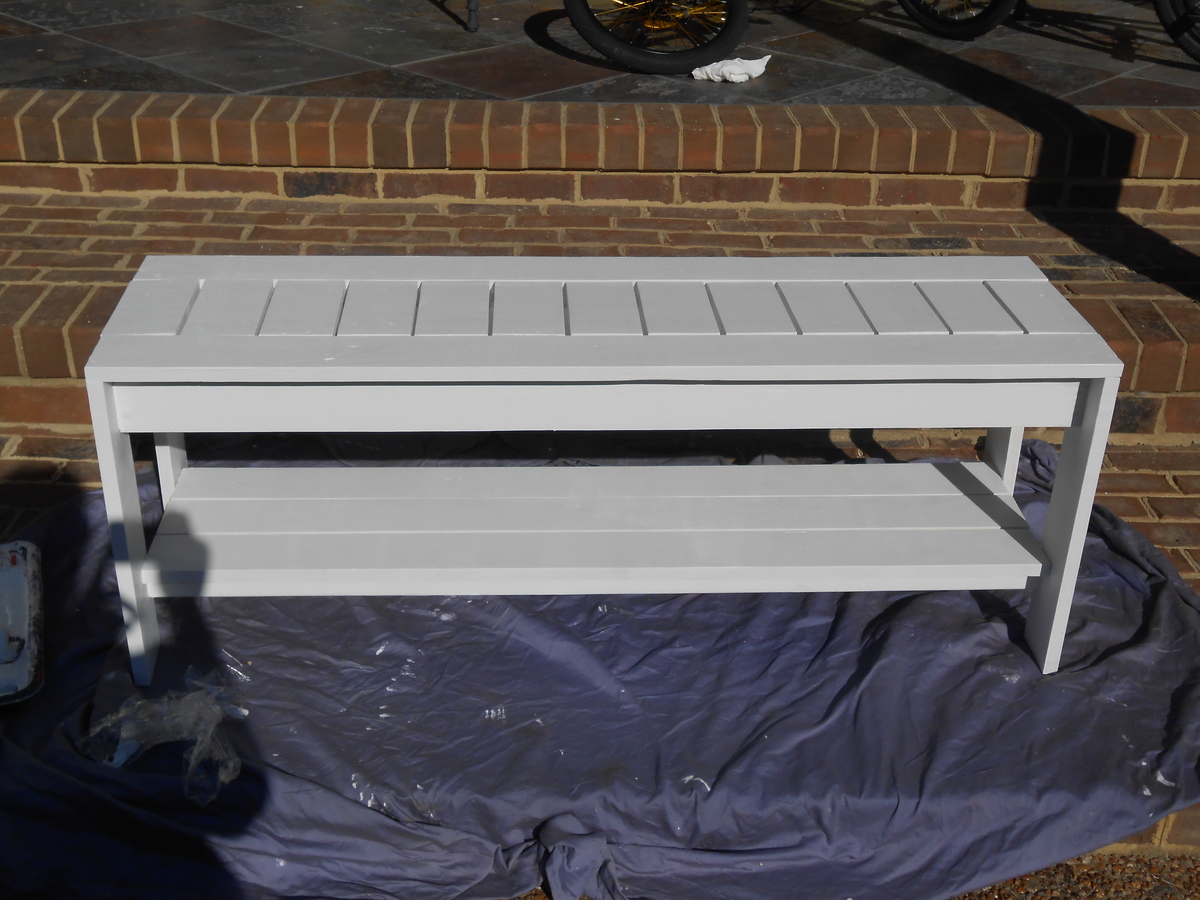
Simple Outdoor Bench

Submitted by gabdannad on Fri, 10/25/2013 - 14:51

I had to modify the plans. The Size is 14" x 48". I also added a shelf at the bottom for shoes. Can't wait to replace the ugly shoe rack at the front door with this! I also used 1 x 4's for the apron. I found 1"x4"x14' at homedepot for only 3.40per piece!! So I was able to build this for less than $15. The wood has more knots than the other 1 x 4's, but if you look thru you can find some good pieces. I'm going to use this same wood to build the outdoor sectional too.

Built from Plan(s)
Estimated Cost
14
Estimated Time Investment
Day Project (6-9 Hours)
Recommended Skill Level
Beginner

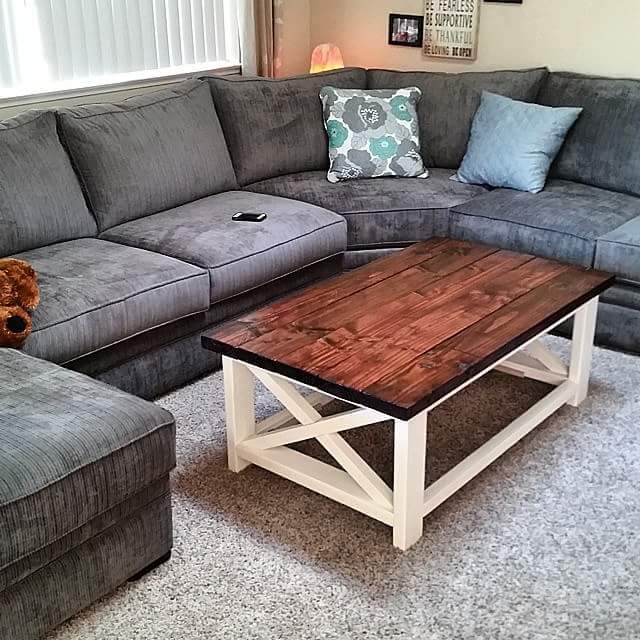
My Rustic X Coffee Table

Submitted by Anonymous (not verified) on Fri, 01/08/2016 - 11:41

I took this picture prior to putting the lower shelf pieces on. Never got around to taking one after.

Built from Plan(s)
Estimated Time Investment
Weekend Project (10-20 Hours)
Recommended Skill Level
Intermediate

Pantry Shelf

Submitted by Anonymous (not verified) on Sat, 03/04/2023 - 13:03

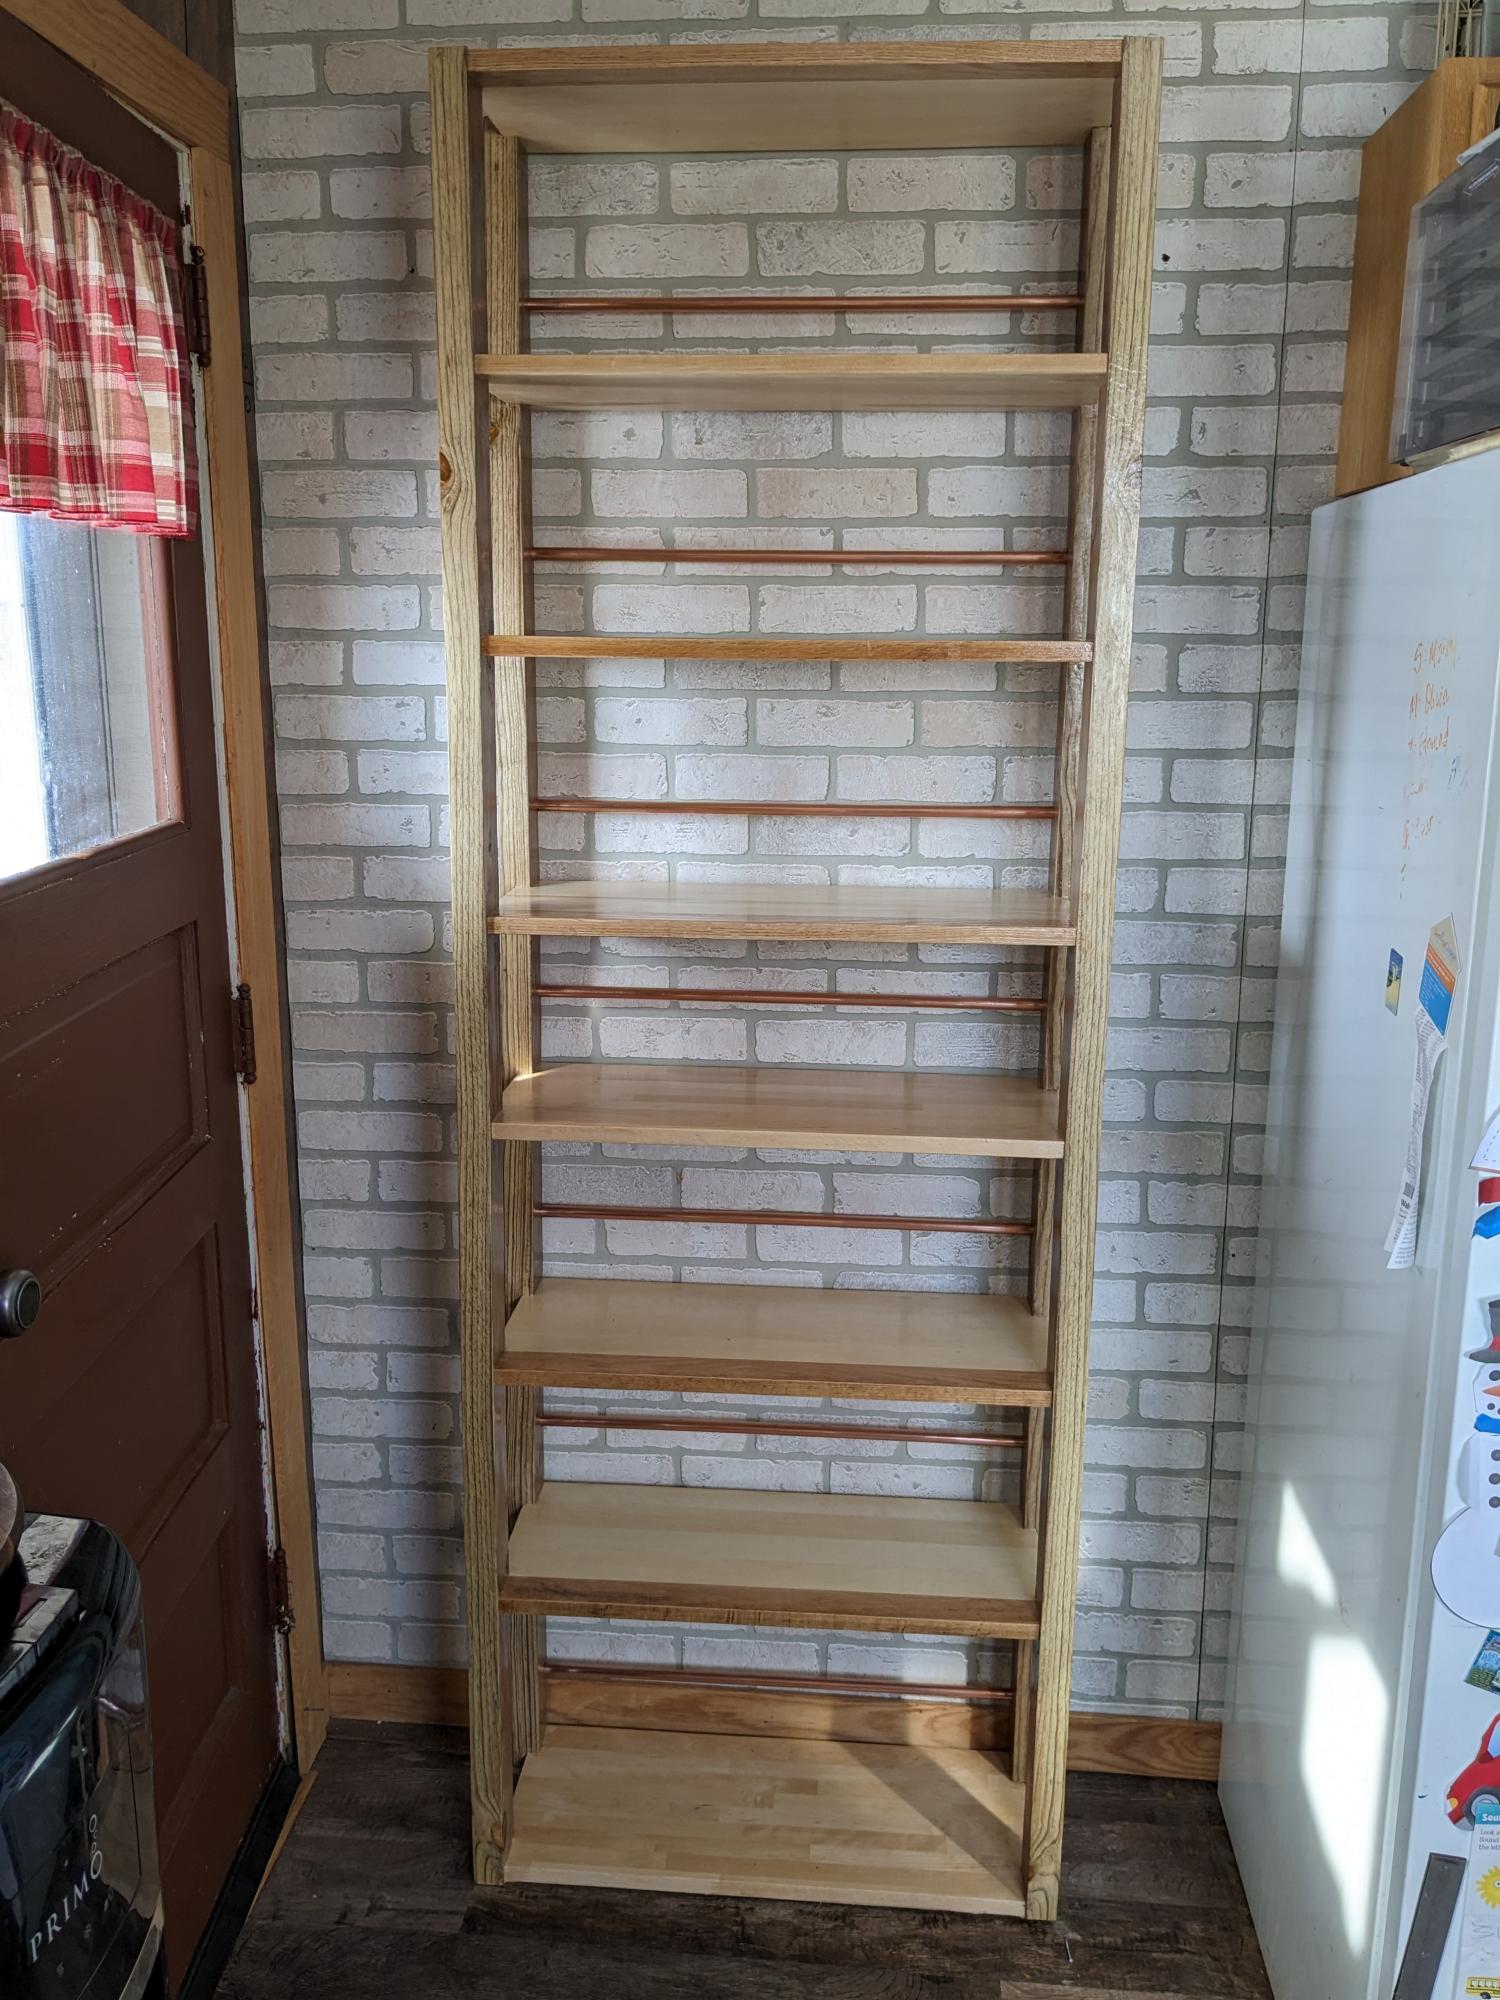
I have a small kitchen. I found this plan on Ana's site to turn it into a pantry shelf. Initially, I was going to have wheels. That way, I could roll it to sweep. I took measurements to match the height of my upper cabinets and width so my door would clear. I put this shelf up to the side on my fridge. I didn't account for the height difference adding wheels. I still can add wheels if I change my mind. I did differing spacing, considering spices and cereal boxes and items between. I haven't quite figured out the end placement for items. I also am considering appliances to be placed on the bottom. I purchased baskets and spice drawers so I can visually organize and see what works. I used odd and end prices of wood and adjusted the measurements to fit my space. I love my corner 2x4s! They are dark and once planes, have these dark brown ribbons revealing the growth rings. We think they might be brown treated boards. Some of the shelves have a darker brown edge, 5 total. I purposely wanted the dark edge facing out. But I didn't have enough so I used different looking boards (same thickness) and played around with assign them their spot. My friend had copper pipes laying around, so I used those in the back to stop my items from falling off the backside. I polyurethaned to keep the natural wood colors. I really love it and am excited to do more projects!!

Built from Plan(s)

Comments

Toy Box

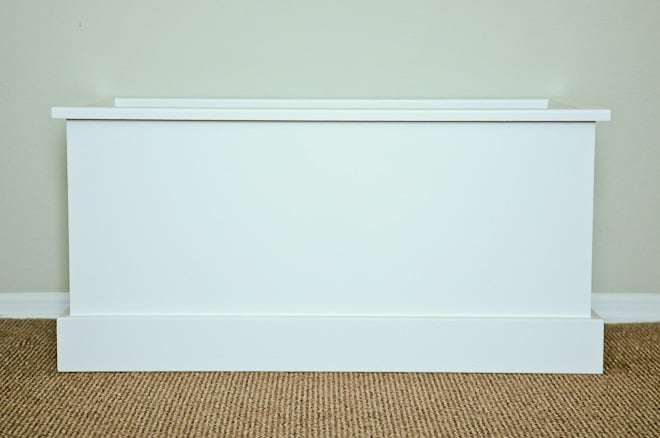
I longed for two matching toy boxes to sit at the foot of my boys beds. I loved the idea of a simple/clean line box without a lid that they could throw toys or blankets and pillows in without the chance of any fingers getting pinched. I altered the plans slightly from the ones provided by Ana and finished them off with a satin white paint.

Built from Plan(s)
Estimated Cost
$25
Estimated Time Investment
Afternoon Project (3-6 Hours)
Finish Used
White satin paint rolled on with a foam roller.
Recommended Skill Level
Beginner

TV console

Submitted by Bunnie1978 on Sun, 10/27/2013 - 06:50

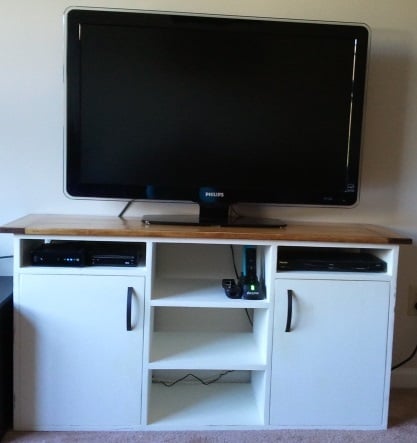
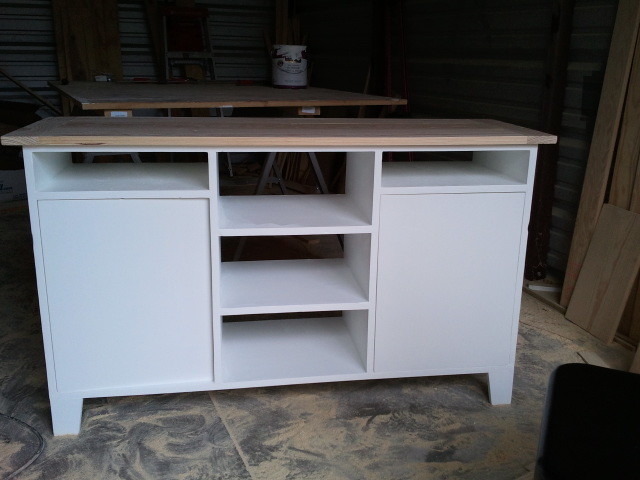
I ran into all sorts of problems building this! I started building it based off the materials I had on hand, not really knowing what it was going to be in the end. I started with the plywood box I hadn't intended for it to be a TV console, at first I was thinking a stand for a 55 gallon fish tank (which I have since sold.)
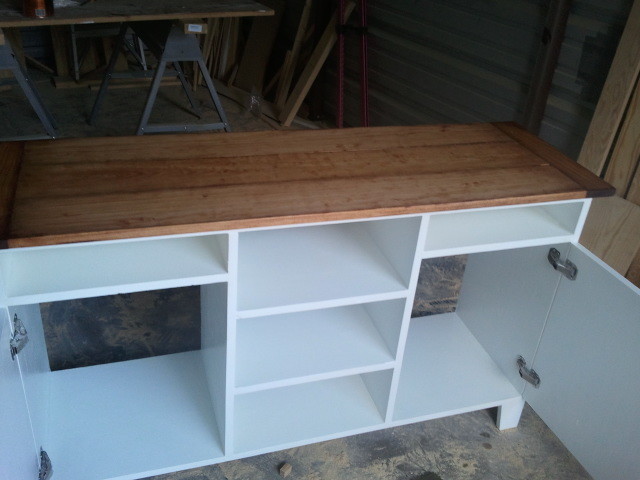
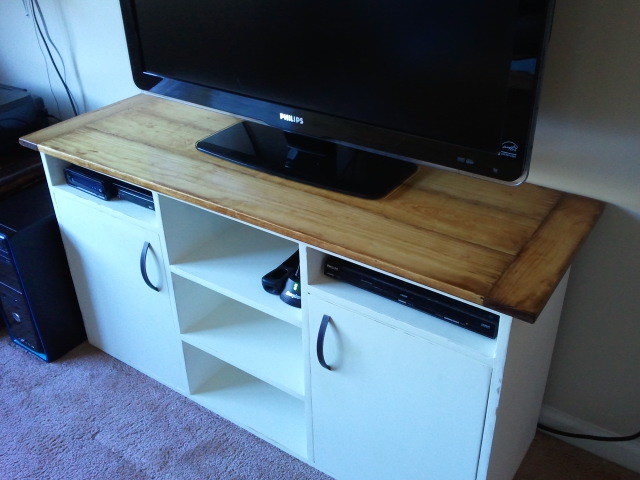
Once I decided what I was actually doing, it went together fine. I was going to make all three of the central column area into drawers, but I can't afford the hardware for that right now. I made the farmhouse style top and stained it to match the coffee table I made previous. However, I had many issues with finishing, problems with the legs, and after attaching the top accidentally broke off one of the breadboard ends of the top.

Finishing it was most exasperating. I started out with a mini-roller and white gloss paint. After I got it completely painted, I put on poly, but the poly dried very yellow and completely ruined the finish. I had to sand it almost completely back down to the wood to get it out. By the way, I learned something important about sanding which I will share with you... the cheaper sanding discs (made from clay) are crap. Get the ones made from ceramic. They last considerably longer and get the sanding done SO much faster. I love the guys at Lowes. :)

After I got it sanded back down I got some flat paint and used my sprayer. I love flat paint, it was so easy to get it on evenly. I did water it down quite a bit though. Then I sanded it down to a beautiful very smooth finish with some slight distressing. HOWEVER - flat paint needs a top coat, and I again screwed it up. Not as bad this time though. I used a spray on poly just in some places which gave it a little bit of an aged look, not too bad. Not exactly what I wanted, but doable.

I have not reattached the top with the expectation that I will still need to do more finishing, and it will be easier that way, and I will still be adding large caster wheels instead of legs on the bottom to raise it up a few more inches.

Also, the smaller cubby areas over the doors... they aren't big enough to use a sander to get the insides.

I used invisible hinges for the first time on this project which worked out quite well, and I love those.

I would love suggestions on finishing... if I use flat paint because it's easy to work with, what is a good top coat for that? Or should I stick with gloss paint and no top coat, and try that for my next one? Paint with primer? Still learning...

They say it takes 10 years to become proficient at a skill.. I've got about 8 years of building left before I'll be good at it. :)
Estimated Cost
90
Estimated Time Investment
Week Long Project (20 Hours or More)
Recommended Skill Level
Beginner

Comments

Val Manchuk

Sun, 10/27/2013 - 23:32

Hi There,

I do two coats of primer, and I sand very lightly, just enough so the surface feels smooth. I follow that with one coat of white semi gloss for most of my builds. White hides so many flaws! If I think the project needs a topcoat I will use Varathane Diamond Coat. That's what works for me. Hope this helps!

Val
artsybuildinglady.blogspot.ca

Caleb's Yeti Tower

Submitted by Anonymous (not verified) on Mon, 01/11/2016 - 17:38

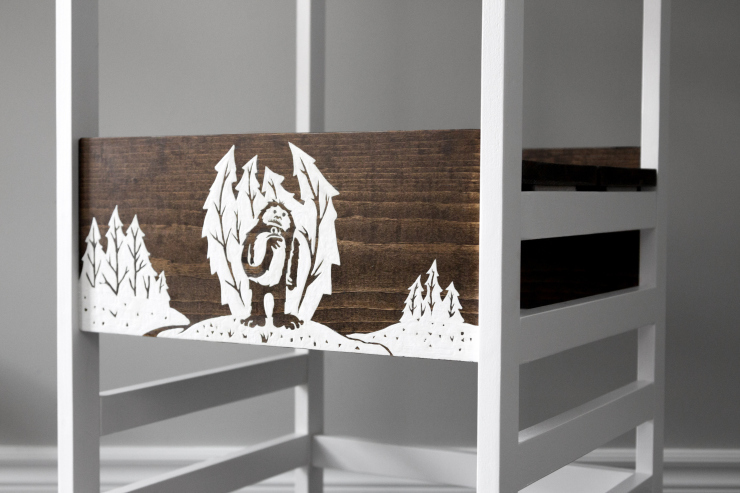
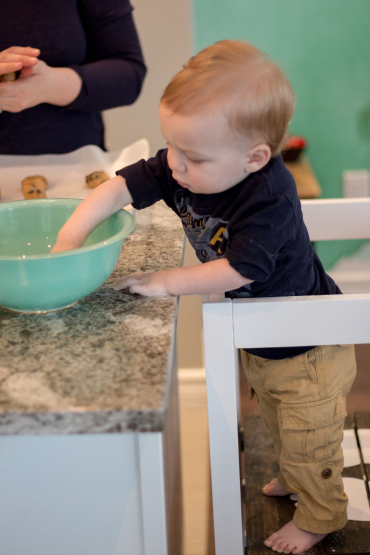
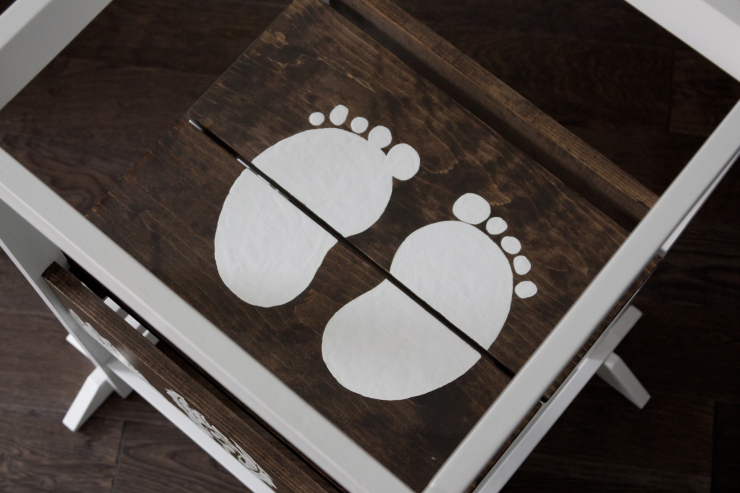
This was easily the most elegant and functional tower design I found on the internet and it does not disappoint! I made a few modifications that included a lower, squarer (?) profile to fit under our counters, a hand painted mural, some stain, and of course some Yeti-your-feet-go-here-footprints on the platform. As soon as the paint was dry, I set my son up at the counter in it. His little face lit up with delight at all the new details and things to see. He instantly started looking at everything with swift little back glances at me that said “Really Mommy?! I can stand here?!” Totally worth it!

Built from Plan(s)
Estimated Cost
$50
Estimated Time Investment
Weekend Project (10-20 Hours)
Finish Used
Behr Enamel Paint
Minwax Polycrylic
Recommended Skill Level
Beginner

Comments

Farmhouse Bench Brag

Submitted by mvanmeg on Mon, 05/20/2019 - 08:56

Farmhouse Bench completed.  Pine base painted black.  Bench top is mahogany stain on maple. 

This is going to the cottage to live at the end of the bed.  Will be used as extra seating at the dinner table as required.  

Estimated Cost
$65
Estimated Time Investment
Weekend Project (10-20 Hours)
Finish Used
Black semi gloss on the base
Mahogany stain on maple top. Clear coat of poly over stain. 4 coats for extra durability
Recommended Skill Level
Intermediate

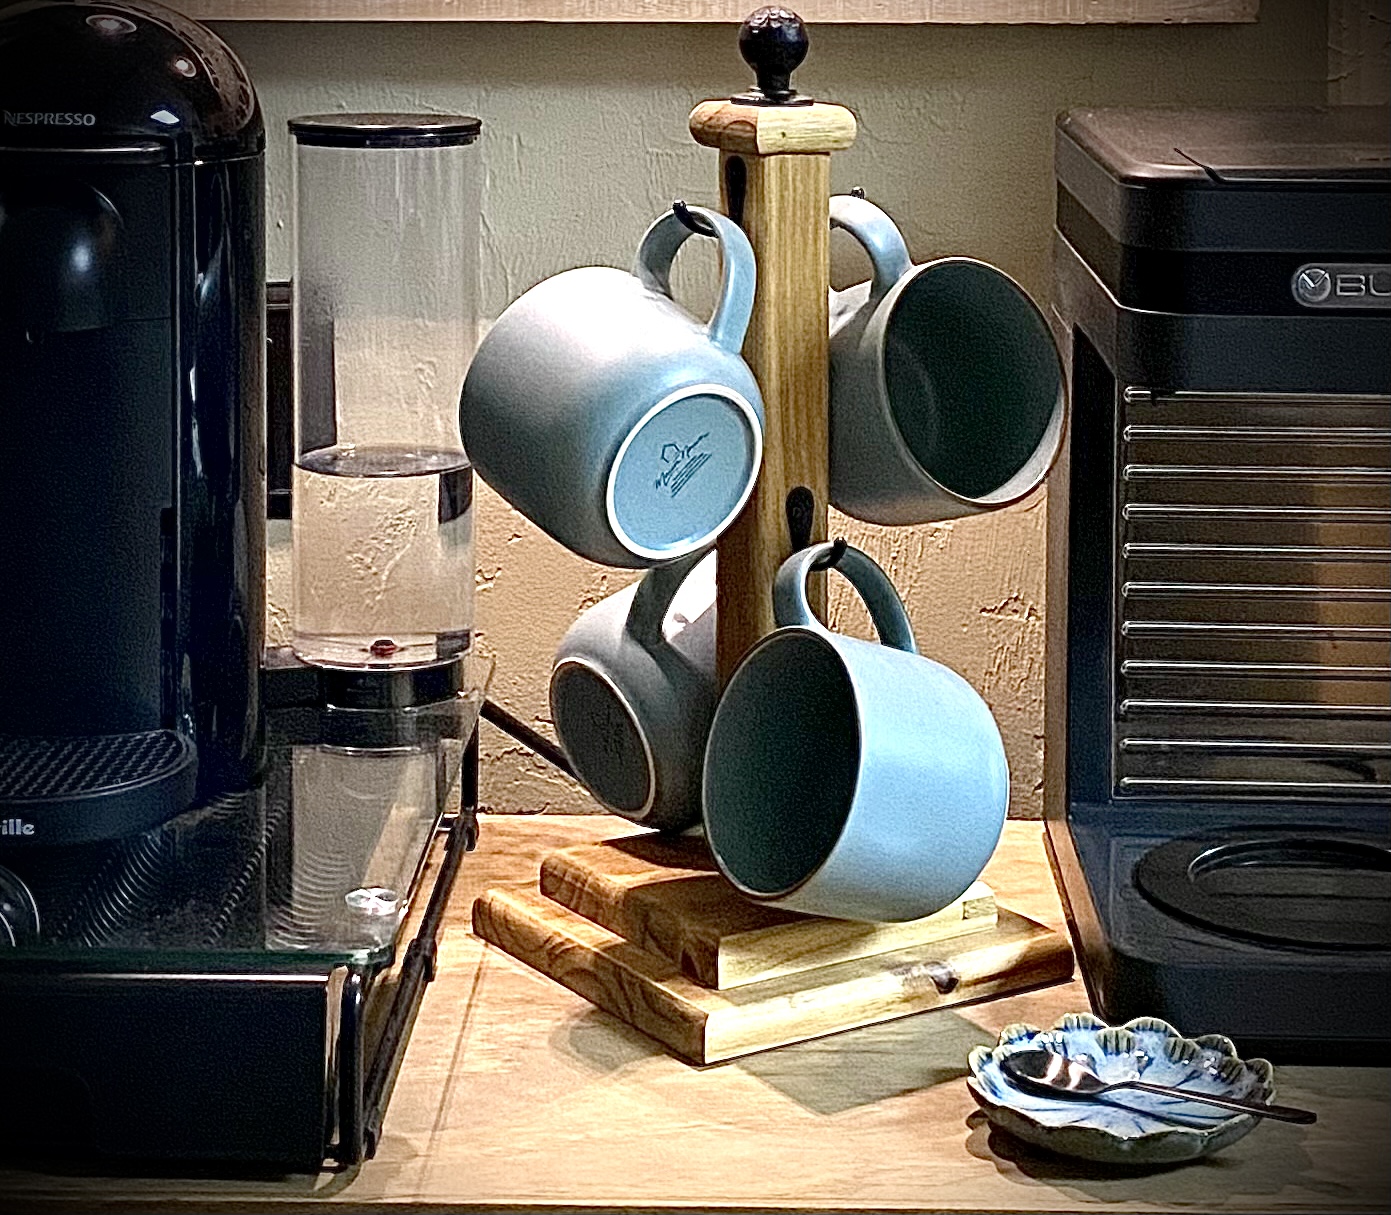
Cup tree inspired by Anna’s plans

Submitted by Anonymous (not verified) on Sun, 03/12/2023 - 14:17

Used Anna’s cup tree plans for this project. Thank you Anna!

I’ve also successfully built a few of your beds. Your plans are always straightforward and easy to follow.

What you do is so appreciated!!!

Angel

Built from Plan(s)

Comments

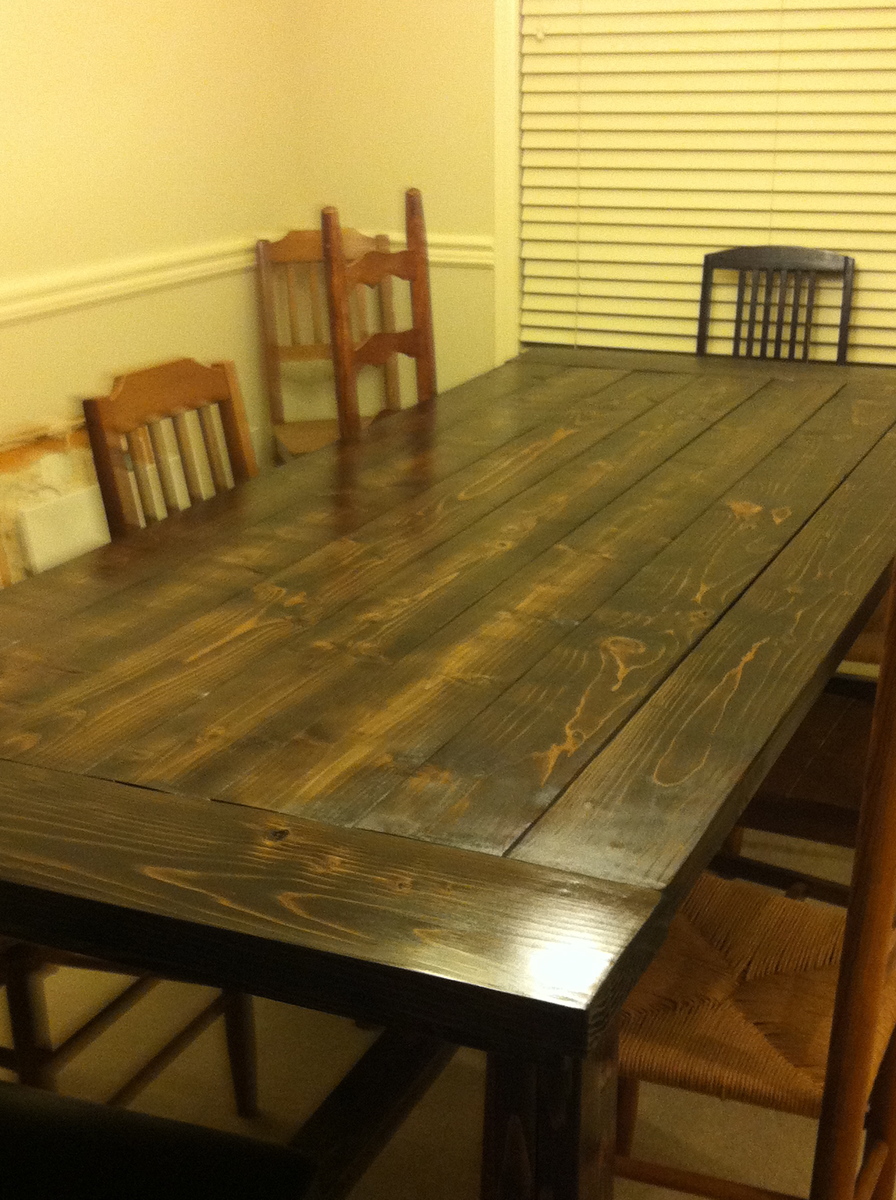
Our Farmhouse Table....my first build!

Submitted by jchorton on Sun, 11/27/2011 - 19:55

Due to limited space and inclement weather, this table took us a bit longer than a weekend....in a perfect world, we would have been done a lot sooner...however, it was completed just in time for Thanksgiving dinner...hence the mis-matched chairs. I LOVE my new table. It turned out even better than I had hoped. Thanks Ana!

Estimated Cost
$125.00
Estimated Time Investment
Week Long Project (20 Hours or More)
Finish Used
I used two coats of Minwax Dark Walnut and then three coats of poly.
Recommended Skill Level
Beginner

Comments

sgilly

Wed, 10/02/2013 - 13:11

I don't know how I missed seeing your beautiful table! What a nice finish. I'm planning to build one for my son and his wife and would love to know how's it holding up. Would you do anything differently?

Smaller Size Kids Chair

Submitted by rosiejane on Tue, 10/29/2013 - 01:46

This is the third smaller sized chair that I've made. This was for my nephew's first birthday. Adjusted the measurements to suit smaller kids. My chair gift list keeps getting longer. I've got another 4 to finish before January.

Estimated Cost
$5 AUD
Estimated Time Investment
Weekend Project (10-20 Hours)
Finish Used
dulux aquanamel vivid white - 2 coats; dulux mondrian blue - 2 coats; lightly distressed then finished with cabot's cabothane water based poly - 2 coats.
Recommended Skill Level
Beginner

Side Board based on your planked sideboard plan

Submitted by Ken Brown on Tue, 05/28/2019 - 06:52

I modified this sideboard from the Anna White plan that used 2x4s and 3/4 inch plywood, by substituting select pine 1x4s for the face frame and 1/2 inch maple veneer plywood for the vertical partitions and shelves. Vertical partitions were inserted into dadoes in pine 2x4 cross pieces joining the two base 2x4s. The end pieces and doors were made with tongue and groove joints using 1/4 plywood and 1x4 or 1x2 frames. Next was addition of the face frame(1x2s)and base. The 1x4 base covered up the 2x4s, and was mitered at each corner. I used ball bearing slides to attach the drawers, made of 1/2 inch plywood. I painted the carcass with a latex paint and purchased 13/16 inch Cherry boards to join together to make the top. The drawer fronts where made from 1/2 inch plywood, with rabbitted pine edging added to match the doors. The Figure shows the finished side board with hardware installed.

Built from Plan(s)
Estimated Cost
$400 for materials
Estimated Time Investment
Week Long Project (20 Hours or More)
Finish Used
Latex paint on carcass, cherry stain and polyurethane on shelves and polyurethane only on top.
Recommended Skill Level
Intermediate

Conversation Set

Submitted by Anonymous (not verified) on Sun, 03/19/2023 - 18:31

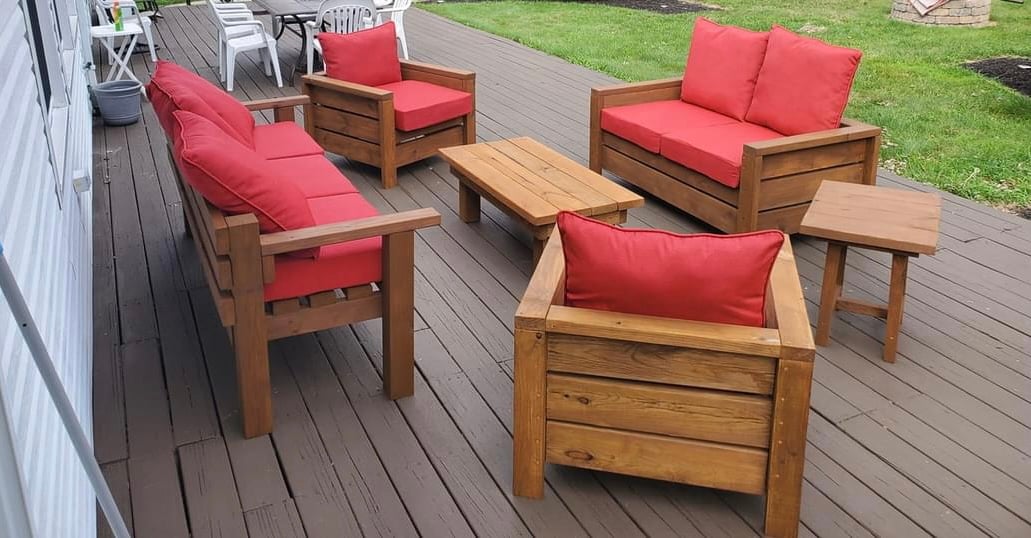
My husband built this conversation set during covid. Since then he has built so much stuff for our yard. More pics to follow.

Comments