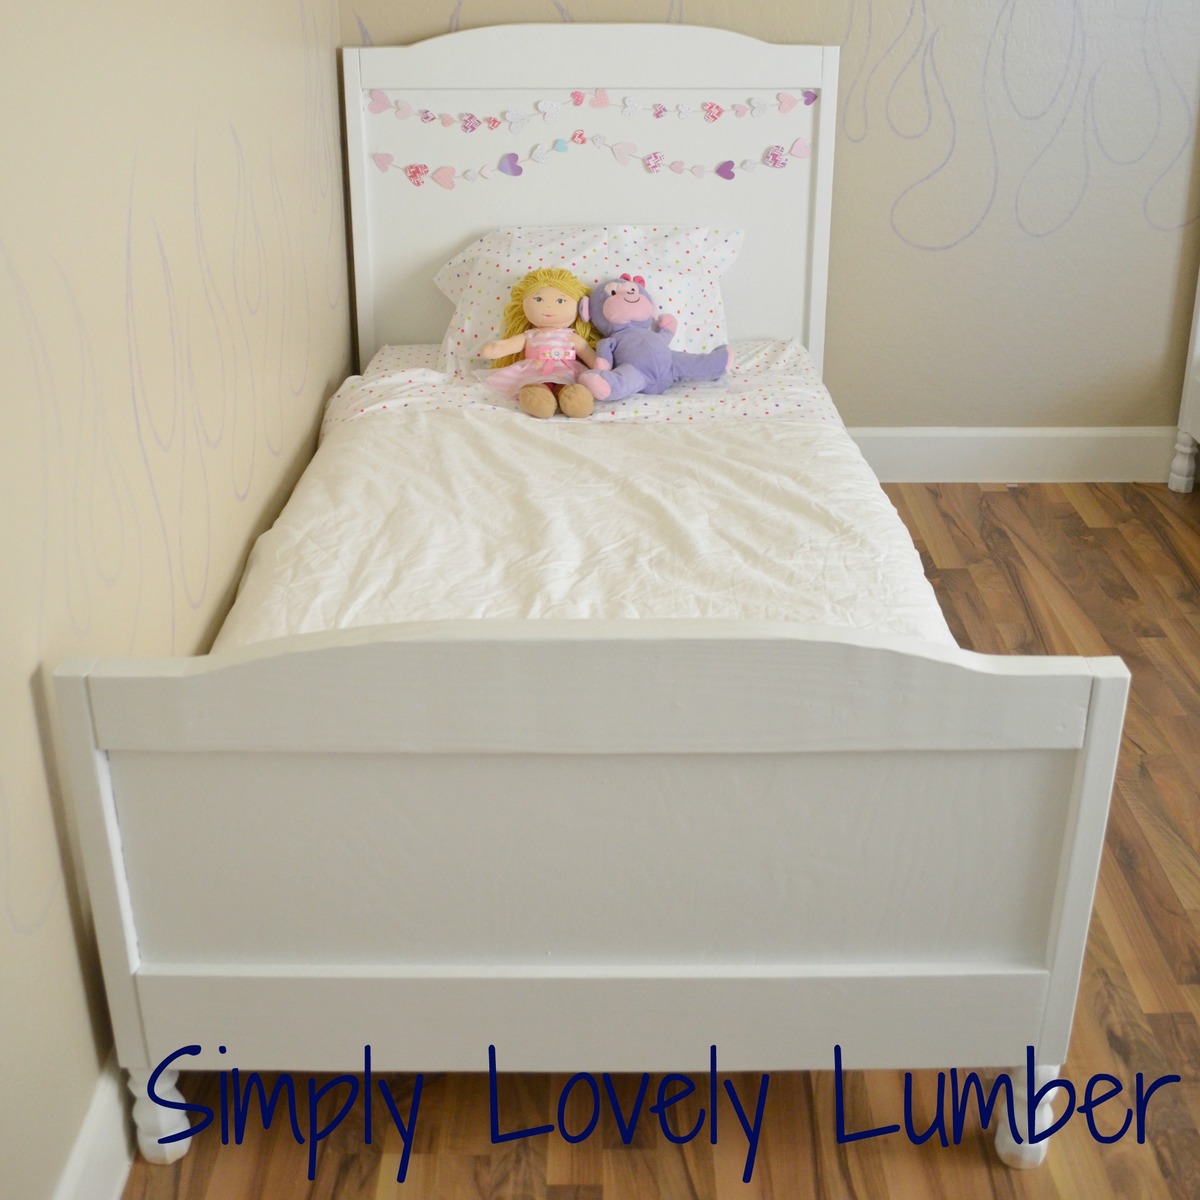
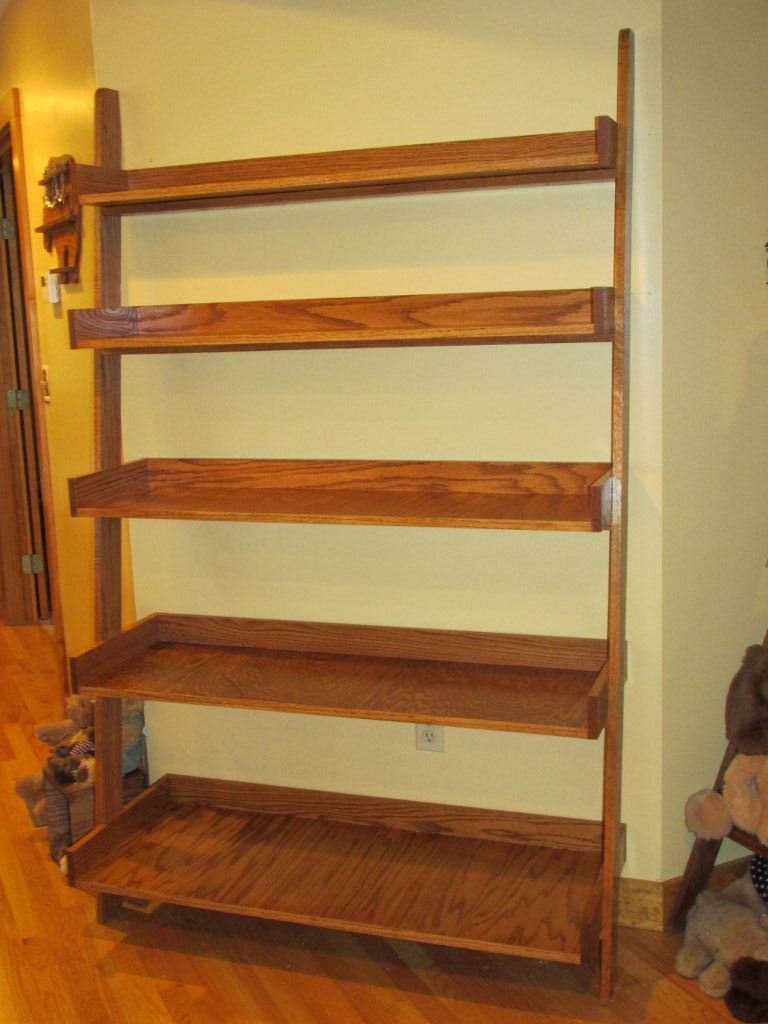
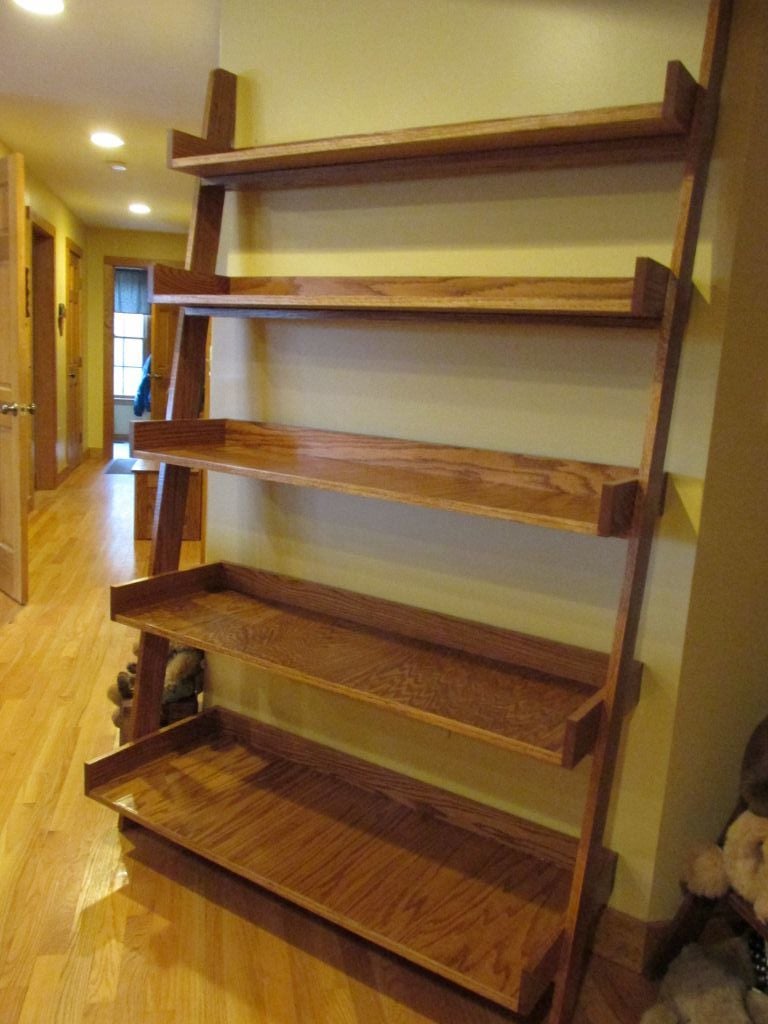
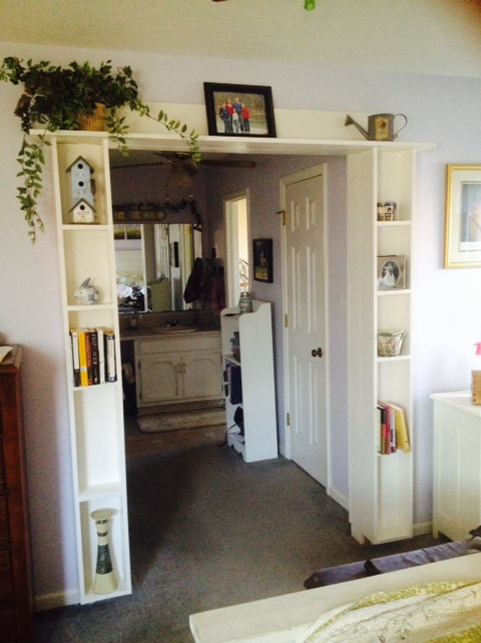
I started with Ana's plans and modified them for our specific needs. We have a corner in our hallway very well suited for a shelf system like this, and my wife wanted to fill that area. So, my finished project is 4 feet wide. Other than adjusting the plans for the width and then the lumber needs accordingly, all of the remaining dimensions and measurements in Ana's plan remained the same.
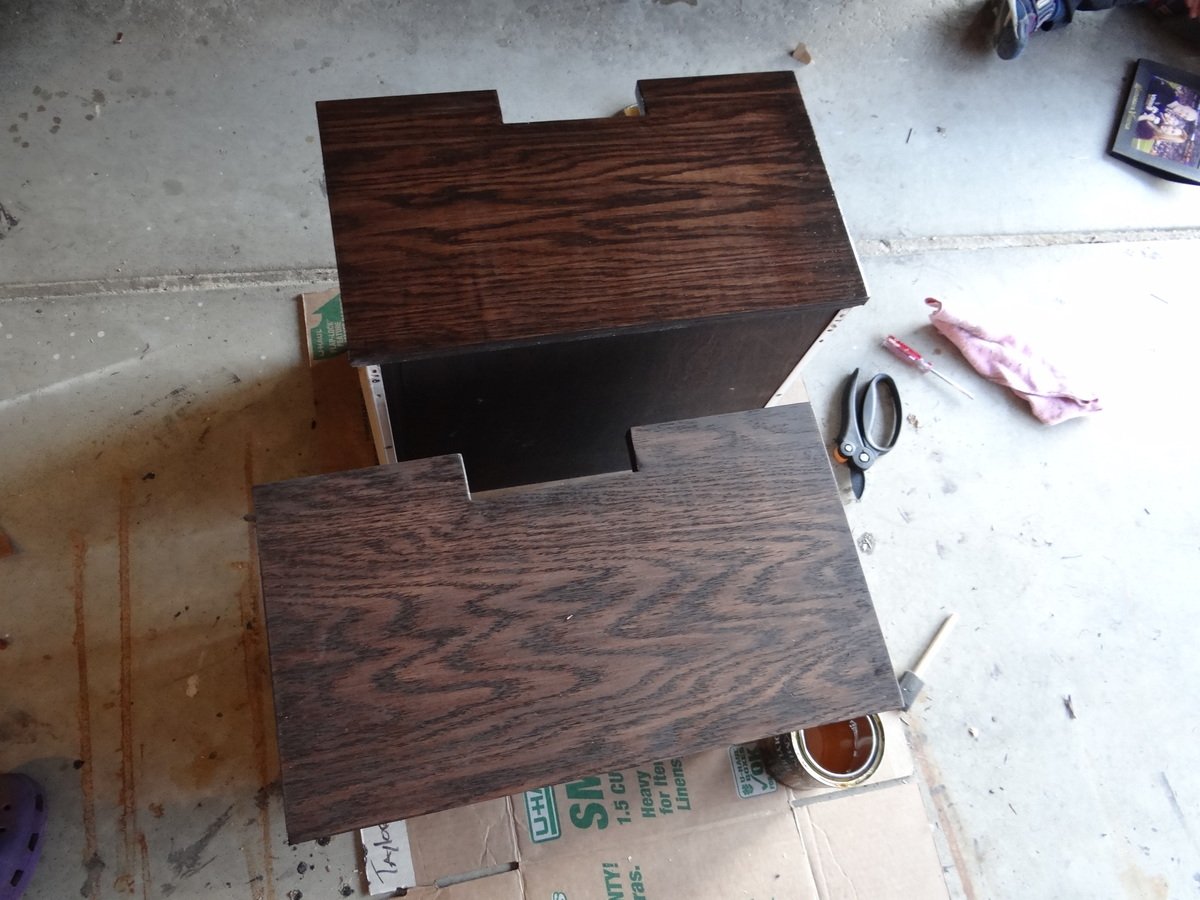
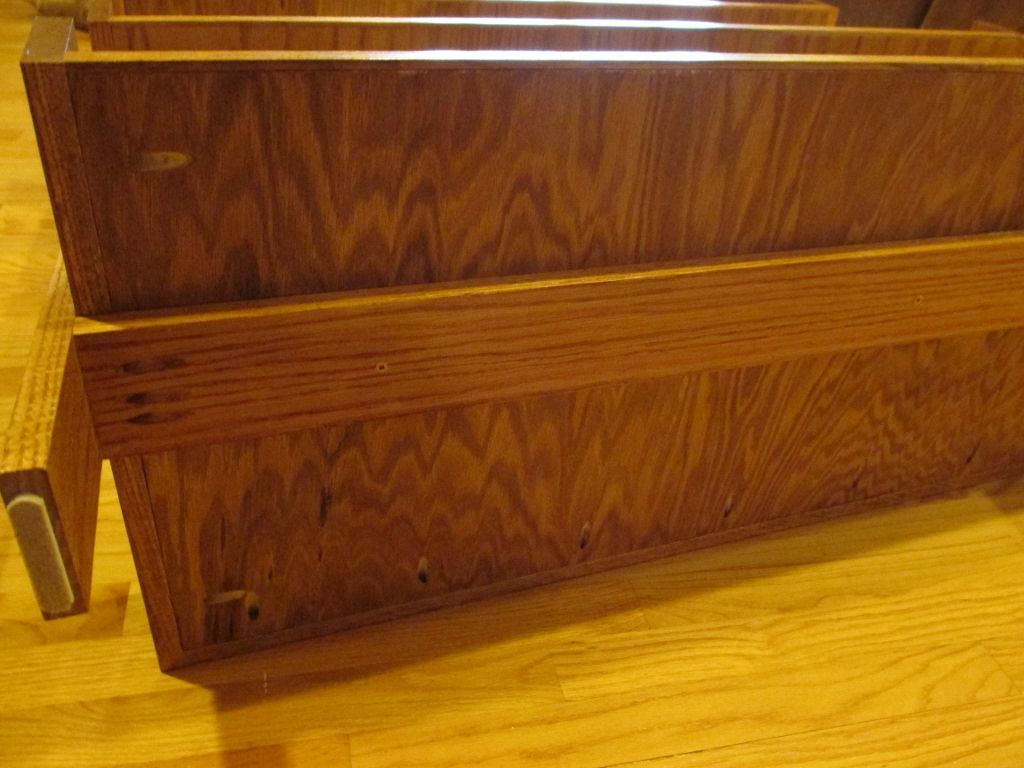
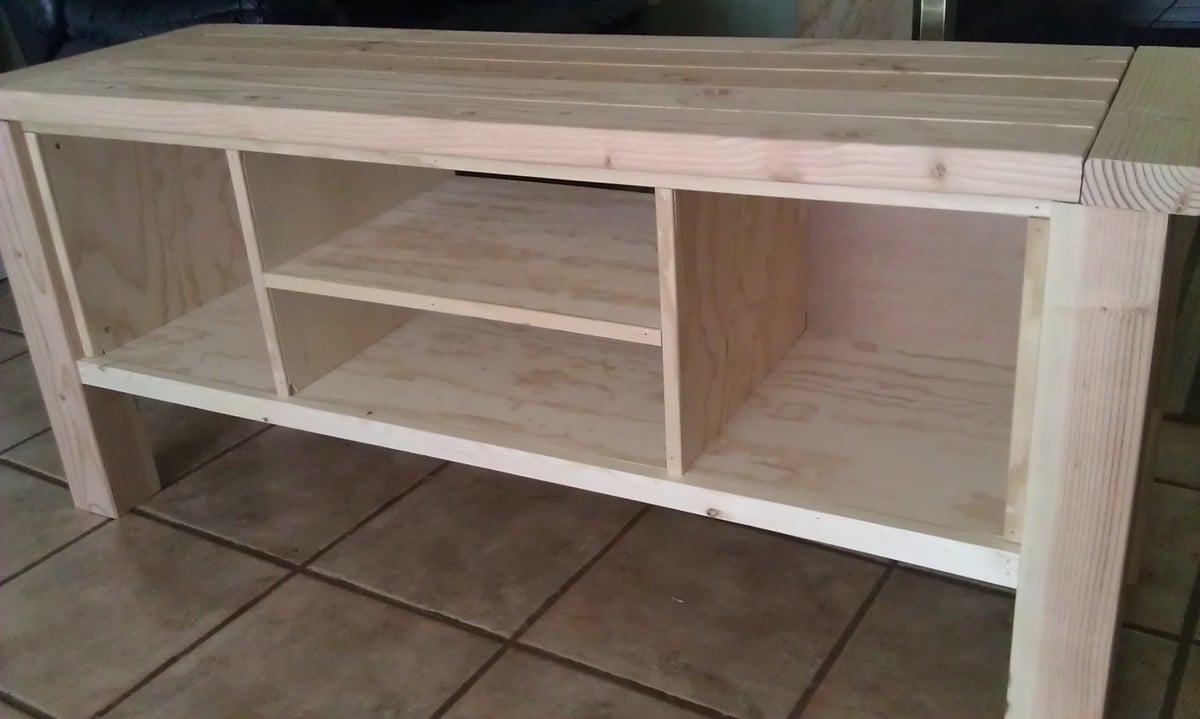
I built everything using oak 1x4s and oak plywood, and pocket screws to build each shelf and the ladder portion.
I read the comments here about attaching a piece of oak to the front of the shelves to hide the plywood layers, and wish I had read that before cutting all the pieces. I was able to make that modification without causing too much rework, I just had to cut the trim a little to match the new depth of each shelf.
This piece is very heavy when fully assembled! I decided to leave the ladder assembly separate from the shelves during the finishing process, and then carried everything to the living room. I attached the bottom shelf first and worked my way up.
Each shelf is attached to it's respective support and to the ladder legs by wood screws, and each shelf is screwed to wall studs. Thanks for the plans Ana, this was a nice Christmas gift for my wife. :-)
I listed this project as Intermediate only because I modified the plans to fit our particular needs. The measuring and cutting were relatively straight forward, attaching with the pocket screws took some time to get everything right. Finishing took time to allow each coat to dry thoroughly. Assembly also took me some time, just to make sure each shelf was level and ensuring I was drilling into studs and not sheetrock.