Childrens table and chairs

We built Two children's table and 8 stackable chairs for one of our daycare's. It took a lot of work but once we figured out the first chair it was a breeze for the other 7.
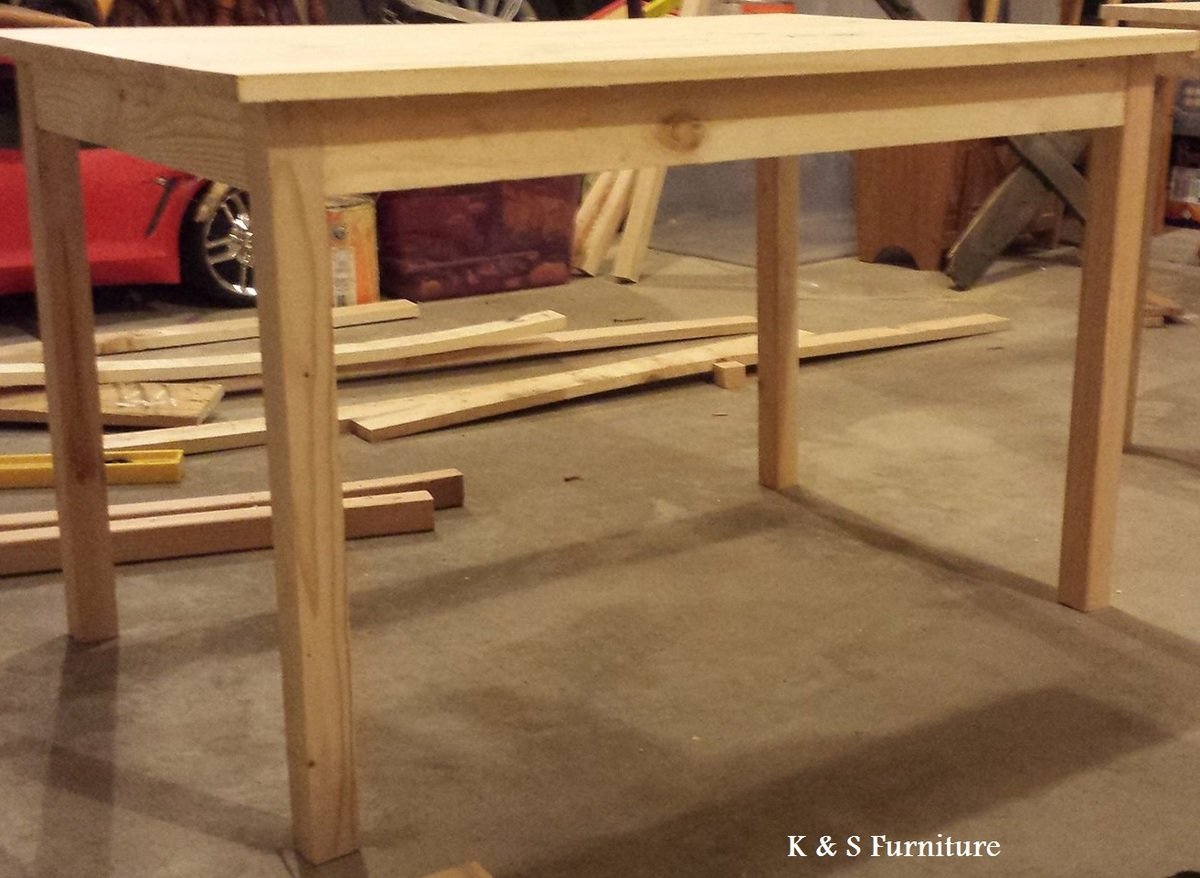
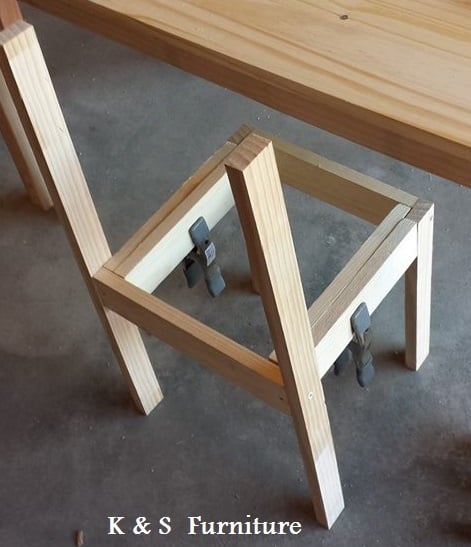


We built Two children's table and 8 stackable chairs for one of our daycare's. It took a lot of work but once we figured out the first chair it was a breeze for the other 7.


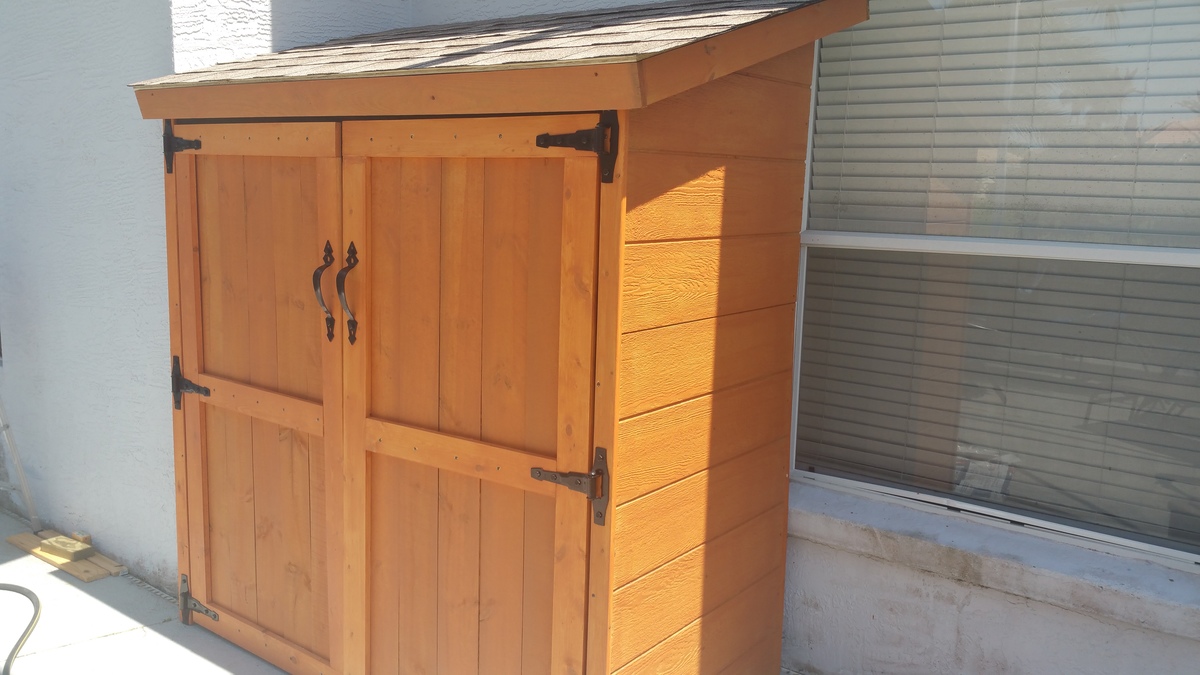
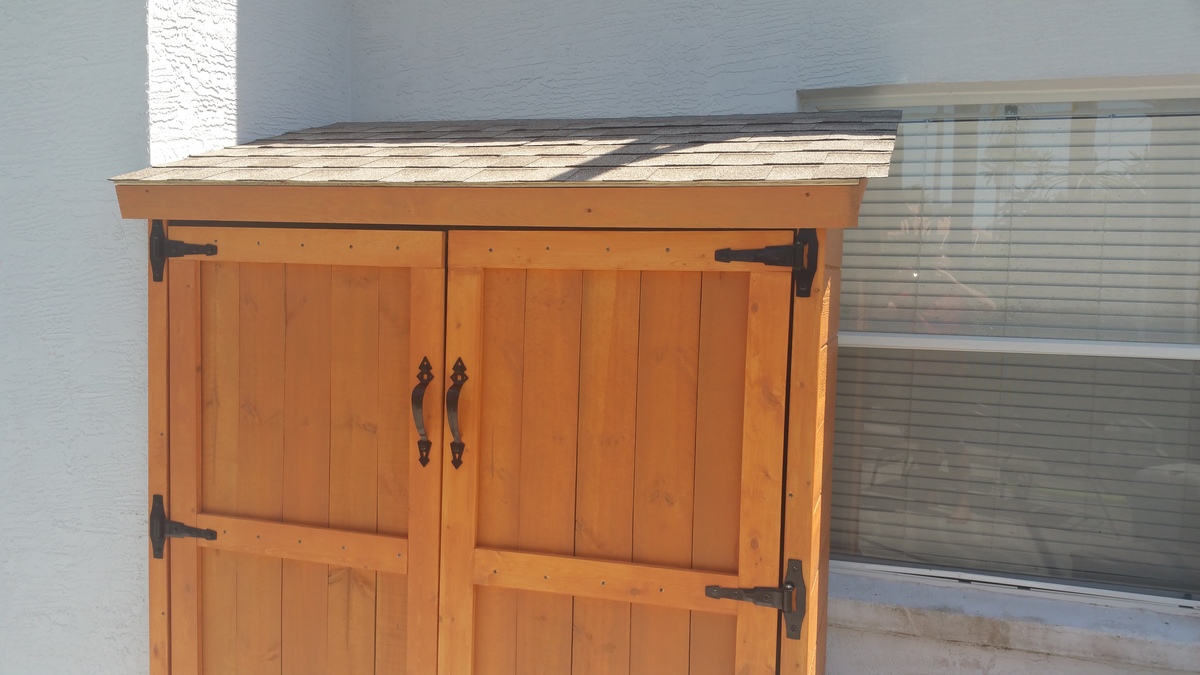
I couldn't find cedar shakes locally. For the front I used pine fence shakes from Lowes. They cost $1.56 each. For the sides I used Smartside 38 series primed engineered treated wood siding panel. They cost $32/panel. I had to buy two panels. On the back I used 1/2 plywood. I made the roof 76x46. All the materials were purchased from Lowes except the shingles. I used GAF Timberline HD Barkwood shingles.
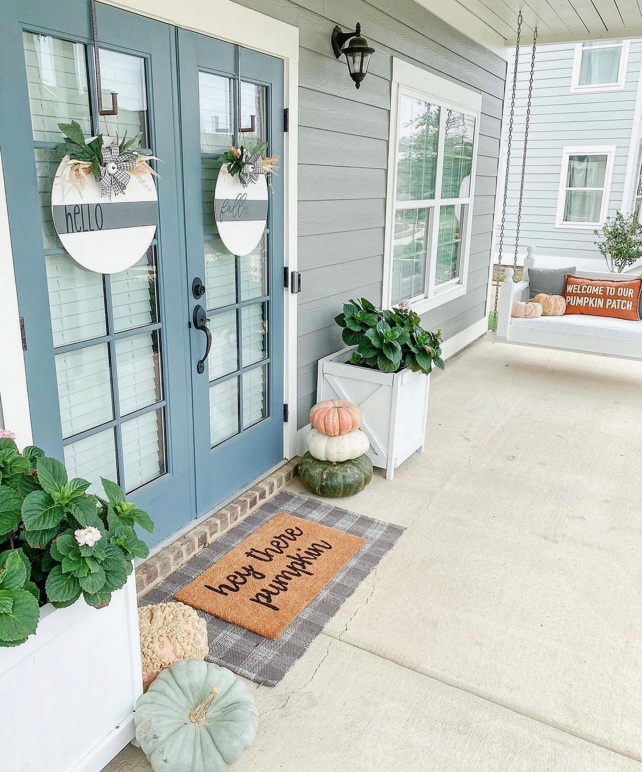
Beautiful fall planter front porch by farmhousewifey on Instagram
Each grandkid and the little girl across the street built their own step table. Of course it was accomplished through my confused and sometimes inaccurate direction but they all came out looking good and withstood my 180 lbs standing on them. Each used a slightly different method of securing the legs, top and bottom but it worked. Great project for kids. I had a ball. Keep them coming.


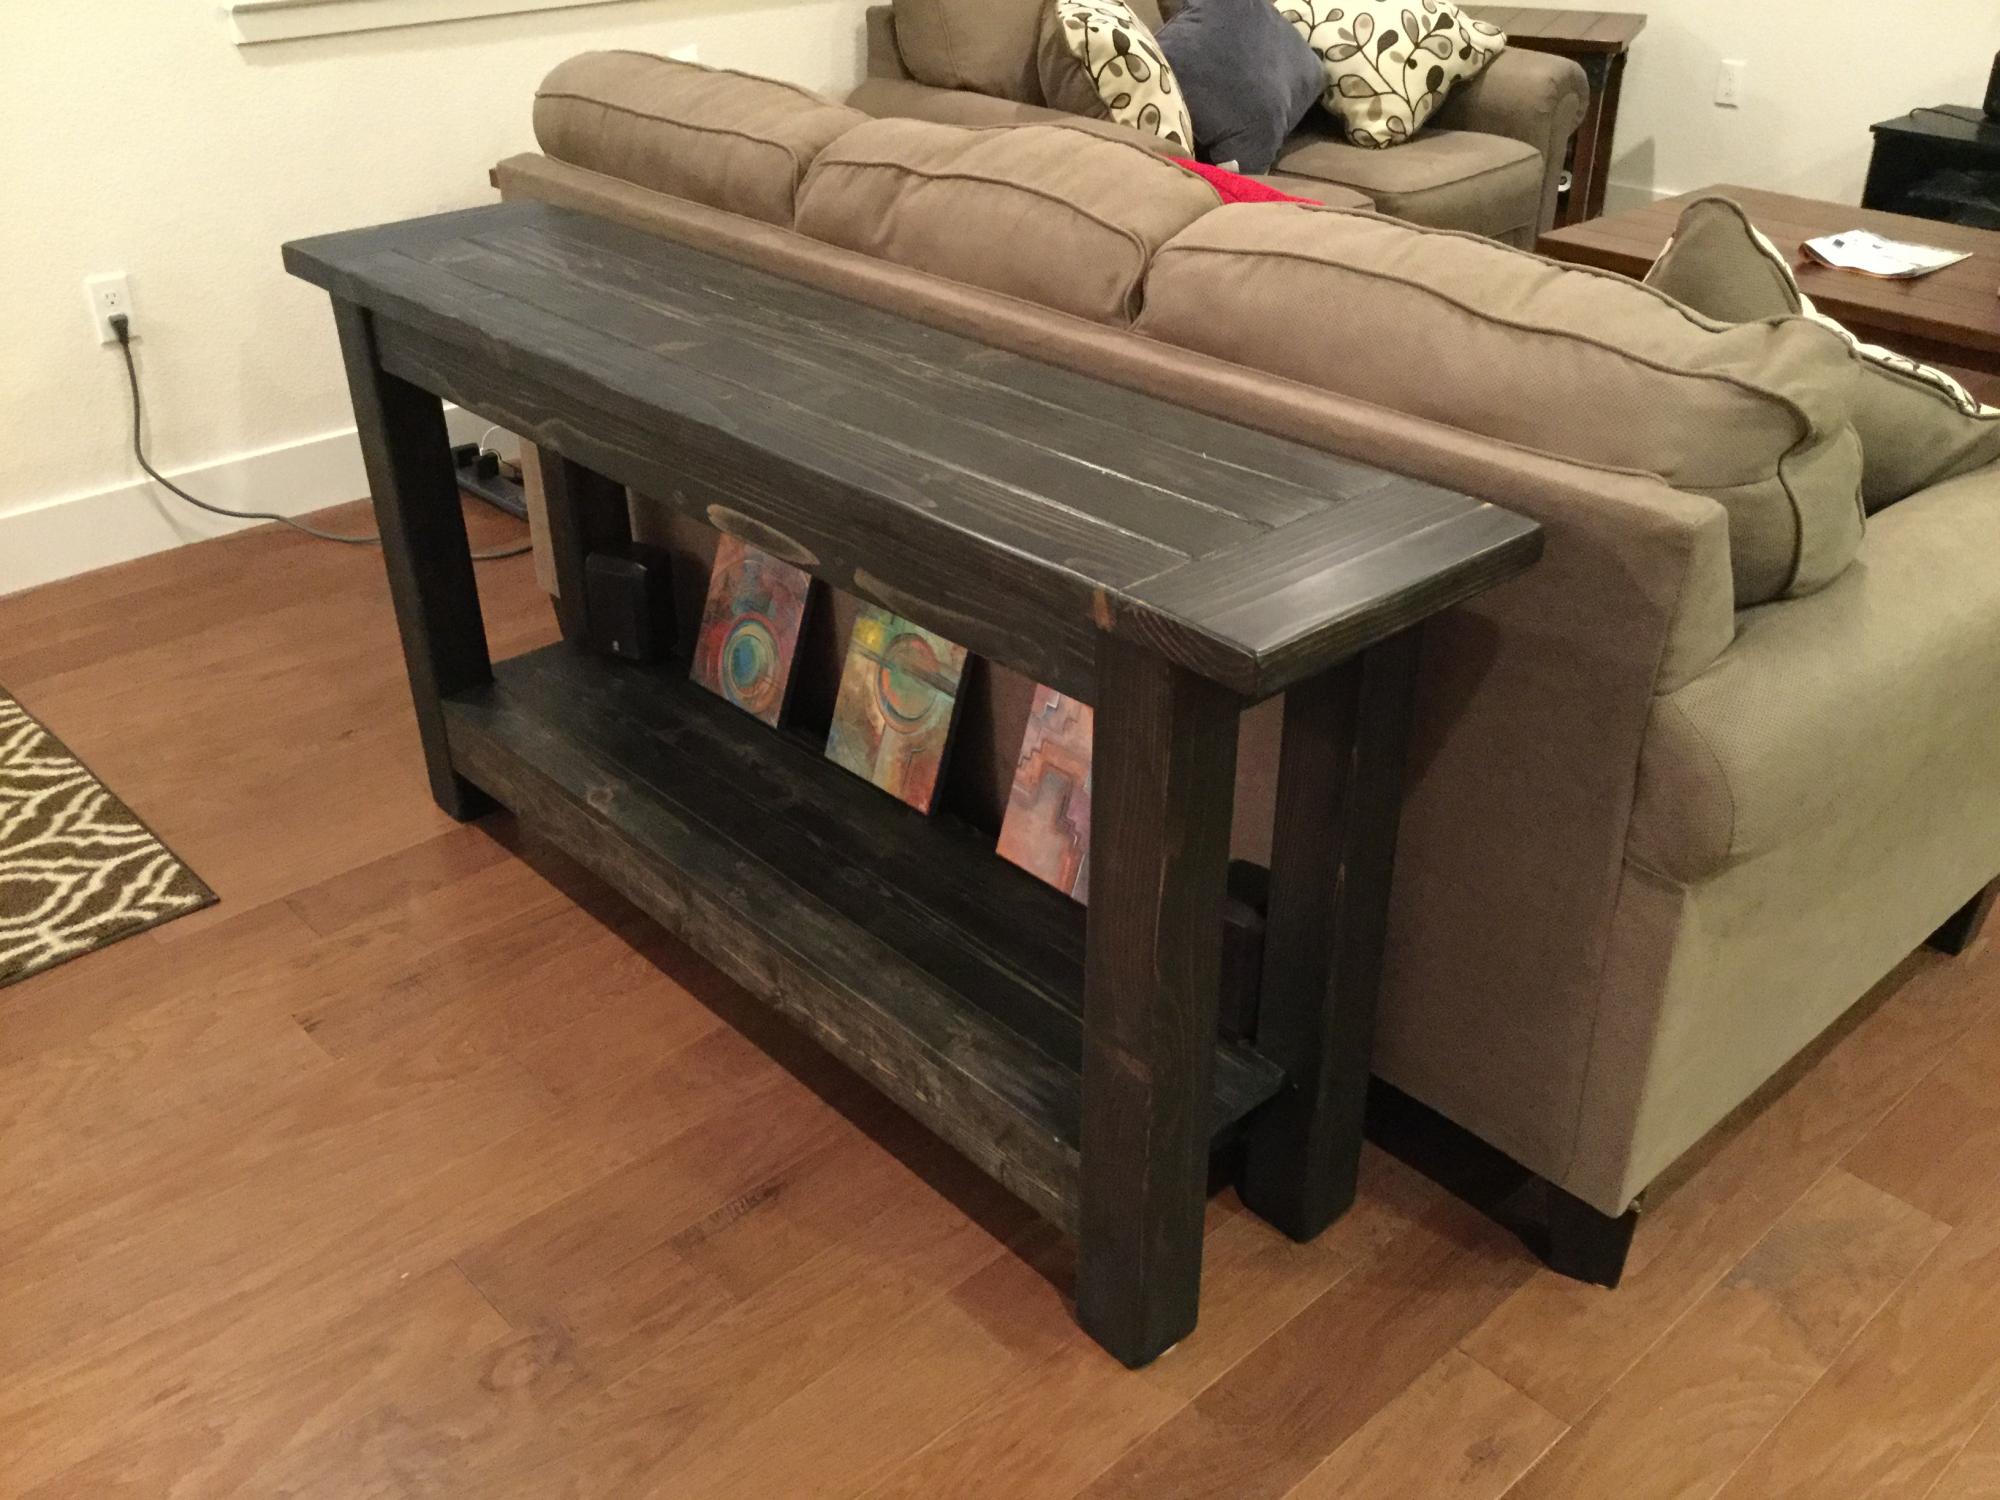
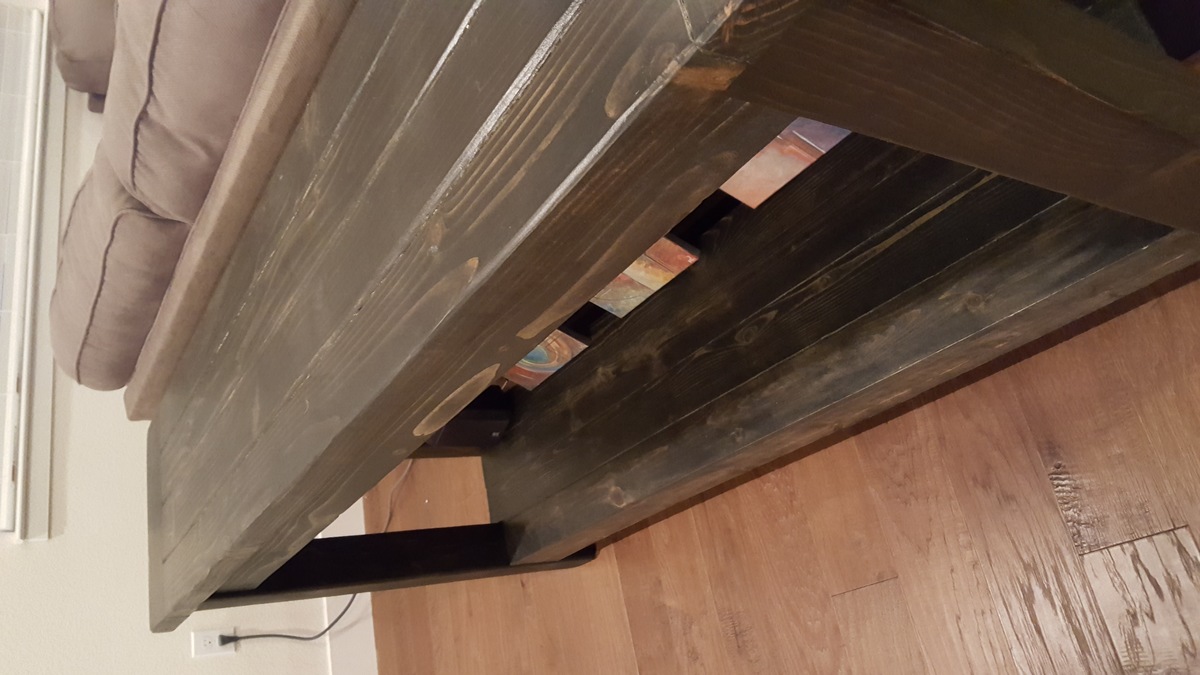
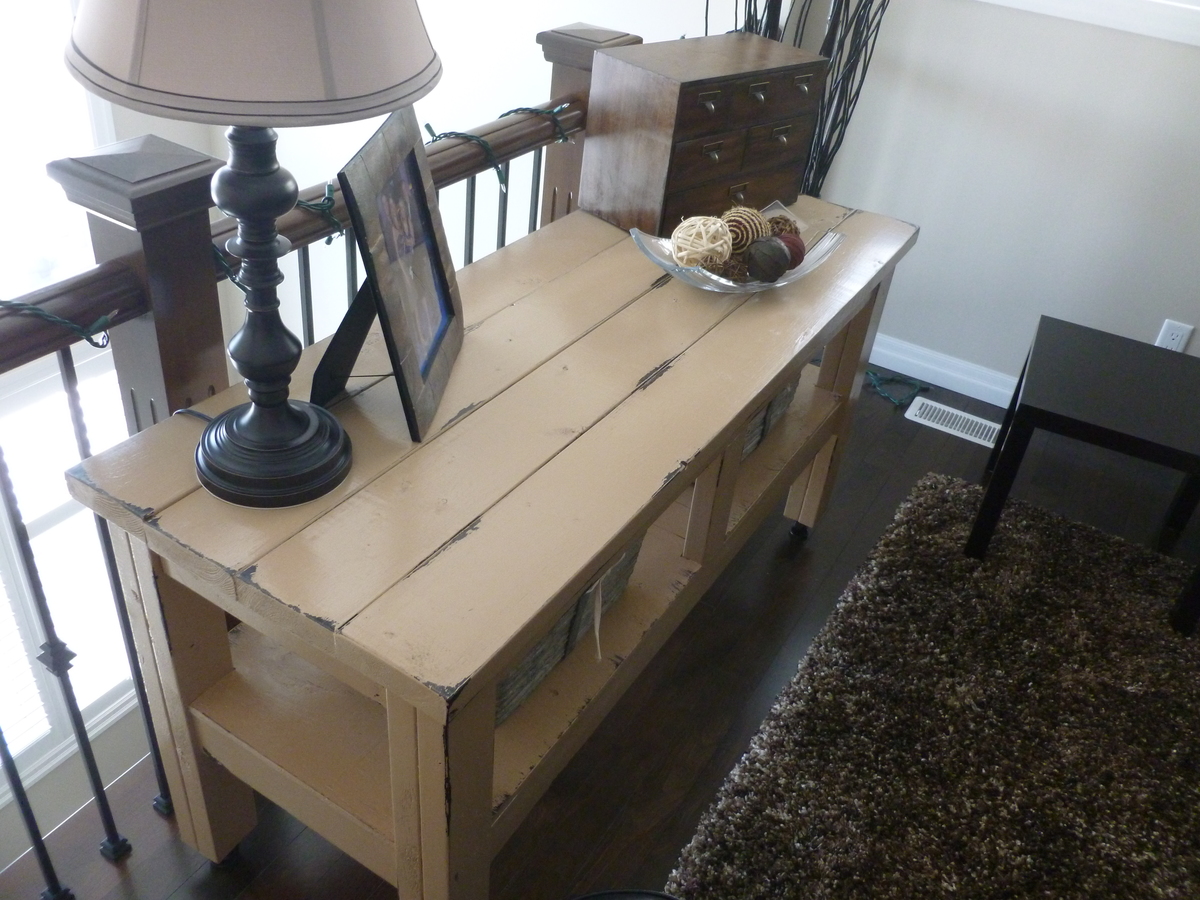
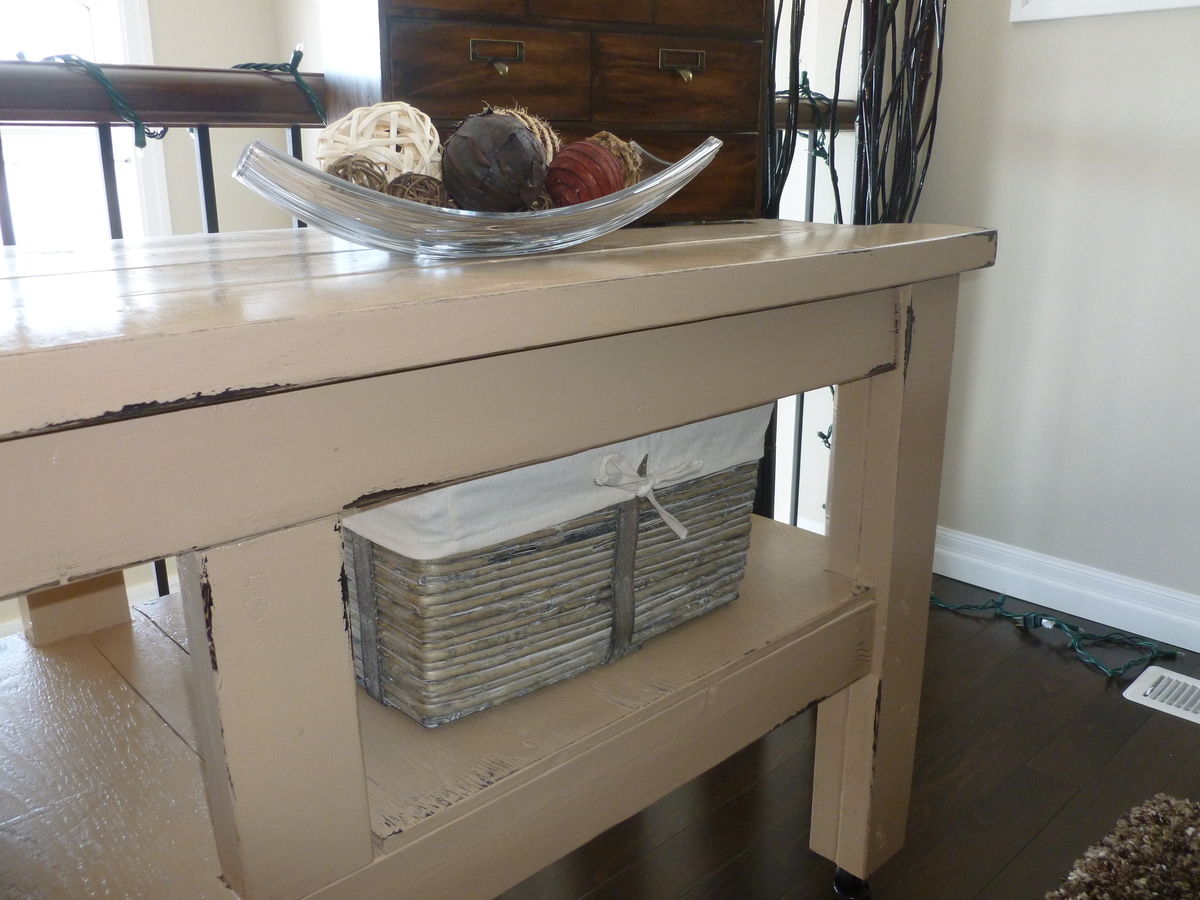
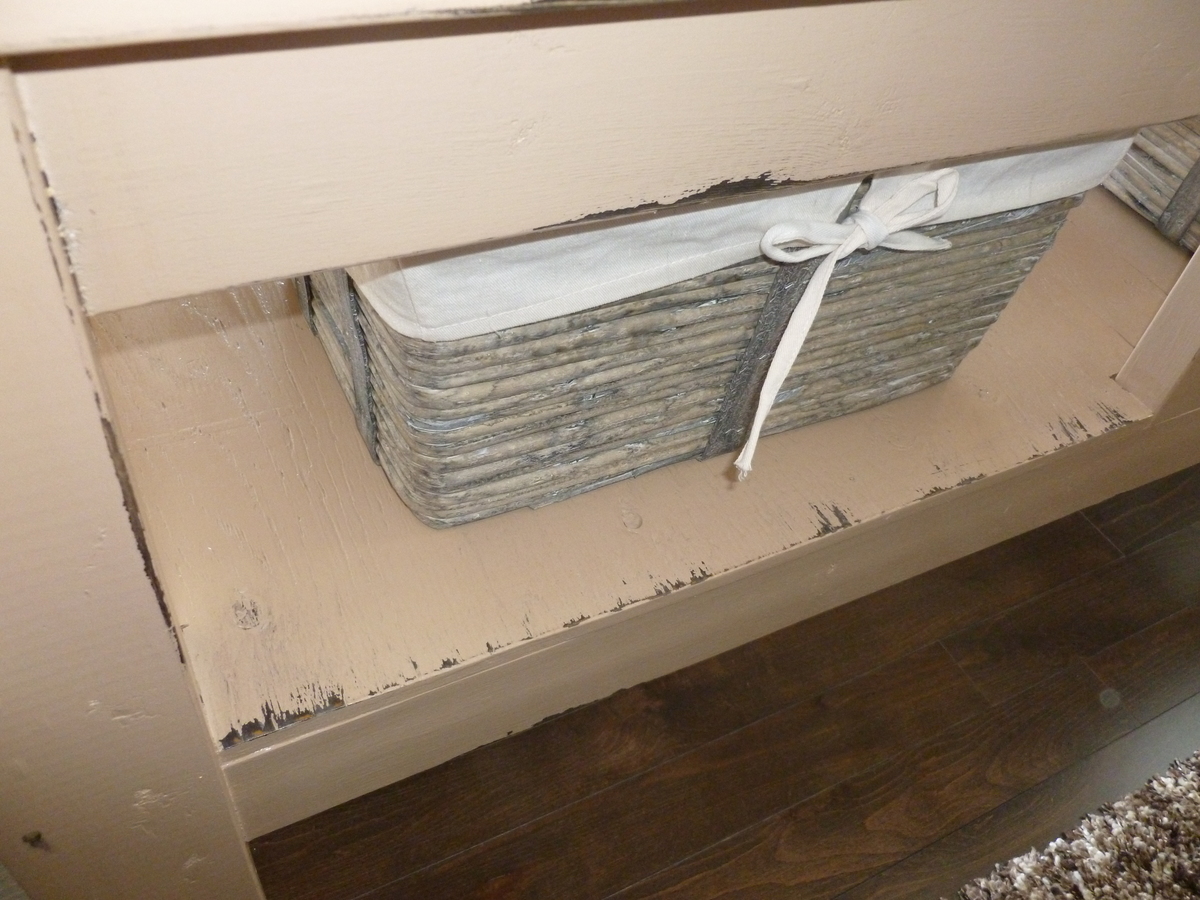
This was my first project, I made it longer and slightly taller to match size of the sofa. I also added lower shelf of 1x4 as seen on other users projects. Built using Kreg Jig to hide the screws - stained with ebony and satin poly. Used wood filler between 2x4 on top as well as between 1x4 on bottom shelf to seal the joints in case of spills. Would recommend using wood putty in the future rather than the filler as it cracked when it dries.
Tools used: Circular Saw, Kreg Jig, Screw Gun, Orbital Sander - recommend using Miter Saw if you have. I had a hard time squaring up the table mostly due to uneven cuts on the 4X4 using a circular saw.
Added felt pads under the legs to prevent scratches to the wood flooring
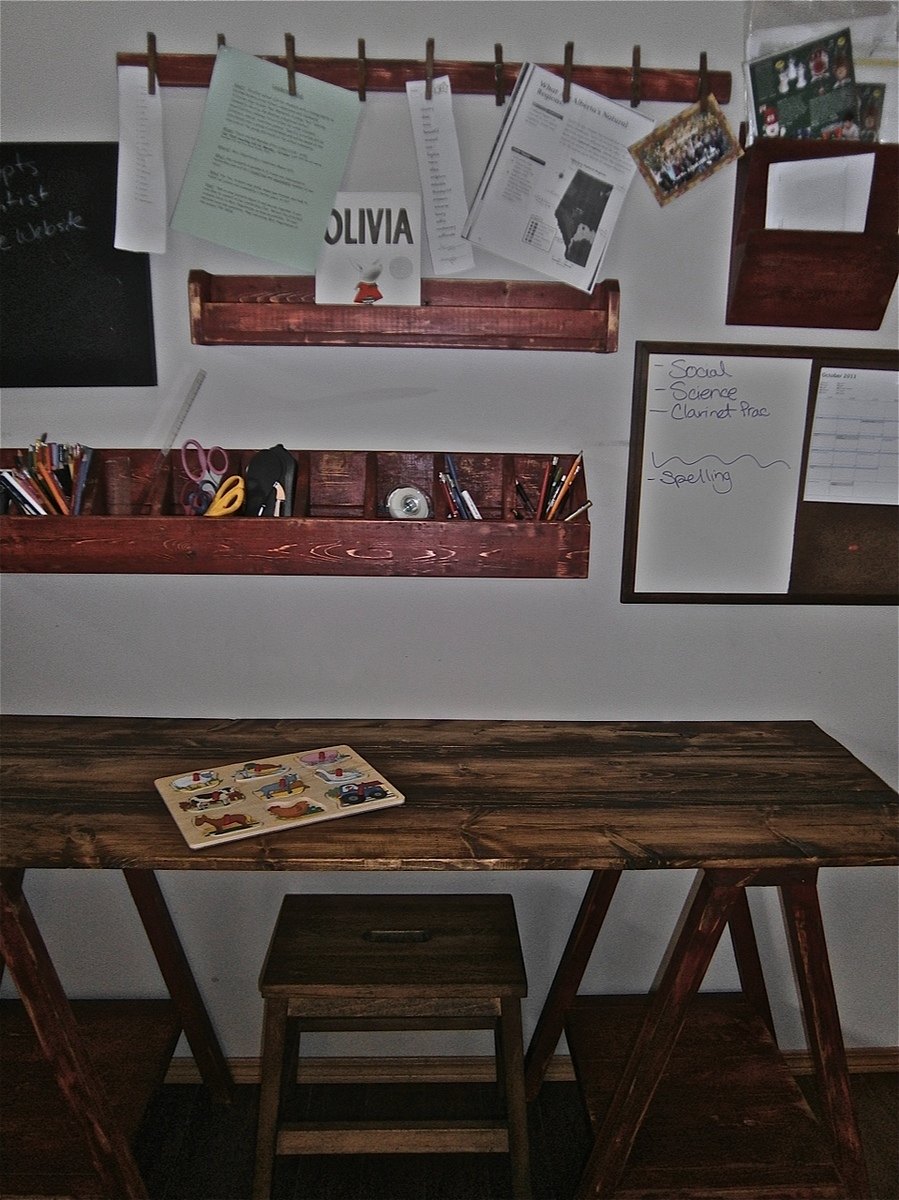
A place for everything and .... everything off the desktop!
I first saw this project on Shanty-2-Chic's website and fell in love with it. It was my first furniture build. In my area (near Toronto, Ontario, Canada) I couldn't find 4 x 4s unless they were treated. So I used 2 - 2 x 4s instead and made the minor adjustments necessary.
I chose casters that don't rotate but screwed the back two in pointed inward so that my children can't easily move the table around if they are playing near it and bump into it.
This is my favourite piece that I've made so far.
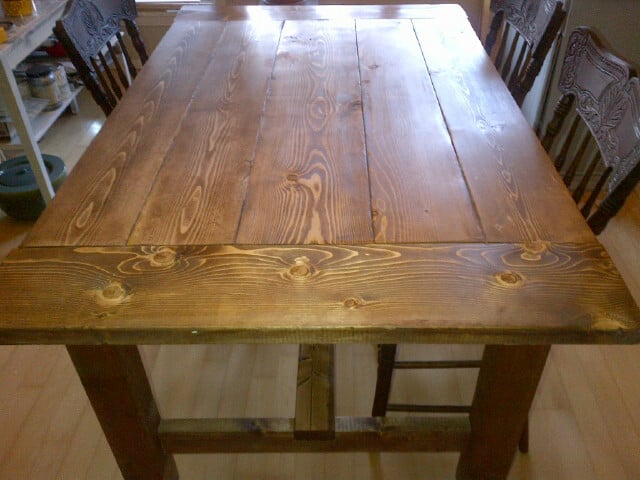
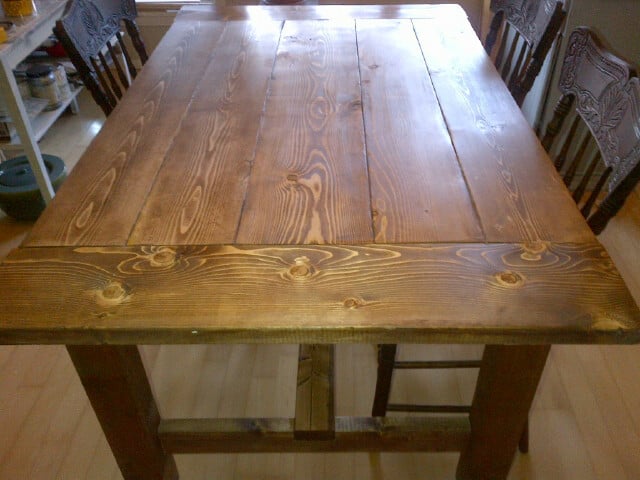
Rustic Farmhouse Table with Pocket Holes, adjusted to 6'
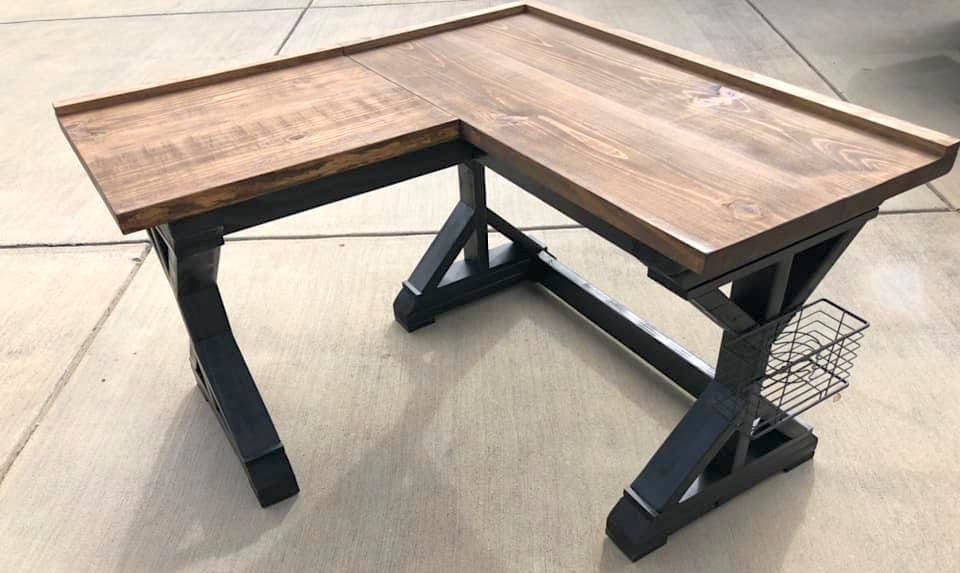
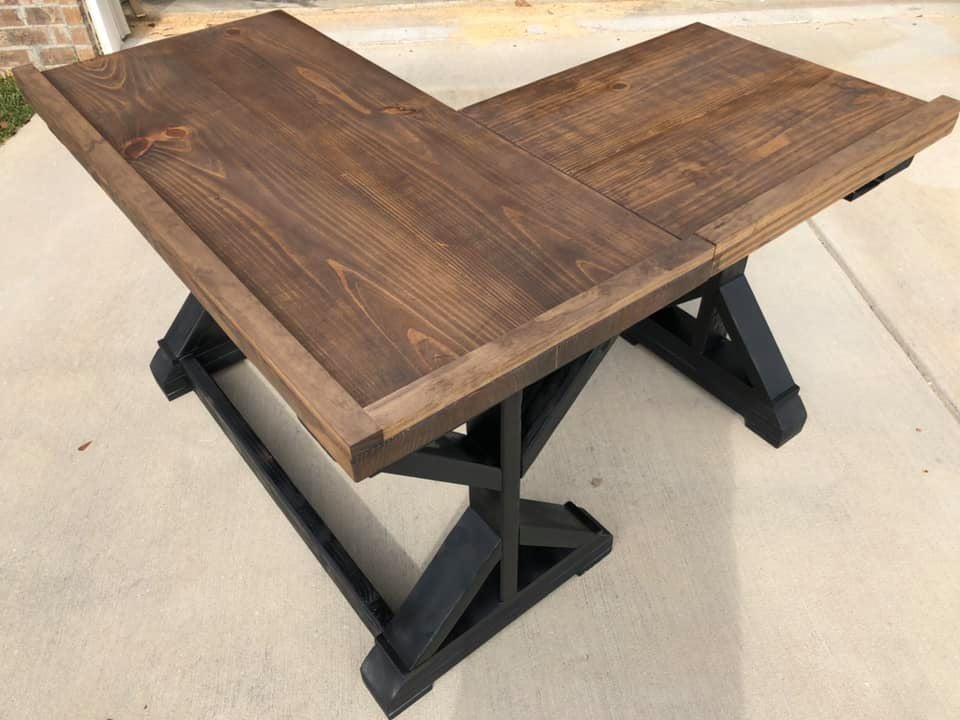
I used the Fancy X Desk plans then made half a desk as a side wing in order to make it fit a corner. I made this for a niece who goes off to college next year, so I made the extra side to be detachable in case she wants to take the table or desk with her but has limited room.
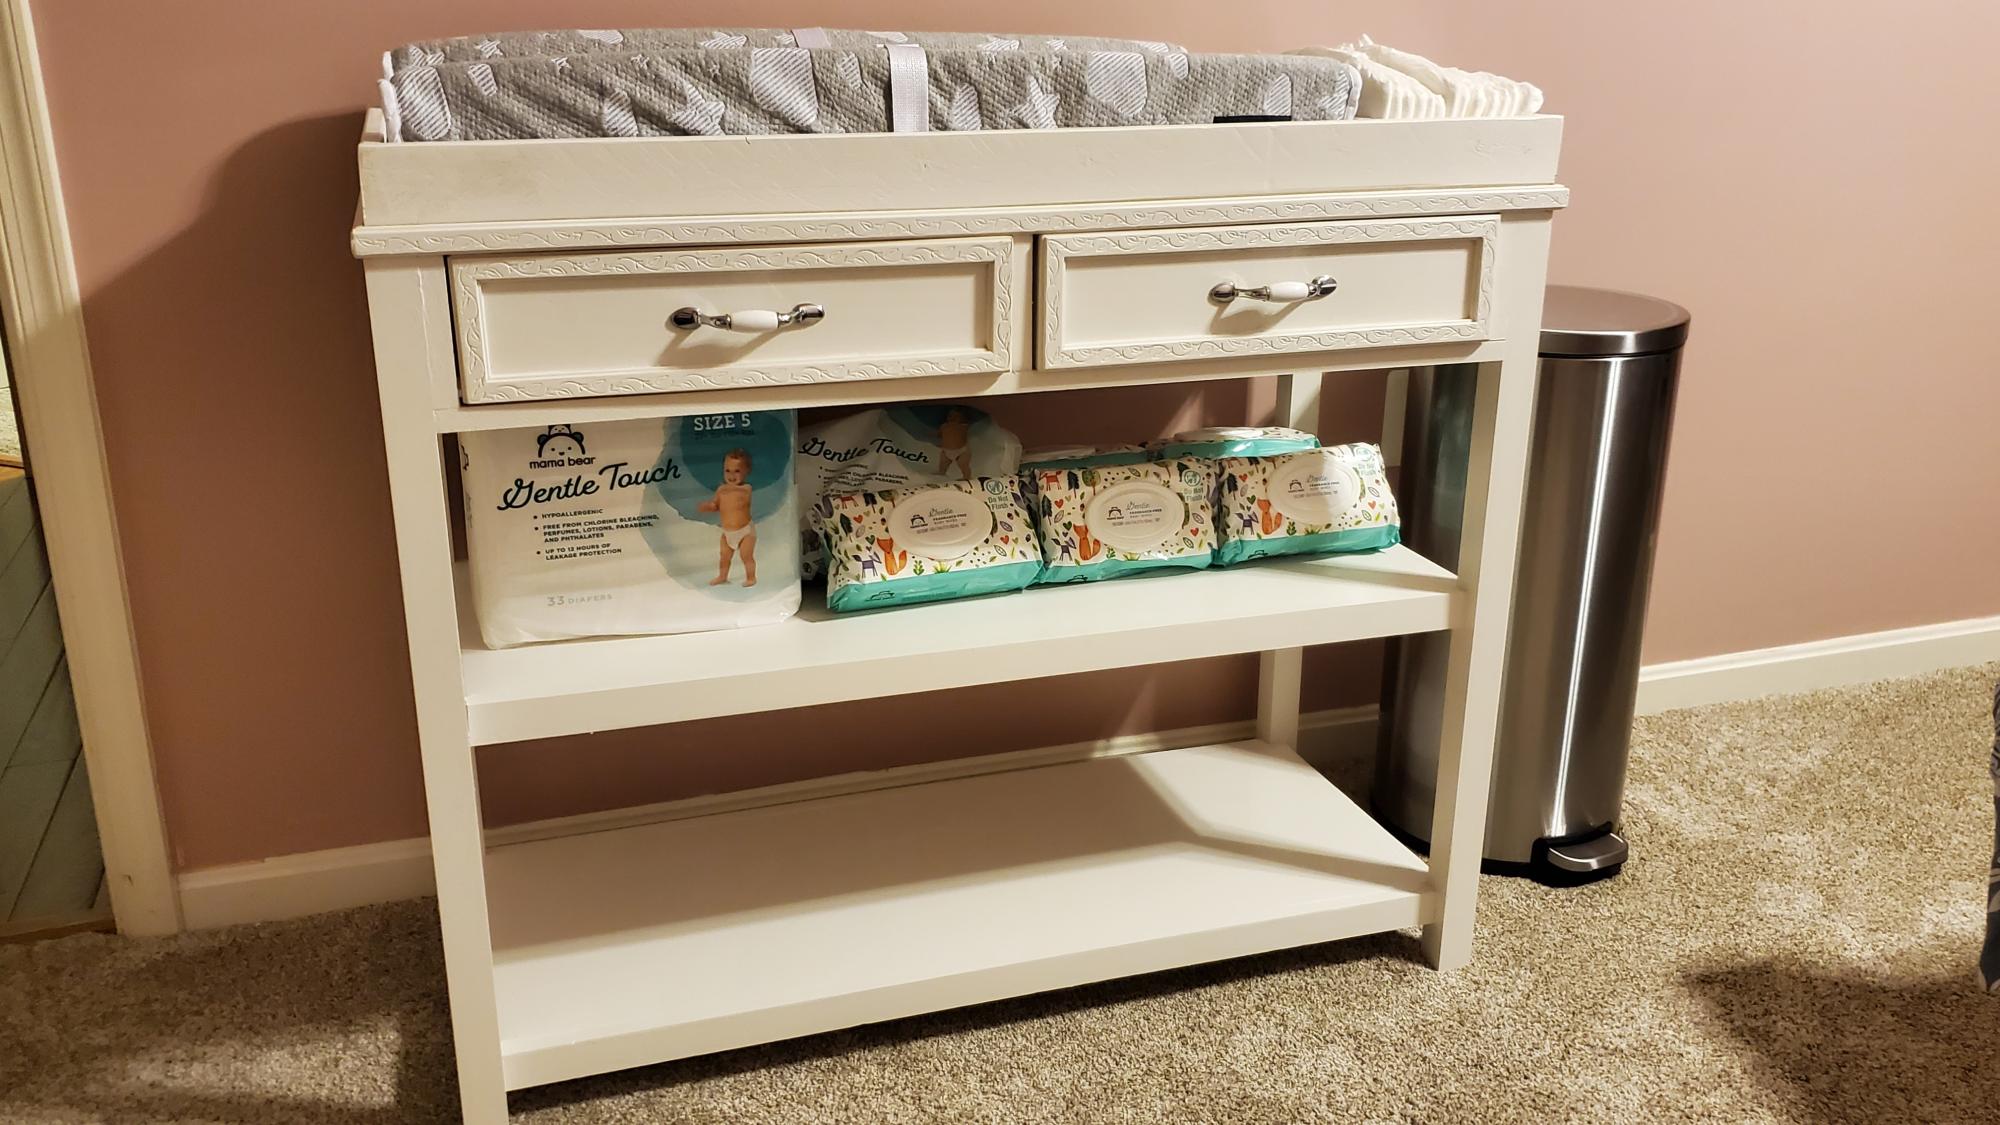
Ultimate baby changing table. Made for new granddaughter who just return from Germany with her soldier daddy and mommy. Thanks to Ana and Jen for plans and emails.

The first one is in place - more to come!
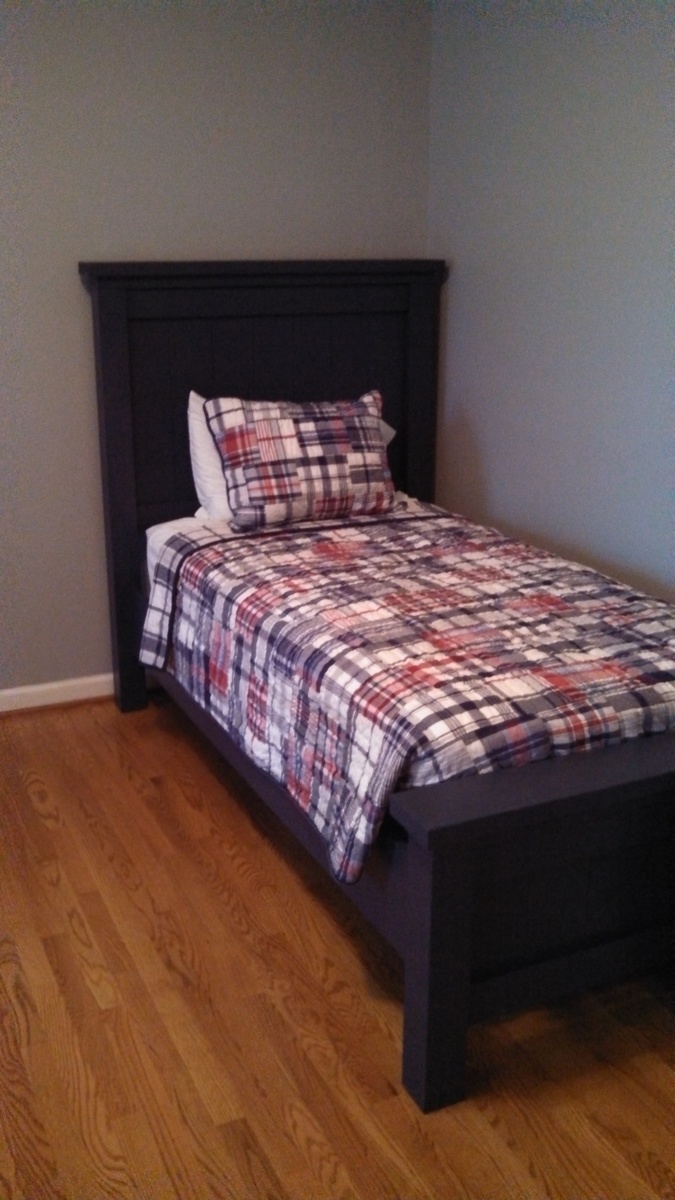
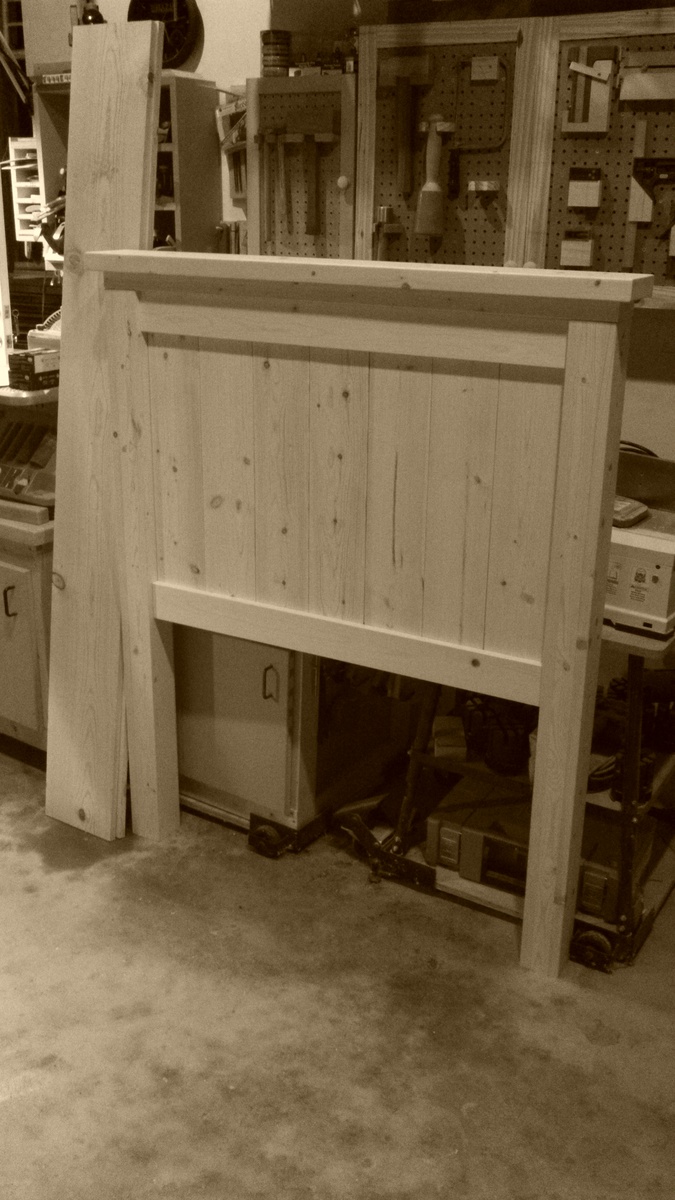
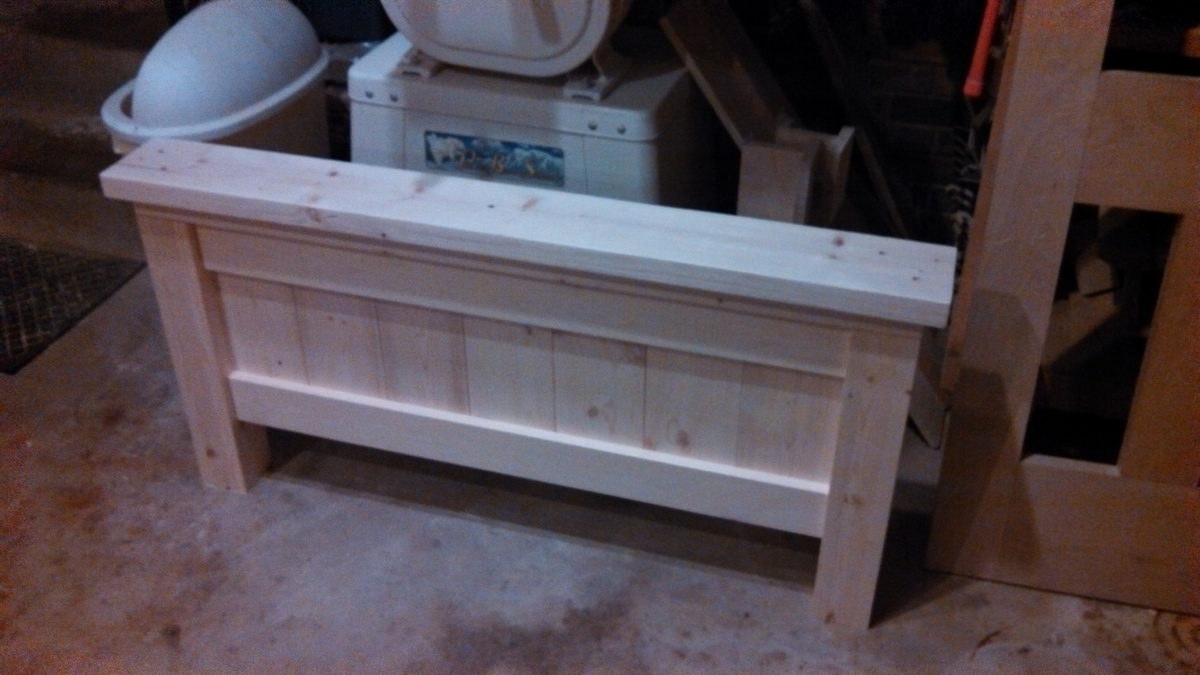
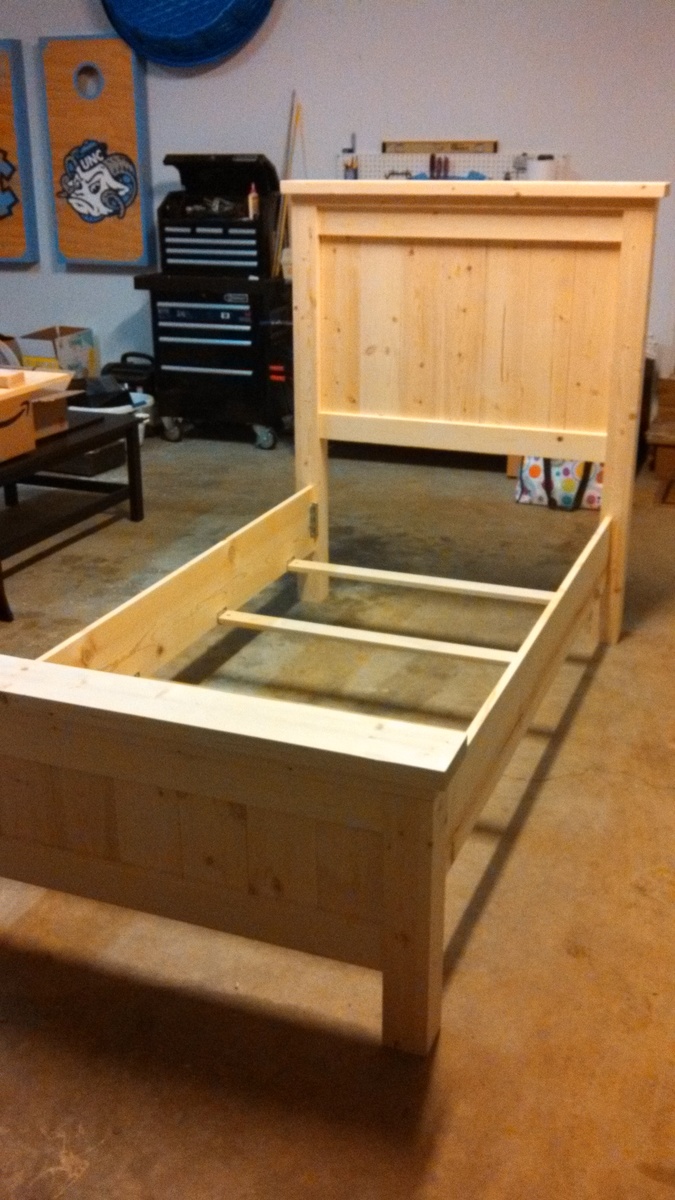
My dad and I built this twin farmhouse bed for my three-year-old son. I used no-mortise bed brackets from Rockler Woodworking and modified the plan by adding slat brackets mounted directly to the rails with 1x3 slats.
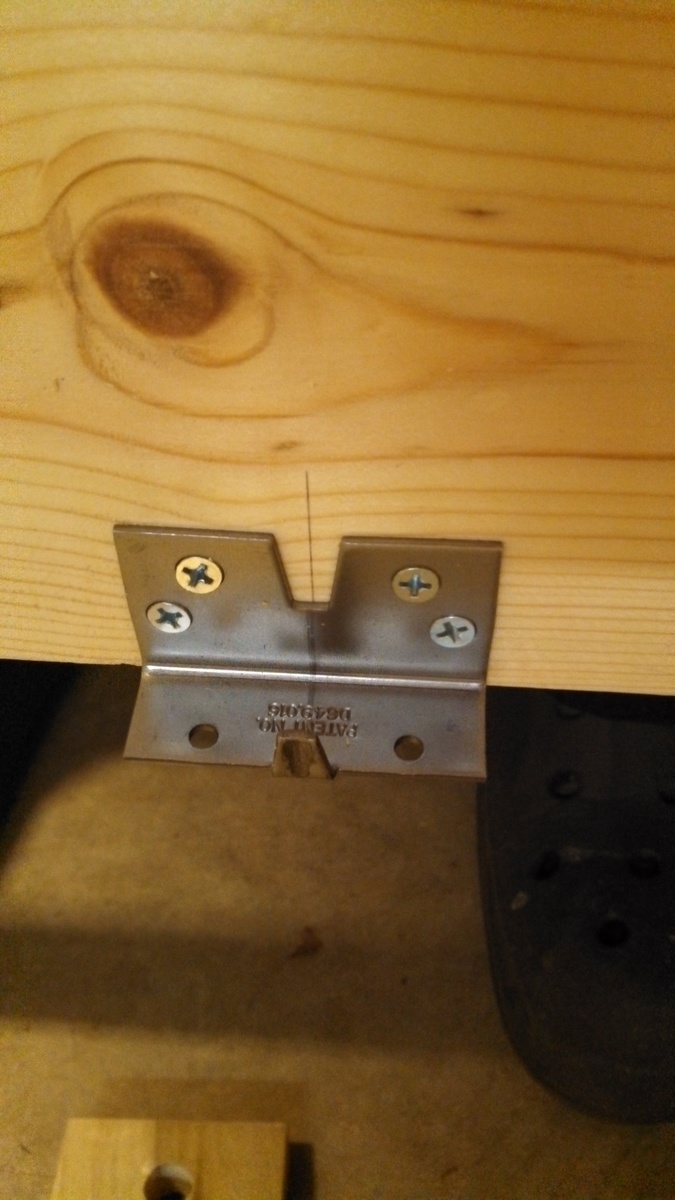
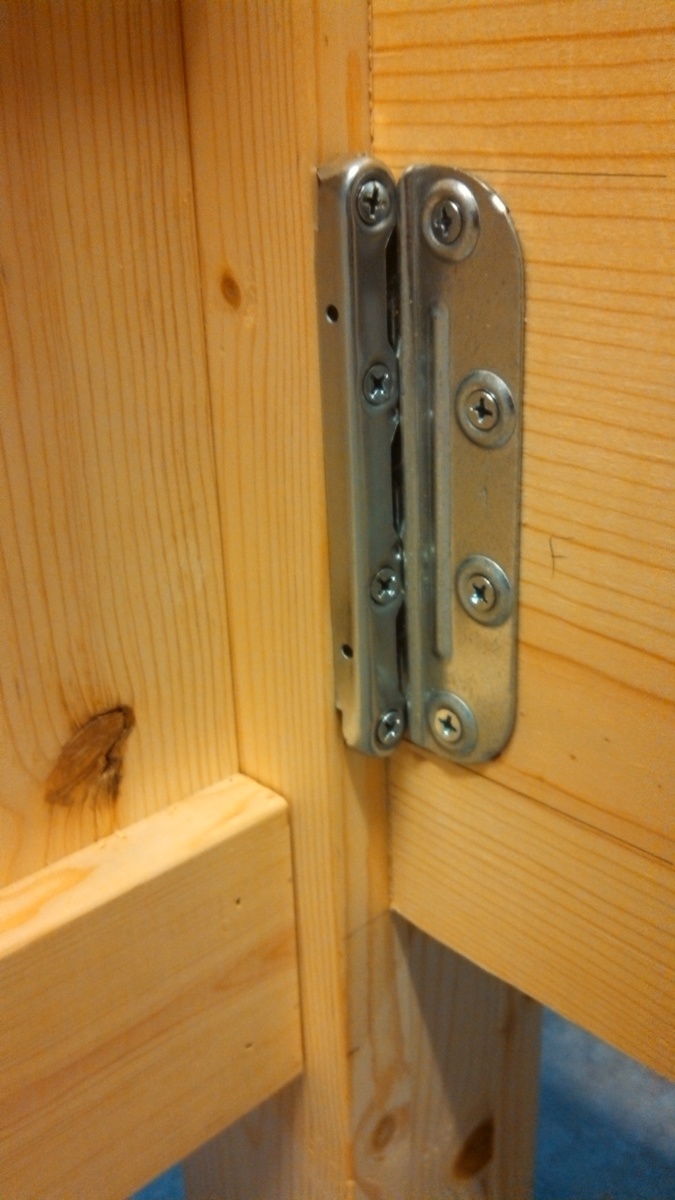
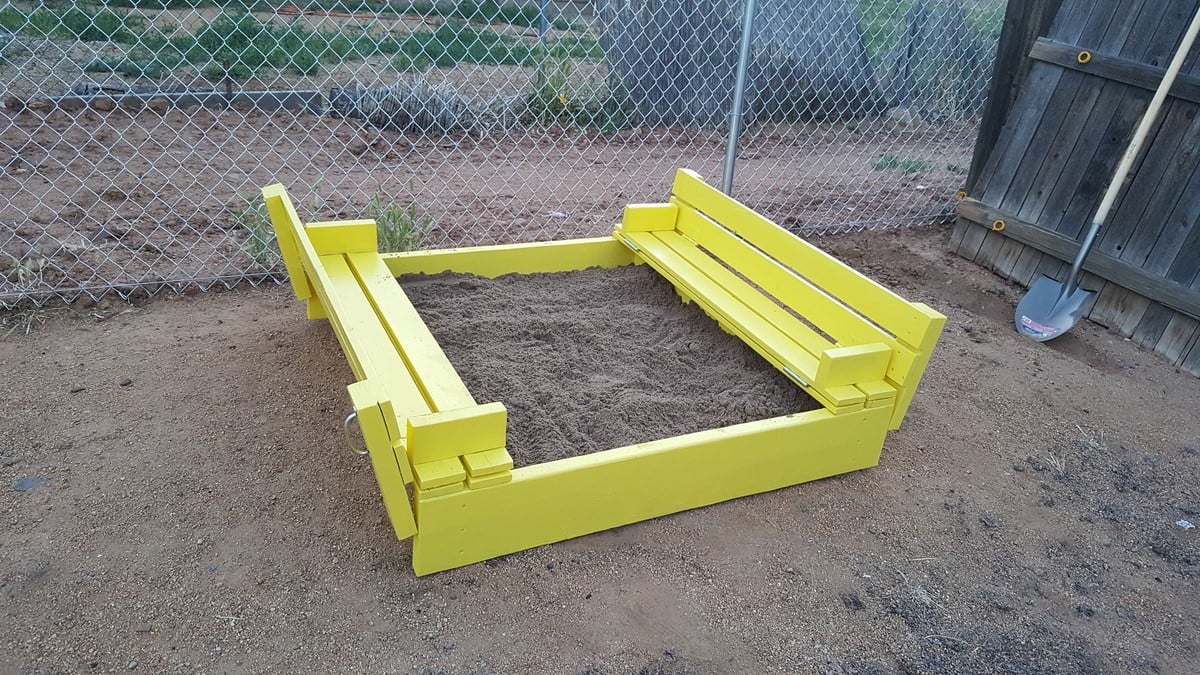
Daughters friend has a store bought plastic sandbox and my daughter asked if I could build one. This is what I built.
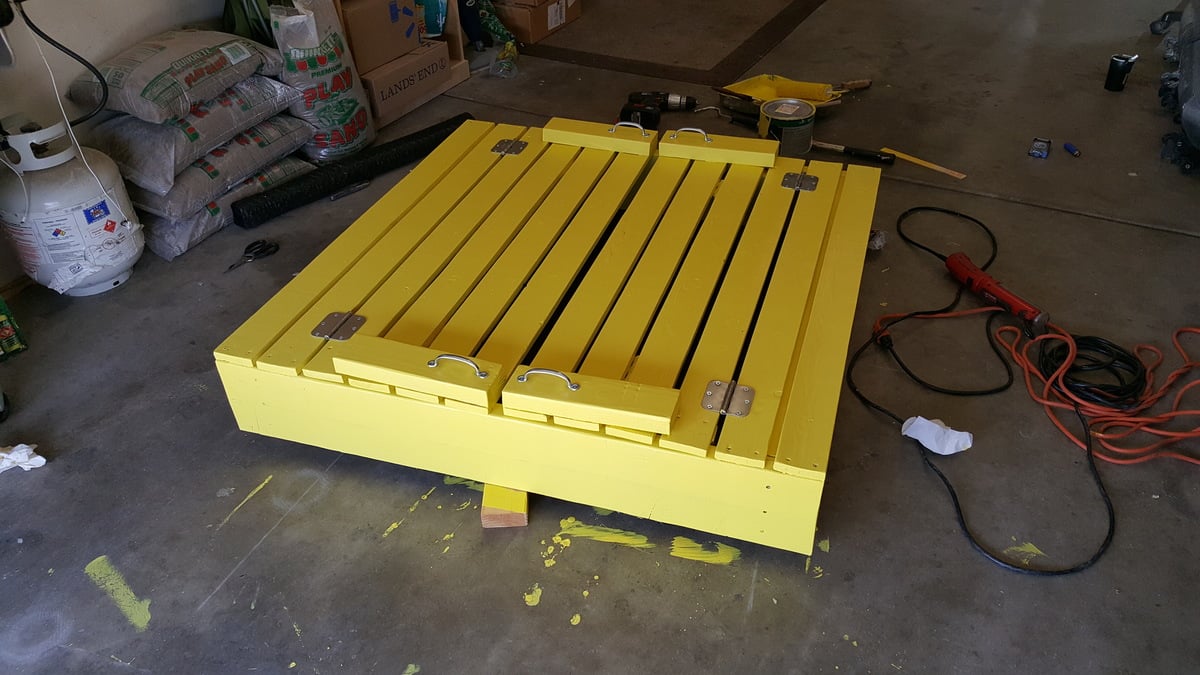
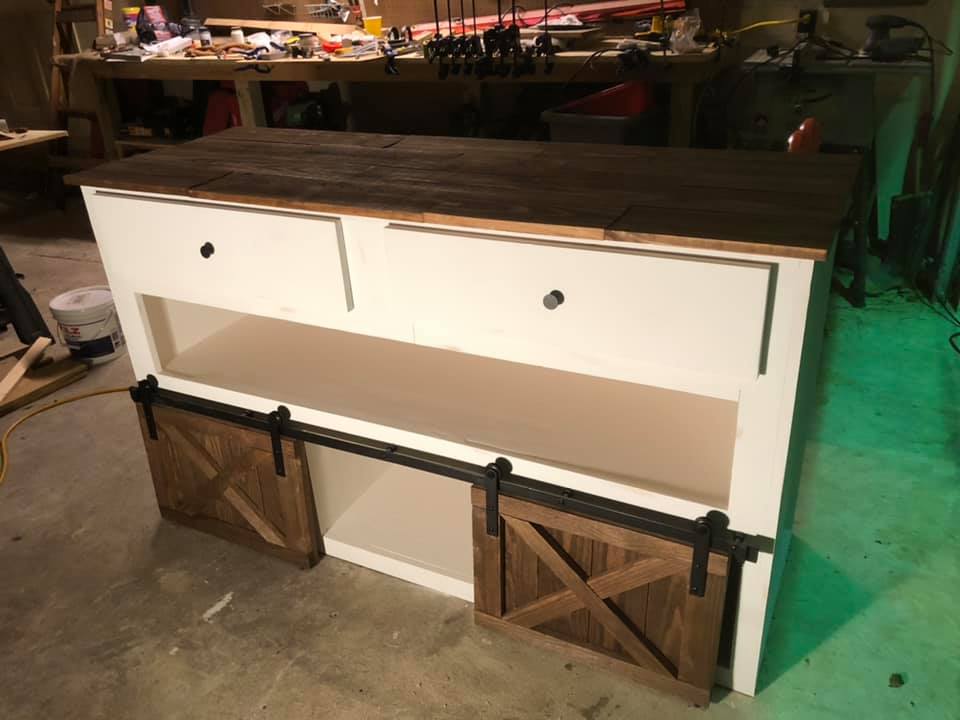
Built by Christ Rutledge

I decided to build this bedside table for a friend of mine who just graduated from college as a special graduation gift. I thought it was a beautiful plan, and knew she would love it. This table was fairly easy to build and easy to finish. I ran into problems with the shelf, at first I decided to just add 1x2's around the bottom, but didn't like that and then built the shelf with a "frame" around it. It turned out nice, I hope she likes it.


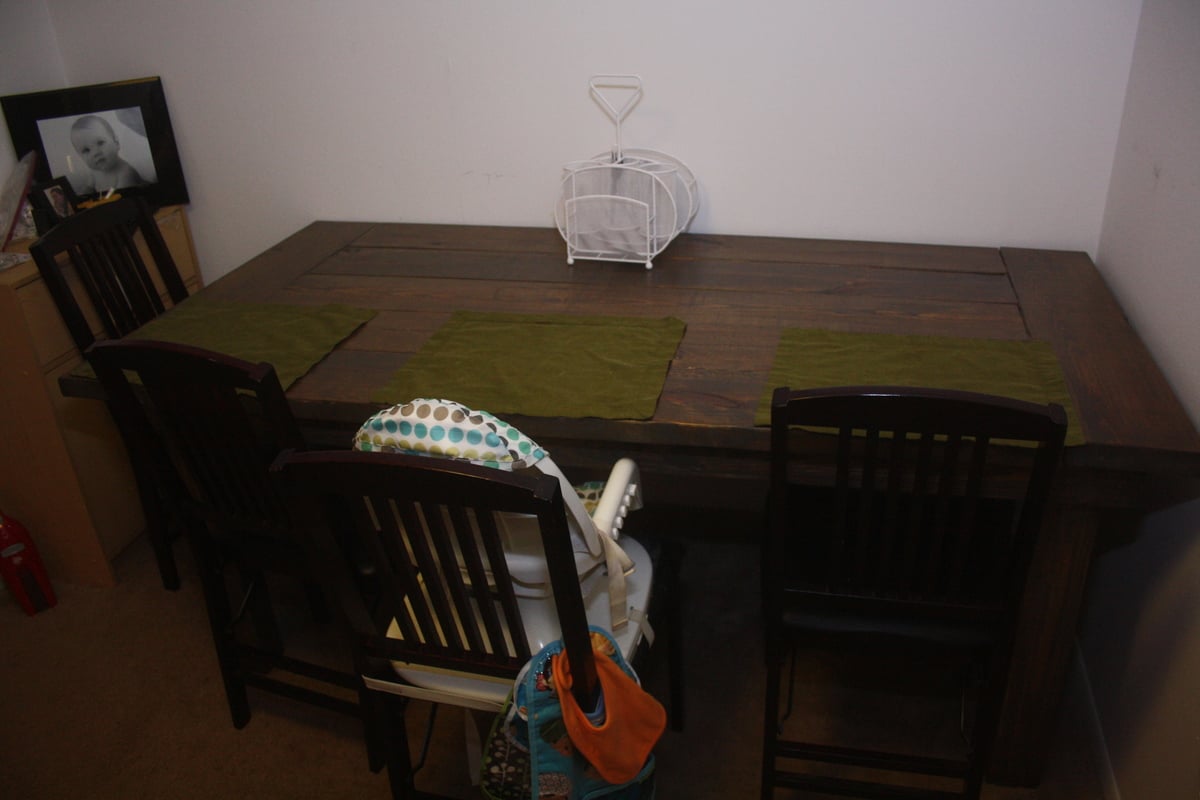
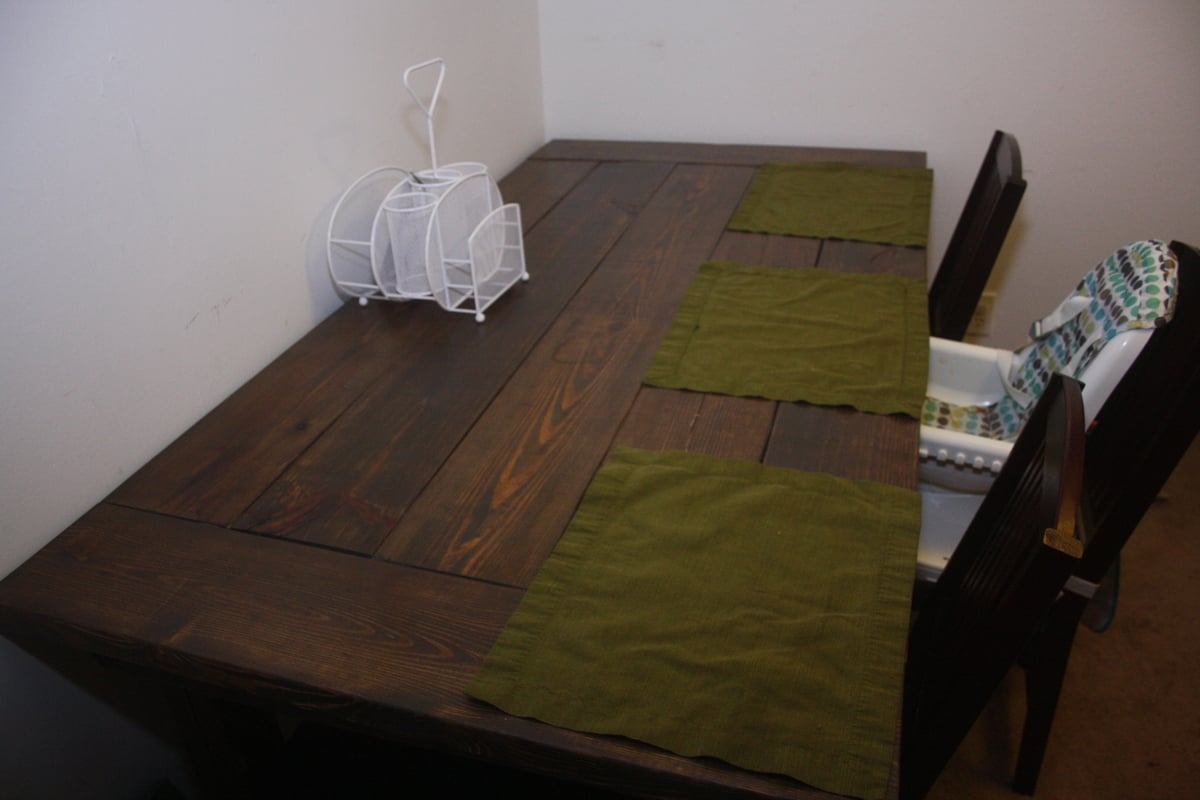
We needed a sturdy table that we could put our son up to. We looked around at a few different options and discovered this plan that we could build on our own for the same price it would have cost us to buy a used table. I have built a few small things like a bookshelf and a headboard, but this is by far the biggest project I have ever done. It took about 5 hours on a Friday afternoon and about 8 hours on a Saturday to get the construction and first coat of stain on. After that we put 3 coats of a satin polyurethane on over the course of the next several days. We are really happy with how this turned out and it was a relatively simple project.
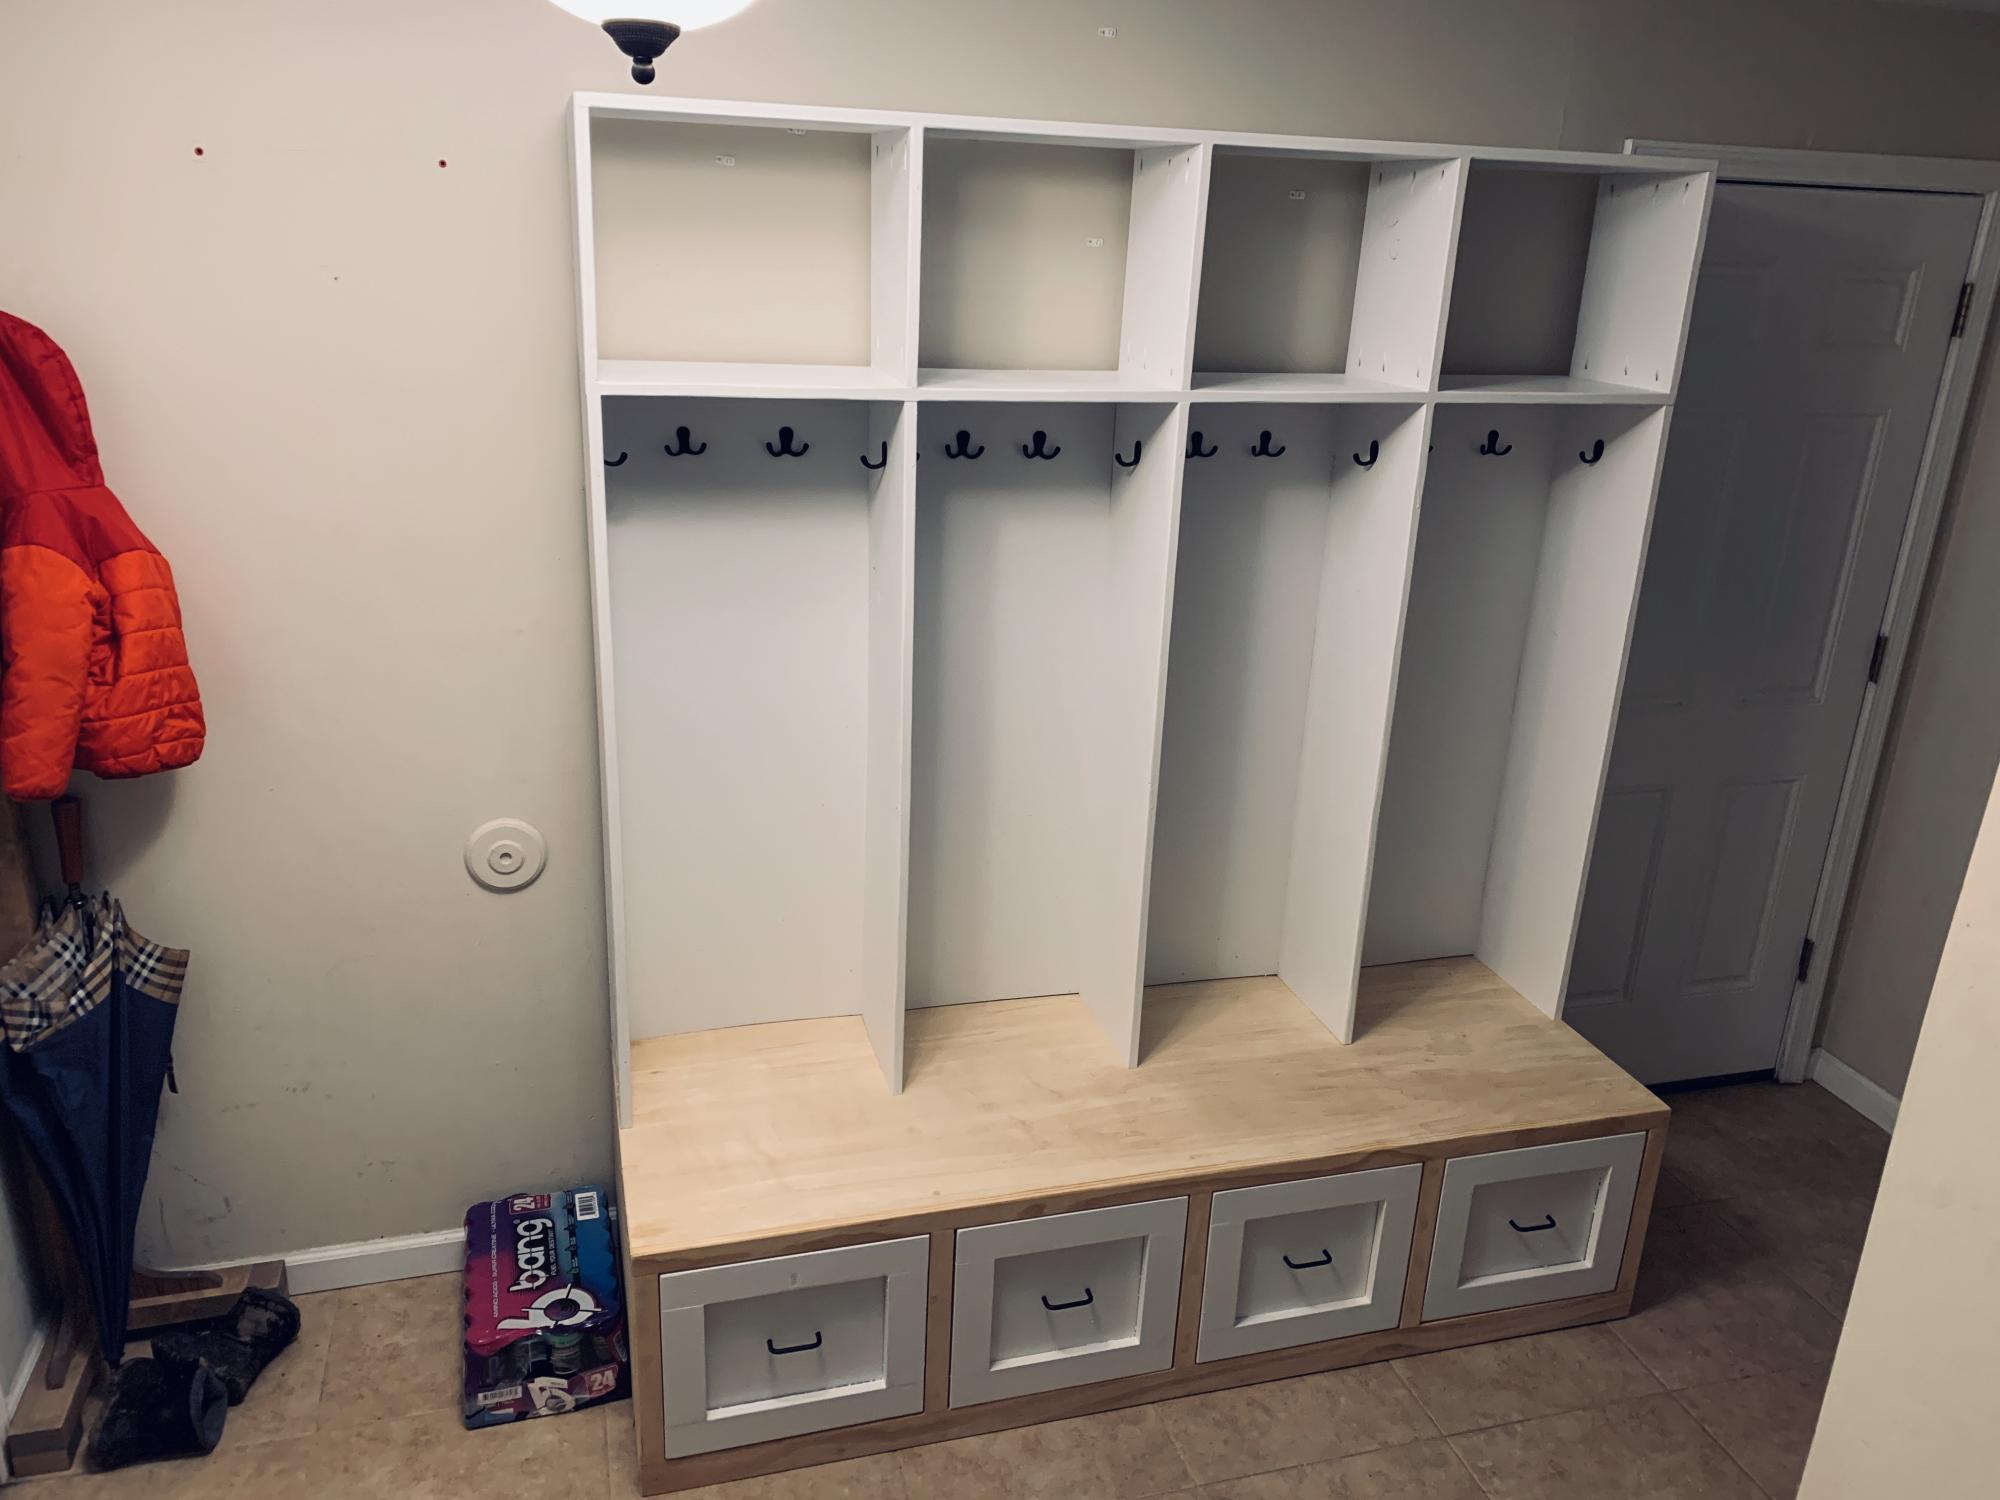
I kept the lockers super simple, but the drawers / bench followed me the plans. Thanks as always for the plans!
Modern Puzzle Bookcase
Comments
timh
Sat, 02/08/2014 - 15:54
look great!
Awesome! I built one for our homeschool and it works great. Yours look very nice.