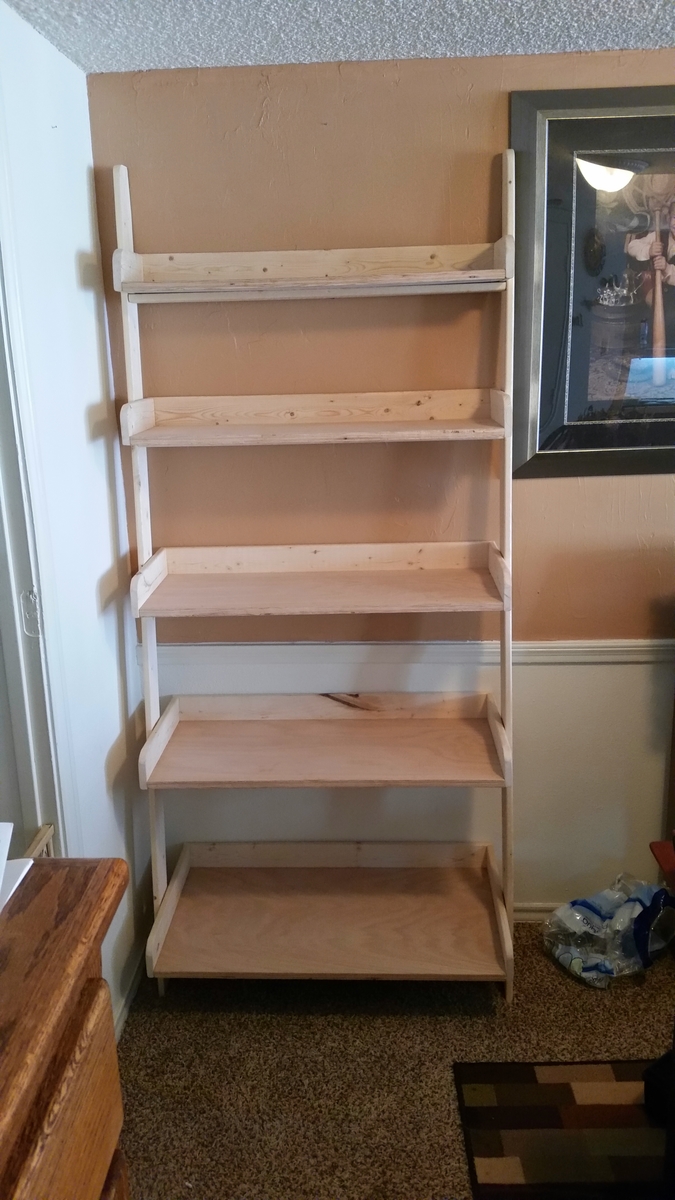
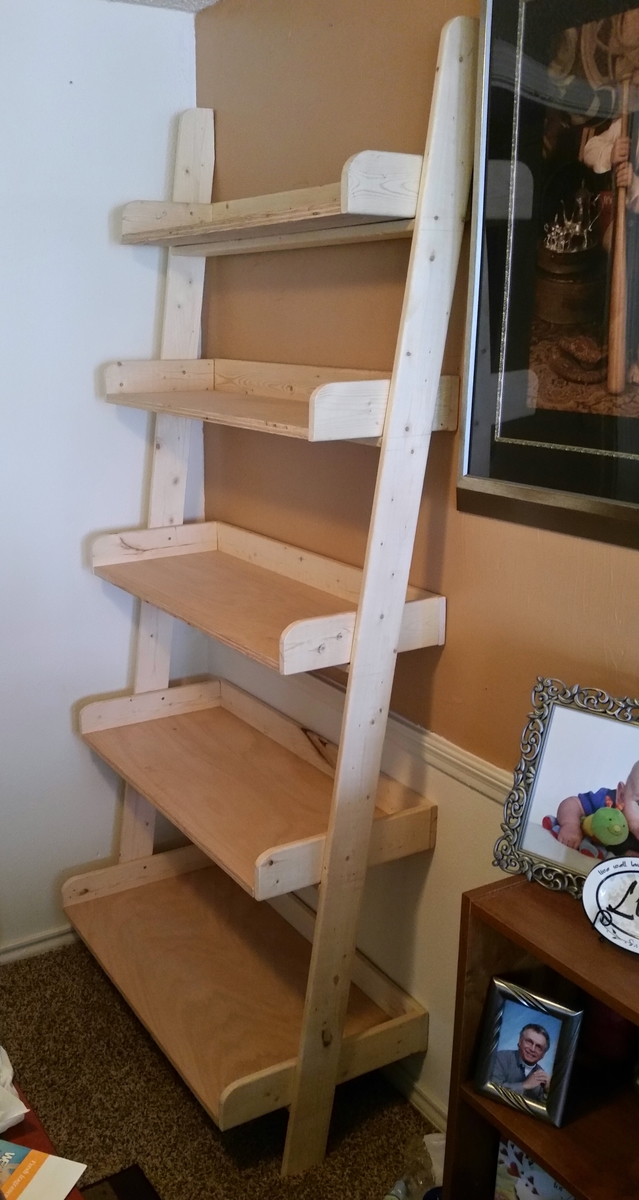
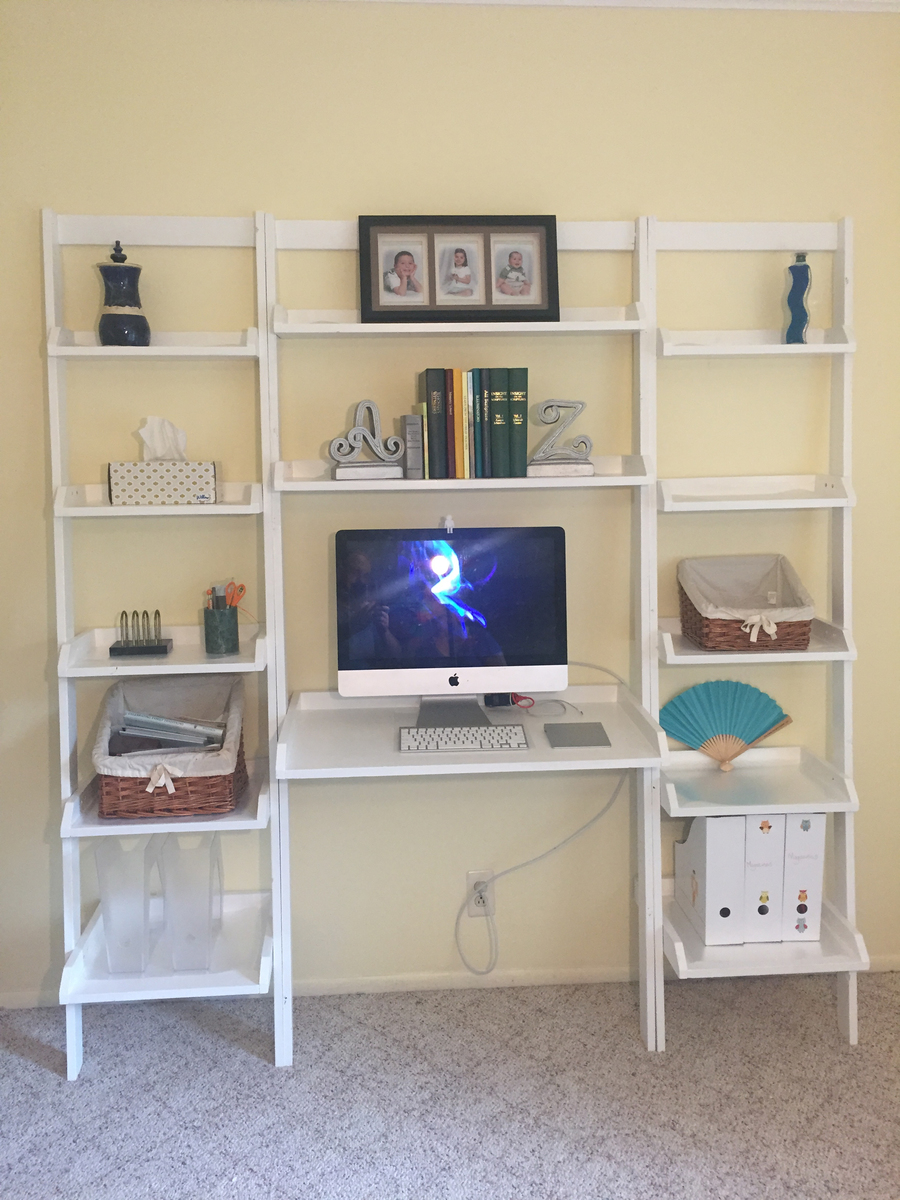
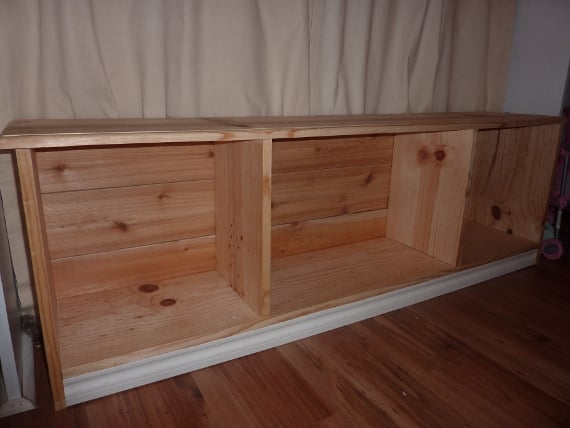
Leaning bathroom shelf
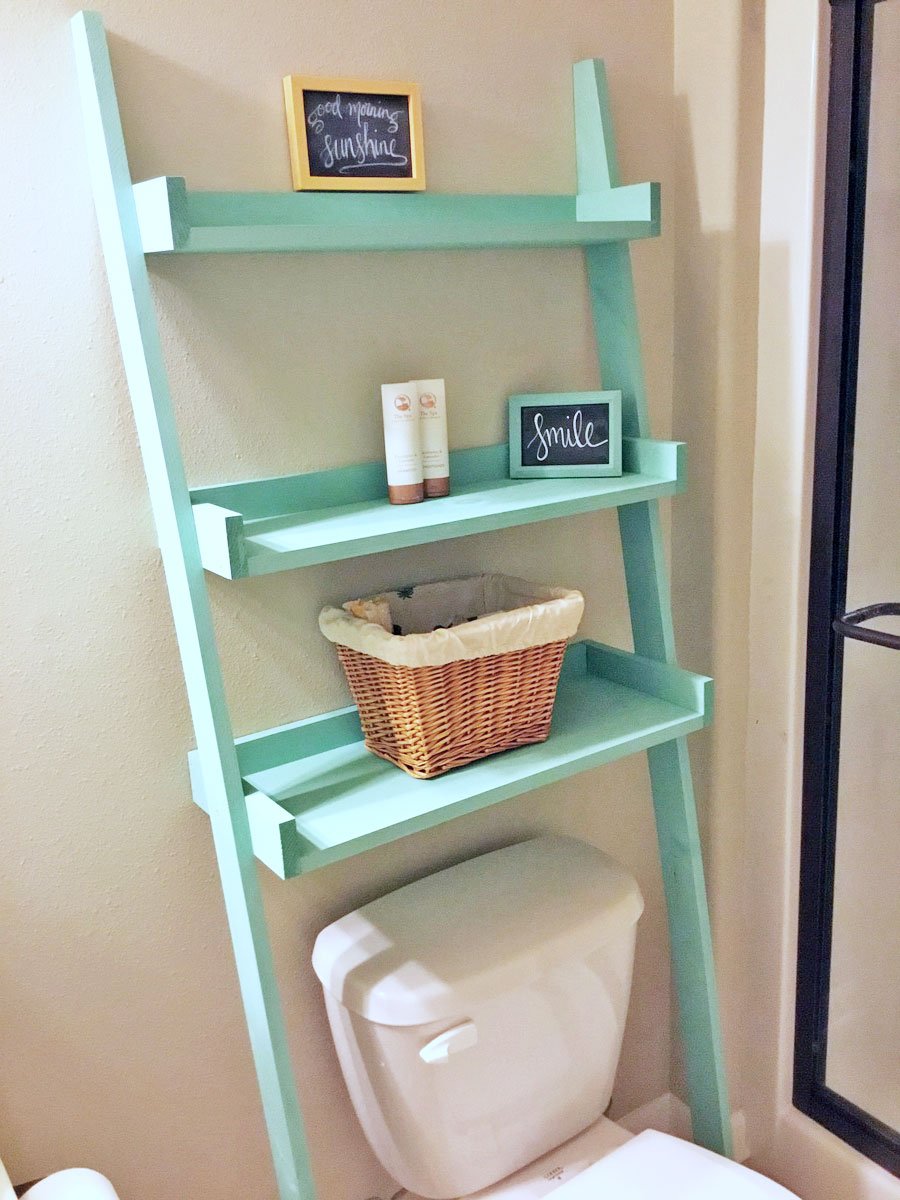
I saw this plan and immediately decided to make it! My mom had been telling me for a while I needed a shelf in the bathroom she uses while visiting. She was coming the next day so decided I needed to hustle to surprise her. I left the lumber store at 8pm and finished painting the assembled shelves by 11pm. The next morning I moved shelves to the bathroom and when she arrived later that day she was so surprised! She loved it! Thank you so much for the idea!
Built from Plan(s)
Estimated Cost
$11 for lumber (I purchased 2 pieces 1-1x6 @ 8ft and 1-1x10 @ 8ft and cut to size). I already had nails, wood glue, and paint (you could purchase a sample size for $3 @Lowes and have enough for this project ).
Estimated Time Investment
Afternoon Project (3-6 Hours)
Finish Used
Scenic view colored paint
Recommended Skill Level
Beginner


Comments
Ana White
Wed, 06/19/2019 - 17:01
This is amazing! Three…
This is amazing! Three hours! I'd be surprised too!
Thank you so much for sharing a brag post, much appreciated!