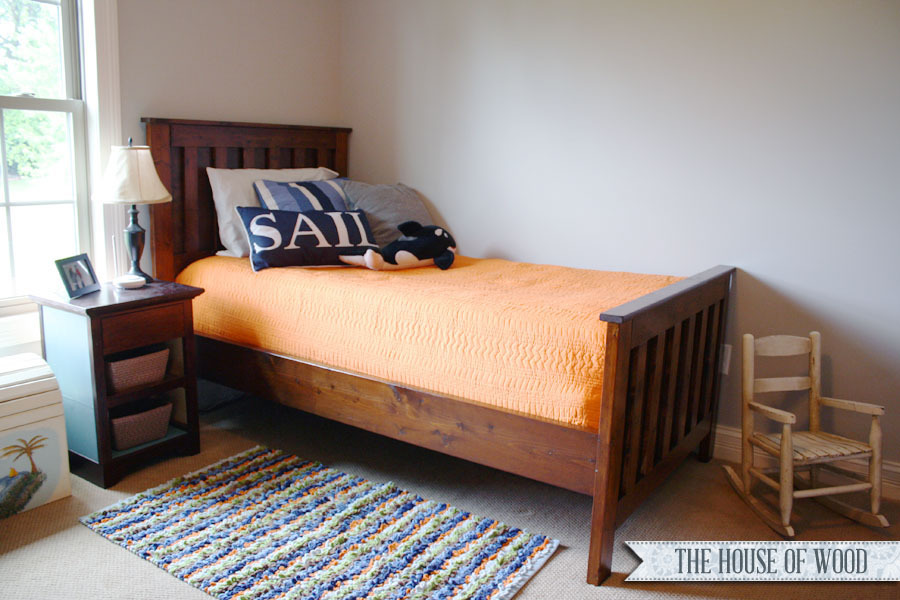
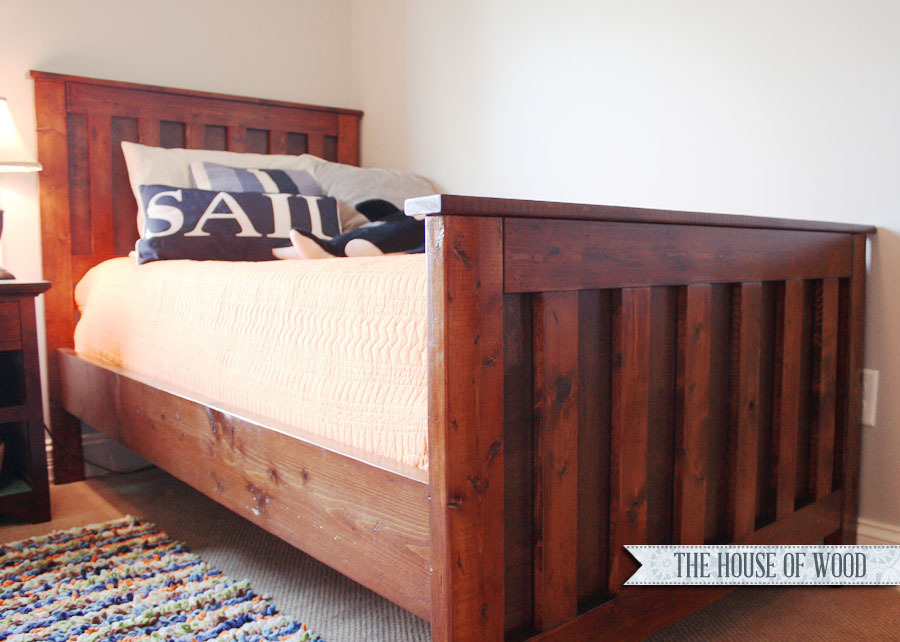
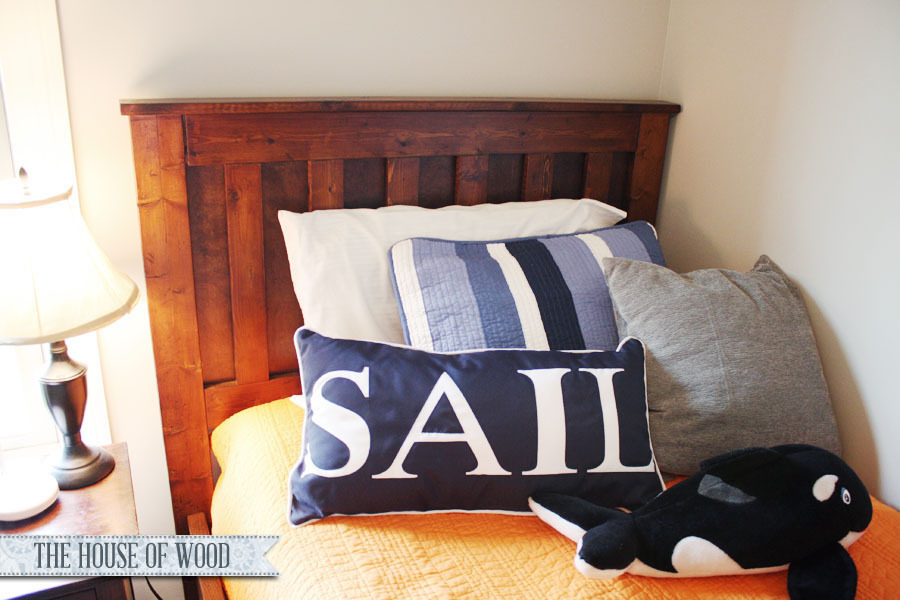
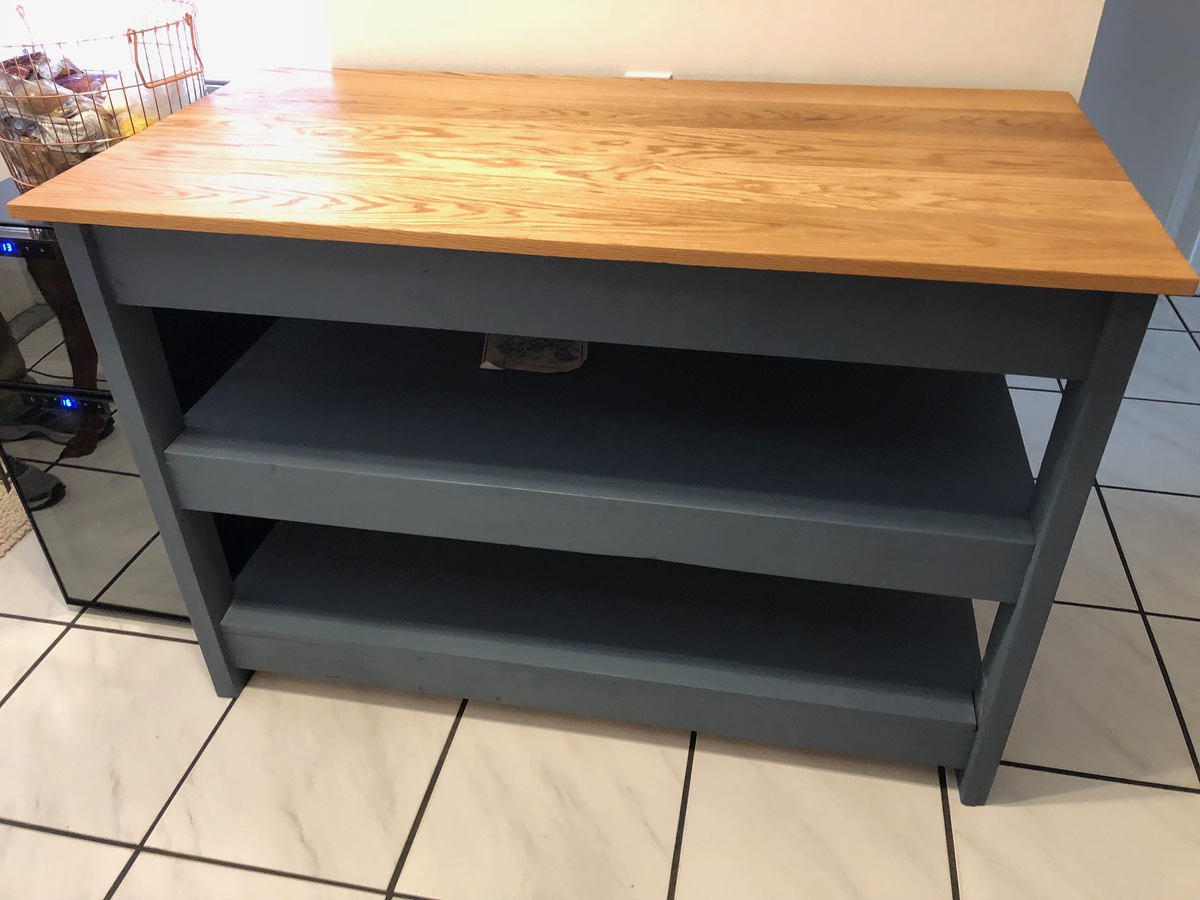
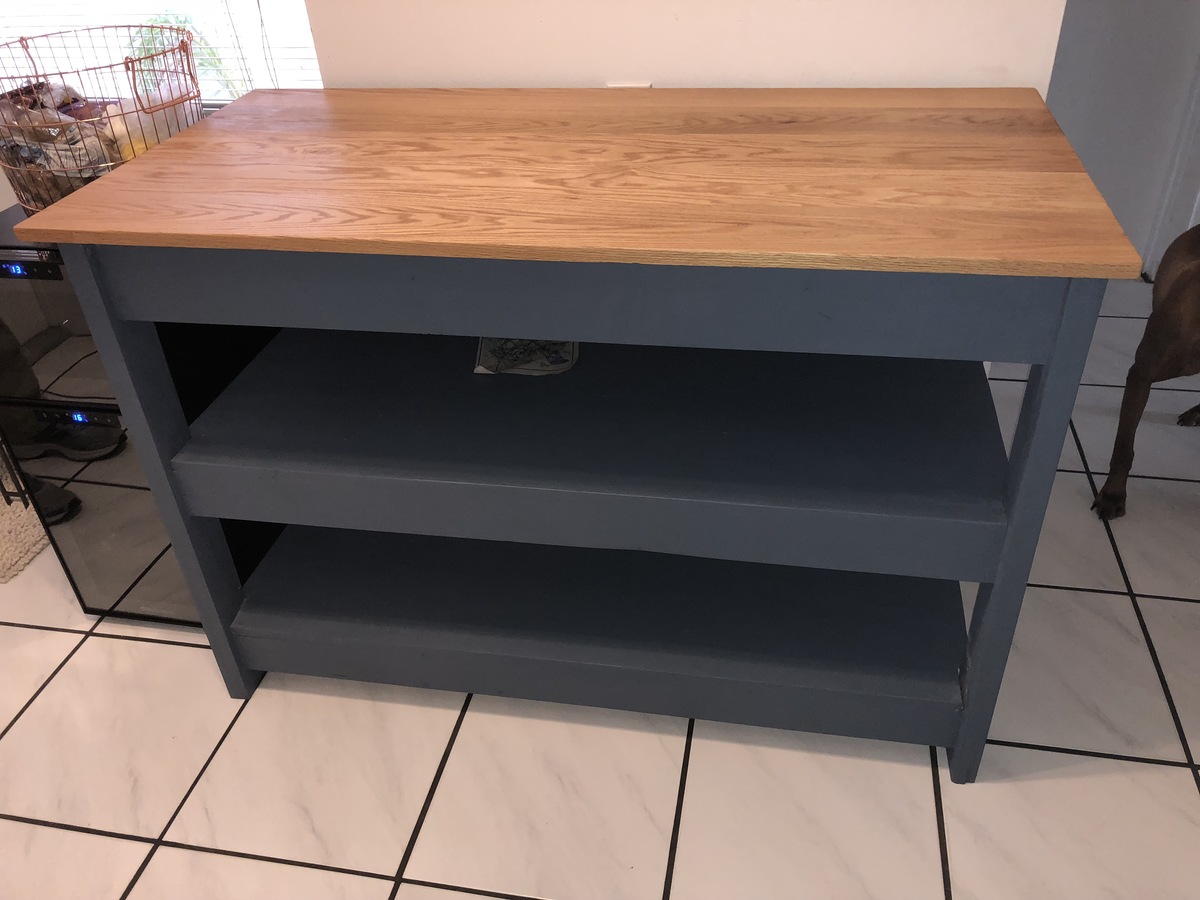
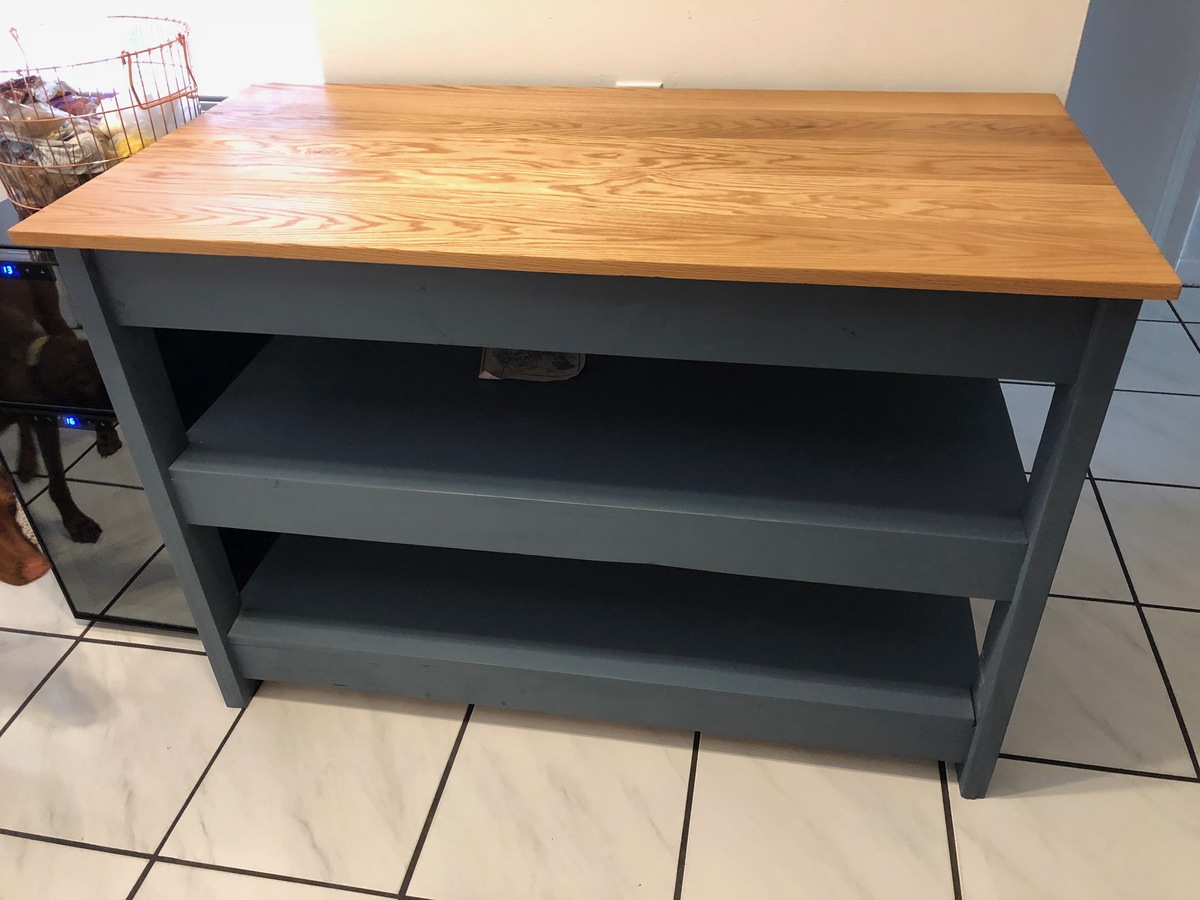
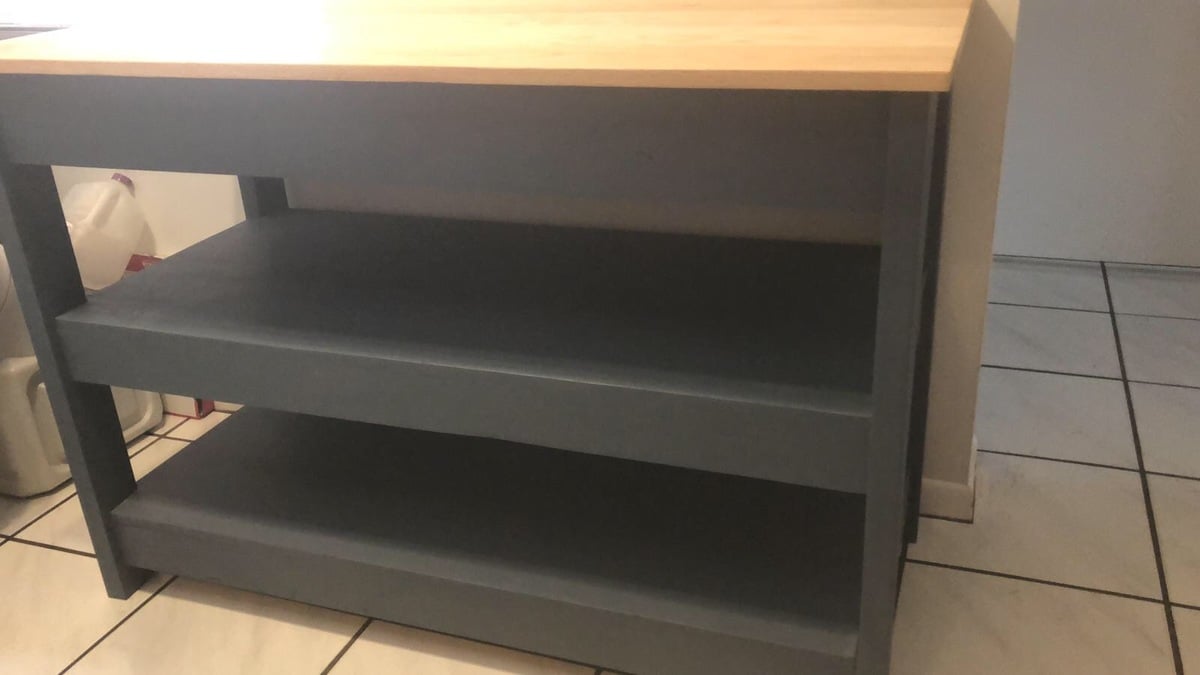
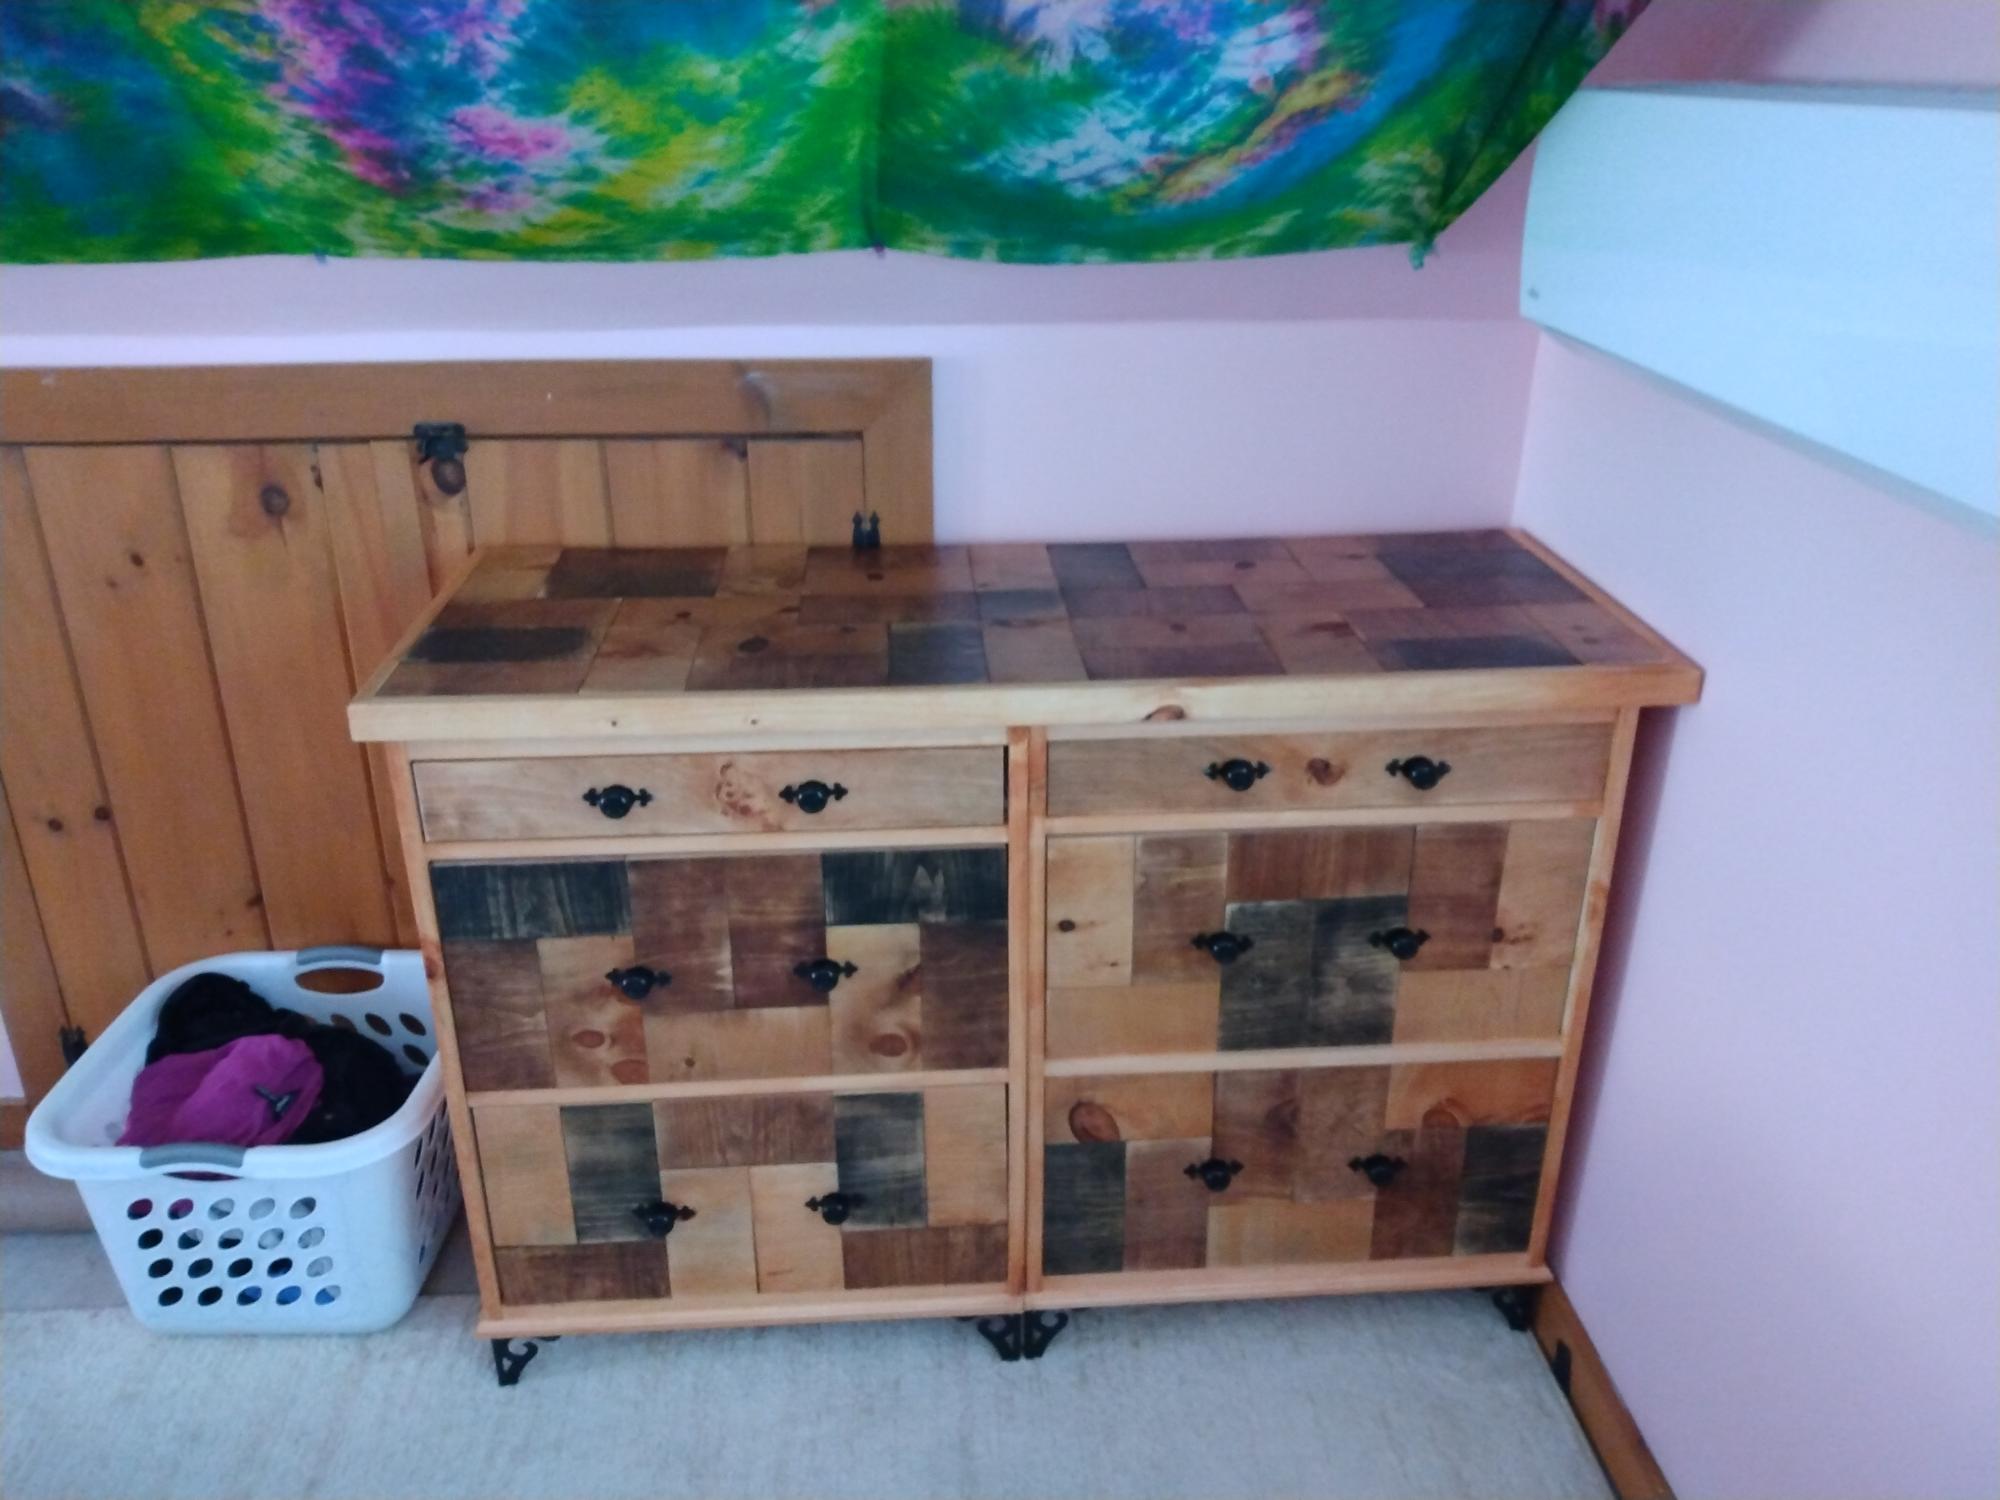
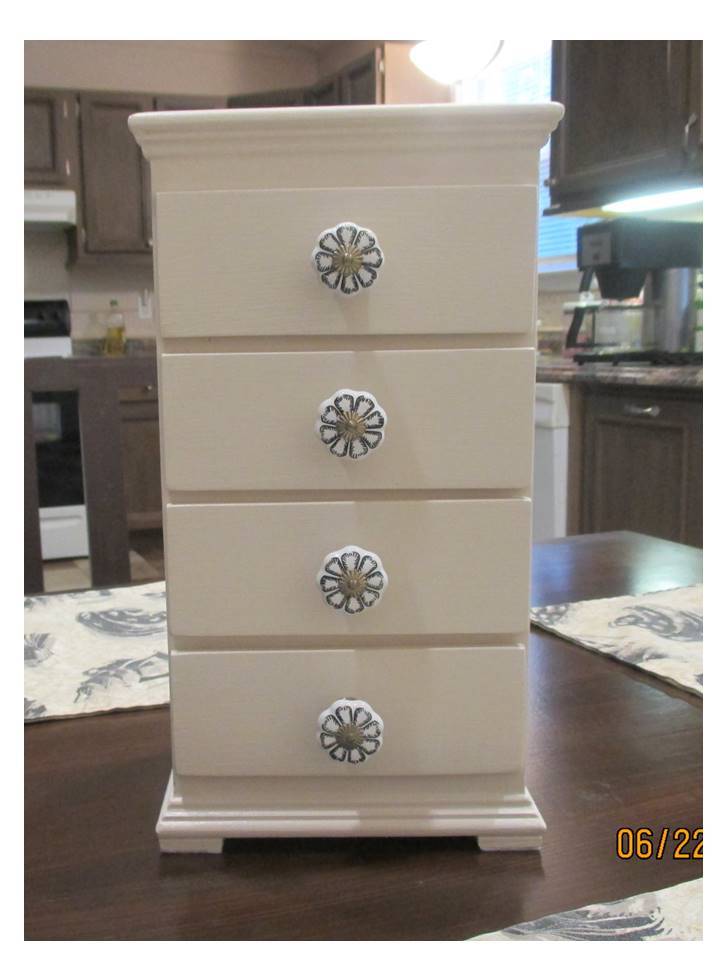
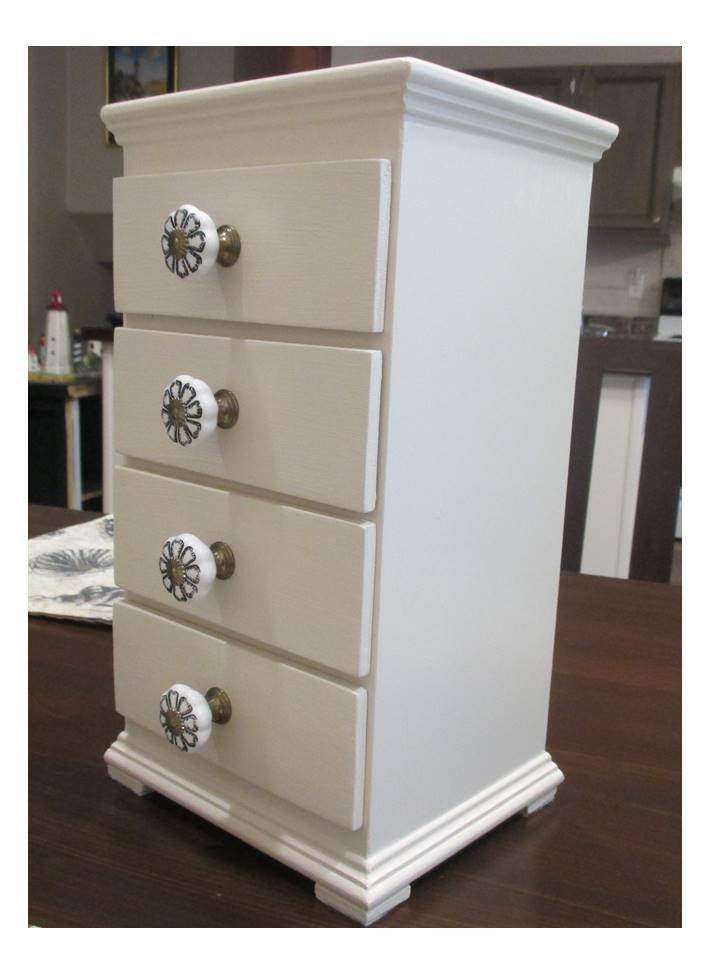
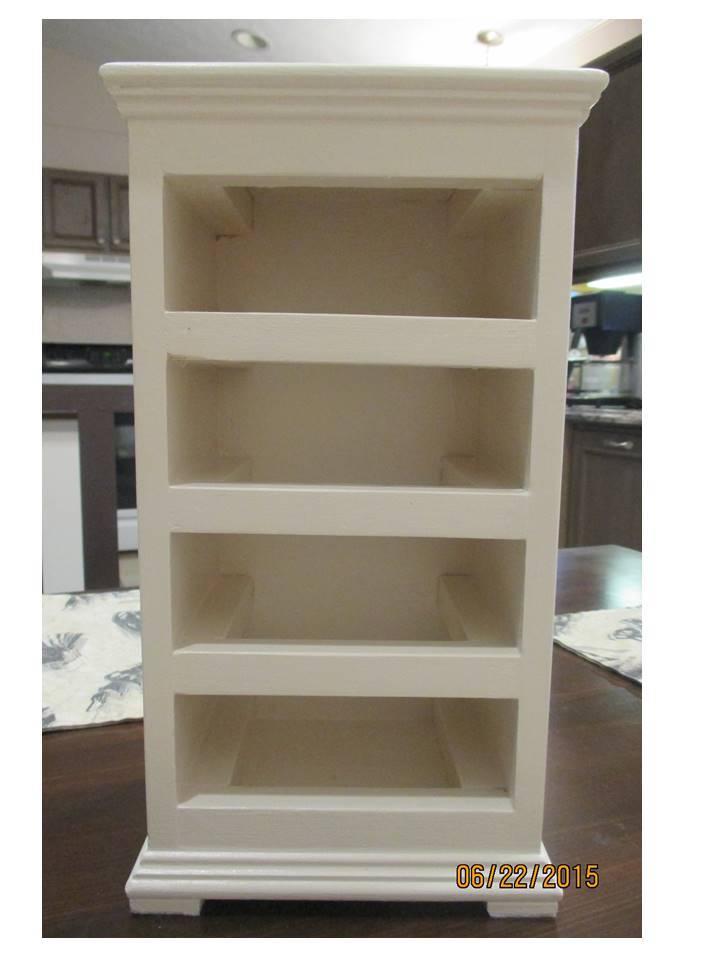
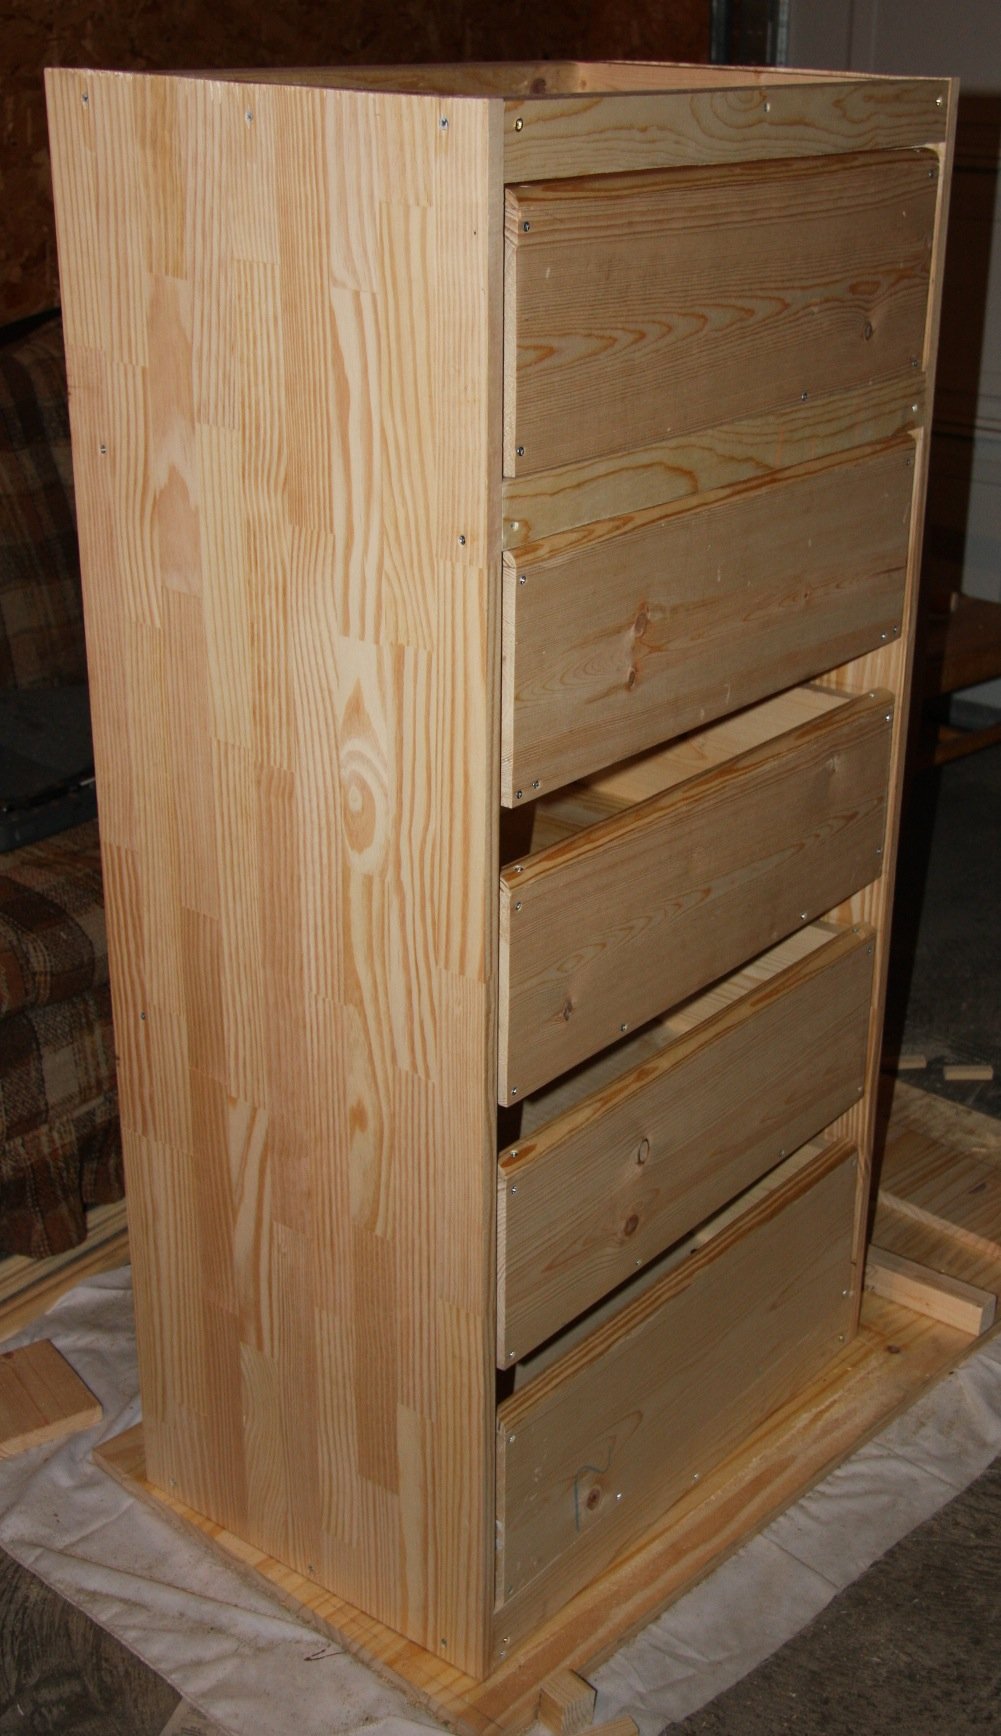
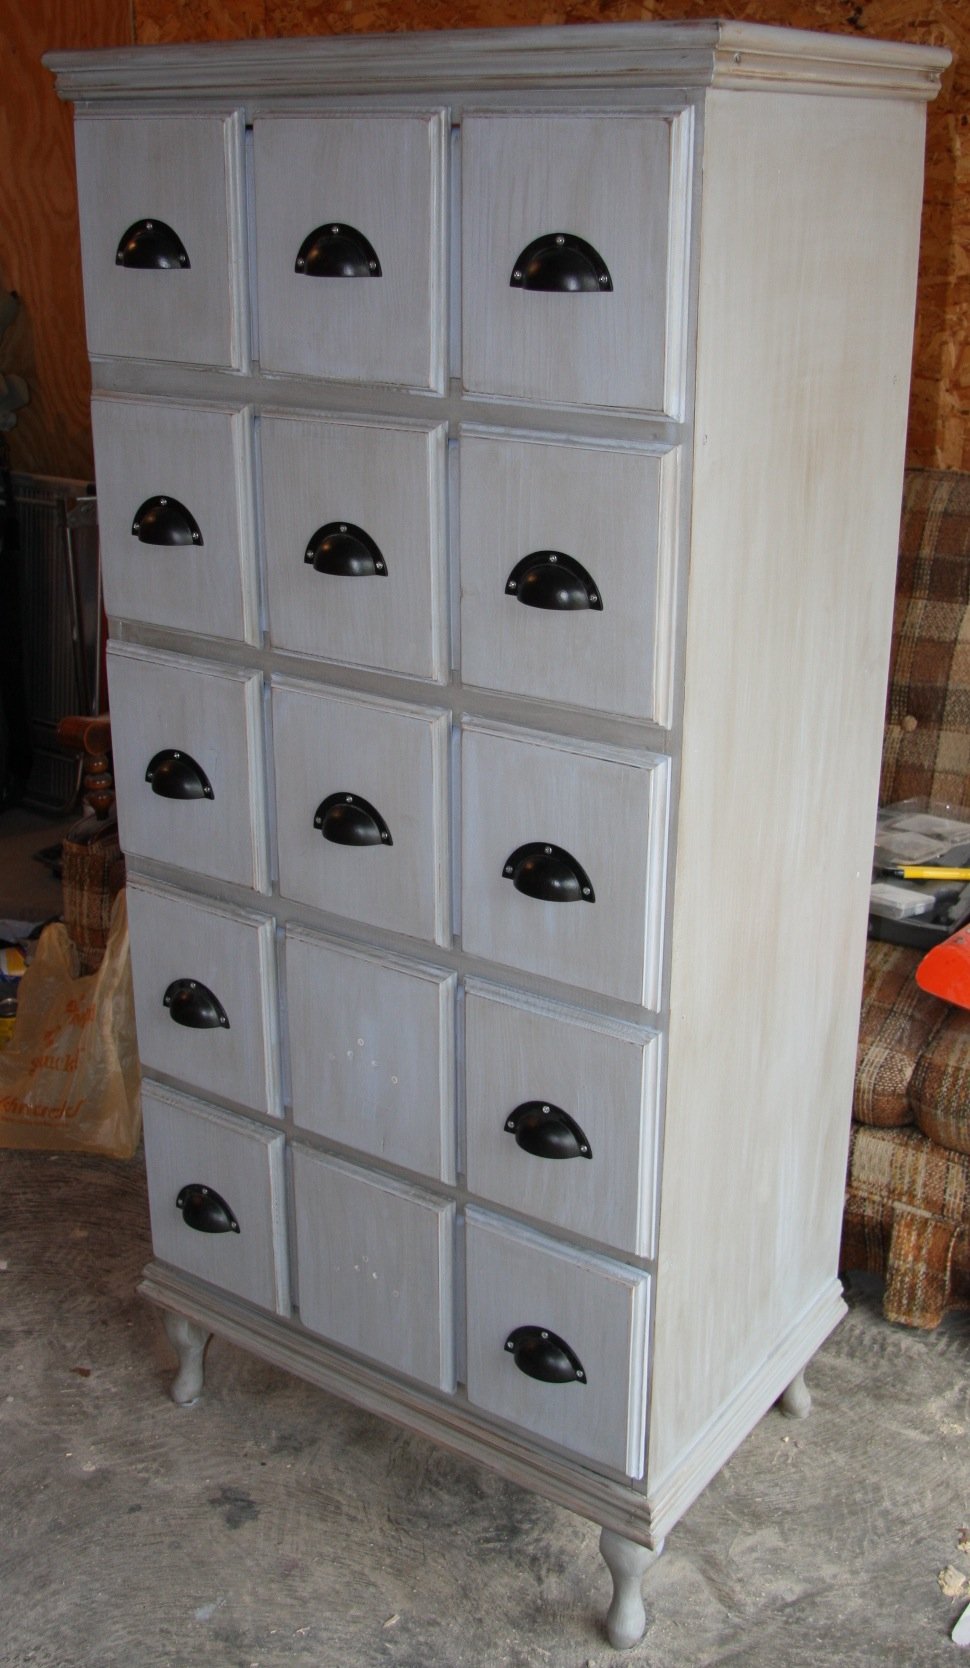
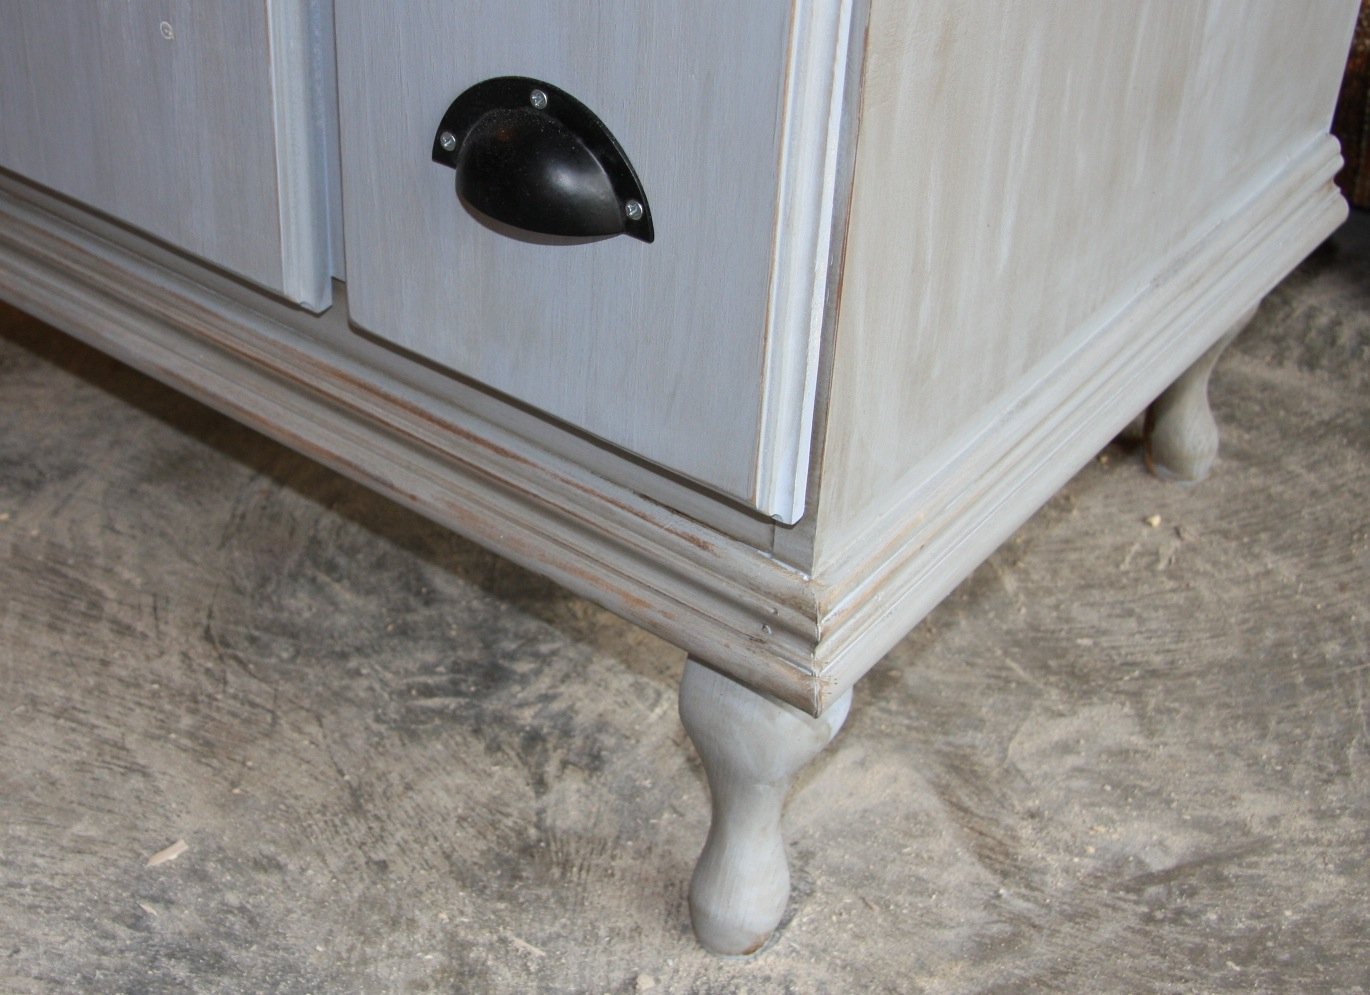
Apothecary dresser
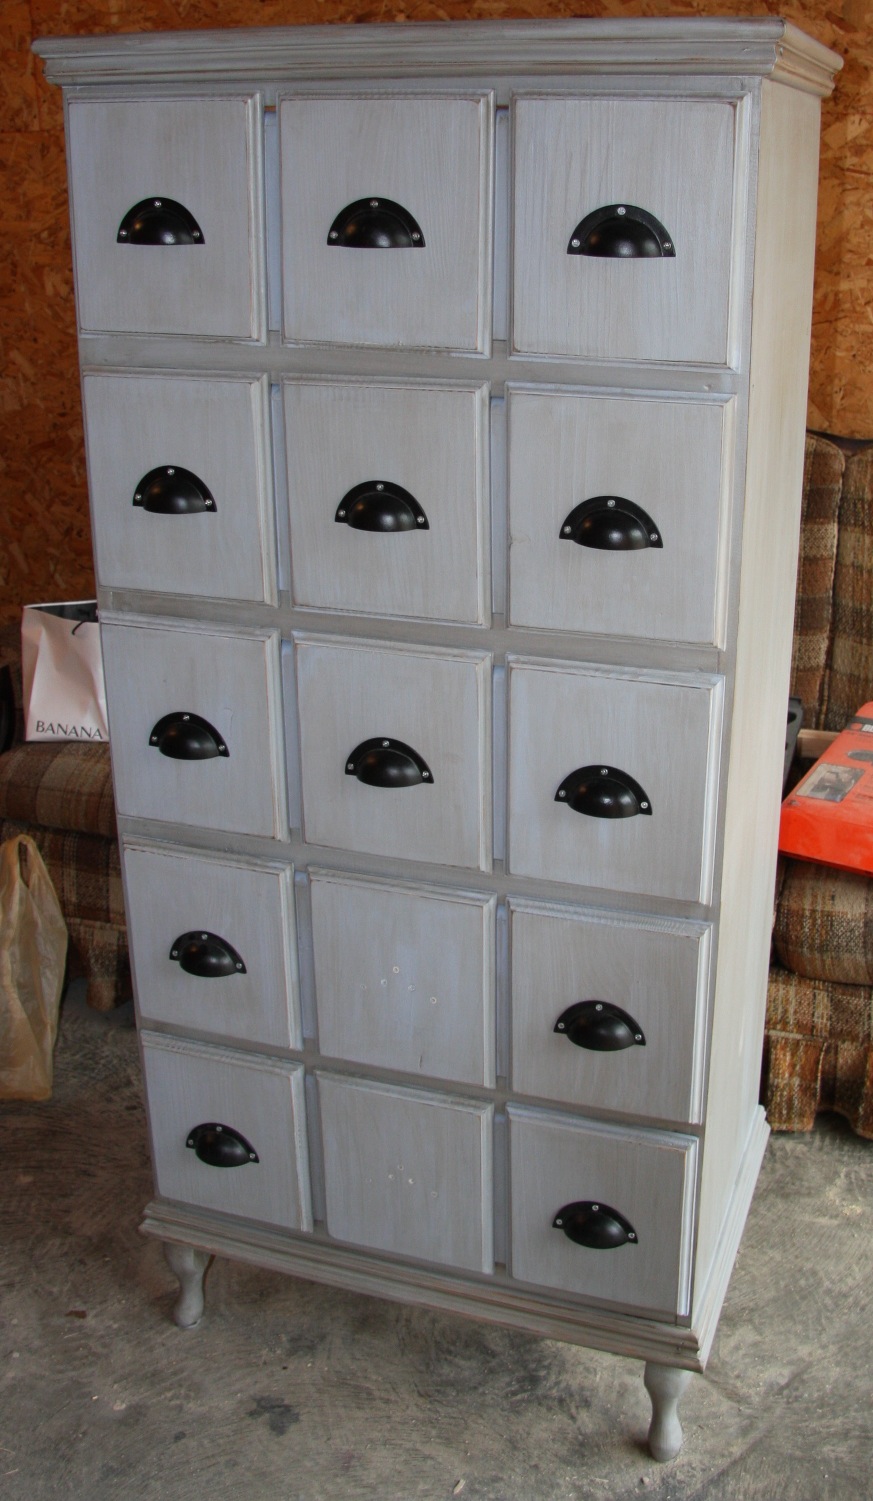
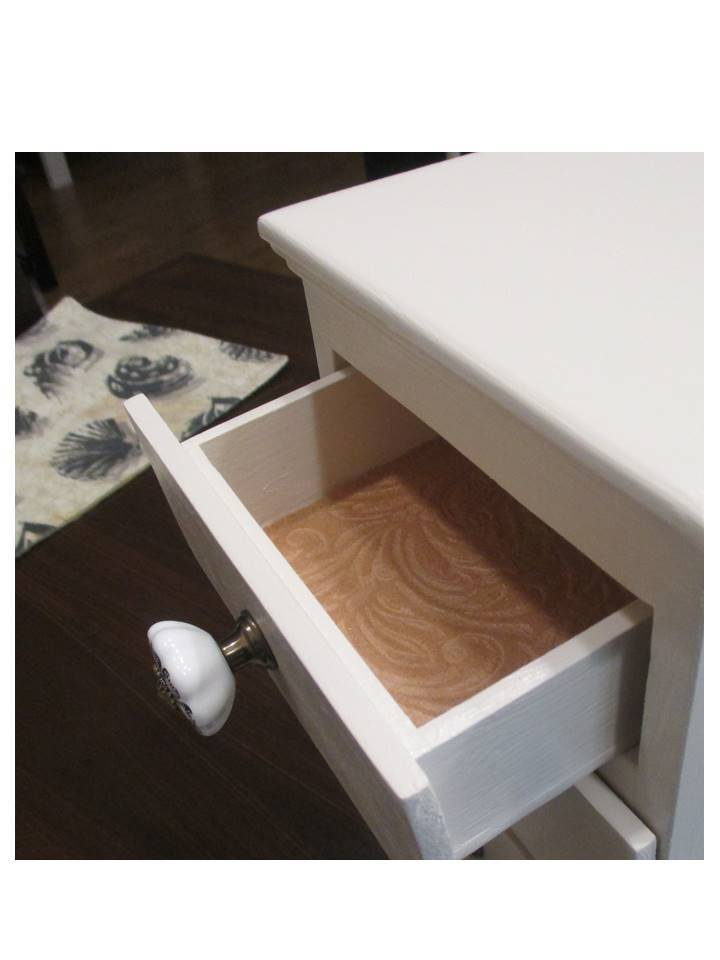
The apothecary console inspired me to make a dresser with faux drawer faces. I have no plan, since I measured and planned as I go along. This took me waaaay longer than I expected, and everything that can possibly go wrong did go wrong, and even some of things that were perfectly fine went wrong too. I'm blaming the wet midwestern stormy weather for mysteriously expanding two of my drawers. I used drawer sliders and they were more tricky than I expected.
I wanted to make an all-wood dresser, so no MDF or plywood.
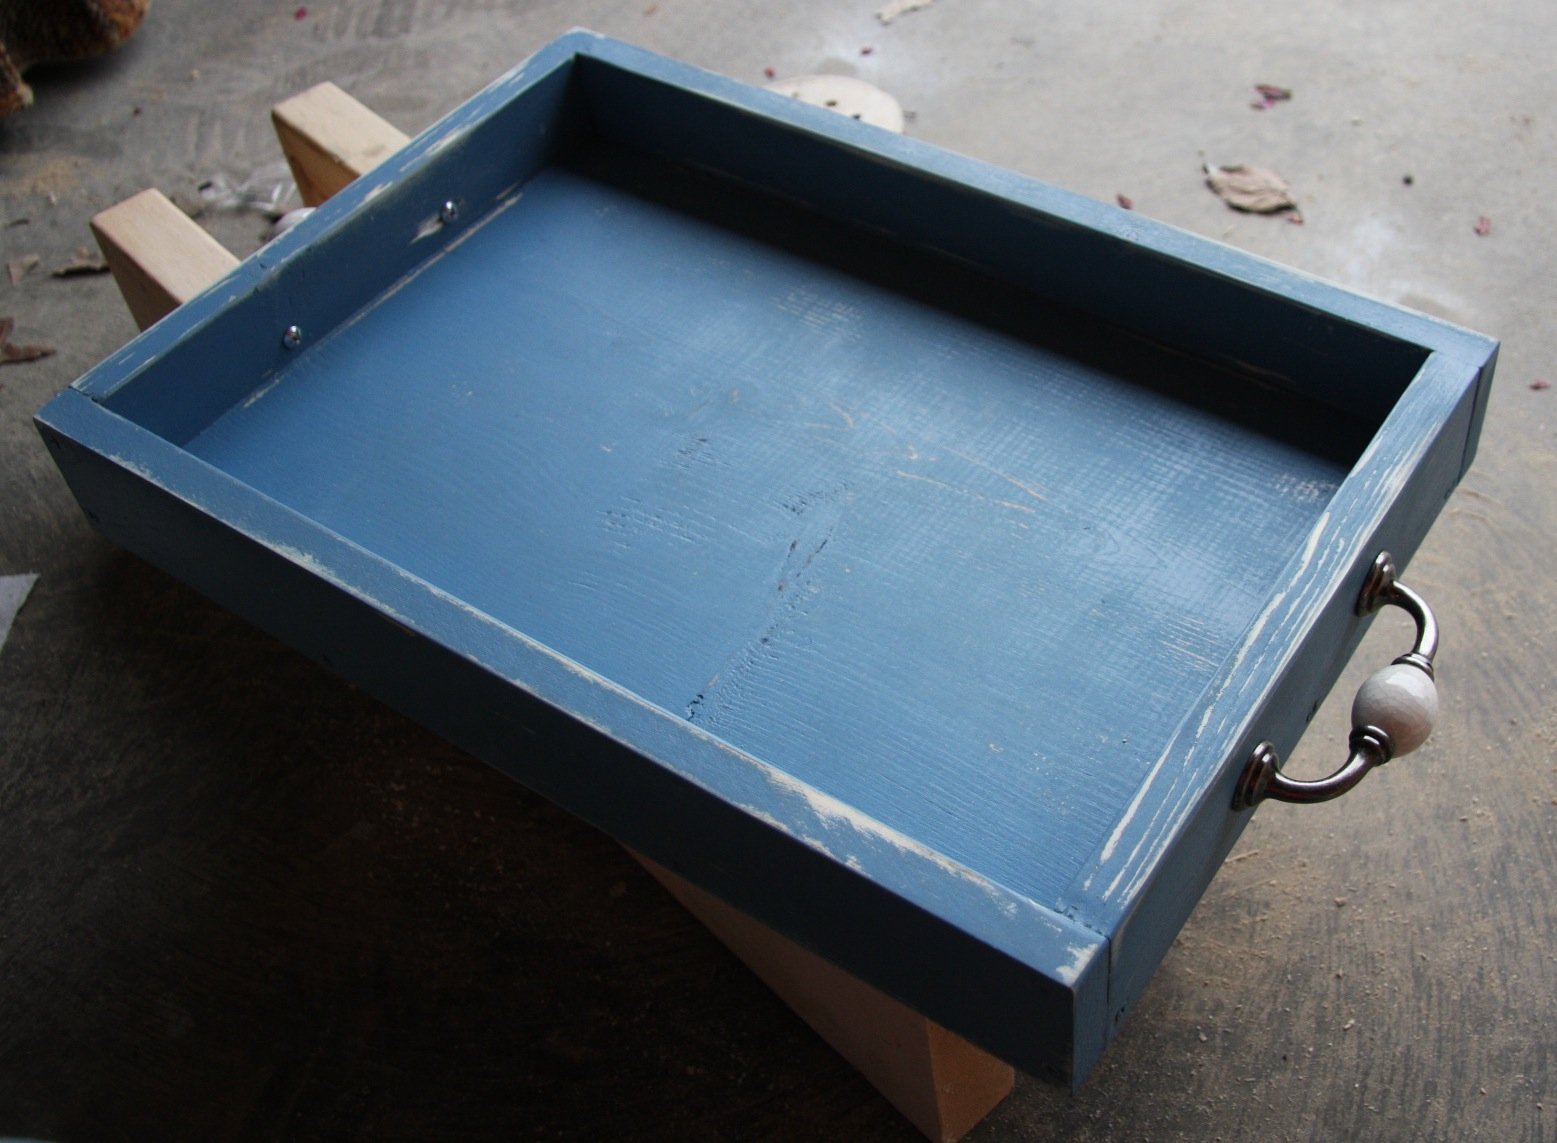
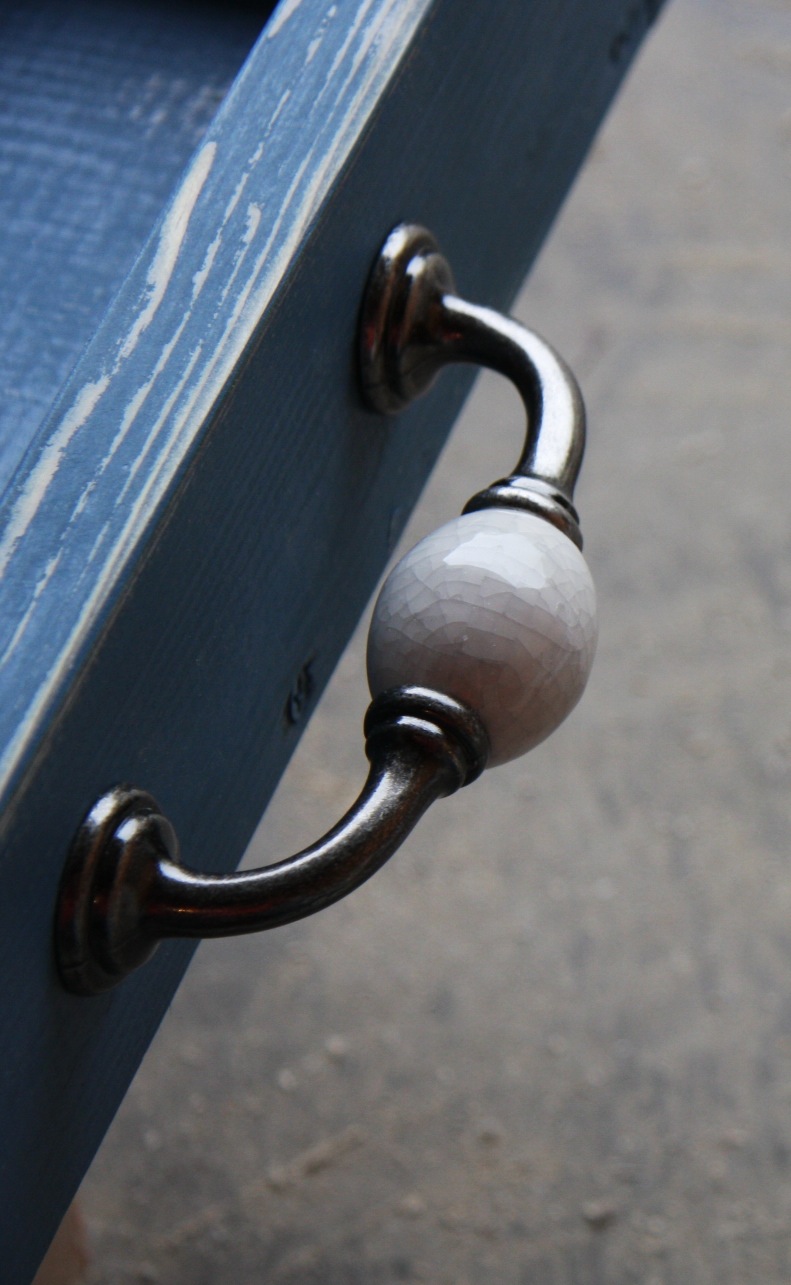
I also made a food tray using scrap pieces. It's a little heavy for a tray, but I think I gained enough muscles building the dresser.
Built from Plan(s)
Estimated Cost
$200
Estimated Time Investment
Week Long Project (20 Hours or More)
Finish Used
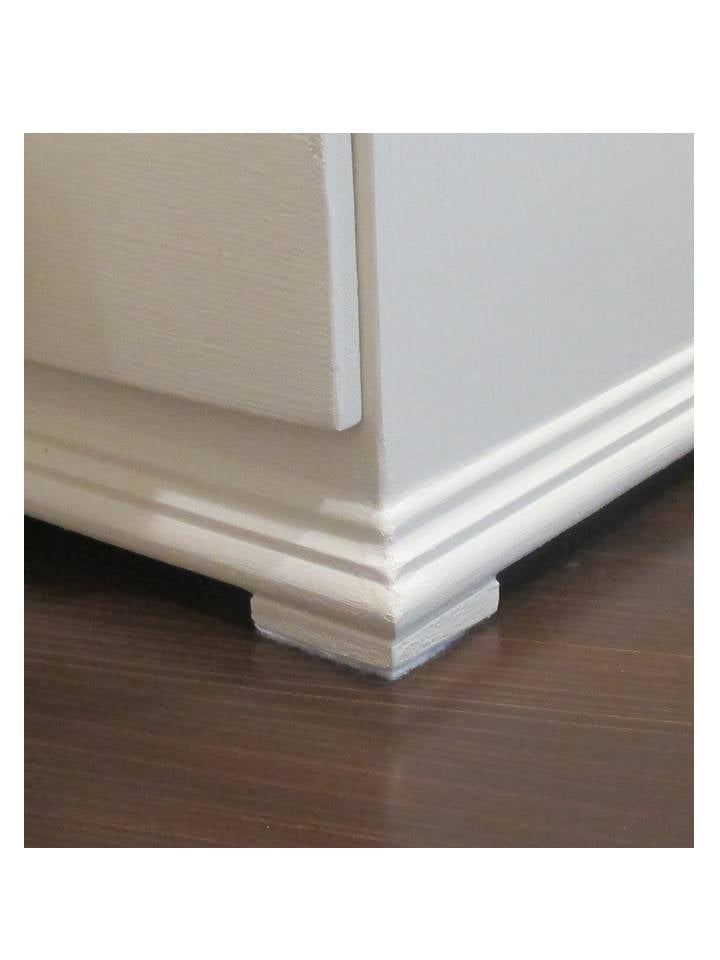
Painted with a light blue (french blue) oops paint, sanded and stained to look like an old piece of furniture.
Recommended Skill Level
Beginner