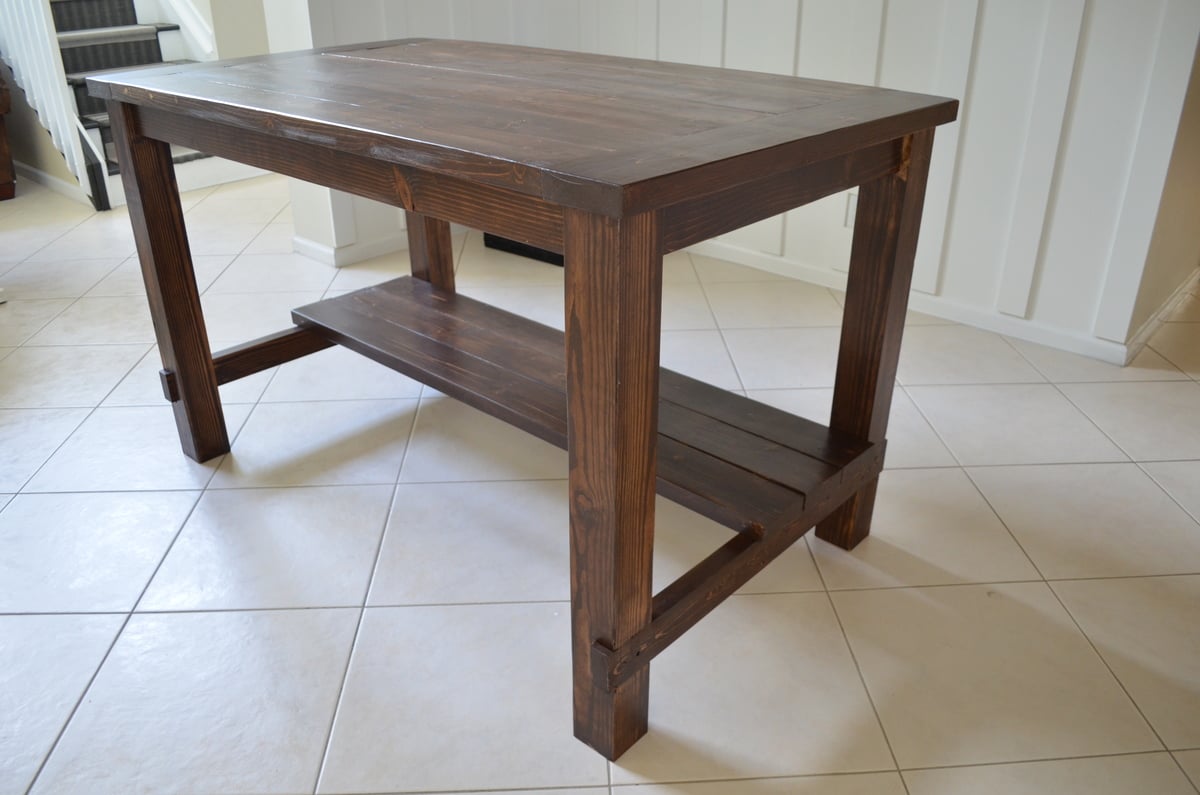
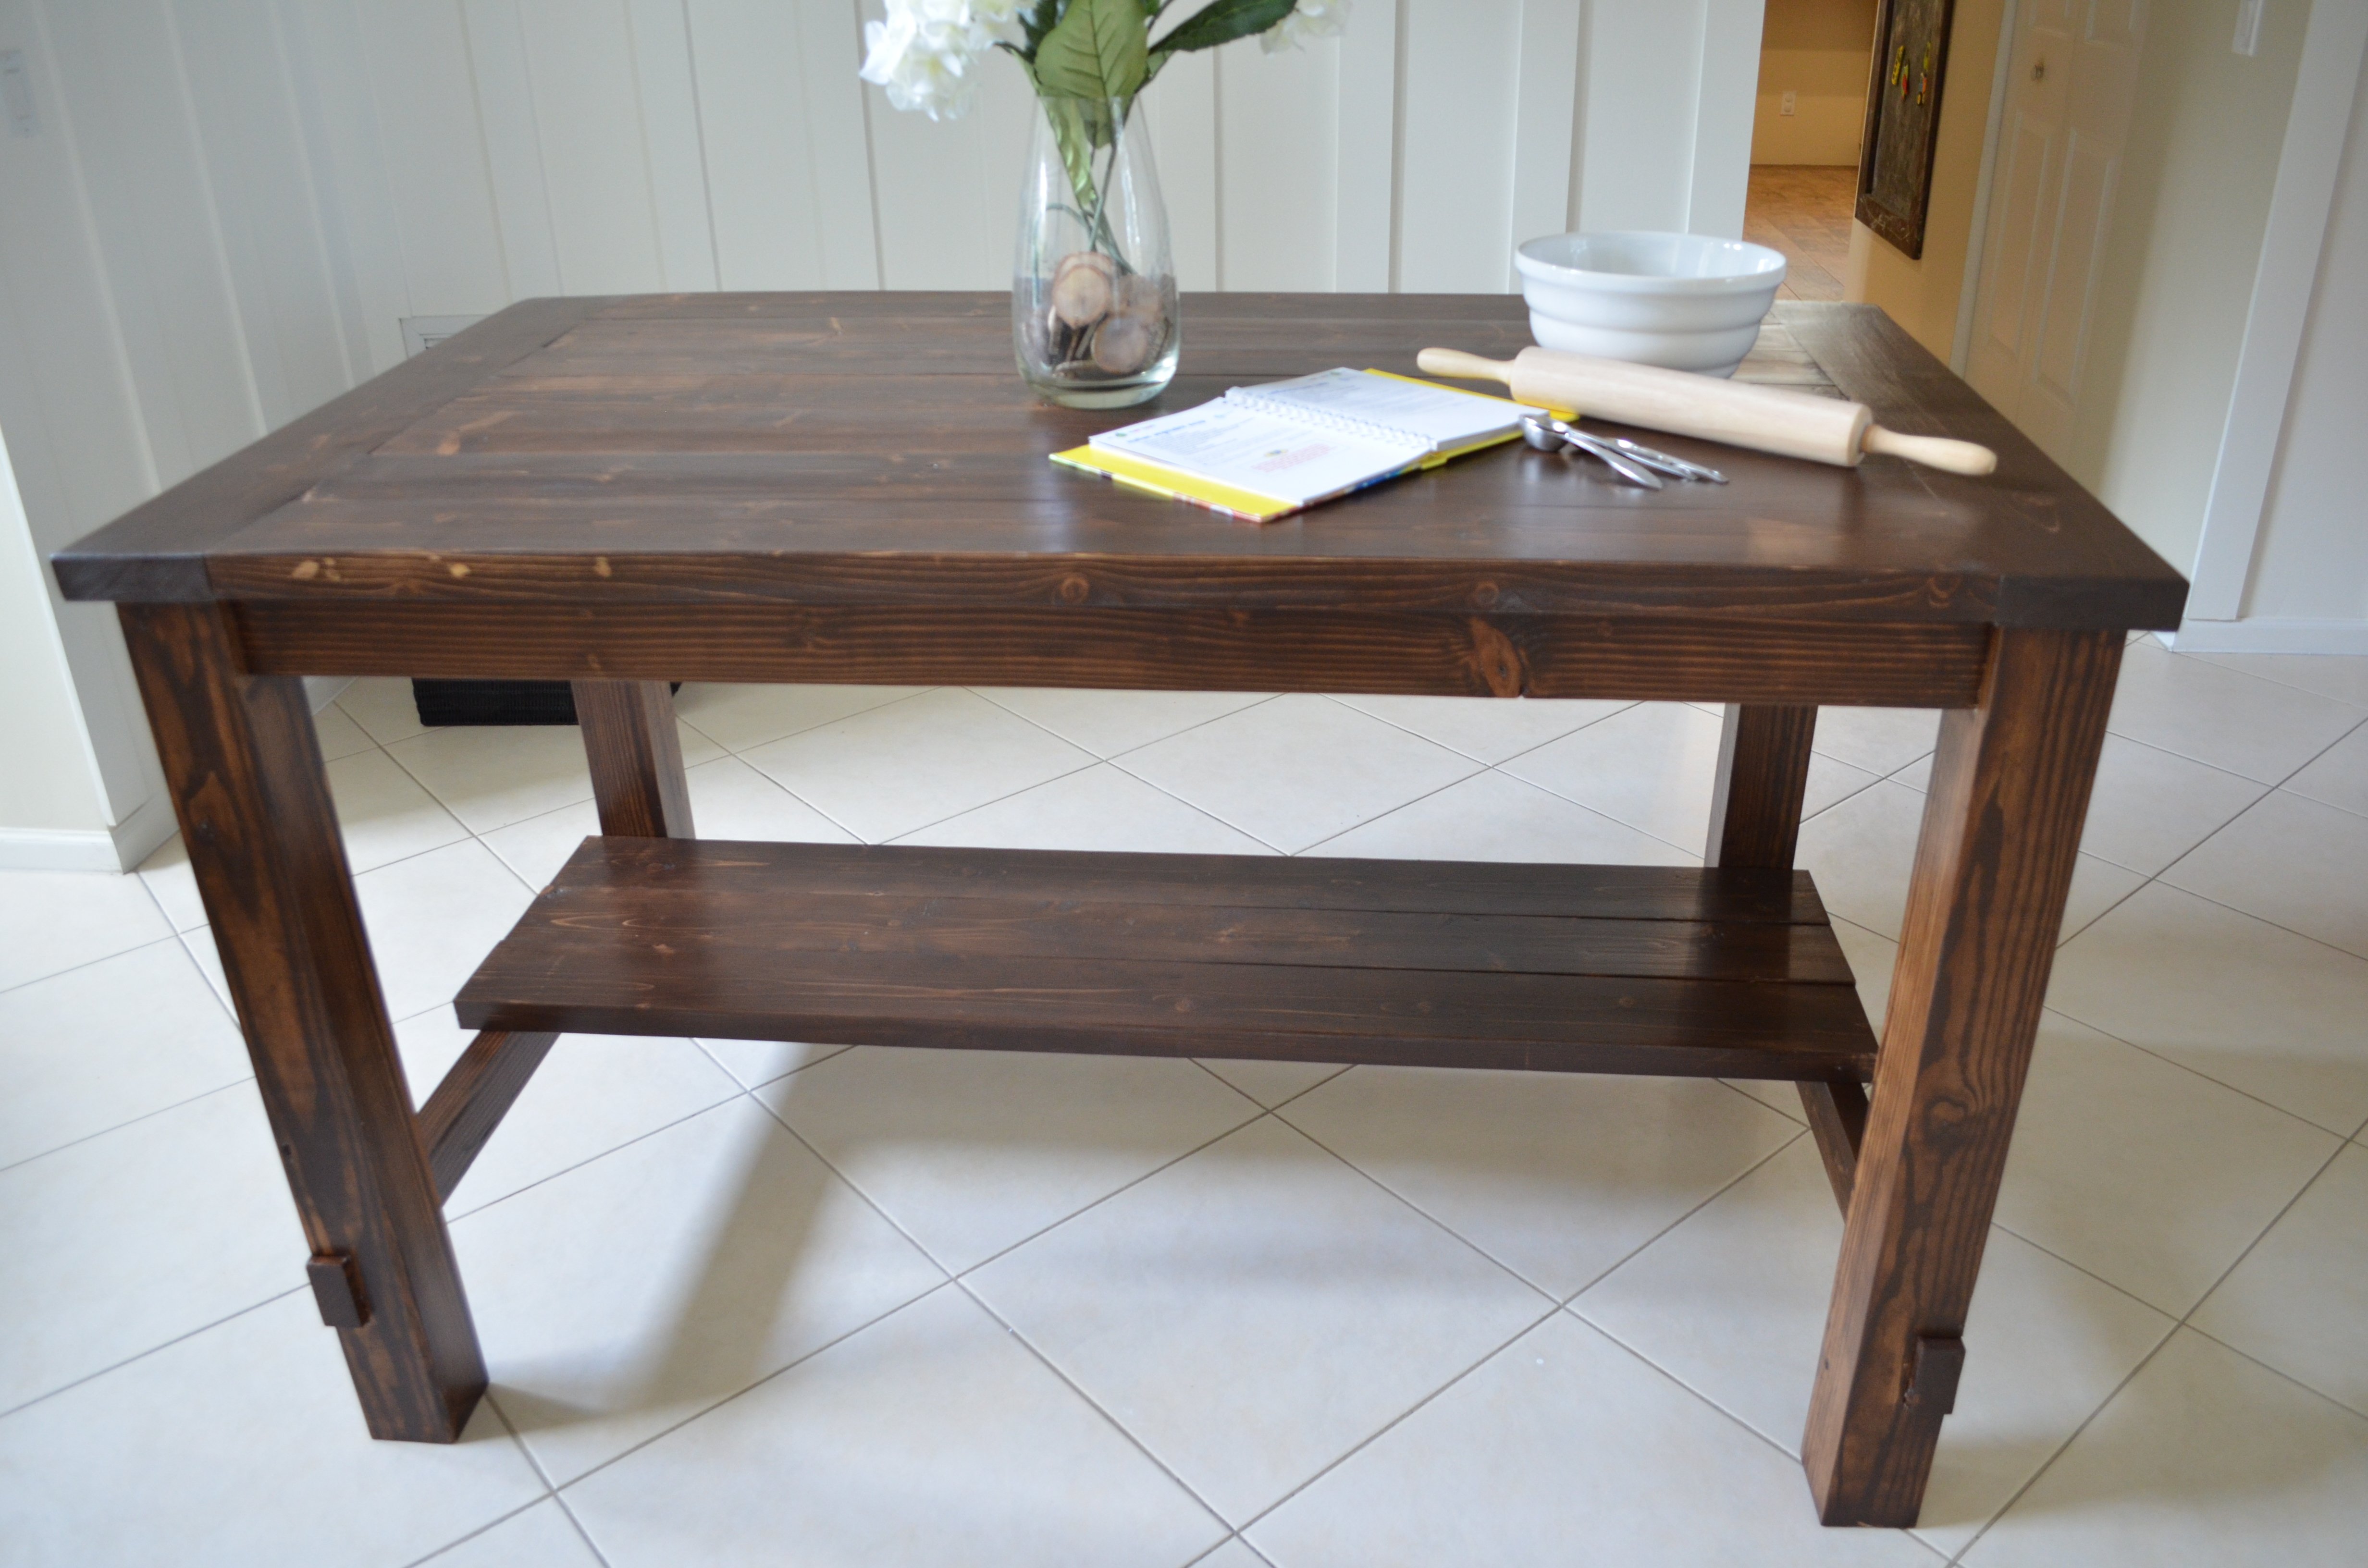
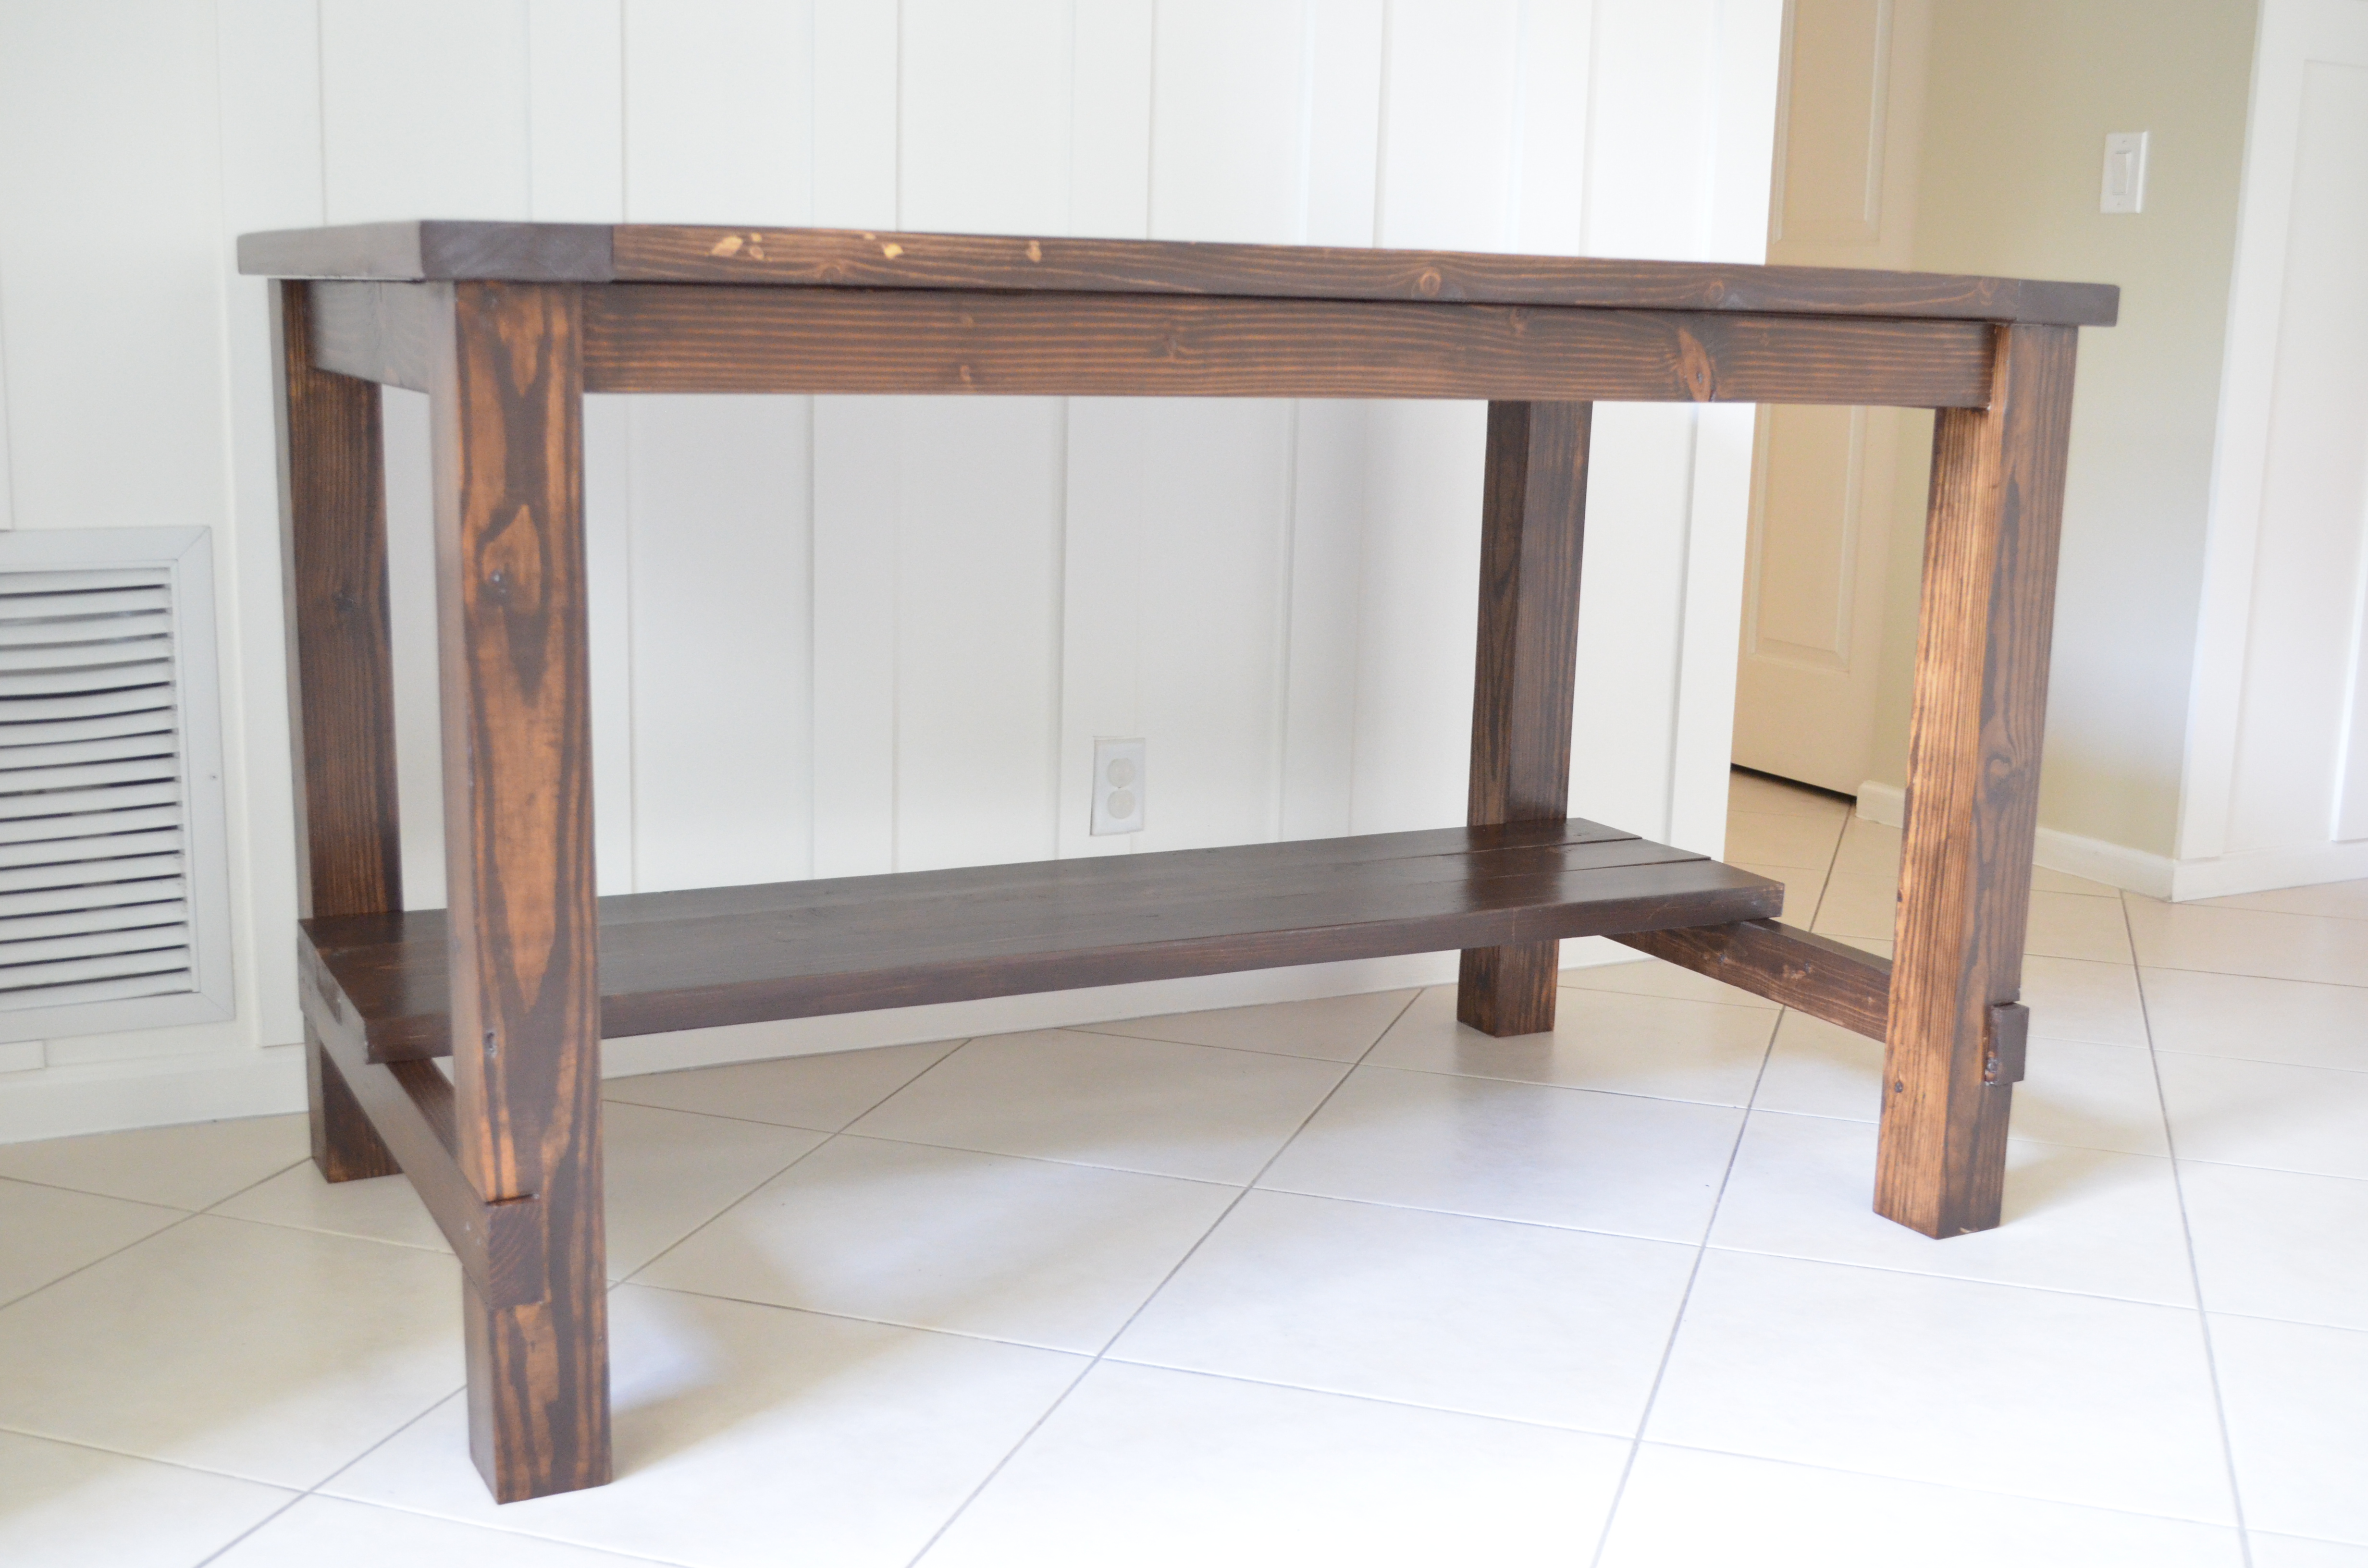
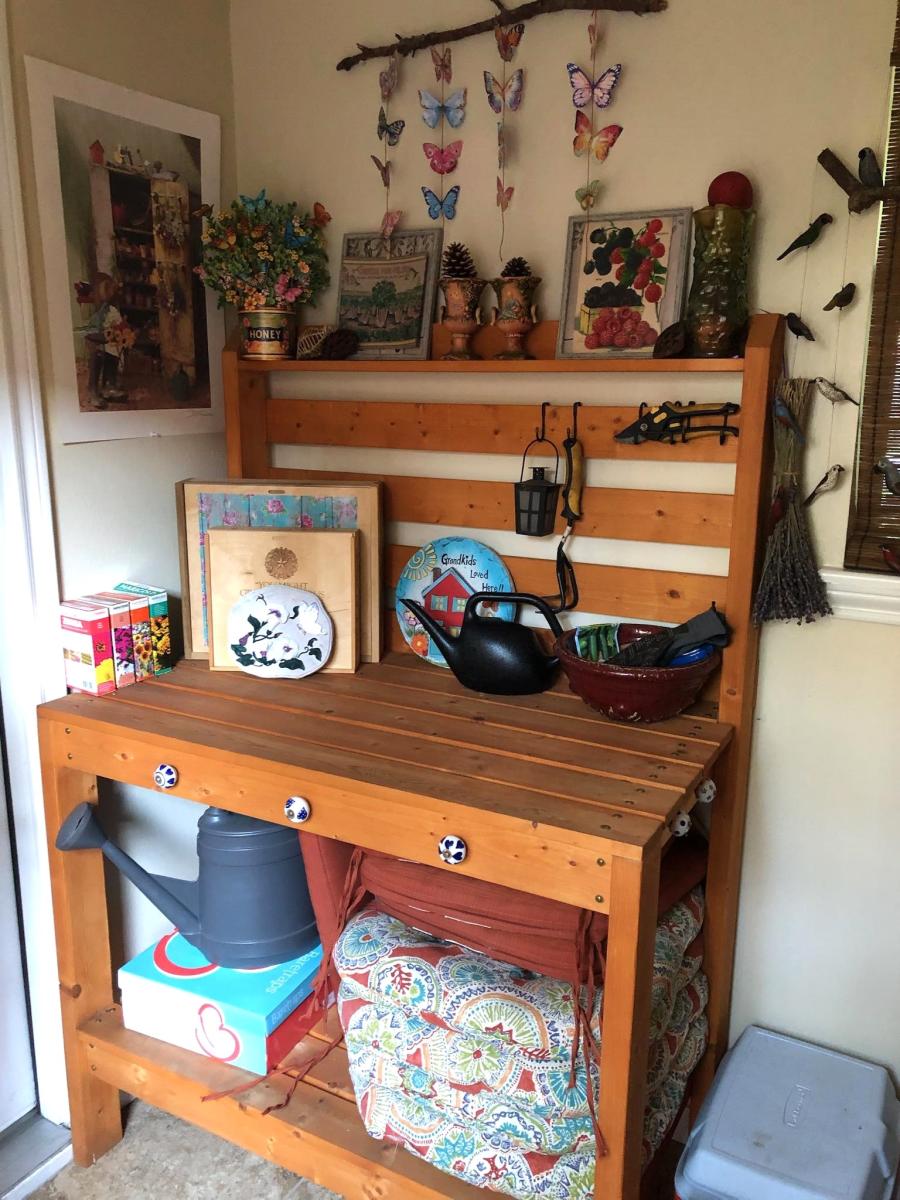
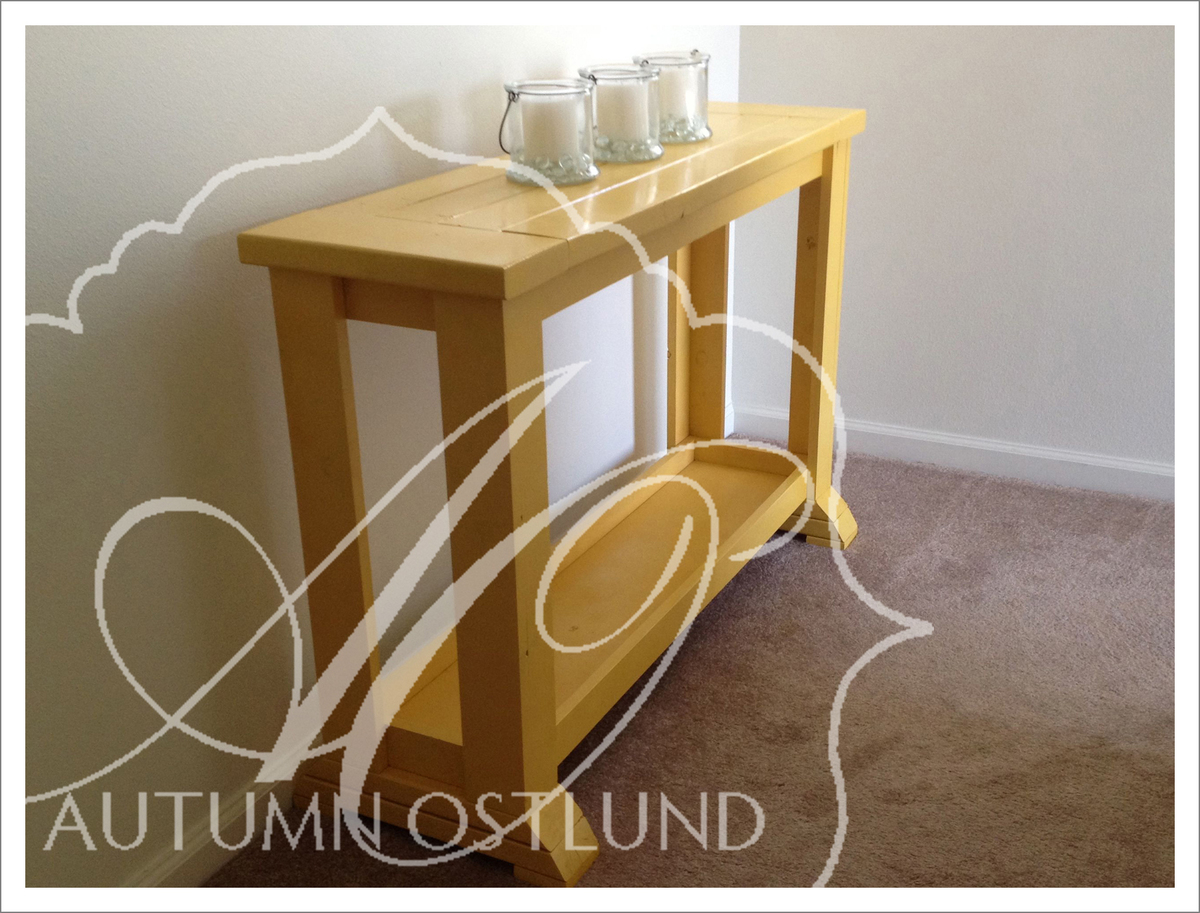
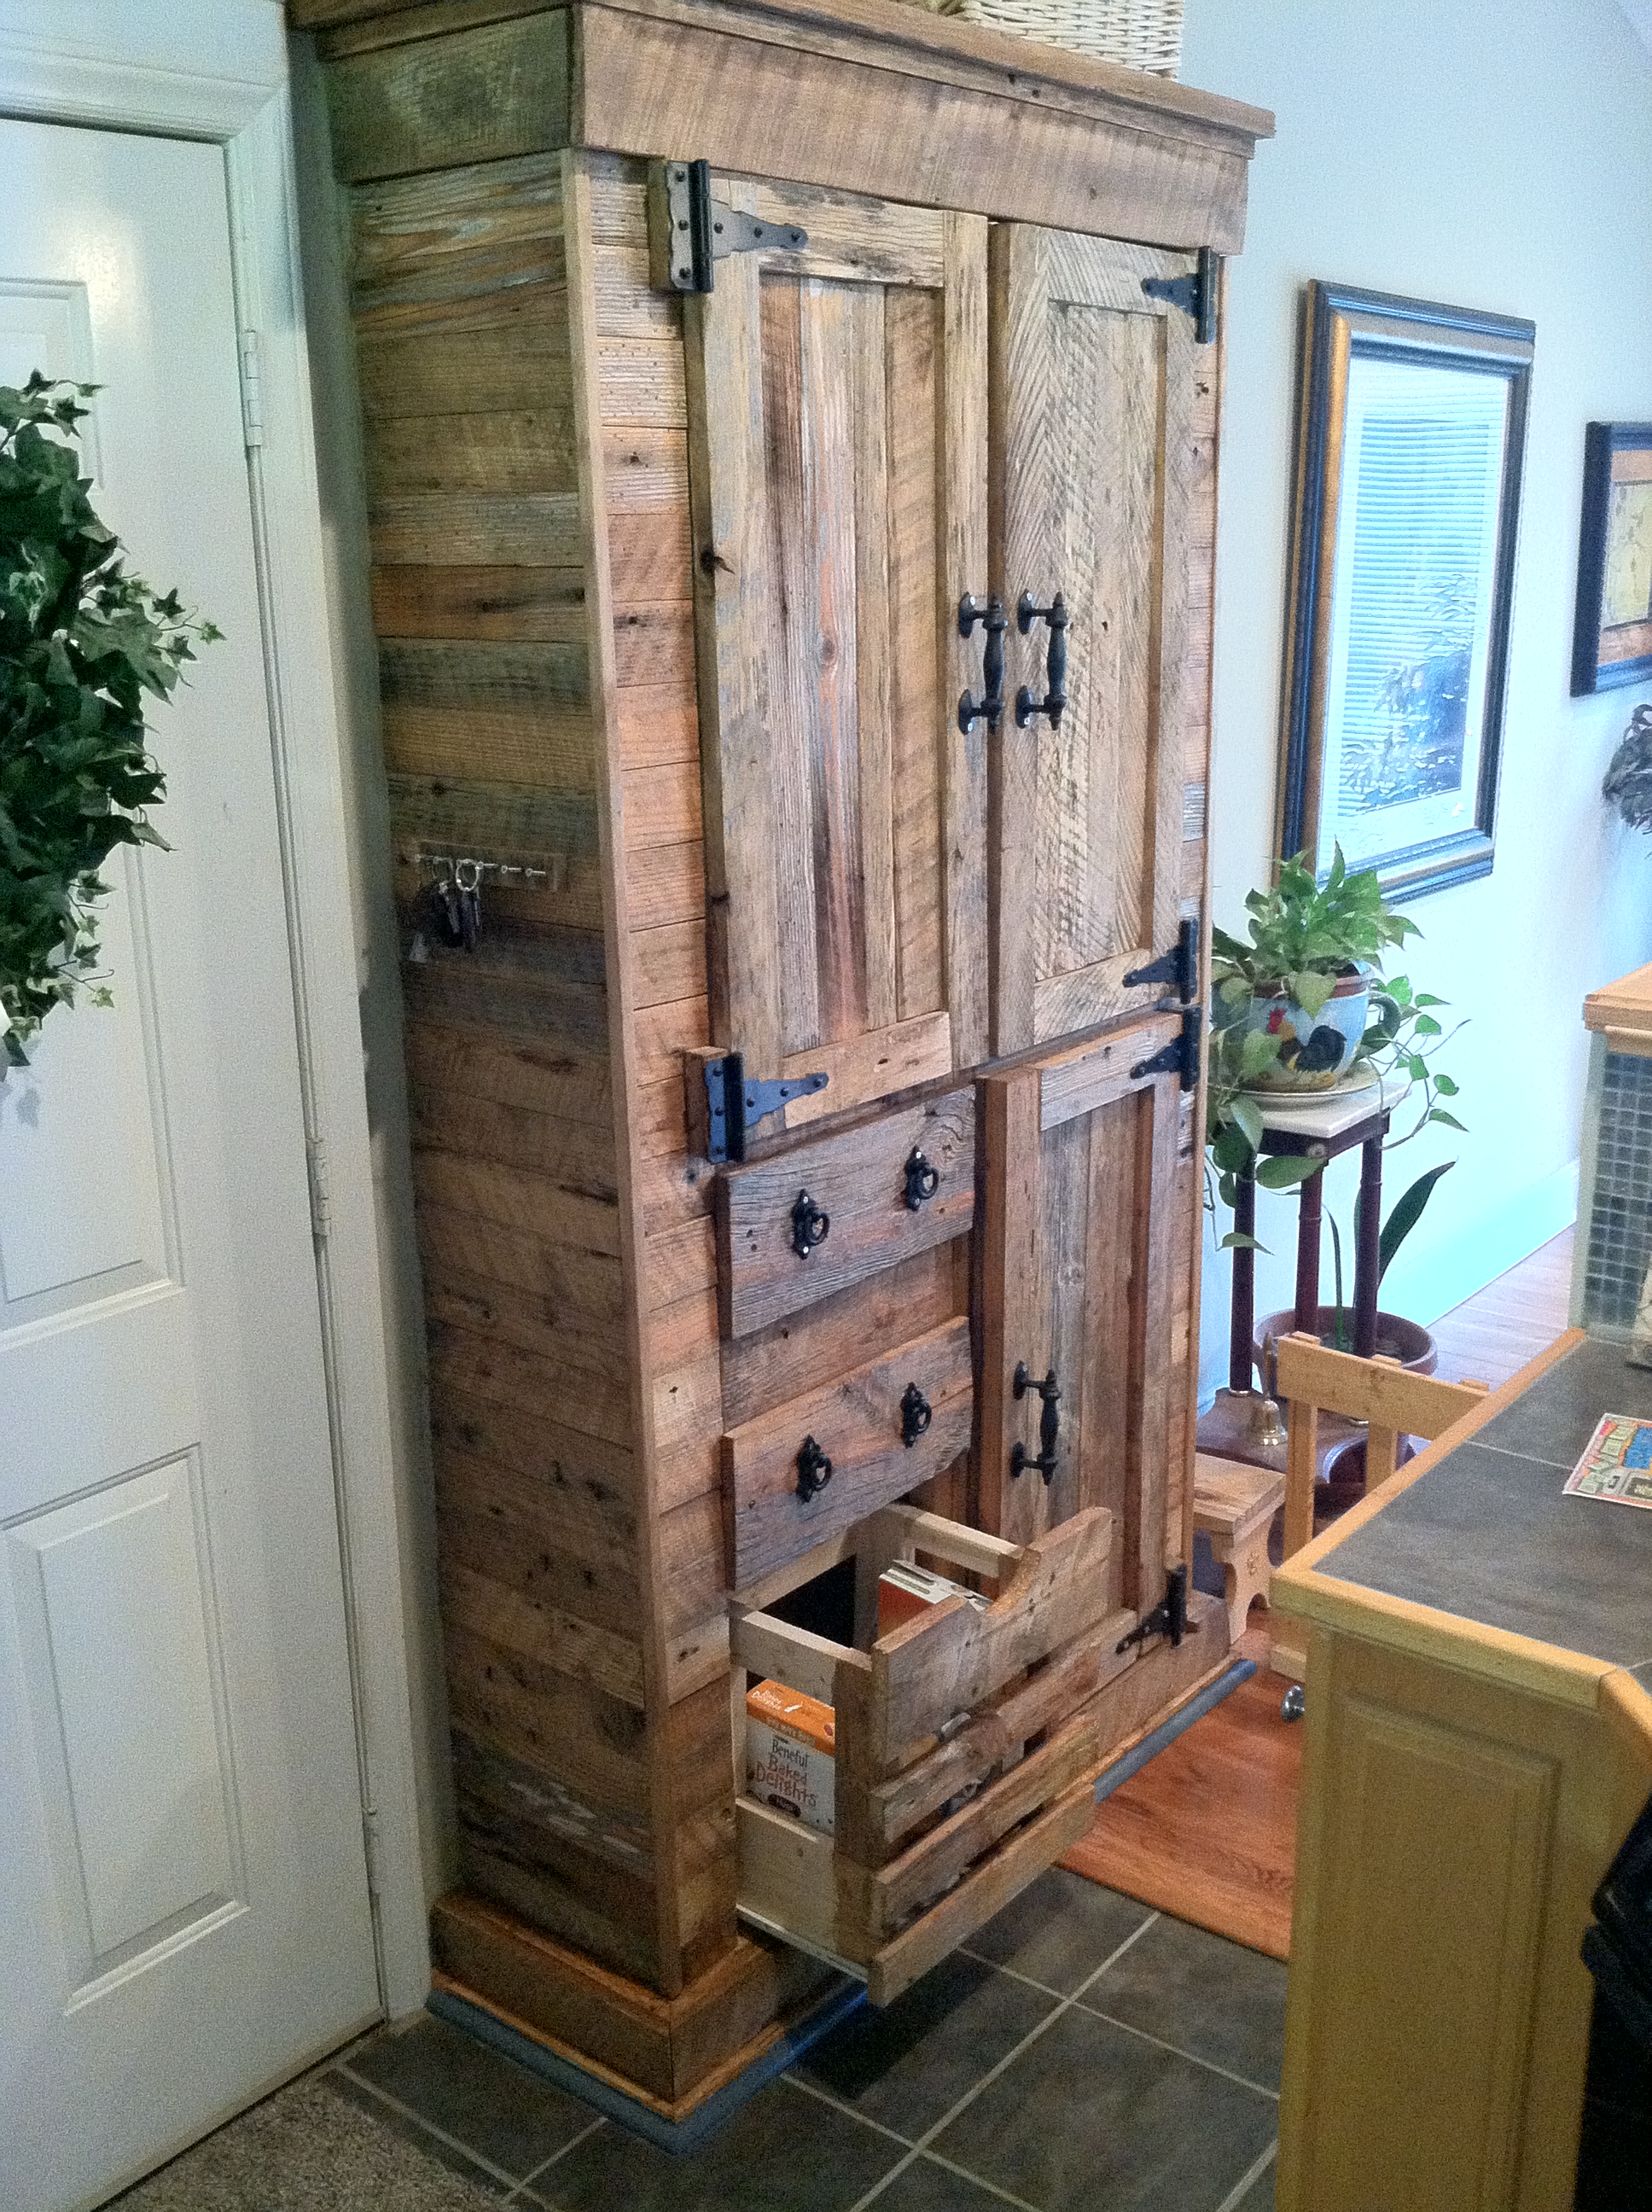
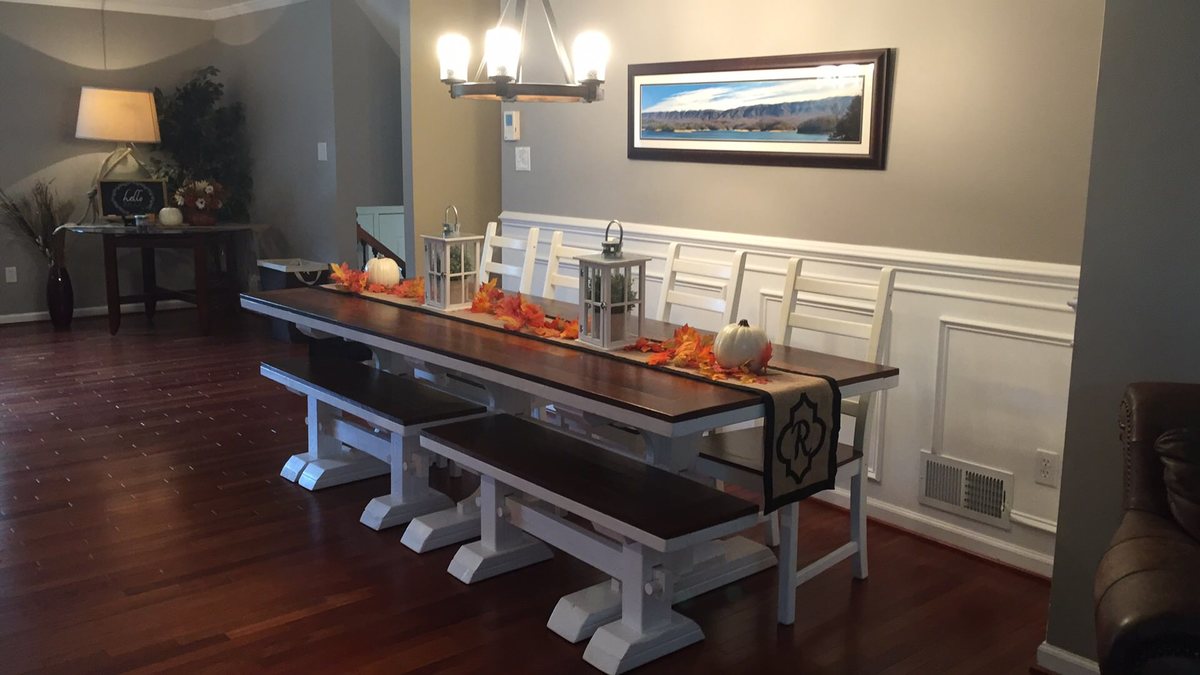
Sideboard

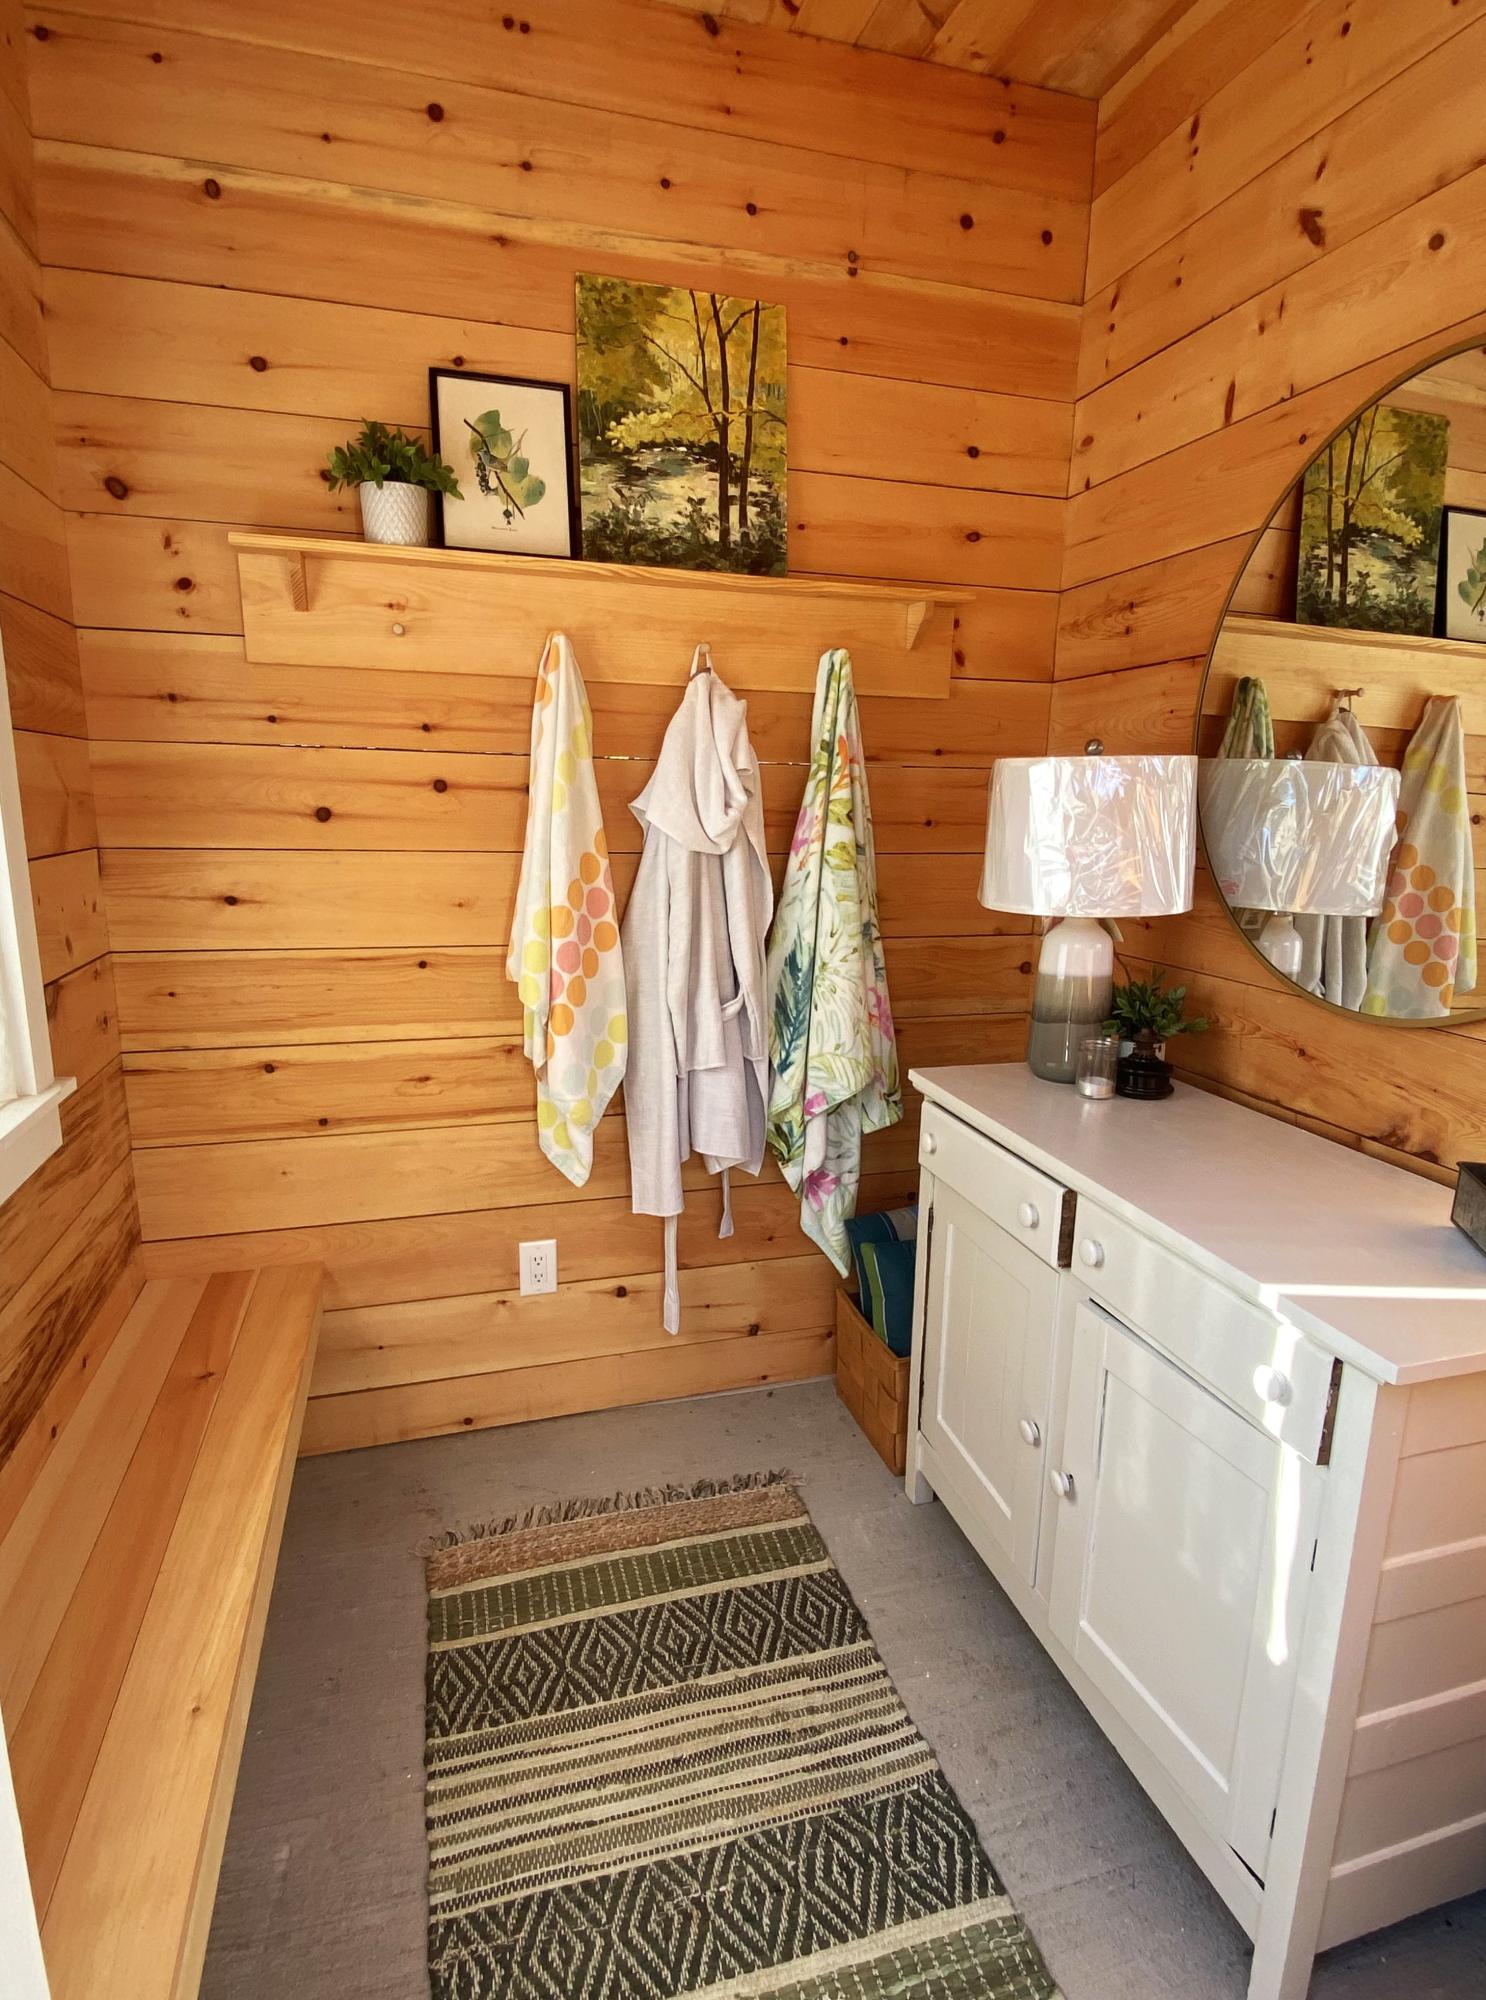
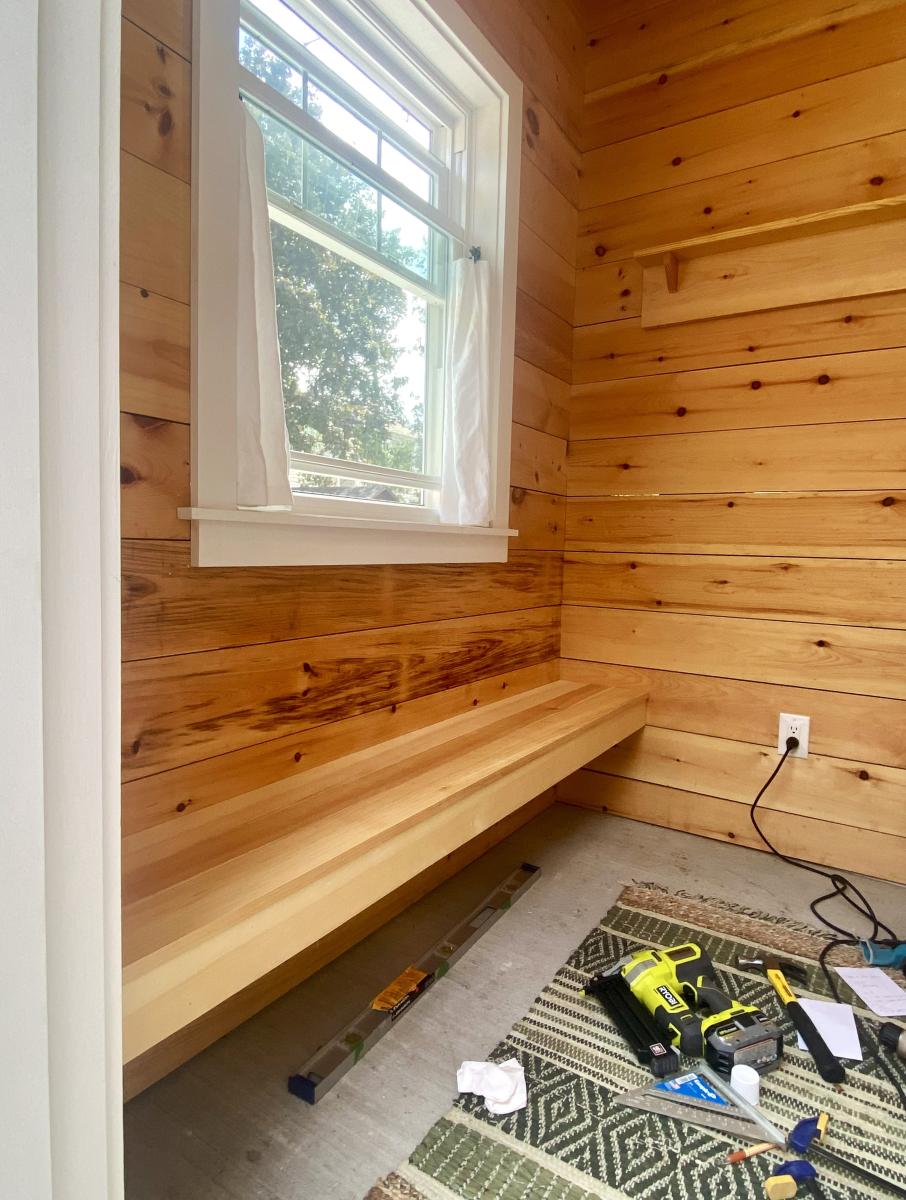
Bunnings had cheap cedar lining boards so I grabbed a few packets and figured I would find something to do with them later.
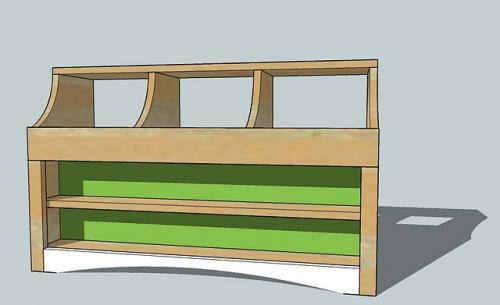
After buying the Ana White book I fell in love with the hutch and console table combo. I thought this would look great with the cedar lining boards.
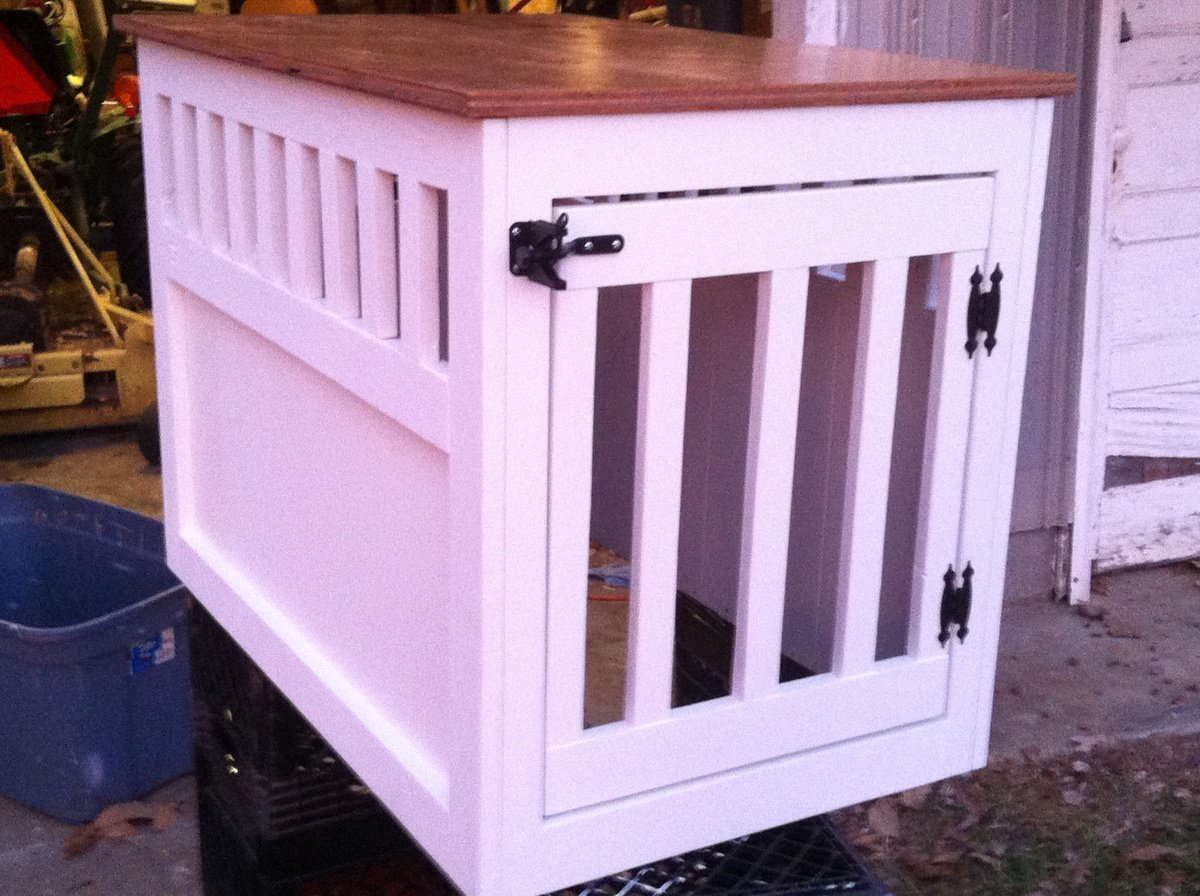
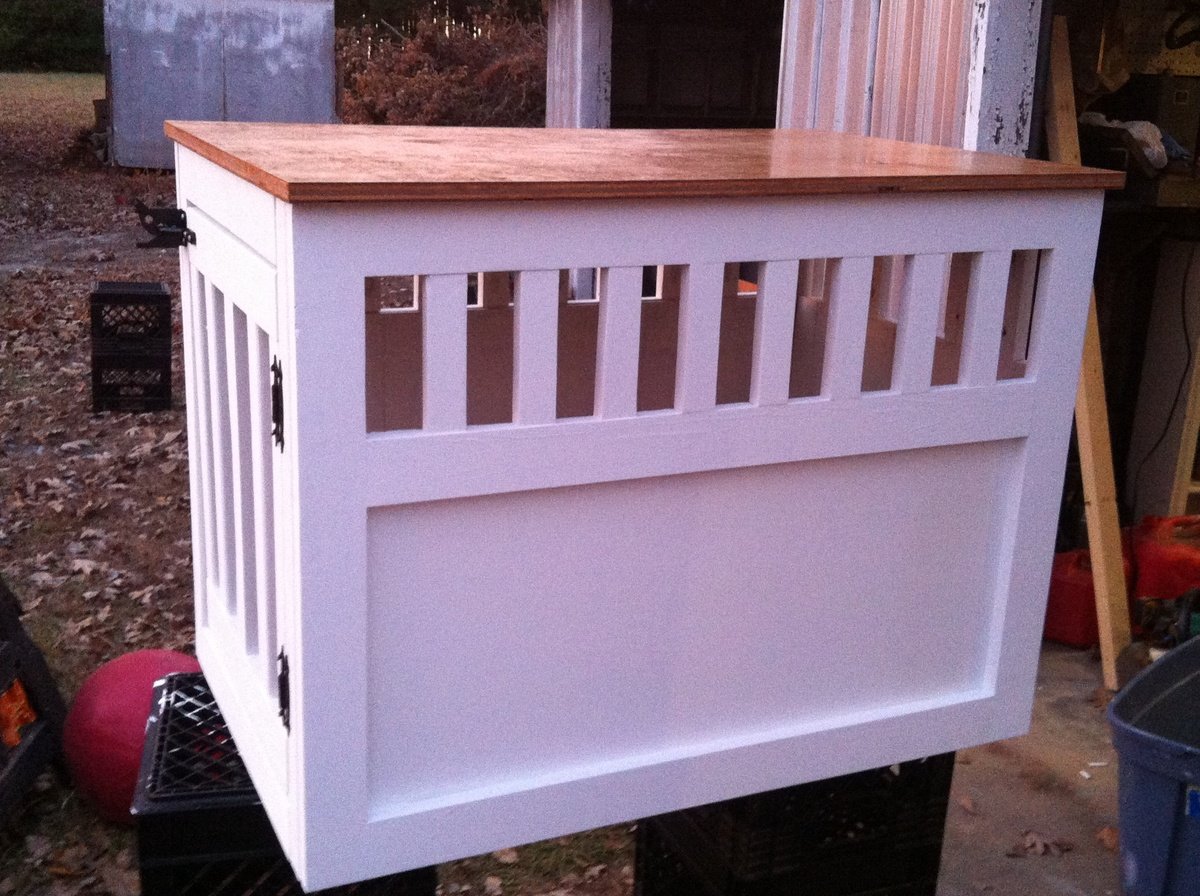
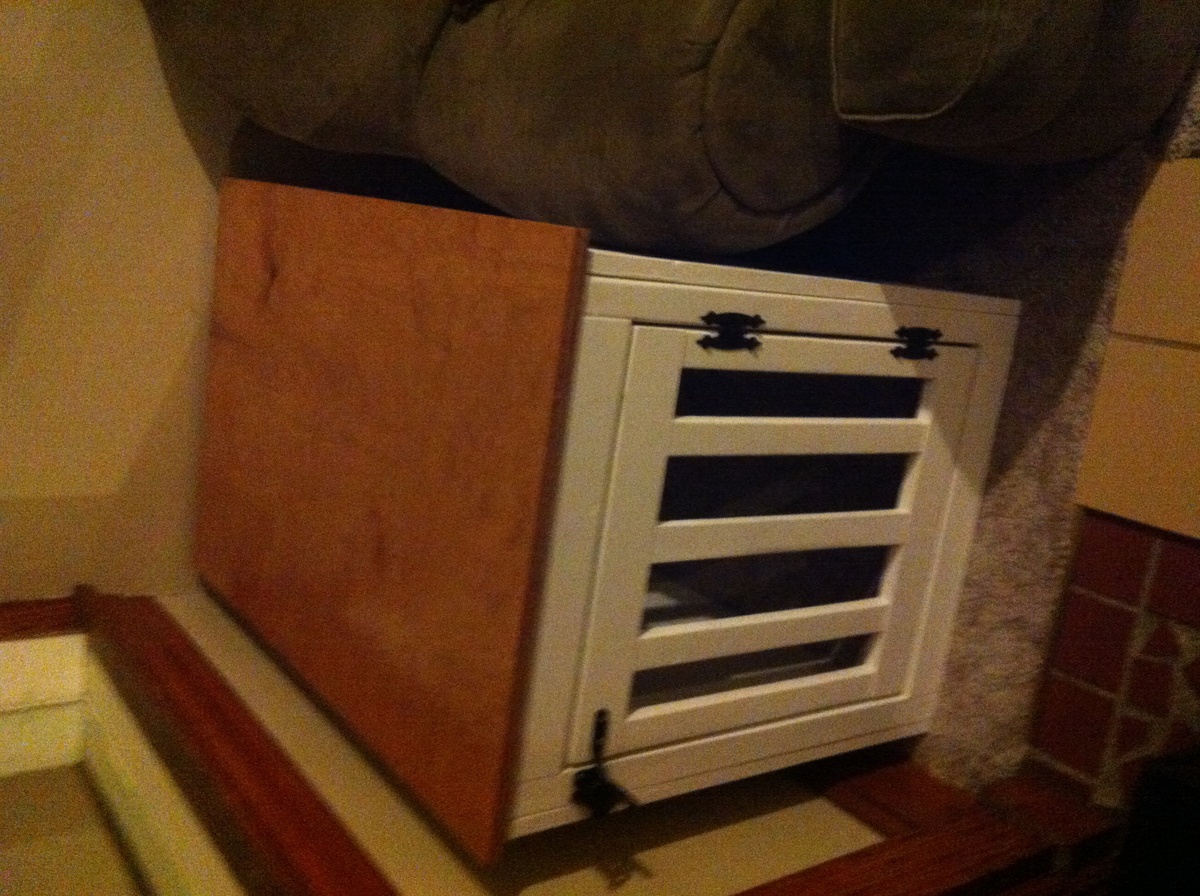
I love how this turned out.


Estimated Time Investment
Week Long Project (20 Hours or More)
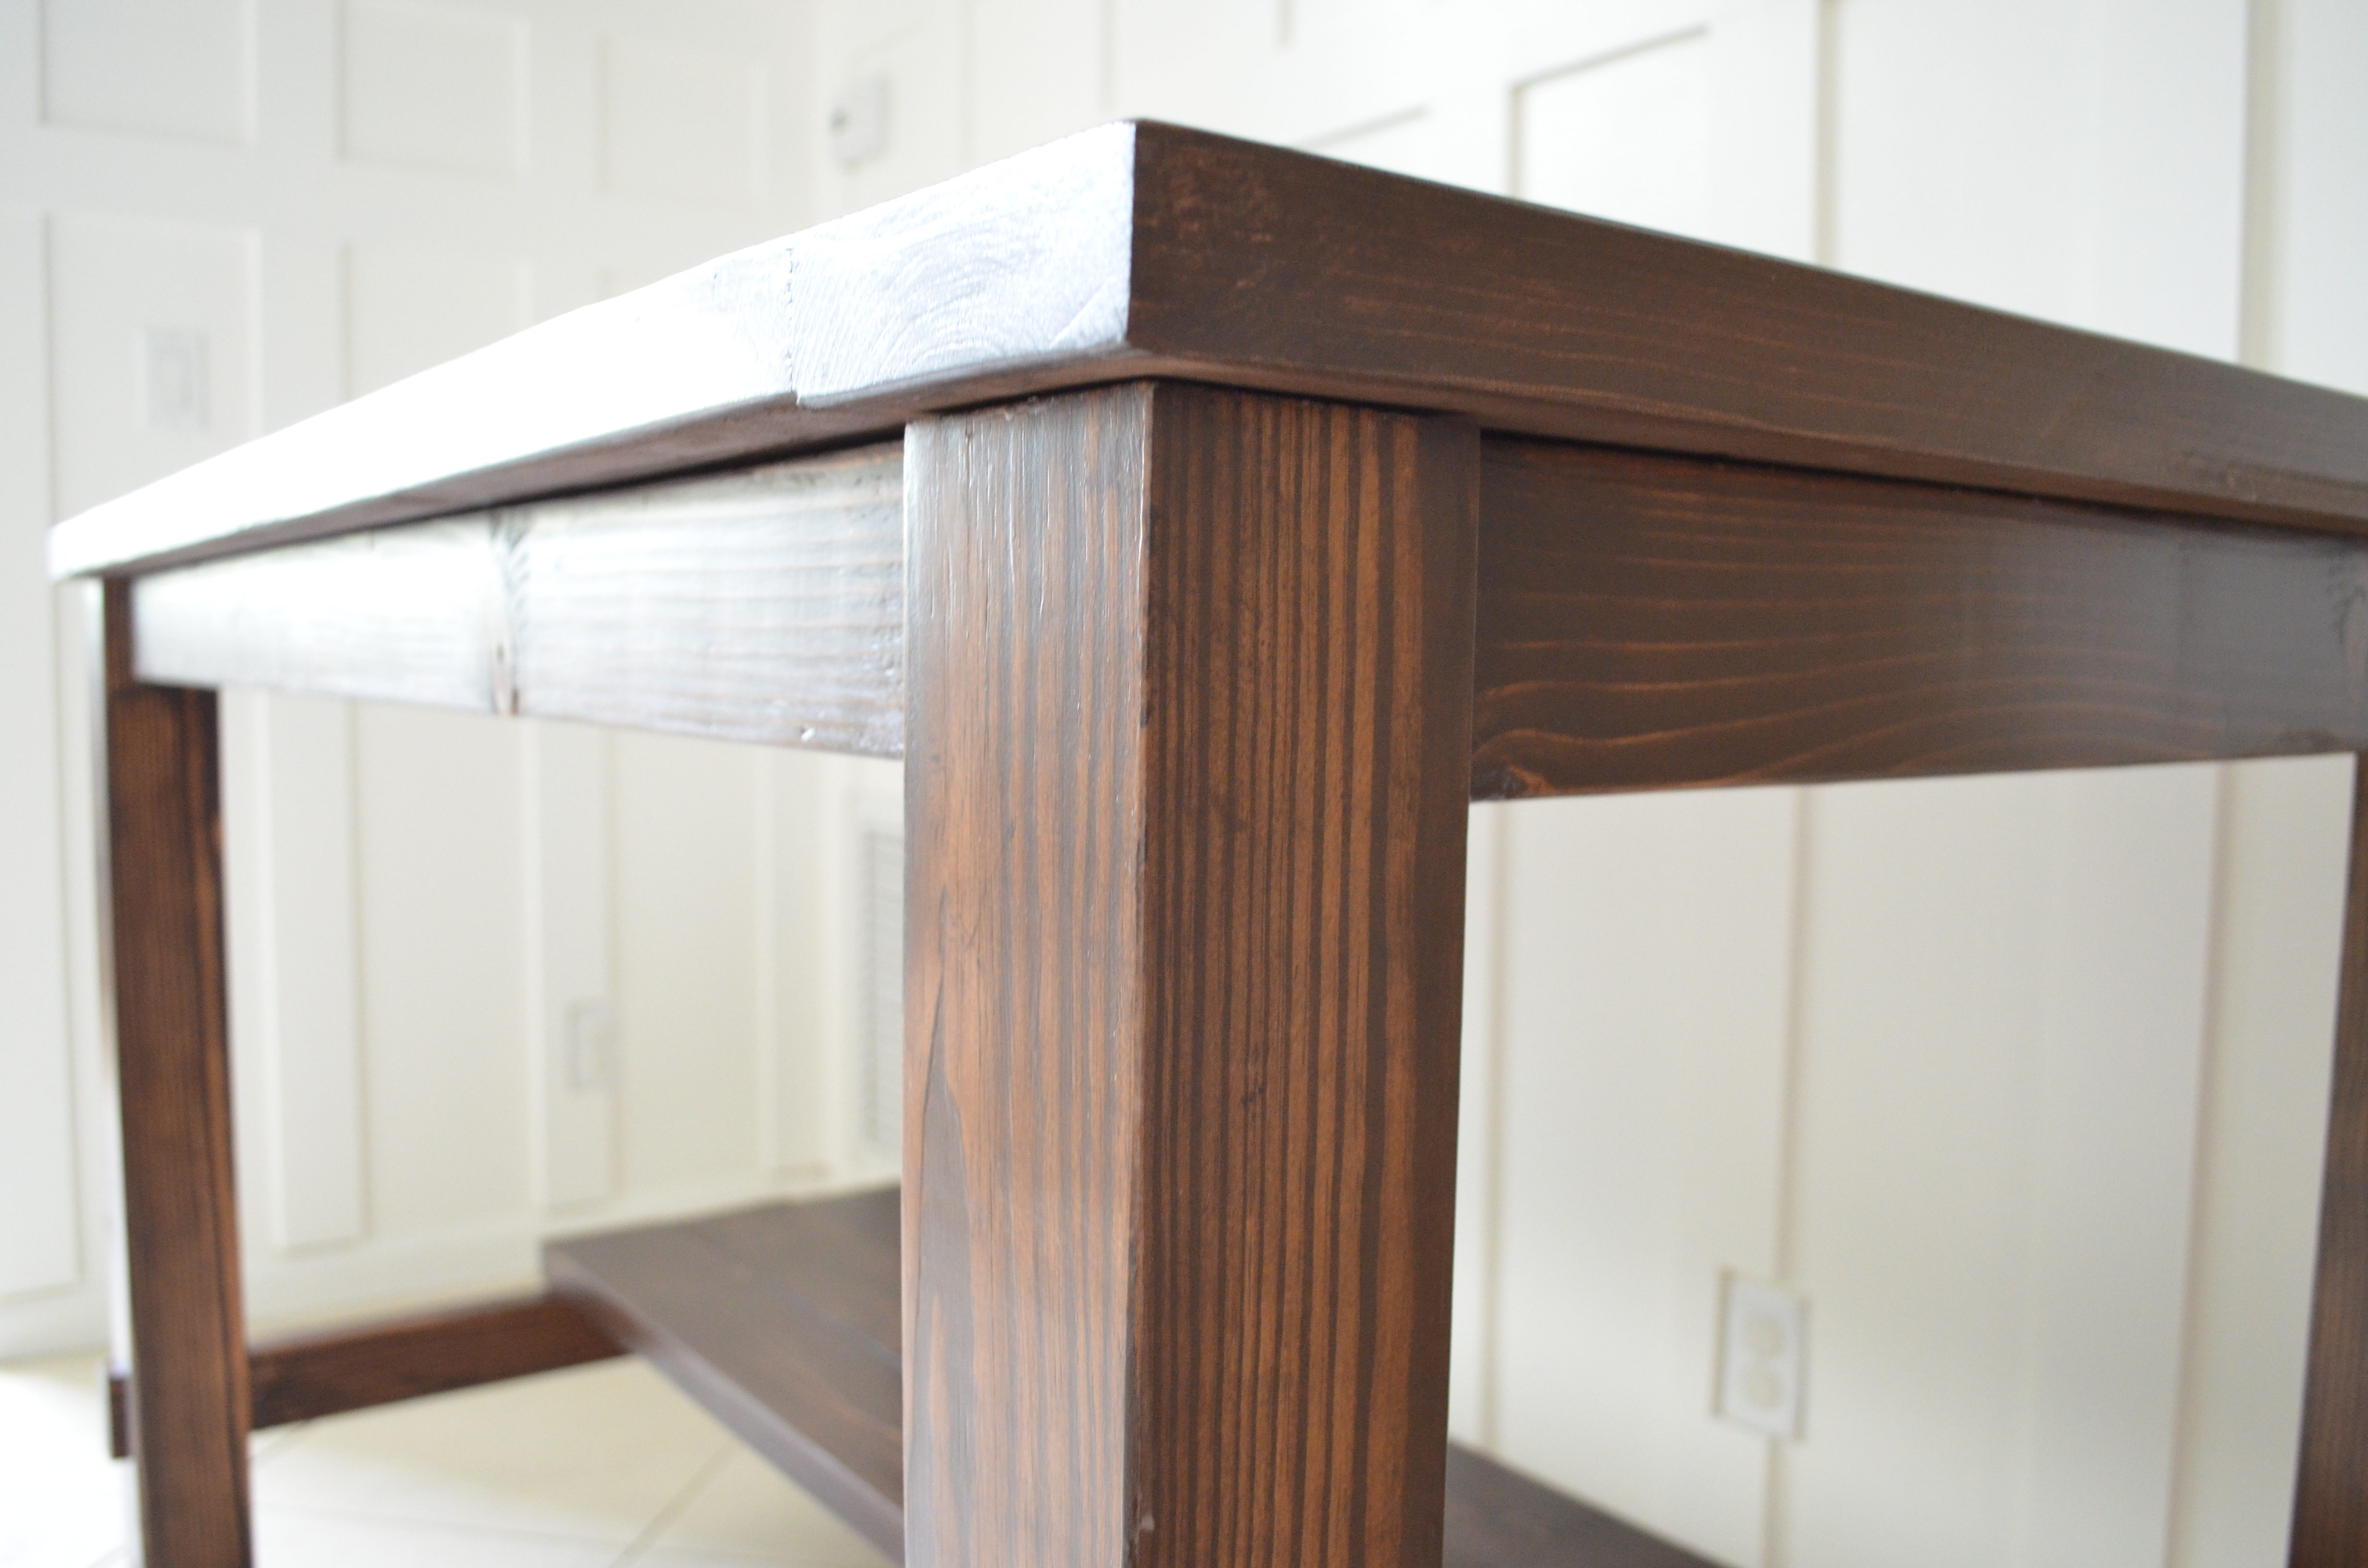
Finish Used
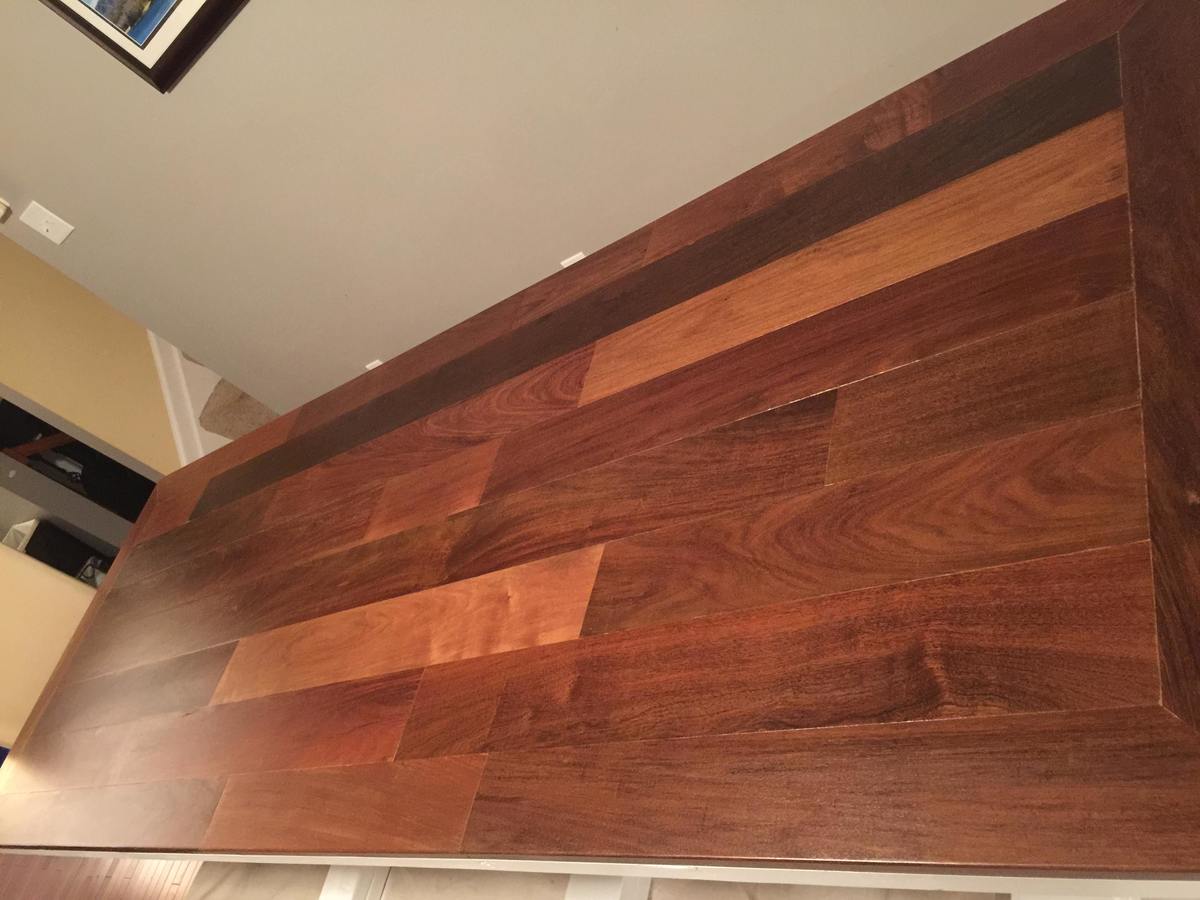
White enamel paint and walnut stain.
Recommended Skill Level
Intermediate