Community Brag Posts

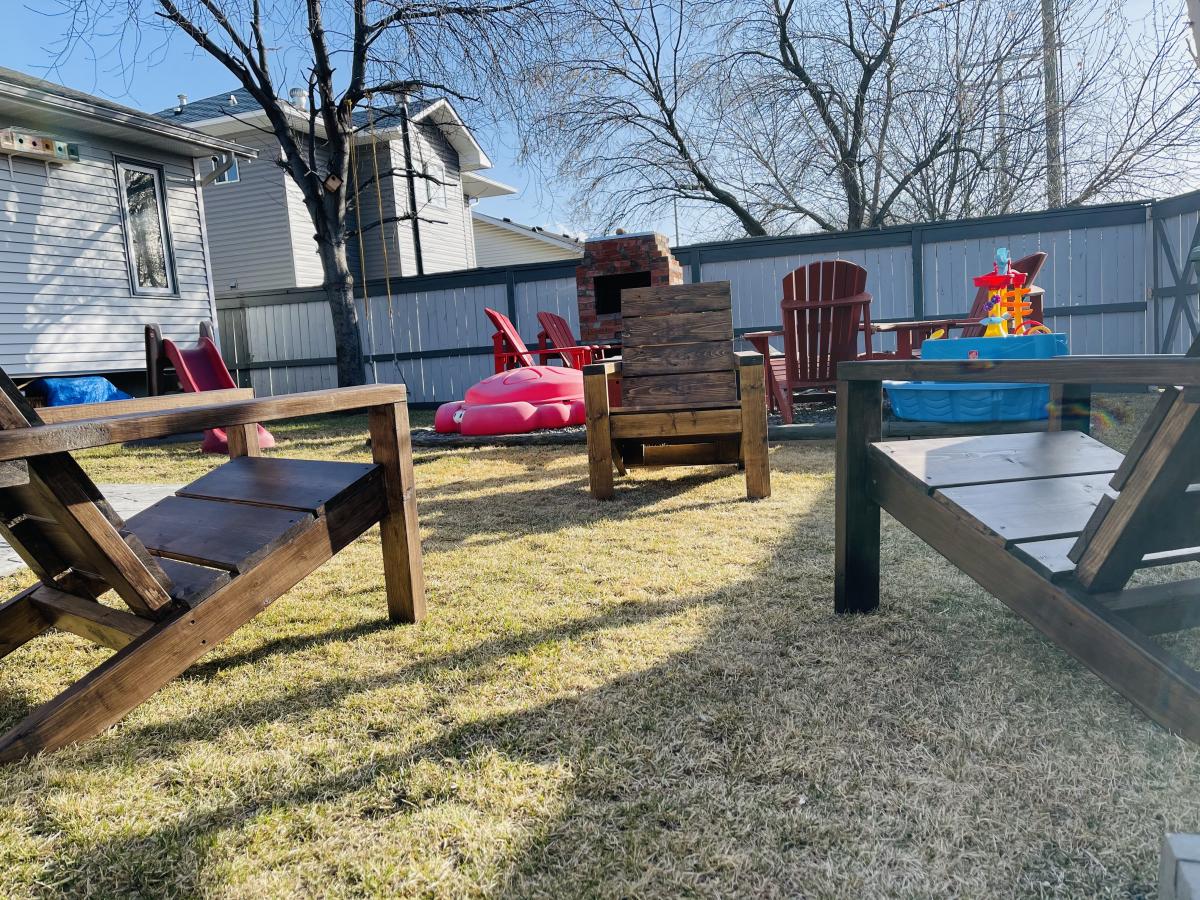
2 X 4 Adirondack Chair

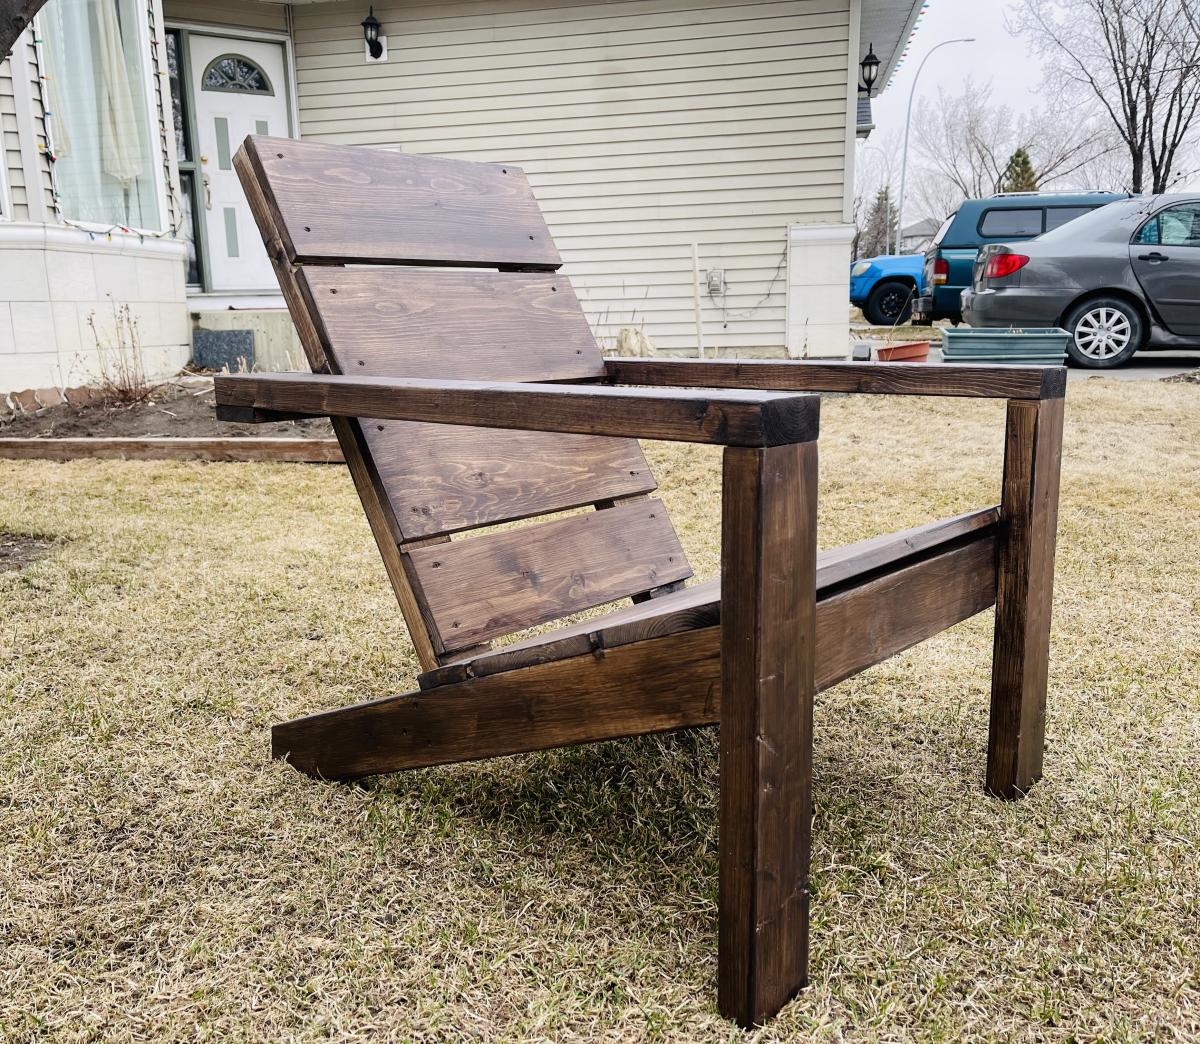
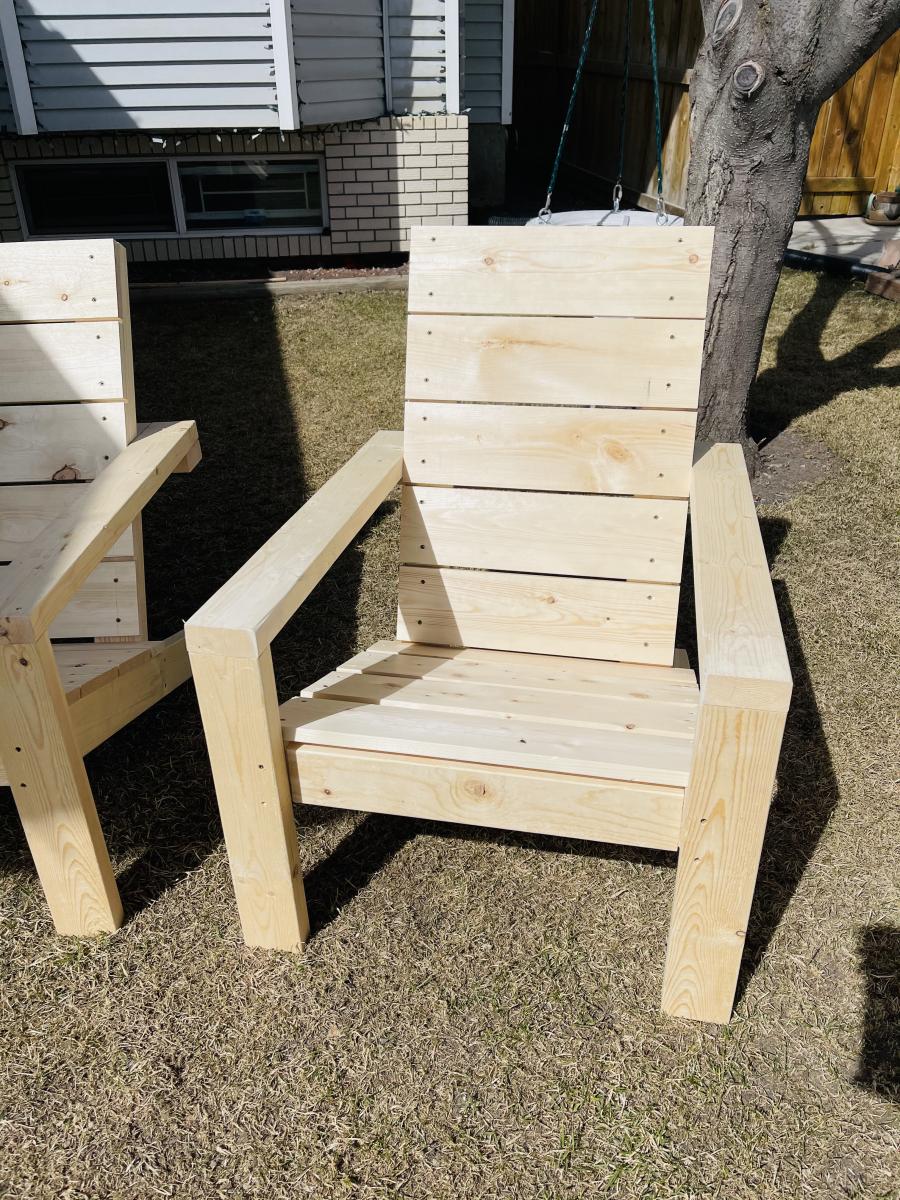
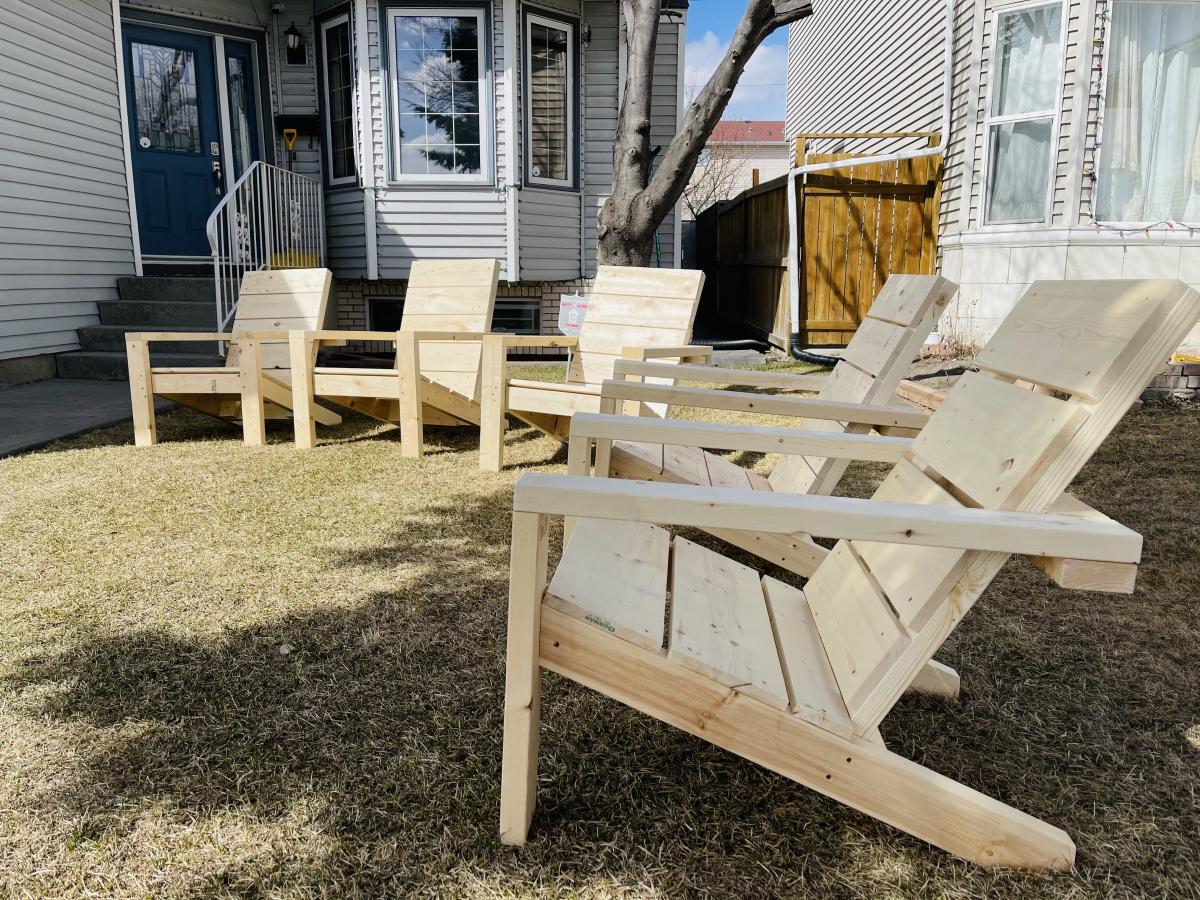
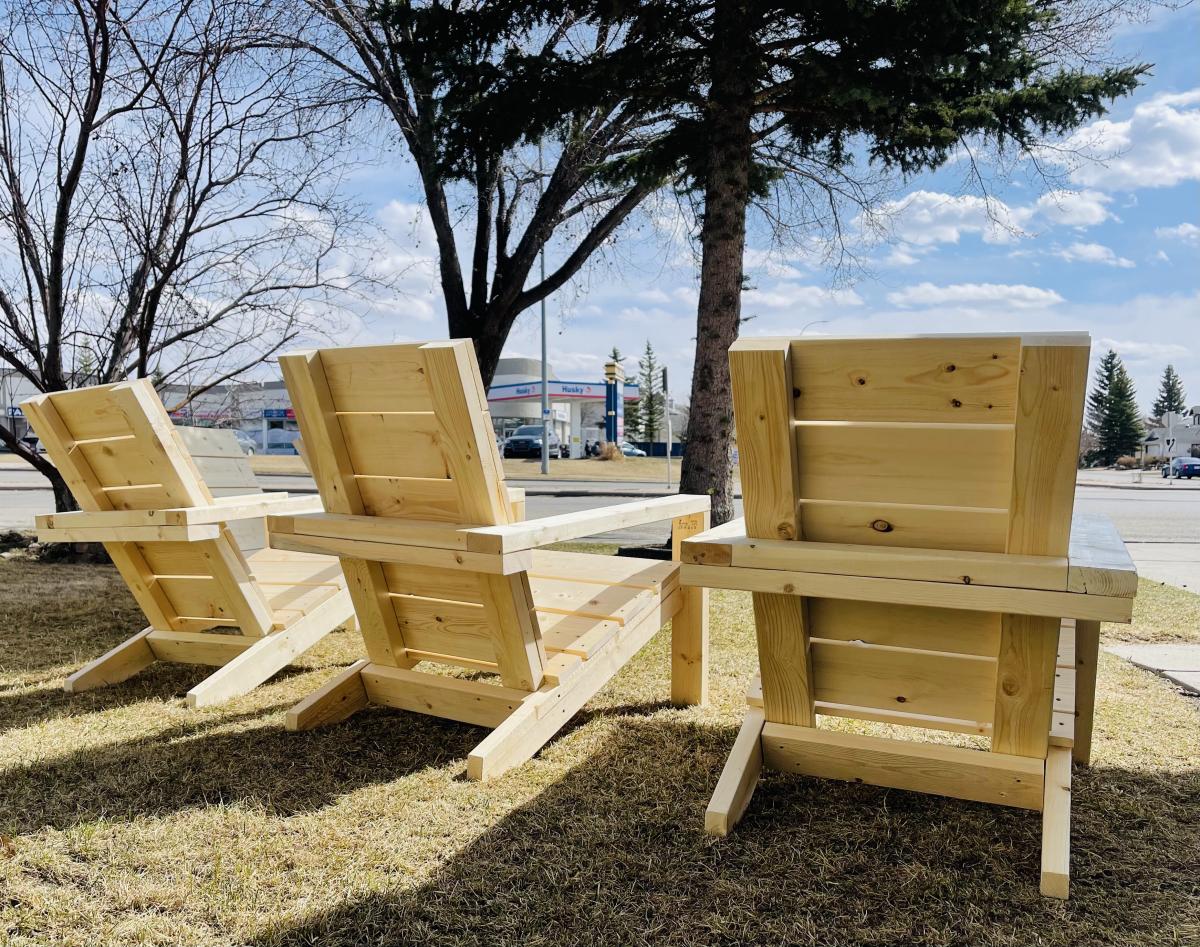
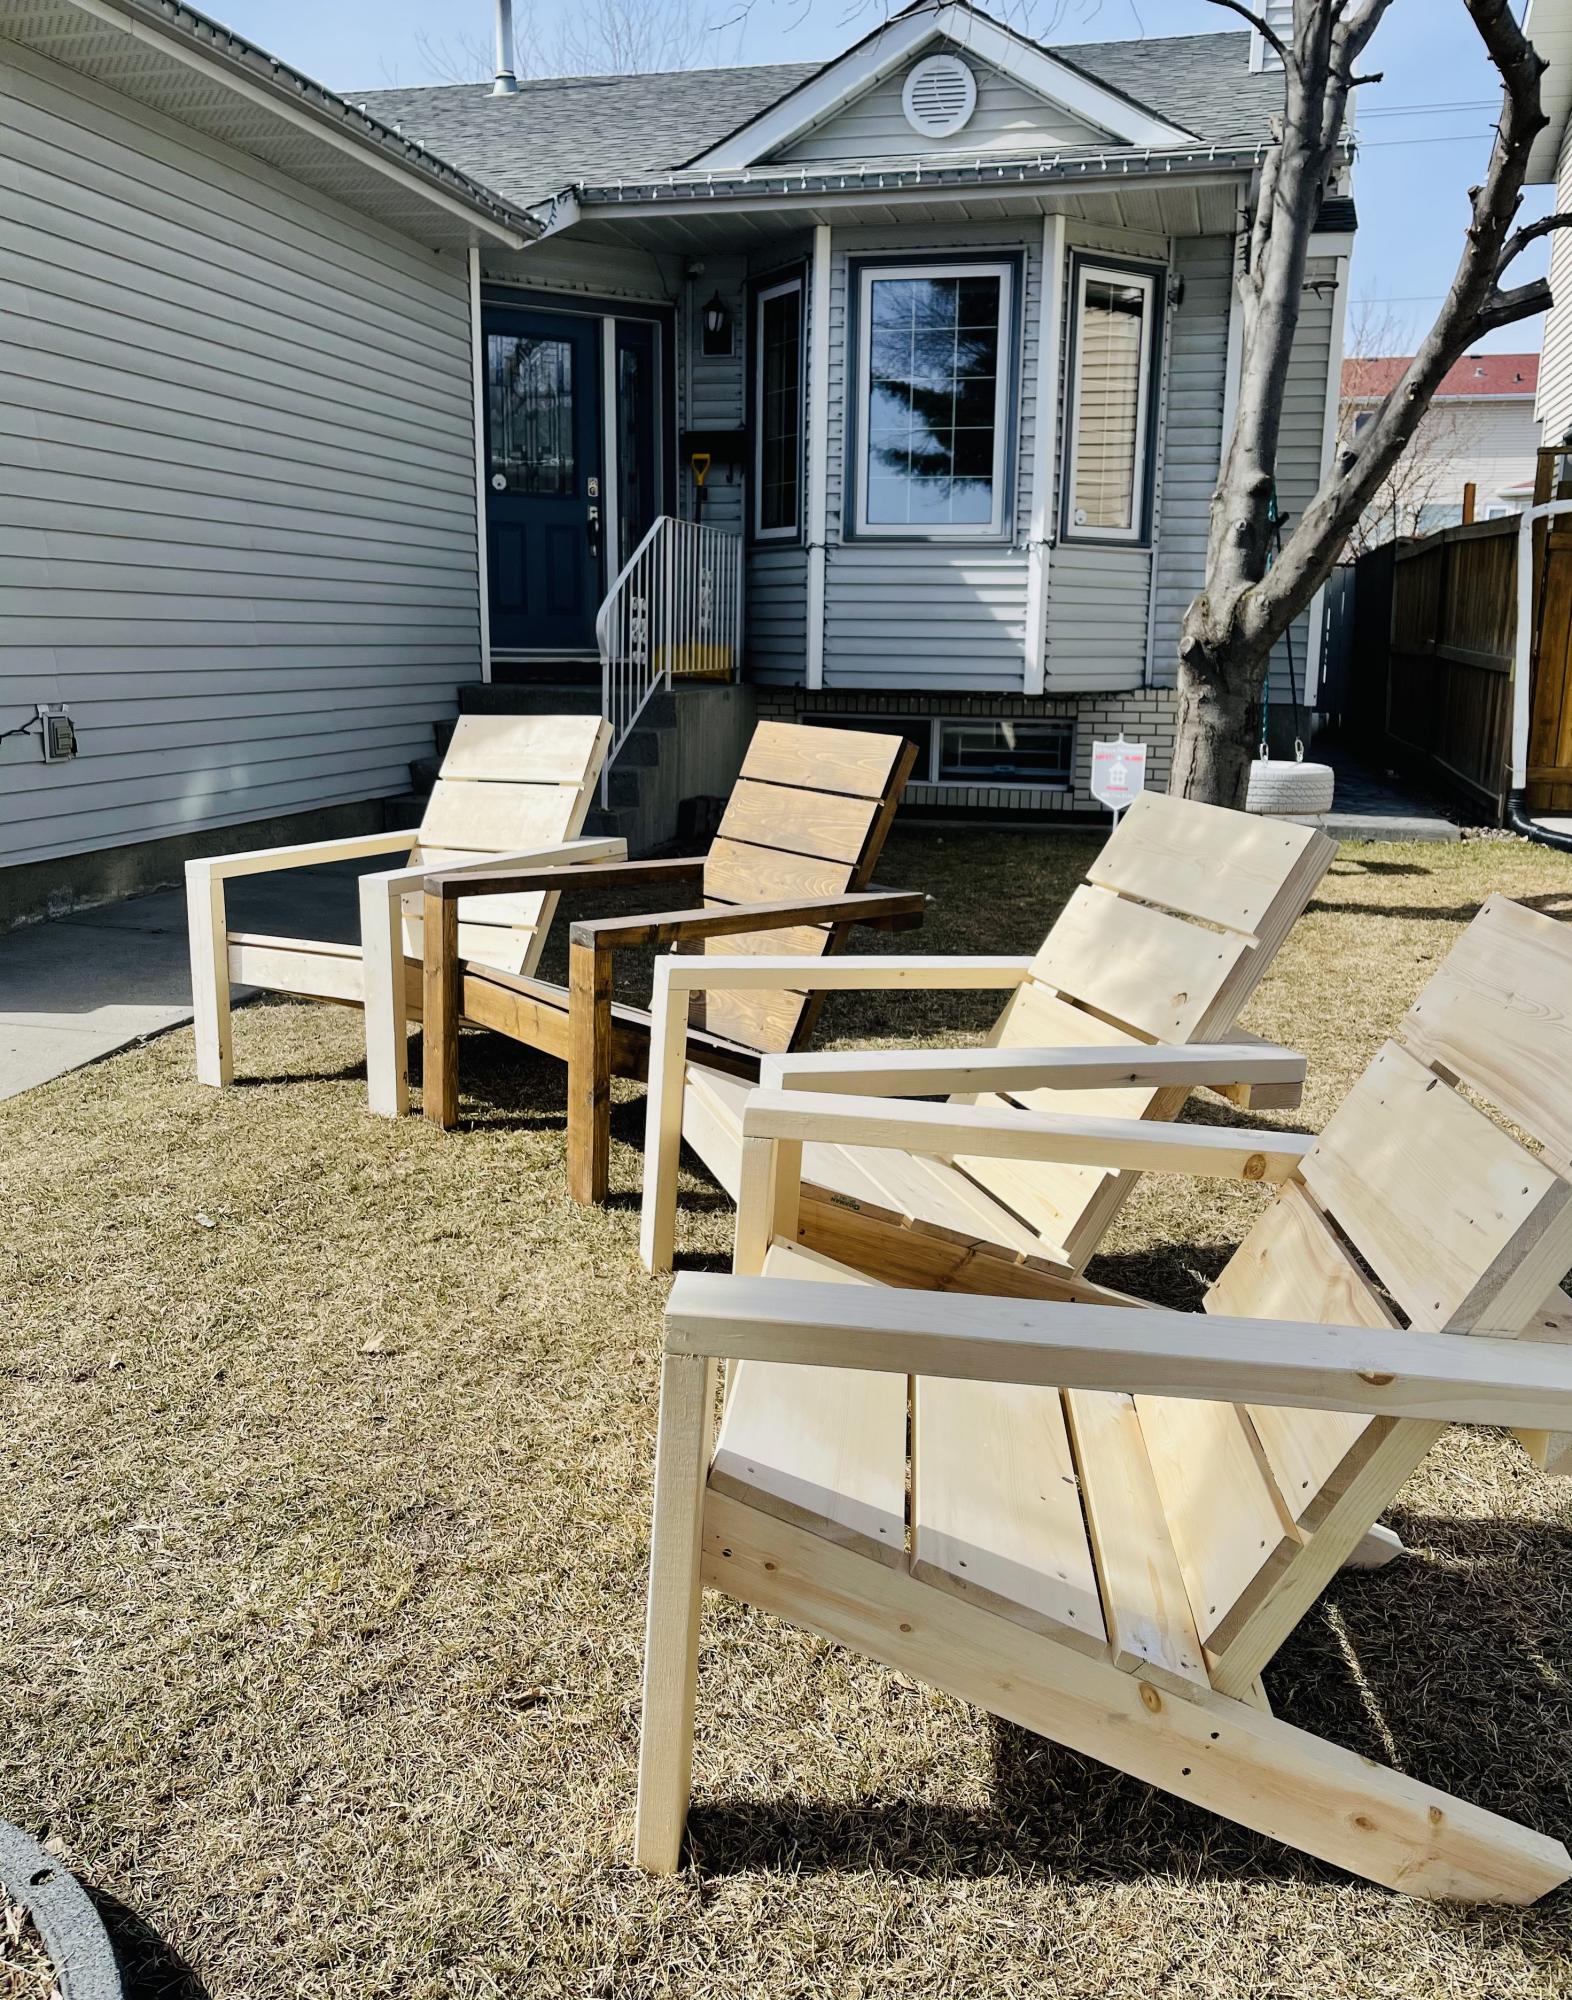
I decided to try to do some chairs for my backyard , guess what ........ i end up with very nice chairs.
It's very comfortable and looks great. My friends already asked me to do some for them.
Thanks Ana White for the great free plan.

Estimated Cost
$60 Canadian dollar
Estimated Time Investment
An Hour or Two (0-2 Hours)
Finish Used
Behr Waterproof Stain and Sealer
Recommended Skill Level
Beginner

Comments

Reclaimed Wood Look Headboard with Ebony stain

Submitted by GWaters on Thu, 03/21/2013 - 23:30

This was my first Anna White experience. It was a great beginner project. My husband was even impressed with the results. I was a little scared of the Menwax Ebony stain, but I applied it with a rag (several coats) and it came out very even. I used paste wax to finish off the project and it turned out great. I'm soooo proud of myself. I hope I don't sound too obnoxious, but it was just so much fun, and I was so surprised that I could build something that looked this professional. Ok, shutting up now. :-)

Estimated Time Investment
Week Long Project (20 Hours or More)
Finish Used
Min Wax Ebony Stain
Recommended Skill Level
Starter Project

Comments

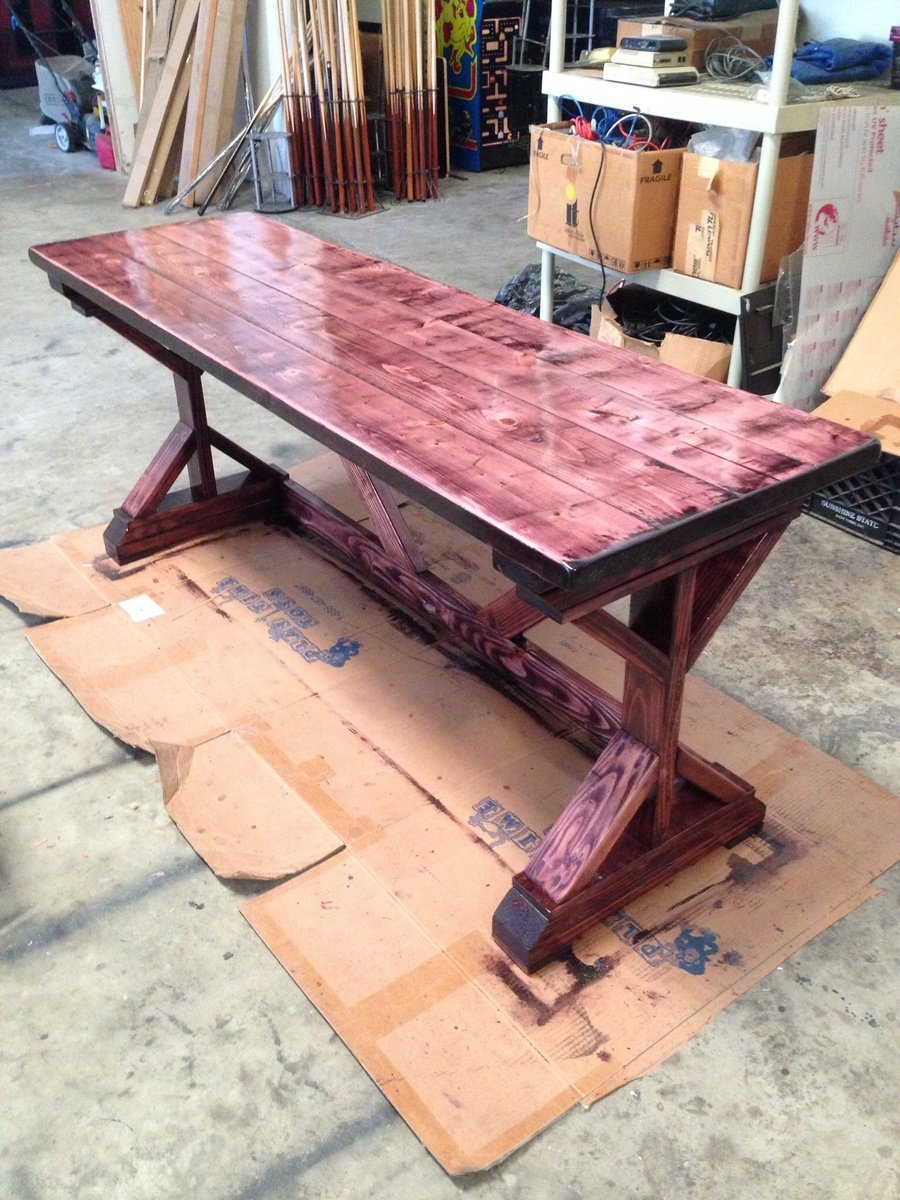
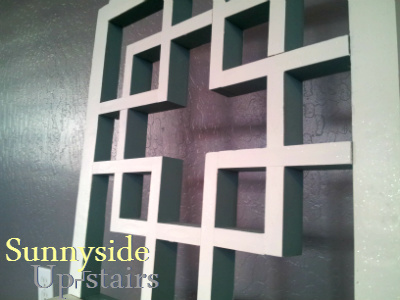
Fancy X Desk

My first big project. It turned out great! There are a couple of issues with the plans but nothing a little common sense couldn't resolve. Also, for any beginners out there, make sure when you're going through your cut list, start with the larger pieces first then work your way down to the smaller cuts. You'll end up having to take another trip to the hardware store if you cut the smaller pieces first. Great plans Ana White! I built this as a Christmas gift for my girlfriend. She was blown away! She absolutely loves it!

~Justin~

Built from Plan(s)
Estimated Cost
Wood cost: $45.95
I did end up spending a lot more on stain, polyurethane, hardware, sandpaper.. The list goes on. But most of these items are things I can reuse for future projects.
Estimated Time Investment
Weekend Project (10-20 Hours)
Finish Used
Black Cherry Stain and then a clear polyurethane.
Recommended Skill Level
Beginner

Comments

I'm pretty proud of myself

Submitted by Anonymous (not verified) on Mon, 05/01/2017 - 10:17

Pretty straight forward plans.

Built from Plan(s)
Estimated Cost
$350
Estimated Time Investment
Weekend Project (10-20 Hours)
Finish Used
Shou Sugi Ban/ Tung oil
Recommended Skill Level
Beginner

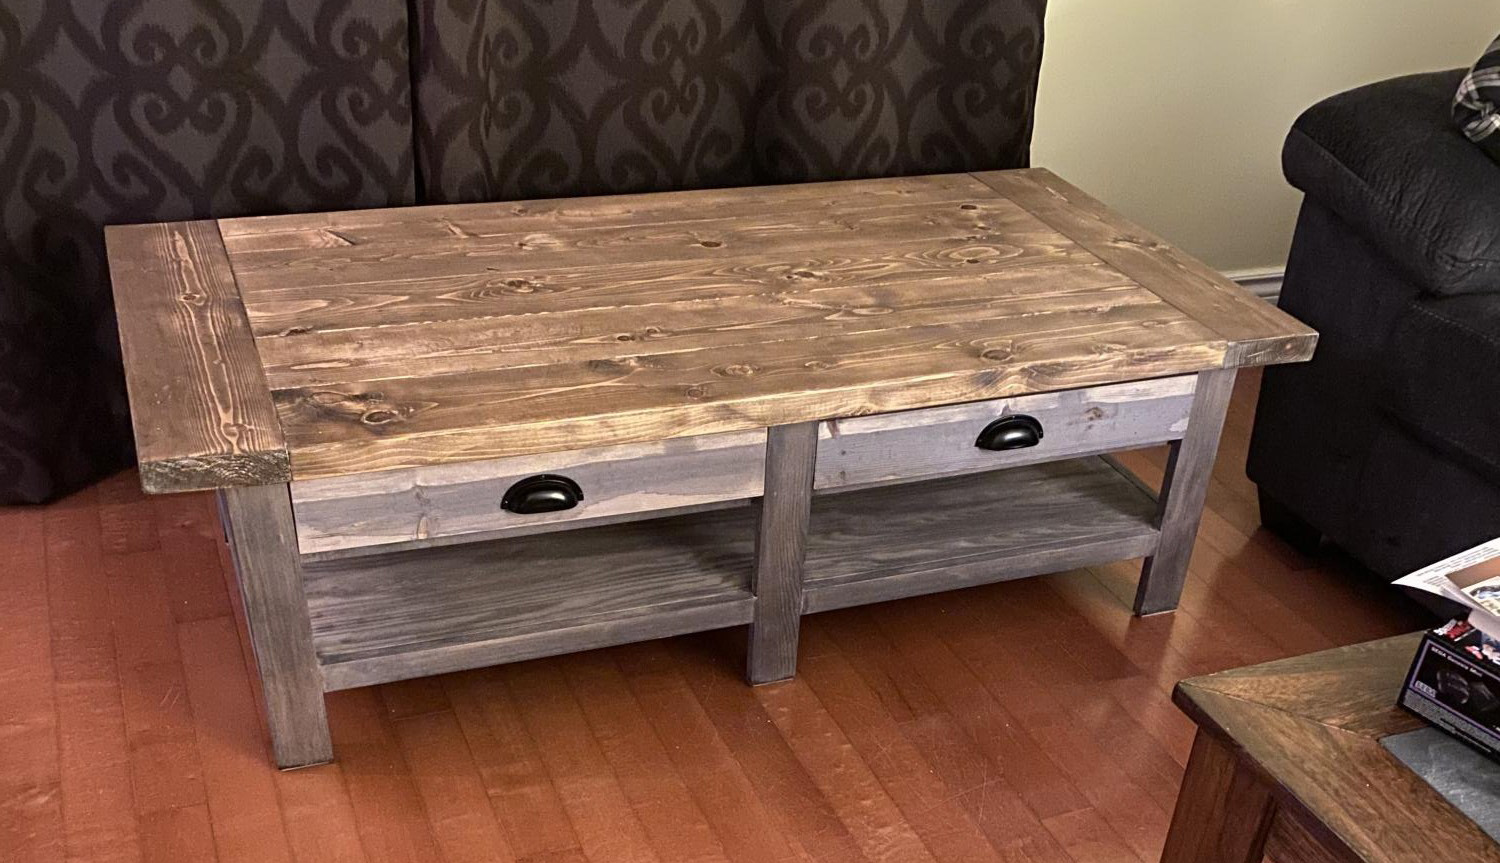
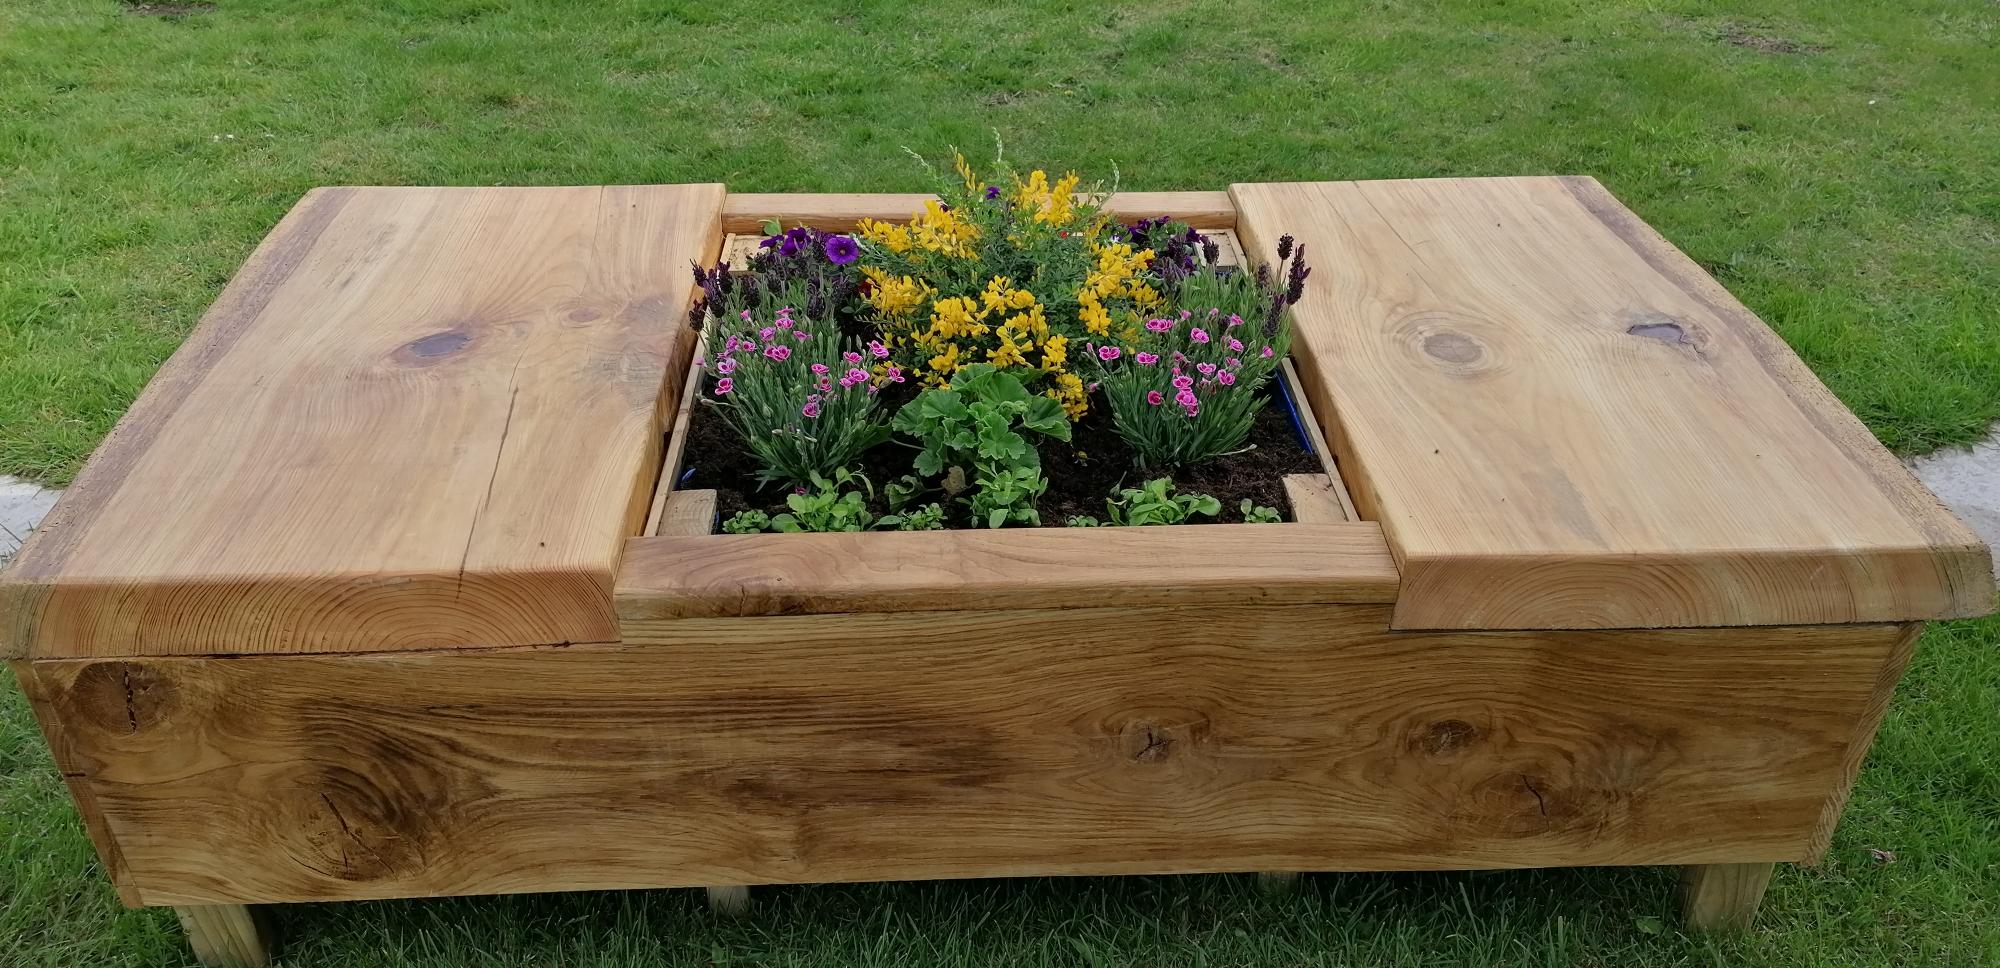
Urban barn coffee table

Submitted by shwetzh on Tue, 04/20/2021 - 18:59

Found the plans on this site and built this as a Christmas gift! They love it!

Estimated Cost
400
Estimated Time Investment
Week Long Project (20 Hours or More)
Recommended Skill Level
Intermediate

Comments

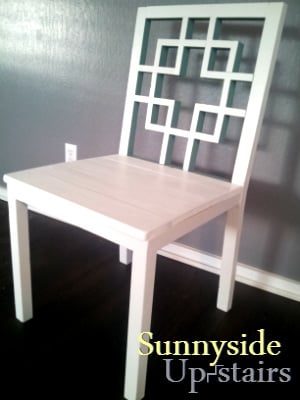
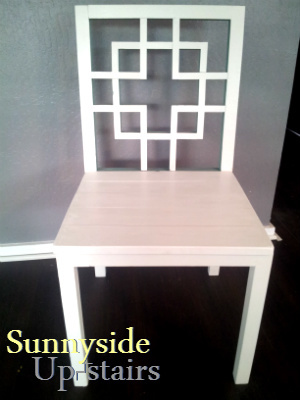
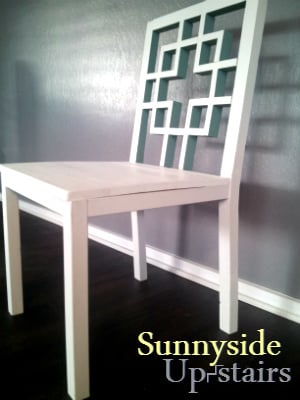
Squared2 Dining Chair

My husband and I loved the Squared2 Chair we saw on this site and we knew that we wanted to have this design for our dining chairs. As my building experience has increased, I thought it was time to try. This is my first chair: it is not perfectly executed, but I learned a few things along the way and I've decided to buy a few tools, too. I modified the square back pattern cut lengths explained briefly on my little blog.

Built from Plan(s)
Estimated Cost
$28 for me, using wood we already owned. $50 otherwise per Hawai'i prices.
Estimated Time Investment
Weekend Project (10-20 Hours)
Finish Used
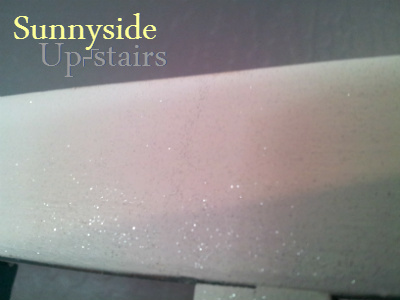
Painted top coat: sample container of Valspar Mystique ($3, already owned) + Valspar shimmer powder ($7 new purchase) and Glidden Flat "oops" teal ($3 quart, already owned) inside squares on chair back.

Sealant/Protectant: Minwax Polycrylic ($17, already owned)
Recommended Skill Level
Intermediate

Comments

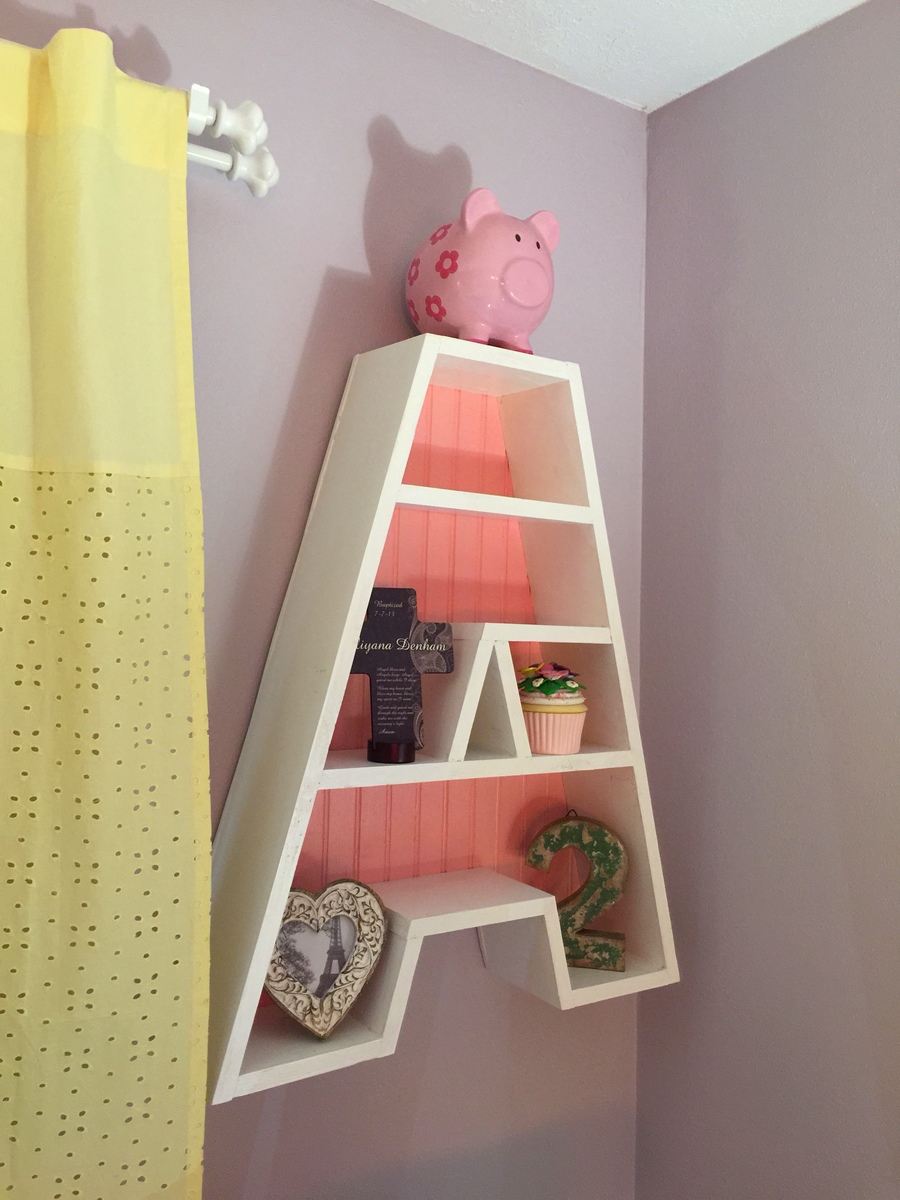
A Letter Shelf

Submitted by pde00311 on Fri, 02/06/2015 - 09:19

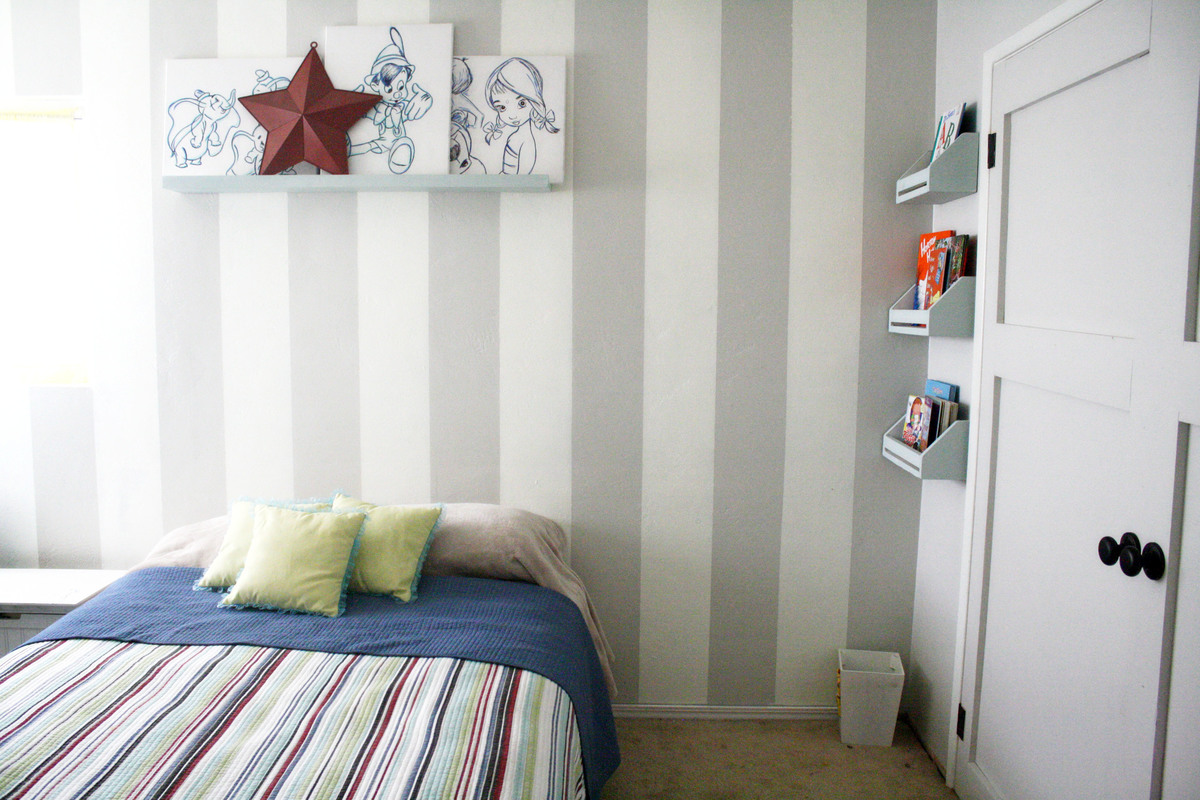
With another baby on the way in a few months, we decided to move our 2+ year old daughter across the hall into her first big girl room. I built big sister the Kendal Extra Wide Dresser, Traditional Wood Toddler Bed, Letter A Shelf and a Dollhouse Bookcase and matched the colors with her new comforter, lamps and princess canopy tent from the Land of Nod outlet.

This is a pretty easy project to build with the right tools. For the backing, I used beadboard plywood that I had leftover from the headboard of the toddler bed. The one tricky thing was how to actually hang the bookshelf. The weight of wood for the shelf is somewhat heavy and that's before anything even goes in/on top of it. After a few trips to the big boxes, I decided on using a heavy duty mirror hanger, which so far, has worked great. 
Built from Plan(s)
Estimated Cost
$25
Estimated Time Investment
Afternoon Project (3-6 Hours)
Finish Used
Behr White Fur and Pink Ballerina paint with a few coats of Minwax Polycrylic
Recommended Skill Level
Starter Project

Comments

TwoCuteKids

Fri, 02/06/2015 - 11:28

What a lucky little girl! You inspired me to make-over our little girls room now that she is 4. What a gift to create all these beautiful items for your home. PS - Love your outdoor sectional too!

pde00311

Tue, 02/24/2015 - 13:05

It took a lot of work, but it was well worth it. The best part about completing a room make-over is her reaction to having all new stuff. Our daughter has not once wanted to go back to her old nursery room. p.s. I cannot wait for the cold/ice/snow to end so we can start enjoying the sectional again.

pde00311

Tue, 02/24/2015 - 13:01

She loves all of new big girl room furniture, which mostly came from your plans!

2x4 Outdoor Couches!

Submitted by Anonymous (not verified) on Thu, 05/04/2017 - 07:39

Outdoor Couches made from the plans on the website.  Added 2 2x4's on back top to add support when leaning back.  Also added vertical supports on the back to help with added weight.


Stained and Sealed with Natural Cedar Stain and Sealer

Estimated Cost
$110 for the wood for both couches
$400 for both sets of cushions and accent pillows
Estimated Time Investment
Day Project (6-9 Hours)
Finish Used
Natural Cedar Stain and Sealant by Timeless
Recommended Skill Level
Beginner

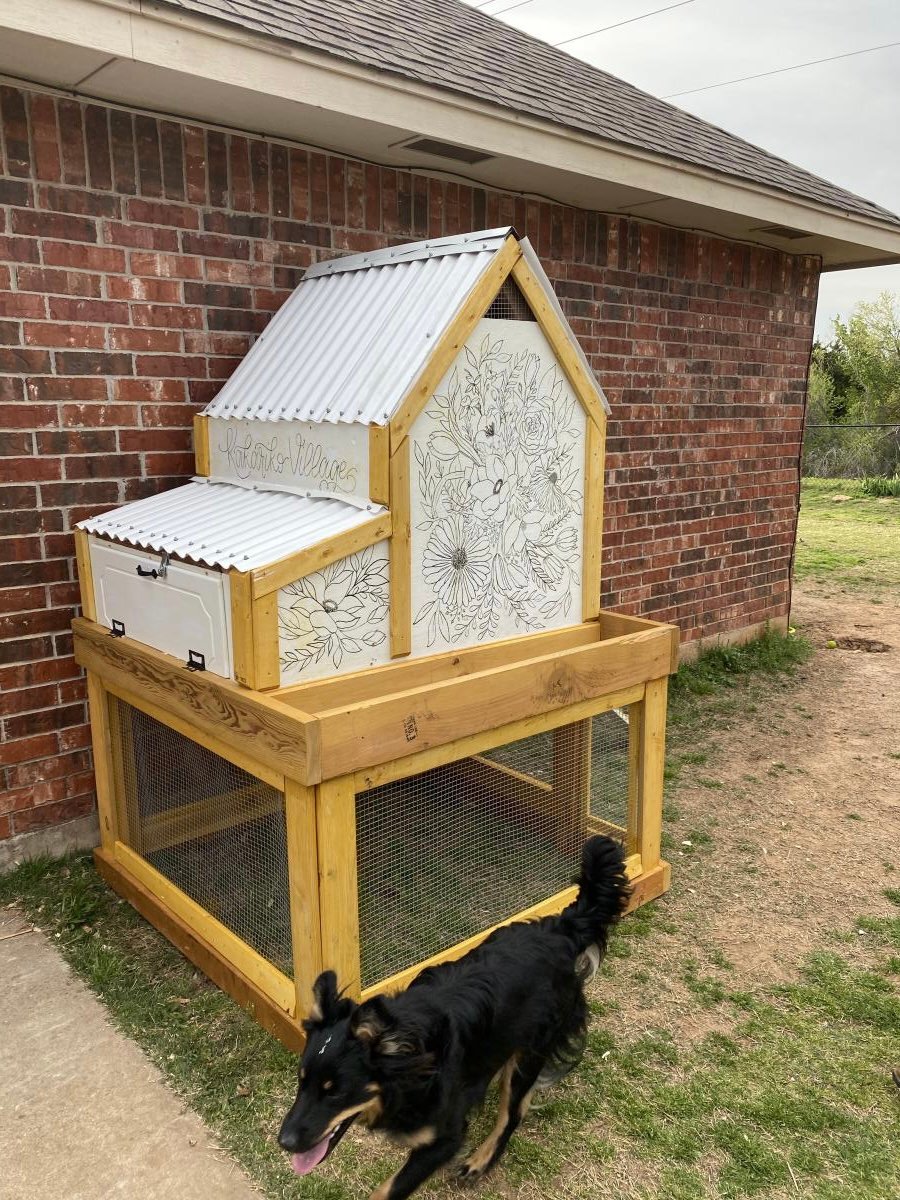
My floral chicken coop

Submitted by Anonymous (not verified) on Mon, 04/26/2021 - 19:25

I’m so thankful I found Ana White’s site, like, 10 years ago. She’s inspired me so much and helped me to know I could build stuff! This is far from the first thing I’ve built but it’s absolutely the most complex! I was able to find a bunch of wood free locally from a construction site (they posted it online) and some friends had some old plywood they were kind enough to give us. Even with most of the wood covered, the cost of hardware and other supplies still took us over $200. I worked on it during the day for the last few weeks around our homeschooling schedule, so it did take quite a bit of time. I also had to modify it to work with the wood I had and I wanted to make it bigger inside. But it’s finally finished and our little chickies seem quite happy so far!

Estimated Cost
$250
Estimated Time Investment
Week Long Project (20 Hours or More)
Finish Used
Exterior white paint, honey colored sack stain
Recommended Skill Level
Intermediate

Comments

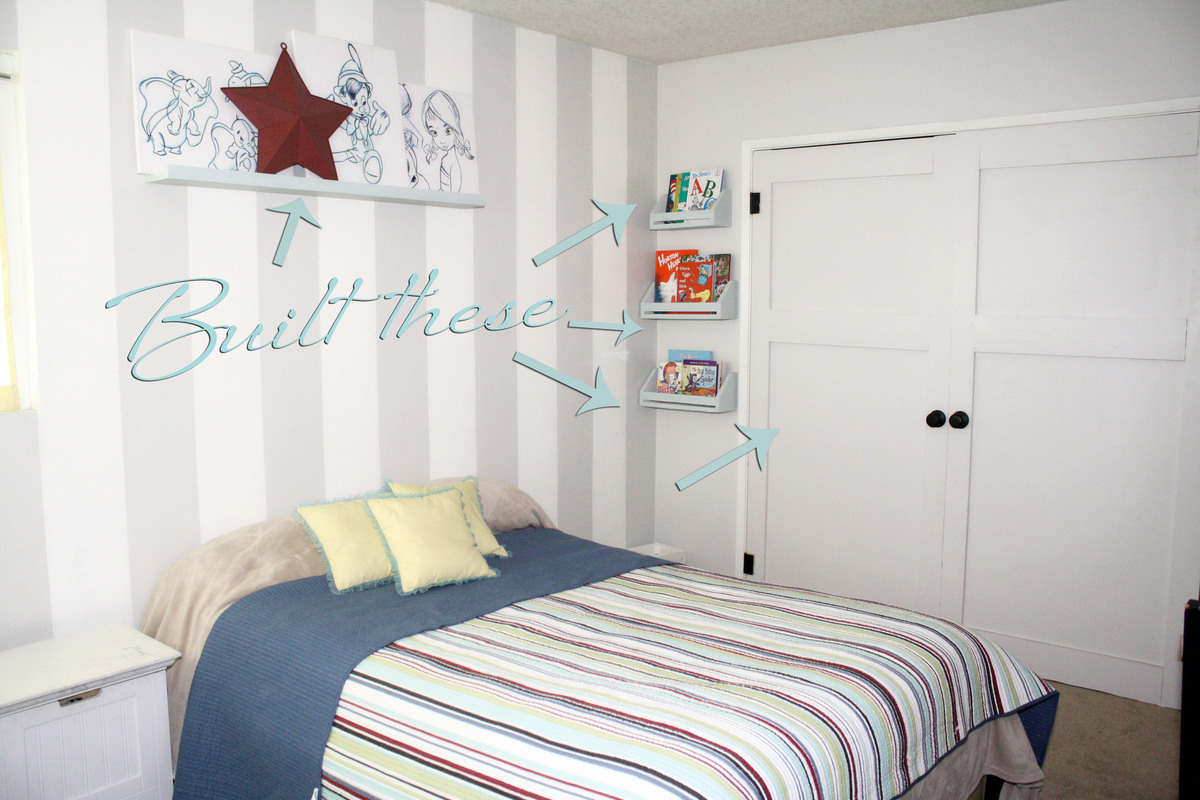
$10 shelf...but cheaper...

Submitted by Marisol on Wed, 03/27/2013 - 16:09

had a lot of scraps and put them to good use with this shelf, east to change out any art/photos my kids would like on their walls, size of frames, etc...without nailing frames, changing positioning, just re-arrange on the shelf :)

Built from Plan(s)
Estimated Time Investment
An Hour or Two (0-2 Hours)
Finish Used
Annie Sloan Duck Egg and home made white chalk paint mix.
Recommended Skill Level
Starter Project

Comments

spiceylg

Thu, 03/28/2013 - 05:58

Nice job on all the builds. Those closet doors are beautiful and actually the whole room looks fab!

Marisol

Thu, 03/28/2013 - 15:57

Spring is here, and no longer pregnant, I am excited to get started on many more projects!

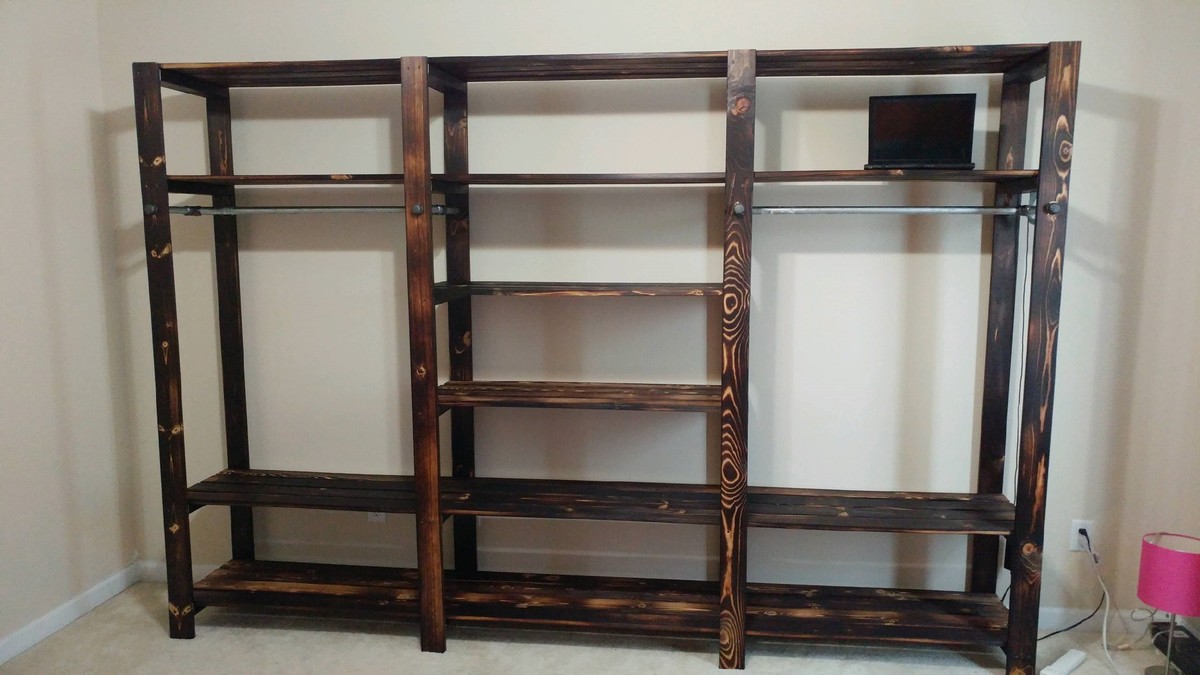
Workbench Console

Submitted by armand16 on Mon, 02/09/2015 - 10:36

This was my first furniture build so there was plenty of trial and error but overall a good learning experience. The middle walls were made using the same notching techniques as the plan, but with one big notch and several 2x4s.


Building was the fun part, finishing was not. Started with a belt sander and after digging into the wood too many times I tried an orbital. Had to resand due to swirl marks from the orbital sander. Hand sanded from 100 grit to 220 grit, applied gel stain and noticed the wood grain had completely disappeared. Seems like the pores were too closed from the fine sand paper so took it back to 150 grit and it was all good.

Estimated Cost
$150
Estimated Time Investment
Weekend Project (10-20 Hours)
Finish Used
American Finishes - antique walnut

2 coats
Recommended Skill Level
Intermediate

Comments

Rekourt Dining Table for Mom

I adjusted the size to be a total lenght of 71 inches by 40 inches wide. 

I put all the boards through the table saw to create the flat edges whcih allowed for the flush table top.  Had difficulties with the X cuts, but turned out nicely.

Used a mix of 2 stains to reach the grey, almost barnwood look. Love the way it looks.

Built from Plan(s)
Estimated Cost
~$150
Estimated Time Investment
Week Long Project (20 Hours or More)
Recommended Skill Level
Intermediate

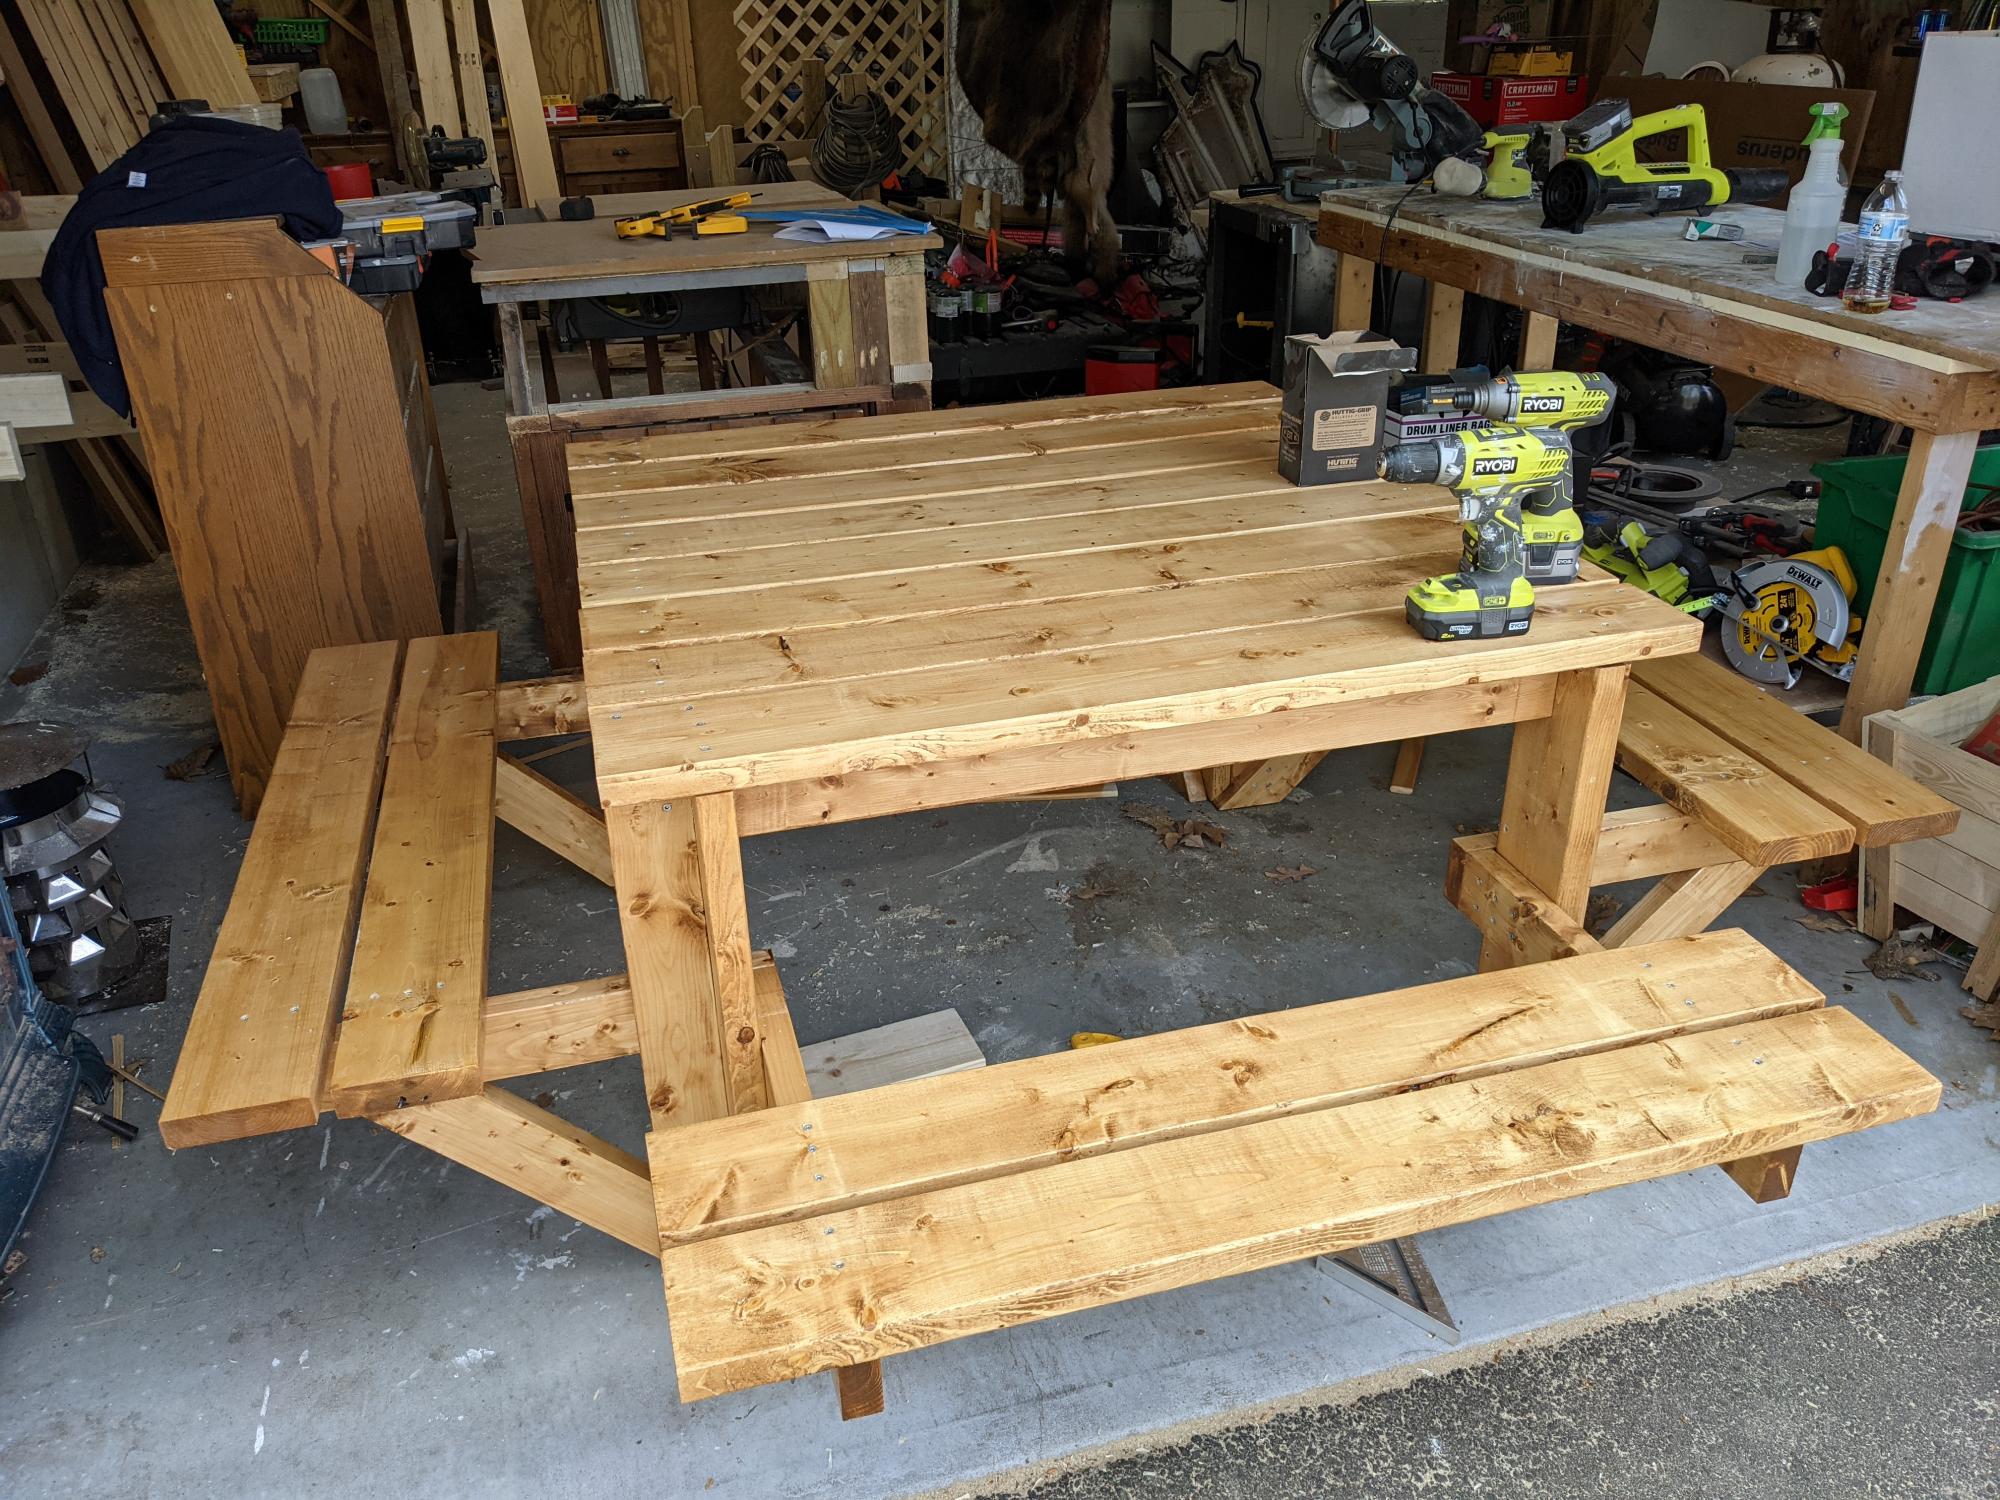
Do not test the seating until all table is comlete (humor at my expense)

Fun build. Thanks Ana. I made the mistake of installing one set of seat boards and testing the strength. I weigh over 300lbs. No harm no foul but you can probably figure out the rest. On my backside soon after.

Looking forward to building my next 2 without this mishap.

Jim

Built from Plan(s)
Estimated Cost
200
Estimated Time Investment
Weekend Project (10-20 Hours)
Finish Used
behr stain mentioned in plans and spar urethane poly exterior by minwax

Comments

Apothecary Console

Submitted by bhanabh on Sat, 03/30/2013 - 21:09

My Apothecary Console

Built from Plan(s)
Estimated Cost
$250
Estimated Time Investment
Weekend Project (10-20 Hours)
Finish Used
Olympic Latex Paint for MDF , color - antique white, cherry colored wood Stain and gloss for pine.
Recommended Skill Level
Starter Project

Thanks Sausha!

This was very easy to do. The hardest part was creating the miter edges for the trim and having them line up nicely. I would consider the trim a must, I just felt it made the project look finished. I had a difficult time finding *cute* baskets to fit underneath... It measures 10" and will fit a standard laundry basket but I was going for a different look. I picked these up on sale at office max, not exactly what they were intended for but they work great and keep the laundry room nice and tidy. Happy building!!

Estimated Cost
$100
Estimated Time Investment
Afternoon Project (3-6 Hours)
Finish Used
I sanded and primed and used an espresso paint to finish. I don't have the exact paint color but it was Behr custom in satin enamel. It would be easy to find at home depot. It's on the end cap :)
Recommended Skill Level
Starter Project

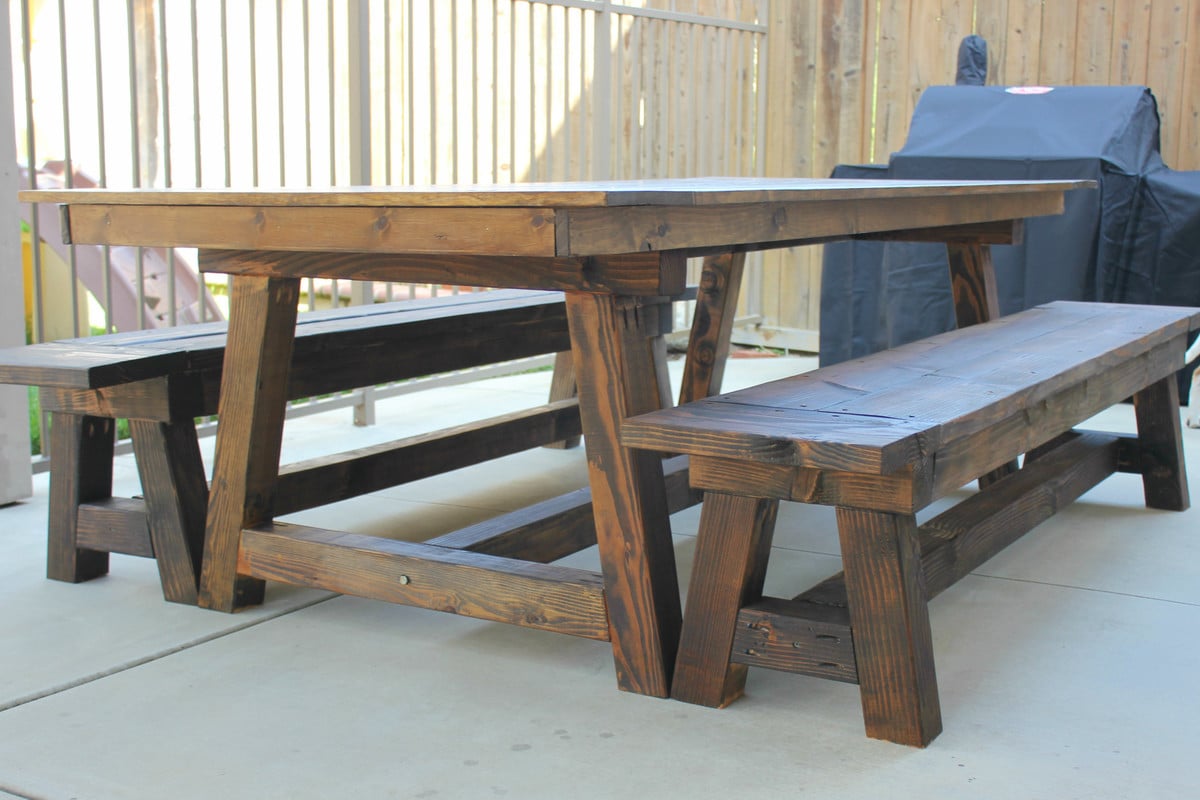
Truss beam table and benches

Submitted by Anonymous (not verified) on Thu, 05/11/2017 - 10:39

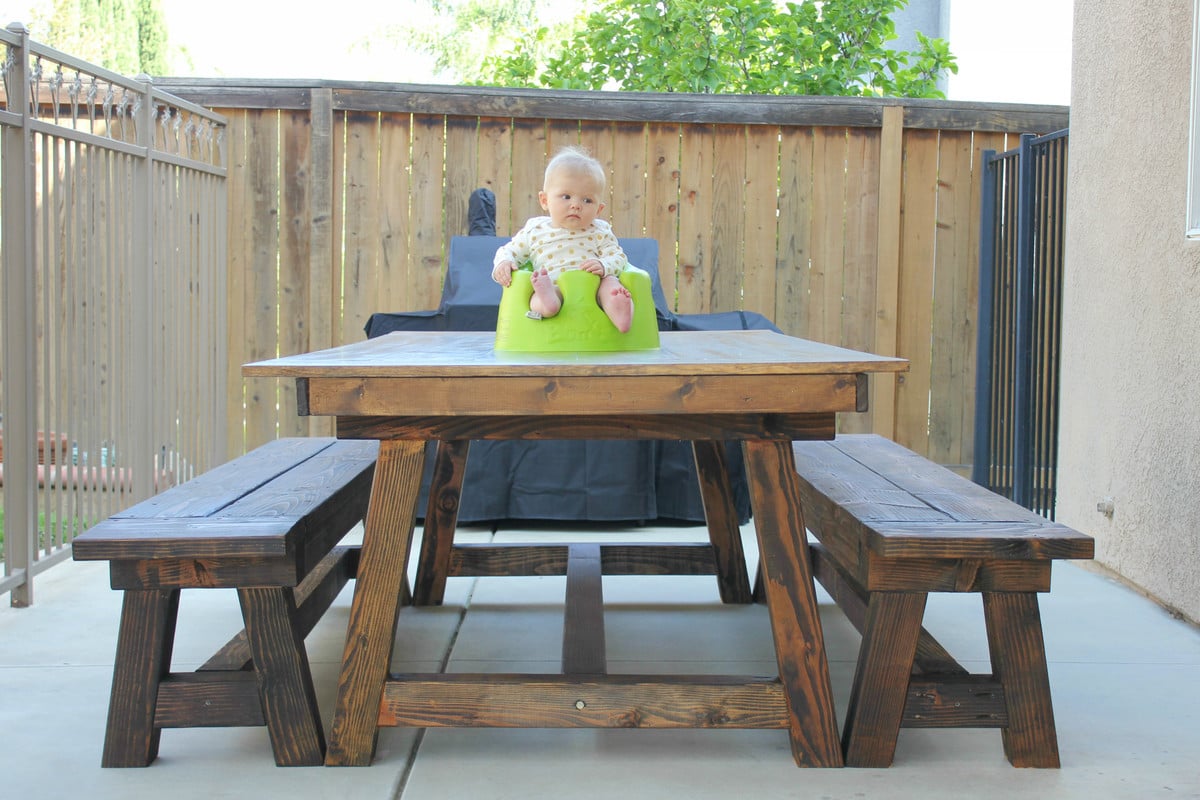
We added Ana's truss beam base to an already-existing table top that we had DIY'd years ago (our very first project!). We made the benches per her plans as well and now we all just love it! The whole thing is big, sturdy and beautiful. The only thing we didn't do were those two pretty beams that come down in the center - my hubby liked how simple it looked without it :) Loved this project! (And love how my three kids crawl all over it! Memories!)

Built from Plan(s)
Estimated Cost
$100
Estimated Time Investment
Weekend Project (10-20 Hours)
Finish Used
Rustoleum Dark Walnut stain and then a weather proofing varnish
Recommended Skill Level
Intermediate

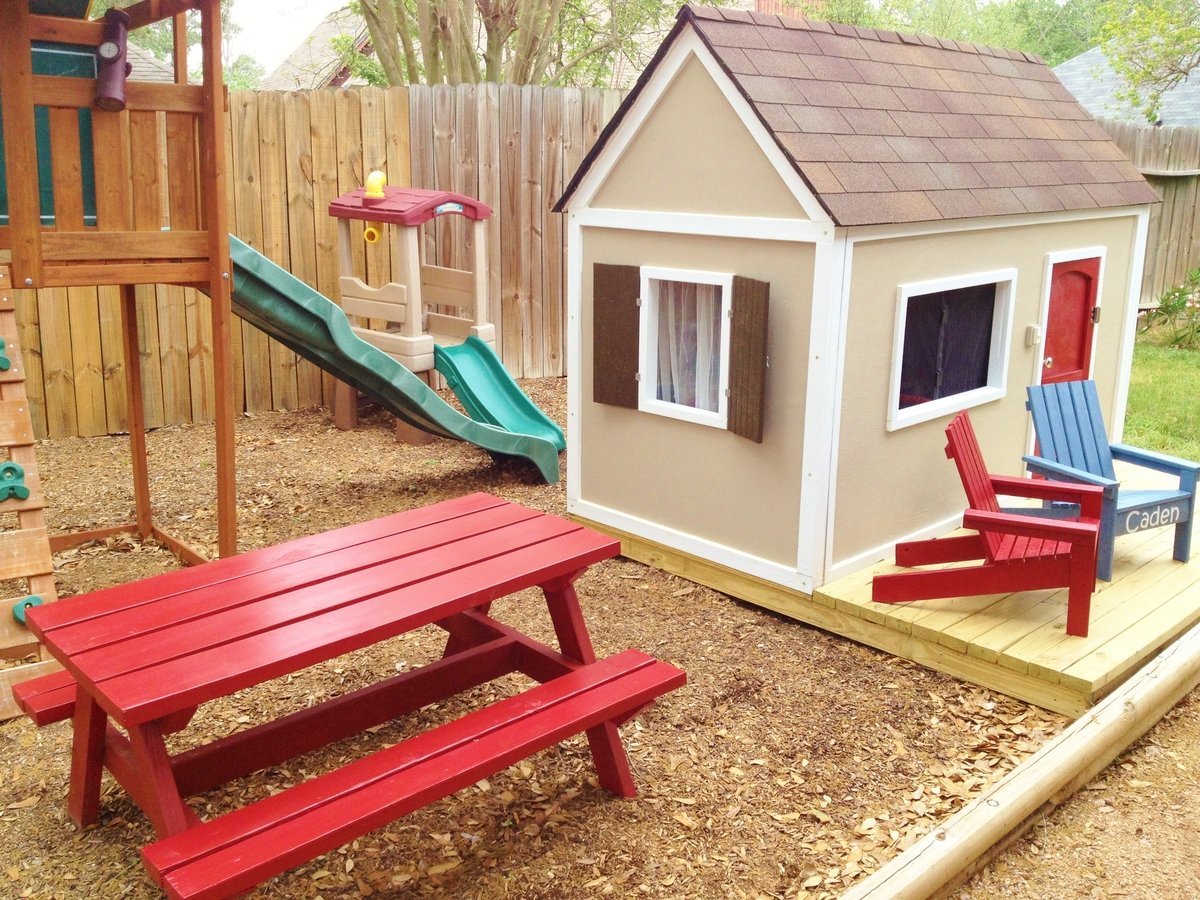
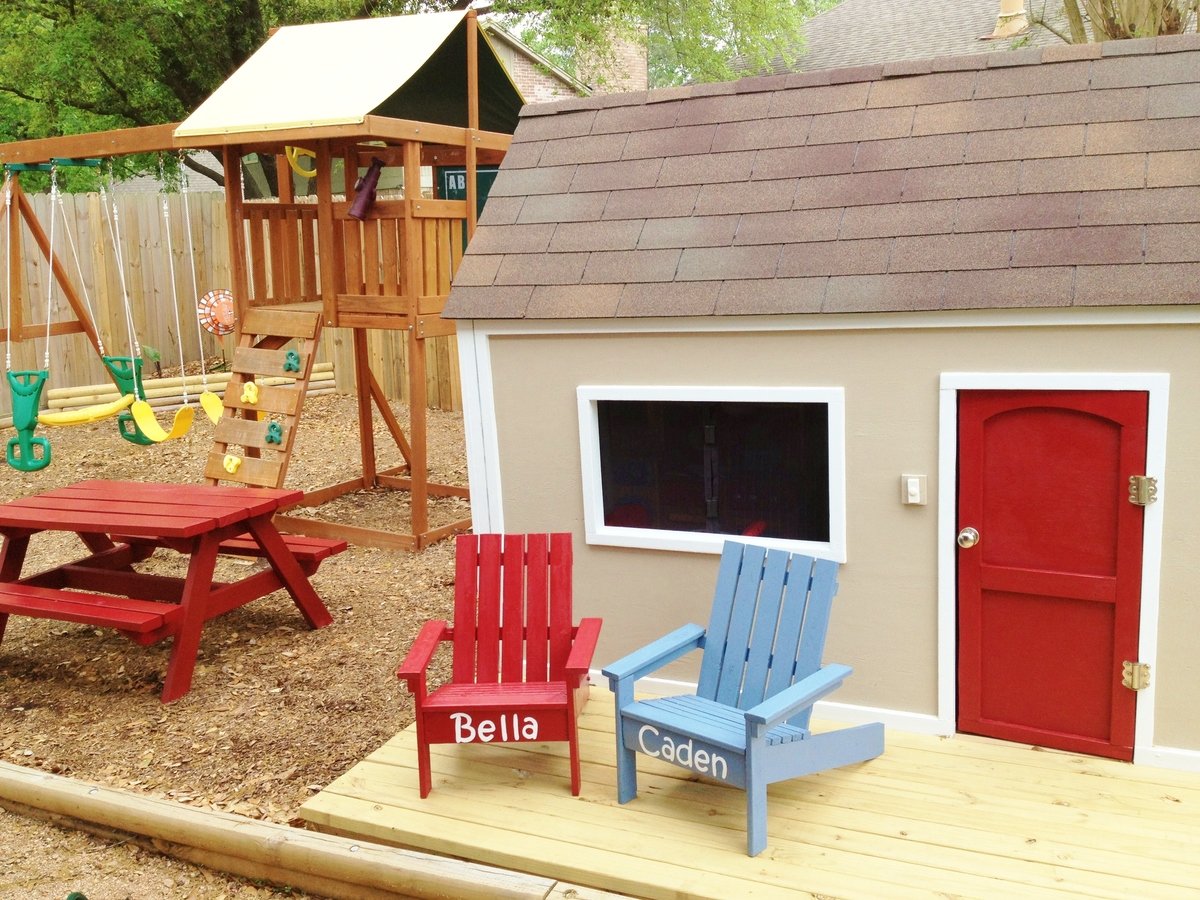
Bella's Backyard

Submitted by ebuffy99 on Tue, 04/02/2013 - 14:48

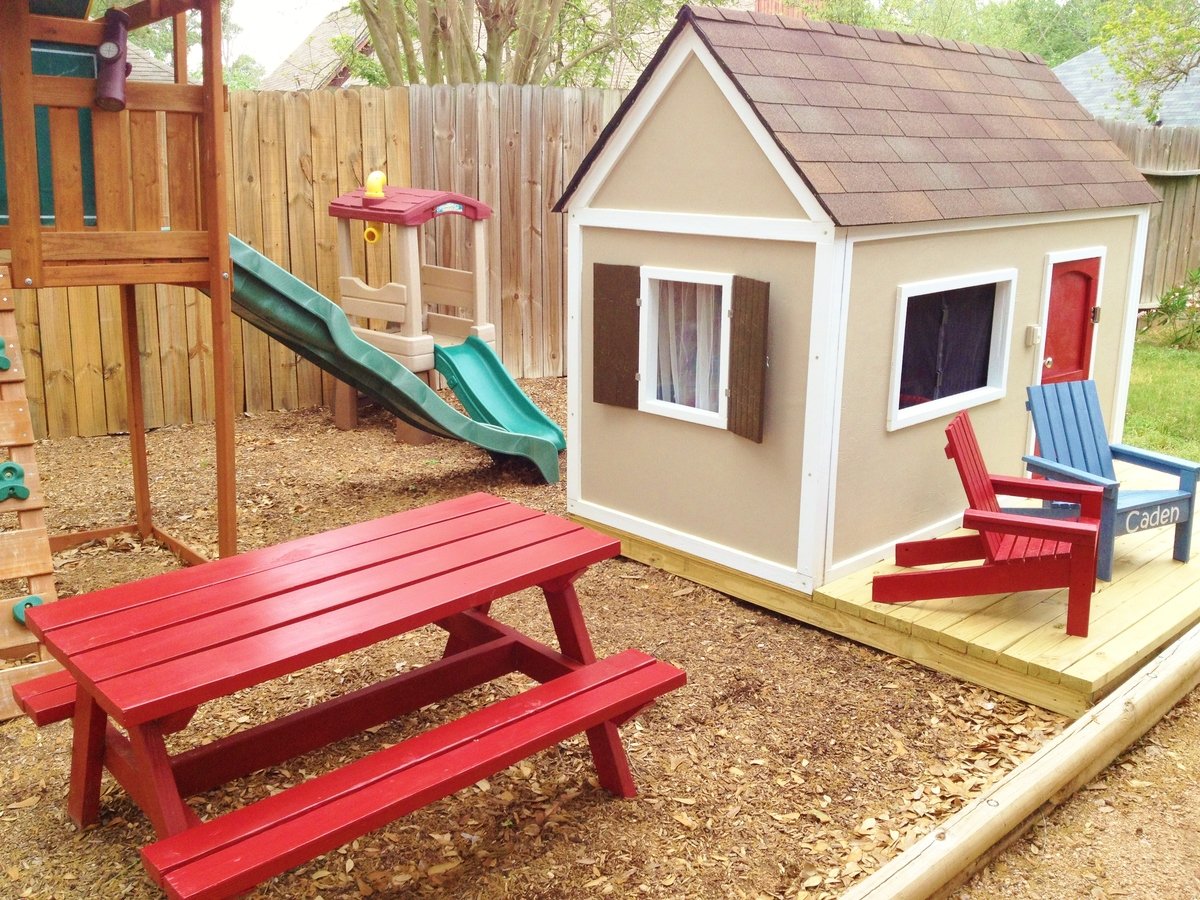
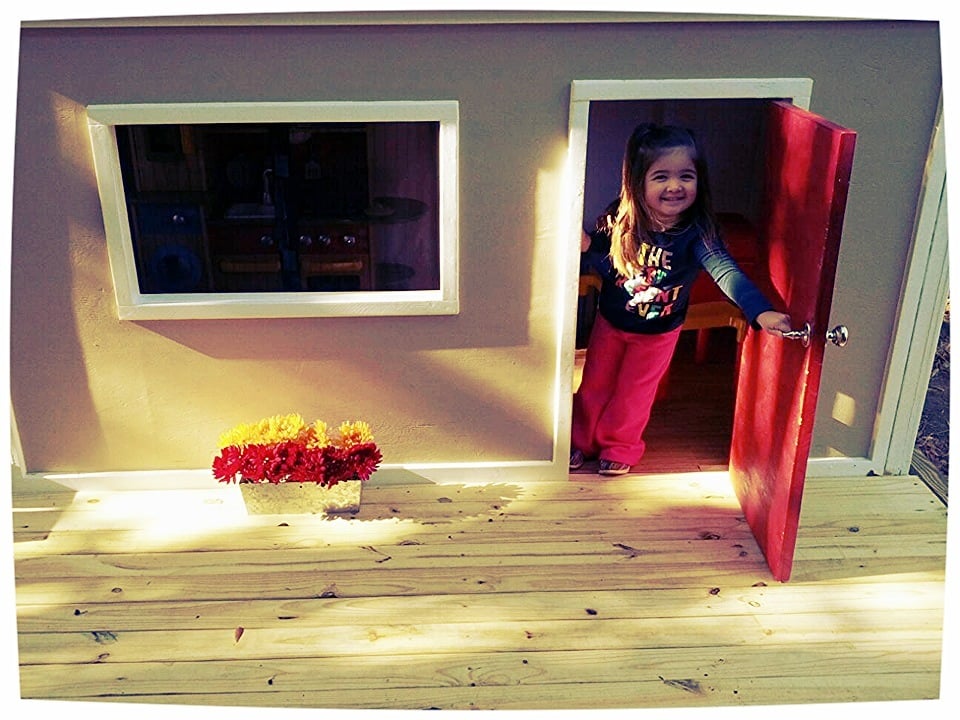
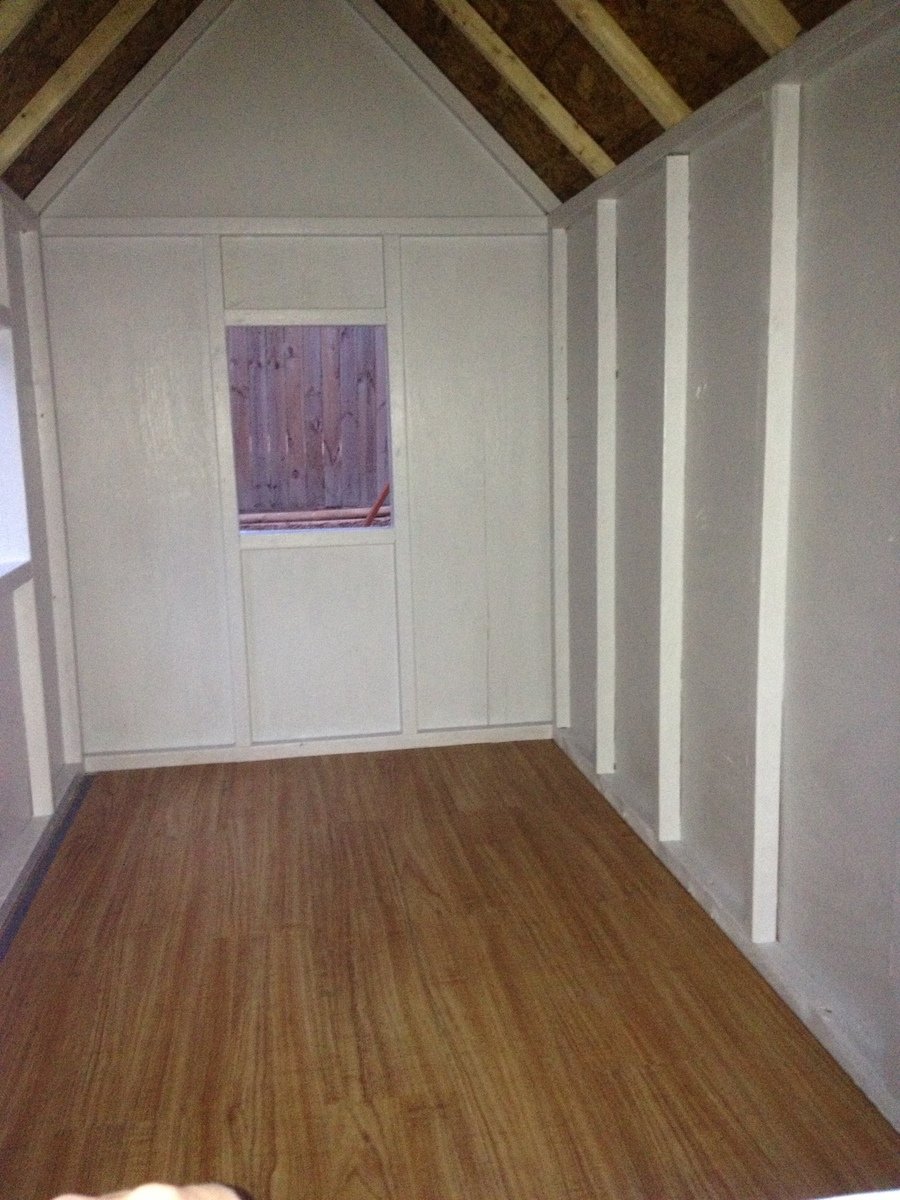
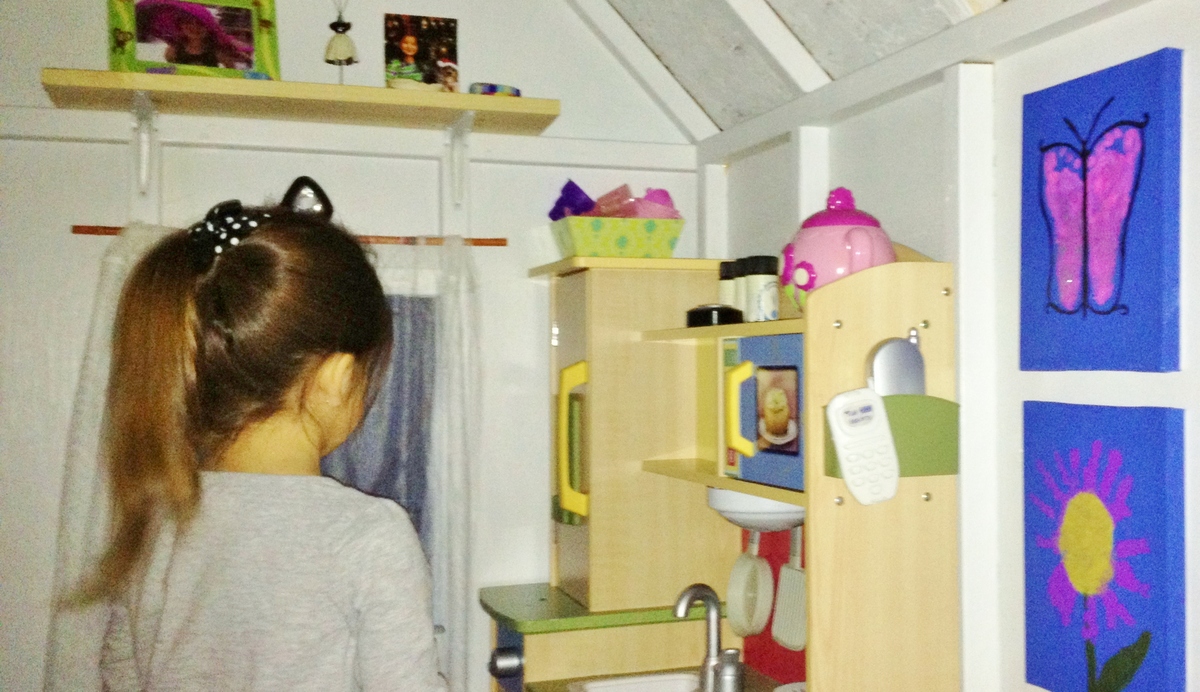
My first project ever was the red picnic table about a year ago and have built many more as housewarming/kid's bday gifts. This Christmas, instead of buying my daughter more toys, I decided to build her a playhouse. Not only was it a very special gift for her but also freed up space in my house being able to put her play kitchen, table, and other toys in it. The small changes we made were the size of the deck to better fit our available space and the shutters (made out of scrap 1x2s and hinged to close with a hook and eye). We put down 3/4" treated plywood as the base and then used 1 box of vinyl plank flooring that looks like wood to hold up to the Texas humidity. I eventually want to make accordion-like shutters for the front window but have up a bug curtain (used for regular size doorways and closes together with magnets) that I cut in half to fit. We have bad mosquitoes here in Texas! I also added a wireless doorbell.

Estimated Cost
$500
Estimated Time Investment
Week Long Project (20 Hours or More)
Recommended Skill Level
Advanced

Comments

spiceylg

Wed, 04/03/2013 - 04:58

You did an amazing job! Lucky little girl. Looks so cozy inside and out!

Seasonal And Holiday

Lily-Mae's Dresser

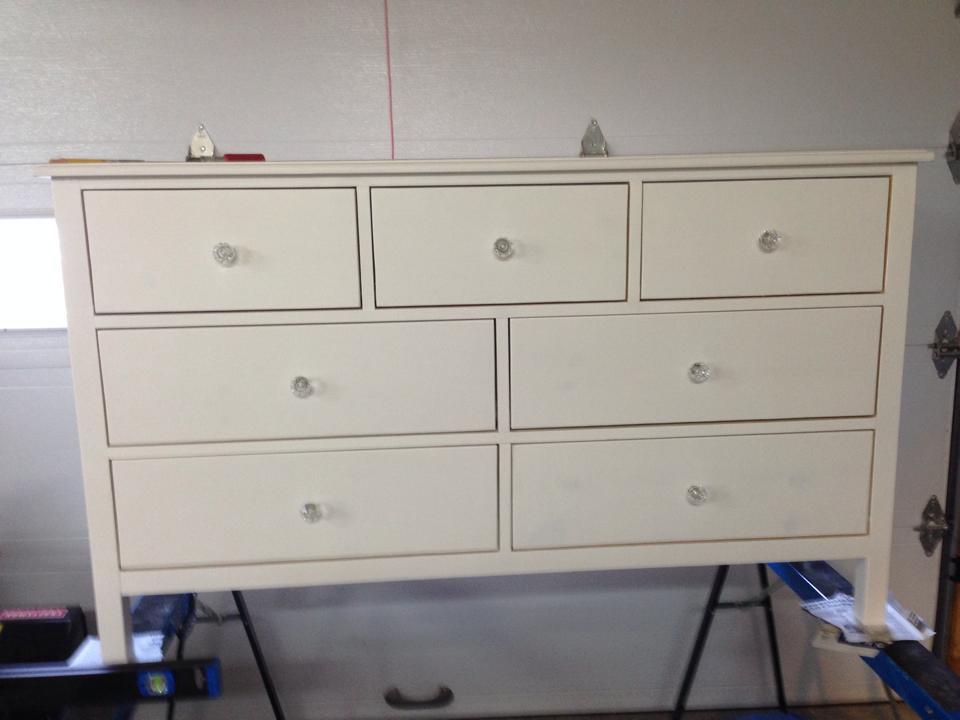
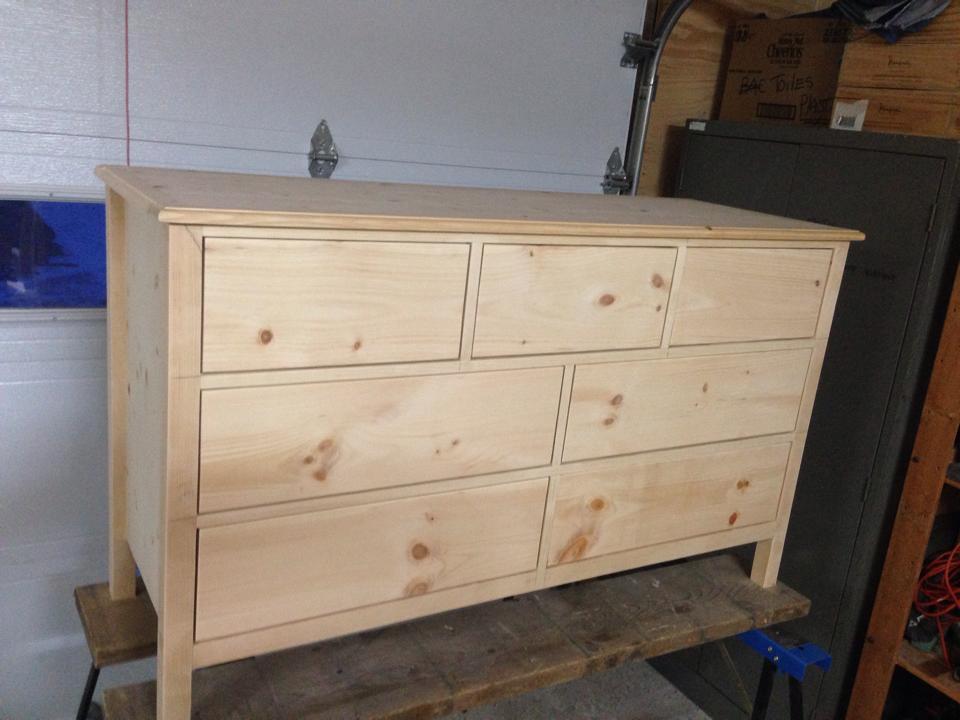
Submitted by Charles R on Sat, 02/14/2015 - 20:02

Made from pine wood painted white as my girlfriend wanted ;)


Built from Plan(s)
Estimated Cost
200 - 240
Estimated Time Investment
Week Long Project (20 Hours or More)
Finish Used
Primer + semi-gloss white paint
Recommended Skill Level
Intermediate

Comments

Fancy Farmhouse Headboard with Modified Trim

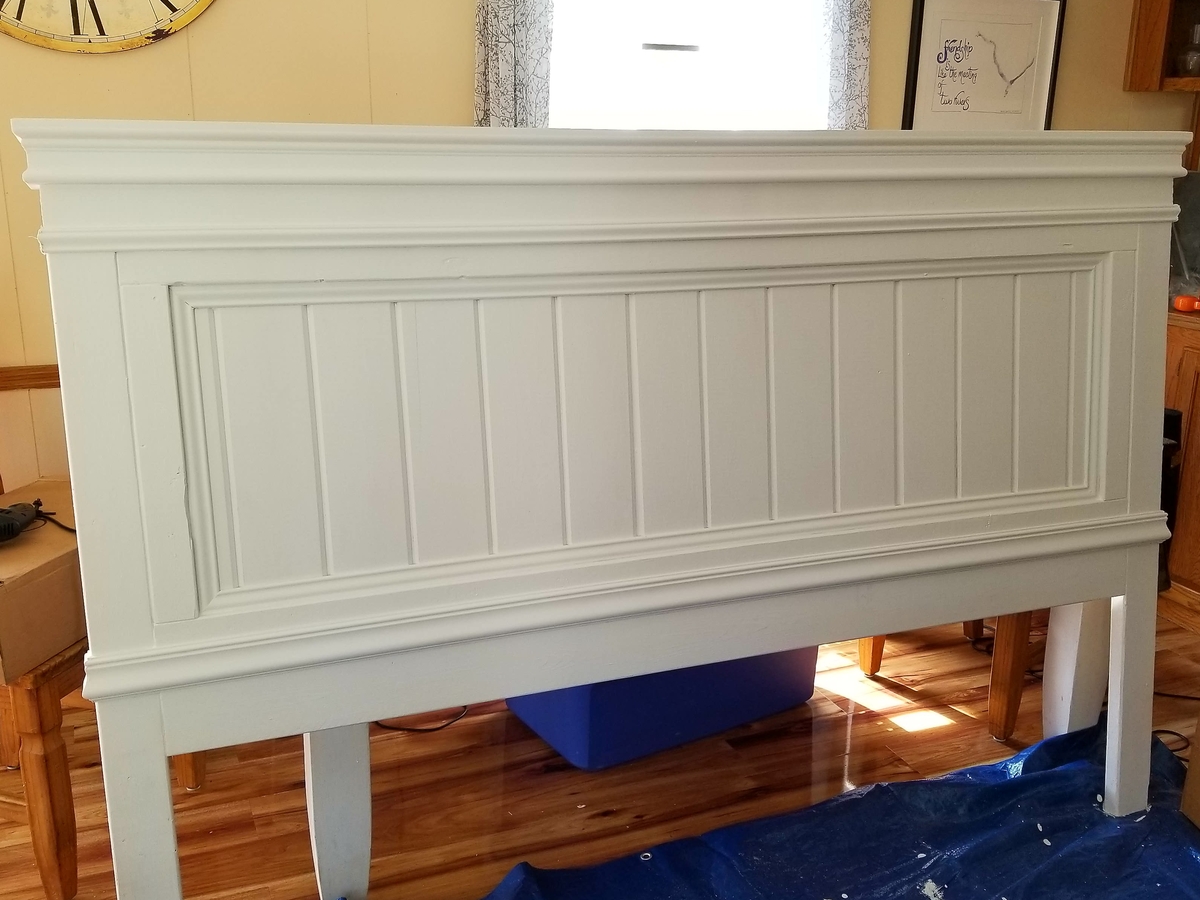
Submitted by Anonymous (not verified) on Sun, 05/14/2017 - 17:02

Fancy Farmhouse Headboard with Modified Trim. There was a lot of trial and error as this was my first ever project, but now I'm hooked! We only needed a headboard to attach to our King platform frame. 

Built from Plan(s)
Estimated Cost
$100.00
Estimated Time Investment
Weekend Project (10-20 Hours)
Finish Used
Made chalk paint using Extra White by Sherman Williams.
Recommended Skill Level
Starter Project

Kitchen cabinet project using ShelfHelp

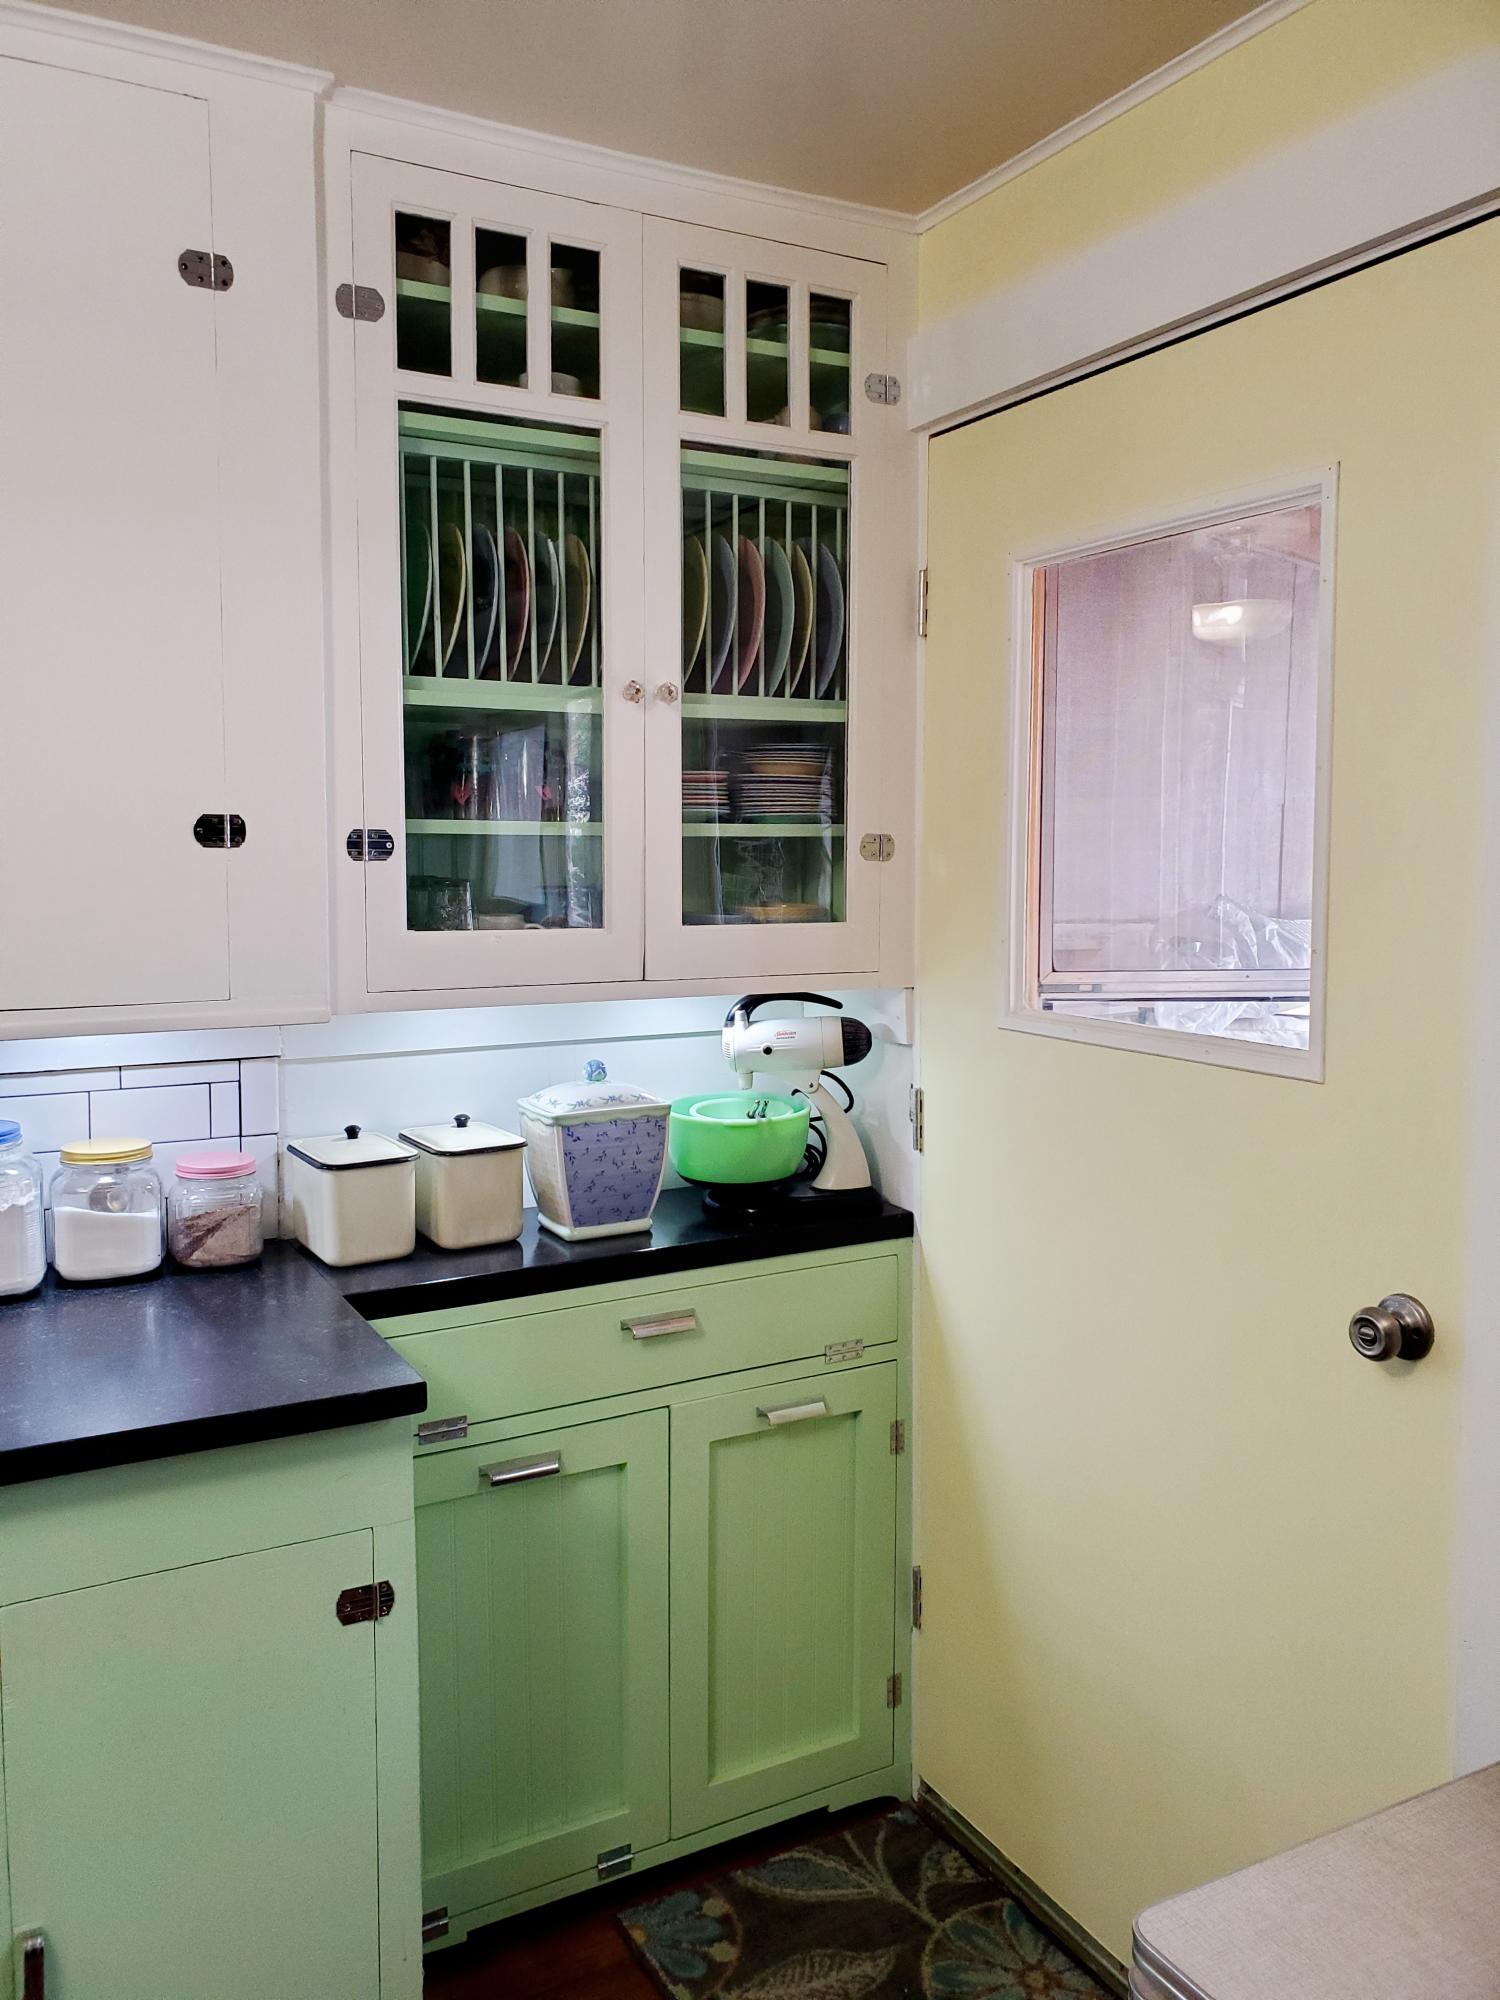
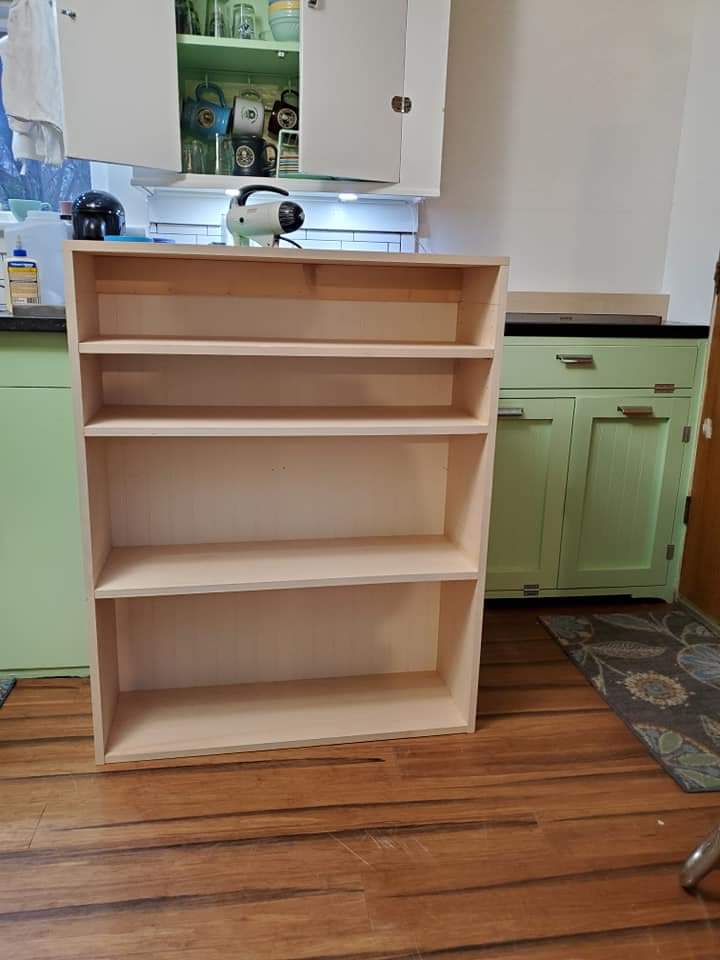
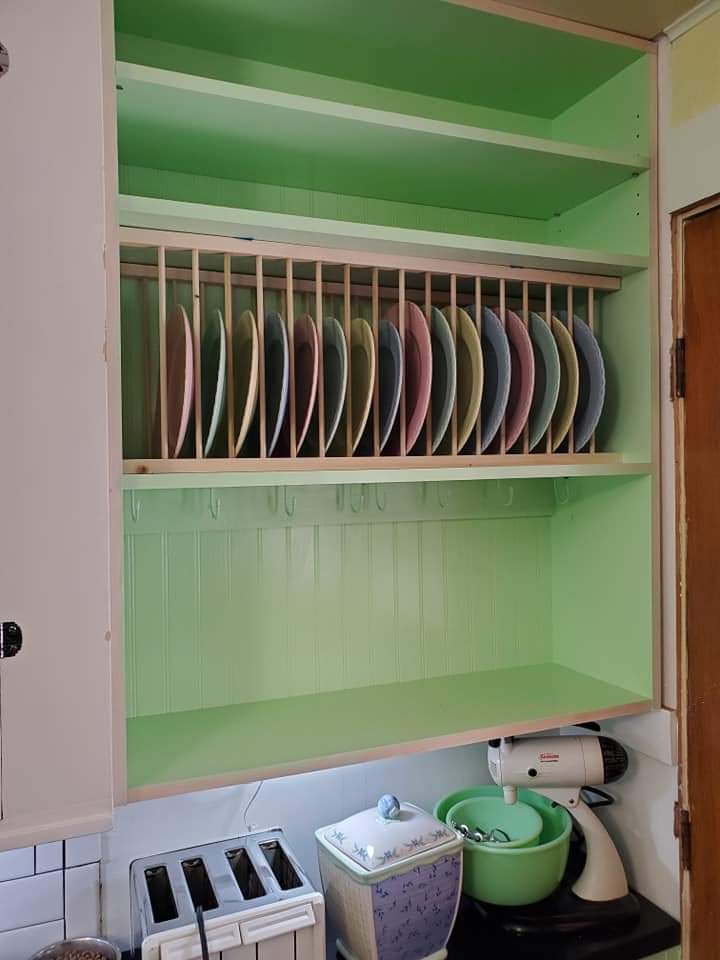
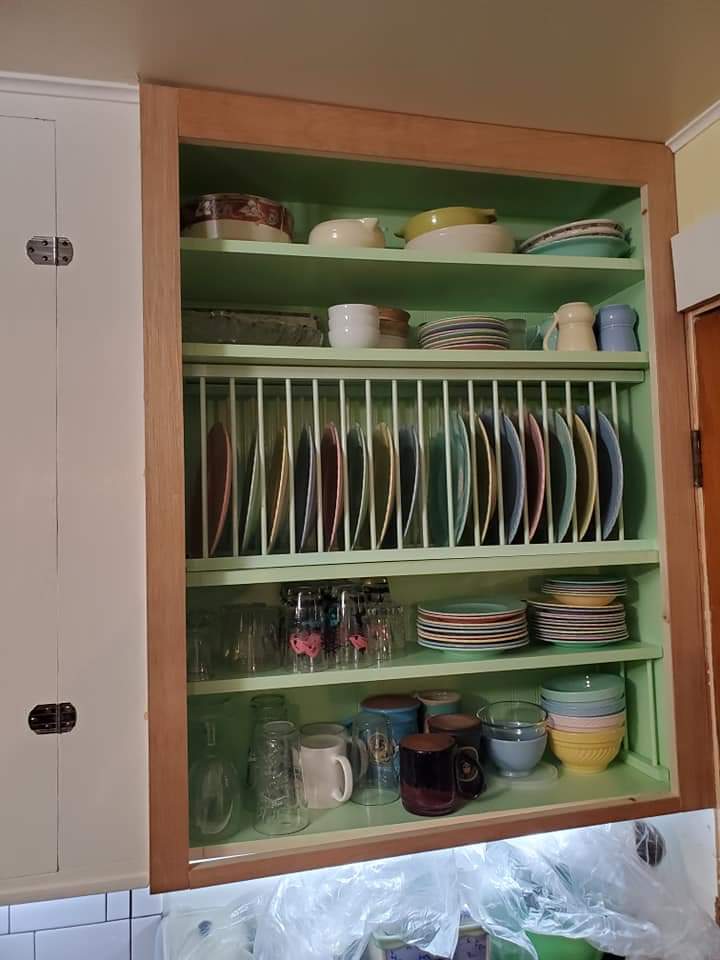
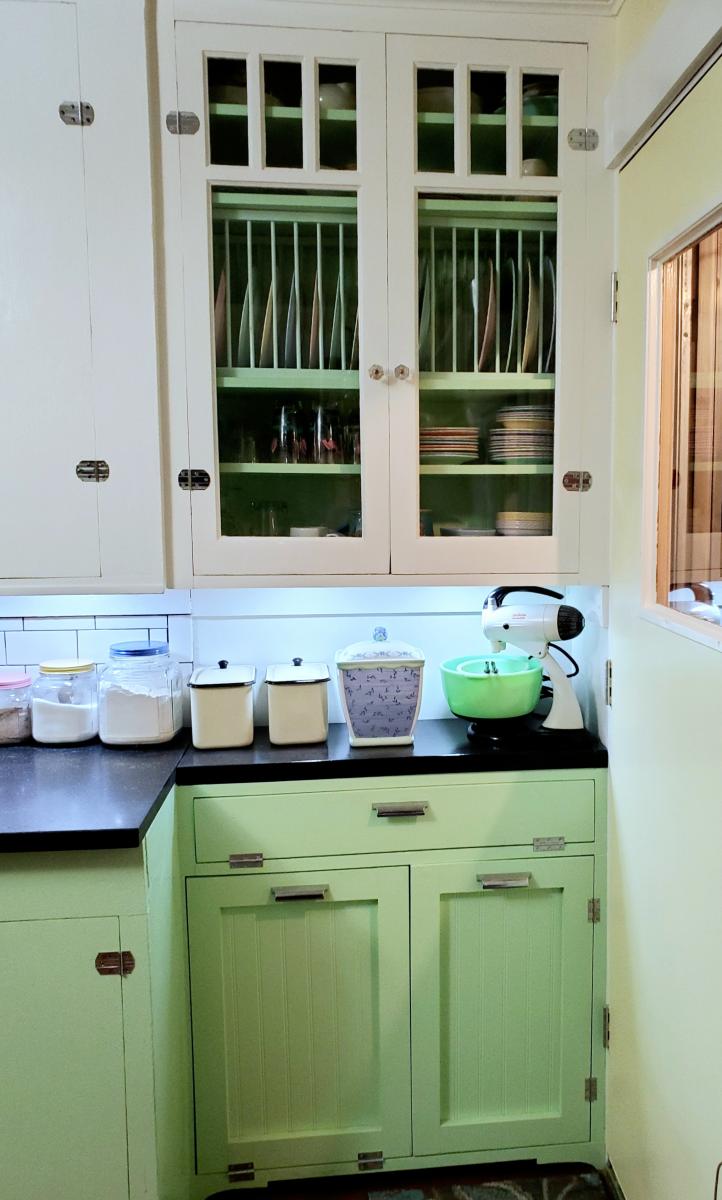
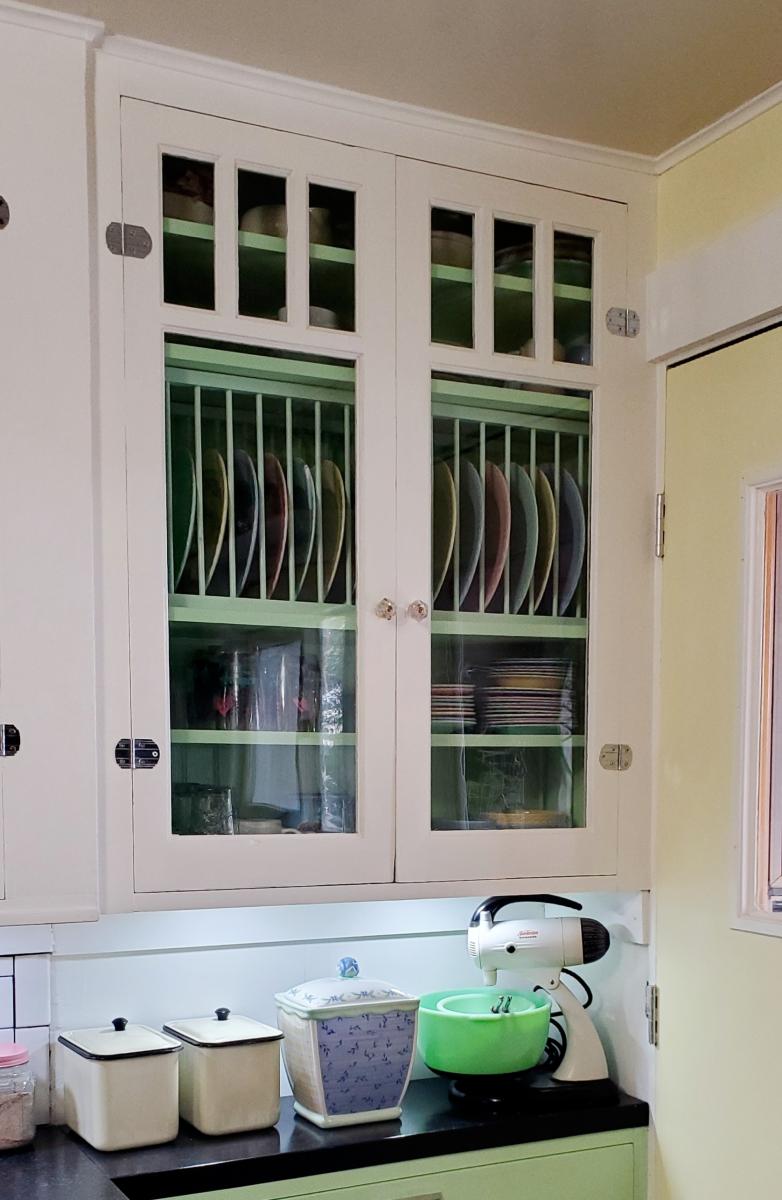
I had an area in my kitchen I wanted to add cabinets to and get rid of the open shelves. I built the lower cabinet from the Tilt Out Garbage Cabinet plans with my own modifications. I ordered the upper cabinet carcass from ShelfHelp, to create a cabinet to showcase my vintage dinnerware I inherited from my Mom. The cabinet went together great! I built a vertical plate rack and another free standing rack for the interior of the cabinet. Added a beadboard back and salvaged antique cabinet doors. Now the back corner is a functional area of the kitchen and fits in perfectly with the original 1937 cabinets. I can't say enough good things about ShelfHelp! Great quality, hassle free ordering, fast shipping and a reasonable price. I will definitely be using Shelf Help again!

Estimated Cost
$500 counting the antique doors
Estimated Time Investment
Week Long Project (20 Hours or More)
Finish Used
Upper cabinet: Benjamin Moore paint Mountain Peak White in semi gloss. Cabinet interior and lower cabinet: Clark & Kensington Garden Gnome in semi gloss.
Recommended Skill Level
Beginner

Comments