Little Helper Tower
While our daughter initially freaked out at the thought of standing on this, she is starting to come around. The adjustable level will make this a mainstay next to our kitchen island for the next few years.
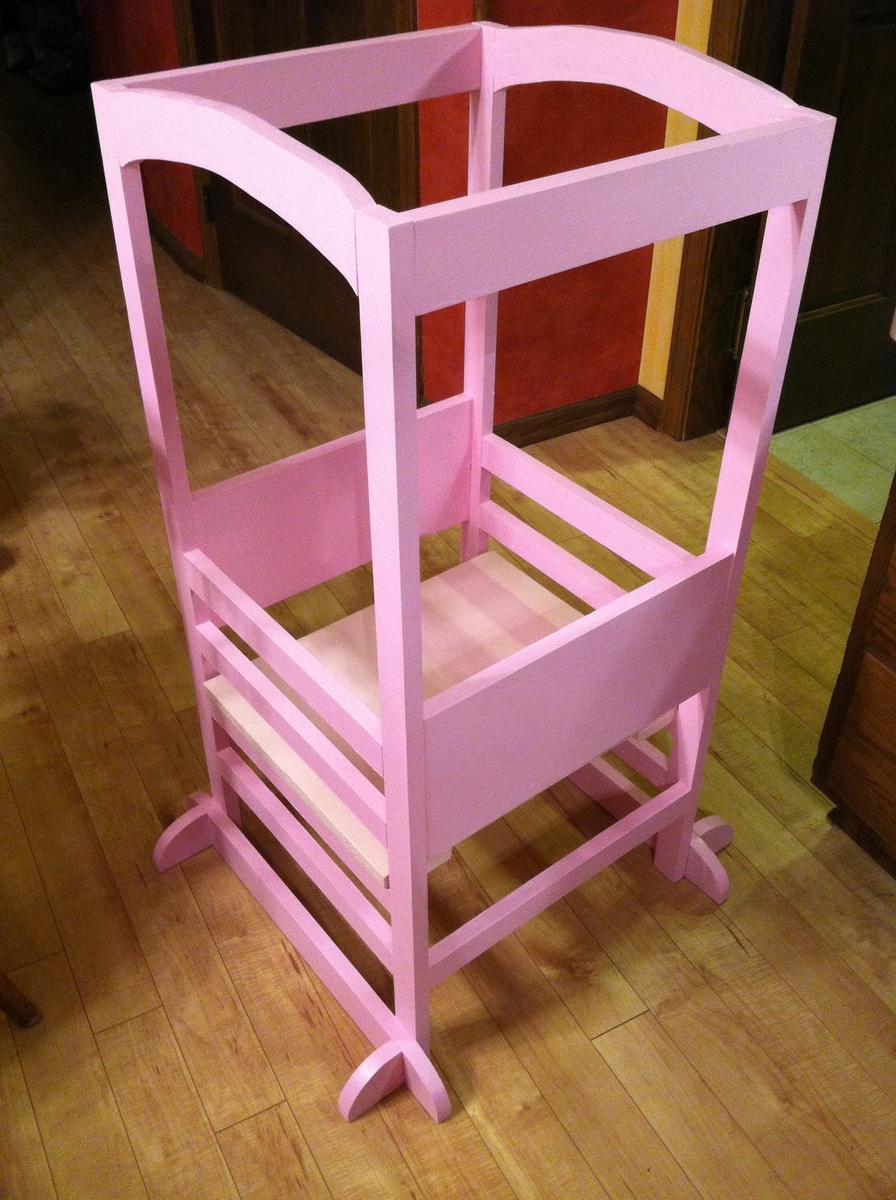
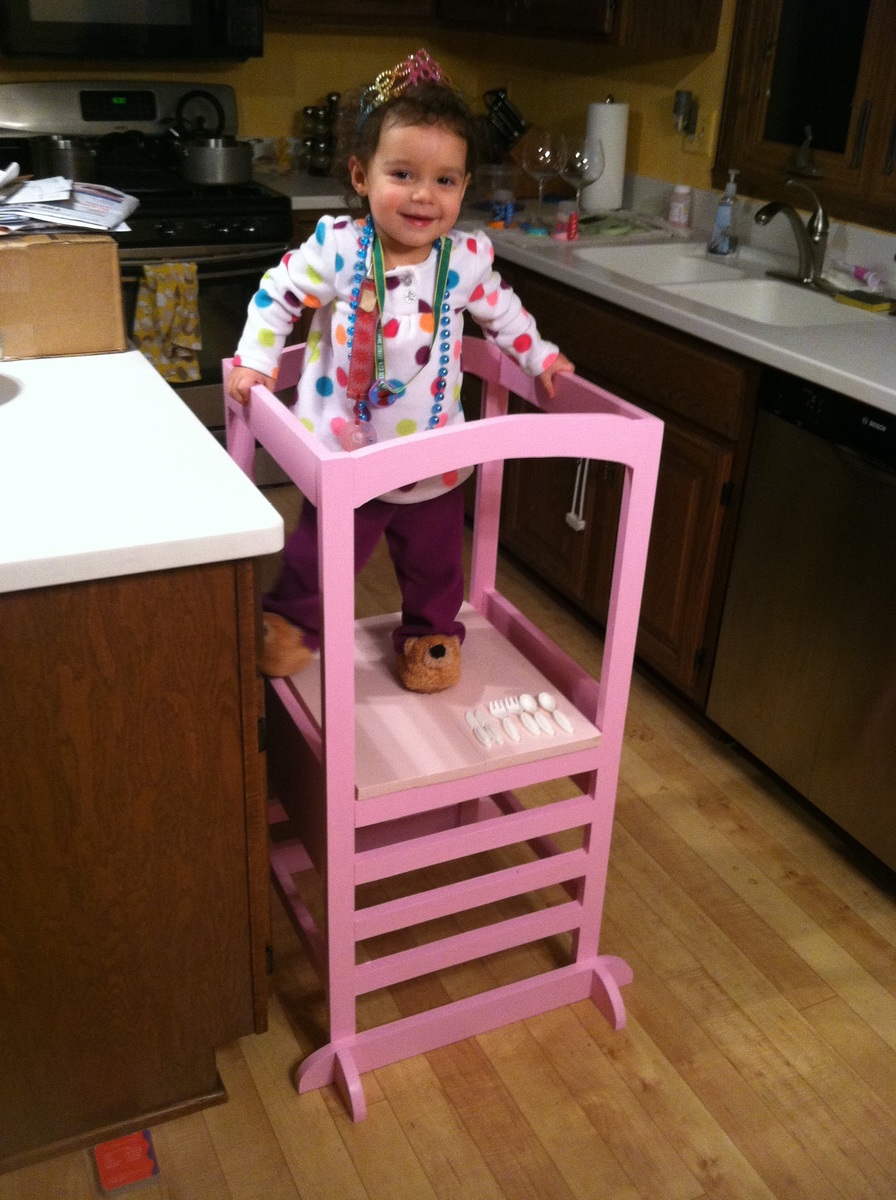
While our daughter initially freaked out at the thought of standing on this, she is starting to come around. The adjustable level will make this a mainstay next to our kitchen island for the next few years.


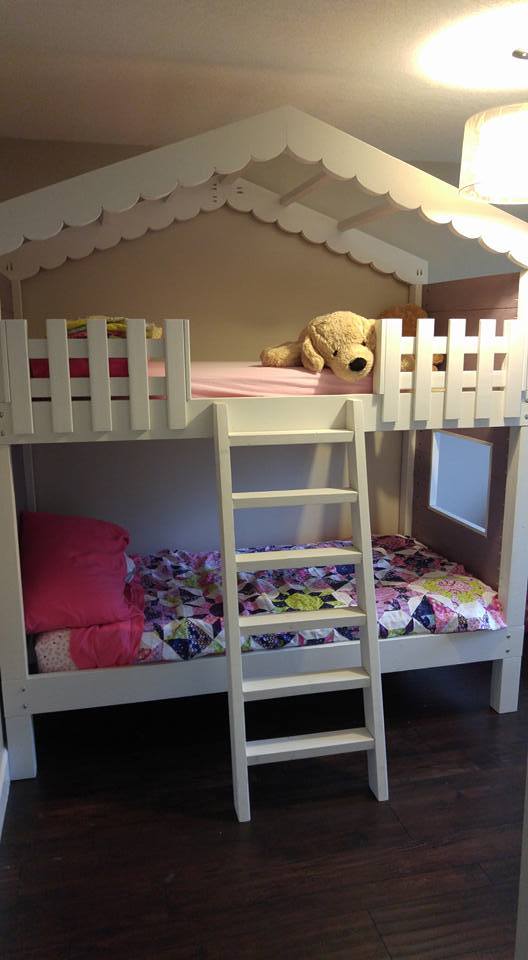
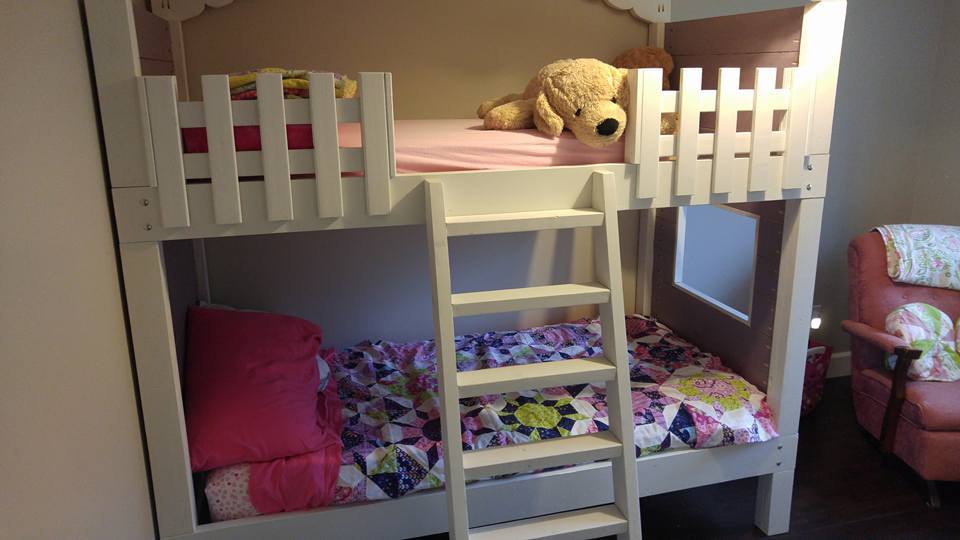
2x6's all the way up the sides, added window and "roof"
picket fence rails and angled ladder
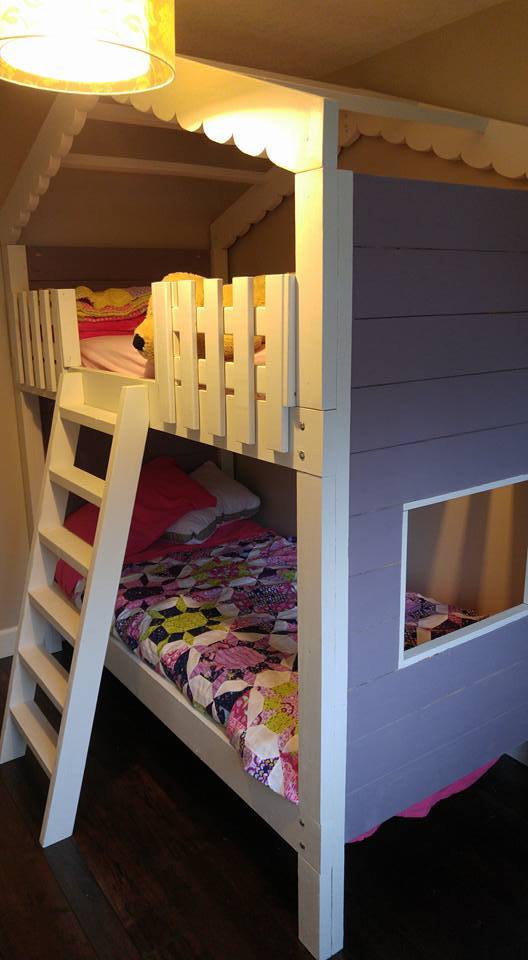
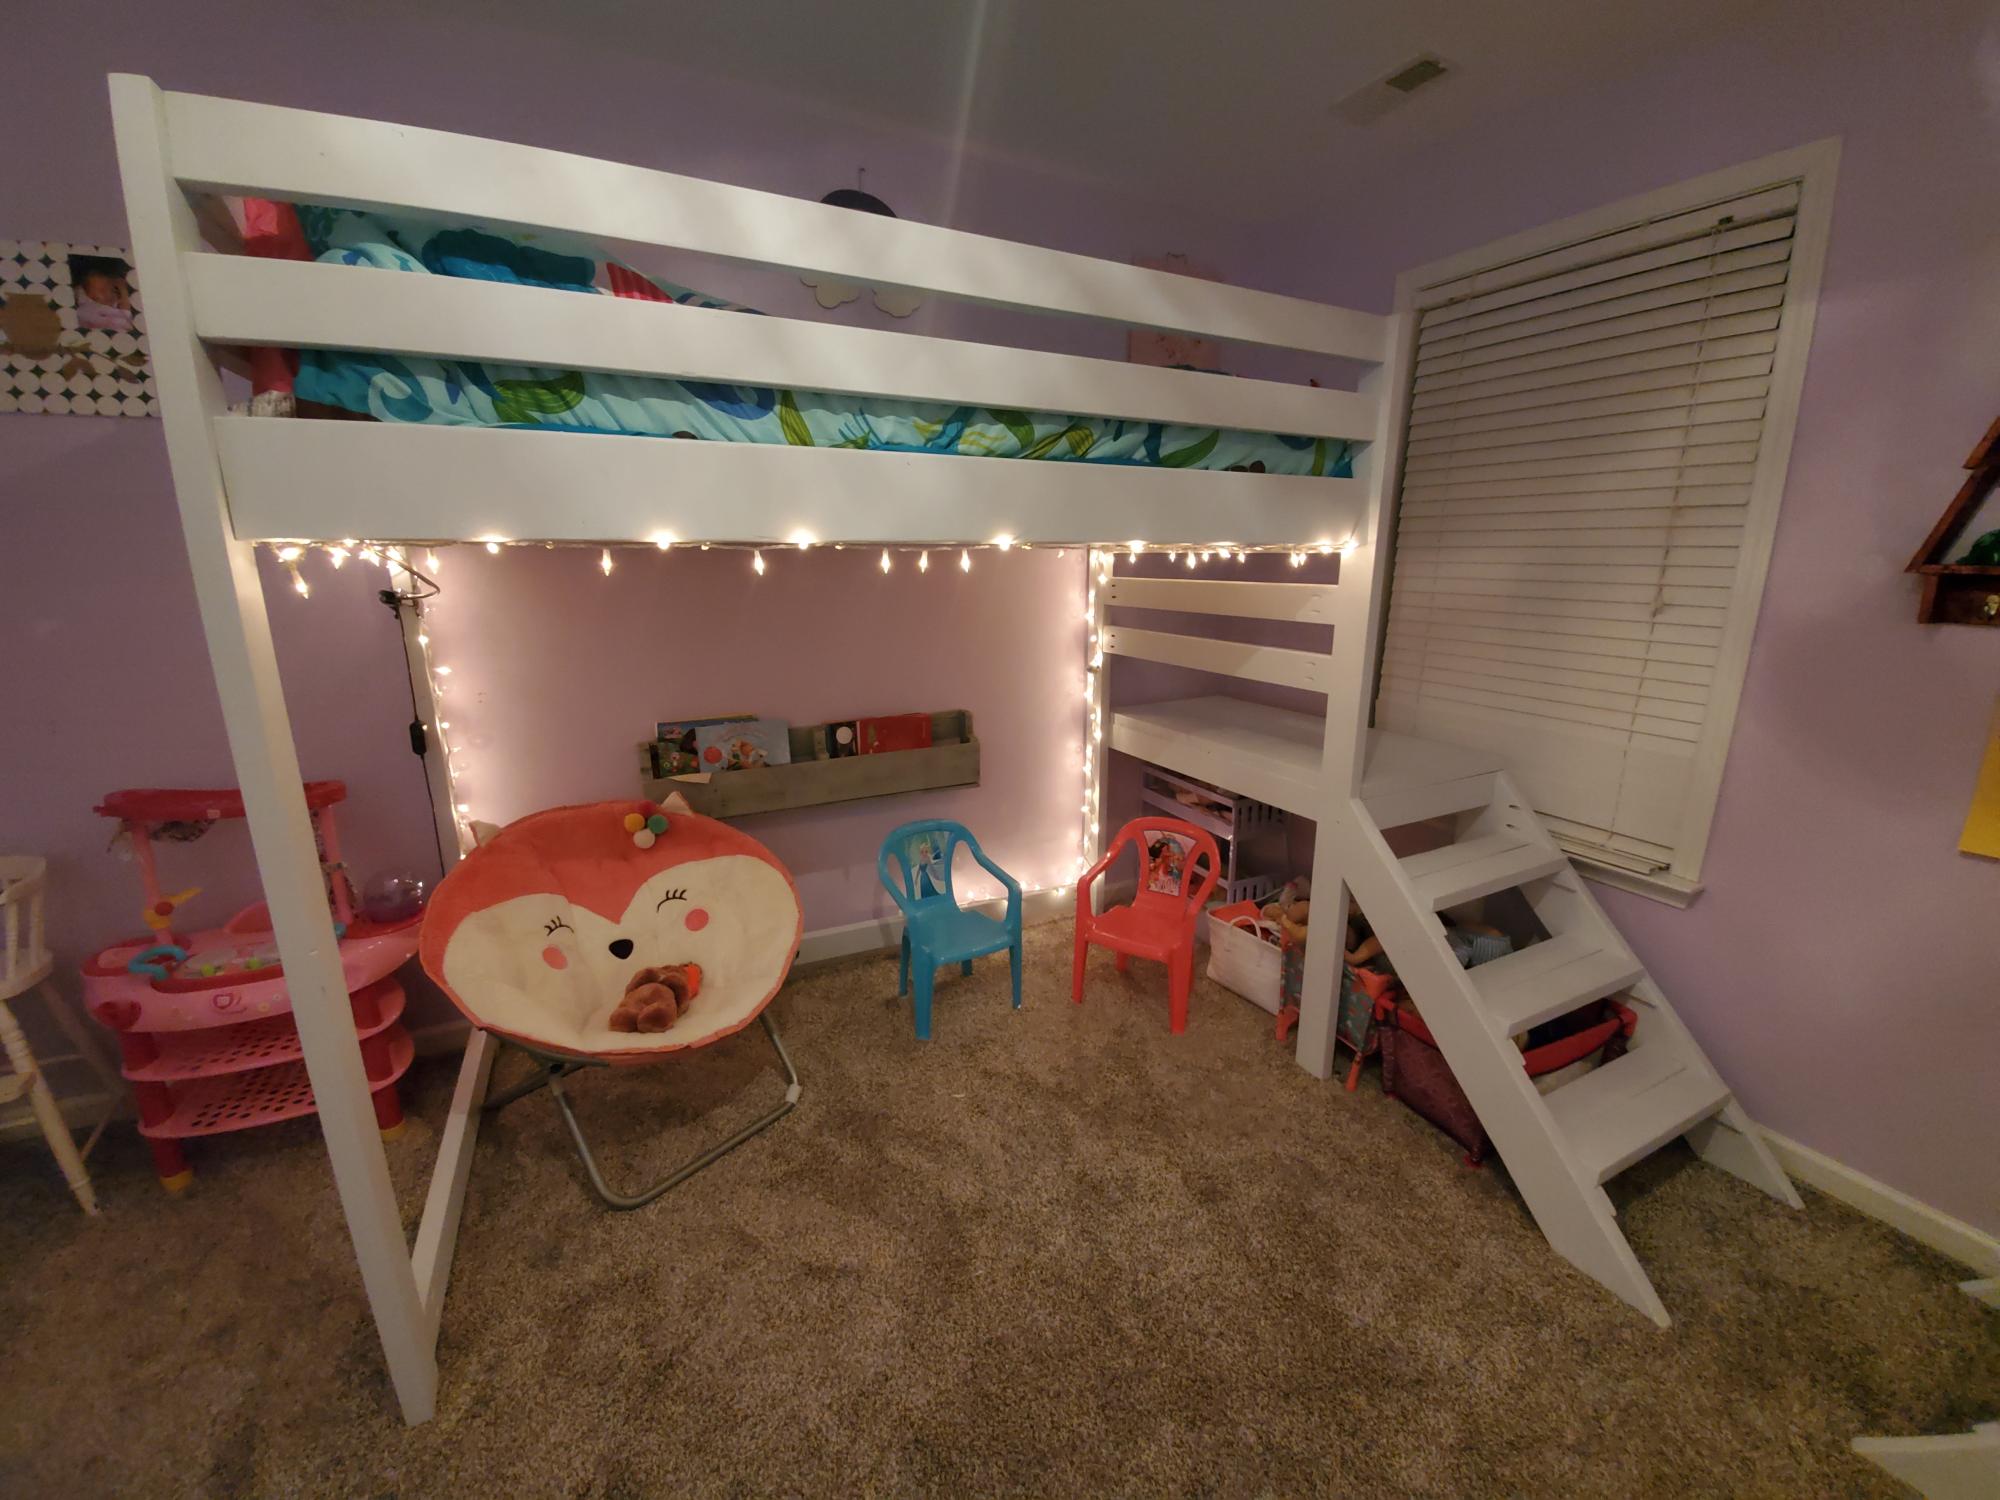
I made 2 of these beds this weekend. It was pretty fun - I made a video of me making it and put it on my youtube
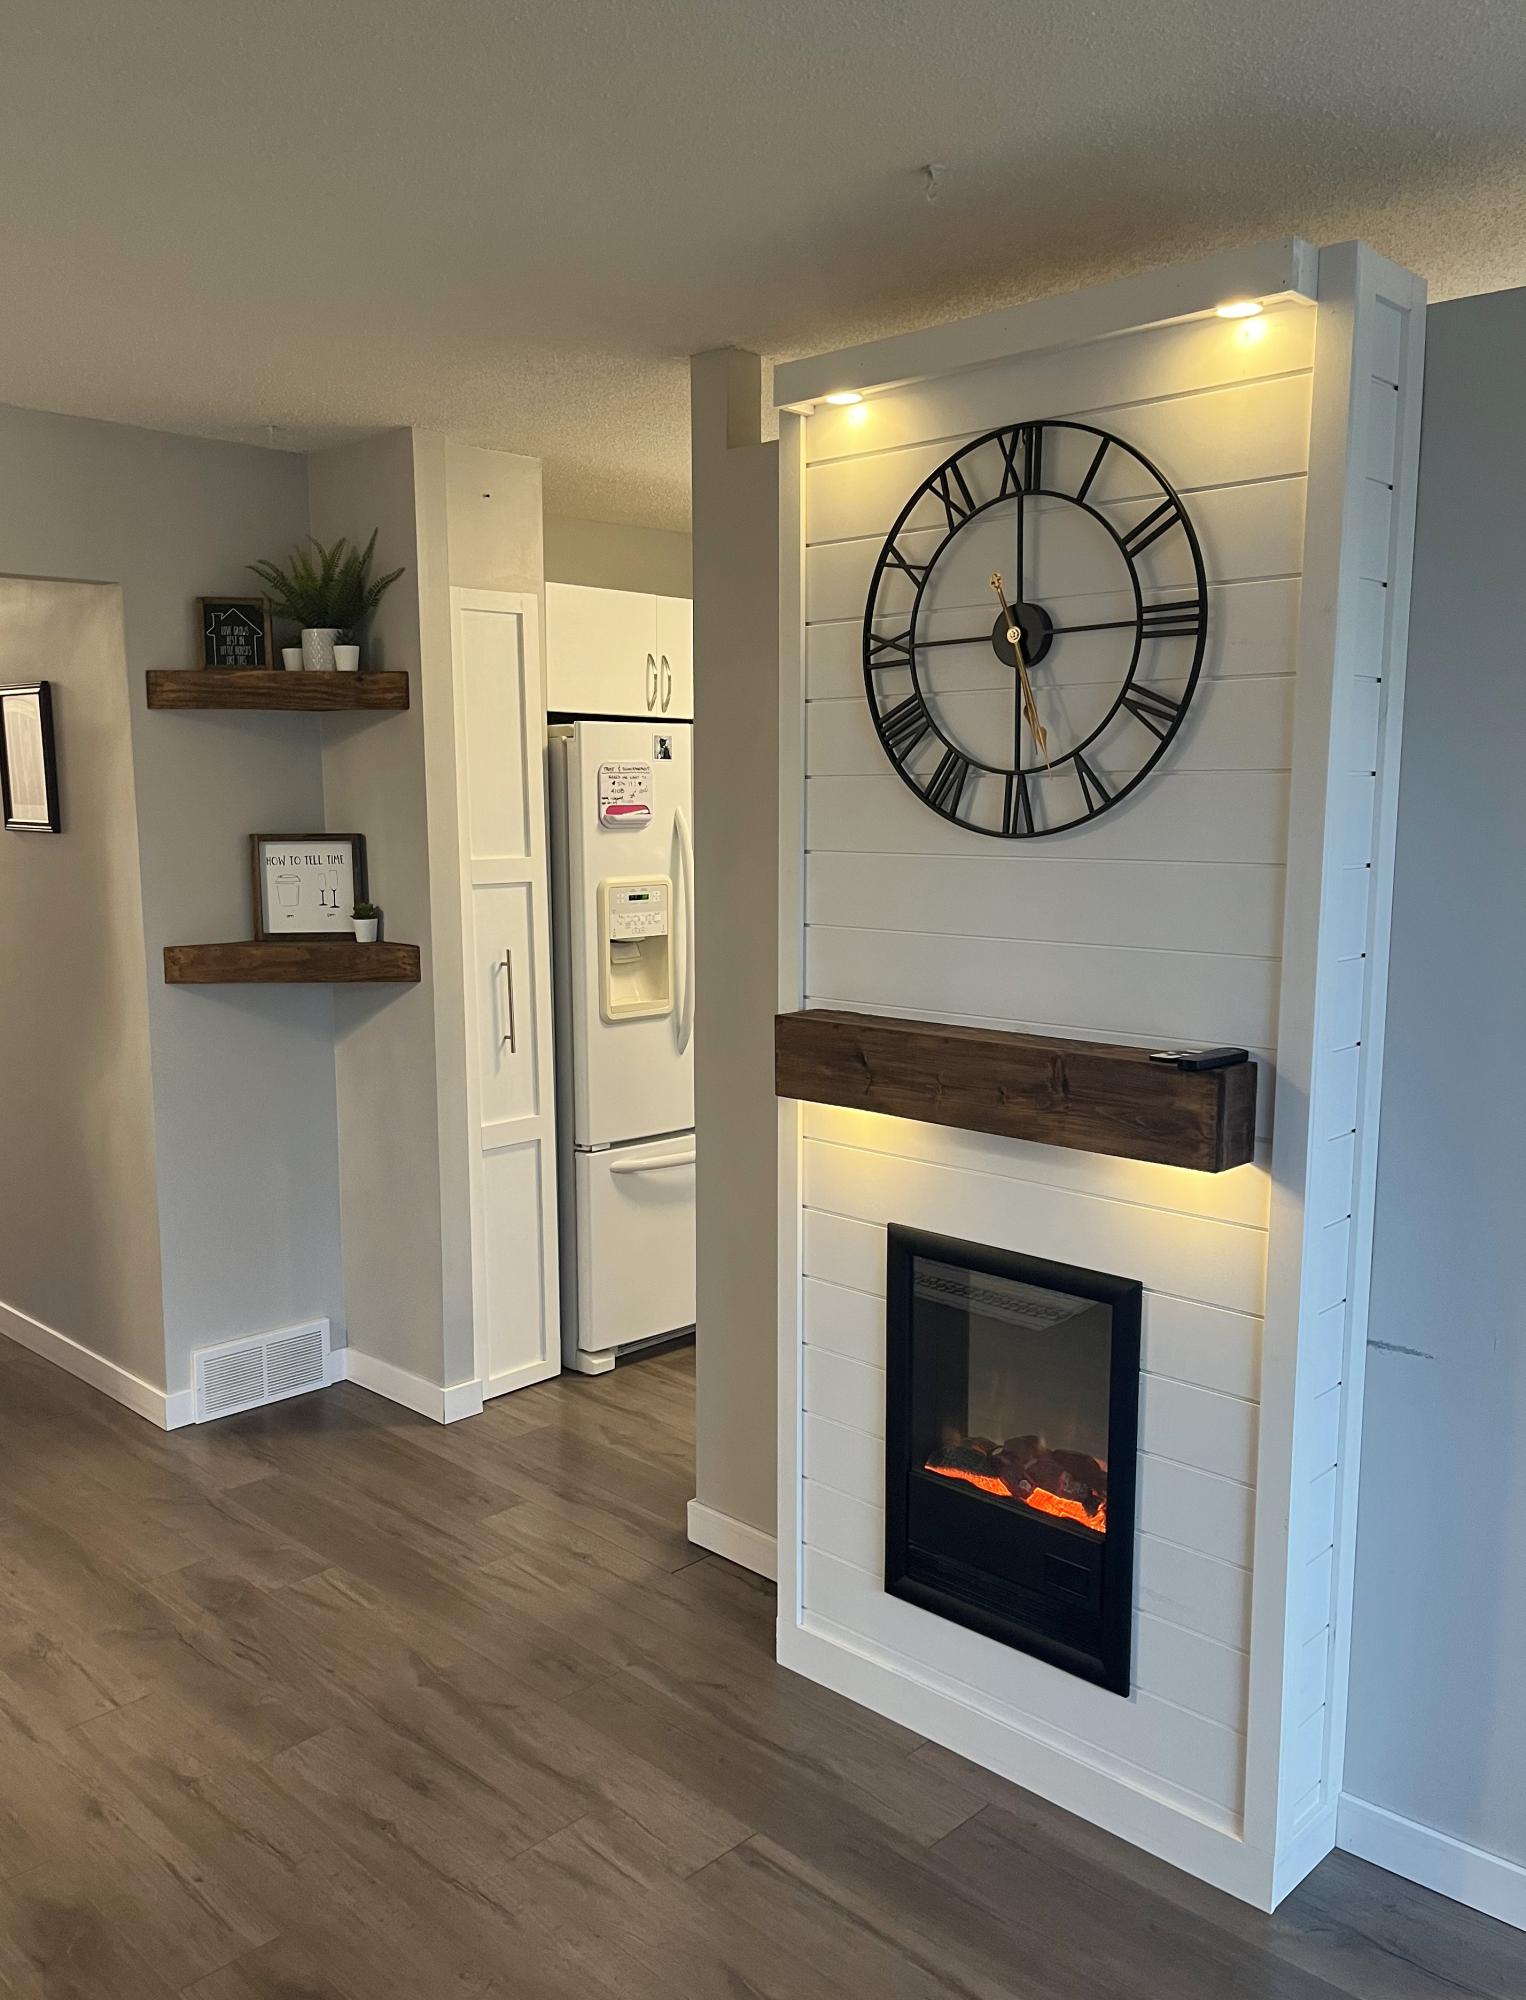
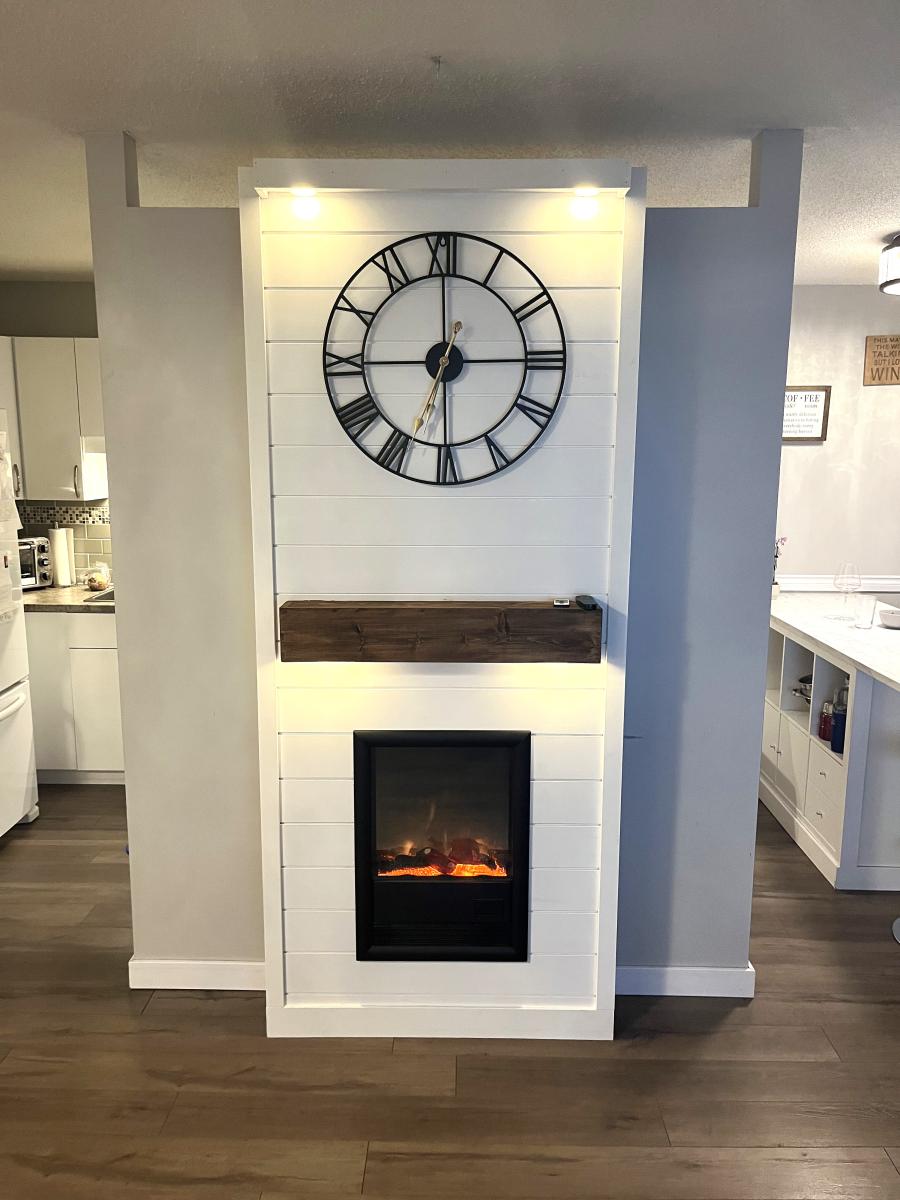
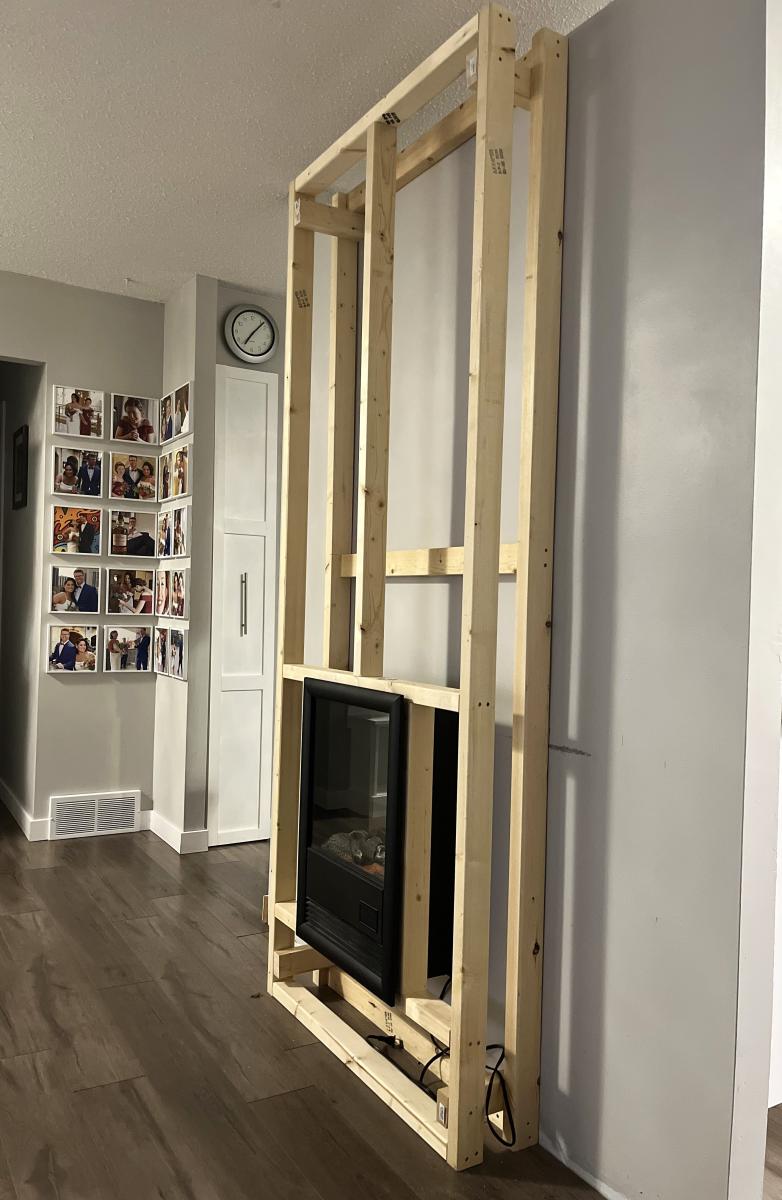
I copied Ana’s fireplace insert design. So easy and looks amazing.
It’s my favorite so far.
Thanks Ana!
Al
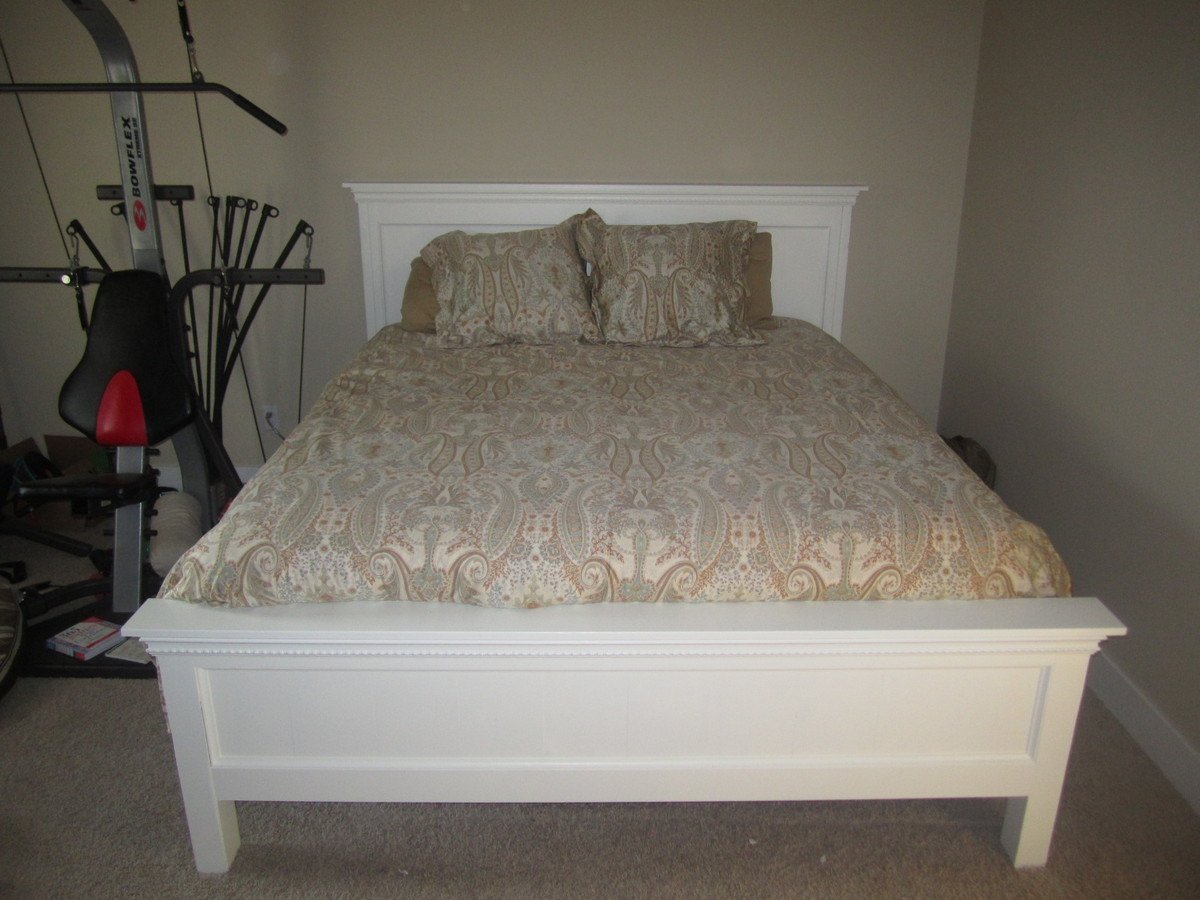
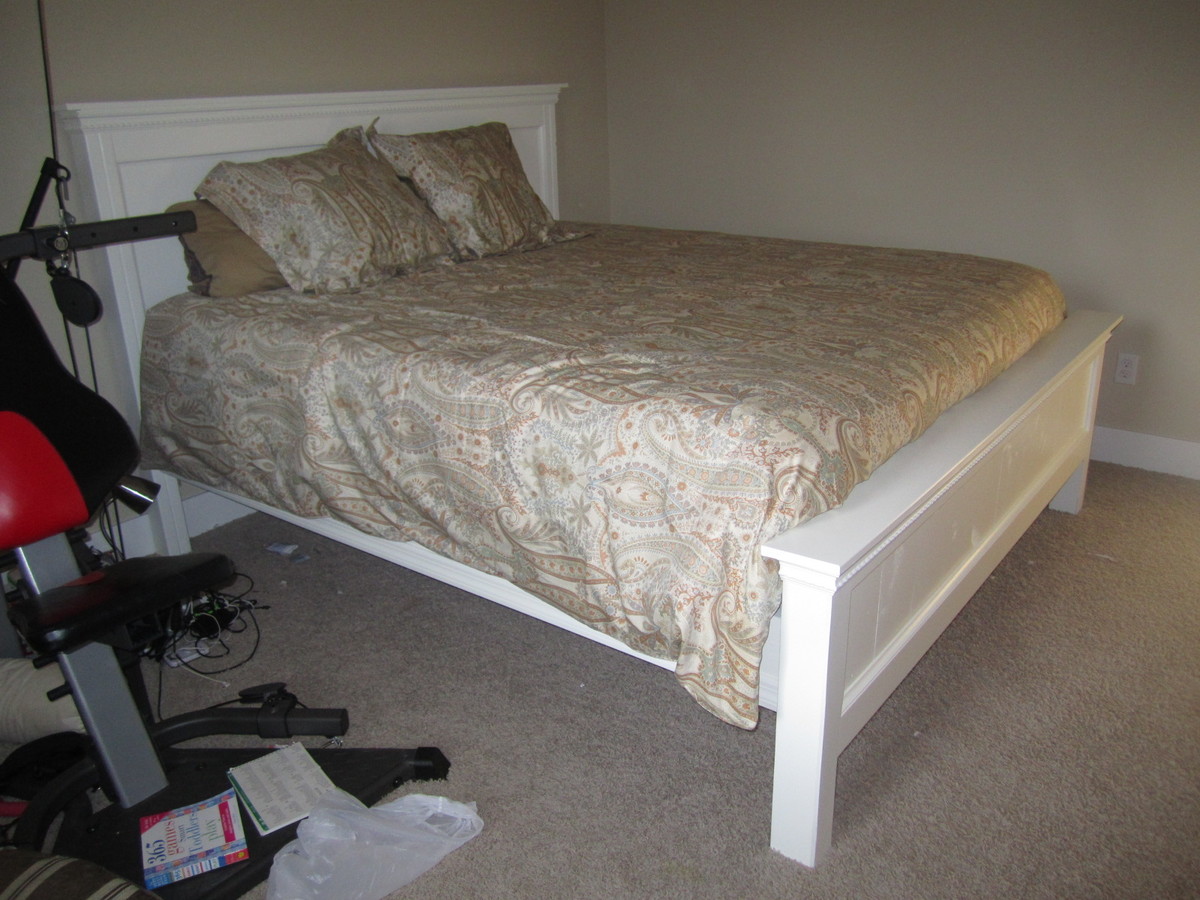
I LOVE the Farmhouse bed but wanted to do something new with it. After looking through some other brag posts for inspiration I made my own blend of things to get what I wanted. There are a a few things I did differently than the original Cali Kinf Bed instructions, which are noted in a list below.
I'm a military wife so whatever I made needed to be easily taken apart, moved, and put back together. For this I used 2x4 joist hangers on the inside of the side rails and cut 2x4's to width. I also wanted to have storage available under the bed so I made it a little higher, 12 inches rather than 10. I should have also made the overall headboard 2 inches higher as well, not just the spot the side rails sit on. Our mattress is a little taller against the headboard than I thought it would be. That's the only thing I'd of done differently.
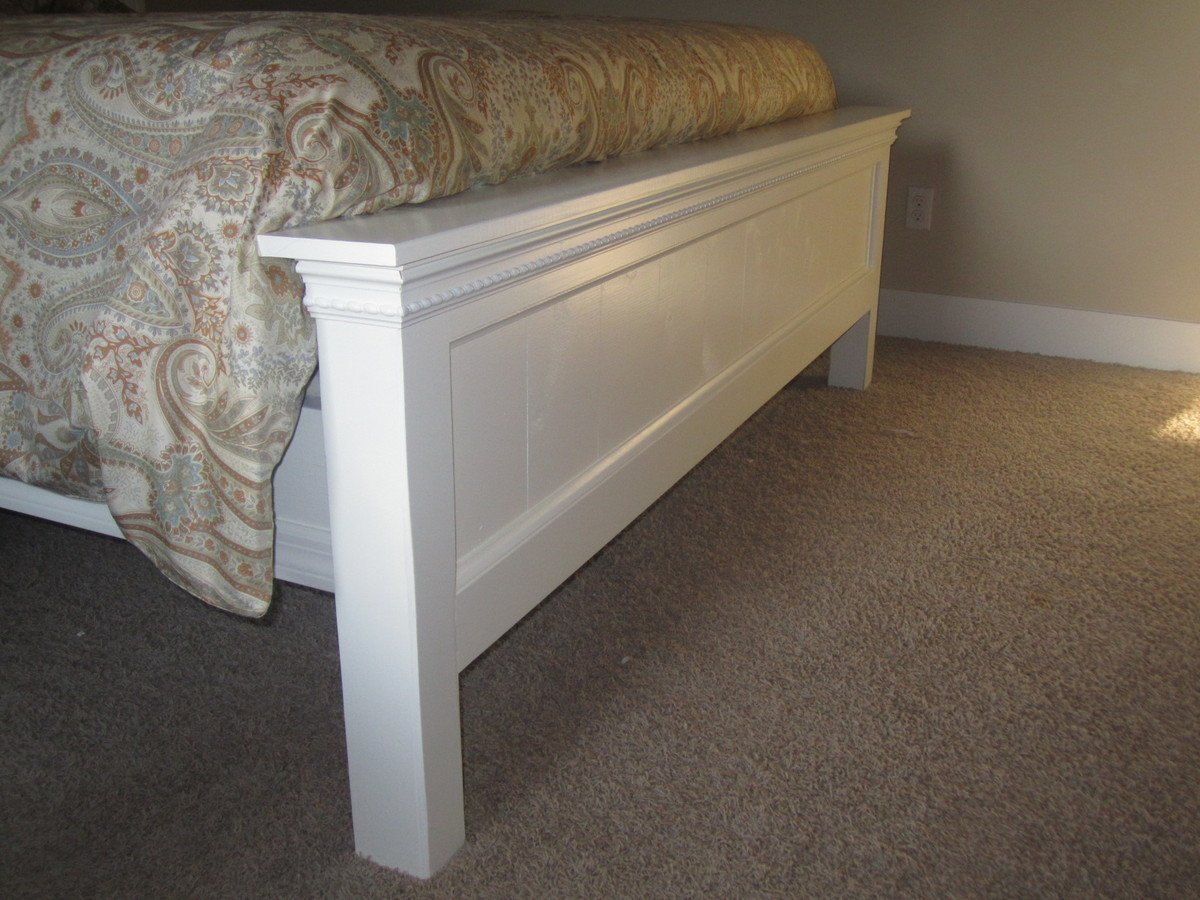
I didn't use 4x4s for the foot board sides, I did use 2x4's and put them together like the headboard instructions with the slot for the side rail. The difference in mine is that I added thin backer board on the front of the 2x4 and mounted the foot board flush with that, and then used wood filler to smooth around the edges and give it the appearance of a 4x4. Adds a little more work but it was well worth it.
~ I did not use 2x4s laid on top of the finished head and foot boards
~ The headboard top has a 1x6 rather than the 1x4
~ I added rope chair rail on the tops of the head and foot boards
~ I added cove molding around the plank section of the head and foot boards
~ The very top pieces of wood on the head and foot boards have a 1 inch overlap to the back of the 2x4 sides. This allows space for floor trim behind the headboard and comforter stuffing behind the foot board.
~ I added molding to the bottom of the side rails, they looked too plain with the rest of it together and that made a big different in the overall look.
Overall I'm very happy with the way this build turned out, especially for my first furniture build!
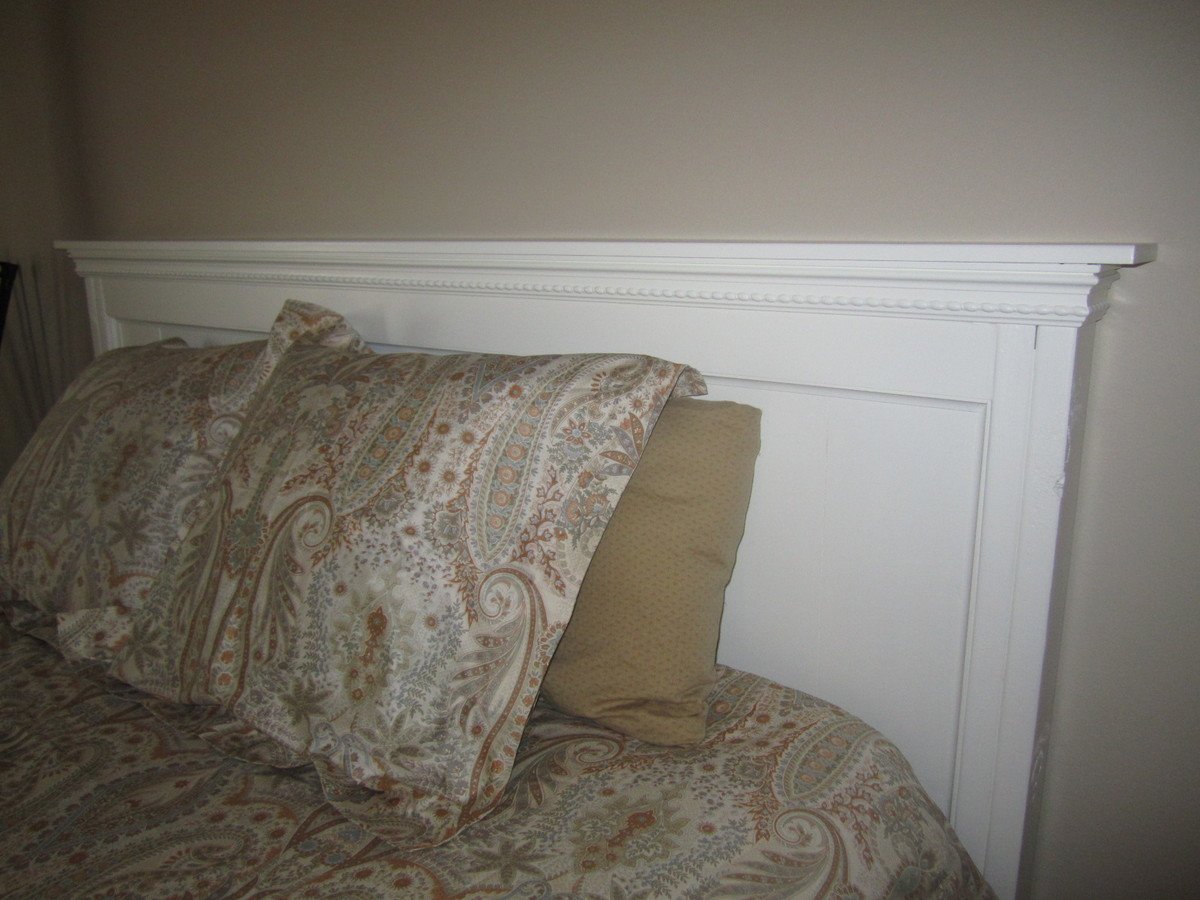
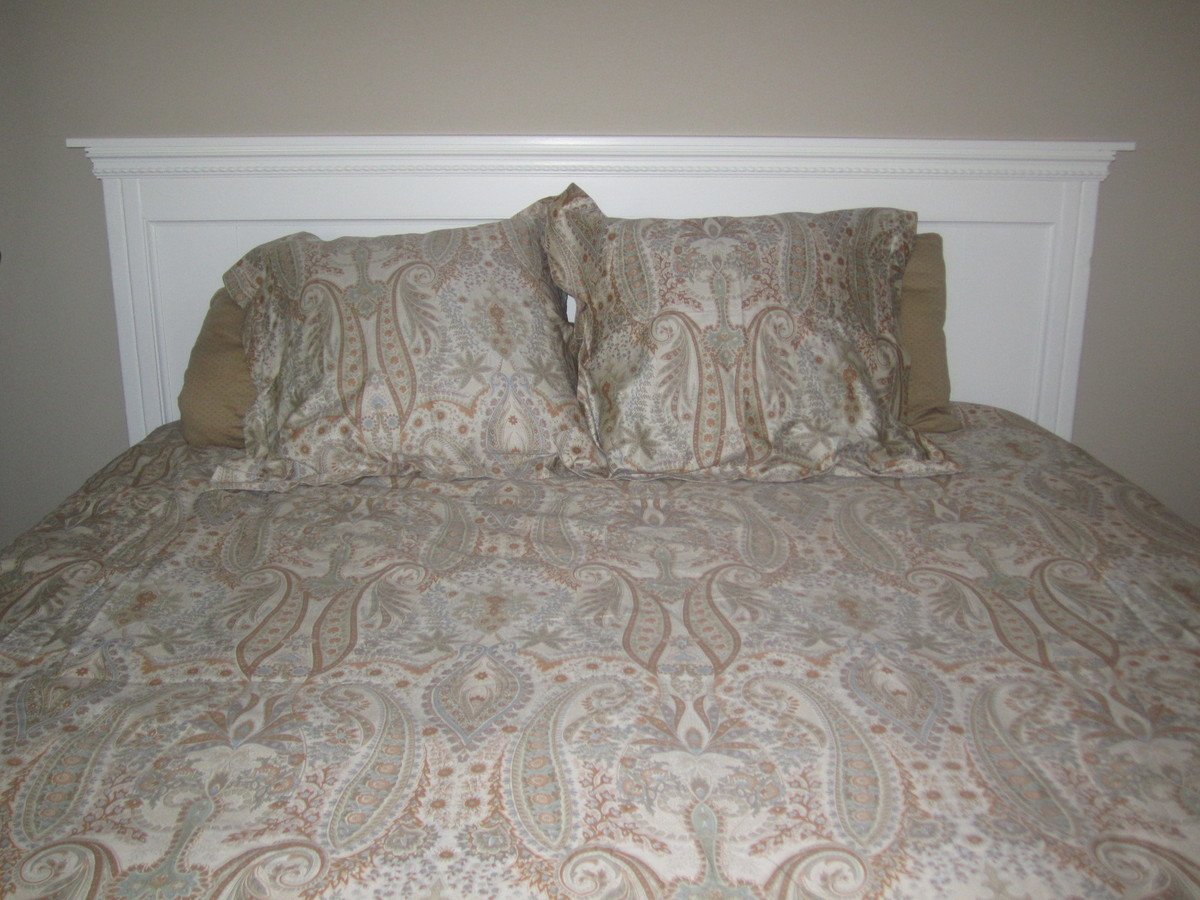
This is one of my first furnish DIY projects.
I really had trouble to pick defect-free 1x6 boards at my local home depot, and it took me two different store trips to get all I wanted.
I spent more time than what the plan estimated. The drawer rails were tricky to install. In the end I had to disassemble the drawers and trim them down a little bit in order to get the rails fit.
Great plans. Fairly easy project. My husband built it and I stained it, Briarsmoke by Varathane. The most difficult part was to get the bread boards to sit flush with the perpendicular boards when attached. We had to undo and re-do that part several times. We followed the plans and built the table base before adding the bread boards at the end, but my husband decided that it would have been easier to attache one end of each board to the bread board, then attach the perpendicular boards together, then attach the other bread board.
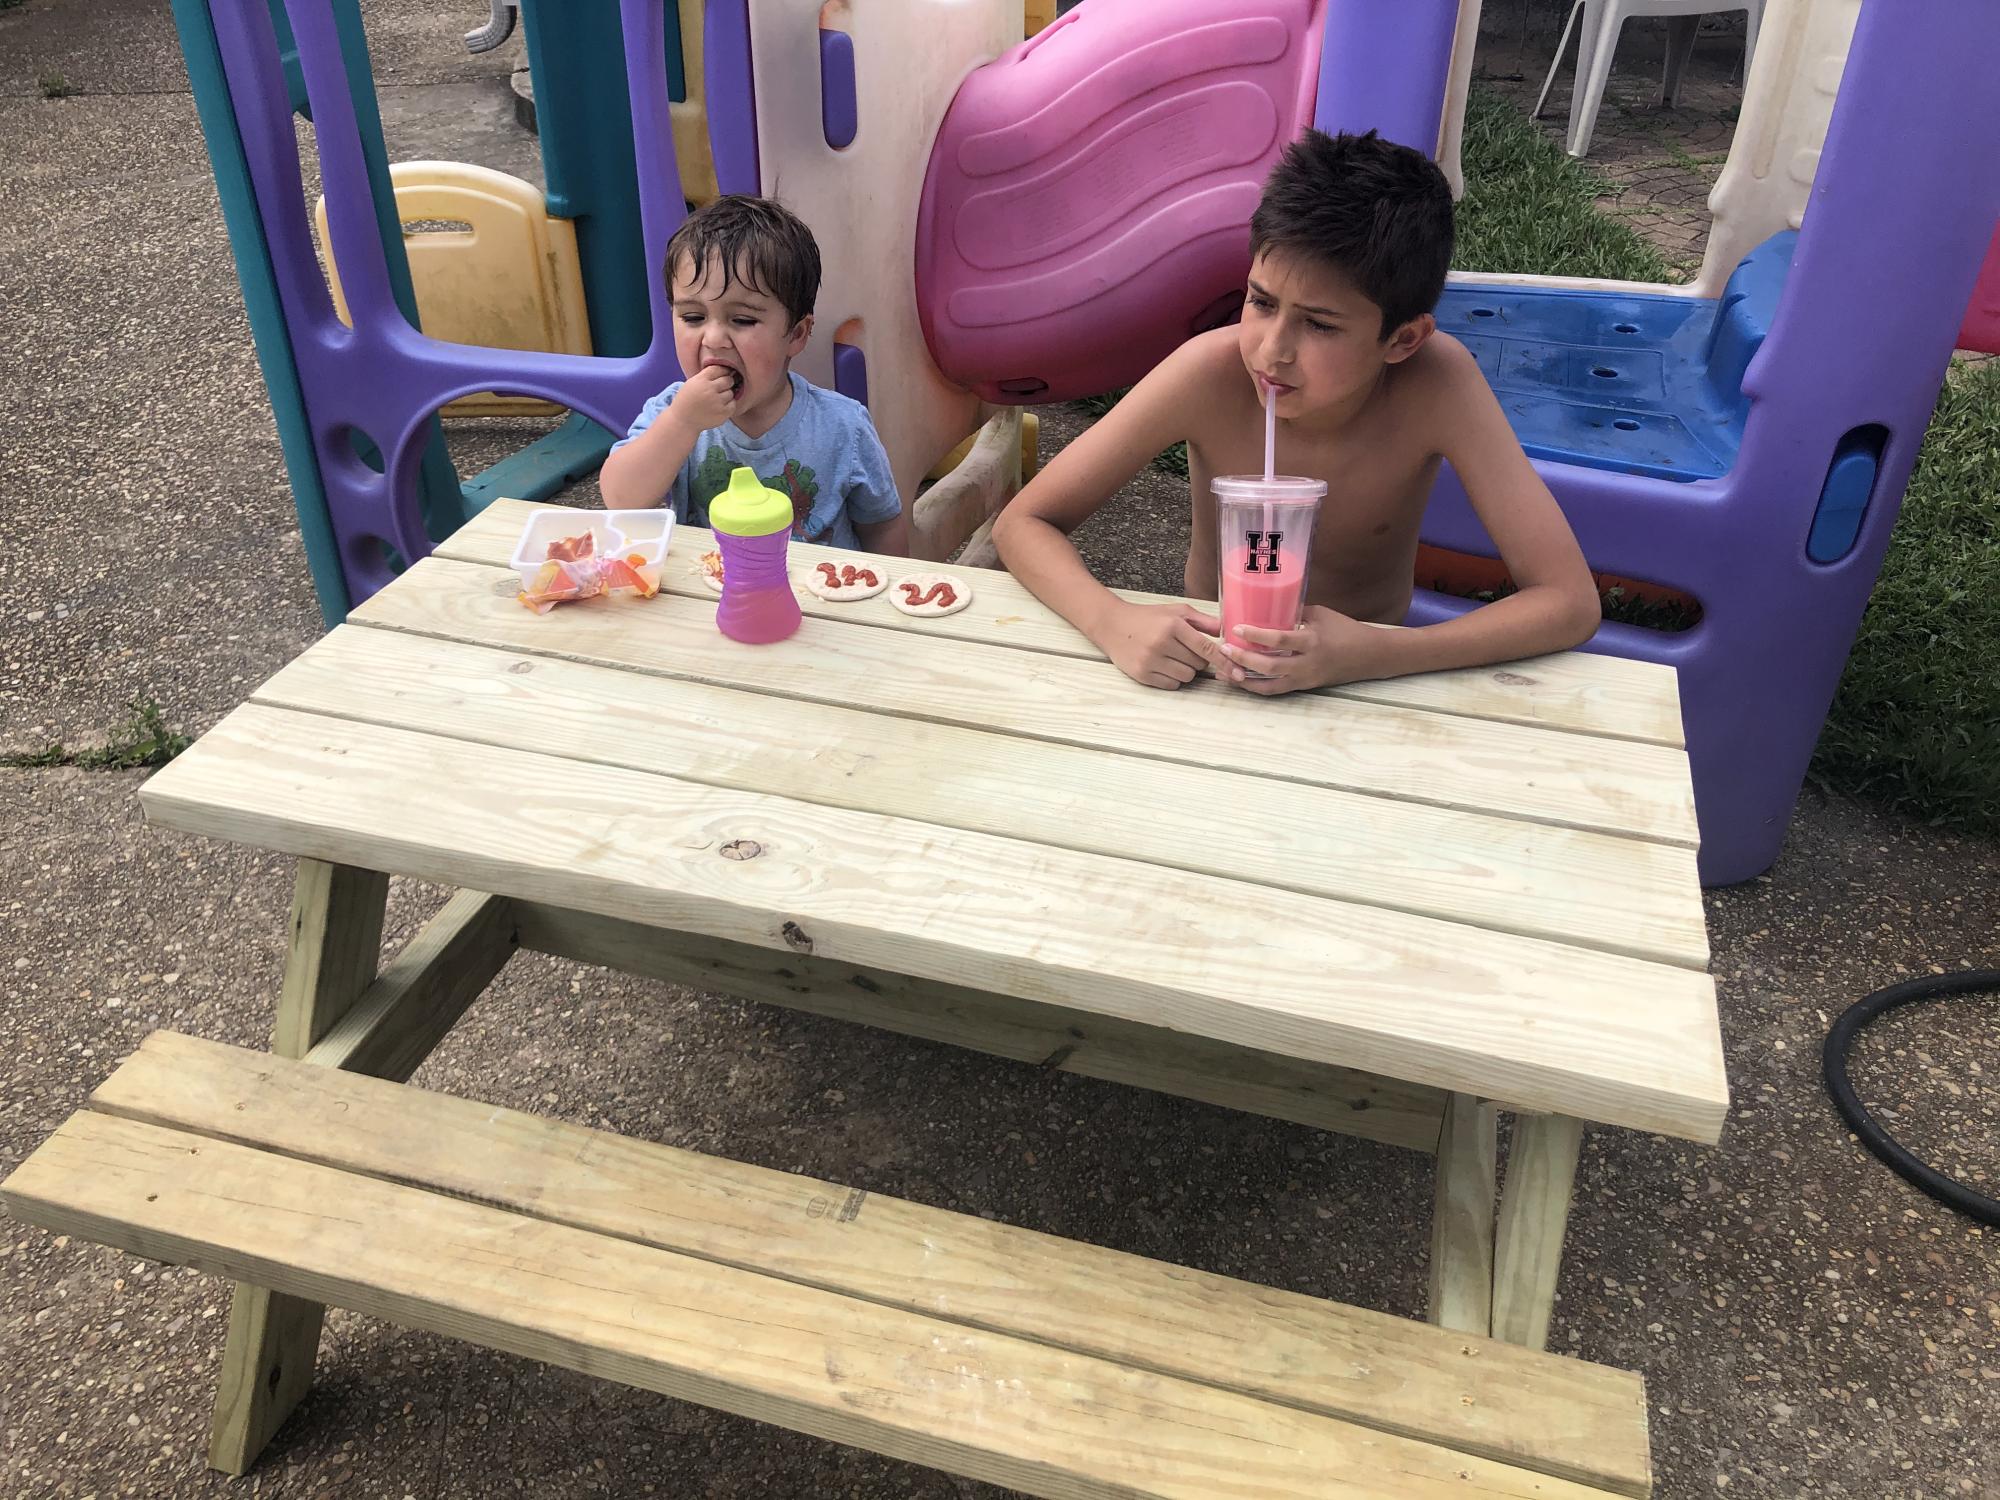
My first woodworking project. The plans were easy to understand and my four kids love it!
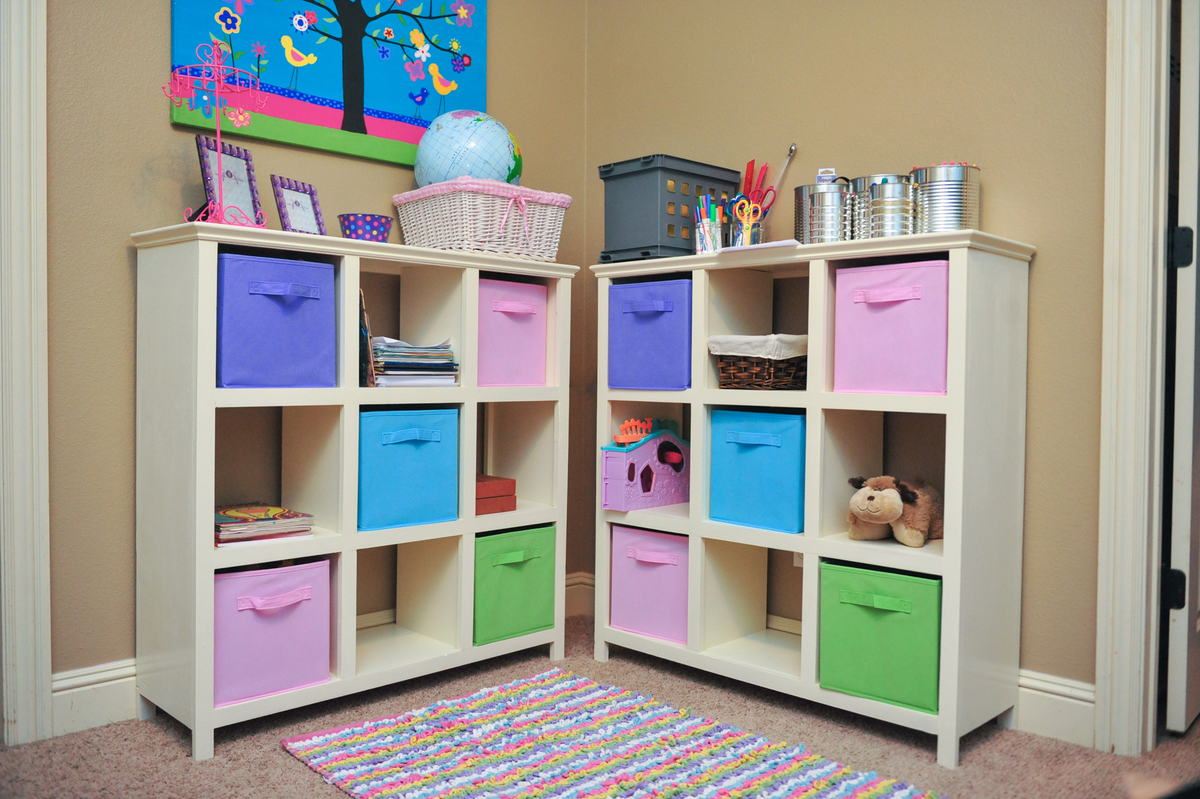
I followed the 6 cube shelf plans but just accounted for the extra cube plus 3/4 inch shelf. It was pretty simple build. The hardest part was painting it.
Wed, 03/05/2014 - 05:02
Great job. The trim really gives it a quality look!
Mon, 11/21/2016 - 14:34
Hi
You said that you made a 9 Cube by adding 3/4 inch to measurements. Please let me know if my measurements are correct. You added 12 1/4'' (cube height) + 26 3/4'' (side height) + 3/4'' (measurements you added to get the total inches need for the sides?
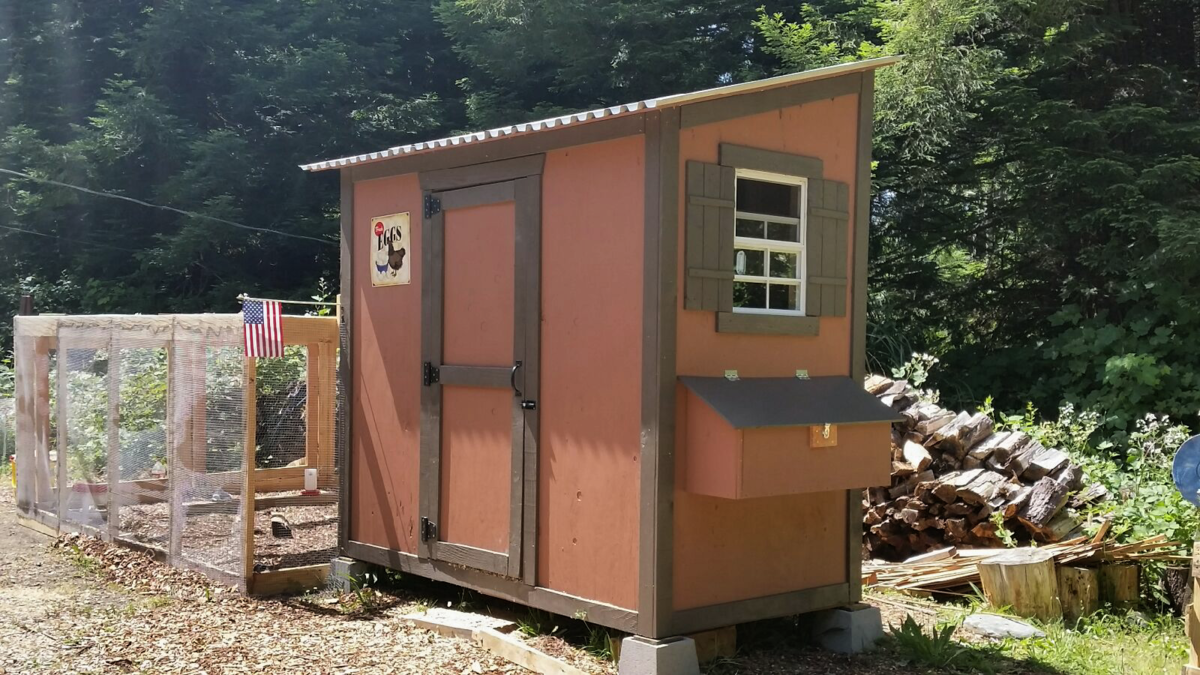
My 7 week old chicks love thier new home
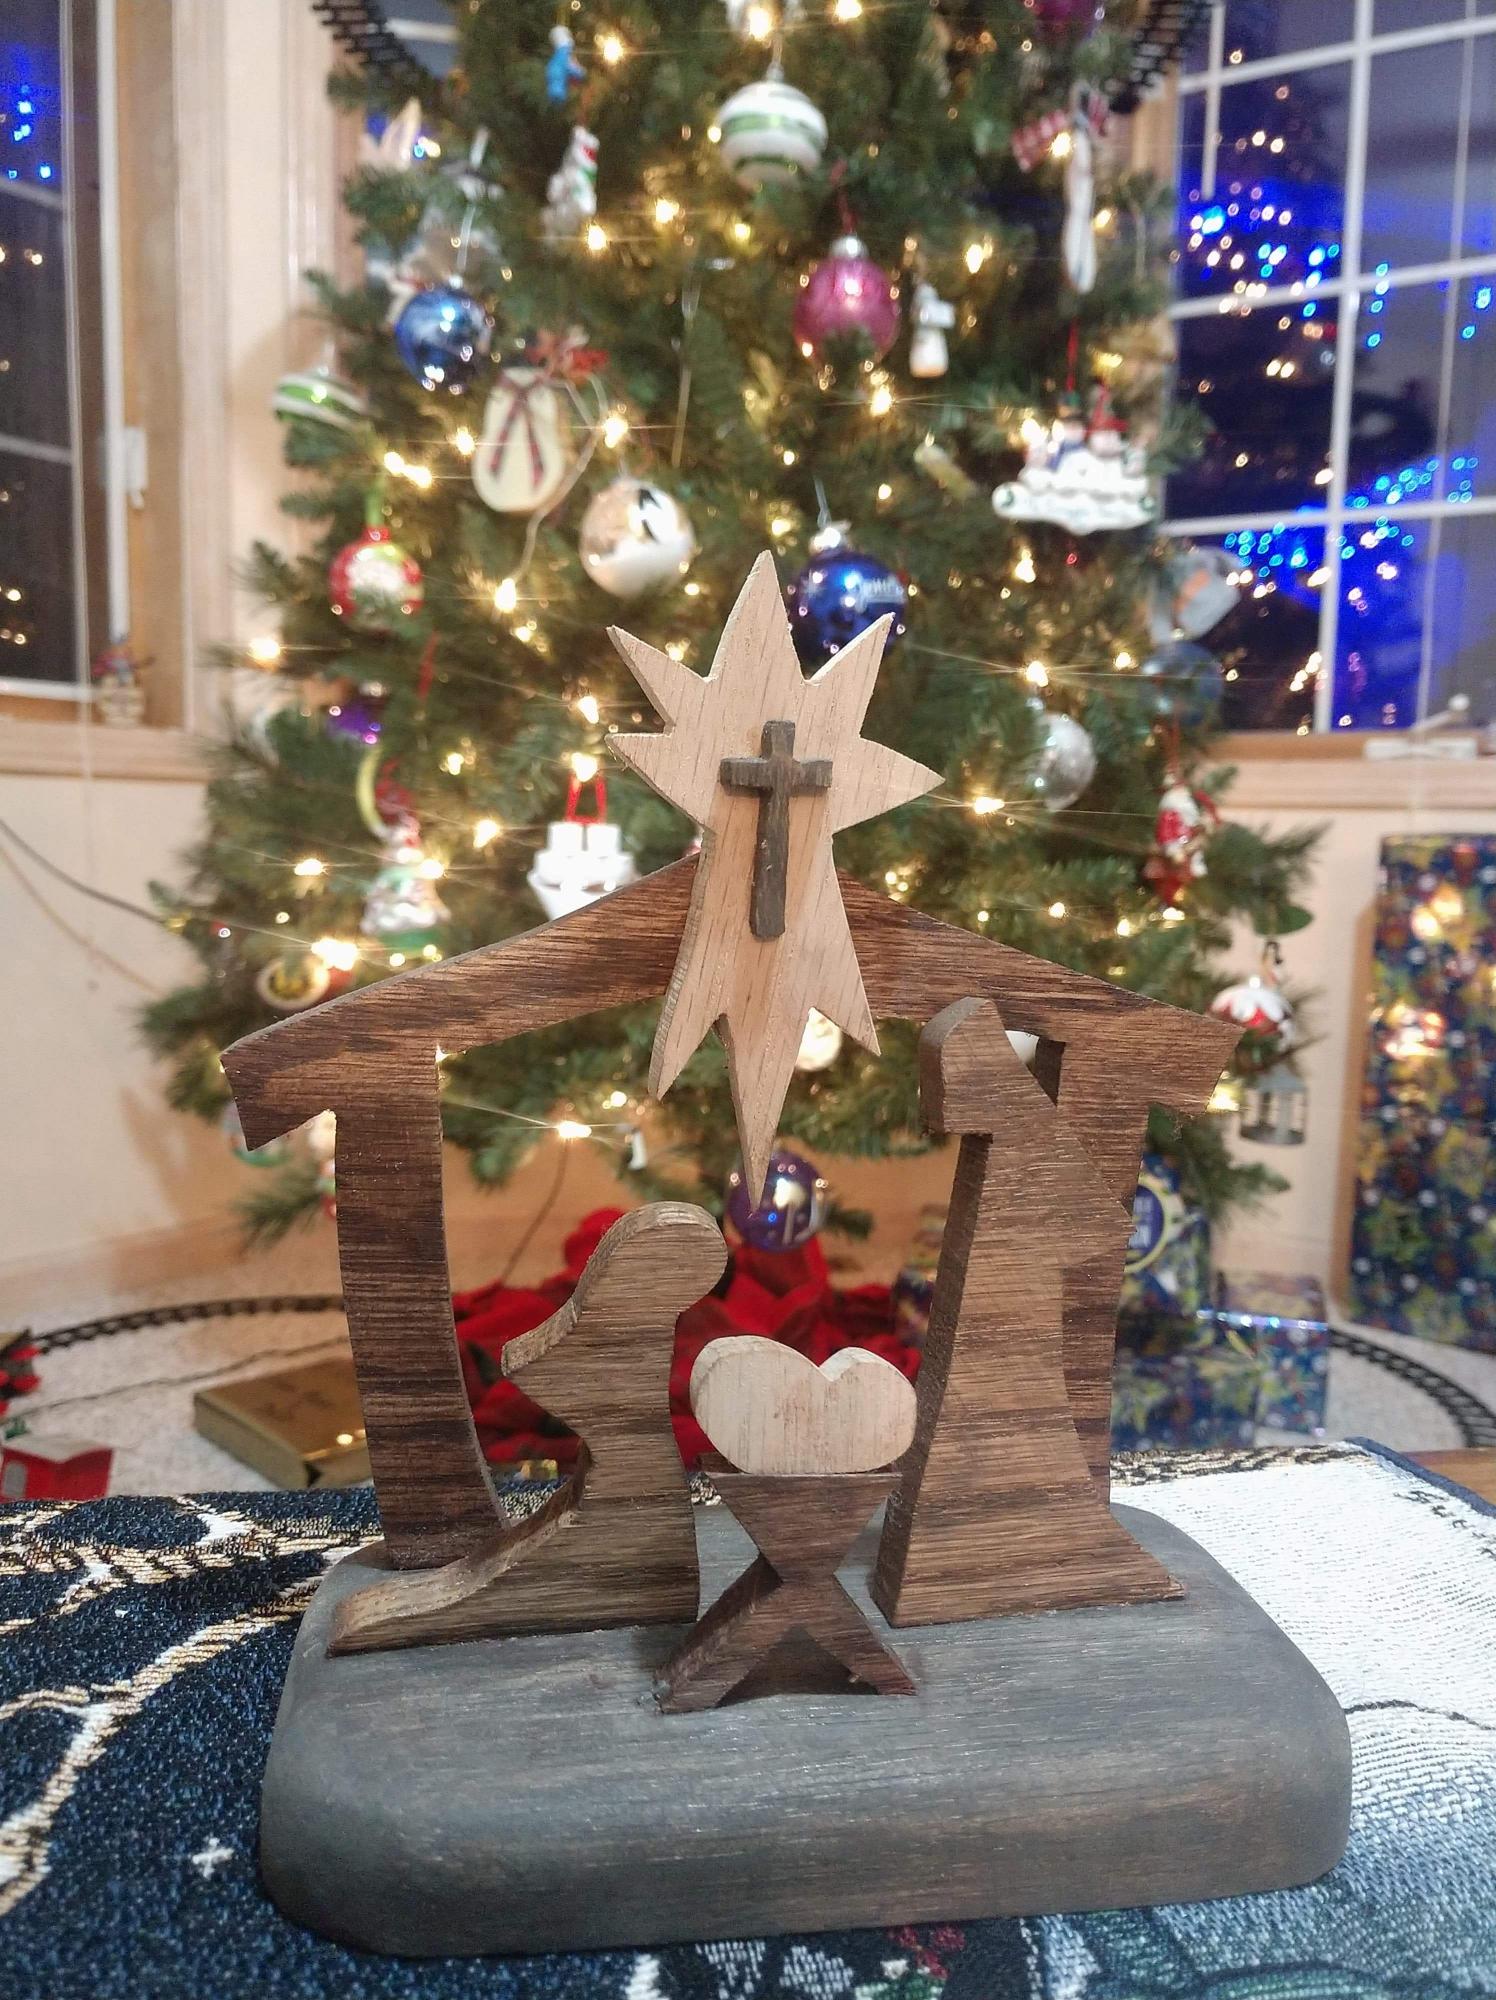
My wife asked for a table top Nativity Centrepiece as we were hosting Christmas. Was fun and quick to make it small!
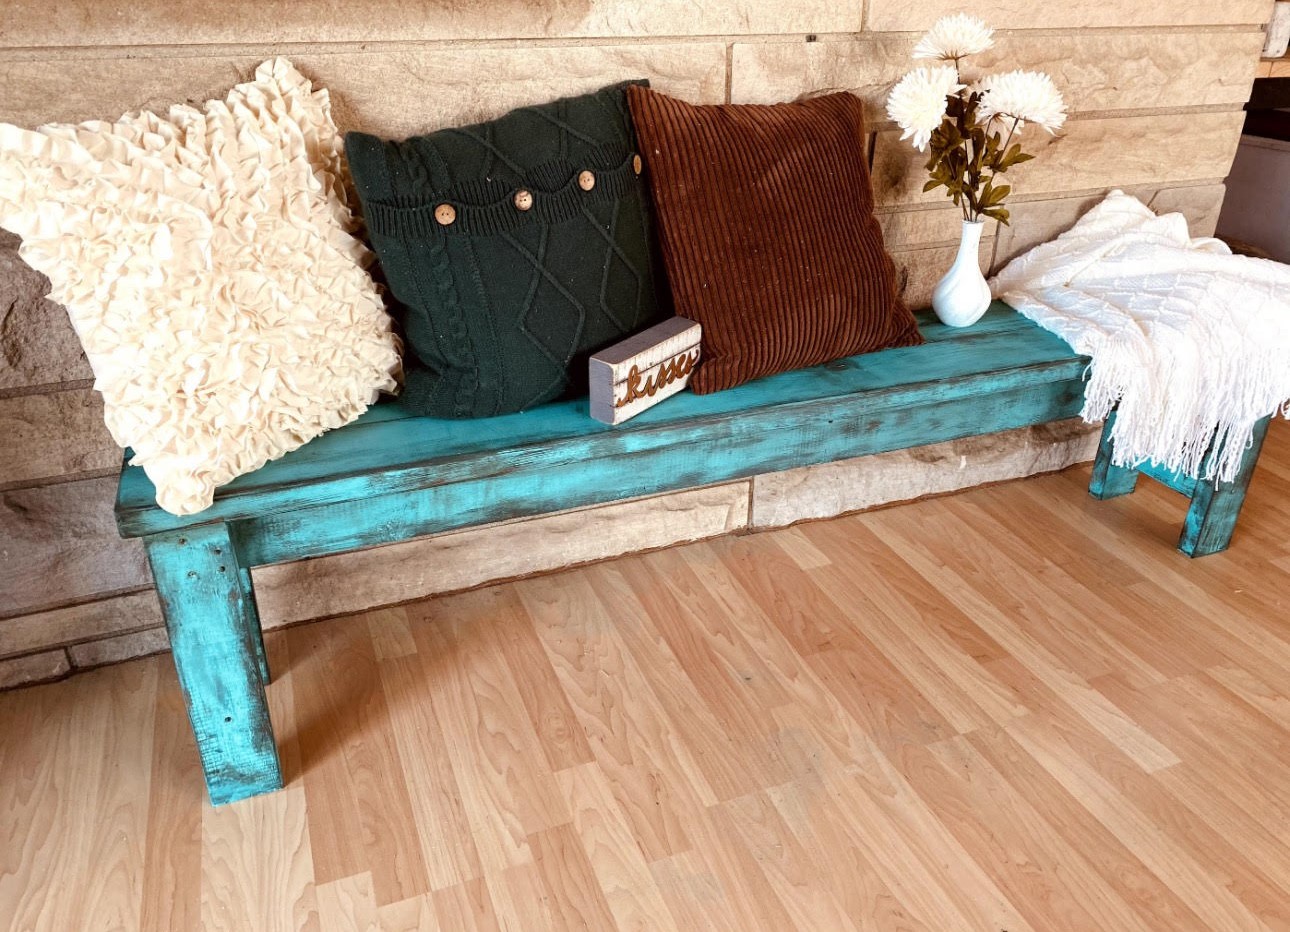
Beautiful farmhouse bench by Leila Adams
The plans are modified from ana's Tryde side table plan.
I used smaller timber for the legs and top and finished it with a maple stain to match in with our other furniture.

chairs from Ana's adirondack chair plan and table from the round adirondack table plan. Plans were easy to follow and this was fun to do. Made for my daughters patio.


Fri, 11/20/2015 - 06:42
I'm wondering where to find the steps for this post? I tried going via the tags but nothing comes up on the site anywhere. Just let me know. Thanks!

I built this chair to match the outdoor sofa. I had some extra 2 x 4's after I completed the project. I just substituted 24 inch 2 x 4's for the 72 inch 2 x 4's that the original plans called for.
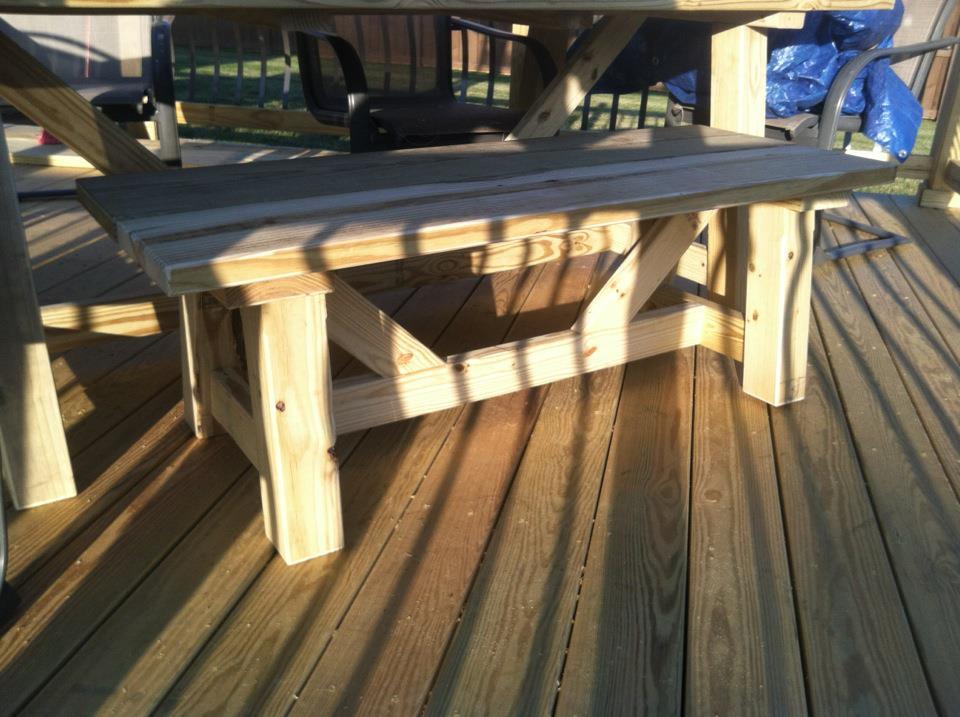
This is my providence bench made from left over scrap wood from our new deck. I used 4x4's for the legs. This bench is SOLID! It is also huge! We had five 6-7 year olds on it last night with room to spare.
Thu, 11/01/2012 - 20:04
I ended up just eyeballing it but the trick for me was nailing the short 2x4 in the center of the legs on each side. The short 2x4 was the only measurement that I remember changing. This bench has been climbed on, jumped on and beat up and is still as strong as the day I built it! Good luck with your build!!

After buying our king size mattress we went to look at bedroom furniture and realized how expensive nice bedroom furniture is. So I decided to build a bed and night stand myself, and they turned out great and cost less than 200 for both projects! I'm now a do it yourselfers and looking forward to more great projects!


Sat, 01/10/2015 - 07:35
What boards did you use for your side tables? Did you purchase extra just for them or are the left overs from the bed? Do you be chance have the demotions of the tables? They look awesome!
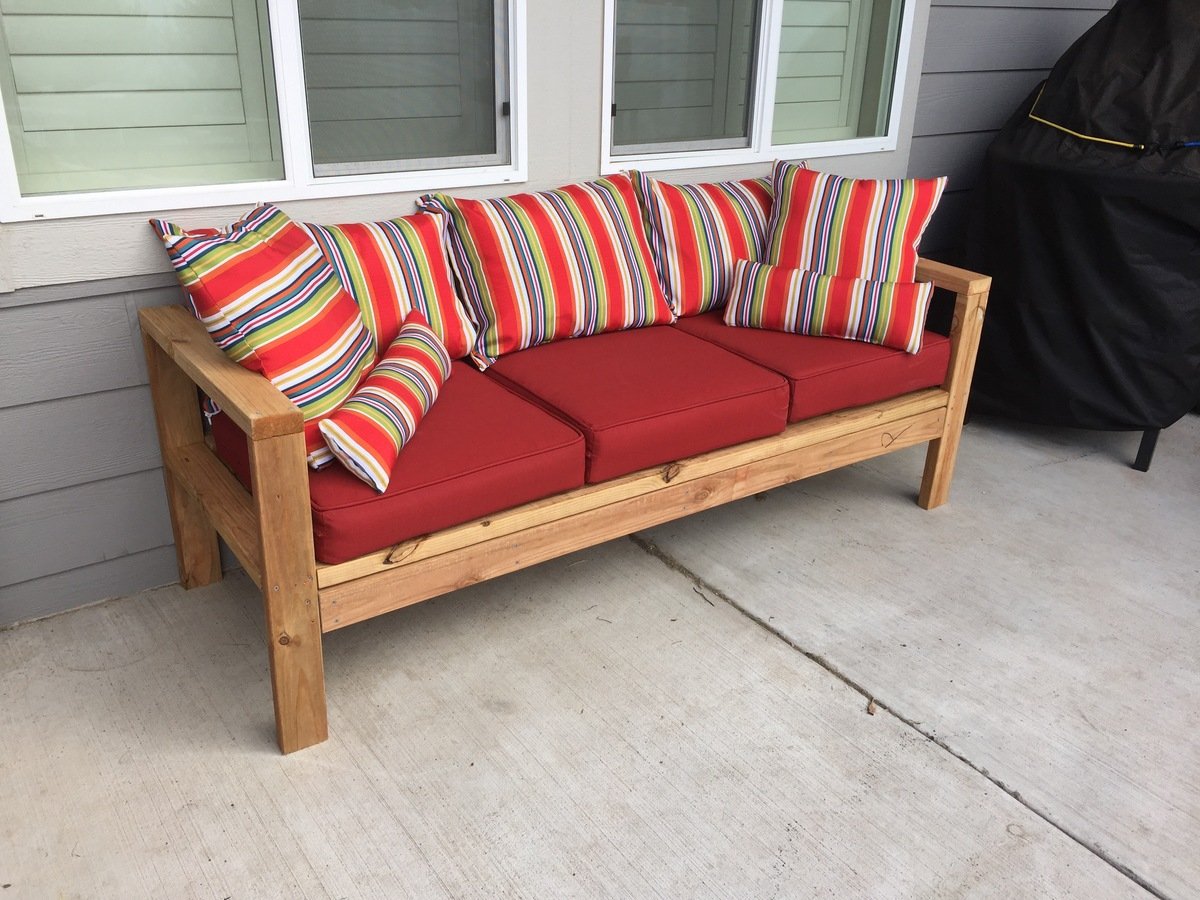
This is the first thing i have made using 2x4's. the plans were very easy to follow. it cost me approxmently $100.00. I made the stripe pillows from fabric i have had.
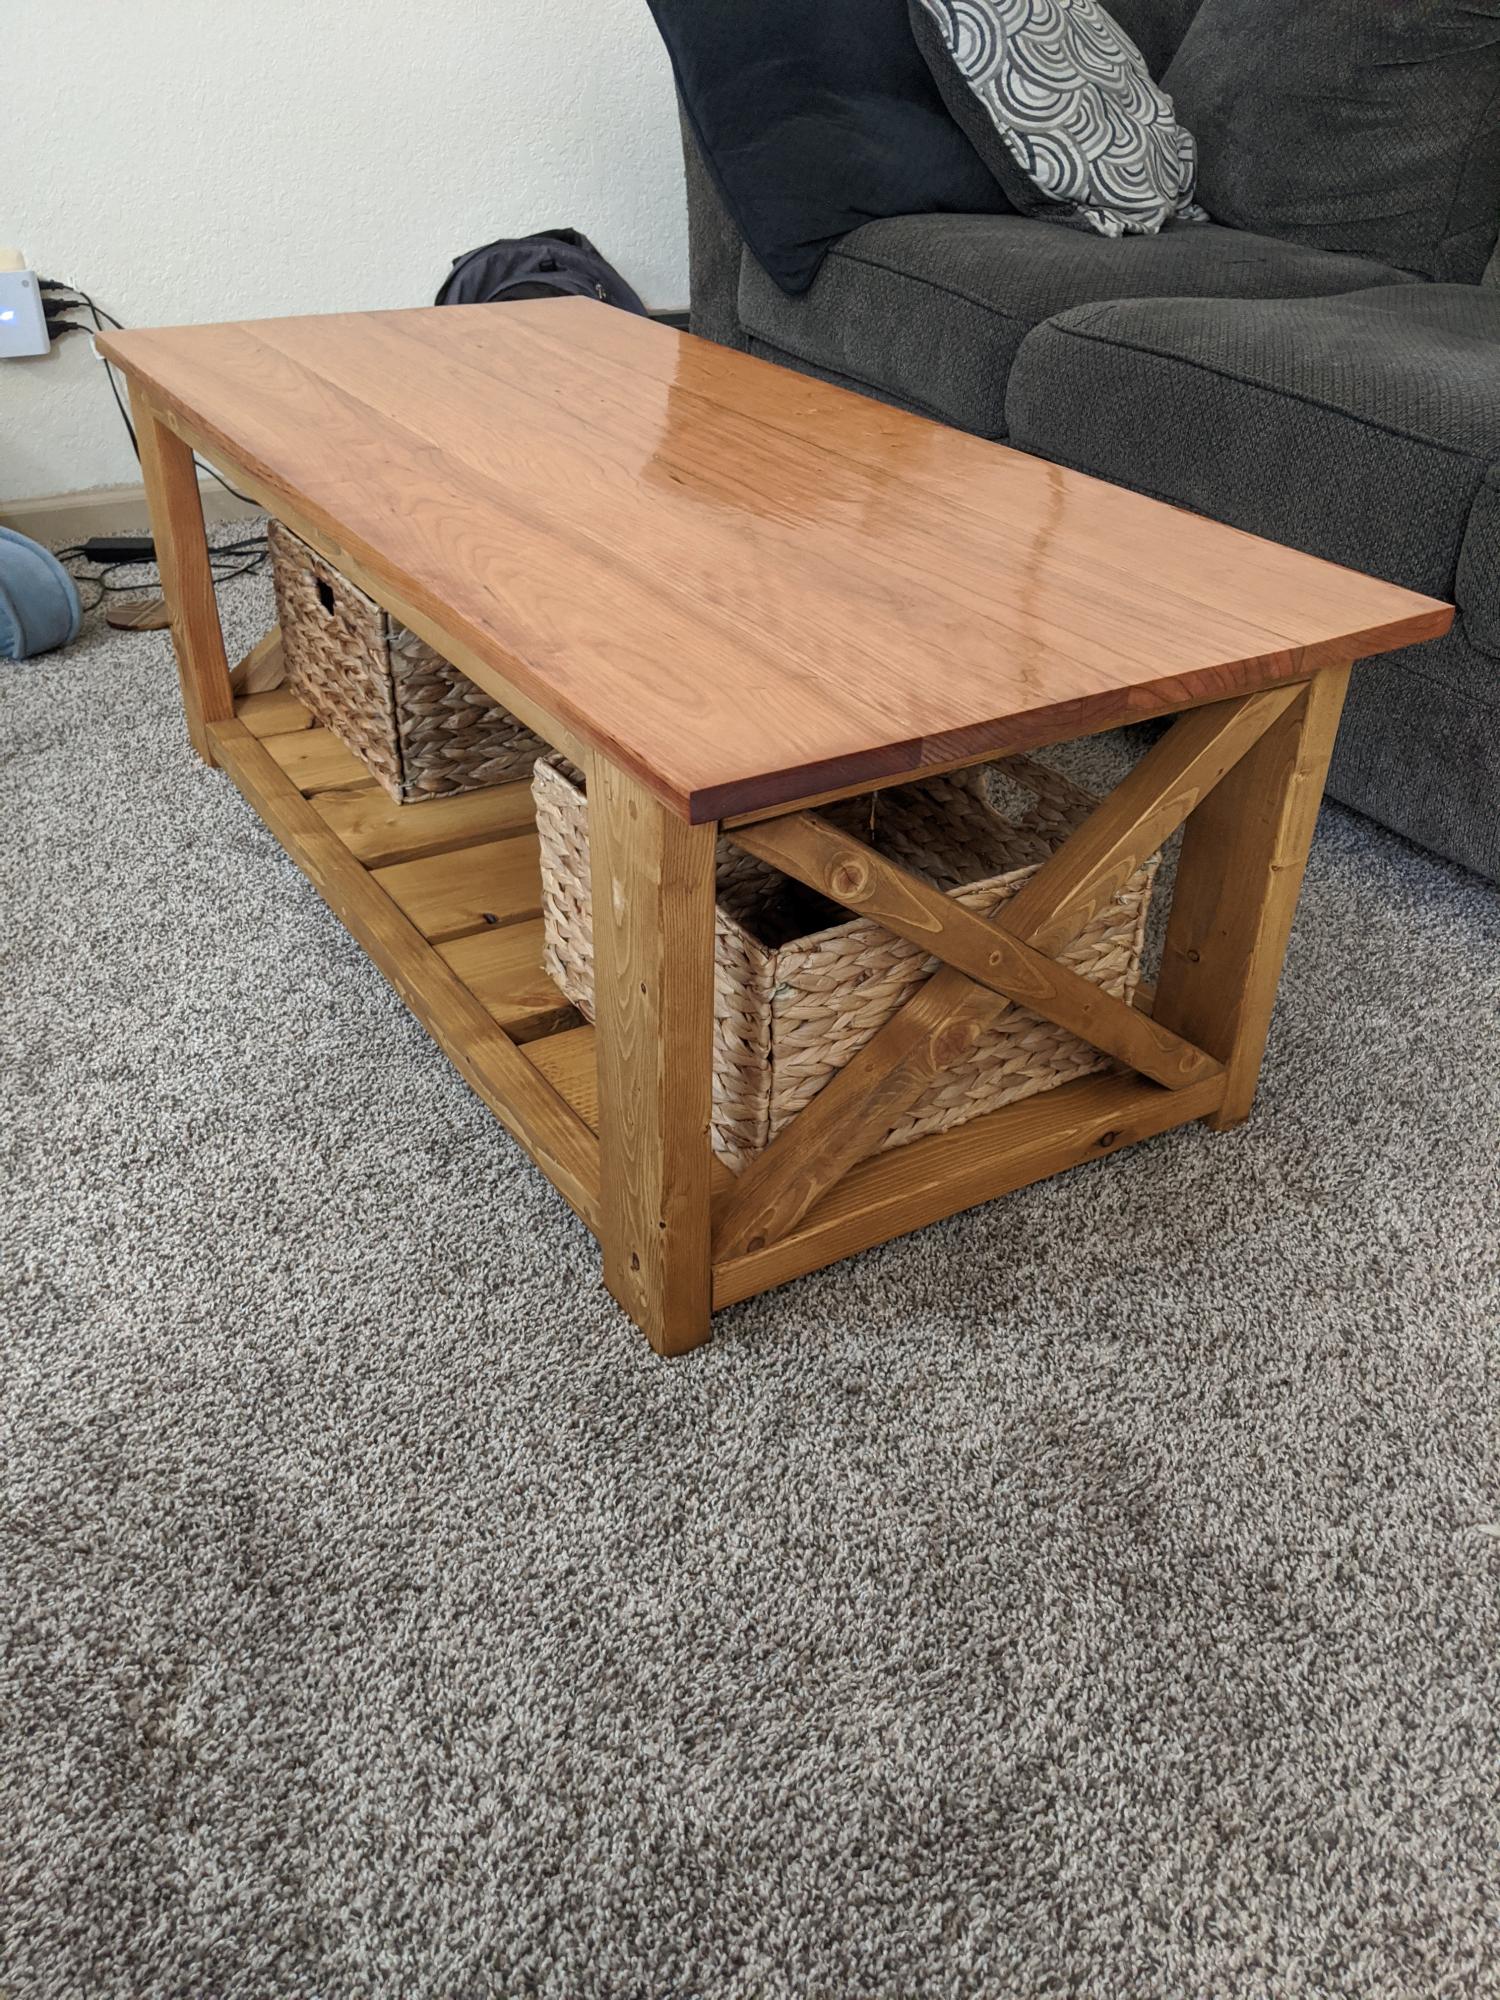
I built this table from the Farmhouse coffee table plans. I did a couple things different from the original plans though. I used Cherry 1x6 planks that I epoxied together for the top and I epoxy finished it as well. For the framing I still used regular construction pine and the golden oak stain. I also pre-drilled all screw holes that would show and plugged them. We also found baskets that look nice for decor and storage. This is the first piece of furniture that I have made and I am very happy with how it turned out! Small disclaimer this project did cost a bit more because of the epoxy and the cherry planks and it also too a considerable more amount of time because off hole plugging and epoxy process/ plank fitting.
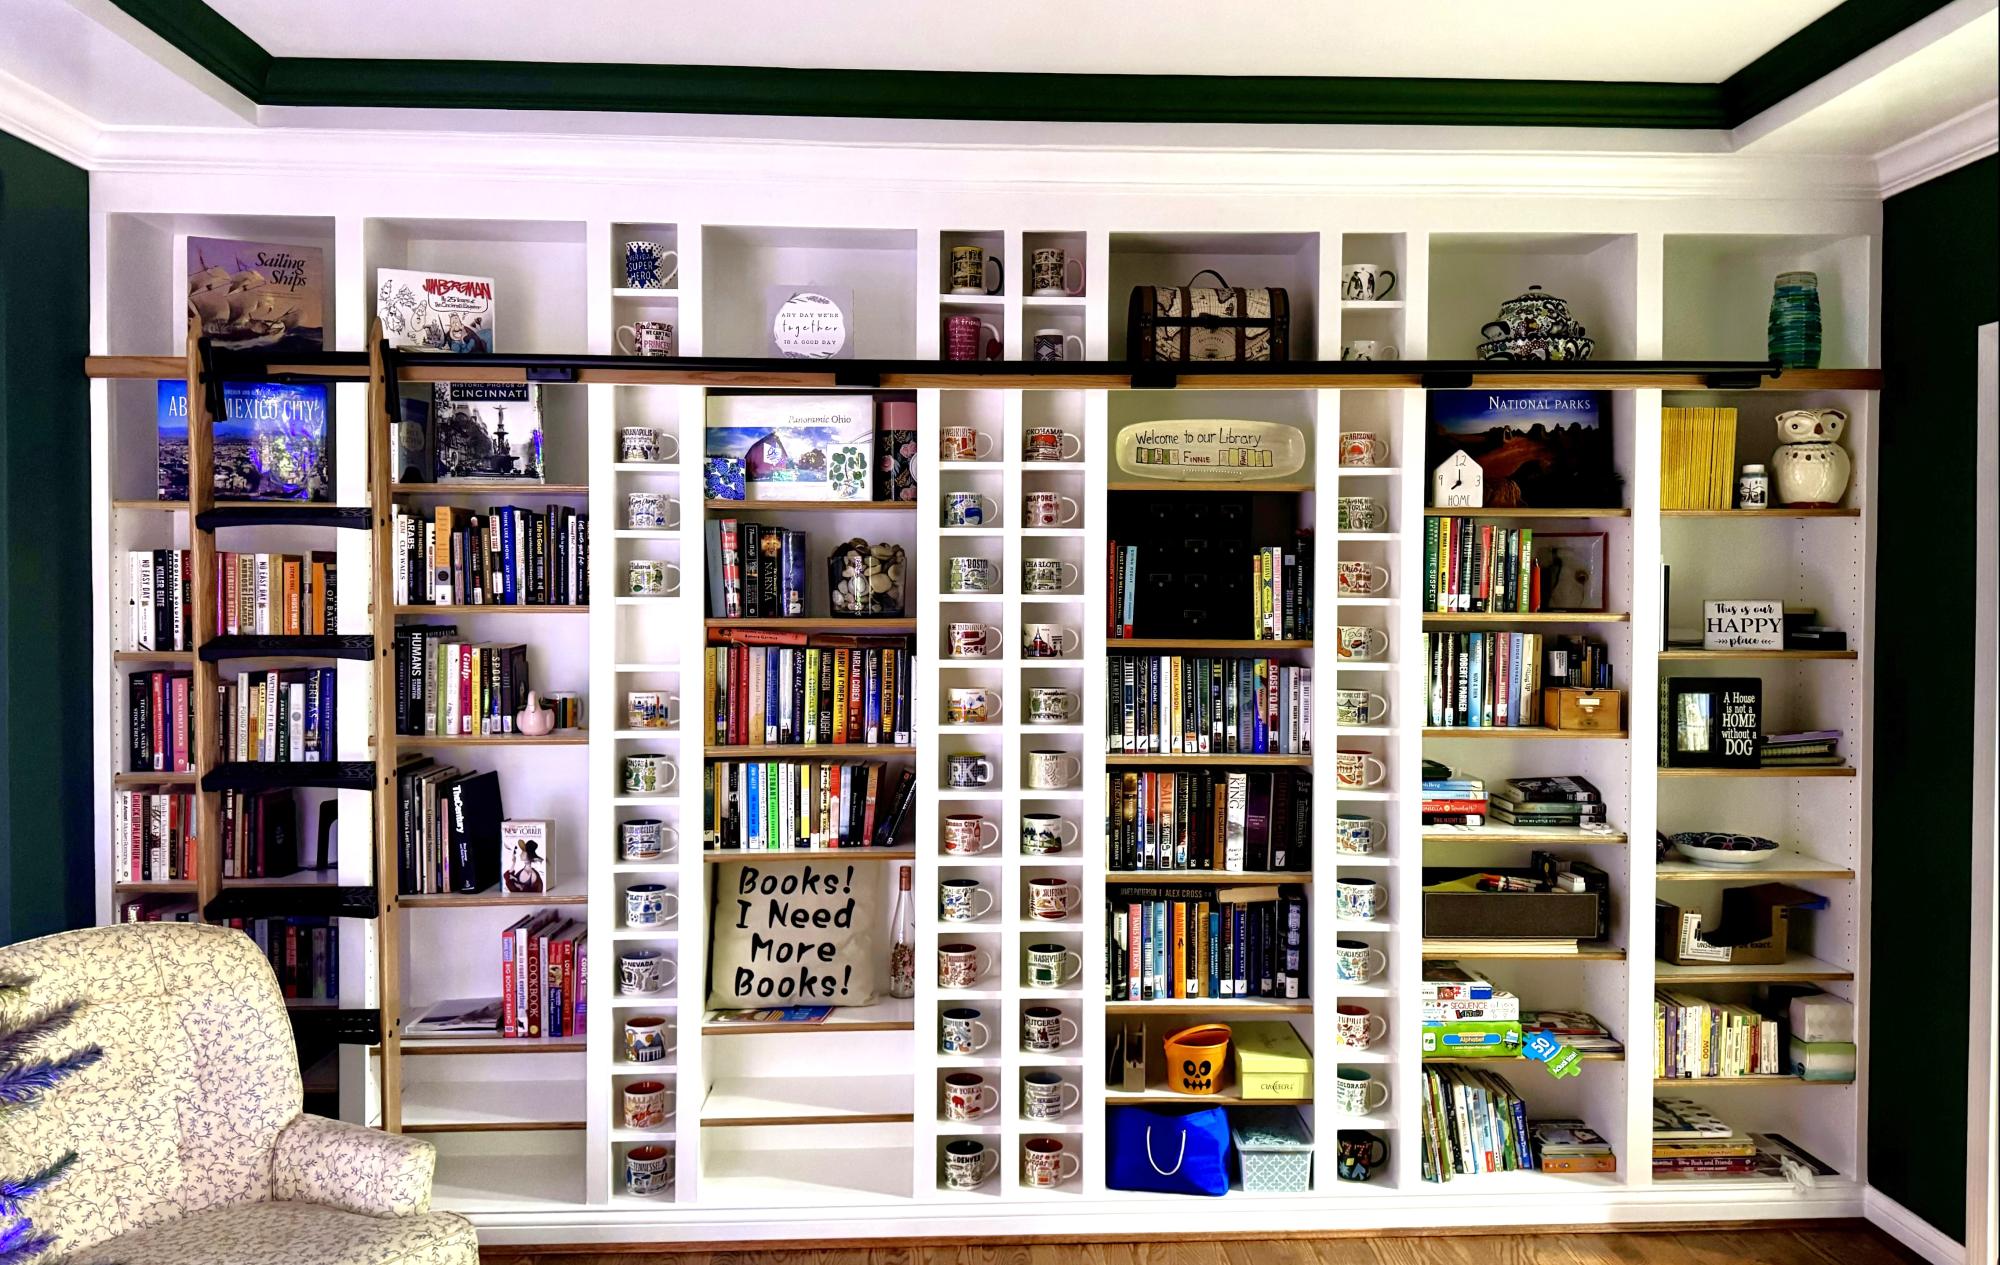
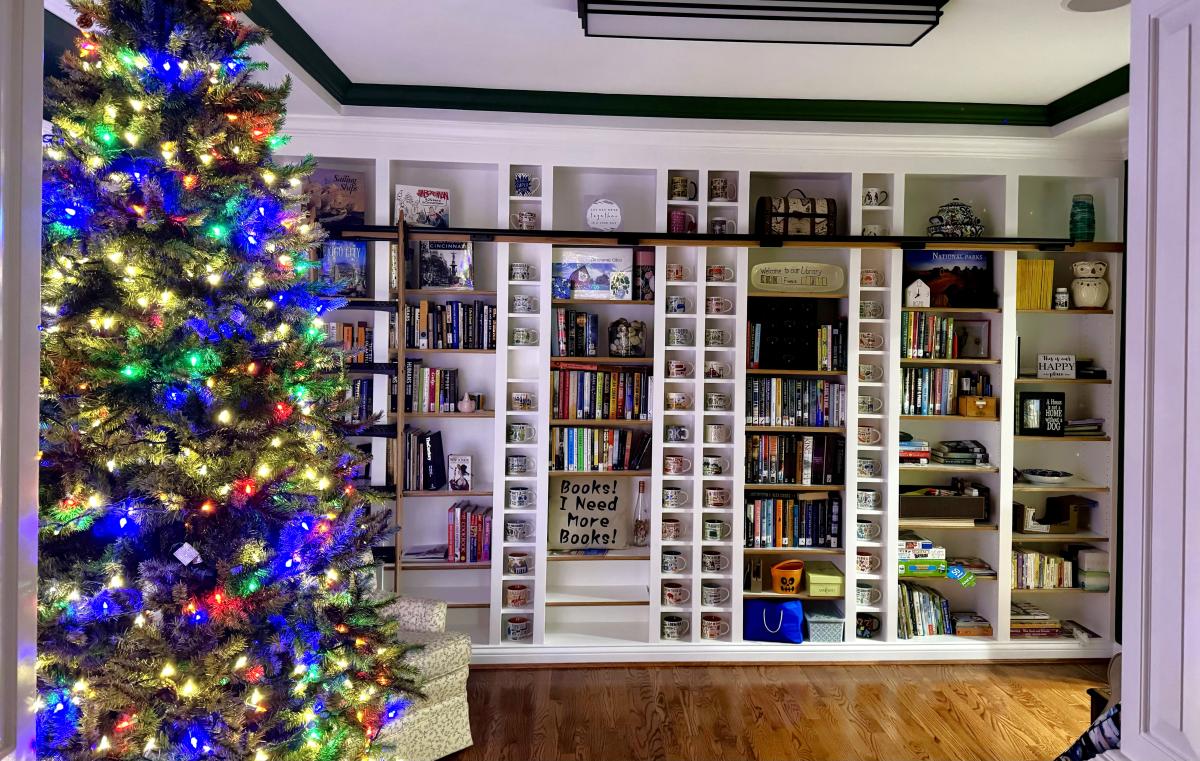
These bookshelves are modified from the Extra Wide Console Bookcase Plans from your website. They were constructed using 3/4 inch plywood for the bookcases, 6” MDF boards for the cup cubbies, and 1/2 inch plywood for the shelves. Purchased a jig from Rockler to drill the 1,000+ shelf holes and built the rolling ladder from oak using the plans and parts from Rockler. What began as a plan for a simple bookcase morphed into selling the dining room furniture and converting the room (which we had only used once in over 2years) into a library that we enjoy every day!
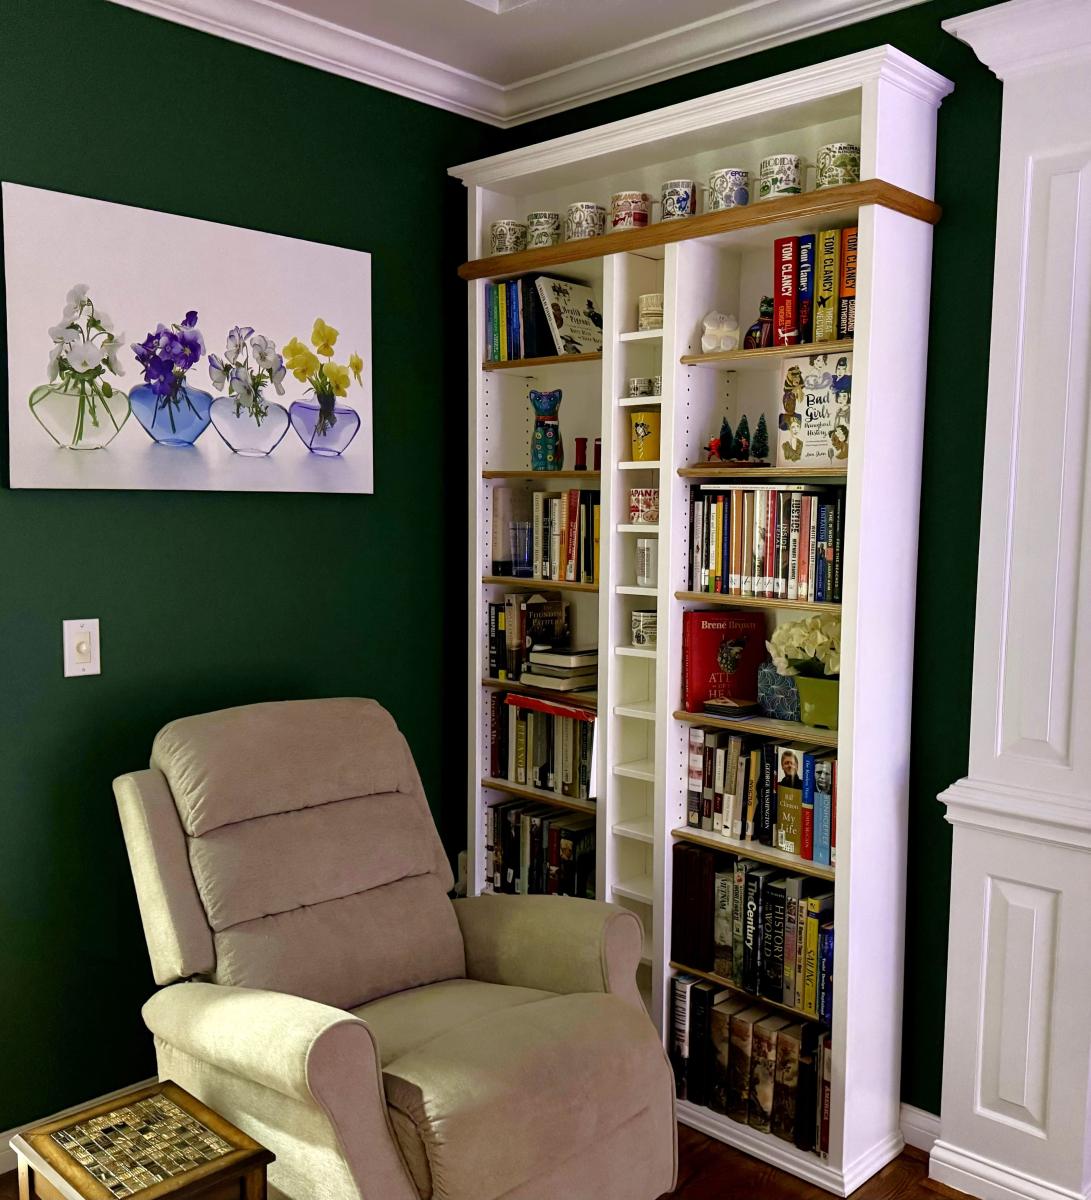
I was initially very intimidated by these plans due to the drawers, but I have a great, handy dad who offered to help with the drawers. The wood is all recycled, most of it my dad has been hauling around for nearly 40 years and finally had it all milled this past year. With the offer of free wood, I couldn't say no! The plans worked great. It took a very long time as I have limited hours to work on and my dad is a sanding nut! I am more into rustic, worn look and my dad more fine wood working...so I had to keep assuring him it was just fine like that, and move on already.