Community Brag Posts

Hidden Catbox

Submitted by Anonymous (not verified) on Thu, 10/22/2020 - 07:26

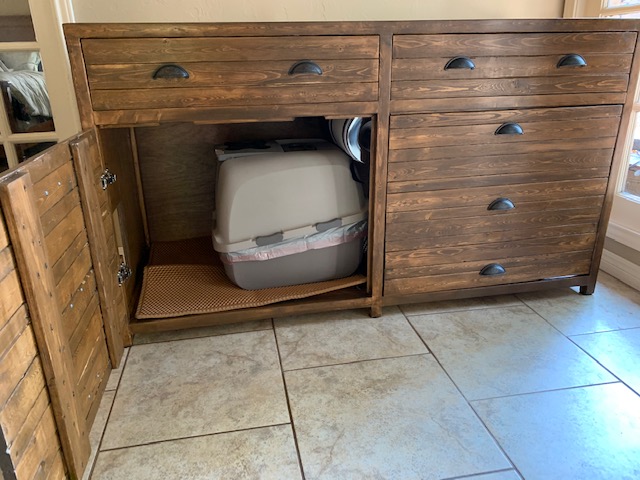
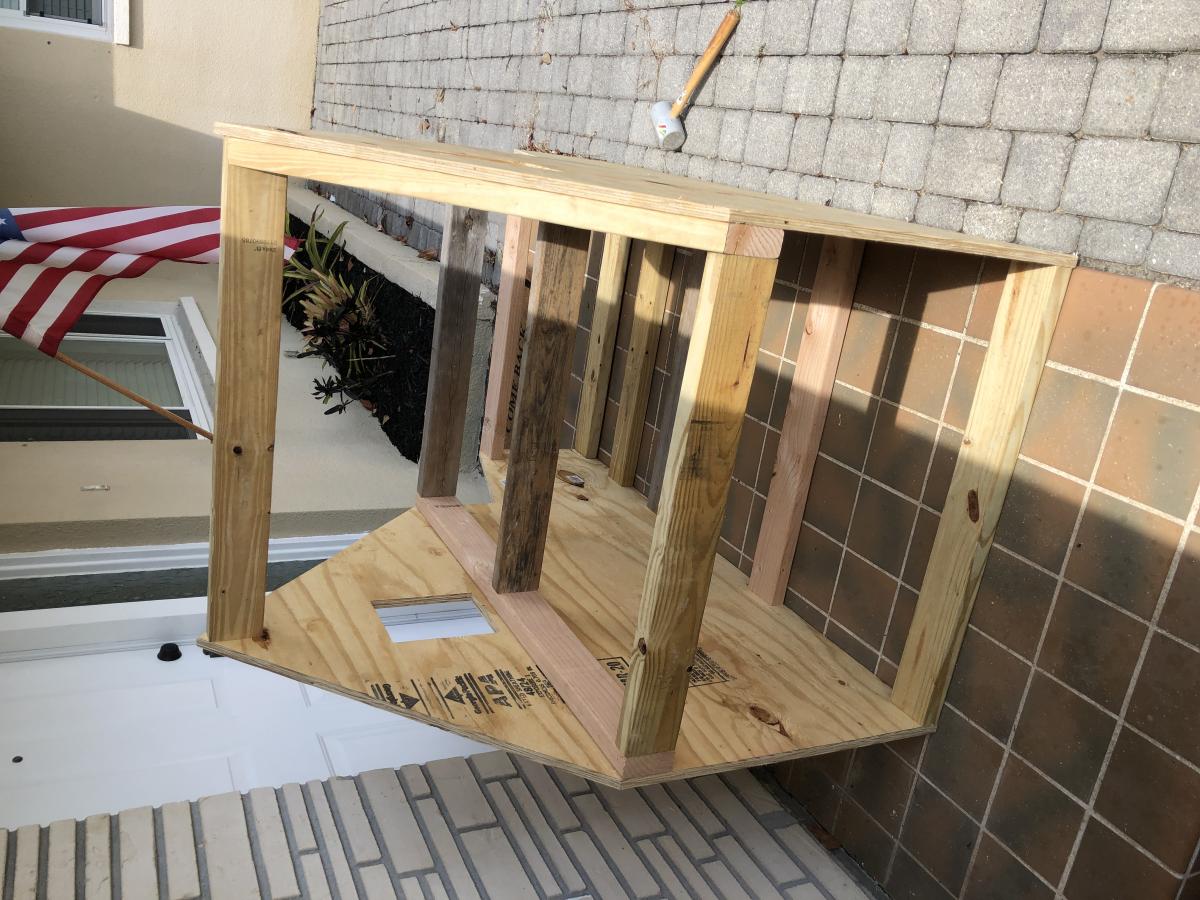
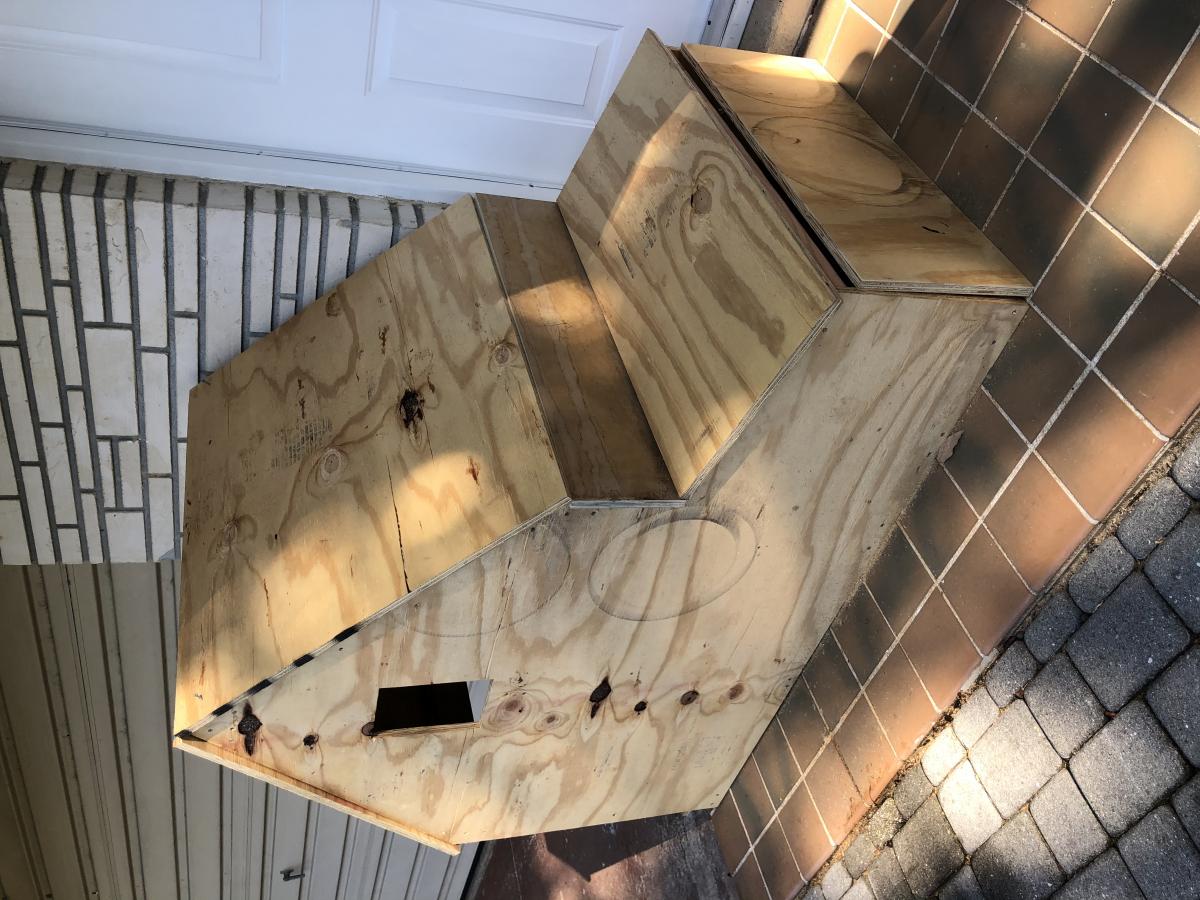
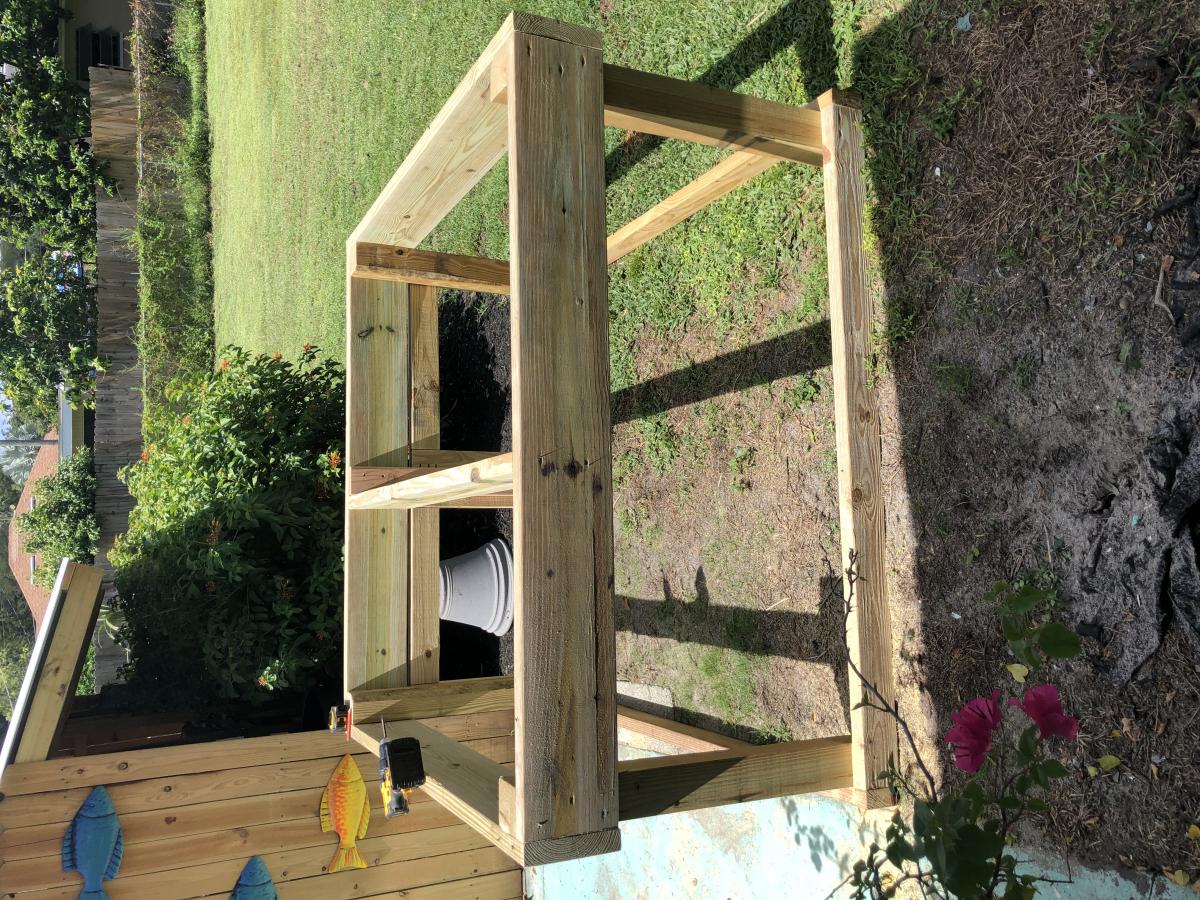
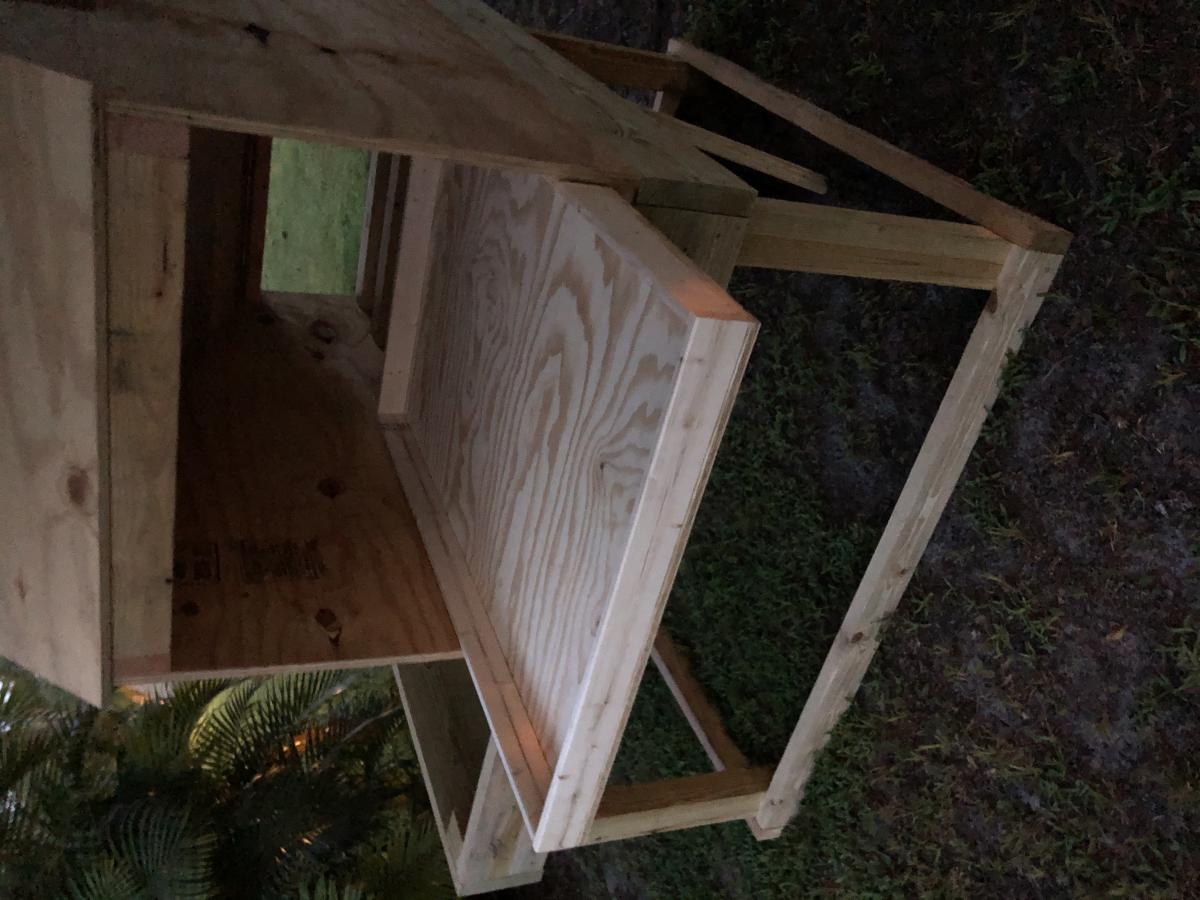
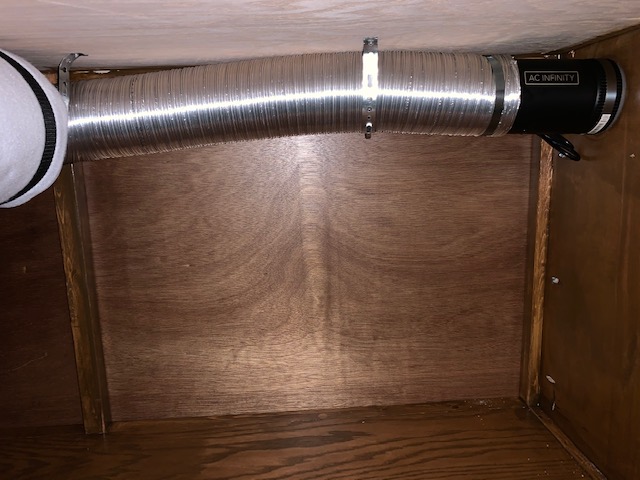
Wife and I decided we needed something to contain the smell of our two litter boxes. Found the Ana White plans and modified them to fit my needs. Used a grow house filter attached to an inline extractor fan to keep a slight negative pressure inside the box. With the extractor fan on low there is zero litter box smell.
Project turned out really well. Although this one turned out great, I would spend the extra money and buy the better wood for the frame next time.

Estimated Cost
$350.00
Estimated Time Investment
Week Long Project (20 Hours or More)
Finish Used
Minwax water based prestain, old leather stain, and polycrylic finish
Recommended Skill Level
Intermediate

Comments

4-Foot Crown and Hooks Wall Shelf

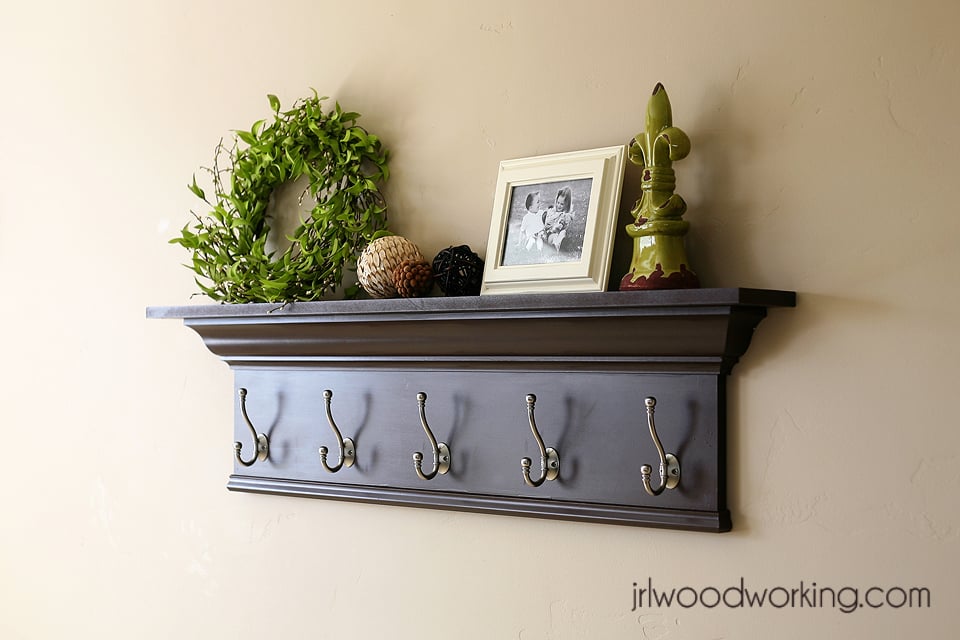
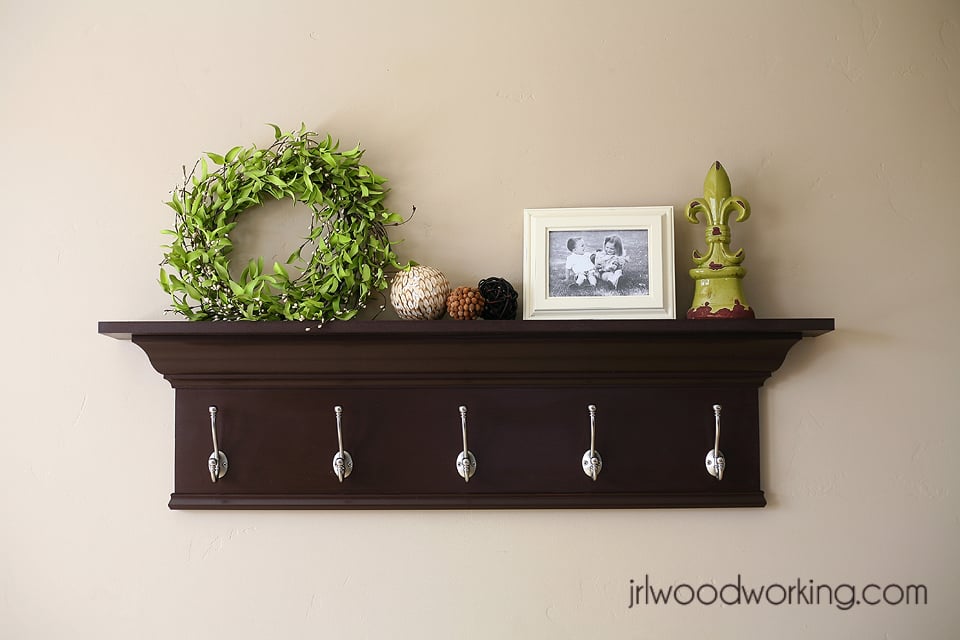
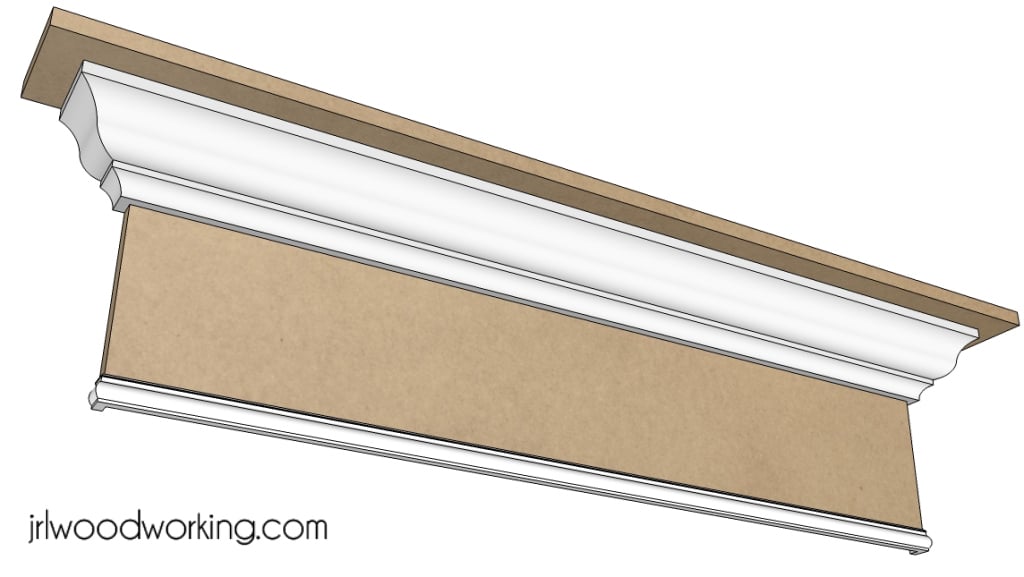
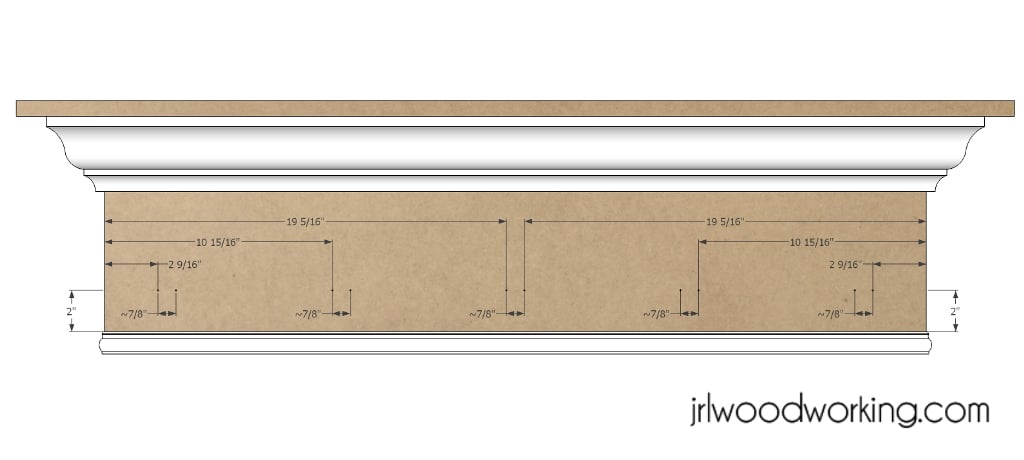
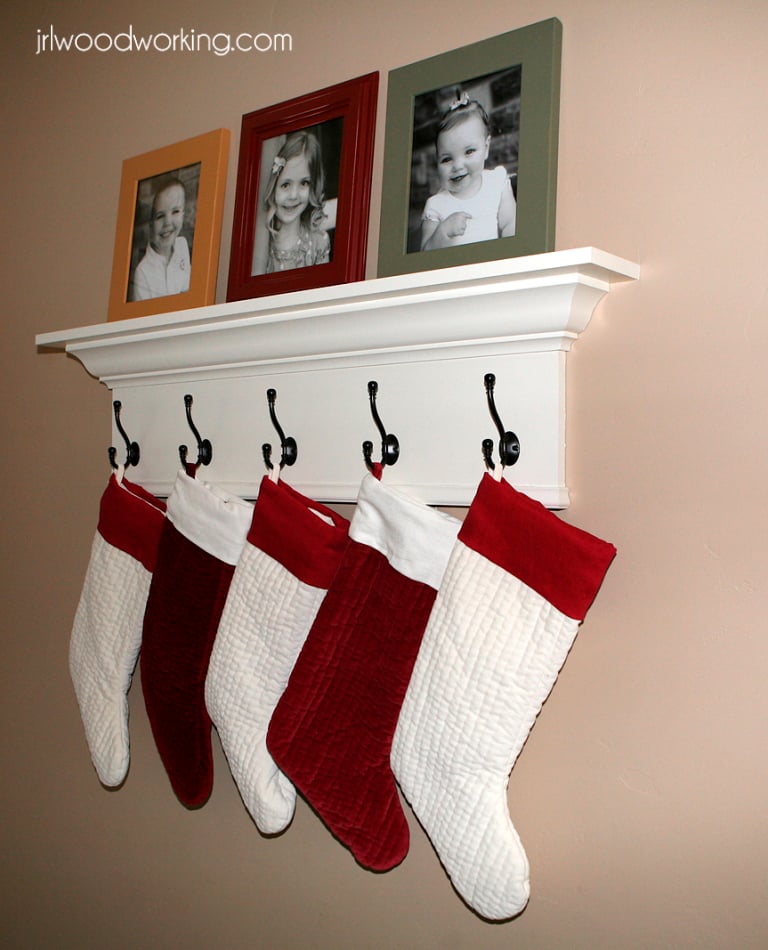
The decorative 4-foot crown and hooks wall shelf makes a beautiful place to display photos and other decorations and also provides a practice application to hang backpacks, coats, hats and even Christmas stockings. It is fairly simply to build with basic tools such as a table saw and a miter saw.

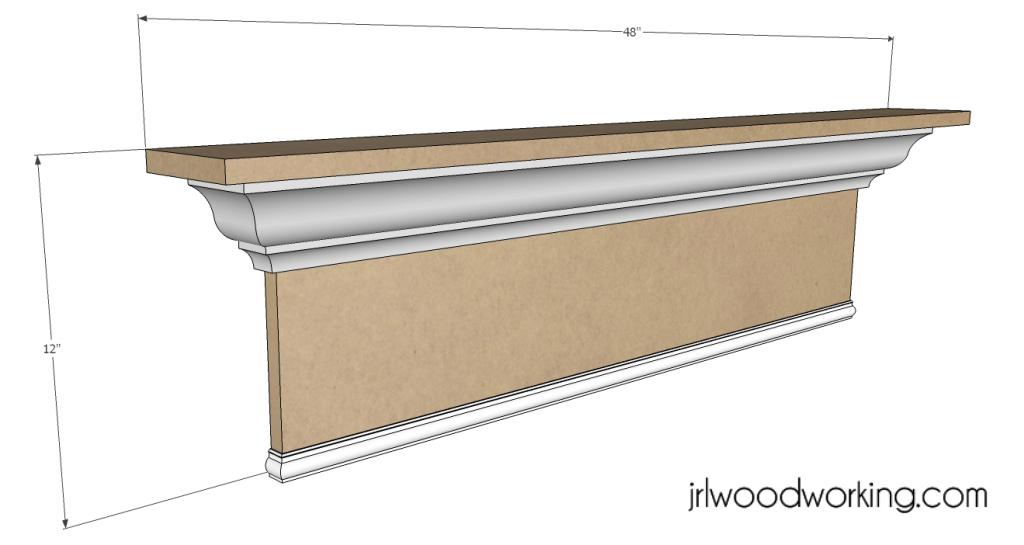
The project costs about $57 to make with about half of the cost in the hooks. The overall dimensions of the project are 48 inches wide by 12 inches tall. It takes about 2-3 hours to build.

Download the plans at my woodworking blog at:
http://www.jrlwoodworking.com/

Estimated Cost
$57
Estimated Time Investment
Afternoon Project (3-6 Hours)
Finish Used
We painted the wall shelf with a high-quality Rust-Oleum 32 oz. Painter's Touch (two coats) and then mounted Everbilt Decorative Coat and Hat Hook from Home Depot. We chose a semi-gloss paint to give it some sheen. Depending on the color, we used the Everbilt Oil-Rubbed Bronze hooks for white shelves and the Everbilt Antique hooks for dark shelves.
Recommended Skill Level
Intermediate

Comments

kristenlotz

Fri, 01/04/2013 - 12:30

We actually have this shelf in a bright white color in our foyer to hang coats for visitors. We also put our Christmas stockings on it (one hook for each member of the family).

Toddler bed

Submitted by Mommaoven on Fri, 10/24/2014 - 21:38


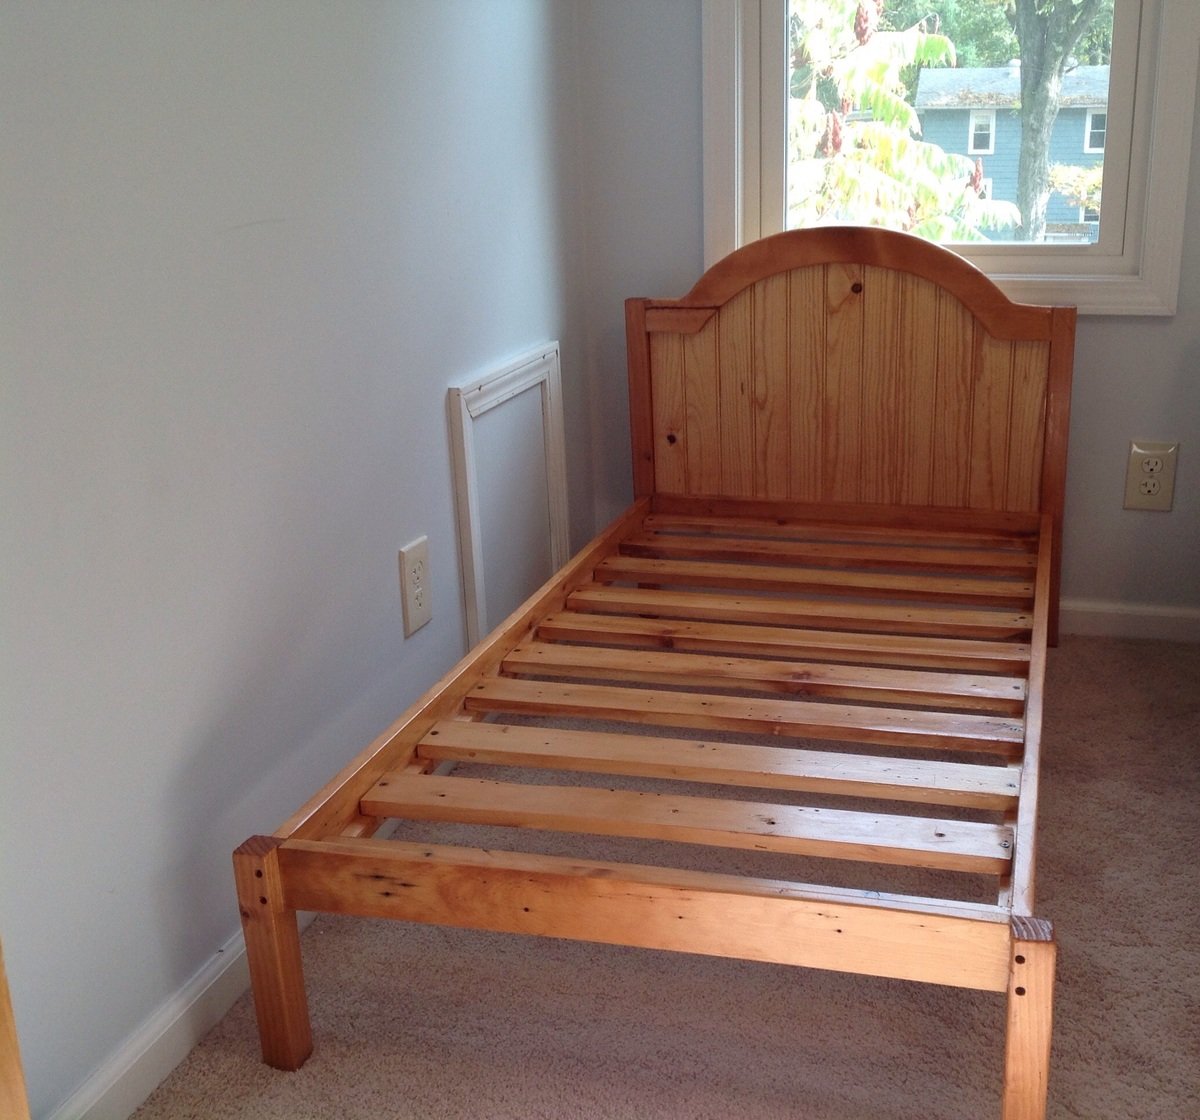
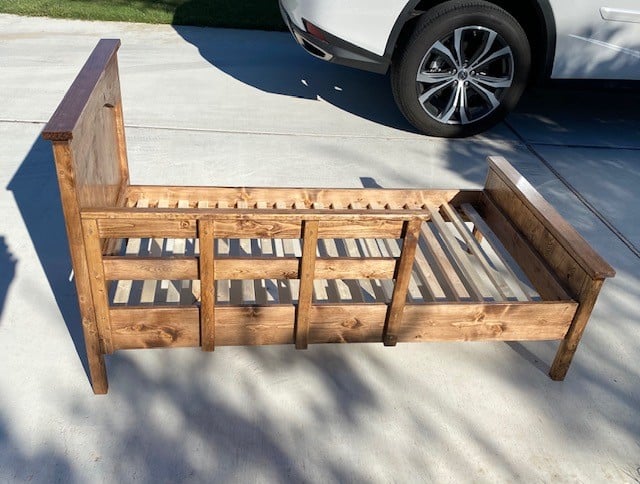
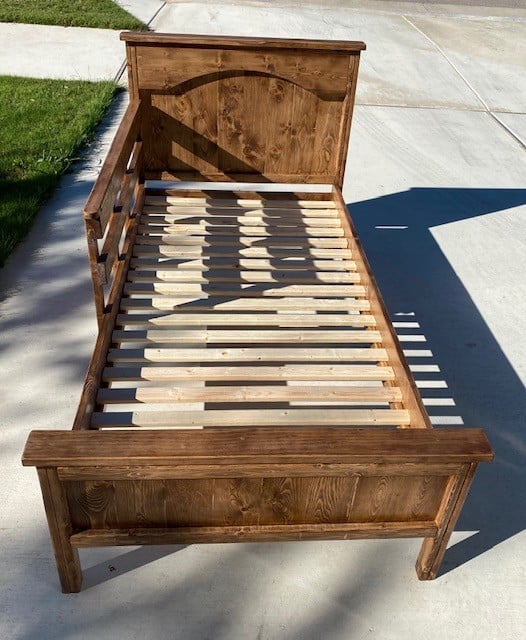
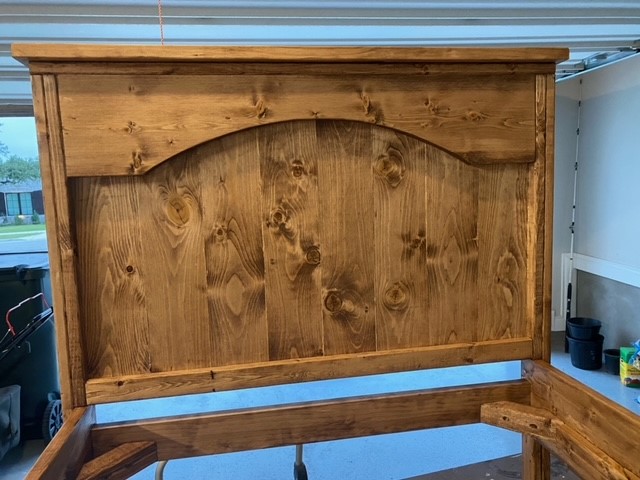
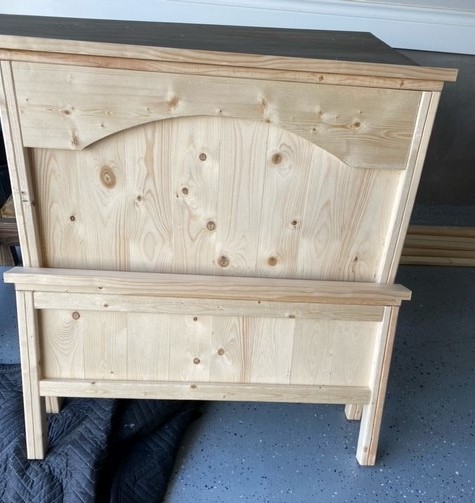
Pottery Barn inspired toddler bed, made with reclaimed lumber from our home reno. The wainscoting is real (not mdf), $2 from the HD cull lumber rack. It had a damaged piece, but the remaining part of the board sufficed for this small project. Screws are countersunk. 

The curve is elliptical (drawn with loop of string and two nails for foci, transferred to board and cut with jigsaw)

The construction is lighter than the original plan, using what was at hand and for a young toddler. 

Built from Plan(s)
Estimated Cost
$2 lumber
$3 stain
$1 screws/sandpaper wear/saw wear/etc.
Estimated Time Investment
Weekend Project (10-20 Hours)
Finish Used
Minwax "golden pecan", clear poly.
Recommended Skill Level
Beginner

DIY BARN DOOR STYLE SHUTTERS IN THE MAN CAVE!

Submitted by Anonymous (not verified) on Thu, 02/02/2017 - 08:39

Ever since we've moved into our new home, My Husband Matt has put his room (Or "Man Cave" as we know it) on the back burner so that other things could be done first. He has been so sweet about letting me use it for home decor, event decor, clothes, and misc. storage. 

Well, since the hectic first couple of months as new homeowners is starting to die down, I had made my mind up that I would help him get started on his Man Cave as an early Birthday present! He deserves it!!

In passing, he made a comment to me the other day that he would love to have some kind of rustic window treatments in his room. I pulled up Pinterest and nonchalantly pointed out a couple of ideas to see which one he liked the most. We went in the room together and he started to describe what he wanted them to look like. (Again, he was saying this in general. I doubt he thought I was crazy enough to attempt it. Welllll…)

The next day I worked on my usual “project prep” routine:

  • Find the best design that will fit the space.
  • Take measurements
  • Draw up a plan of what it should look like and include measurement points
  • Take measurements, AGAIN, just to be safe
  • Look for Lowes or Home depot coupons
  • Head to the store and get this bad boy rolling!

I first measured the window casing. (My window casing doesn’t have crown molding around it on the sides or at the top, which was a plus! This will make them easier to attach!)

My window measures 35″ wide and 58″ tall. So, here’s how I figured the math:

  • If the window is 35″ wide, and we need two shutters, we will need to divide 35″ by 2, giving us 17.5.
  • I would like to get a little room for clearance, so lets round both sides to 17 even, giving us a 1 inch clearance. (Room for the doors to open and close properly without worrying about rubbing.)
  • You will want the shutters the same height as the window of course, so each of my shutters will need to measure 17″ wide and 58″ tall.  There are tons of different styles for these shutters so all you need to know is that each shutter needs to be half of the window width (minus 1/2 inch from each shutter for clearance.)And then you can just decide what design and boards you want to use.
  • I used (4) 1×10’s for my shutters. (And if you are familiar with wood, you know that the real measurement for a 1×10 = 9.25, so I had 37 inches of wood to work with.) I trimmed 1 1/2 inches from each of the inner 1×10’s to get them where I wanted them to be. Leaving them as 7.75″.
  • You will need 1×4’s for both sides on the window to attach your shutters to. They will need to measure the length of your window as well. (1×4’s are really 1×3.5)
  • For the boards that lay across the shutters, I purchased (4)  3×24 thin boards.
  • Cut these boards to the same length as each shutter. Which in my case, would be 17″. DON’T FORGET you will need to also cut (4) pieces to go on each of your 1×4’s that are on the sides. The latches will sit on these pieces and make them even with the pieces that are on the shutters.

So, after my cutting was all said and done, I had:

(2) 9.25×58 

(2) 7.75×58

(2) 3.5×58

(4)3×17

(4)3×3.5

Estimated Cost
This entire project cost somewhere around $100 to make! Including the hardware!
Estimated Time Investment
Afternoon Project (3-6 Hours)
Finish Used
Minwax Stain in Dark Walnut
Recommended Skill Level
Beginner

Modern Outdoor Collection

Submitted by Anonymous (not verified) on Tue, 10/27/2020 - 16:06

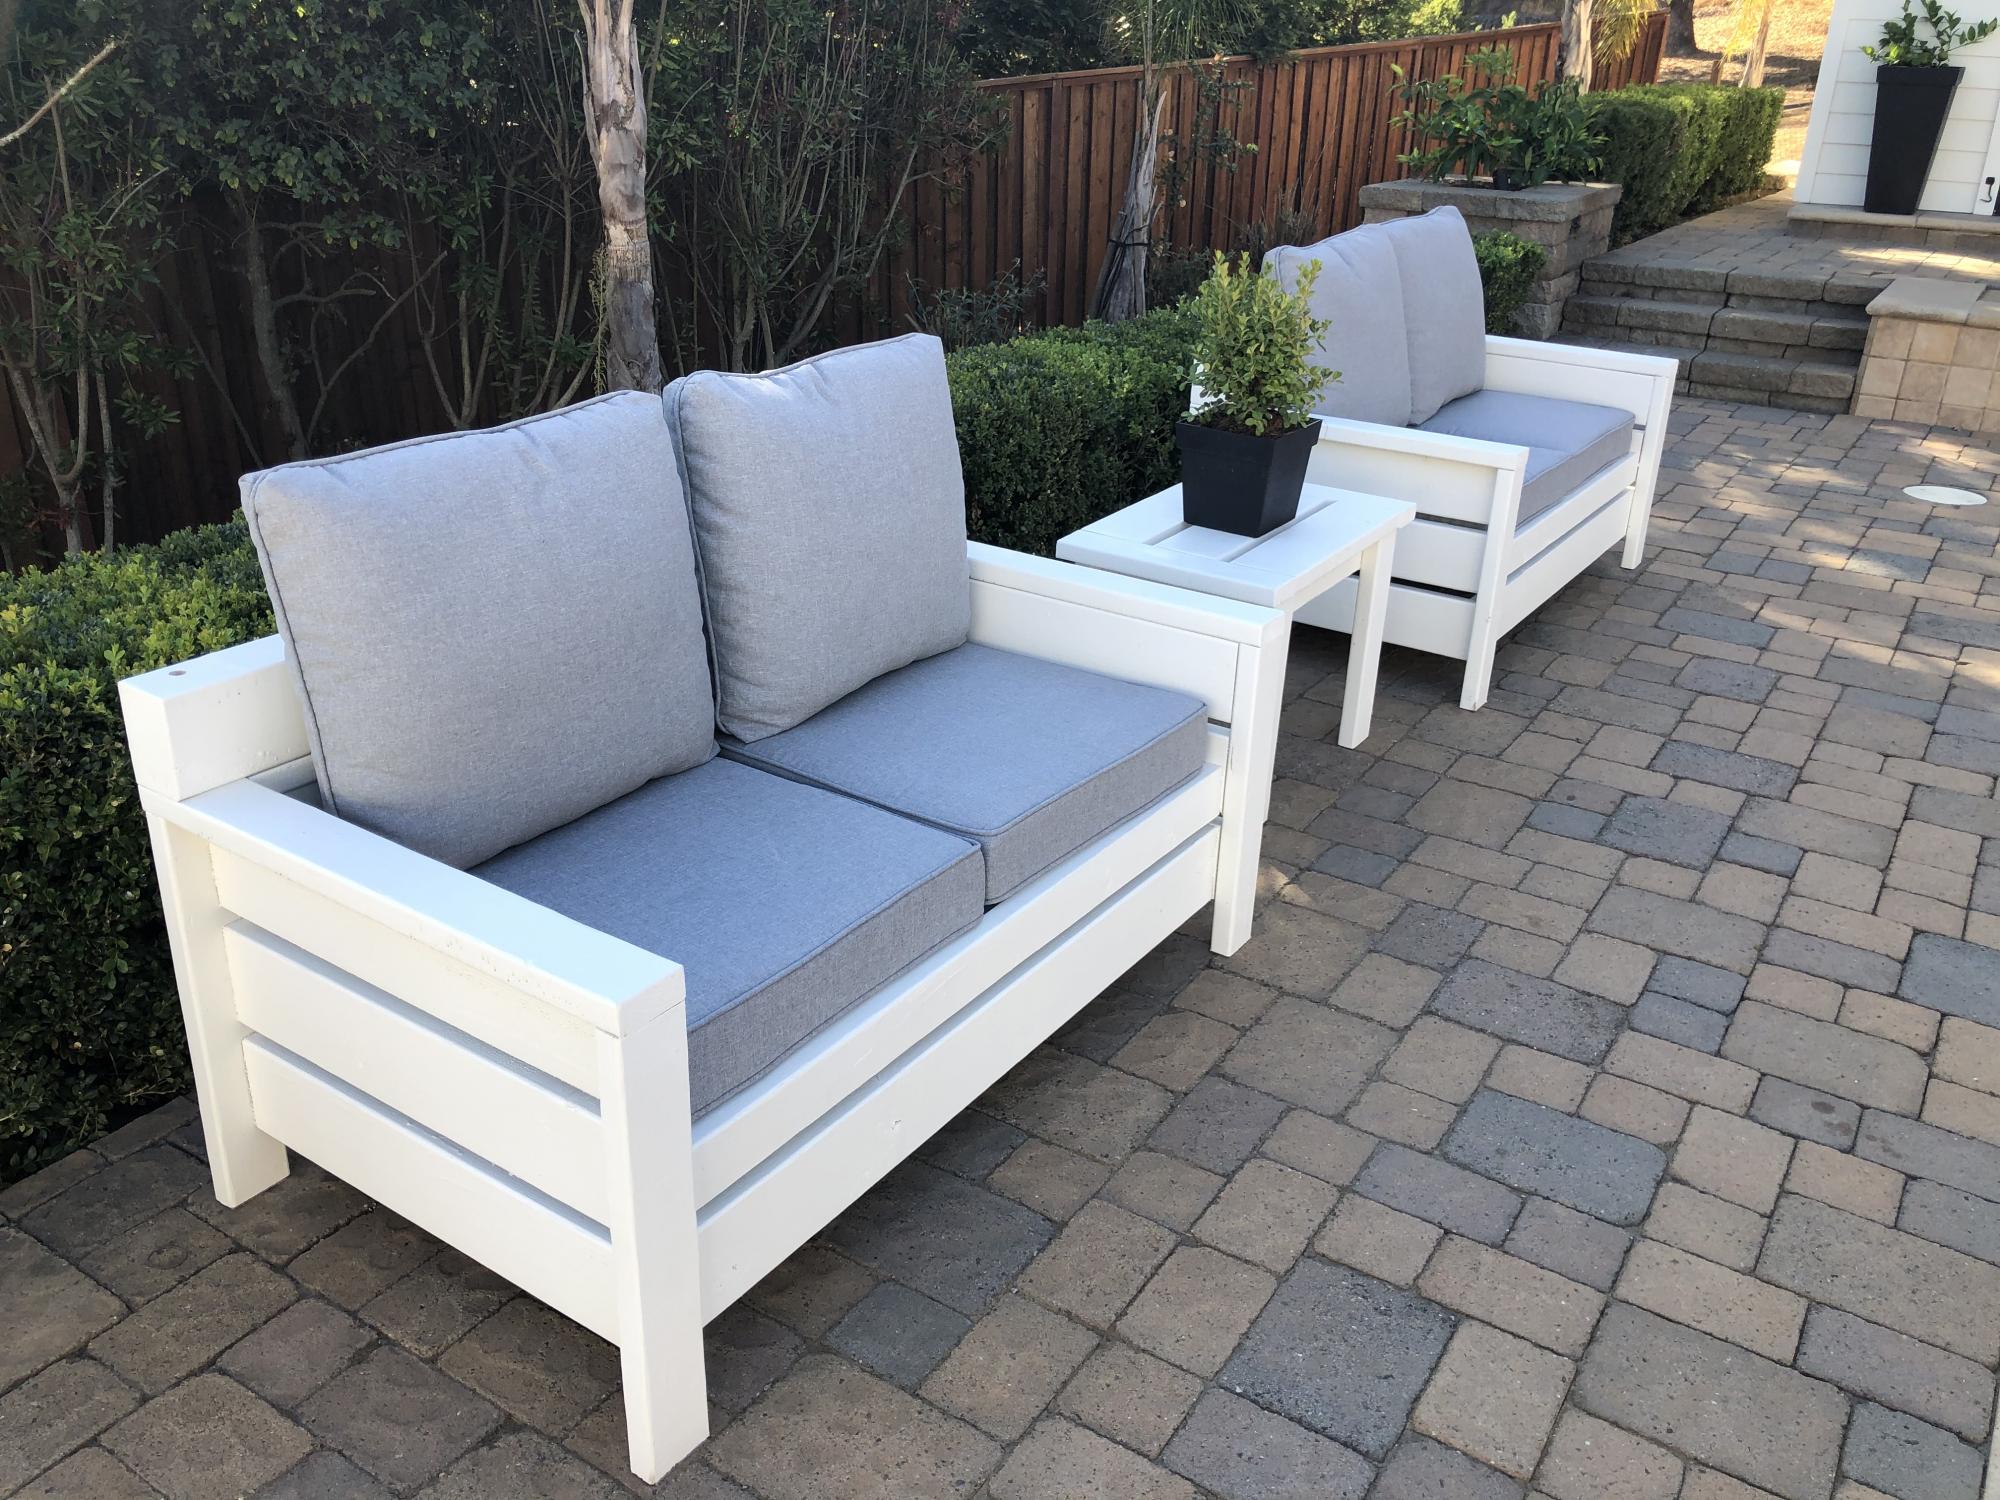
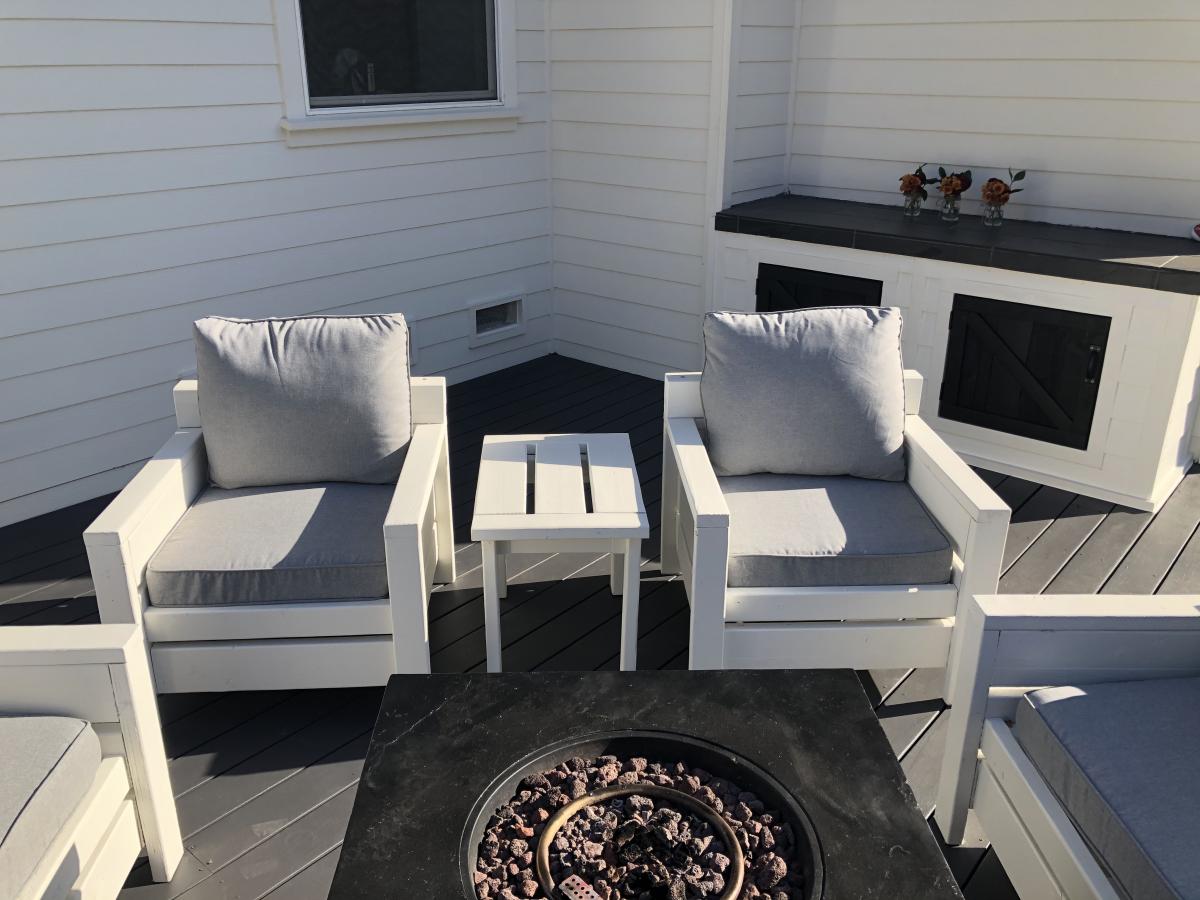
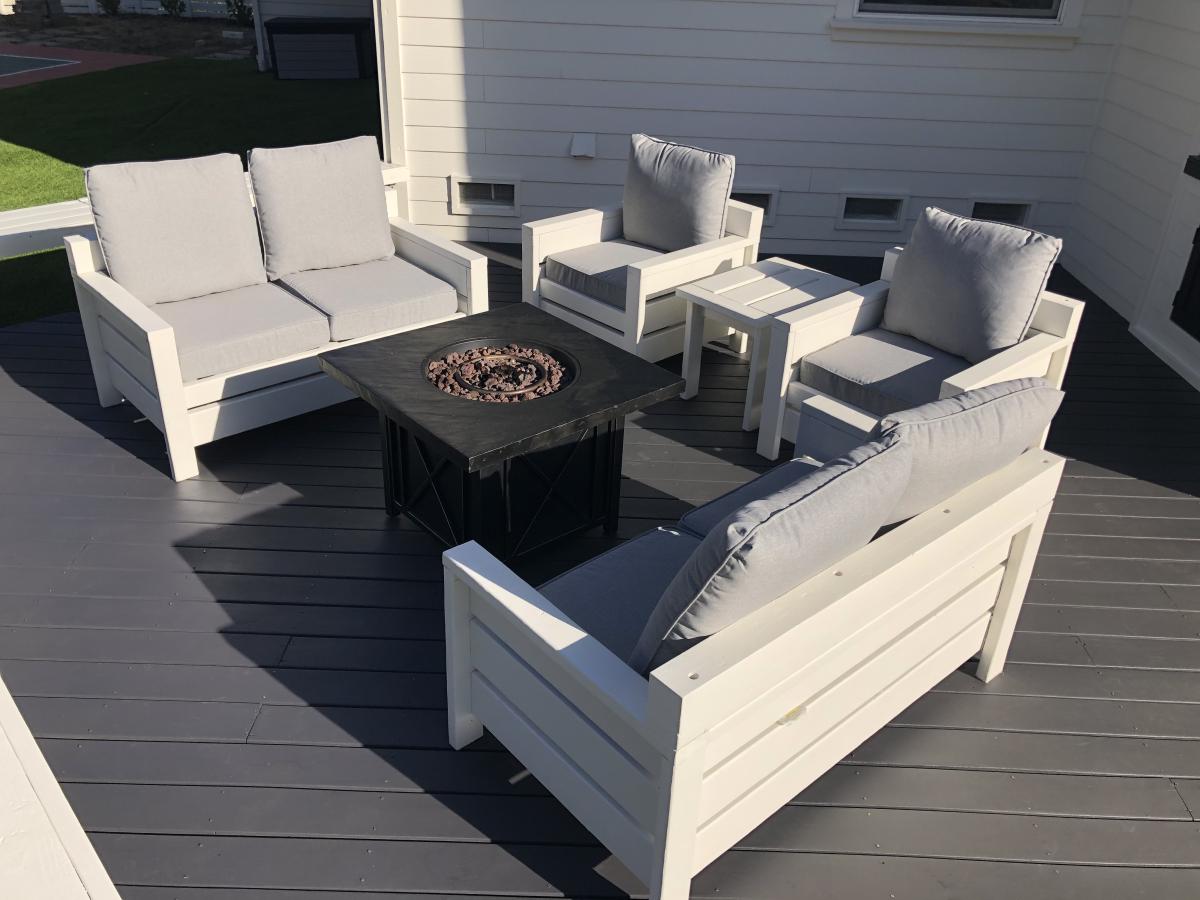
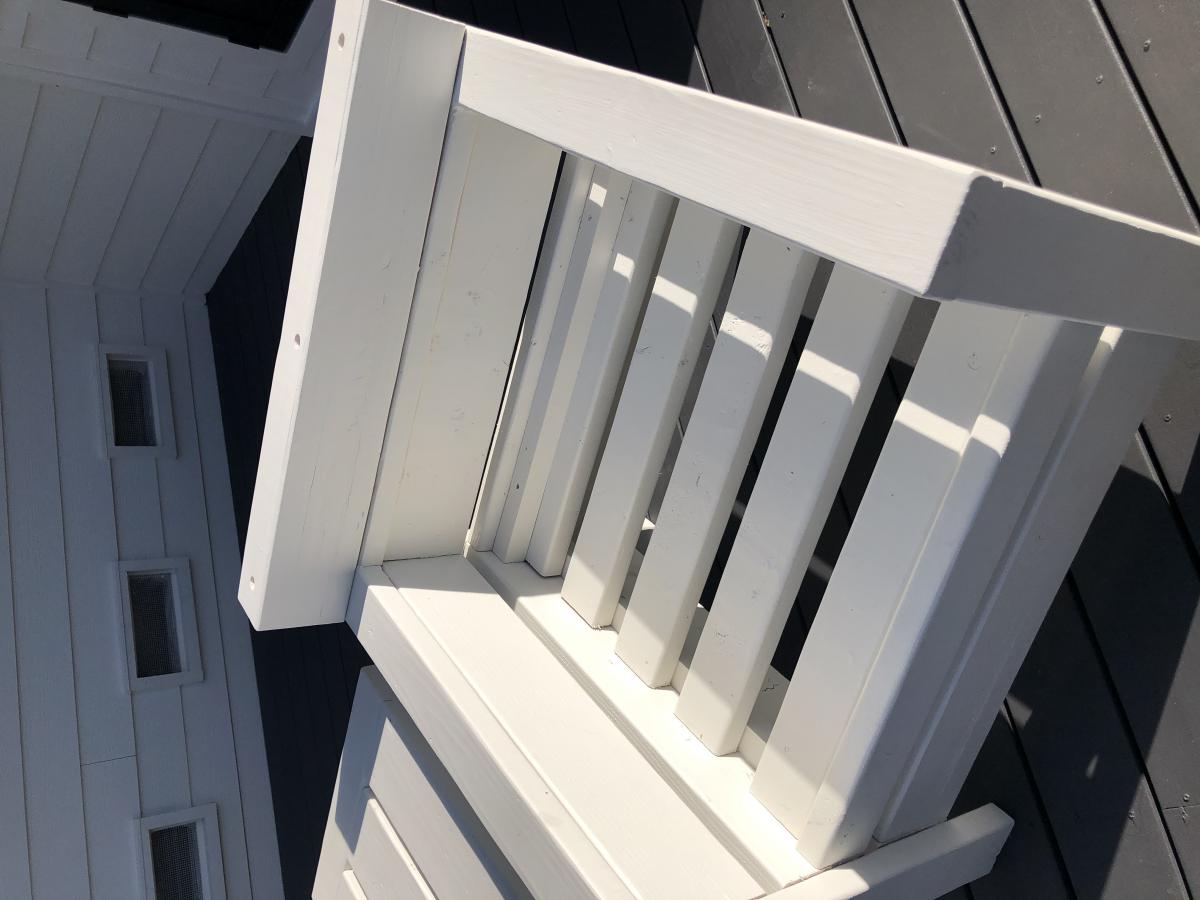
Great plans - thanks so much! Started with two chairs, and kept going...

MODS: Once built, we felt there wasn't enough back support, so added a 2x4 then 4x4 on top. Also added a 2x2 in back of the seat bed, so our 25" x 25" seat cushions didn't float around.

Recommend paint gun vs. painting by hand.

Estimated Time Investment
Weekend Project (10-20 Hours)
Finish Used
Two coats of Behr waterproof stain + sealer (BM swiss coffee)
Recommended Skill Level
Beginner

Comments

Seasonal And Holiday

Thankful FAUX the Fireplace!!

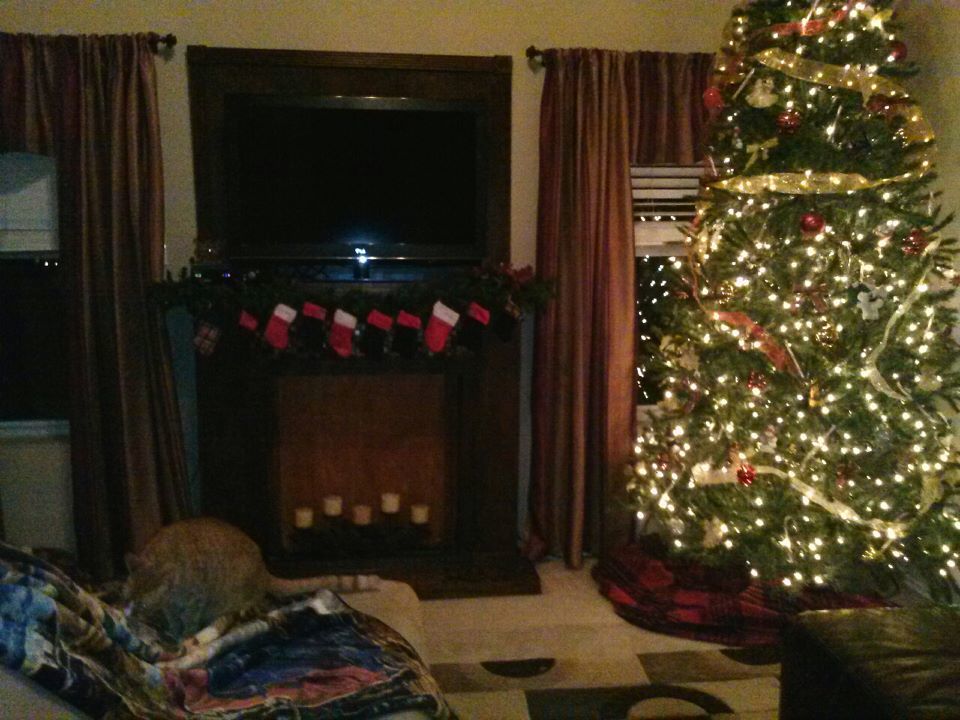
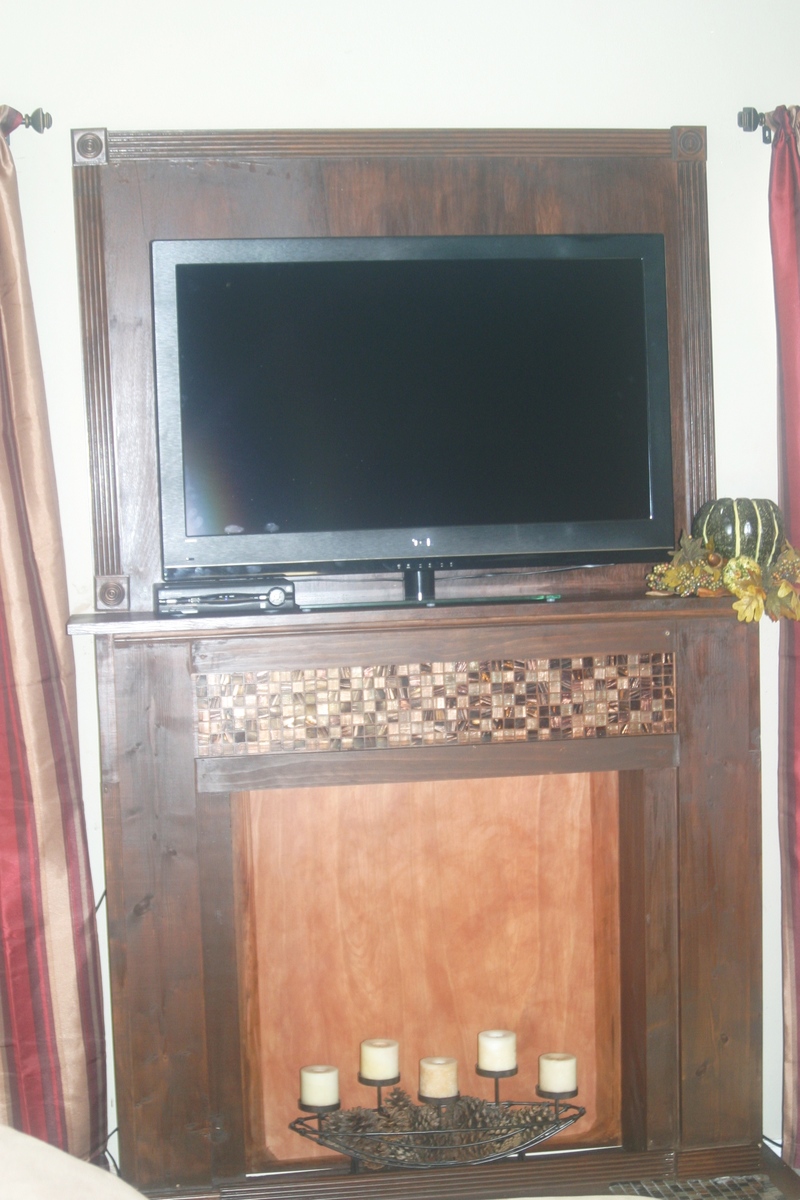
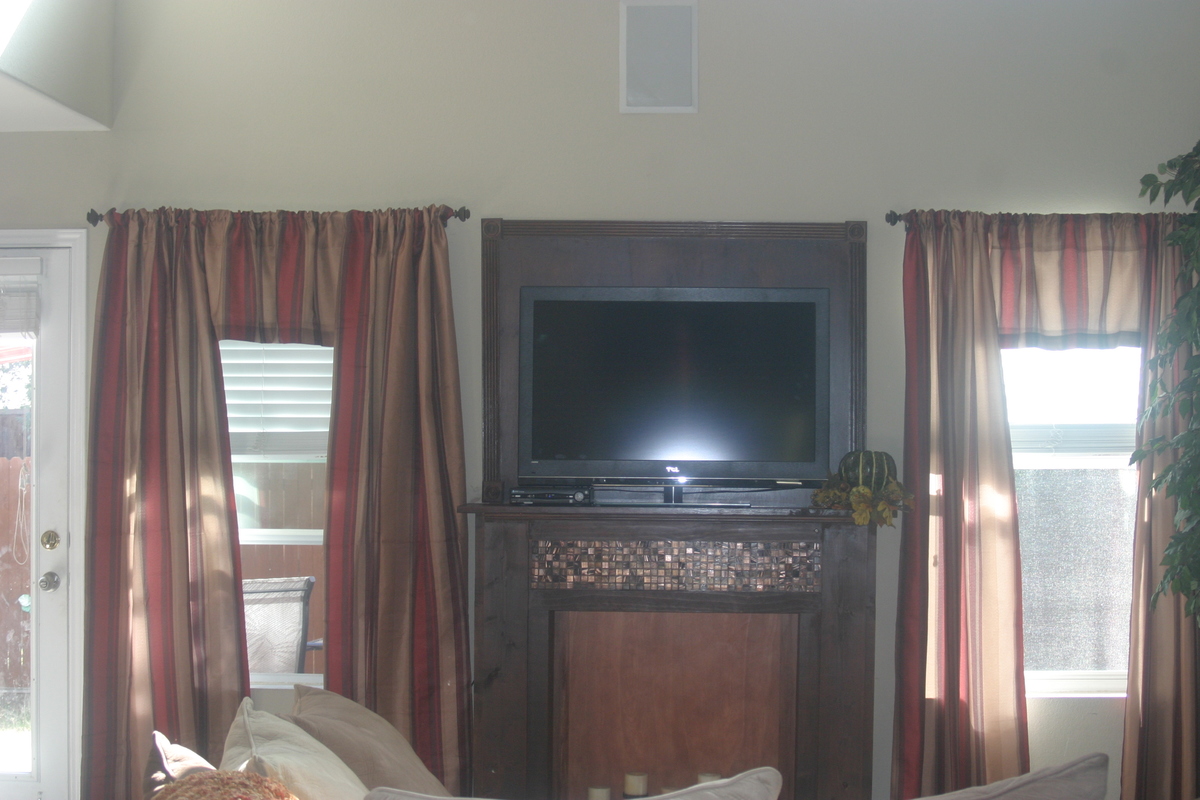
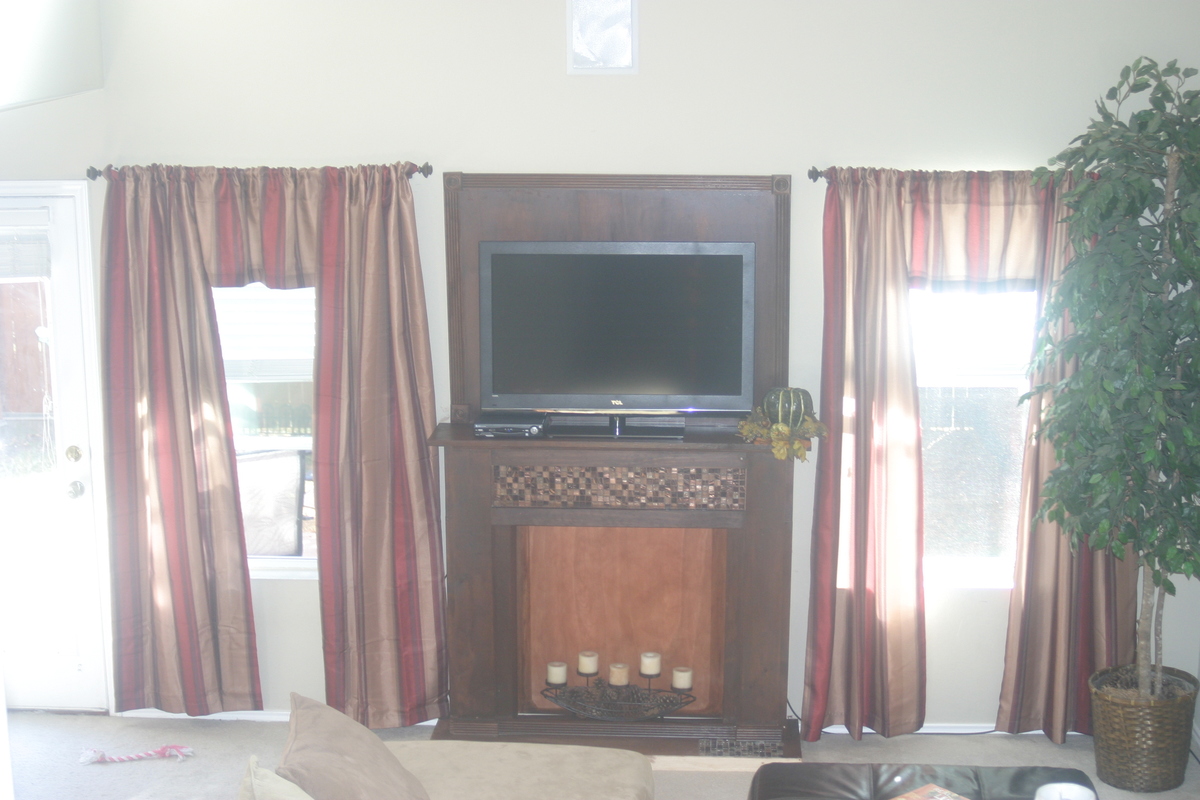
This Christmas I was determined to have a fireplace for the stockings to hang from! I played with the design a little to add depth and height.... and tiled a little.

Loved the results for only my second project from here!! Not perfect, but mine!lol Thanks for sharing Ana!!

~Dina

Estimated Cost
140
Estimated Time Investment
Weekend Project (10-20 Hours)
Finish Used
American walnut stain
Recommended Skill Level
Beginner

Comments

Not So Rustic Table

Submitted by Oawad79 on Mon, 10/27/2014 - 06:44

I have built this table following the plan from the woodwhisperer website under the name "Not So Rustic Outdoor Table", Used white pine

Estimated Cost
$100
Estimated Time Investment
Week Long Project (20 Hours or More)
Finish Used
PolyShade
Recommended Skill Level
Intermediate

Farmhouse bed

Submitted by Anonymous (not verified) on Sun, 02/05/2017 - 16:19

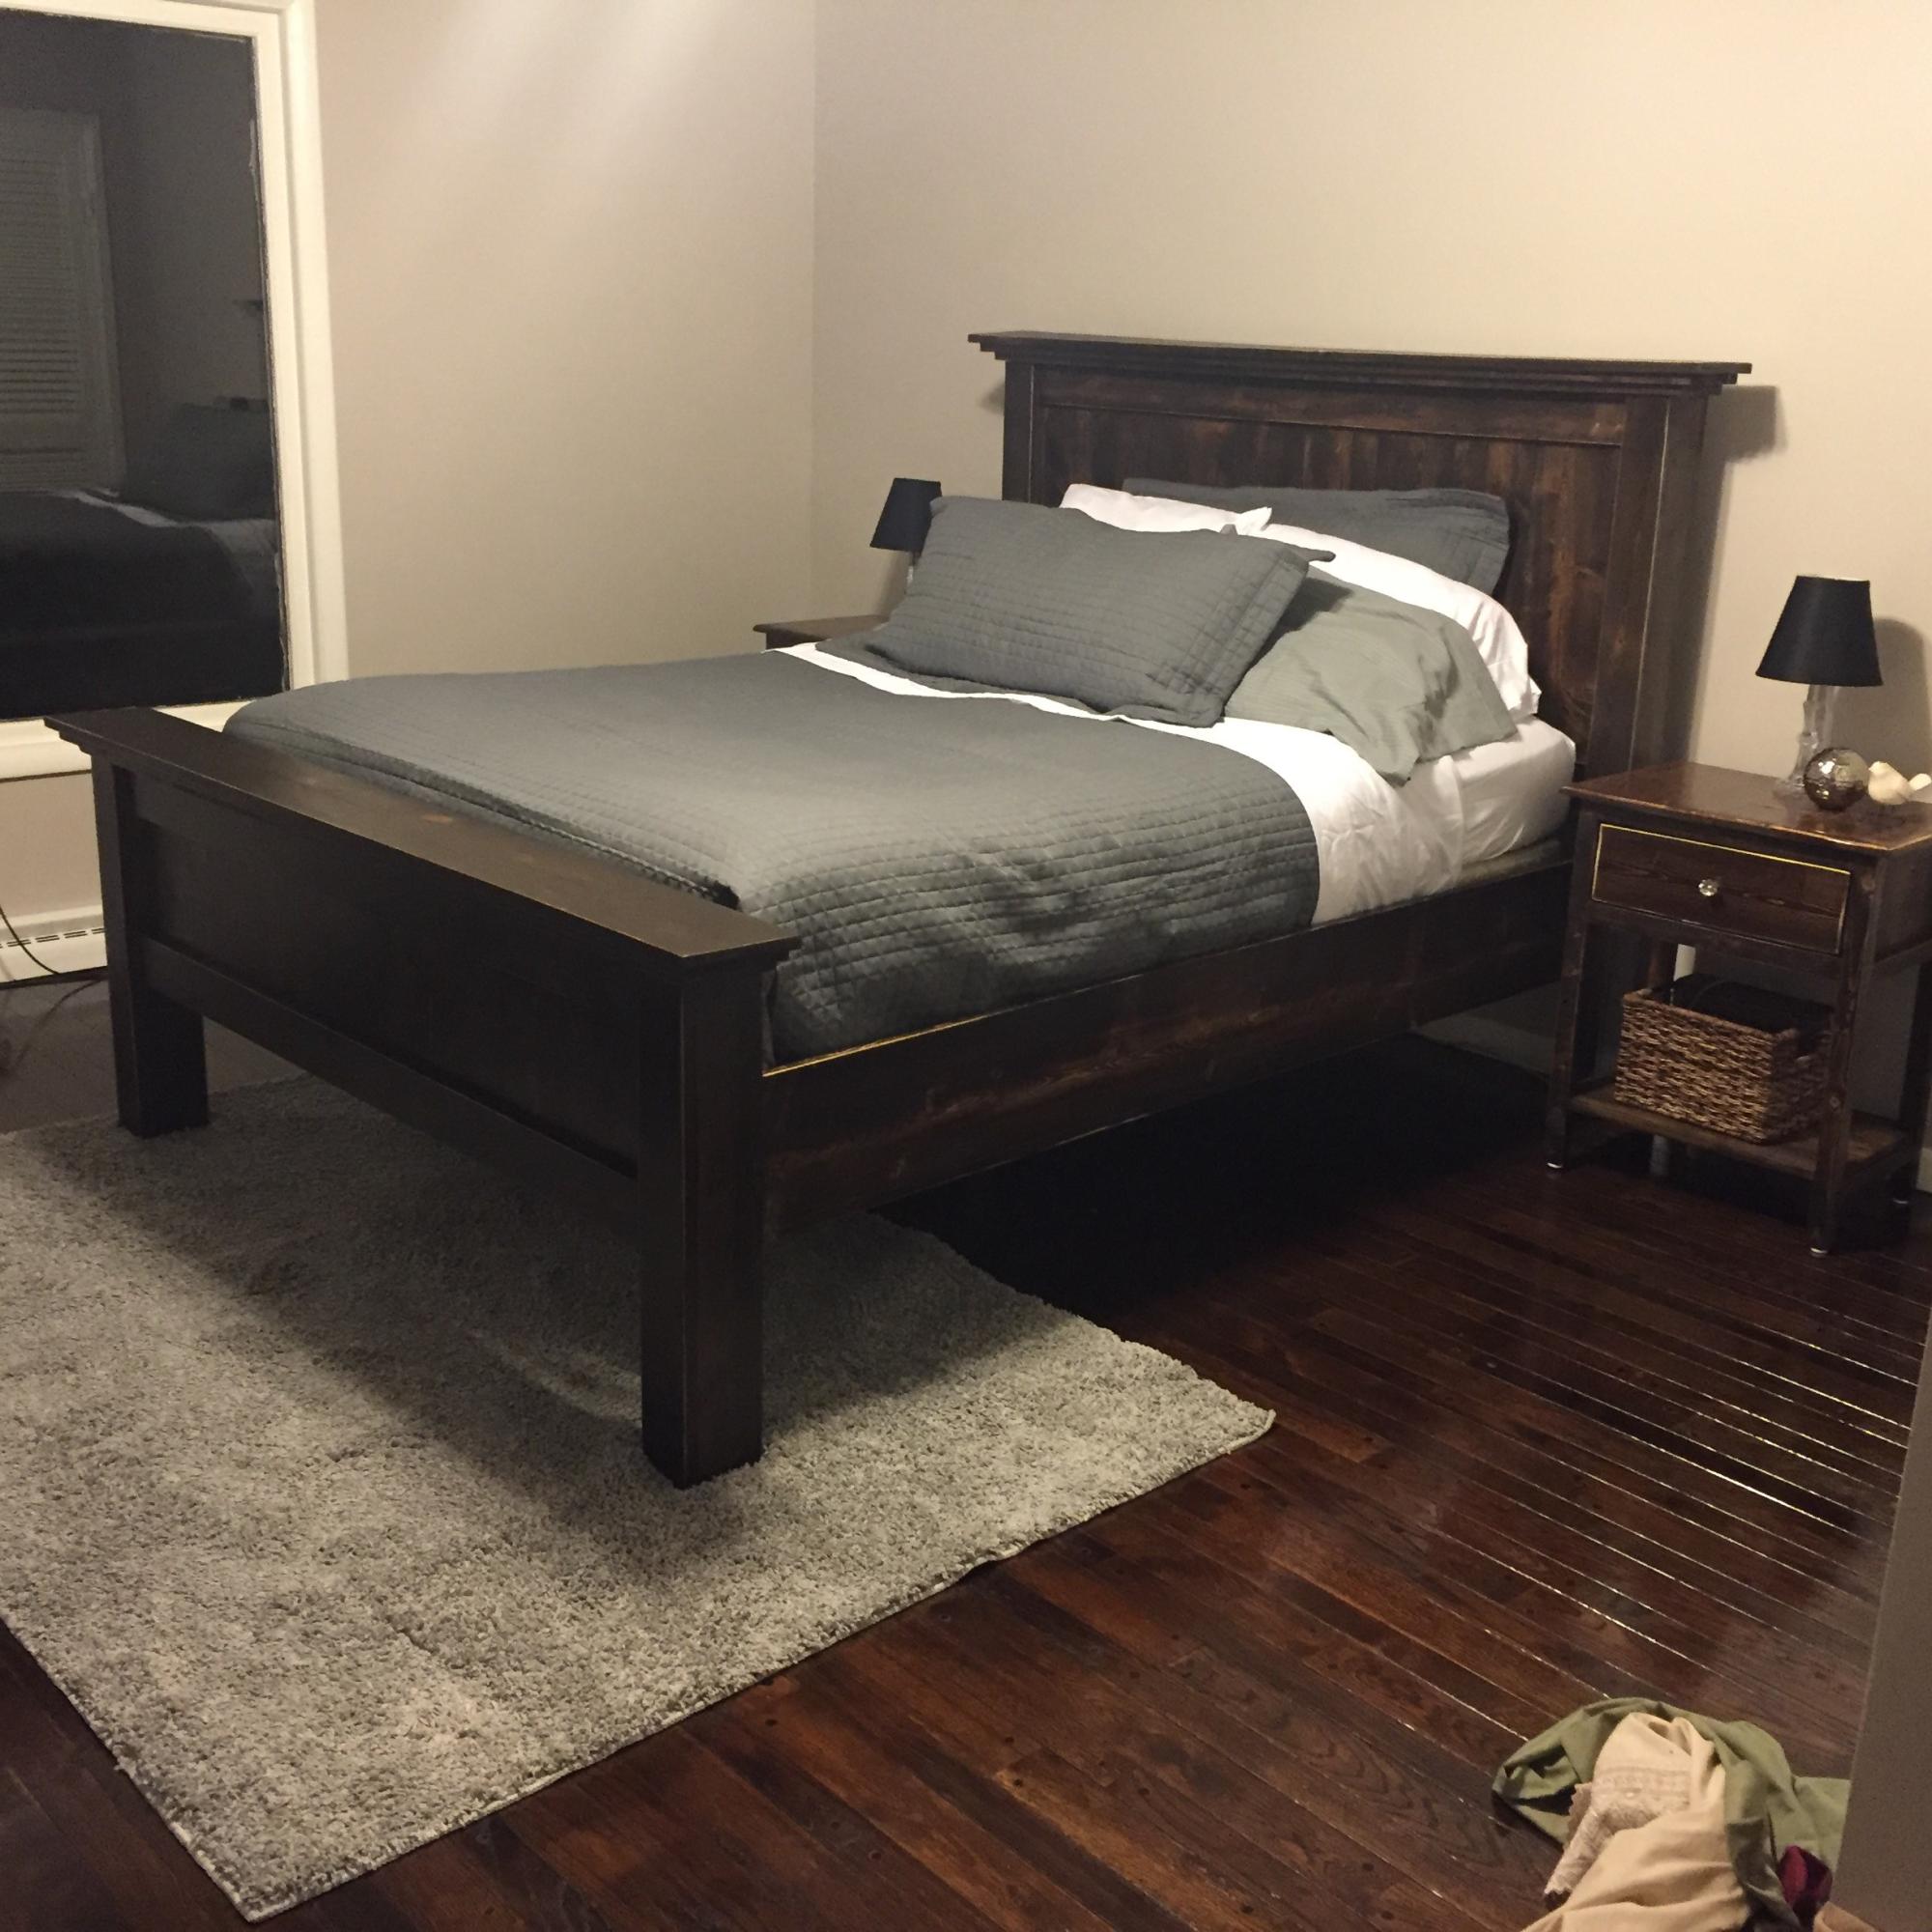
Farmhouse bed and night stands. Second bed I've made with Ana's plans, absolutely love it and easy for all........Deb M.

Estimated Time Investment
Week Long Project (20 Hours or More)
Finish Used
Mixed dark walnut and ebony
Recommended Skill Level
Intermediate

Farmhouse Toddler Bed with Rail

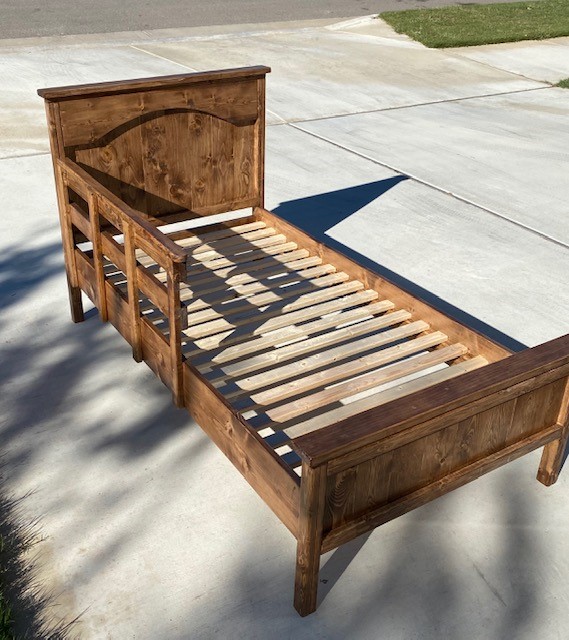
This was my second Toddler bed. This one with a single side rail. I really like this plan. Just remember that Toddler mattresses are not always the same dimensions. Find out the size of the mattress first and adjust your dimensions accordingly. I also stained and clear coated the railing separately so it can be removed as the child gets a little older and still have the bed completely finished without it.

Built from Plan(s)
Estimated Cost
$56
Estimated Time Investment
Weekend Project (10-20 Hours)
Finish Used
English Chestnut Stain with a Satin Poly top coat
Recommended Skill Level
Beginner

Comments

6 DRAWER COFFEE TABLE

Submitted by Nathan1342 on Mon, 01/07/2013 - 10:22

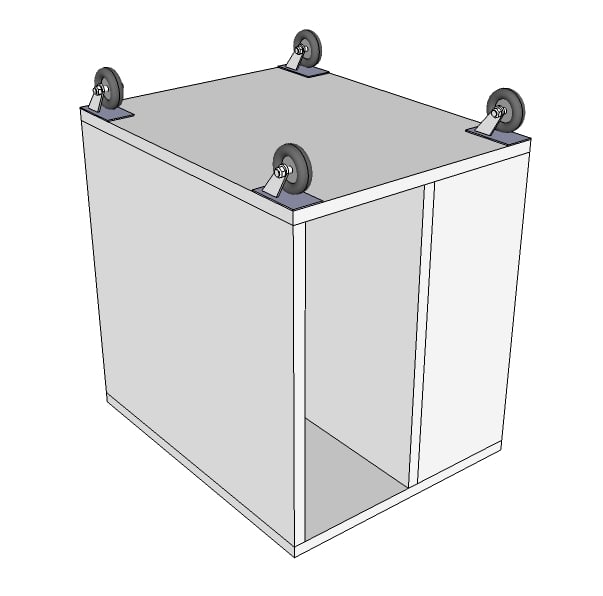
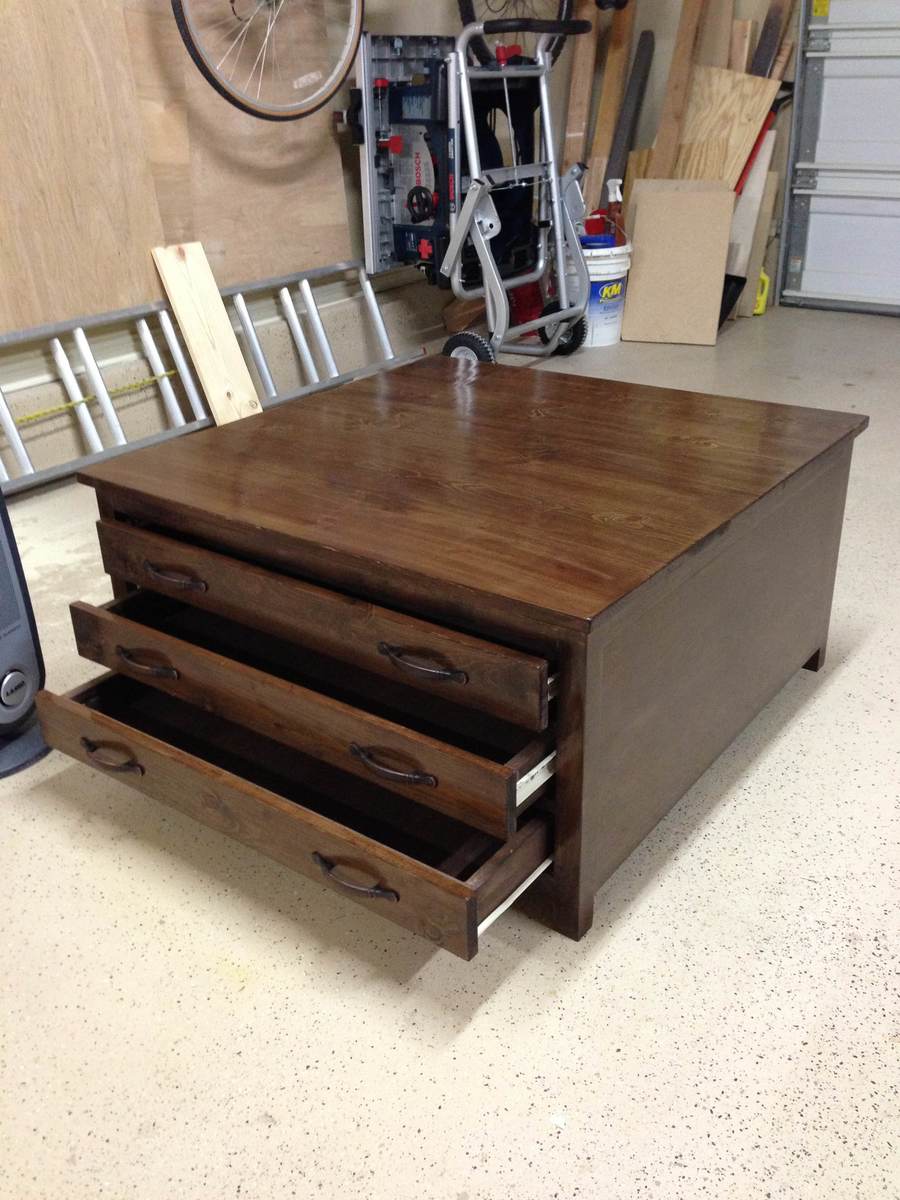
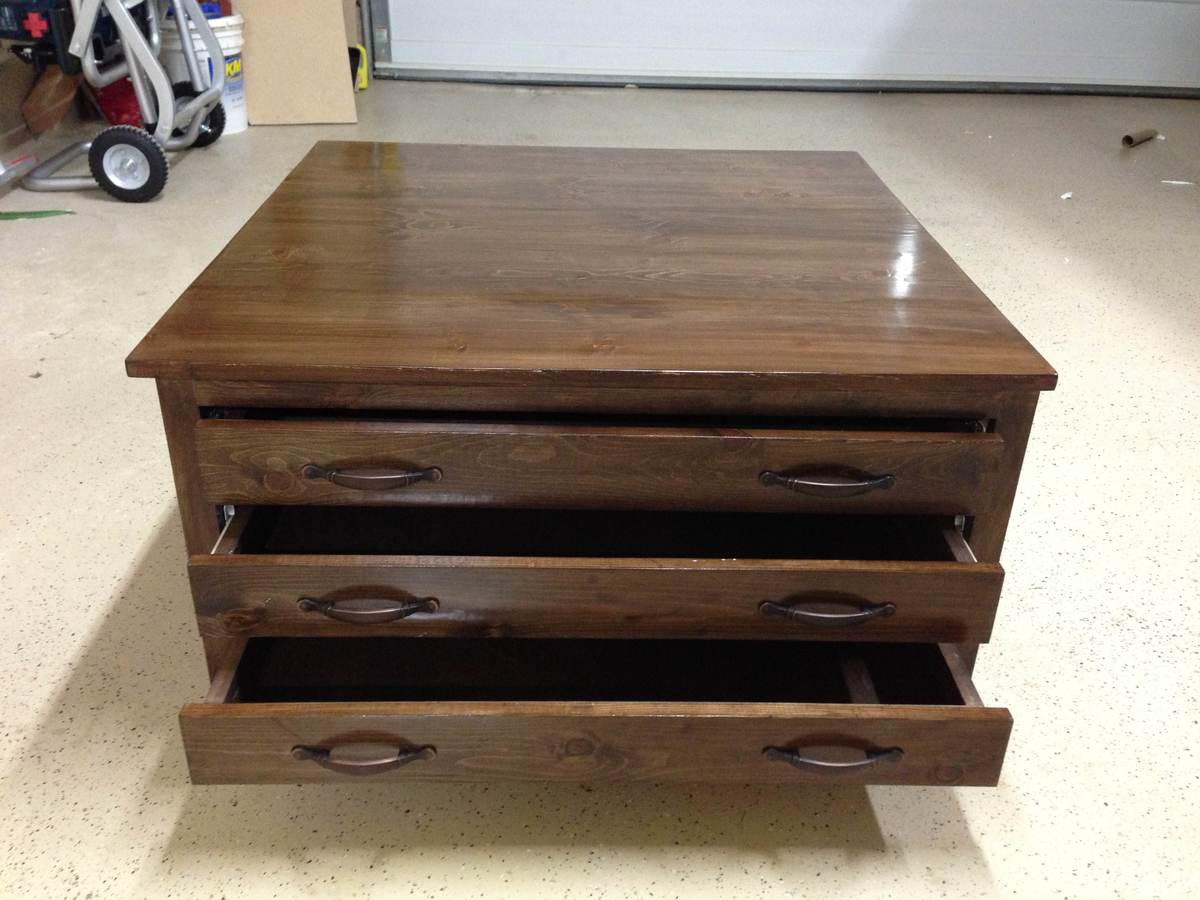
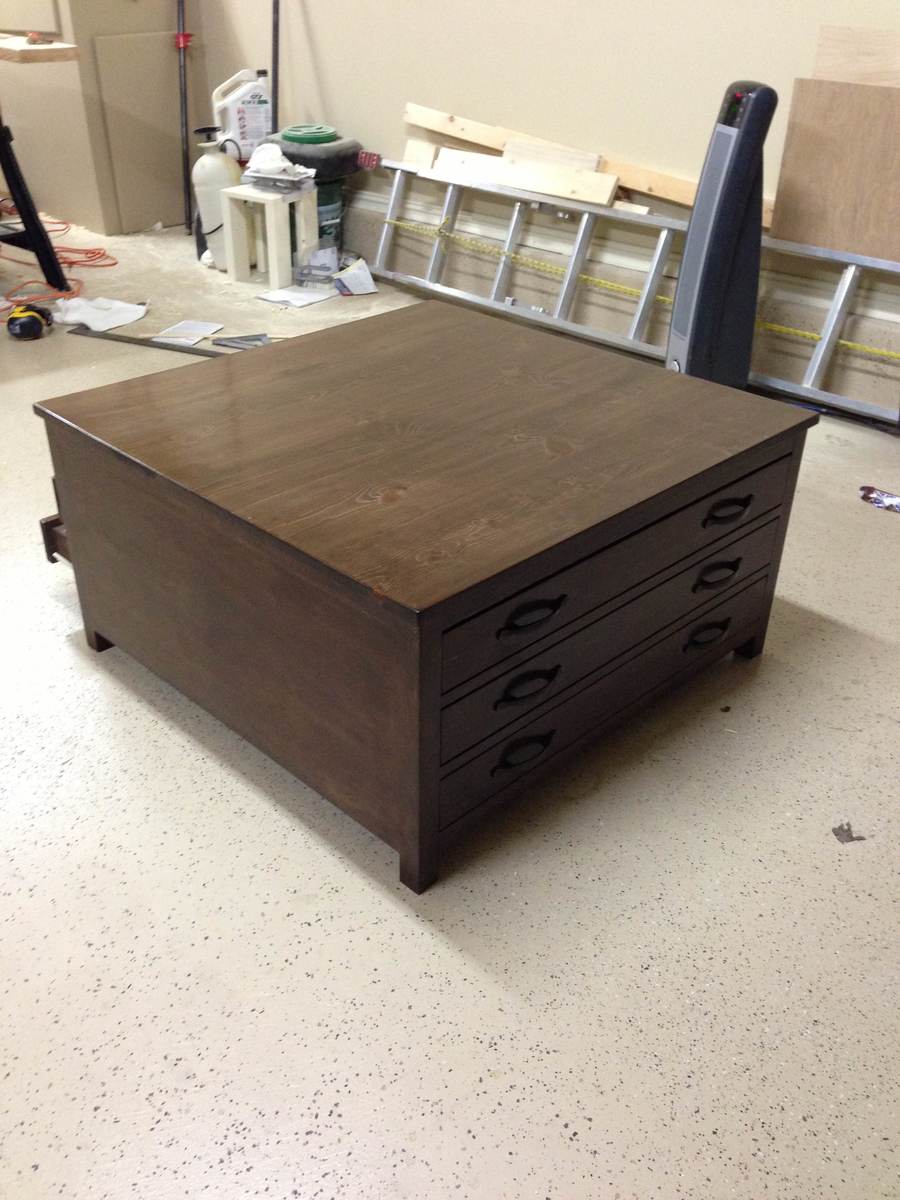
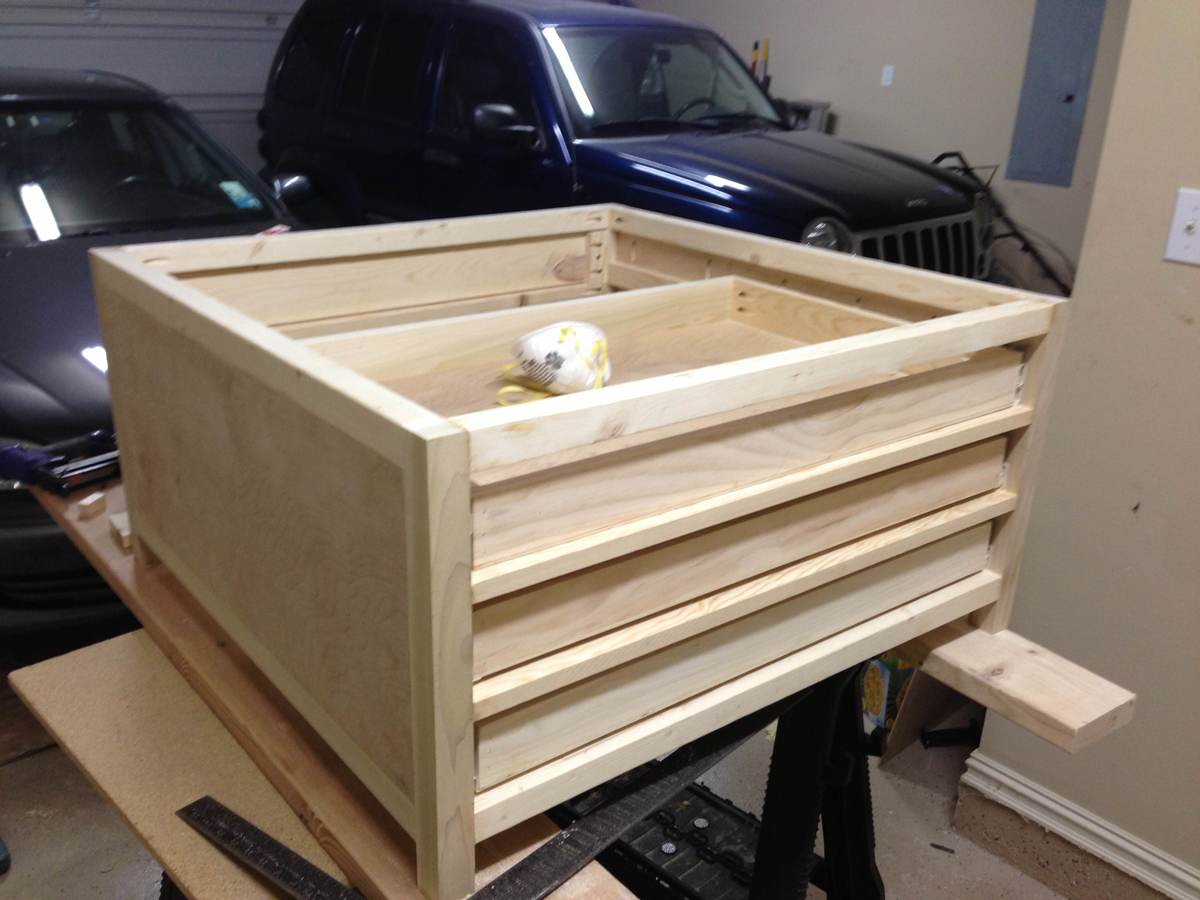
This was a fun little project. Followed the plans roughly. I made a few changes in the fact that I only added 3 drawers instead of six and instead of using the casters I made legs. When using cheap pine from lowes its rather difficult to get a frame that is completely square. This makes it quite the hassle to get the drawers to fit properly. If I had to do it over again I would use better wood and be very careful that the frame is 100% square. But overall a nice project.

Estimated Cost
300
Estimated Time Investment
Weekend Project (10-20 Hours)
Finish Used
Rustoleum Dark Walnut
Recommended Skill Level
Intermediate

Comments

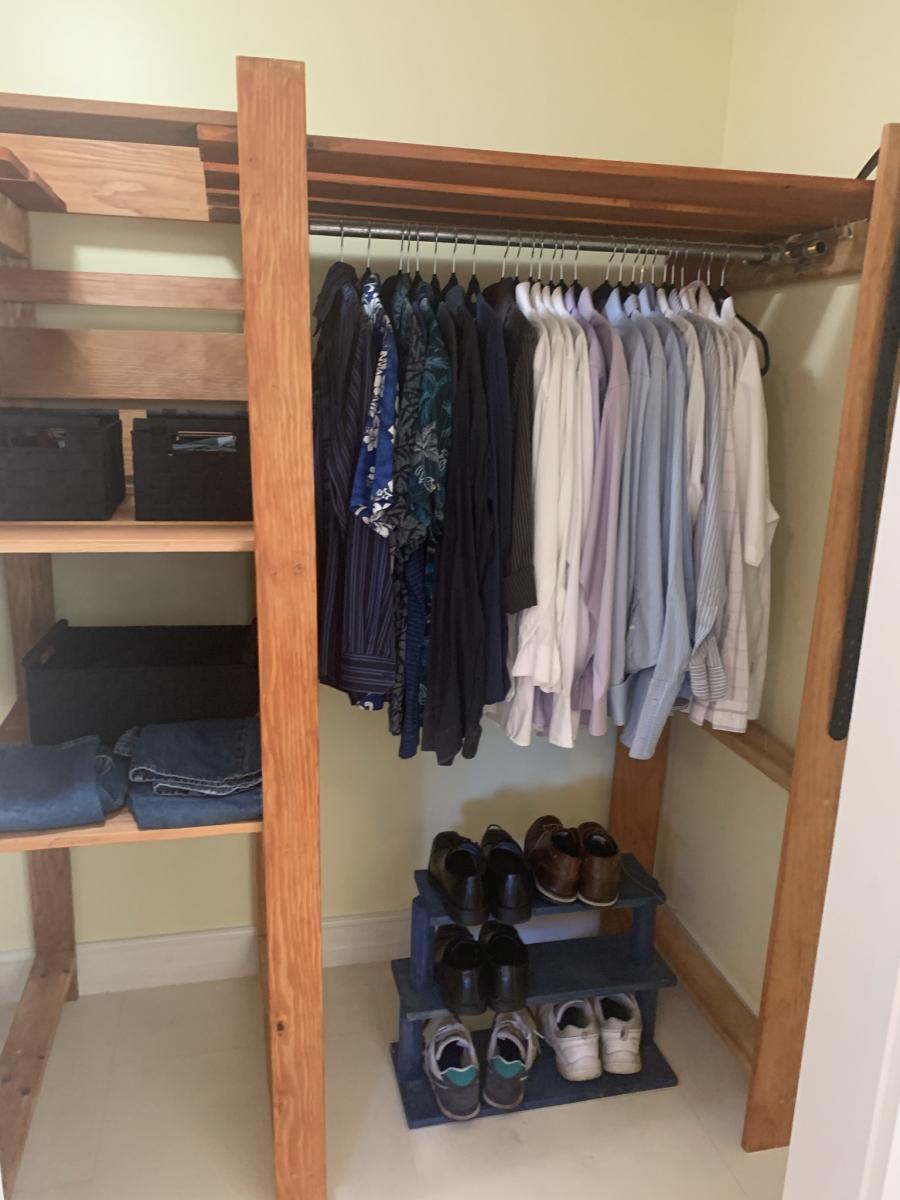
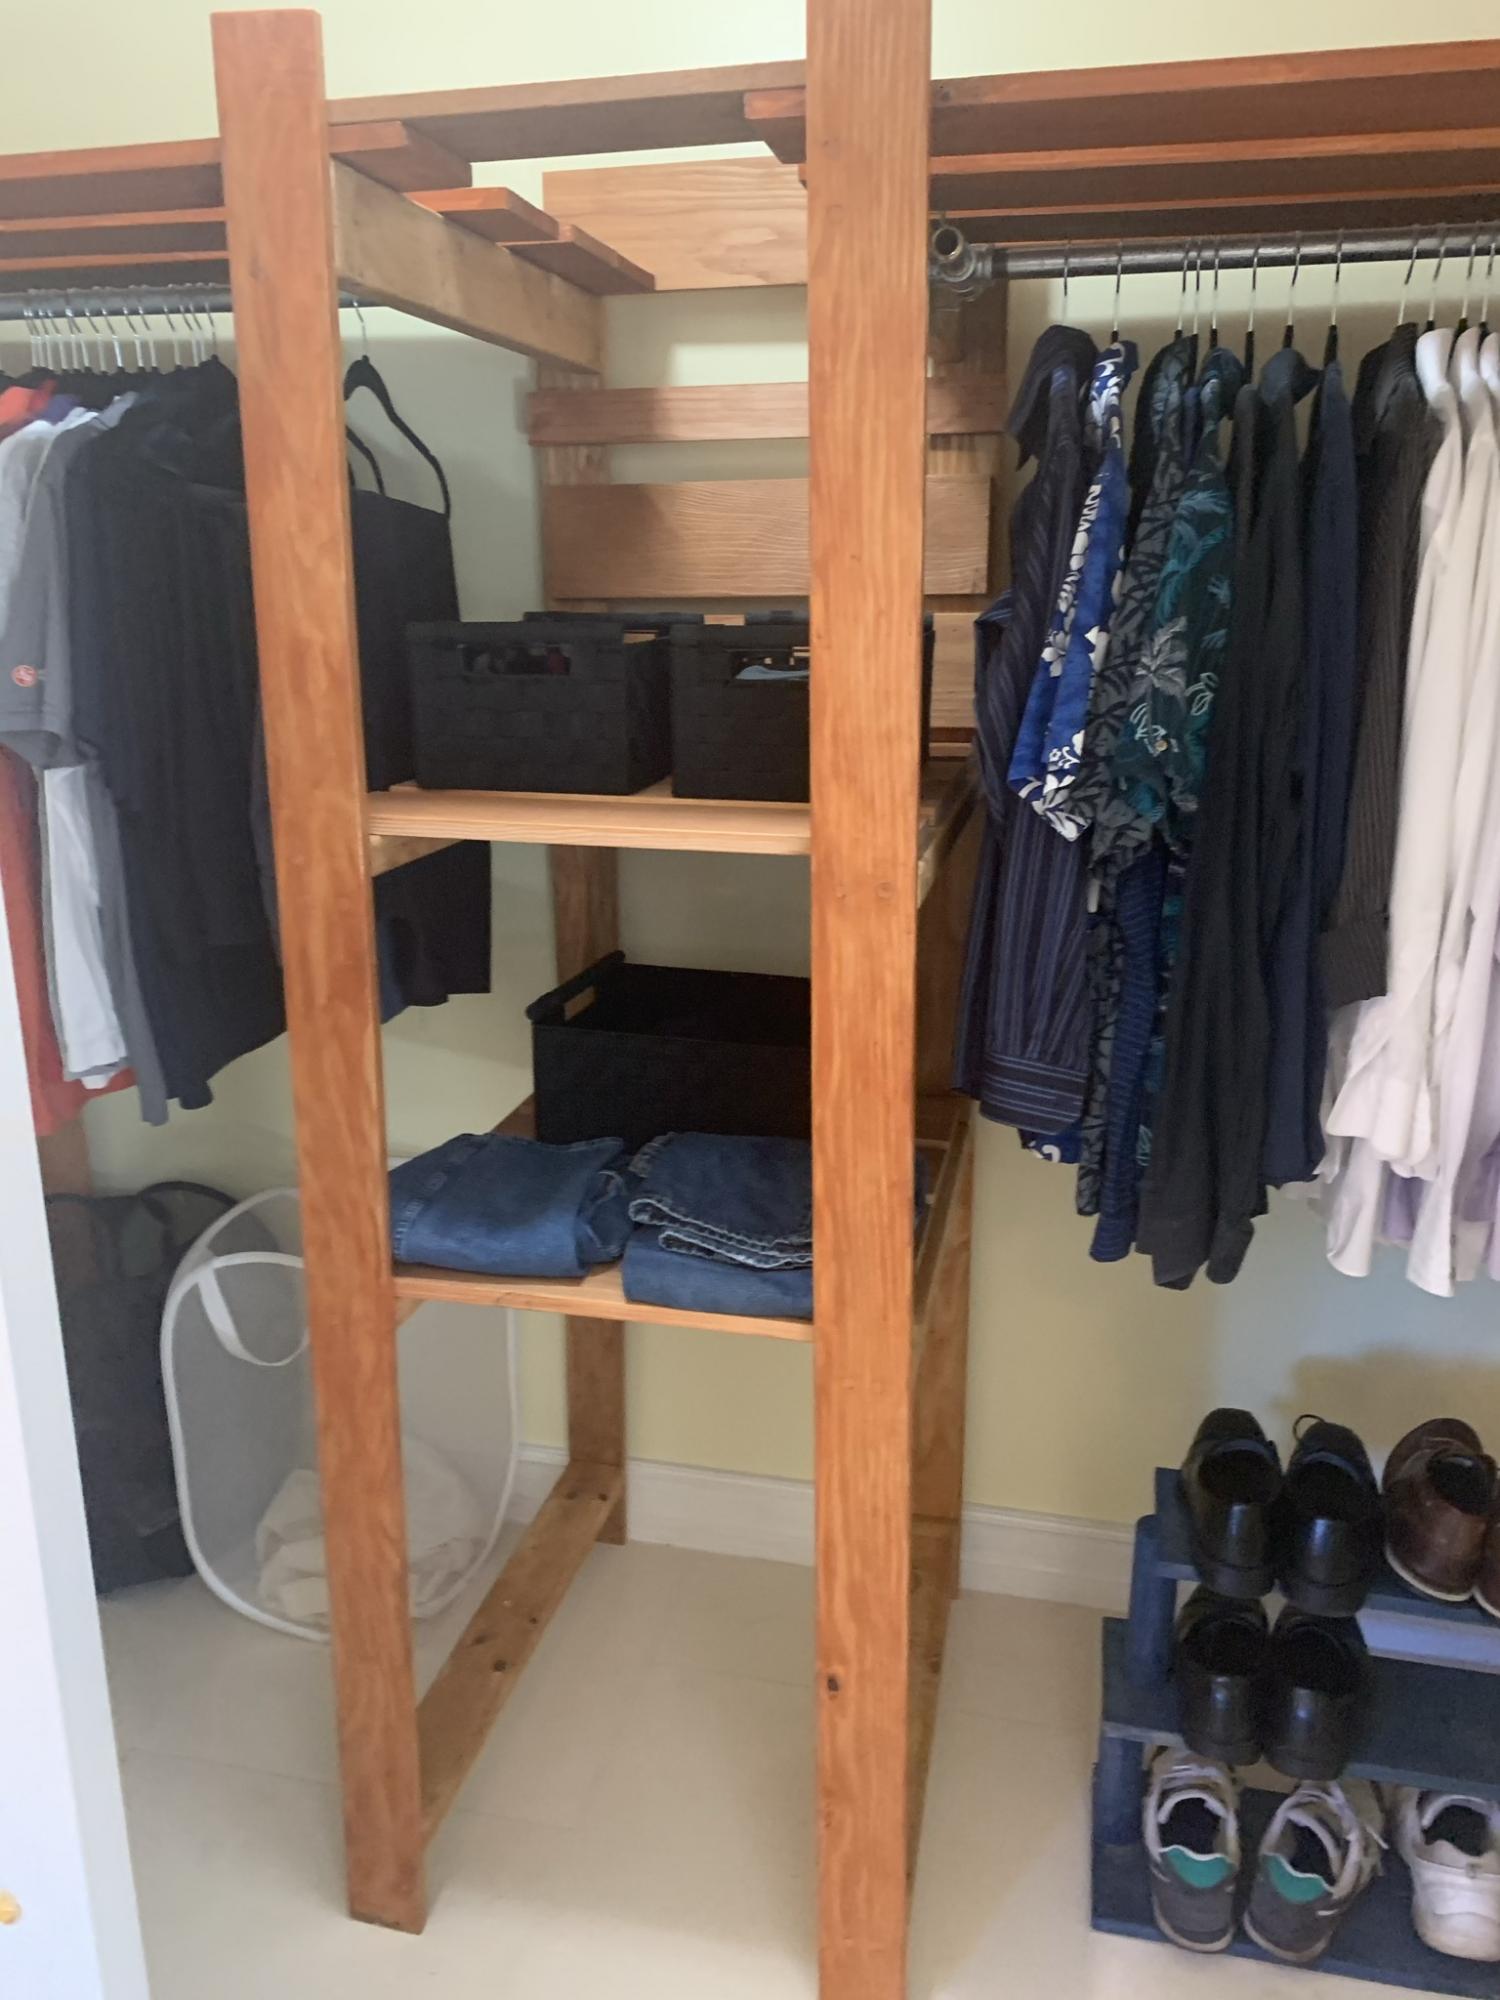
My DIY Closet Project

Hi DIY Peeps.

This is a pretty simple project.
The main point is to keep everything level across the 4 boxes.
I used simple jig's which were exact copies so I knew where to attach the shelves properly and level.

Note this on the pictures.

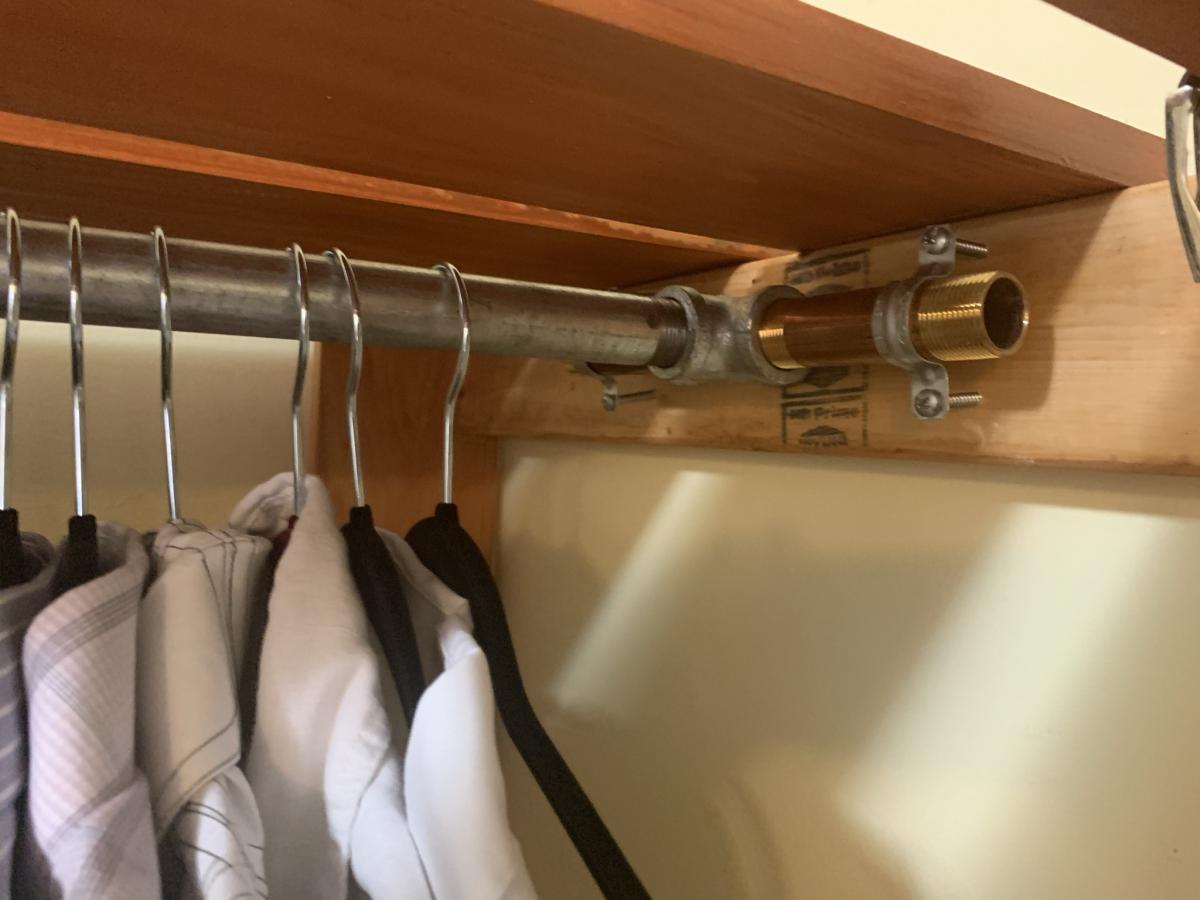
I wanted to use all Galvanized Pipe but sadly no matching parts.
Here I would suggest as Did Ana to keep your shelve parts no more then 3 feet or so.
Why, you can get off the shelf 36" precut galvanized pipes easy. Most closets are 8' or less so anything over that is a problem.

My measurements were

H=78"
W=8' 3"
Depth 28"

The Center Part is 2' as that was the natural distance as I went wall to wall 3 + 3 + 2 = 8

I modified the build to allow more storage on the top for bigger boxes and use as a Linen Closet of sorts.

My closet is out of Fir , and 2x4's I didn't want a all 2x4 closet. The thin wood at 3/4's get a lighter look to the closet. Also don't forget to screw the frame to the wall for safety, this is a pretty heavy closet !

Pine would work as would poplar or oak. But the 3x4 thick and 5" and 3" wood really made it look great.
Notice have the 5" is the middle and the 3" wide is at each end. This gave the closet a more fun look.

Notice the hanger for the 3' galvanized rod. I used Copper and pipe clamps to give it a unique look.
This really makes the closet Pop.

Overall it was a fun project, it took 3 weekends as I stained it with Carmel Oak color and that took 3 coats on the Fir.

The shelves are the longest part of the work, but use the jigs like I did and it will come out all level.

I am very happy with it in the End, Sadly i can't open the doors all the way to show how big this actually is!

Estimated Time Investment
Week Long Project (20 Hours or More)
Finish Used
Honey Oak Stain.
Recommended Skill Level
Beginner

Comments

Entryway shelf & bench

Submitted by lswenson on Tue, 01/08/2013 - 19:08

It was so much fun building this bench & shelf for my entry. I now have a terrific place to stash things and hang my coat and purse! I am planning to make boxes to fit some of the spaces in the bench.

Estimated Time Investment
Weekend Project (10-20 Hours)
Finish Used
Valspar "Spanish Tile" gloss paint from Lowe's
Recommended Skill Level
Beginner

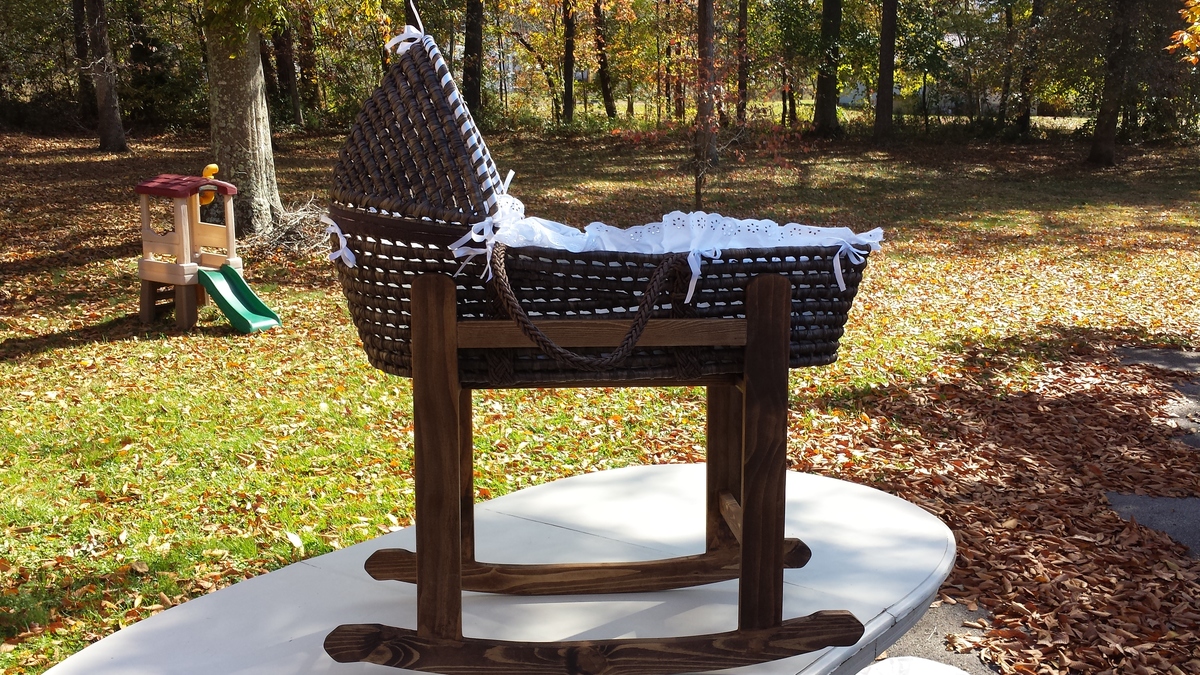
rocking Moses basket stand

This is my third Ana White plan. Thanks to you, Ana, and other inspirations I have came to through you, I have seriously improved my skills. This project took me about 3 nights, working around the schedule of my almost 2 year old. Would probably be a one day project. Took me a little sanding to get those rockers right, but overall much easier than I expected. I believe my neighbors will be very excited when they arrive home from the hospital tonight to find this in their living room. Thanks so much for all you do to teach and inspire all of us!
Built from Plan(s)
Estimated Cost
$10-15 for materials plus $40 for Moses basket, purchased from Amazon
Estimated Time Investment
Afternoon Project (3-6 Hours)
Finish Used
Rustoleum, dark walnut
Recommended Skill Level
Intermediate

Comments

Simple stool modified

Submitted by Anonymous (not verified) on Fri, 02/10/2017 - 20:23

Simple stool plans modified.

Estimated Time Investment
Weekend Project (10-20 Hours)
Finish Used
White exterior gloss legs. Minwax honey stain seat with 8 coats of gloss varnish.
Recommended Skill Level
Intermediate

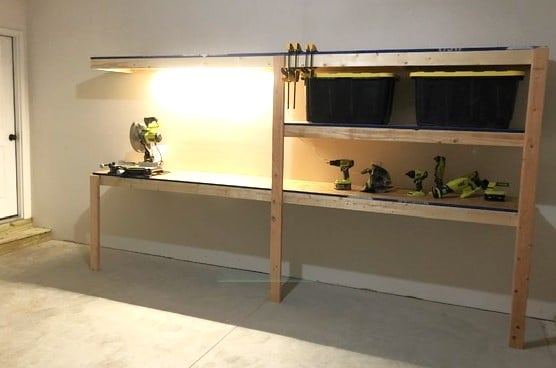
Garage Shelves + Work Bench

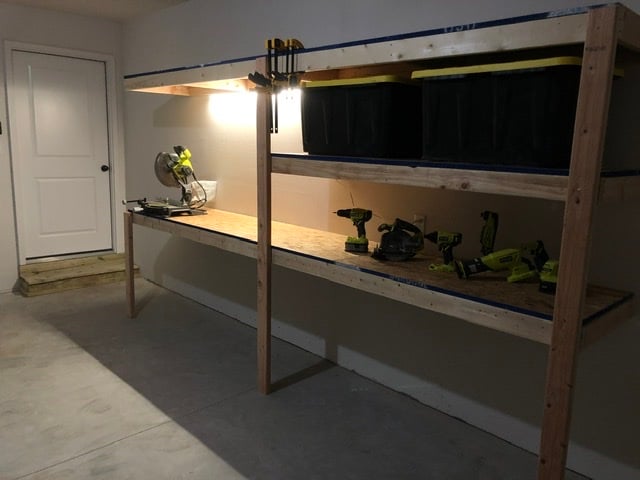
I used Ana’s plans for the garage shelves, but modified them to include a work bench. A lot of you tubers have done this, built a combination work bench and shelving, but I built nearly everything according to Ana’s plans. 12 feet long, 24 inches deep. I got some LED lights (two 1600 lumen strip lights) from menards that really brighten up my entire garage and make the work bench more useful. The one thing I really wanted was to not have a supporting pillar on the work bench to keep it open, and I loved how it turned out. I went for 3/4 plywood, mostly to have a stronger work surface, and I’m glad I did. I have since added a supporting 2x6 off of the study to support the top shelf above the bench and its strong enough to do pull-ups off of, and I have reinforced the support leg under the bench with a cross bar. Thanks for the great plans!!

Estimated Cost
~$200 (lumber prices have gone up recently due to supply issues with covid)
Estimated Time Investment
Weekend Project (10-20 Hours)
Recommended Skill Level
Starter Project

Comments

Laundry Basket Organizer

Submitted by mseely02 on Thu, 01/10/2013 - 09:02

We have a laundry problem in our house. It piles up in un-organized piles and takes days to sort through and actually get in the washer. Honestly, we could do laundry every single day of the week and still fall behind. I guess that comes with the territory when you have 3 small boys in the house.

This organinzer is going to be great. We currently use it for whites, colors and "grown-up clothes". This keeps us from accidentally washing some of Mommy's more delicate items in the general colors wash which saves me money when we don't ruin her clothes.

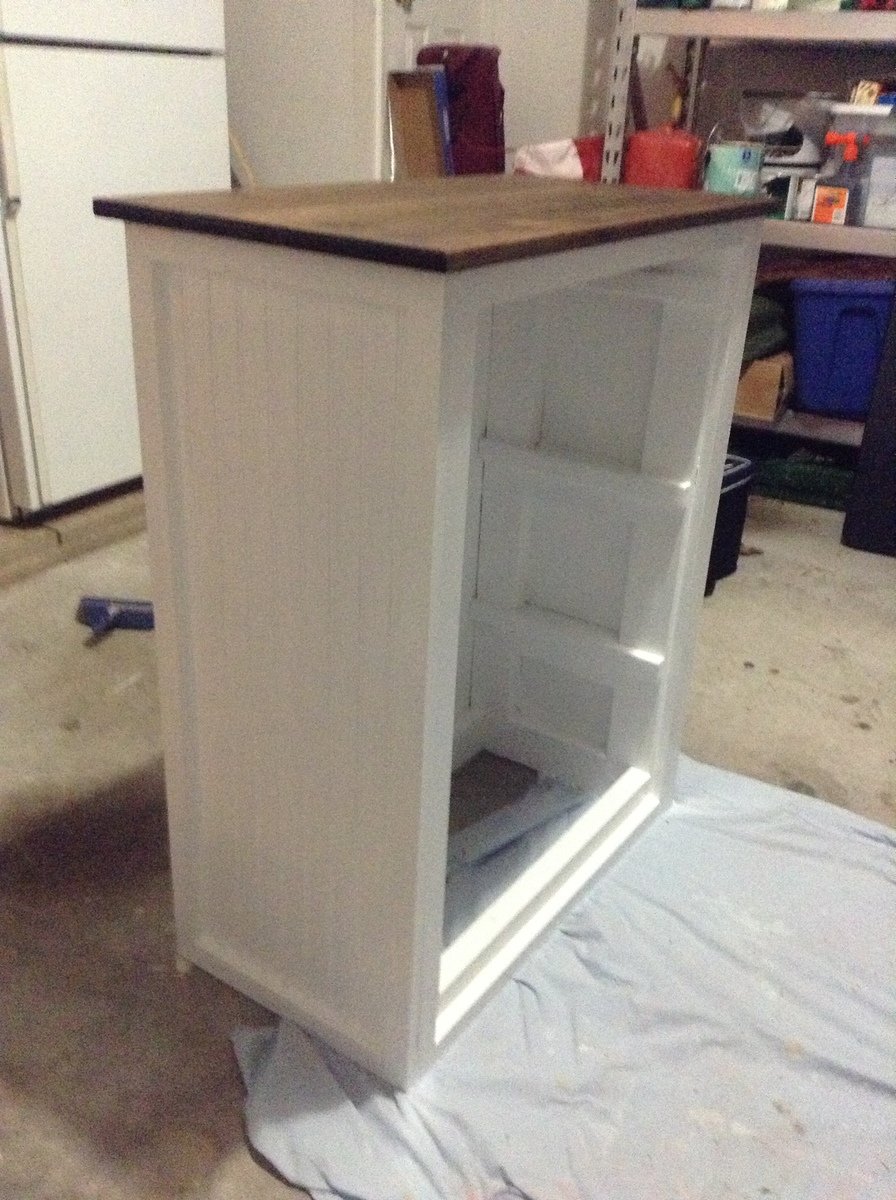
The plans call for the 1 x 16's, but I had extra 2 x 4's laying around so I just built a frame using my kreg jig. The most expensive part was the beadboard for the sides and I used some S4S 1 x 4's for the top. Overall the project tooks me months, but that was more a product of my "shop" time coming after 8 pm and general apathy.

I definitely have the bug and have already starting a new project!

Built from Plan(s)
Estimated Time Investment
Afternoon Project (3-6 Hours)
Finish Used
Semi Gloss Interior White, Minwax Dark Walnut Stain
Recommended Skill Level
Beginner

Comments

Arrow Pallet Art

Submitted by sraper2 on Wed, 11/05/2014 - 21:11

I made this quick and simple wall art using some scrap wood and some pieces I got from a pallet.  I nailed them onto a scrap of plywood and used a stencil and some spray paint to finish it up.  It came out great! 

Estimated Time Investment
An Hour or Two (0-2 Hours)
Finish Used
spray paint
Recommended Skill Level
Starter Project

Two seat outdoor bench

Submitted by Anonymous (not verified) on Sun, 02/12/2017 - 20:22

Easy build and looks fantastic! 

Estimated Cost
200
Estimated Time Investment
Weekend Project (10-20 Hours)
Finish Used
Minwax spar poly
Recommended Skill Level
Beginner

Comments

Stylish Chicken Coop

Submitted by Anonymous (not verified) on Wed, 11/11/2020 - 15:52

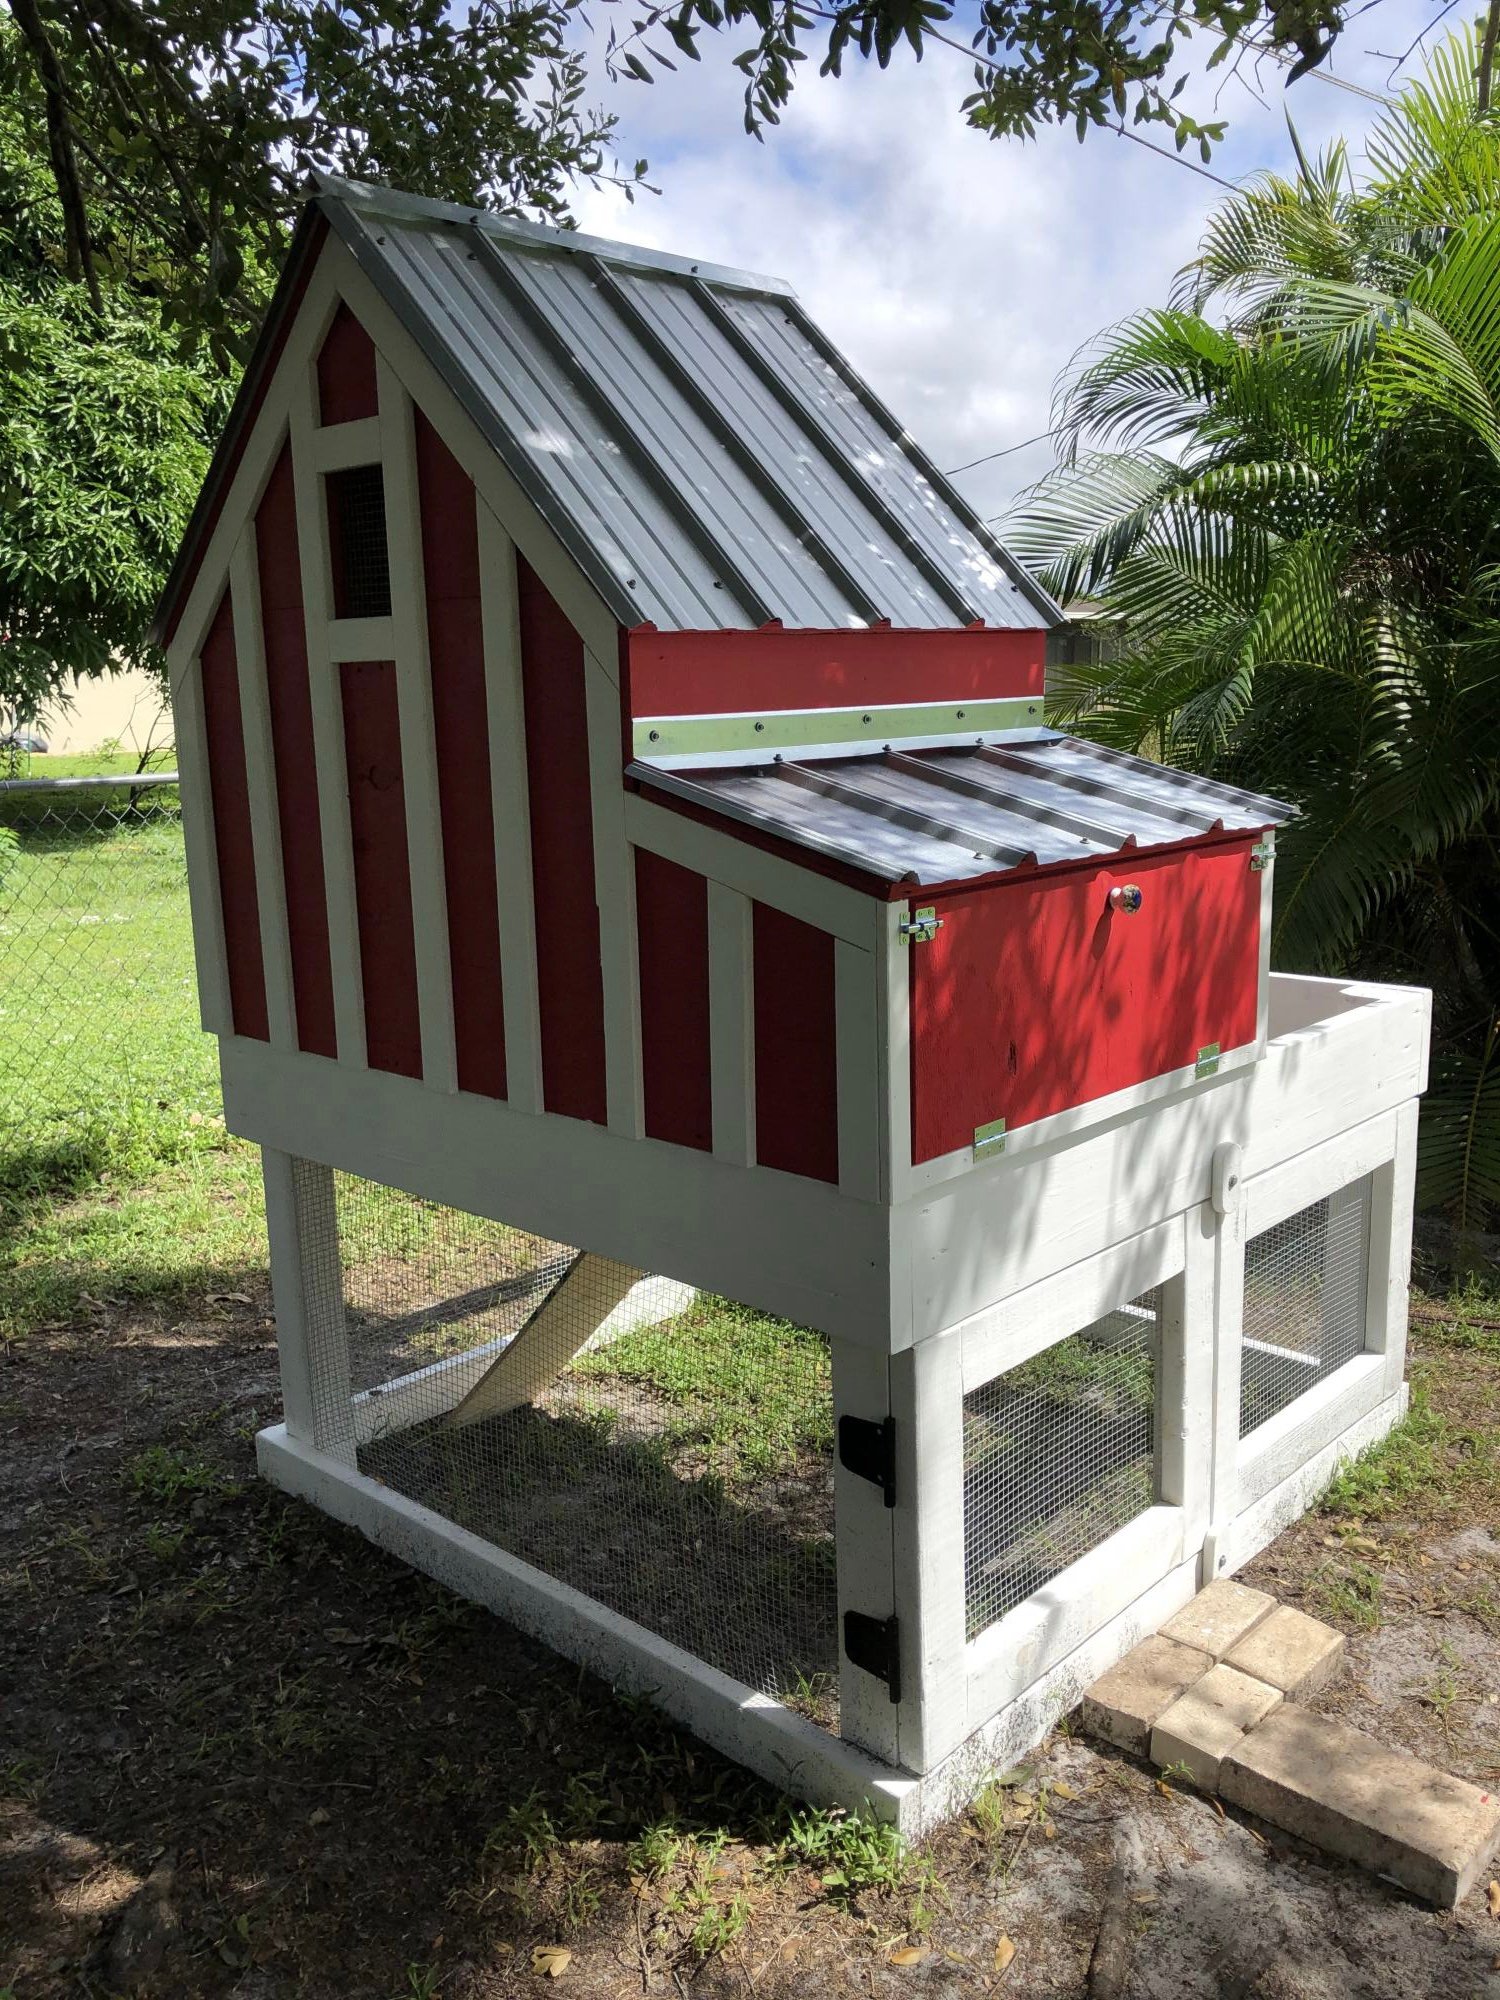
Housing three (3) hens now that are about a month old. Probably late January before can expect any eggs.

Great project. Metal roof worked well. I used flashing for the ridge caps. Have allowed for as much ventilation as possible for this Southwest Florida heat.

Thanks Anna, for sharing this project.

Estimated Time Investment
Week Long Project (20 Hours or More)
Finish Used
Sherwin-Williams outdoor barn red and white.
Recommended Skill Level
Intermediate

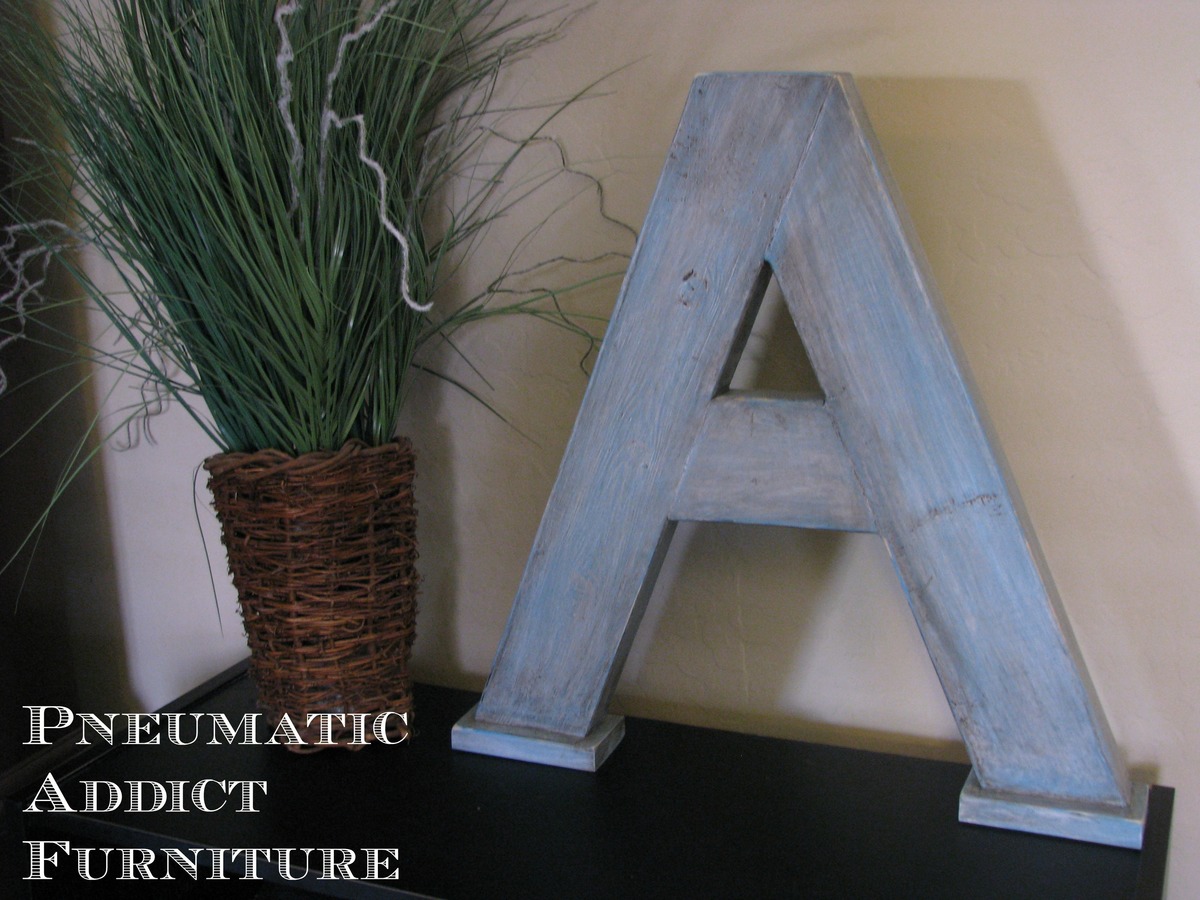
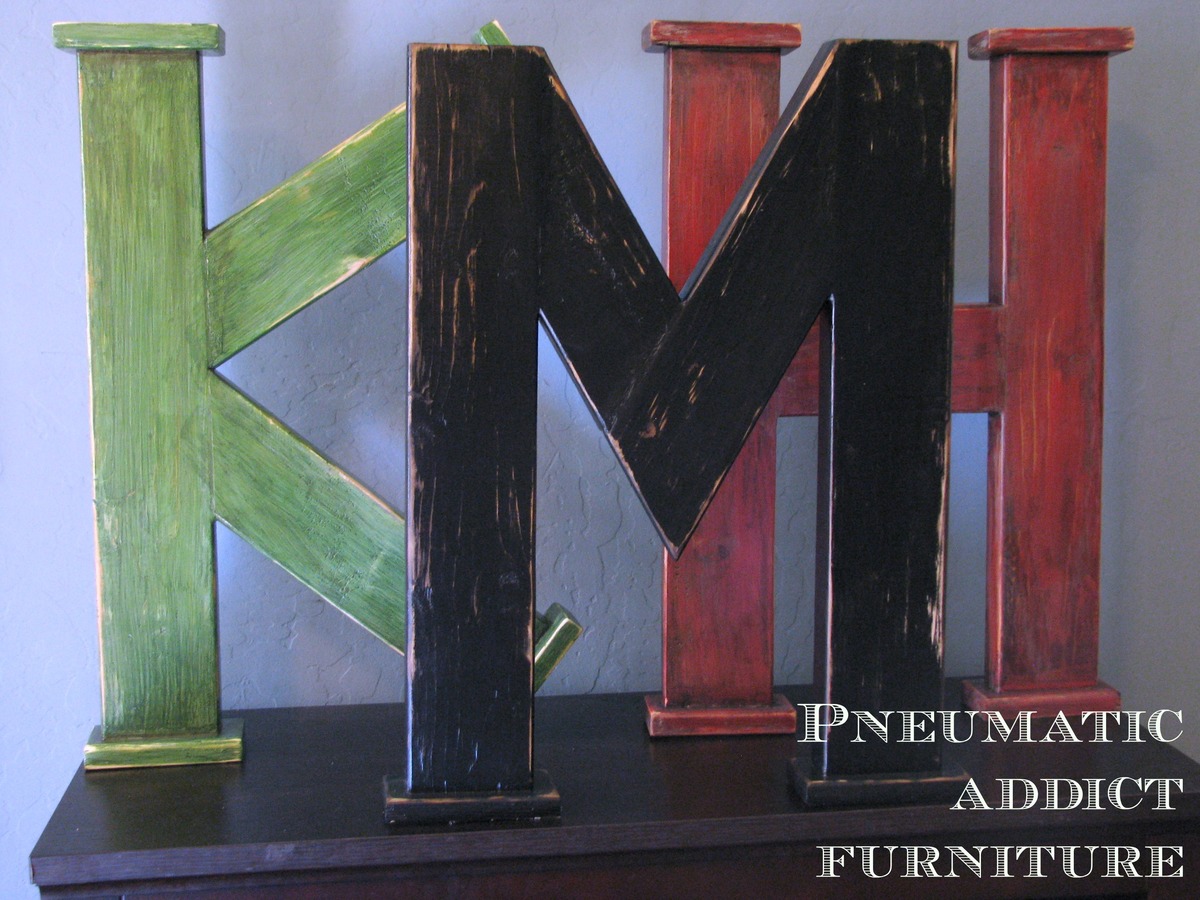
Over-sized 2x4 Letters

Submitted by efmolly on Sat, 01/12/2013 - 09:04

I've done a dozen or more of these letters now. Each letter has to be cut differently, but they are all made from 2x4s and pocket holed together using my Kreg Jig. I have also made some letters with curves (such as R, B, J, etc). I cut the curve out of a 2x10, left over stair stringer and then join it with some 2x4 for the rest of the piece. To make the base plates, I cut small blocks of 1x3 and rounded the edges with a palm sander. I used glue and finish nails to attach them. I have more projects like this on my blog http://pneumaticaddict.blogspot.com .

Estimated Cost
$4
Estimated Time Investment
Afternoon Project (3-6 Hours)
Finish Used
I wanted them to look very rustic, so I purposely didn't sand or use wood filler. First I painted them with 1 coat of acrylic paint a little brighter than my desired shade. I then glazed each letter with a dark brown glaze. Next, I white washed selected areas to add highlights. I distressed the edges with 100 grit sandpaper and sealed the whole thing with 2 coats of Polyacrylic in Satin.
Recommended Skill Level
Intermediate

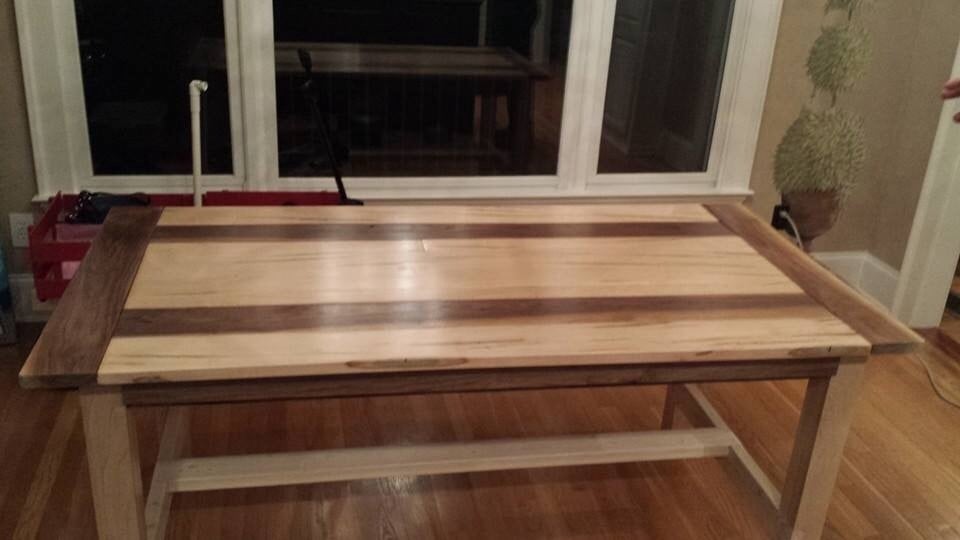
Maple and Walnut Farmhouse Table

Submitted by ChtistieH on Sun, 11/09/2014 - 09:48

We built this table from Ana's plans using only a circular saw.  Yea Ana's plans!

Estimated Cost
$300
Estimated Time Investment
Weekend Project (10-20 Hours)
Finish Used
Clear polyurethane
Recommended Skill Level
Intermediate

Comments