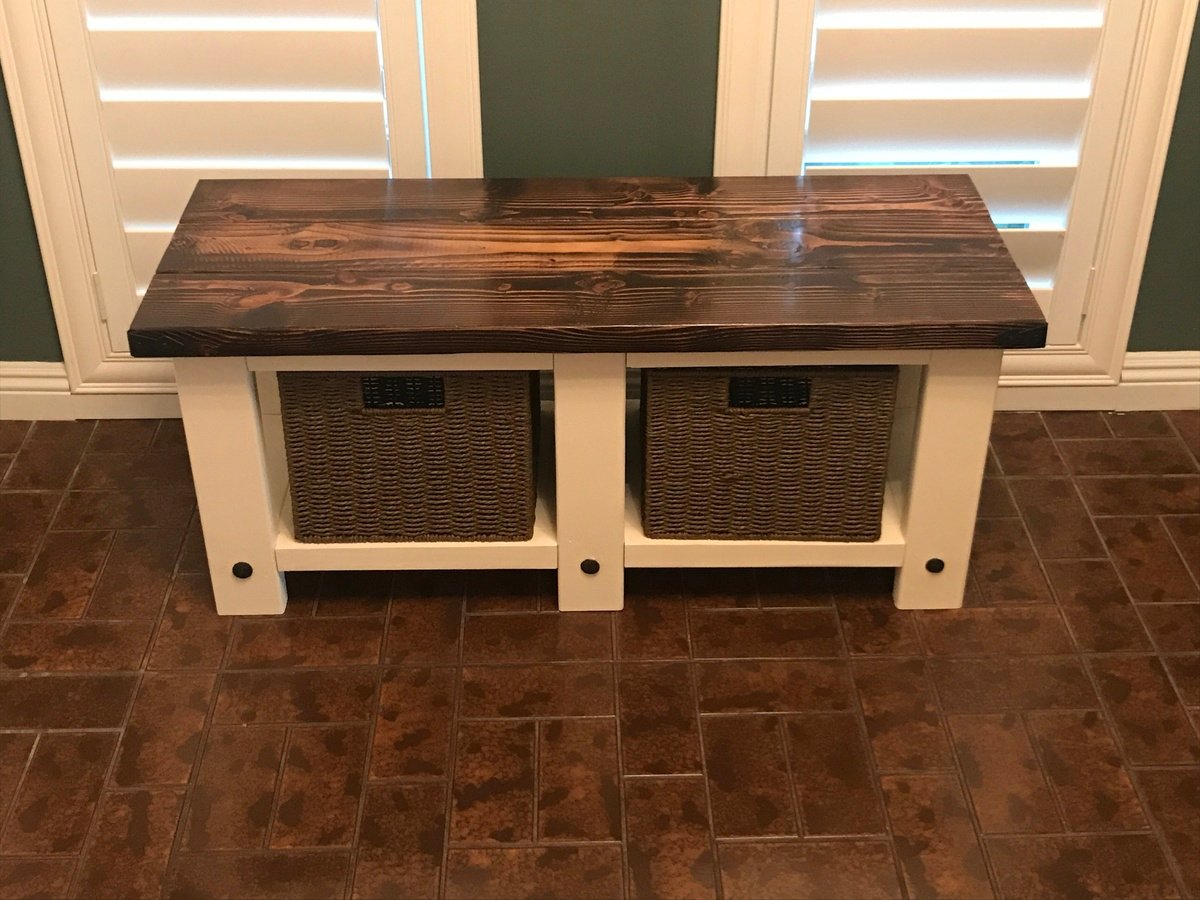
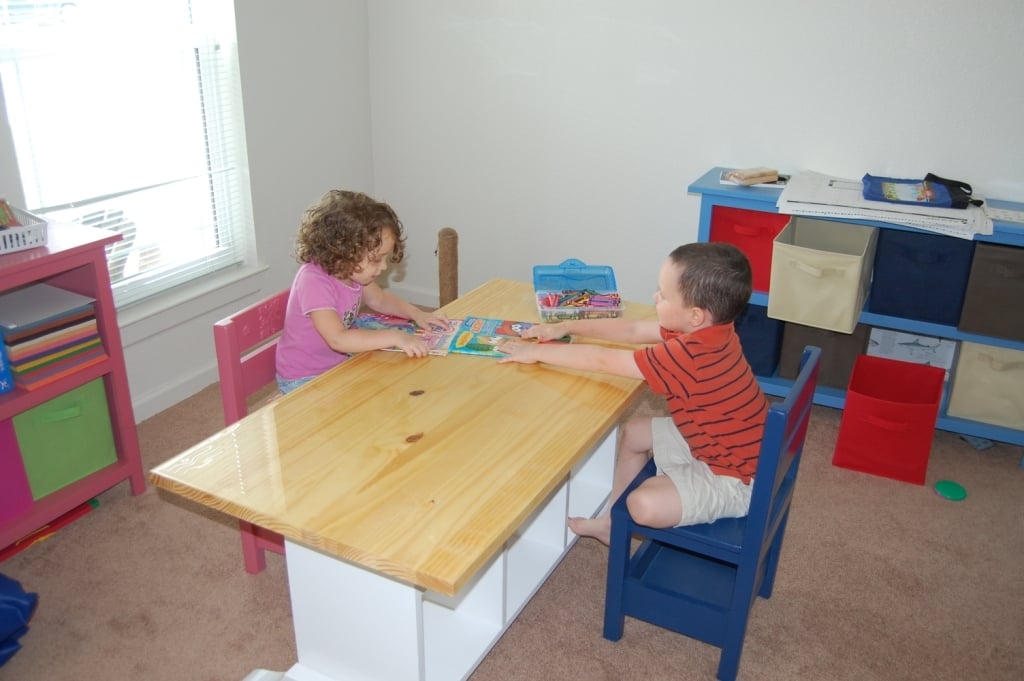
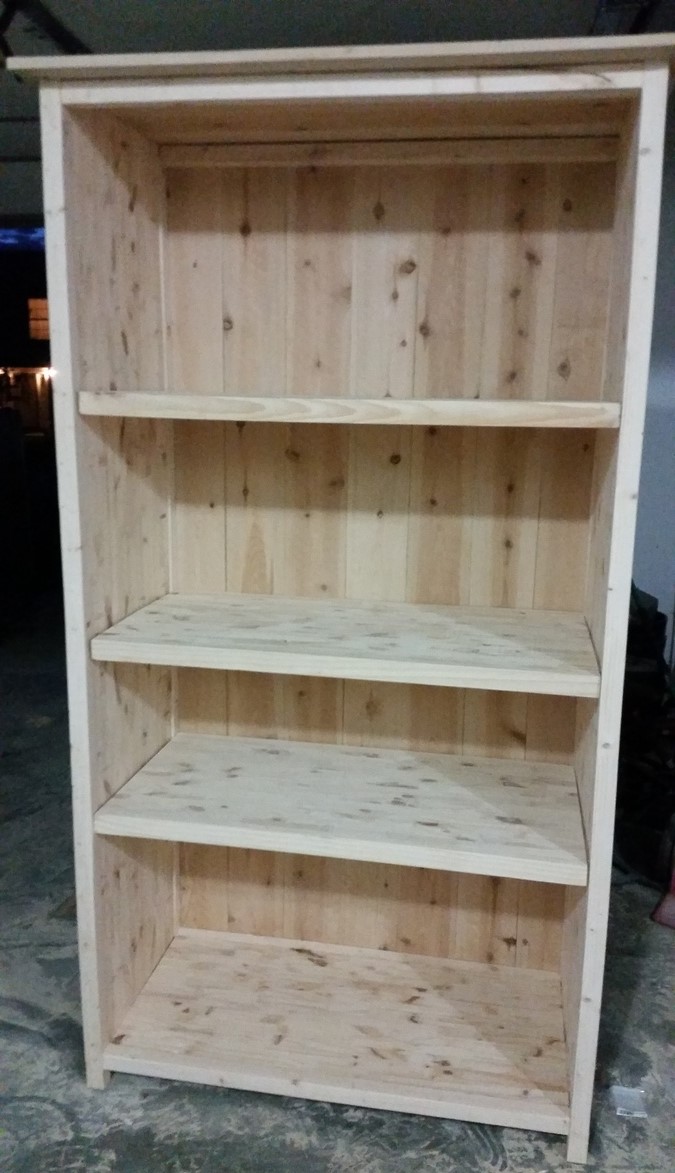
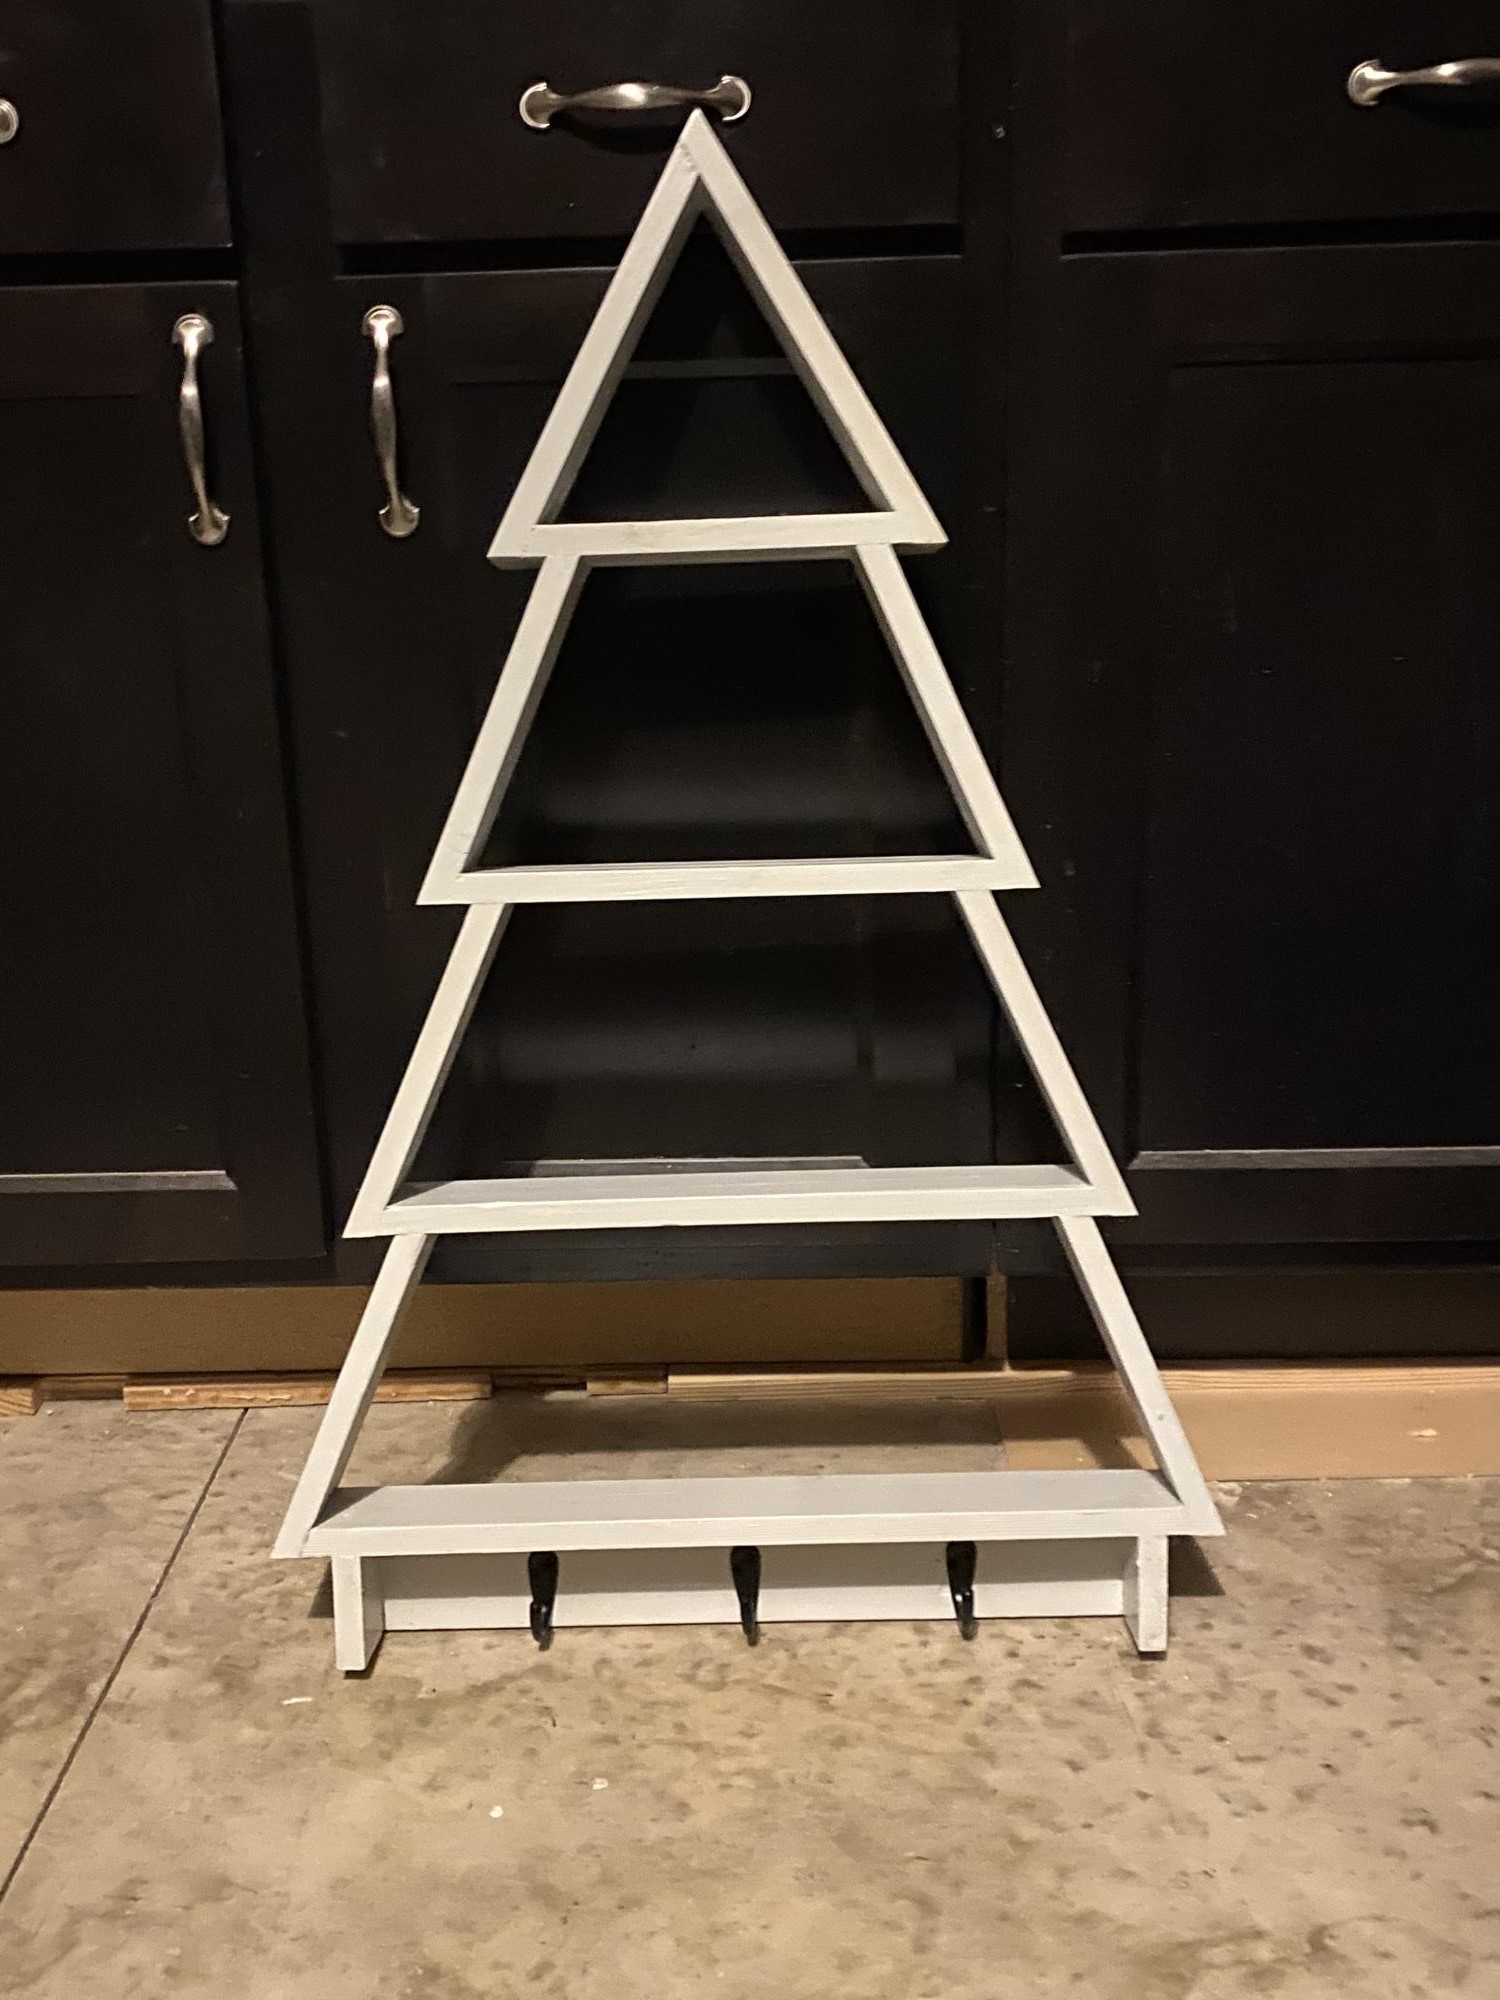
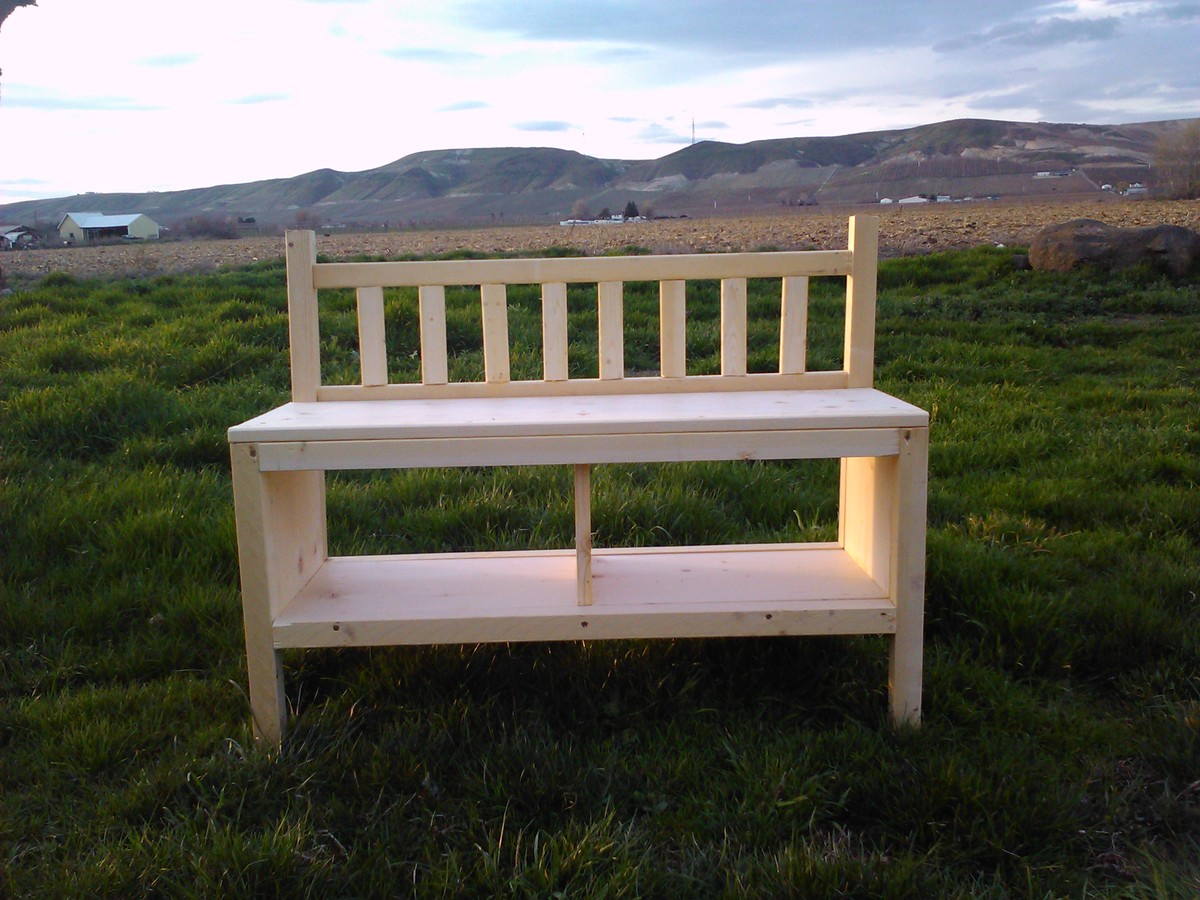
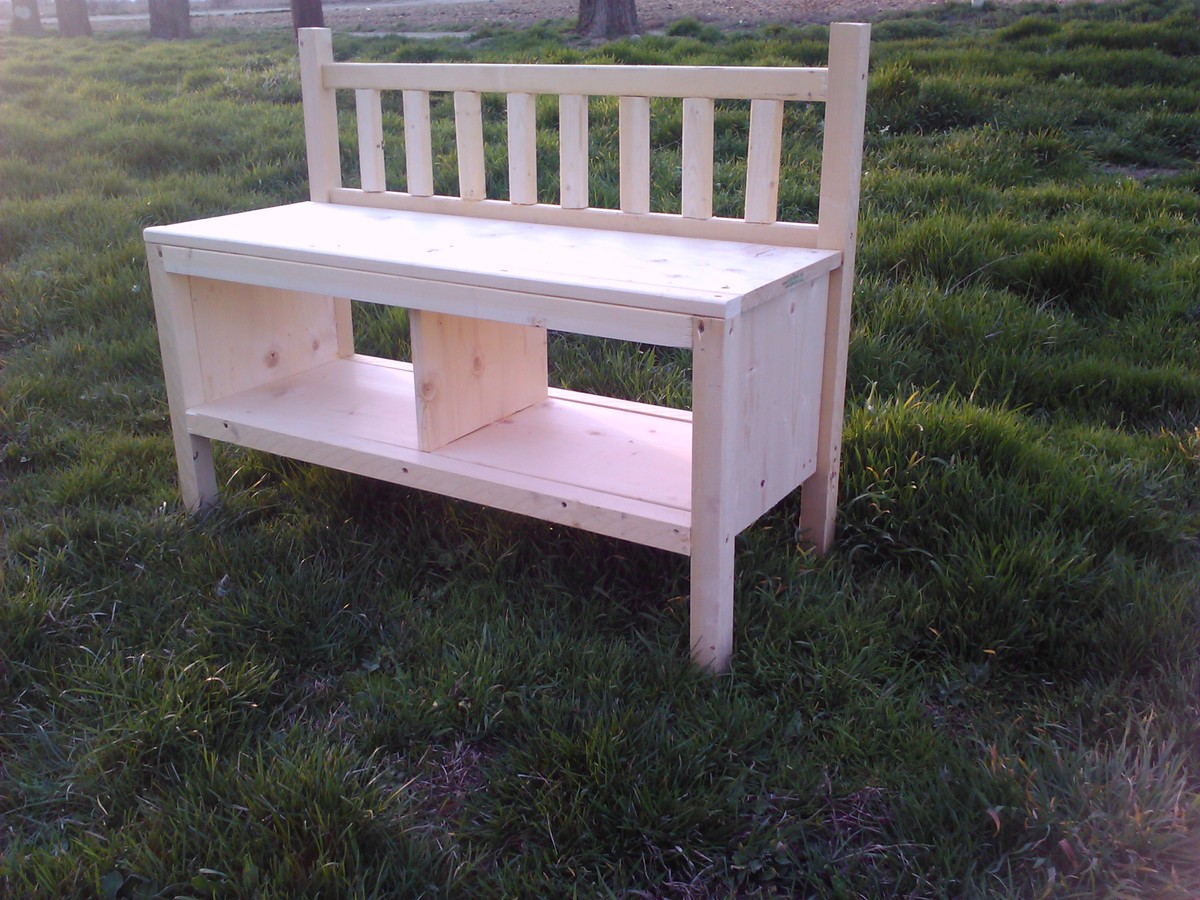
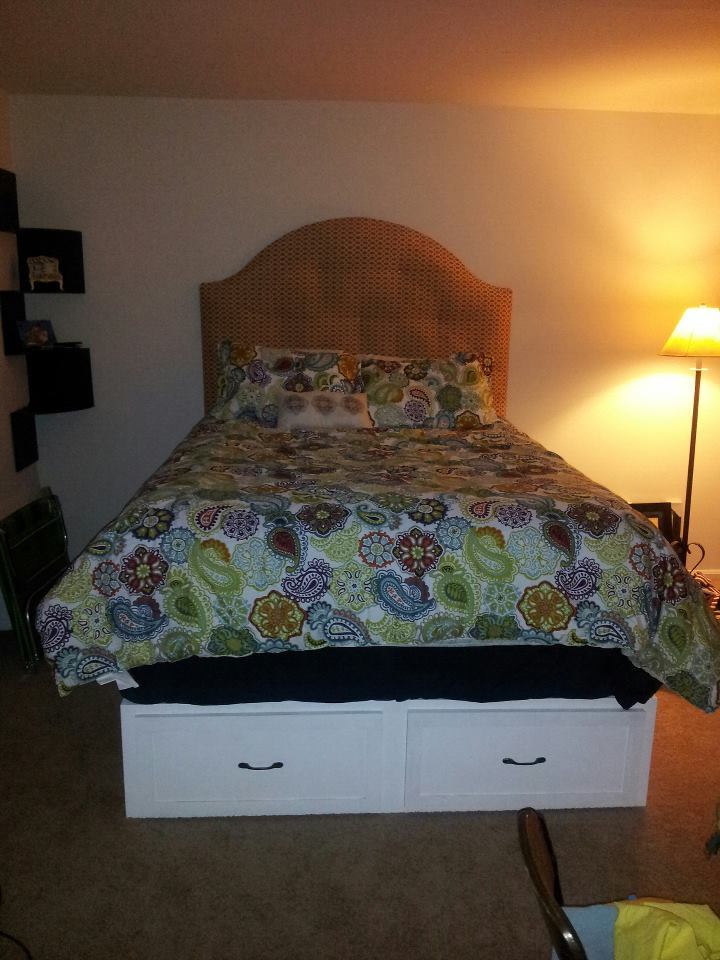
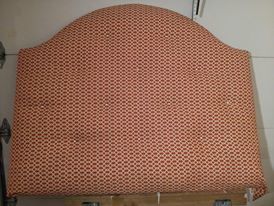
Entryway Locker
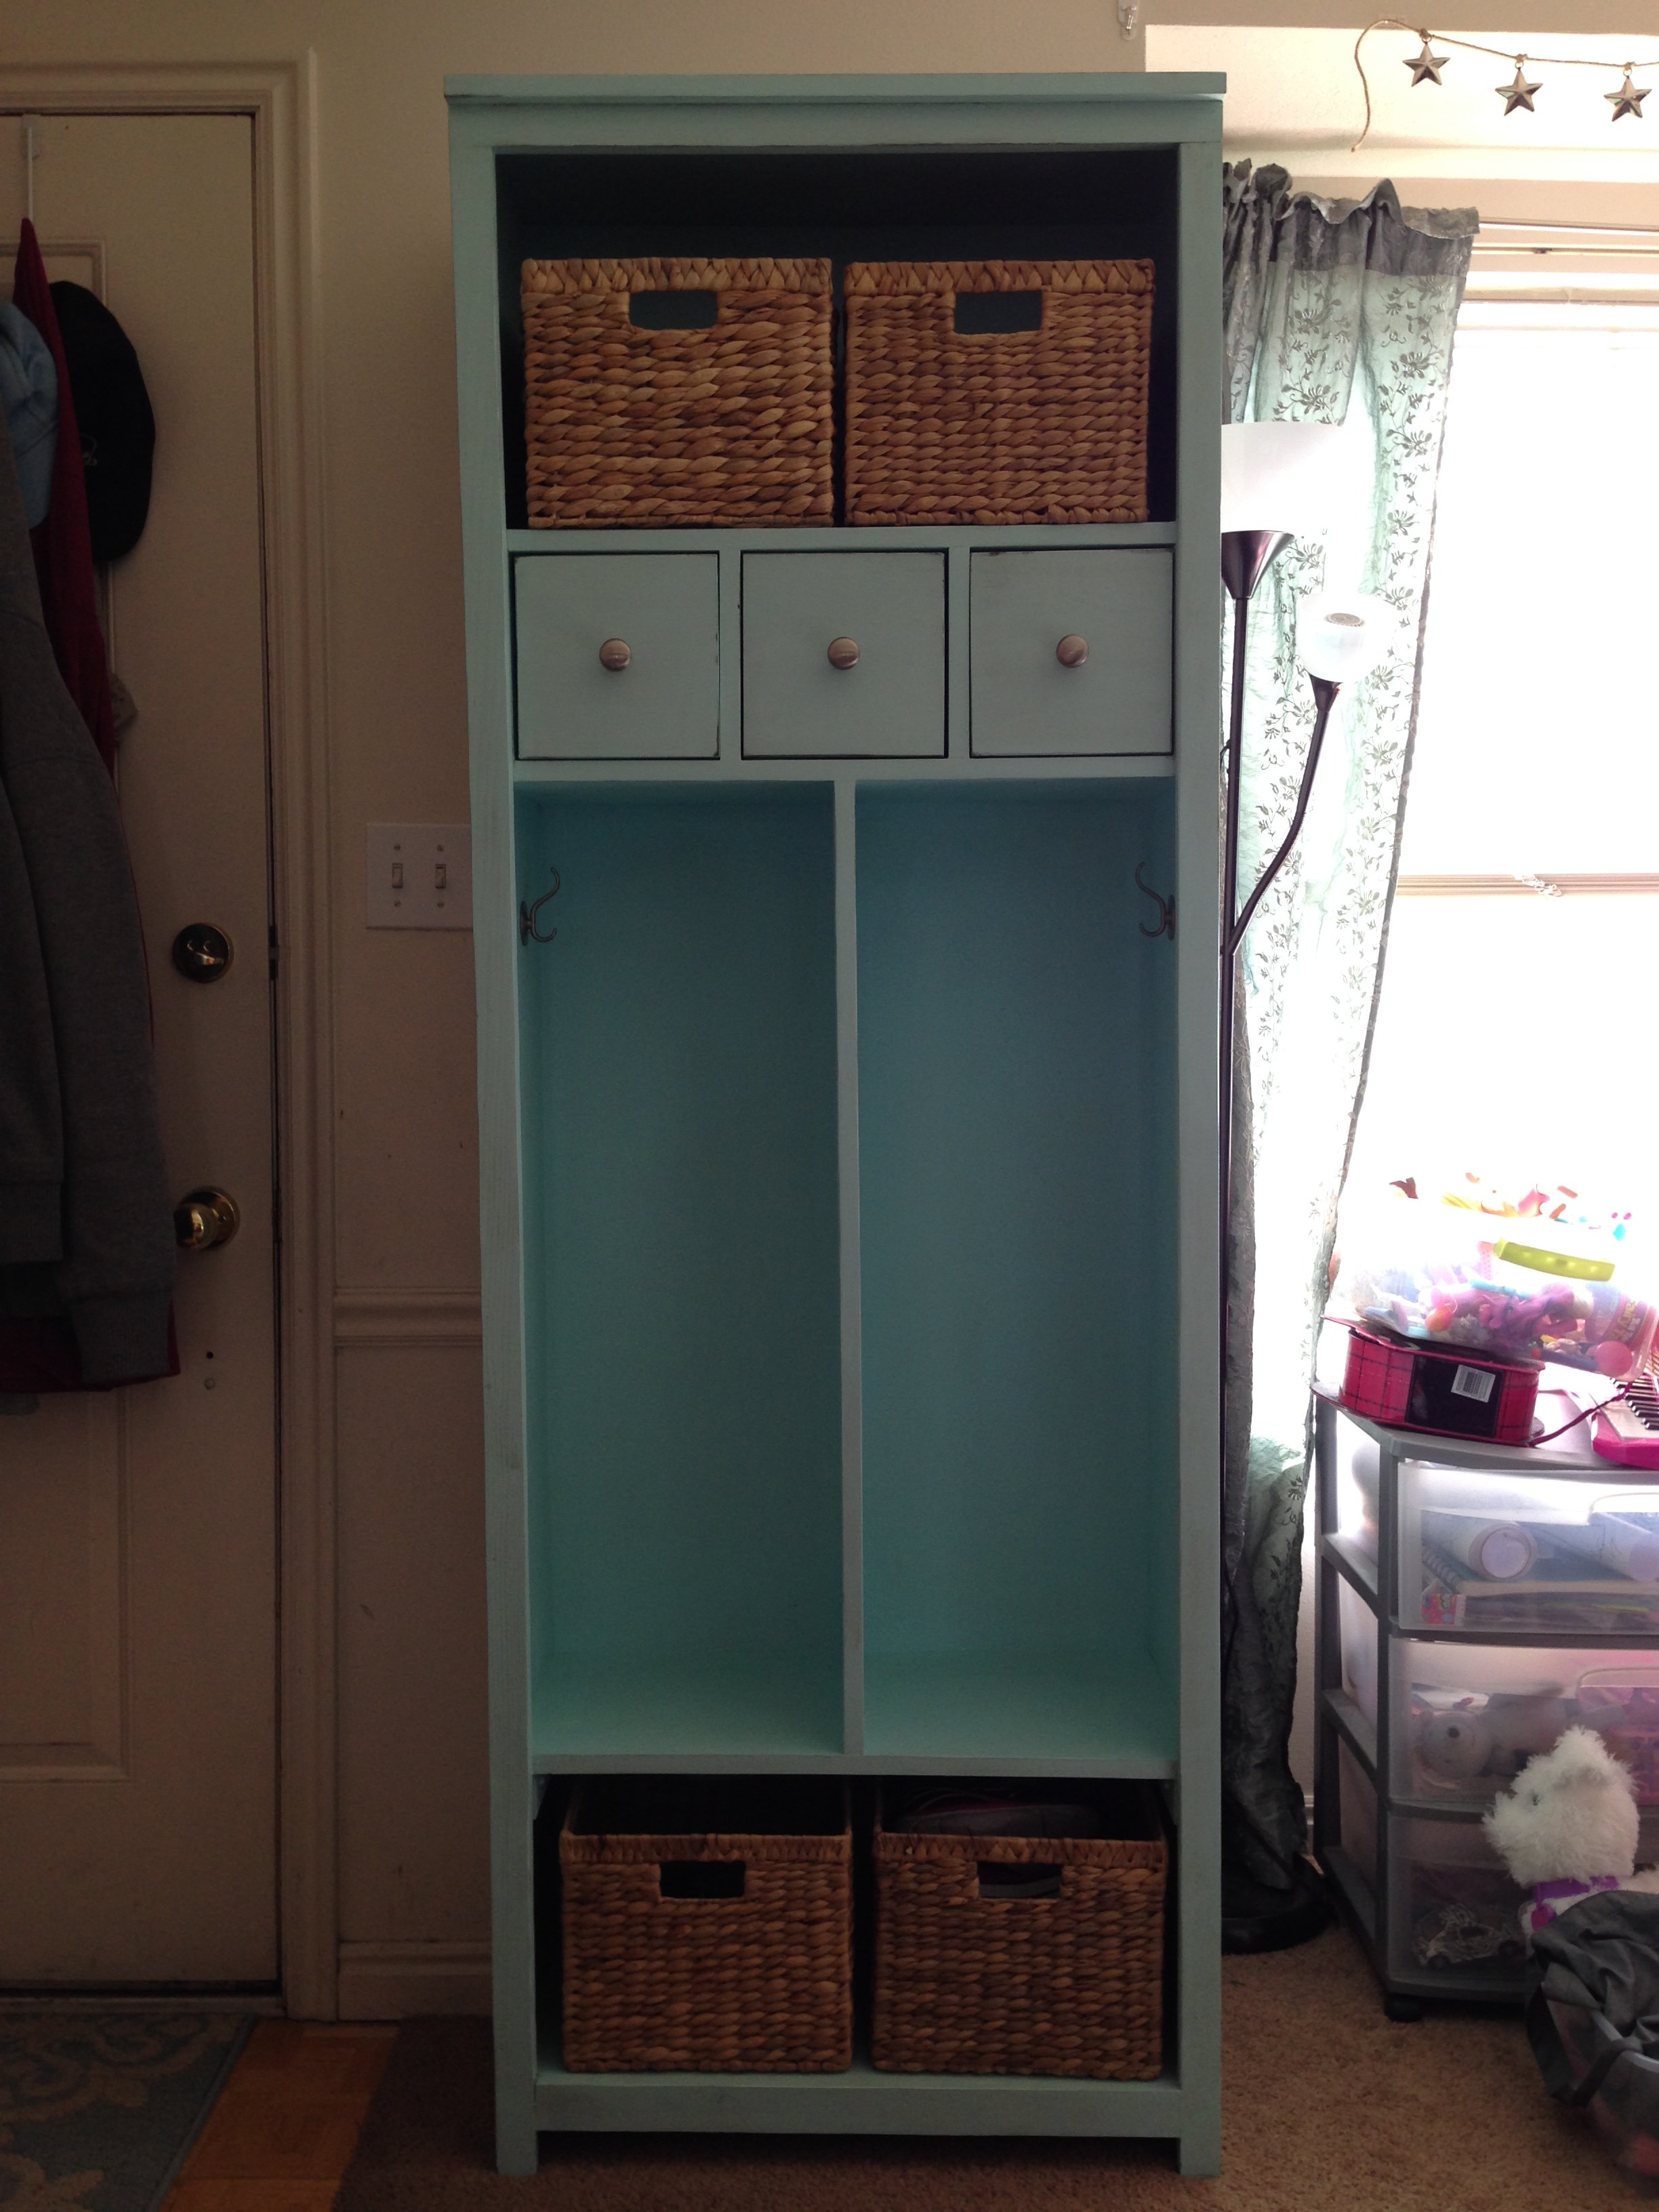
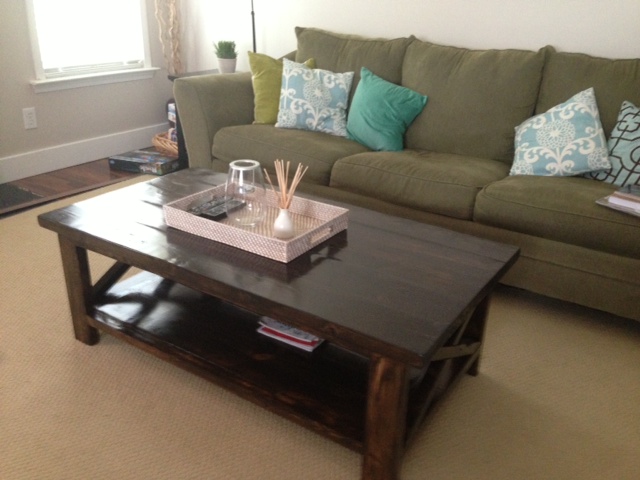
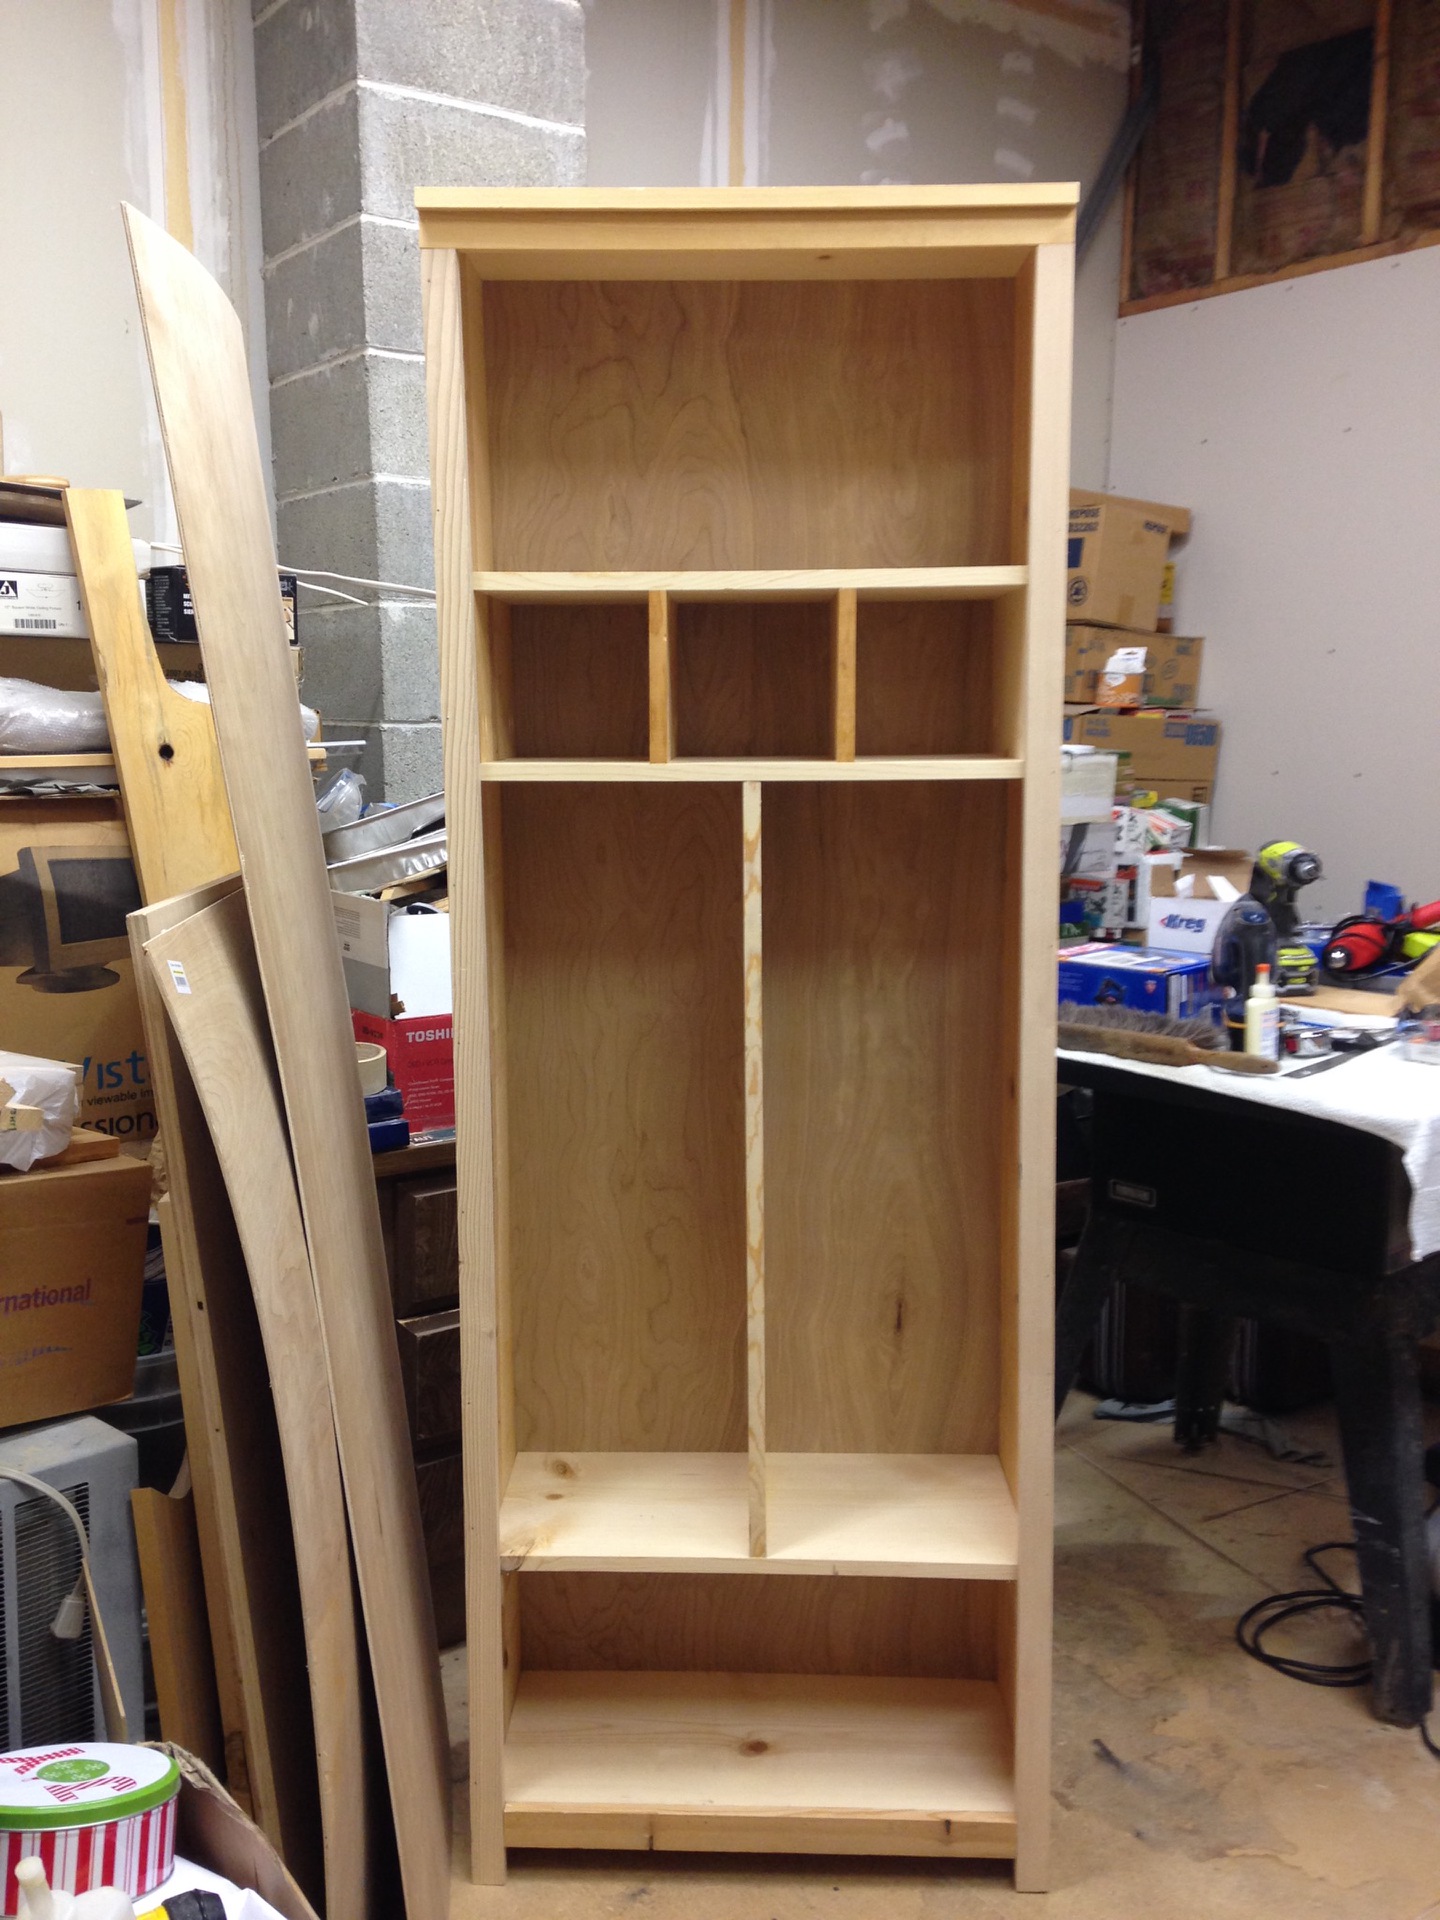
We built this entryway locker using Hillarys plans. It turned out amazing and it gets more use than any piece of furniture in our house at the moment.
Built from Plan(s)
Estimated Cost
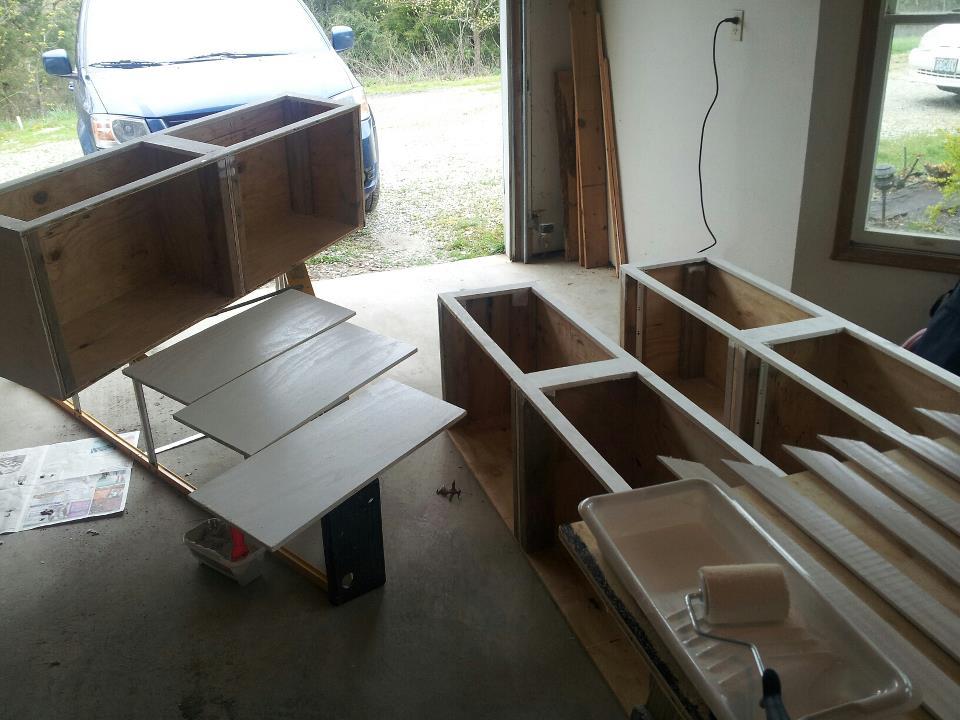
We used wood that we had around already for this project, so I an unsure.
Estimated Time Investment
Week Long Project (20 Hours or More)
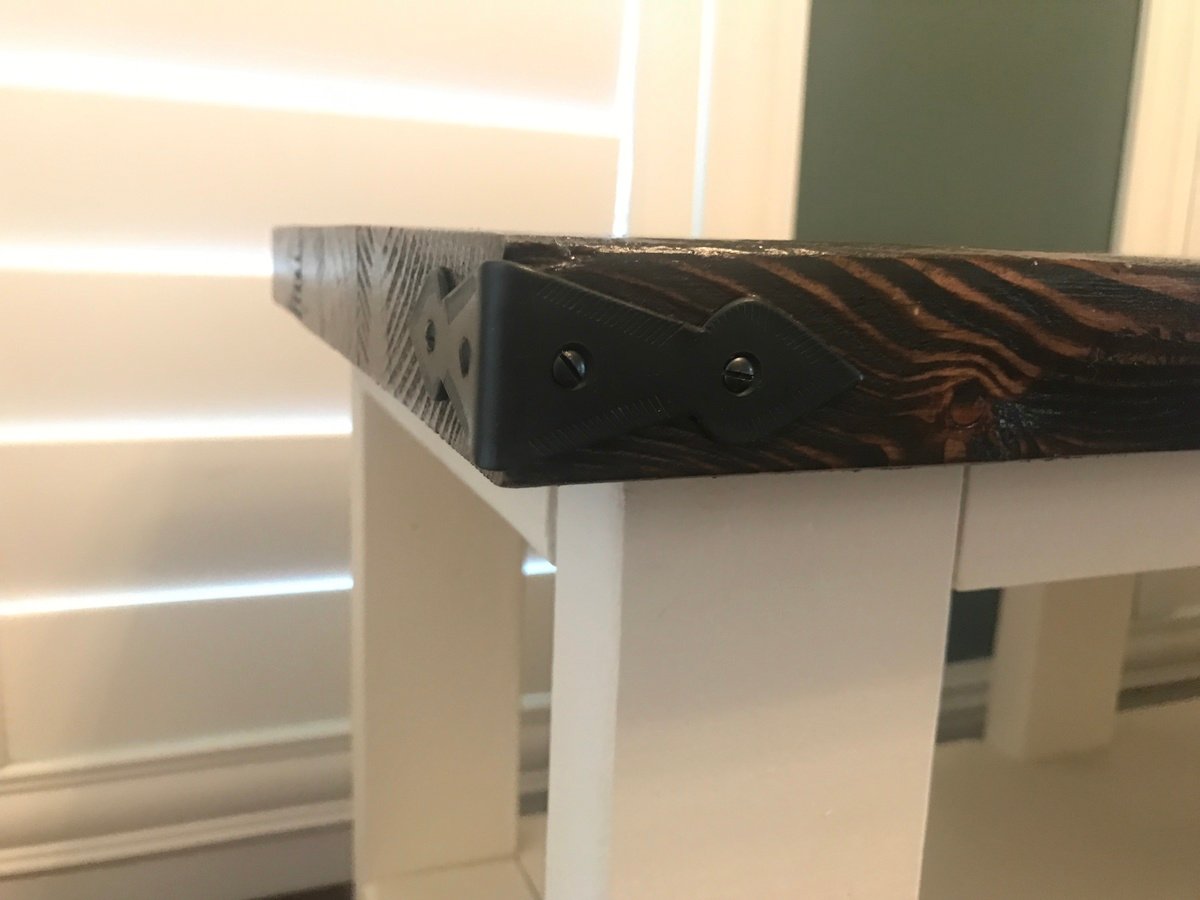
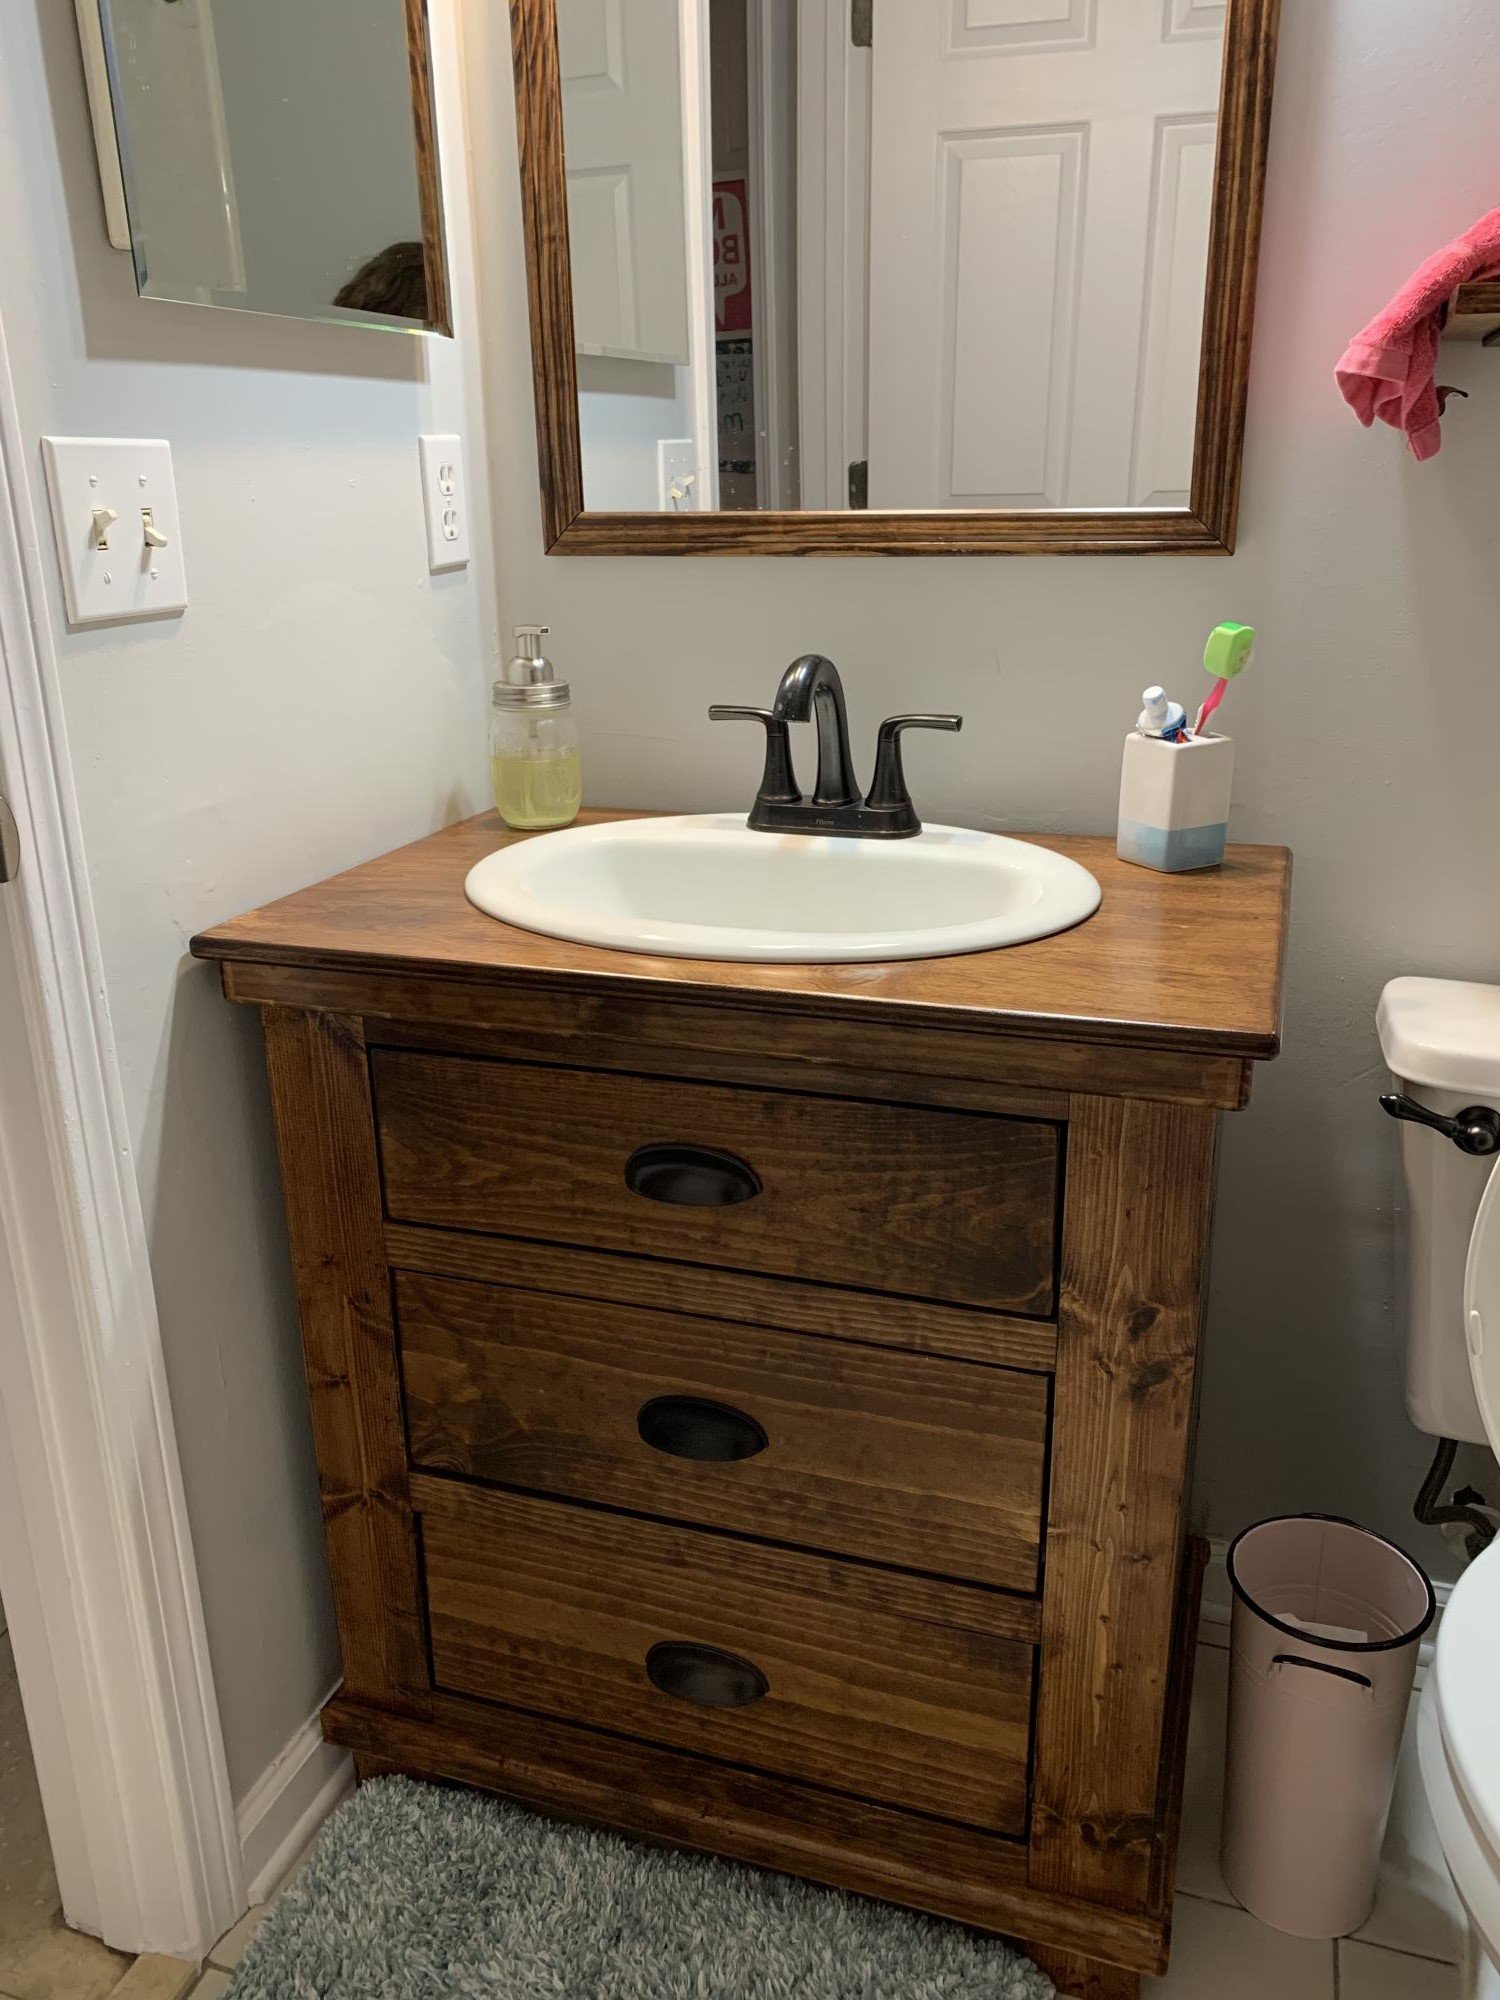
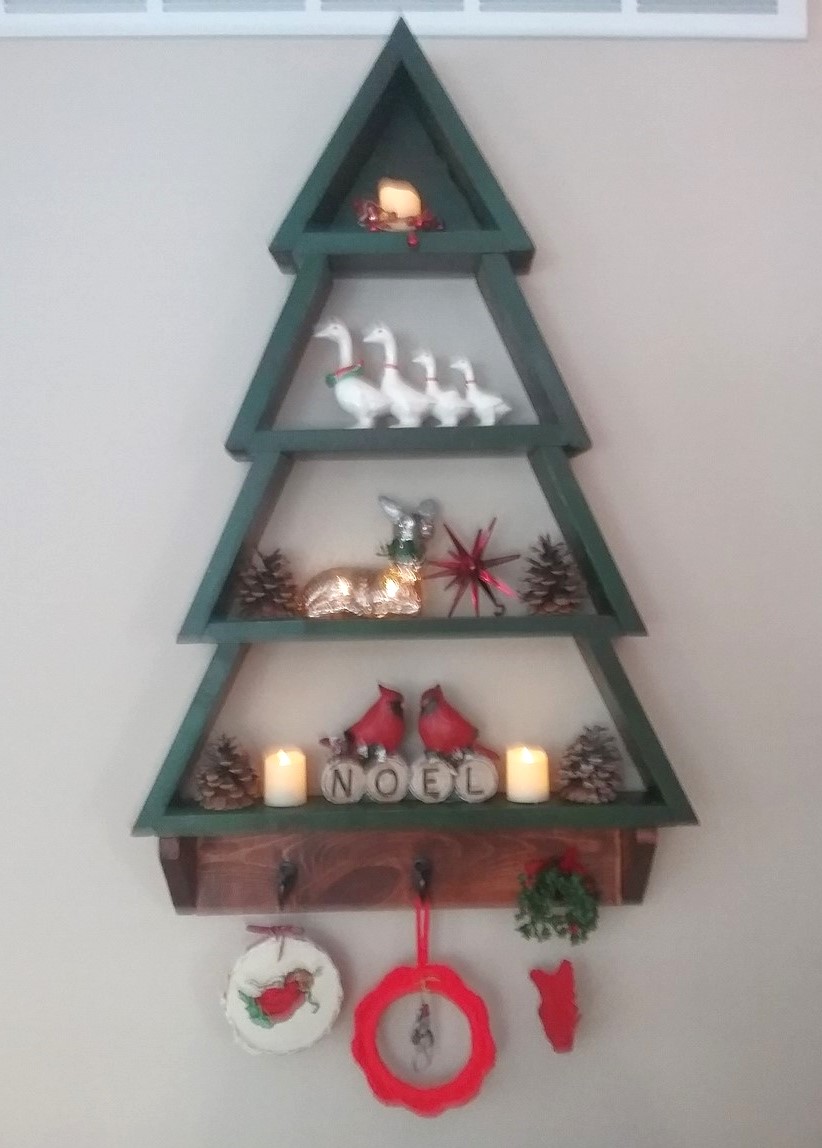
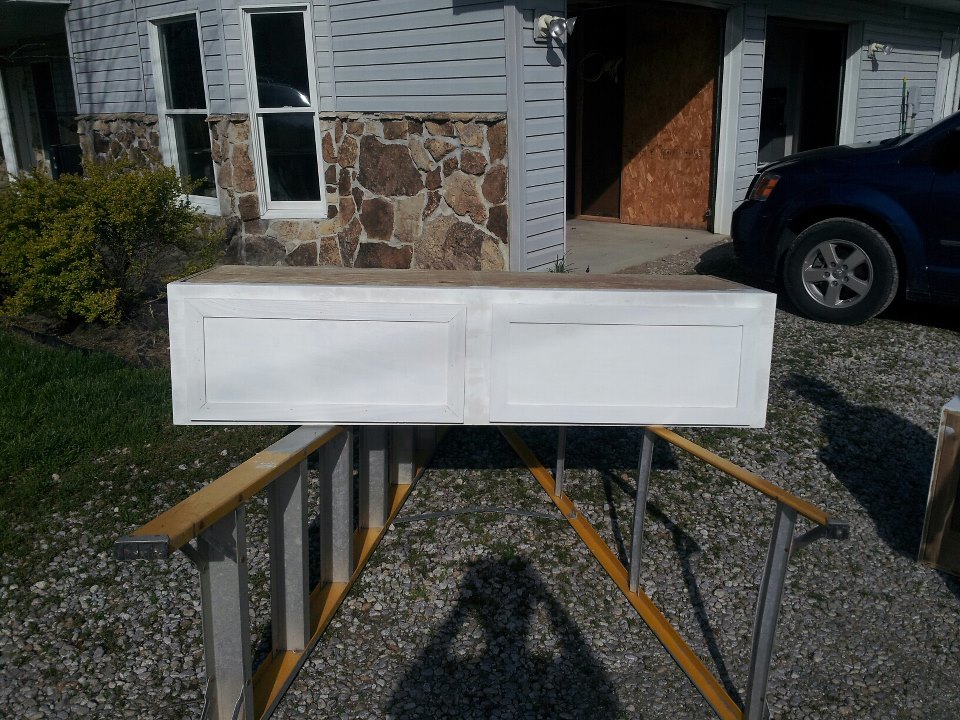
Finish Used
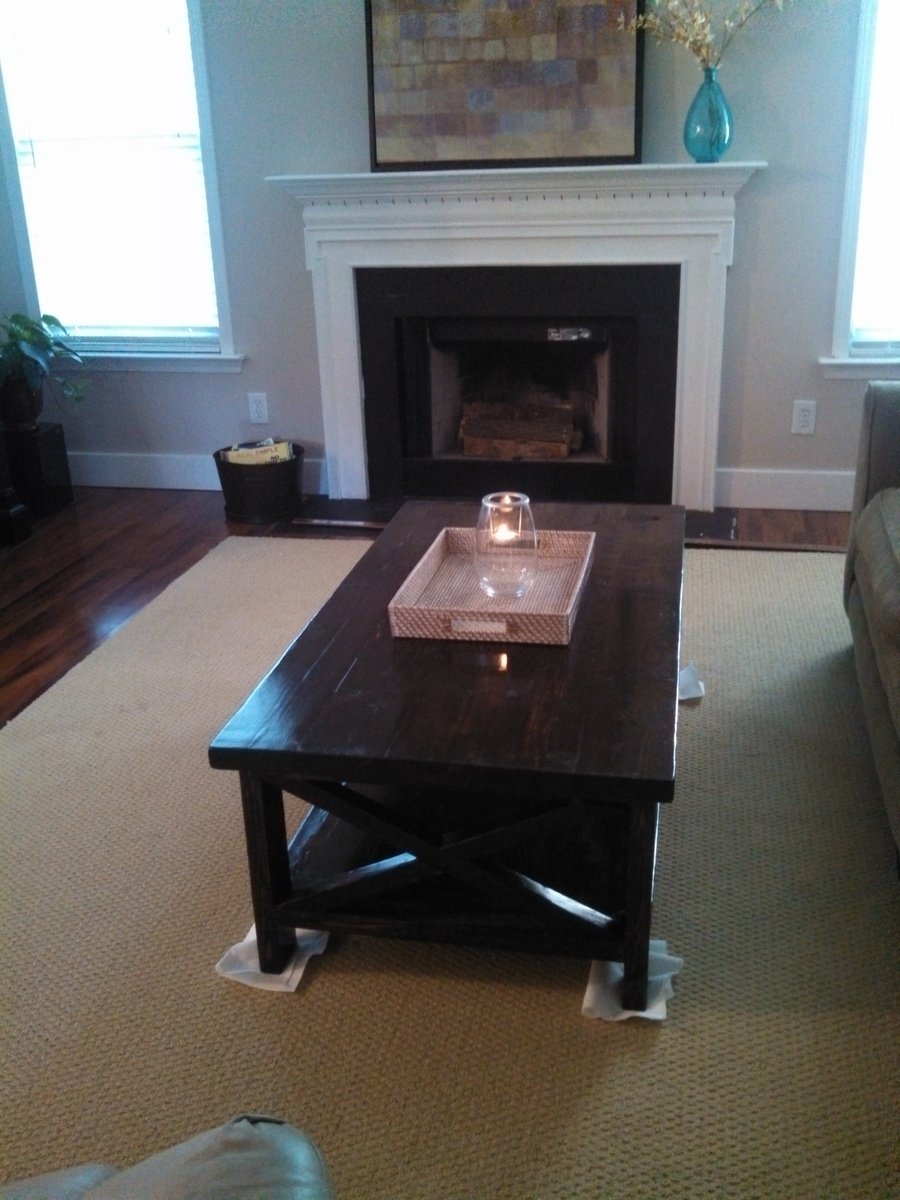
Chalk paint and wax with some distressing.
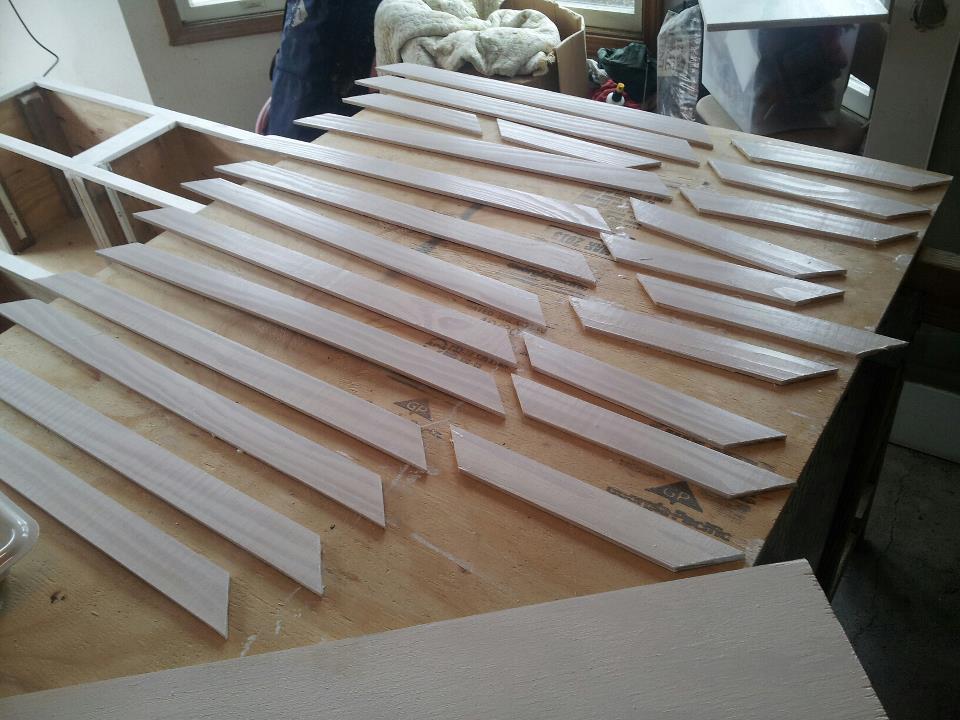
Recommended Skill Level
Intermediate