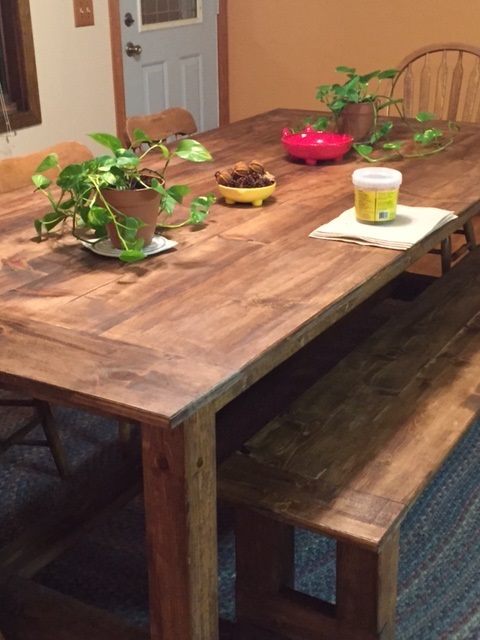
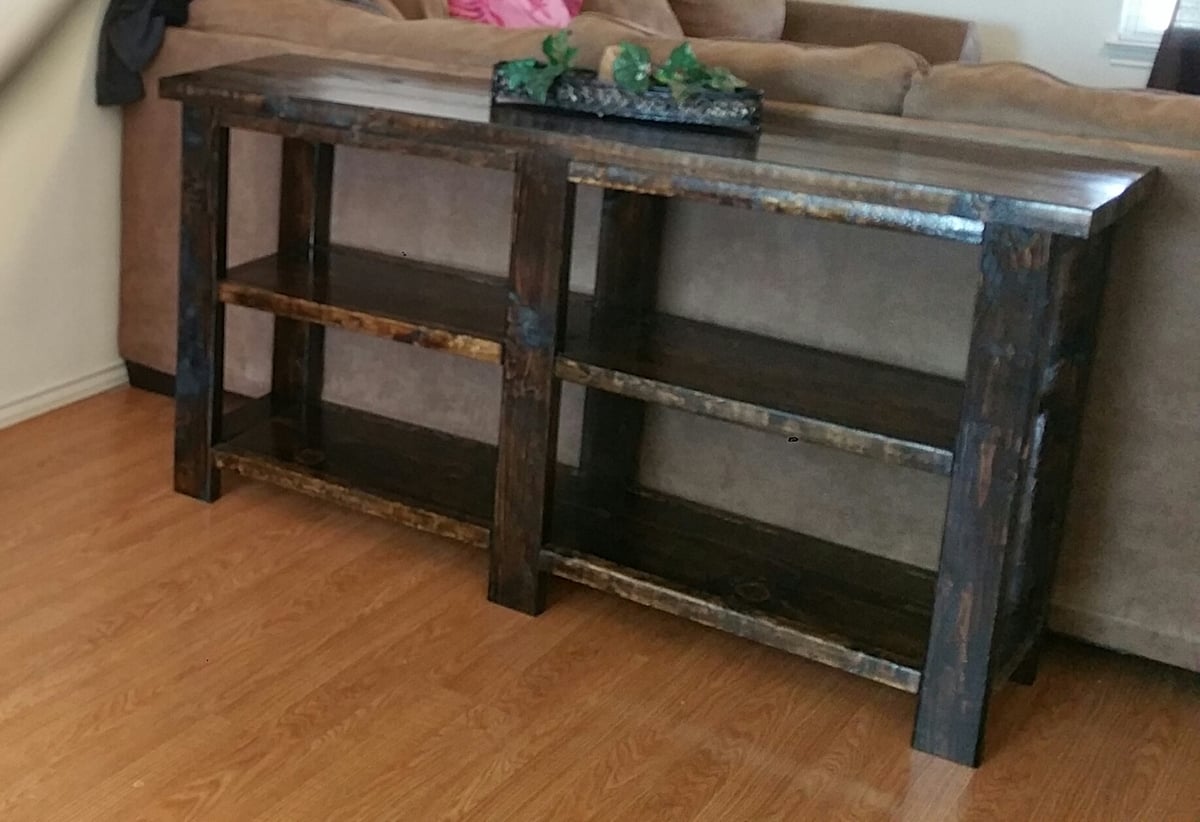
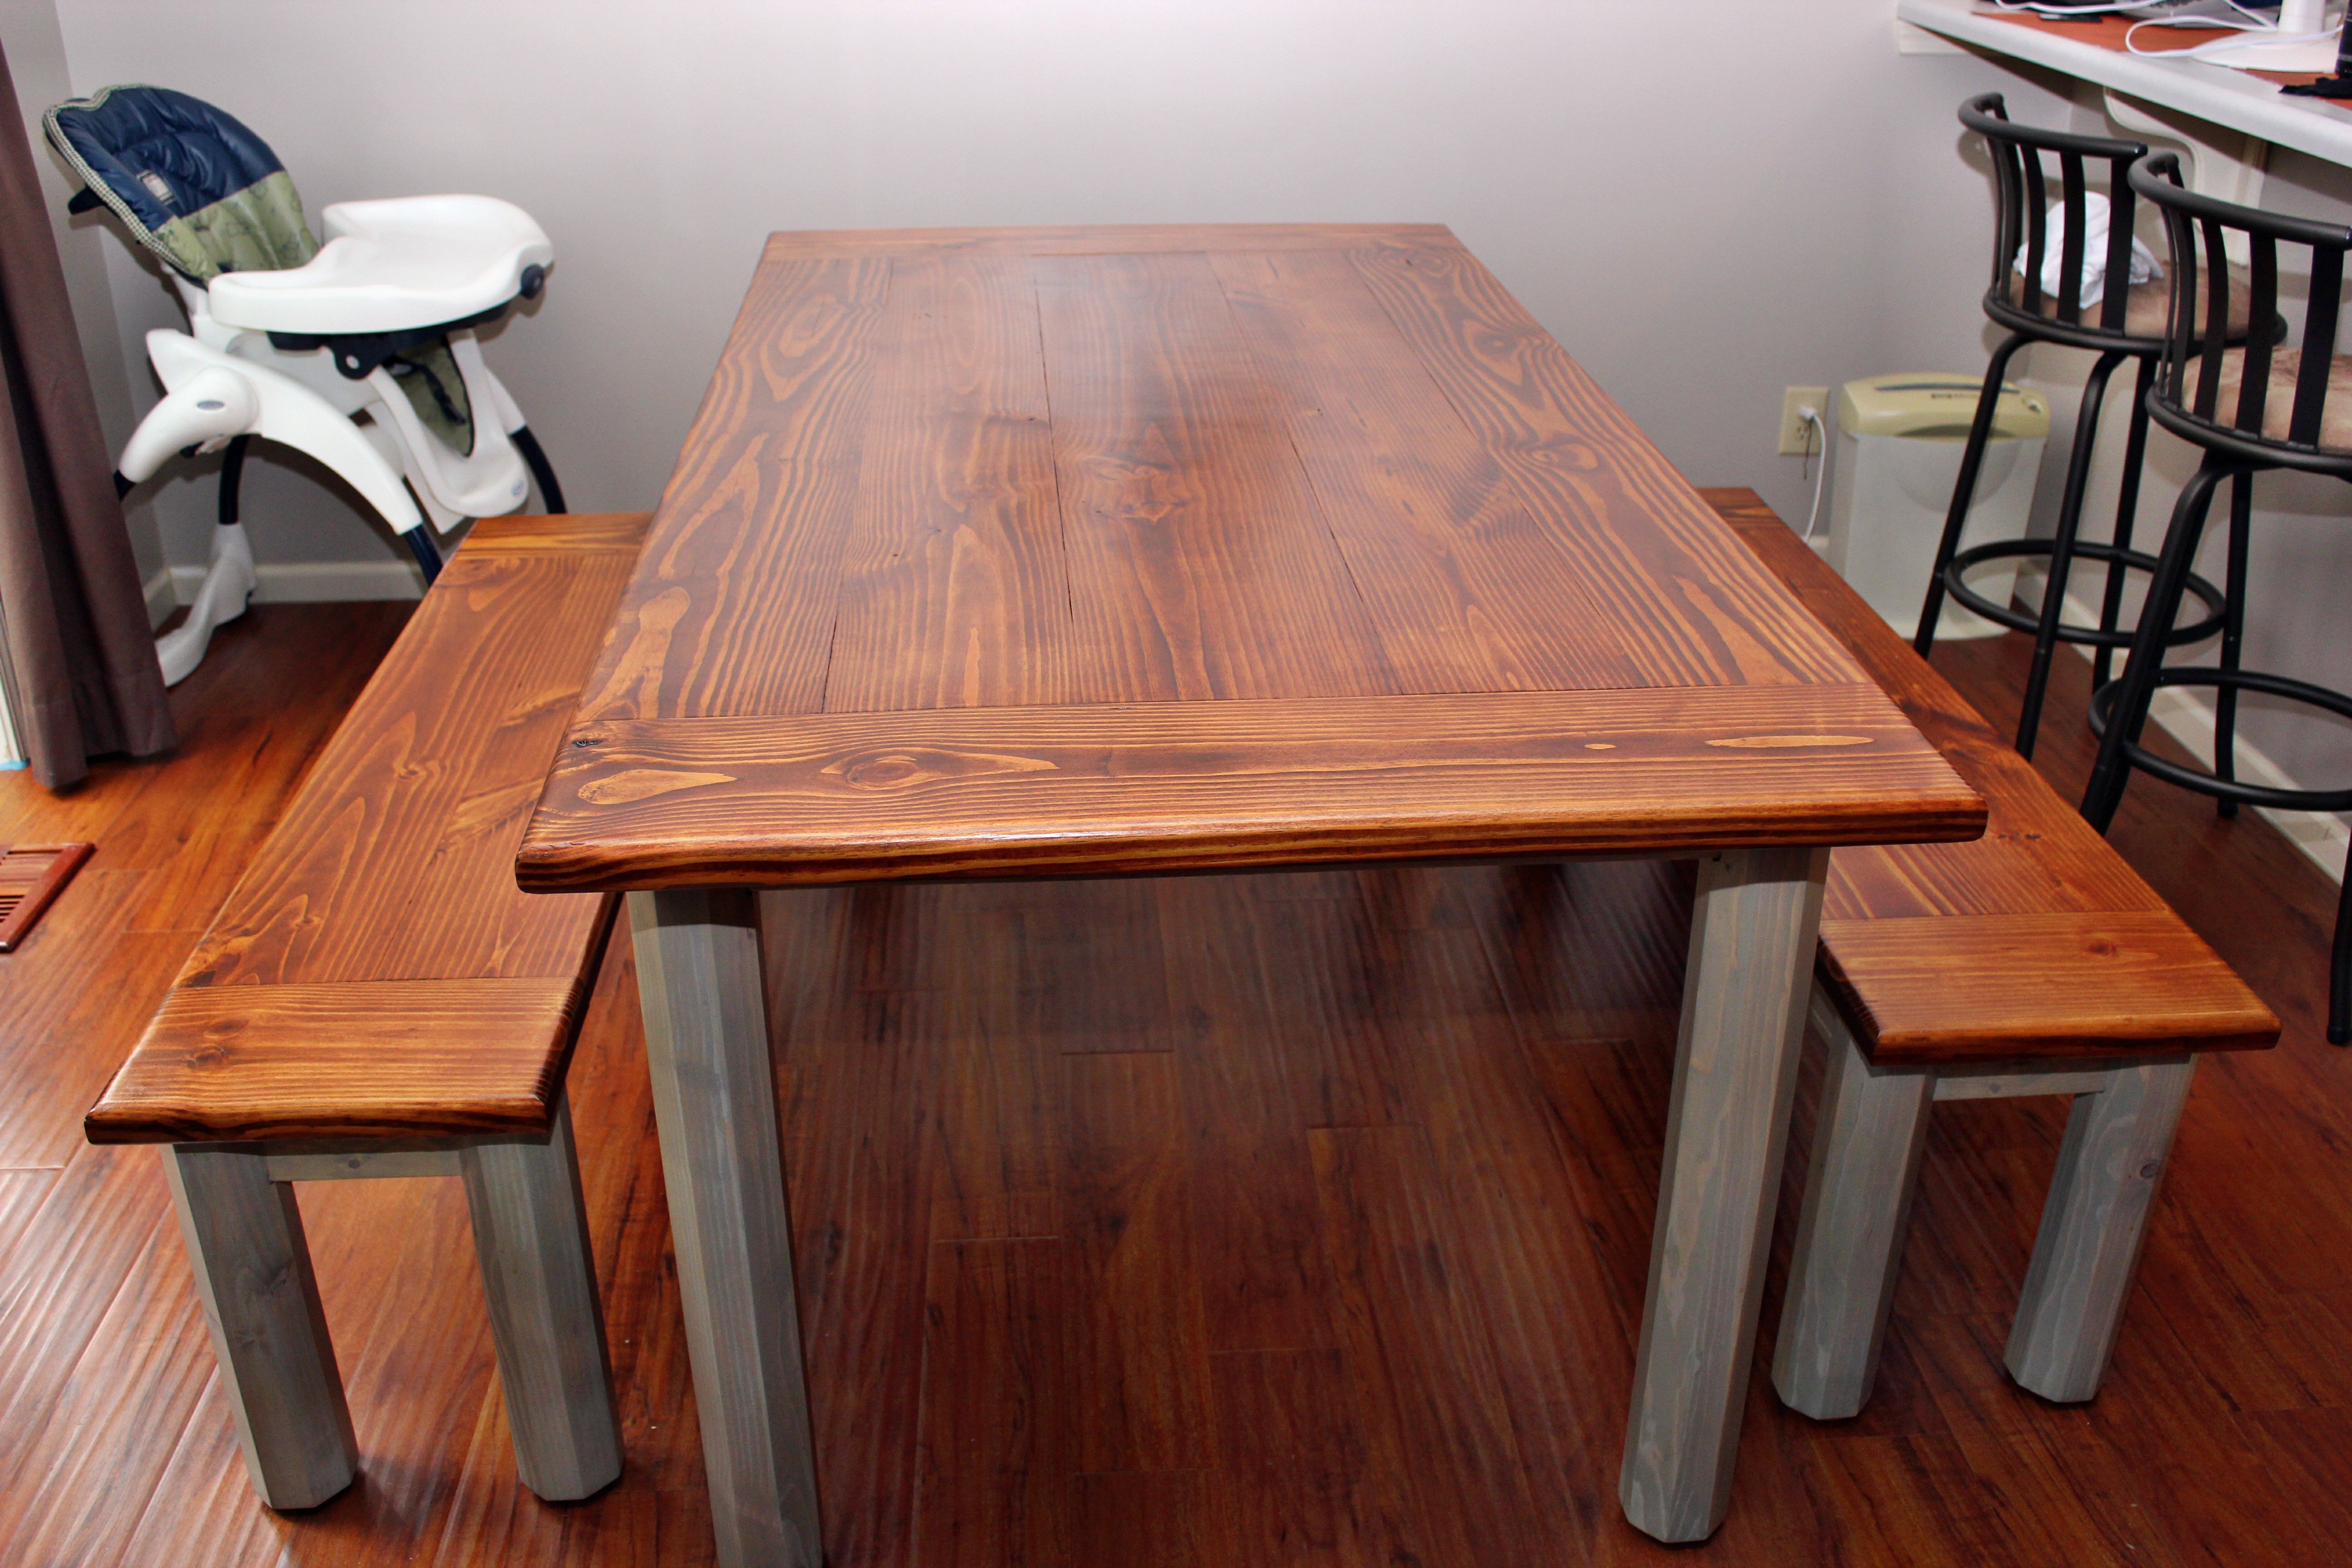
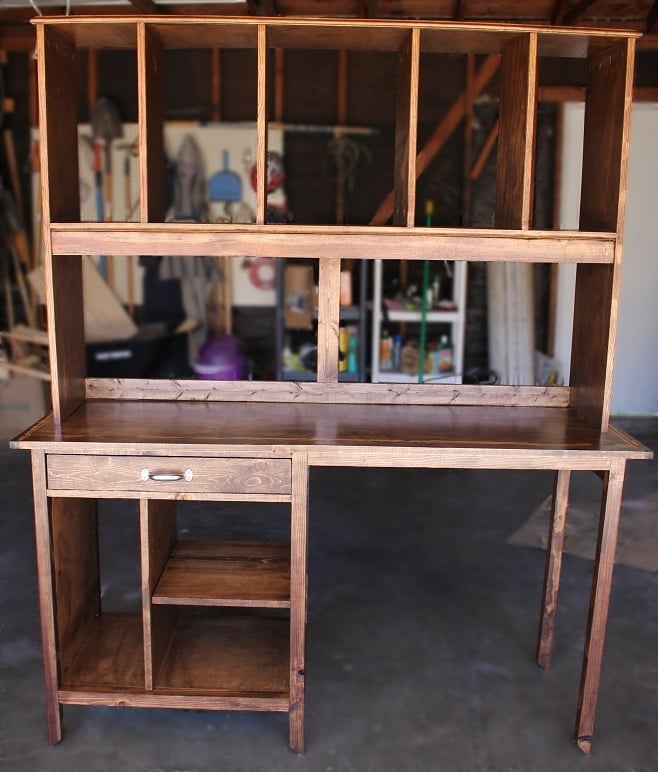
My apothecary sofa table

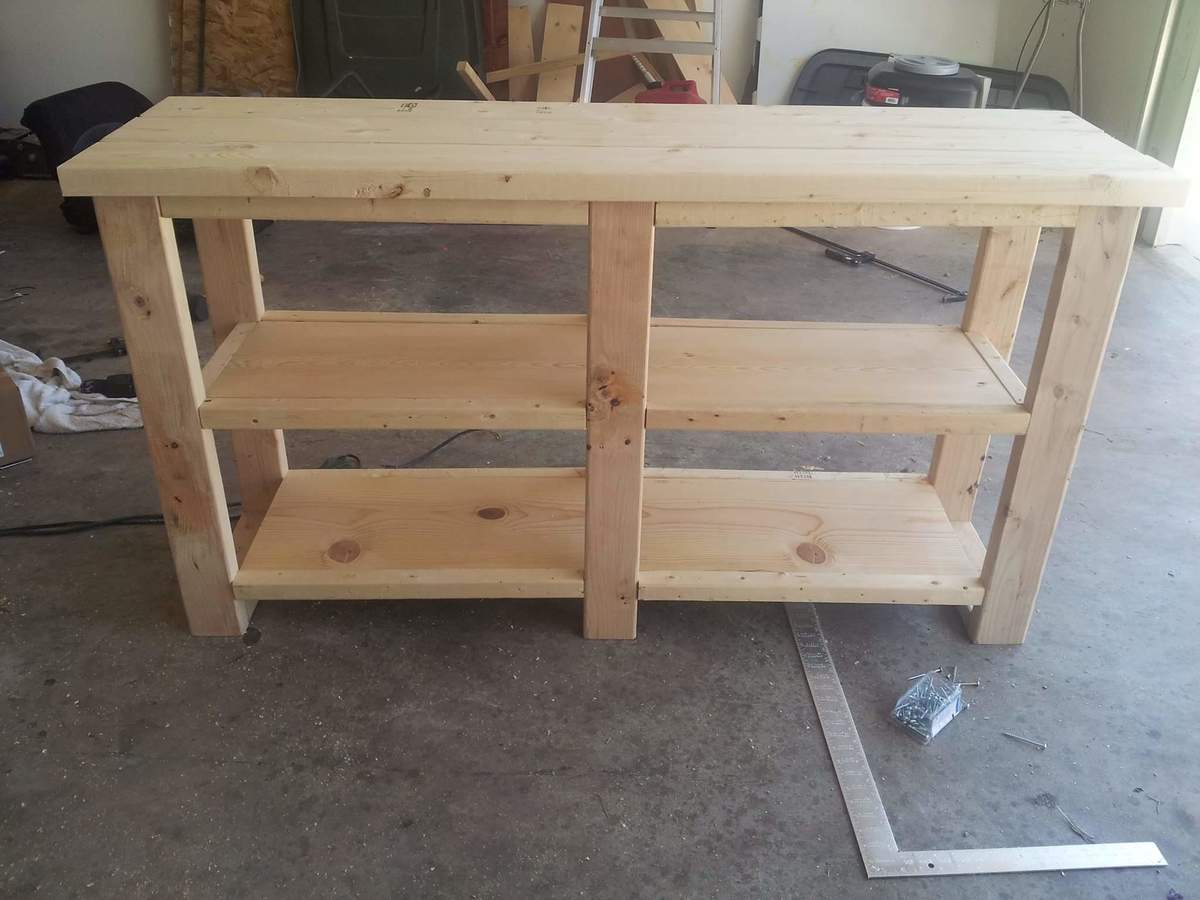
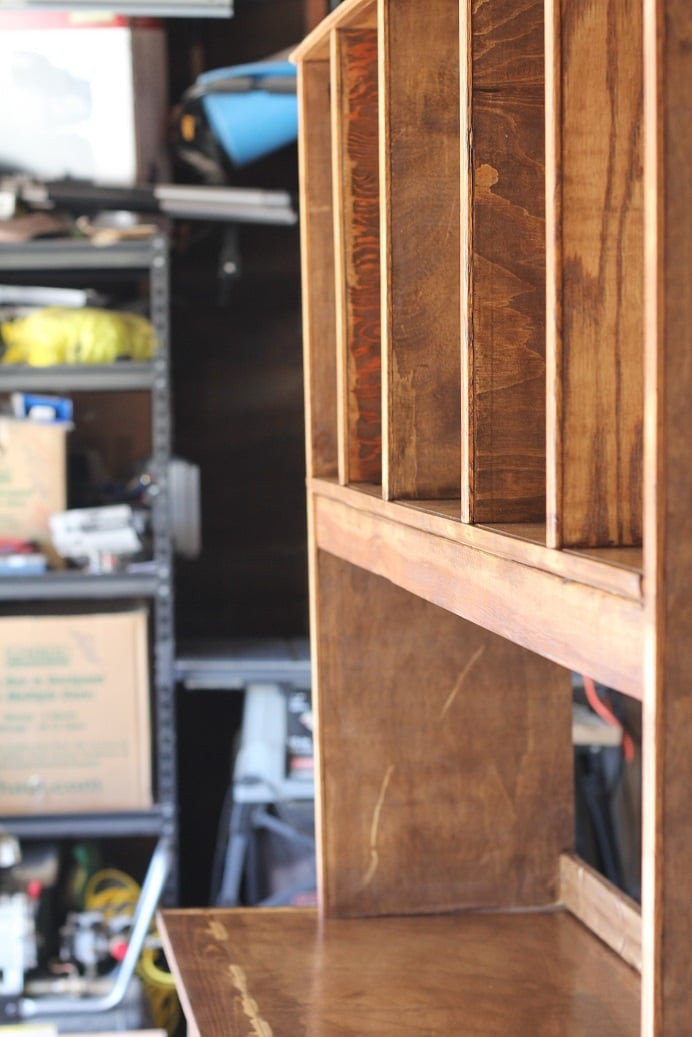
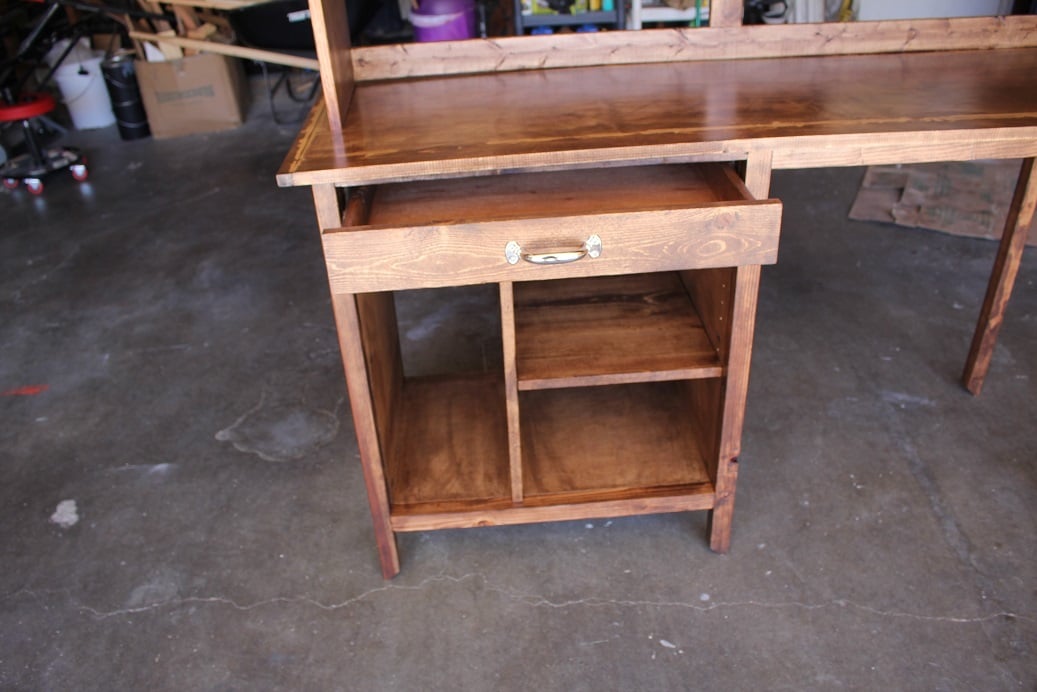
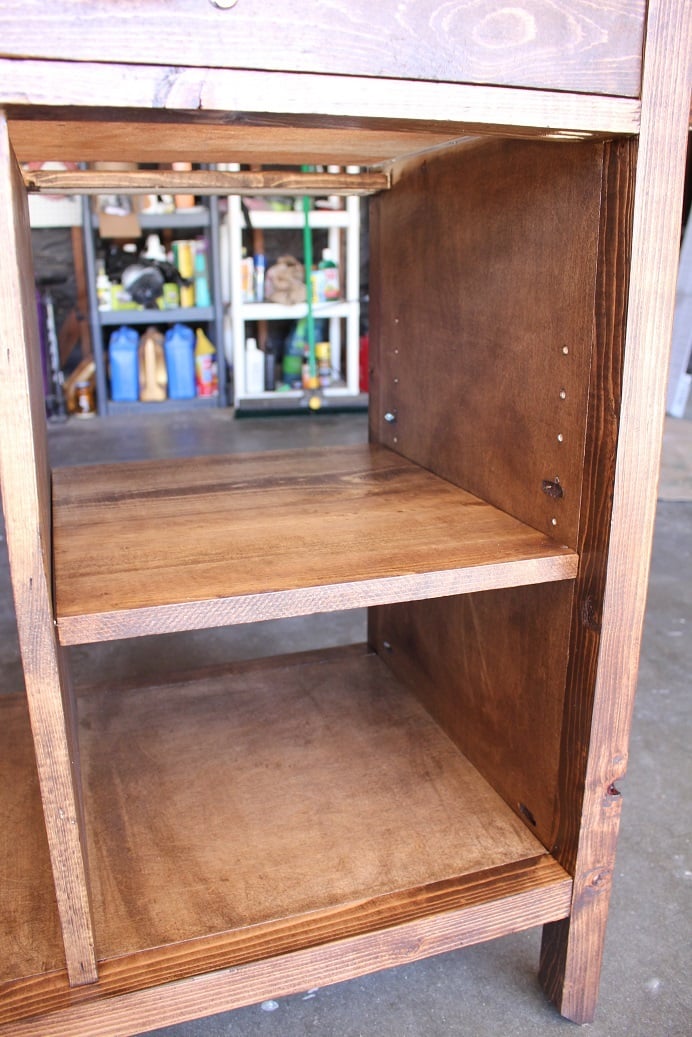
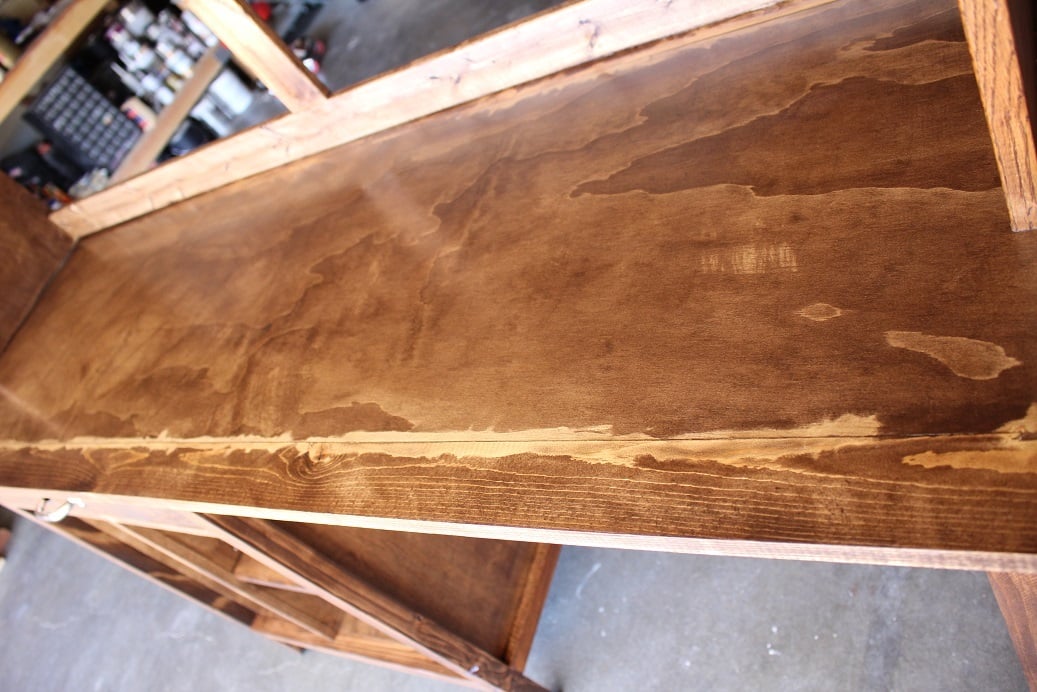
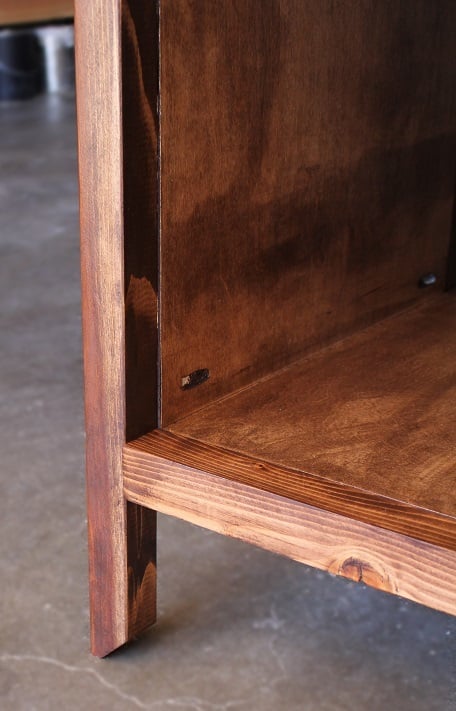
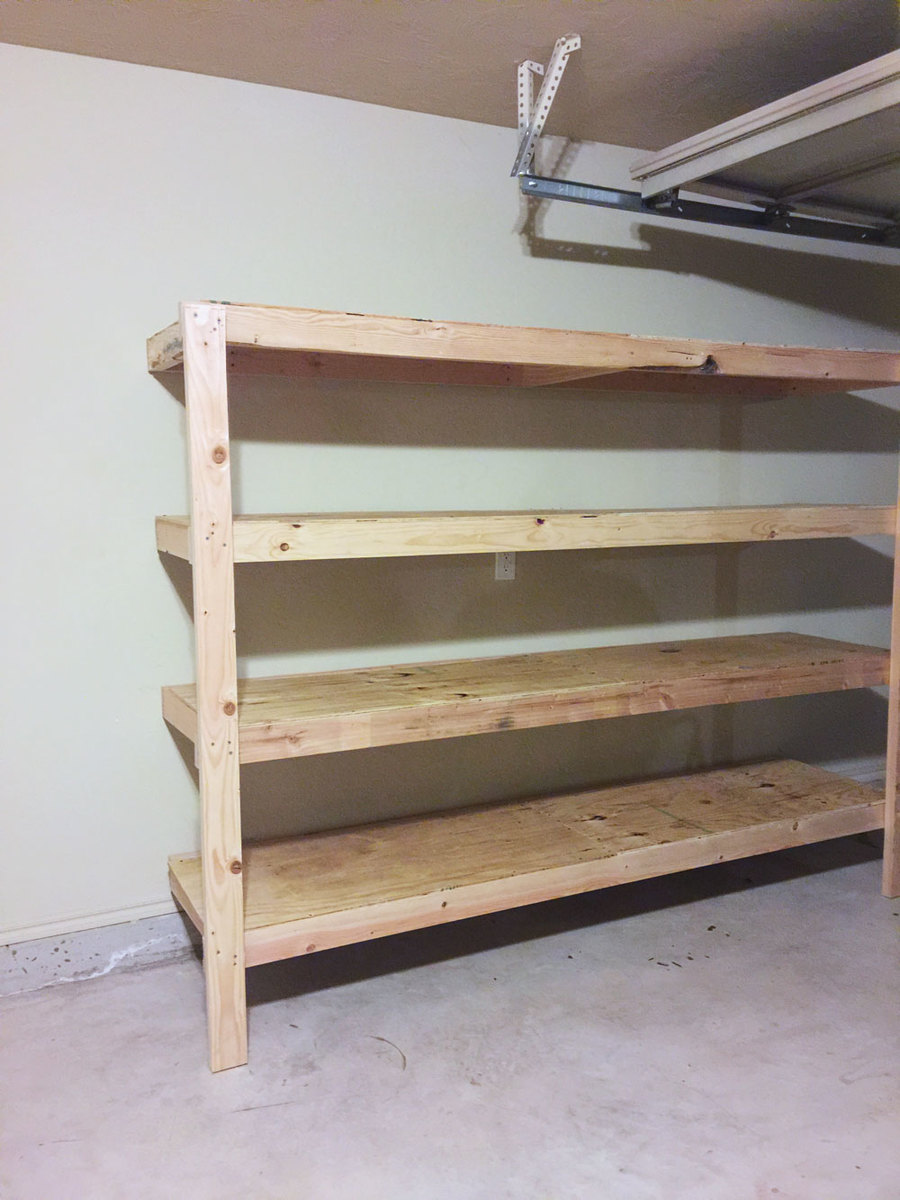
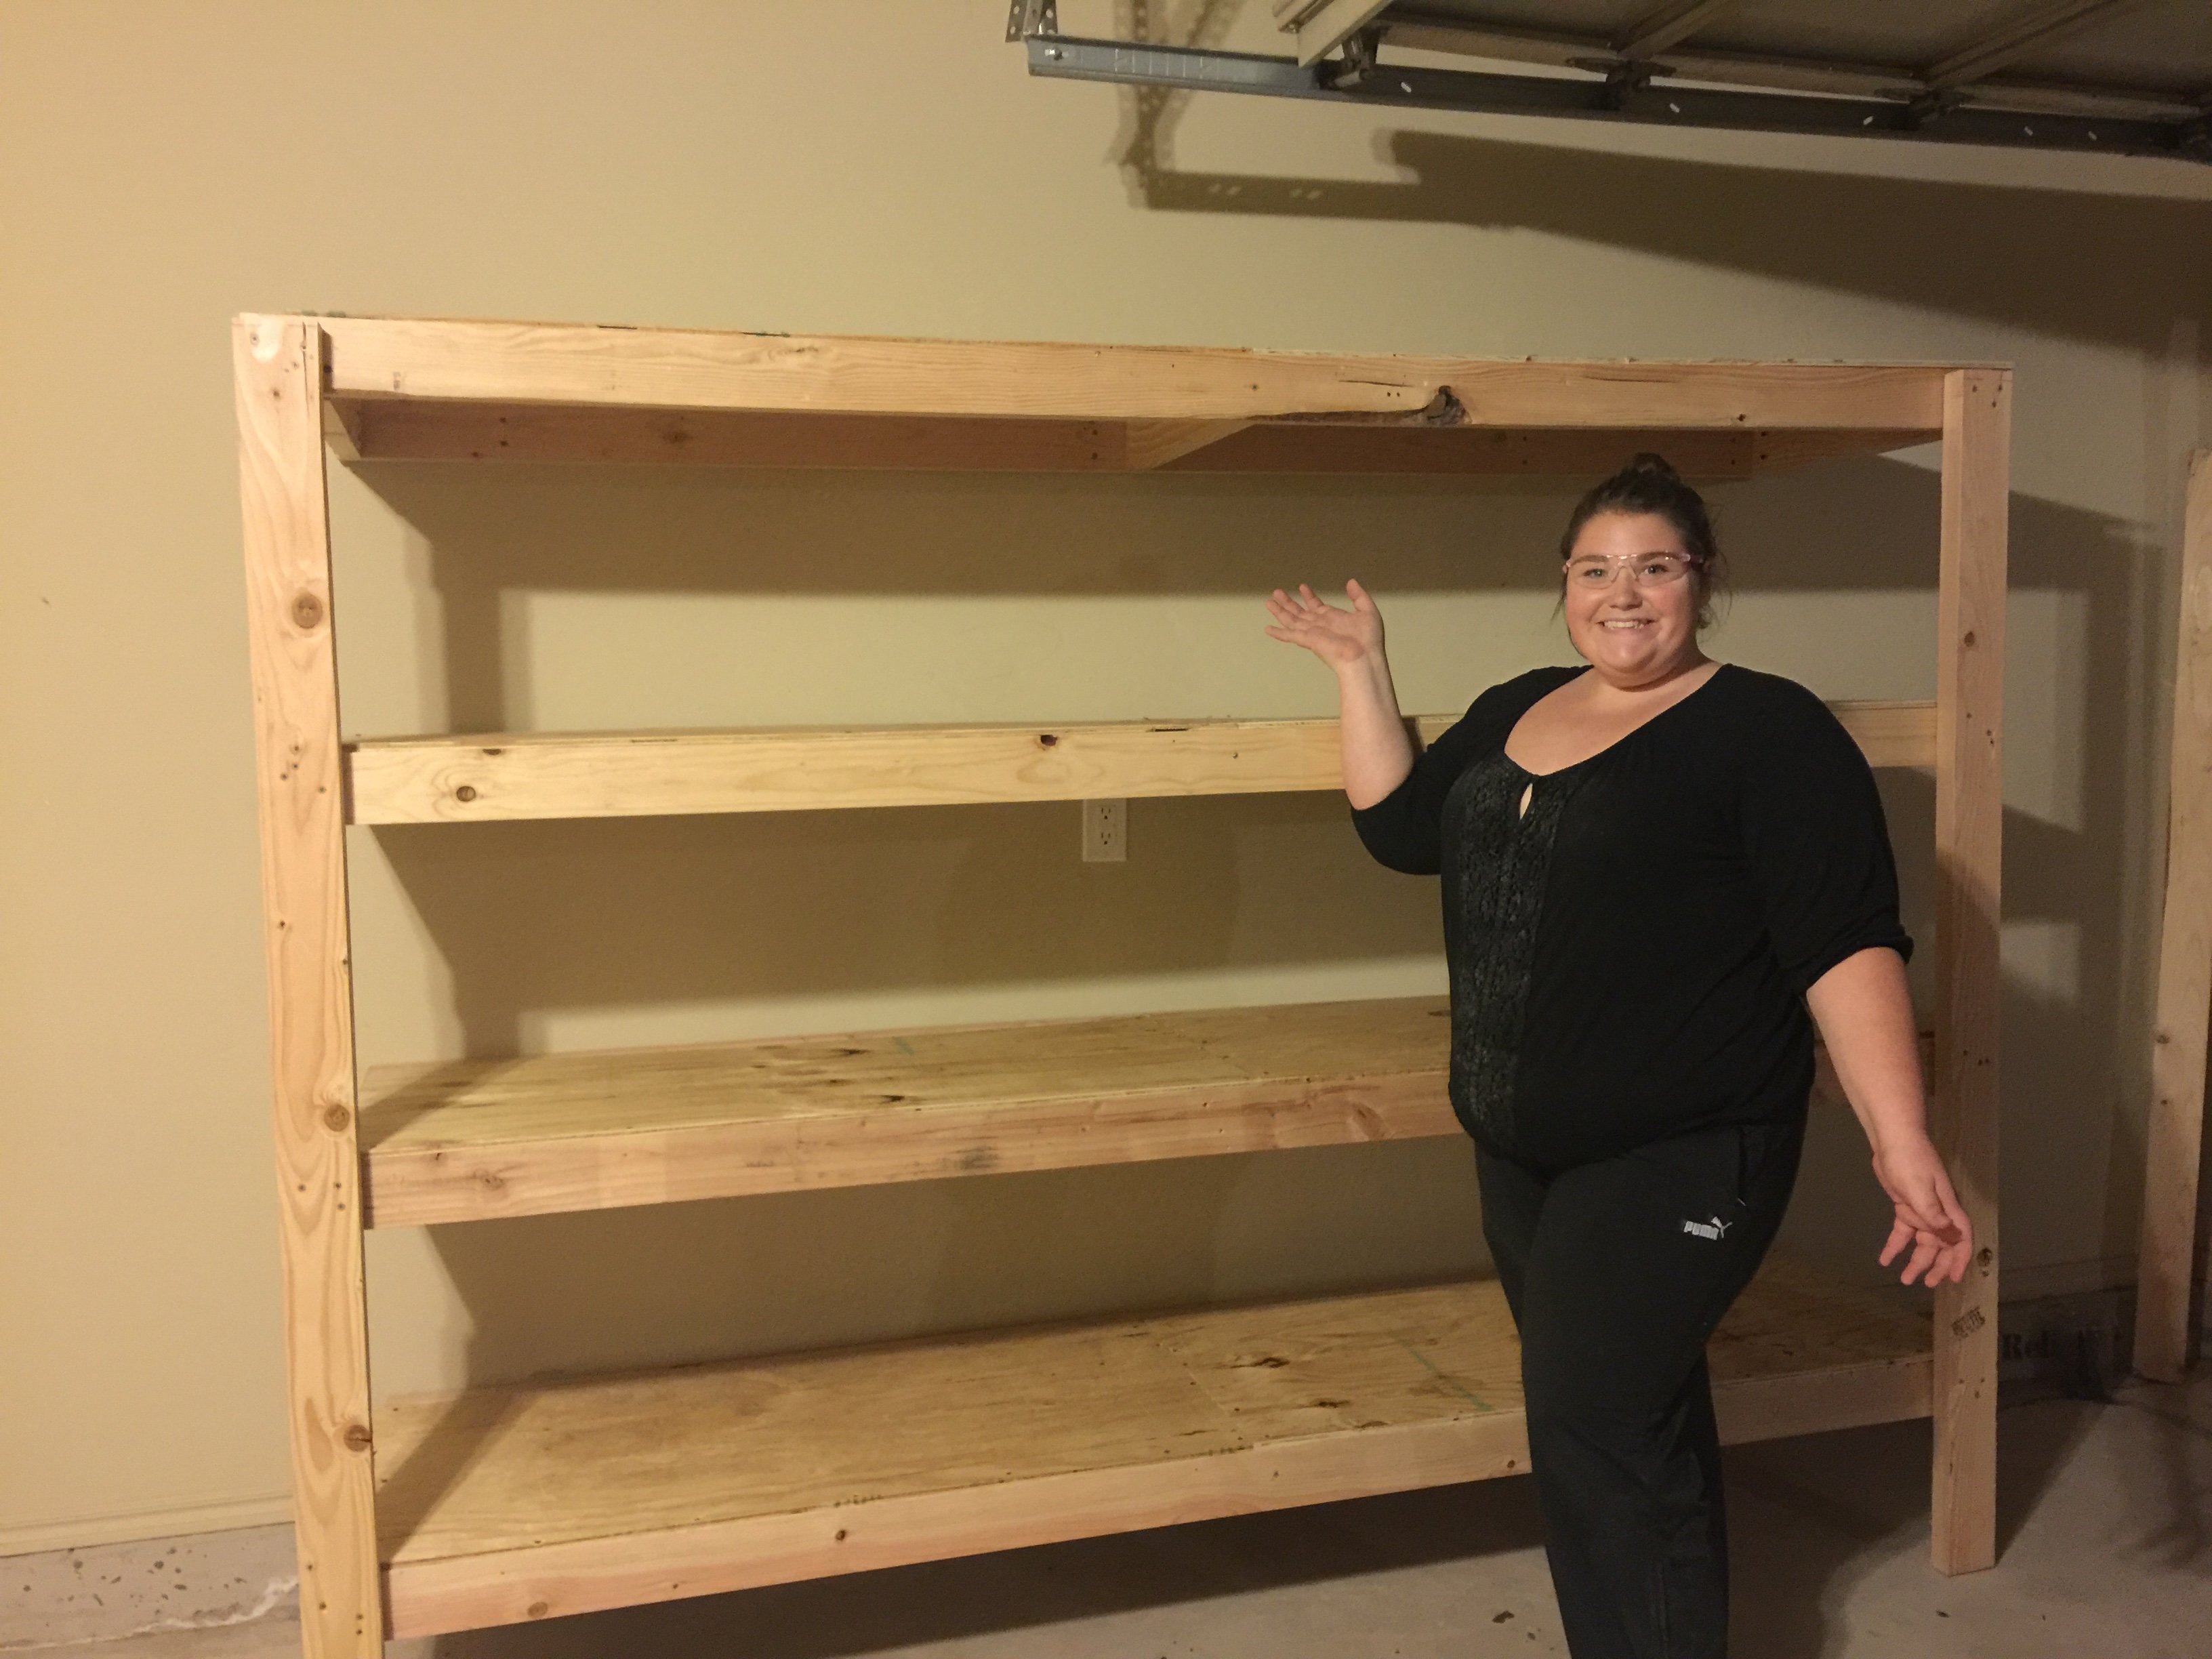
This was my second project off Ana White's website. The construction was not as difficult as I would have thought. The staining on the other hand was very time intensive. I made an amended version of the table since I only wanted a 1x12 vs. 1x16. All in all, I am extremely happy with how this turned out.
Built from Plan(s)
Estimated Cost
260
Estimated Time Investment
Week Long Project (20 Hours or More)
Finish Used
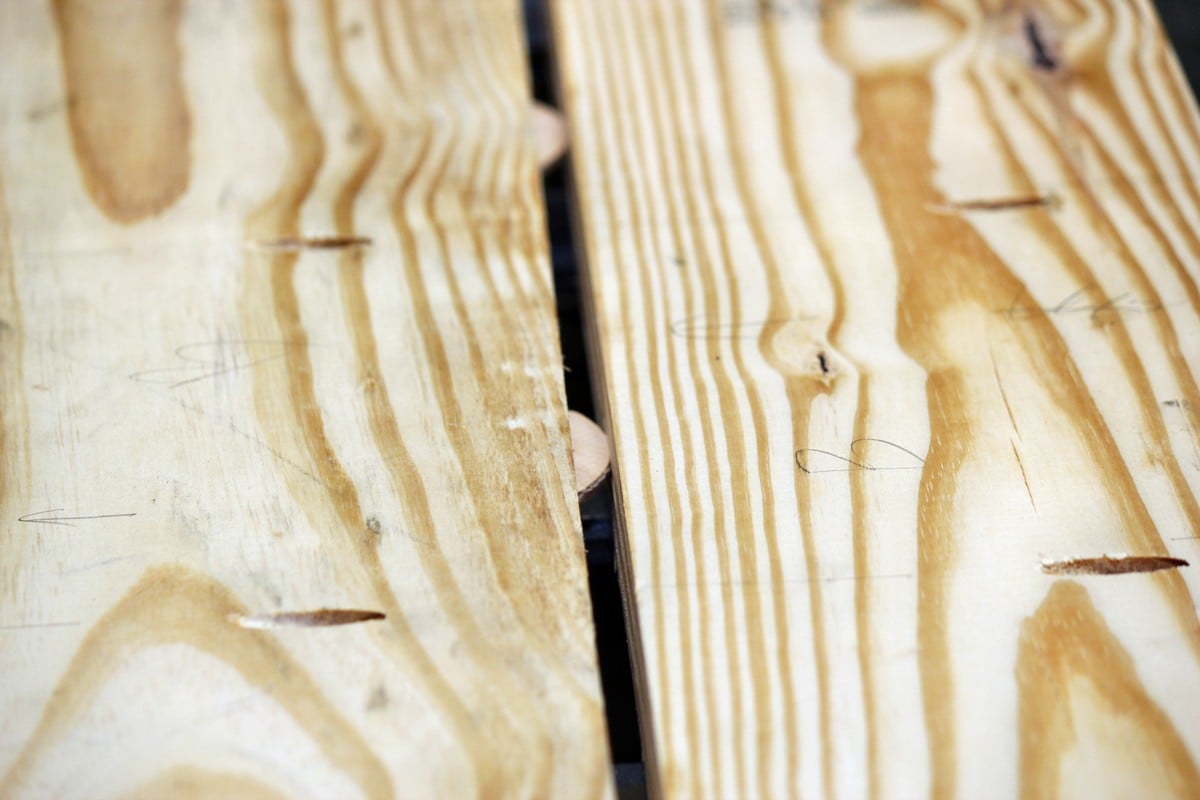
Kona brown and weathered gray stain with spray polyurethane
Recommended Skill Level
Intermediate