Corner Cabinet
Corner cabinet project based on Ana's plans and adjusted to my own decor and measurements.


Built from Plan(s)
Recommended Skill Level
Beginner
Corner cabinet project based on Ana's plans and adjusted to my own decor and measurements.
These plans make it very simple to make.
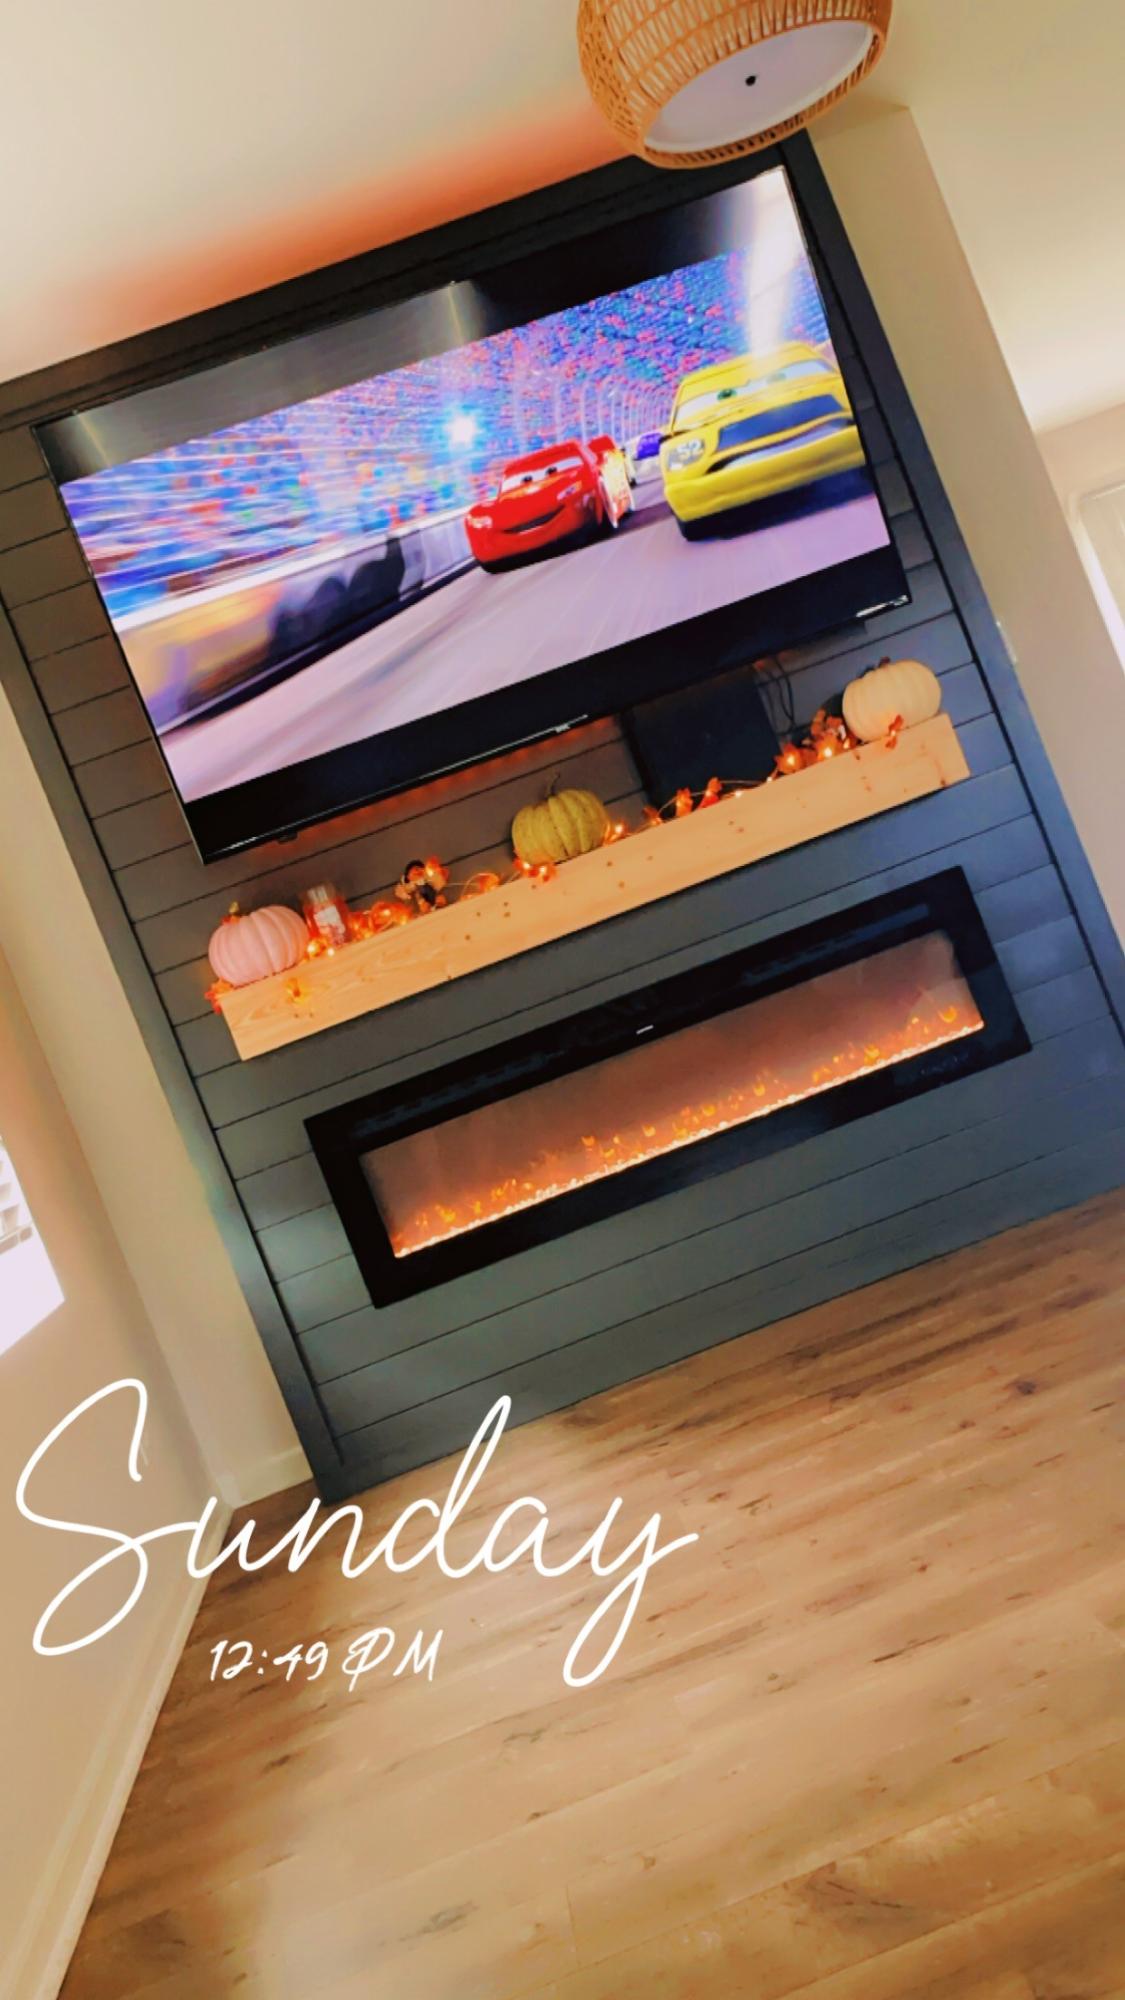
Finally decided to do this wall and I’m obsessed 😍 -Kaity
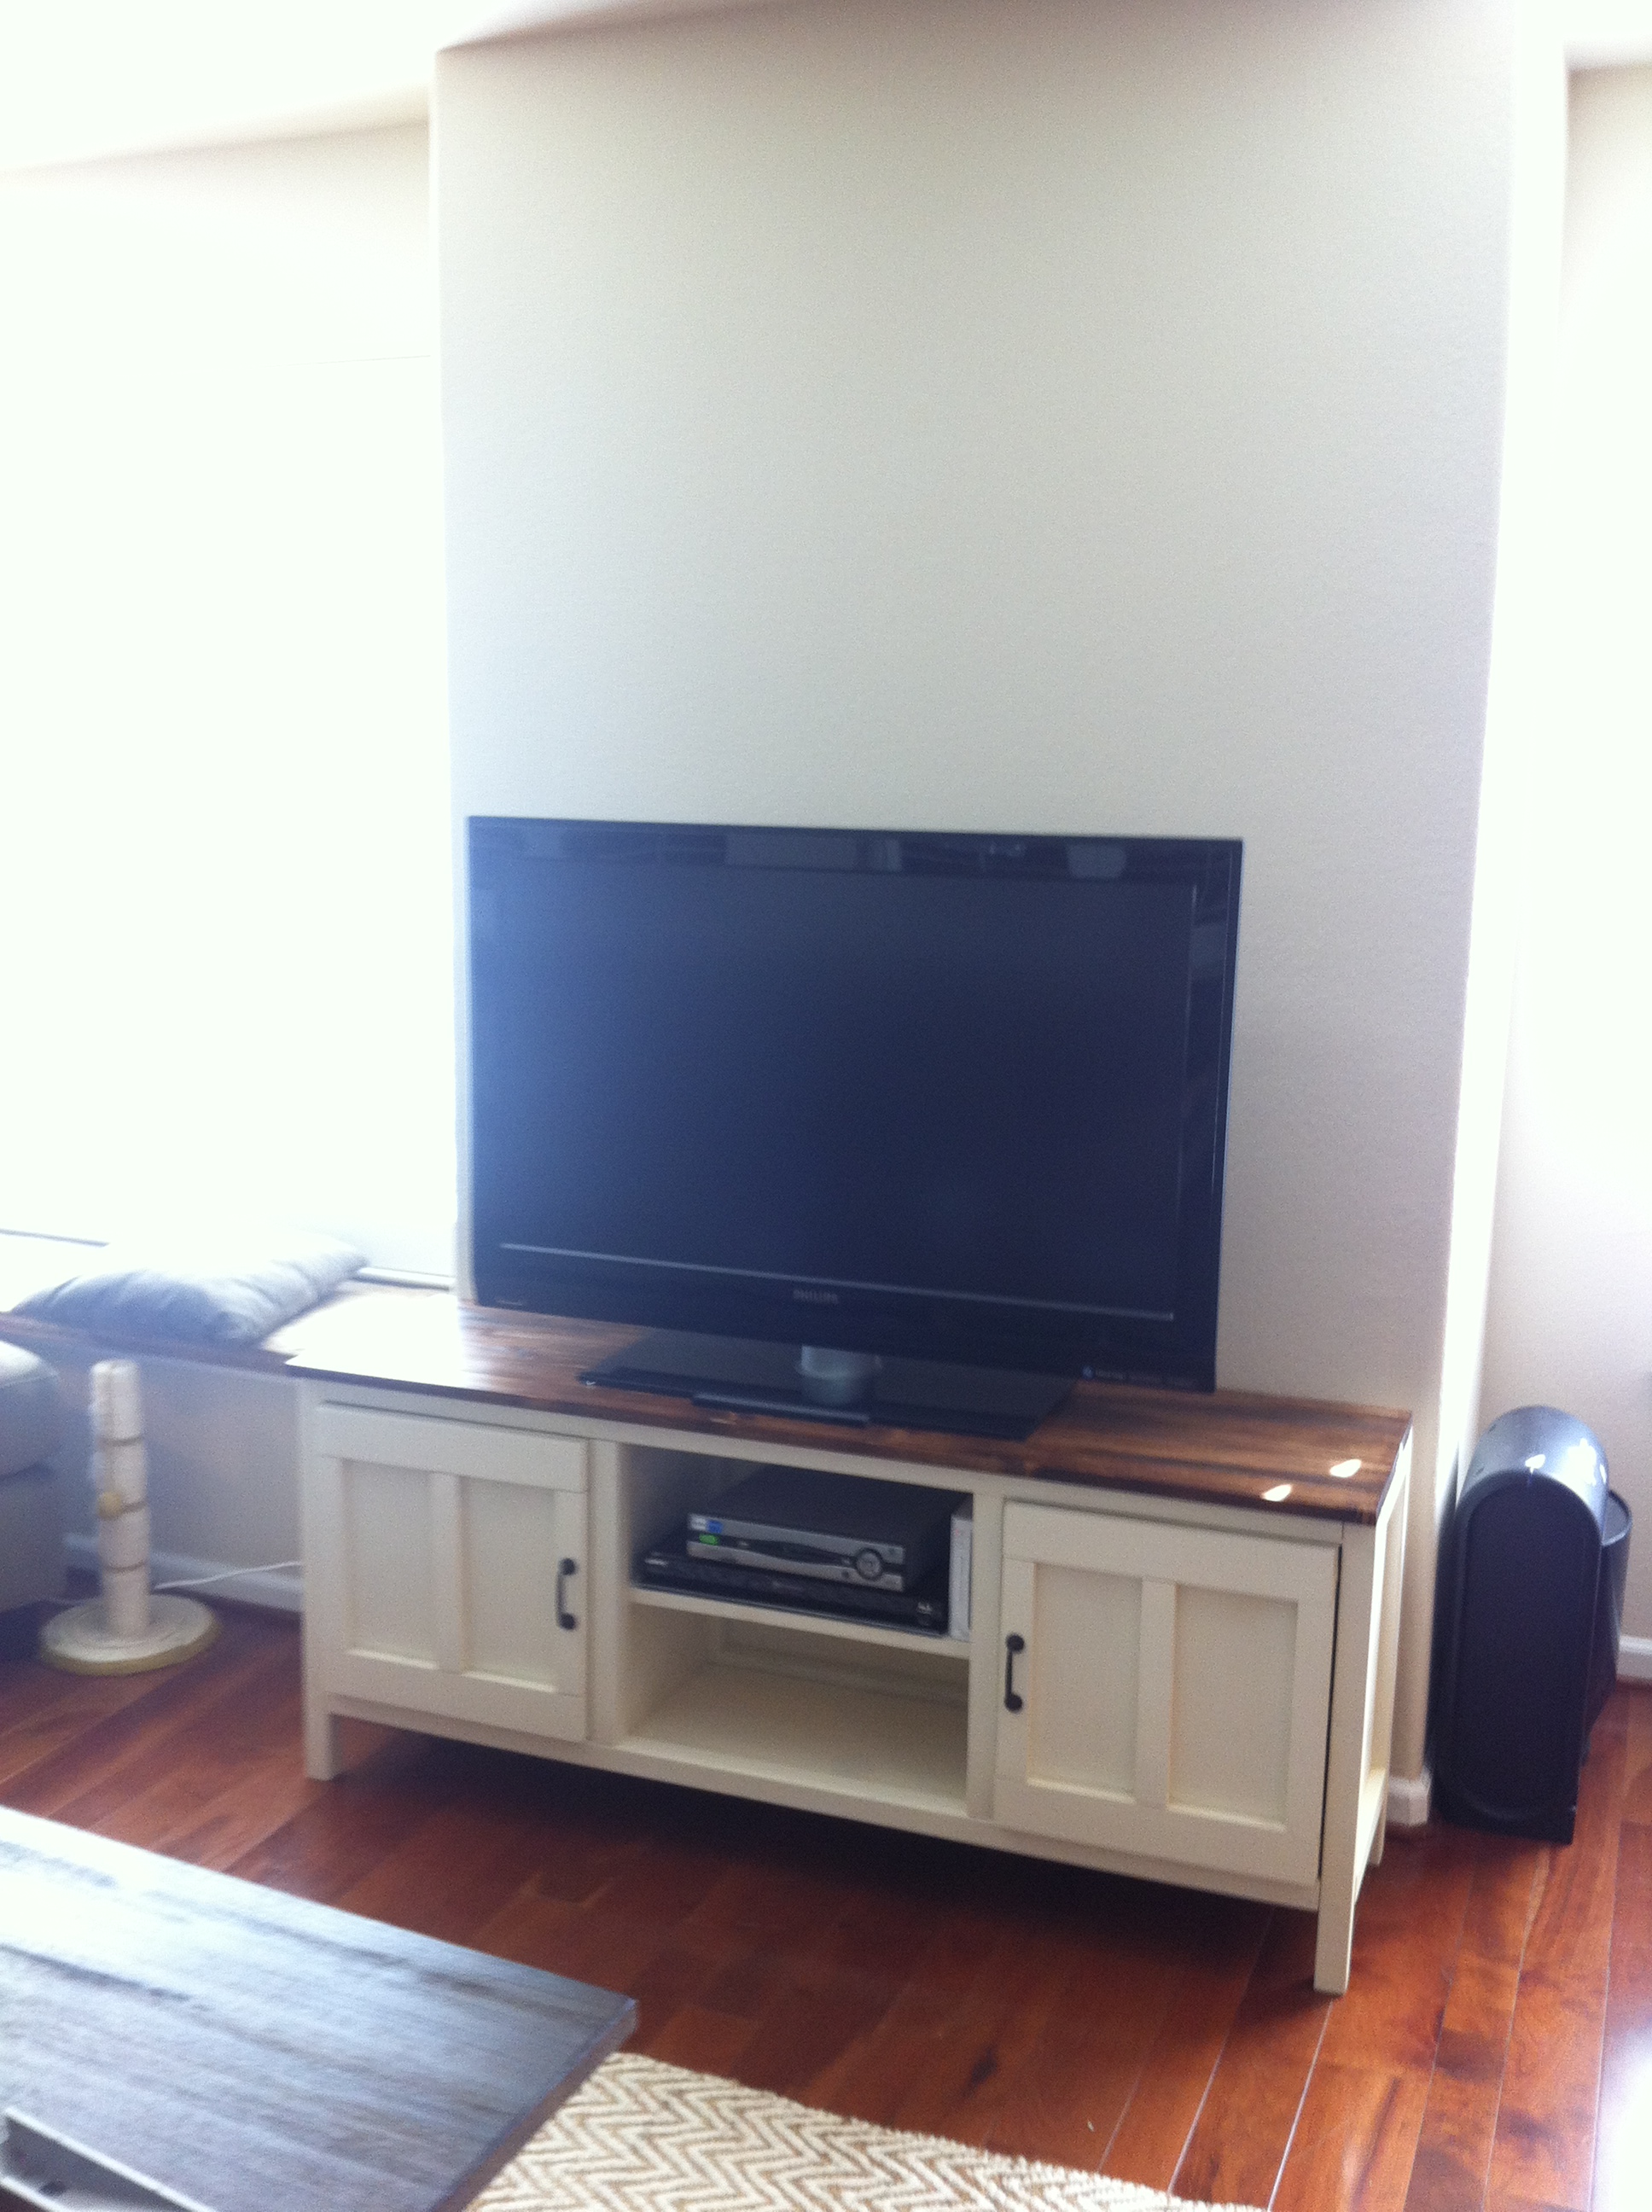
My fiance and I built this media console from Ana's plans to replace the UGLY black plastic/glass tv stand we had previously. It was pretty easy to do. The only thing I recommend is waiting to cut the doors after the box is put together. Our doors did not fit exactly and we had to cut them again to fit. I'm sure that our measurements were off somewhere along the way. We love the way this piece of furniture looks in our family room now, for about $150!!!
Fri, 11/09/2012 - 19:39
Awesome! I've been eyeing this plan for a while but couldn't decide if I wanted to paint or stain it. This is great, thanks for sharing!

Bunnings had cheap cedar lining boards so I grabbed a few packets and figured I would find something to do with them later.
After buying the Ana White book I fell in love with the hutch and console table combo. I thought this would look great with the cedar lining boards.
I love how this turned out.


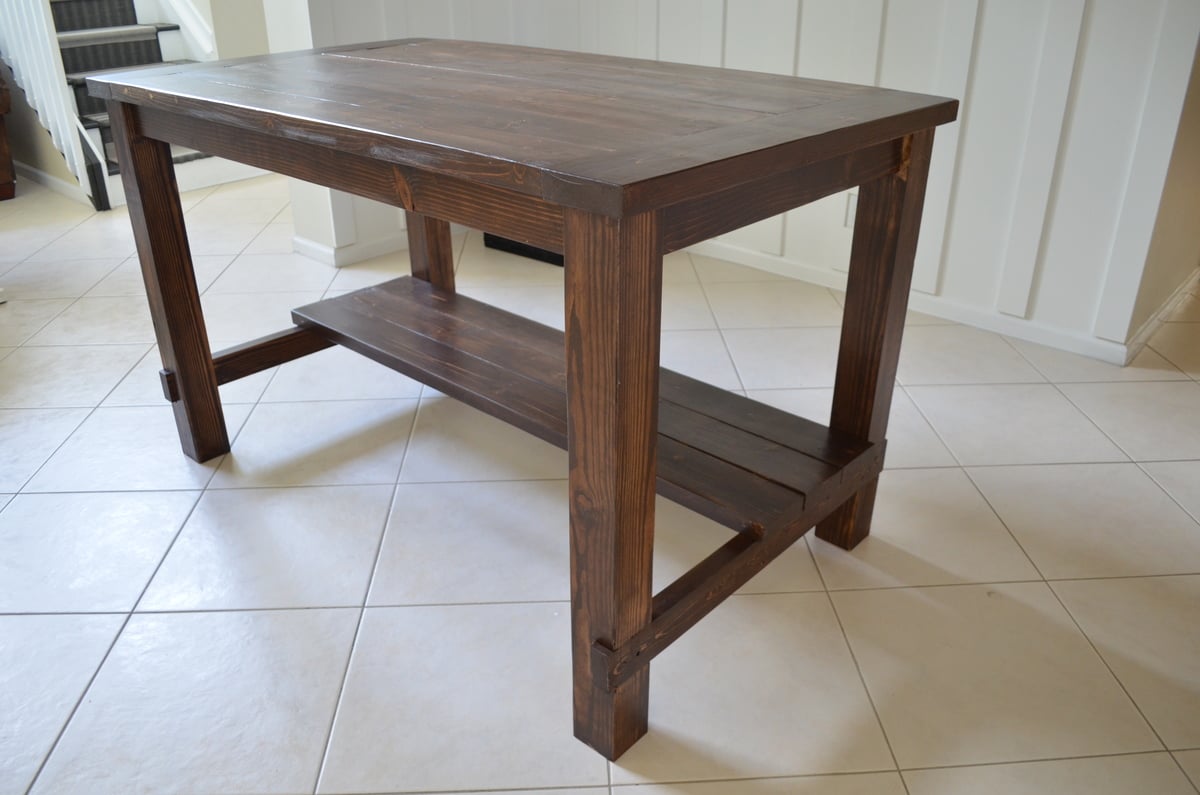
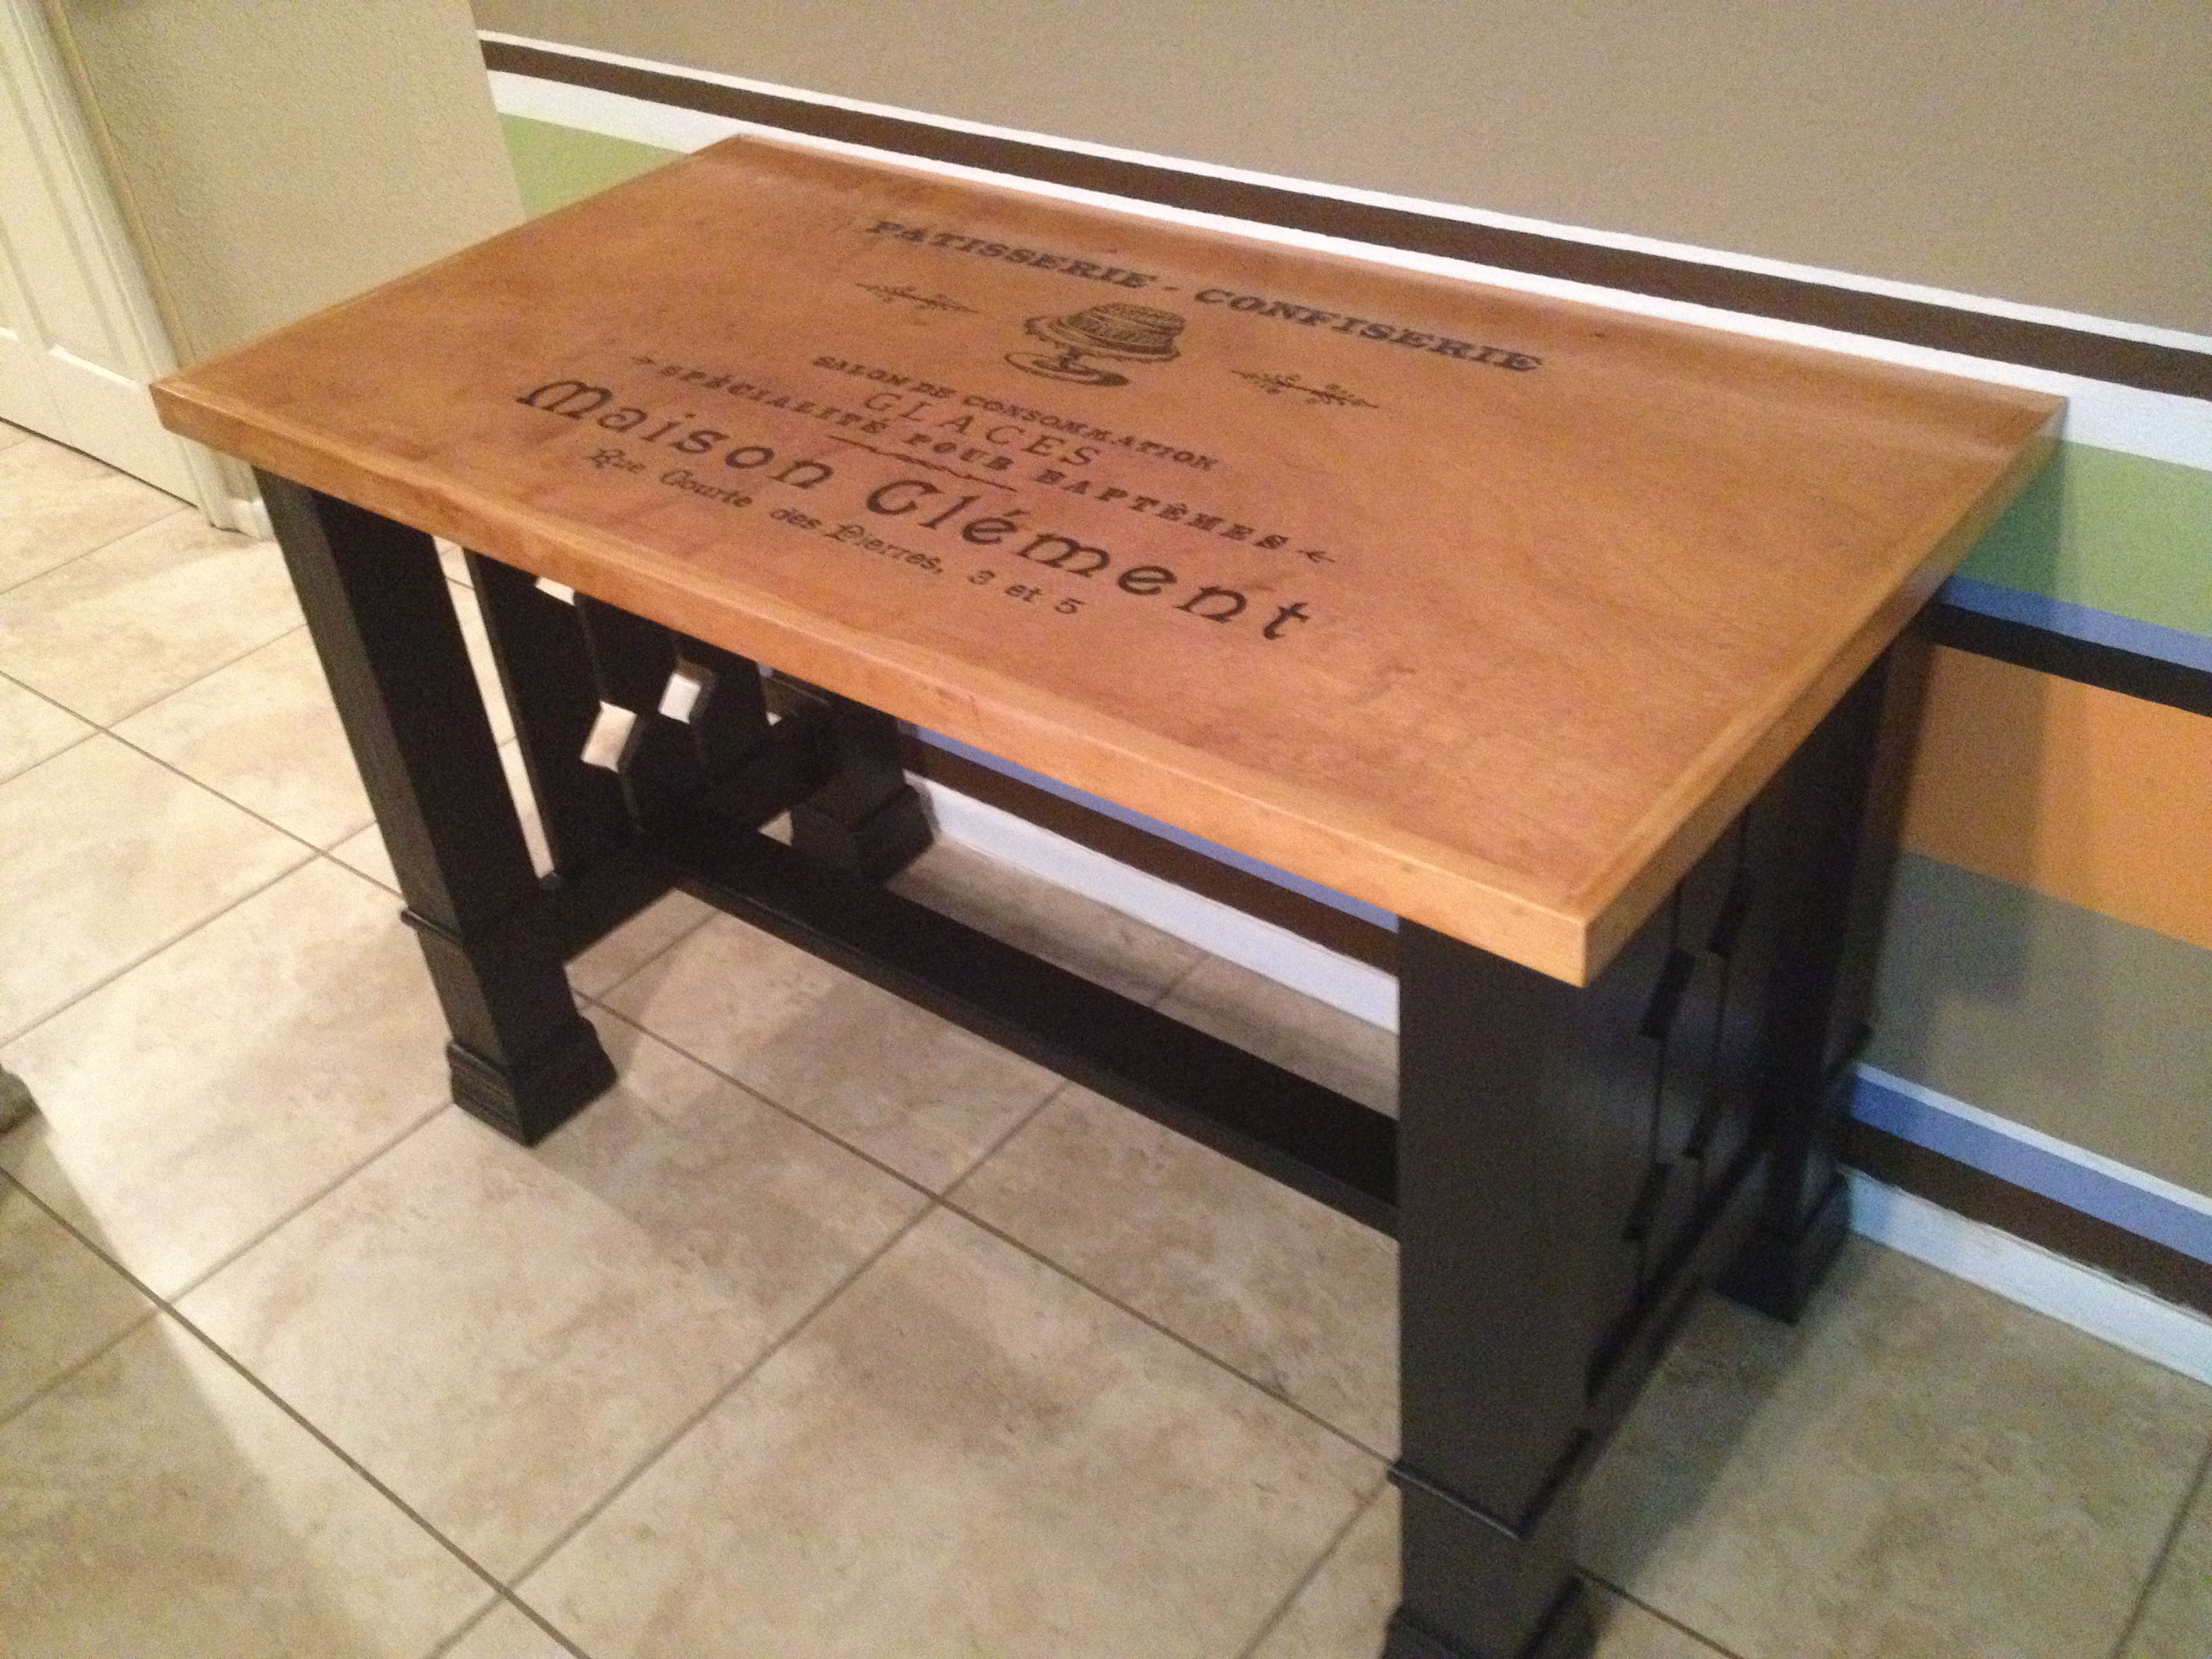
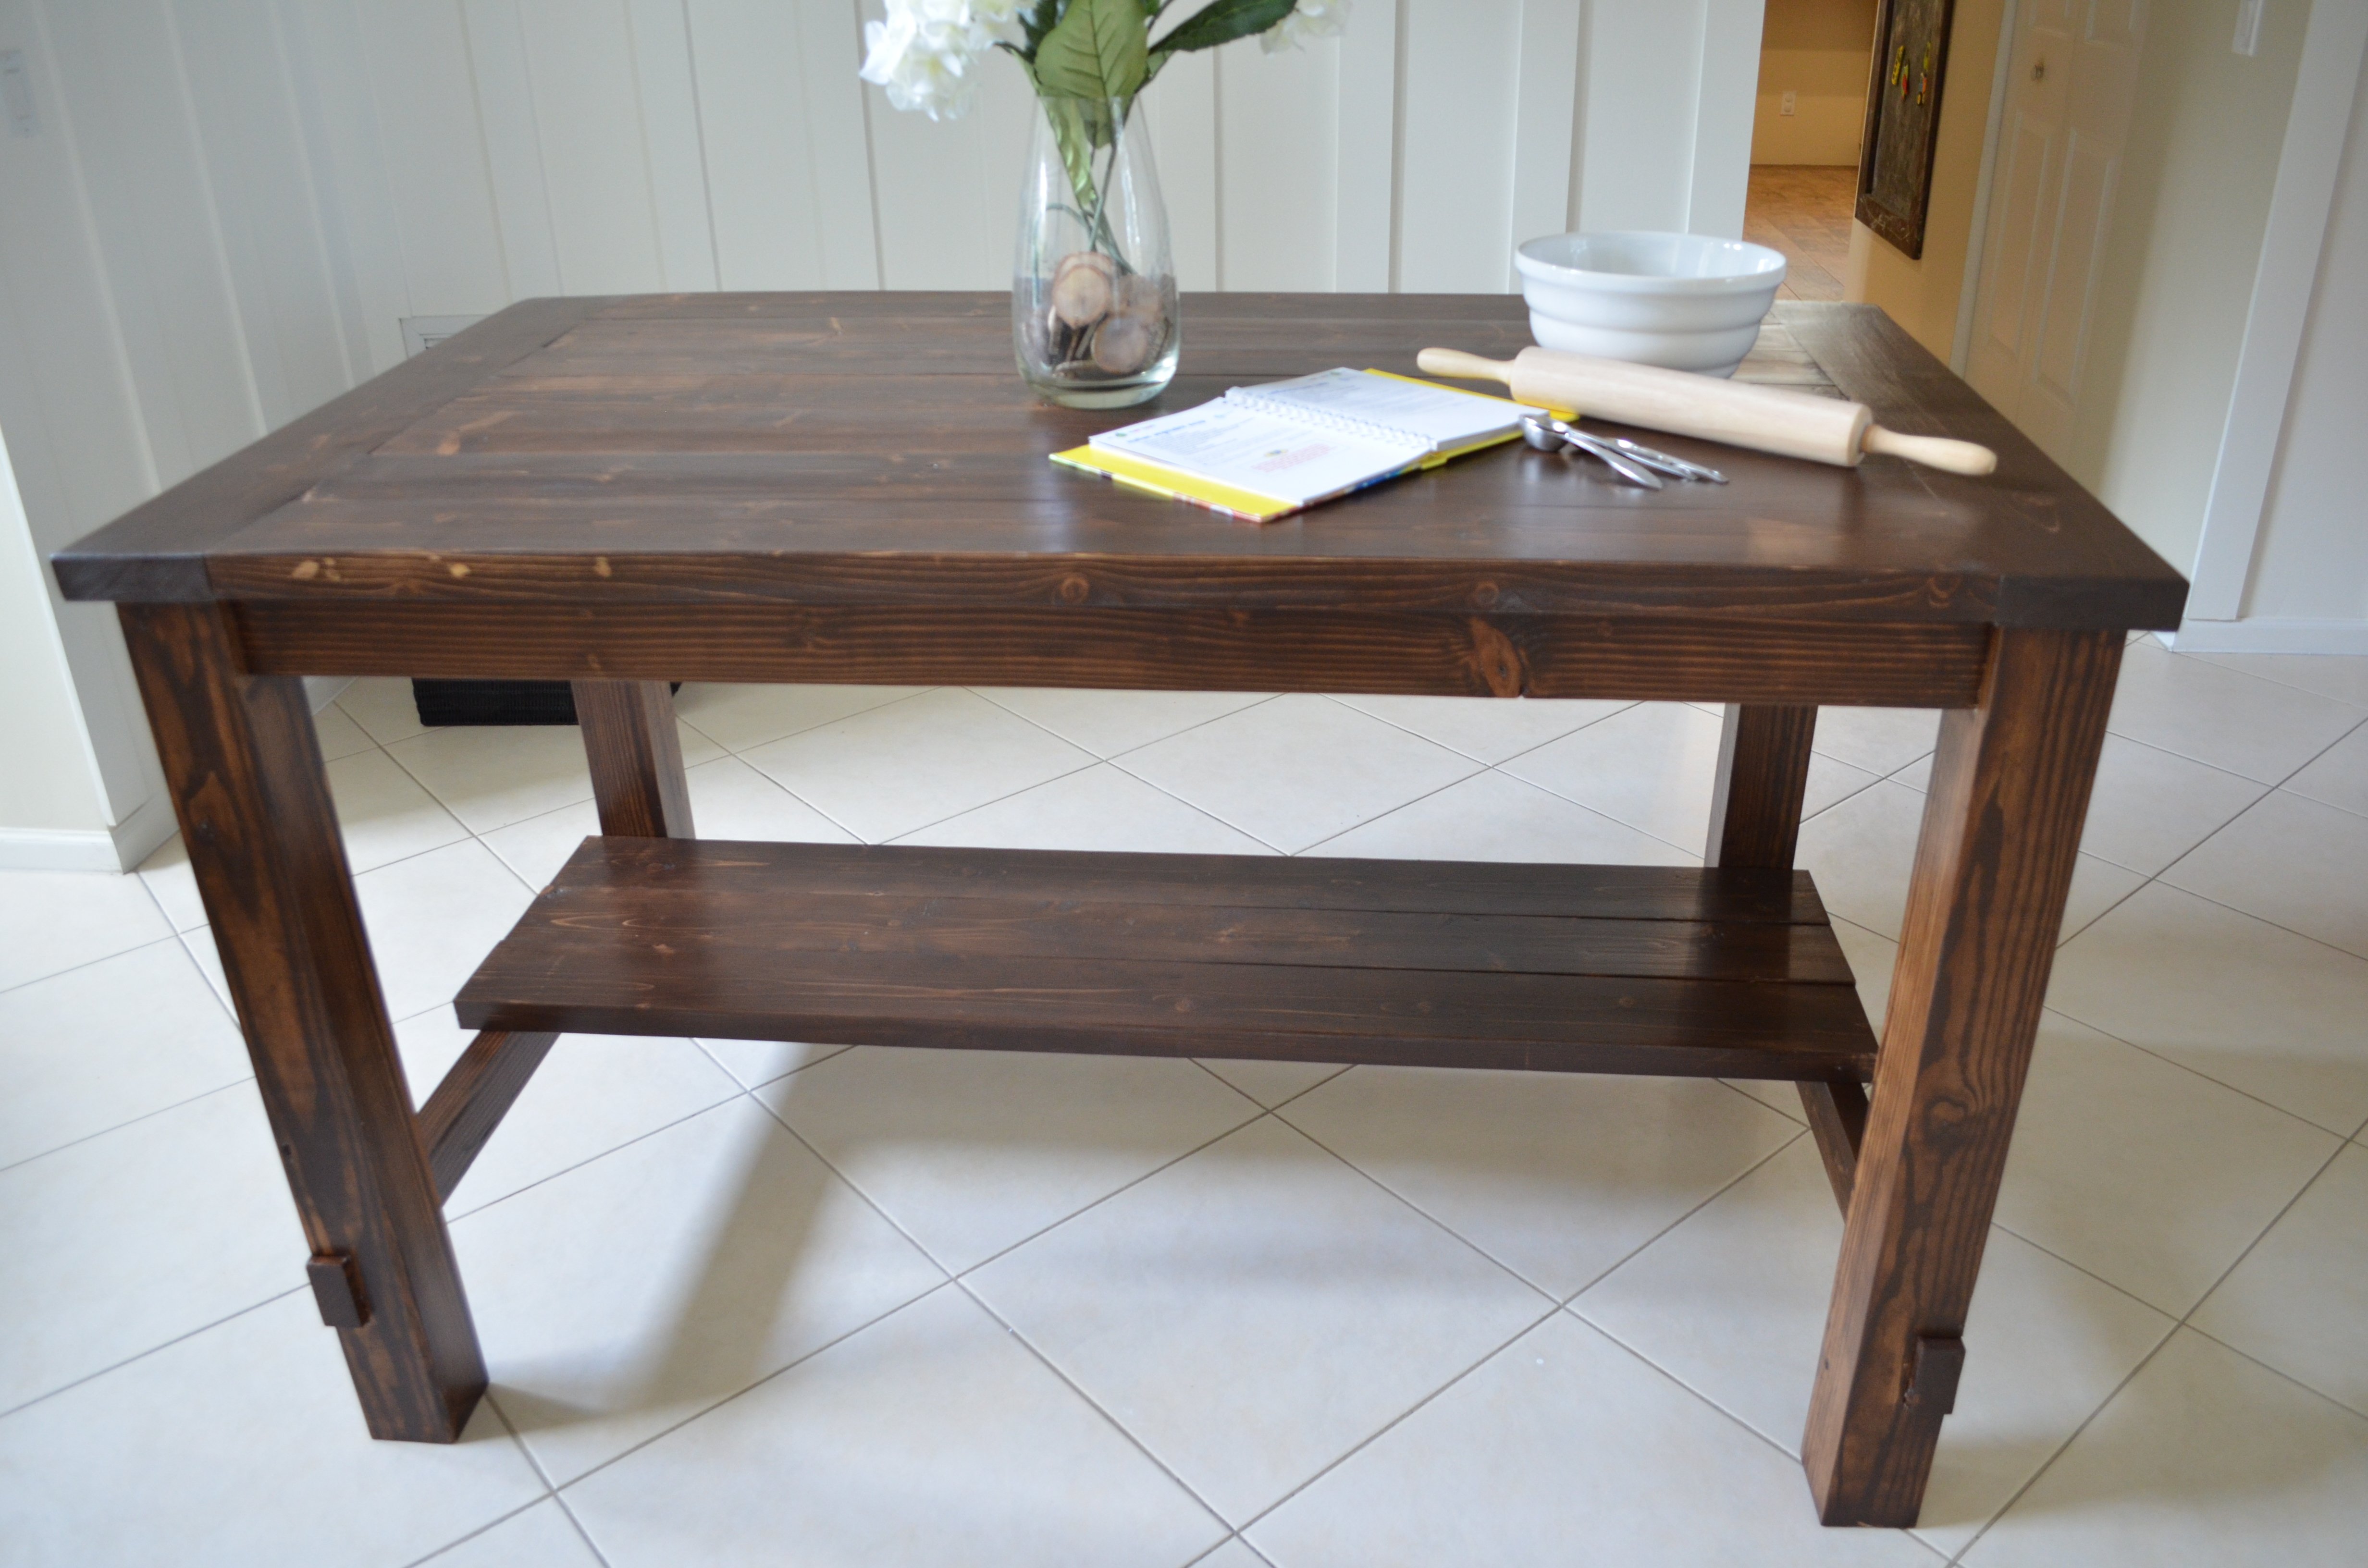
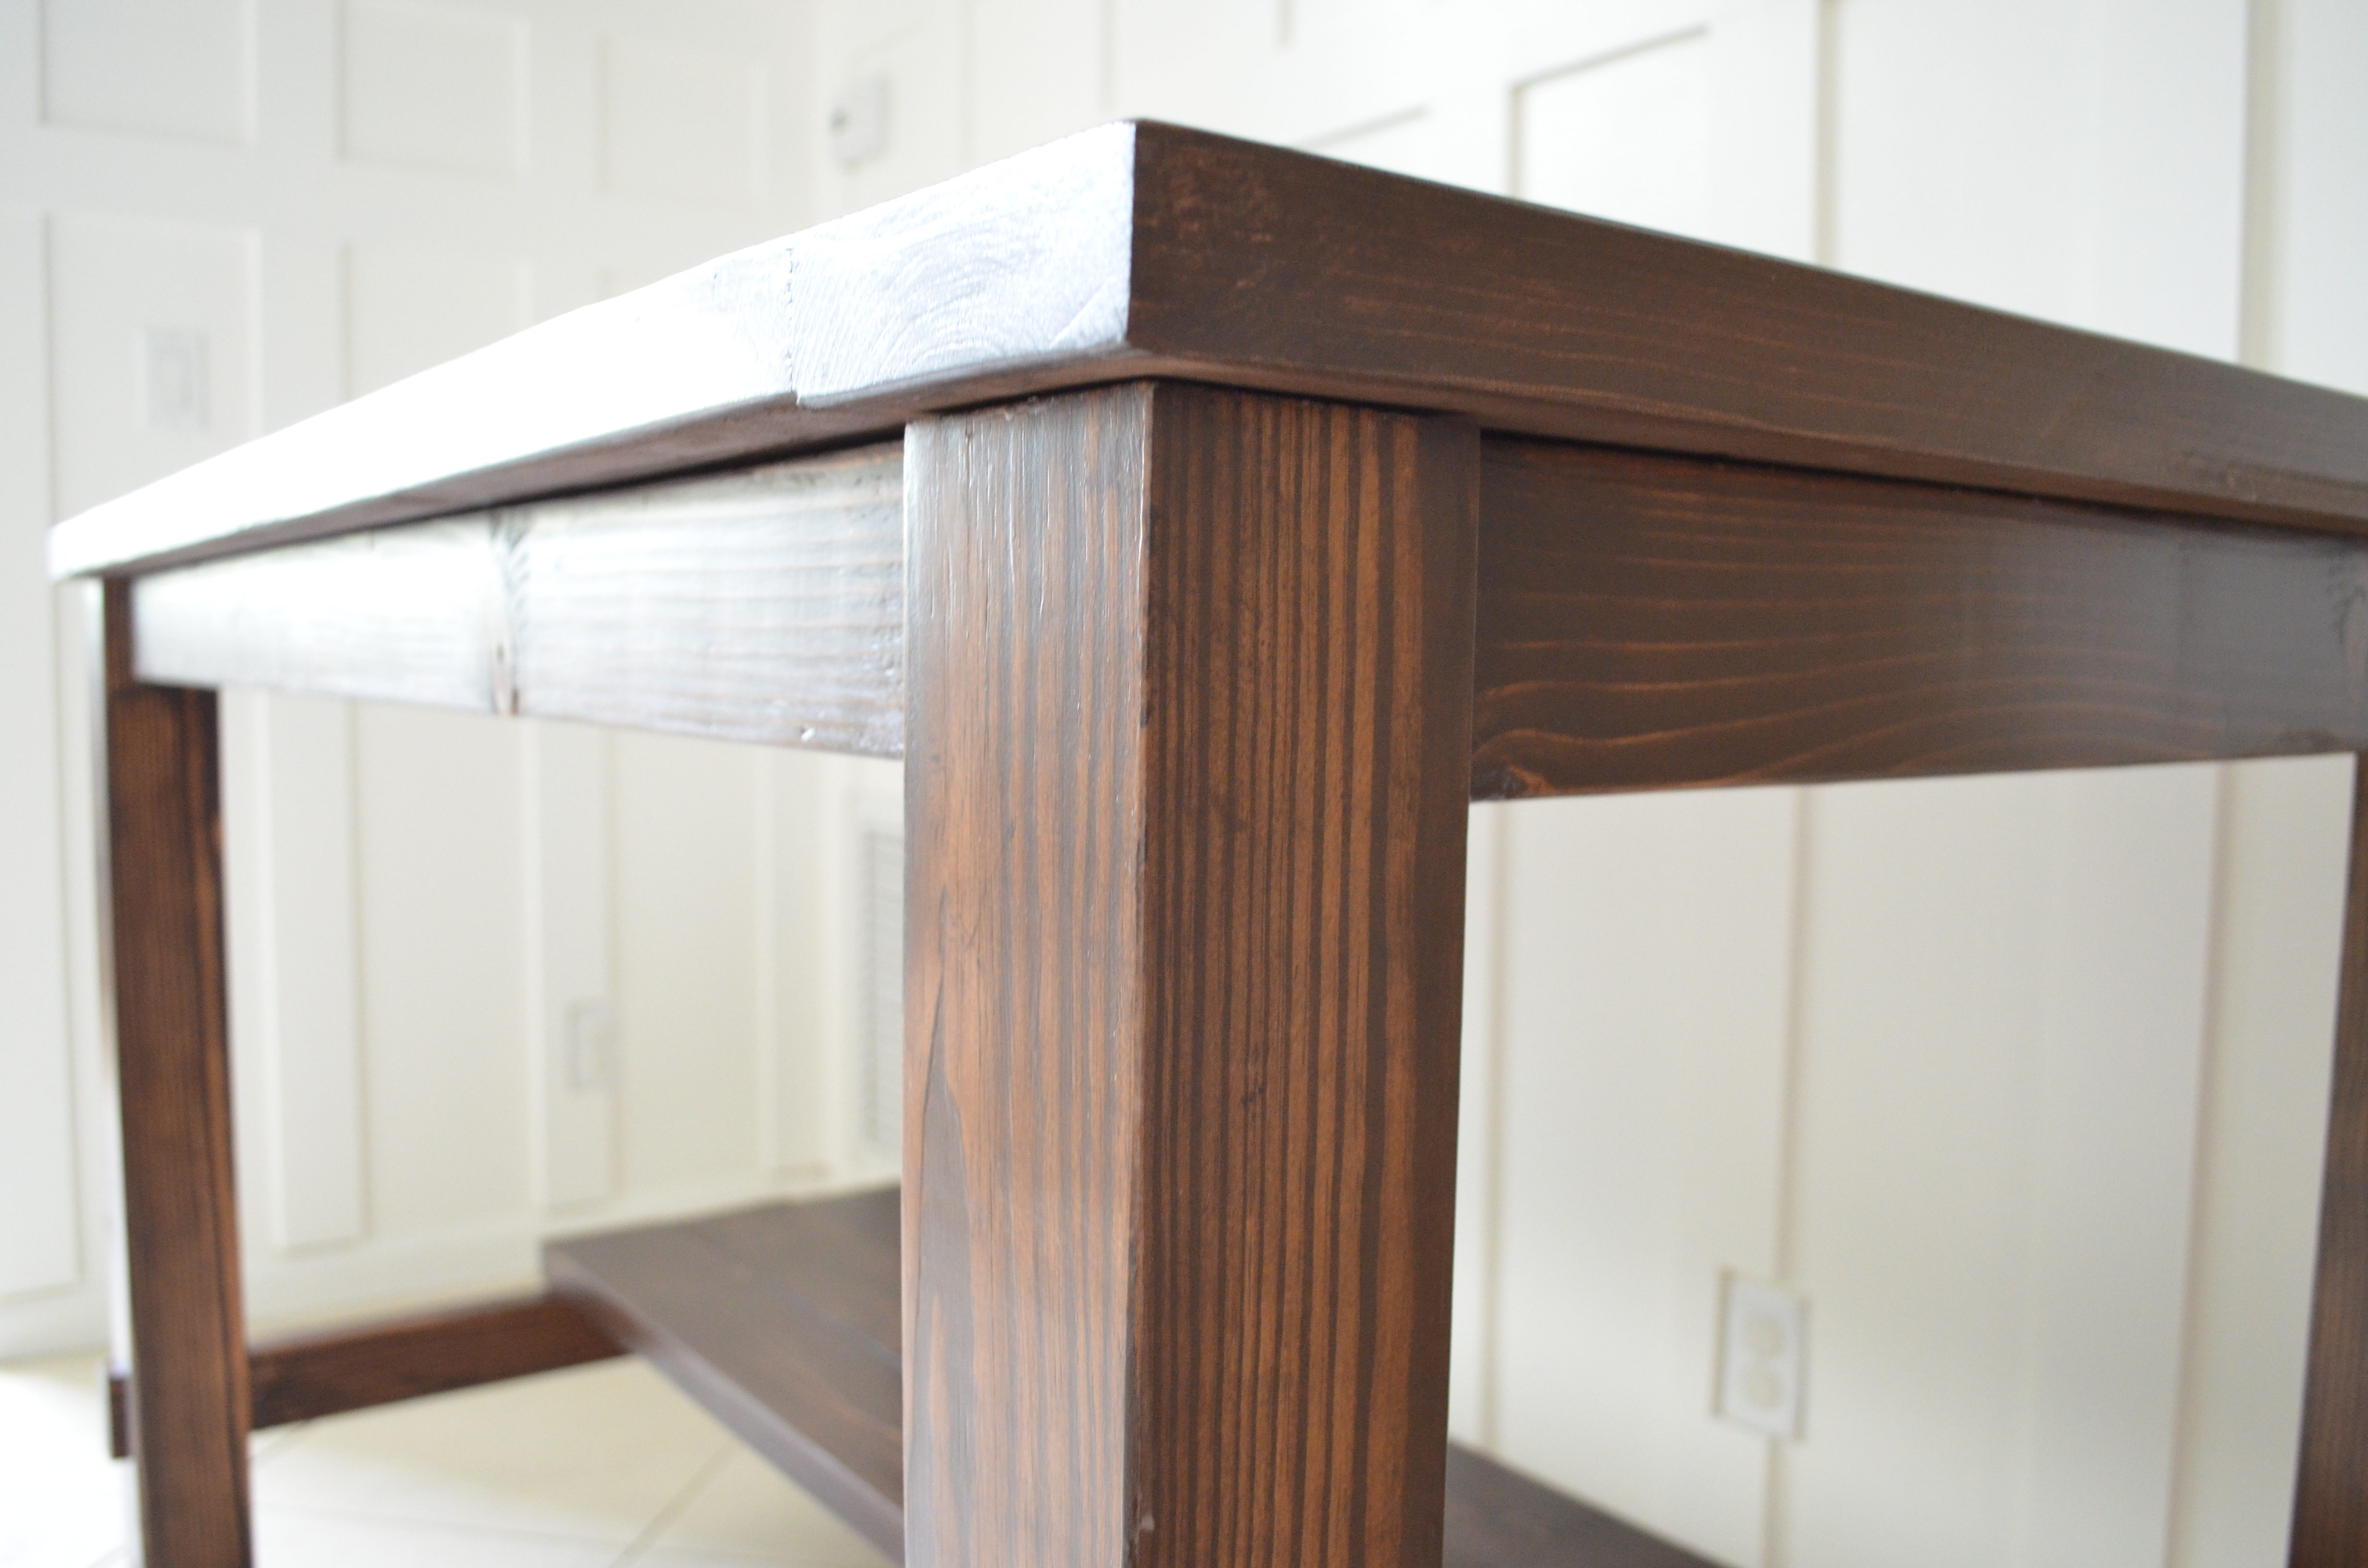
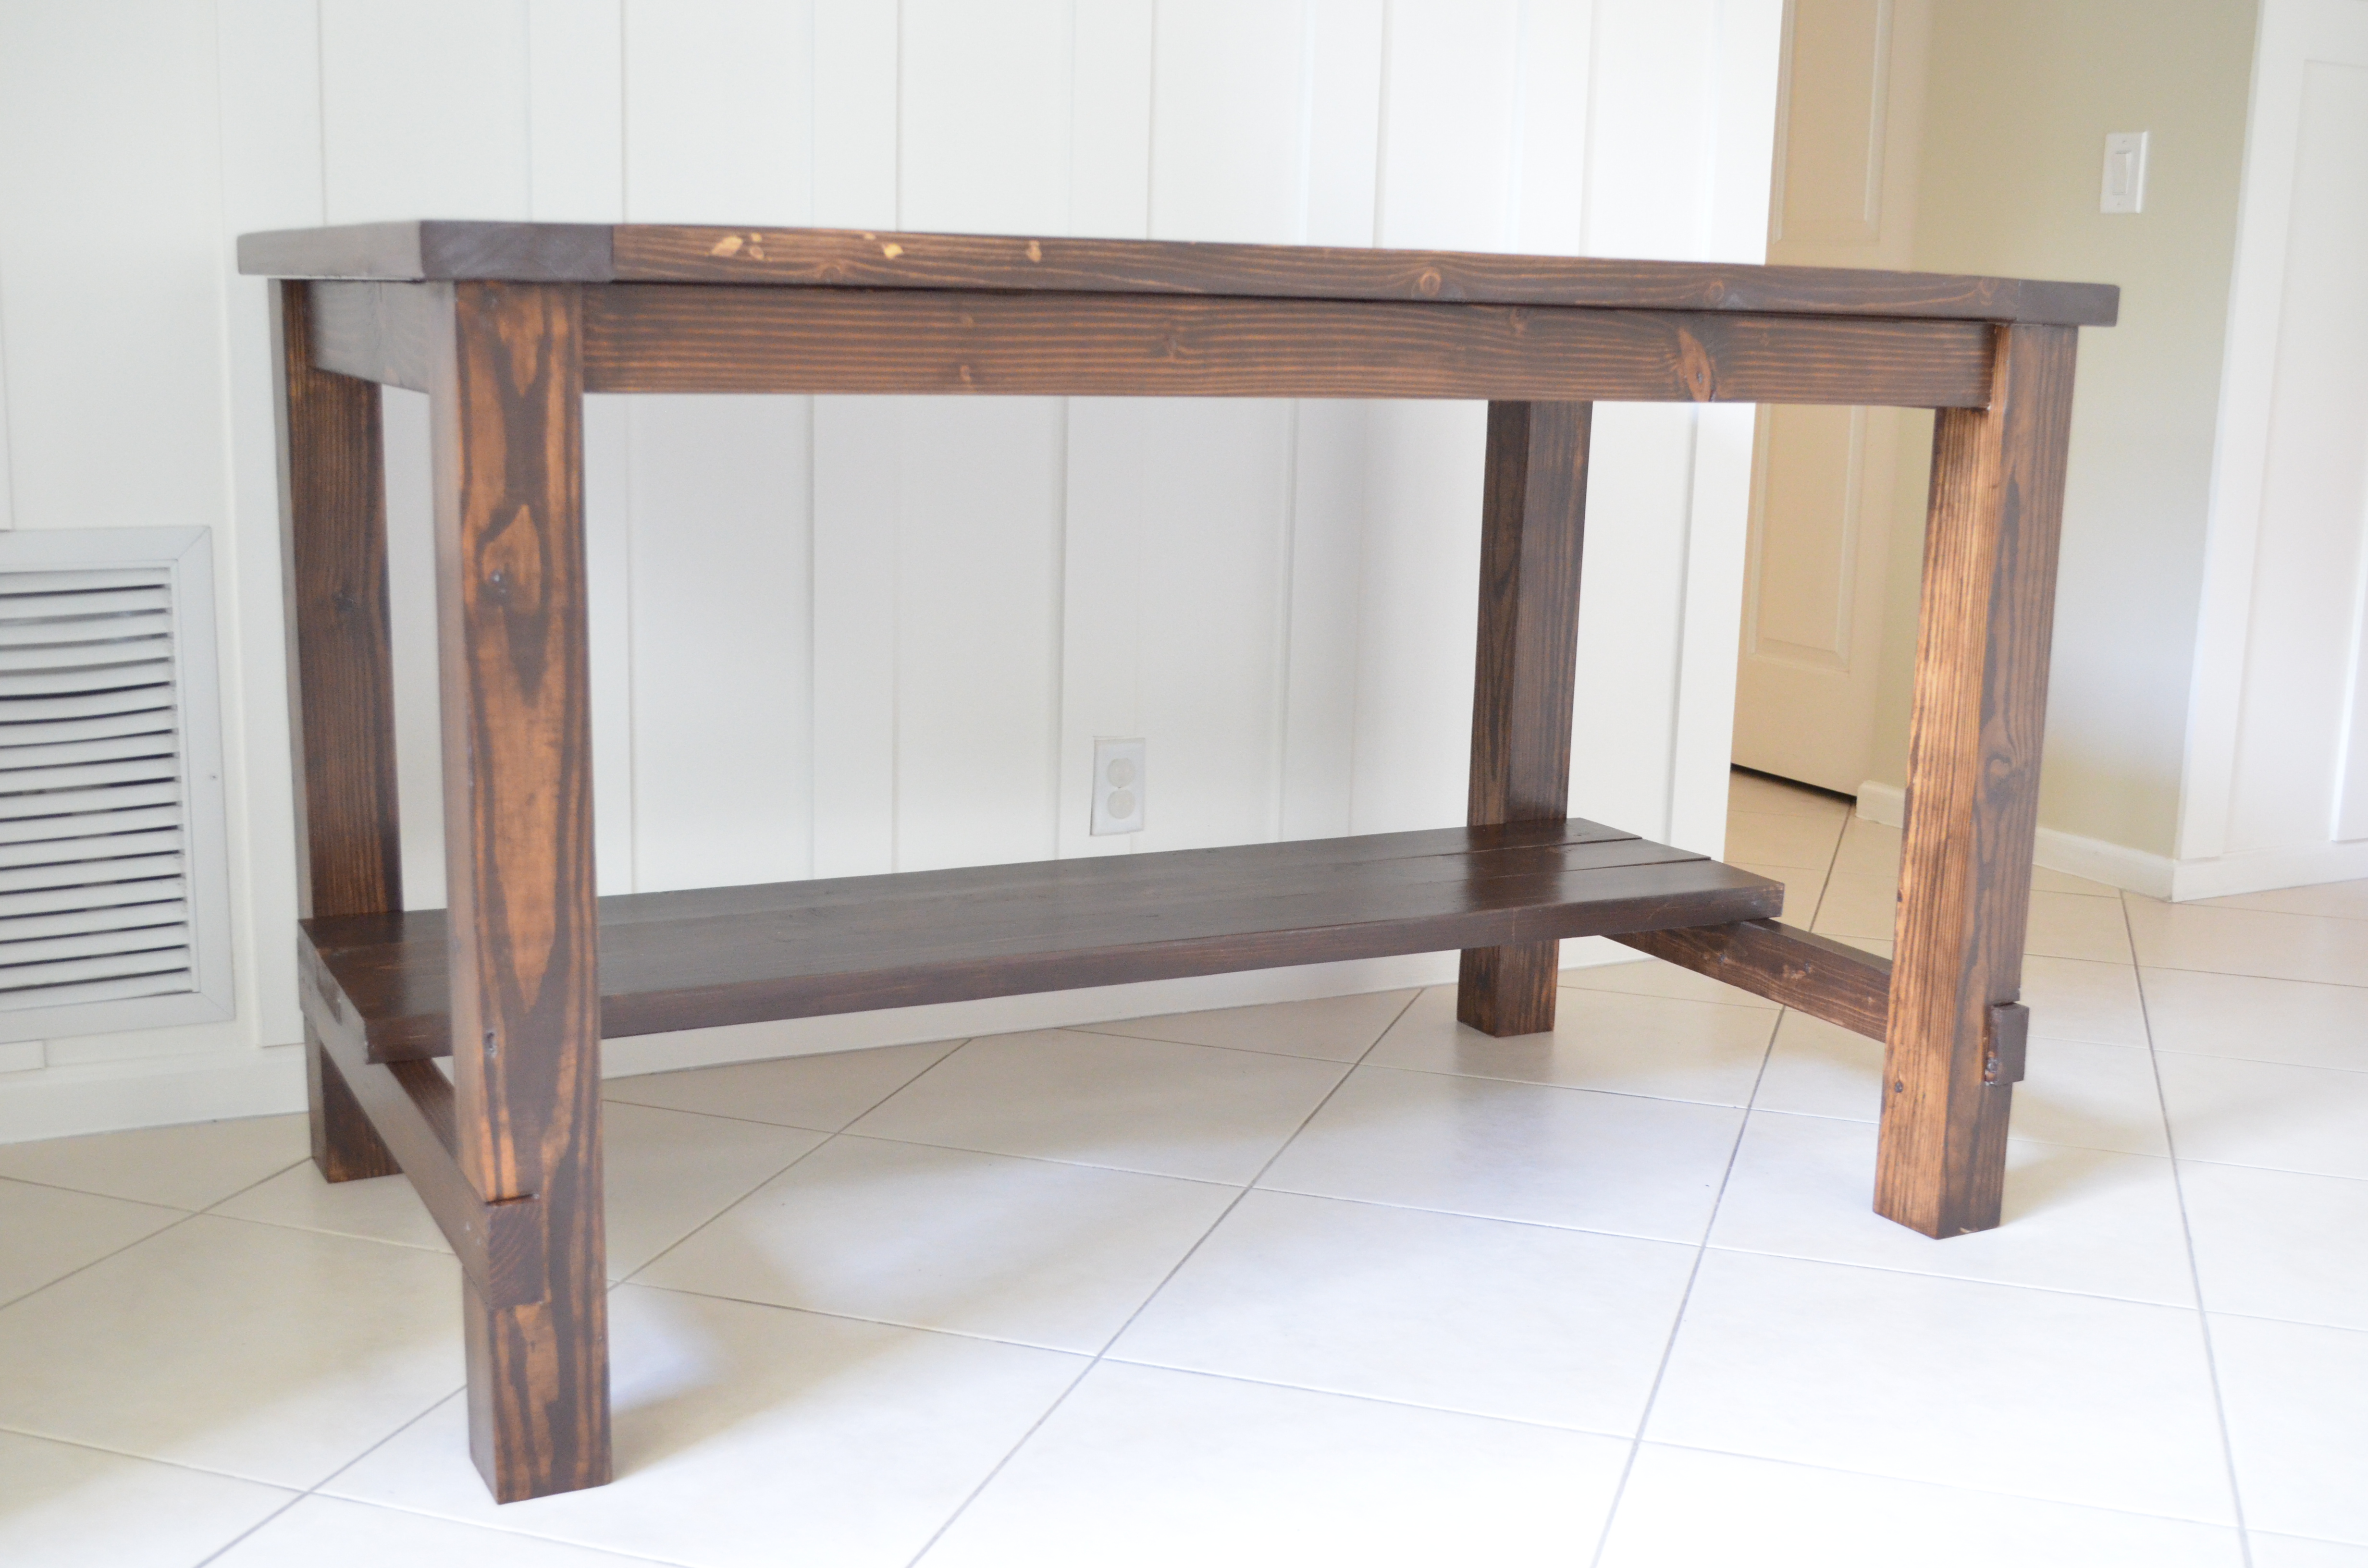
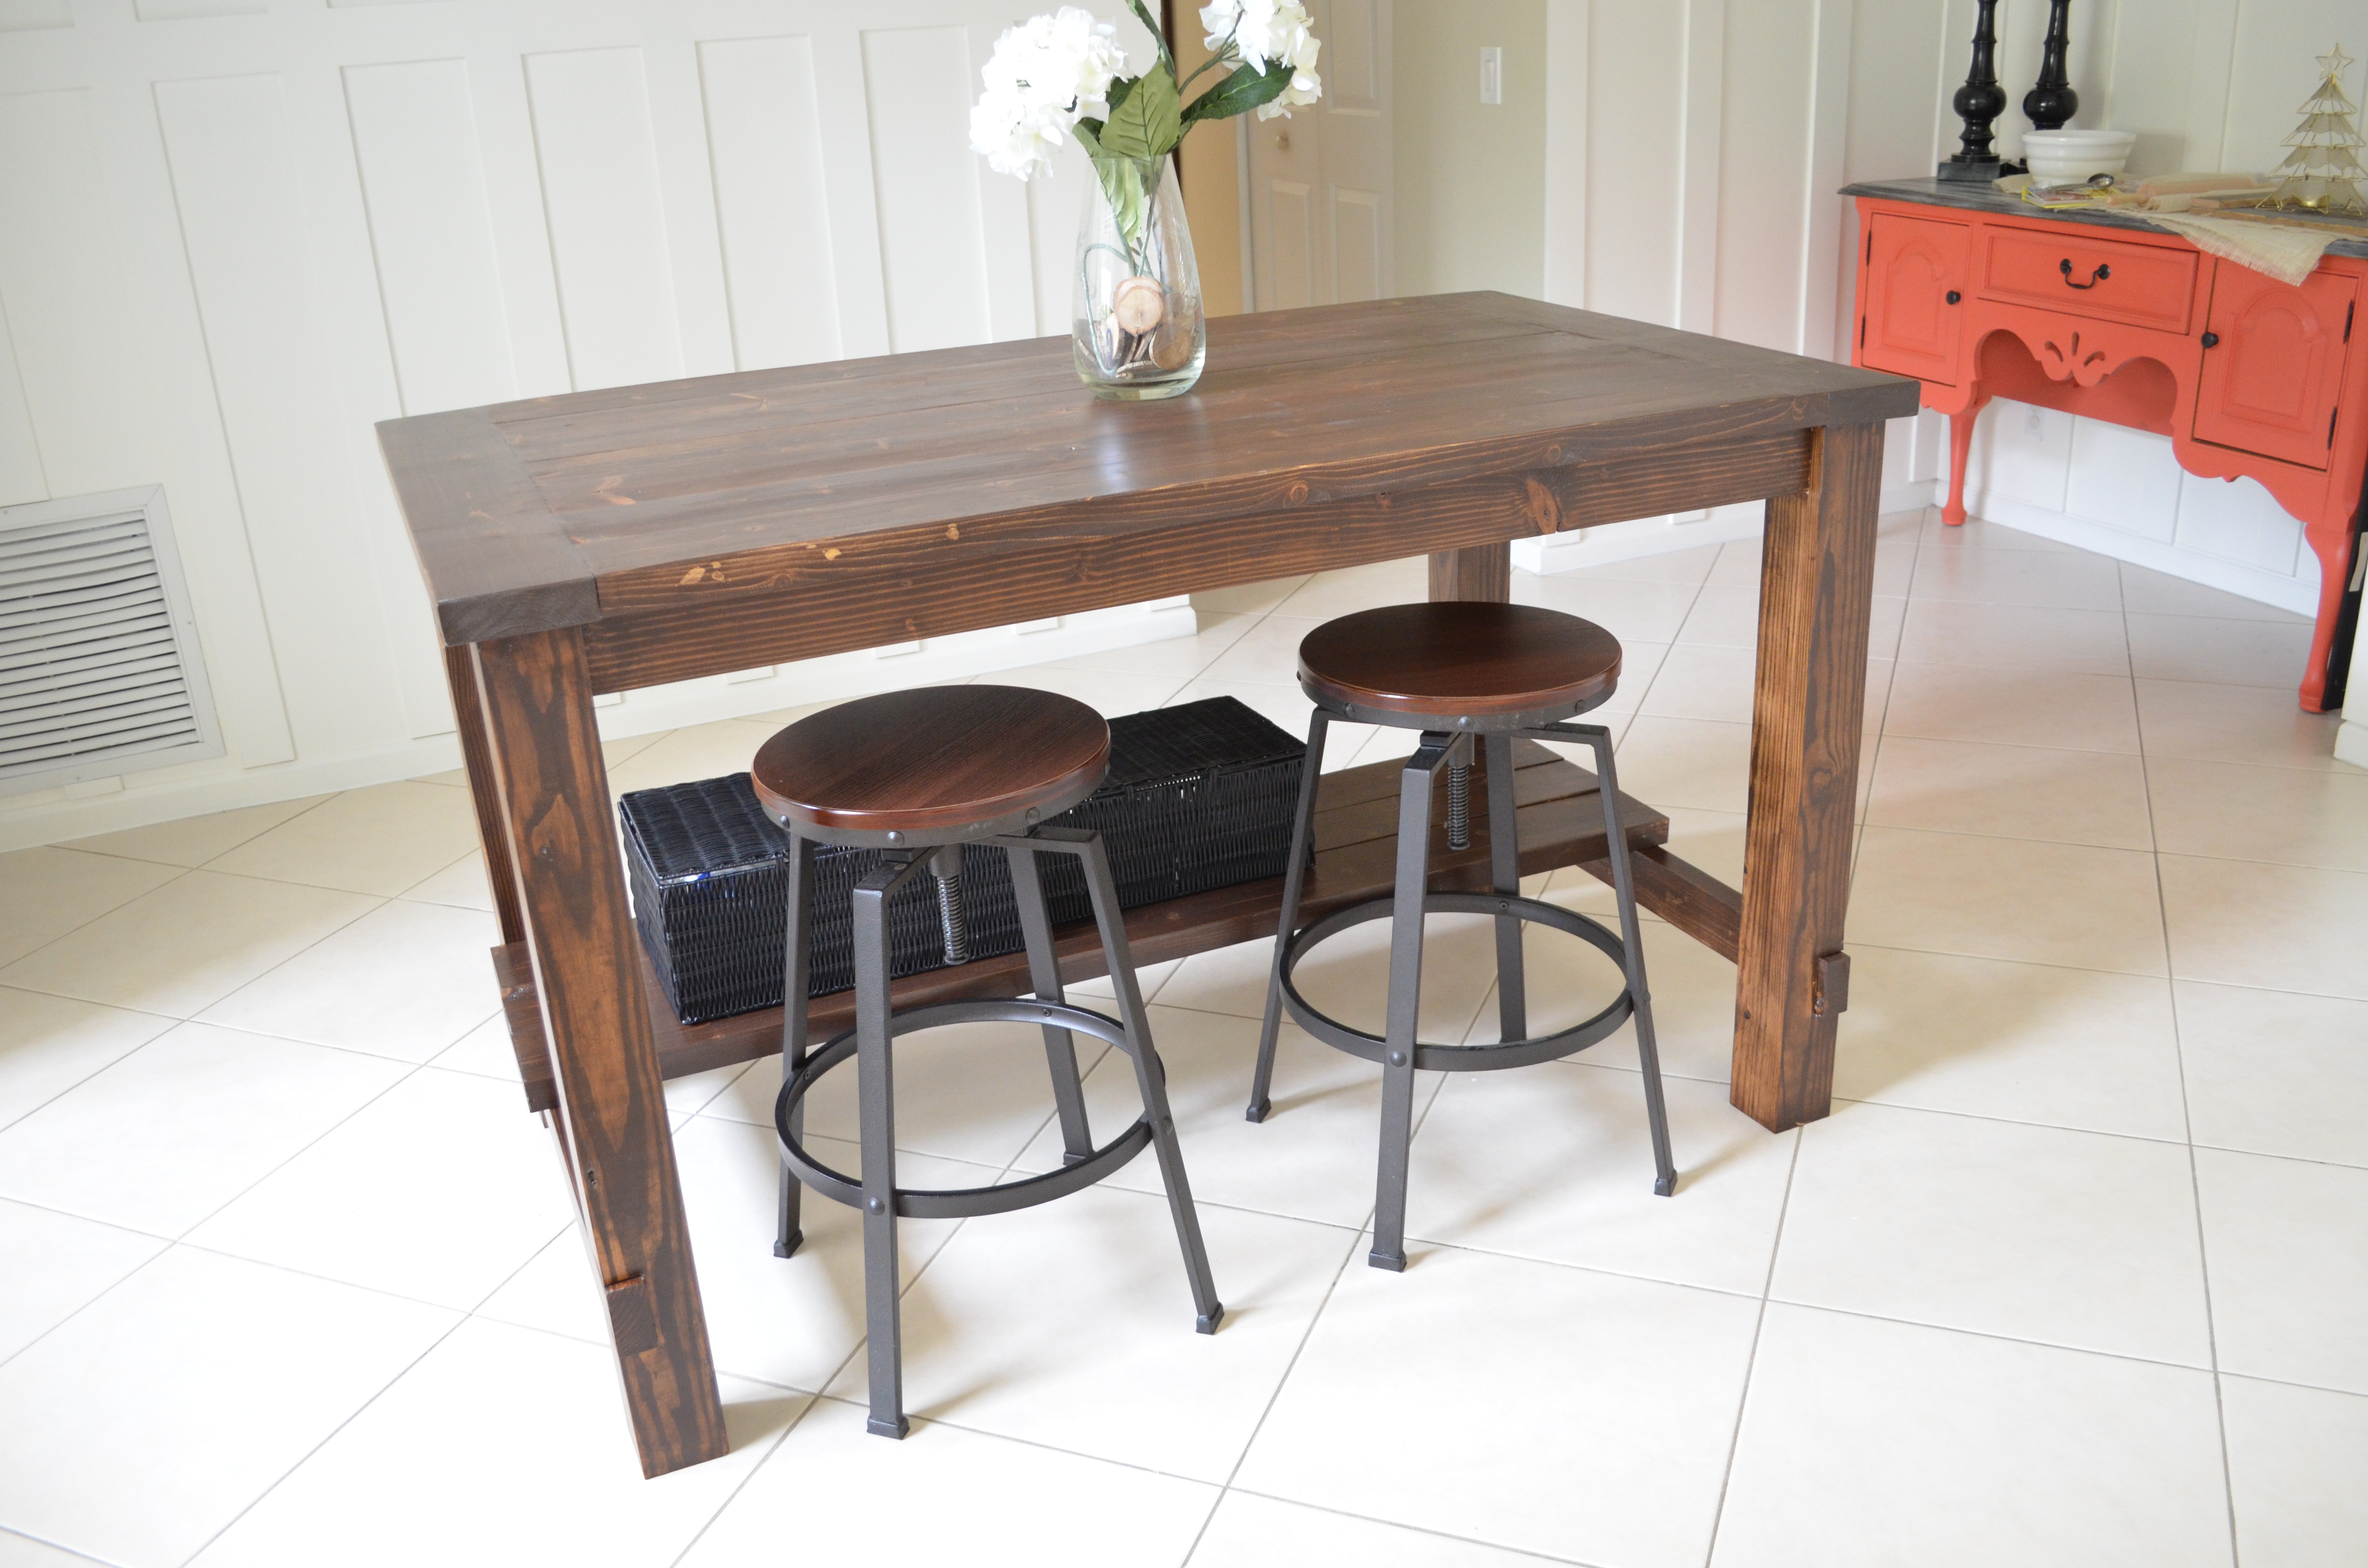
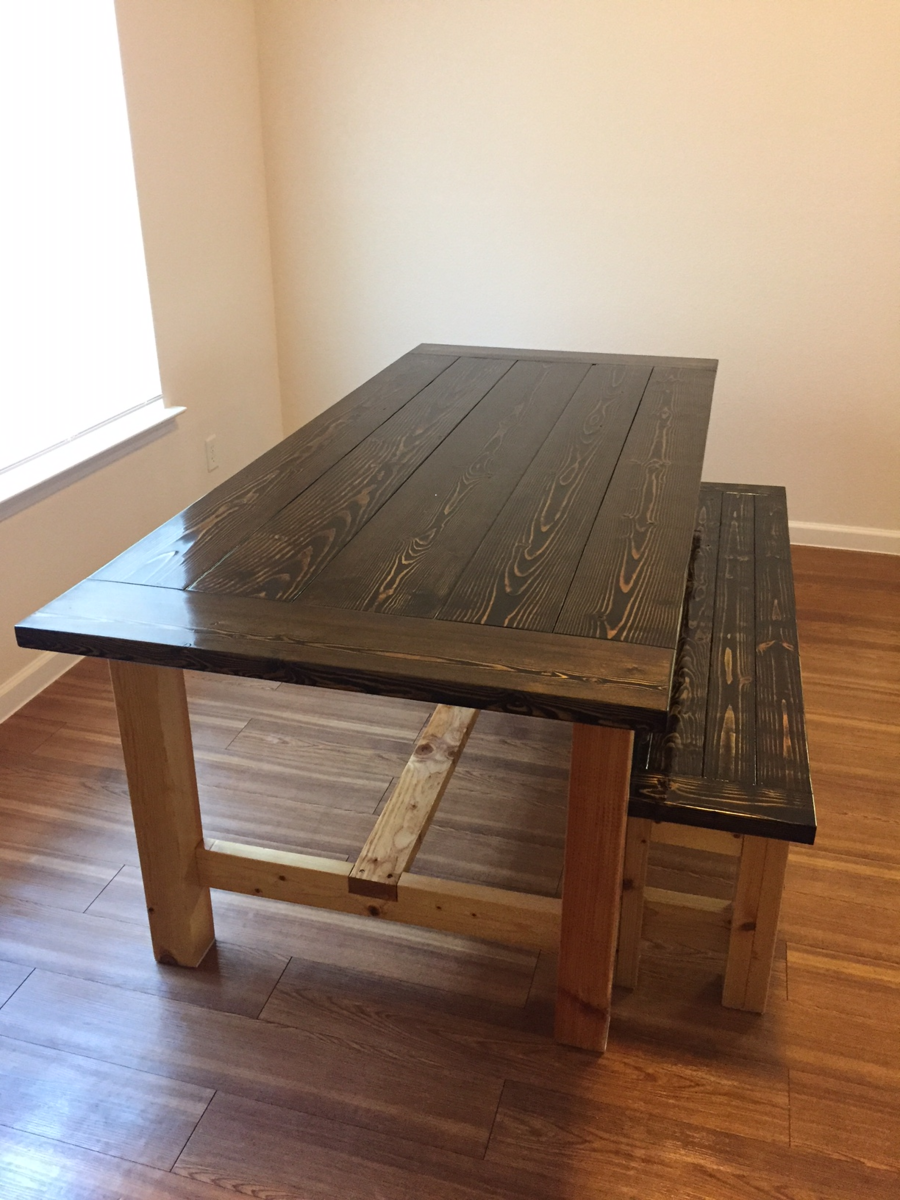
I built this table for a client that found me through Pine and Main. I apologize for the images being in the wrong orientation. I tried to fix it without success.
Ana White's Plans were for 70" by 33" -- I changed dimensions to 60" long by 35" wide at the client's request. This table will be getting a lot of love in the client's kitchen and I didn't want the crumbs living in the cracks. All of the 2 x 6 were ripped to remove the rounded edges allowing for a smooth table top.
I have a passion for building thanks to Ana White and other bloggers like Jen Woodhouse and the Shanty 2 Chic sisters I am able to follow my dreams and I love.
I am both honored and proud to serve the local south Florida community through contacts established through Pine and Main.


Mon, 07/22/2019 - 11:20
I'm so happy to hear you are finding customers!!!
This is a beautiful table! Lucky customers!
Super easy to follow your plans. Had to modify a bit as lumber yard was out of 1x10s.
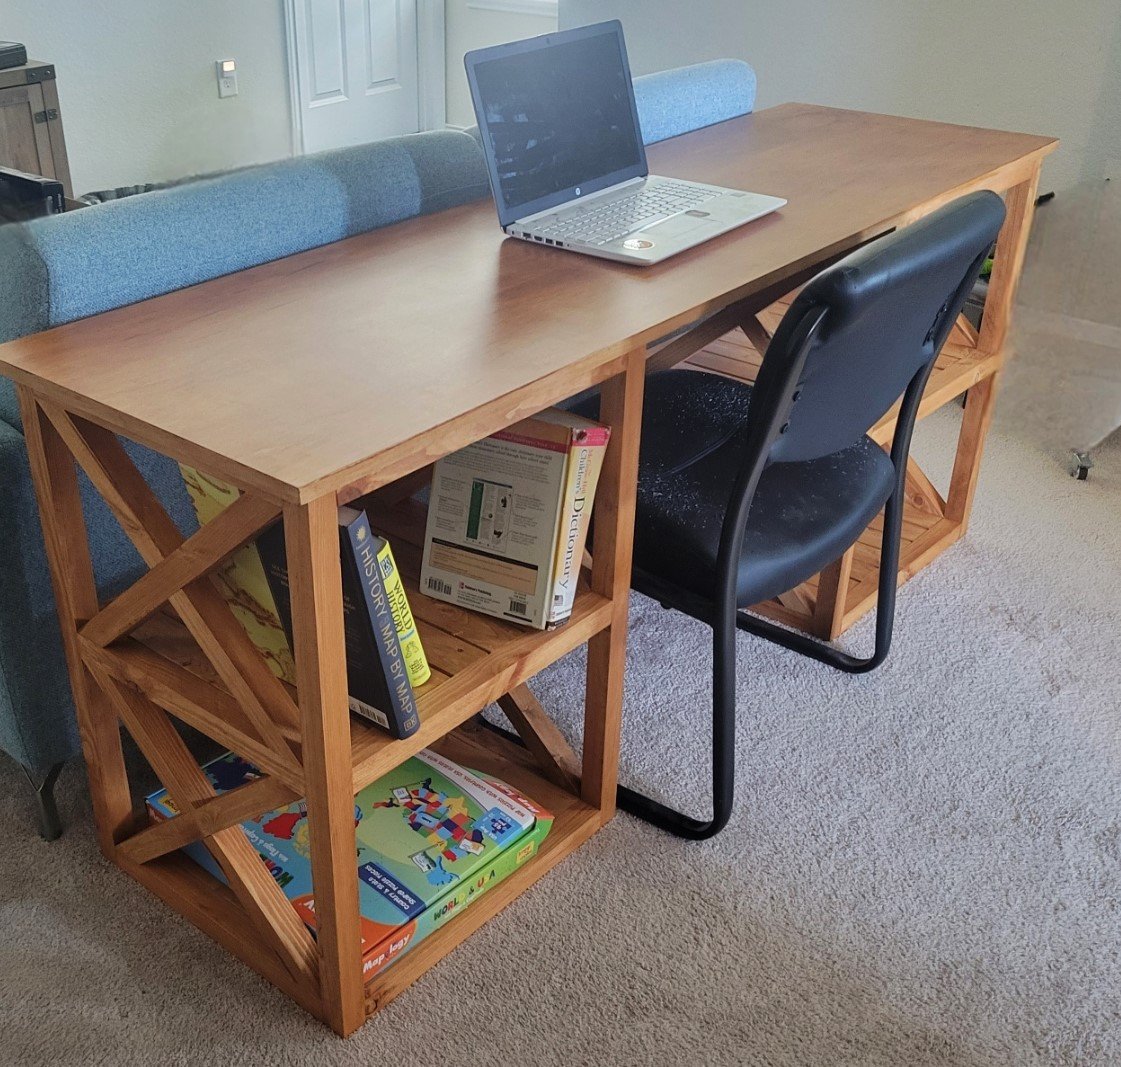
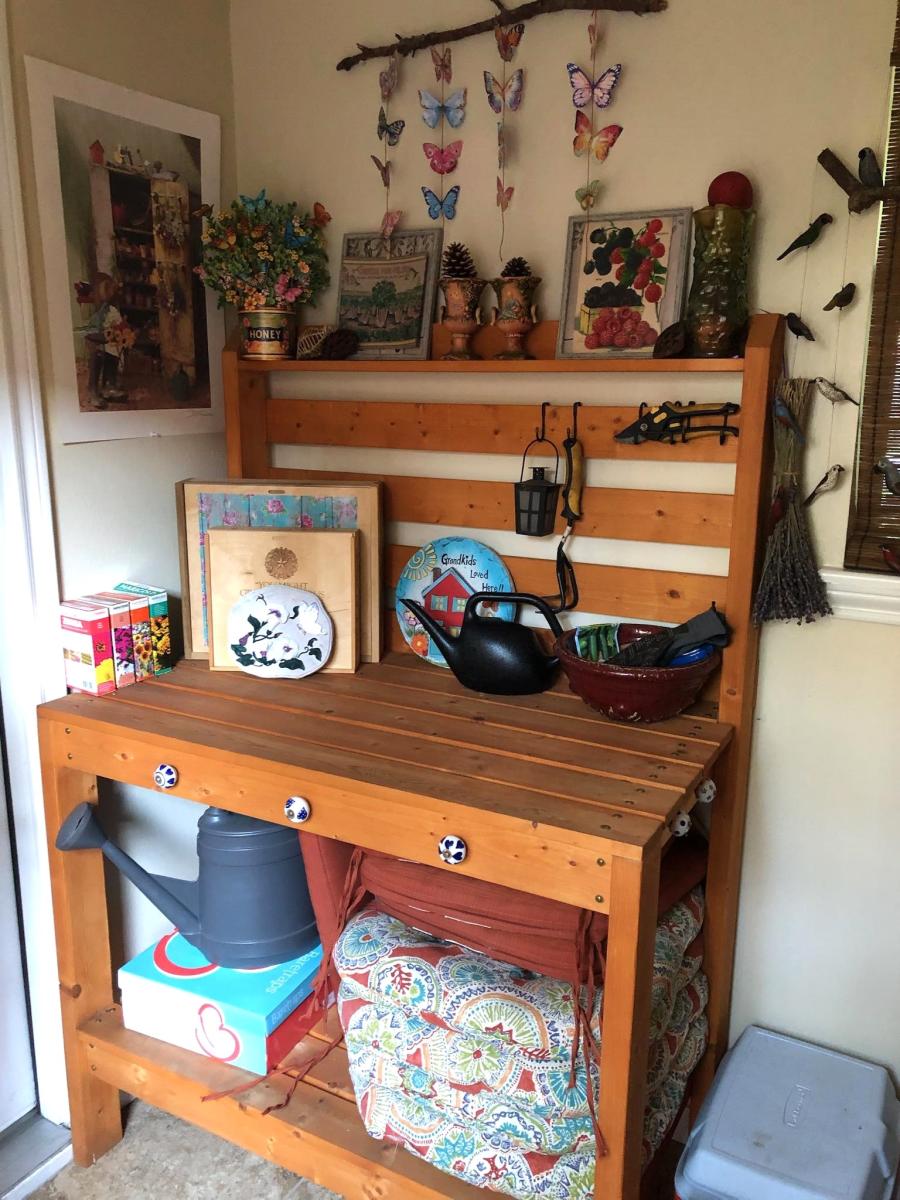
The potting bench I made for my brother. The console table/ desk is for my grandson.
I combined the workbench console and tryde console plans to make this perfect for our upstairs hall.
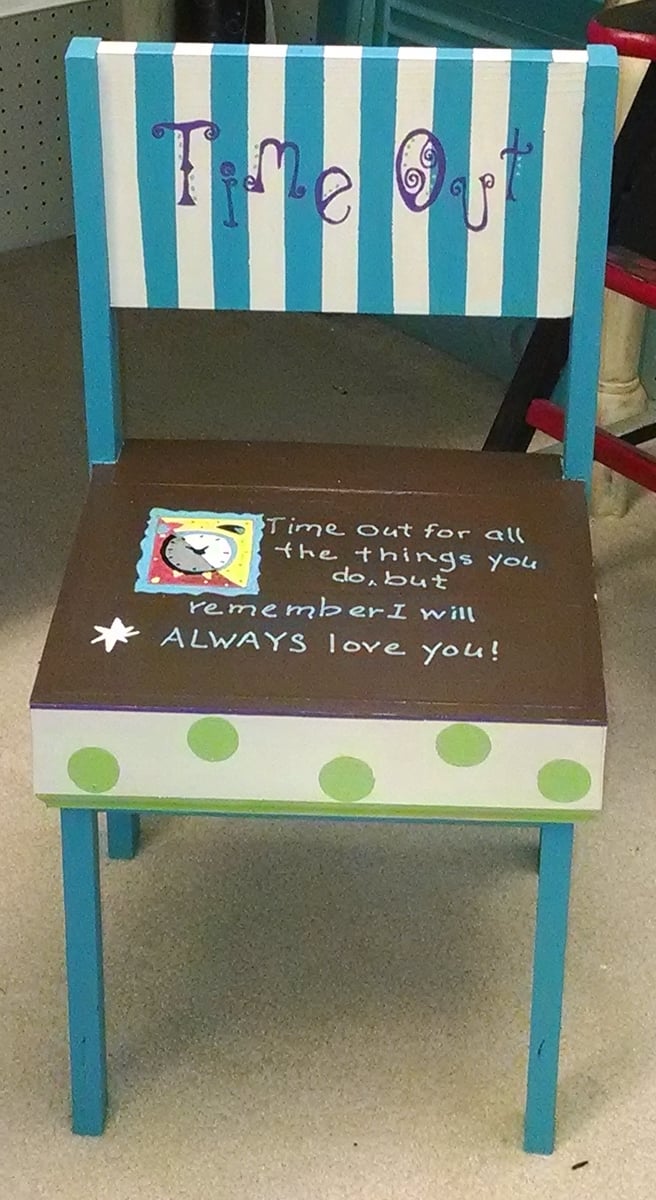
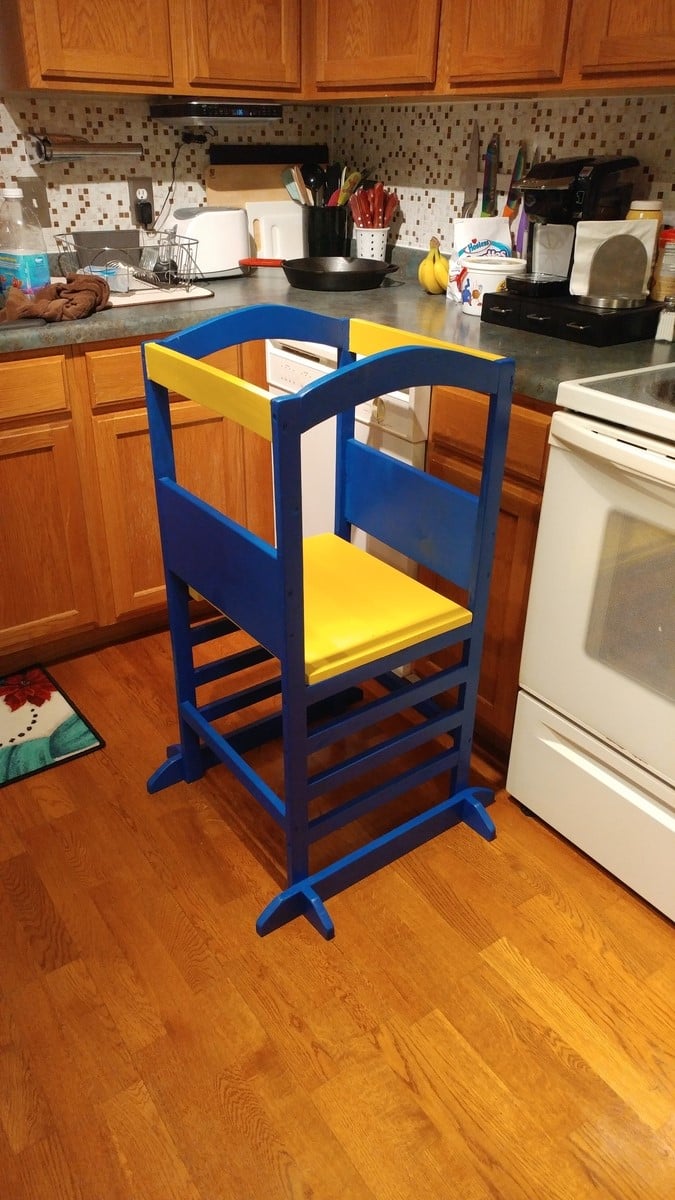
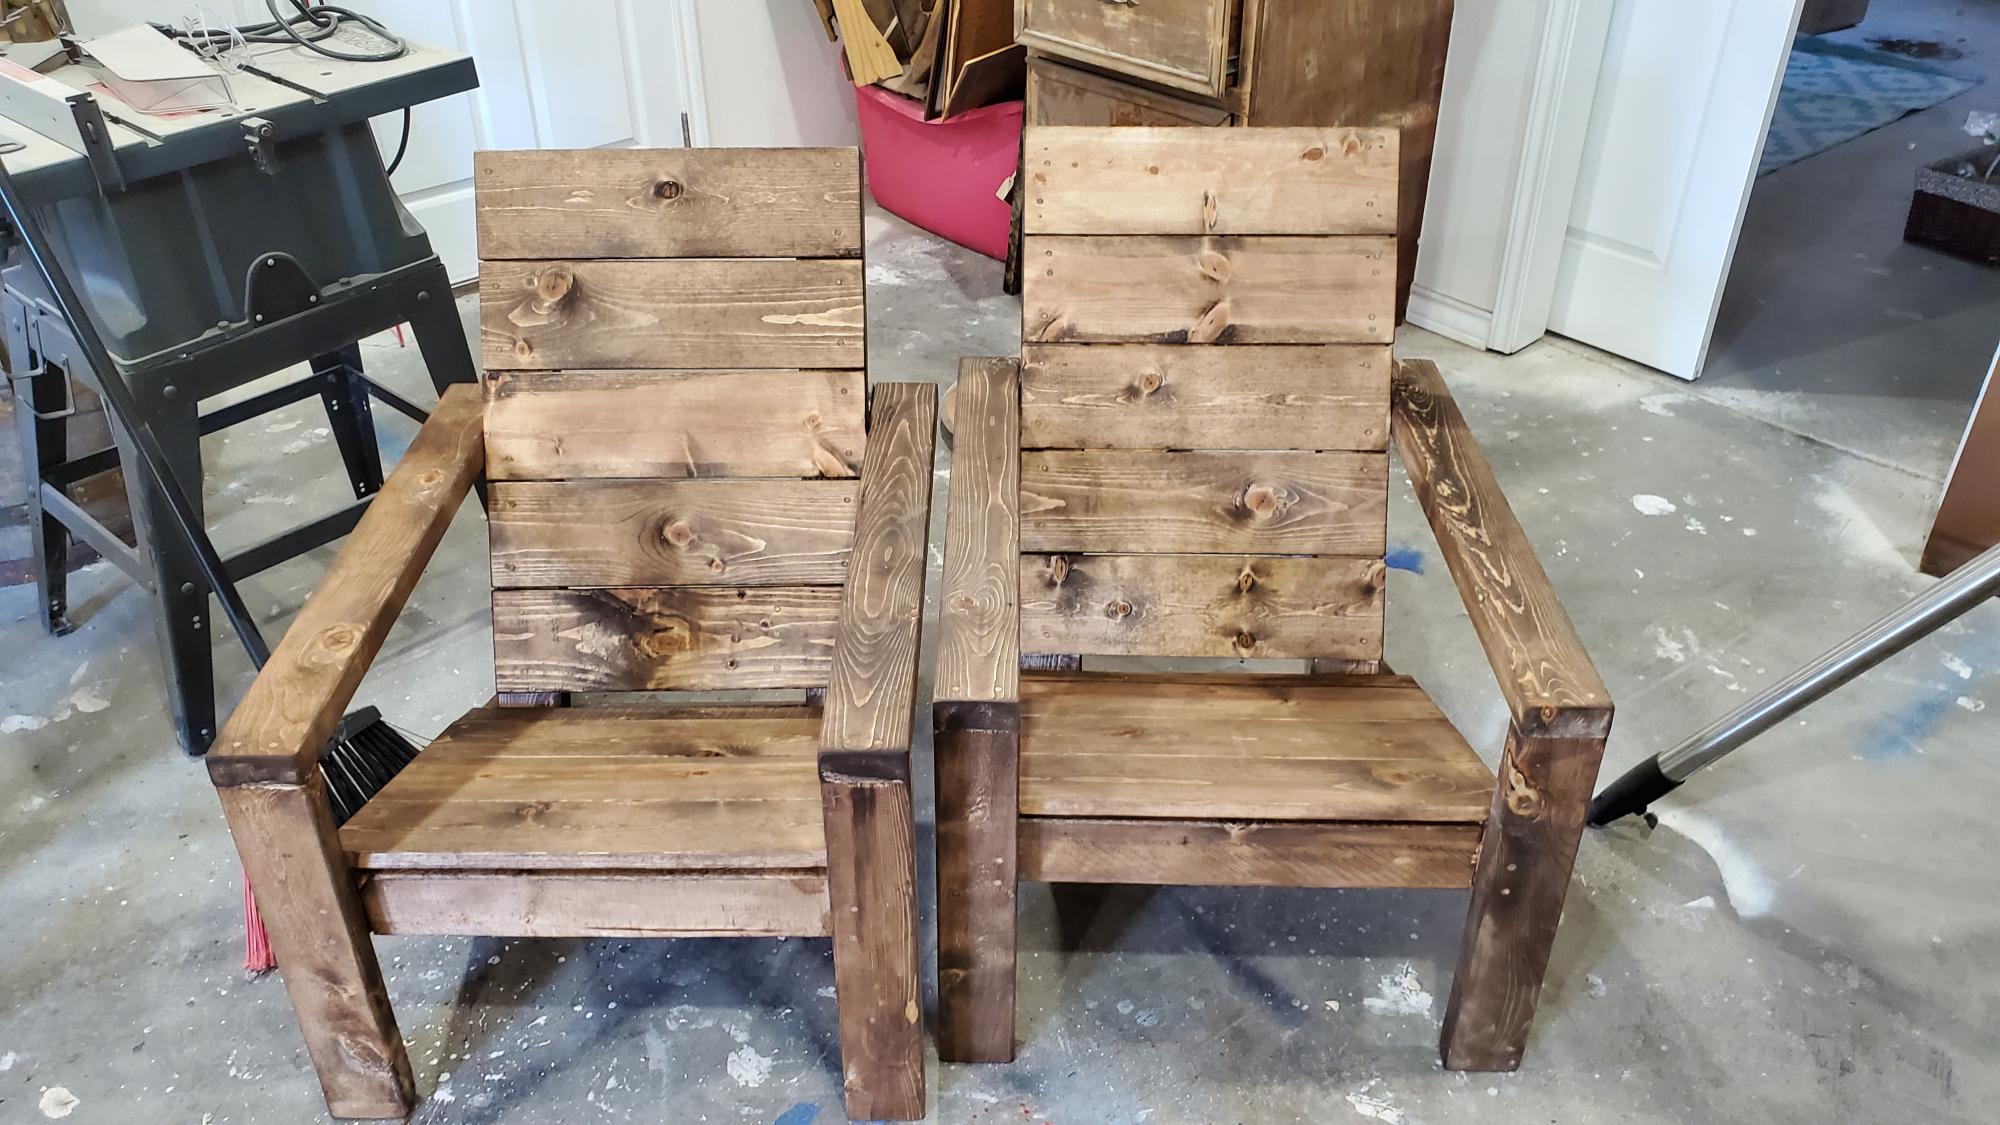
Kids stuff usually sells pretty good for us. Considering in our area, to buy kid size chairs are about $25 we looked for another option. This stackable chair fit the bill perfectly and was so inexpensive and easy to build!! Made the back part solid so I could paint on it and added some moulding on the side. Going to get my grandson who is being homeschooled, busy building some more as part of his wood shop class.
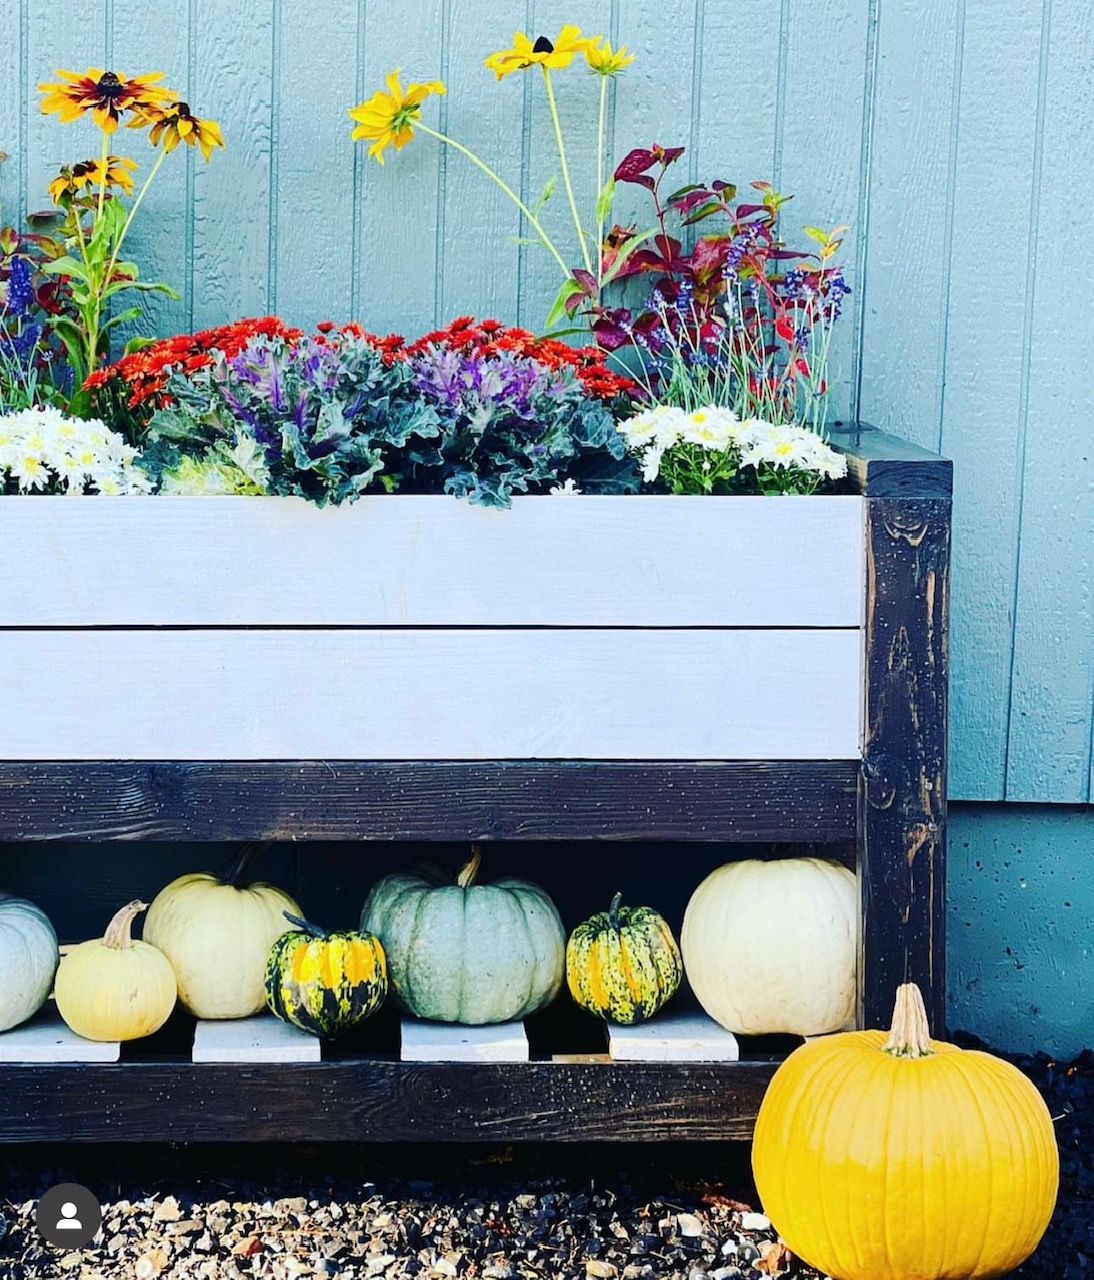
I love this planter because it's easy to change out with the seasons! Thanks for the plan Ana.
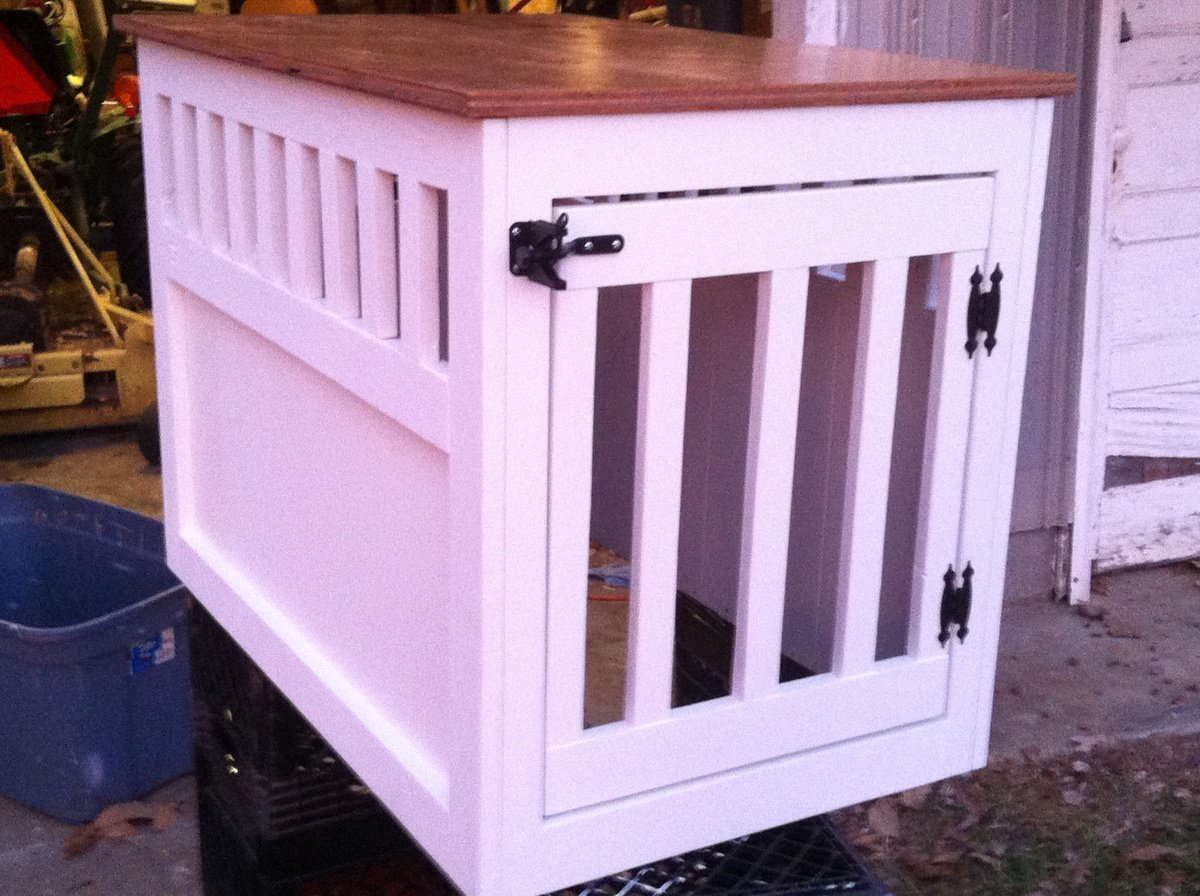
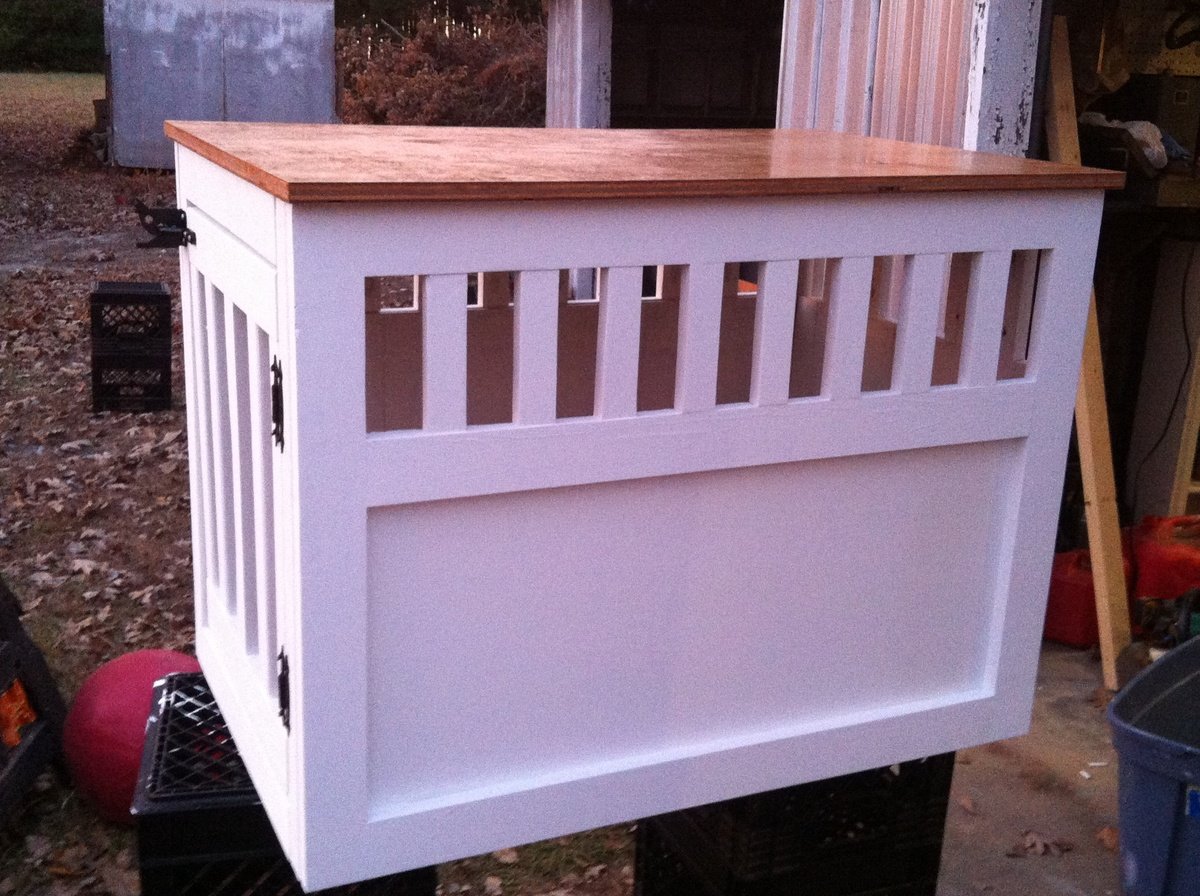
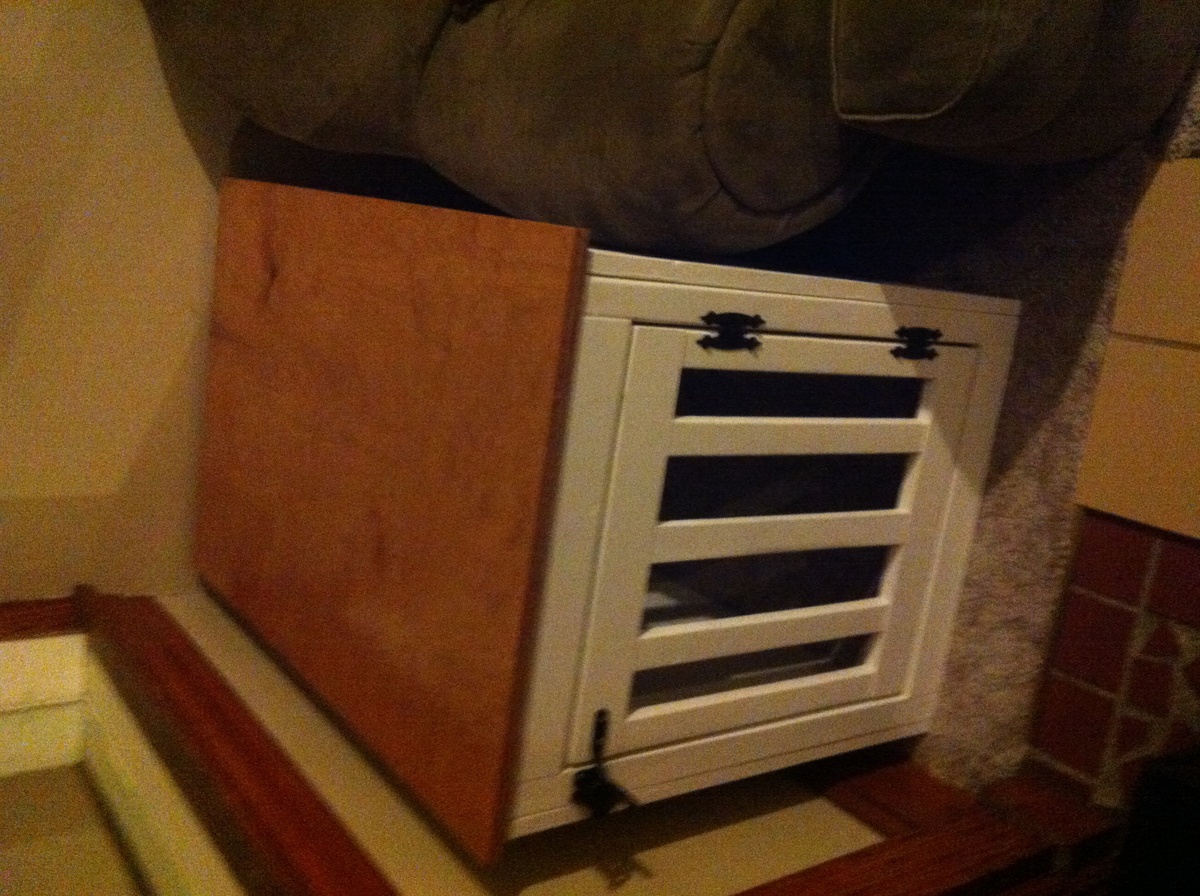
It was a straight forward project and the plans were excellent and easy to follow. We did purchase the Kreg Jig and that takes a little practice to get it right but it does make an extremely strong joint. We applied three coats of paint and one coat of stain on the top. This is for our German Shepherd and he loves it. It took us three or four days just because we worked on it a little bit each evening.


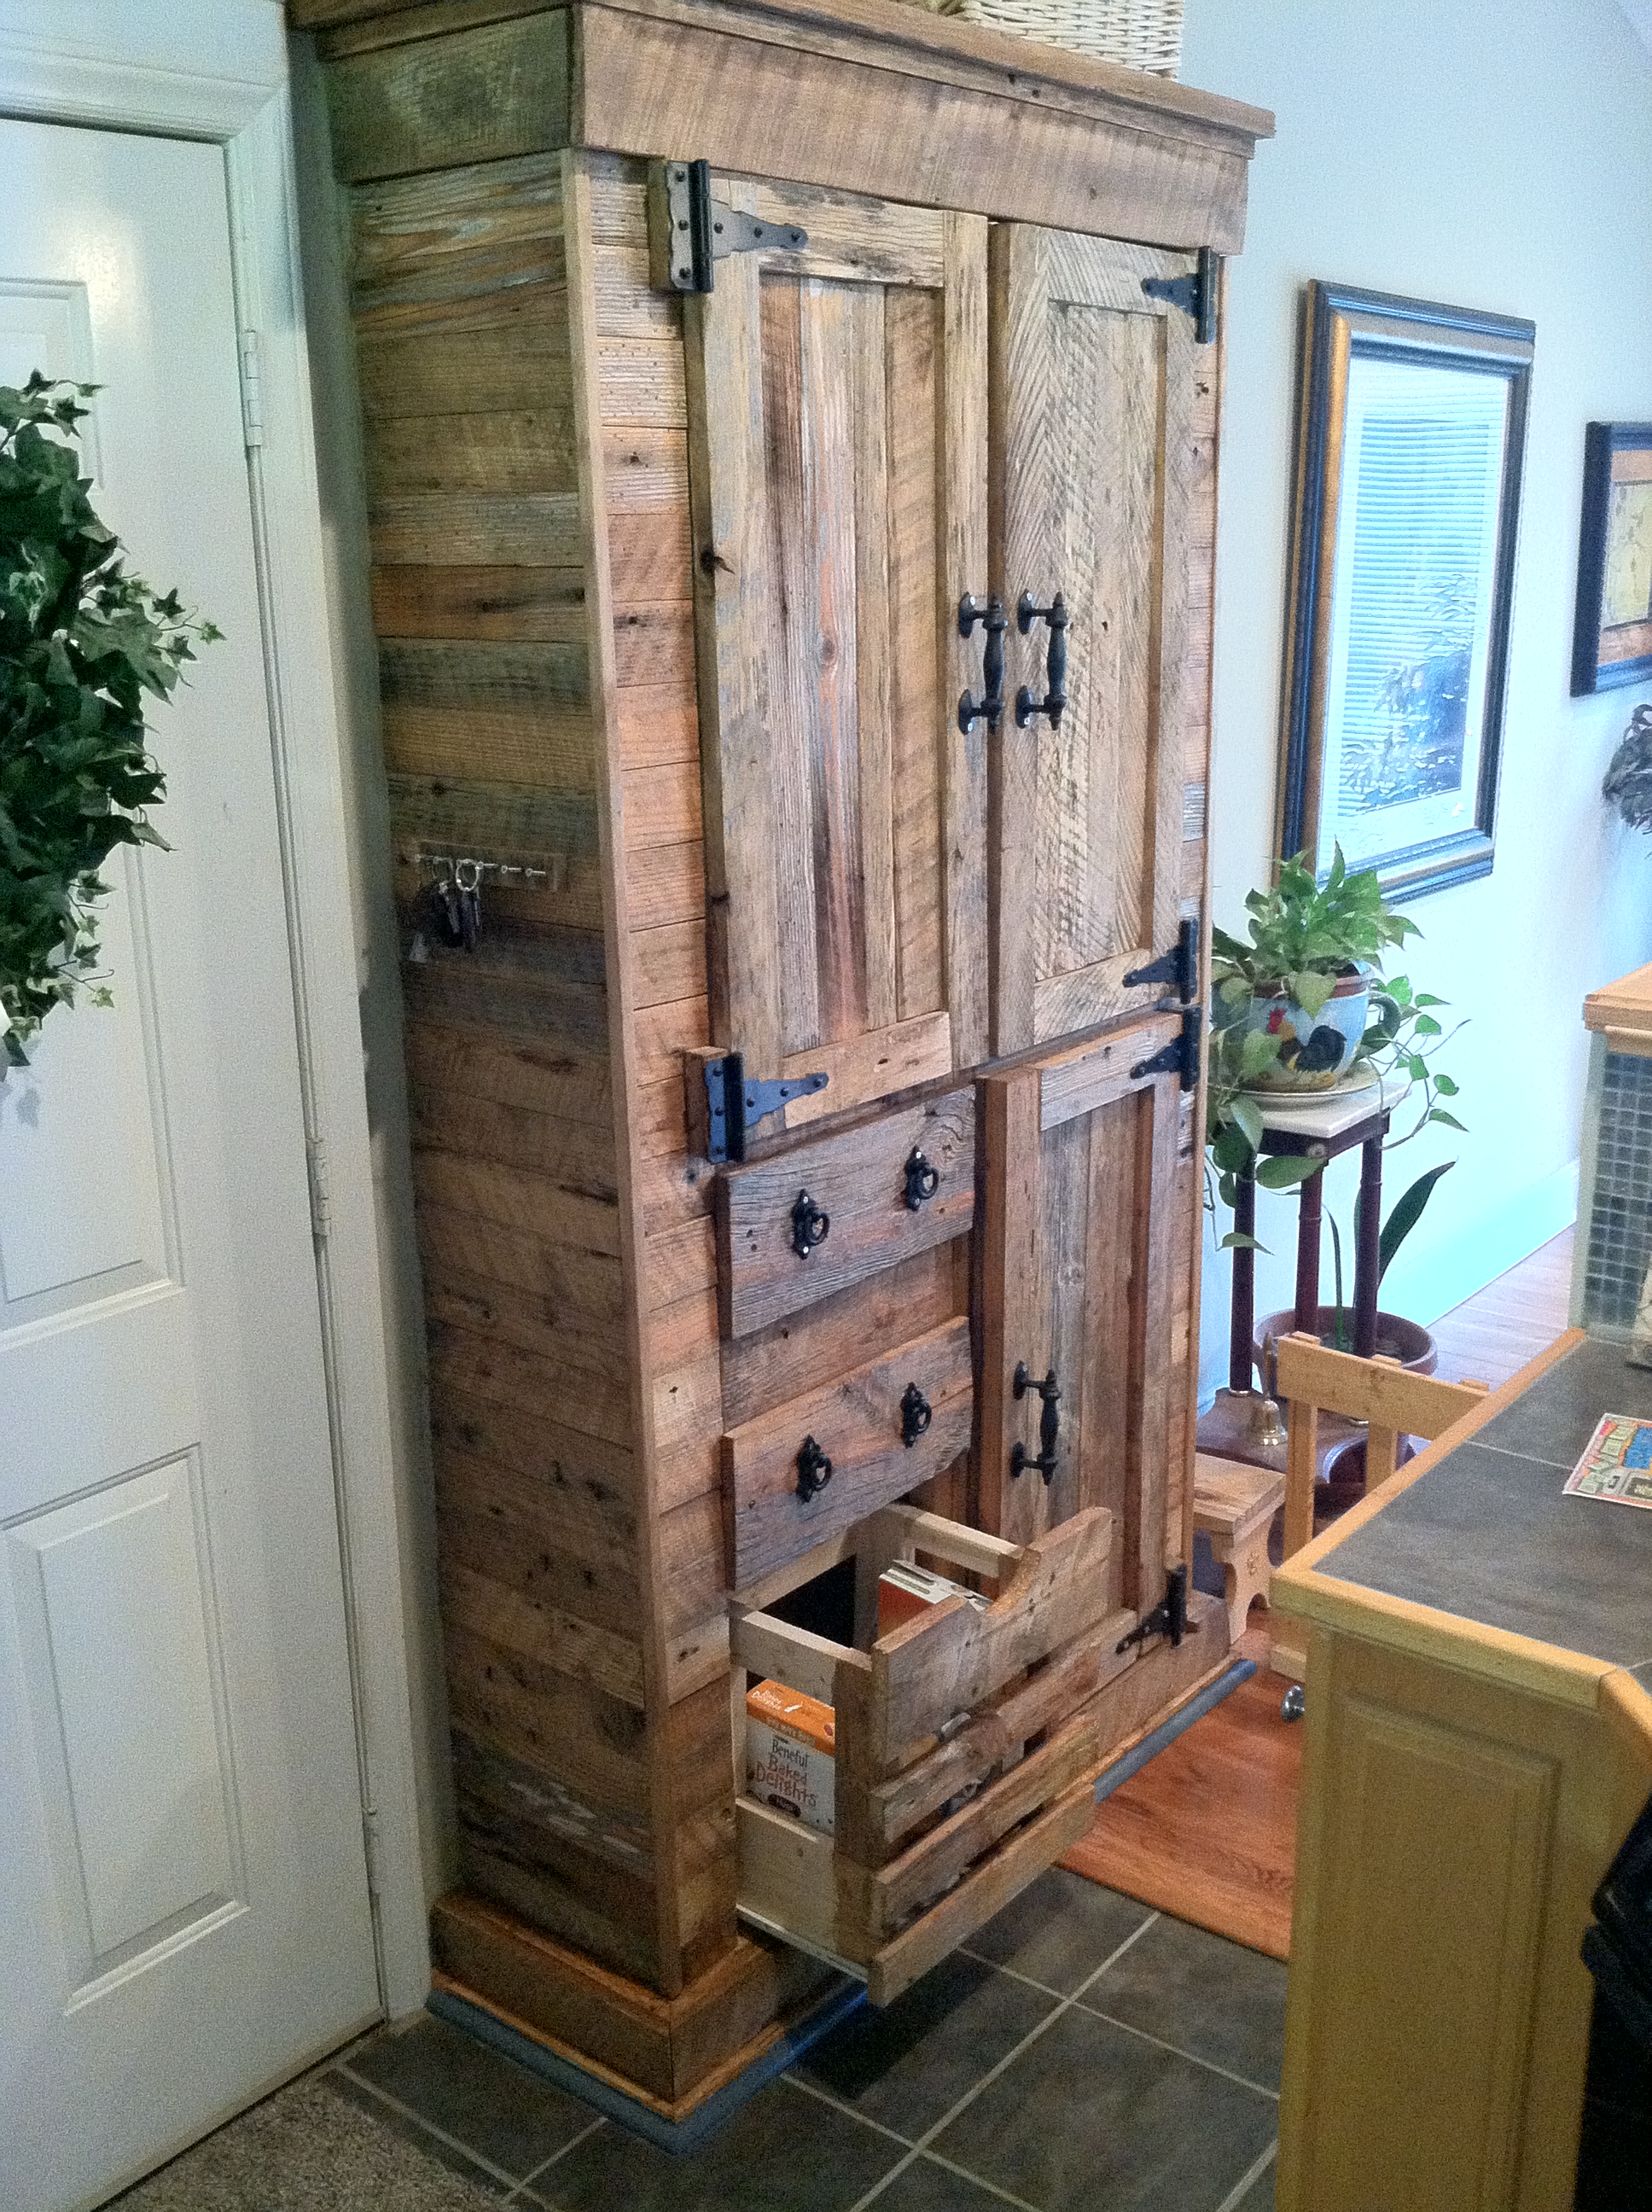
Built this out of old Barnwood Pine !
Sun, 11/02/2014 - 18:27
This is beautiful and I just purchased my first home with my fiance and we have an old farm house. This would be amazing in our kitchen as our pantry. I must attempt to make it! Please help me :)
Sun, 11/29/2020 - 15:26
Where can I find the plans for the barn wood pantry? I NEED to make this!!???
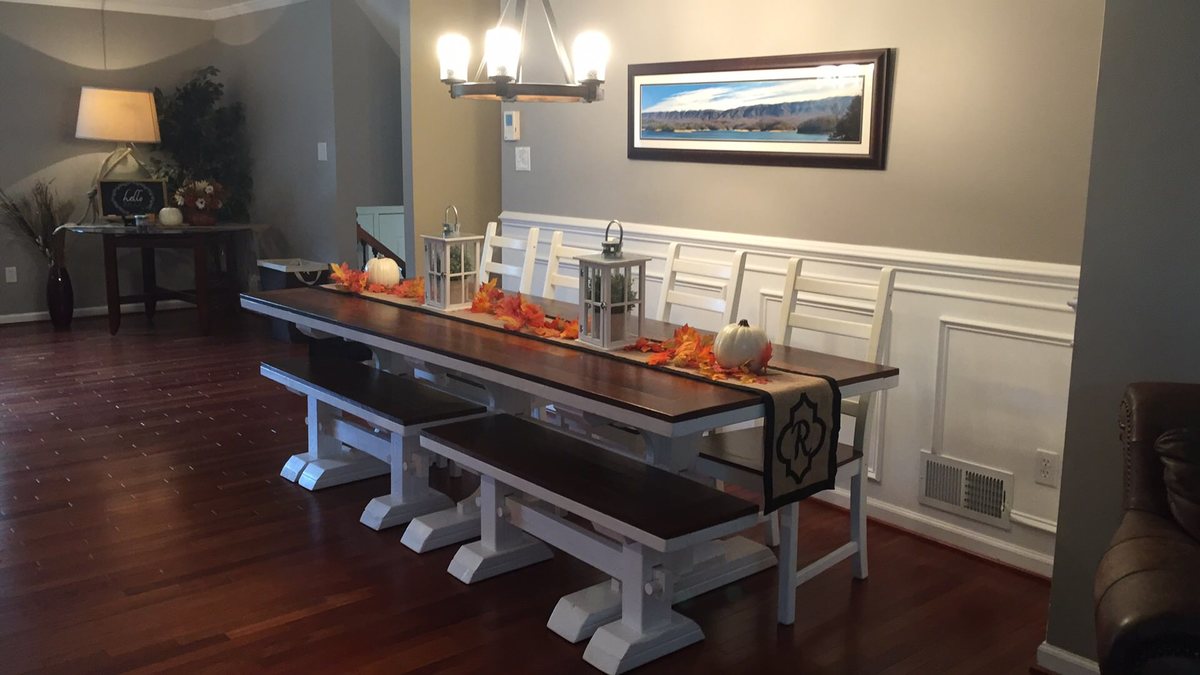
I know this is an older project on this website. However, I only recently happened upon this treasure trove of plans. As such, what better project than a new table and matching bench for the family? I made some adjustments to the bench as a result of the comments section. Essentially, I shortened the bench so it would slide between the legs of the table (65" instead of 72" as the plans call for). I also moved the stretcher supports to the inside of the table legs and shortened the stretcher (70" instead of 74" as the plans call for) to give a few more inches to push chairs in. I had every intention of staining the entire project uniformly. My wife really enjoyed the contrast between the dark and light, you see which idea I kept! The legs are a natural stain with clear coat. The tops are Minwax jacobean stain, I did two coats and a light sanding to expose some of the grain under the darkness of the stain. The cutting and assembly of the table and bench was rather quick. I would estimate 3 hours total of cutting and assembly. However, I spent a good amount of time on the sanding and staining. I would have been able to complete the finish quicker if the weather hadn't turned cold for about a week and slowed my dry times down. Finished the stains with a couple layers of polyurethane satin finish.

Ana doesn’t have a plan for a catio but she does for a playhouse and a cedar shed made from 2x2’s. I sort of combined my knowledge from making her plans over the last 10 years and came up with this for my cats. It was fun to make!! My baby kitten is loving it. I used garden fencing and stapled it to the outside and pocket holes for the walls. I made each wall individually like the playhouse then connected them once in place.


Wed, 06/09/2021 - 12:36
Thank you for sharing! My daughter wants a cat for her birthday but it can't be inside due to our son's allergies. Roaming outside isn't really an option because we have coyotes. We are going to use one of these in combination with an underground electric fence.
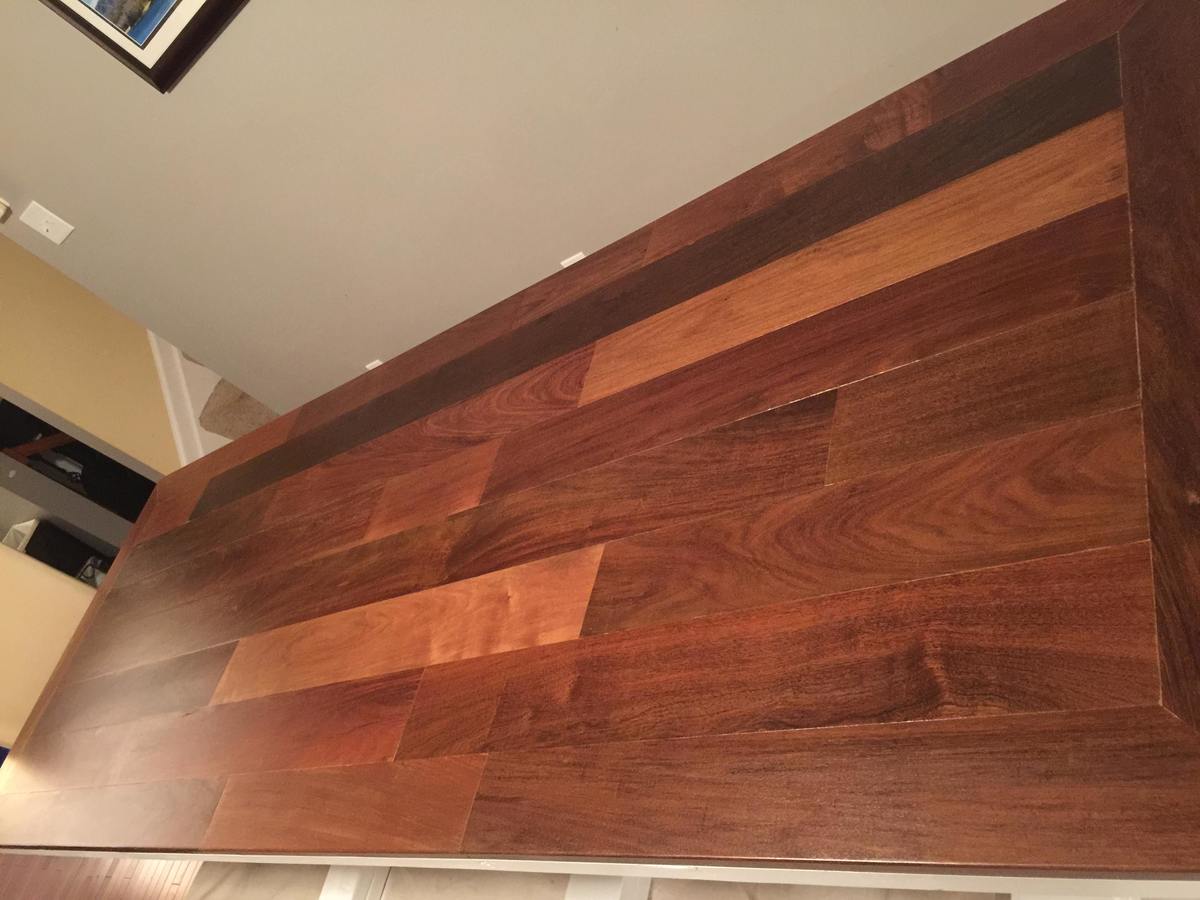
Brazilan Walnut flooring for table top and Pine for feet and supports.
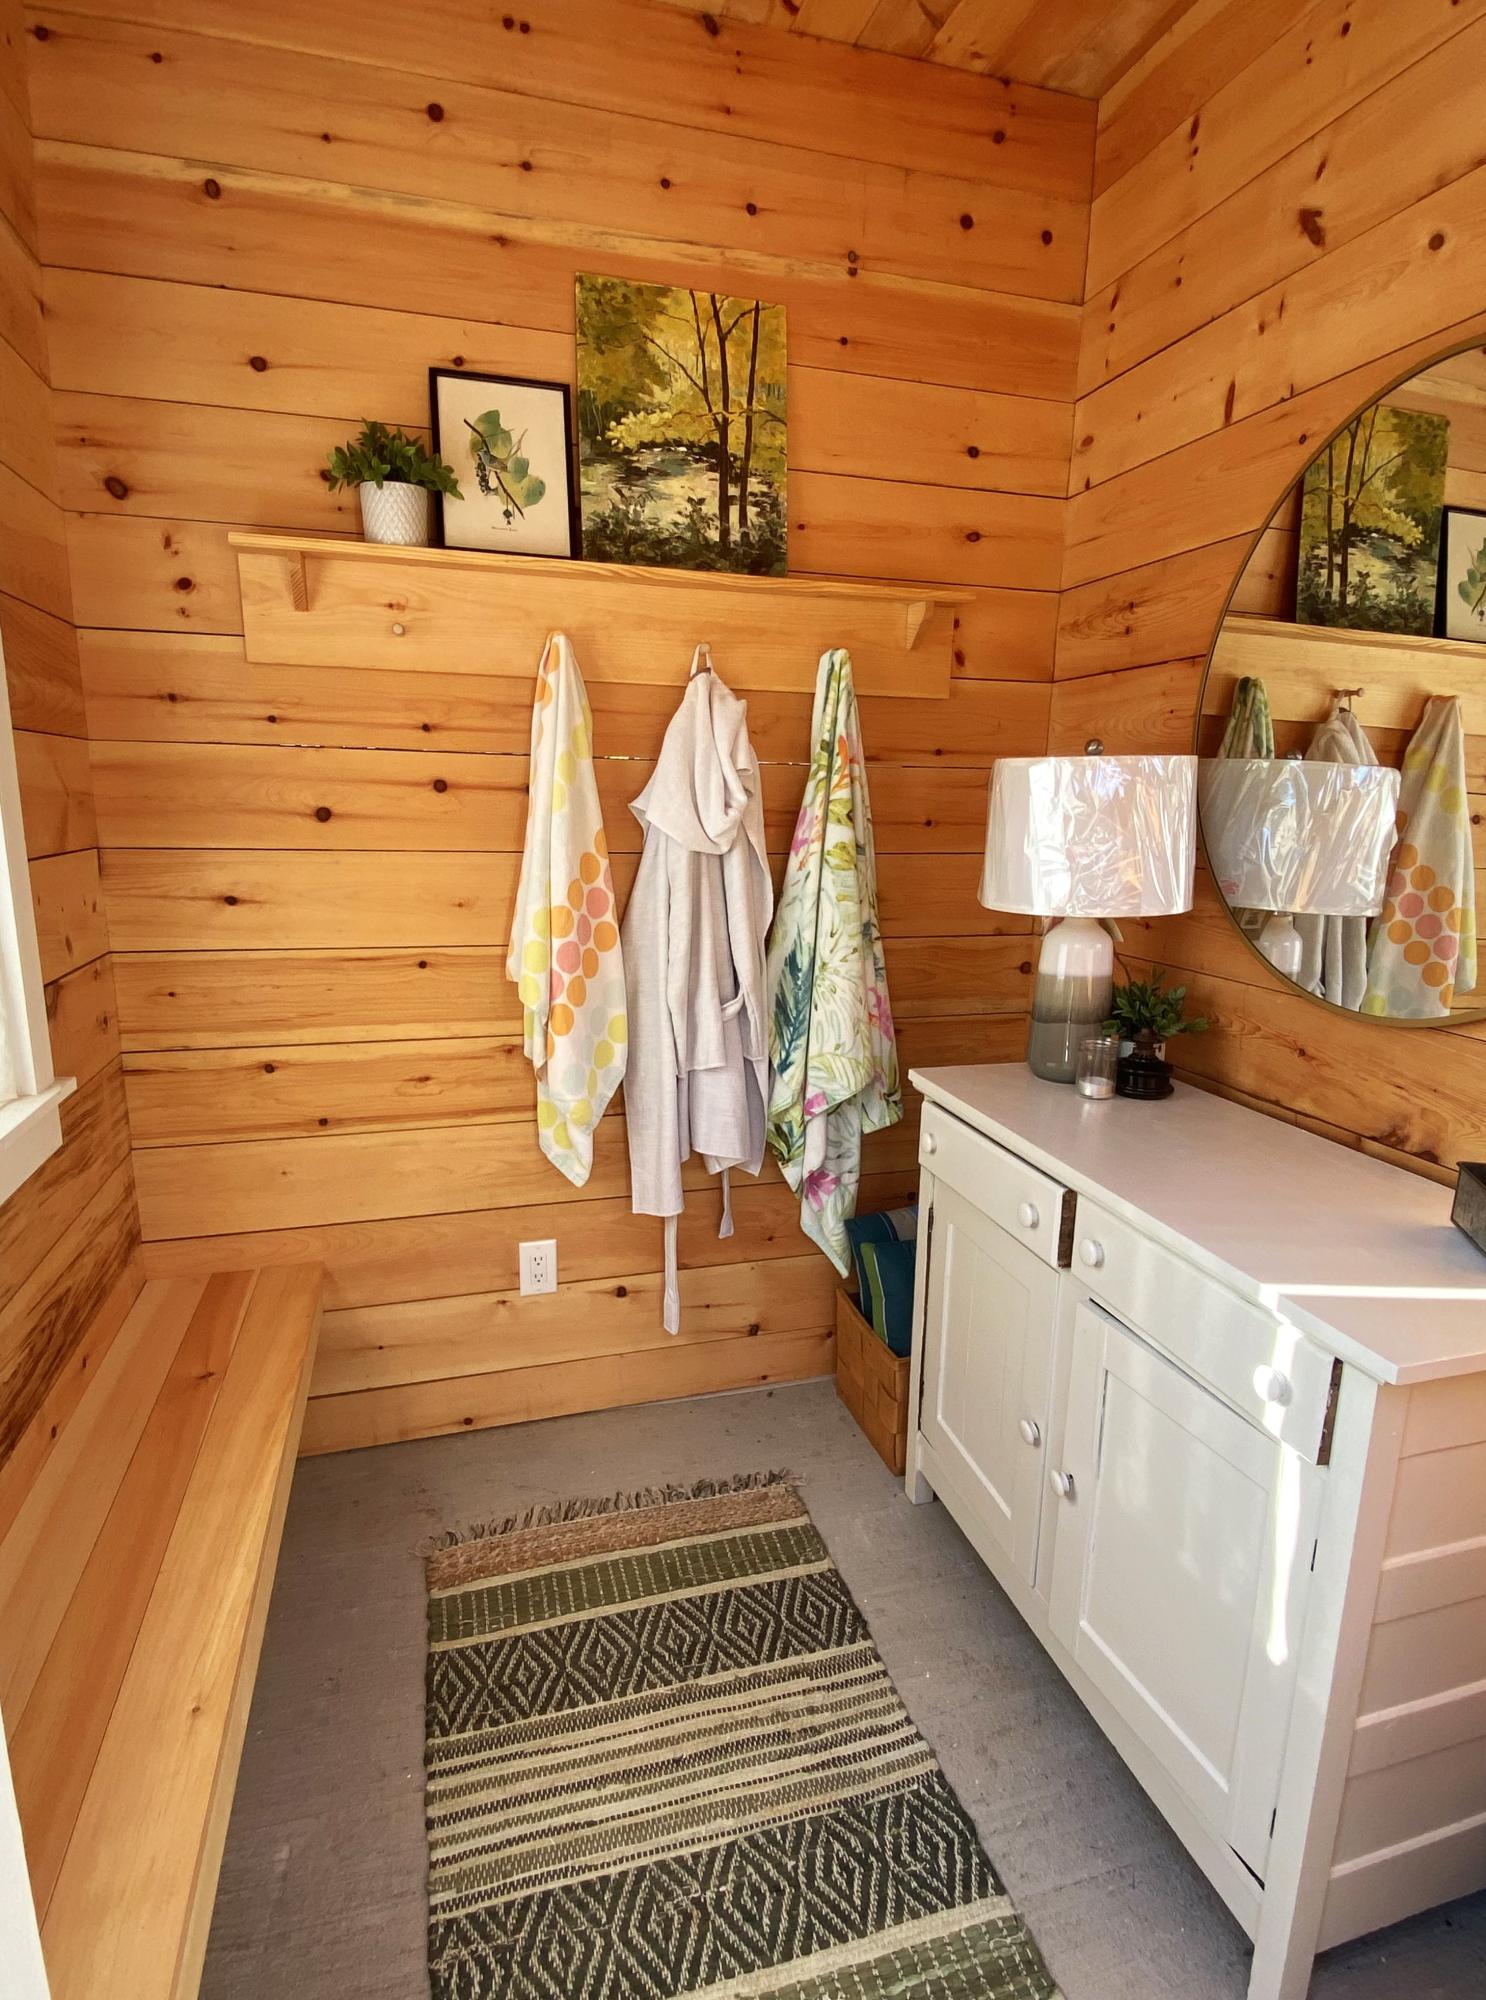
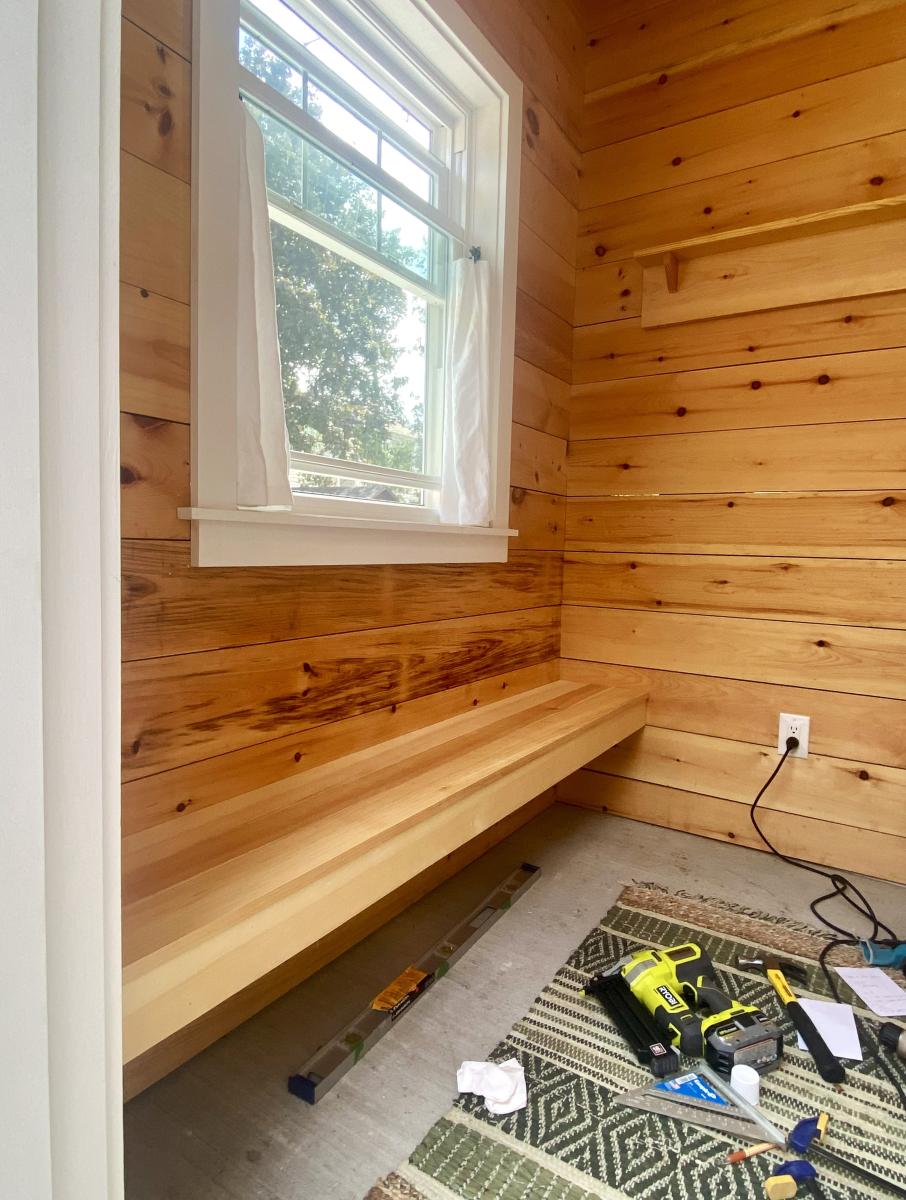
I built this floating bench (and shelf with towel pegs) for our pool change room. I was so excited when I finished it all by myself! It’s super sturdy and I’m so happy! Thank you Ana!!
Was a fun project! Took only a few days. I hand painted the typographical using the method mentioned on the graphic fairy's website. Thanks for the post!