Outdoor Adirondack Chairs and Modern Side Tables
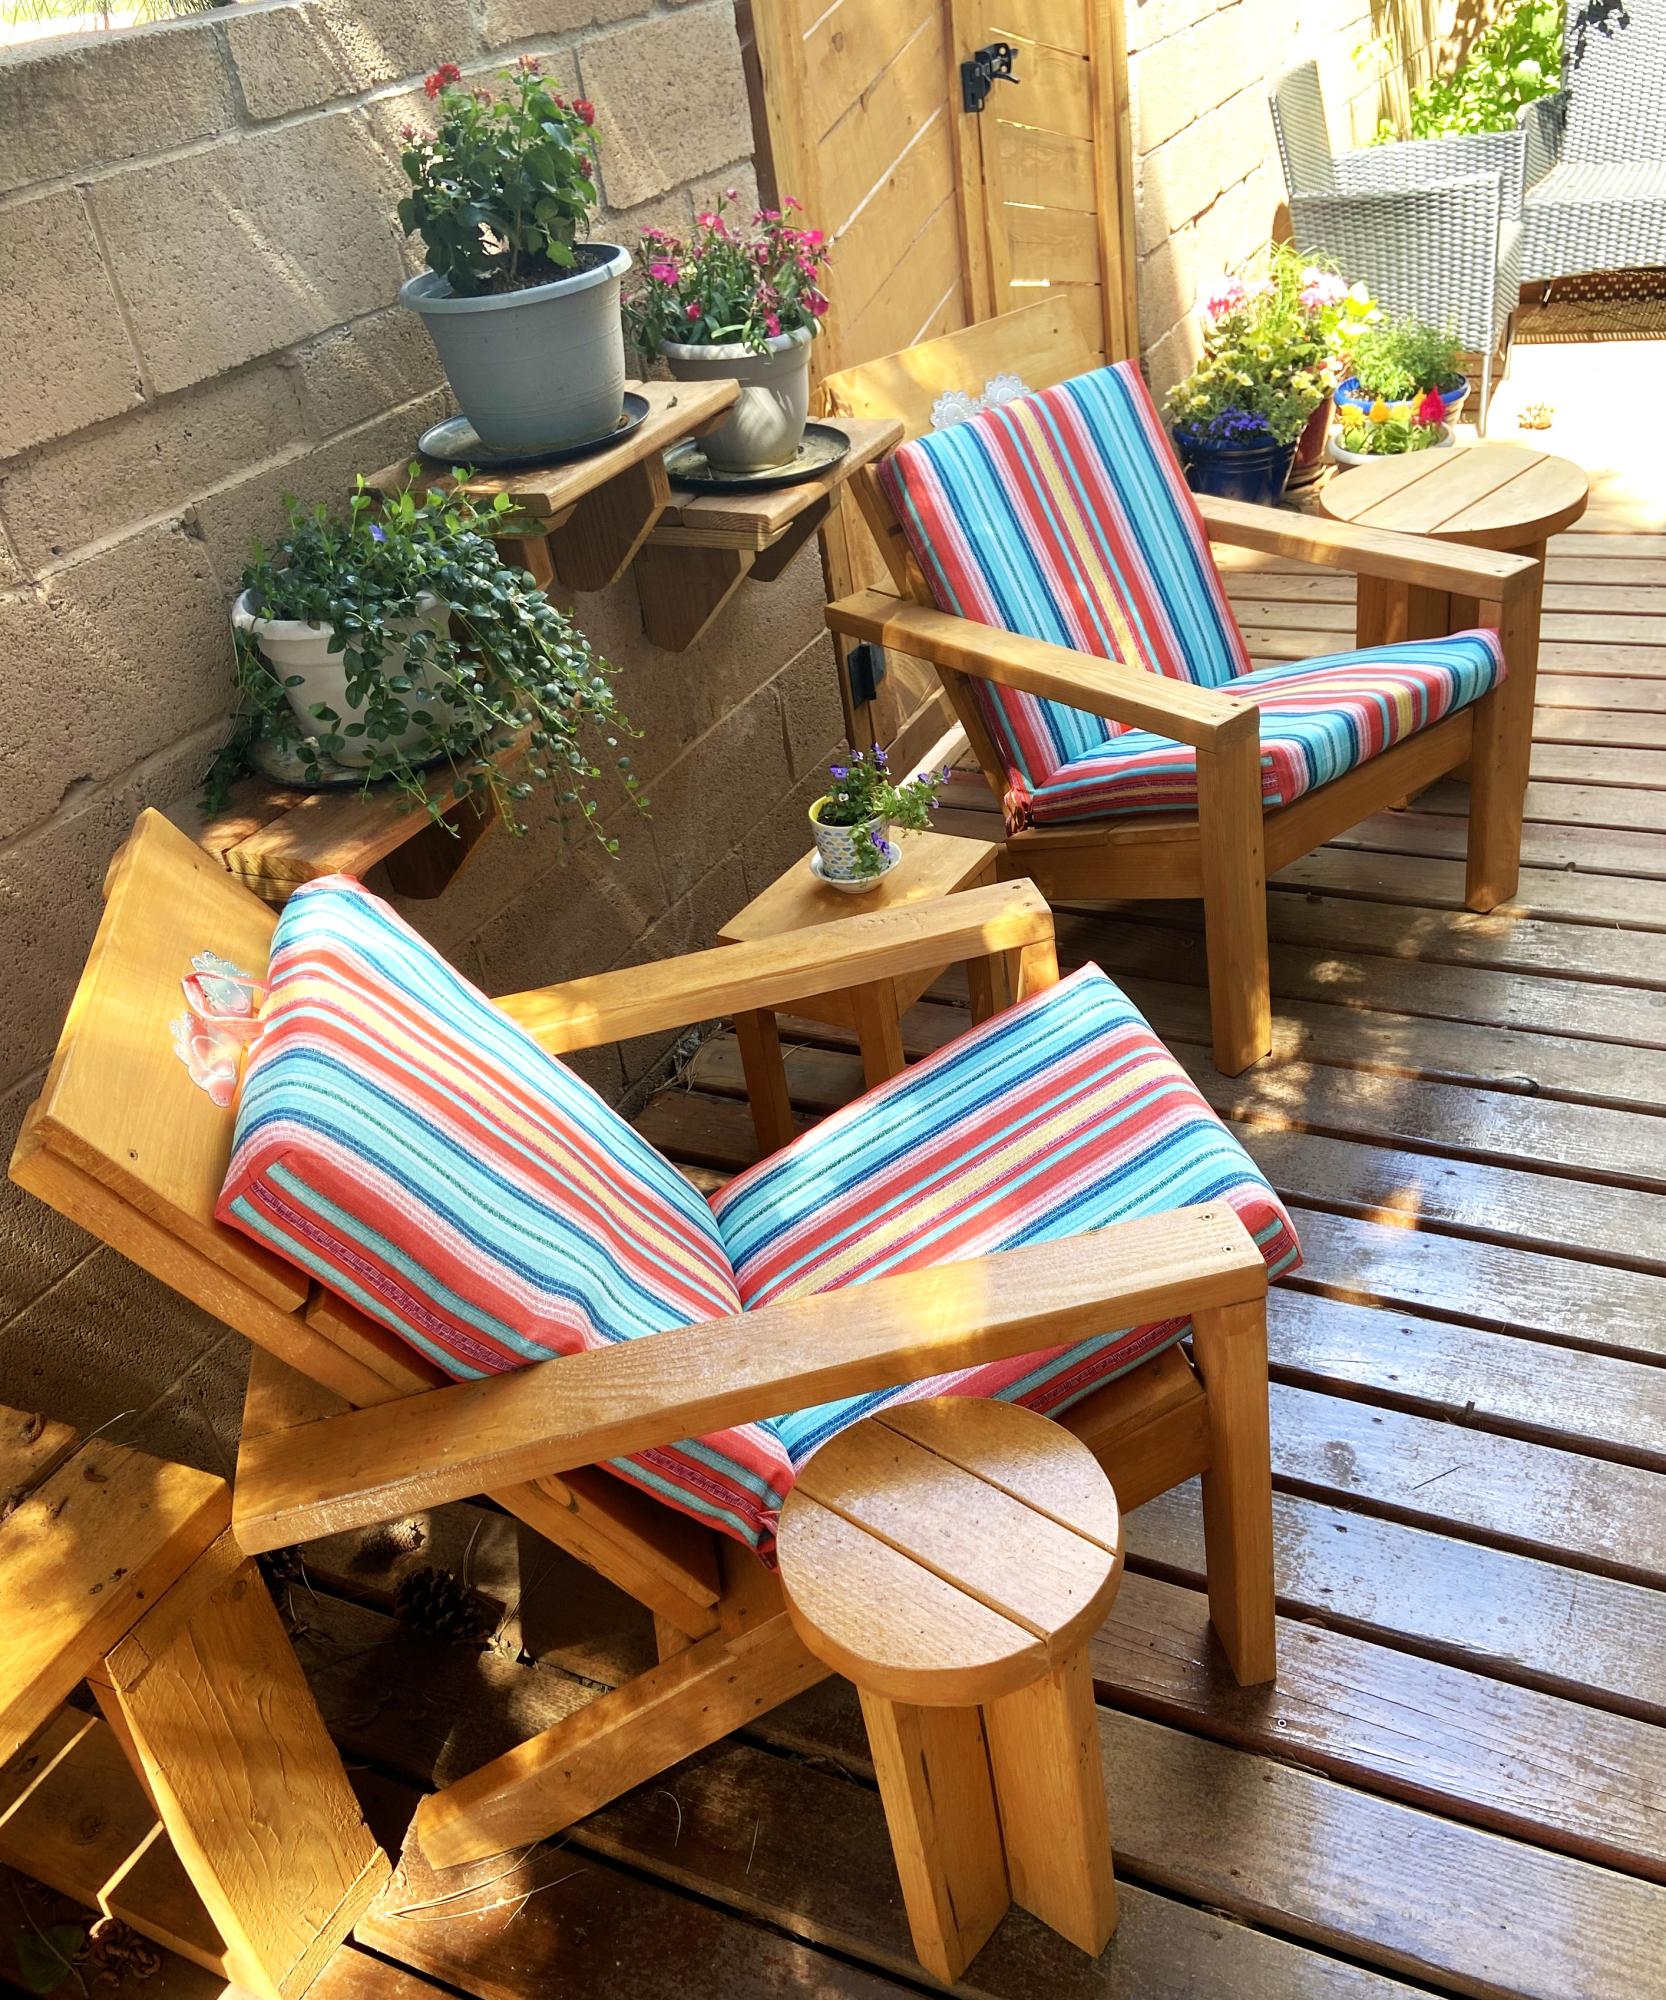
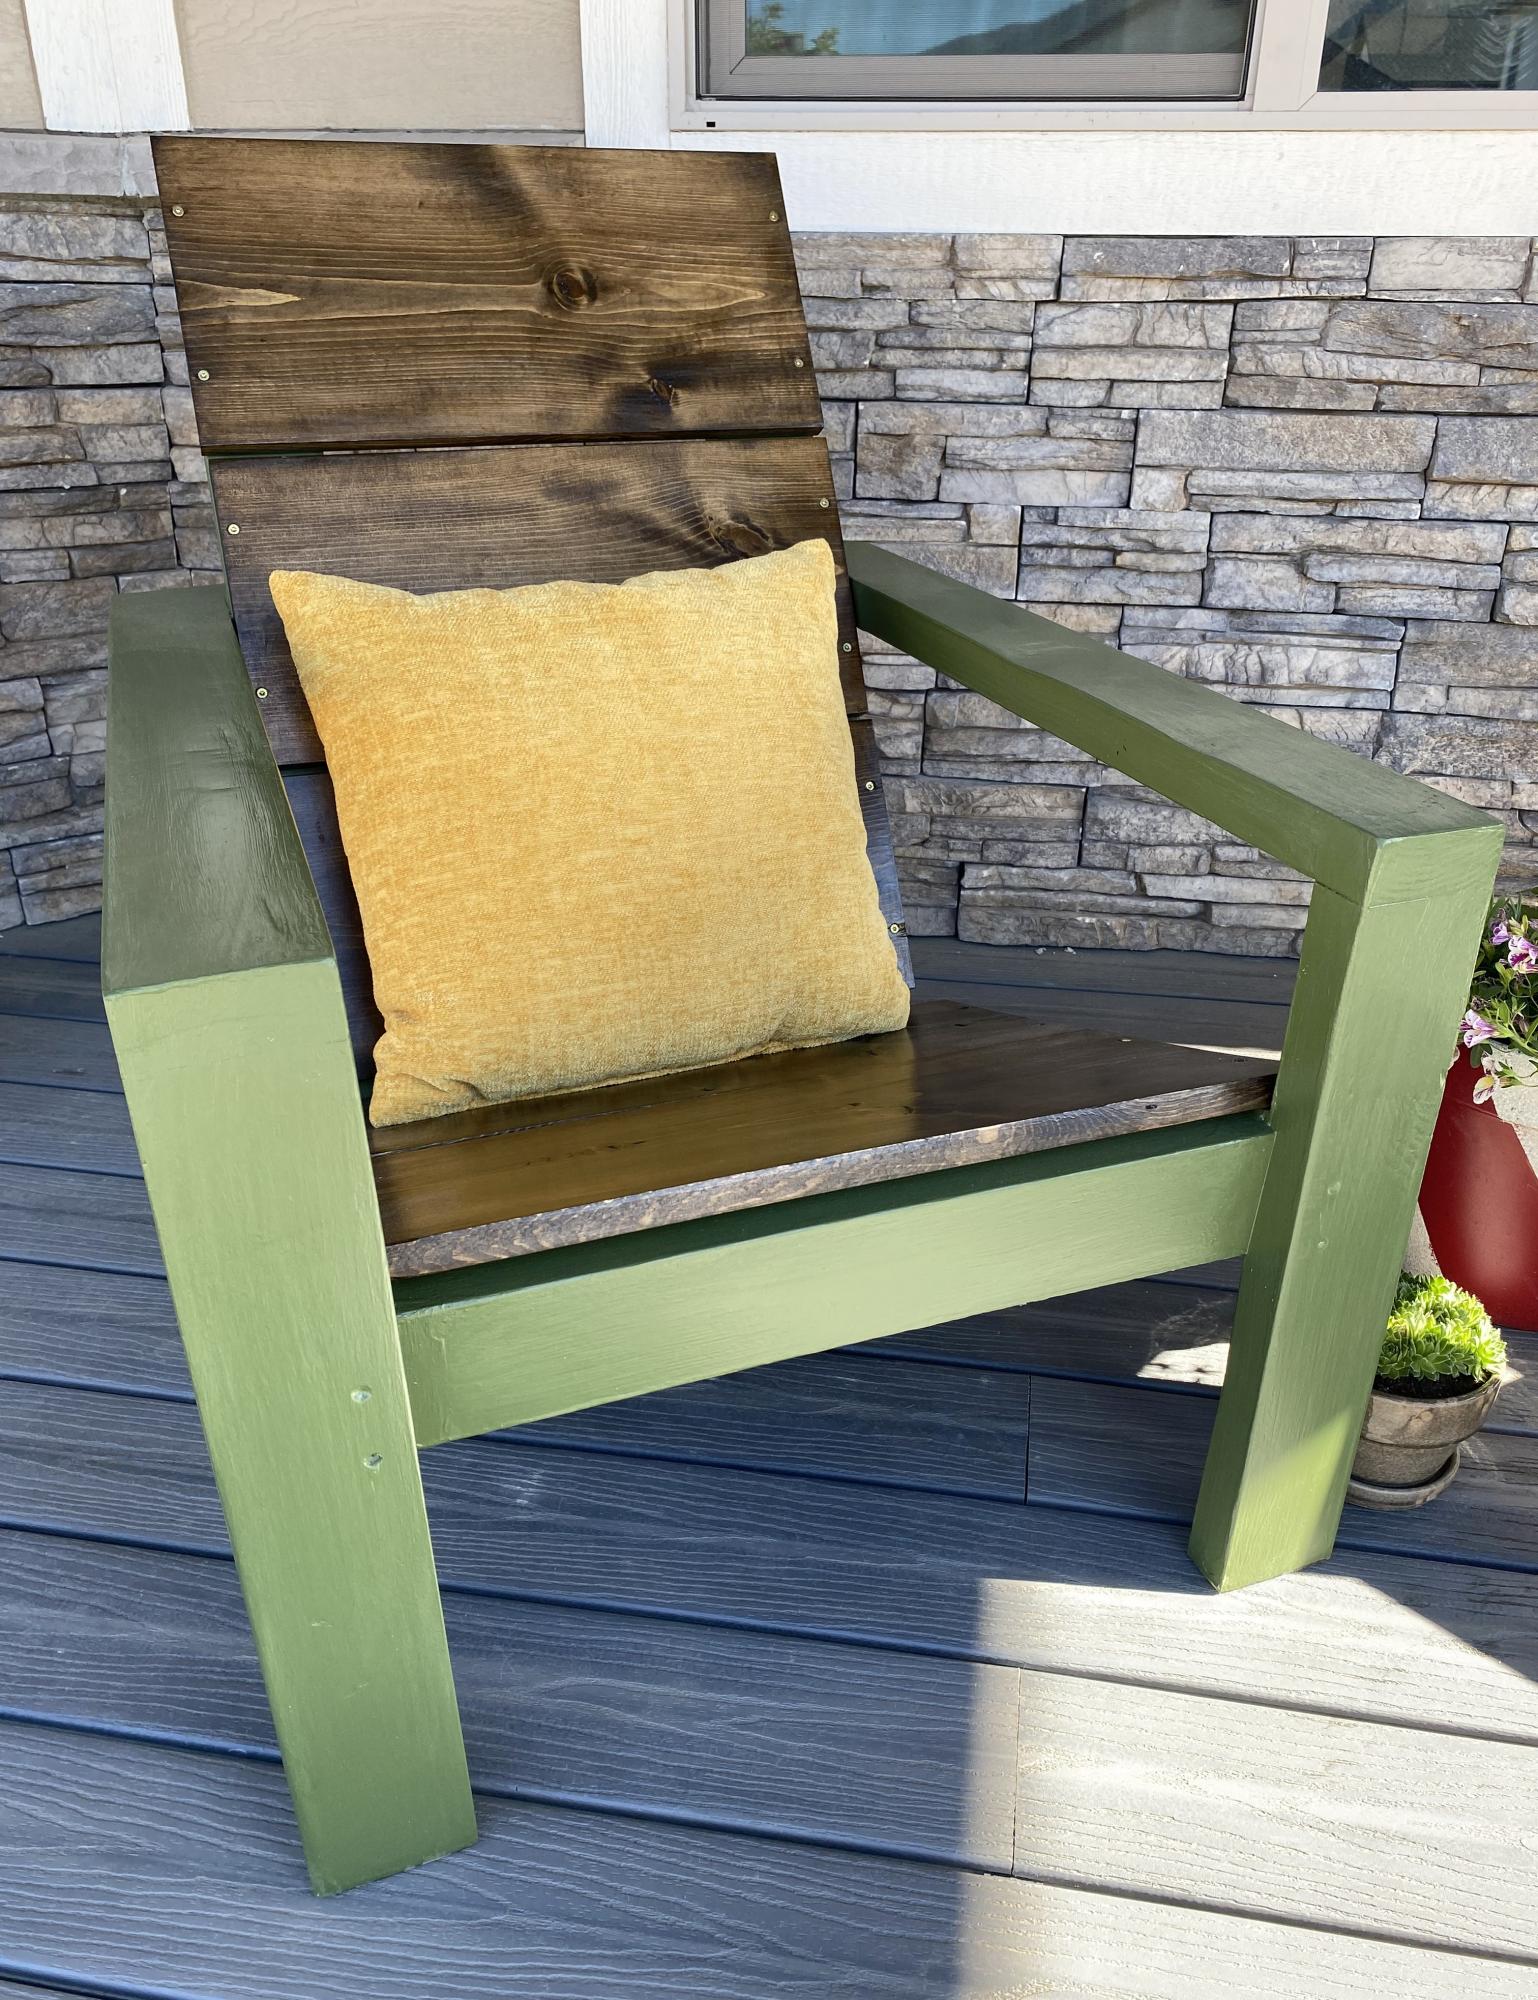
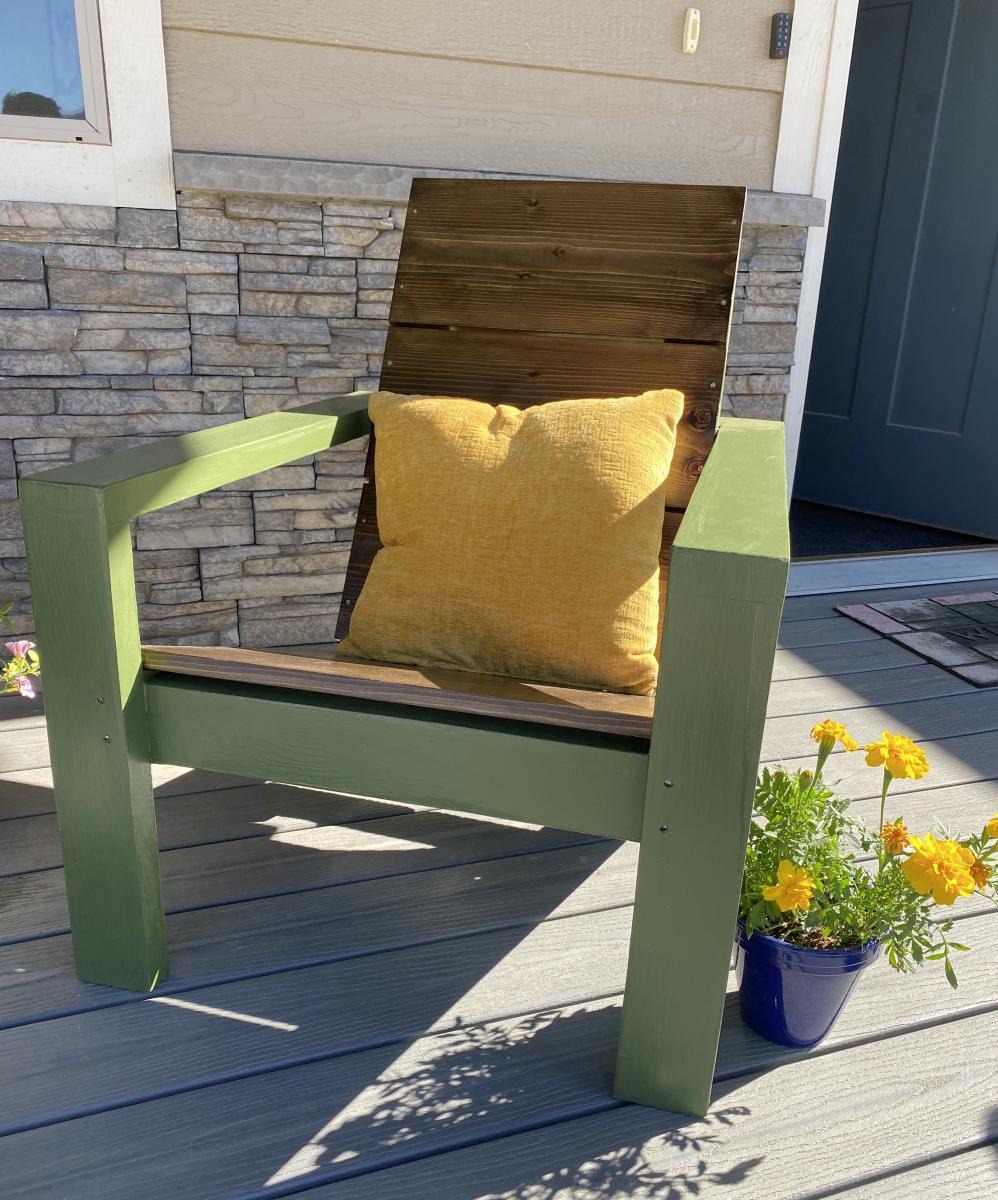
I love the Adirondack chairs and they were so easy to make. Your directions were perfect. I added an inexpensive cushion from Walmart although I think technically Adirondack chairs don’t have cushions. But they do help make them more comfortable. I also added some tin work design because we live in the south west.
James
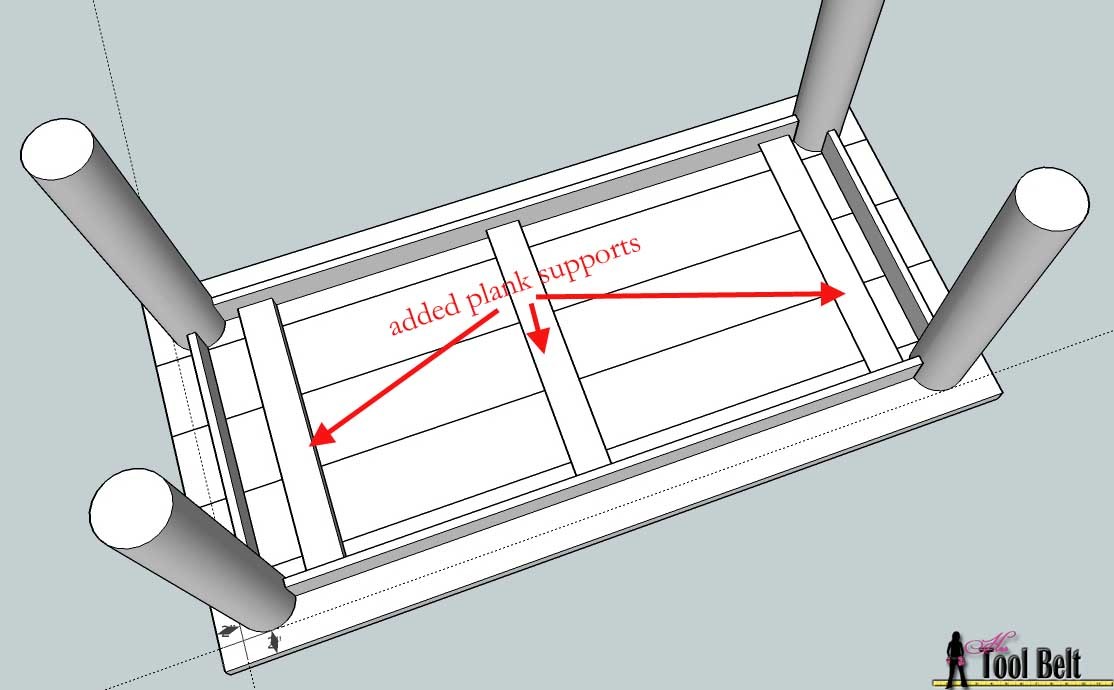
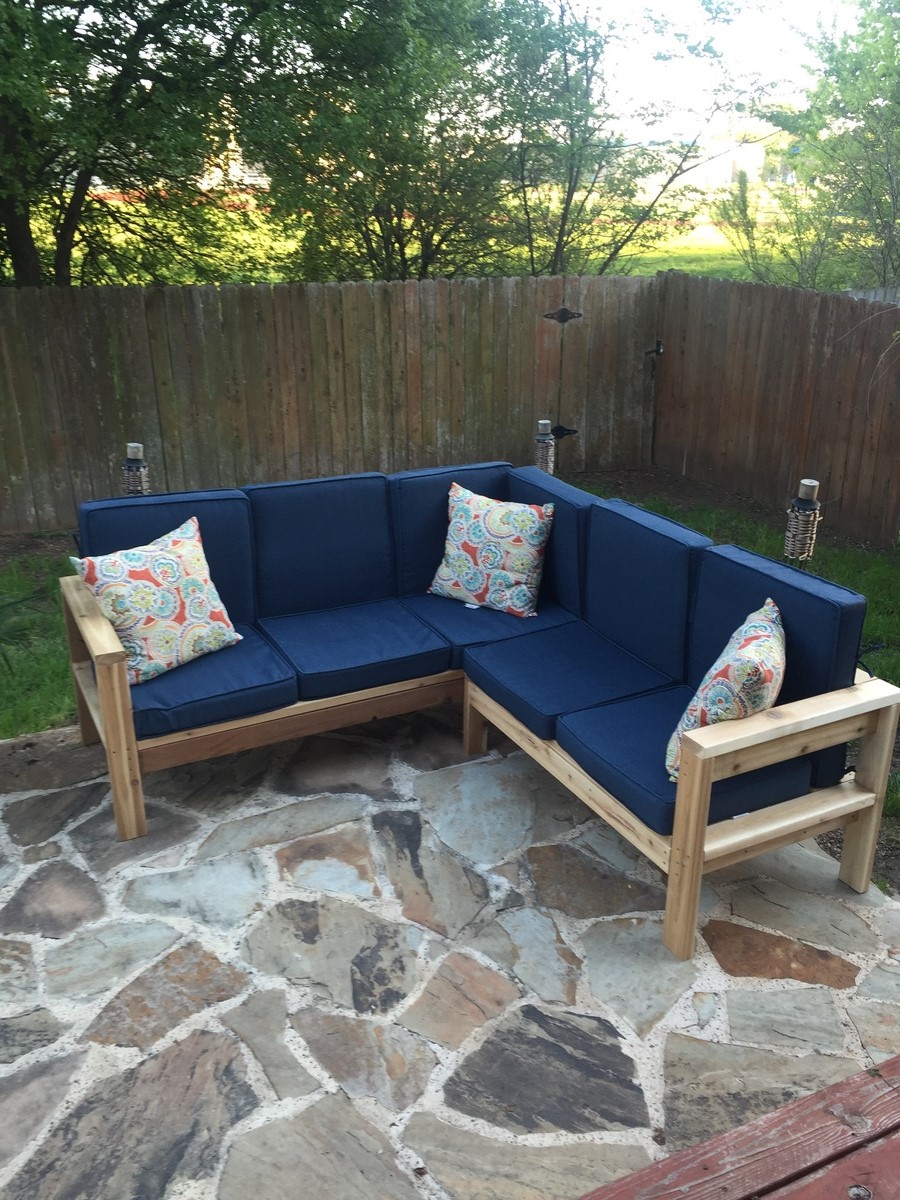
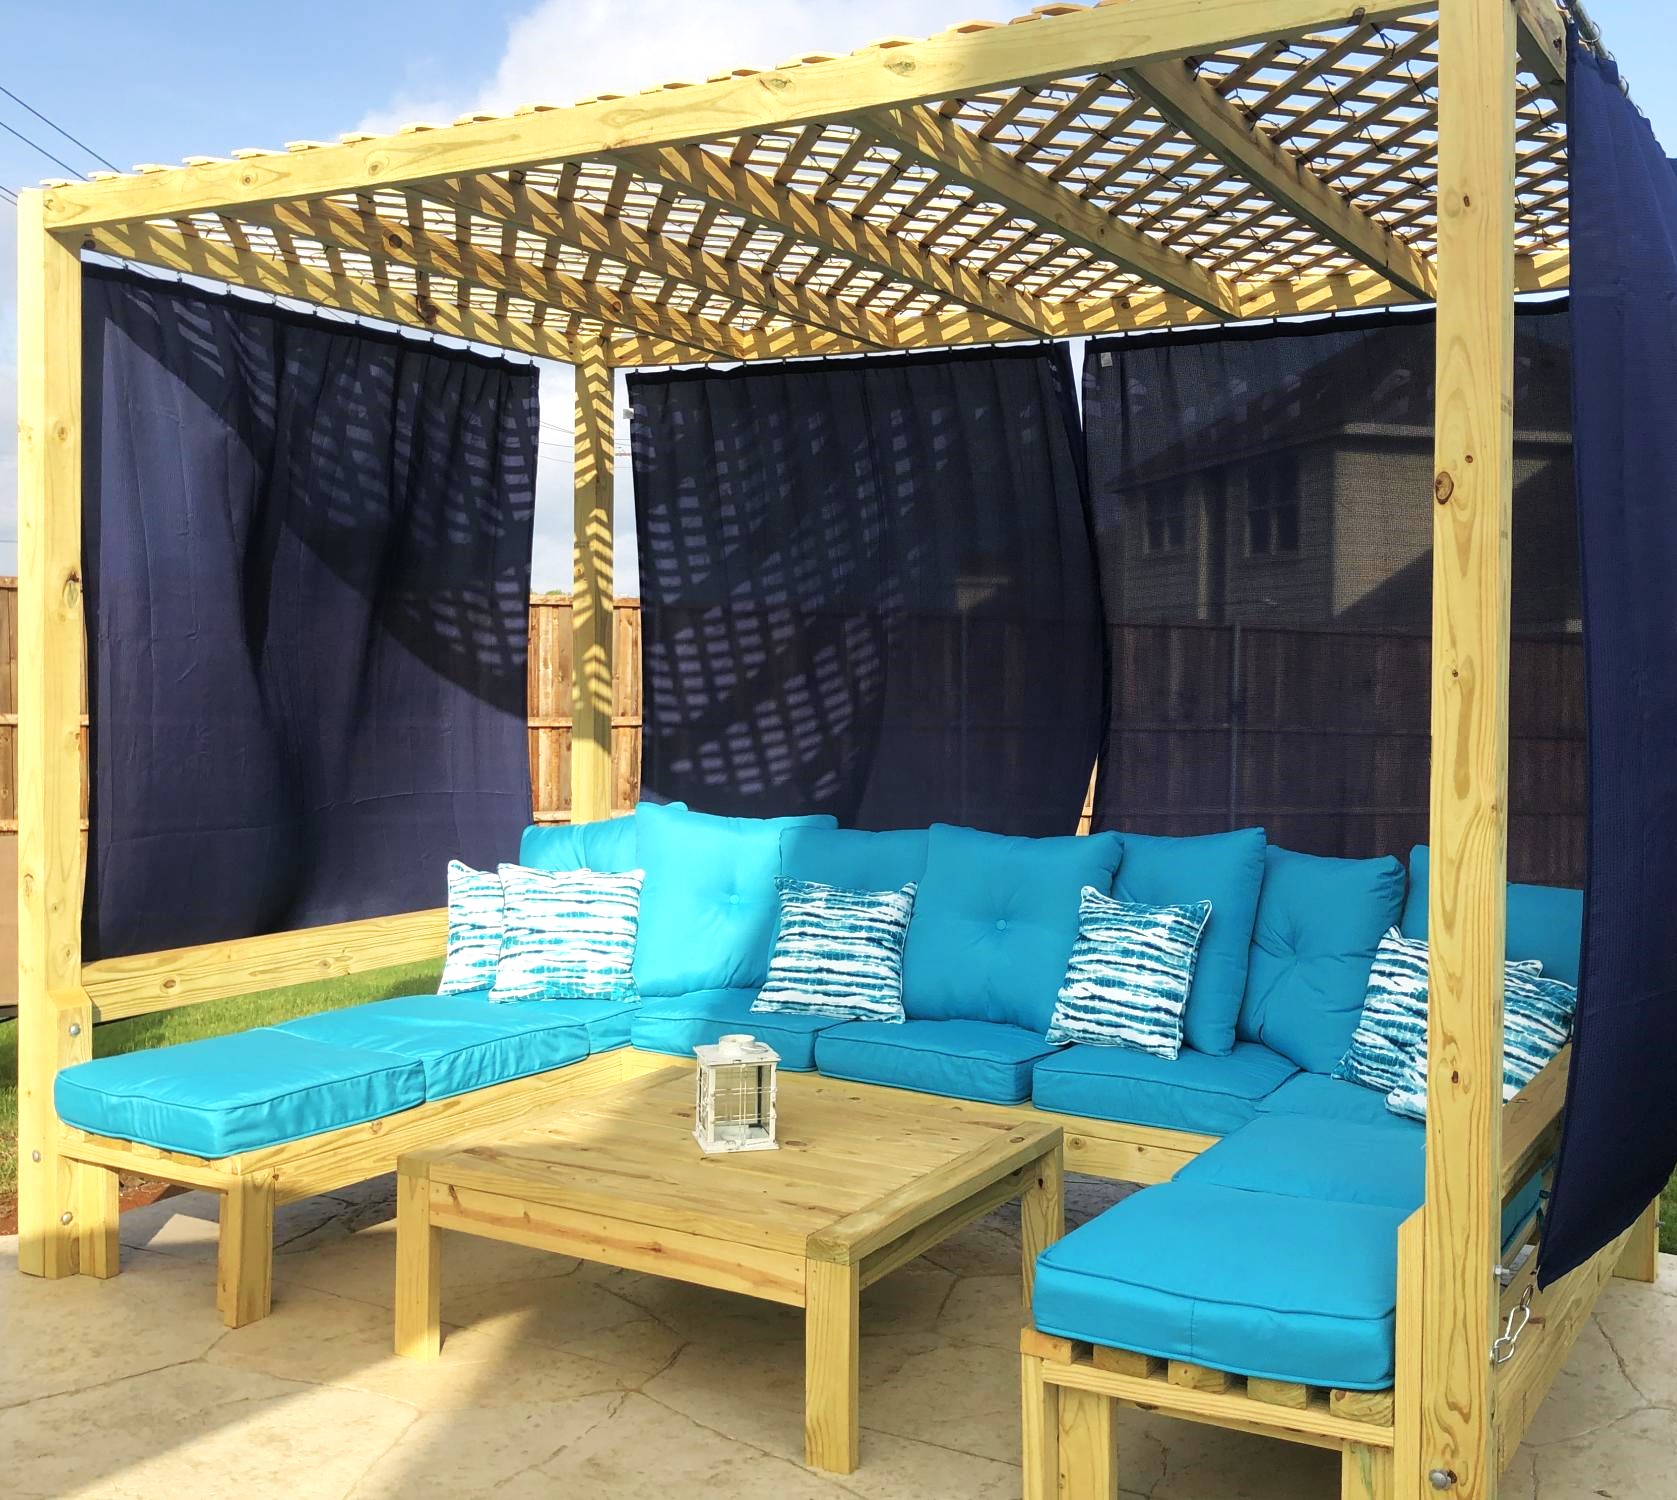
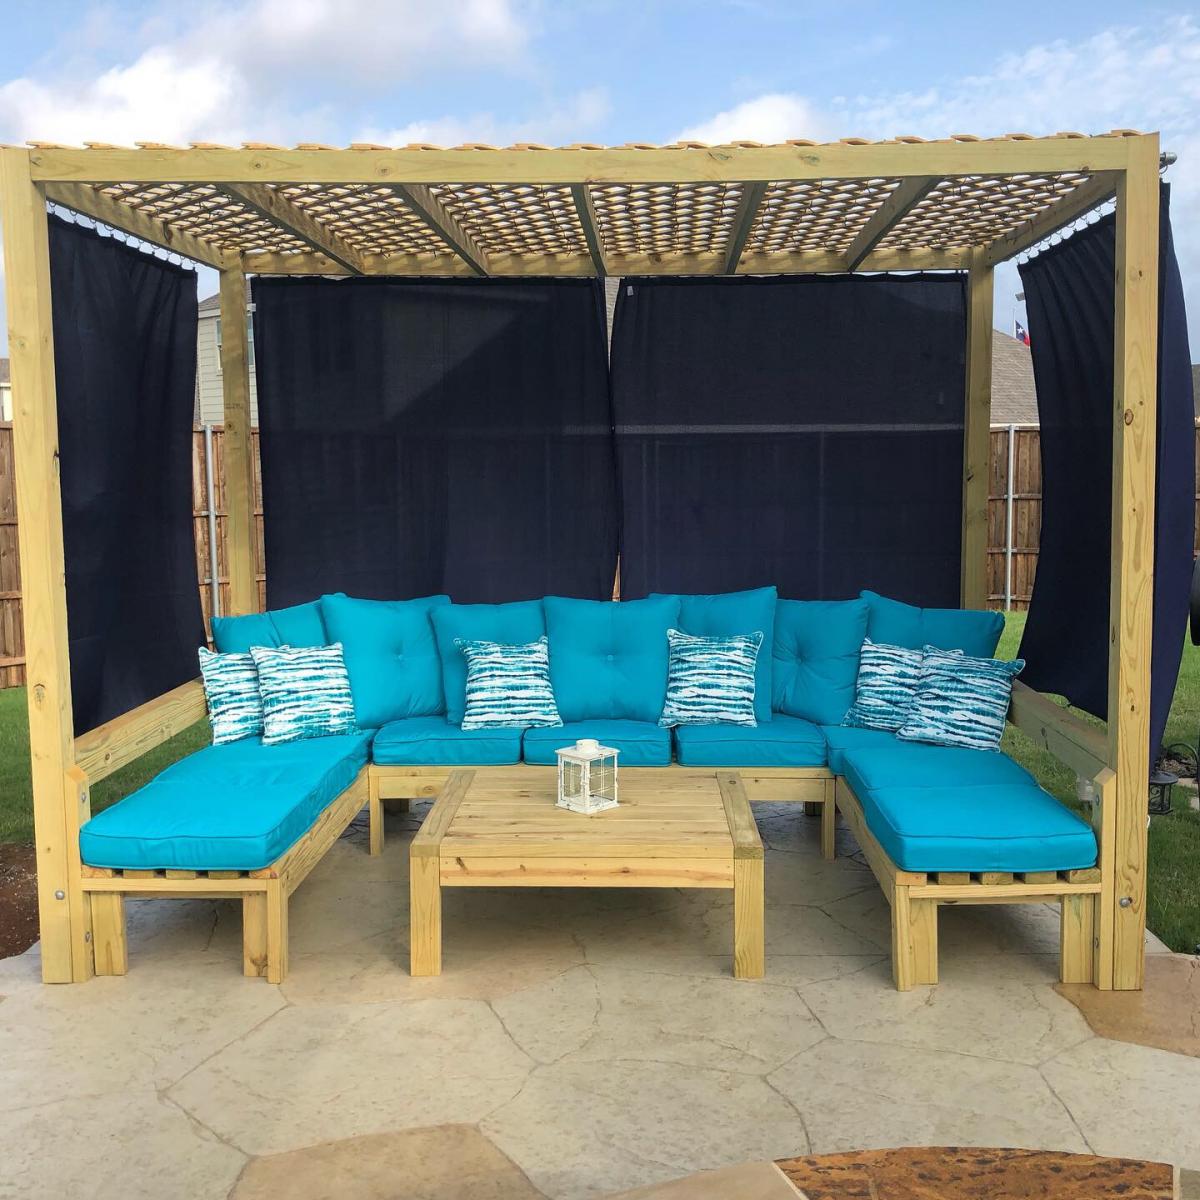
Built from Plan(s)