Community Brag Posts

Student Desk Chair

Submitted by BlueRose on Wed, 04/23/2014 - 15:50

I found your plans for the child storage chair while searching for chair designs to build a student desk for a customer. With the addition of the table to the chair it works well. The wood is from a local sawmill where I work so I can cut it to my specifications right from the log. The wood is Curupay or Bolivian Rose Wood and changes color from brown to red from the sun light. The finish is shellac and varnish. While taking the first one to the customer another person ask for 2 so it looks like I may be making chairs for a while.....
Built from Plan(s)
Estimated Cost
50 Bolivianos
Estimated Time Investment
Weekend Project (10-20 Hours)
Finish Used
Shellac and Varnish
no stain required with this wood
Shellac needs to be applied first to seal the wood for the varnish to dry quicker as there is oil in the wood
Recommended Skill Level
Intermediate

Farmhouse Bedside Table

This was a nice easy build for a saturday or sunday morning. Build this as a house warming gift.

Built from Plan(s)
Estimated Cost
65
Estimated Time Investment
Afternoon Project (3-6 Hours)
Finish Used
N/A
Recommended Skill Level
Beginner

Modern Park Bench

Submitted by Tim PIZZ on Sat, 05/16/2020 - 06:17

This was one of my first projects. I just used a circular saw but a mitre saw would be better. I’ll look for one soon. It was rewarding, fun and we love how it looks on our back patio.

Built from Plan(s)
Estimated Cost
$200
Estimated Time Investment
Weekend Project (10-20 Hours)
Finish Used
I primed the pieces with Sherwin-Williams exterior latex primer before assembly then painted with Sherwin-Williams Resiliance exterior latex. We chose “Retreat” as our color.
Recommended Skill Level
Beginner

Rustic X Console - Gone Beachy!

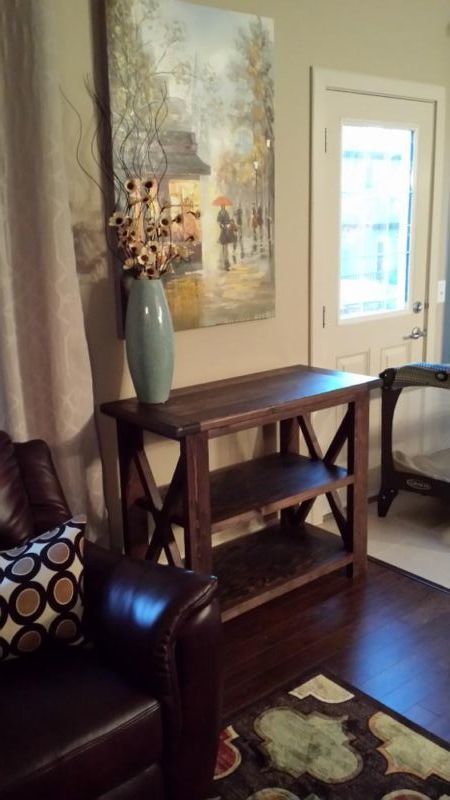
Rustic X Console, built as directed. After building we sanded the whole thing pretty well, and did one coat of walnut stain. After the stain dried, I went back and painted over with a bright beachy blue, and while the paint was still wet, wiped it with rags. You have to work in small sections so the paint doesn't dry too quickly. I also went over some areas (where the paint was too thick and on the shelves) with a wet rag, then back over with a dry one. Two coats of satin polyurethane (spray) on top and all done! I want to get rid of the lamp and do 3 different sizes of white lanterns instead!

Built from Plan(s)
Estimated Cost
$75
Finish Used
Walnut stain, paint, satin polyurethane
Recommended Skill Level
Beginner

Comments

Front porch bench

Submitted by Shane90019 on Sat, 04/26/2014 - 13:31

Second project. I built this bench for my front porch. This was a practice project to get comfortable with pocket screws before I attempt a large table for my back patio.

Estimated Cost
$75
Estimated Time Investment
Weekend Project (10-20 Hours)
Finish Used
Rust-olem Wood Stain Kona, Cabot Semi-gloss Spar Varnish
Recommended Skill Level
Beginner

Comments

Love this desk!

Submitted by Anonymous (not verified) on Tue, 07/26/2016 - 23:41

I have a tendency to kick my feet while I'm working at my desk so I decided to customize the bottom and have only legs. I love how it turned out!

Built from Plan(s)
Estimated Time Investment
Afternoon Project (3-6 Hours)
Finish Used
Dark walnut varathane and poly clear coat
Recommended Skill Level
Intermediate

Scrapwood wooden houses

Submitted by Kate_14 on Mon, 05/18/2020 - 13:49

I built these cute little houses with scrap wood. They are easy to customize!

I used 1x6 boards for the house and 1x2 boards for the roof. I attached the roof with bradnails.

Estimated Cost
0$
Estimated Time Investment
Afternoon Project (3-6 Hours)
Finish Used
Paint and stain
Recommended Skill Level
Starter Project

WattsUp Front Porch Bench

Submitted by WattsUp on Mon, 04/28/2014 - 14:09

This was my first project. It was really easy to execute. I thought that I would have a hard time with the strips, but it was not what I imagined at all. It turned out very well.
Estimated Cost
$40.00 for 5 yards of fabric. I already had the pressure treated lumber.
Estimated Time Investment
Afternoon Project (3-6 Hours)
Finish Used
Covered the pressure treated lumber with water resistant out door fabric.
Recommended Skill Level
Starter Project

Tip's Try

Submitted by Anonymous (not verified) on Sat, 07/30/2016 - 08:59

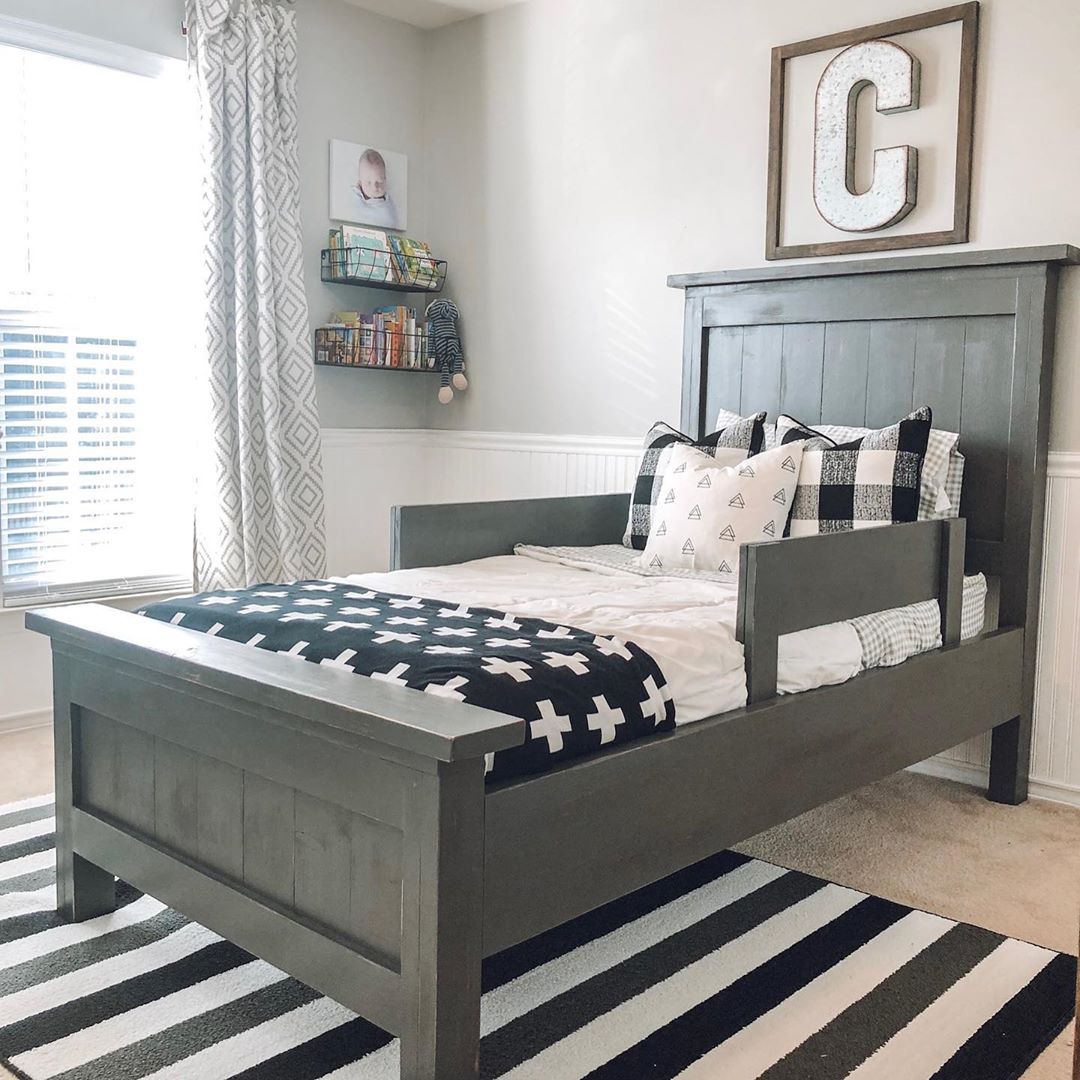
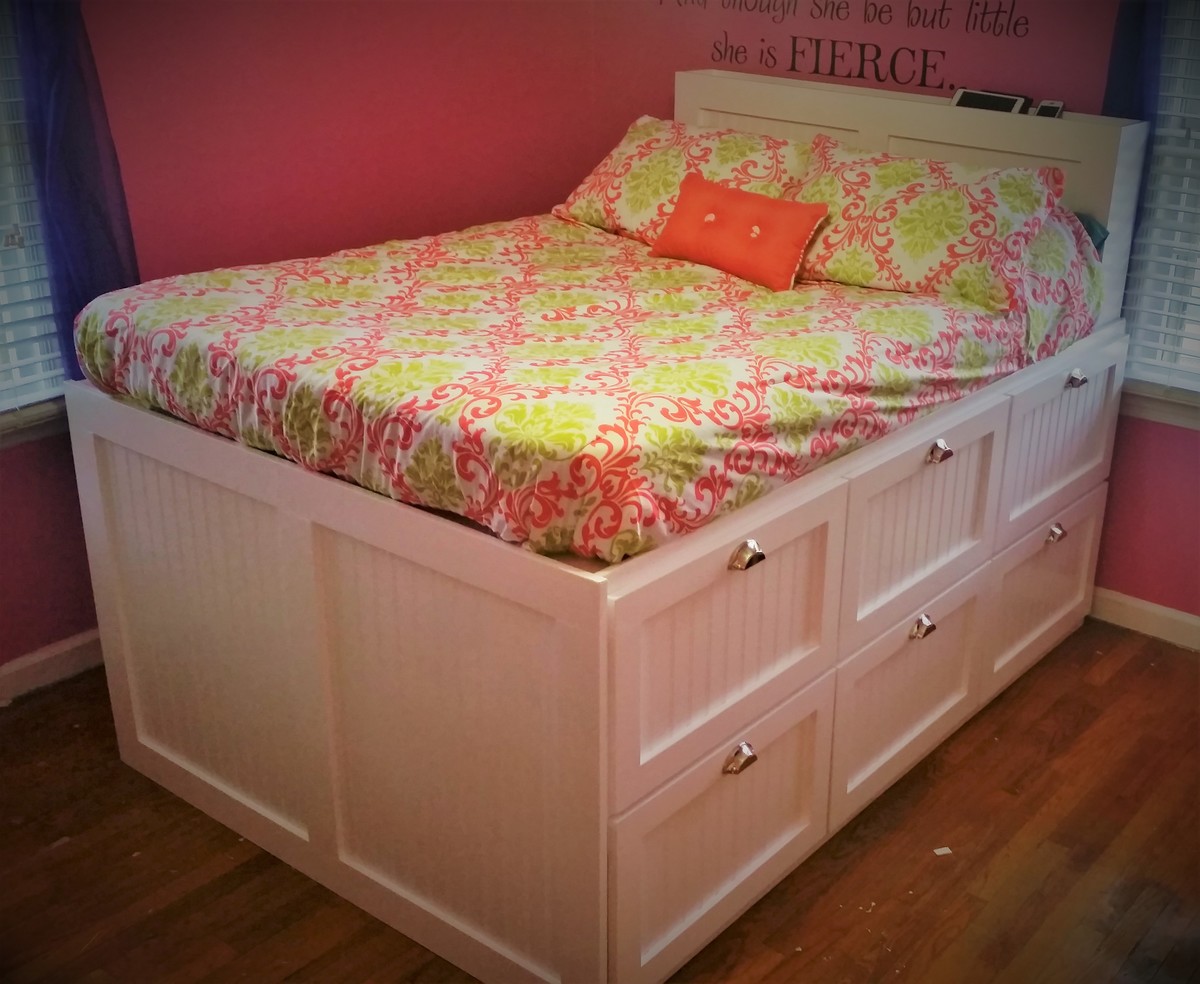
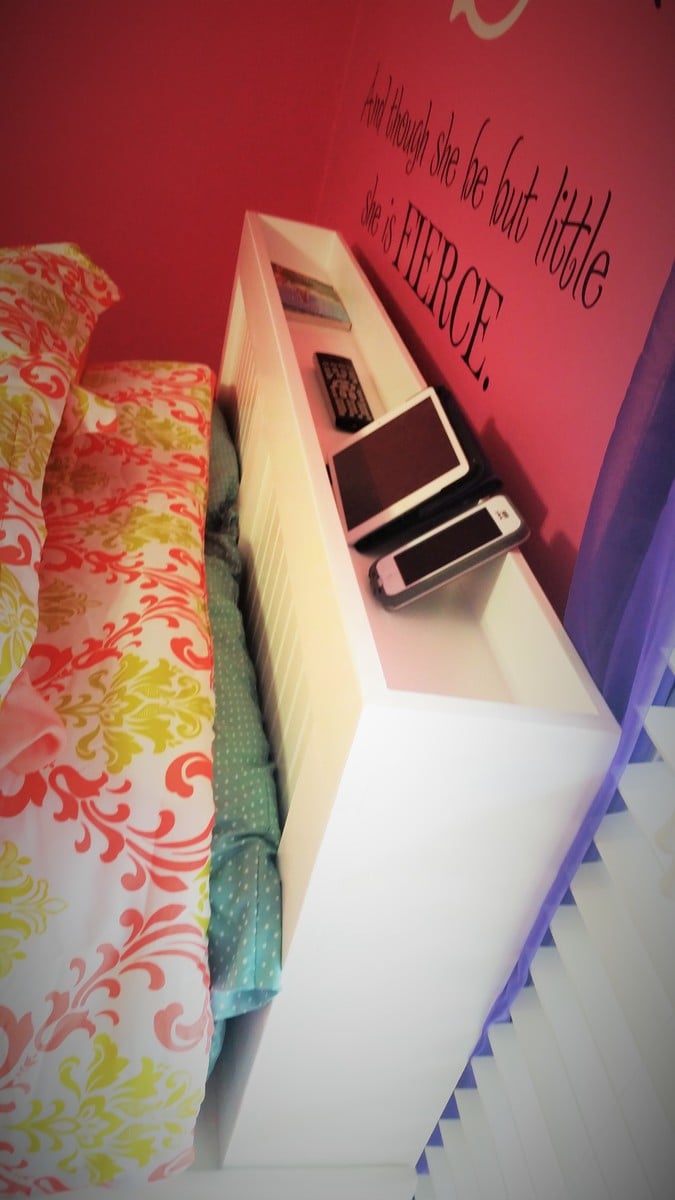
My daughter needed a new bed after our second child came along. 

Recommended Skill Level
Intermediate

My first build

Submitted by Angmic74 on Wed, 05/20/2020 - 23:31

Ana- I can’t thank you enough this was my very first build-EVER. With guidance from my hubby, I was able to build this beautiful pottery bench/ bar. Definitely wish I would have stained some pieces prior to assembling but live and learn. I’m officially hooked on helping in the shop and doing some of my “honey do’s” myself!

Built from Plan(s)

Comments

Beach Surf Chairs

Submitted by rkyount on Sat, 07/14/2012 - 12:35

Just finished these for my 3 yr old twins, and they love them! Took me about 5-6 hours of work, including painting/drying time. I definitely recommend spray painting the parts before assembling to get all edges sealed.

Estimated Cost
$20 per chair
Estimated Time Investment
Afternoon Project (3-6 Hours)
Finish Used
2x coverage Rustoleum spray paint, 2 coats
Recommended Skill Level
Beginner

Comments

2nd Project - Kentwood Bookshelf

This was my second project and I ran into some difficulties because the wood I was working with was not perfectly straight. I was in a hurry to finish it and did not apply polyurethane, but I really wish that I had after seeing how great it is on another project.

Estimated Time Investment
Weekend Project (10-20 Hours)
Finish Used
Minwax Driftwood
Recommended Skill Level
Beginner

Outdoor patio chair

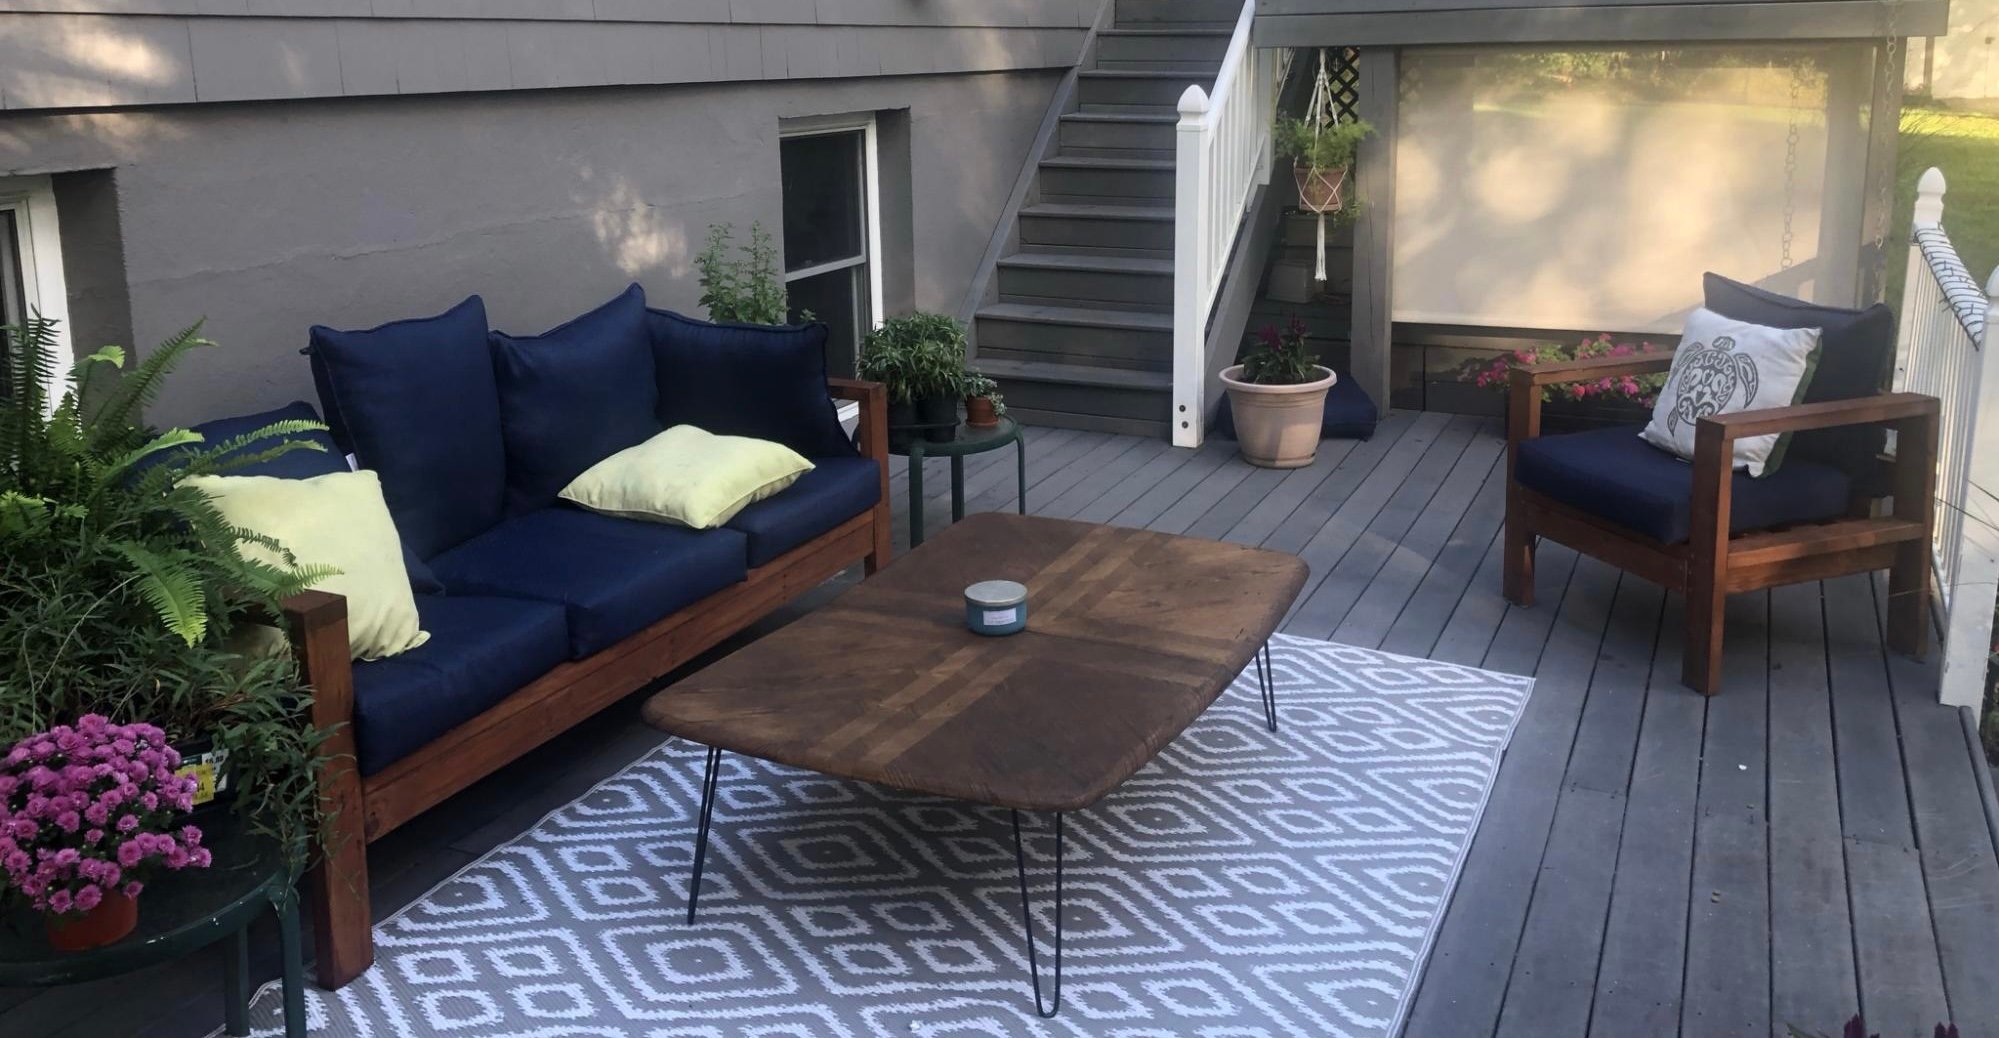
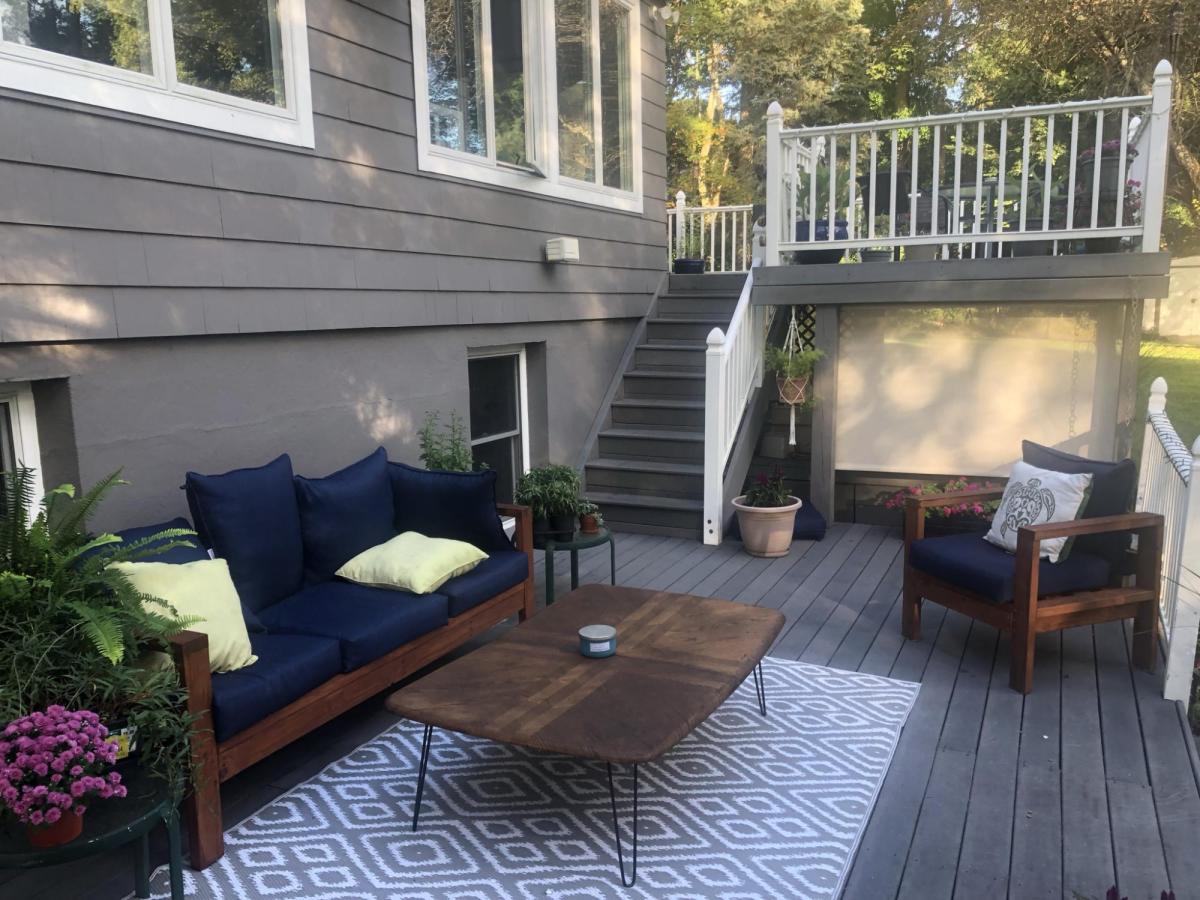
This is one of two chairs that I recently built to replace some outdoor furniture that only lasted 2 years in the Florida sun.  Rather than buying a new set, I figured I could just rebuild them using wood which would last a lot longer.  I built these off the measurements of the chairs I was replacing, and also had to keep the dimensions the same since they came with custom cushions that I wanted to re-use.   They are approx. 15" high at the seat, 31" deep and 28" wide


I used 4 PT 4x4's for the support in the corners, 4 - 1x10 common board for the outside edges and 12 1x4's.  I used decking screws and stained it with a dark walnut followed by a coat of poly.


They are on the heavy side, but came out great and will definitely last longer than 2 years!

Estimated Cost
Approx. $60 per chair
Estimated Time Investment
Afternoon Project (3-6 Hours)
Finish Used
Dark Walnut with one coat of clear poly. (it is under a covered patio, so I thought just one coat would be enough)
Recommended Skill Level
Beginner

Laundry Sorter

Submitted by CPeezy on Sat, 05/23/2020 - 20:17

My wife had begged and begged for something like this, so I took the plunge. This was my first build and I’m getting the itch to try other things! We built the ship lap wall and sign together as well!

Comments

DIY Wooden Bed

Submitted by Anonymous (not verified) on Mon, 02/05/2024 - 08:36

We needed a solid queen-size bed for our rental cottage, and Ana White had the perfect plans! Easy to follow, fun to make and such a beautiful big solid bed! We are so proud of ourselves. I can't believe we made this! I am really looking forward to my next project. Thank you Ana!

Built from Plan(s)

Sawhorse Table - Sewing Table

Submitted by samdwest on Tue, 07/17/2012 - 14:46

Found the plans for the sawhorse table on Ana and knew it would be perfect as my new sewing table. Such a lovely piece that will be very universal throughout the house!

Became a weekend project only because of the stain and painting that had to be done.

Estimated Cost
$80
Estimated Time Investment
Weekend Project (10-20 Hours)
Finish Used
Behr Mermaid Treasure Satin on Legs with Glaze
Minwax Polyshades Espresso Stain on Table Top
Recommended Skill Level
Beginner

Beer Wall for Wedding

My cousin recently got married and wanted a beer wall at her wedding. I quickly searched Ana's site for the perfect plan and chose the Tall Panel Headboard for my starting point. With a few modifications it became a beer wall in no time at all. I love how Ana's plans can be easily modified to make a totally different project.
No fancy wood was used here. Just regular wood from the big box store. A jockey box was attached to the back side of the wall. It worked awesome!
Since I discovered this site in January, I've made close to 30 items from her plans. I'm ridiculously addicted and not just with Ana's site but also with her blog friends. For Valentine's Day I asked for a Air Strike gun and got it. It was better than jewelry and chocolates! I'm well on my way to collecting my own tools and learning how to save money by making it myself. Oh, and I can't even begin to tell you how impressed everyone is with my finished products.
Built from Plan(s)
Estimated Cost
roughly $200.00
Estimated Time Investment
Weekend Project (10-20 Hours)
Finish Used
Valspar paint from Lowes
Recommended Skill Level
Intermediate

Perfect for our crafting studio!

Submitted by Anonymous (not verified) on Sun, 08/07/2016 - 05:45

We made this a bit bigger for our crafting studio, Creative Grain Studio! 8x4!! Rustic and we are building a fourth today!!

Estimated Cost
75.00-100.00
Estimated Time Investment
Day Project (6-9 Hours)
Finish Used
sanded and used minwax espresso stain
Recommended Skill Level
Intermediate

Comments

Adirondack Chairs

Submitted by Anonymous (not verified) on Mon, 05/25/2020 - 05:14

Thanks for the easy instruction. I modified it little bit.

Back