Community Brag Posts

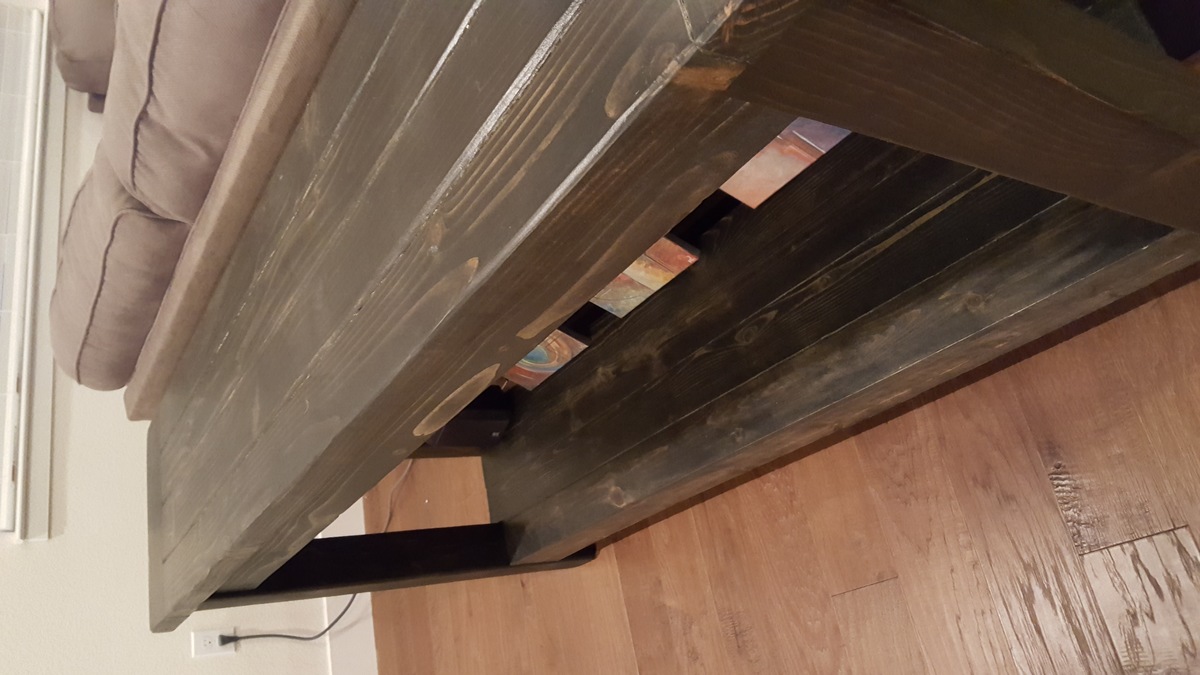
Tryde Console Table first go
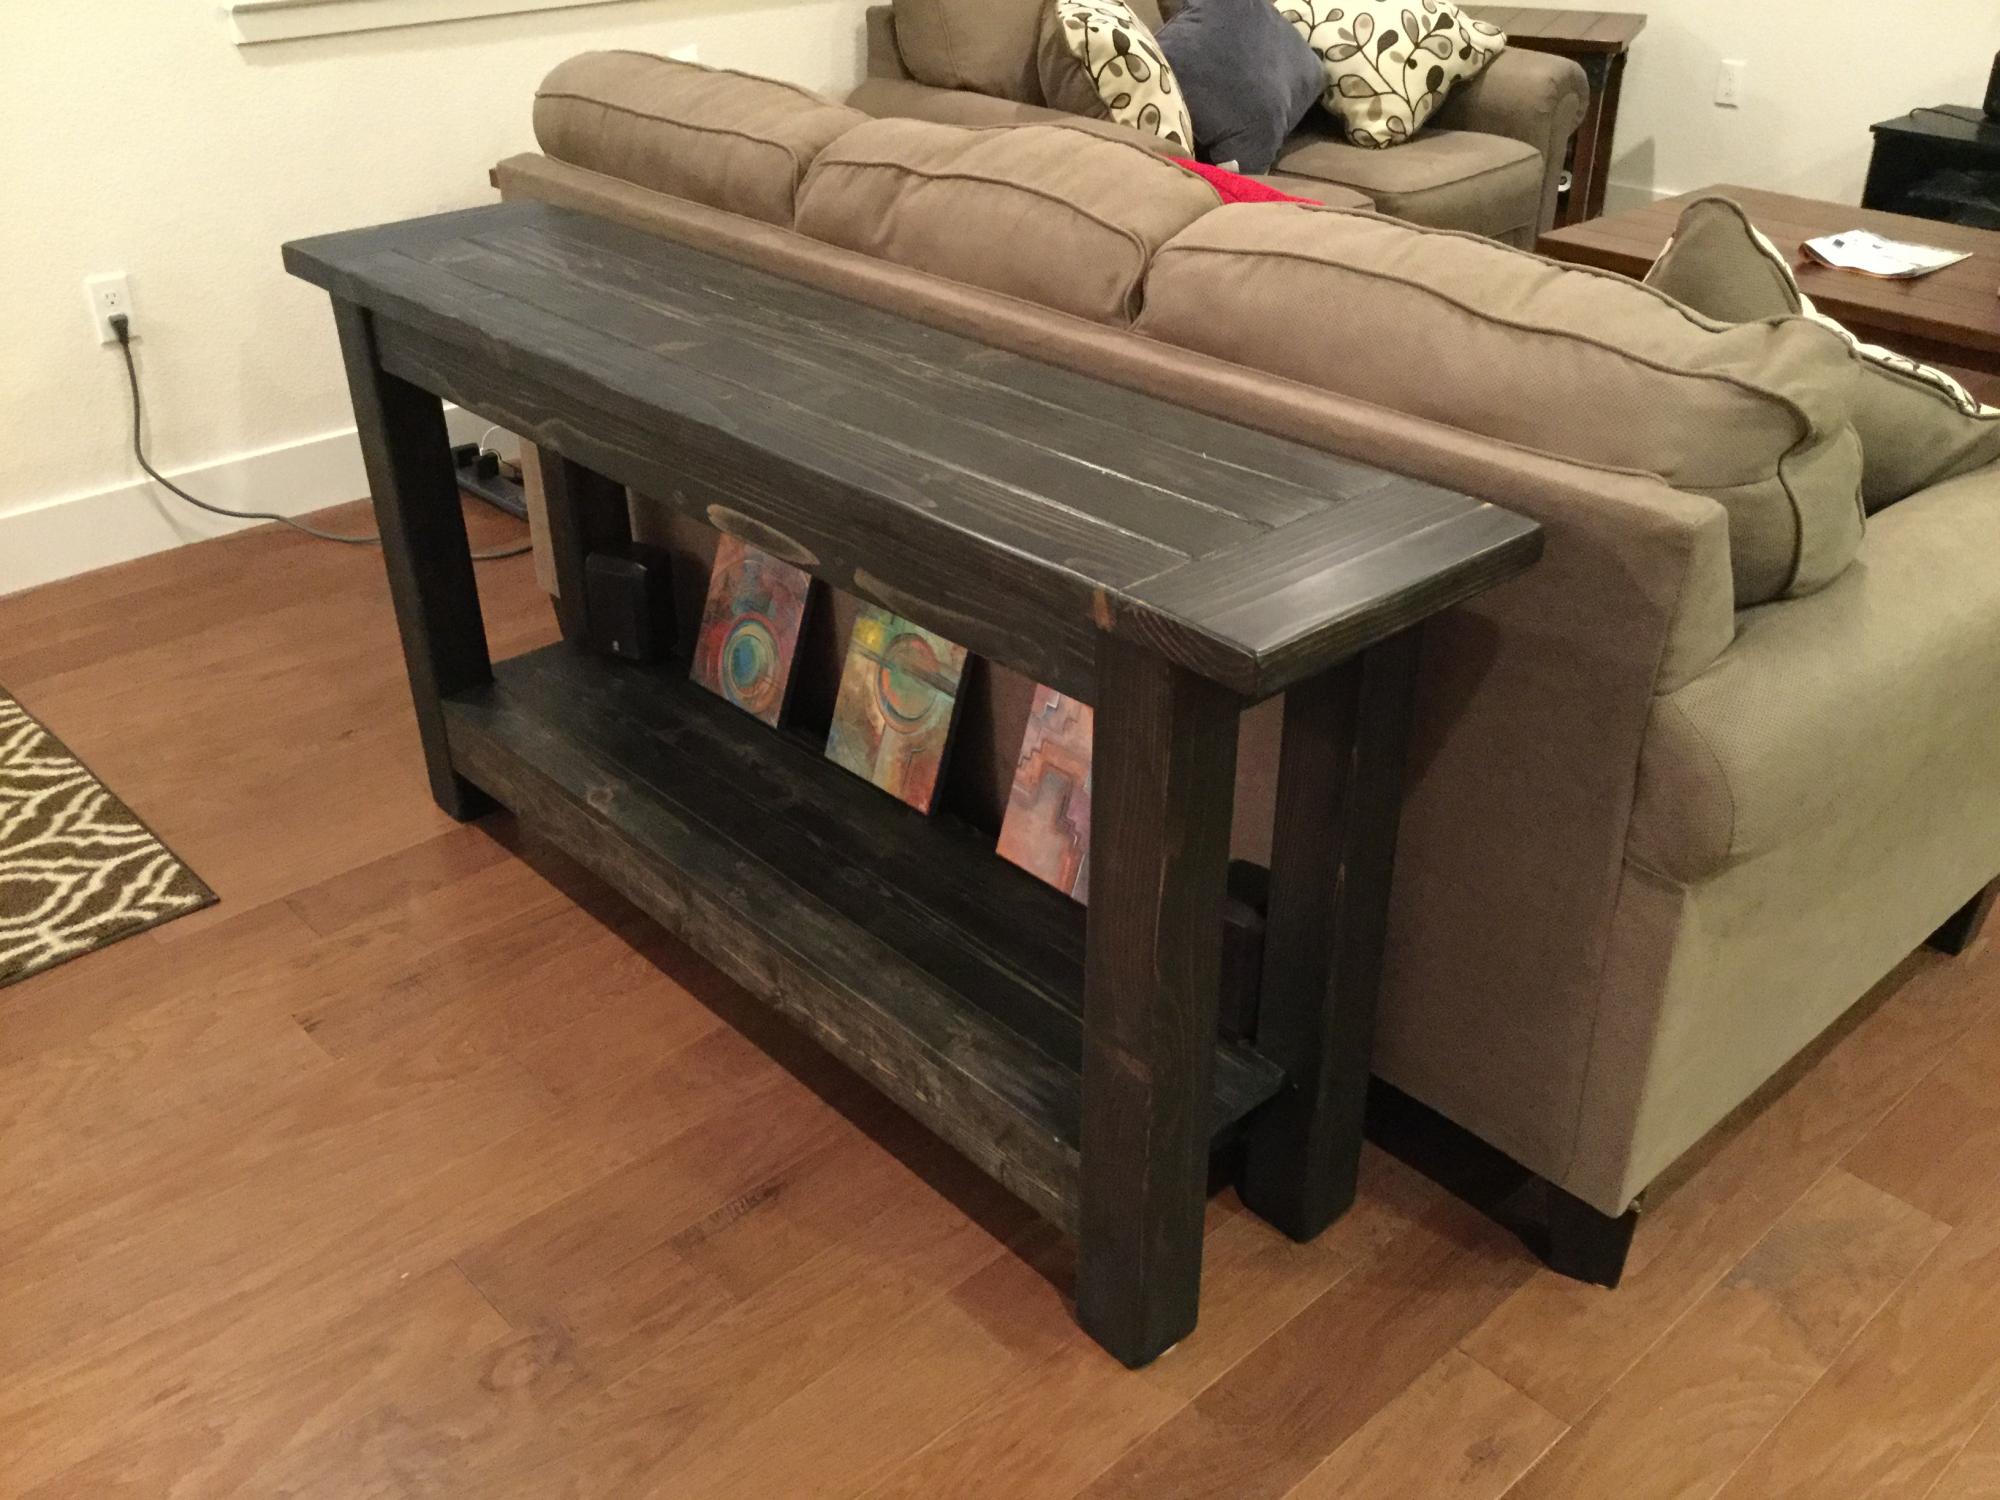
This was my first project, I made it longer and slightly taller to match size of the sofa. I also added lower shelf of 1x4 as seen on other users projects. Built using Kreg Jig to hide the screws - stained with ebony and satin poly. Used wood filler between 2x4 on top as well as between 1x4 on bottom shelf to seal the joints in case of spills. Would recommend using wood putty in the future rather than the filler as it cracked when it dries.
Tools used: Circular Saw, Kreg Jig, Screw Gun, Orbital Sander - recommend using Miter Saw if you have. I had a hard time squaring up the table mostly due to uneven cuts on the 4X4 using a circular saw.
Added felt pads under the legs to prevent scratches to the wood flooring

Built from Plan(s)
Estimated Cost
$100
Estimated Time Investment
Week Long Project (20 Hours or More)
Finish Used
ebony stain with a triple thick satin poly
Recommended Skill Level
Starter Project
Comments

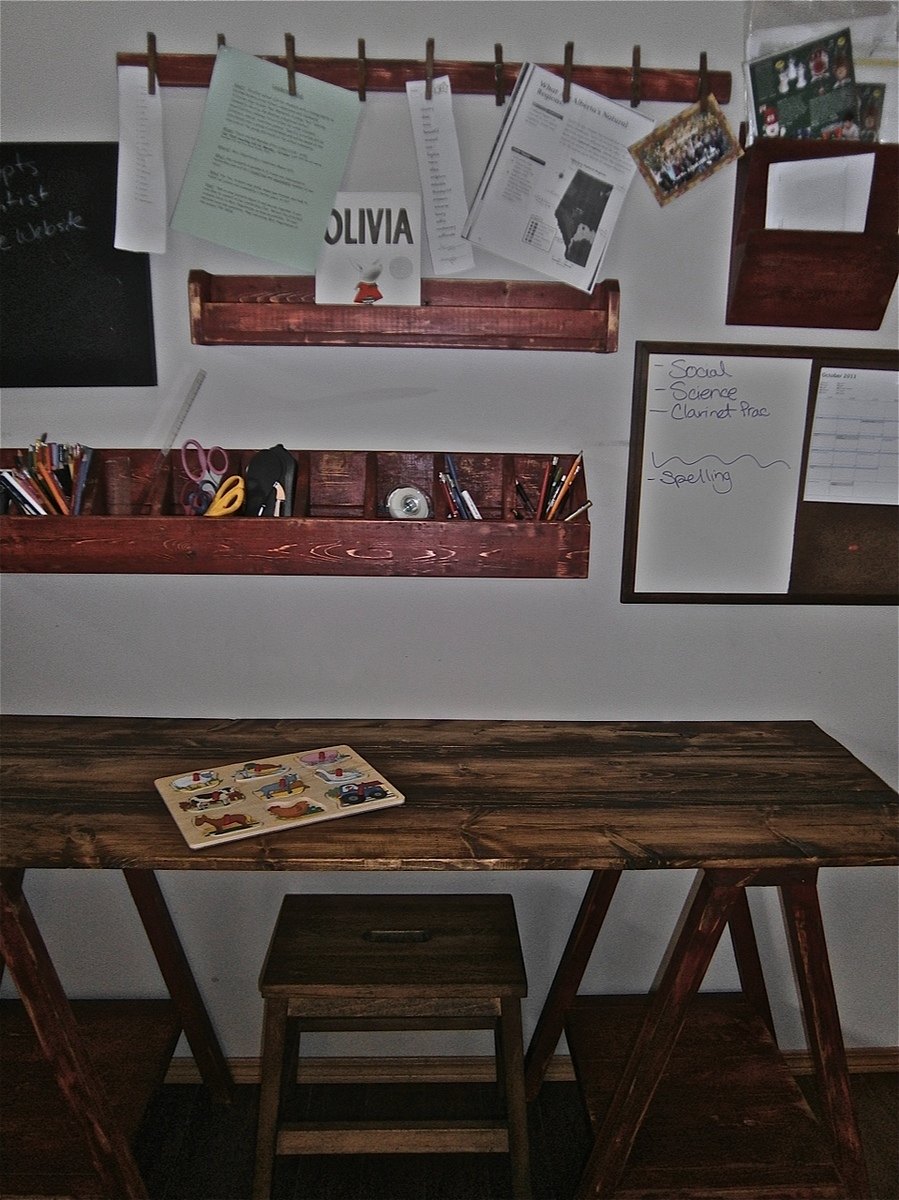
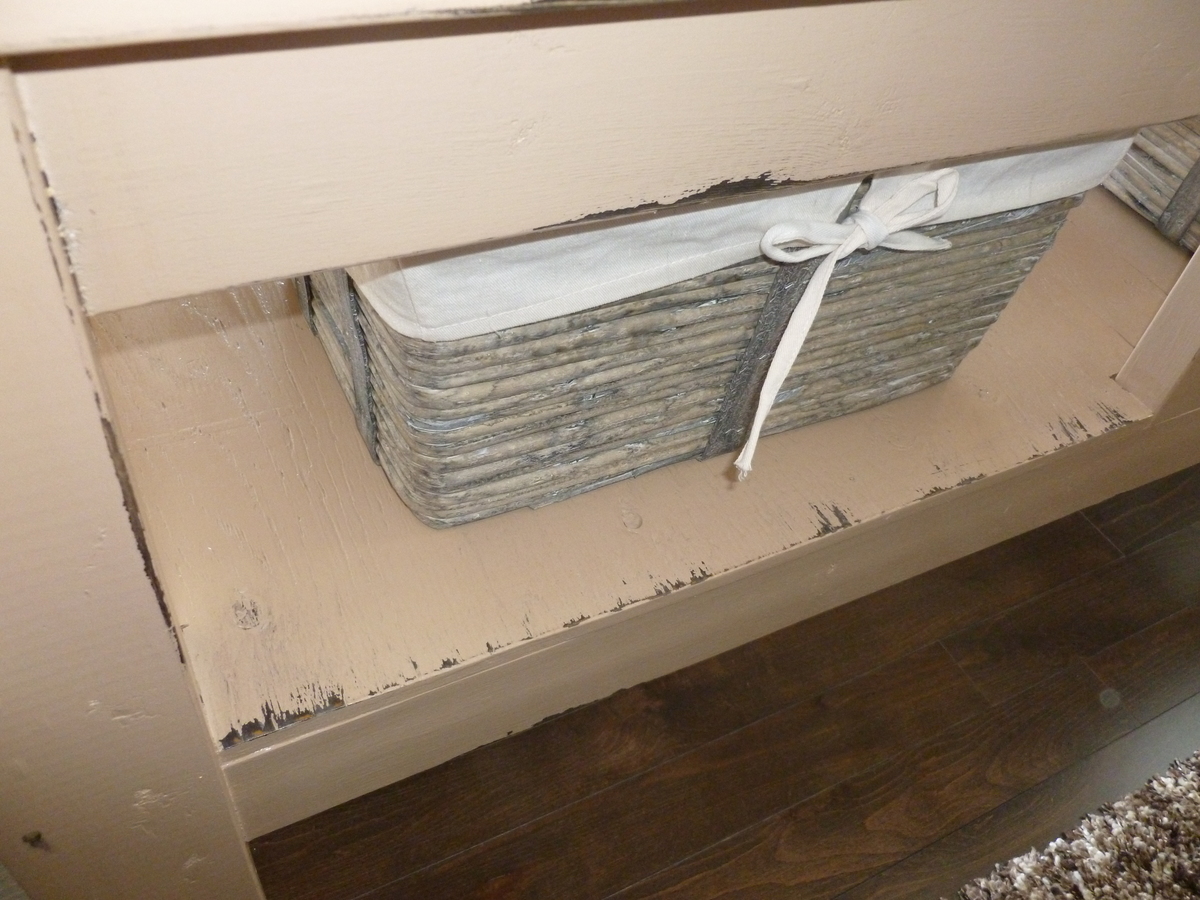
Homework Supplies Cubbies
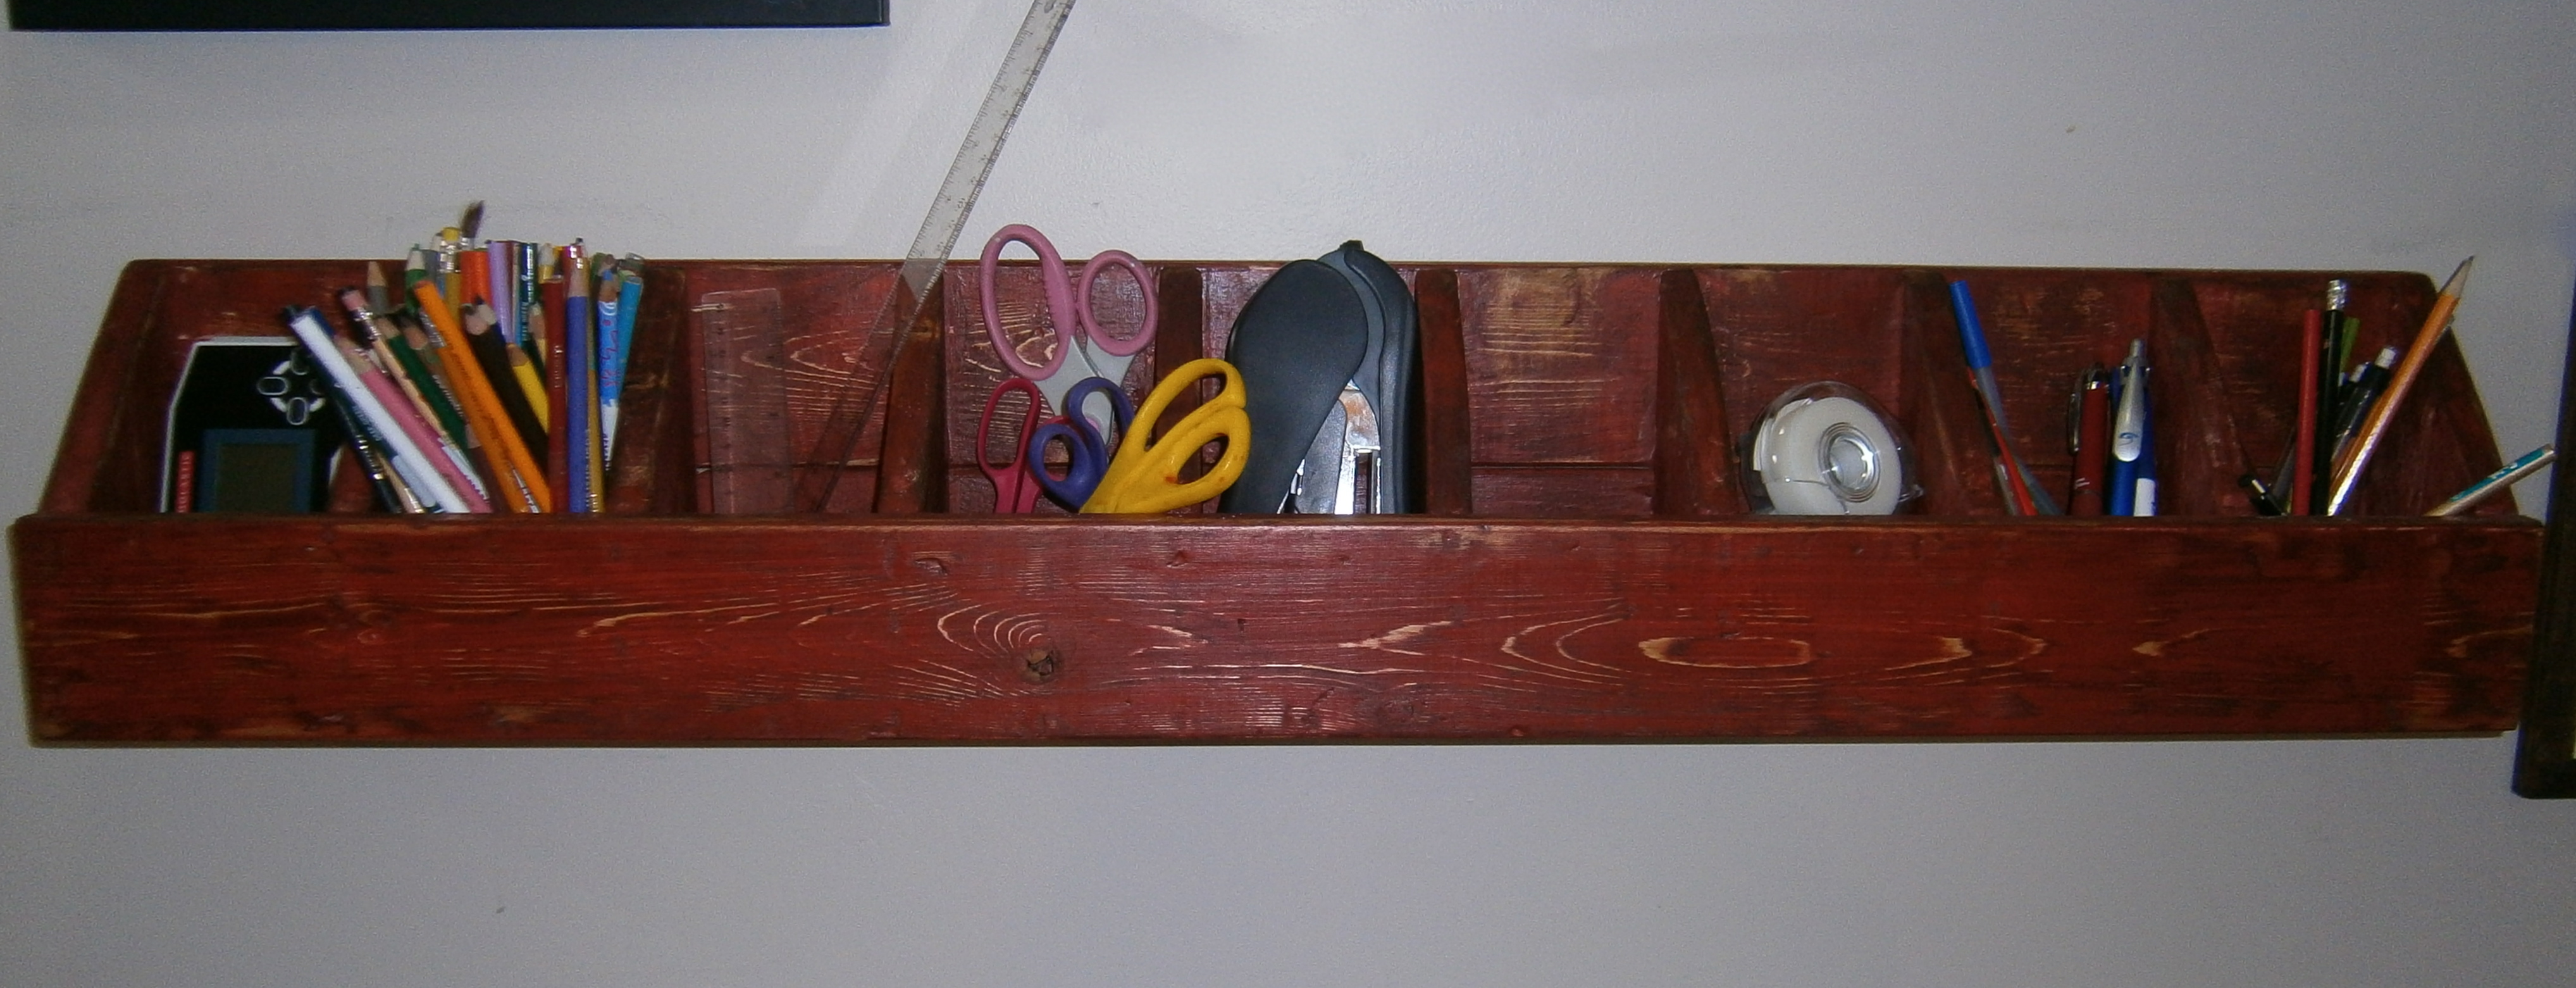
A place for everything and .... everything off the desktop!
Built from Plan(s)
Estimated Time Investment
An Hour or Two (0-2 Hours)
Recommended Skill Level
Starter Project
Comments

The Best Console Table
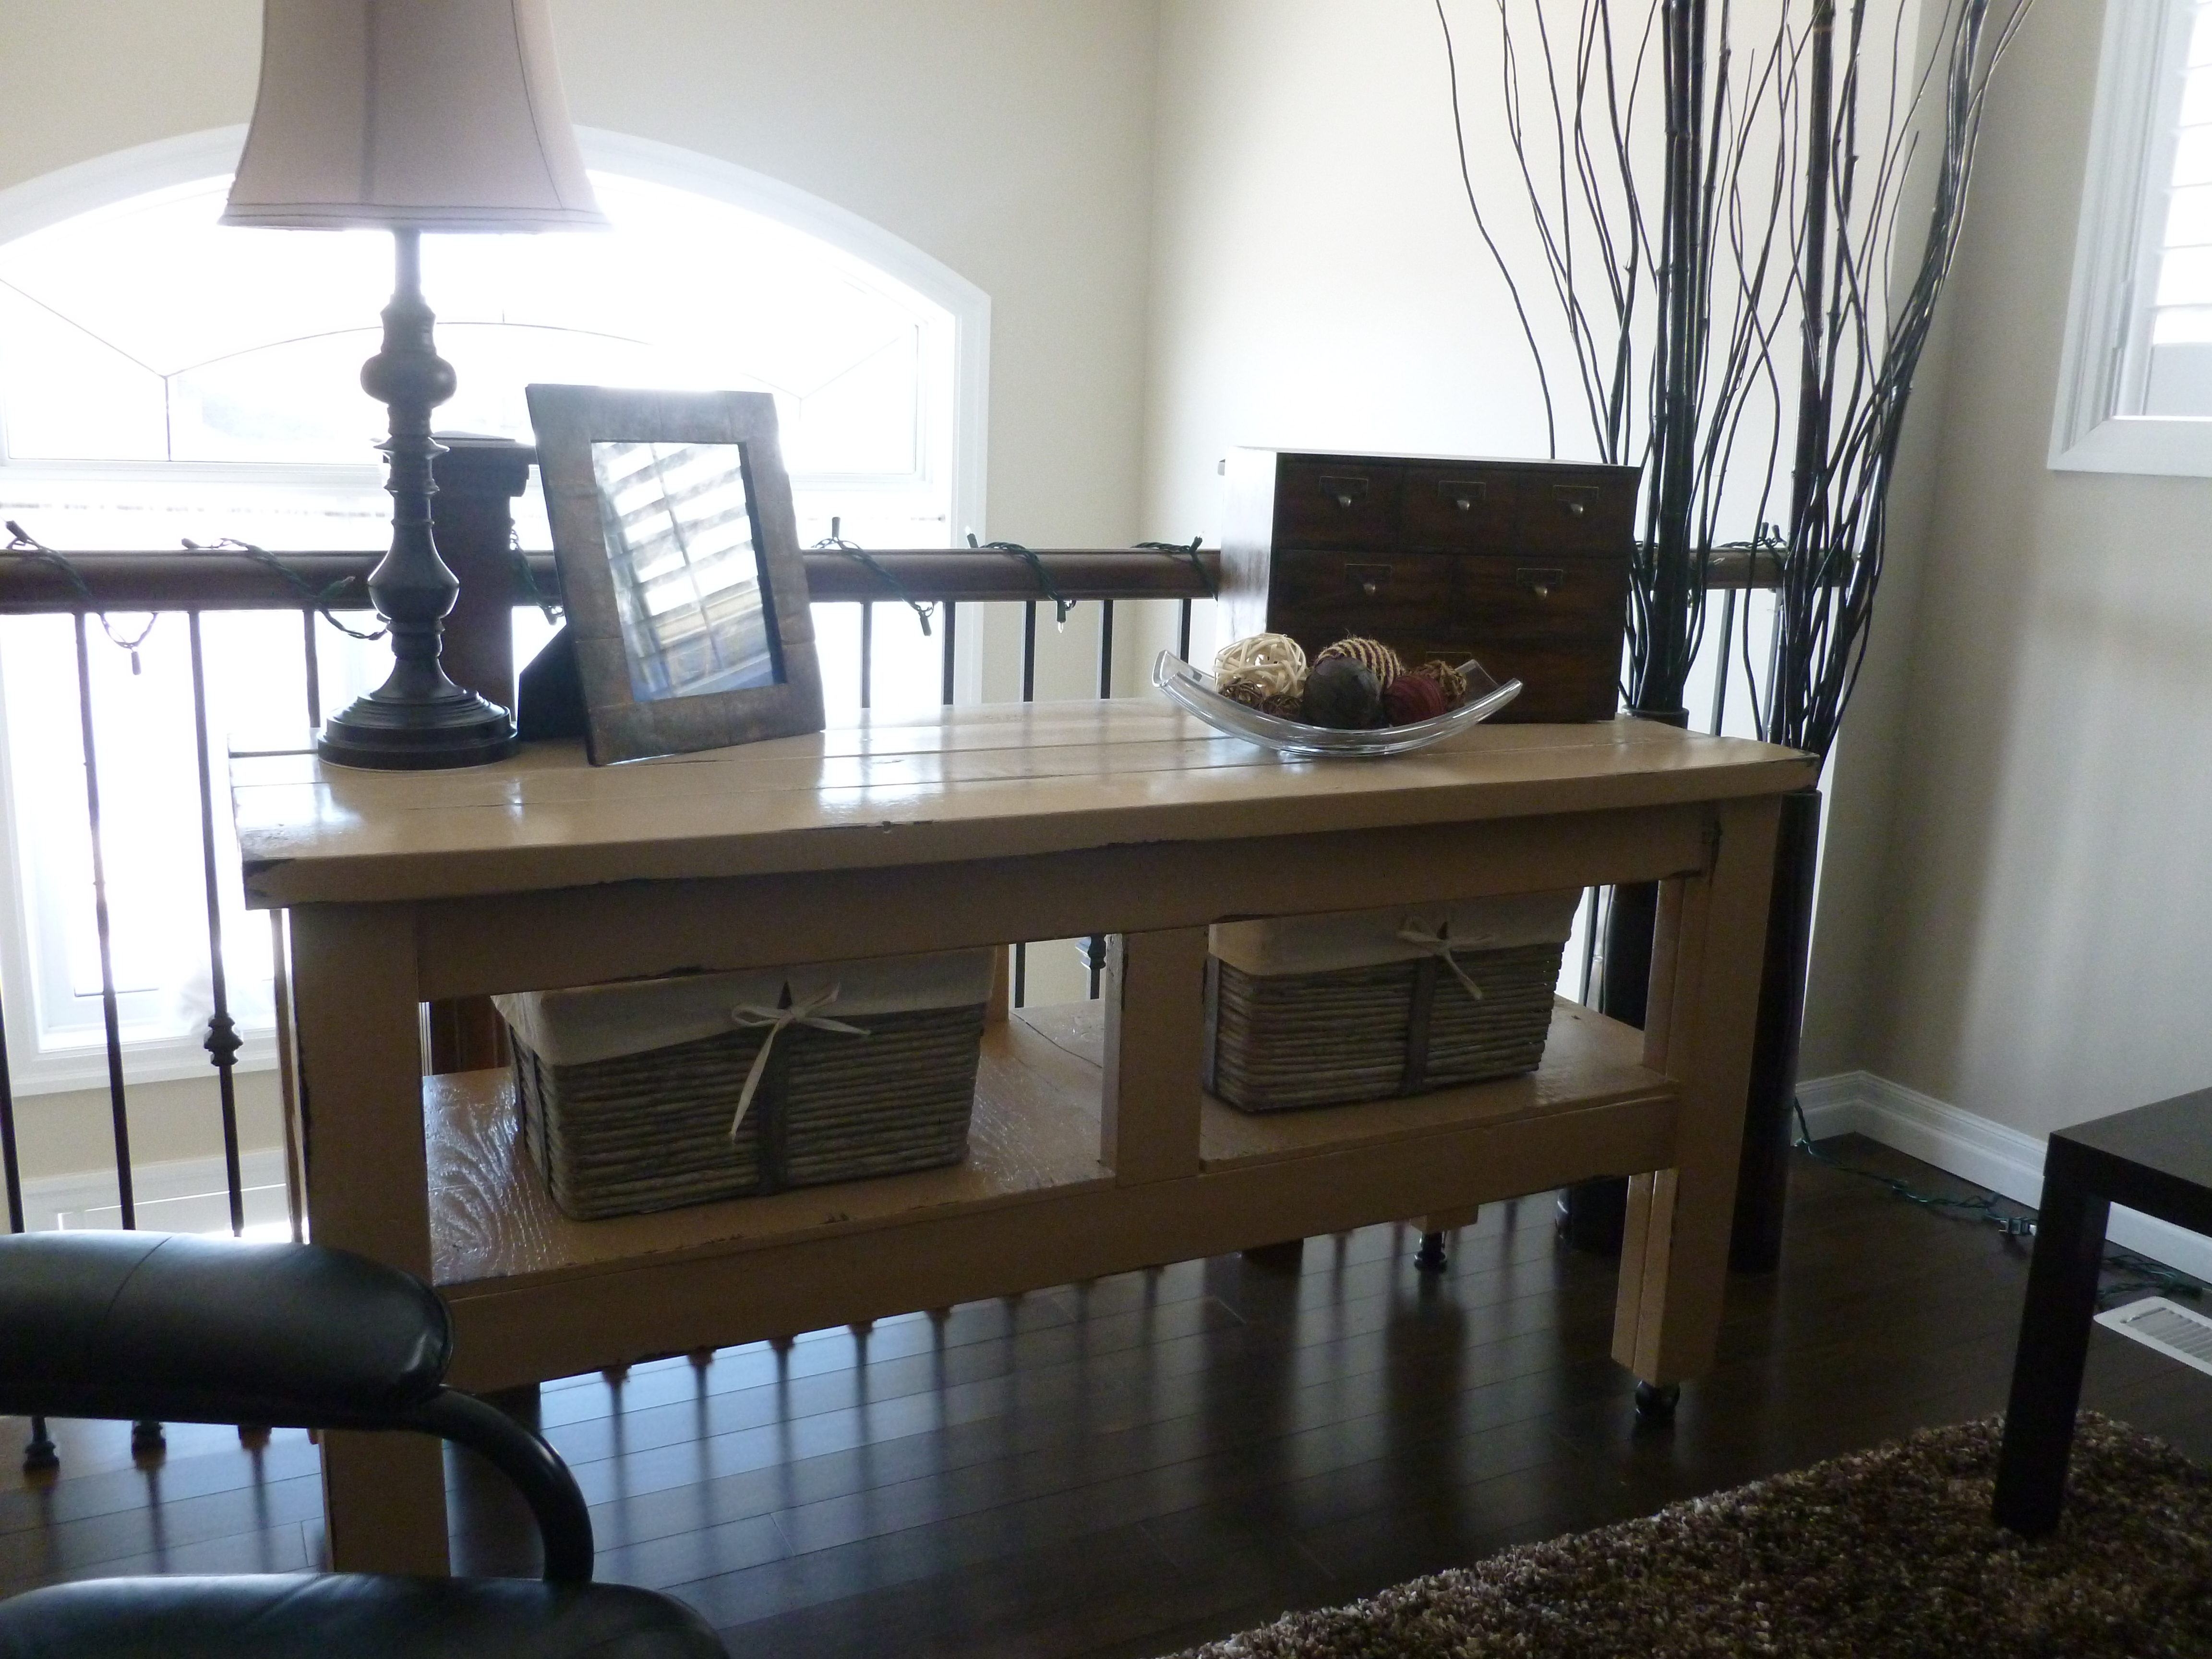
I first saw this project on Shanty-2-Chic's website and fell in love with it. It was my first furniture build. In my area (near Toronto, Ontario, Canada) I couldn't find 4 x 4s unless they were treated. So I used 2 - 2 x 4s instead and made the minor adjustments necessary.
I chose casters that don't rotate but screwed the back two in pointed inward so that my children can't easily move the table around if they are playing near it and bump into it.
This is my favourite piece that I've made so far.
Built from Plan(s)
Estimated Cost
$140
Estimated Time Investment
Day Project (6-9 Hours)
Finish Used
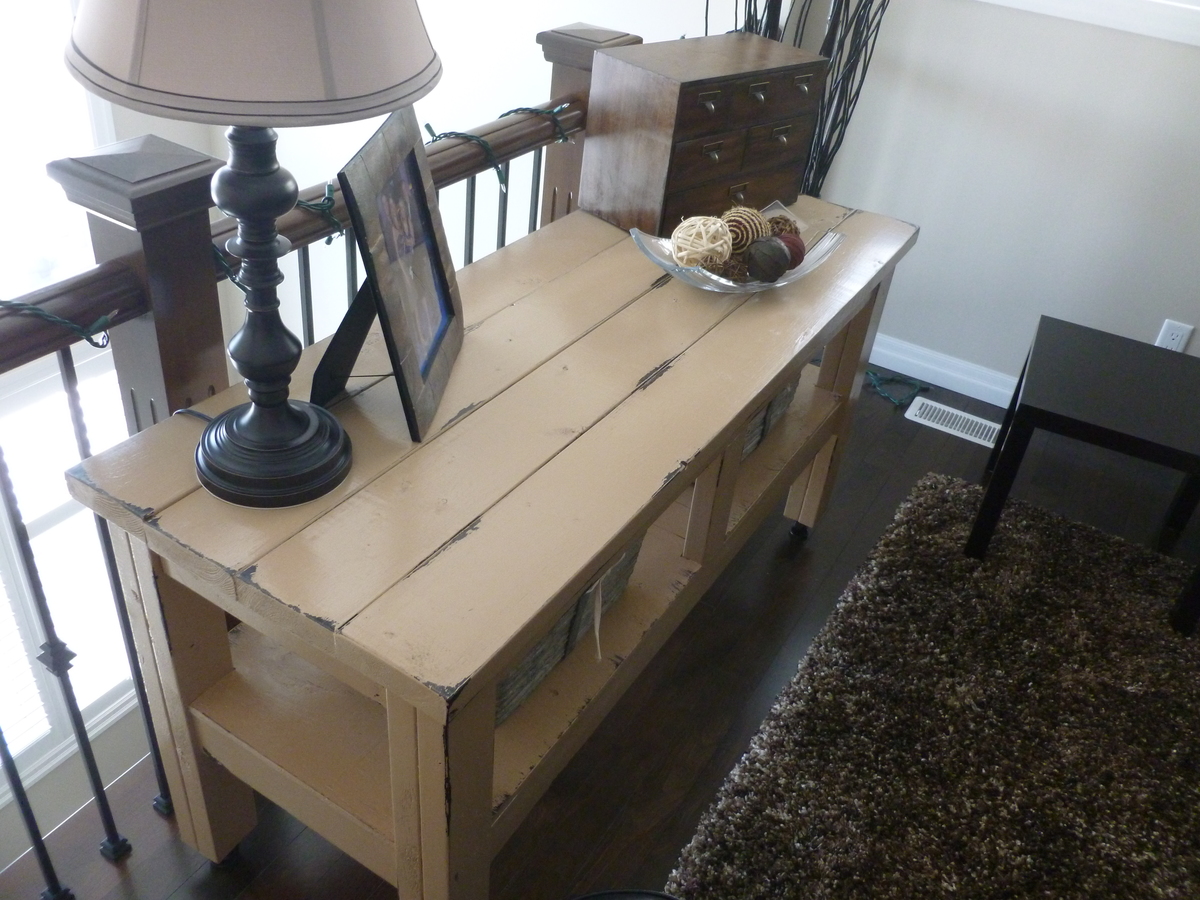
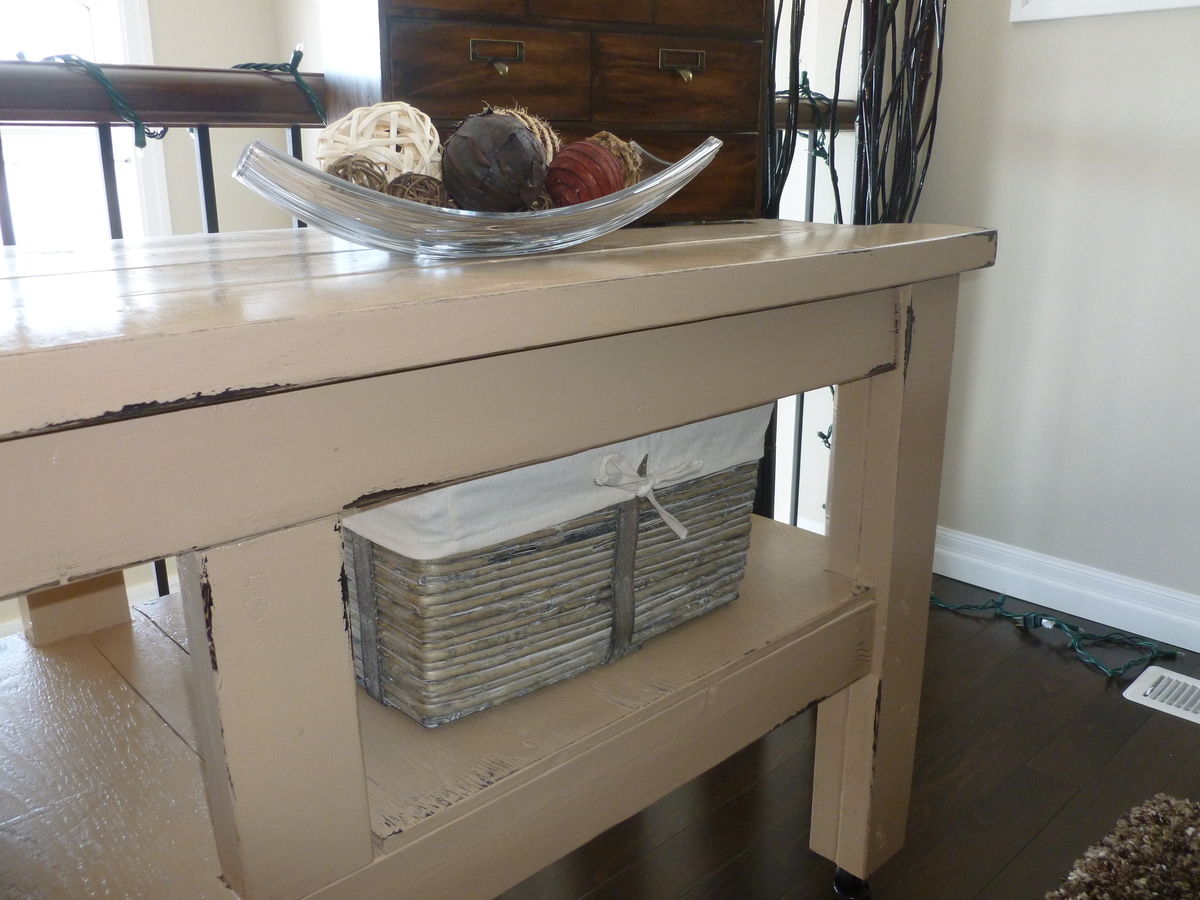
I finished it using the technique from Shanty-2-Chic's website. I spray painted Rustoleum's Dark Walnut on the edges that I wanted to show through the paint. I then lightly rubbed in vaseline on the corners and edges that would naturally show wear over time using my fingers. Then I used 2 coats of Valspar's La Fonda Boulder. After that all dried I lightly sanded over the areas I applied vaseline to reveal the dark spray paint and create a chippy finish. I gave it 1 coat of poly to seal it.
Recommended Skill Level
Beginner
Farmhouse Table
Rustic Farmhouse Table with Pocket Holes, adjusted to 6'

Built from Plan(s)
Estimated Cost
$150 Canadian
Estimated Time Investment
Weekend Project (10-20 Hours)
Finish Used
Special Walnut, Minwax
Recommended Skill Level
Beginner
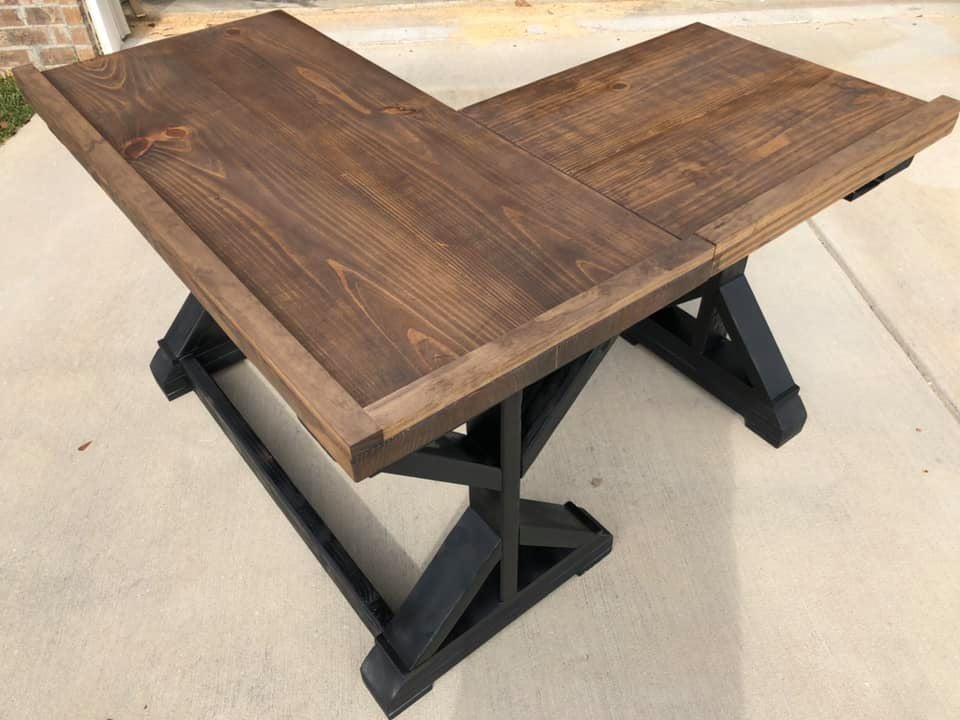
Fancy X Corner Desk
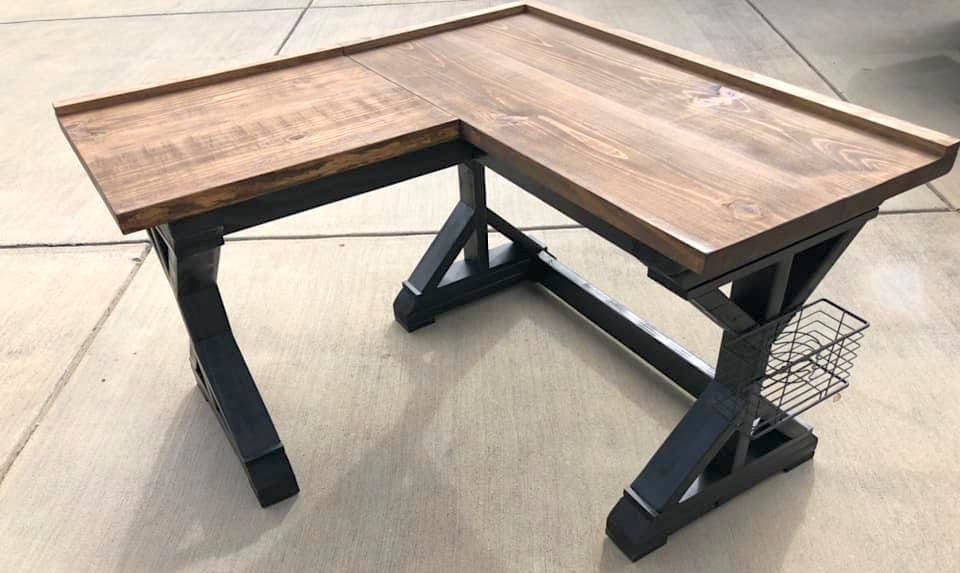
I used the Fancy X Desk plans then made half a desk as a side wing in order to make it fit a corner. I made this for a niece who goes off to college next year, so I made the extra side to be detachable in case she wants to take the table or desk with her but has limited room.
Built from Plan(s)
Estimated Cost
Less than $100
Finish Used
Dark Walnut stain on the top and semi gloss black spray paint on the bottom.
Recommended Skill Level
Intermediate
DIY Baby Changing Station
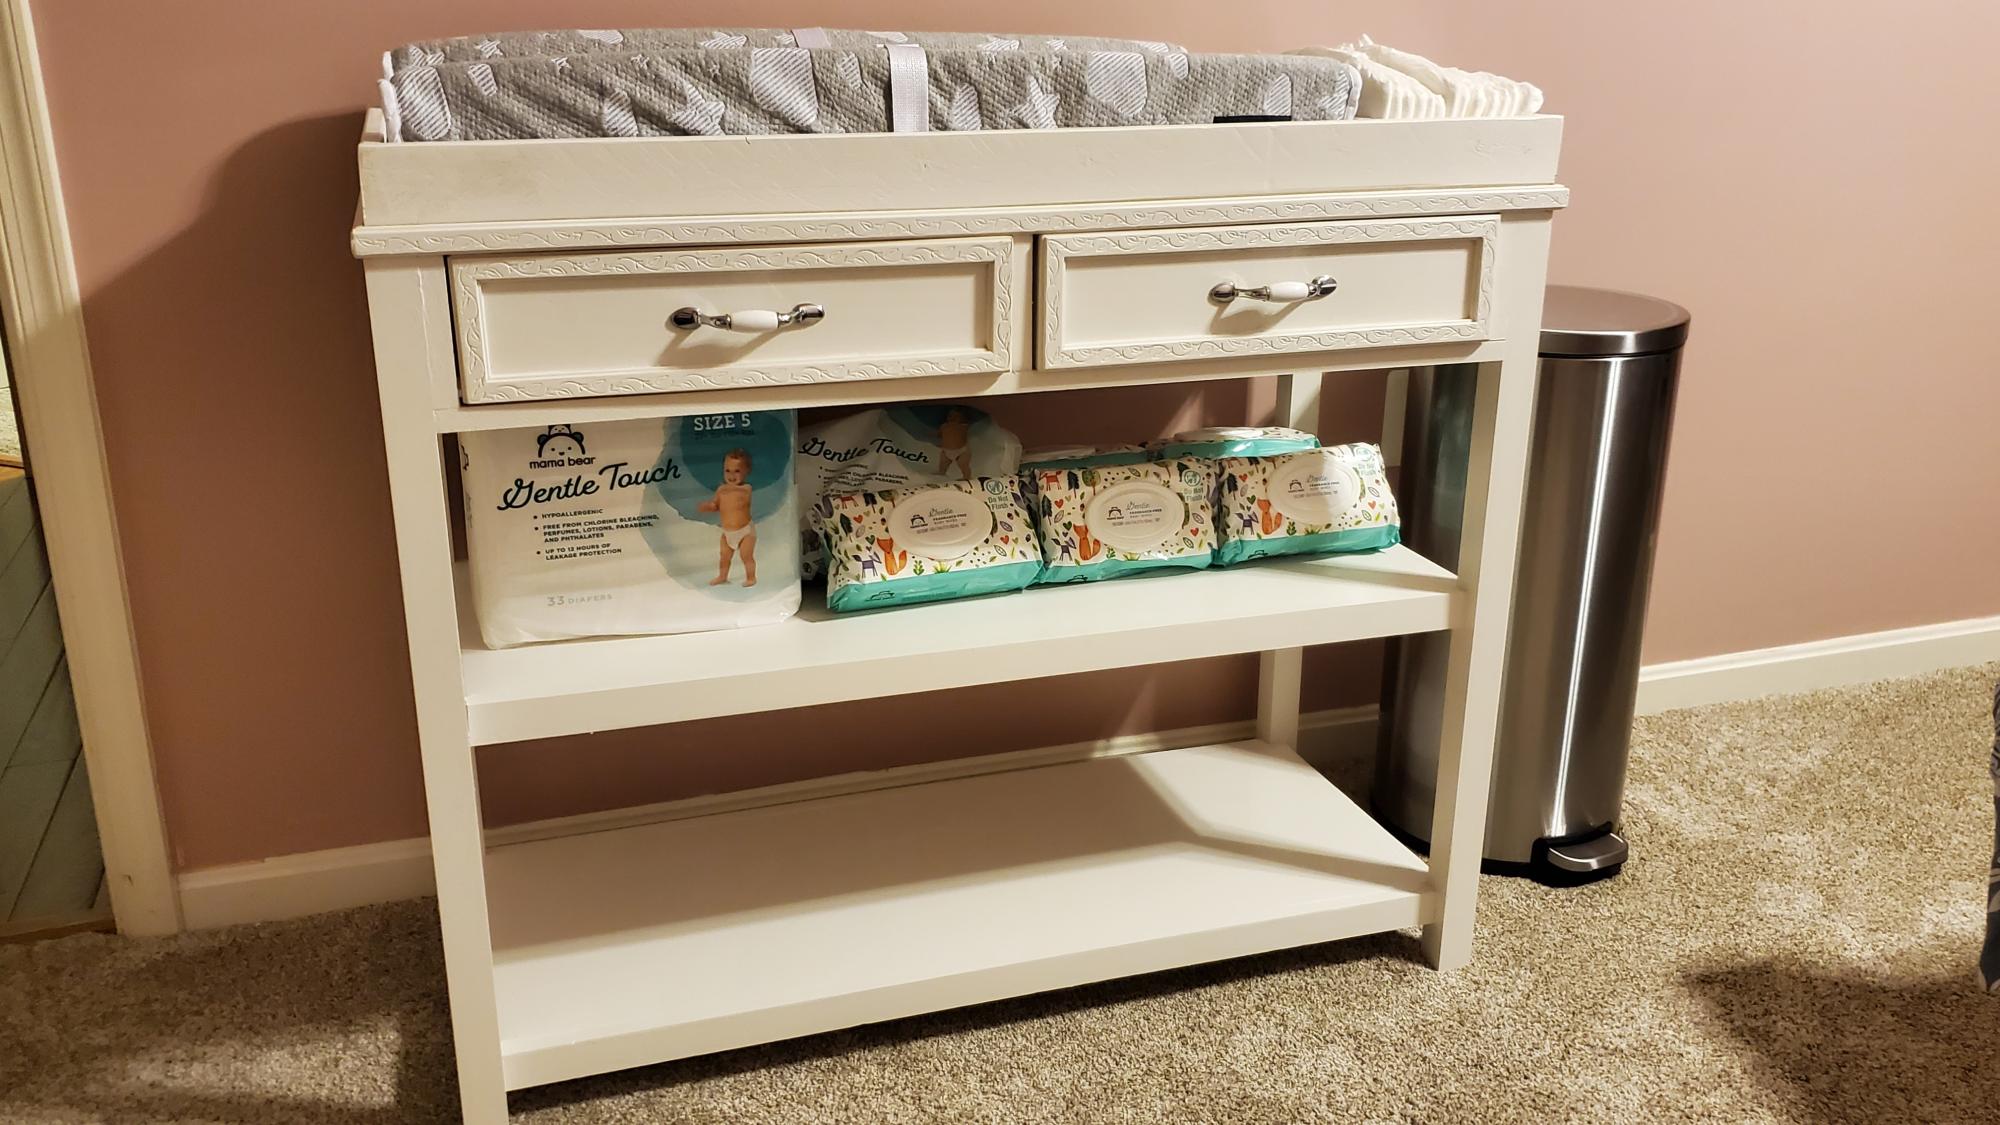
Ultimate baby changing table. Made for new granddaughter who just return from Germany with her soldier daddy and mommy. Thanks to Ana and Jen for plans and emails.
Built from Plan(s)
Picture ledge

The first one is in place - more to come!
Built from Plan(s)
Estimated Time Investment
An Hour or Two (0-2 Hours)
Finish Used
Paint.
Recommended Skill Level
Beginner
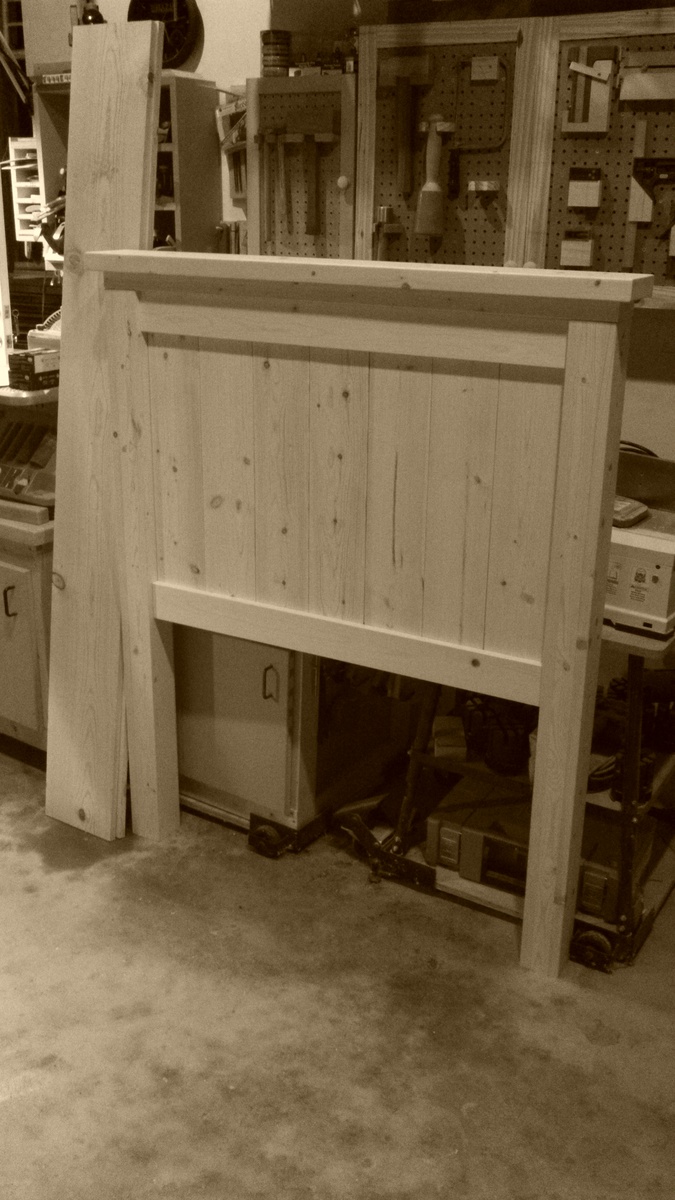
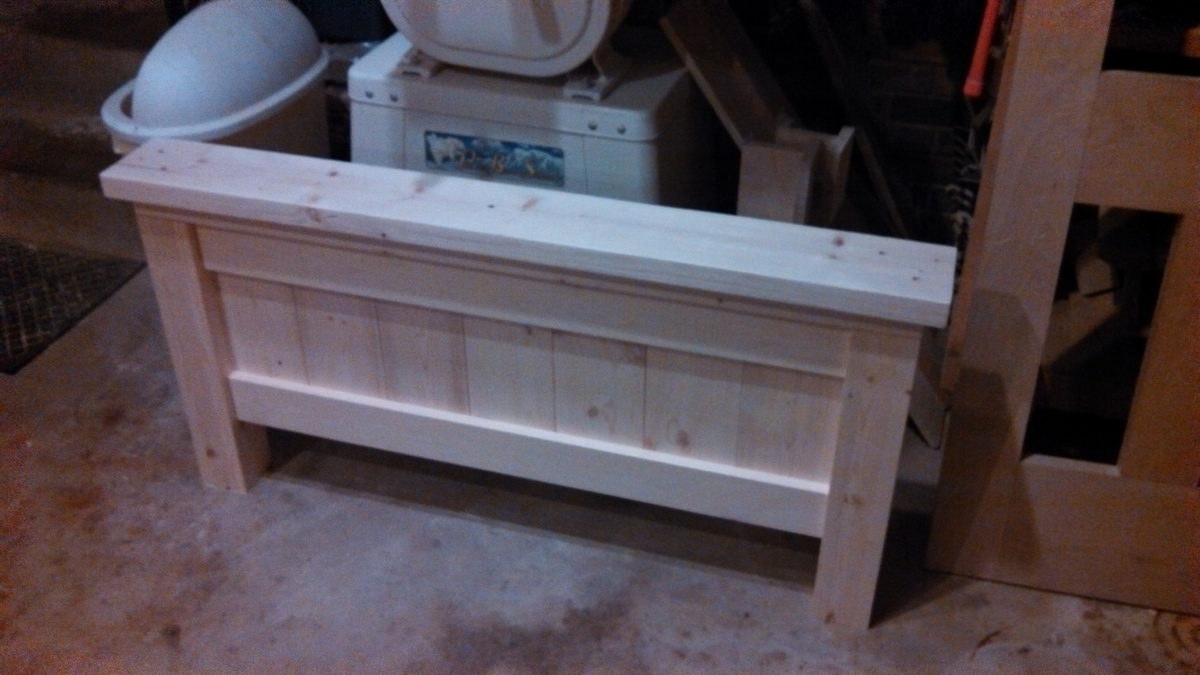
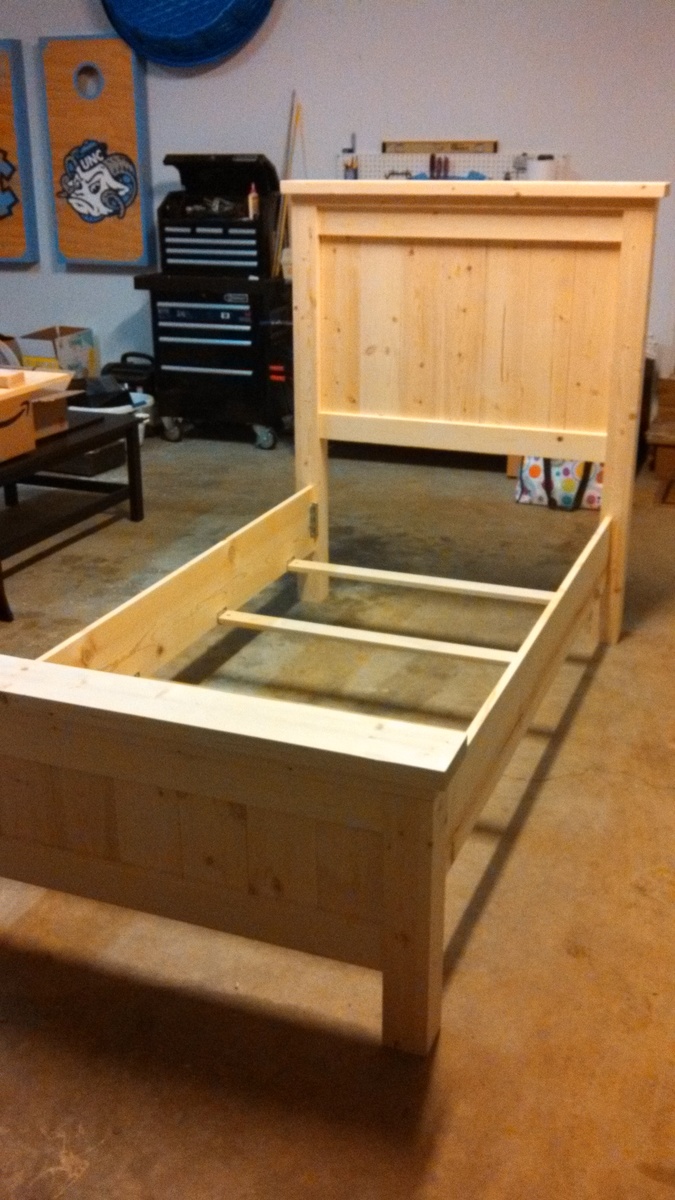
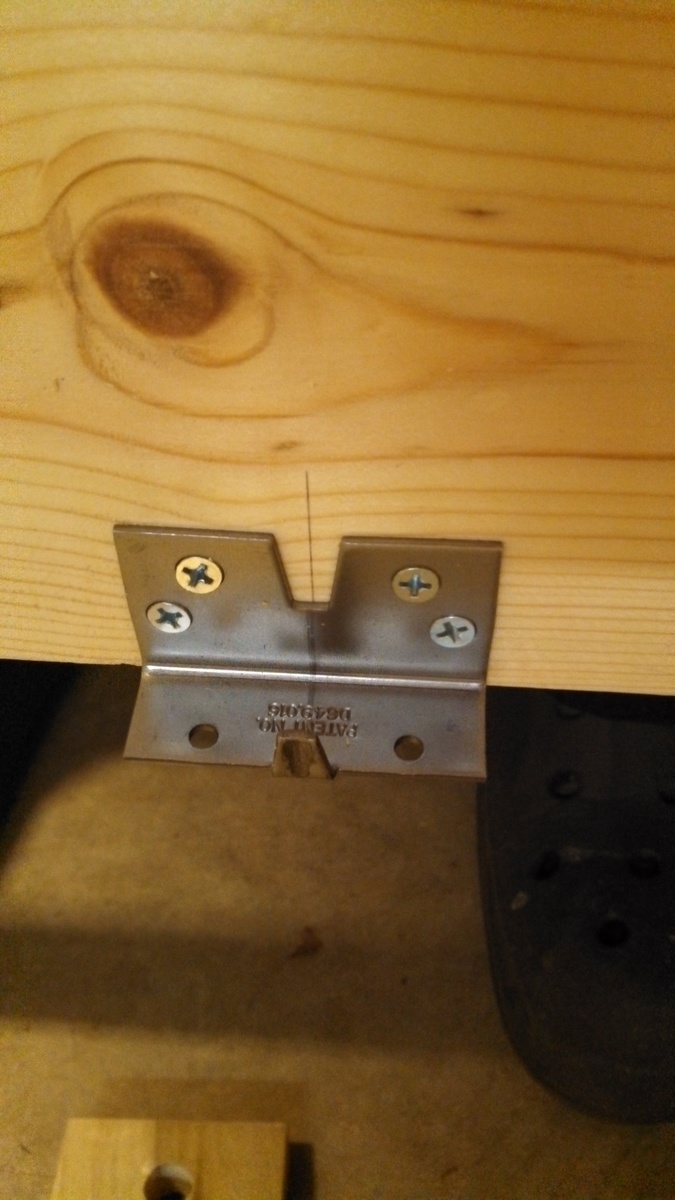
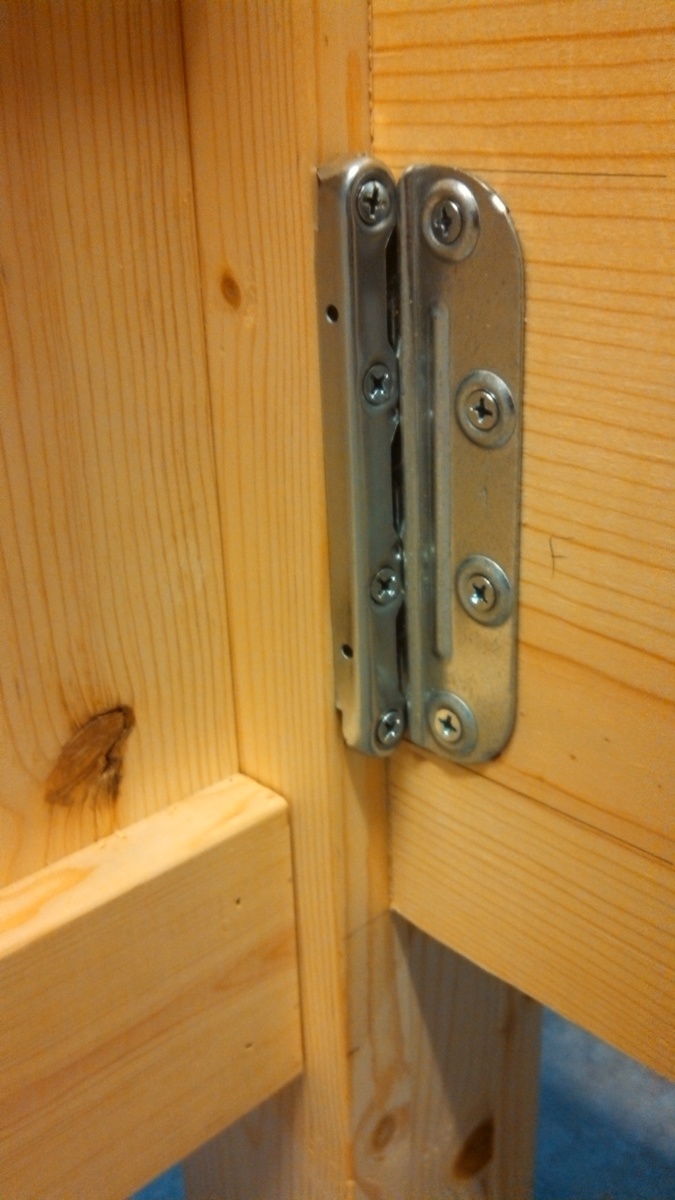
Twin Farmhouse Bed
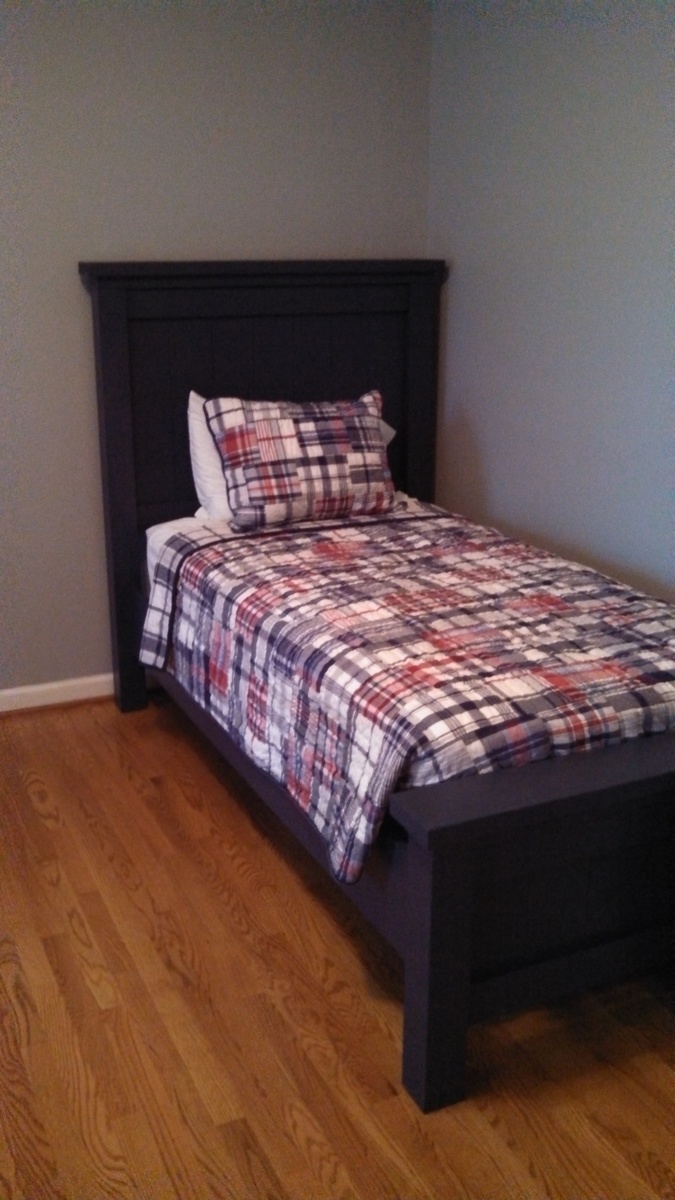
My dad and I built this twin farmhouse bed for my three-year-old son. I used no-mortise bed brackets from Rockler Woodworking and modified the plan by adding slat brackets mounted directly to the rails with 1x3 slats.
Built from Plan(s)
Estimated Cost
$250
Estimated Time Investment
Day Project (6-9 Hours)
Finish Used
Sherwin-Williams 'Naval' in satin finish (three coats).
Recommended Skill Level
Beginner
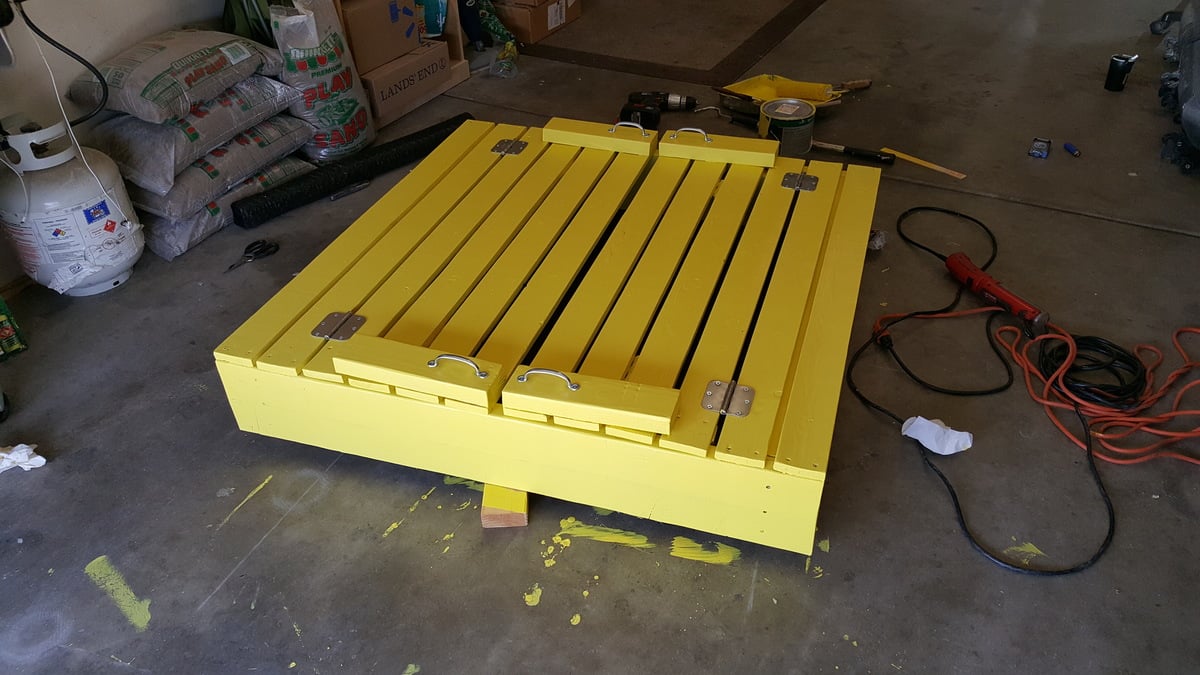
Sandbox with bench
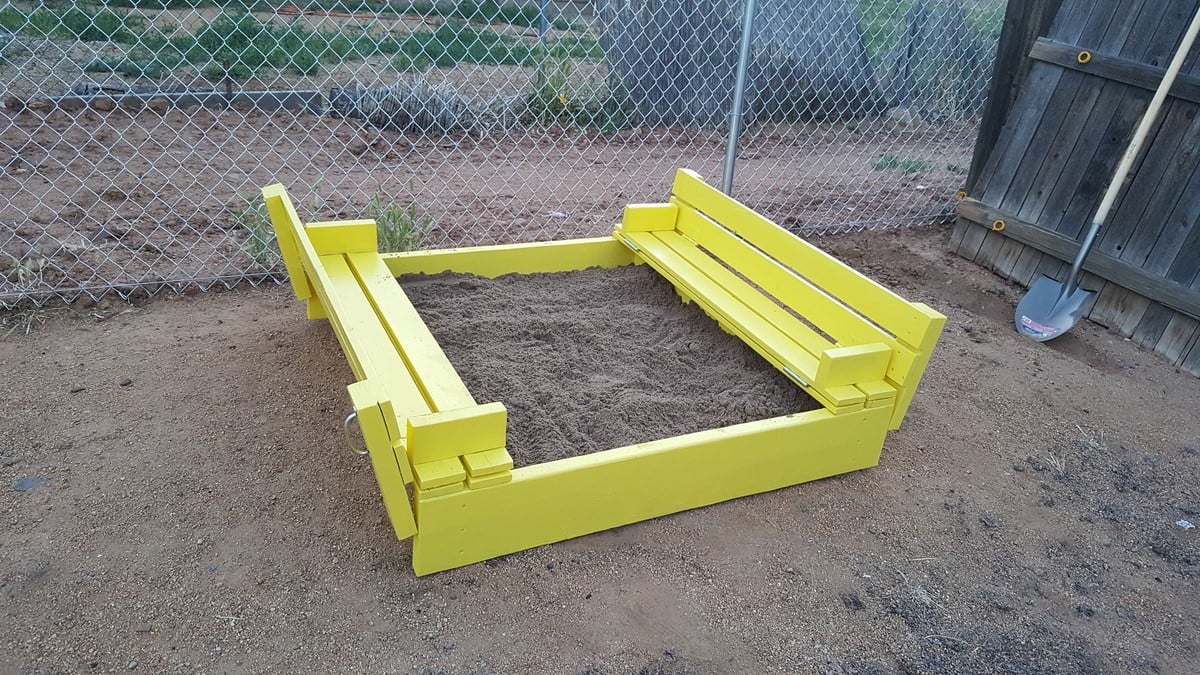
Daughters friend has a store bought plastic sandbox and my daughter asked if I could build one. This is what I built.
Built from Plan(s)
Estimated Time Investment
Afternoon Project (3-6 Hours)
Recommended Skill Level
Starter Project
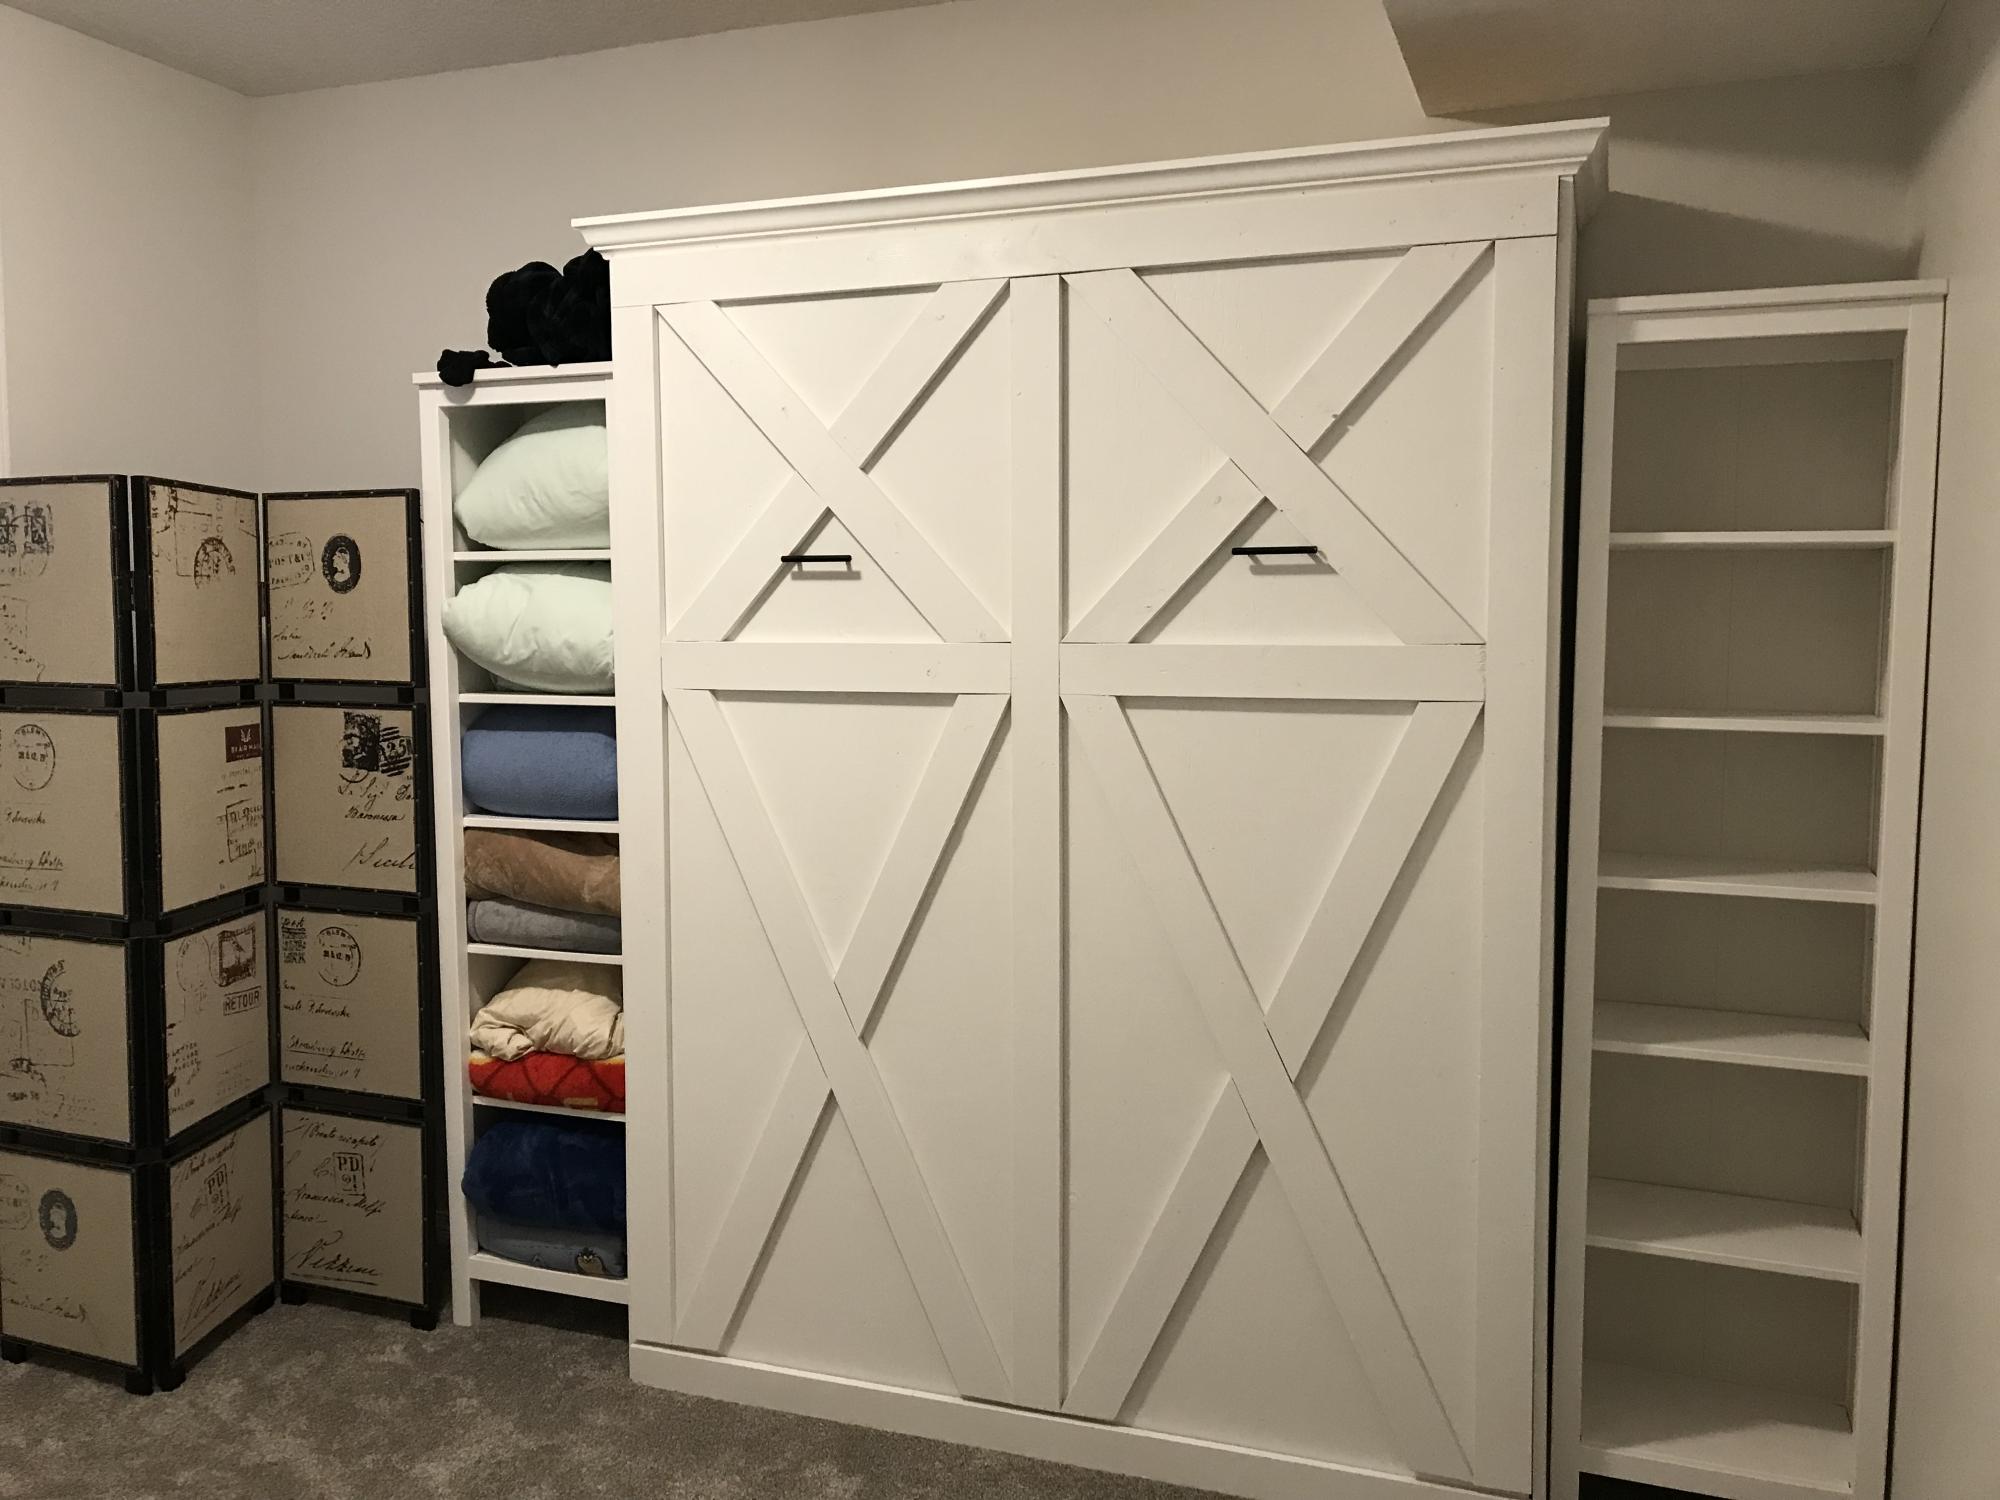
Barn Door Console with Shelf and Drawers
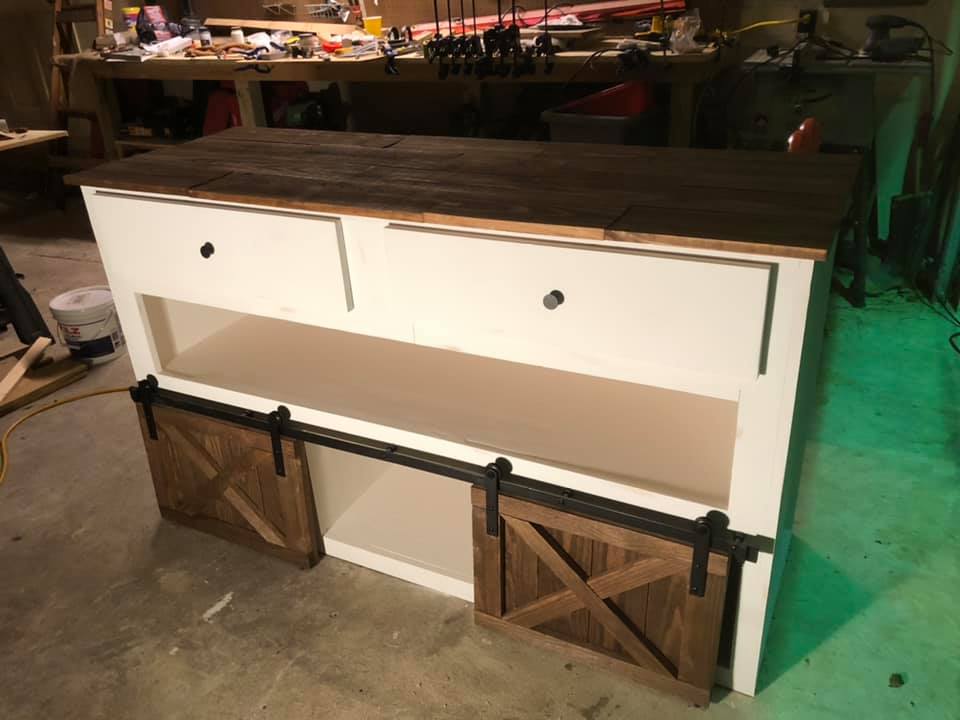
Built by Christ Rutledge
Built from Plan(s)

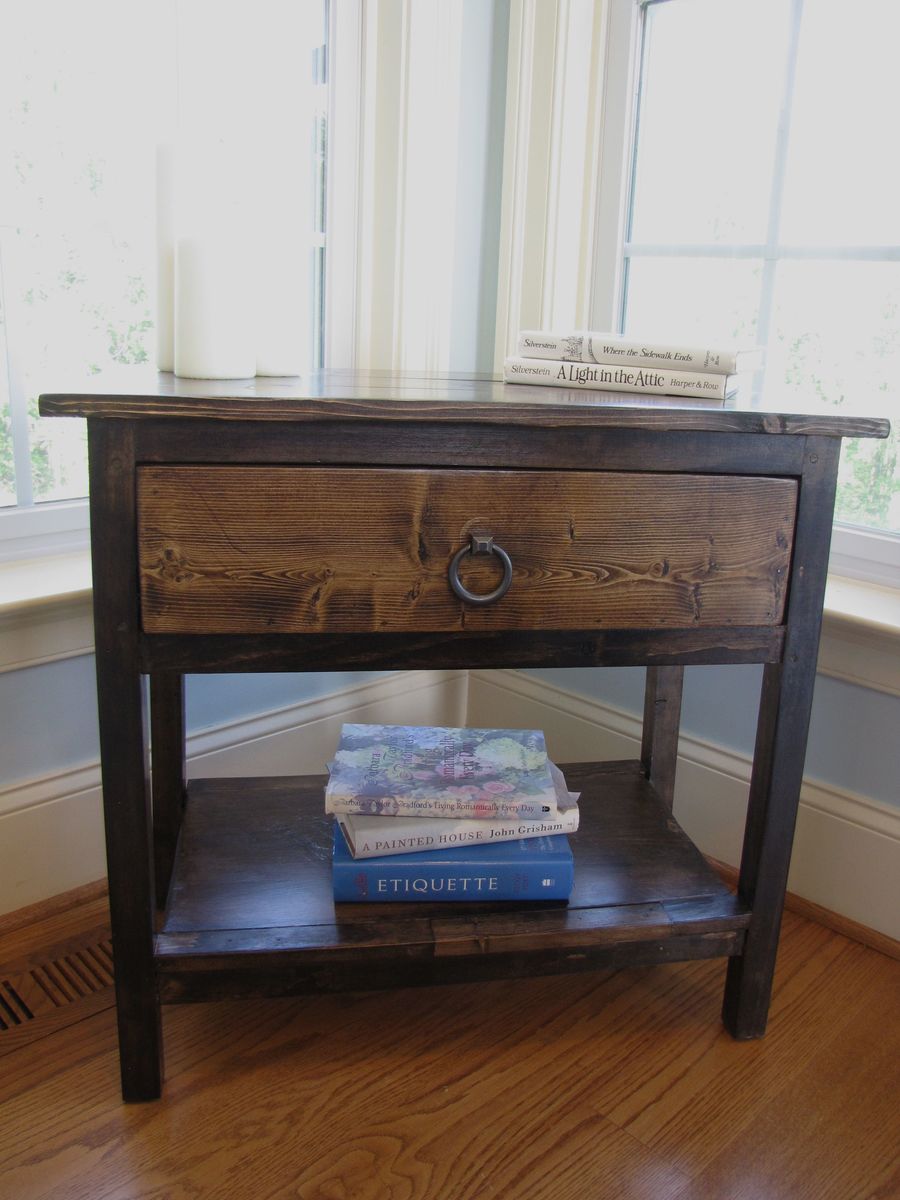
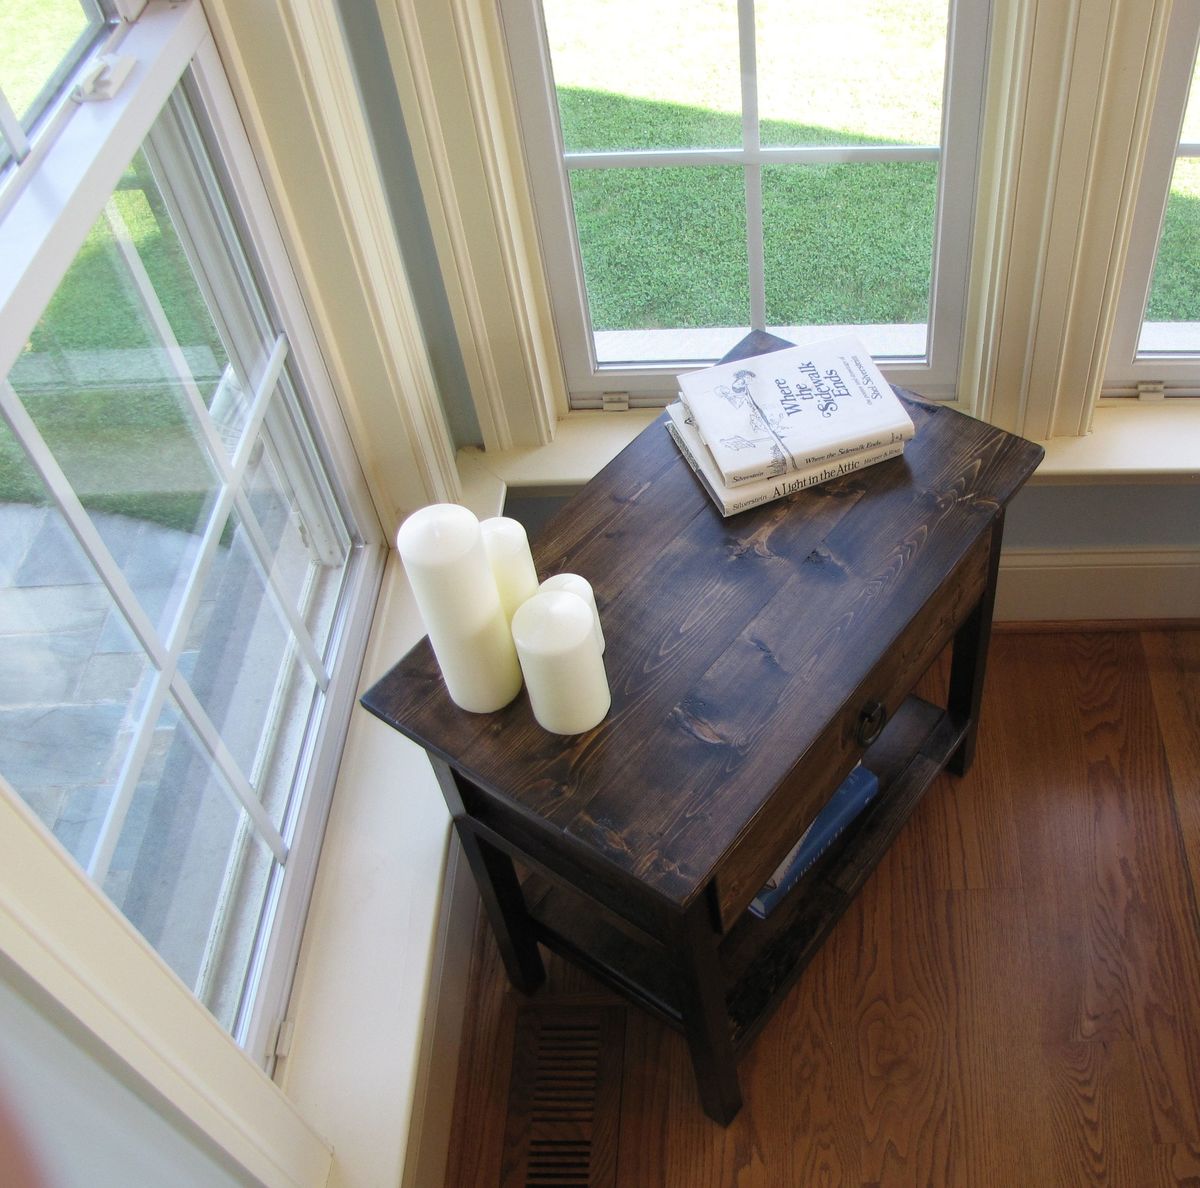
Farmhouse Side Table
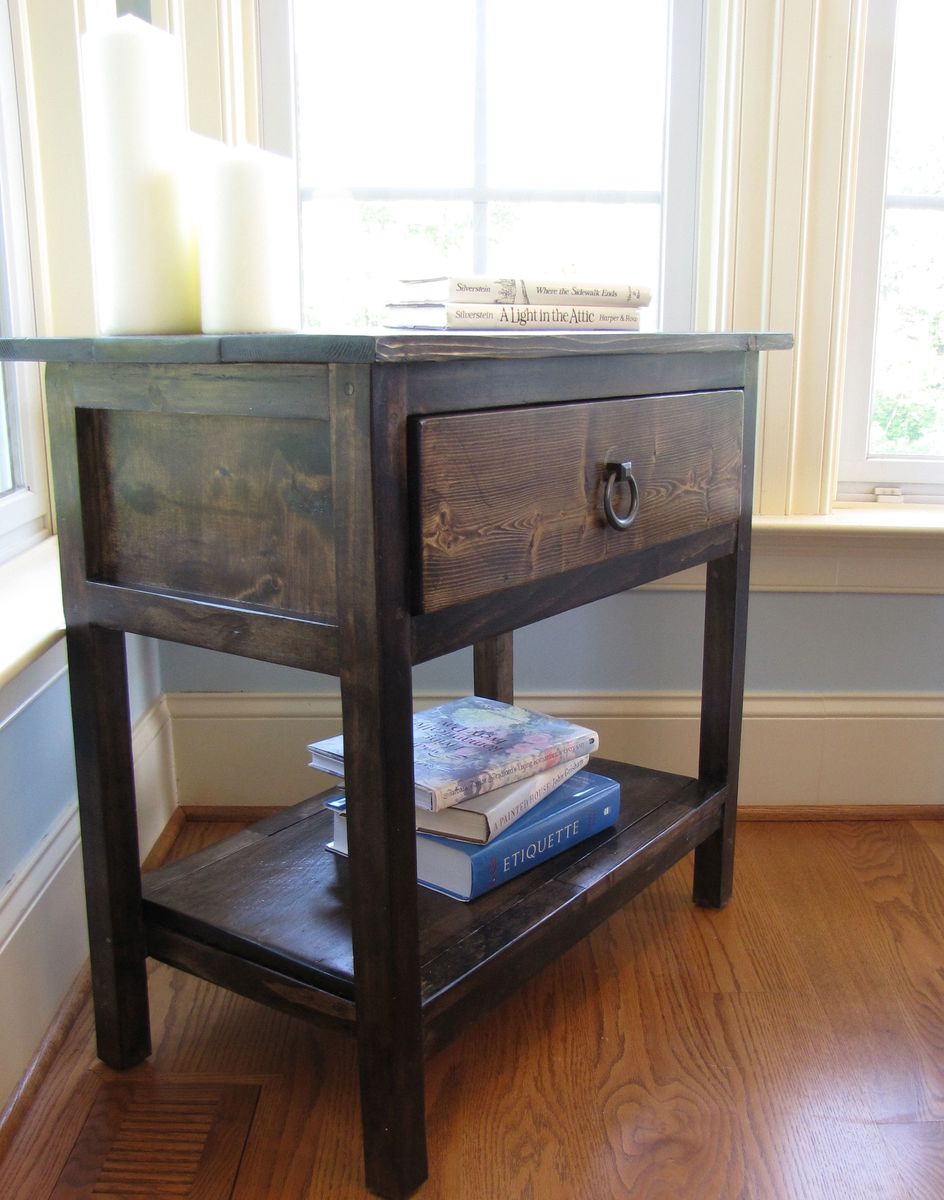
I decided to build this bedside table for a friend of mine who just graduated from college as a special graduation gift. I thought it was a beautiful plan, and knew she would love it. This table was fairly easy to build and easy to finish. I ran into problems with the shelf, at first I decided to just add 1x2's around the bottom, but didn't like that and then built the shelf with a "frame" around it. It turned out nice, I hope she likes it.
Built from Plan(s)
Estimated Cost
About $100 for all the wood and finishing products. I used no scraps
Estimated Time Investment
Weekend Project (10-20 Hours)
Finish Used
Minwax Providence and Ebony mix. 3 to 1. Four coats of Poly-acrylic.
Recommended Skill Level
Beginner
Comments
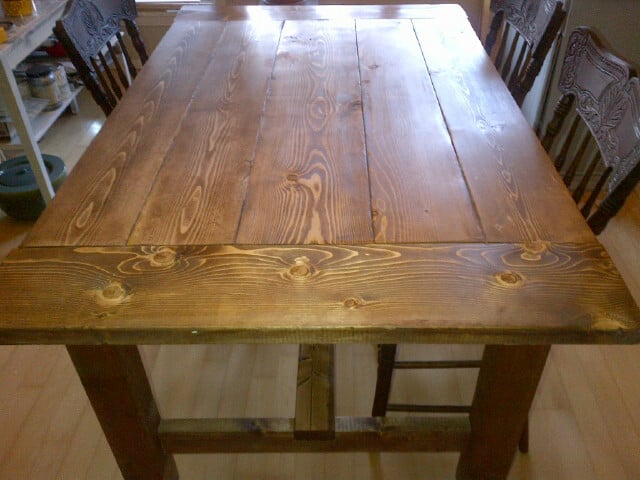
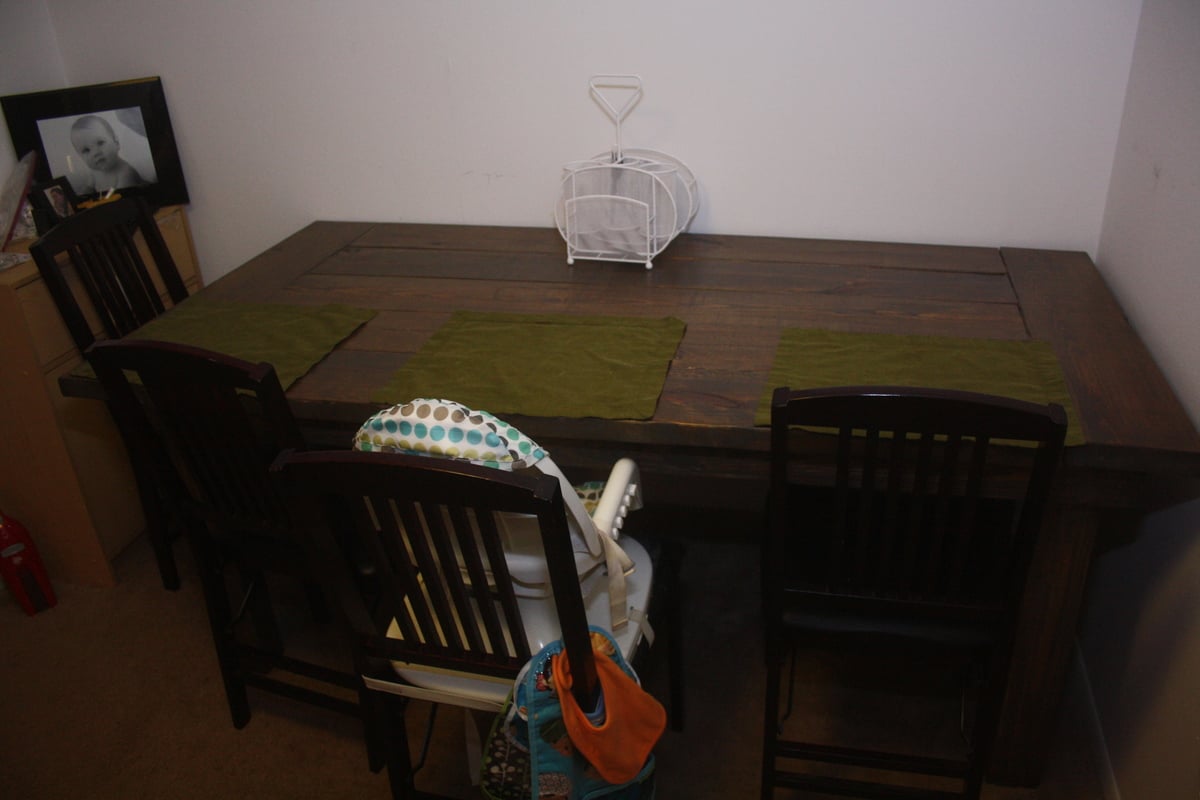
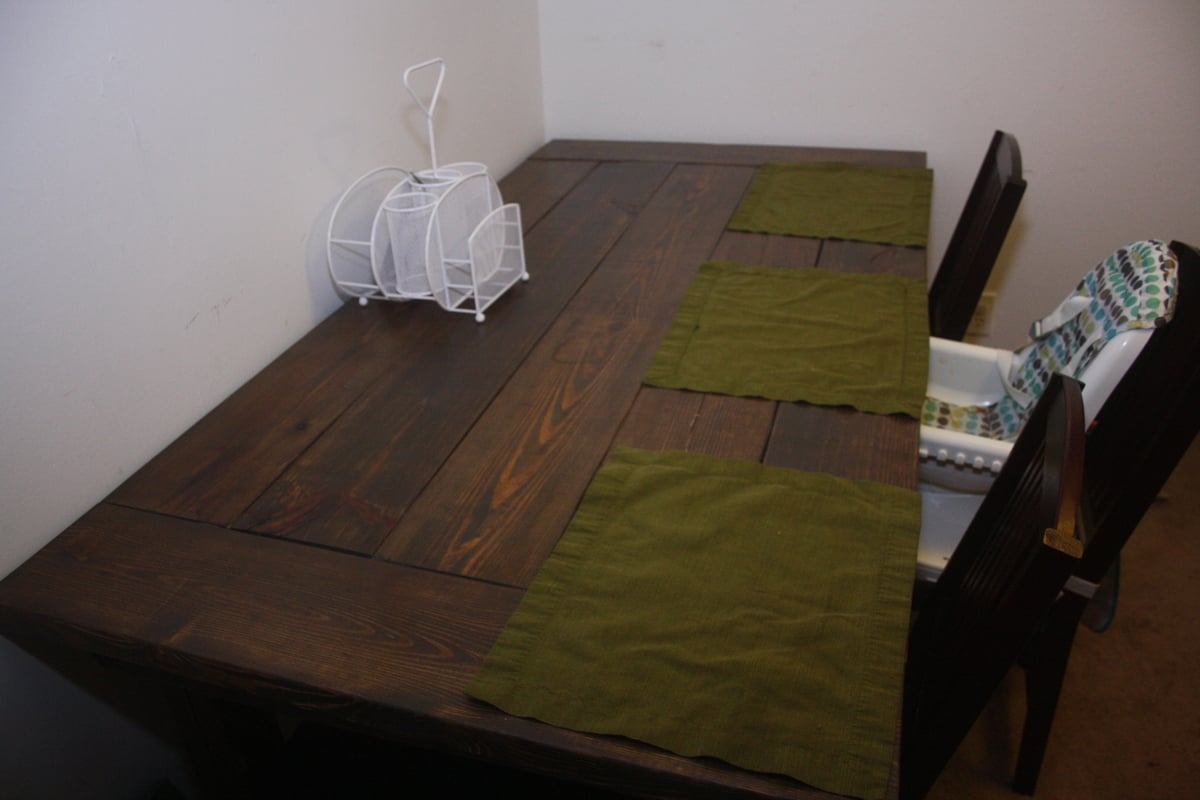
Rustic Farm Table

We needed a sturdy table that we could put our son up to. We looked around at a few different options and discovered this plan that we could build on our own for the same price it would have cost us to buy a used table. I have built a few small things like a bookshelf and a headboard, but this is by far the biggest project I have ever done. It took about 5 hours on a Friday afternoon and about 8 hours on a Saturday to get the construction and first coat of stain on. After that we put 3 coats of a satin polyurethane on over the course of the next several days. We are really happy with how this turned out and it was a relatively simple project.
Estimated Cost
$150 including extra stains for testing.
Estimated Time Investment
Week Long Project (20 Hours or More)
Finish Used
Before applying any stain or conditioner, we took several tools and distressed the top. We put Minwax quick-drying preconditioner on before using any stain. We used a weathered grey stain first, wiping it off almost immediately. We immediately followed that by using a dark walnut that we left on for about 5-7 minutes before wiping off. After the stain dried we applied 3 coats of satin polyurethane, sanding with a finishing paper between each coat. We applied all the products with foam brushes.
Recommended Skill Level
Beginner
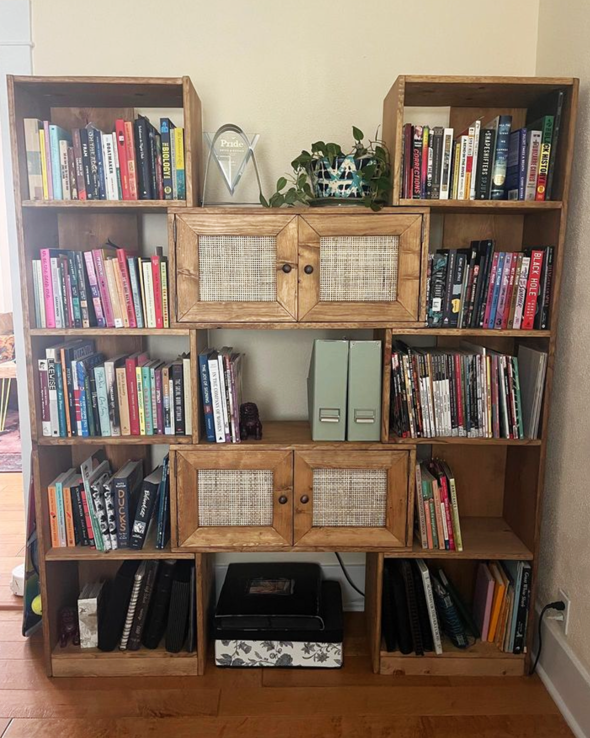
Puzzle Bookshelf

Modern Puzzle Bookcase

Built from Plan(s)
Comments
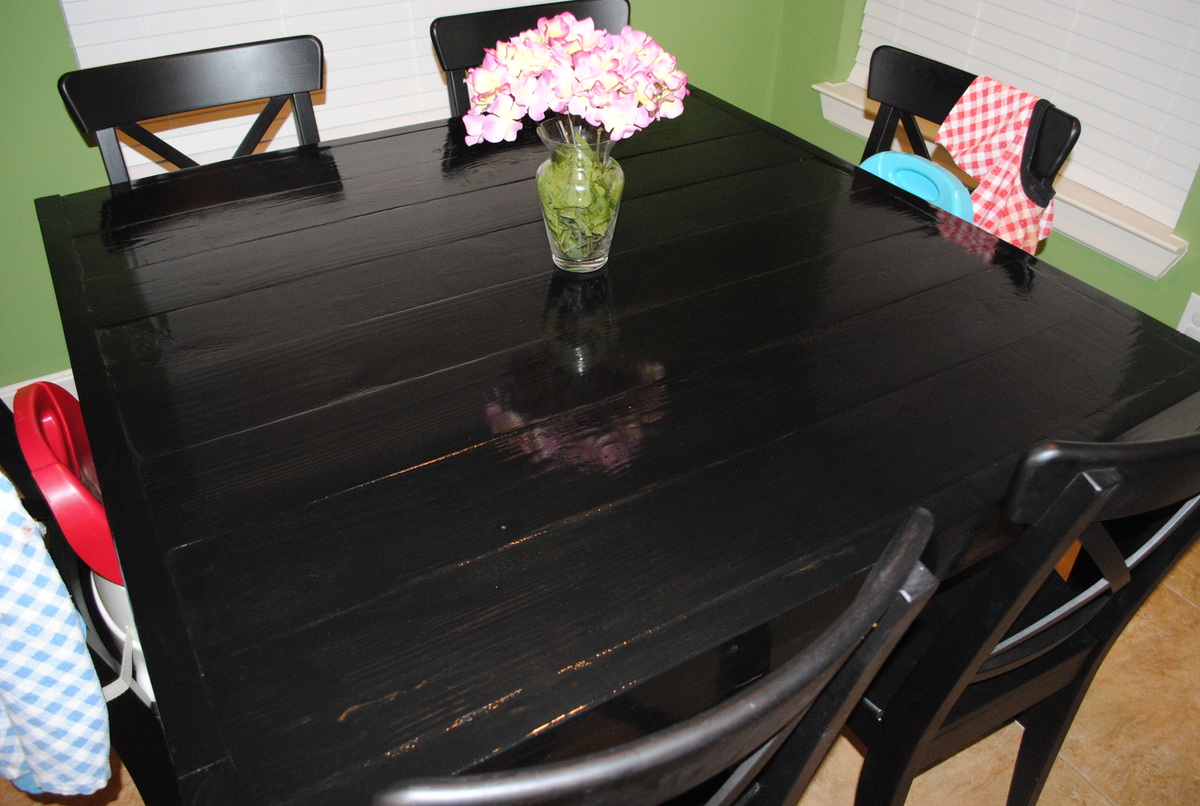
Square Modern Farmhouse table--47 inches
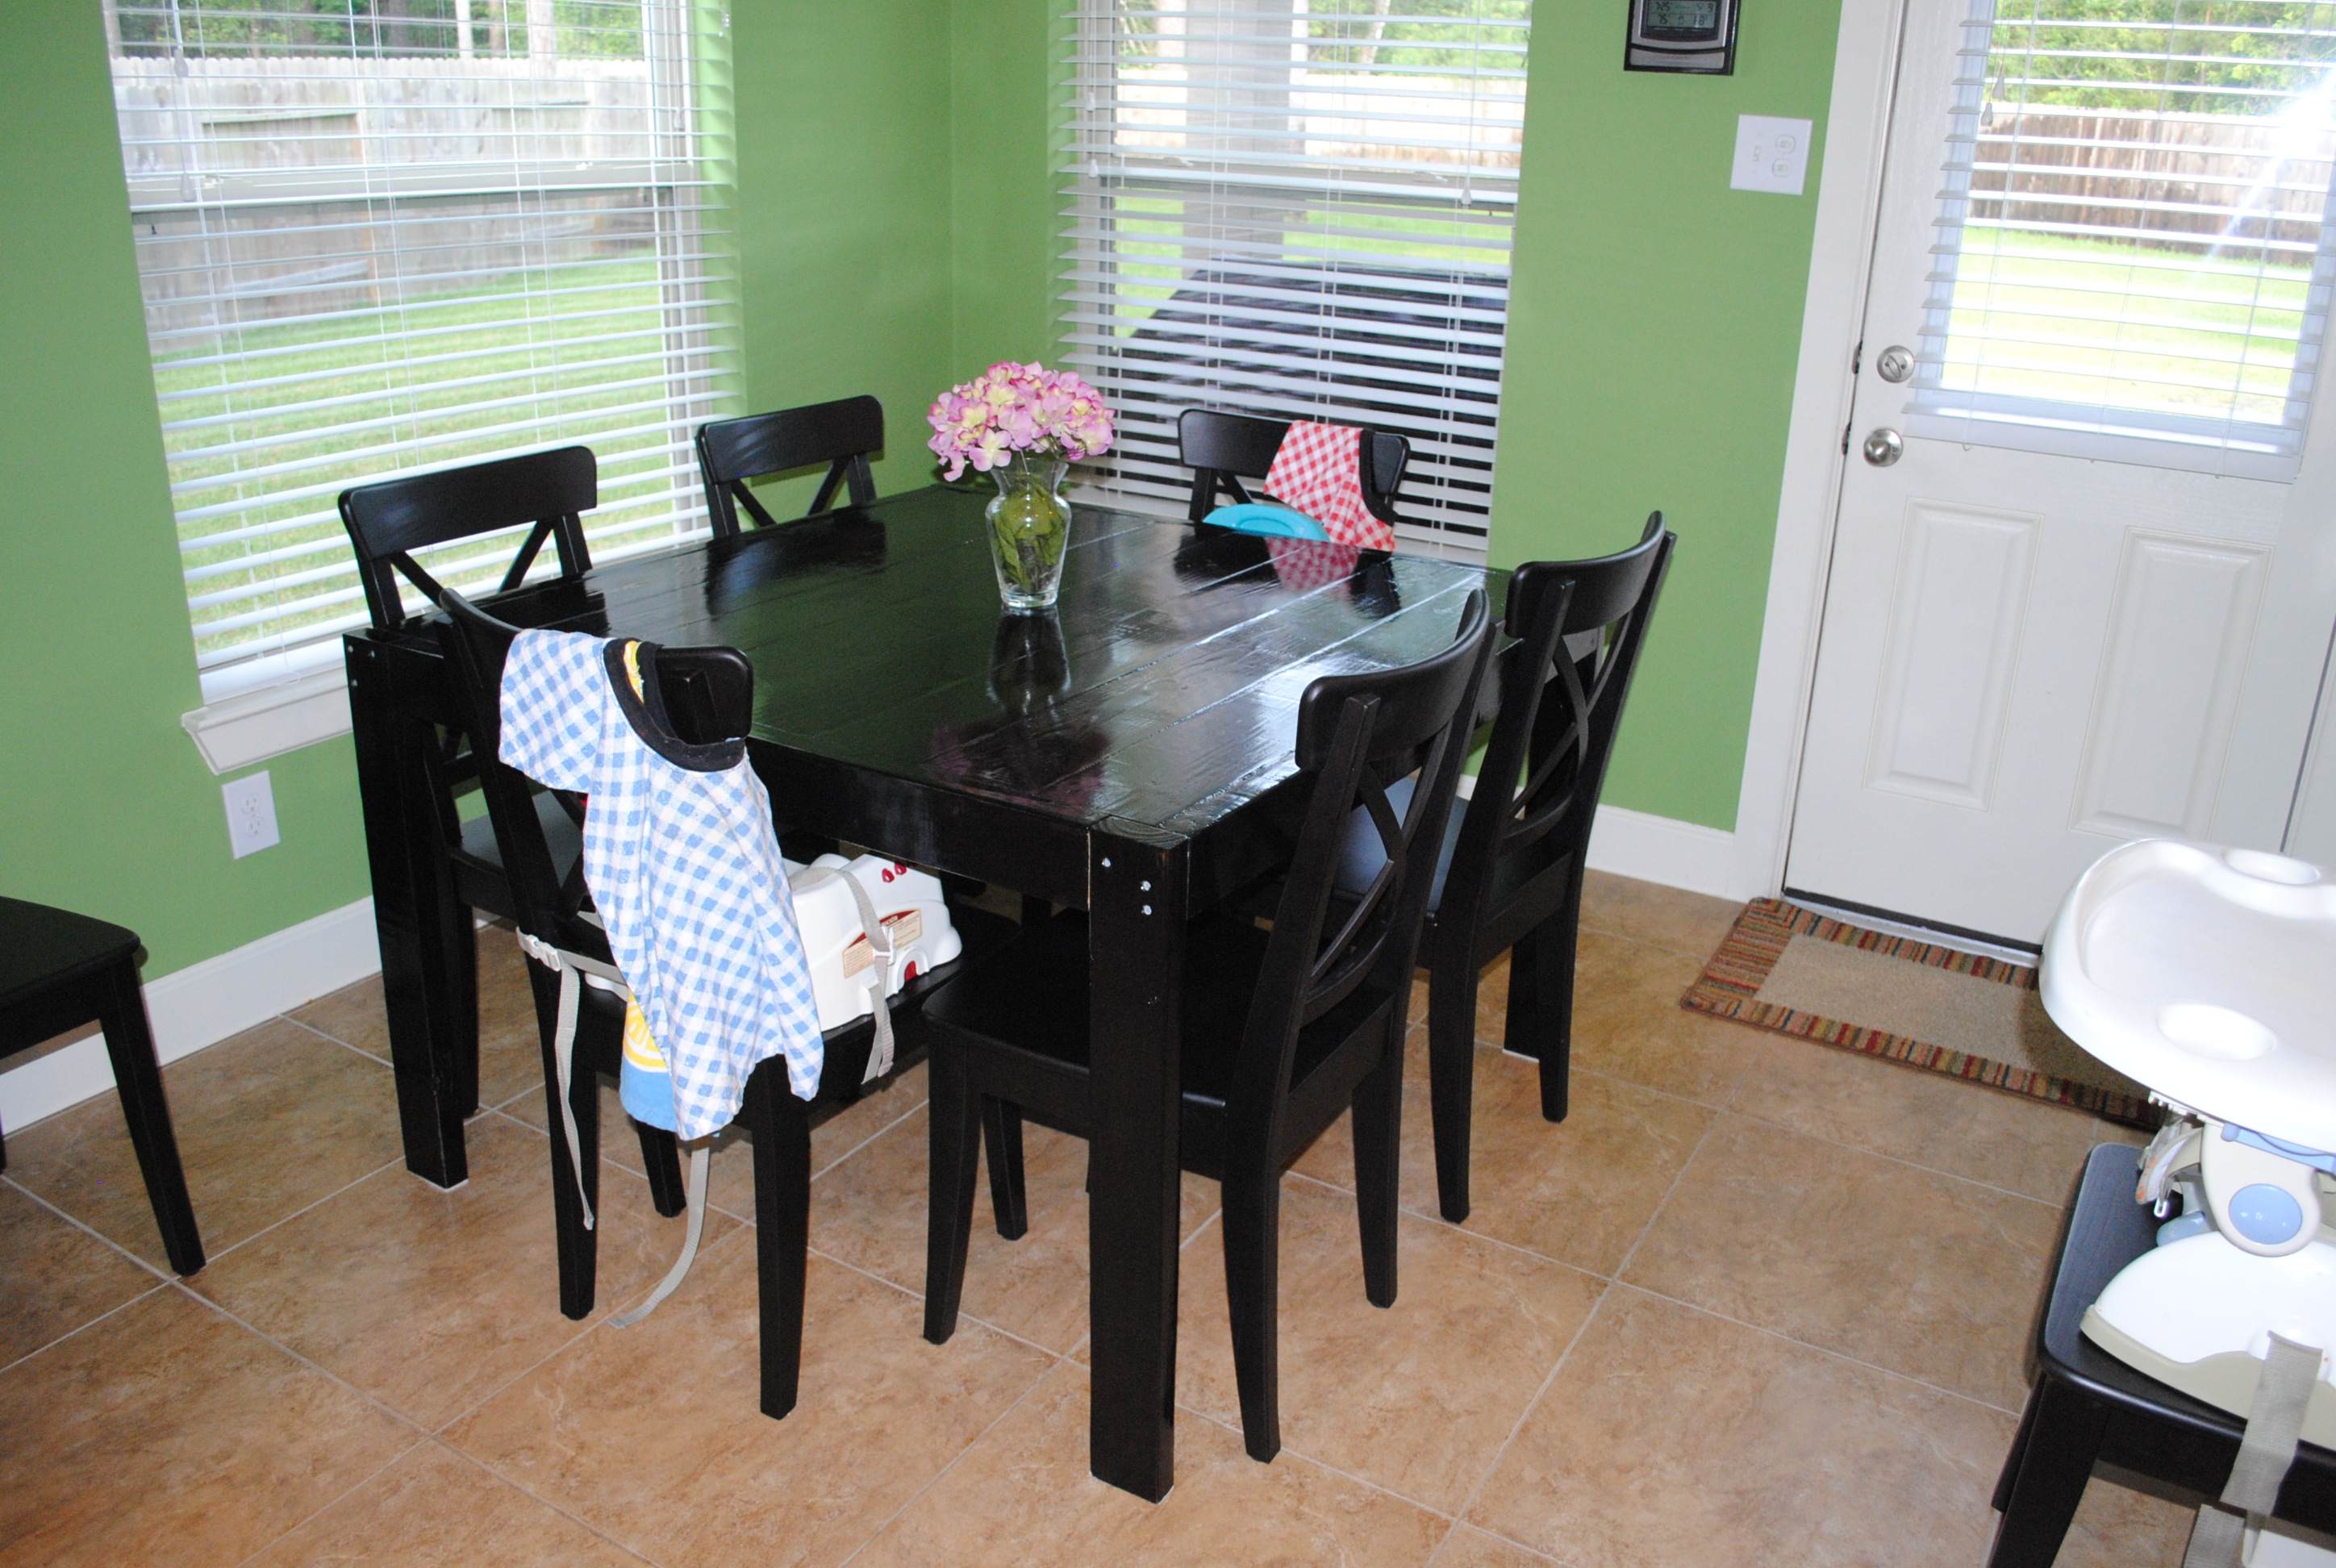
I wanted a square table that was standard height but not too big for my 9' by 9' breakfast area. I used the plans for the square modern farmhouse table, but mine is a 47 inch square. It seats 6 easily (and the chairs tuck in), but can seat 8 if we need it to. It turned out great!
Built from Plan(s)
Estimated Cost
$100
Estimated Time Investment
Day Project (6-9 Hours)
Finish Used
Minwax stain, ebony (3 coats) followed by minwax polycrylic finish (3 coats)
Recommended Skill Level
Starter Project
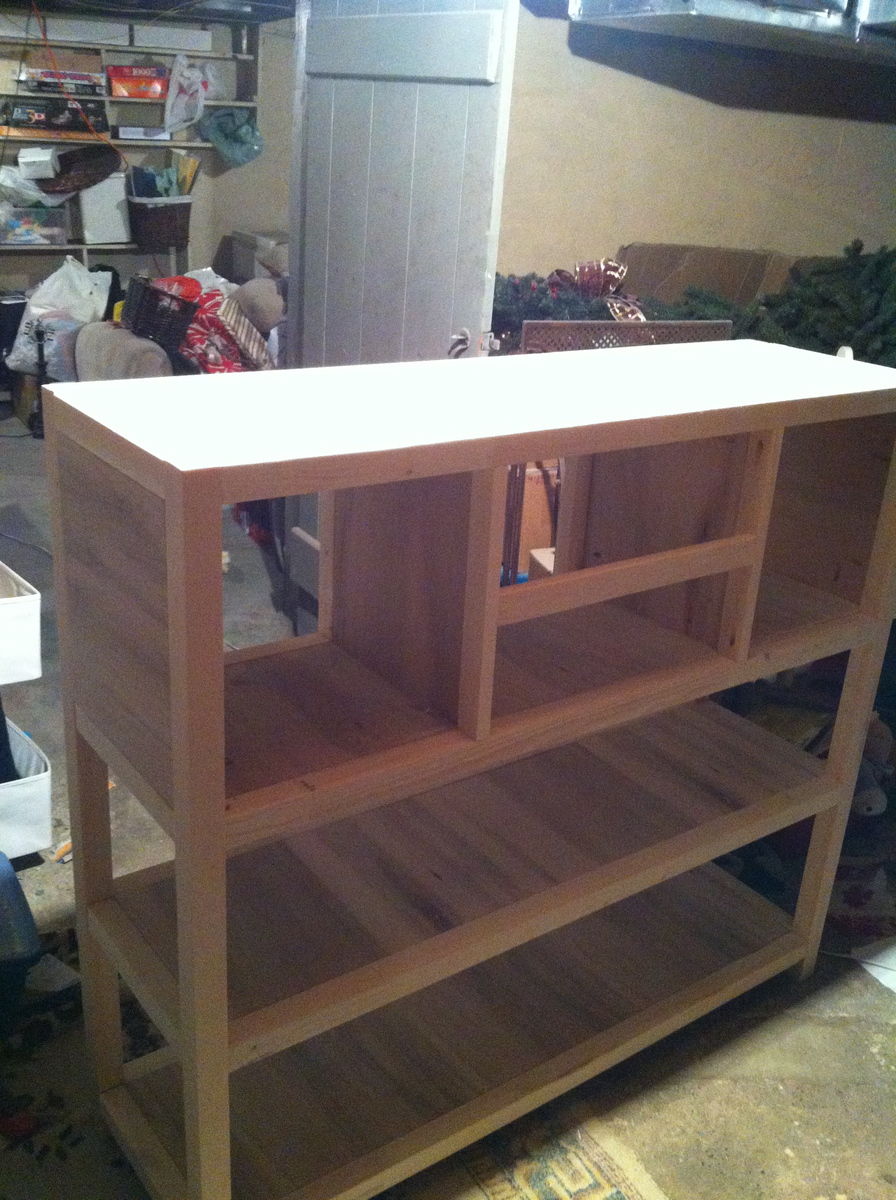
Rhyan Console Table
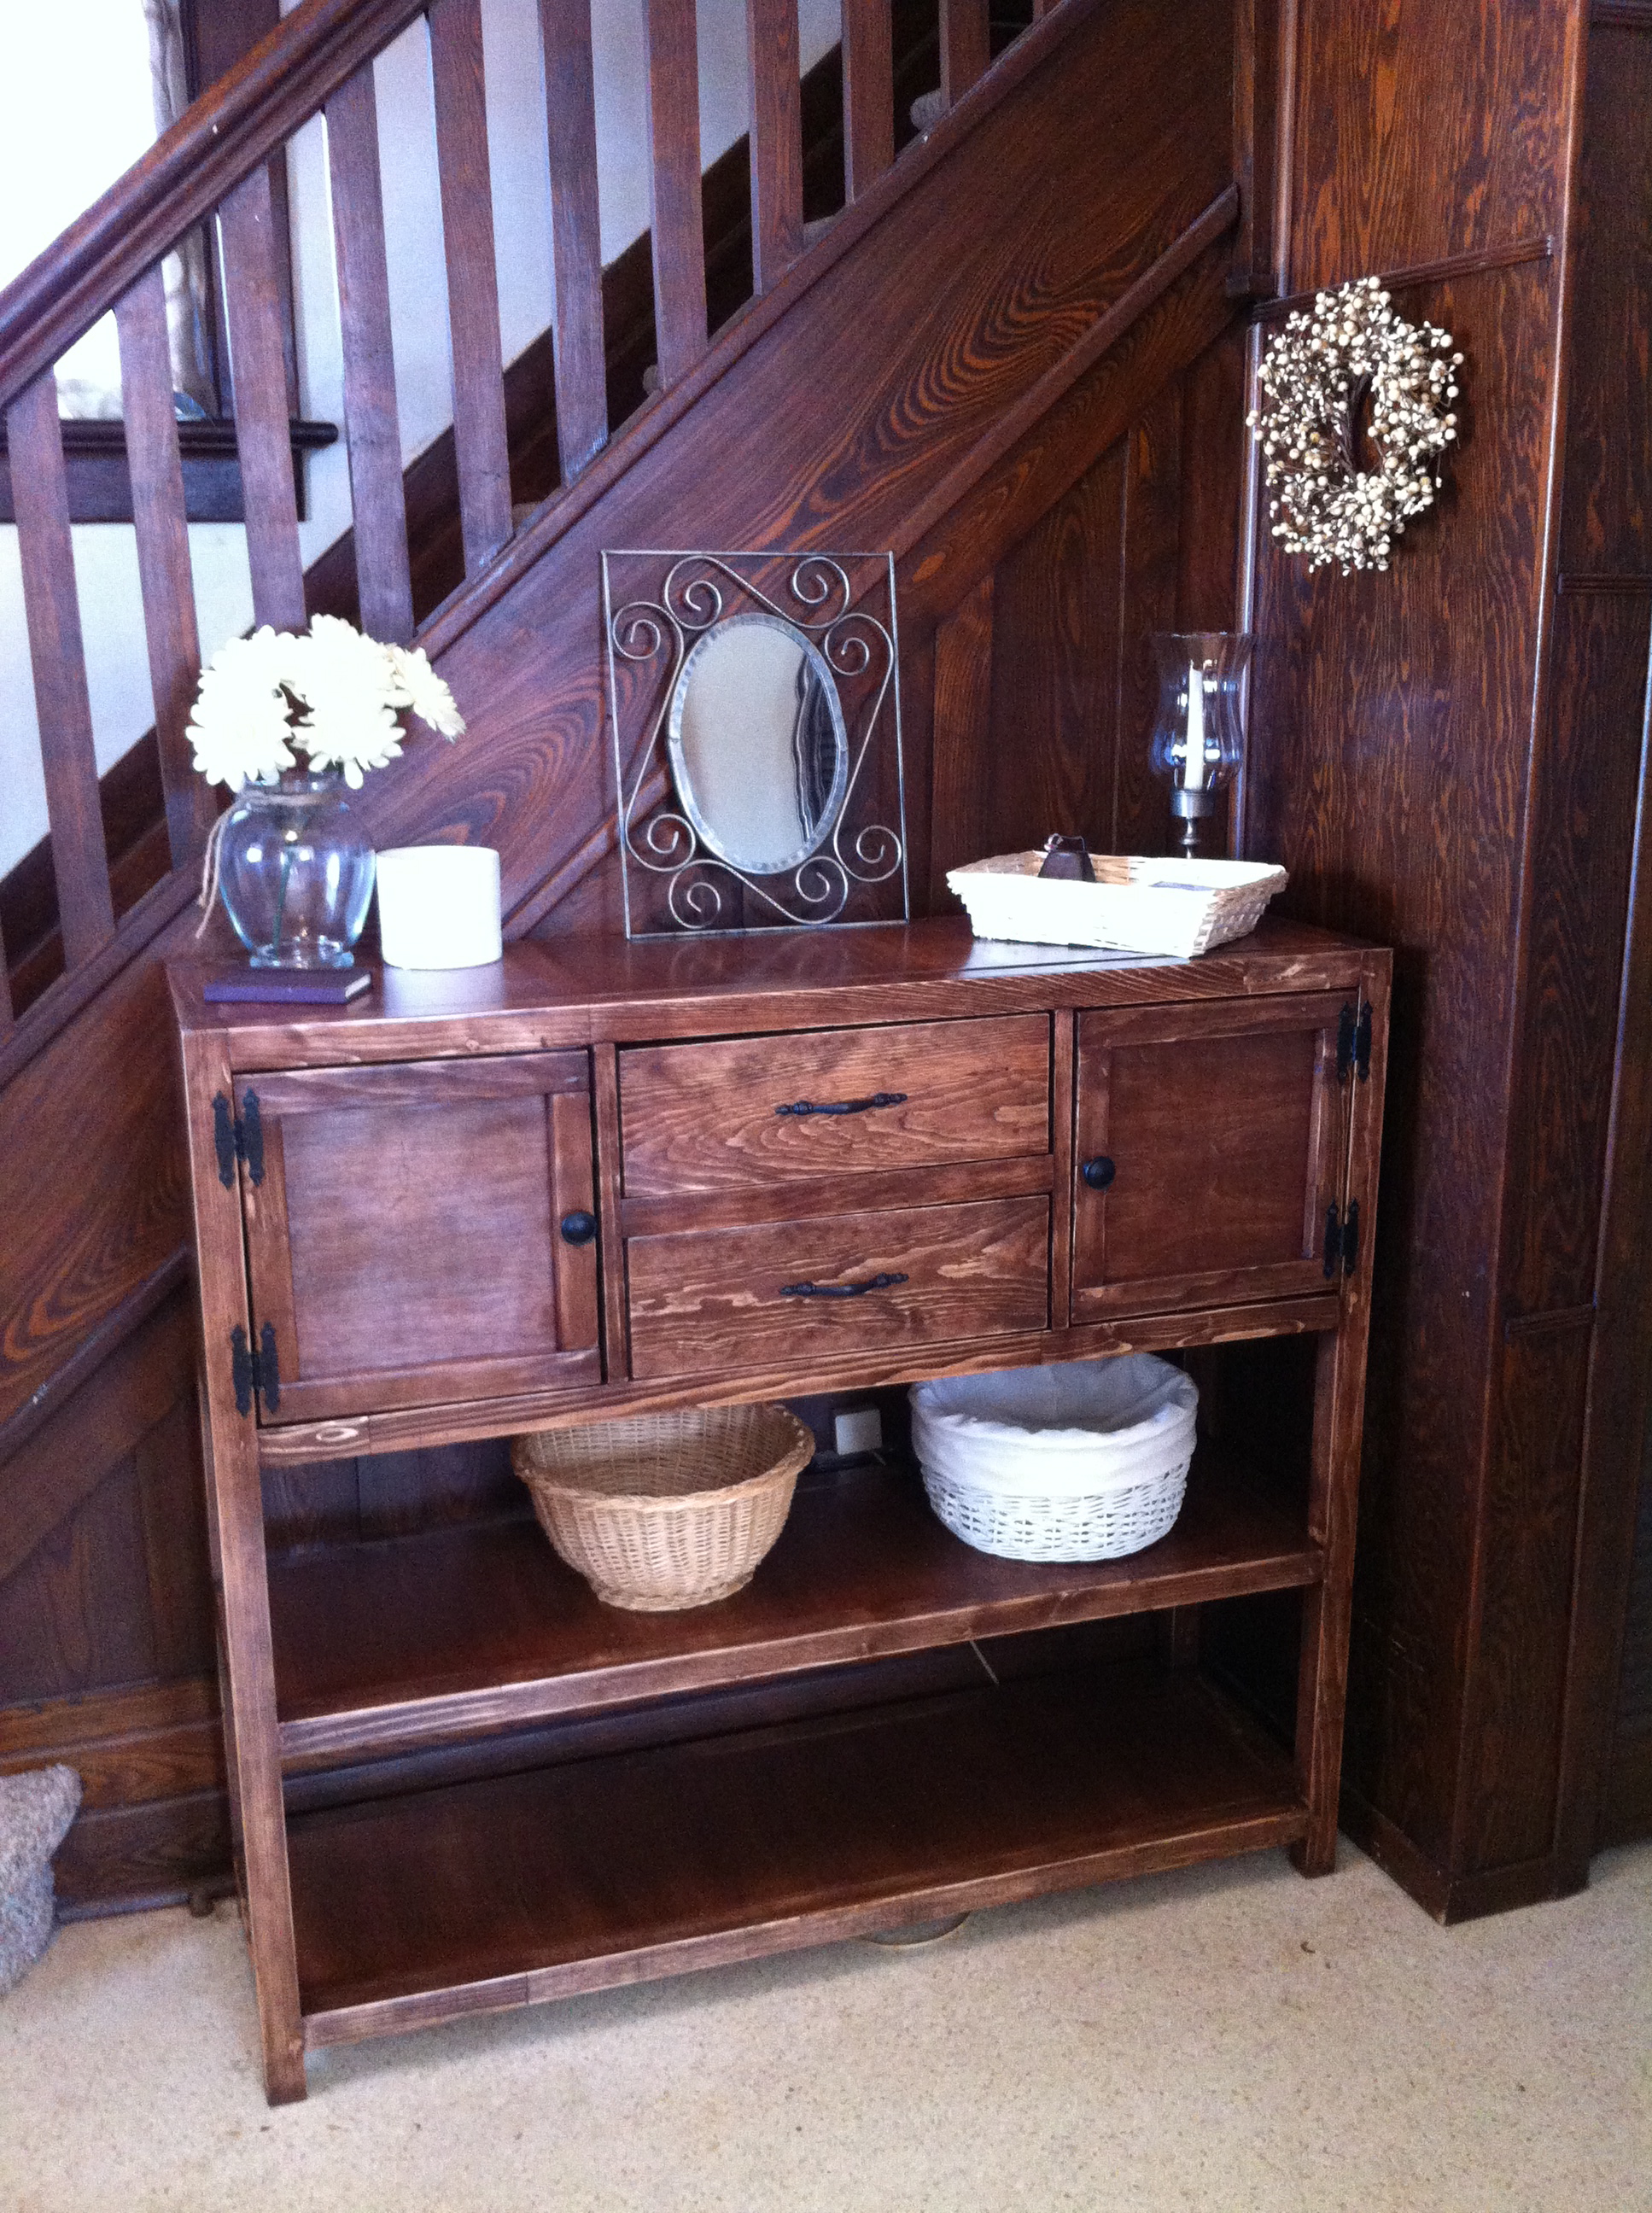
I made this Console table for our entrance way! I modified the plans by adding an extra 10" in height and included a second shelf. We are now using the bottom for a shoe rack and the middle for hats, mitts and stuff! It's a perfect fit for our front entrance!
It was my first time with drawers so I had a bit of trouble. But they open and close and aren't too lopsided, so I guess they are a success! Love these plans!
Built from Plan(s)
Estimated Cost
100
Estimated Time Investment
Week Long Project (20 Hours or More)
Finish Used
SamaN stain in Walnut with distressing, and water based Poly in semi gloss.
Recommended Skill Level
Intermediate
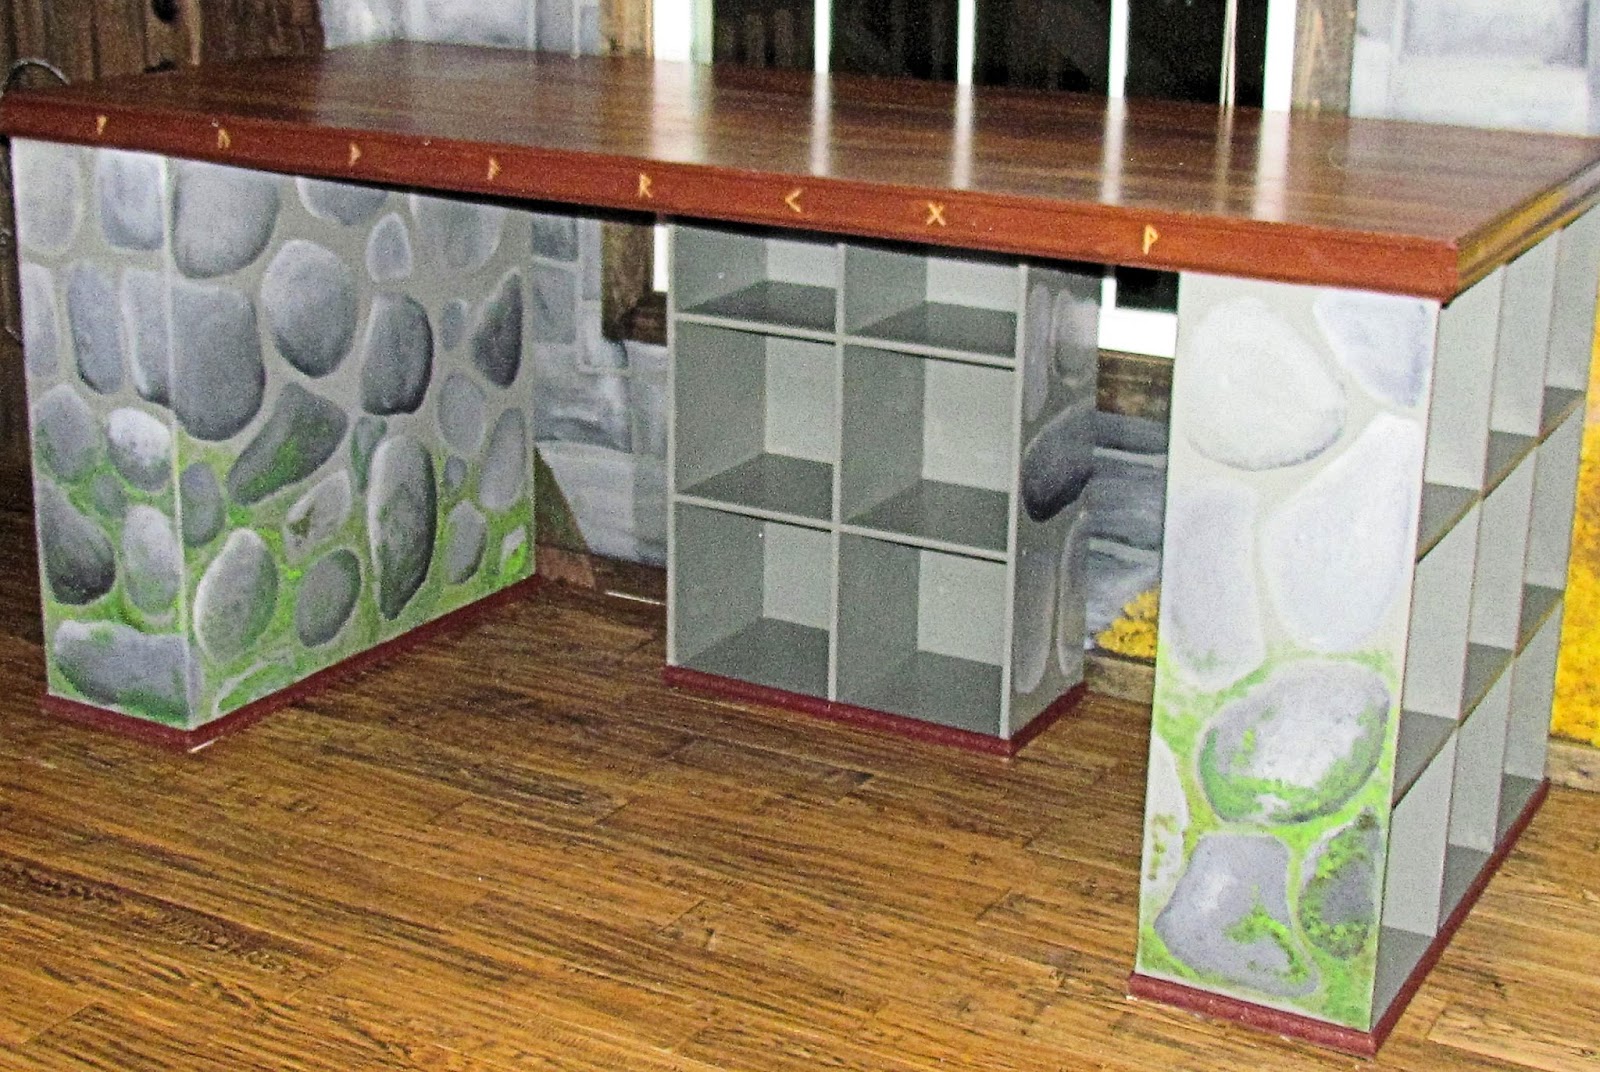
My New Art Desk
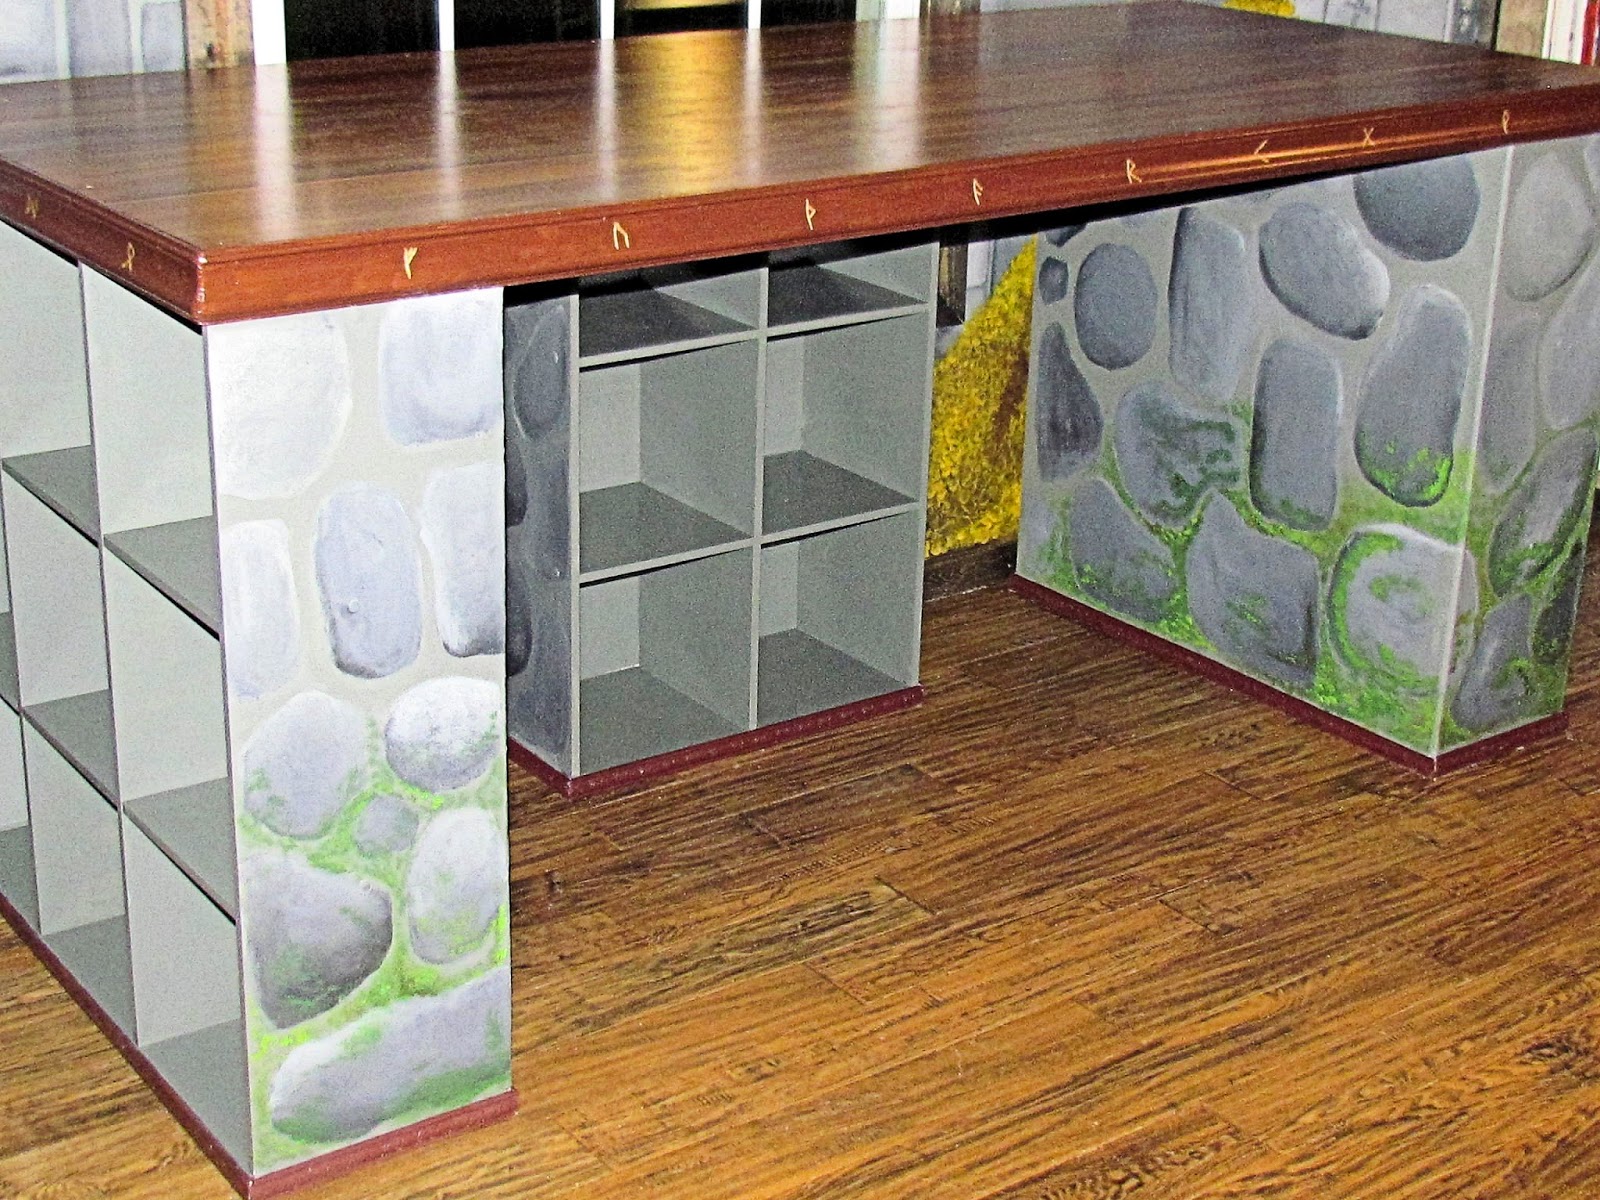
I liked Kristi's version of the modern craft desk but I decided to add another cubby area. I have a lot of art things and I like for them to be organized. Here is Kristi's version: http://www.ana-white.com/2013/10/kristis-craft-desk
I really love the way it turned out and I've definitely got my use out of it.
Built from Plan(s)
Estimated Cost
$300.00
Estimated Time Investment
Weekend Project (10-20 Hours)
Finish Used
I custom painted it to match the murals in my home using acrylic paints. I had to use oil based kilz on the cubbies before painting them.
Recommended Skill Level
Intermediate
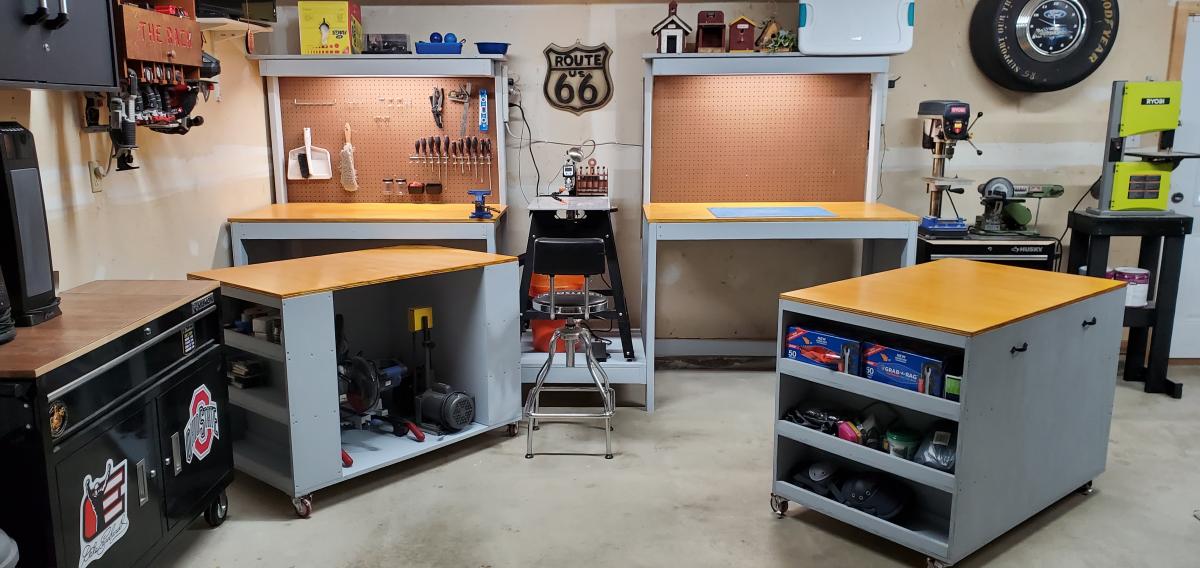
Modified Ultimate Roll Away Workbench with Miter Saw Stand

I loved the idea of roll away cabinets that could double as more tabletops for larger projects but then be able to hide them and save space. I usually have 2 cars parked in the garage and space us at a premium. Instead of a mitersaw I placed my scrollsaw in the middle added peg board, lights, and a shelf. Thanks for the plans and the idea.
Built from Plan(s)
Estimated Cost
$325.00
Estimated Time Investment
Weekend Project (10-20 Hours)
Finish Used
Wood working workbenches.
Recommended Skill Level
Intermediate
Comments


Tue, 12/08/2020 - 18:19
Small shop space saver
Excellent use of space. This would be great in a smaller shop.
shoe shrine shelves: first project
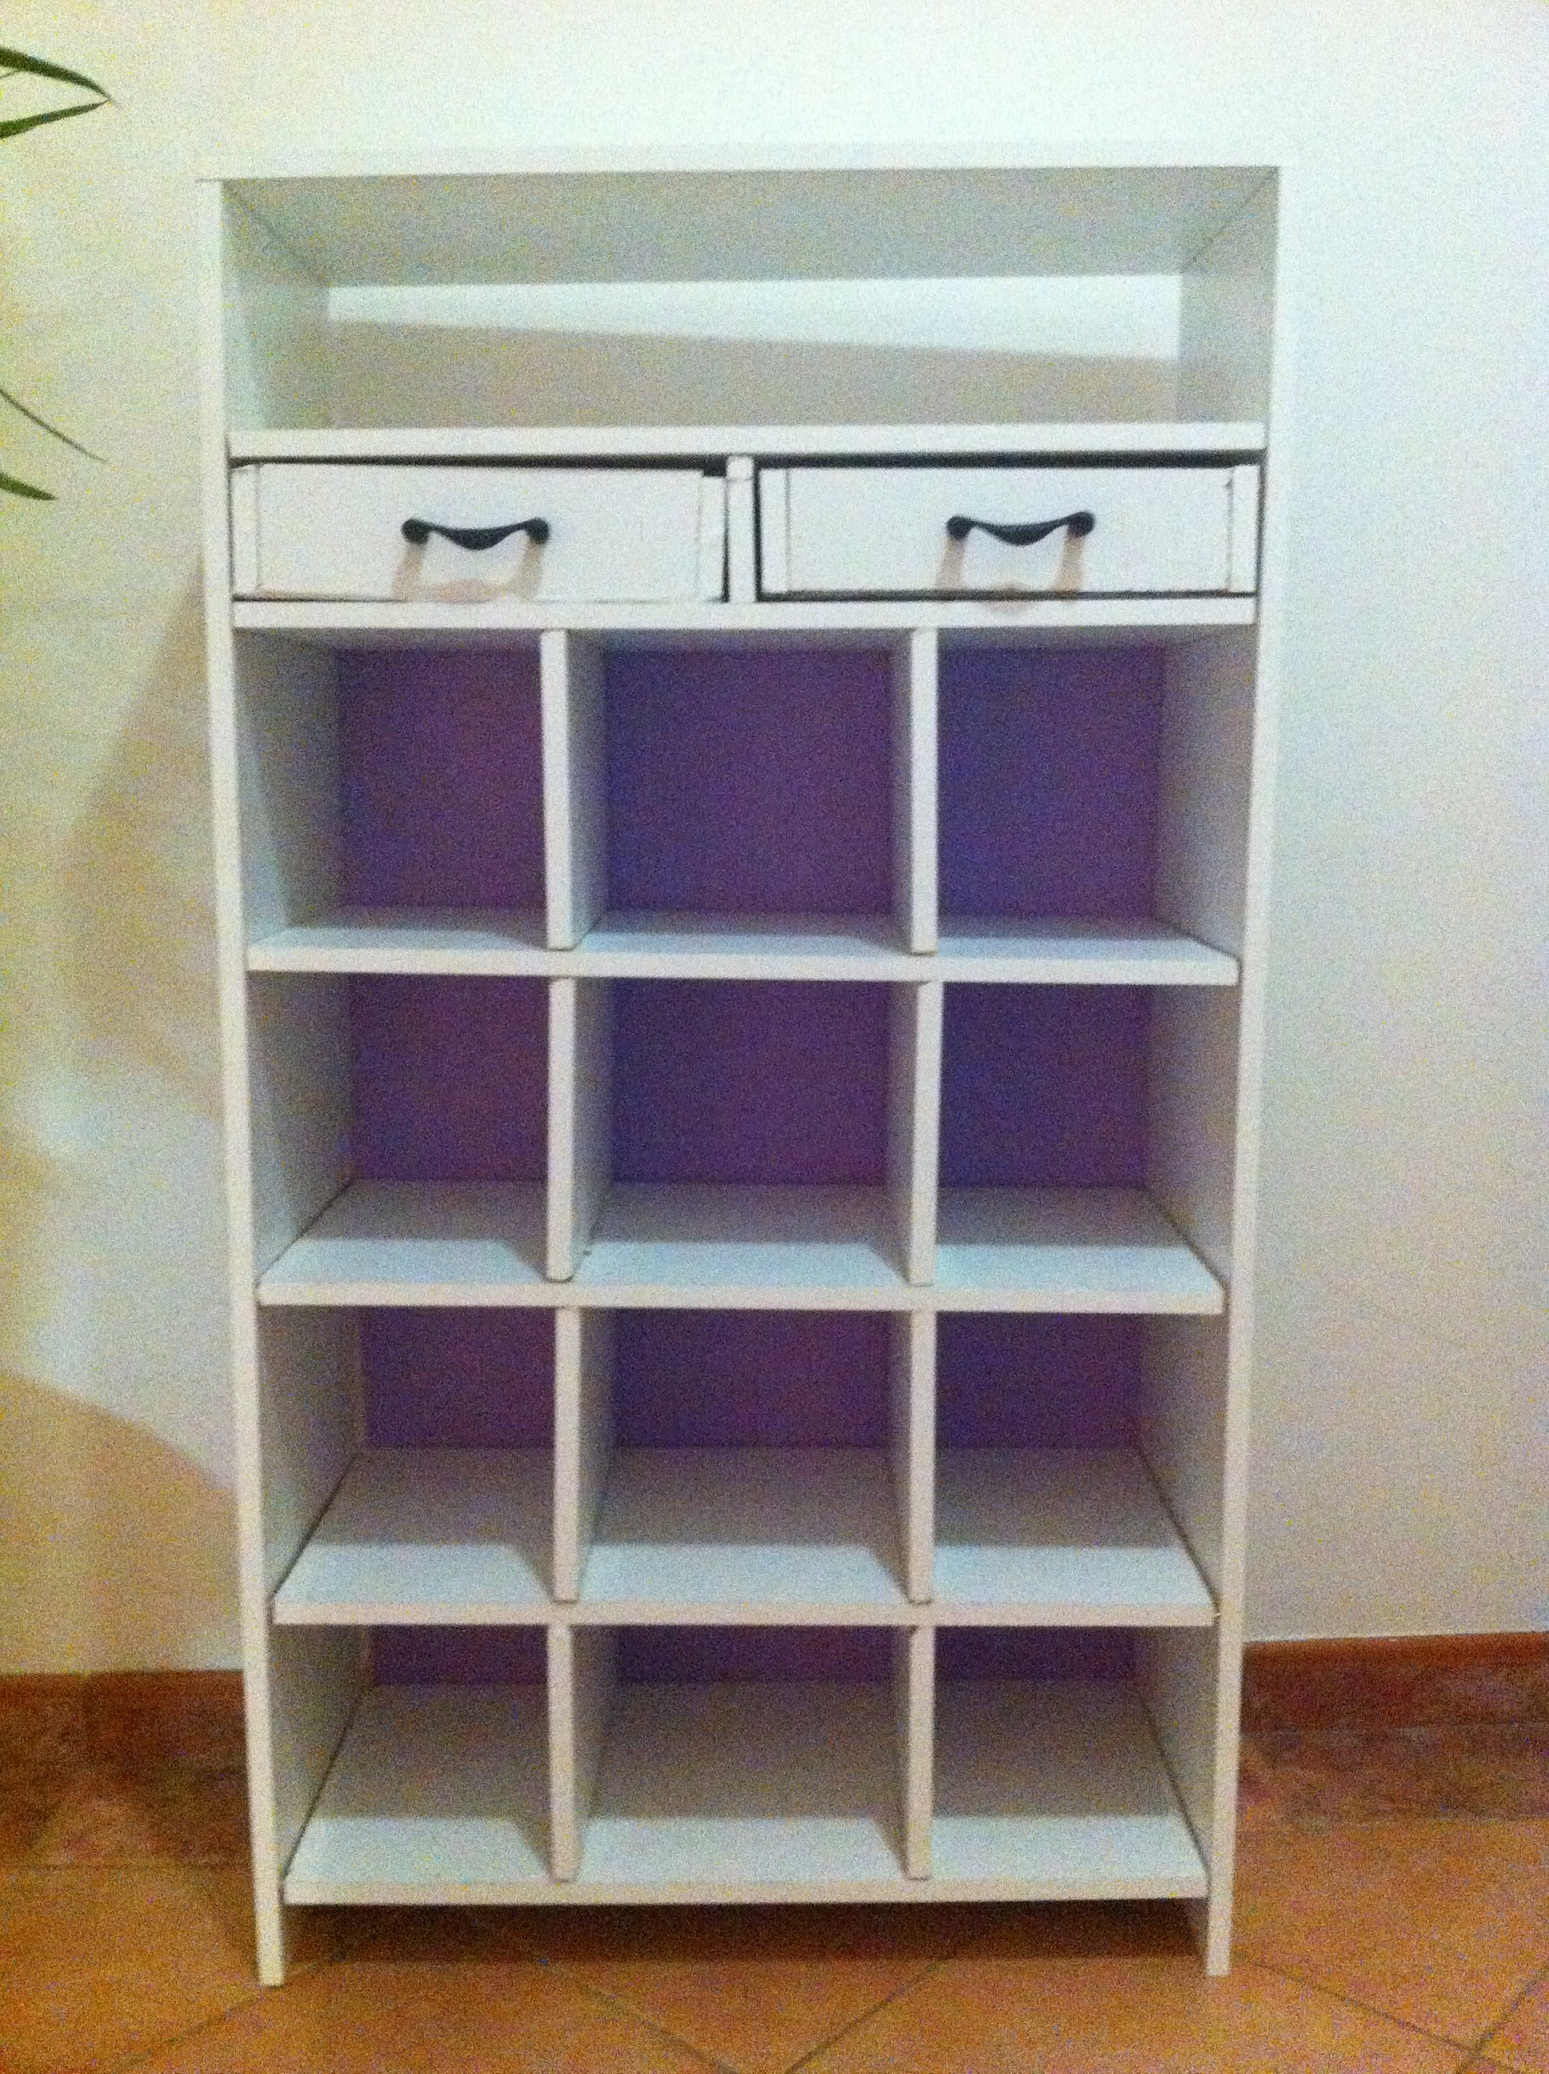
I searched for nice shoe storage for ages and found these plans on this awesome website and even though it is an intermediate project I gave it a try. As you can see my drawers and the whole thing in general is squint but I am proud of my first ever build project. It took me 2 evenings to complete.
I added some drawers for my jewelry like one by balard designs.
I hope my next project has better right angles and joints.
Oh and I used a Kreg jig and it is amazing!!!
I used white shelves from the home store, that I cut to size. I live in Saudi Arabia so wood is not so easy to find. Maybe I can use palm trees next time!
Built from Plan(s)
Estimated Time Investment
Day Project (6-9 Hours)
Recommended Skill Level
Intermediate