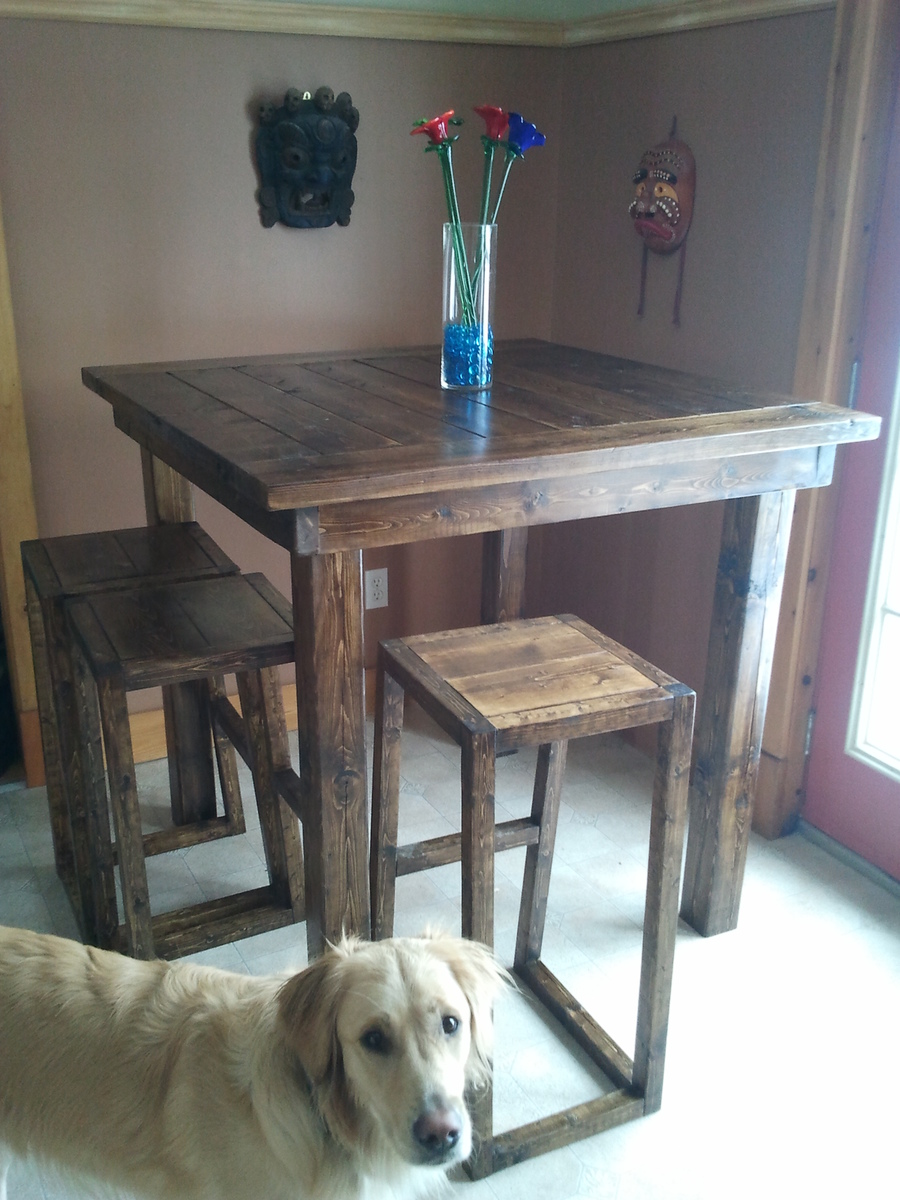
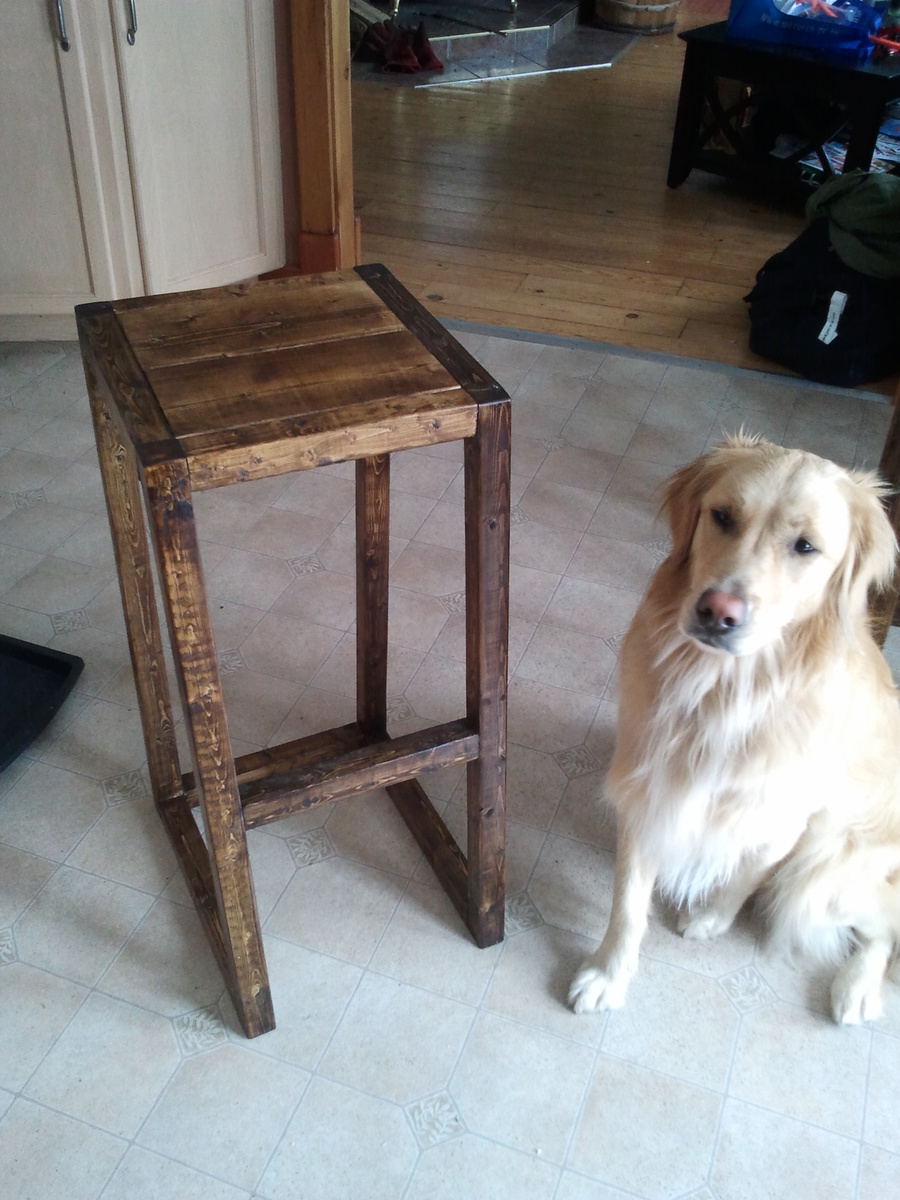
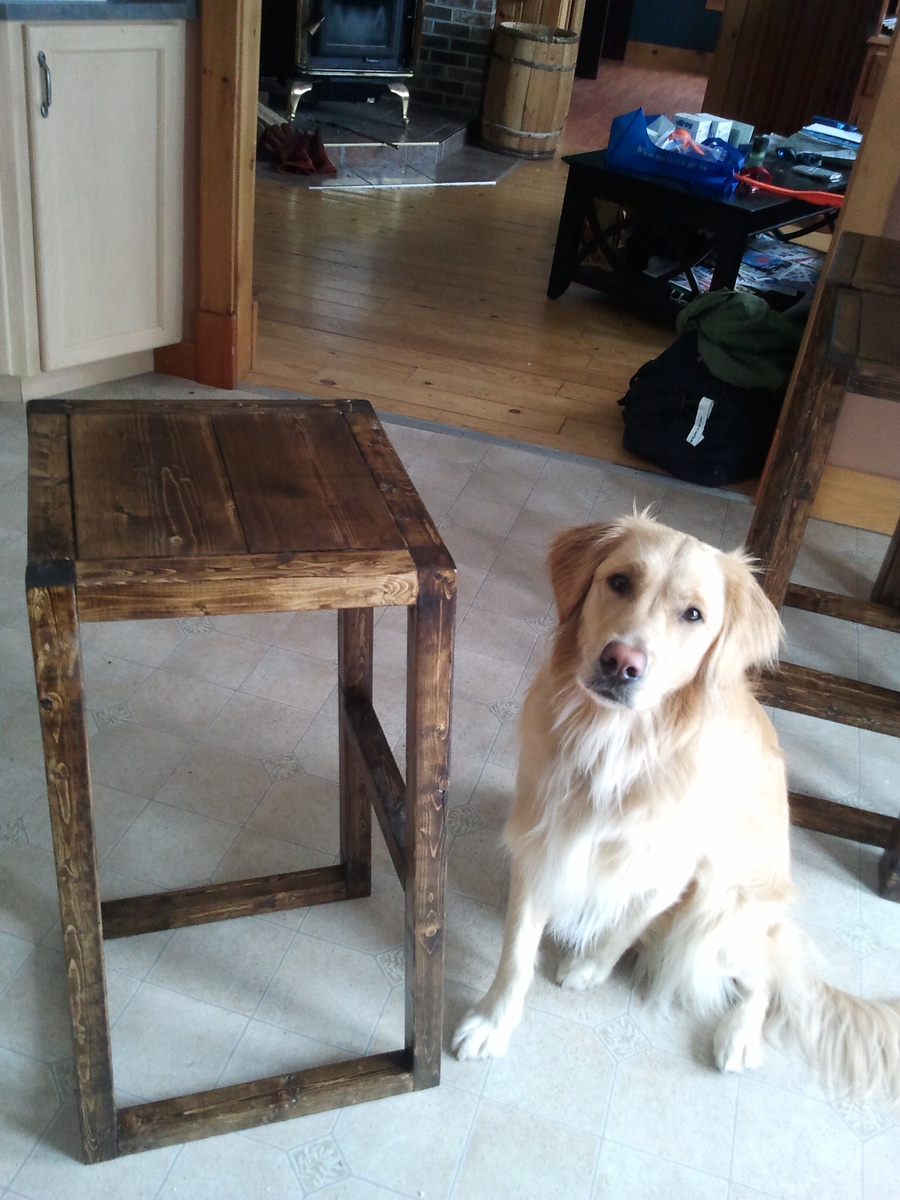
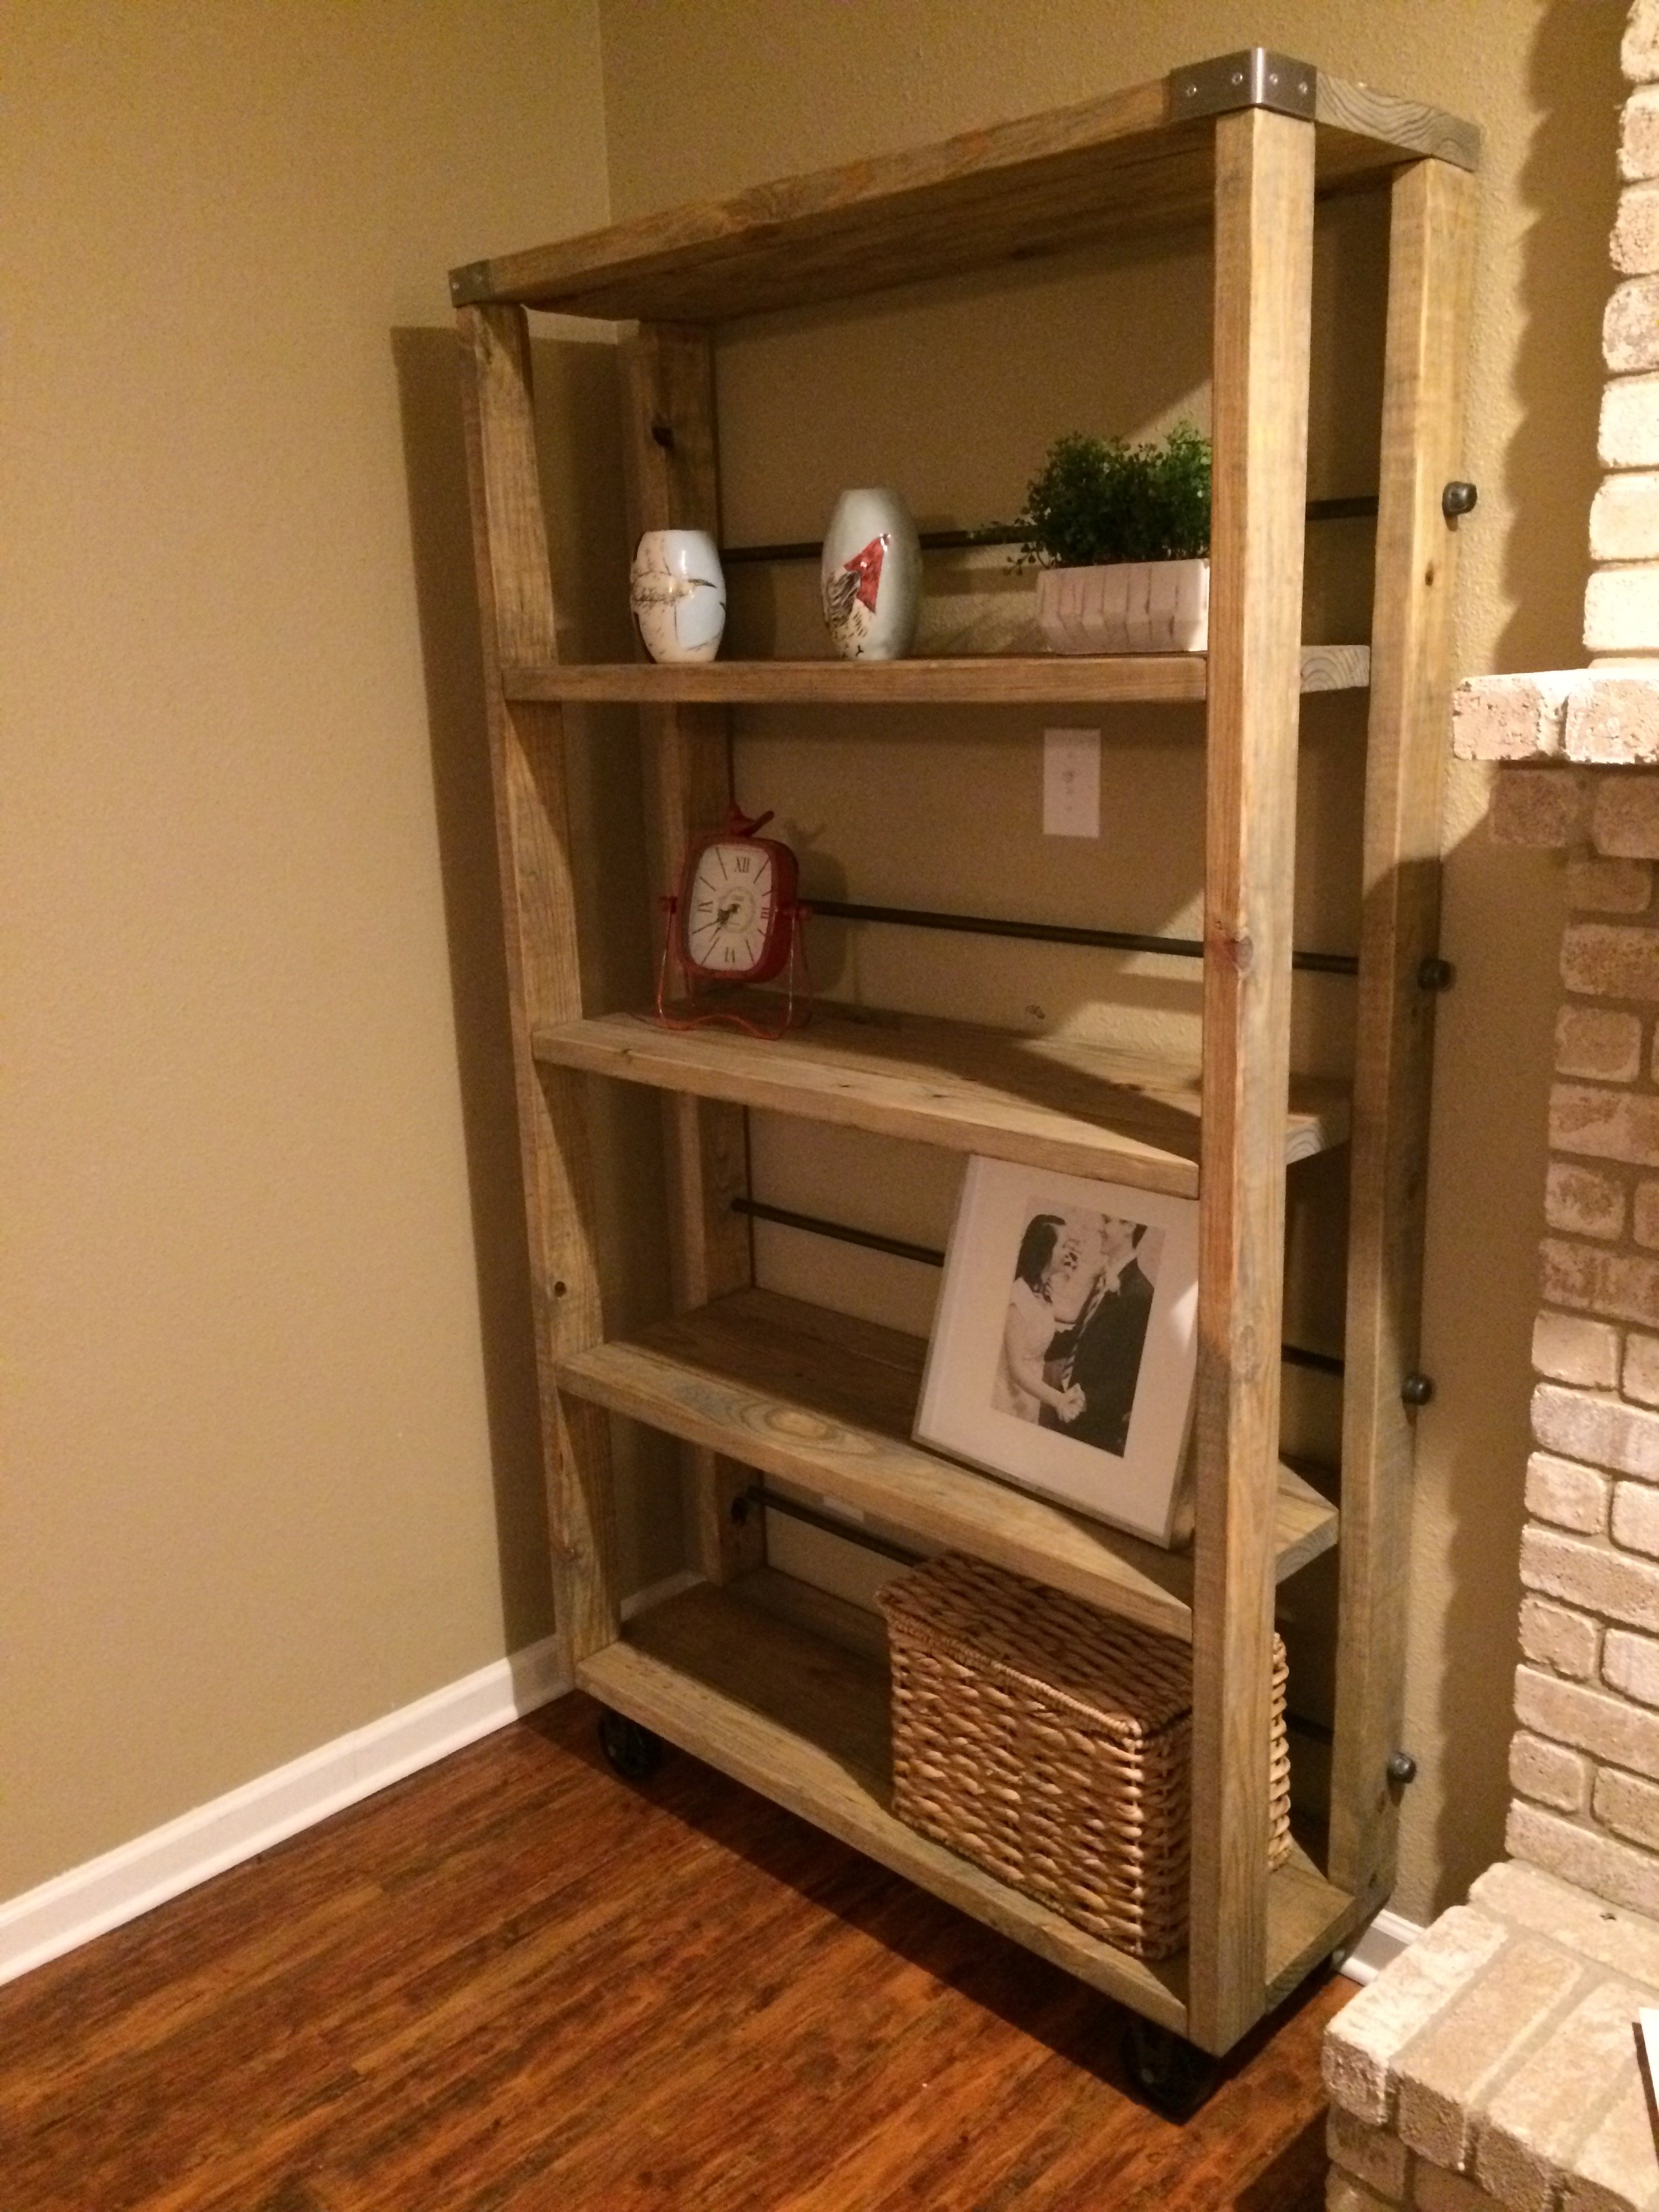
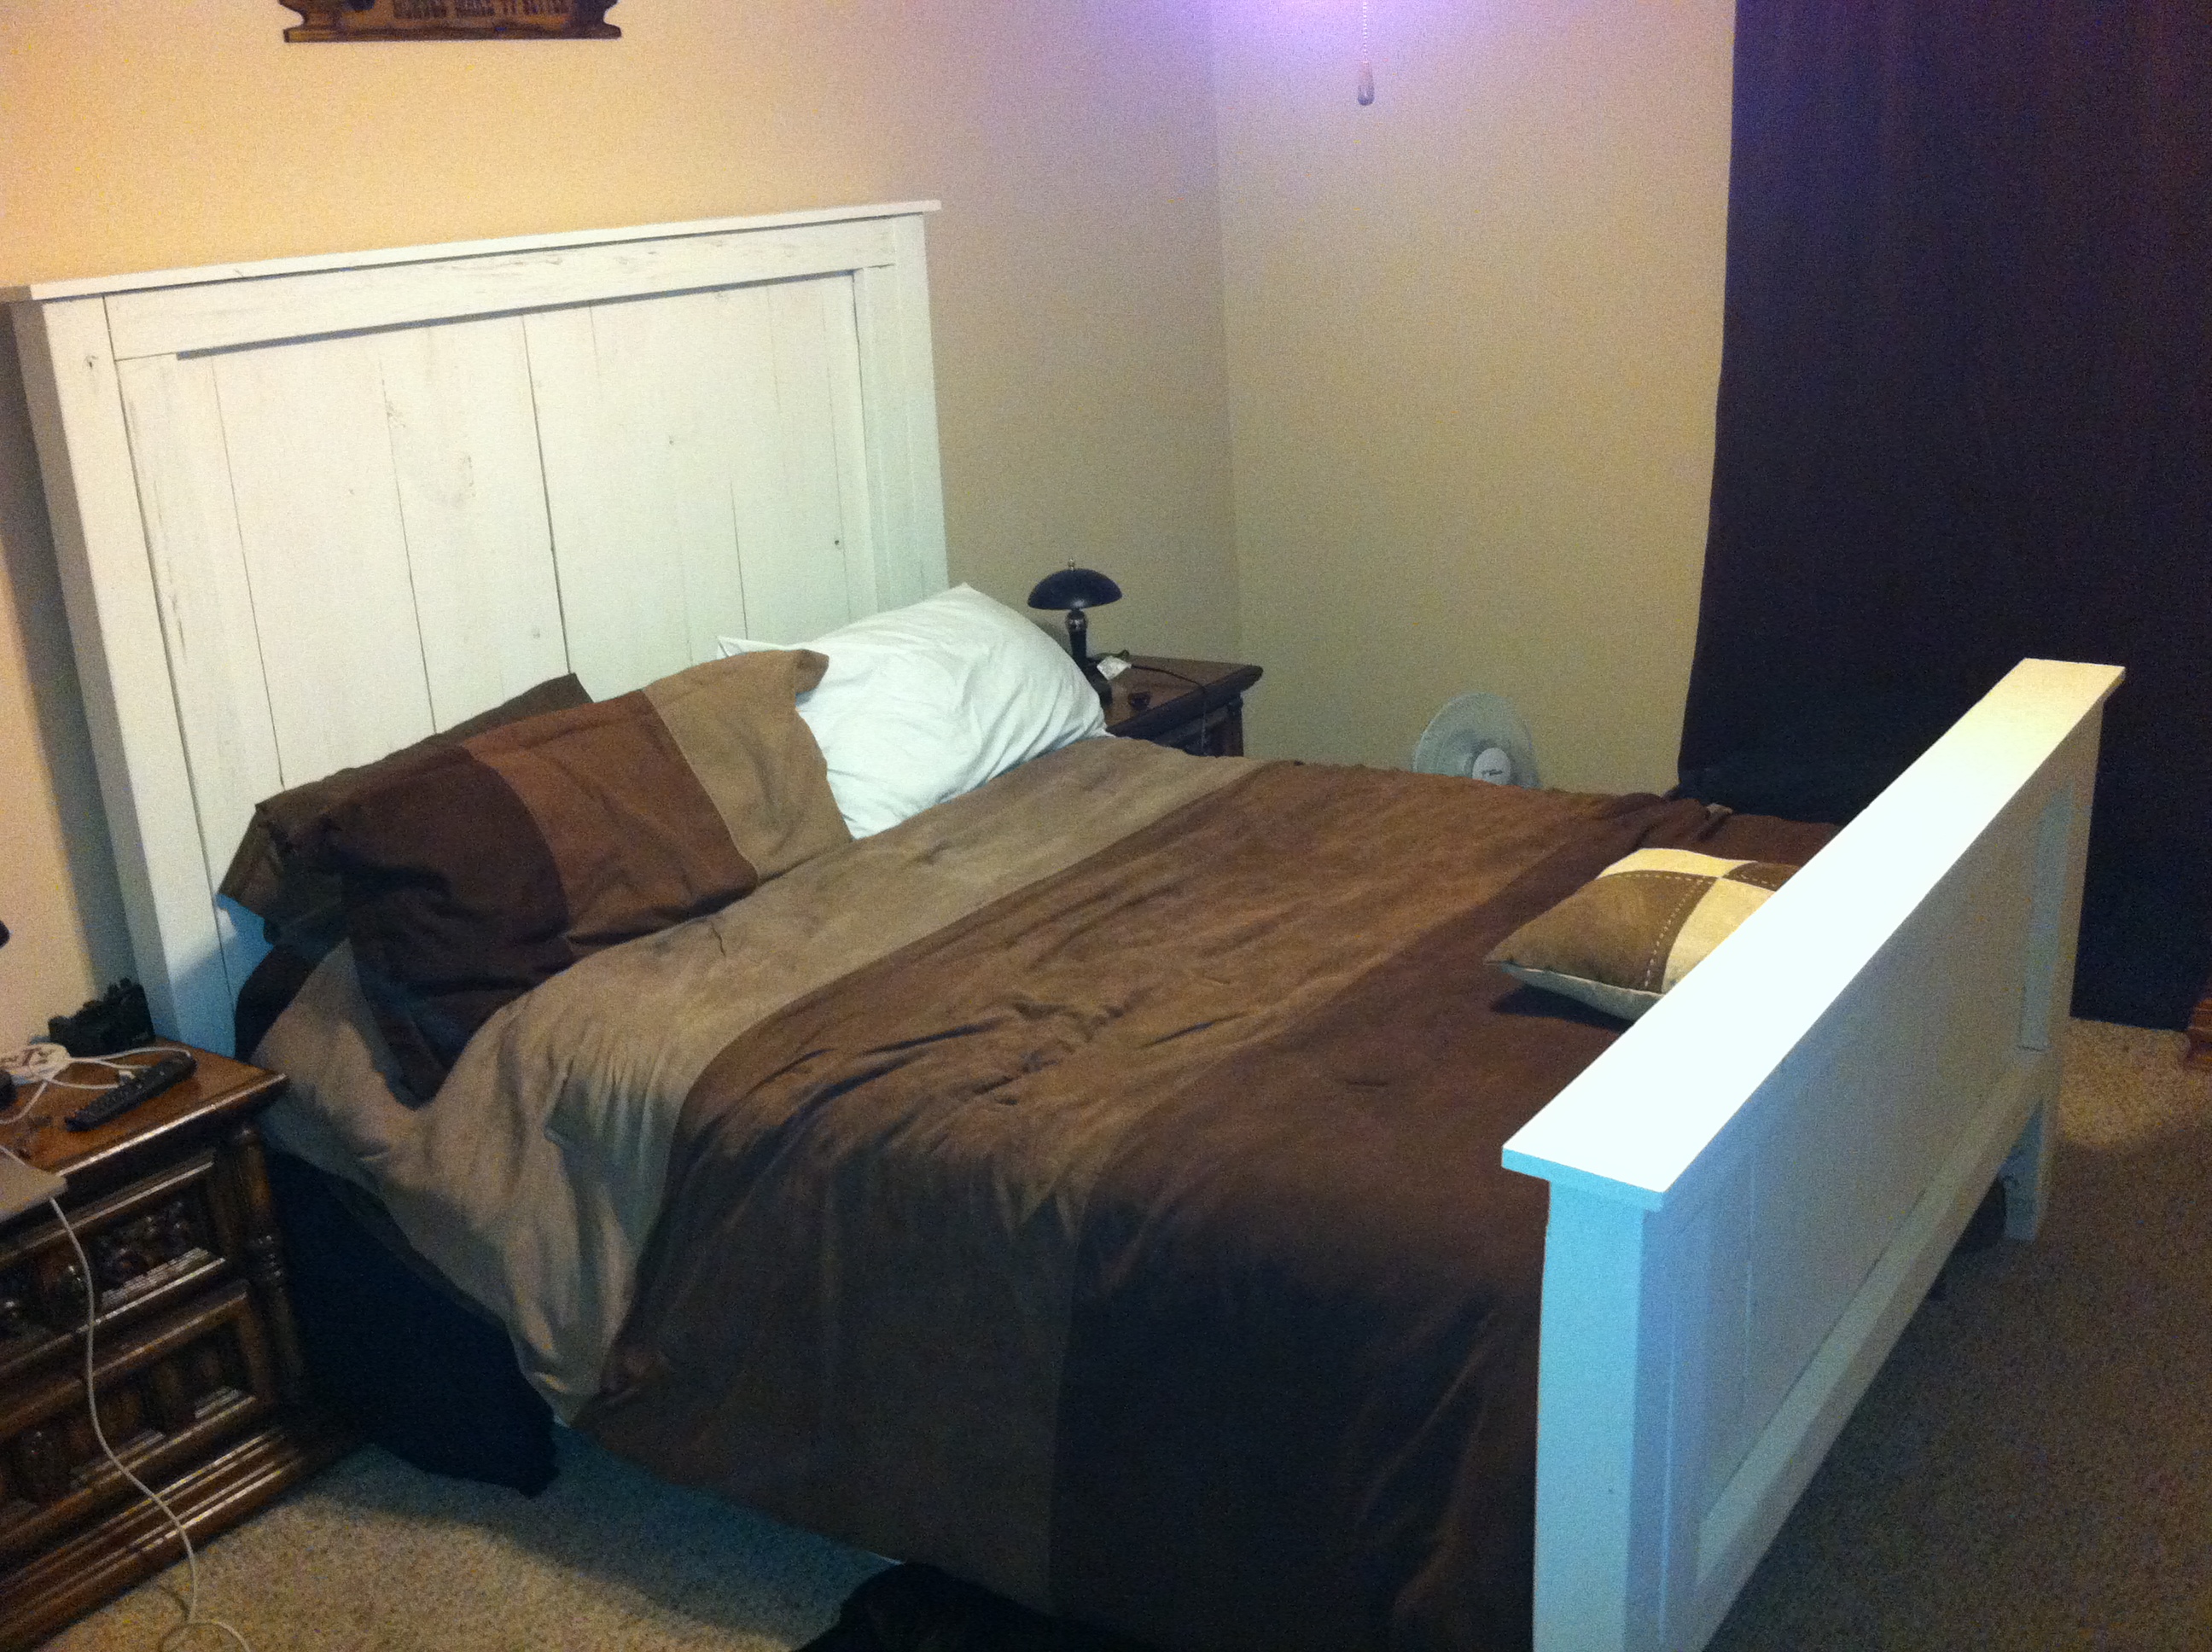
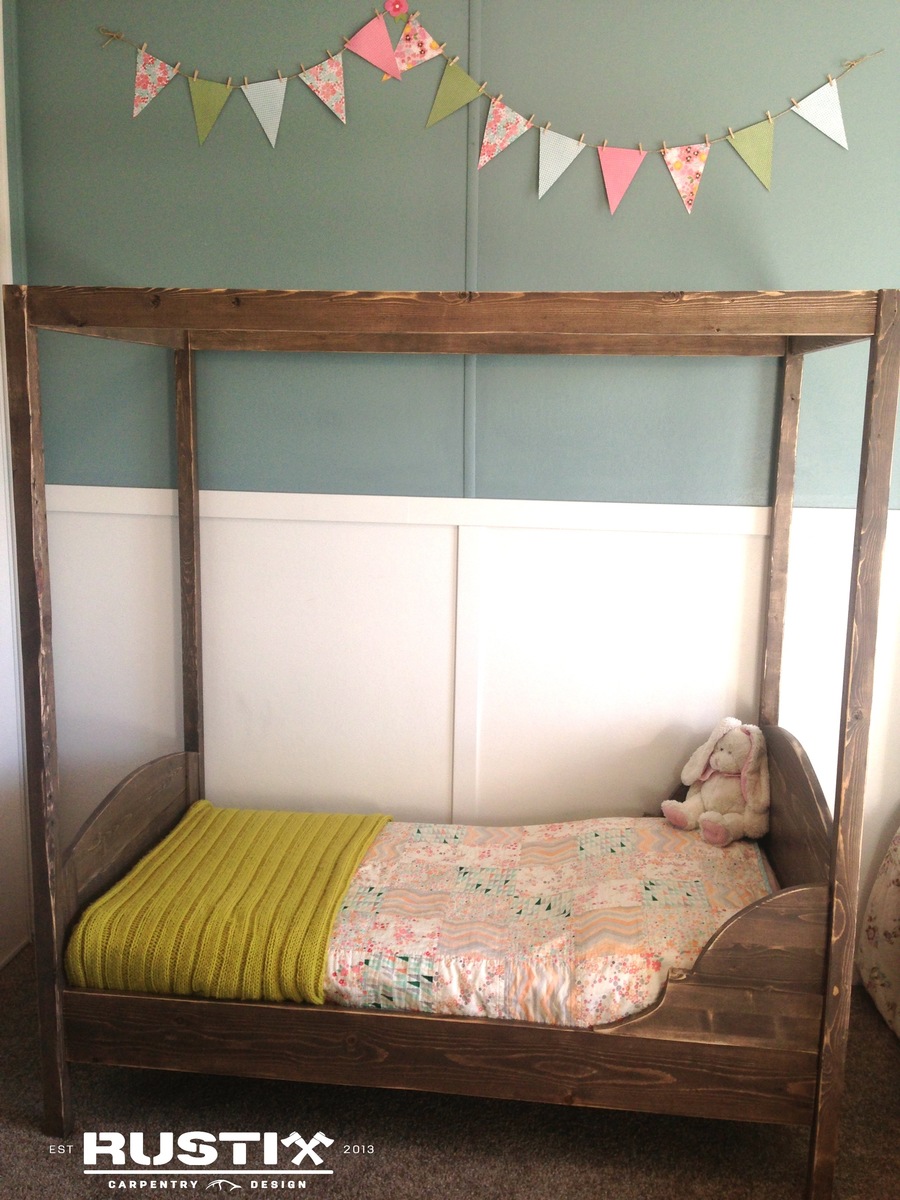
Rustic Headboard - King
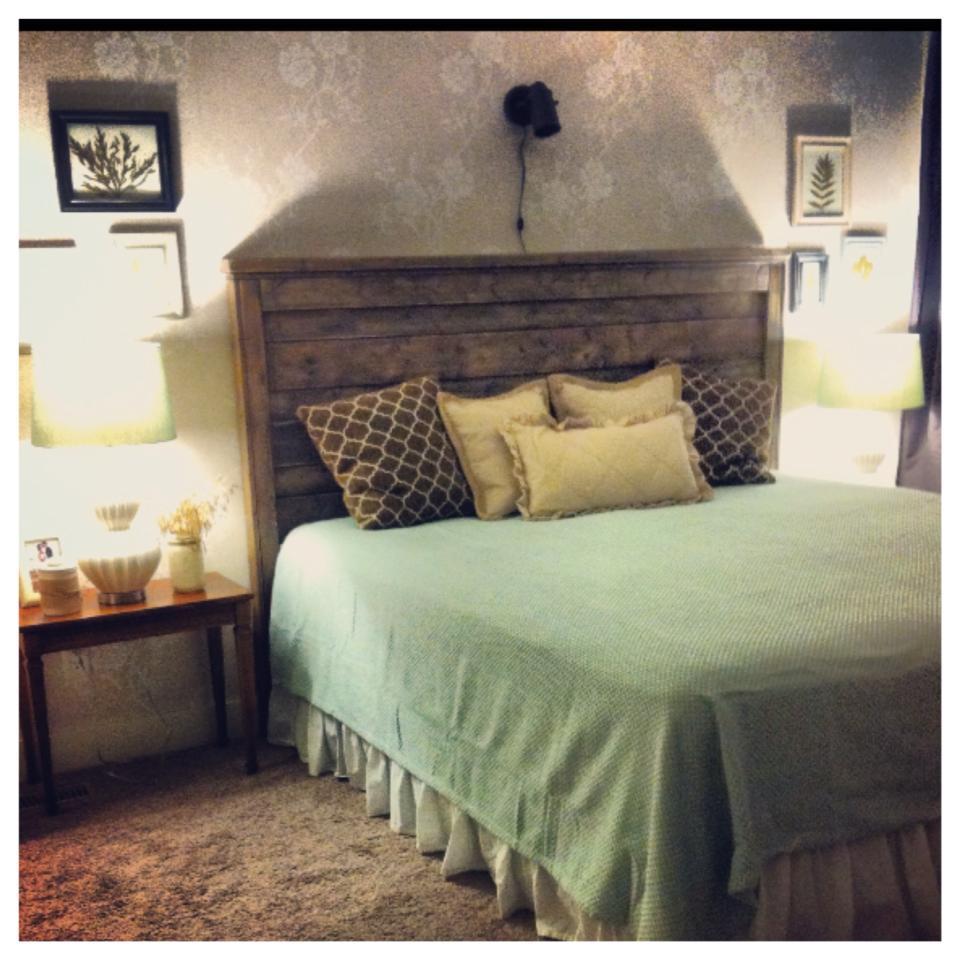
This was a super fun project to do and very easy too. I did this while I was nine months pregnant. The instructions were very clear and the total cost was great too!
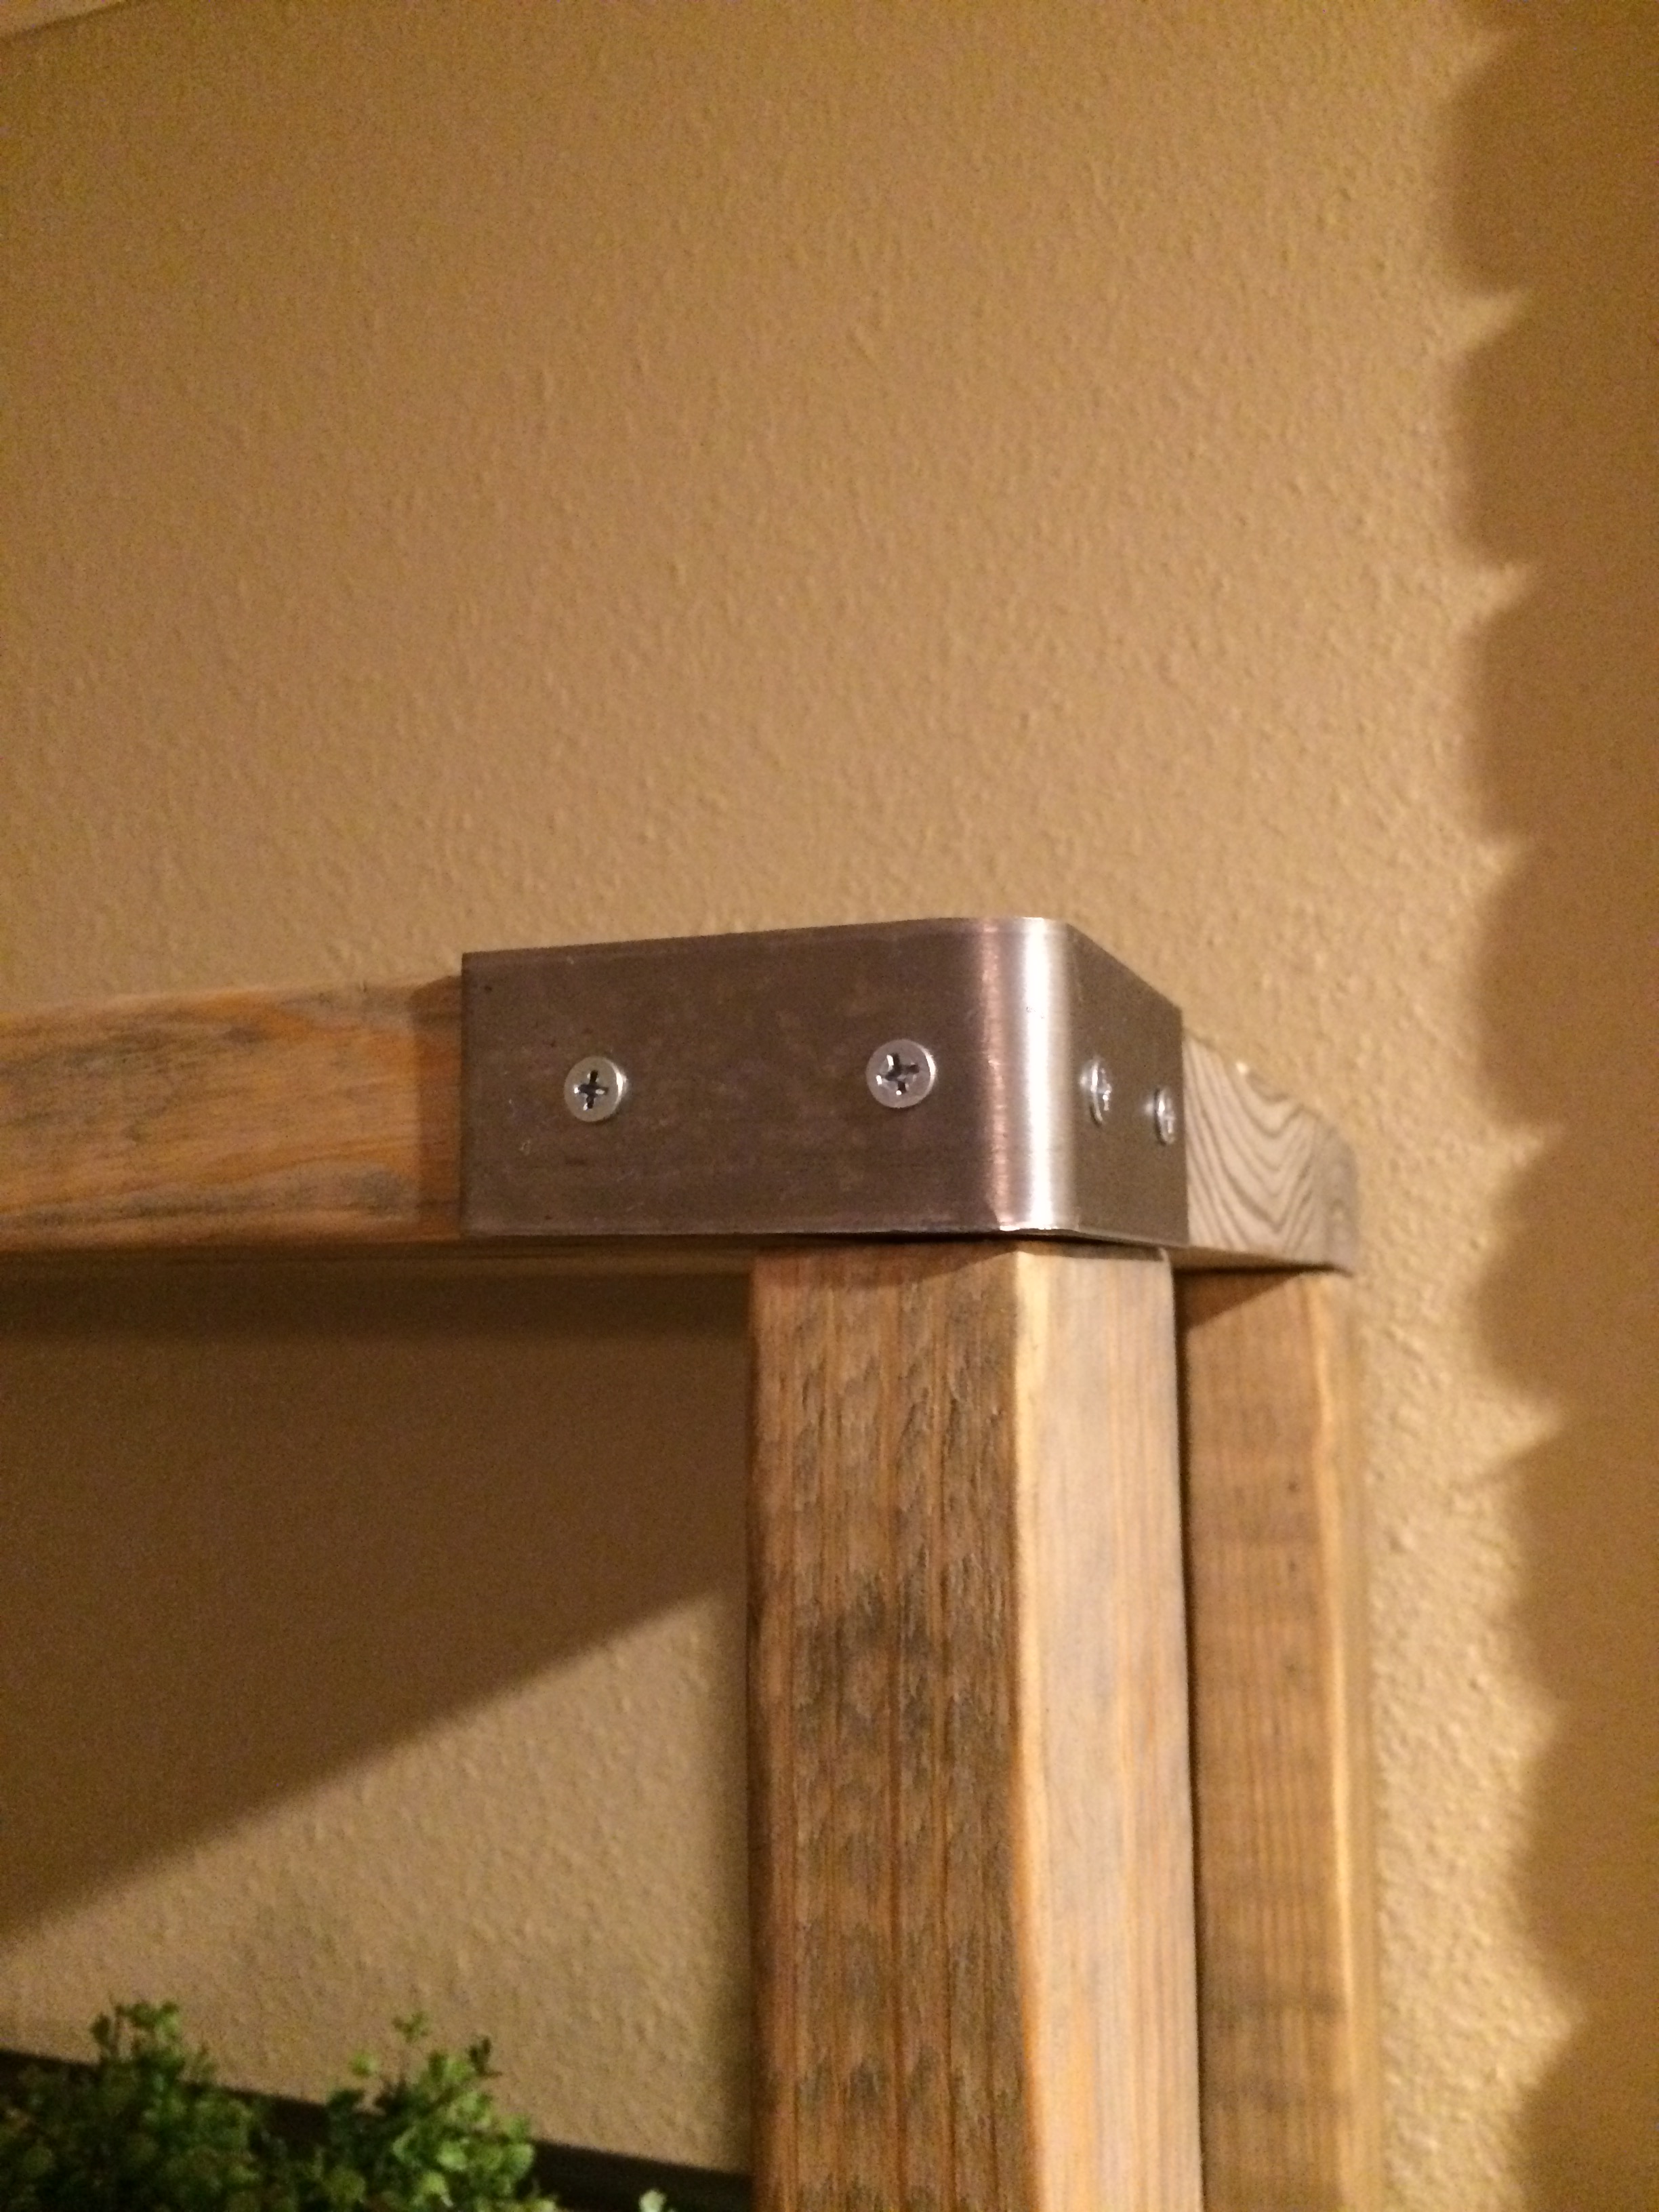
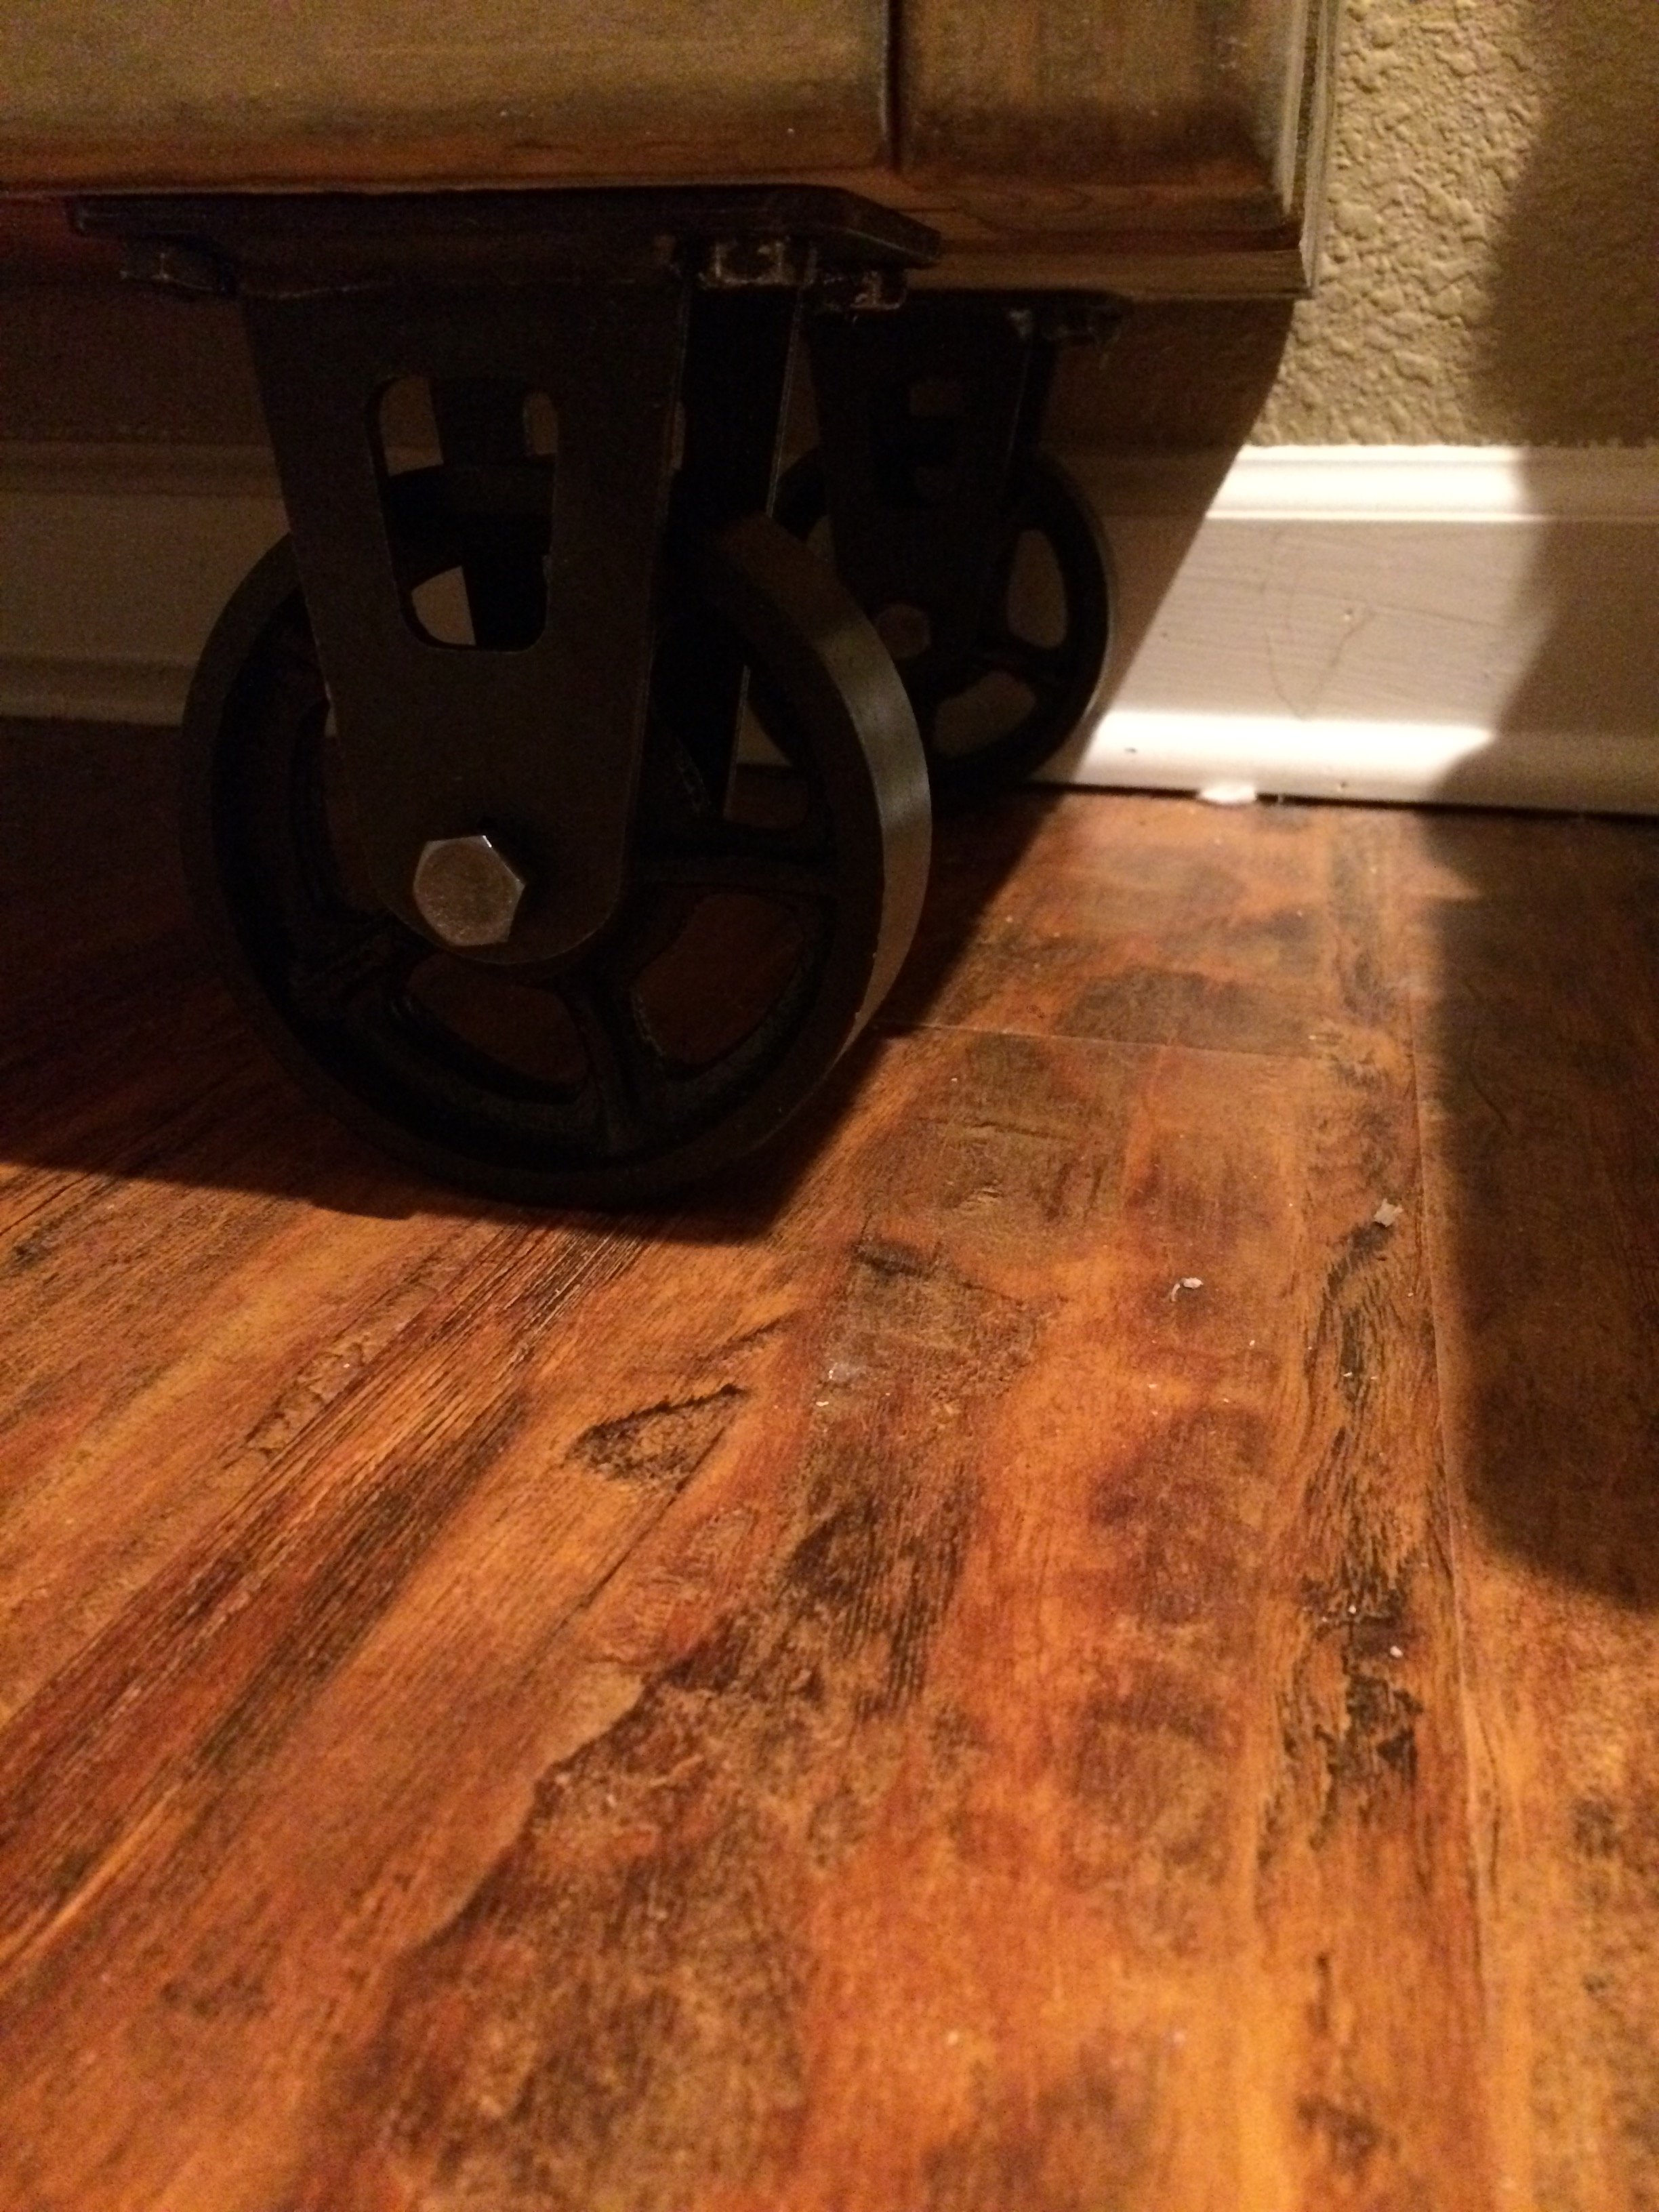
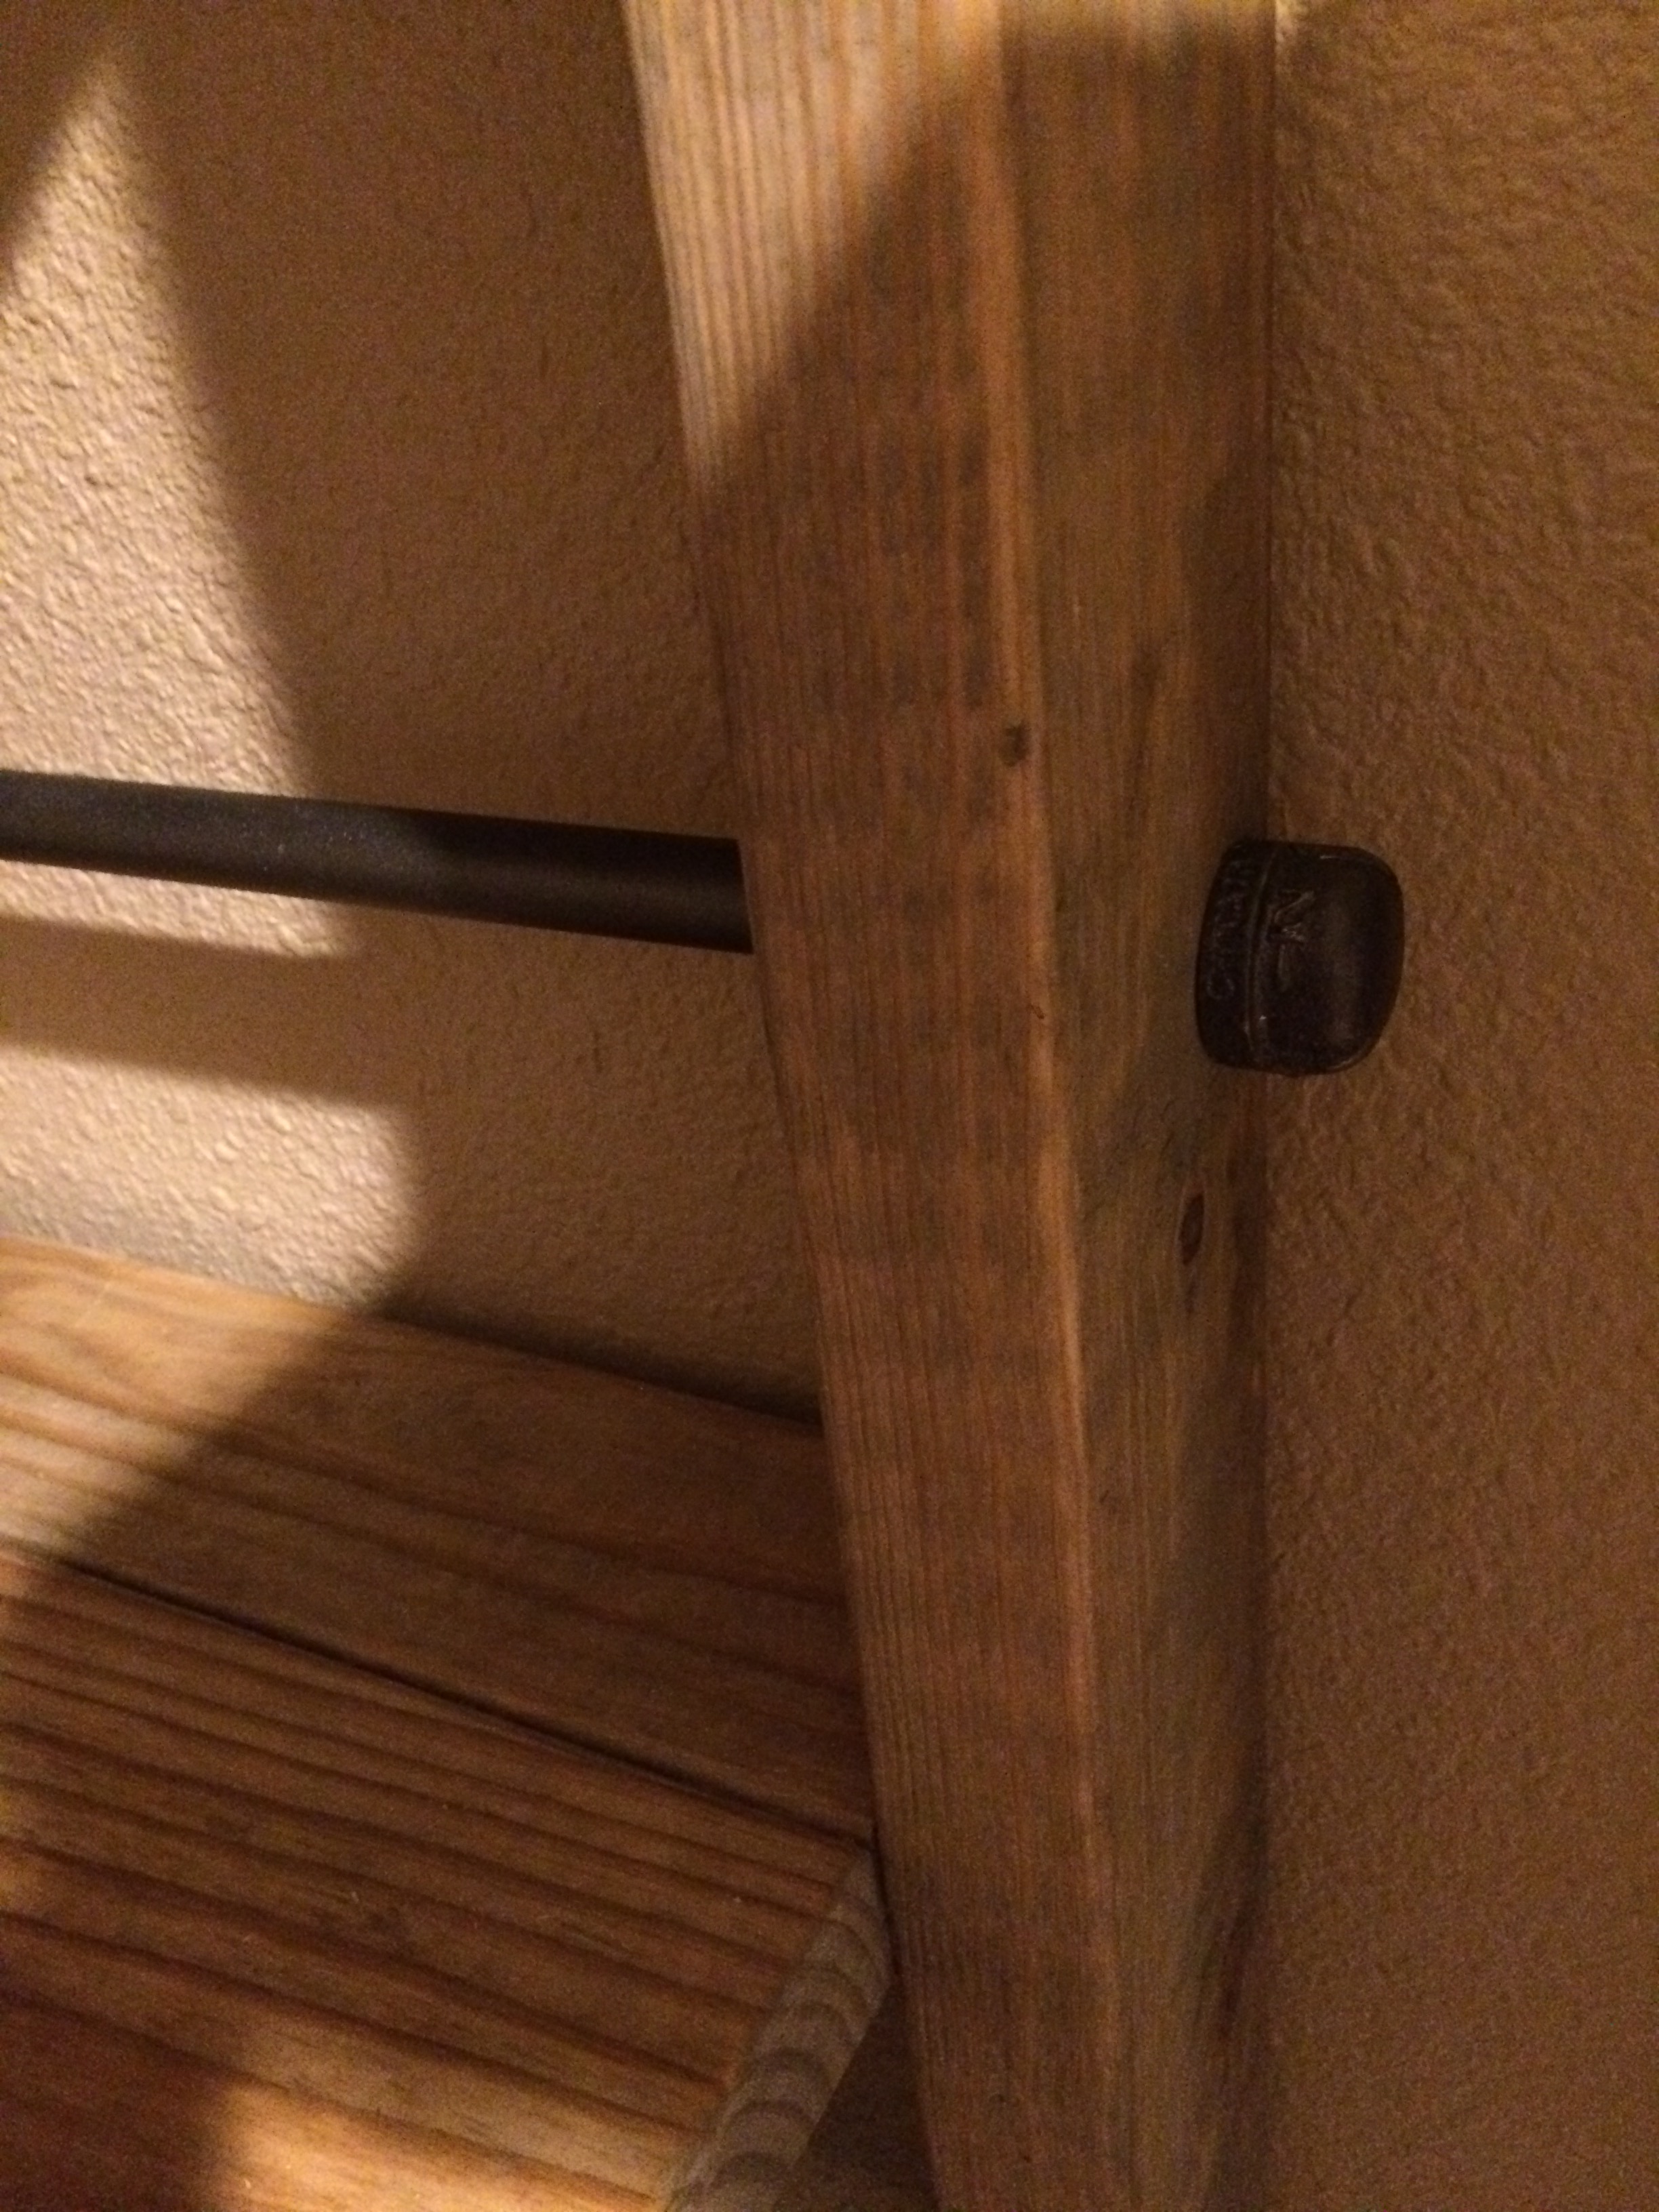
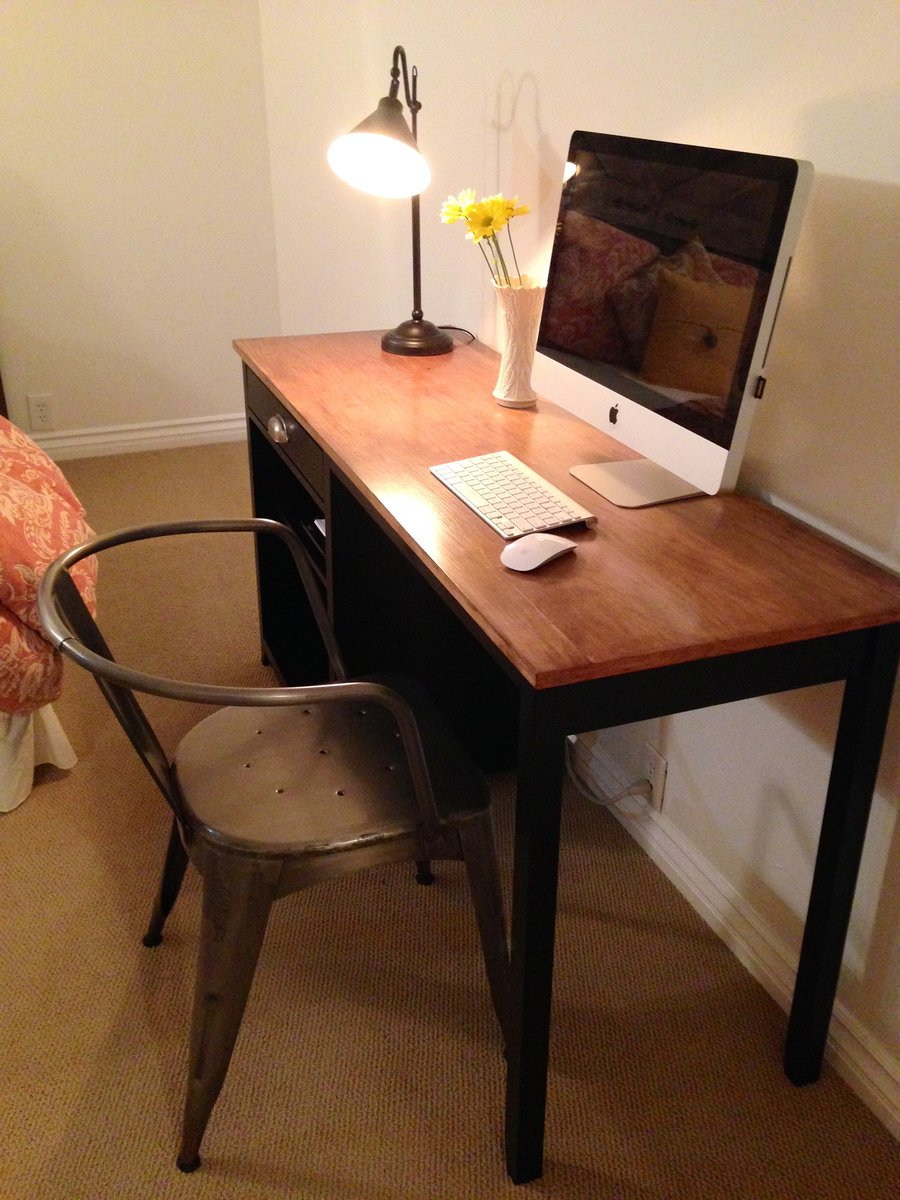
Finish Used
Aged the wood with tea bags and a mixture made with stainless steel and vinegar.
Recommended Skill Level
Starter Project


Comments
Debbie440
Tue, 01/21/2014 - 05:56
Very nice!
Very nice!