Community Brag Posts

Kennedy's Christmas Surprise

Submitted by Anonymous (not verified) on Mon, 01/20/2020 - 07:37

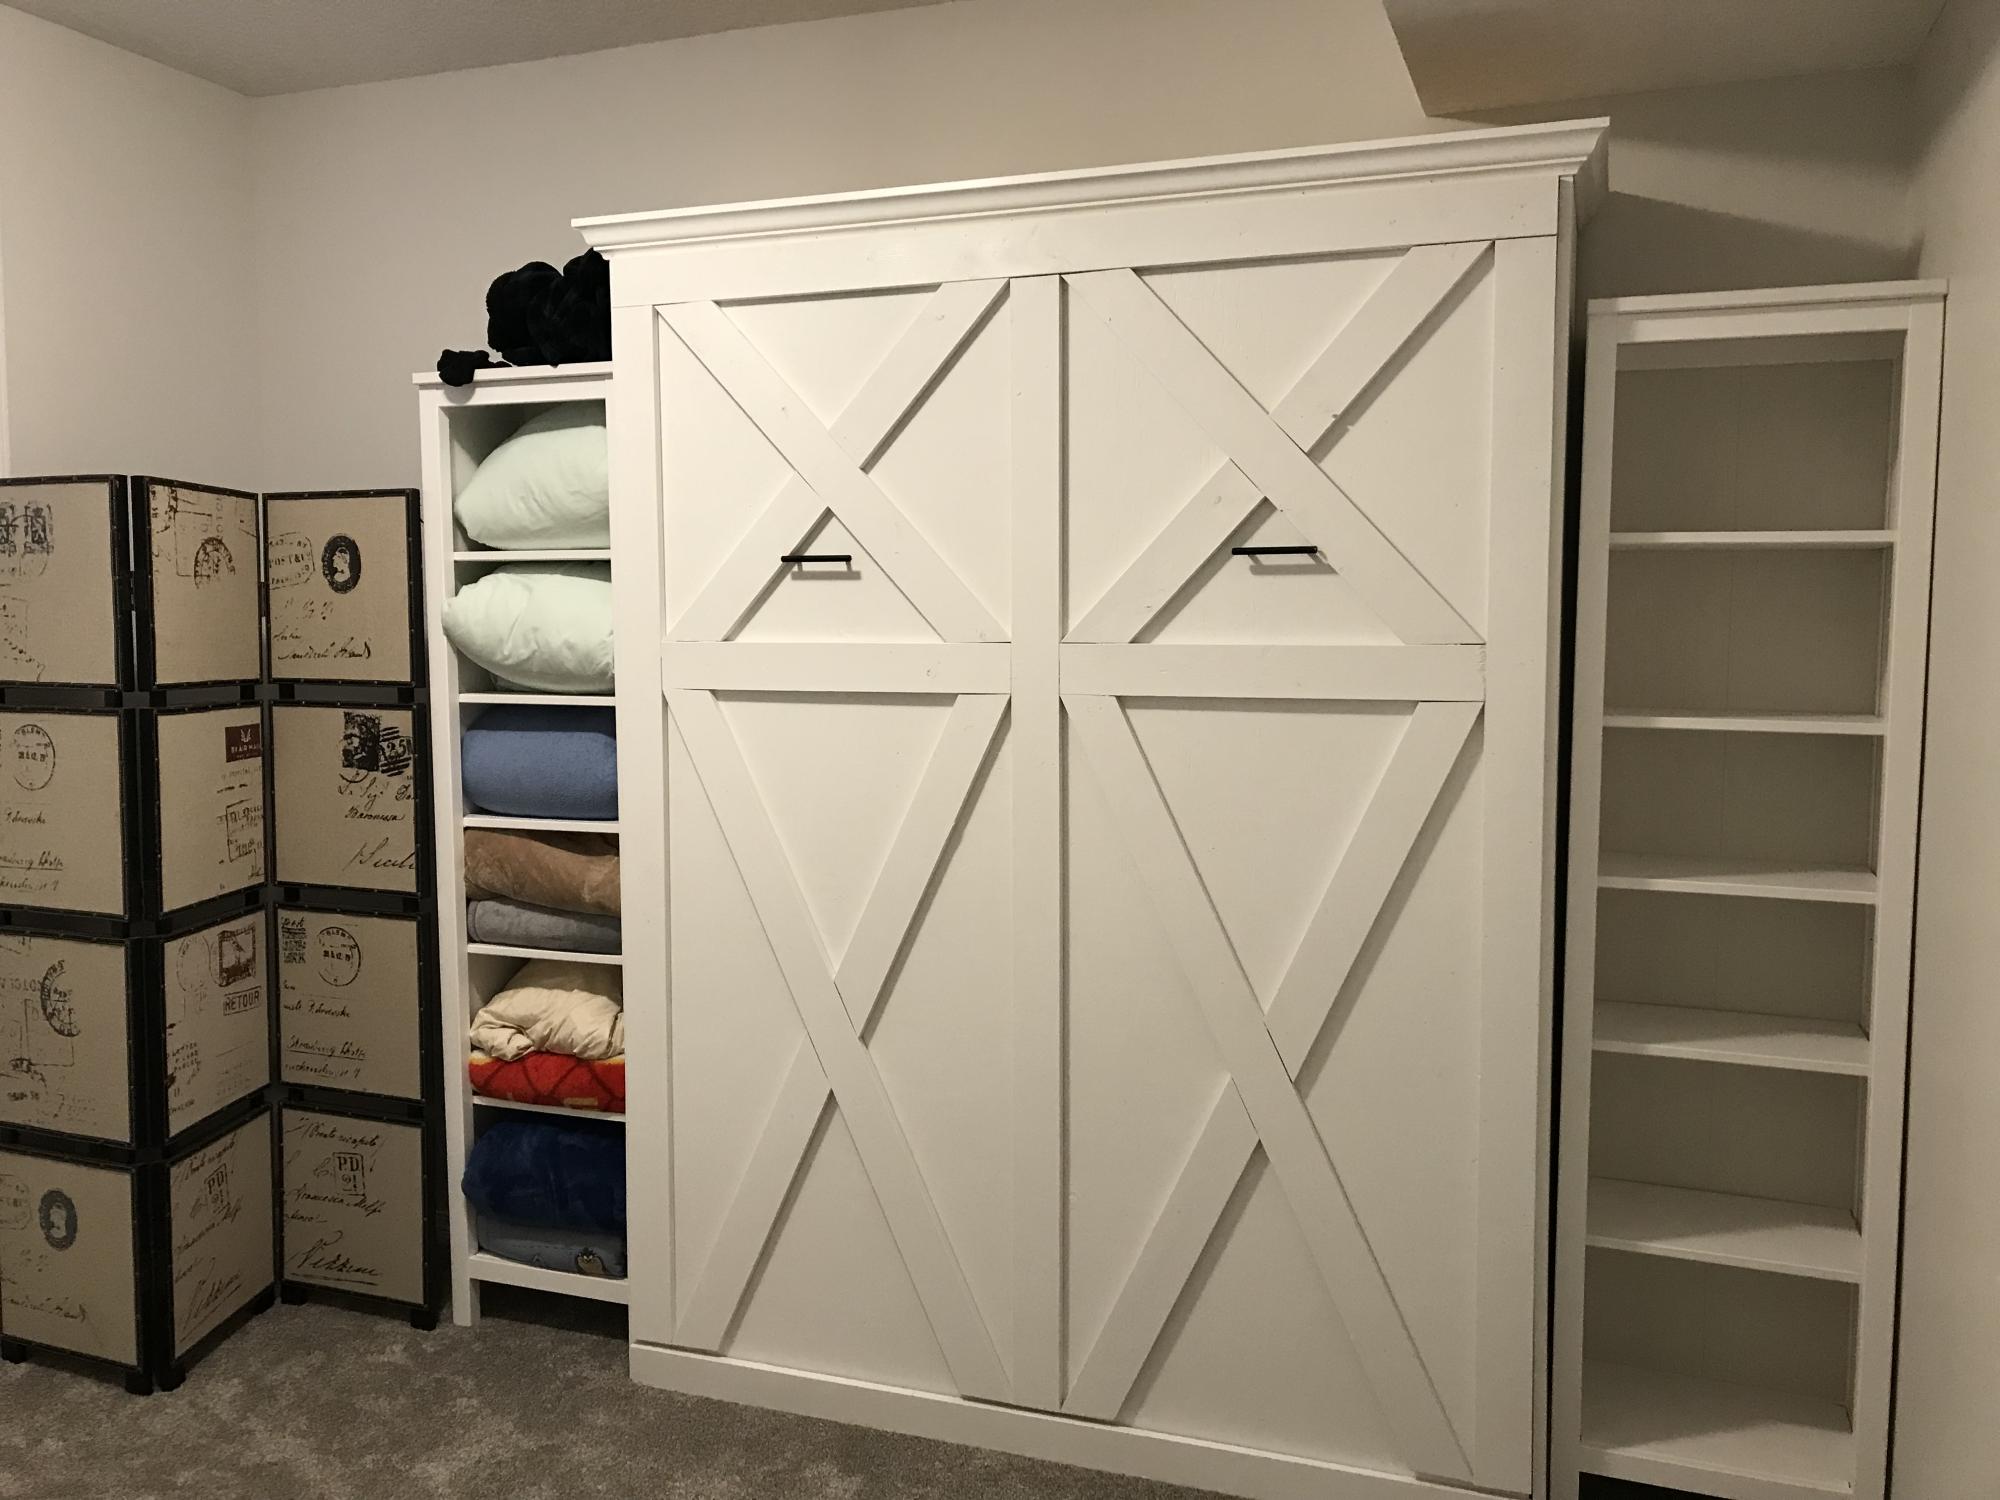
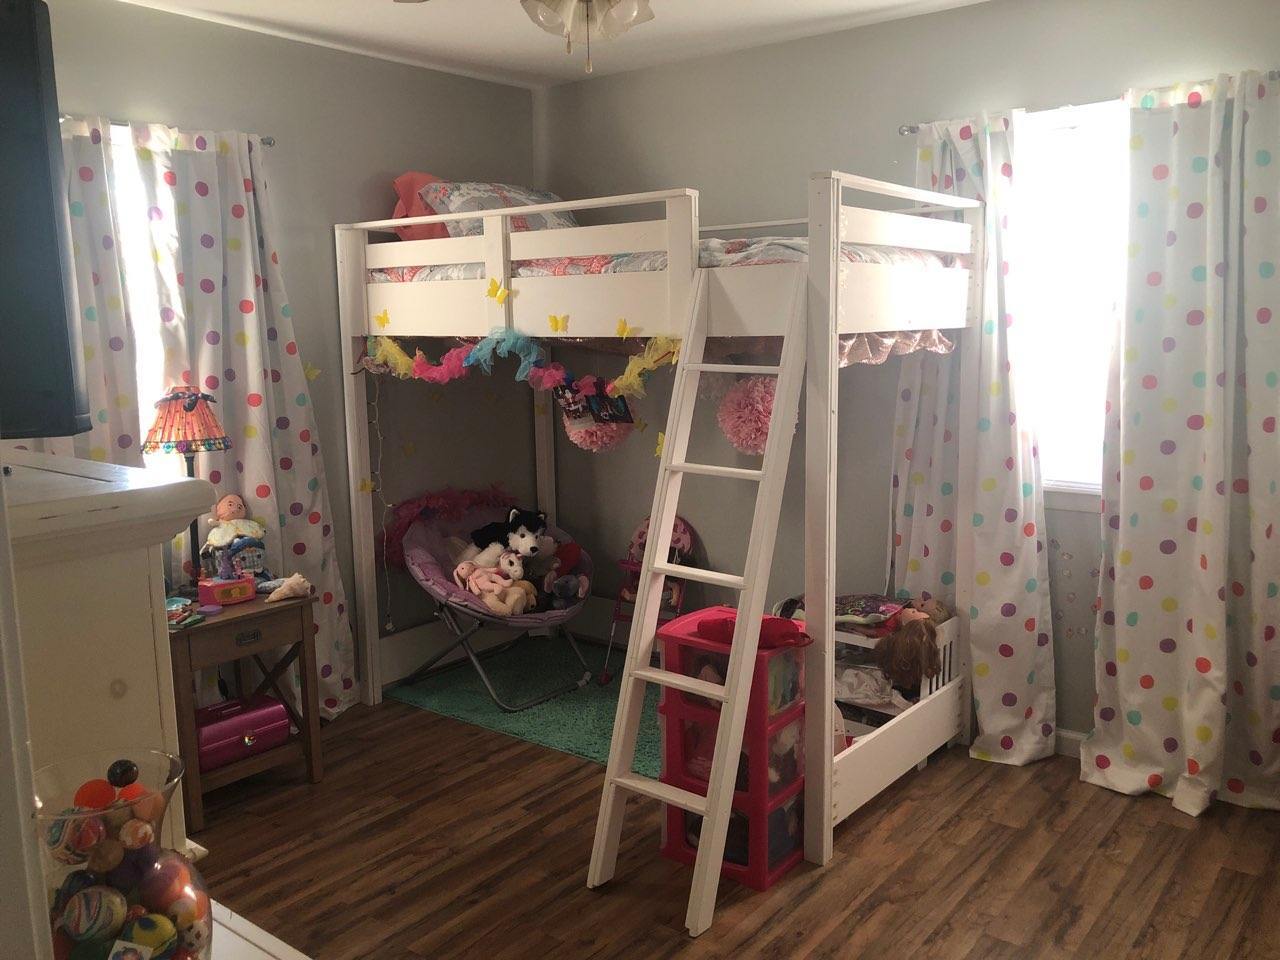
My granddaughter had been wanting a loft bed for well over a year. We decided after a year it wasn't just a phase so I went to Ana's website and got the plans. Can't thank you enough Ana! Easy to follow instructions, sturdy finished product and most of all a VERY HAPPY granddaughter! We call that a Win/Win.

Built from Plan(s)
Estimated Cost
$170
Estimated Time Investment
Day Project (6-9 Hours)
Finish Used
Valspar White
Recommended Skill Level
Beginner

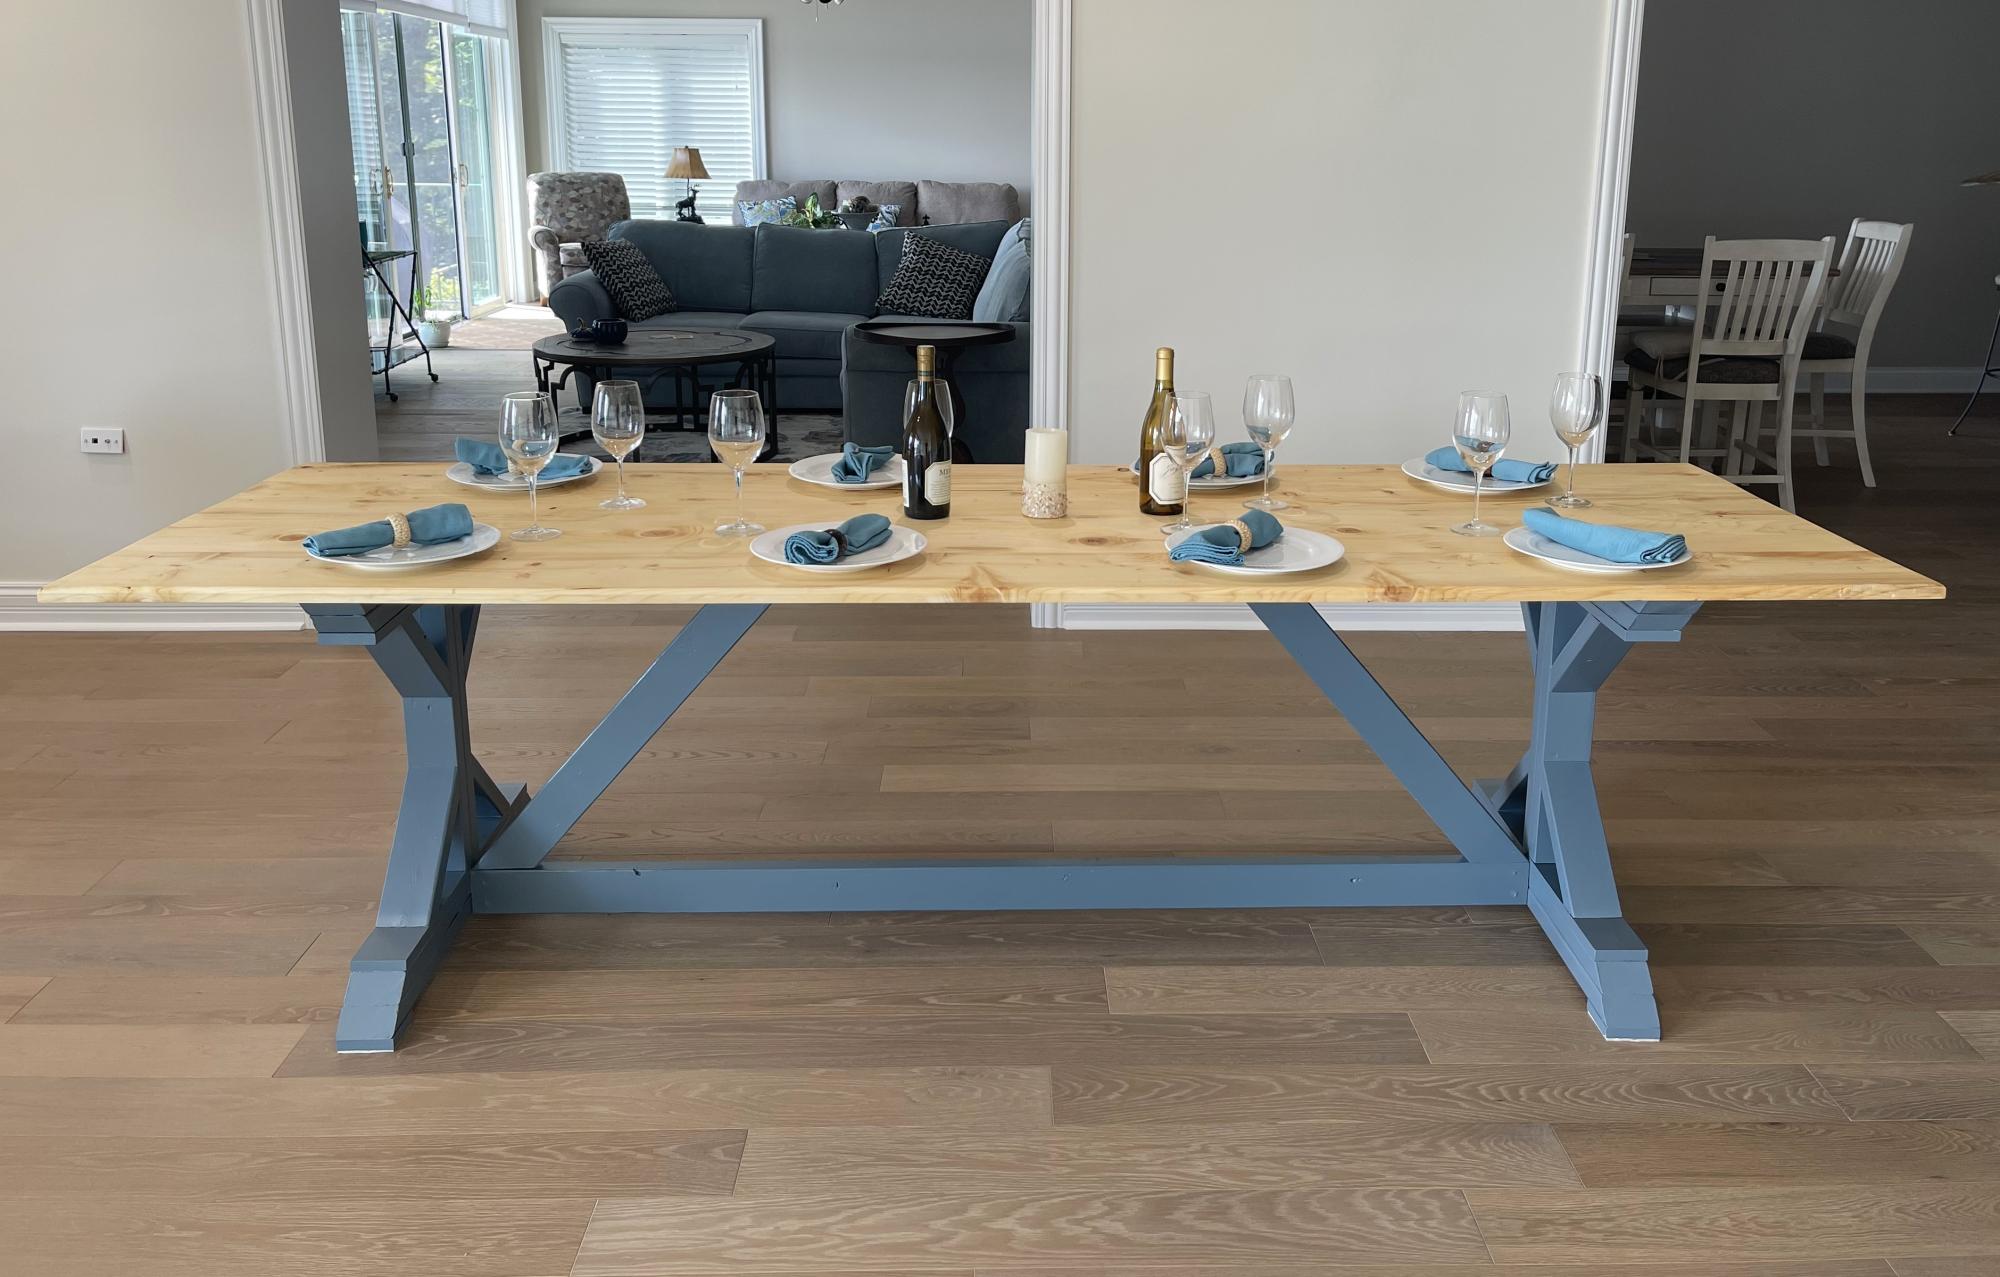
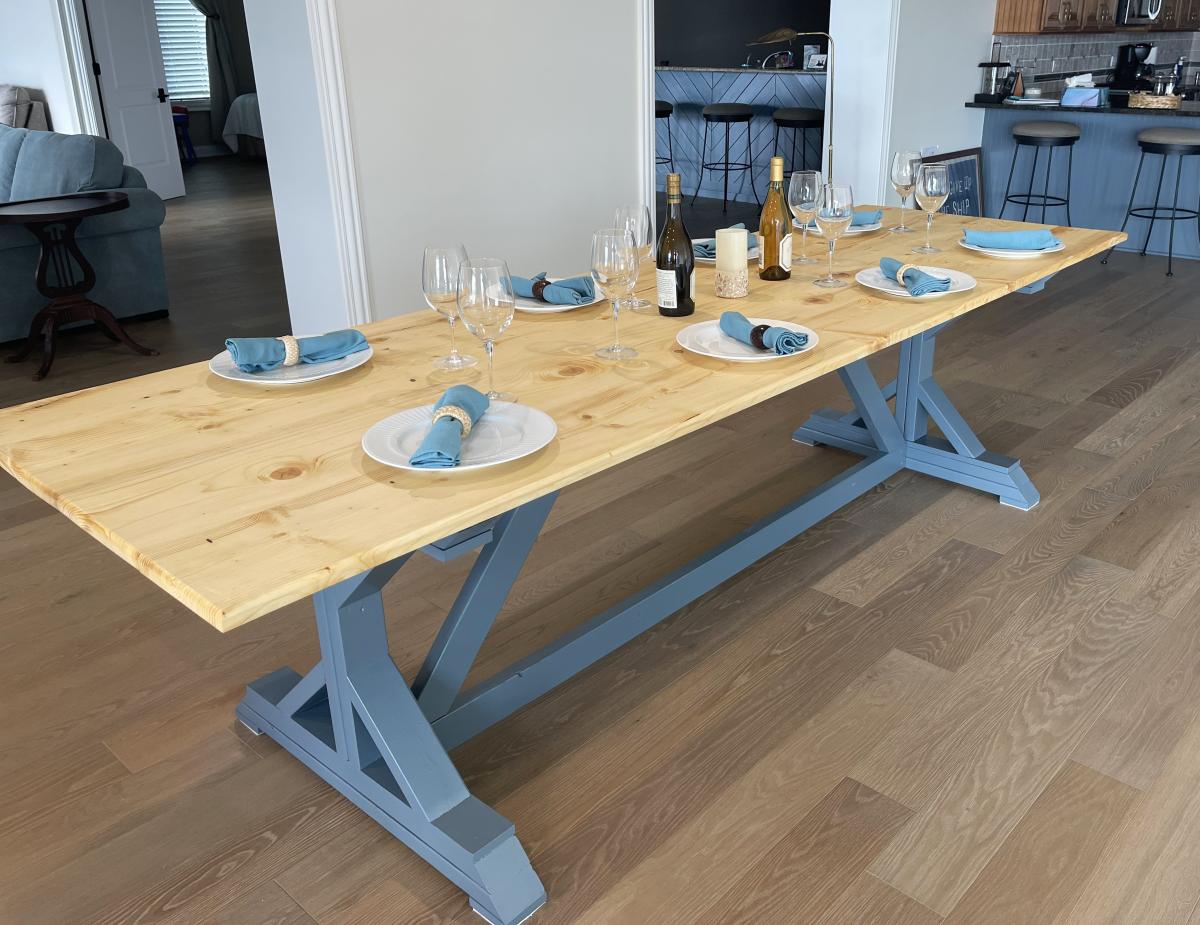
Rough Sawn Spruce Dining Table!

Submitted by Anonymous (not verified) on Mon, 09/18/2023 - 09:01

This was really fun! Actually used Spruce from a tree on my property that I had cut down and taken to a Saw Mill 6 Years ago. Been in the barn drying. The rough sawn boards were only 1.25 thick after the planer I could only maintain 1.00”. Extended the length of the table to 10’. Decided to reverse the underneath support angled boards to add support to the center of the table due to the added length and only 1” thick boards. Used biscuit joints to add strength and alignment. We love it at the lake home!


Matt Menges

Built from Plan(s)

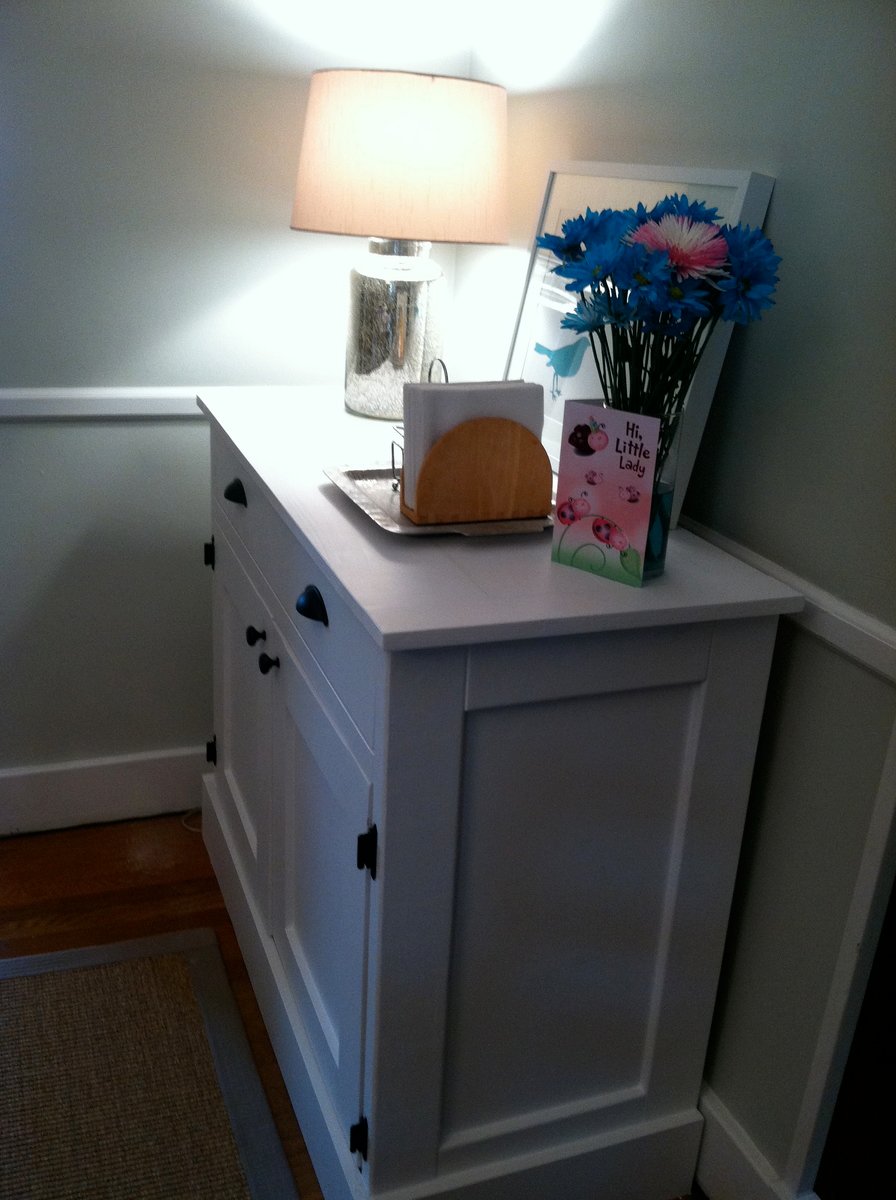
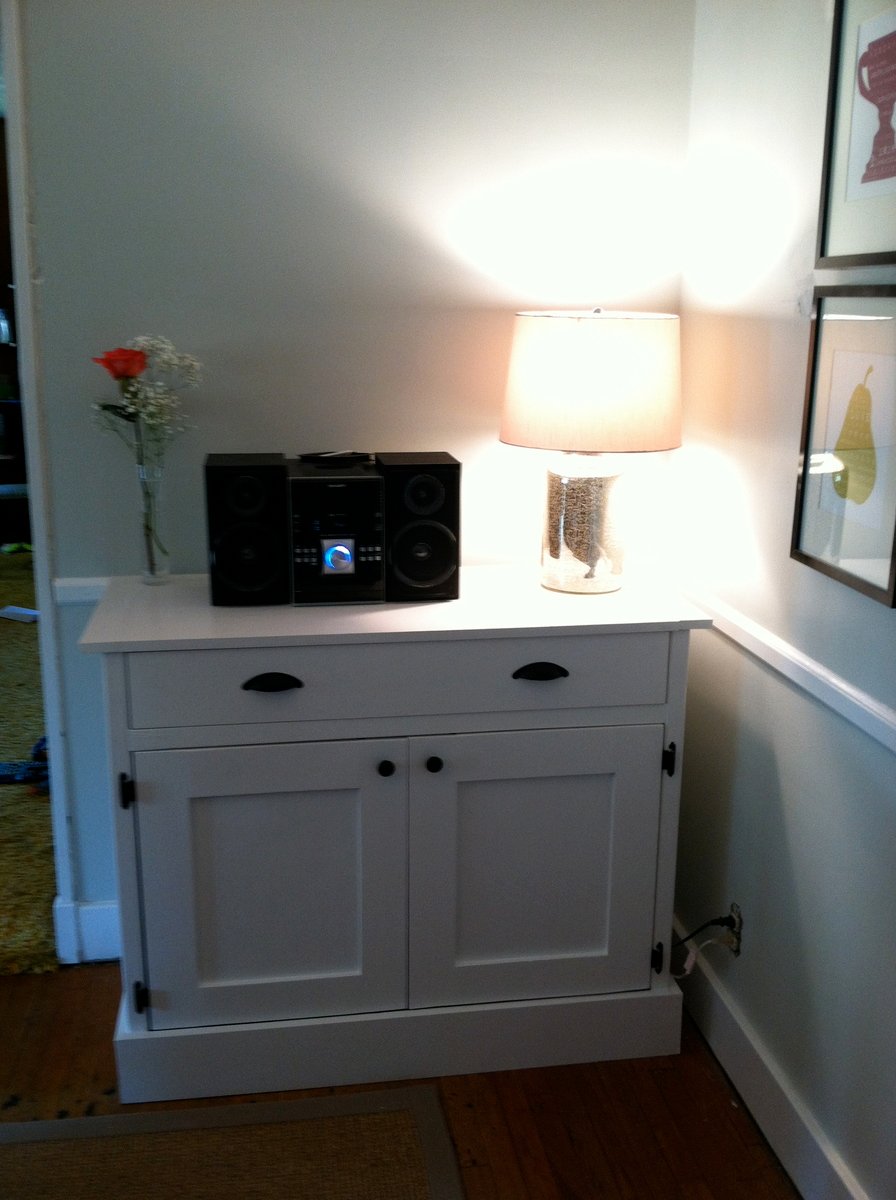
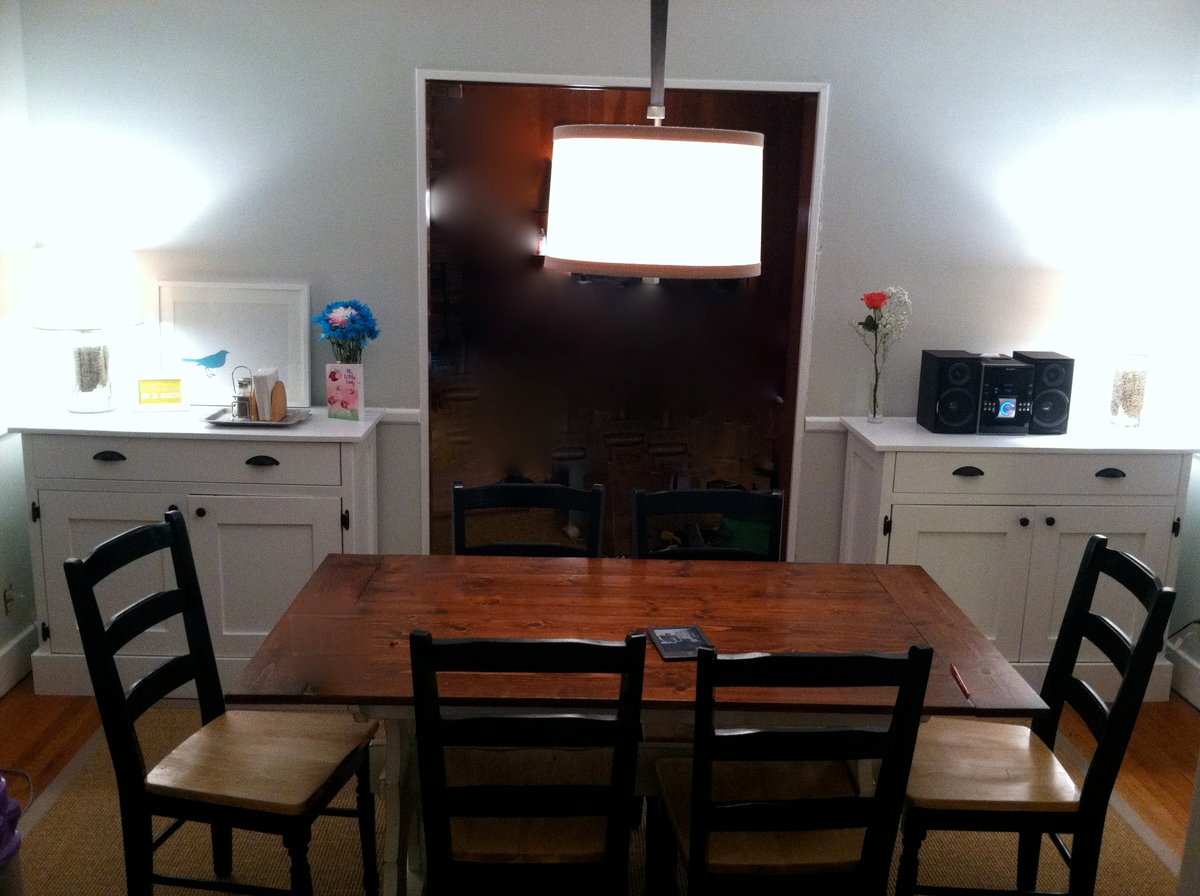
Scaled down Planked Wood Sideboard

Submitted by hcharnock on Thu, 04/19/2012 - 06:02

I wanted two sideboards flanking the doorway in my dining room. I took these awesome plans and just scaled them down, building the middle portion of the sideboard only and ignoring the two sides. I used the exact measurements of the middle portion of the plan. Other changes were that I used 1x12's on the ends of the sideboard, instead of planks, and luan in the doors, instead of beadboard. My biggest advice to someone else building this would be to make sure that the unit is square as you build, if it is not, you will have some serious shim work to do with the drawer slides! (of course, I know nothing about this, haha!) It was a great plan and a lot of fun to build. Oh, and I also used my router to rout out a 1/2 inch deep groove all the way around the back side of the unit, that way I could inset my back into the piece and it would not be visible from the side.

Estimated Cost
$85 for both of the sideboards, but I already had the paint and some of the wood
Estimated Time Investment
Weekend Project (10-20 Hours)
Finish Used
I caulked seams, woodfilled holes, sanded with 120 grit, primed with Cover Stain, sanded with 220 grit, painted with Olympic Low-VOC white semi-gloss paint, sanded with 220 and painted again!
Recommended Skill Level
Intermediate

Comments

spiceylg

Thu, 04/19/2012 - 08:04

You did an amazing job! Great idea and looks fab! I'm trying to get up the nerve to build it full size. I've just done simple projects so the thought of doing doors and especially drawers makes me nervous as I'm real particular and get frustrated when things don't go as planned!

hcharnock

Thu, 04/19/2012 - 17:04

Hi! Thanks for the compliment. I have a Bosch Colt, handheld router that I used for all of the routing, on the back of the unit and also on the doors to inset the panels. Hope that helps!

Hillary (not verified)

Mon, 05/14/2012 - 23:02

Great work! I love that you routed the back. It's so nice not to see the back tacked on. In some applications it is no big deal, but for a piece like this, when you're walking by the side of it every day, I think it is much more polished not to see the back. And...I totally know what you mean about building square for that drawer!!

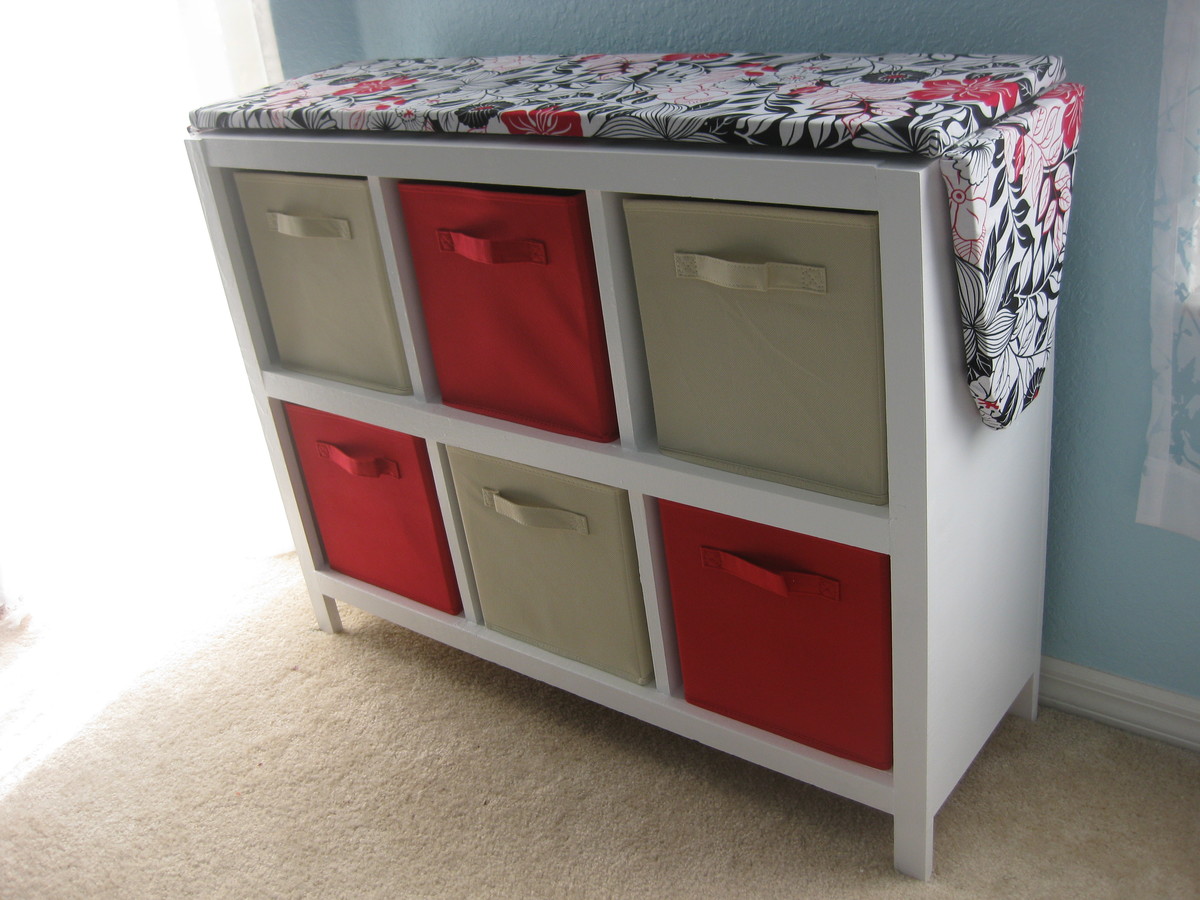
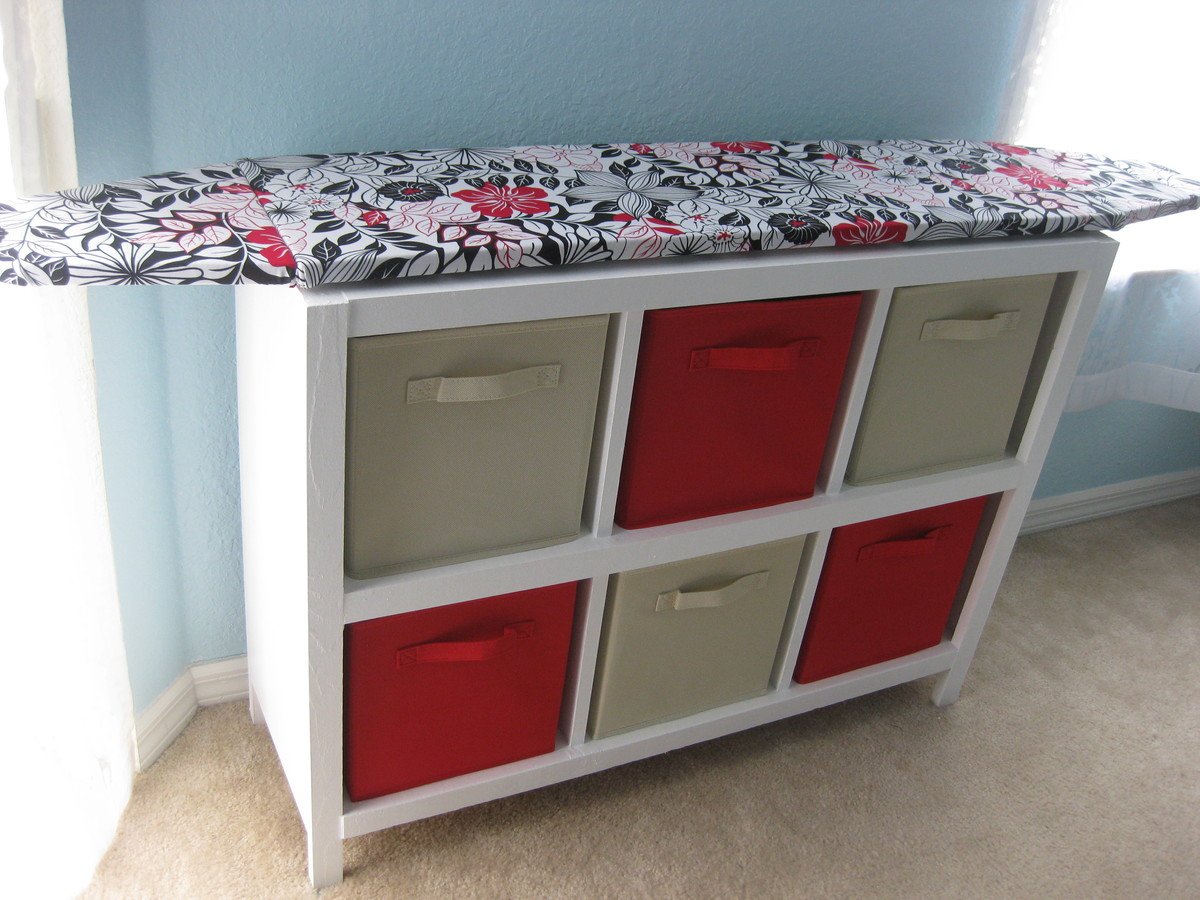
Cubby Shelf with Ironing Board Top

Submitted by PinnSB on Sun, 02/02/2014 - 11:56

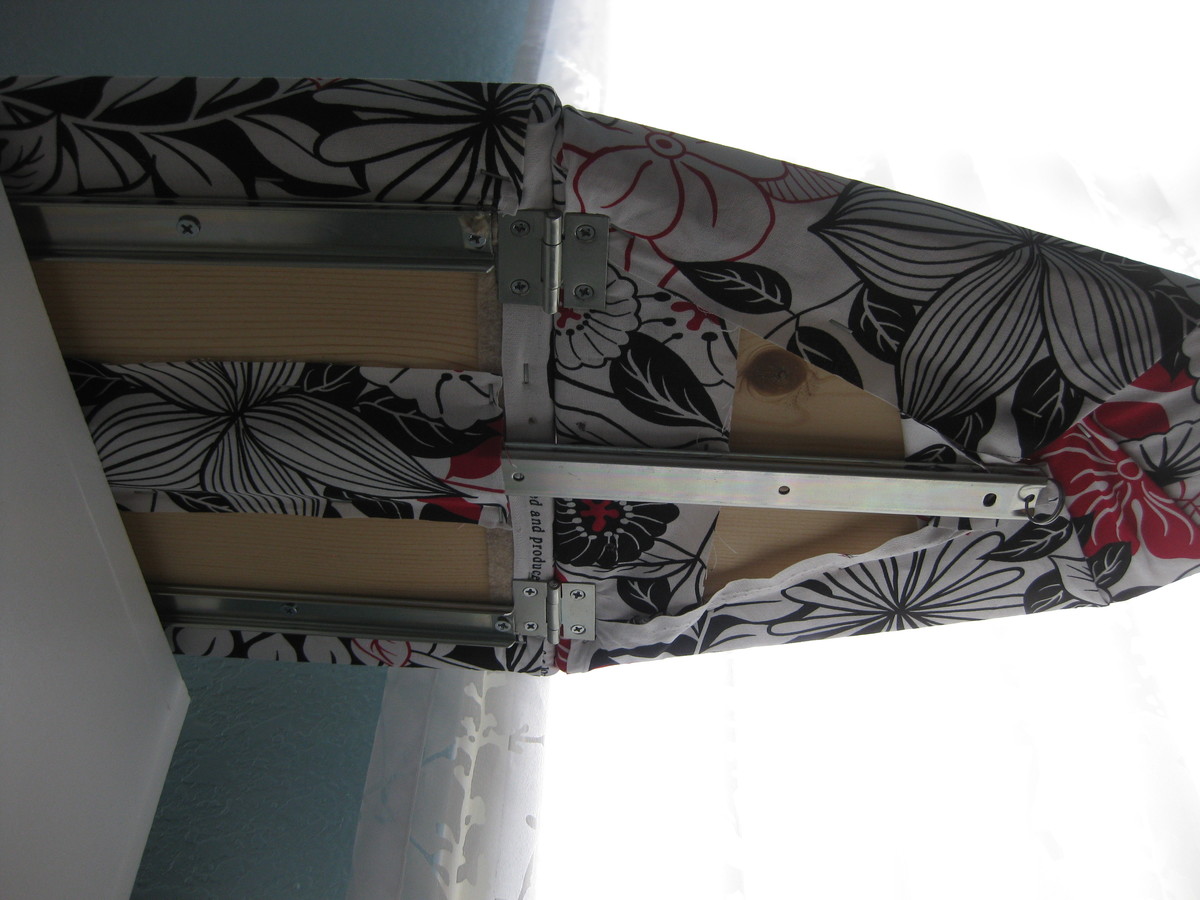
Originally I wanted a cubby shelf for the empty space between the sliding door and window in our master bedroom. However, that is also where the ironing board always sat out and I got tired of looking at it. So this project evolved and I decided to add an ironing board to the top of it. I used a 41" 1x12 for the top and 2-11" scraps for the flaps on either side. I covered each piece with one layer of felt and one layer of fabric. Flaps were attached to main board with hinges. Under-mount drawer slides were used to both allow the board to shift left and right and to support the flaps in open position.

Built from Plan(s)
Estimated Cost
$85
Estimated Time Investment
Day Project (6-9 Hours)
Finish Used
Valspar Ultra White Satin Paint
Recommended Skill Level
Starter Project

Comments

rlmilam3

Wed, 02/03/2016 - 21:07

Are there more specific plans for building the ironing board part of this? The other builds are so specific, having everything laid out even the amount of screws needed. But this one is definitely lacking. Is there further directions elsewhere that I'm missing?

itzann

Thu, 02/04/2016 - 09:24

Hi, this particular project was submitted by a reader, who modified the plans of the cubby shelf to include the ironing board top. It is not part of Ana White's project plan, so that is why there are no specifics. Perhaps you could try contacting the person who posted, and he/she could tell you more details. 

-Ann

Cedar Top Modification

Submitted by Anonymous (not verified) on Sun, 05/01/2016 - 16:45

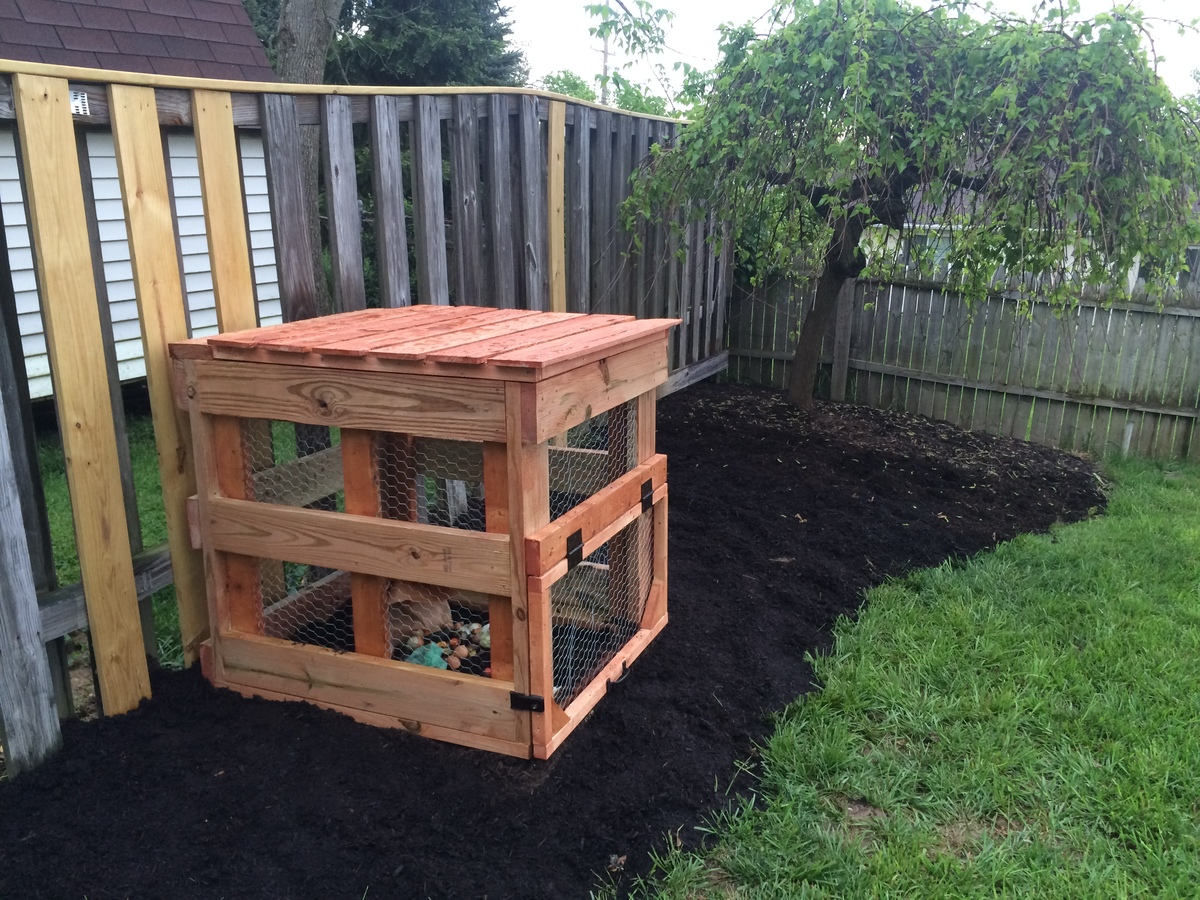
We needed a compost bin to replace the pile forming in a corner of the yard. We referred to it as "The Buffet" to reflect how much our new puppy enjoyed digging through the scraps. 


I I substituted cedar fencing to top the bin instead of the plastic sheeting. I just liked the way it looked and it was more cost effective. The most difficult part of the project really is wrangling the chicken wire. It's sharp!

Estimated Cost
I spent about $75 on materials for the project. I spent about another $75 on things like screws, a new staple gun, some waterproofing stain, etc all of which I have left overs and can use again.

I used treated lumber and a waterproofing deck stain. This is not for an edibles garden. I'm just using the soil to fill in low spots around the yard. If I was building it for a veggie garden I would have used all cedar wood with no stain or a natural shellac.
Estimated Time Investment
Day Project (6-9 Hours)
Finish Used
Thompson waterproofing deck stain. Brushed on.
Recommended Skill Level
Intermediate

Vanity Table

Submitted by Aggiegirl on Sun, 01/26/2020 - 06:08

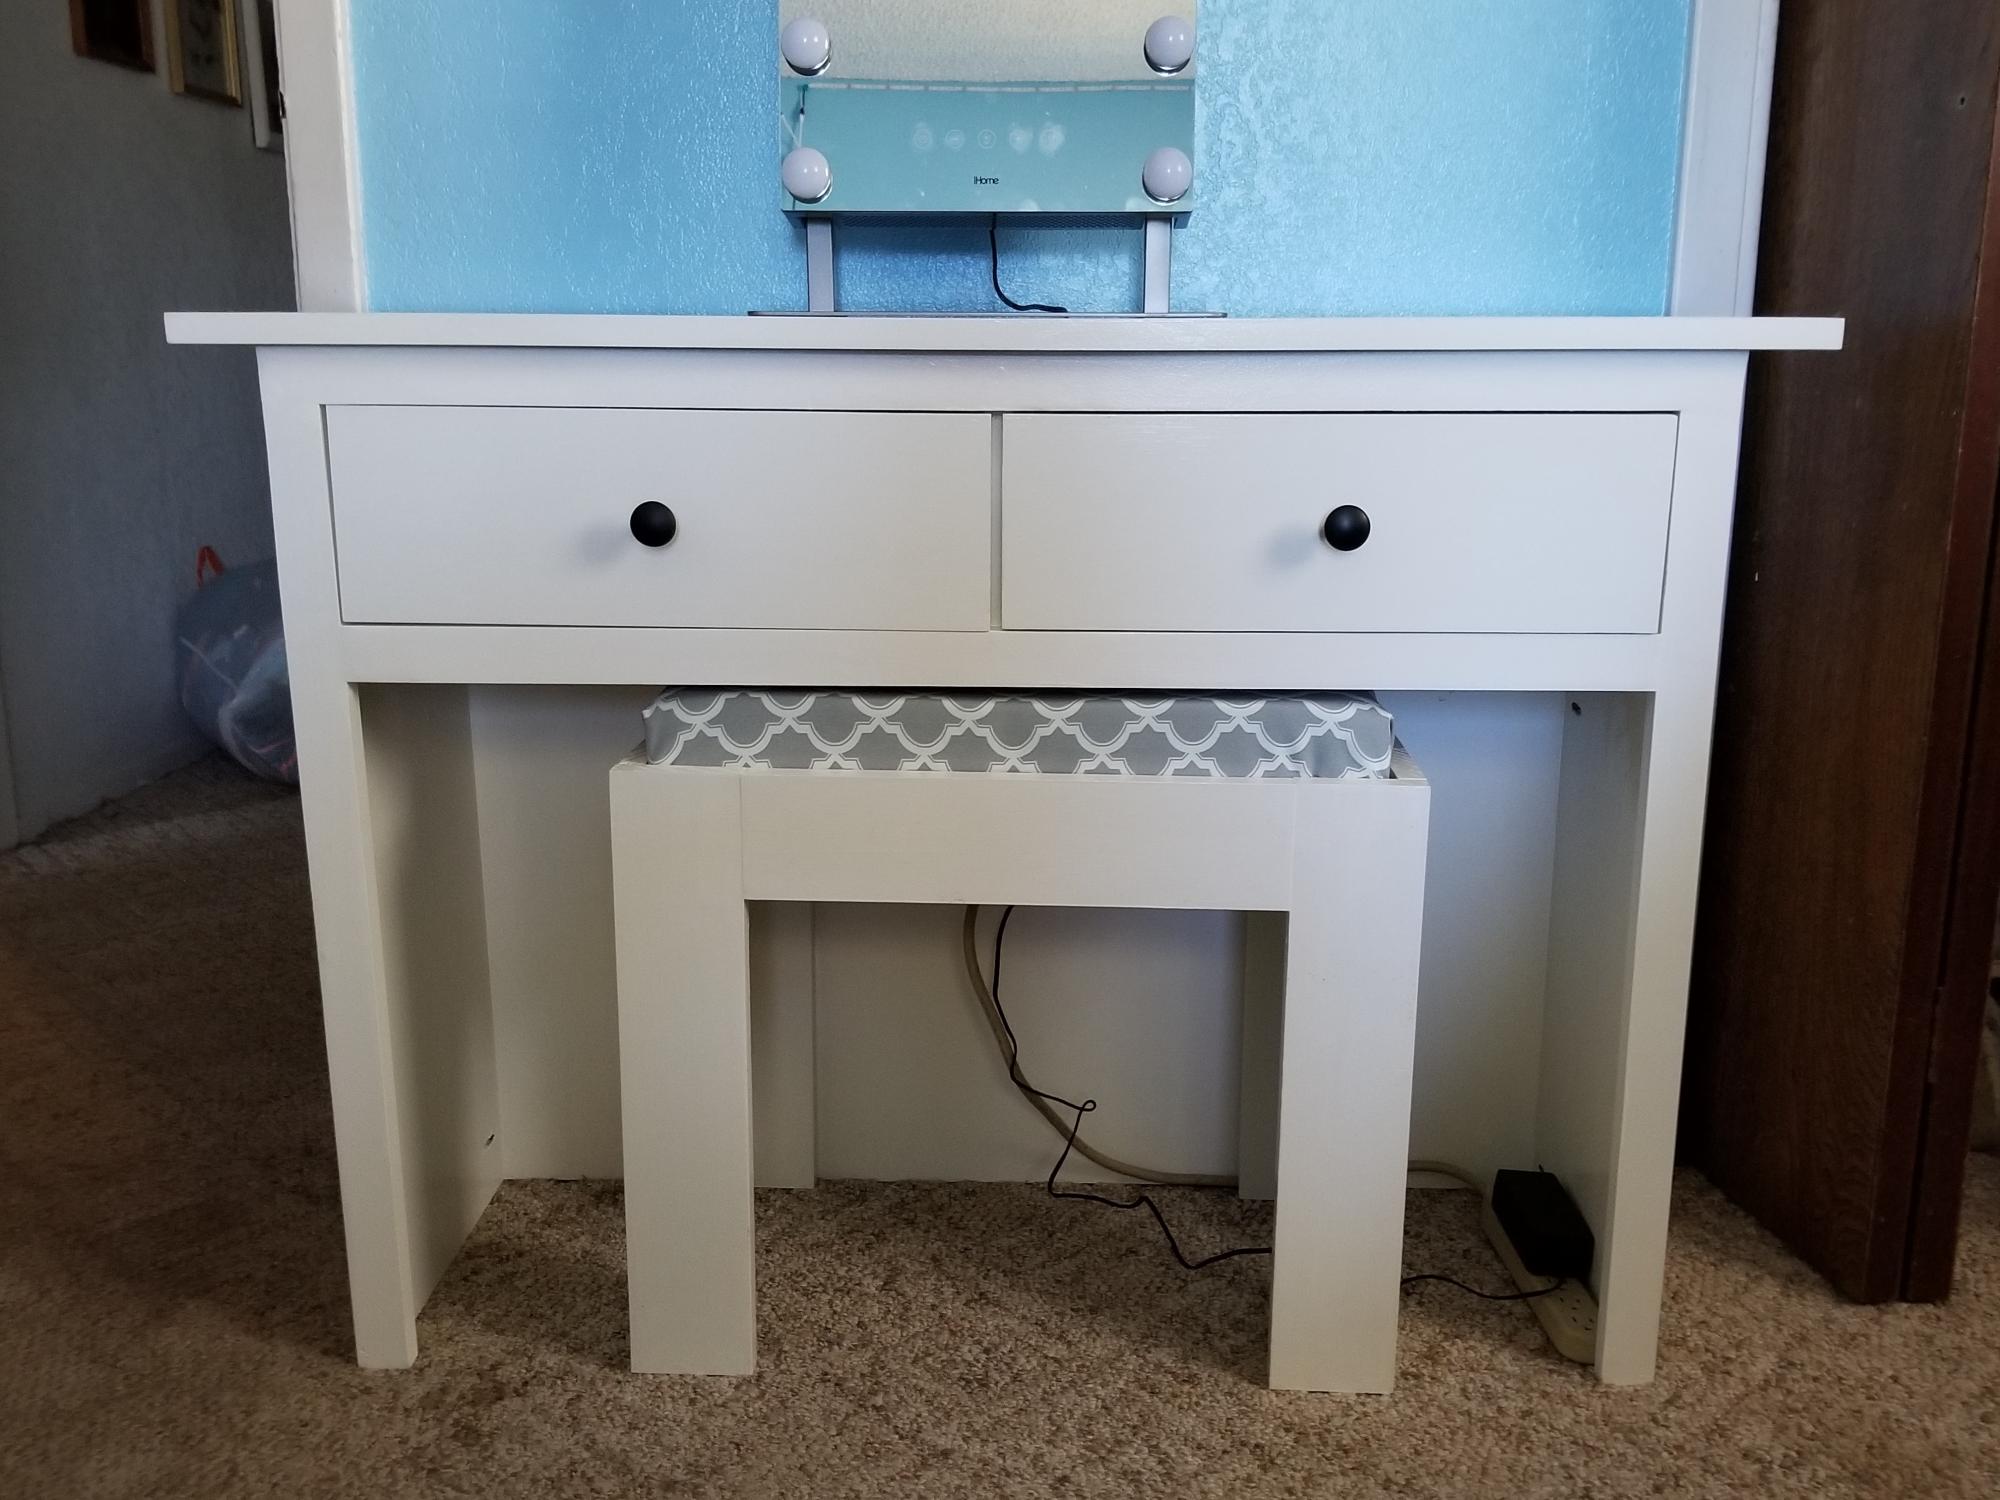
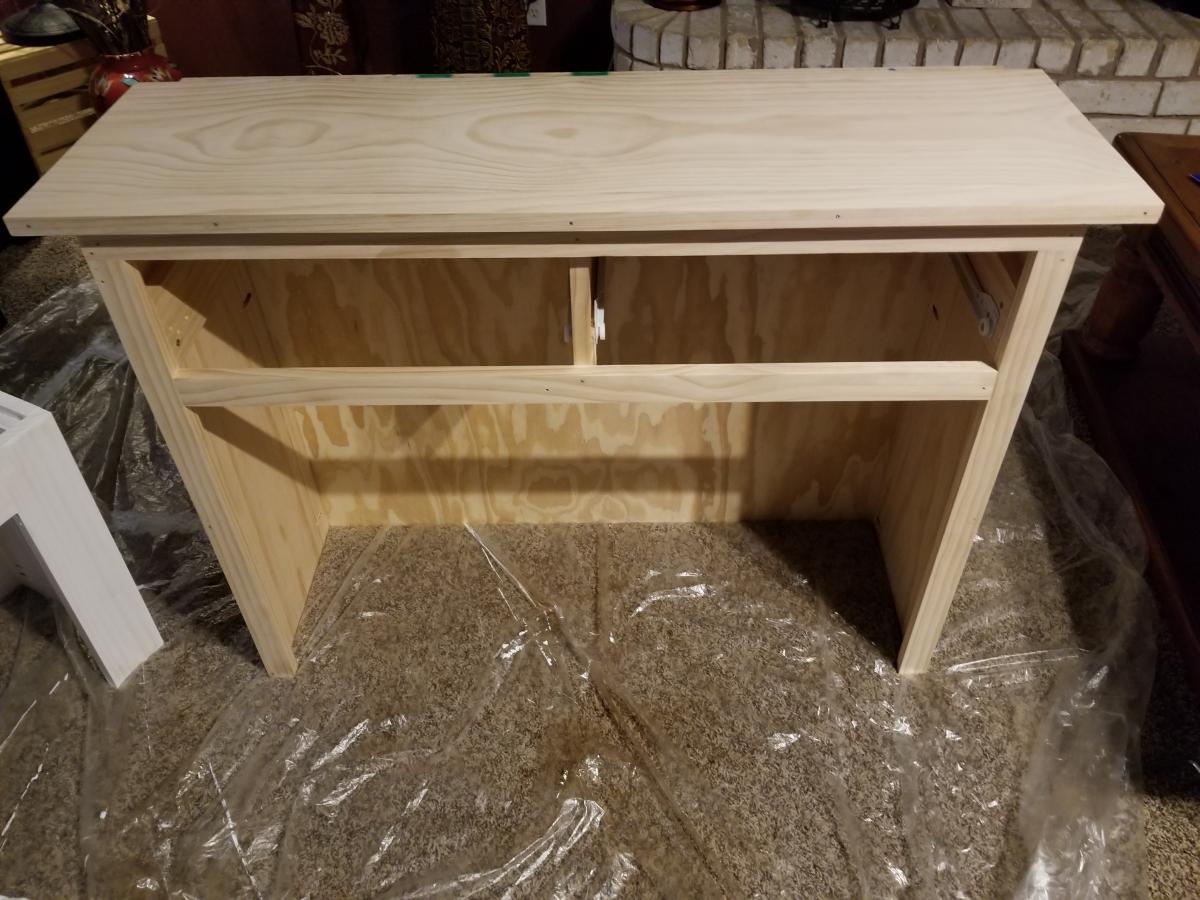
I started with the Cindy Wood Console Table but modified it. I wanted the center to be open so it could be used as a vanity table. I omitted steps 2 and 4 and altered step 3 so that the length of the centerpiece is only 8 3/4 long. I also omitted step 7. In step 8, I made the front-facing go all the way to the bottom, my cut was 27 5/8. All other steps were the same. 

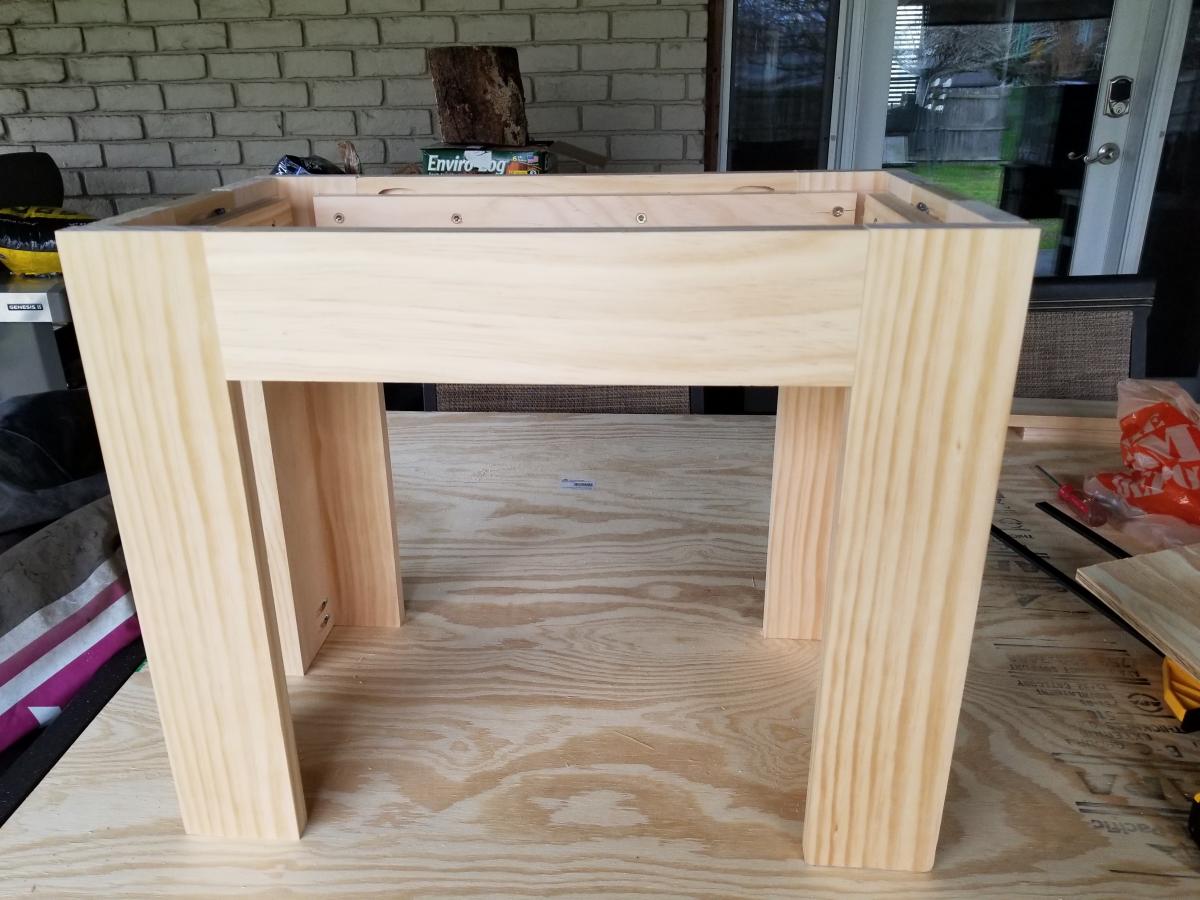
Since it is a vanity table, I also made a bench to go with it. I used 1X4 for the legs and side pieces. The total dimensions of the bench are 22 inches long, 12 1/2 inches wide and 18 inches tall. I had to buy an additional 10 feet of 1X4 to add this to my project.   The cuts for the front and back of the bench are 14 7/8, the sides are 3 7/8 of 1X4.  I used pocket holes to put the legs, font, back, and sides together. Because of using pocket screws, make sure to put the sides together first, then the front and back. I used leftover 1X2 pieces to create a railing on the inside of the bench for the seat base to rest on. I put the railings 5/8 inch from the top of the bench and secured them using wood glue and 1 1/4 inch screws. I used leftover plywood as the seat base. I cut the plywood to be 10 1/2 by 20 inches. 
Estimated Cost
150 - 200
Estimated Time Investment
Weekend Project (10-20 Hours)
Finish Used
I painted it white so that it would go with my daughter's dresser and side table she already had.
Recommended Skill Level
Advanced

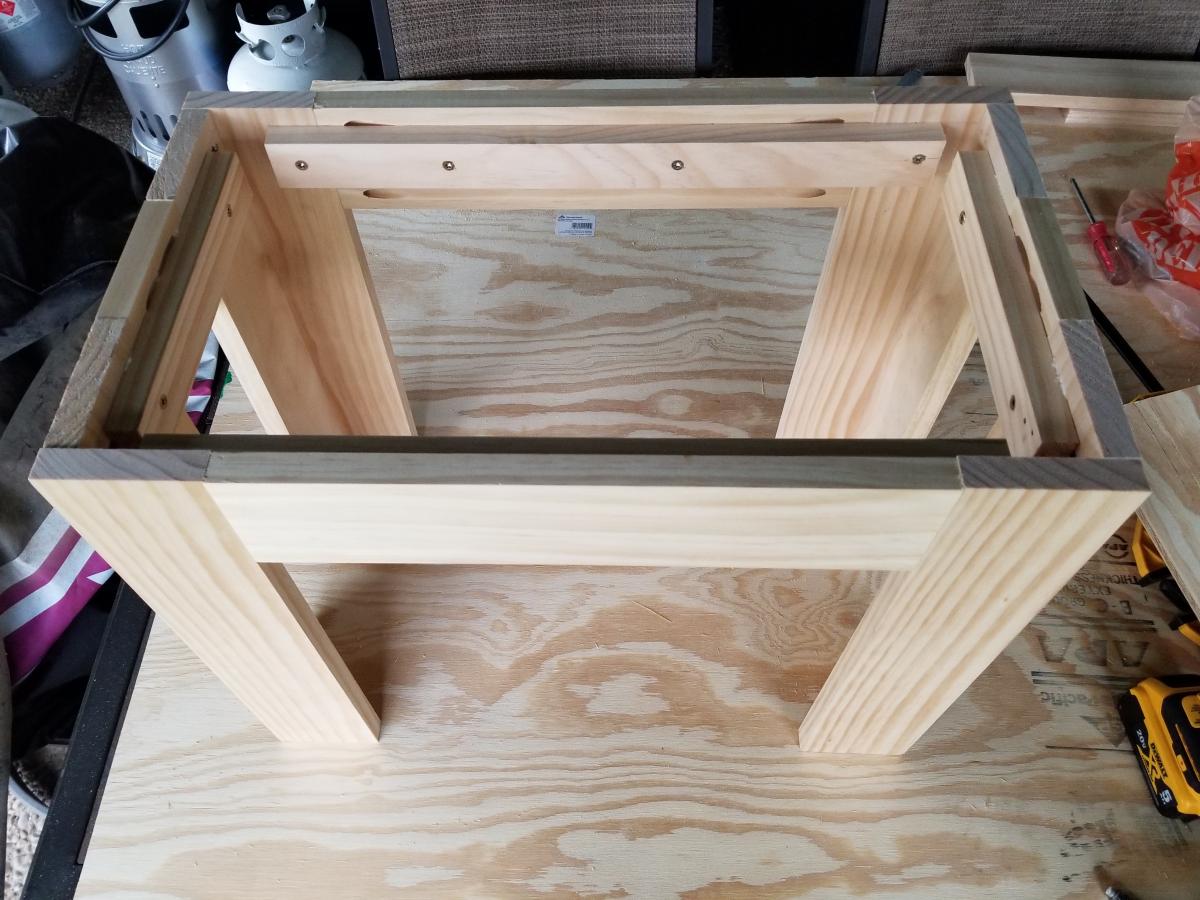
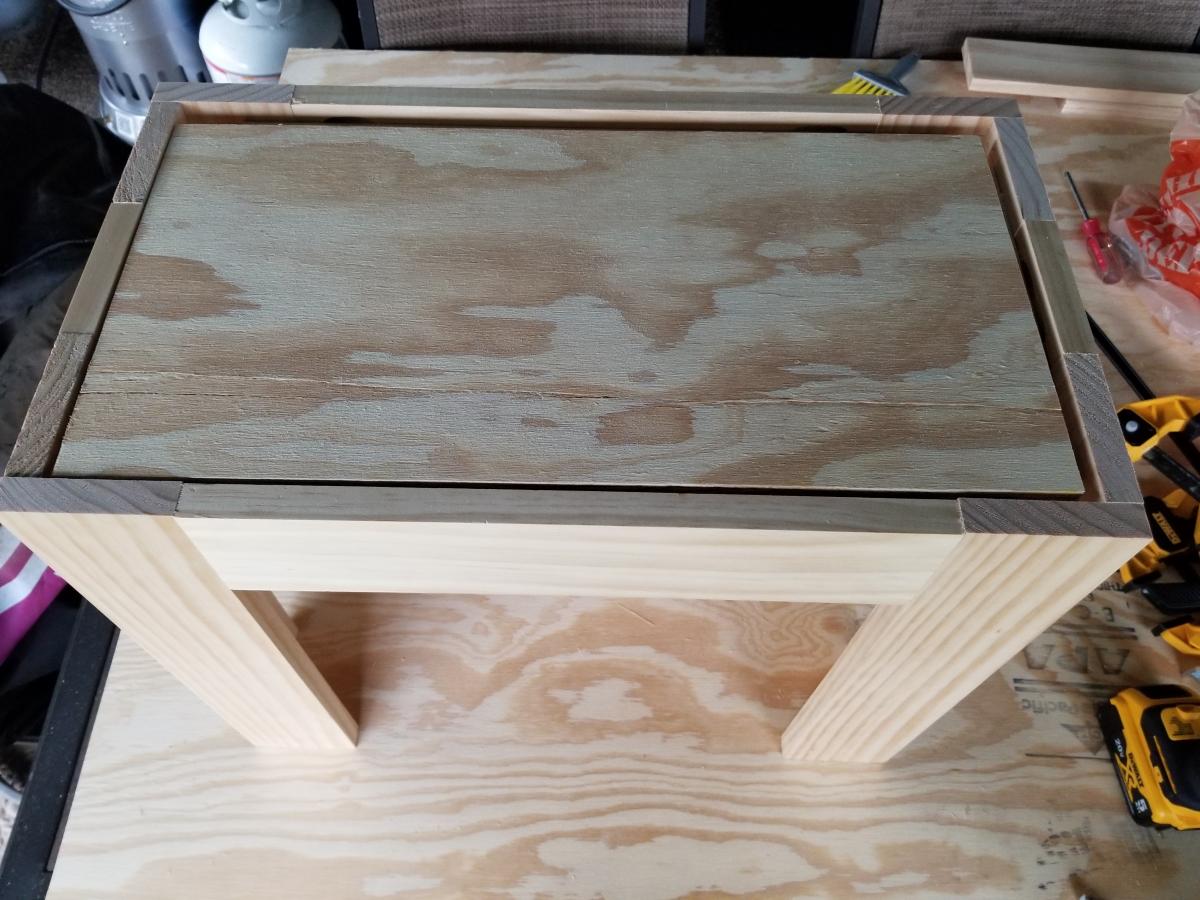
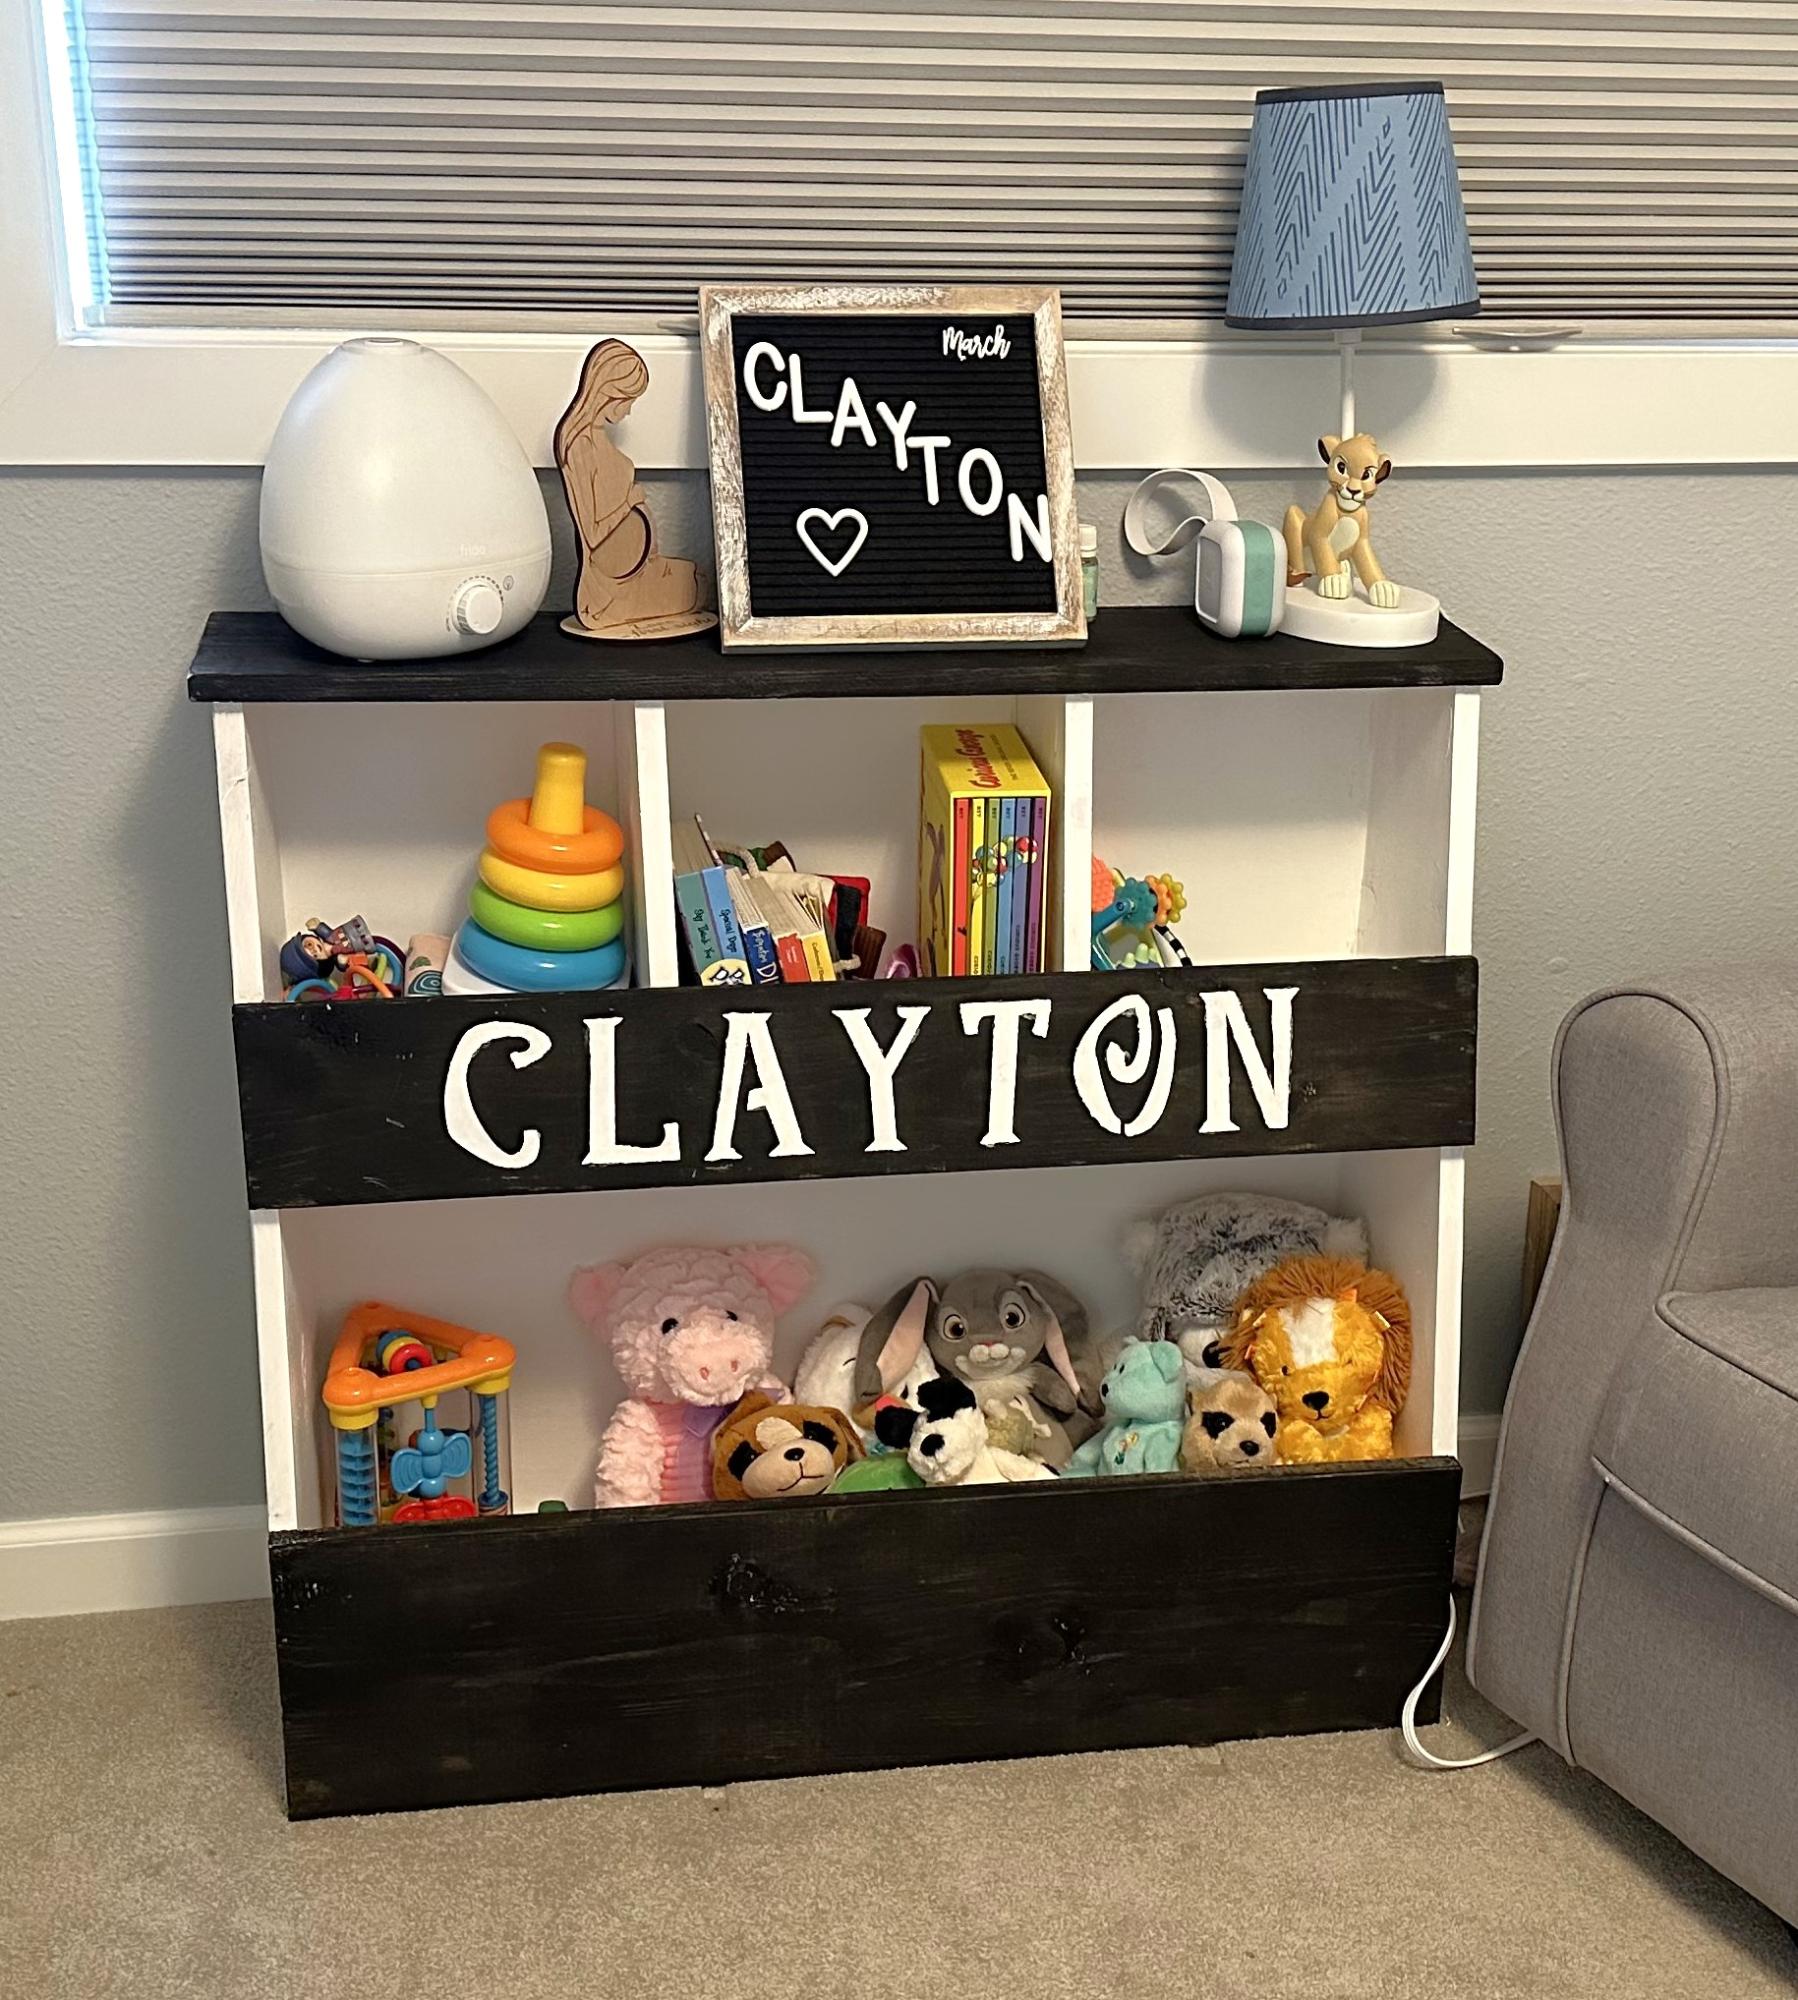
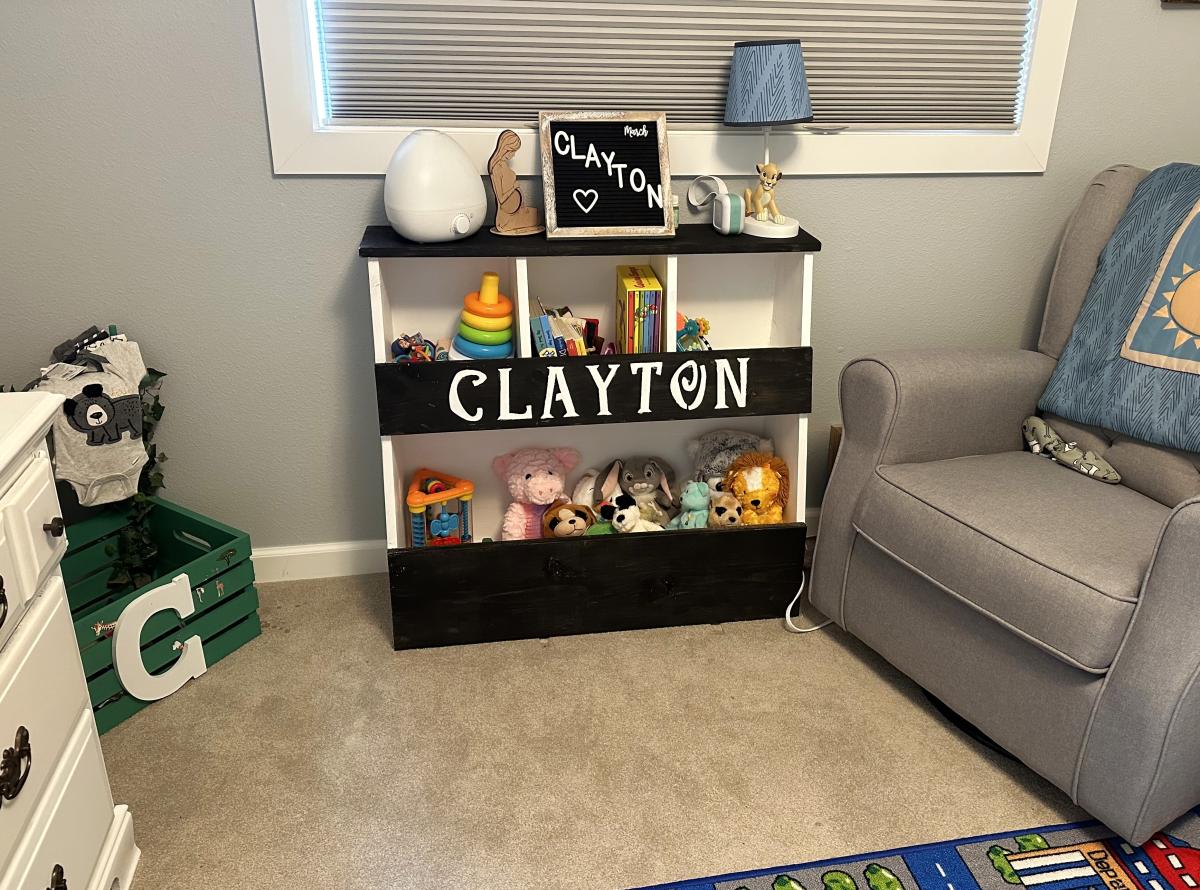
Toybox Bookshelf

Submitted by Anonymous (not verified) on Mon, 09/18/2023 - 15:46

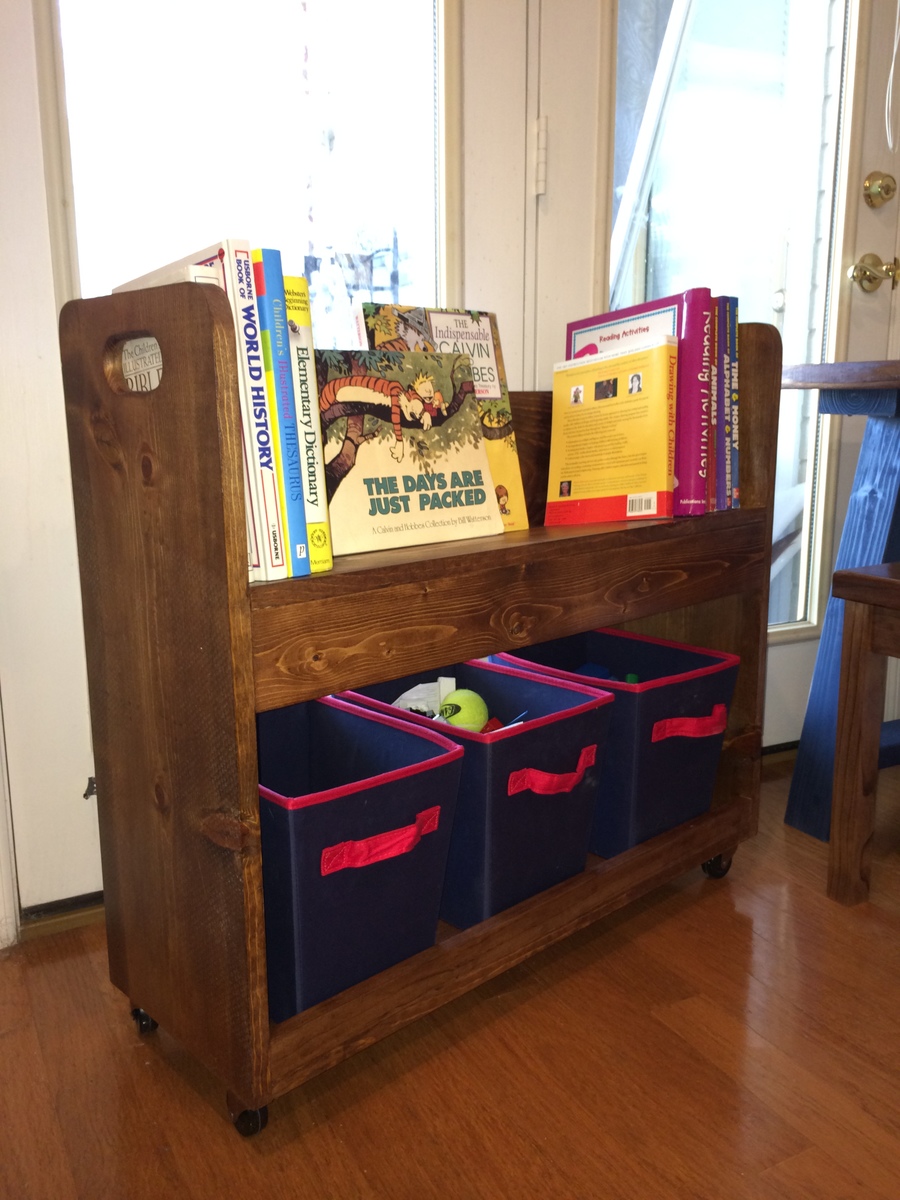
Toy bin box with cubby shelves

Caleb

Built from Plan(s)

Comments

Laundry basket dresser with a drop-down ironing board

Submitted by getcz on Sun, 04/22/2012 - 18:35

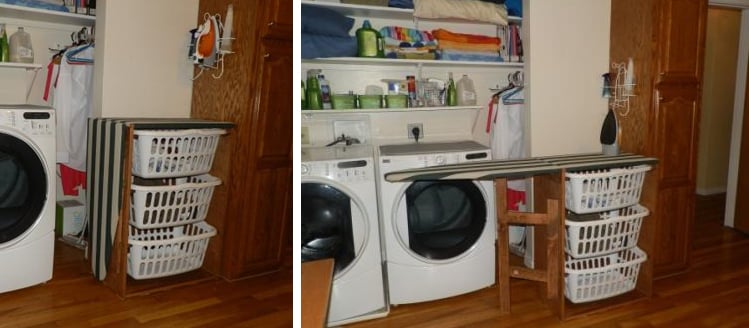
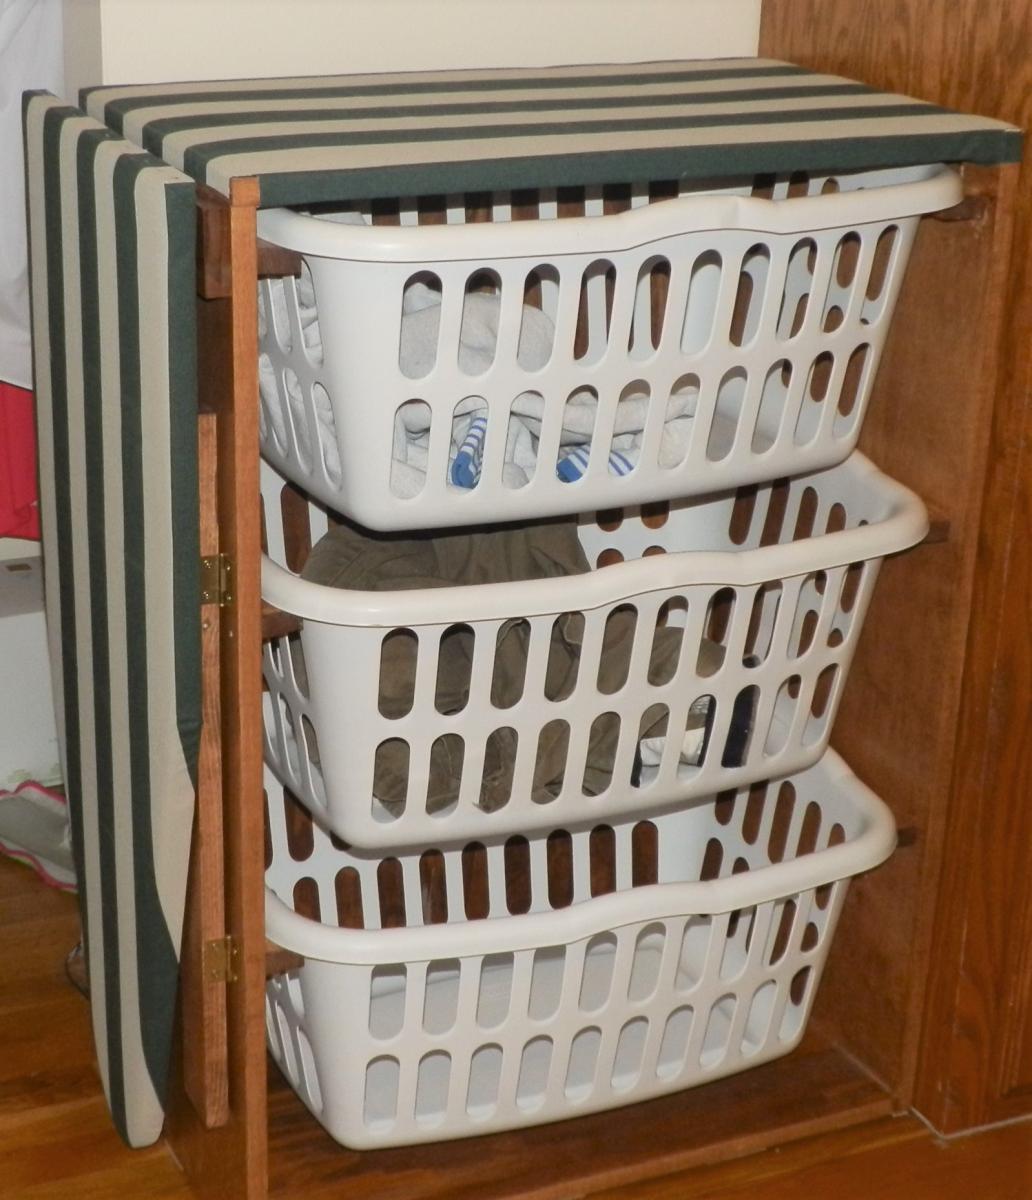
I used Ana's Laundry Basket Dresser plans but I added a drop-down ironing board and and made the entire top surface ready to iron on. A swing-out leg under the ironing board helps to stabilize while ironing.

Built from Plan(s)
Estimated Time Investment
Weekend Project (10-20 Hours)
Finish Used
Laundry
Recommended Skill Level
Intermediate

Comments

Teen's Study Space

Submitted by Stacie on Wed, 02/05/2014 - 06:25

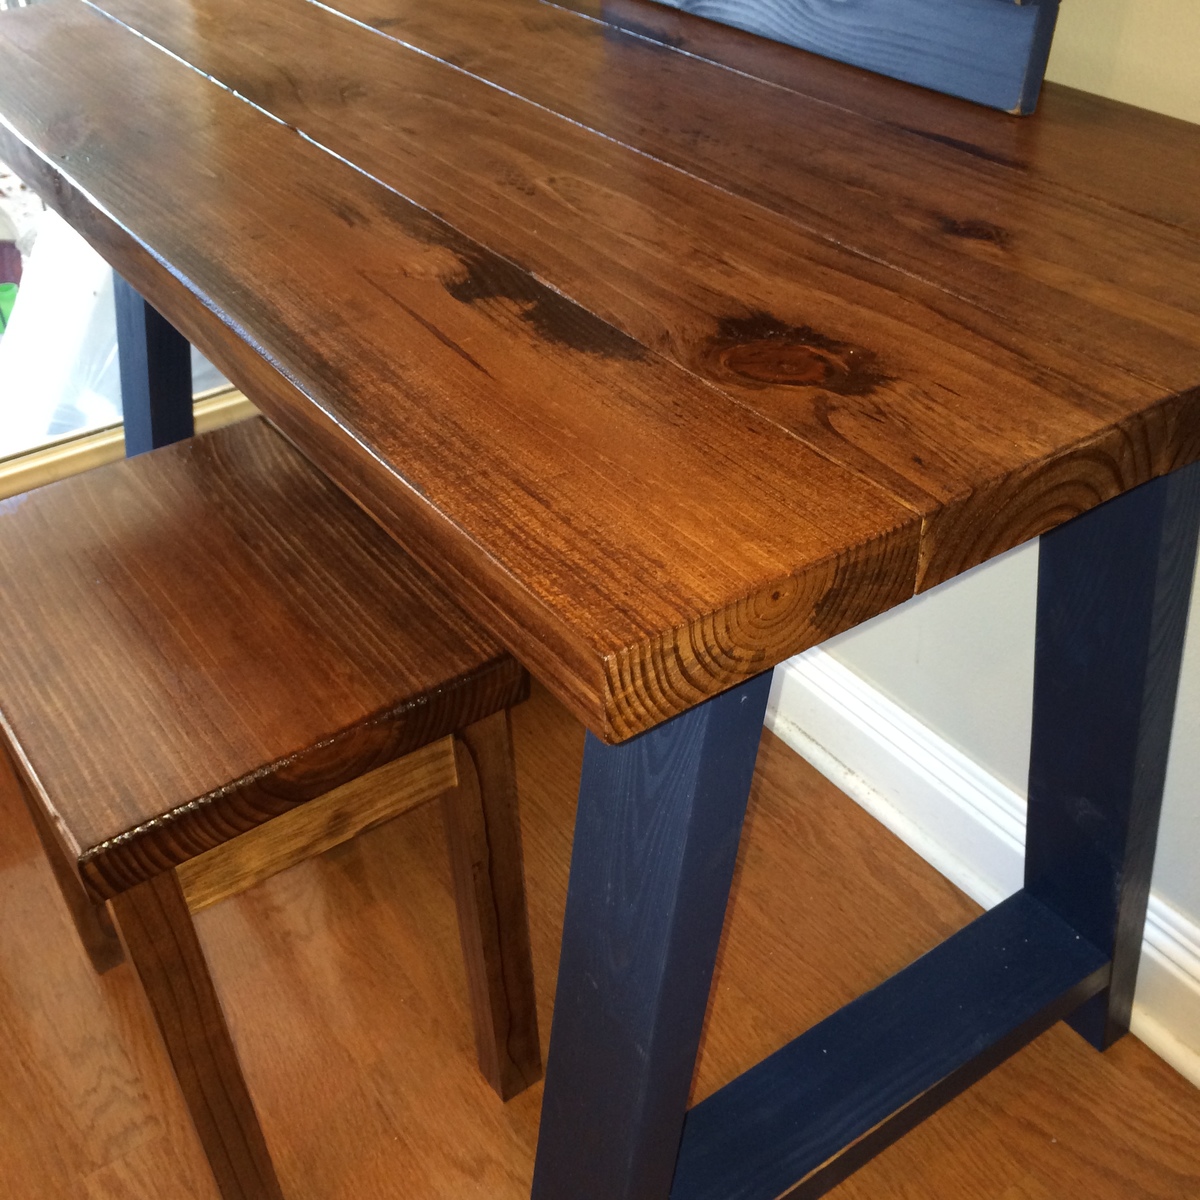
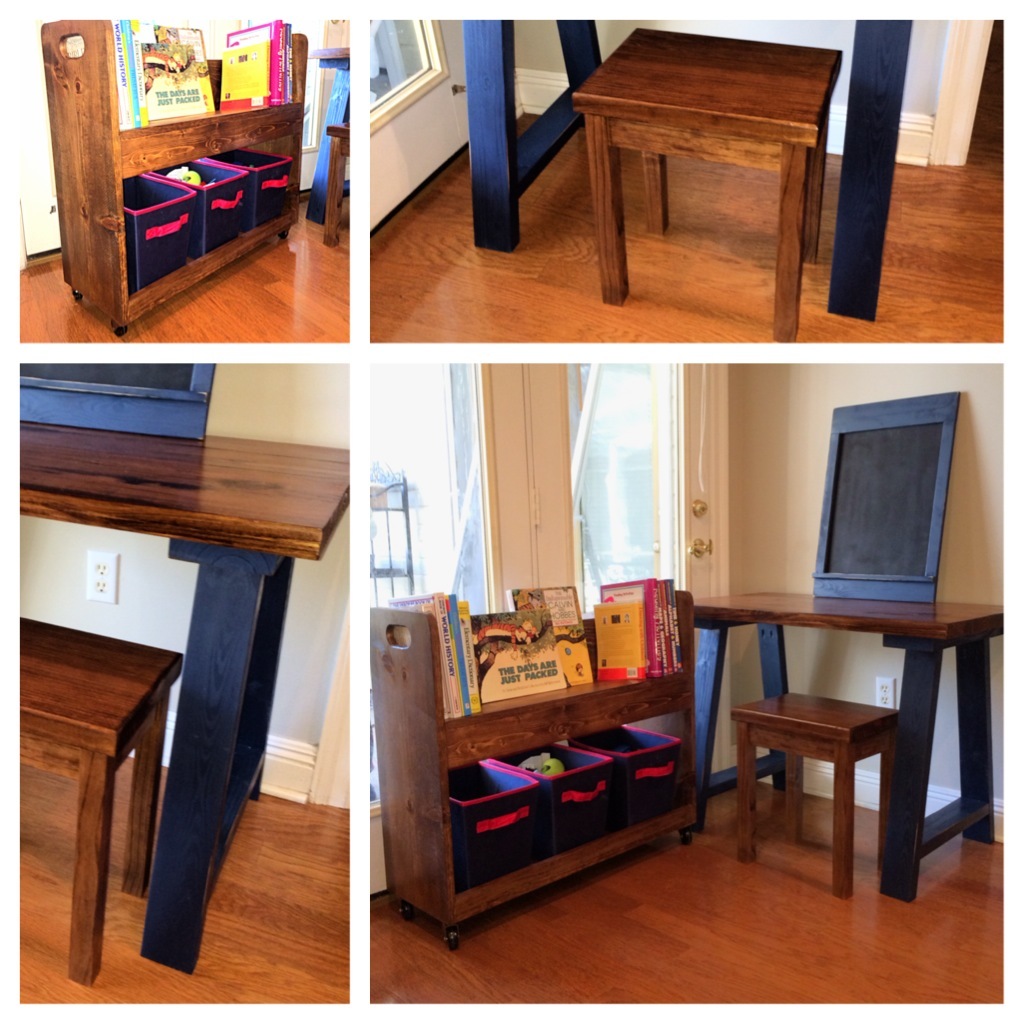
I created a comfortable study space for my teen's room with plans from Ana. This was fun to build and everyone enjoyed working on it as a family project. I love that I can customize the furniture to fit my home and lifestyle by diy-ing it all! Thank you Ana for sharing your plans.

Estimated Cost
$120
Estimated Time Investment
Weekend Project (10-20 Hours)
Finish Used
I used Minwax Early American stain, Valspar Indigo paint, and polyurethane, then distressed some of the pieces with a sanding block.
Recommended Skill Level
Beginner

Adirondack Furniture, First Build!!

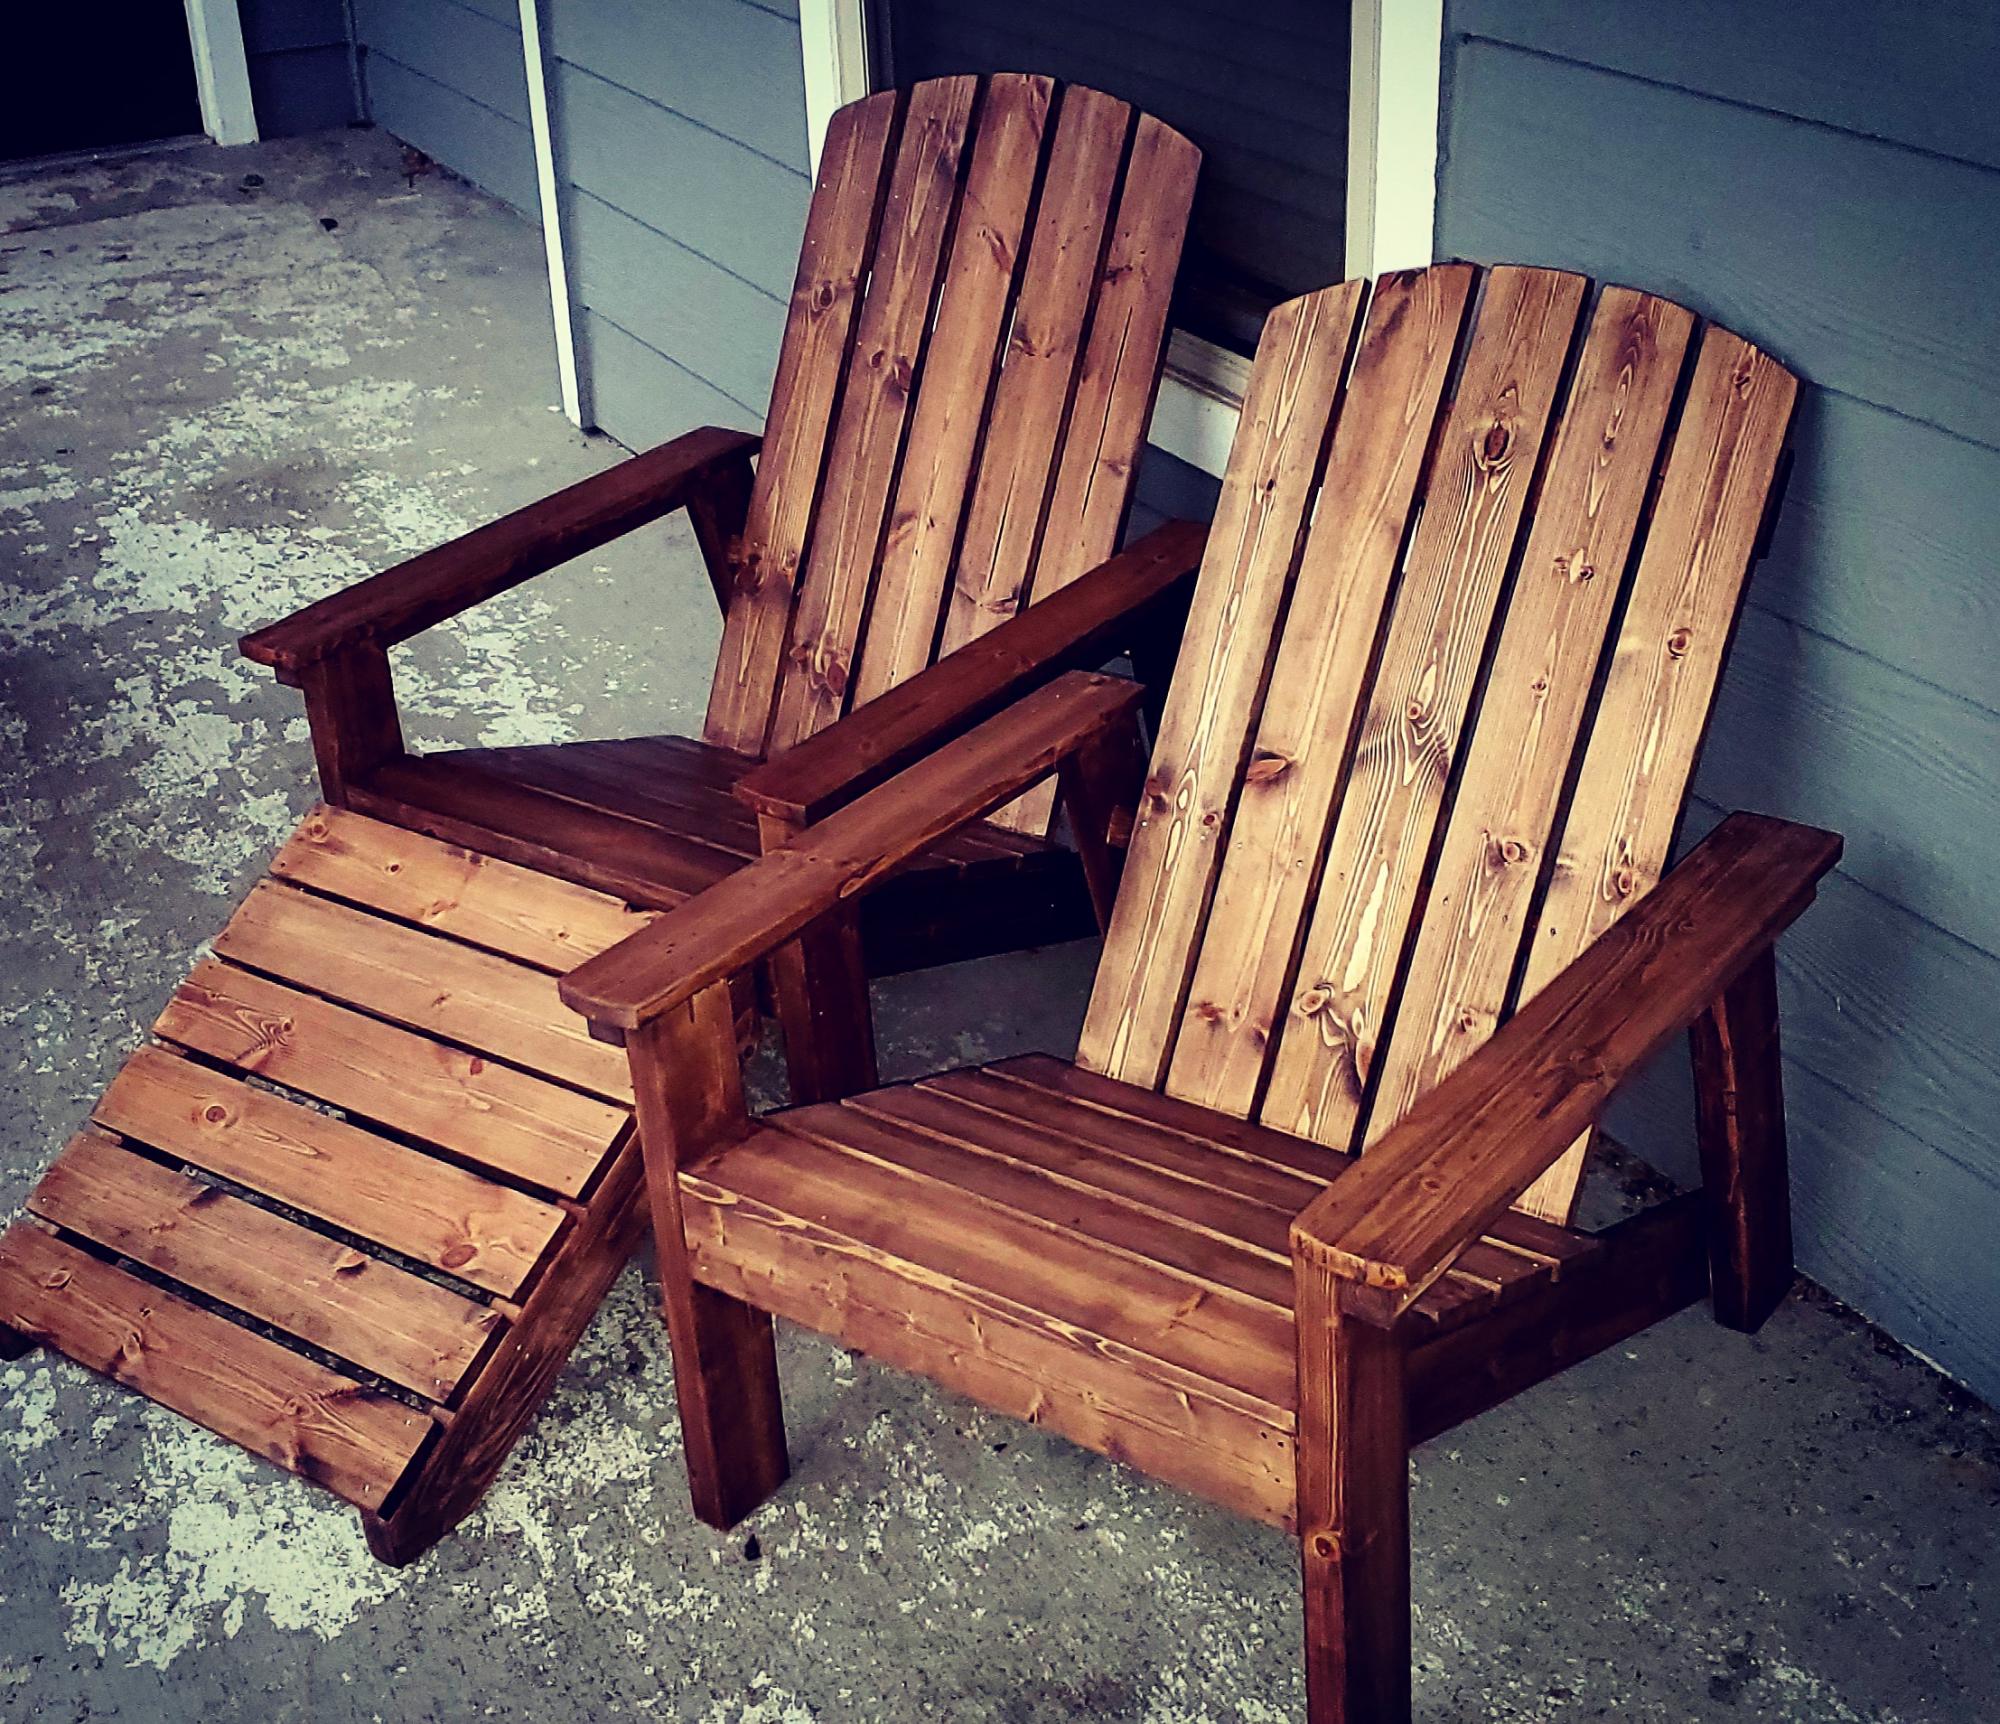
I just started my furniture business and Ana's page has been indispensable in my journey!  I finished the project using Minwax Special Walnut stain and spar urethane.  

Estimated Cost
$50
Estimated Time Investment
Day Project (6-9 Hours)
Finish Used
Minwax Special Walnut with Satin Finish Spar Urethane
Recommended Skill Level
Beginner

Wood Outdoor DIY Furniture

Submitted by Anonymous (not verified) on Sat, 09/23/2023 - 14:23

Sofa, loveseat and chair based on the same design. Incredibly simple plan to follow. Love the plans on this site!

Mike & Sarah Semrow

Built from Plan(s)

Comments

Twin Farmhouse with Trundle

Submitted by mommaerika on Wed, 04/25/2012 - 09:52

This is the twin farmhouse bed and the matching trundle. We chopped about 8 inches off the headboard since we were not using a boxspring for our mattress. Other than that it's as written. I'm so thrilled to free up space in our girls' room!

Estimated Cost
$200 - 250 give or take for both
Estimated Time Investment
Weekend Project (10-20 Hours)
Finish Used
Primer, 2 coats of basic white semi-gloss paint, and poly.
Recommended Skill Level
Beginner

Comments

t00court

Fri, 08/22/2014 - 16:27

This is exactly what I'm looking for!
My husband and I would like to begin building this ASAP. Could you please clarify for me that the original measurements for the Twin Farmhouse bed and the trundle bed will certainly be able to accommodate one another? I just want to make sure it'll fit! I think I saw someone else comment that they changed some of the measurements to make a trundle bed fit underneath, but they didn't go into detail.

We also won't be using a box spring.

Thank you for your help!

Childrens table and chairs

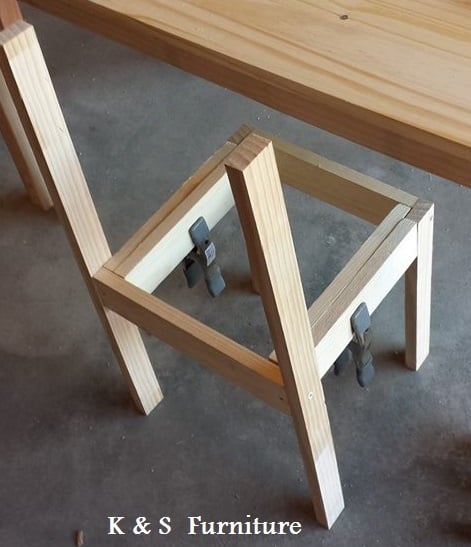
We built Two children's table and 8 stackable chairs for one of our daycare's. It took a lot of work but once we figured out the first chair it was a breeze for the other 7.

Estimated Cost
$30
Estimated Time Investment
Week Long Project (20 Hours or More)
Finish Used
We stained the wood in a Cherry Stain and finished with multiple coats of Poly.
Recommended Skill Level
Beginner

Comments

timh

Sat, 02/08/2014 - 15:54

Awesome! I built one for our homeschool and it works great. Yours look very nice.

Shed

Submitted by frankb03 on Sat, 05/07/2016 - 18:56

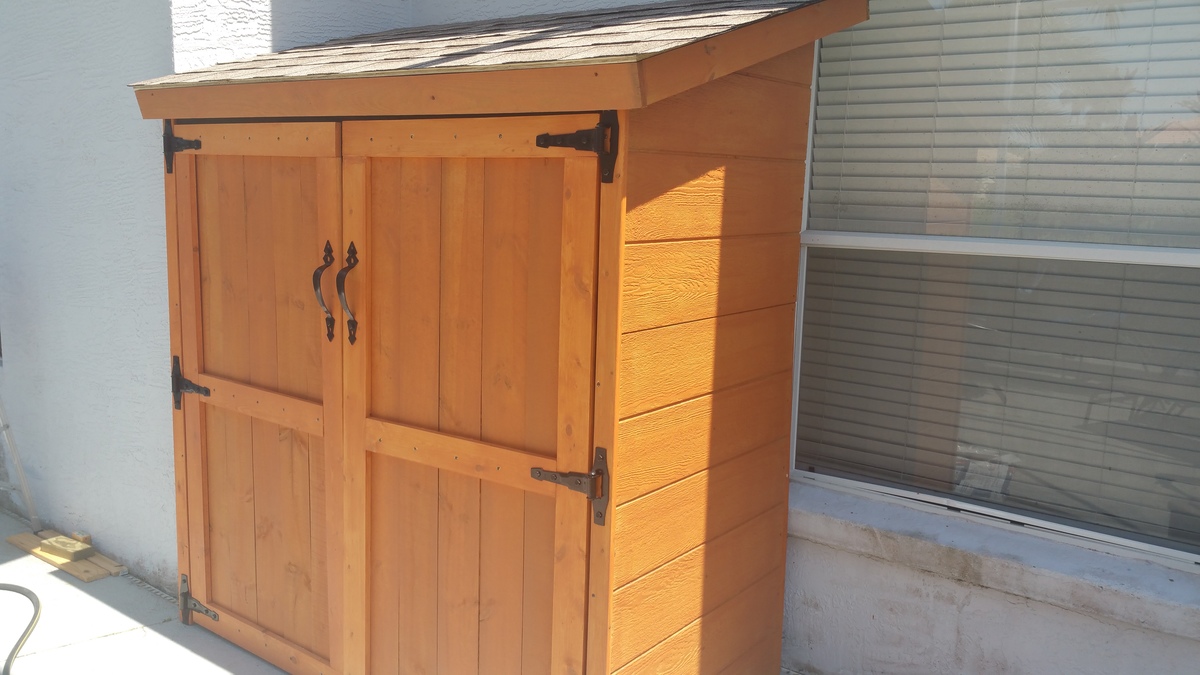
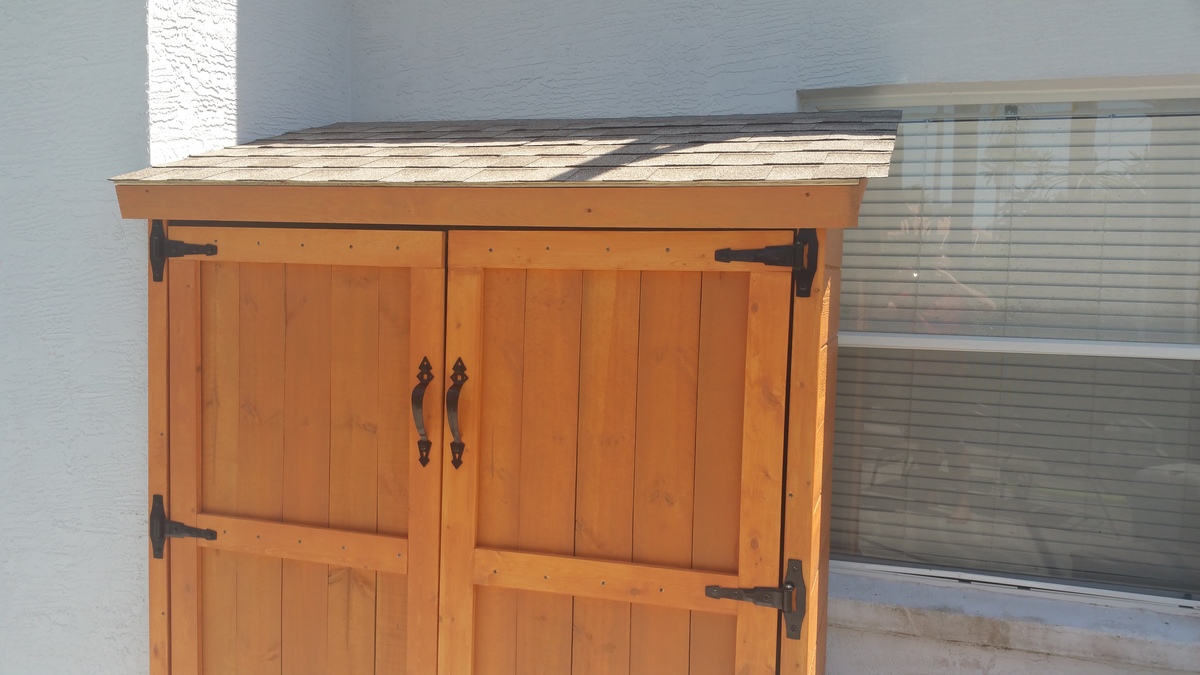
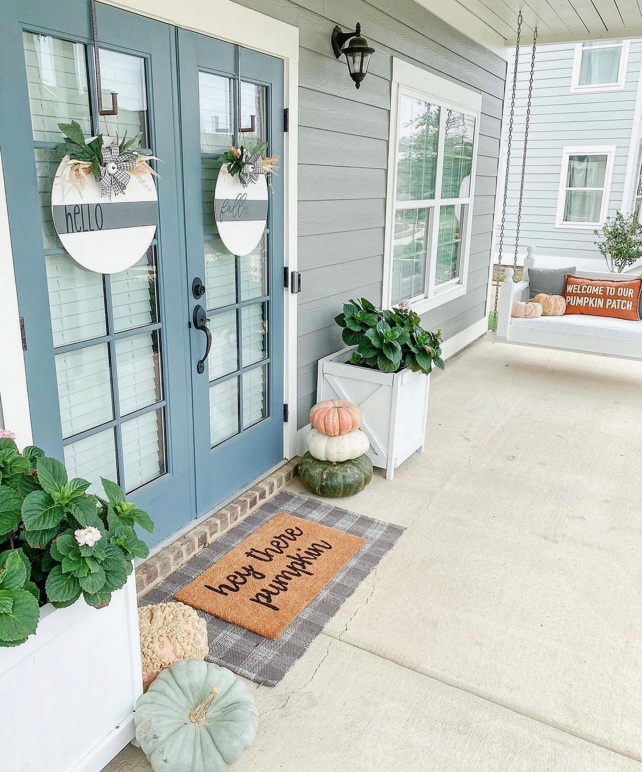
I couldn't find cedar shakes locally. For the front I used pine fence shakes from Lowes. They cost $1.56 each. For the sides I used Smartside 38 series primed engineered treated wood siding panel. They cost $32/panel. I had to buy two panels. On the back I used 1/2 plywood. I made the roof 76x46. All the materials were purchased from Lowes except the shingles. I used GAF Timberline HD Barkwood shingles.
Built from Plan(s)
Estimated Cost
$286 including gate hardware kit, gate pulls, shingles and stain.
Estimated Time Investment
Weekend Project (10-20 Hours)
Finish Used
Thompson's WaterSeal Stain and Sealer Nature Cedar. A great product. A stain and sealer in one product.
Recommended Skill Level
Intermediate

Three Kids and Their Step Tables (Step Stools)

Submitted by Jake on Fri, 04/27/2012 - 17:21

Each grandkid and the little girl across the street built their own step table. Of course it was accomplished through my confused and sometimes inaccurate direction but they all came out looking good and withstood my 180 lbs standing on them. Each used a slightly different method of securing the legs, top and bottom but it worked. Great project for kids. I had a ball. Keep them coming.

Estimated Cost
$50
Estimated Time Investment
Week Long Project (20 Hours or More)
Finish Used
Paint on two of them and stain on one.
Recommended Skill Level
Beginner

Tryde Console Table first go

Submitted by CarlosR on Tue, 05/10/2016 - 20:56

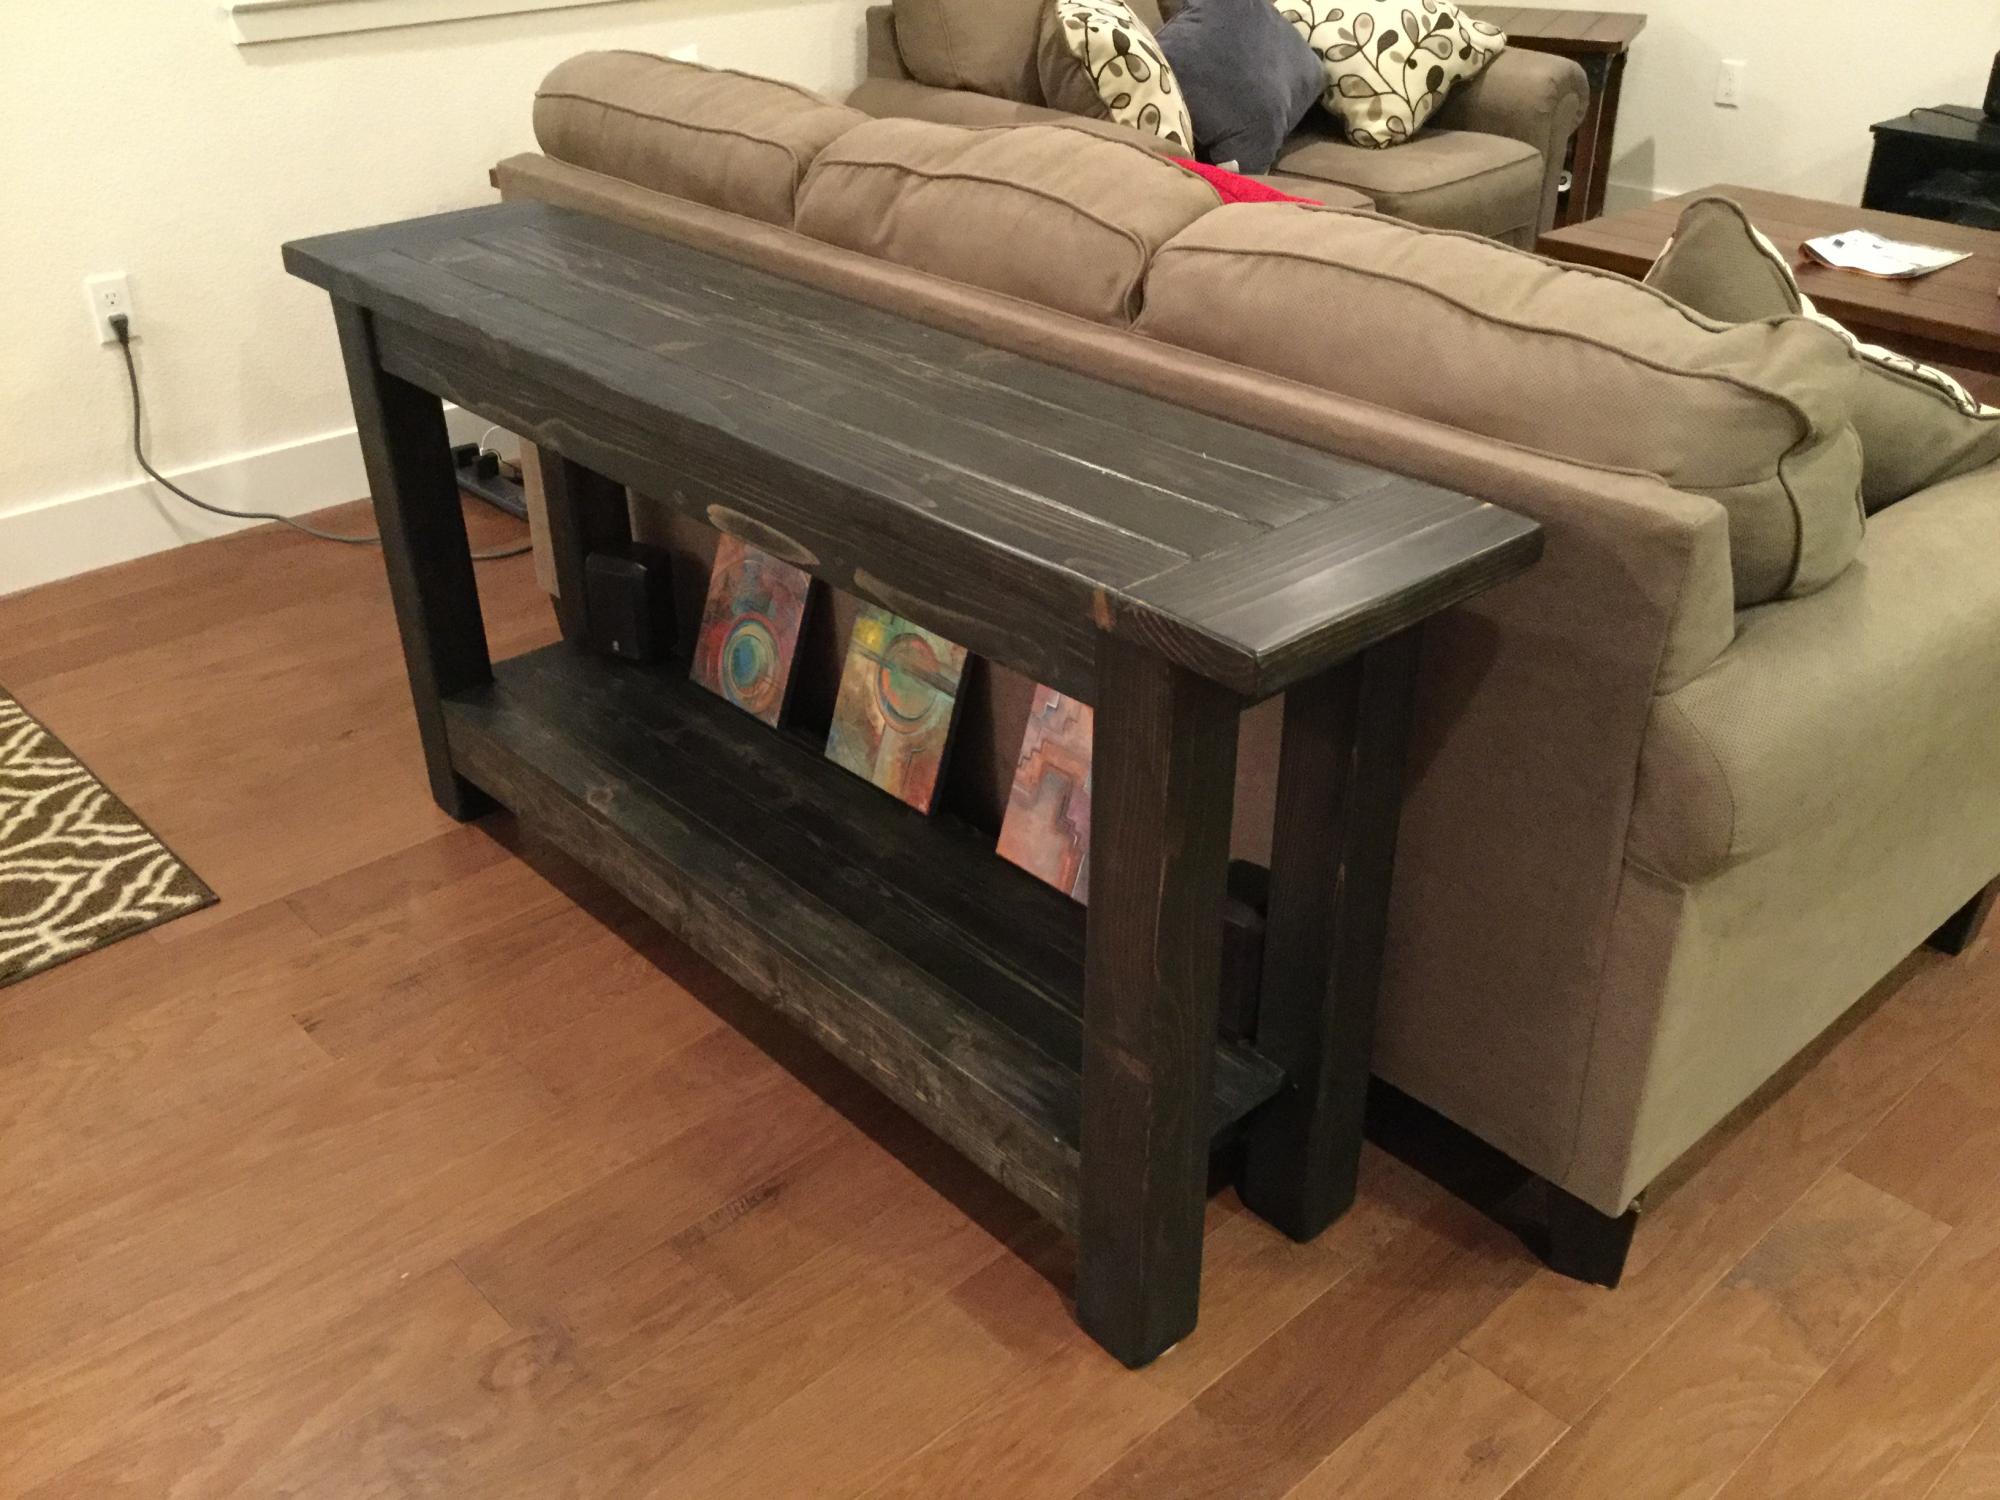
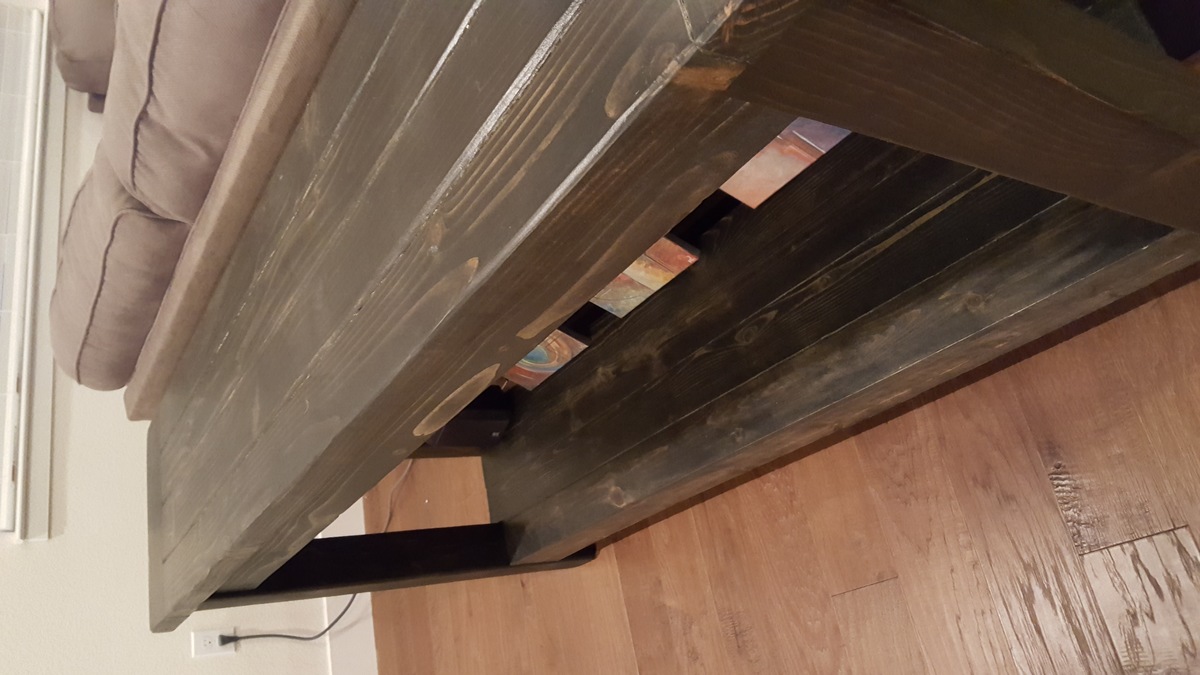
This was my first project, I made it longer and slightly taller to match size of the sofa. I also added lower shelf of 1x4 as seen on other users projects. Built using Kreg Jig to hide the screws - stained with ebony and satin poly. Used wood filler between 2x4 on top as well as between 1x4 on bottom shelf to seal the joints in case of spills. Would recommend using wood putty in the future rather than the filler as it cracked when it dries.


Tools used: Circular Saw, Kreg Jig, Screw Gun, Orbital Sander - recommend using Miter Saw if you have. I had a hard time squaring up the table mostly due to uneven cuts on the 4X4 using a circular saw. 


Added felt pads under the legs to prevent scratches to the wood flooring 


Built from Plan(s)
Estimated Cost
$100
Estimated Time Investment
Week Long Project (20 Hours or More)
Finish Used
ebony stain with a triple thick satin poly
Recommended Skill Level
Starter Project

Comments

CarlosR

Tue, 05/10/2016 - 21:17

not sure why they are coming up upside down after uploading to the site  - they are right side up on my computer :-)

Homework Supplies Cubbies

Submitted by ltl_lisa on Sat, 04/28/2012 - 18:41

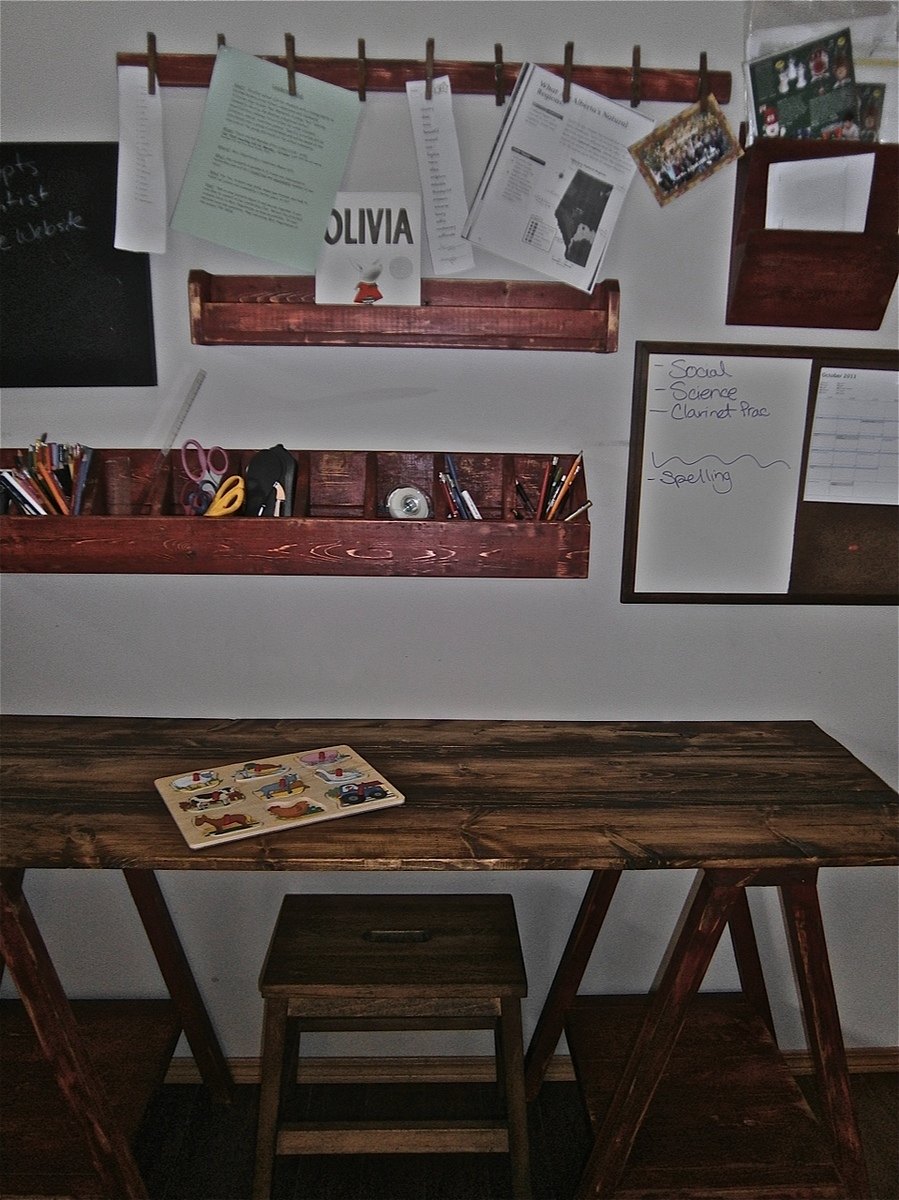
A place for everything and .... everything off the desktop!

Built from Plan(s)
Estimated Time Investment
An Hour or Two (0-2 Hours)
Recommended Skill Level
Starter Project

Comments

Back