Community Brag Posts

Spa bench - with upholstered top!

Submitted by EmilyE on Sun, 03/31/2013 - 08:10

I LOVED creating this bench! It was quick and easy.

I really wanted an upholstered top with nailhead trim so even though the plans didn't call for it, I did it anyway :) I left off the top piece after building the rest of the bench, and upholstered it with 2" foam and batting. I used outdoor fabric because my dogs may be using the bench to get on/off the bed, and I figured it would be easier to keep clean! Luckily, my local Jo-Ann store just put out a plethora of outdoor fabrics, and they were 50% off (as was the foam!). After the upholstering was finished, I used nailhead trim because I LOVE the look. Then, I attached the top by turning it upside down and setting the bench upside down on top of it, and nailing the two together.

I decided to paint the bench white instead of staining, and I'm so glad I did. I feel that it gives the piece a certain sophistication, and it goes perfectly in the bedroom.

100% happy with this piece!

Built from Plan(s)
Estimated Cost
$80
Estimated Time Investment
Afternoon Project (3-6 Hours)
Finish Used
White paint, outdoor fabric with foam and batting, nailhead trim
Recommended Skill Level
Starter Project

Comments

tommirhea

Sun, 03/31/2013 - 18:27

This is really nice!! You inspired me! Going to have to make this for my sewing bench.

EmilyE

Mon, 04/01/2013 - 09:03

Thanks so much! I am super happy with how it turned out. Have fun creating!

lovinit9

Mon, 09/16/2013 - 06:58

I am totally obsessed with Ana's plans and was planning on building the Spa Bench - saw yours upholstered and am now going to try that!! Did you still use the 1x12 as the top piece that you upholstered? I think by your other pictures I see the overhang - so I will give it a shot!! You did an amazing job on yours!
EmilyE

Mon, 09/23/2013 - 06:02

Hello lovinit9! Yes, I followed Ana's plans. The only thing I did differently was that I upholstered the top before I attached it to the bench. Then I attached it by nailing it from beneath (the inside of the bench, nails going upwards). After it was all together, I then put on the nailhead trim. I hope that helps and good luck to you!
Thanks Sausha!

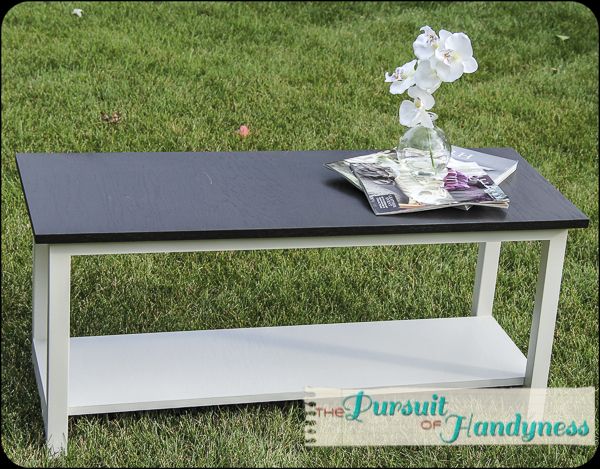
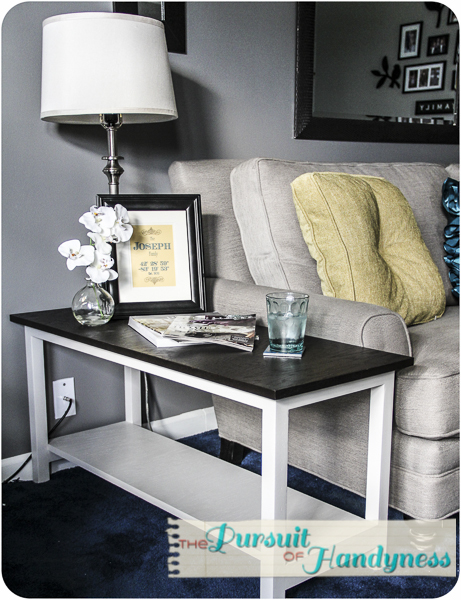
This was very easy to do. The hardest part was creating the miter edges for the trim and having them line up nicely. I would consider the trim a must, I just felt it made the project look finished. I had a difficult time finding *cute* baskets to fit underneath... It measures 10" and will fit a standard laundry basket but I was going for a different look. I picked these up on sale at office max, not exactly what they were intended for but they work great and keep the laundry room nice and tidy. Happy building!!

Estimated Cost
$100
Estimated Time Investment
Afternoon Project (3-6 Hours)
Finish Used
I sanded and primed and used an espresso paint to finish. I don't have the exact paint color but it was Behr custom in satin enamel. It would be easy to find at home depot. It's on the end cap :)
Recommended Skill Level
Starter Project

Farmhouse Bedside Table

Submitted by Anonymous (not verified) on Thu, 05/11/2017 - 03:35

Needed new nightstands for our new house....these worked out perfectly.

Built from Plan(s)
Estimated Cost
50 dollars.
Estimated Time Investment
Day Project (6-9 Hours)
Finish Used
Gray primer spray paint sanded away and 2 coats of water based poly.
Recommended Skill Level
Intermediate

Comments

Simple 2x4 Potting Bench - Modified

I was intrigued by Ana’s Simple 2x4 Potting Bench. The project seemed simple enough and it would be used as a means to clean up clutter in the garage. My main focus was to make it semi-portable and weather resistant. Instead of using 2x4’s for the corner posts, I used 4x4’s to accommodate casters. I also shorted the length of the posts by 4 inches to compensate for the height of the casters. To provide extra rigidity I did a dado for the 2x4’s that connect the front and rear legs. In retrospect, I wish that I did not dado the legs because it made it more difficult to attach some of the shelf planks. I painted the frame green and left the shelves and backboards clear for beautiful contrast. My wife is ecstatic with the result.

Estimated Time Investment
Weekend Project (10-20 Hours)
Finish Used
Benjamin Moore Environ Green paint for the frame and Minwax Polycrylic for the poplar shelves and backboards.
Recommended Skill Level
Intermediate

Comments

Seasonal And Holiday

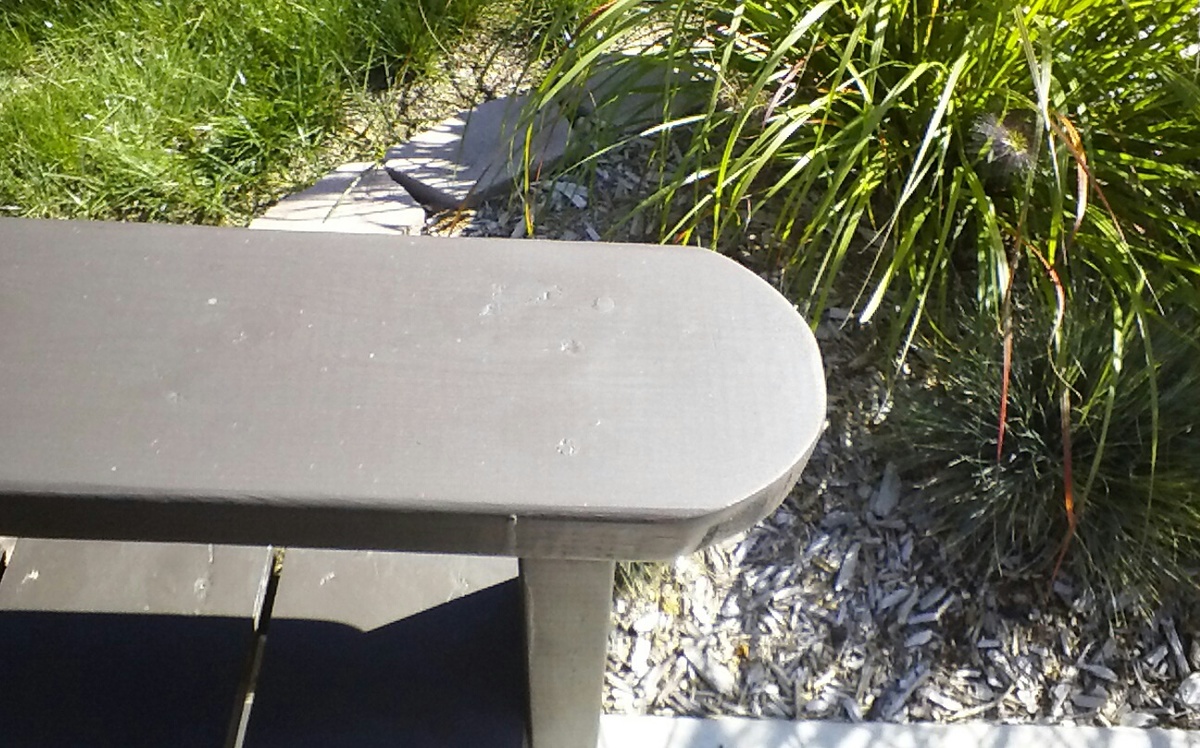
Providence Benches, made a little bigger and painted RED.

Submitted by dawnalise on Tue, 04/02/2013 - 14:50

We made the providence benches a little bigger to fit our space perfectly and painted them RED for pop. Soooooo many compliments from our neighbors!

Estimated Time Investment
An Hour or Two (0-2 Hours)
Finish Used
red exterior semi-gloss
Recommended Skill Level
Beginner

Lily-Mae's Dresser

Submitted by Charles R on Sat, 02/14/2015 - 20:02

Made from pine wood painted white as my girlfriend wanted ;)


Built from Plan(s)
Estimated Cost
200 - 240
Estimated Time Investment
Week Long Project (20 Hours or More)
Finish Used
Primer + semi-gloss white paint
Recommended Skill Level
Intermediate

Comments

Mother's Day Gift

Submitted by Anonymous (not verified) on Sun, 05/14/2017 - 15:18

Great project. I didn't have all the tools and/or skills to make some things exact or perfect, but I am very happy with the finished project and more importantly the wife loves it! Thanks so much for sharing. I still need to add x, but I ran out of time. 

Built from Plan(s)
Estimated Time Investment
Week Long Project (20 Hours or More)
Recommended Skill Level
Intermediate

Basic Outdoor set

Submitted by Anonymous (not verified) on Sat, 05/22/2021 - 15:05

I used the Outdoor Set plans to start with the sofa, but I didn't like the height of the back. I adjusted it with pallet boards and copied the curved shape of our Adirondack chairs. The bench was made entirely from upcycled wood, including pallets and landscape ties. All the cushions were made with fabric (waterproof) shower curtains. The most expensive part was the 4" foam for the cushions. I used Varathane Diamond Wood Finish, so it will all last for a really long time.

Estimated Cost
$400 Canadian
Estimated Time Investment
Week Long Project (20 Hours or More)
Finish Used
Varathane Outdoor Diamond Finish Satin - water based
Recommended Skill Level
Beginner

Comments

Reclaimed Look Heaboard

Submitted by KCreel29 on Fri, 04/05/2013 - 06:26

I used pine wood and minwax walnut stain. I did run into a minor issue with a few of the slat boards being warped so I ended up screwing on (3) 1x3's onto the back, perpendicular to the slats, so the boards sat flat and their edges were flush. This also added more stability to the project. One coat of stain did the trick for the color we were going for. For such an easy project, this makes a big difference in the look and feel of our bedroom.

Estimated Cost
$75
Estimated Time Investment
Afternoon Project (3-6 Hours)
Finish Used
Minwax Walnut Stain (One Coat)
Recommended Skill Level
Beginner

Beautiful planters!

Submitted by Anonymous (not verified) on Wed, 05/17/2017 - 17:32

I made 2 for my bare front patio

Built from Plan(s)
Estimated Cost
$38 for 2
Estimated Time Investment
Afternoon Project (3-6 Hours)
Finish Used
None yet
Recommended Skill Level
Beginner

Cedar planters

Submitted by mdesroc on Sun, 04/07/2013 - 15:30

The cedar planters are ready and waiting for spring to arrive. I made three of these planters and absolutely love them. Thanks Ana for inspiring me to build. I love the third one but have to admit that it was a mistake. I made it for my father-in-law's 76th birthday. He loves gardening and shiny wood. So I used a polyurathane on it but it didn't look nice (my nail holes were very visible). So I sanded it with 220 grit sand paper and then used the steel wool/vinegar solution that I used on the first two. It turned out so different so I sanded again, then tried the solution again. I love it! It looks so old. I will be keeping that one and giving him one of the other two.

Estimated Cost
$8.00 each for the wood
Estimated Time Investment
An Hour or Two (0-2 Hours)
Finish Used
Tea and steel wool/vinegar solution followed by Minwax finishing wax. I love the feel of the wax but I don't think it will stand up to the rain and our Canadian summer.
Recommended Skill Level
Starter Project

Comments

Greenhouse

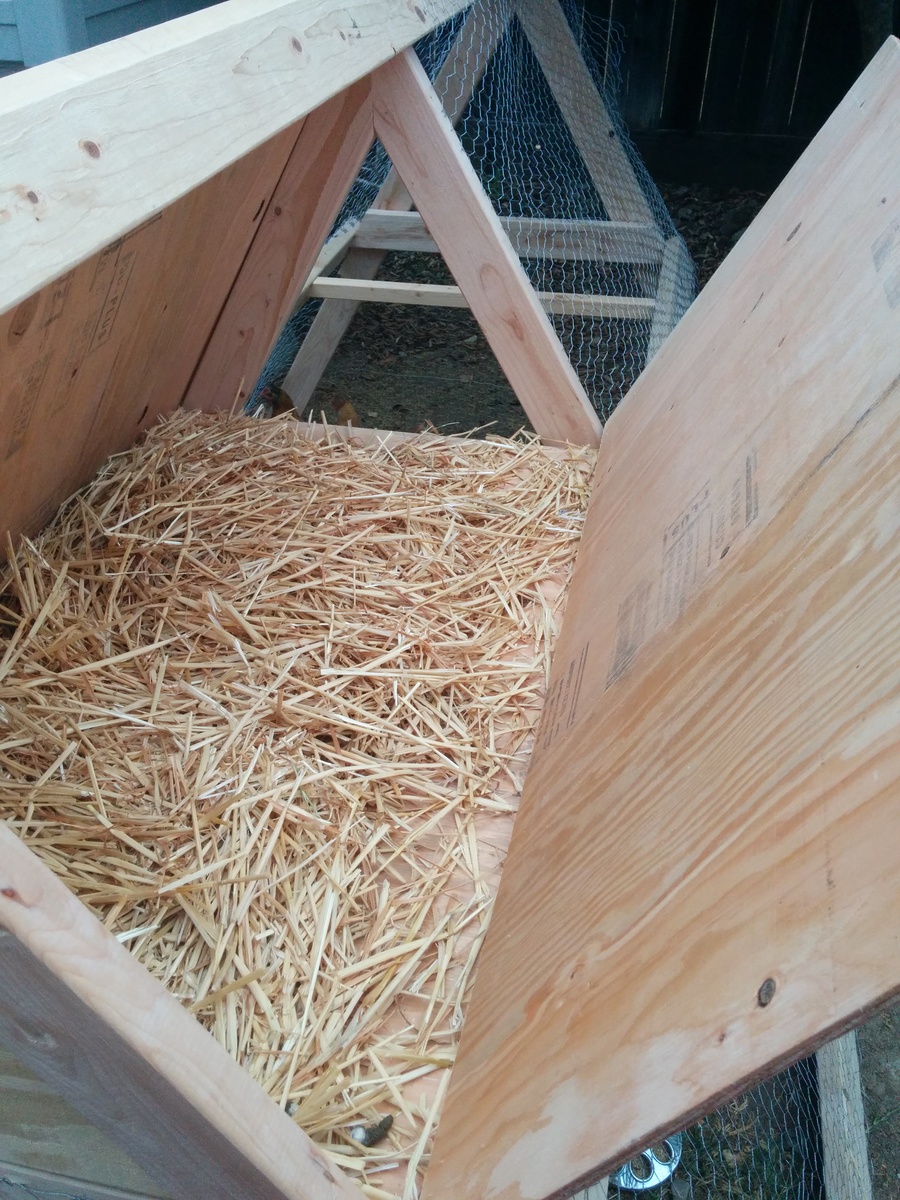
 I took the greenhouse plans off the website and built this awesome addition to my back yard

Recommended Skill Level
Intermediate

VERSION OF ANA'S INDUSTRIAL CLOSETS

Submitted by Anonymous (not verified) on Mon, 05/22/2017 - 16:44

This is a version of Ana's industrial closets used in a new house. Everyone that has seen it thought it was cool. I used 2x4 for uprights and shelf supports. Shelves are 1x4 and the rods are big box store closet rods.

Estimated Time Investment
Day Project (6-9 Hours)
Finish Used
AMBER SHELLAC
Recommended Skill Level
Beginner

Entry way bench and shelf

Submitted by Kmtgolden on Mon, 04/08/2013 - 14:13

This was my first build- it went pretty smoothly. The most time consuming part was the finish since my time between coats took longer to dry due to the weather.

Estimated Cost
$120
Estimated Time Investment
Weekend Project (10-20 Hours)
Finish Used
Minwax gel in red elm- 2 coats
Recommended Skill Level
Beginner

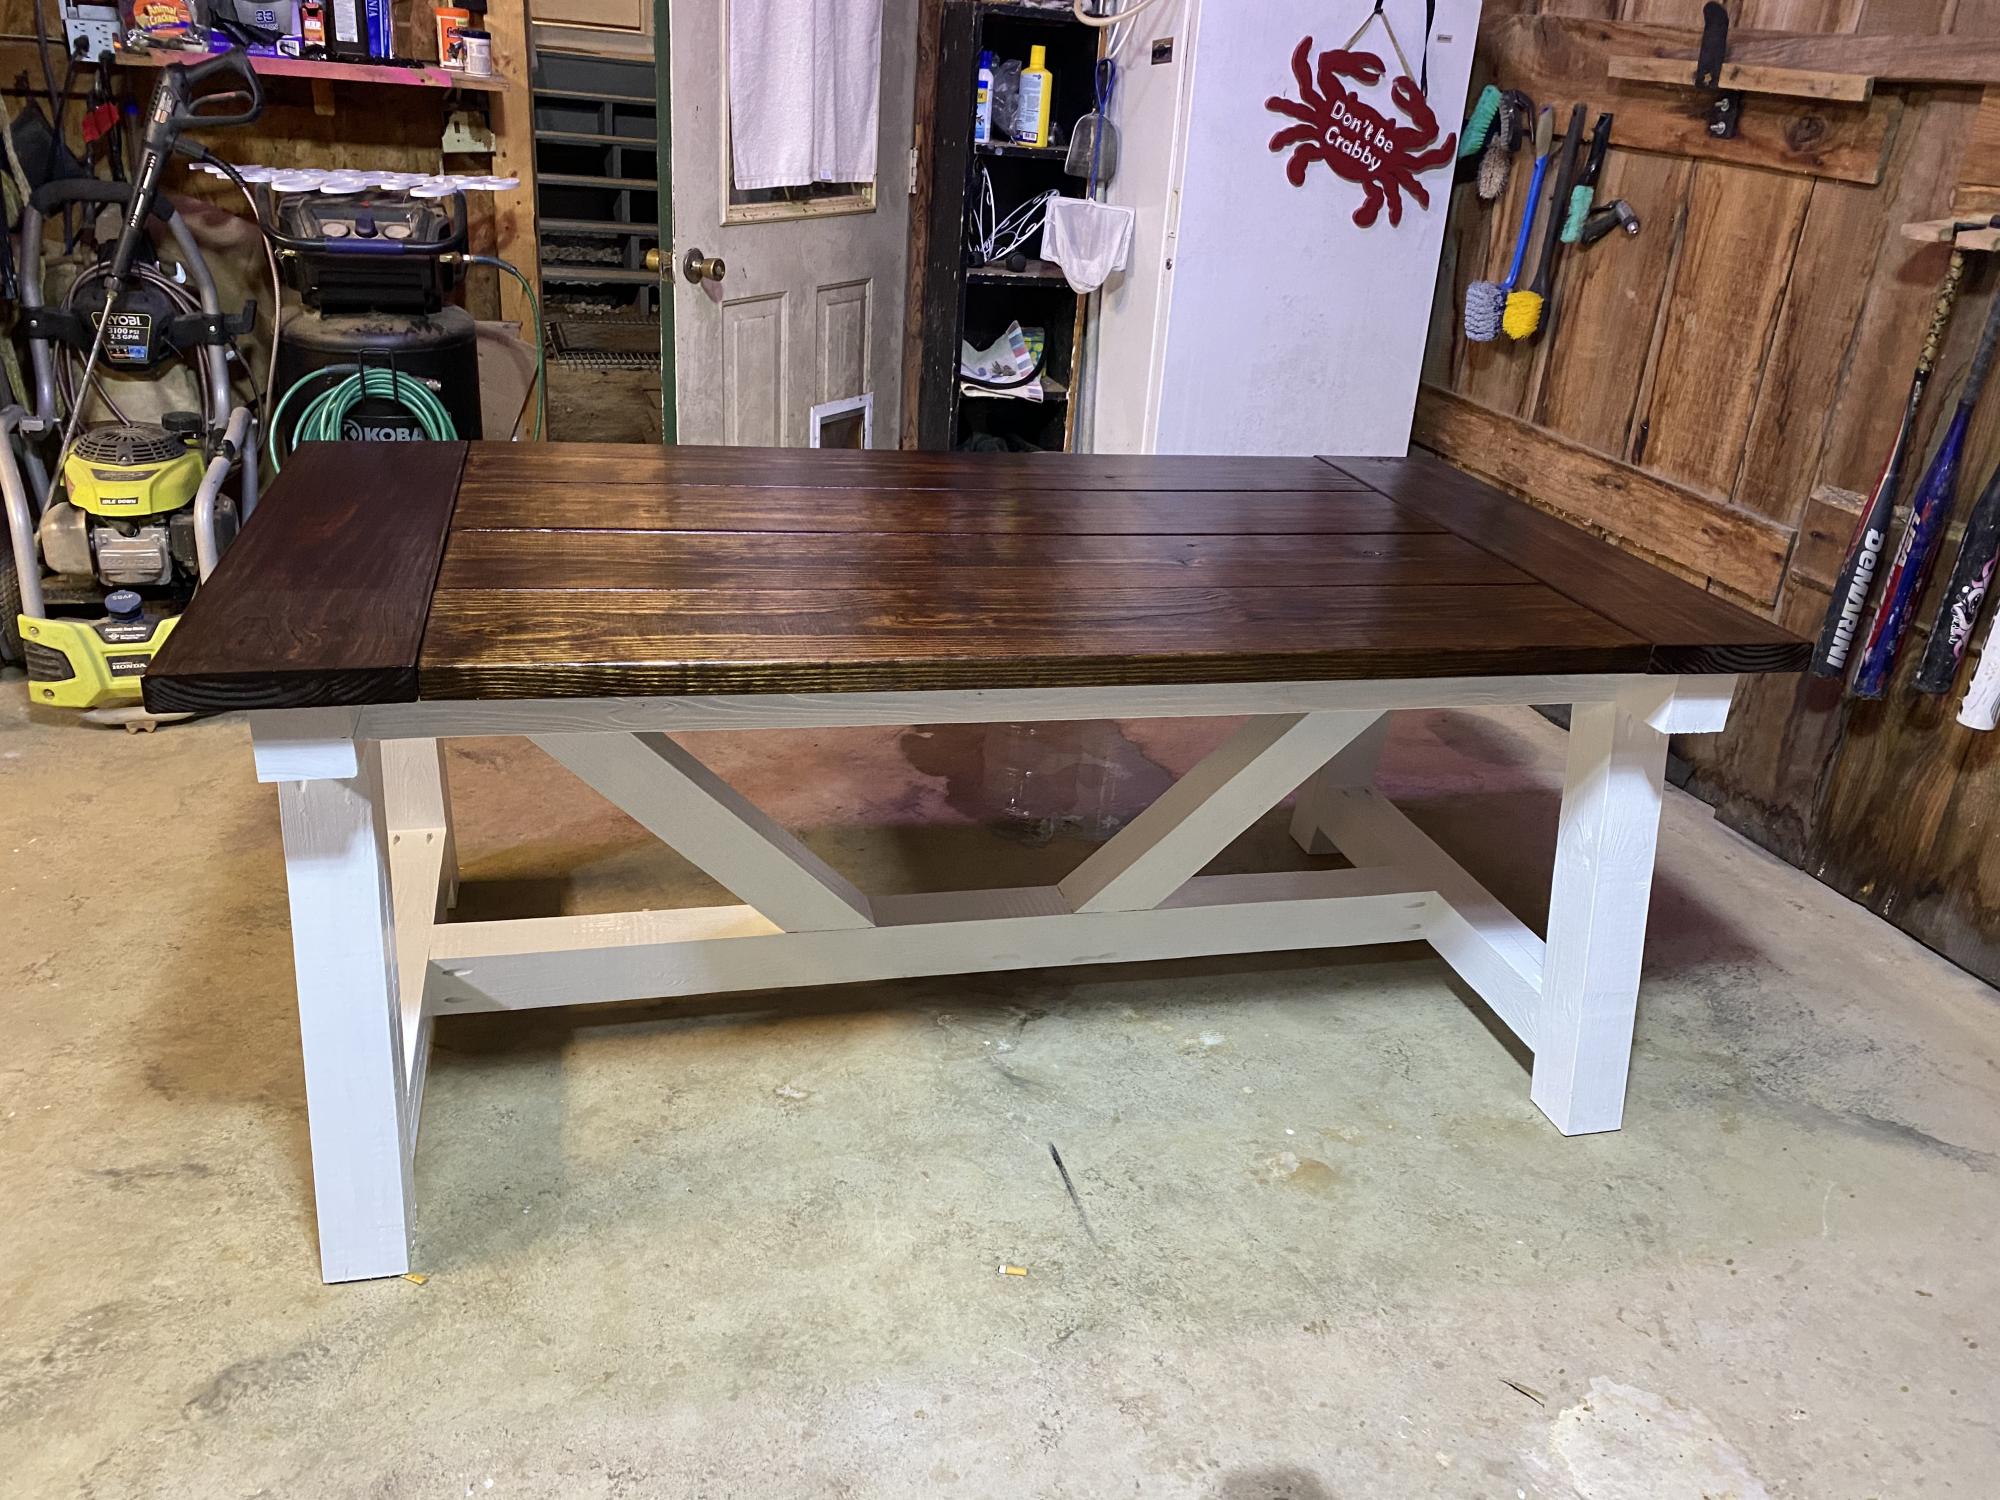
Sideboard to Match Farmhouse Table

Submitted by Smokeydog on Thu, 02/26/2015 - 09:26

My niece asked that I build  a sideboard to match her farmhouse table.  It was a good learning experience for me.

Built from Plan(s)
Estimated Cost
350 to 375.
Estimated Time Investment
Week Long Project (20 Hours or More)
Finish Used
Minwax dark walnut stain and satin finish
Recommended Skill Level
Intermediate

Comments

Calmly

Thu, 02/26/2015 - 17:29

You did an excellent job on this. And tell you niece I like her decor

ScottyG

Thu, 02/26/2015 - 18:43

The piece came out fantastic, Smokey! ヅ

I like the finish too... Excellent!

Michael K

Fri, 02/27/2015 - 04:34

Your project came out great! Hope to build one myself sooner than later. Awesome!

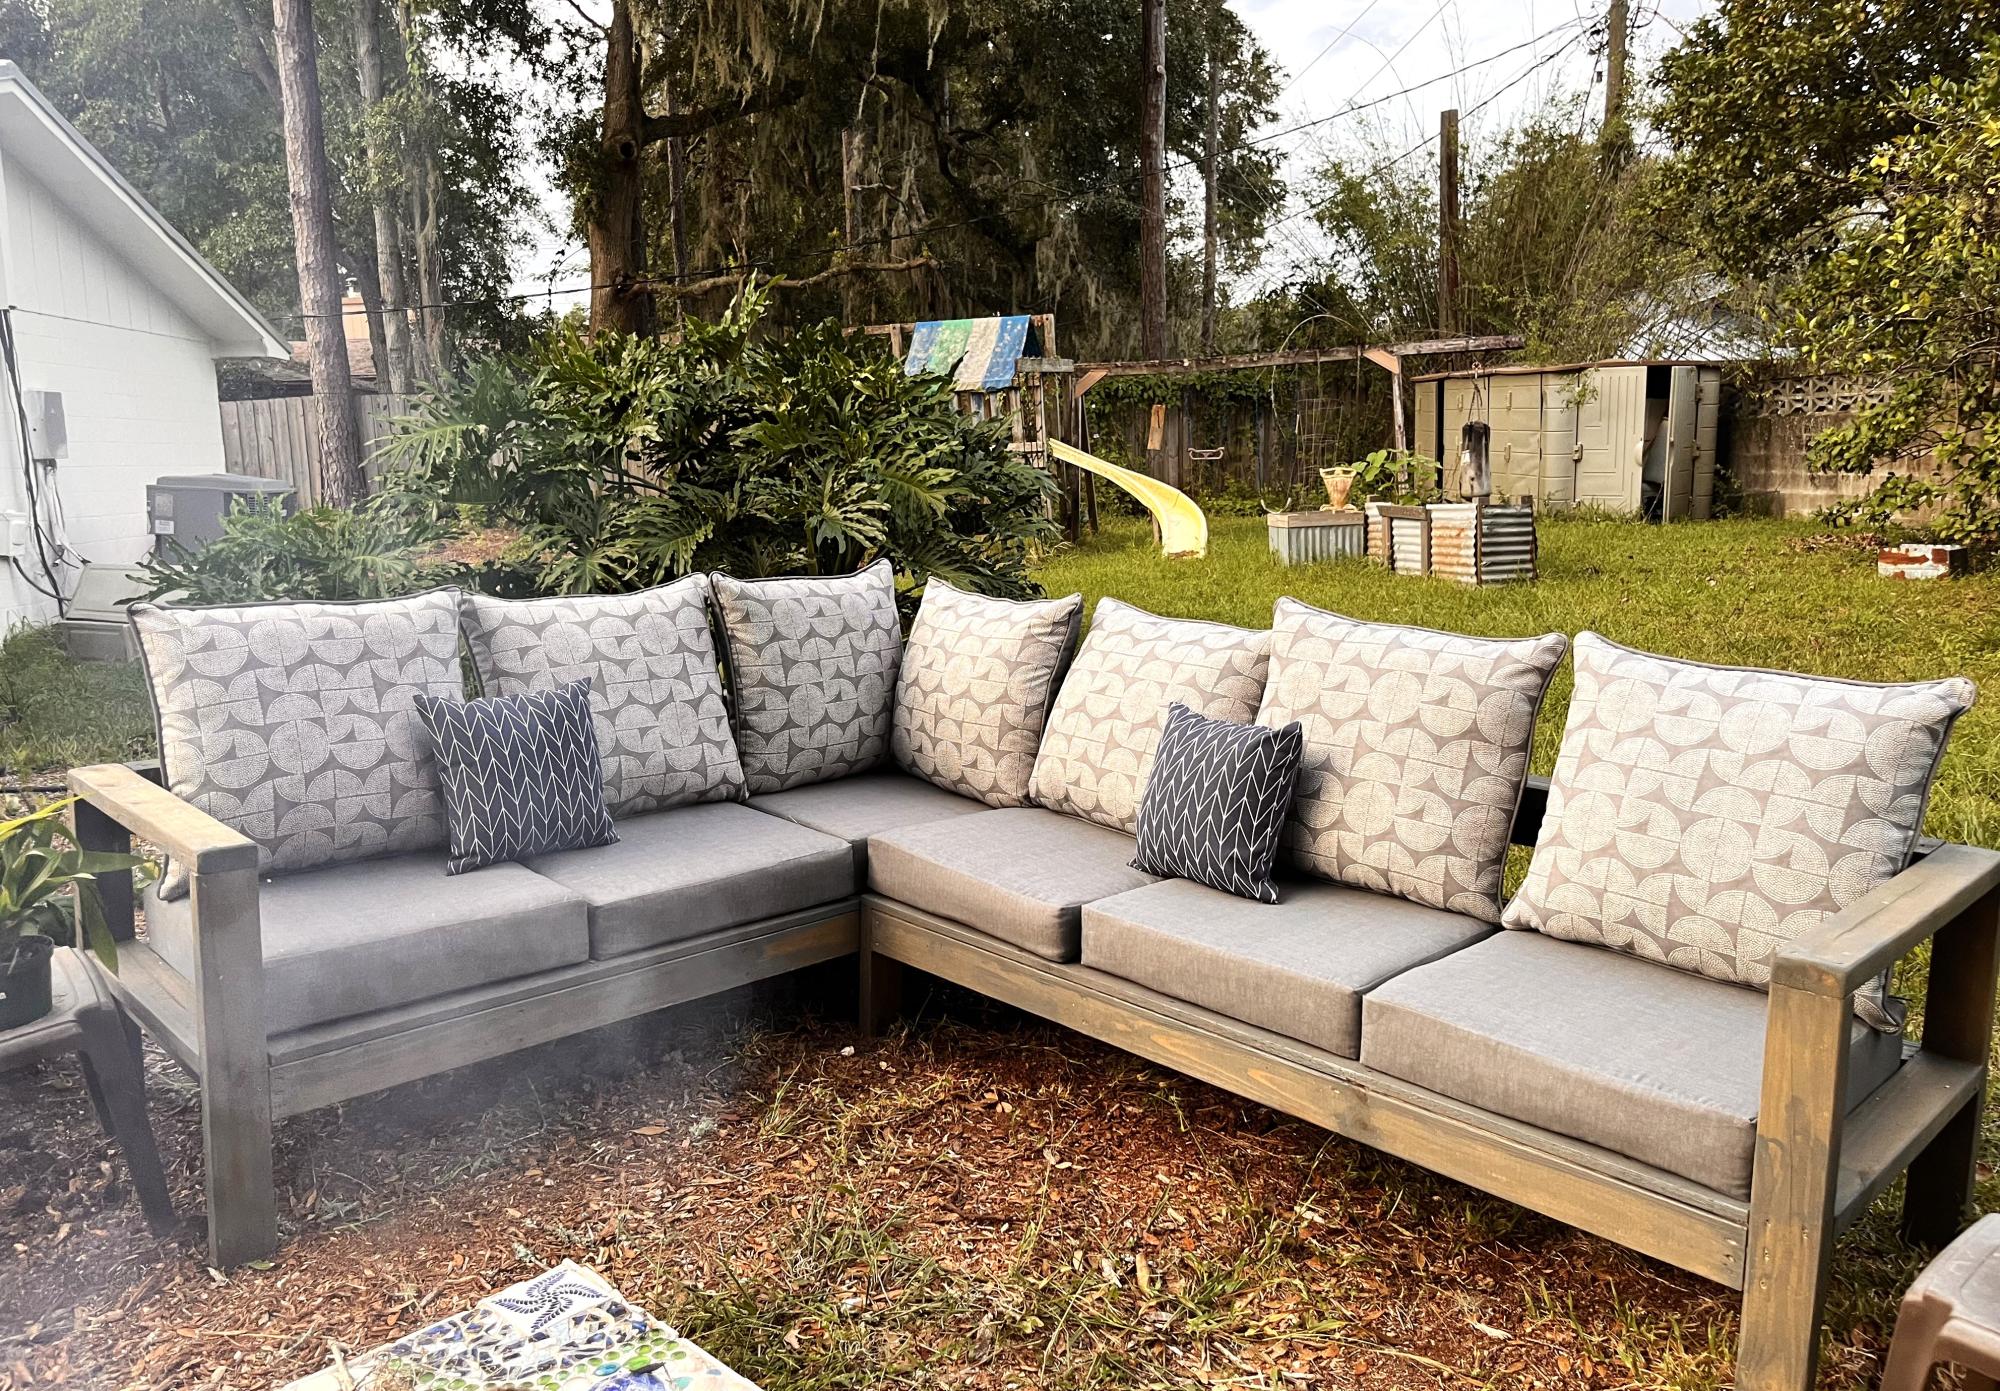
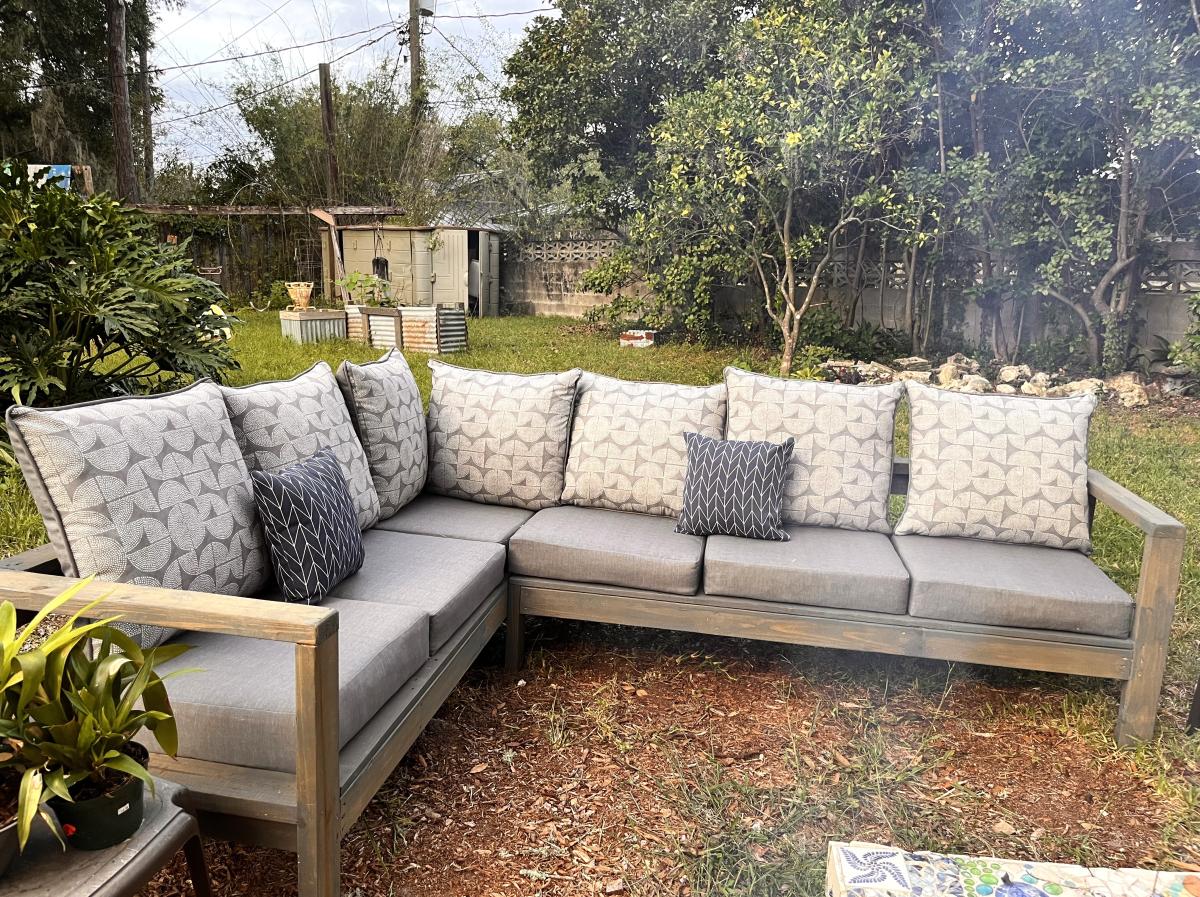
Patio sectional

Submitted by Anonymous (not verified) on Thu, 05/25/2017 - 18:21

Patio sectional 

Estimated Time Investment
Week Long Project (20 Hours or More)
Finish Used
Tinted weather proof stain

Made my own cushions - was the longest part of project (I'm not great on a sewing machine... better with a drill haha) Actual cutting wood, building and weather proofing done in a few days
Recommended Skill Level
Intermediate

Covered Sandox

Submitted by Samwise73 on Sat, 06/12/2021 - 22:23

Covered sandbox with folding benches. It was surprisingly easy to build and a lot of fun. I opted to forgo the pocket holes this time.

Built from Plan(s)
Recommended Skill Level
Starter Project

Comments

Zach's new desk

Submitted by dinifam on Sat, 04/13/2013 - 13:28

I built this desk so my son would have a place for his old school tv and to do his homework! It was super easy and I love how the finish came out! His room is a huge work in progress but this is the first step:)

Built from Plan(s)
Estimated Cost
20.00 as I had scraps and finish supplies
Estimated Time Investment
Afternoon Project (3-6 Hours)
Finish Used
I sprayed the bottom with satin black paint The top I painted white then sanded it down with 80 grit and rubbed on then rubbed and wiped minwax poly espresso stain until I got the look desired. Easy!!!
Recommended Skill Level
Beginner

Modified version of the Rustic X small rolling kitchen island

Submitted by esaintpi on Sun, 03/01/2015 - 20:20

When I showed this kitchen island plan to my wife, she said she wanted it, but with a vertical drawer on the side...  Me, I wanted to modify the drawers and shelf to use the full width of the kitchen island.

I had to modify the plans a little bit more because it's built 100% from maple. Since my maple lumber is 1"1/8 thick after planning, I could not get exactly the 2x4 size obiviously.

The sides (behind the X), and the top are boards that I glued together (laminated).

The drawers have X "signs" to copy the X design on the sides of the kitchen island.  First I made a frame around the panel, and then added a X inside.  It may seems rough to get the right angle for the X, but I found a trick!  I measured the angle with a rope from side to side of the panel.  I set the mitter saw to this angle and never touched it again.  To make the opposite angle (center of the X), I cut a scrap of wood with this angle, reverse this piece of wood and cut the X decoration while holding it side by side with the piece of scrap wood. 

Another little modification:  the drawers have full extension sliders for smooth operation..

thanks for the plans :-)

Eric, Quebec, Canada


Estimated Time Investment
Weekend Project (10-20 Hours)
Finish Used
Oil
Recommended Skill Level
Intermediate

Comments