x-table and benches
Good plans and easy construction. Thanks!
Good plans and easy construction. Thanks!
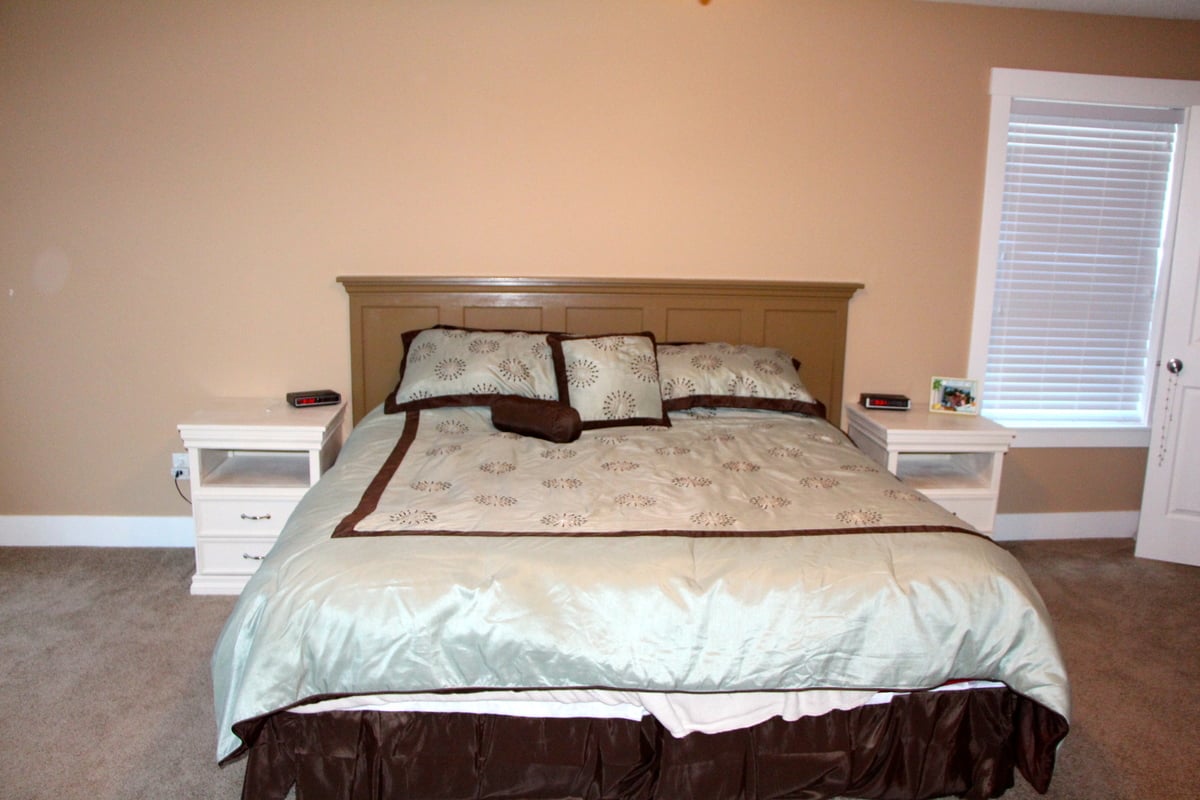
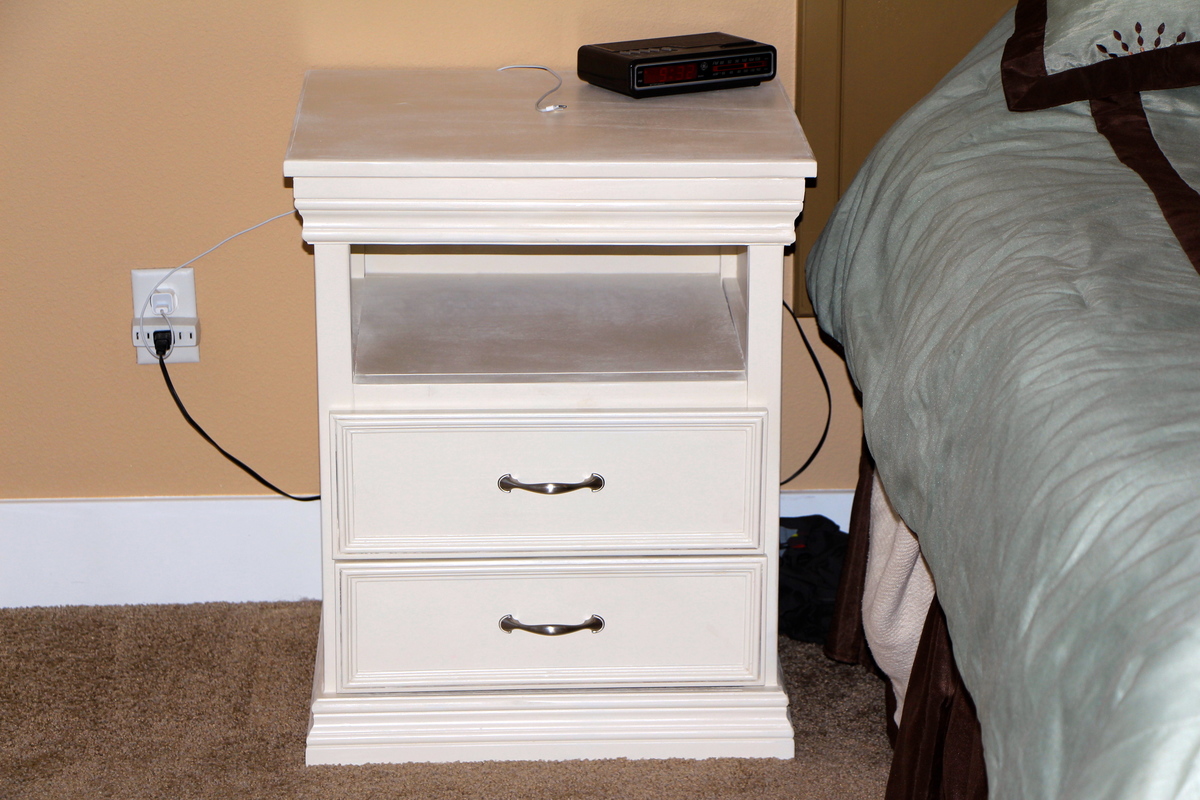
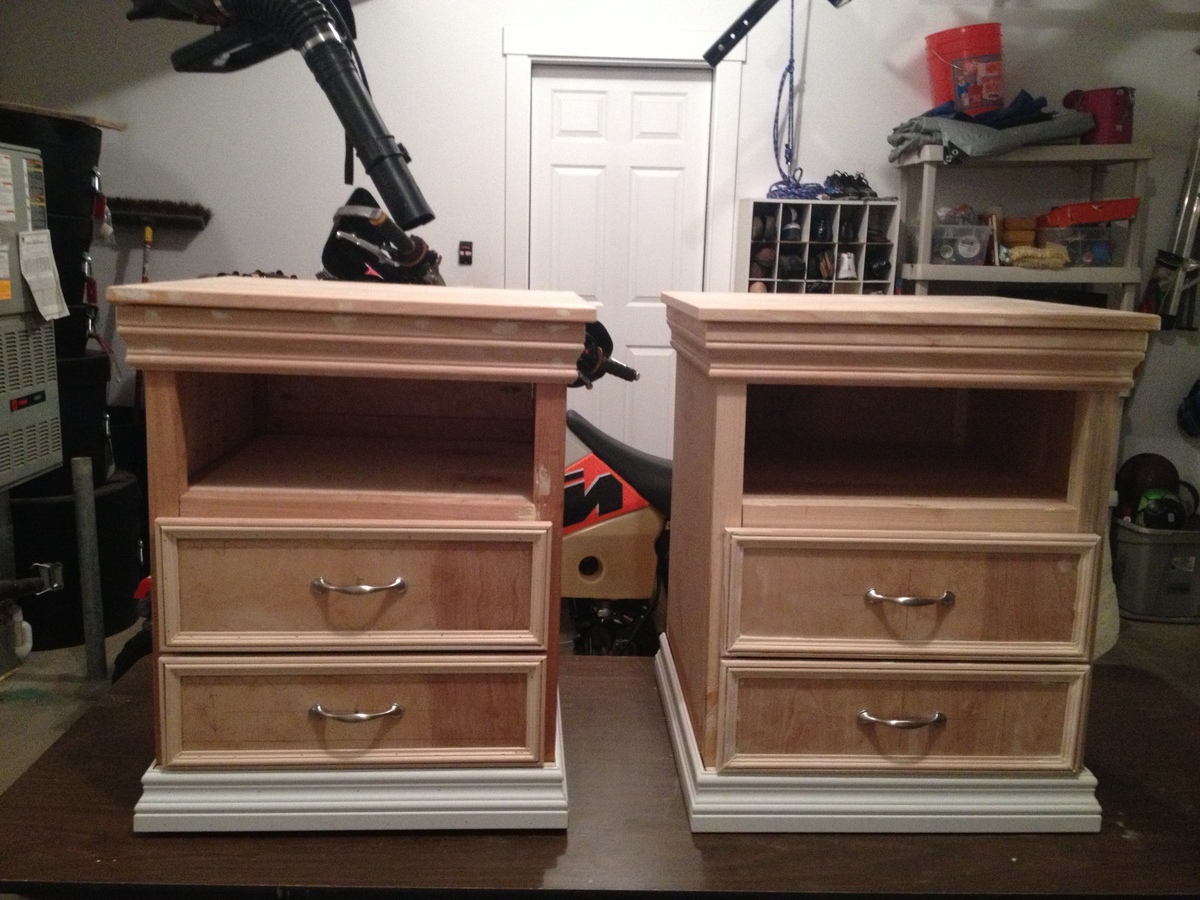
So This project was a little harder than I anticipated, but thanks to Anas' Rhyan nightstand plans as well as Kimbers project on the "not so Rhyan nightstand" I was able to get these done. A special thanks to Kimbers for several consult emails as well as some tips on getting materials at cheaper prices!!
I often got cheap material in the scrap area of the orange box. There actually was some good stuff there if you go early and get it before the contractors do! 1/4 sheet of 3/4" birch plywood for 4.01$
For this project I used the rattle can. I've had it suggested to me for other projects but was never willing to try it. It worked really well. No brush strokes but the down side is that it hid nothing!!!
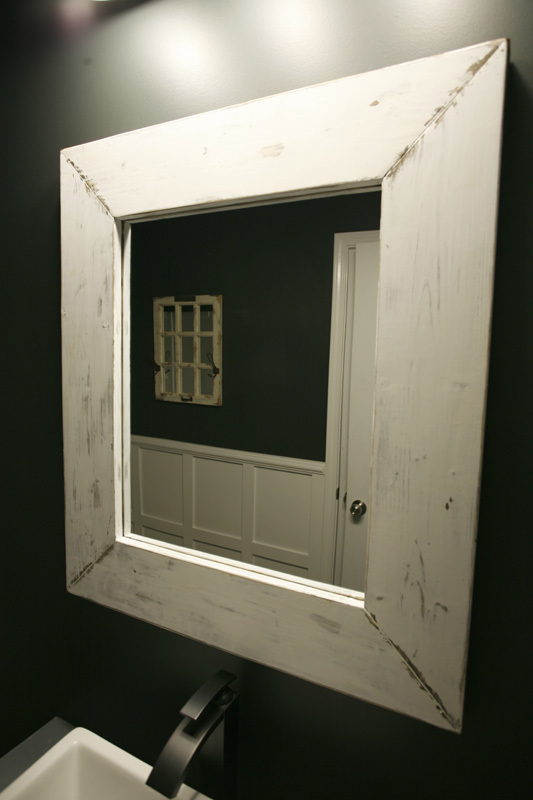
Bathroom mirror made from 1 by 6s and a 24 inch by 20 inch plain mirror.

A few 2x4’s and some old fence boards.
Danish oil - walnut.
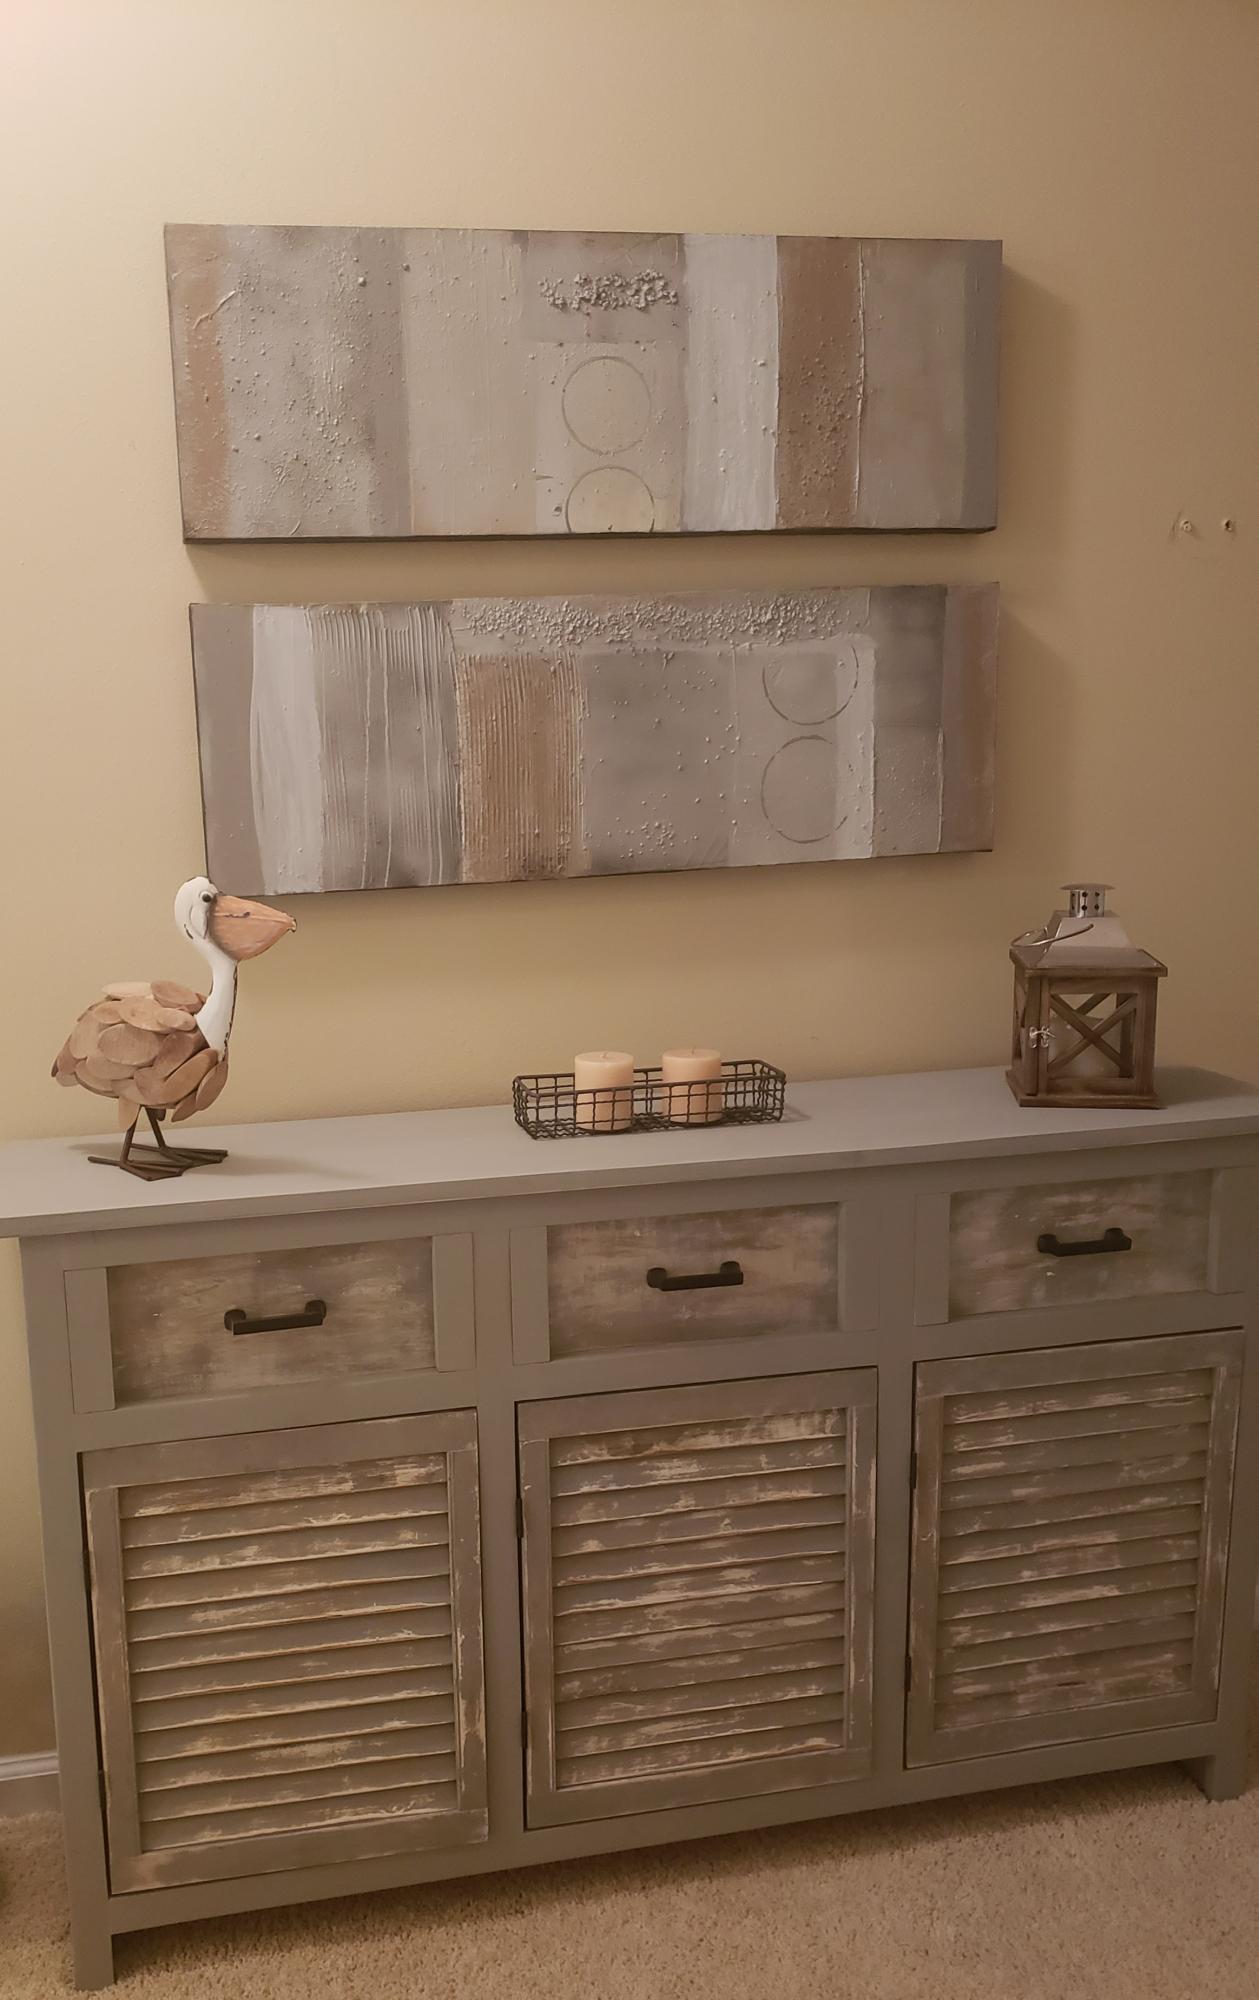
Gorgeous Storage Cabinet by Sandra!
My wife and I picked this out as our first somewhat complex piece from Ana's site to make. Most of the table is made from left over 1x4s I had from a fence we made. I only needed 2 1x12s as we didn't make the drawers as deep.
Because I cut down the 1x4s for the legs (and didn't examine the plans in detail first) I made them 3 inches wide when the ones in the plan are only 2.5 inches wide. This made for a few adjustments, such as the middle two drawers being a bit narrower.
The fronts of the drawers are normal height, but the boxes are only 4 inches high inside (so they don't fill up with as much junk, lol).
The 1x12s were only 11 inches wide, so I laminated some 1x2s on the sides to make it wide enough.
I think it really turned out well and we're already planning some complimentary pieces for our living room.
Counting the left over wood from the fence it probably cost around $50 including the stain and polyurethane.
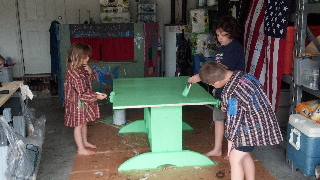
I made the legs rounded instead of cut like the plans showed. I also made the table top much larger, so I extended the legs and the table supports. The kids picked Tree Frog Green by Valspar. They loved helping paint!
The chairs are the Children's Storage Chairs.
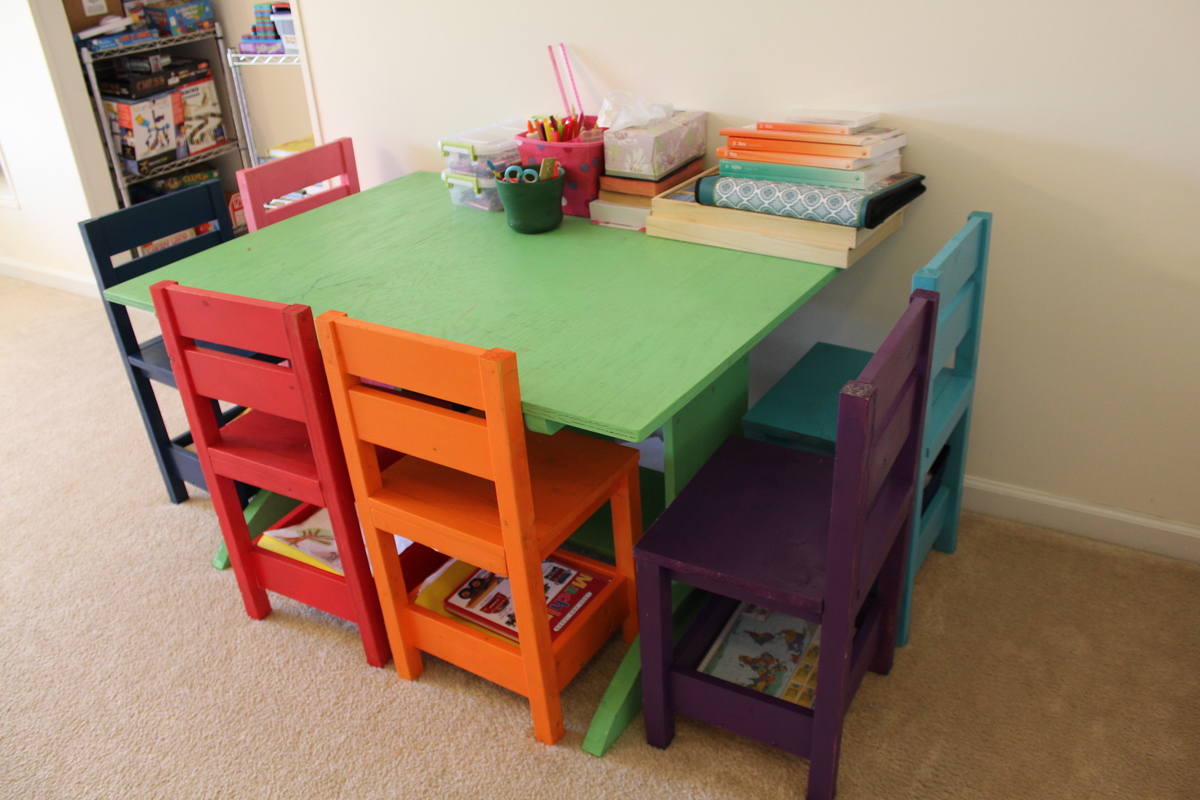
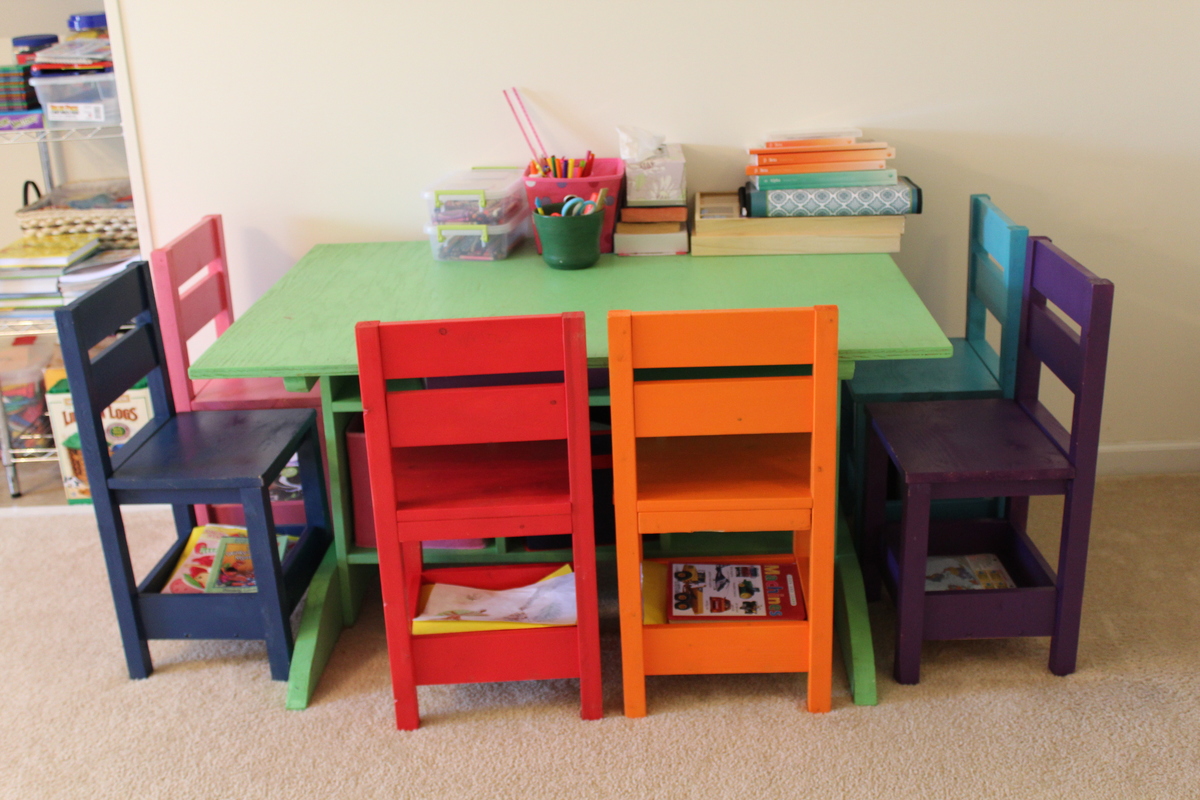
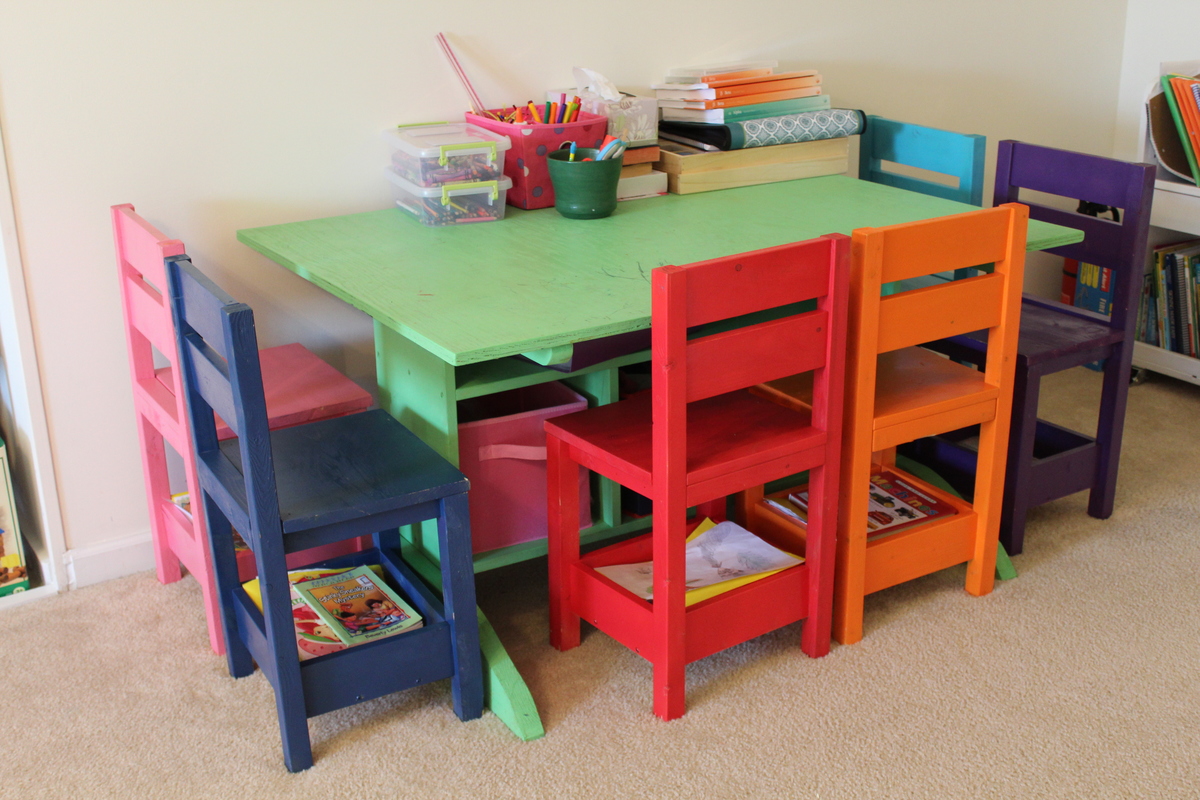
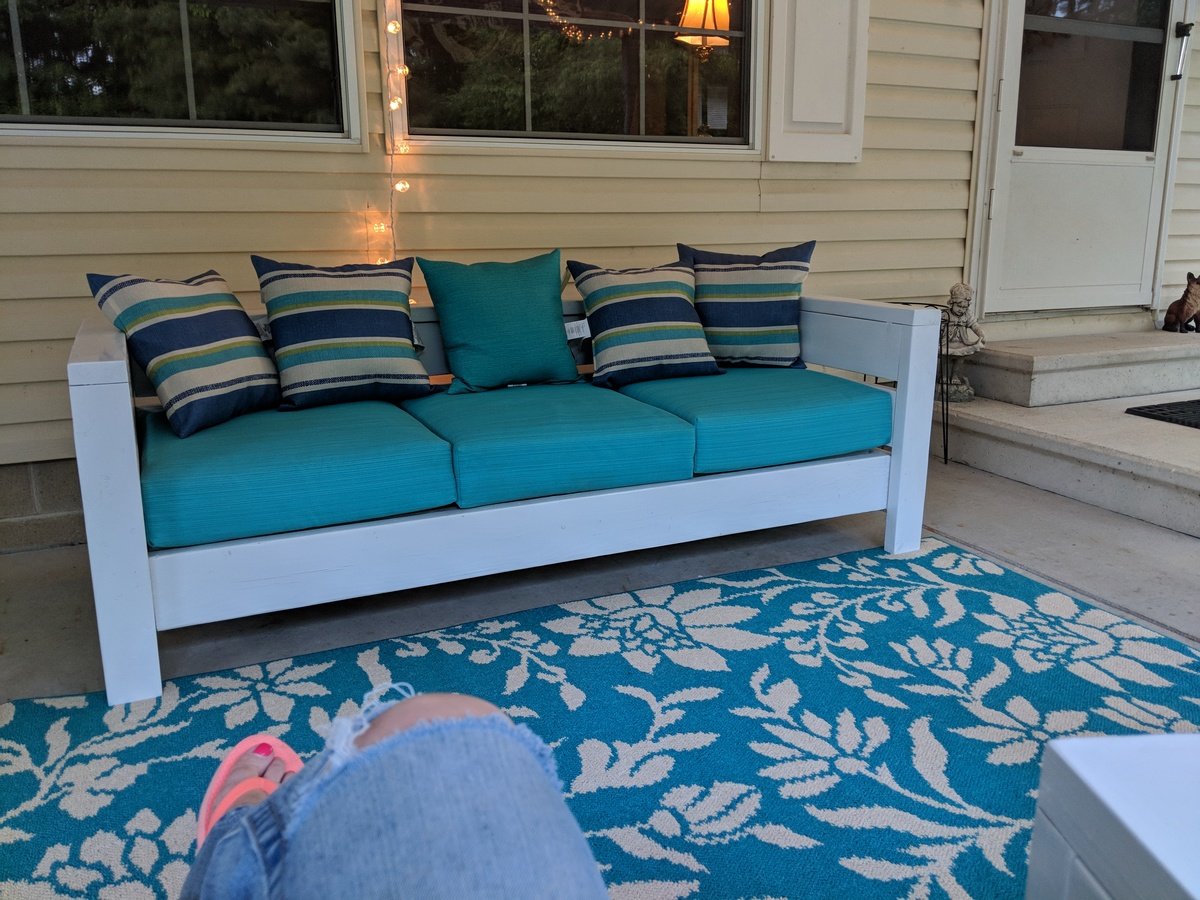
I used modified plans from Thrifty and Chic. I have the same cushions size from Target that she has. It worked out beautifully.
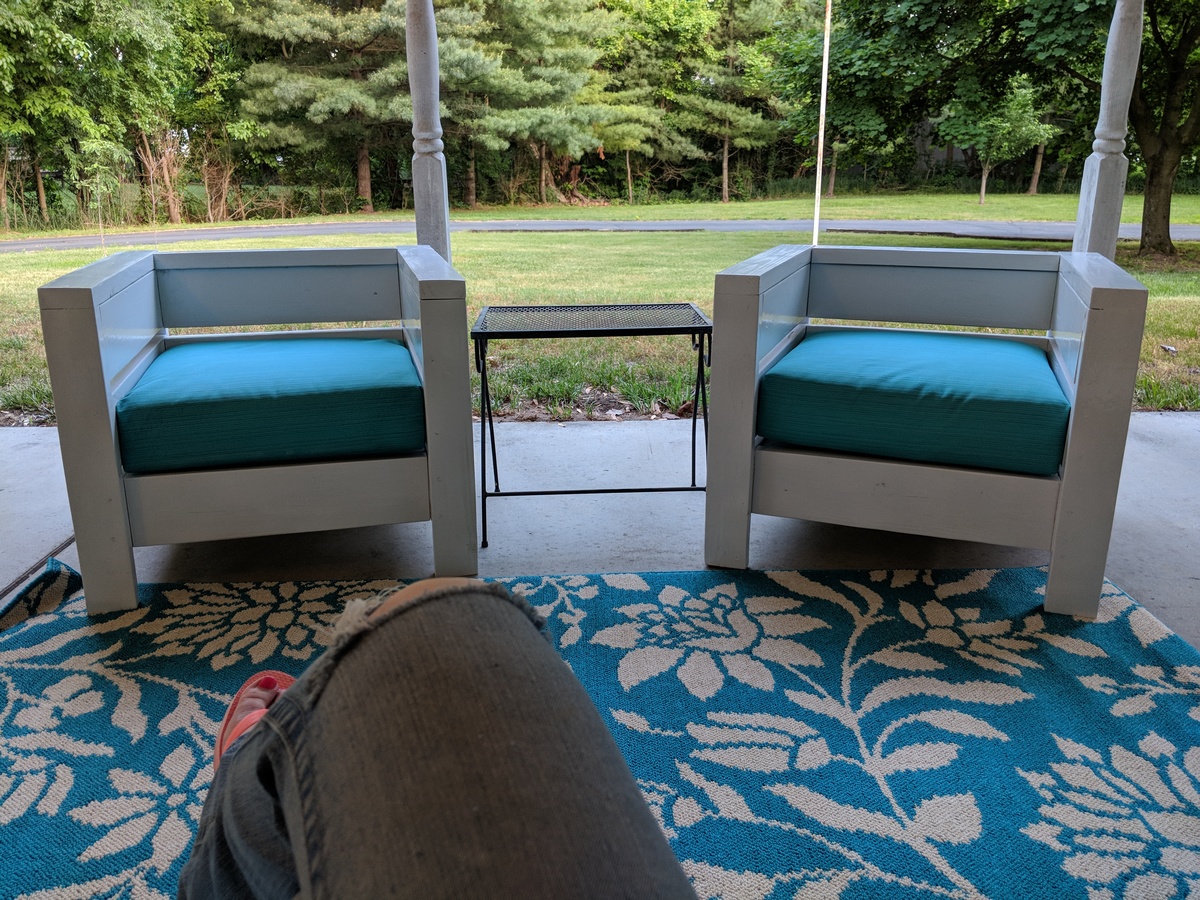
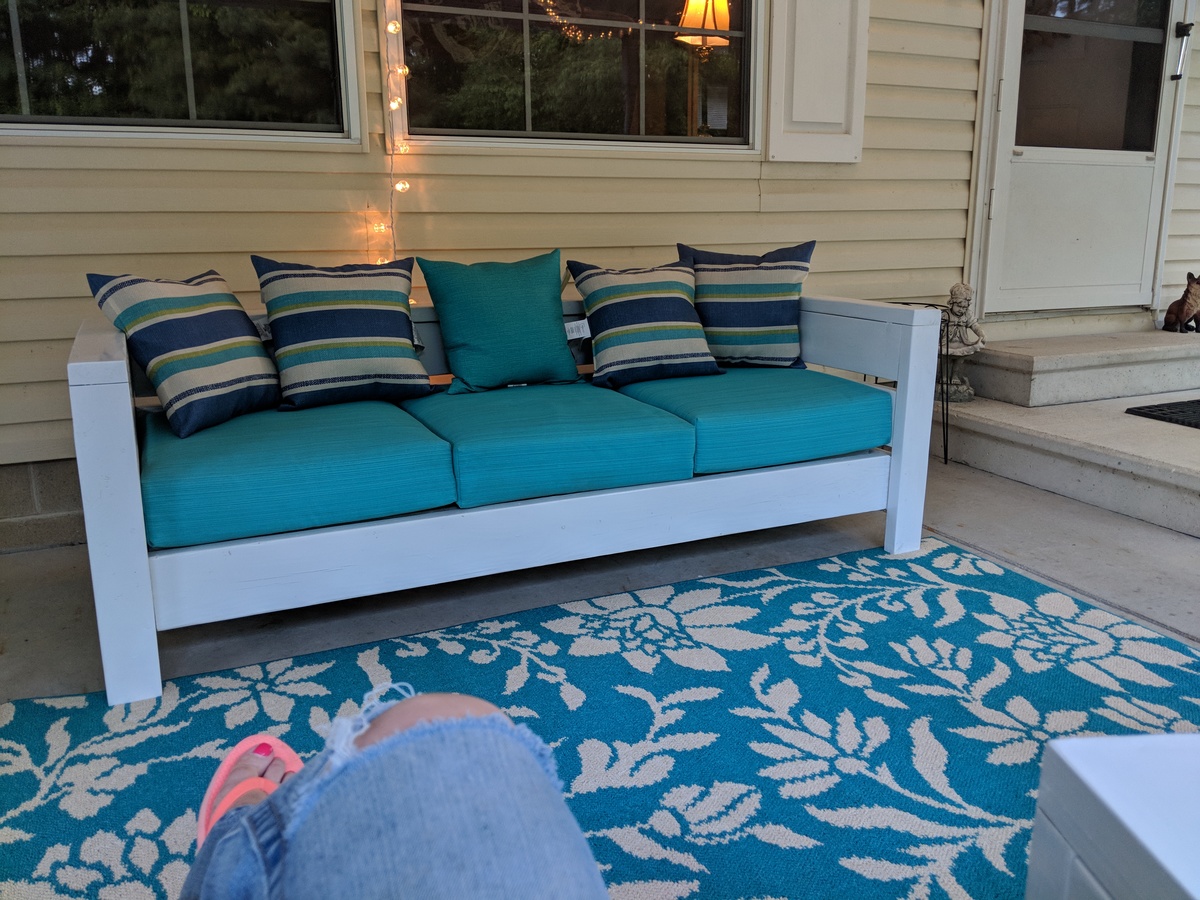
Tue, 06/05/2018 - 14:44
Love the bright cushions and white paint! Thanks so much for adding a brag post!
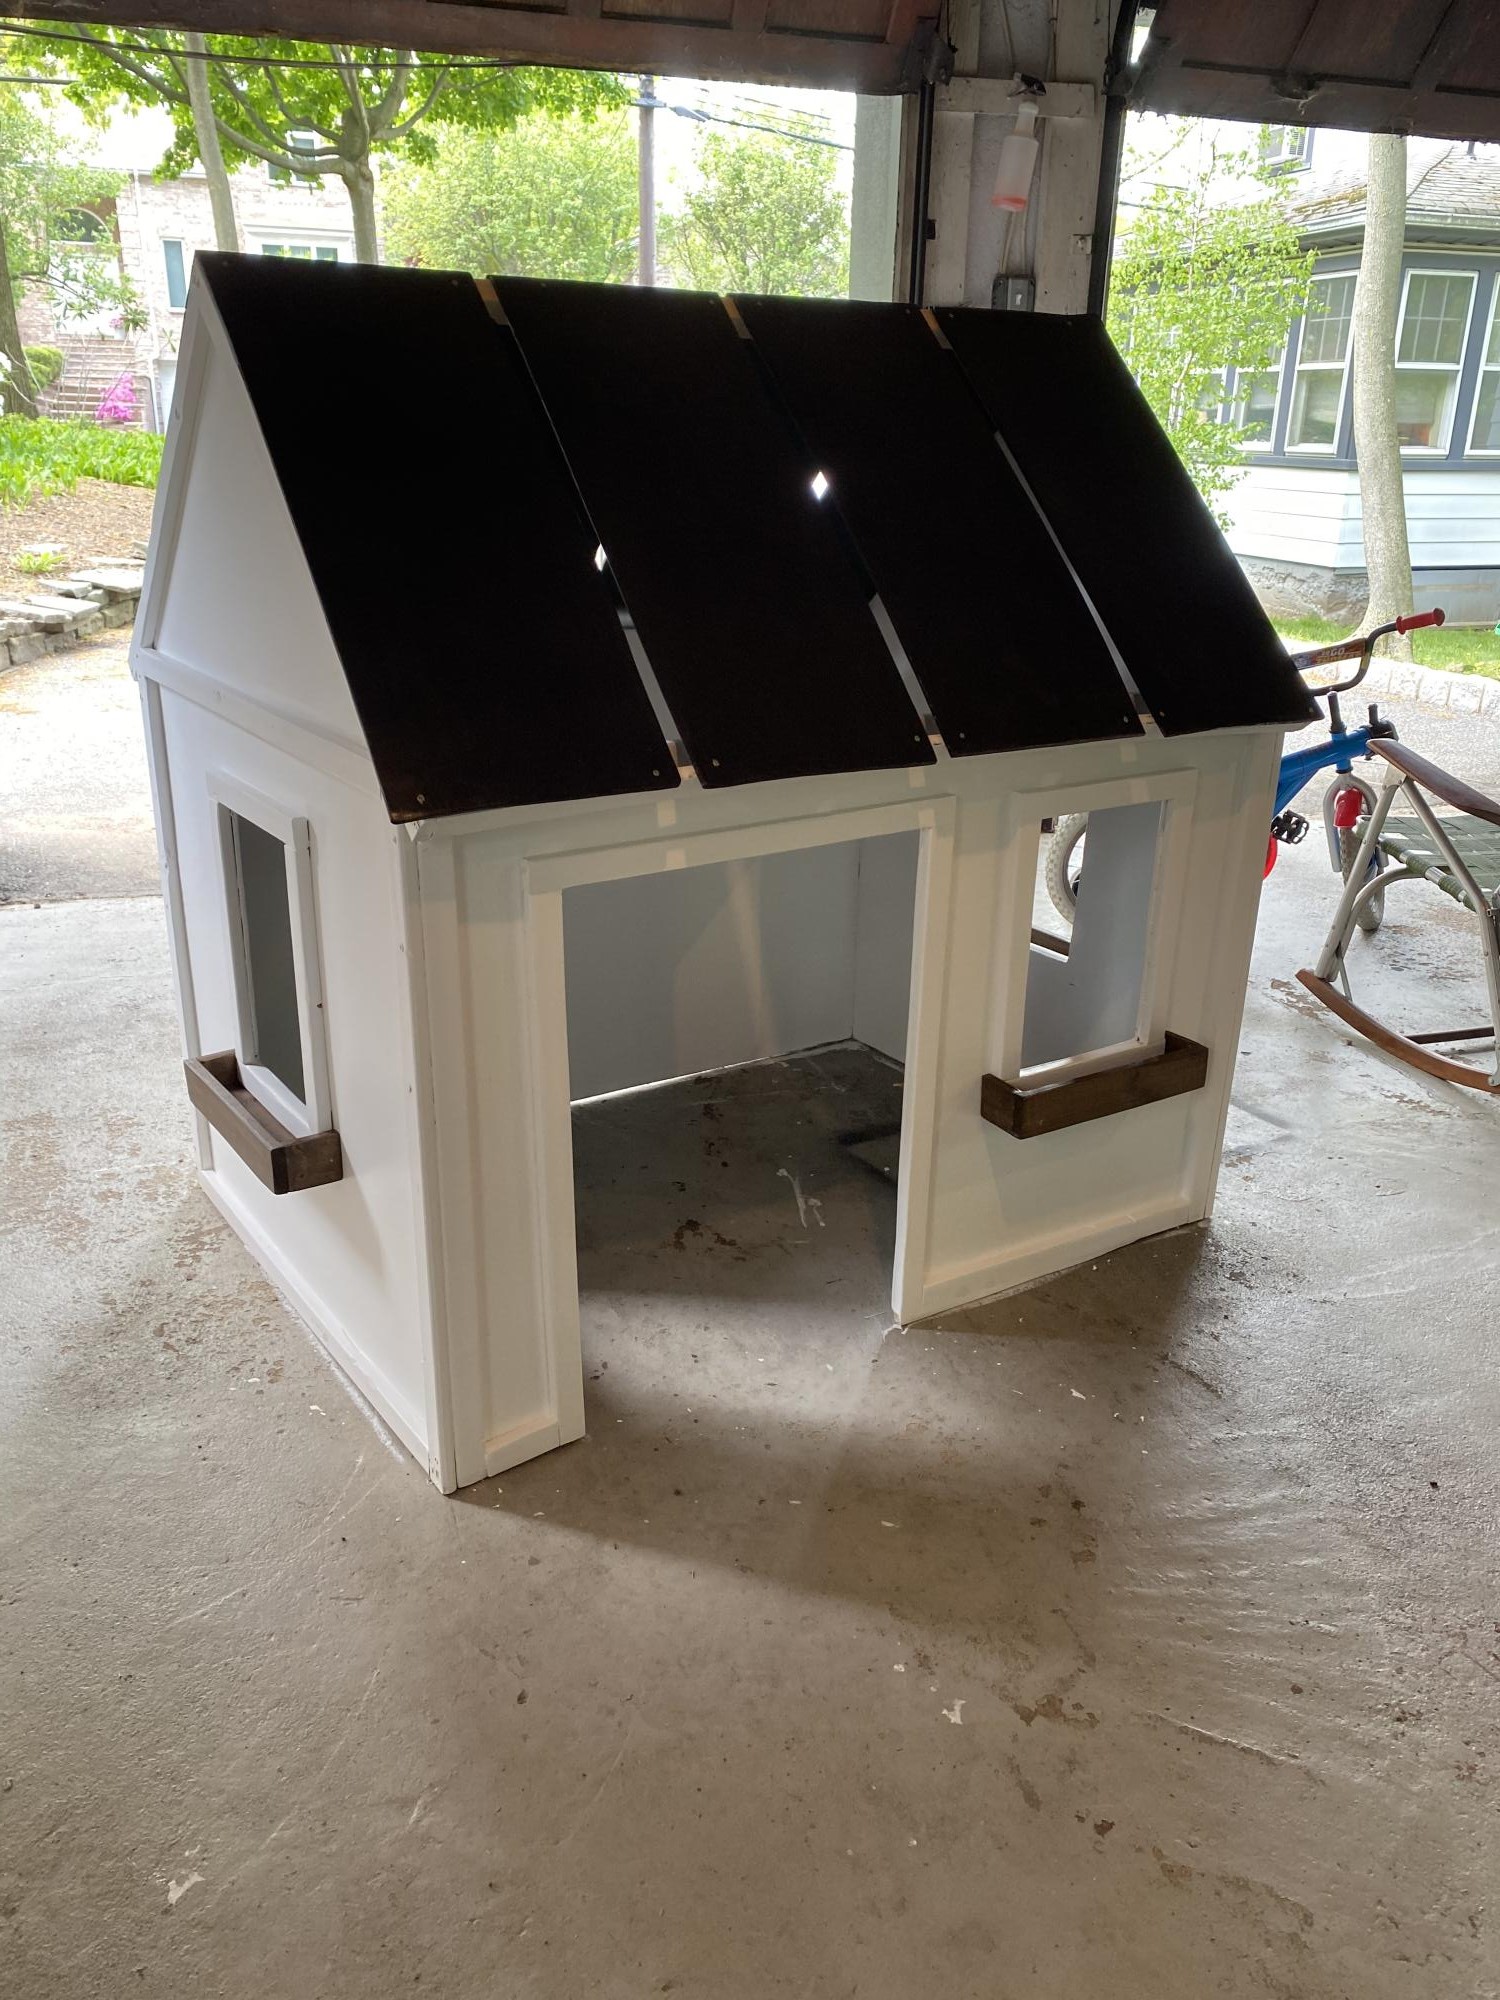
First project with pocket holes. A little challenging for a complete beginner, but pretty forgiving and fun to make! My nephew LOVES it!
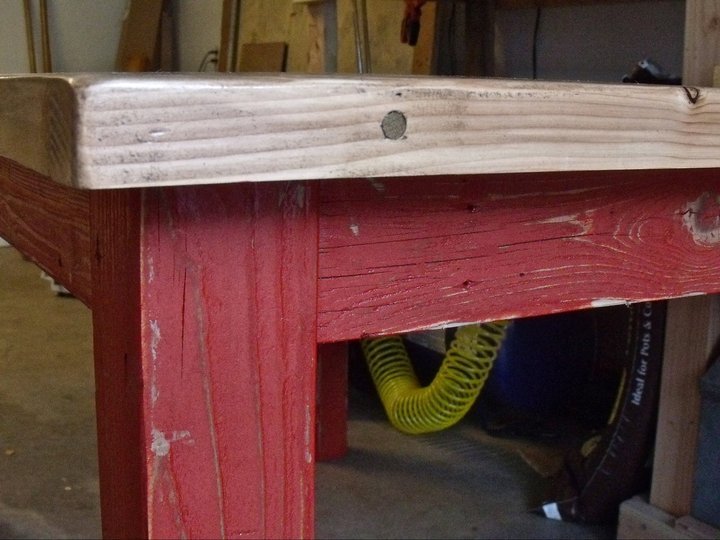
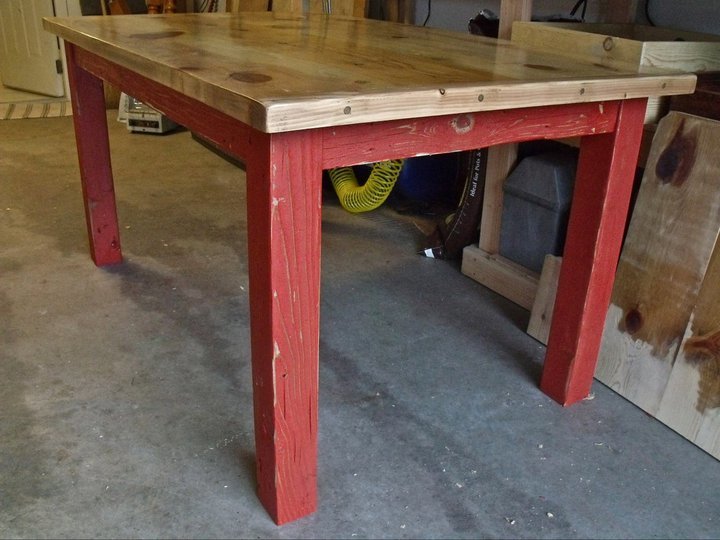
I got all the wood from the dump. The best way to get a good glue up for the table top is joint the sides flat, and then hand plane the top for a smooth surface. Gorgeous table for nothing.


Mon, 10/07/2013 - 08:55
What did you do when you went to the dump to get the wood? I like the idea.
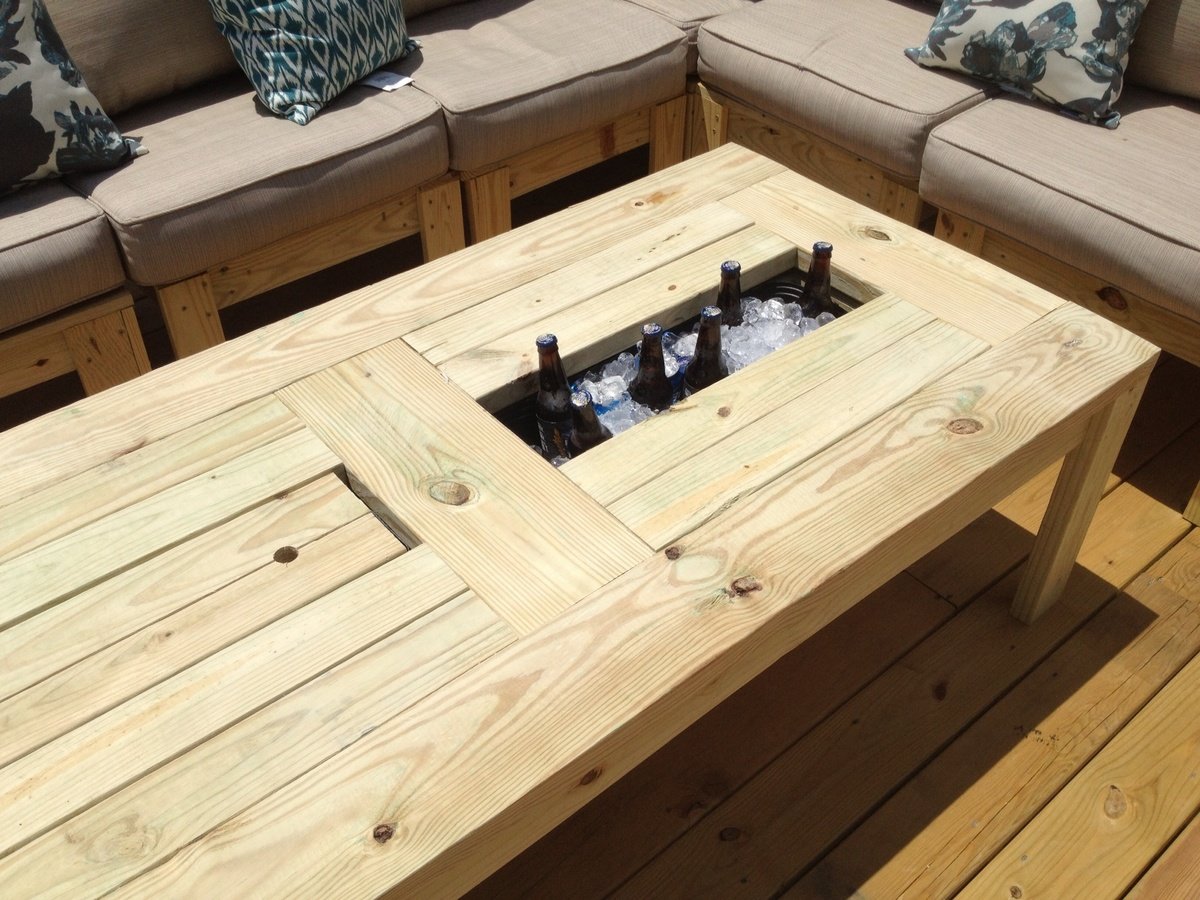
We made it a little shorter to act as a coffee/cocktail table on the deck. Comes in handy for homebrew too!
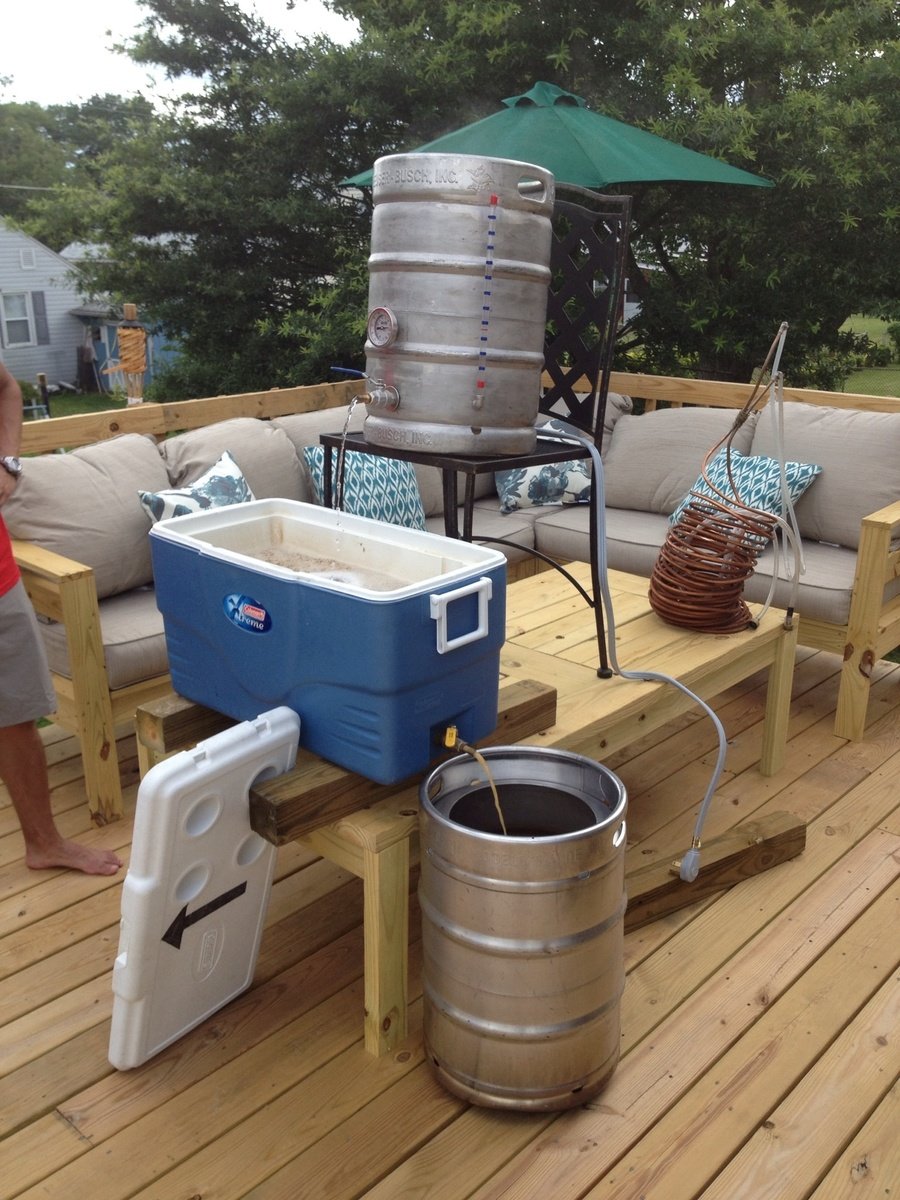

Great plans and we love the finished product!


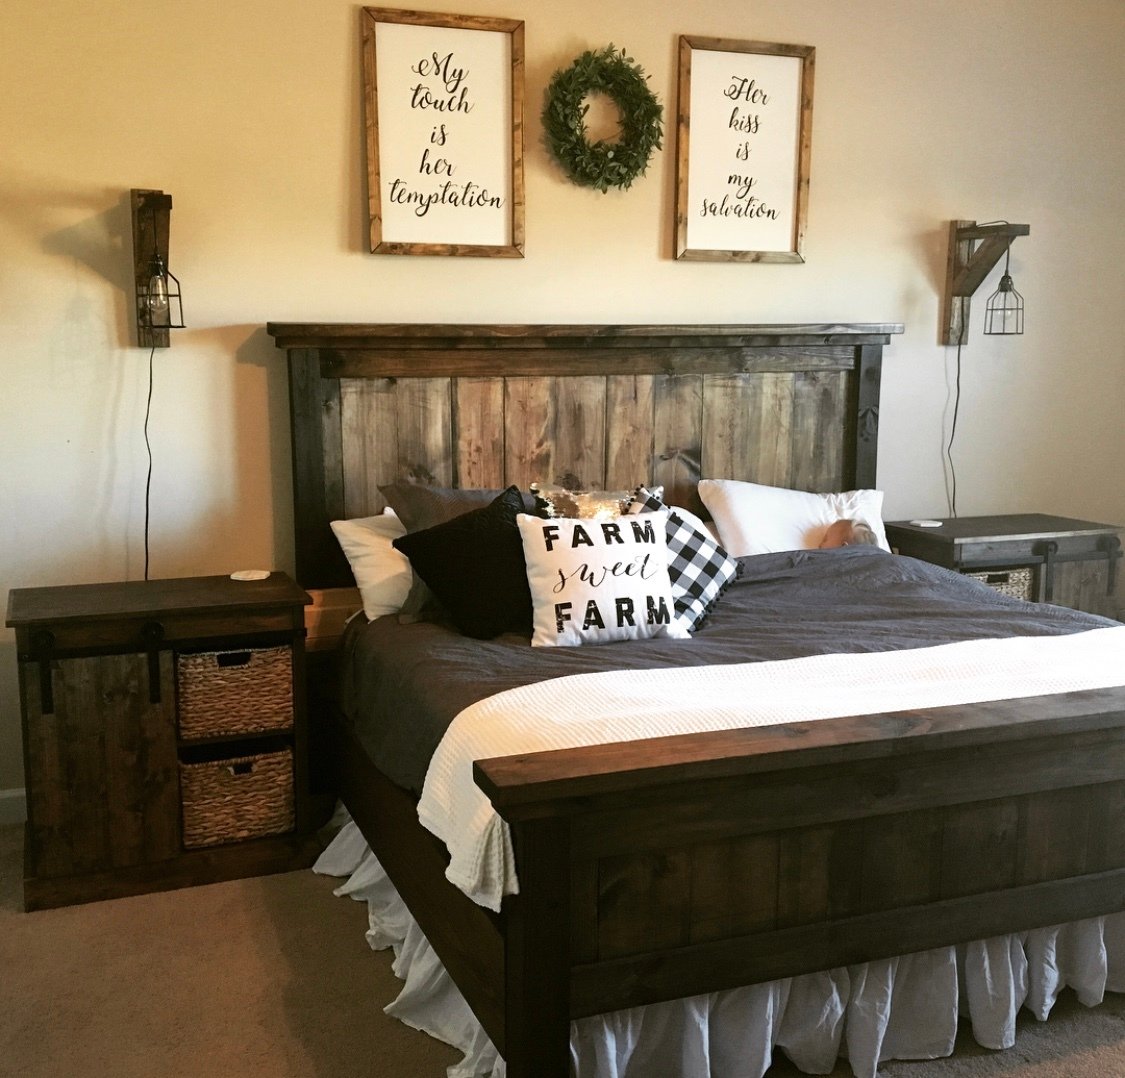
We couldn’t be happier with the outcome! This bed is beautiful and everyone who sees it is impressed. We did raise both the footboard and headboard so that both gave a bit more impressive appearance and so that the footboard rises above the mattress.
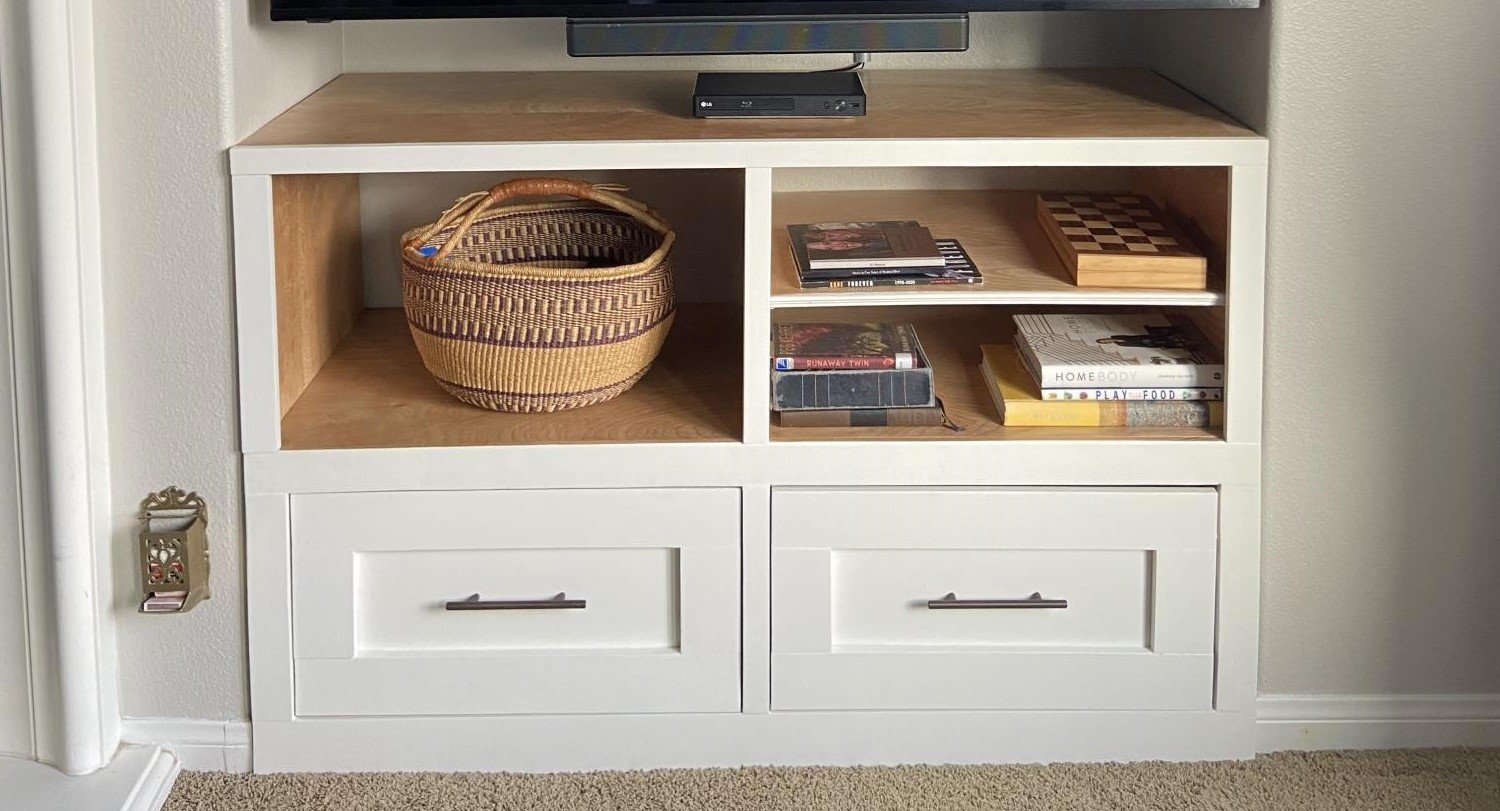
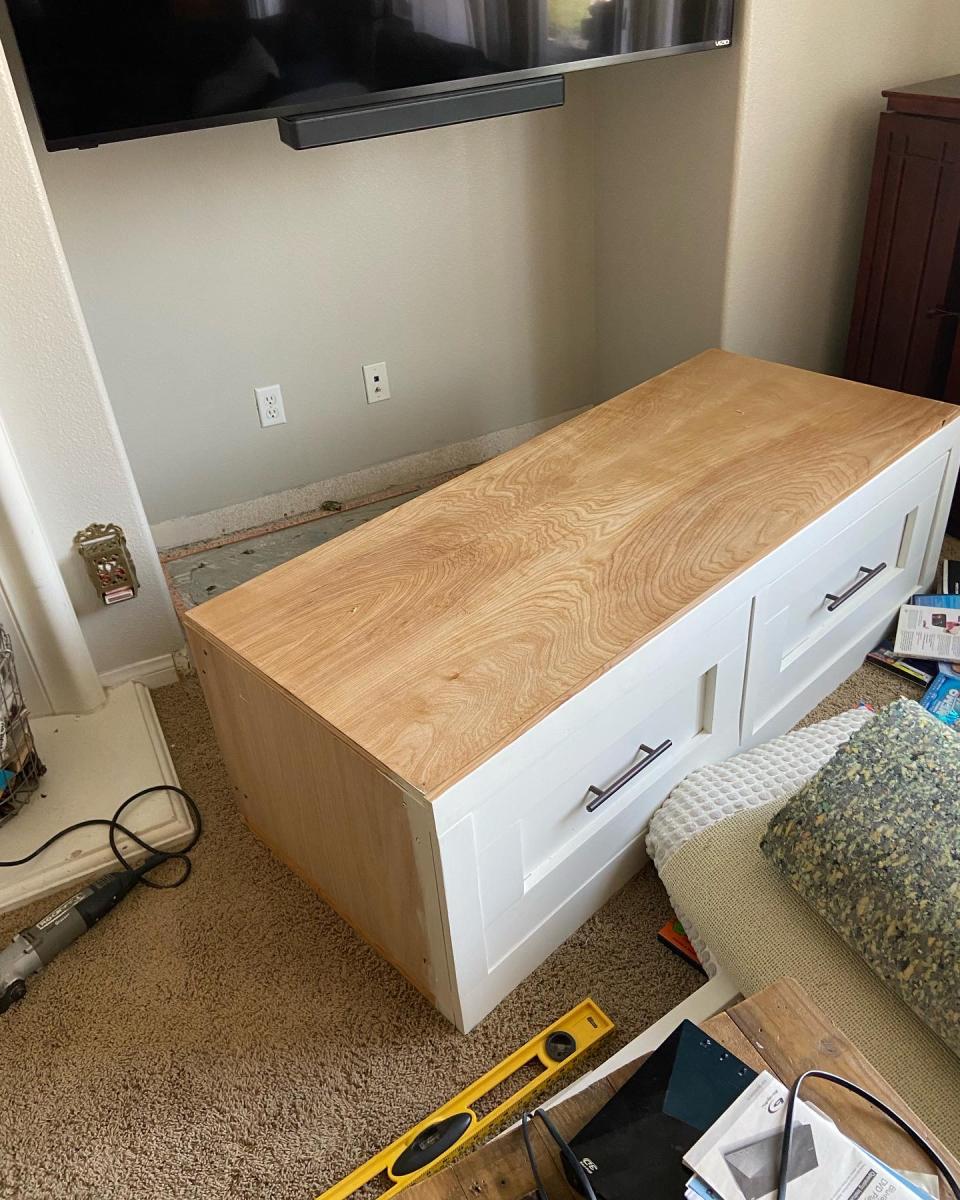
Modified the mudroom bench with drawers to make a built in entertainment area. Thank you for the ideas. It was tricky to modify and definitely a learning experience but I always learn something new when I build.
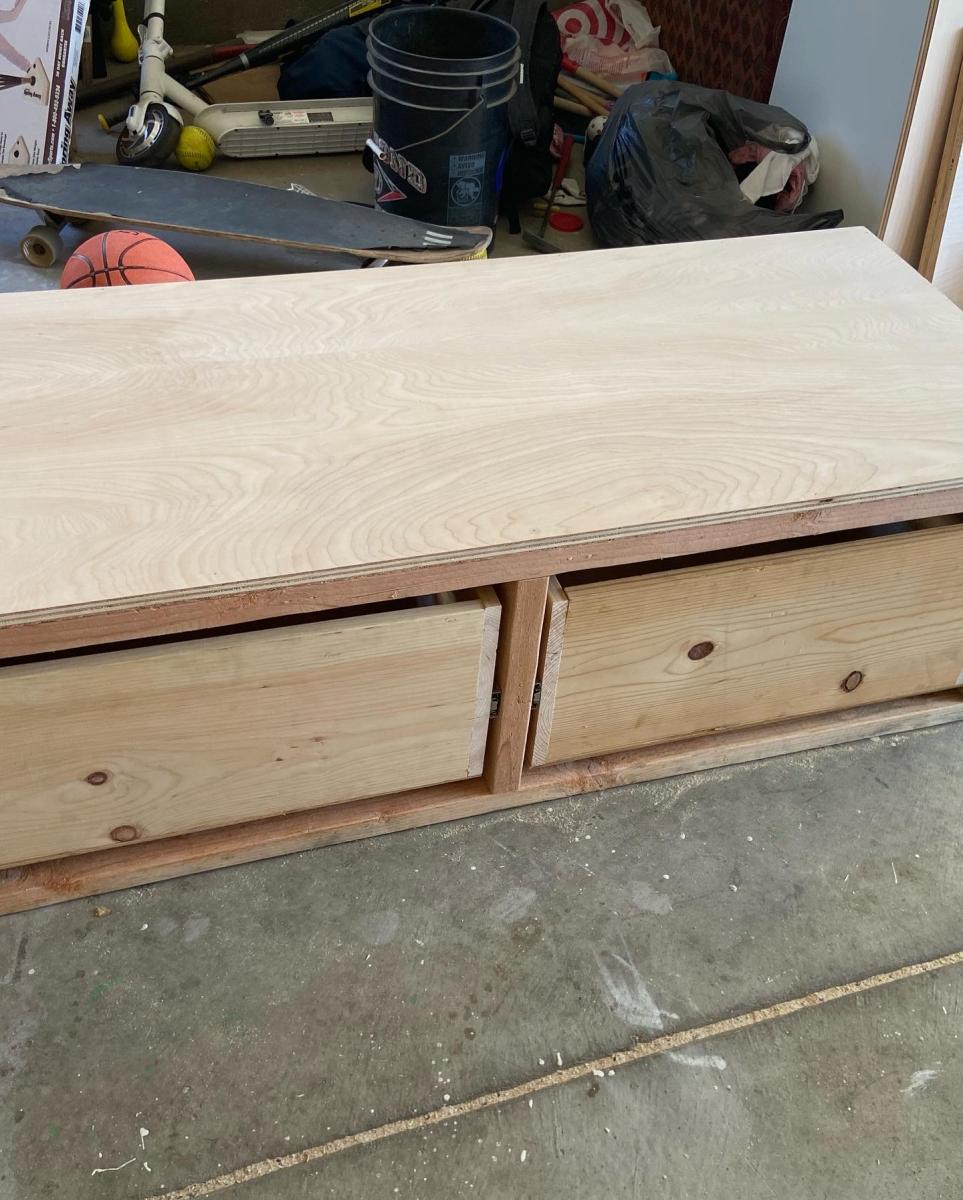
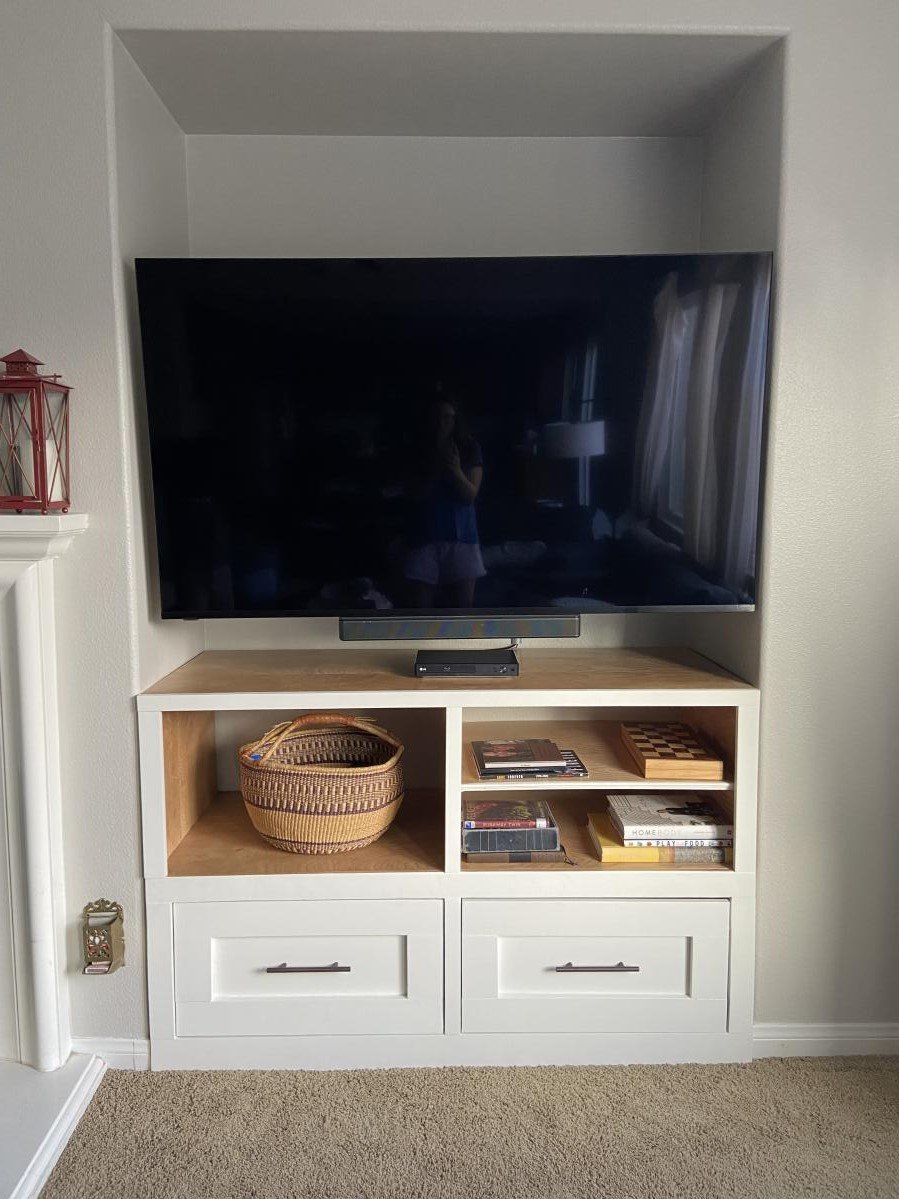
Tue, 05/03/2022 - 10:37
That is just beautiful, way to think out of the box to get exactly what you wanted! Thanks for sharing.
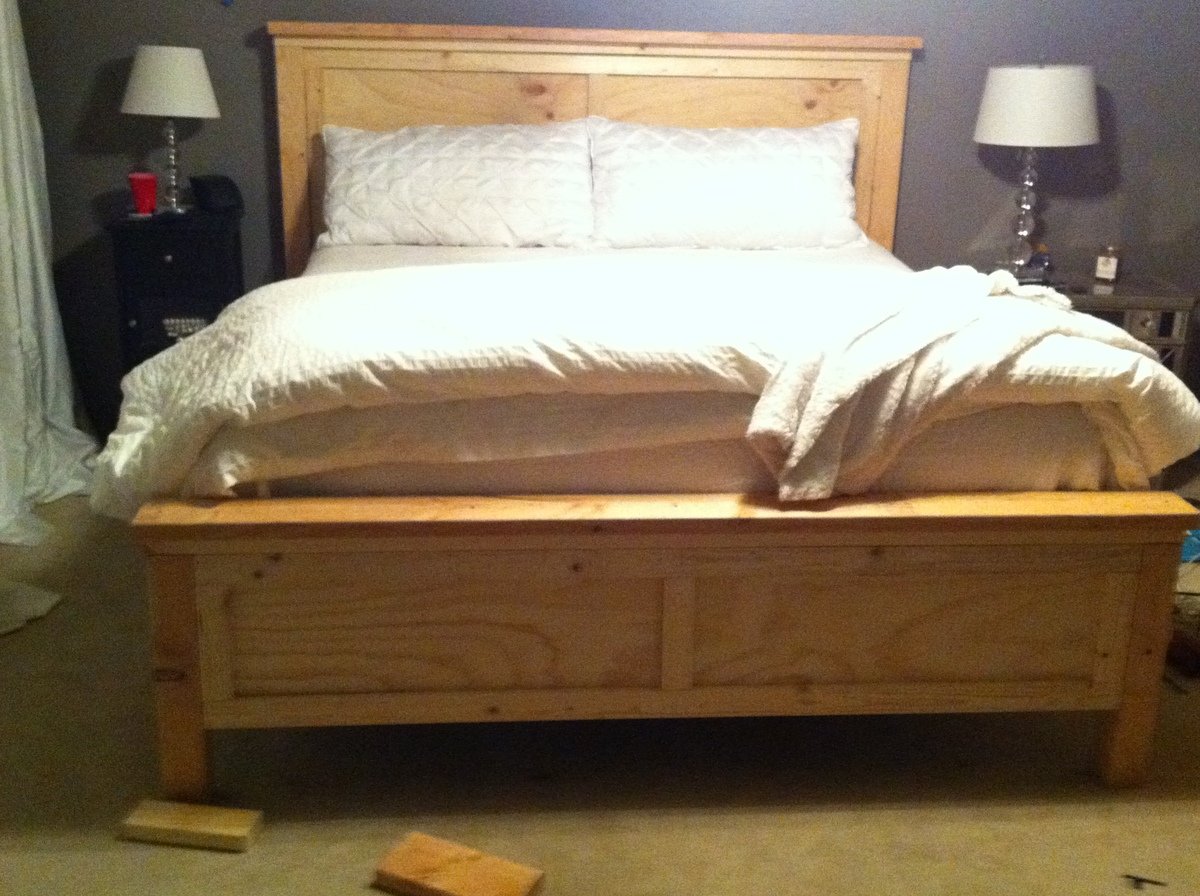
This was our second project from the site.
We used the plans from the Queen Farmhouse Bed as a guide, and used information from the Two-Tone Kingzize Bed to finish it off.
Some differences we had were to used a single panel instead of multiple panels for the headboard and footboard. We then bordered that panel with 1x3's, and a 1x3 down the middle of the panels.
We also attached the box frame (we dont use boxsprings) a little higher than the plans. We attached these at 11.5 inches up. If you like high sitting beds, this will do it.
Great project. We havent sanded/stained it yet.
Tue, 07/03/2012 - 07:47
Thanks for the tip about attaching the frame higher. I prefer high-sitting beds (I'm tall, so I hate feeling like I'm falling onto the bed), so I'm happy to see I can make it higher up.
Sat, 10/13/2012 - 08:29
Love the single panels. Did you use one piece of wood for the panels? What size? Also, would love to see pictures of it with finish!
Not too bad for my first project without my dad to oversee! I did adjust the plan a bit for a more colorful option. I bought a 9' x 12' canvas drop cloth at Home Depot, cut a 3' wide strip, and used Dritz Stitch Witchery to finish the edges. I then mixed samples of Behr paint with fabric medium to paint stripes. So that I could wash the canvas if needed, I attached it with Velcro strips at the base of the tent.
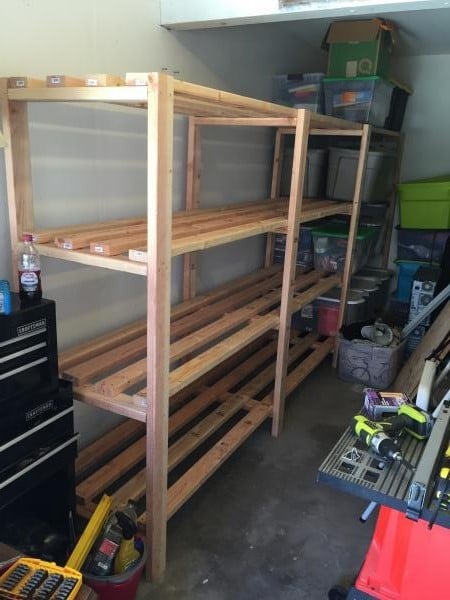
This was such an easy project to complete although it did take some time to measure and cut all the boards. I could only transport 2x4s at 8' so after cutting the height to 6' for the braces I used the extra 2' for the shelf width. The extra width really helped with some of my storage totes. I made the first section at 5' in length to handle the heavier totes, and the second section I used the full 8' board with a brace in the middle. I wish my garage was a little deeper to handle 16' of shelves as it would have saved me a good bit of time. I'm also glad I have an extra ryobi battery to charge while I assemble. Gotta love how fast those things charge. Can't wait to try another one of your plans.

I built my girls' beds using two of Ana's plans. I used all whitewood boards for the construction. It took a few hours to build both beds and I love the result! I used my brad nailer and gorilla glue for both the headboard and bed base. I also used drywall screws (my fav) to attach the bottom bed pieces. You can see more details at http://www.shanty-2-chic.com/2011/01/beds-finished-well-almost.html !


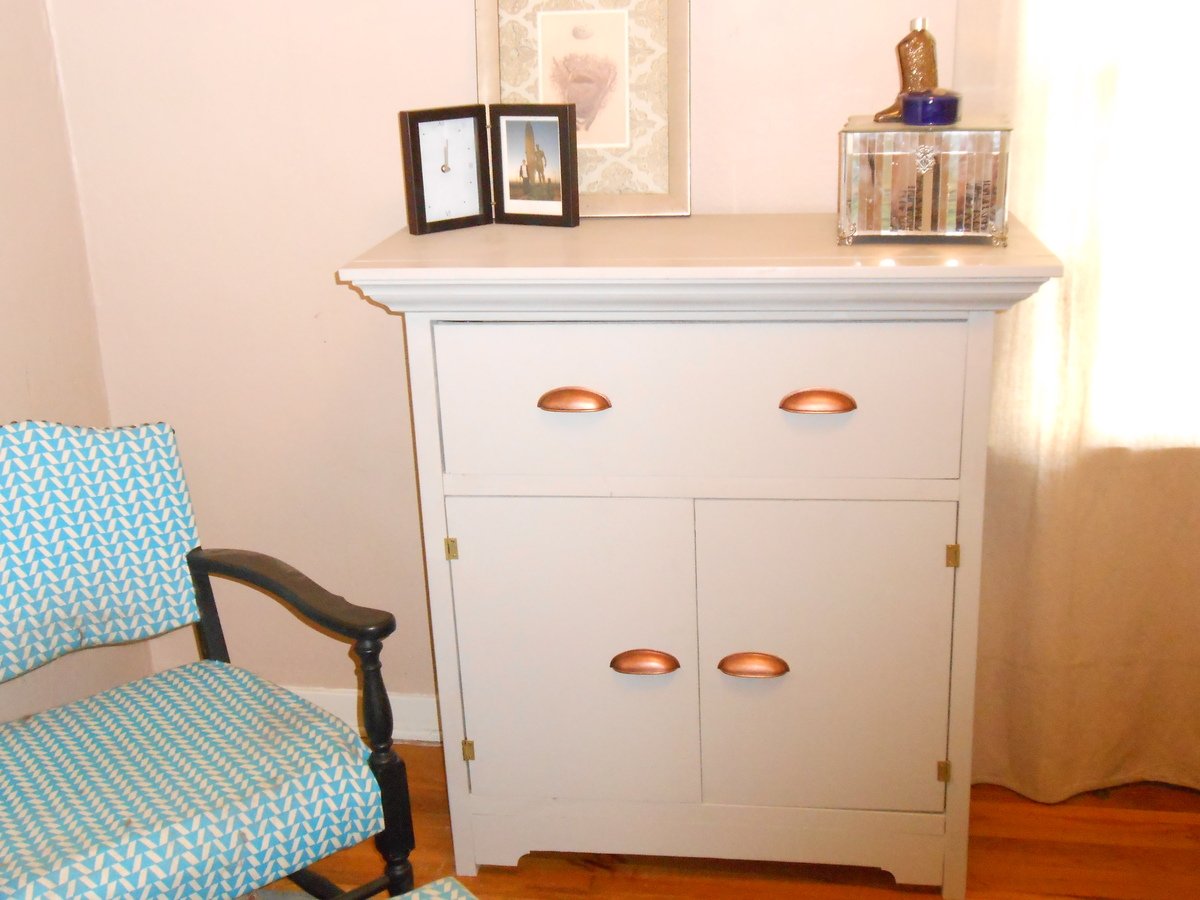
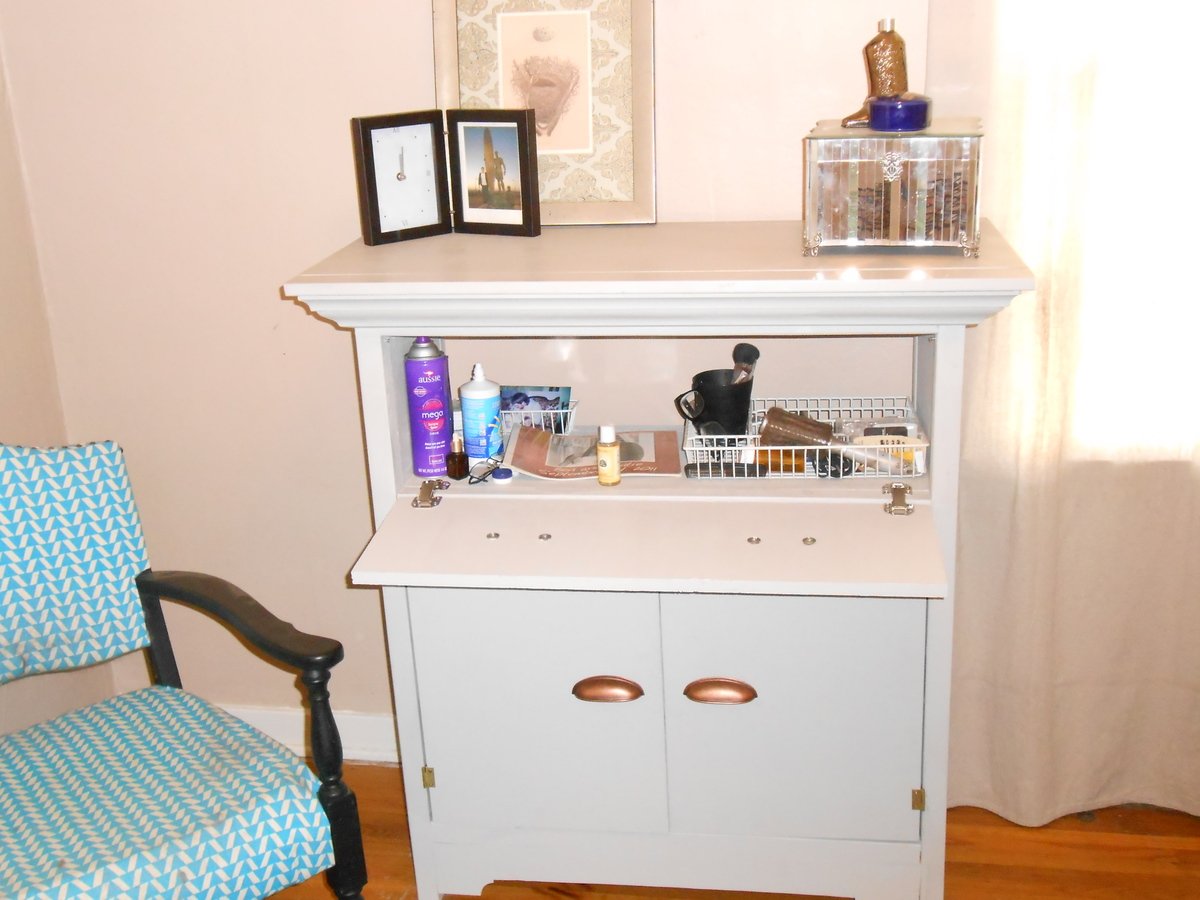
This was our first build requiring any doors. We didn't get them perfect, the inset part was kind of challenging, but its still functional and beautiful! I will be lining the top section (the desk part) with mirror and will be using it as a vanity desk! It has created sooo much storage in our extra bedroom and I LOVE THAT! It was a pretty easy build except for adding all the doors and hardware, which turned out to be the most frustrating part. We added some leftover crown molding to the table top which makes it feel a little top heavy. I'm thinking about adding some chunky feet to it to balance it out a bit.
The secretary is from Ana's awesome book: The Handbuilt Home!
Cost: approximately $60
Finish: Soft Gray paint in eggshell (What was I thinking using egg shell? It should have been a semi gloss but I guess that's what happens when you're using what you've got.)
Comments
yogijenn
Thu, 08/08/2013 - 08:54
bench leg angles
Planning to build a set like this for my new patio. The angles on the bench legs don't appear to be 45s. Could you share a few detail about them? Thanks!