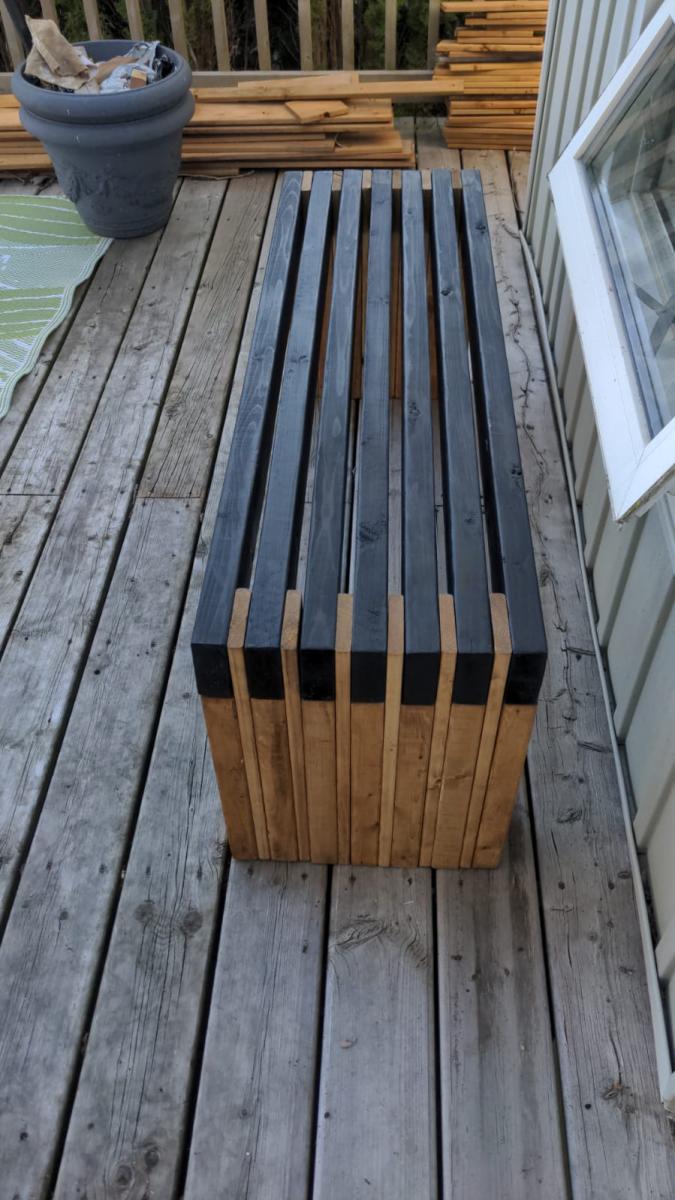
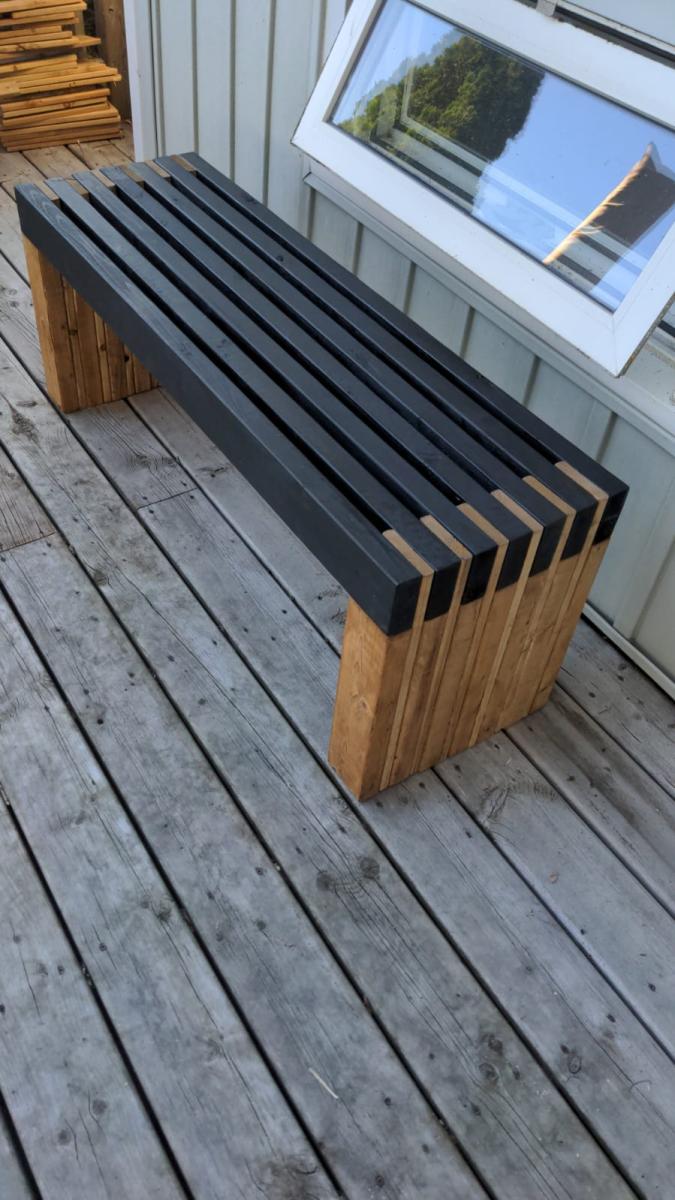
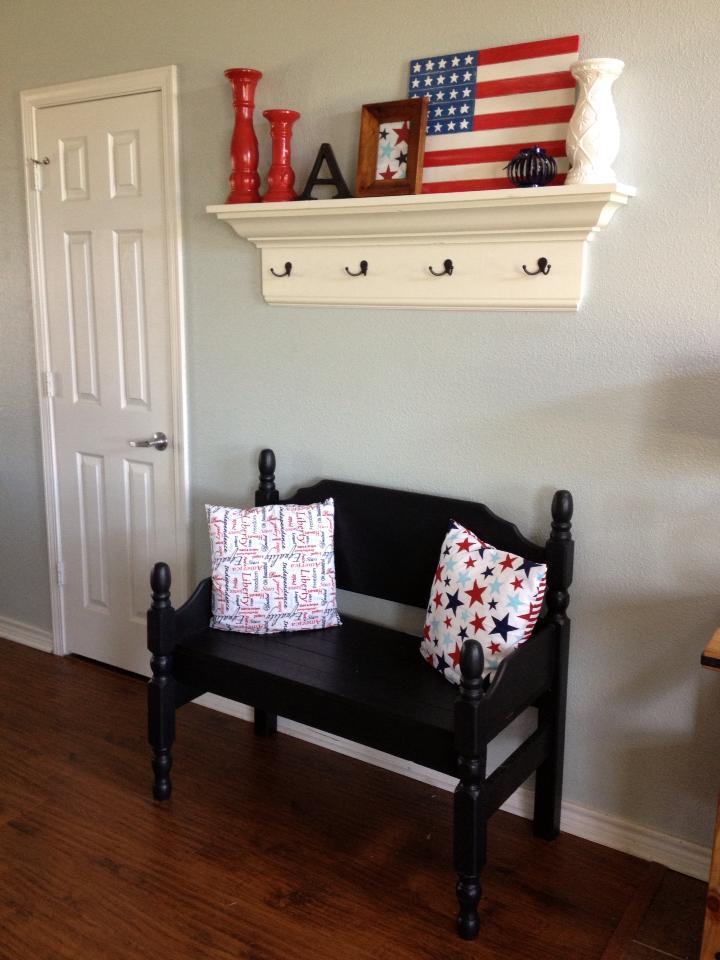
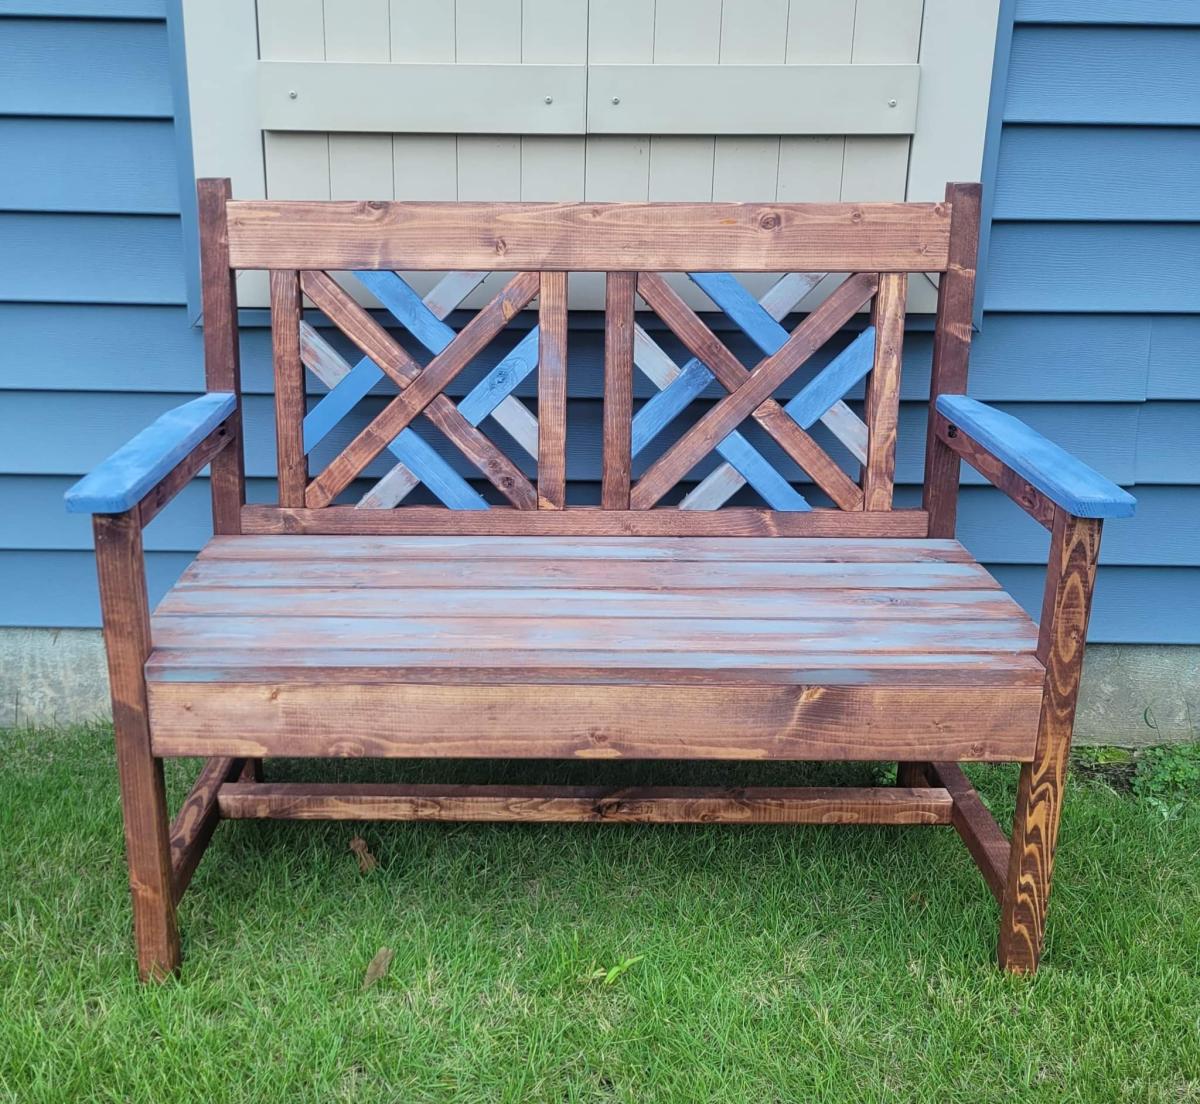
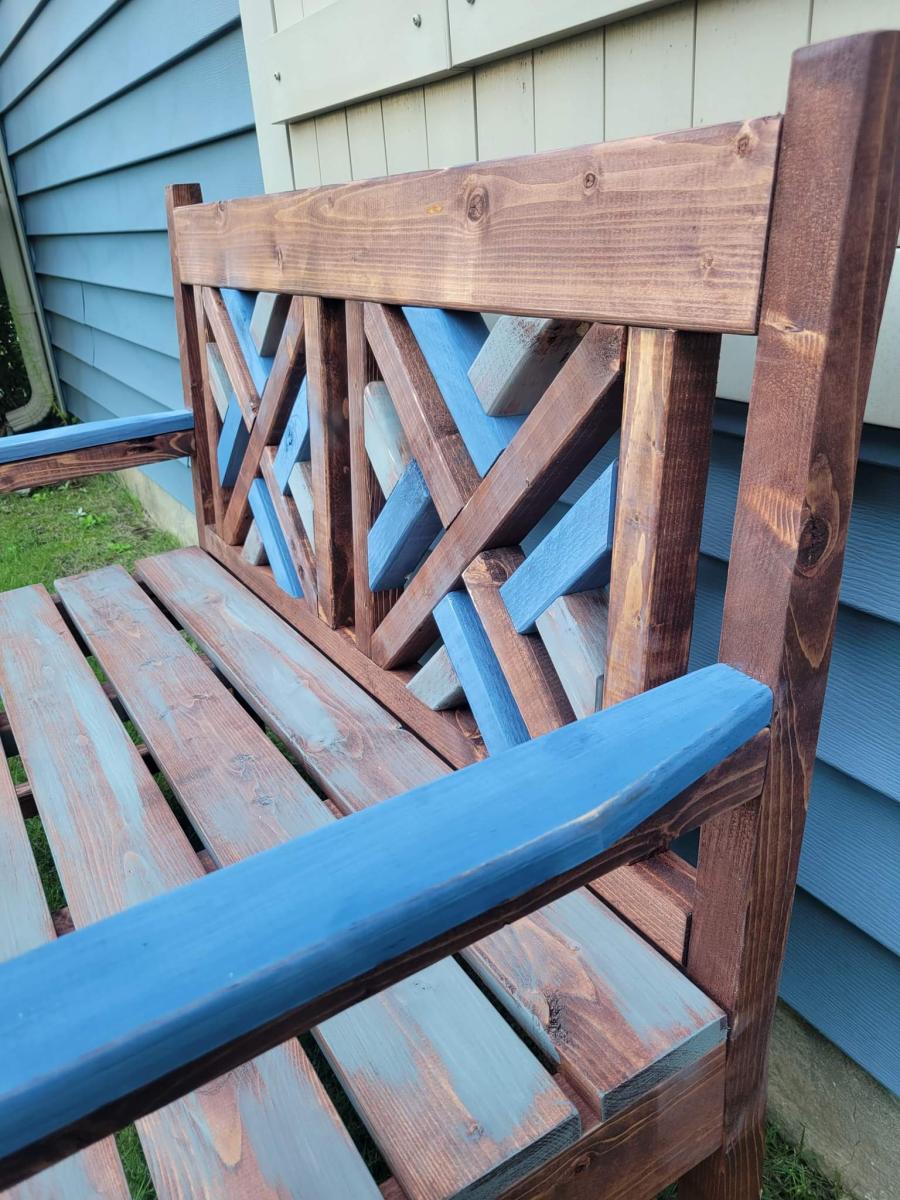
Modern Slatted Bench
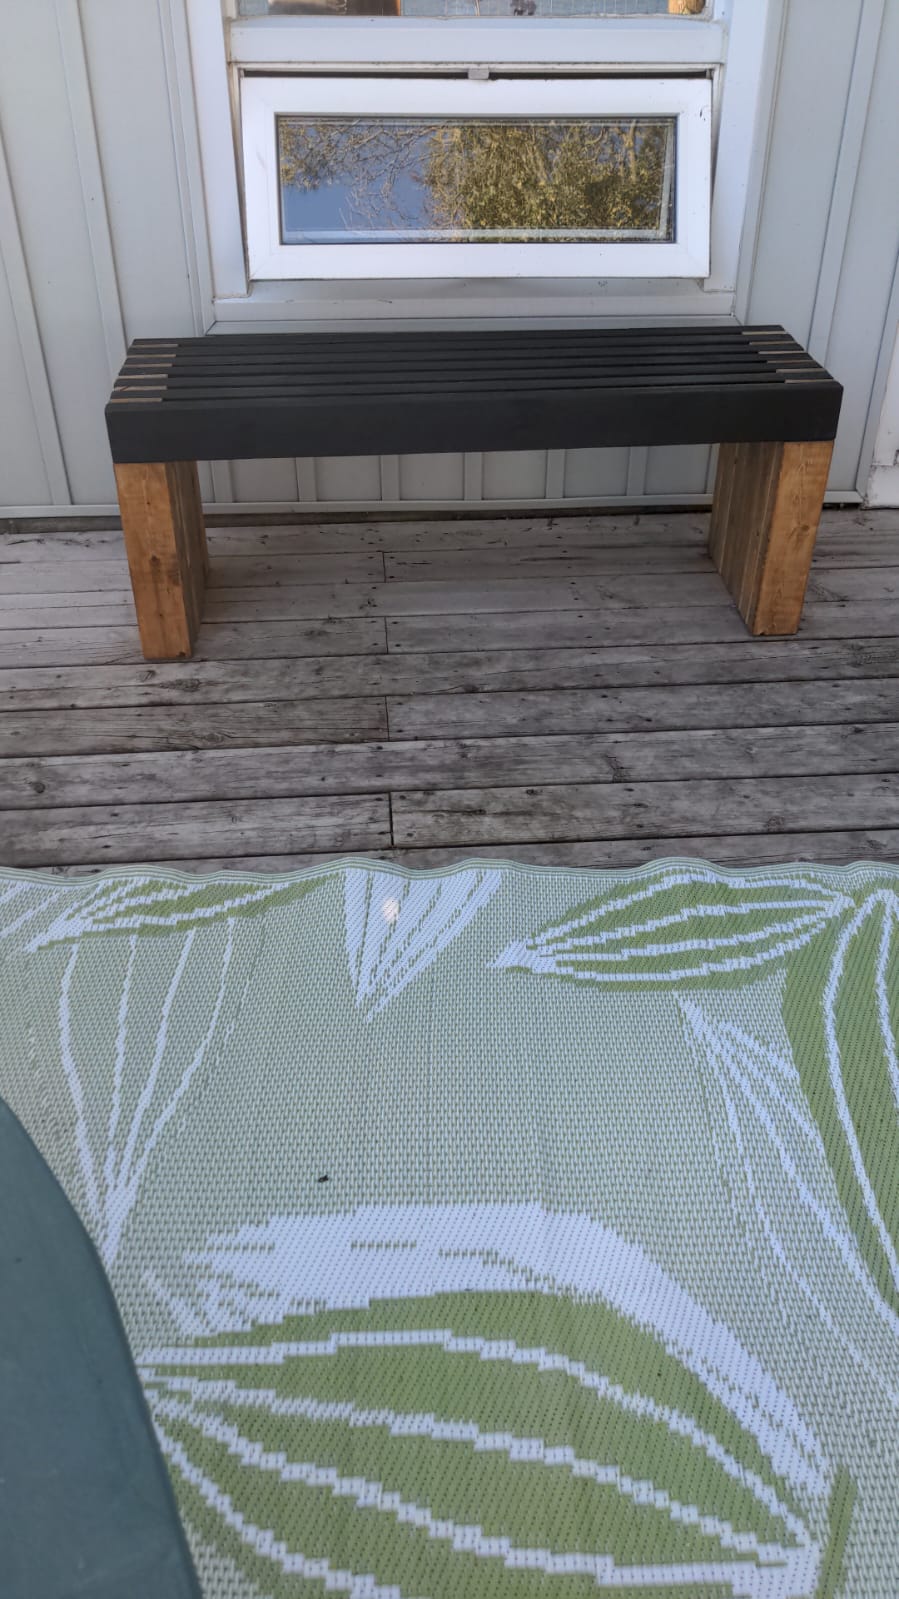
Loved making this bench! Simple enough using a stop block on my mitre saw.
Followed directions except made it shorter in width. I got so many compliments!
Built from Plan(s)
Loved making this bench! Simple enough using a stop block on my mitre saw.
Followed directions except made it shorter in width. I got so many compliments!

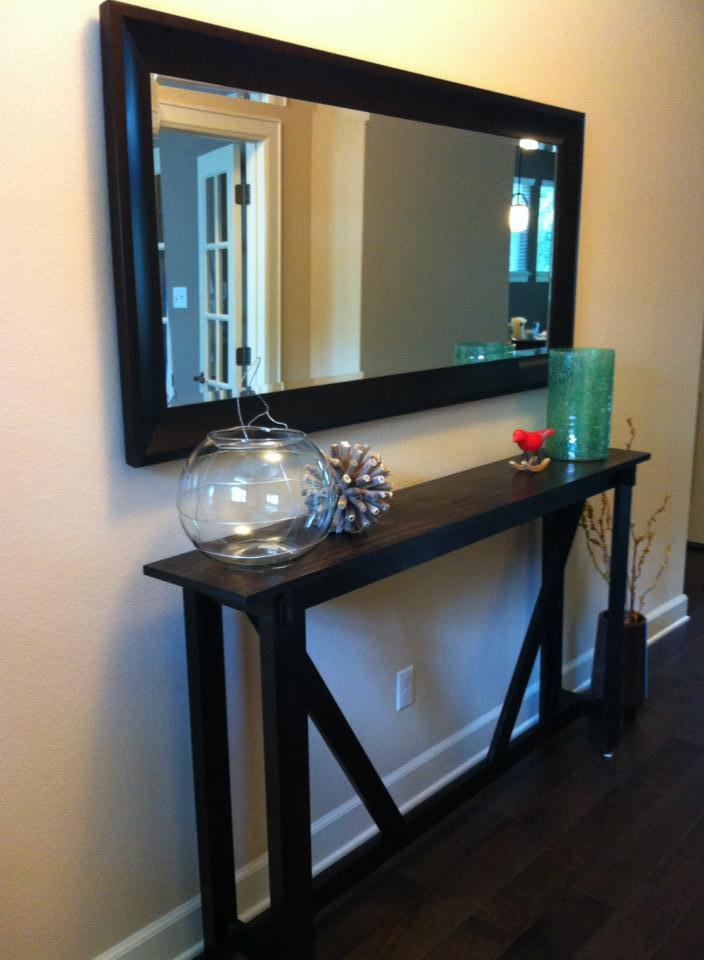
I modified from the Clara table plans.


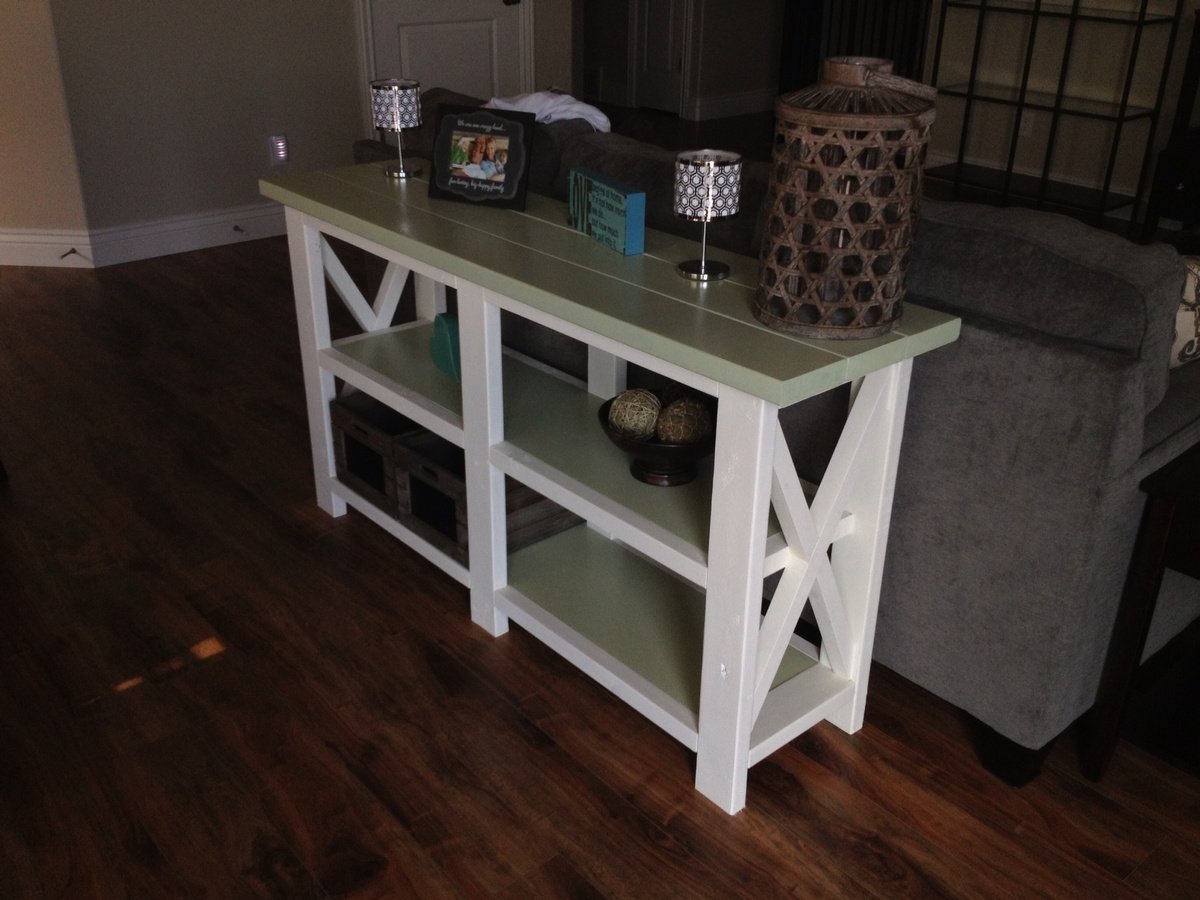
I loved the look of the Rustic X Bench but wanted to modify to be an entry table. I took the exact plans, but made it longer and taller. The X bracing didn't match up exactly, but I like it with the separation. The stain is a Minwax Espresso finish. I added adjustable glides to the bottom so I could adjust if needed. It was an excellent first project and it fits in our home PERFECT! Thanks Ana for the inspiration to create, build and be a mommy at the same time :)

Fri, 08/30/2013 - 16:18
Beautiful. I love the mix of rustic and modern that your modification exudes (to me). :)
Mantle moulding plan modified with a center 2 X 4 and used sanded plywood for the back. Finished with a few different mouldings but turned out great. Nice plan. With pre-stain, stain and poly, project extended to about a week.
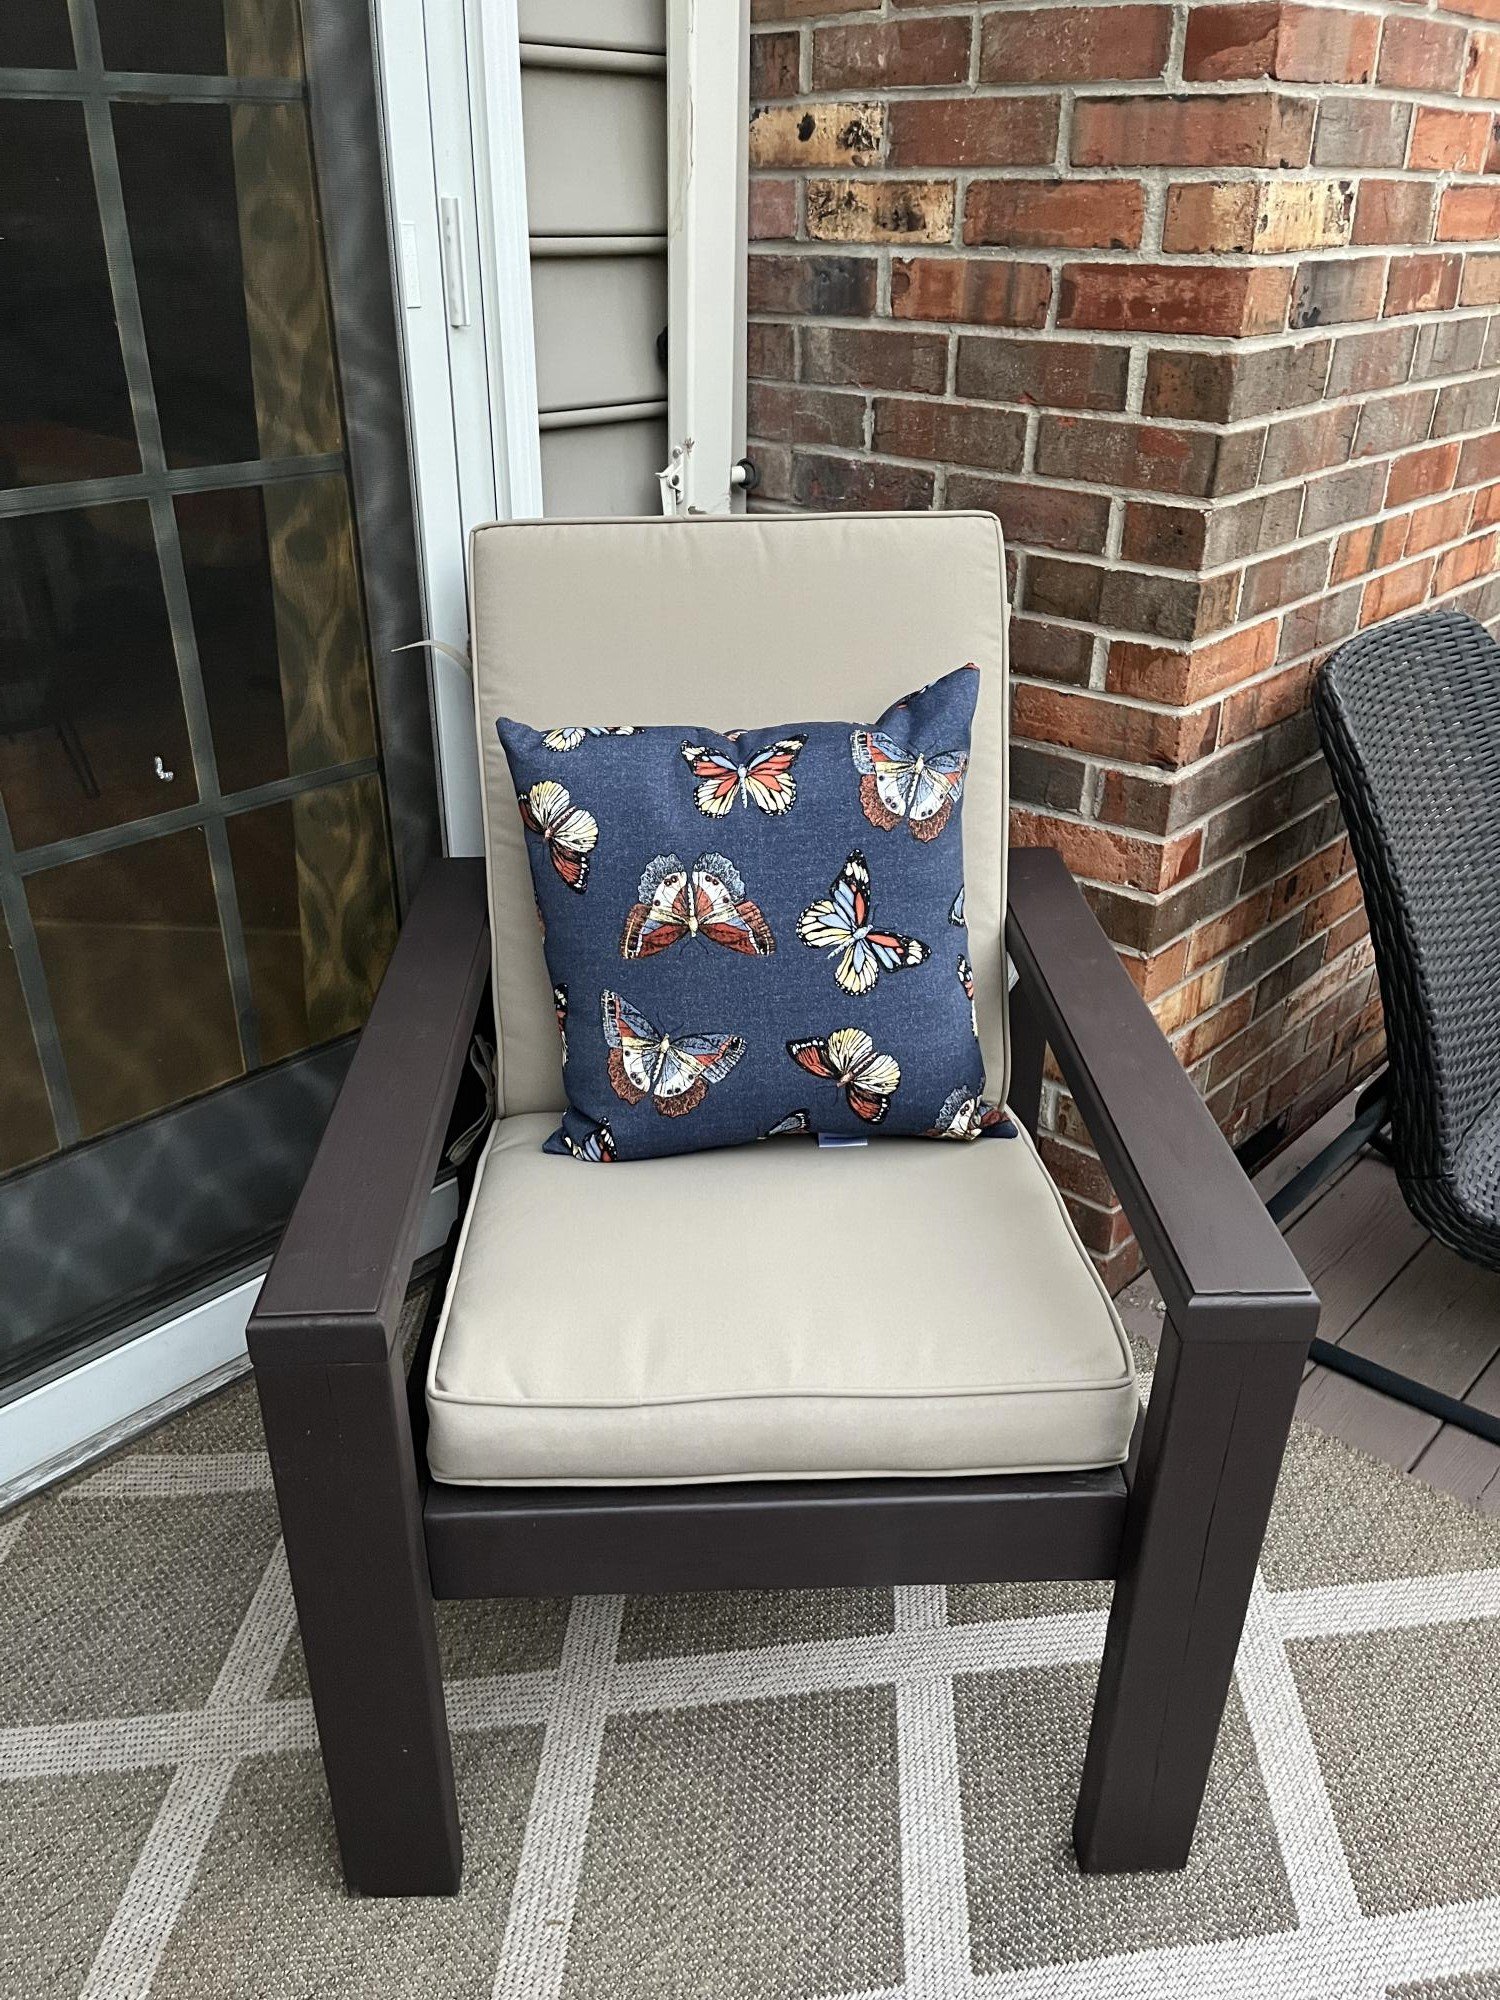
I was so excited to try this plan! It was the perfect size for this corner! Now I need to make a few of the chairs for the deep seat cushions! Thank you for these great plans, Ana!
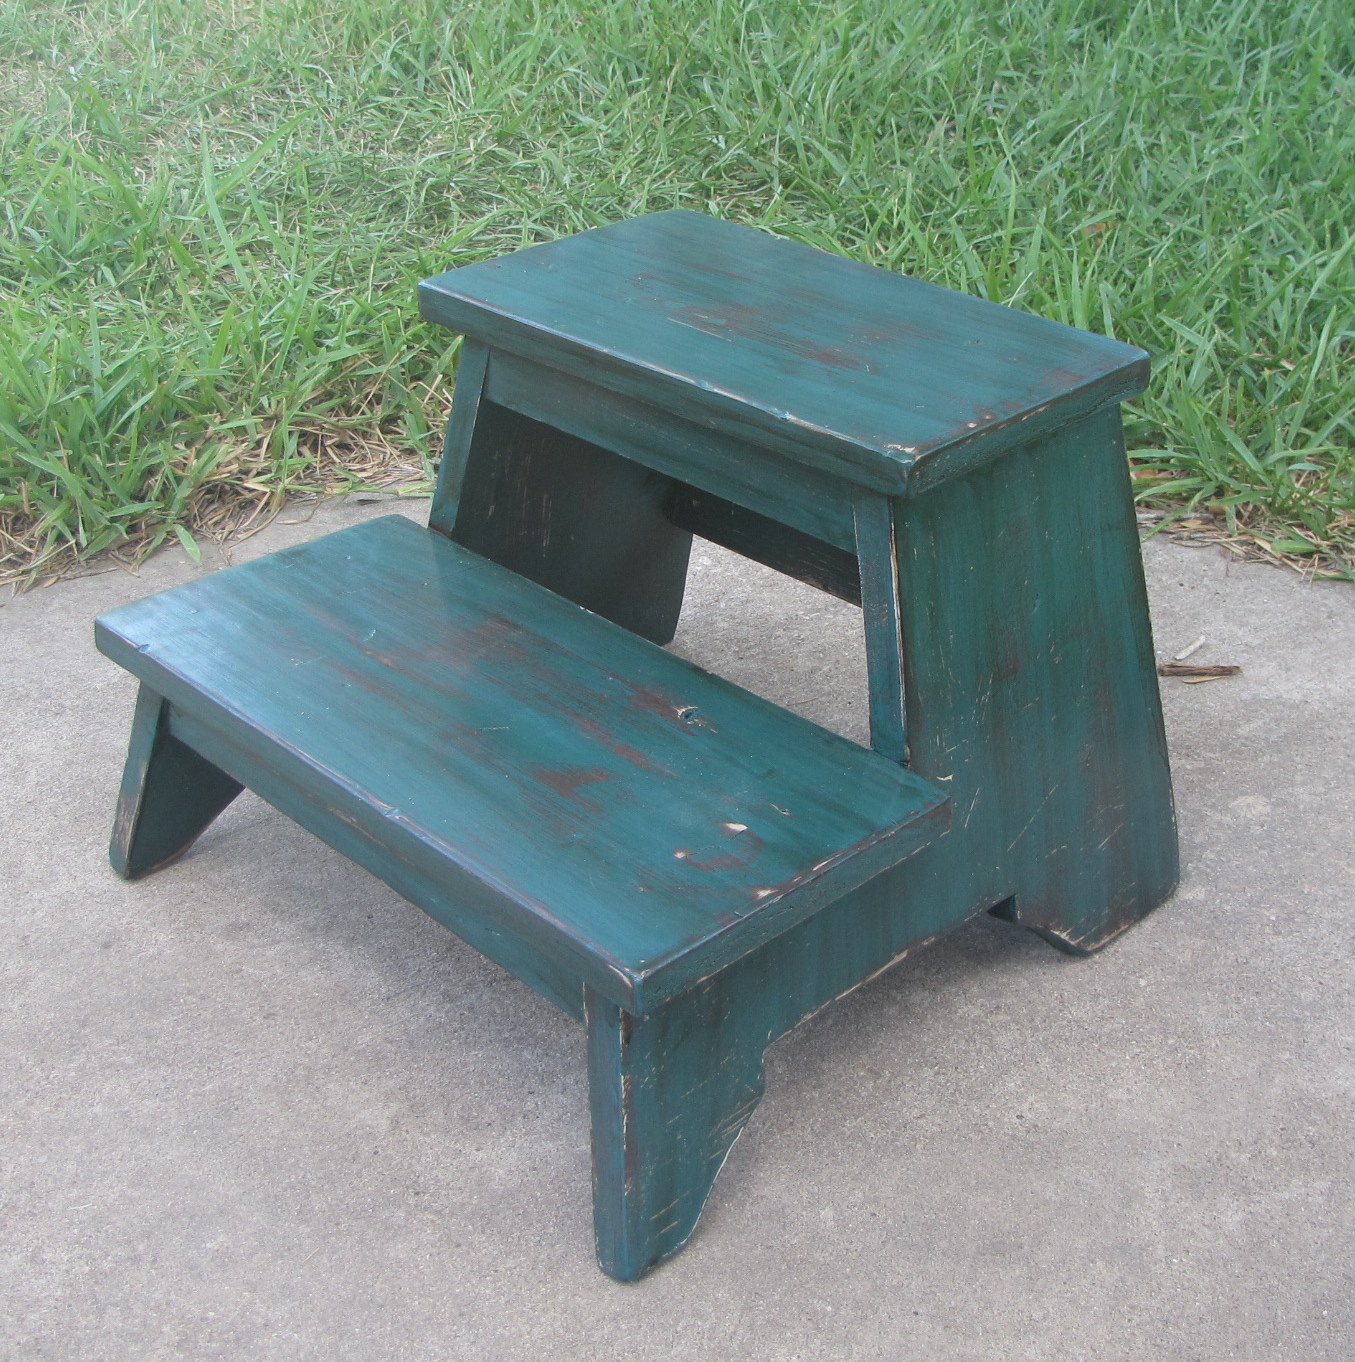
I love this stool. I used the plan as is, except for creating the angles similar to those shown on the stool photos in the plan. If you follow the plans directly, your stool will be standing completely straight vs the slight angle shown in the photos. If you are not comfortable with cutting angles, I would definitely stick with the plan. I had to play around with mine until I finally got everything right.
The time allotted is more due to waiting for paint to dry versus actual build time. The stool goes together quickly, but sanding & drying time do eat up the hours.
Thank you Ana for the great plans! I have more of these planned for the future, so cute & they'll make great gifts!


Followed Ana's plan w/ minor measurement changes to fit my needs but the Rustic X Console came together pretty good. First we were going with a blue stain but once we got the stain oh the wood it was just to much so we opted for a lighter paint and finished off with a light lacquer.

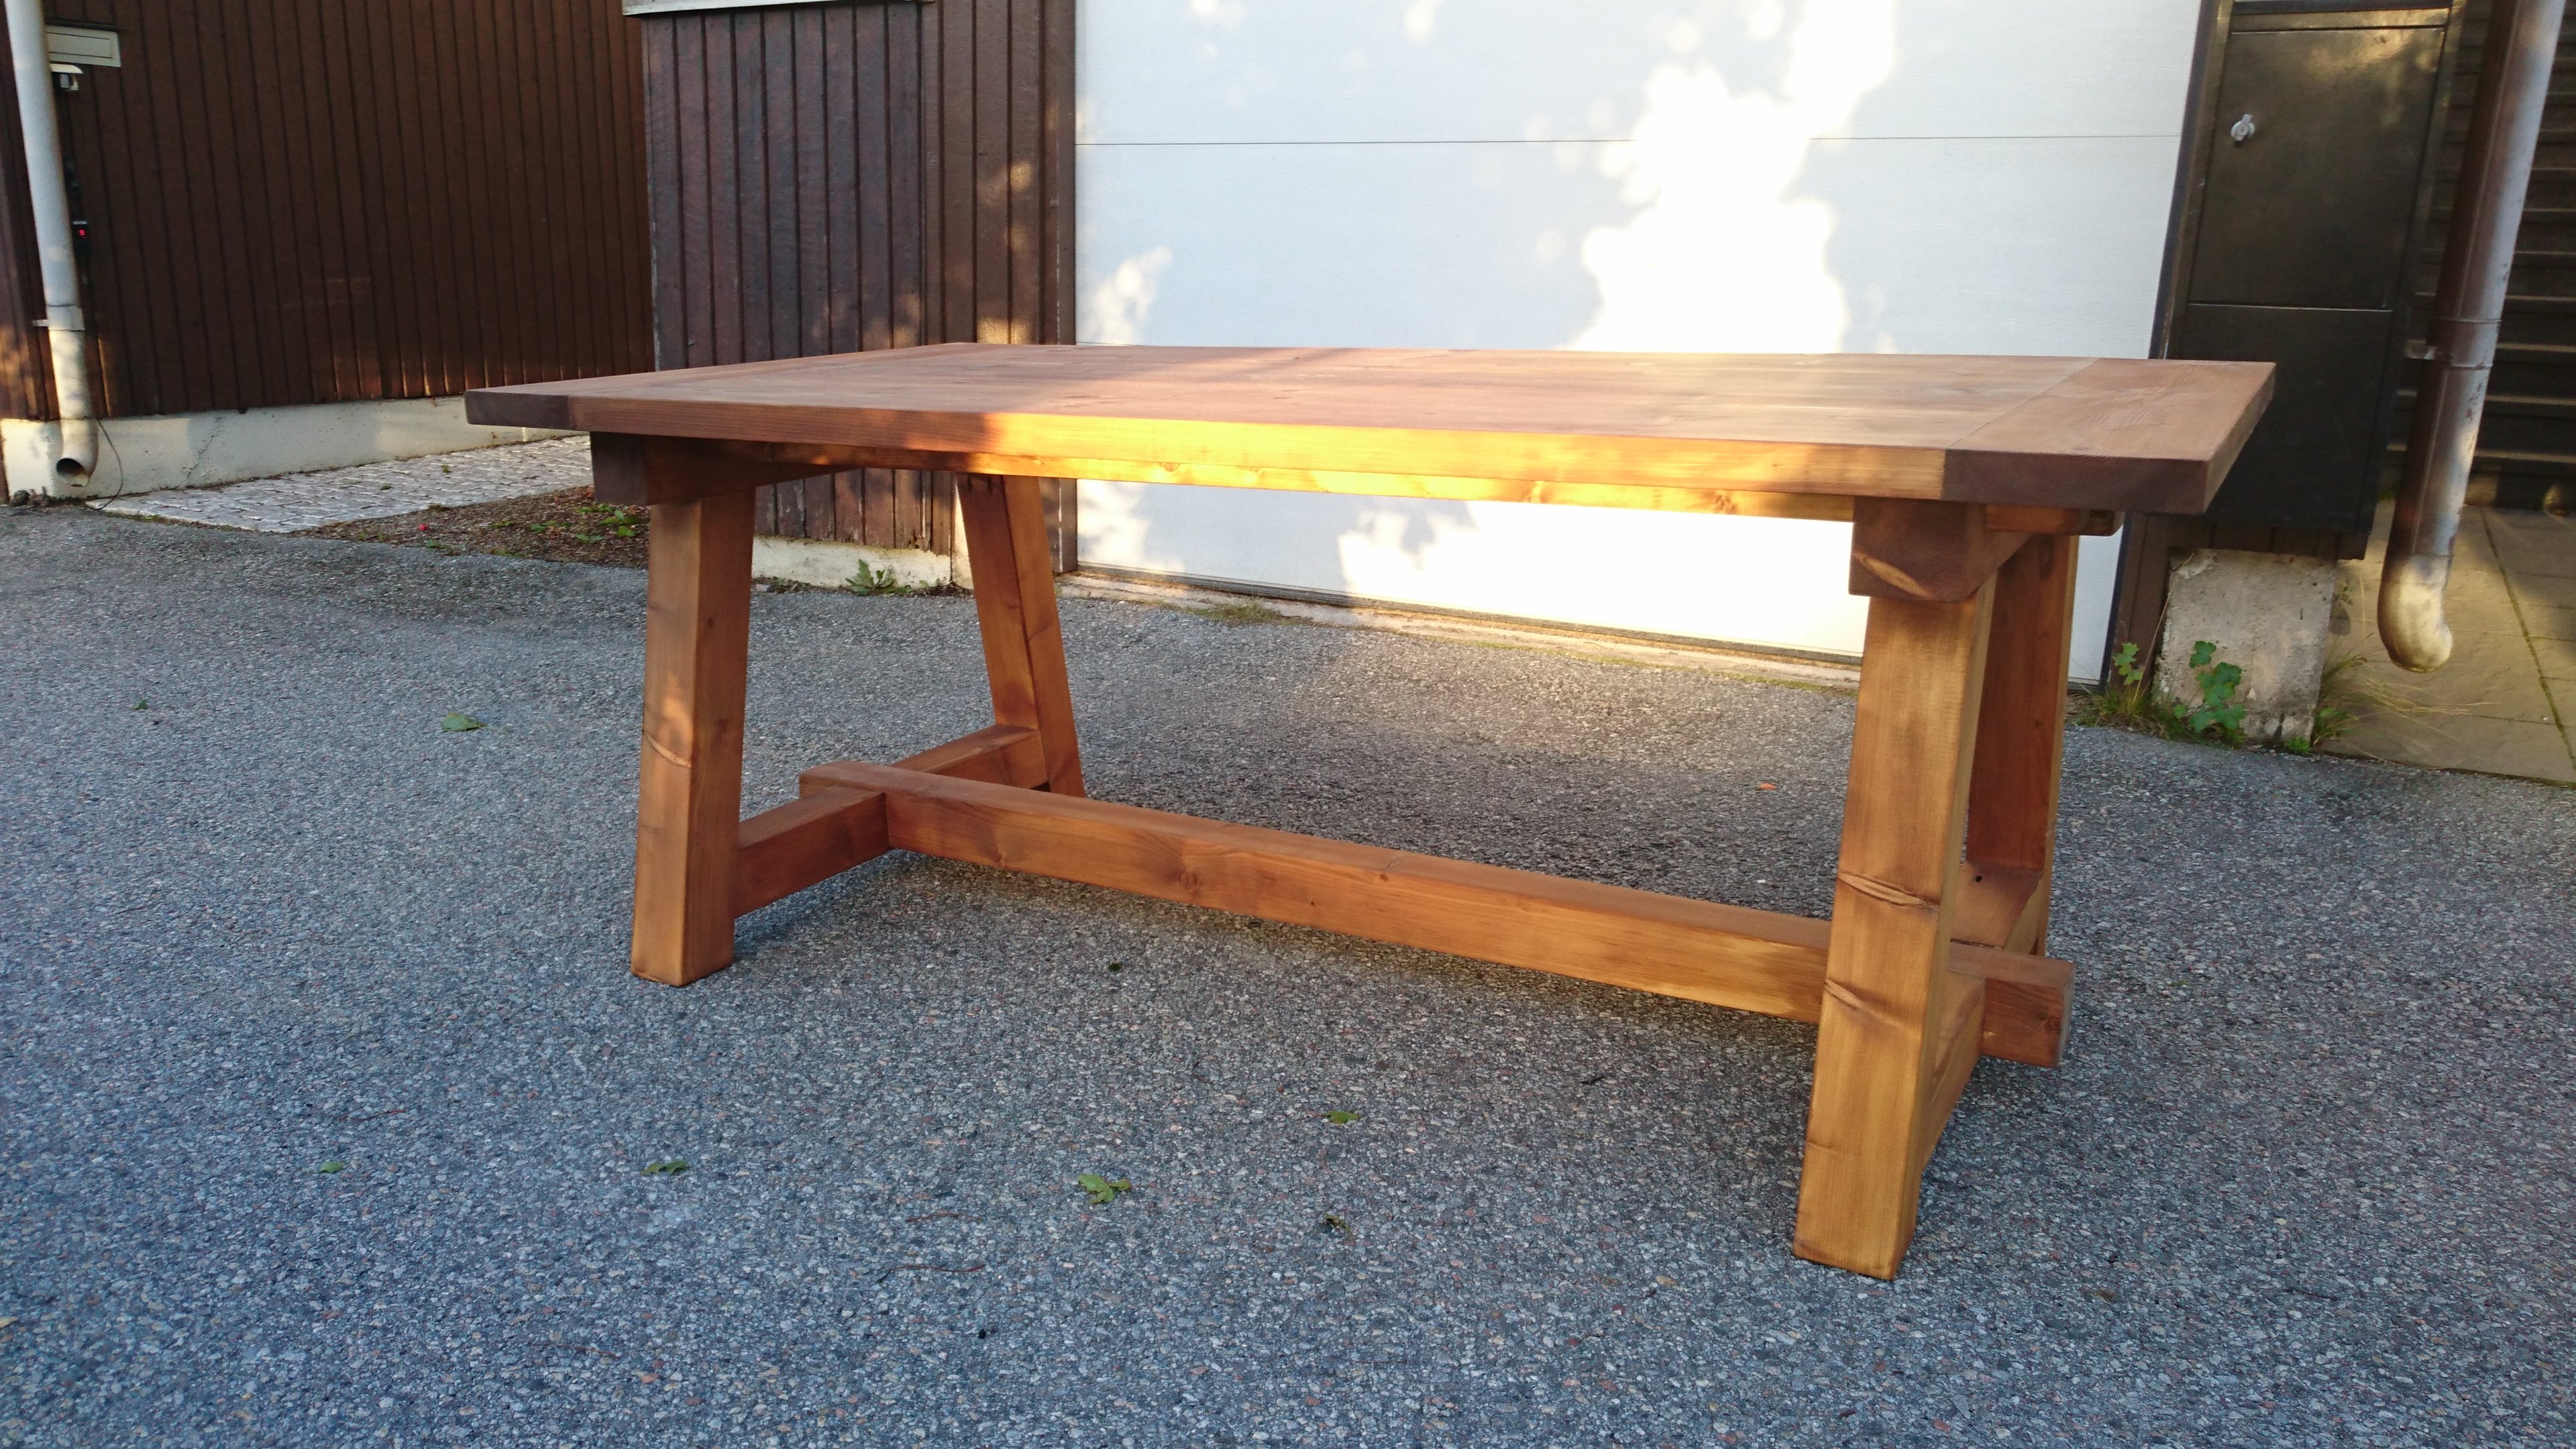
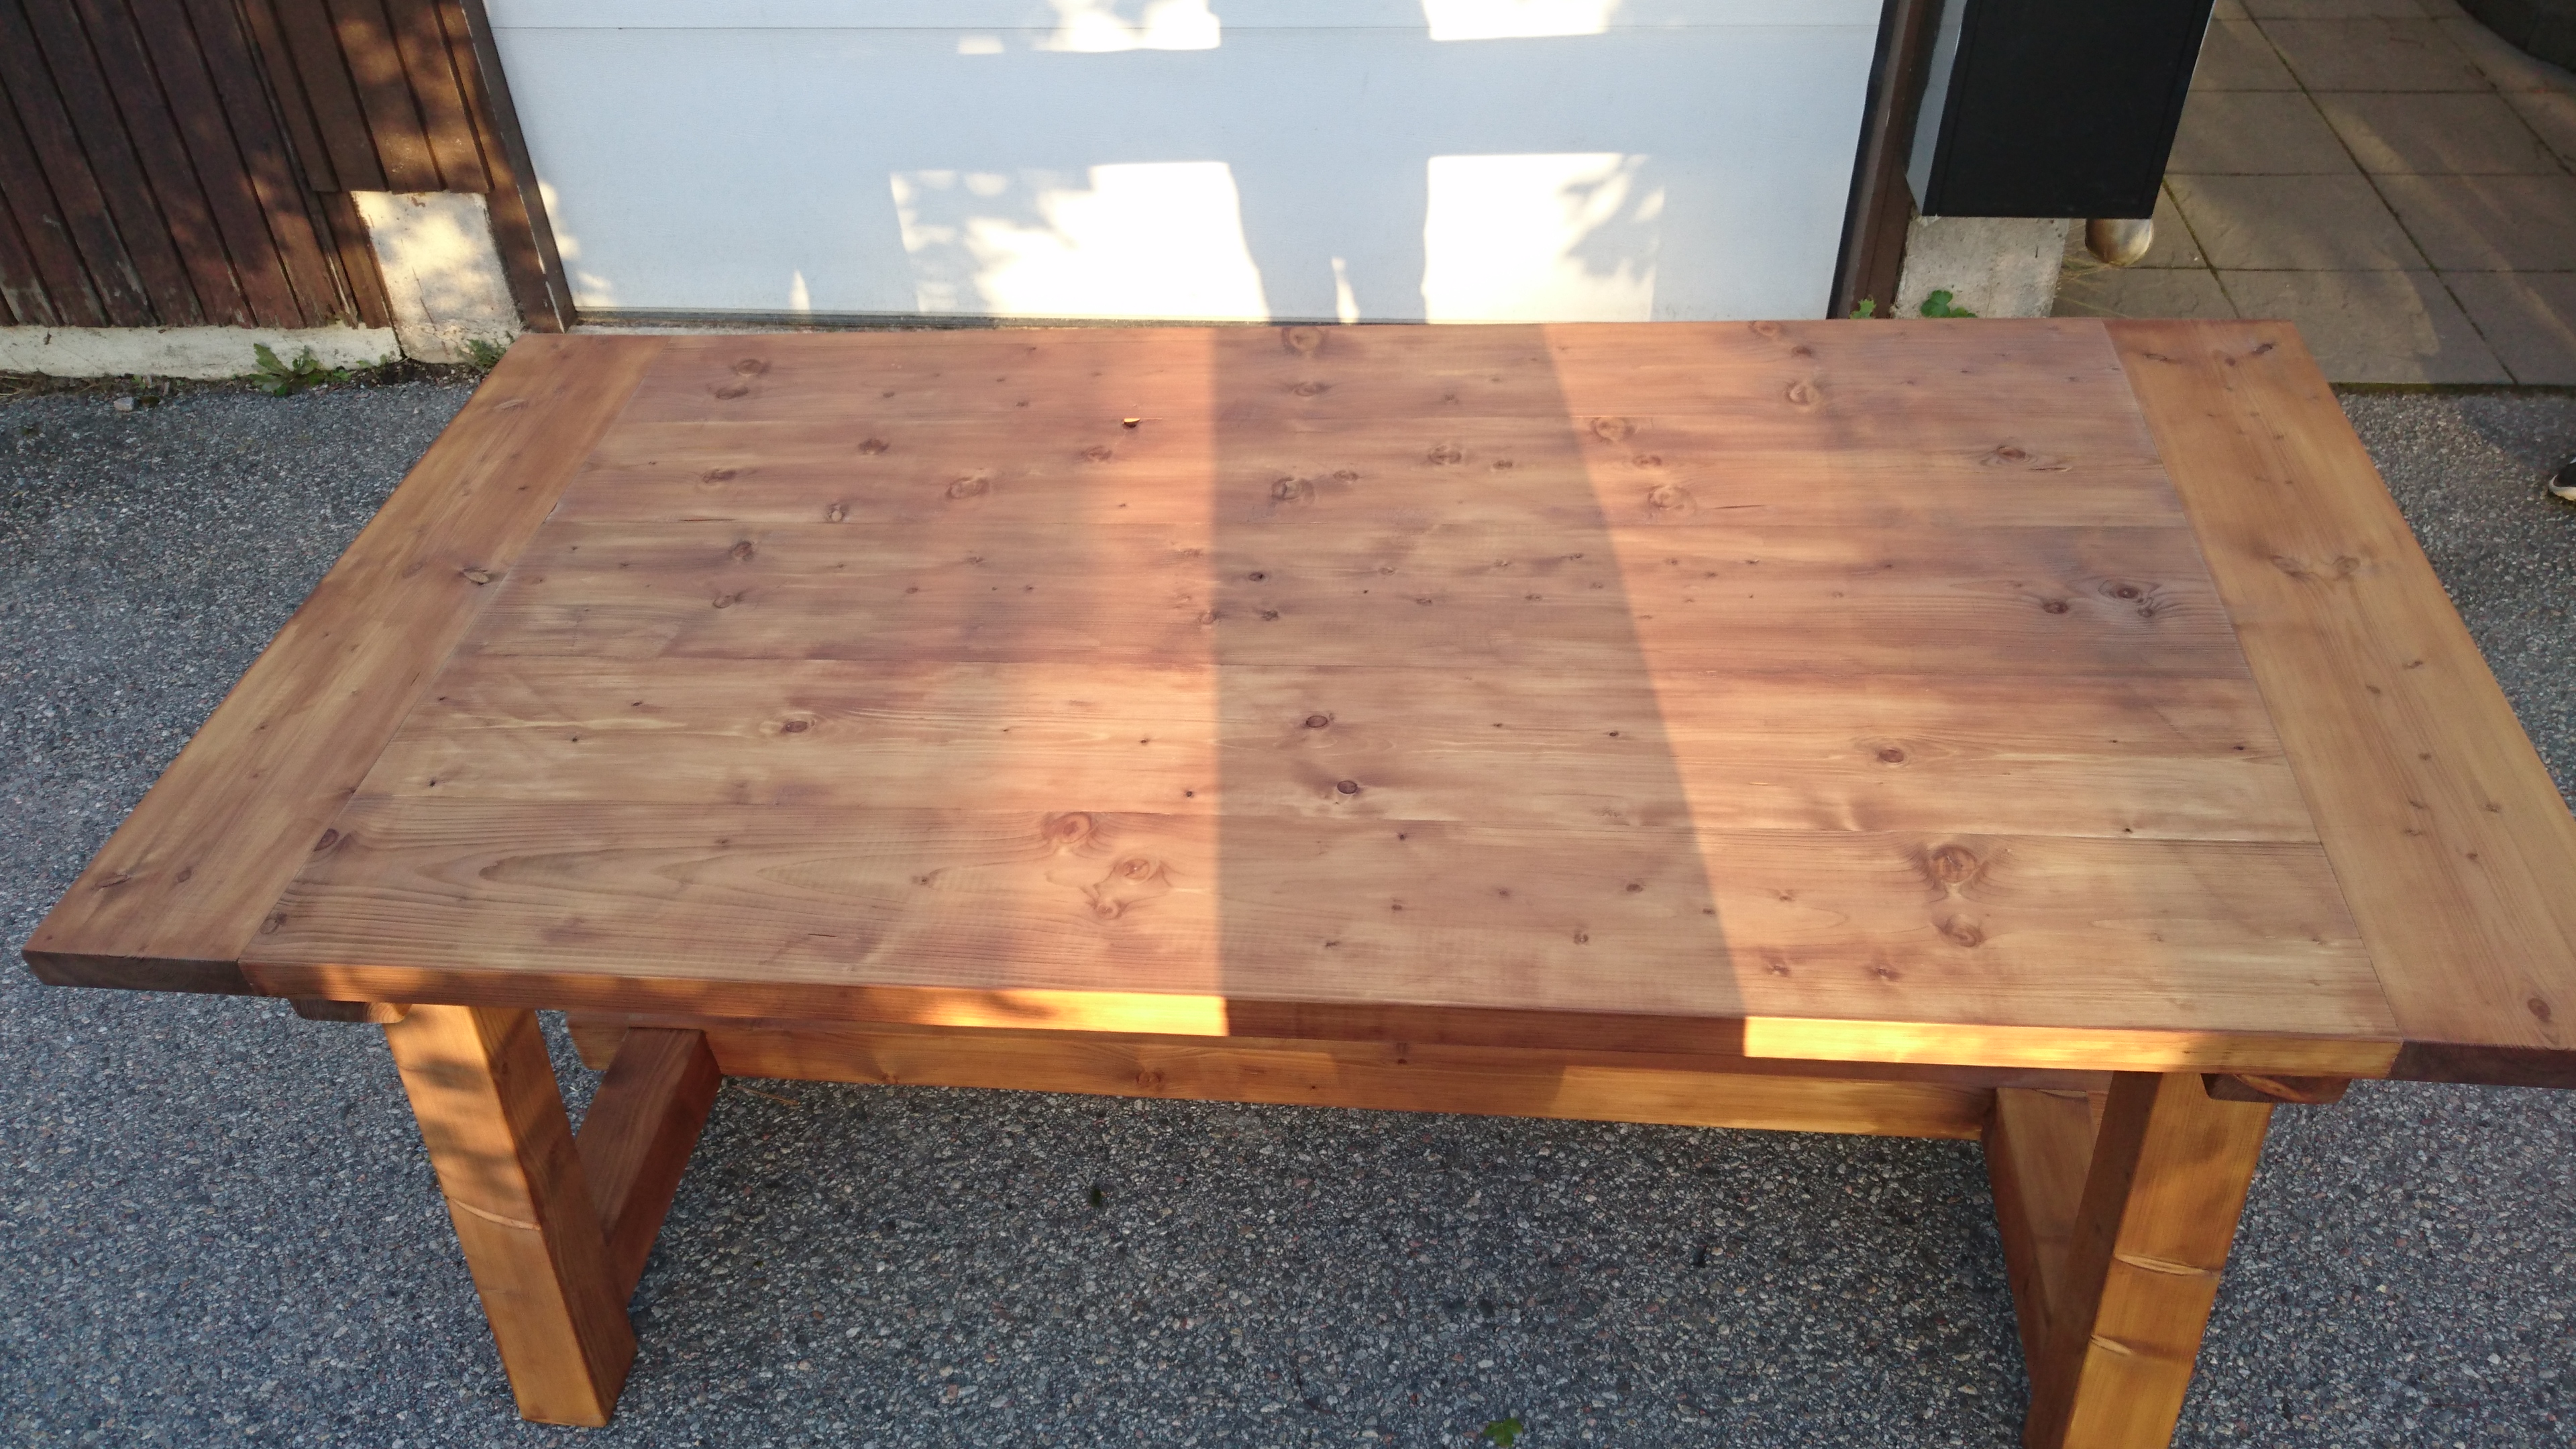
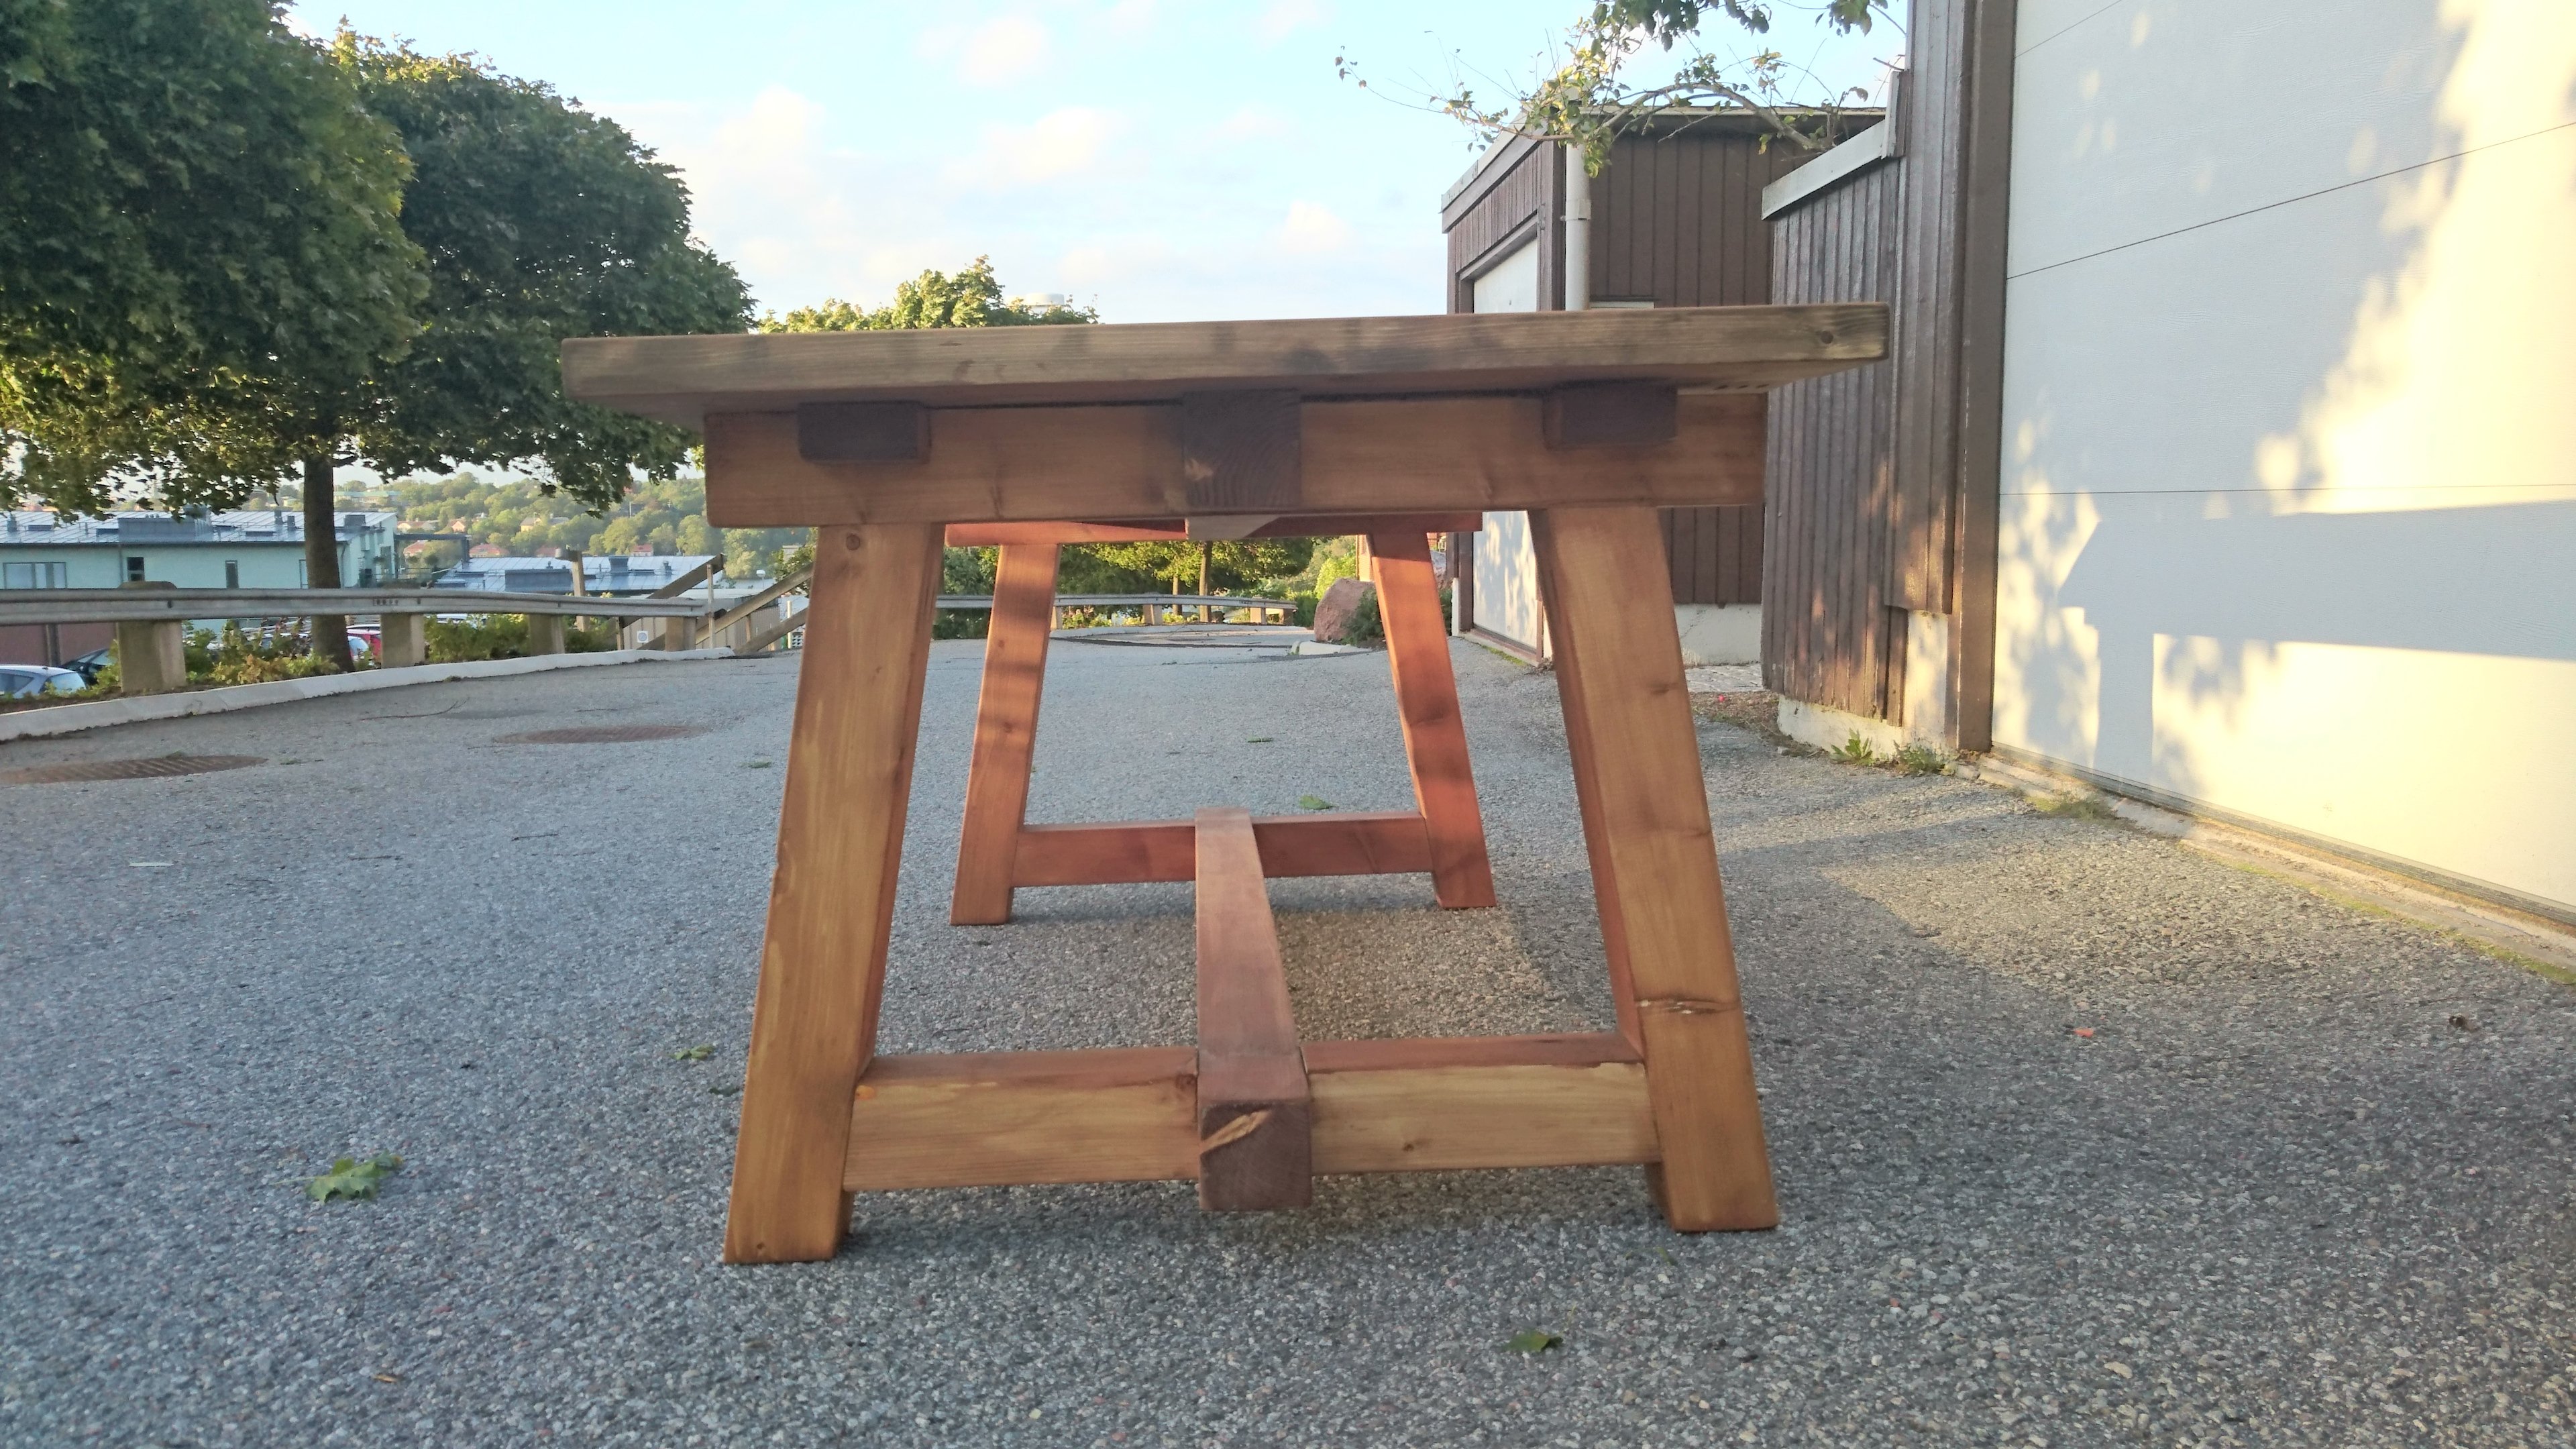
Build this one out of pine and used DIY Pete's handling method of the wood to make it look older ( http://www.diypete.com/how-to-build-a-farmhouse-table/ ) with vinegar and steel wool.
The beams are halflap joined to the legs and no screws where used to attach the beams to the legs. It is rock sturdy. The leg frames are glued and screwed together with pocket holes. The planks in the tabletop are only put together with pocket hole screws and fastened to the beams from underneath with long screws. Finished with Chinese oil. This outdoor table was a gift to a good friend.
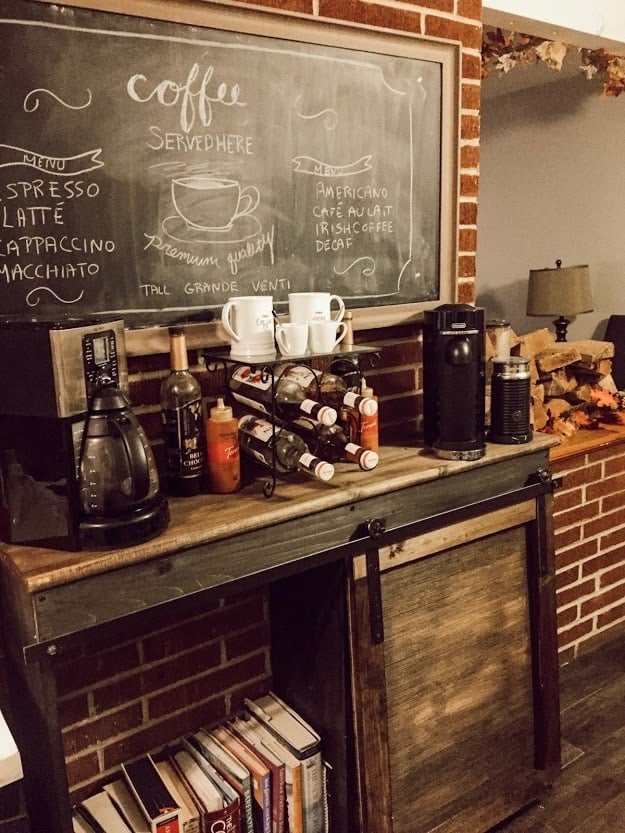
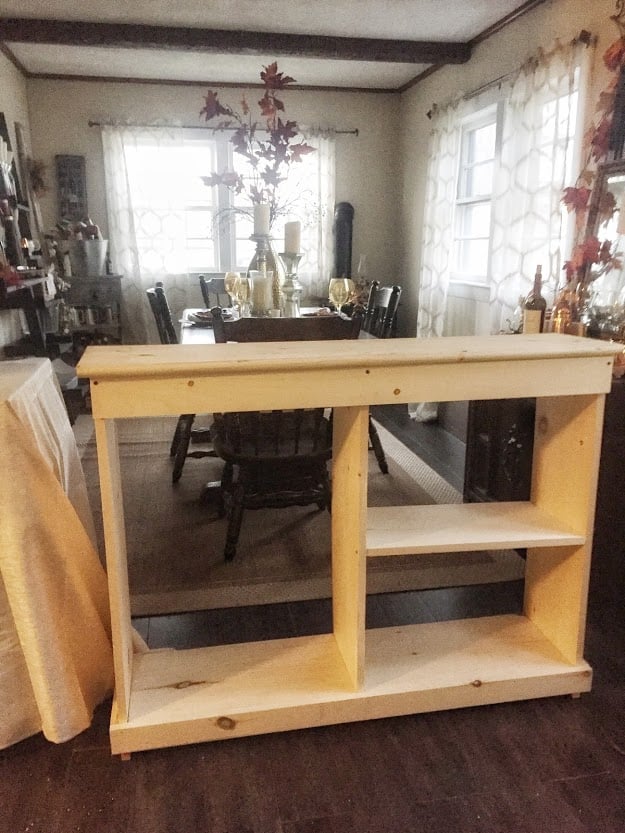
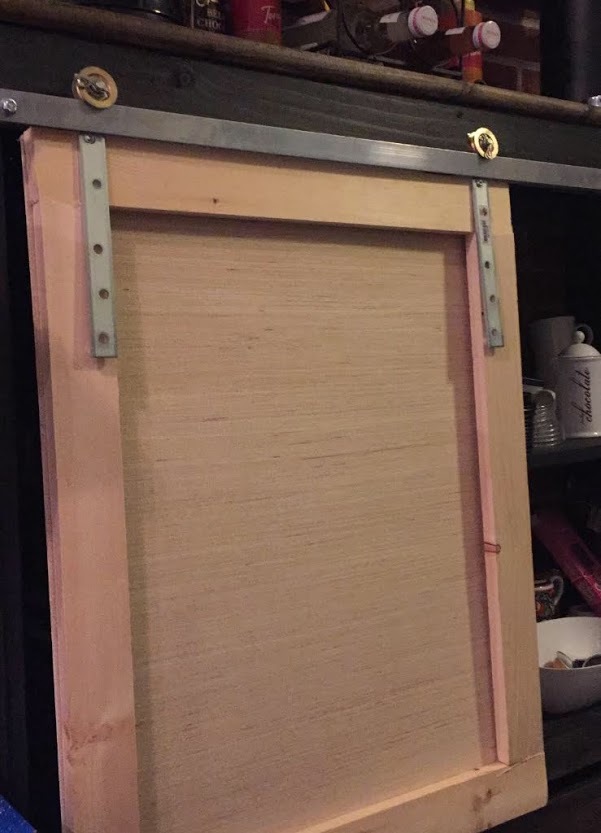
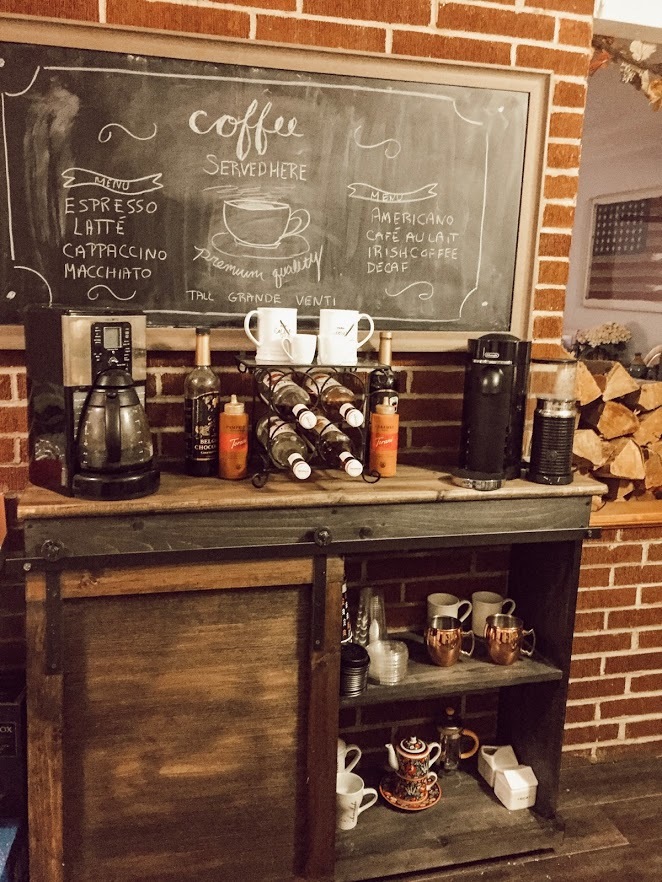
This was my first time using my own measurements for an Ana White build. I was really nervous but having completed a few other projects by following plans exactly, I felt confident I had gained the skill to branch out of my comfort zone. I had been looking at coffee bars for my kitchen, but at $300 and up, cheaply made and in the wrong dimensions,. I just knew I could build something with better quality for a portion of the price. This project took me half a day to build the carcass and then another afternoon to figure out the door hardware and stain. I used all 1 x boards and the final bar is 12" wide so I used 1 x 12 boards for everything except the trim. All in all you could complete it in a few hours, it was really simple. I made the door hardware by popping open two pulleys and attaching them with metal somethings (not sure what they are) that I found at Lowes. I then ran a flat bar across the front using spacers like Ana did in hers. I painted the hardware with Rustoleum Oil Rubbed Bronze spray paint and stained the top of the bar with Minewax Dark Walnut, the bottom is Minewax Ebony. I still need to poly. One thing I changed up was the top. Instead of using a piece of plywood, pine, or combining pieces together, I used a stair tread! It was a little thicker than a typical 1 x, and also had a rounded edge which I think gives the piece a finished look! This is a piece of furniture I will truly use every single day and I couldn't be happier with how it turned out! The grand total? $60 for the wood and $20 for the hardware. $80 all in all (I had the stain leftover from another project). There's no way I could have bought a piece this nice for that price!

Wed, 09/09/2020 - 12:33
This looks great, time to enjoy a cup of coffee and read a good book!
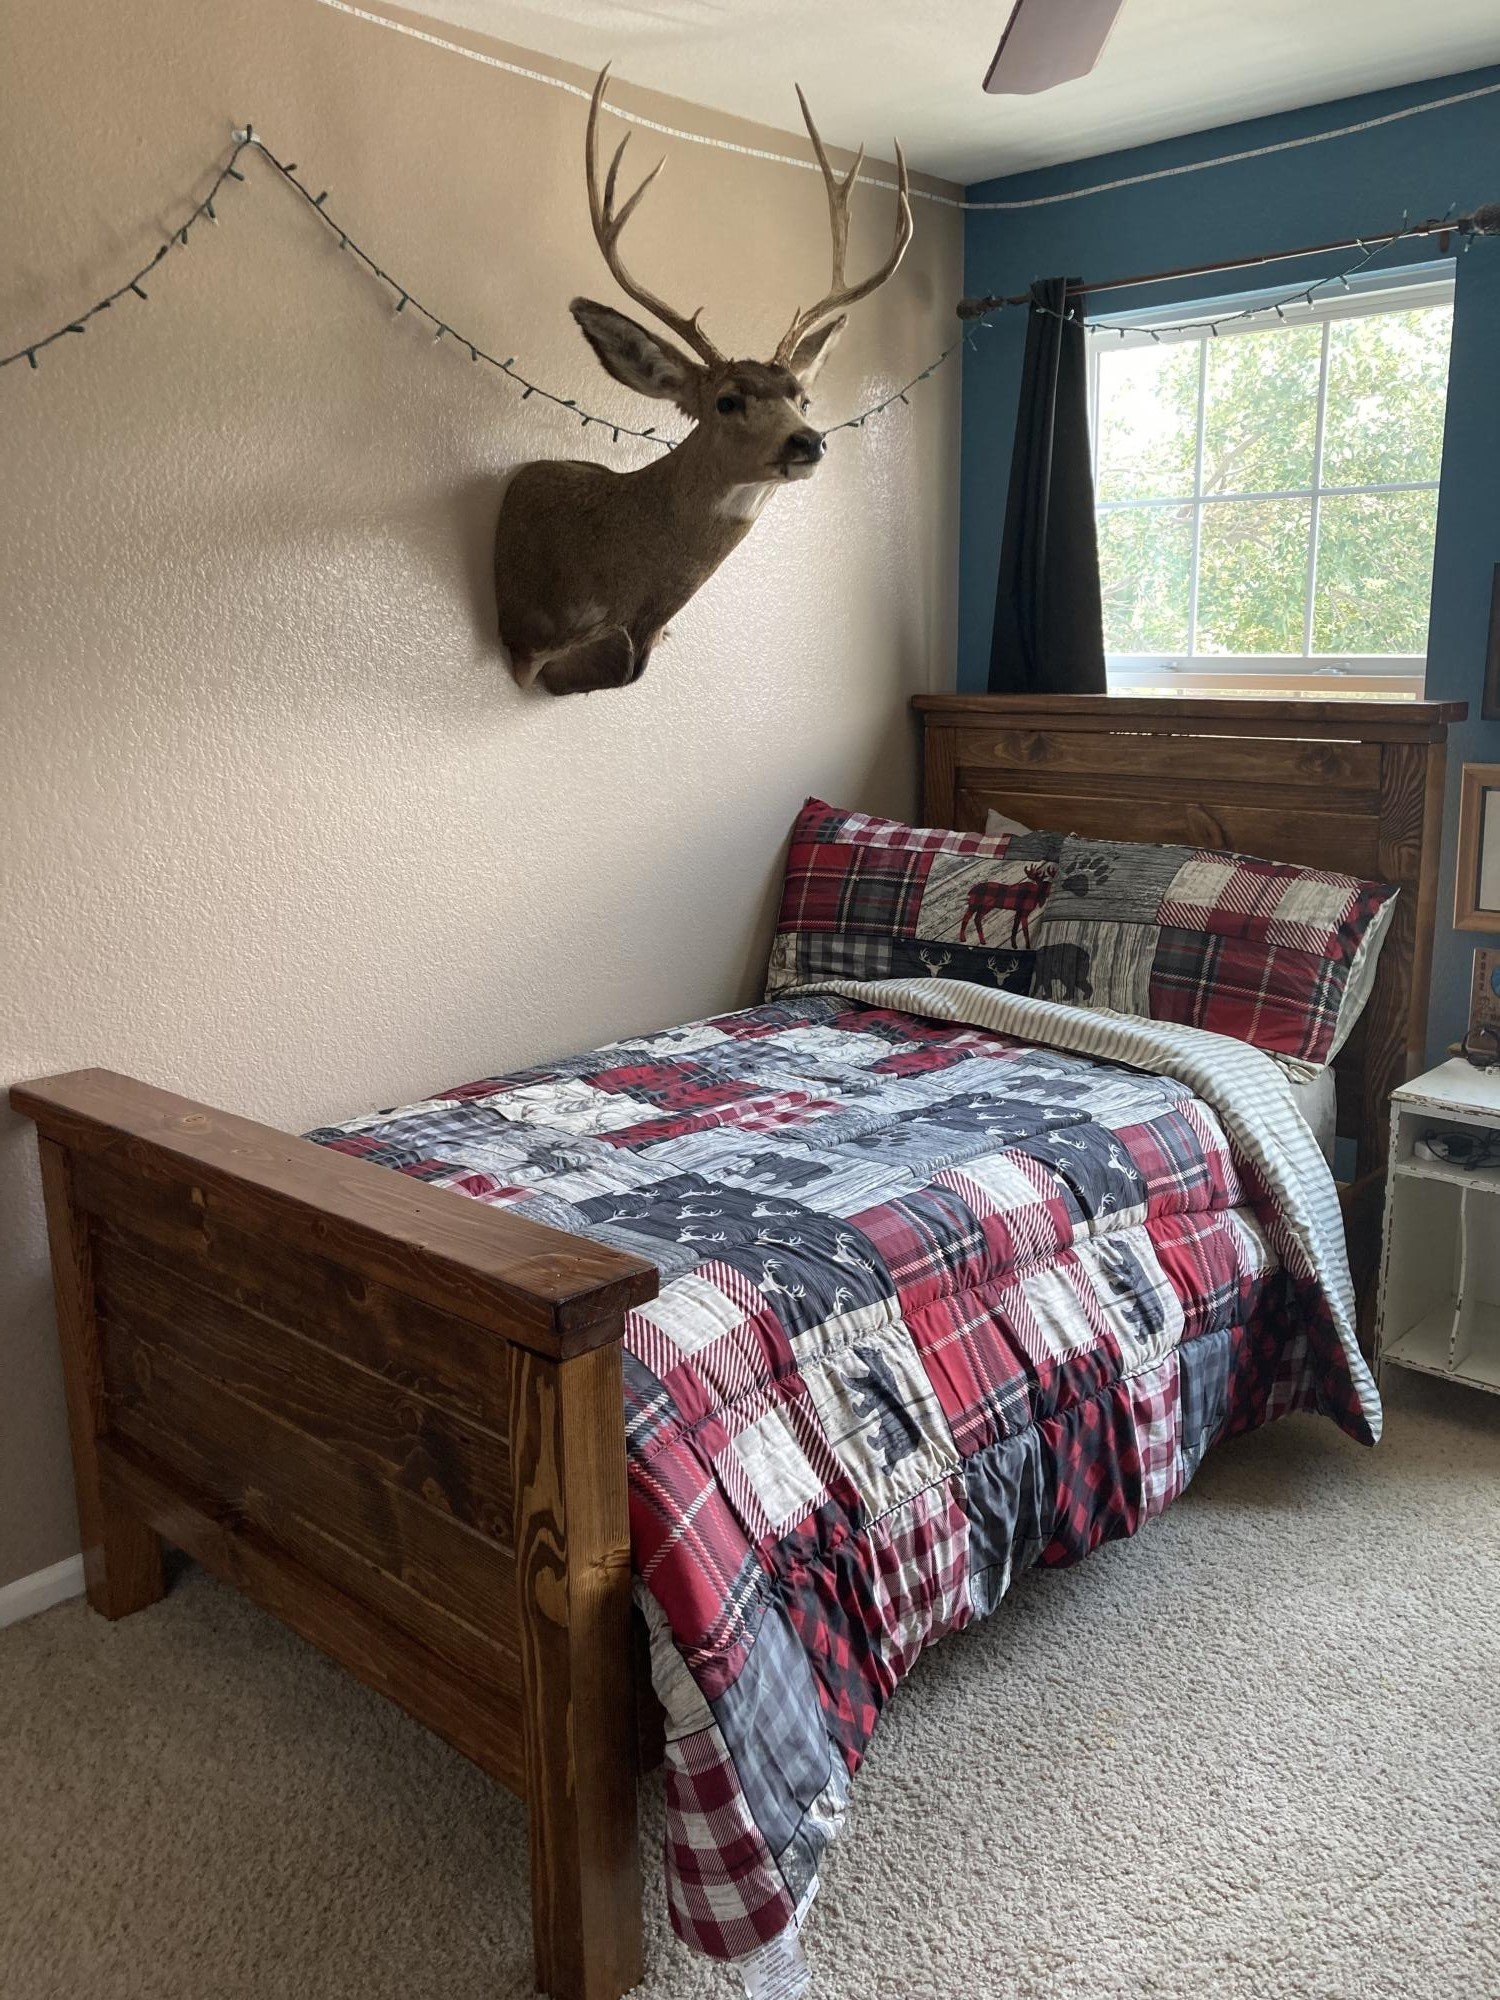
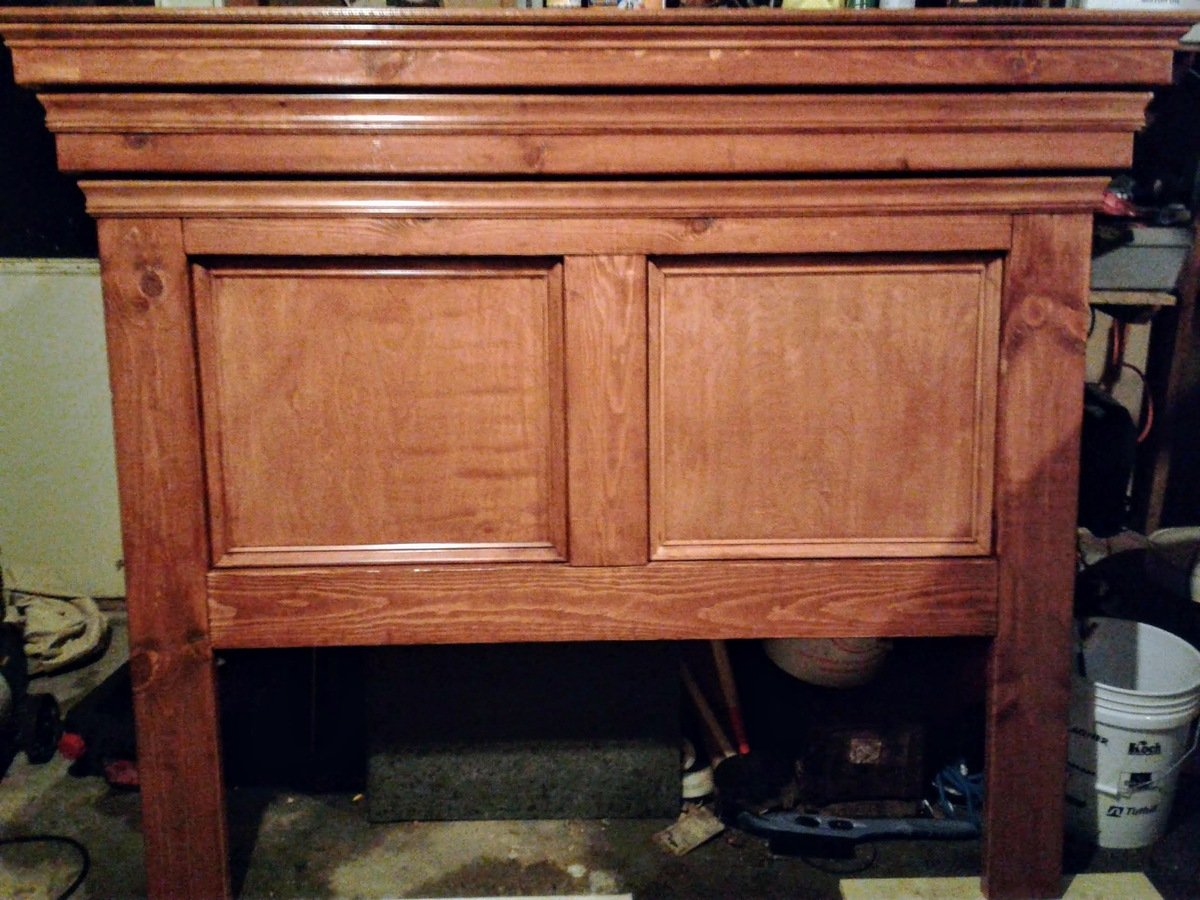
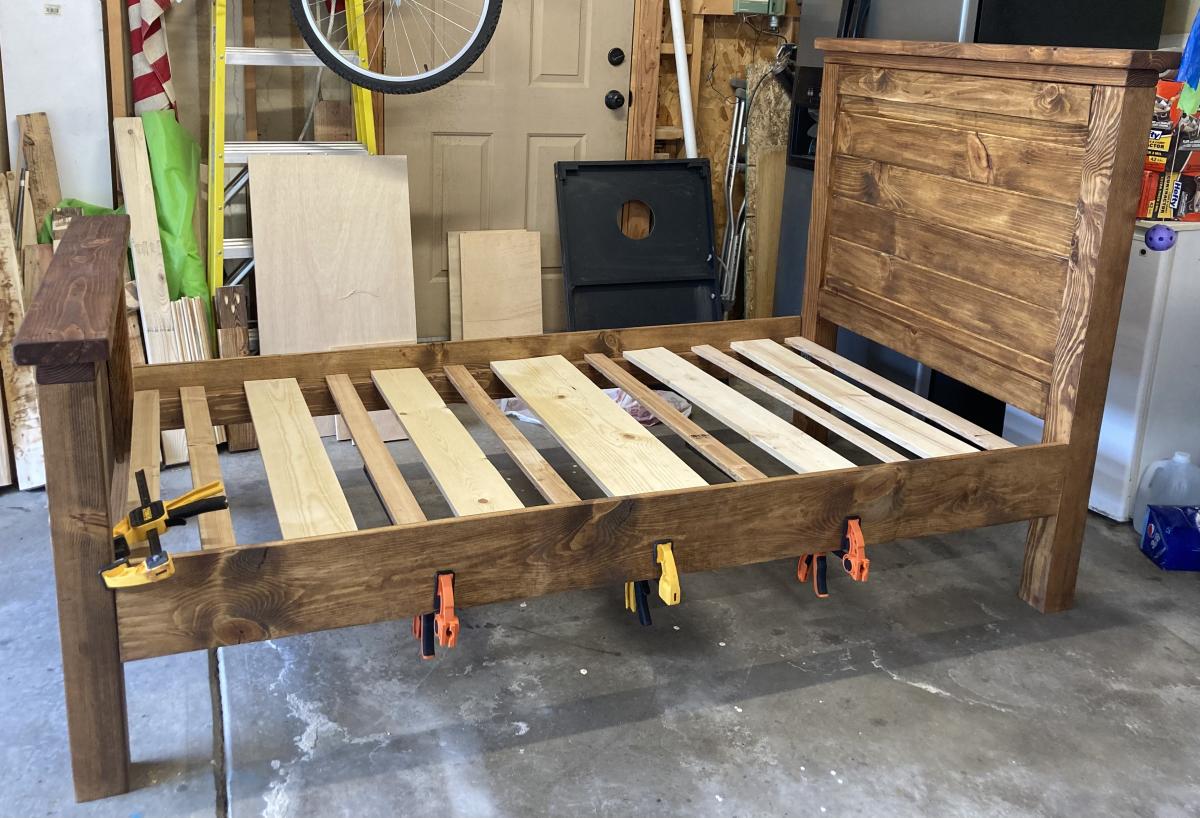
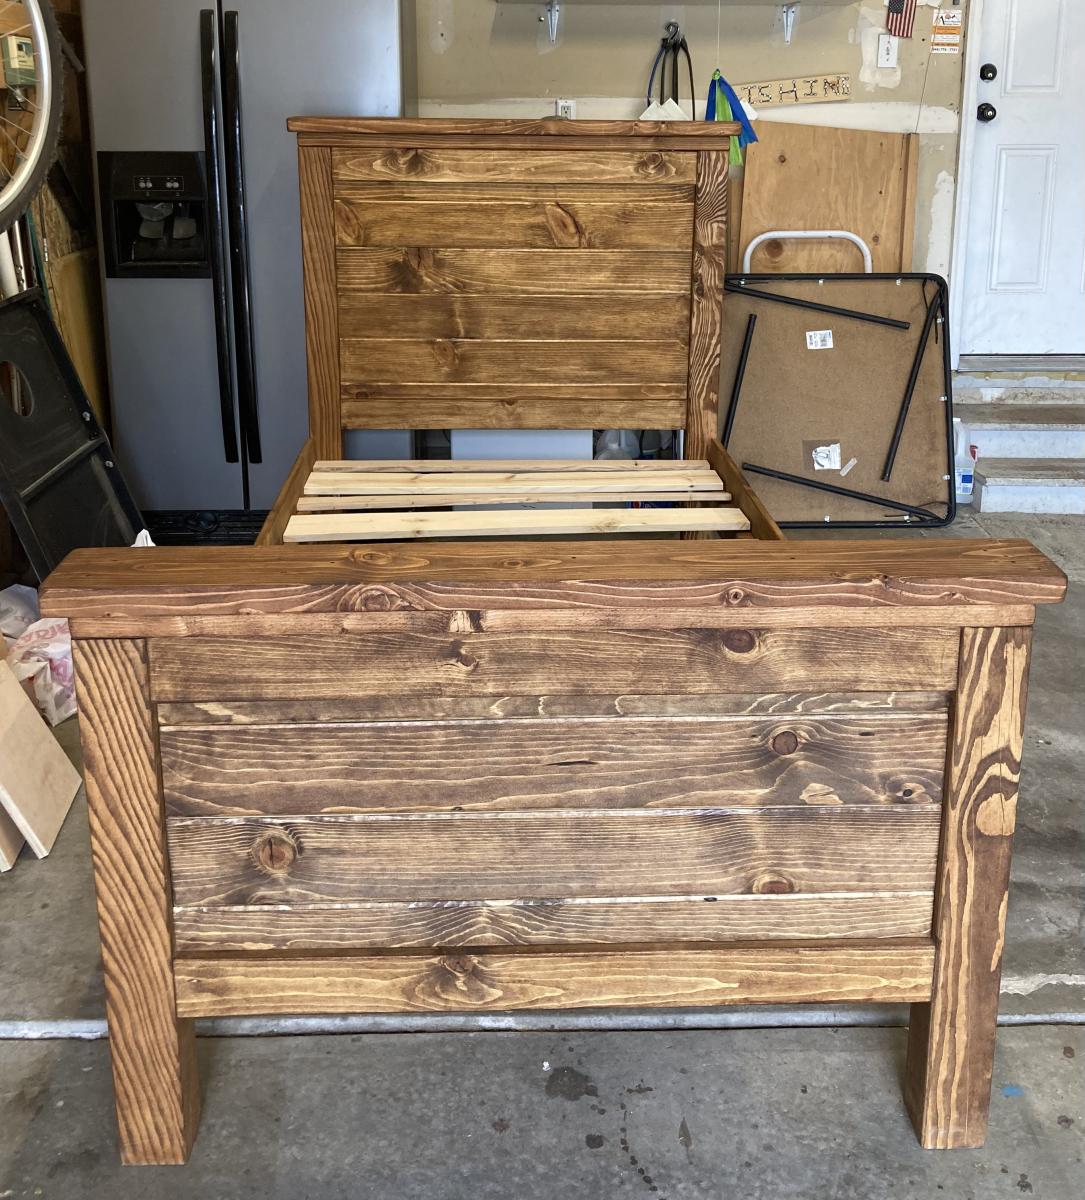
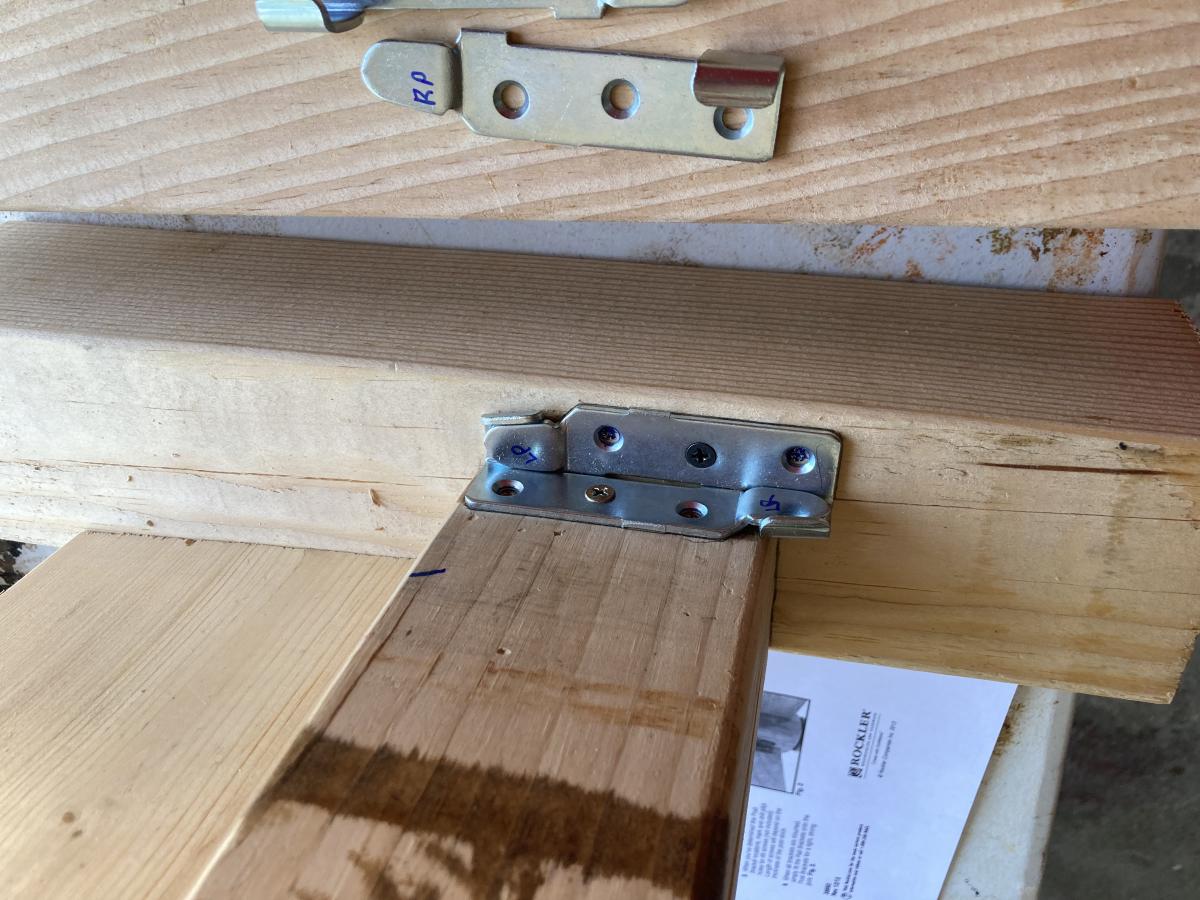
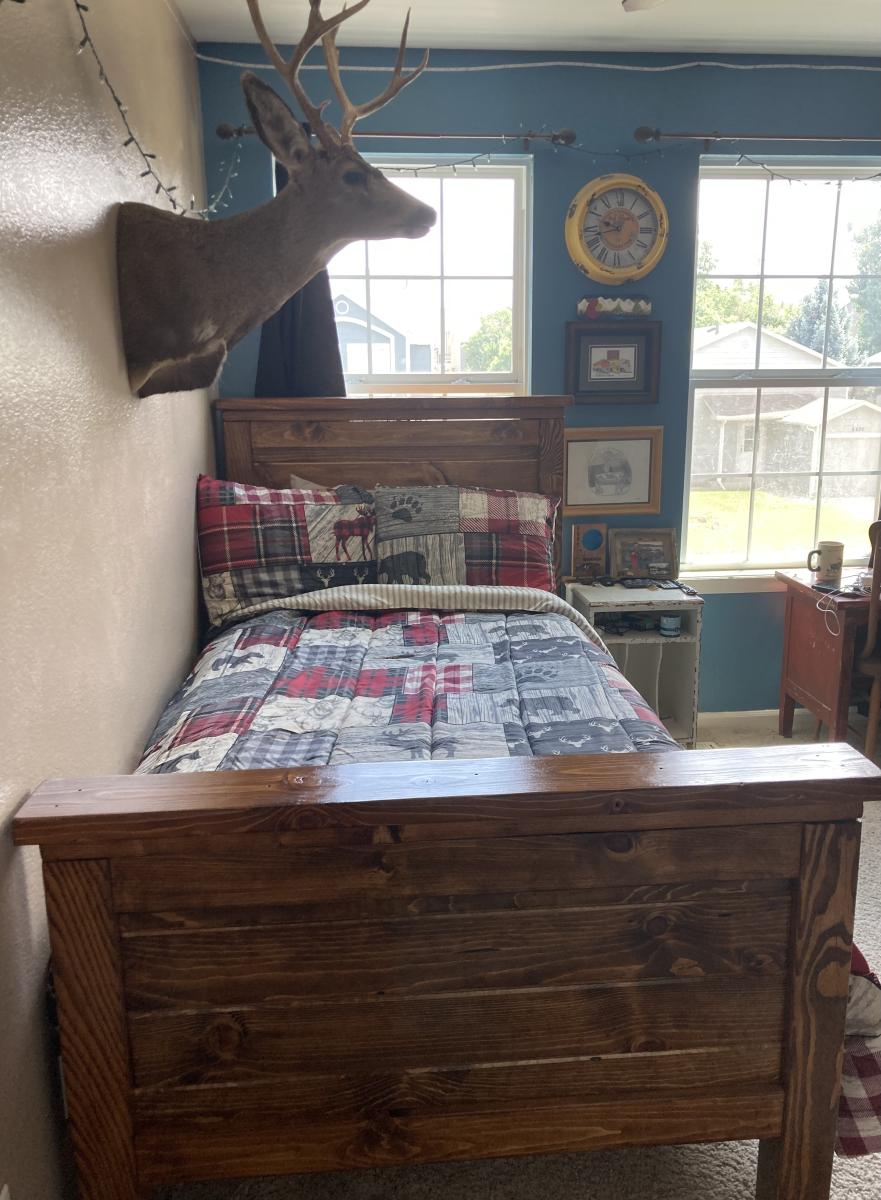
My son grew and needed a bed fit for a high schooler! We went through all of Ana’s beds and picked this one, but he wanted tongue and grove on his headboard and footboard. This was a smooth build and agreed with some other builders to have a bed breakdown framing system. I chose mine from Rockler. I have used their products before and have been very happy. My son also wanted it raised a little bit higher for storage. The stain is golden oak. We were so happy about this bed, so thank you once again, Ana!
Sat, 08/20/2022 - 20:58
WOW, this is gorgeous, love the finish! Thank you so much for sharing.
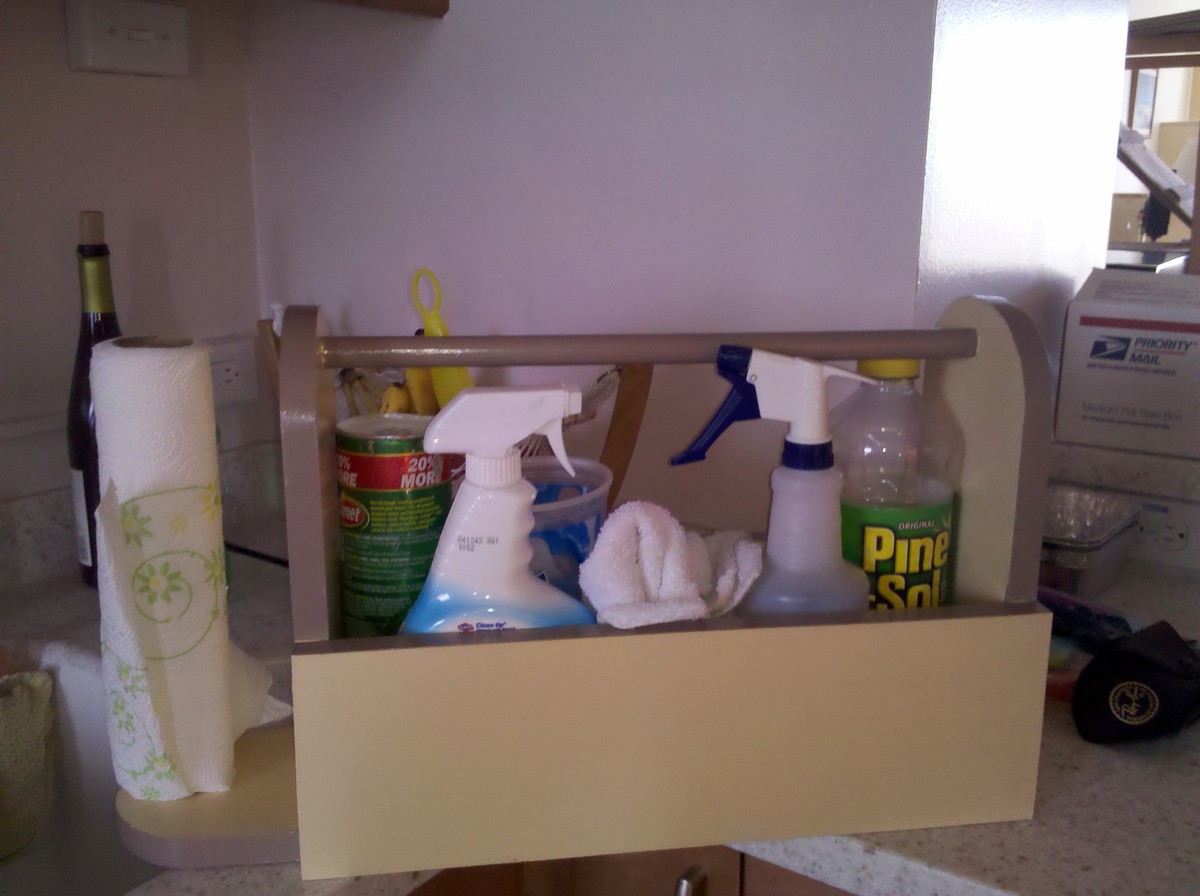
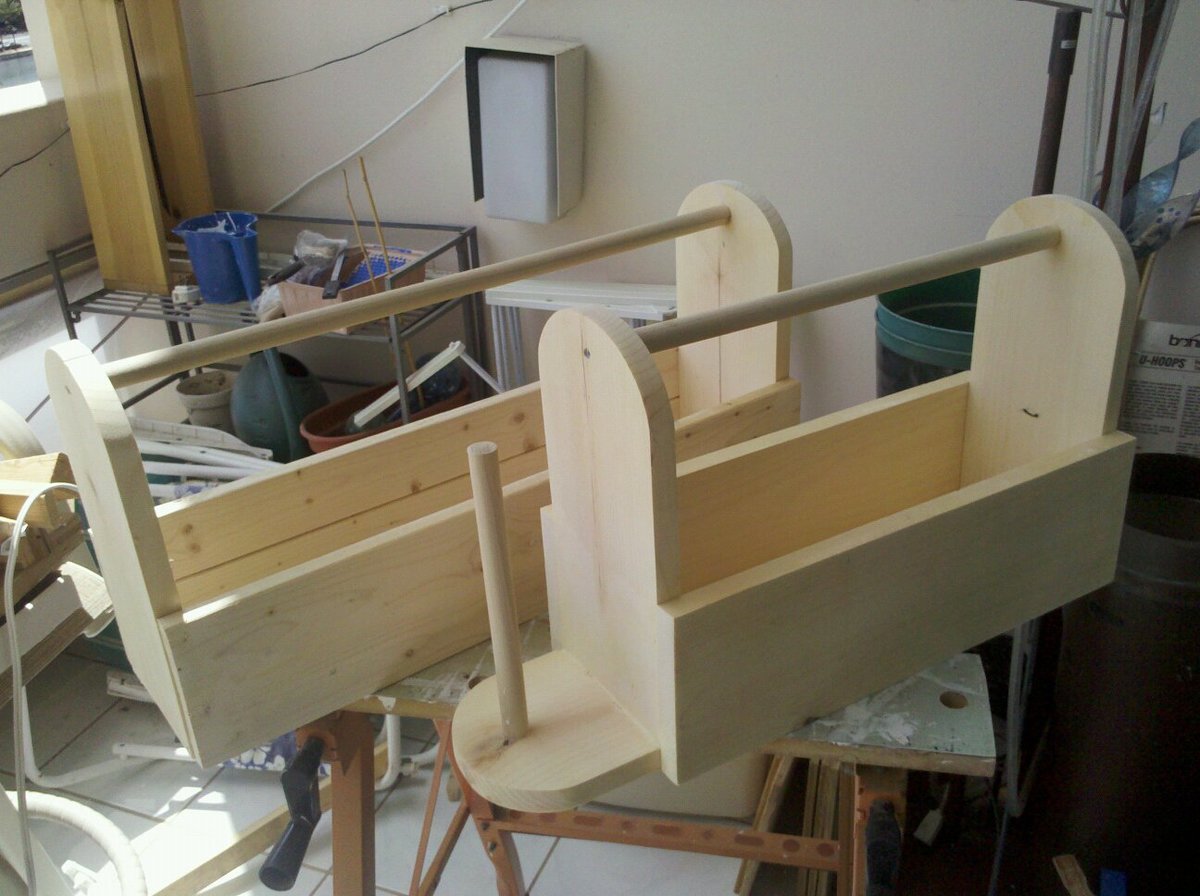
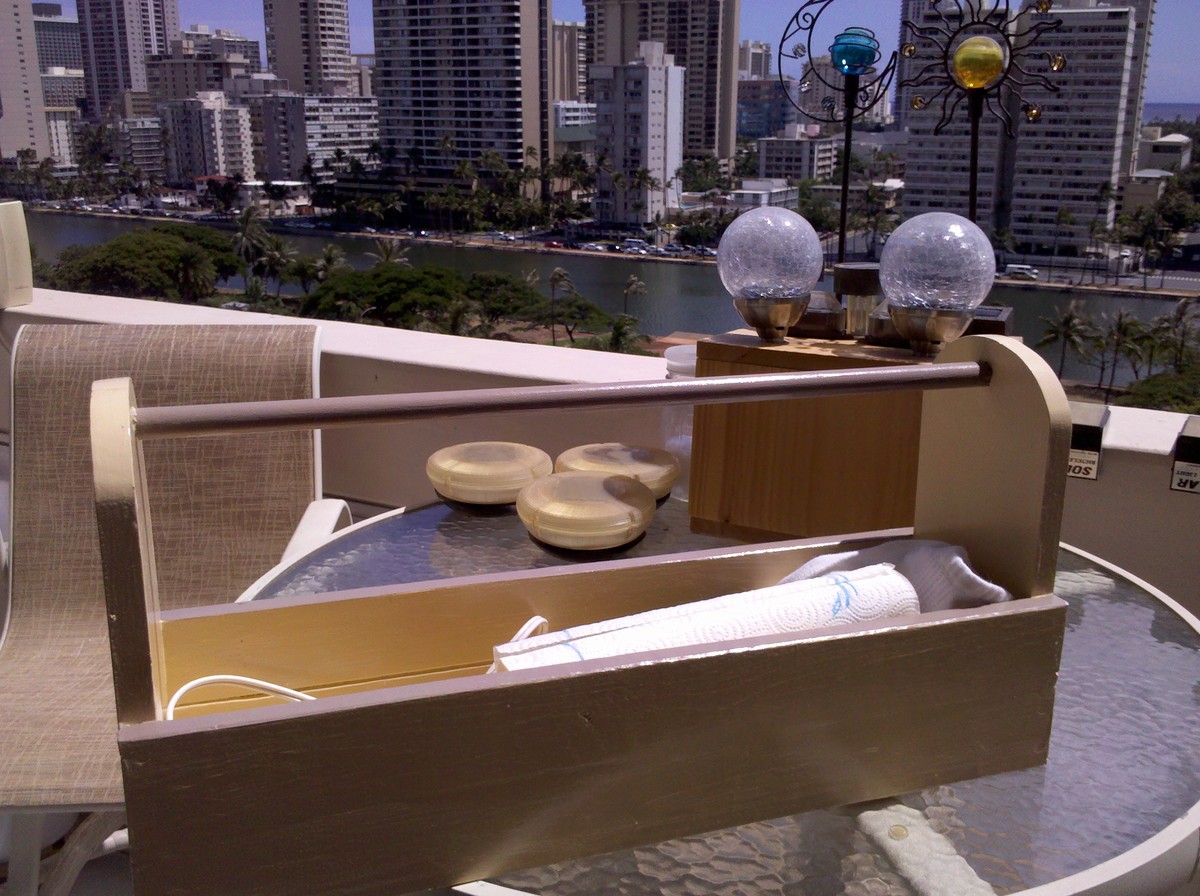
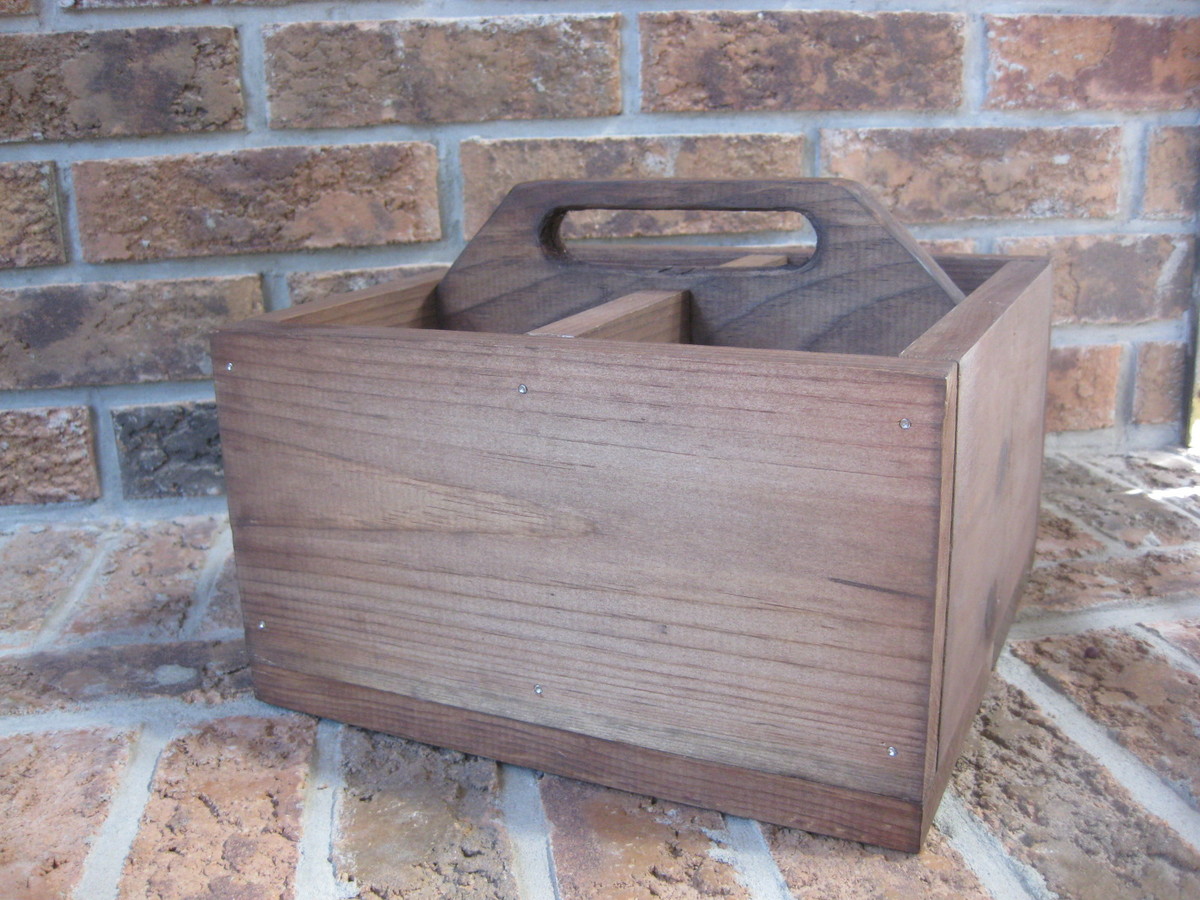
I saw Ana's plans for a toolbox and thought that's great! Then I saw another members adaption for a cleaning caddy and I knew I had to build both!
I build on my lanai (porch) in Hawaii, so my work area is fairly small. It was easy to build these at the same time, and I made plenty use of my Kreg jig!
Thu, 08/11/2011 - 15:02
Your work space may be small, but I think I'd take your view any day! Just beautiful. And, the tool box and caddy are really nice, too!
I really fell in love with this crown ledge and had to do it. Of course I did it to fit the length I needed and I also added a decorative piece of trim at the bottom to give it a more finished look.
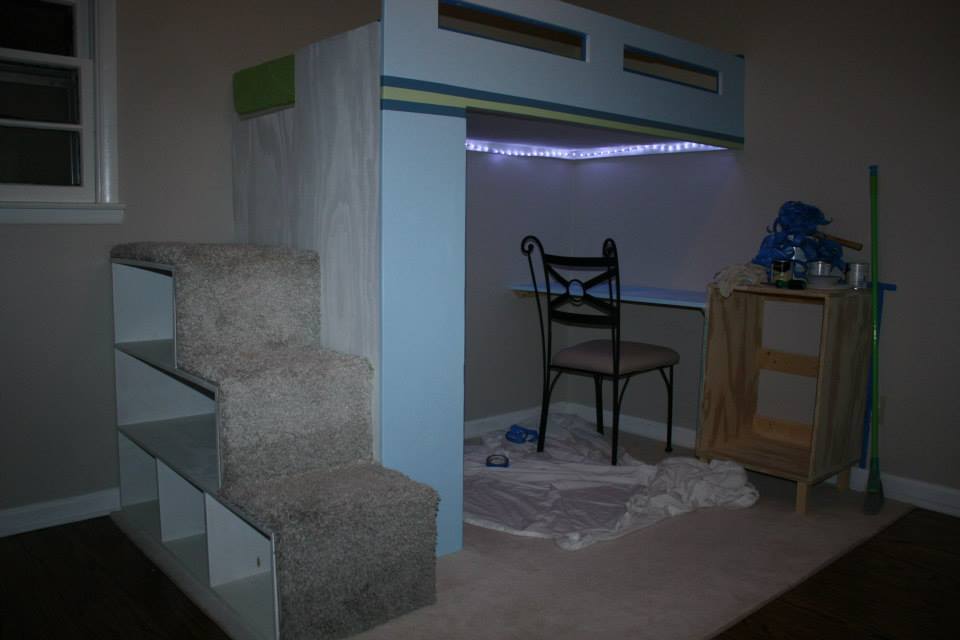
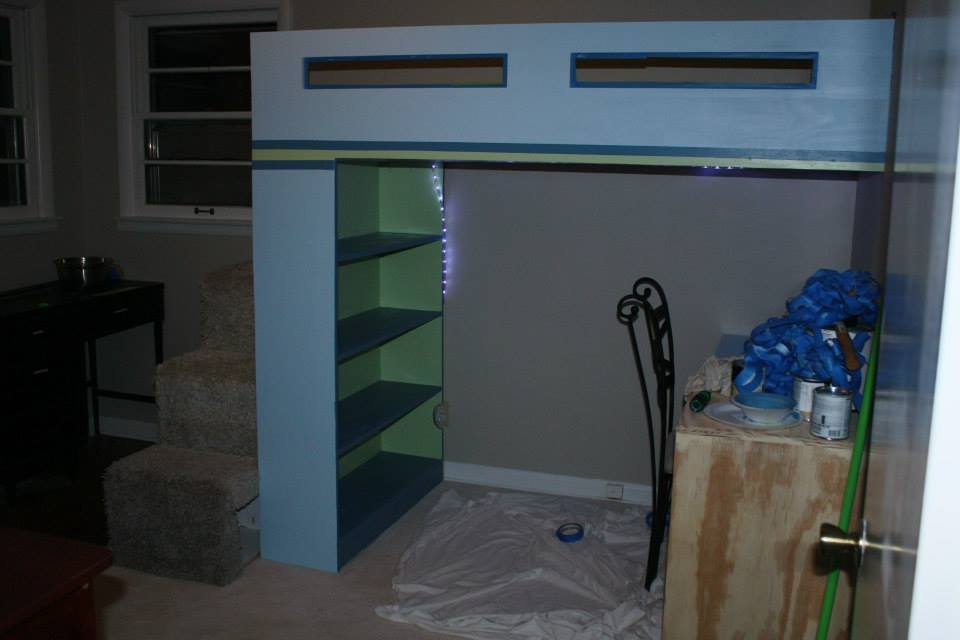
I built this bed several months ago, but it isn't finished. Deigned the plan myself with inspiration from several plans/brags along the way. The room not at all square or level so had to build as you go. This was for my son's 7th birthday, and he loves it.

Made this for my little girls room

Wed, 12/26/2018 - 13:54
Love it! Thanks so much for sharing a brag post!
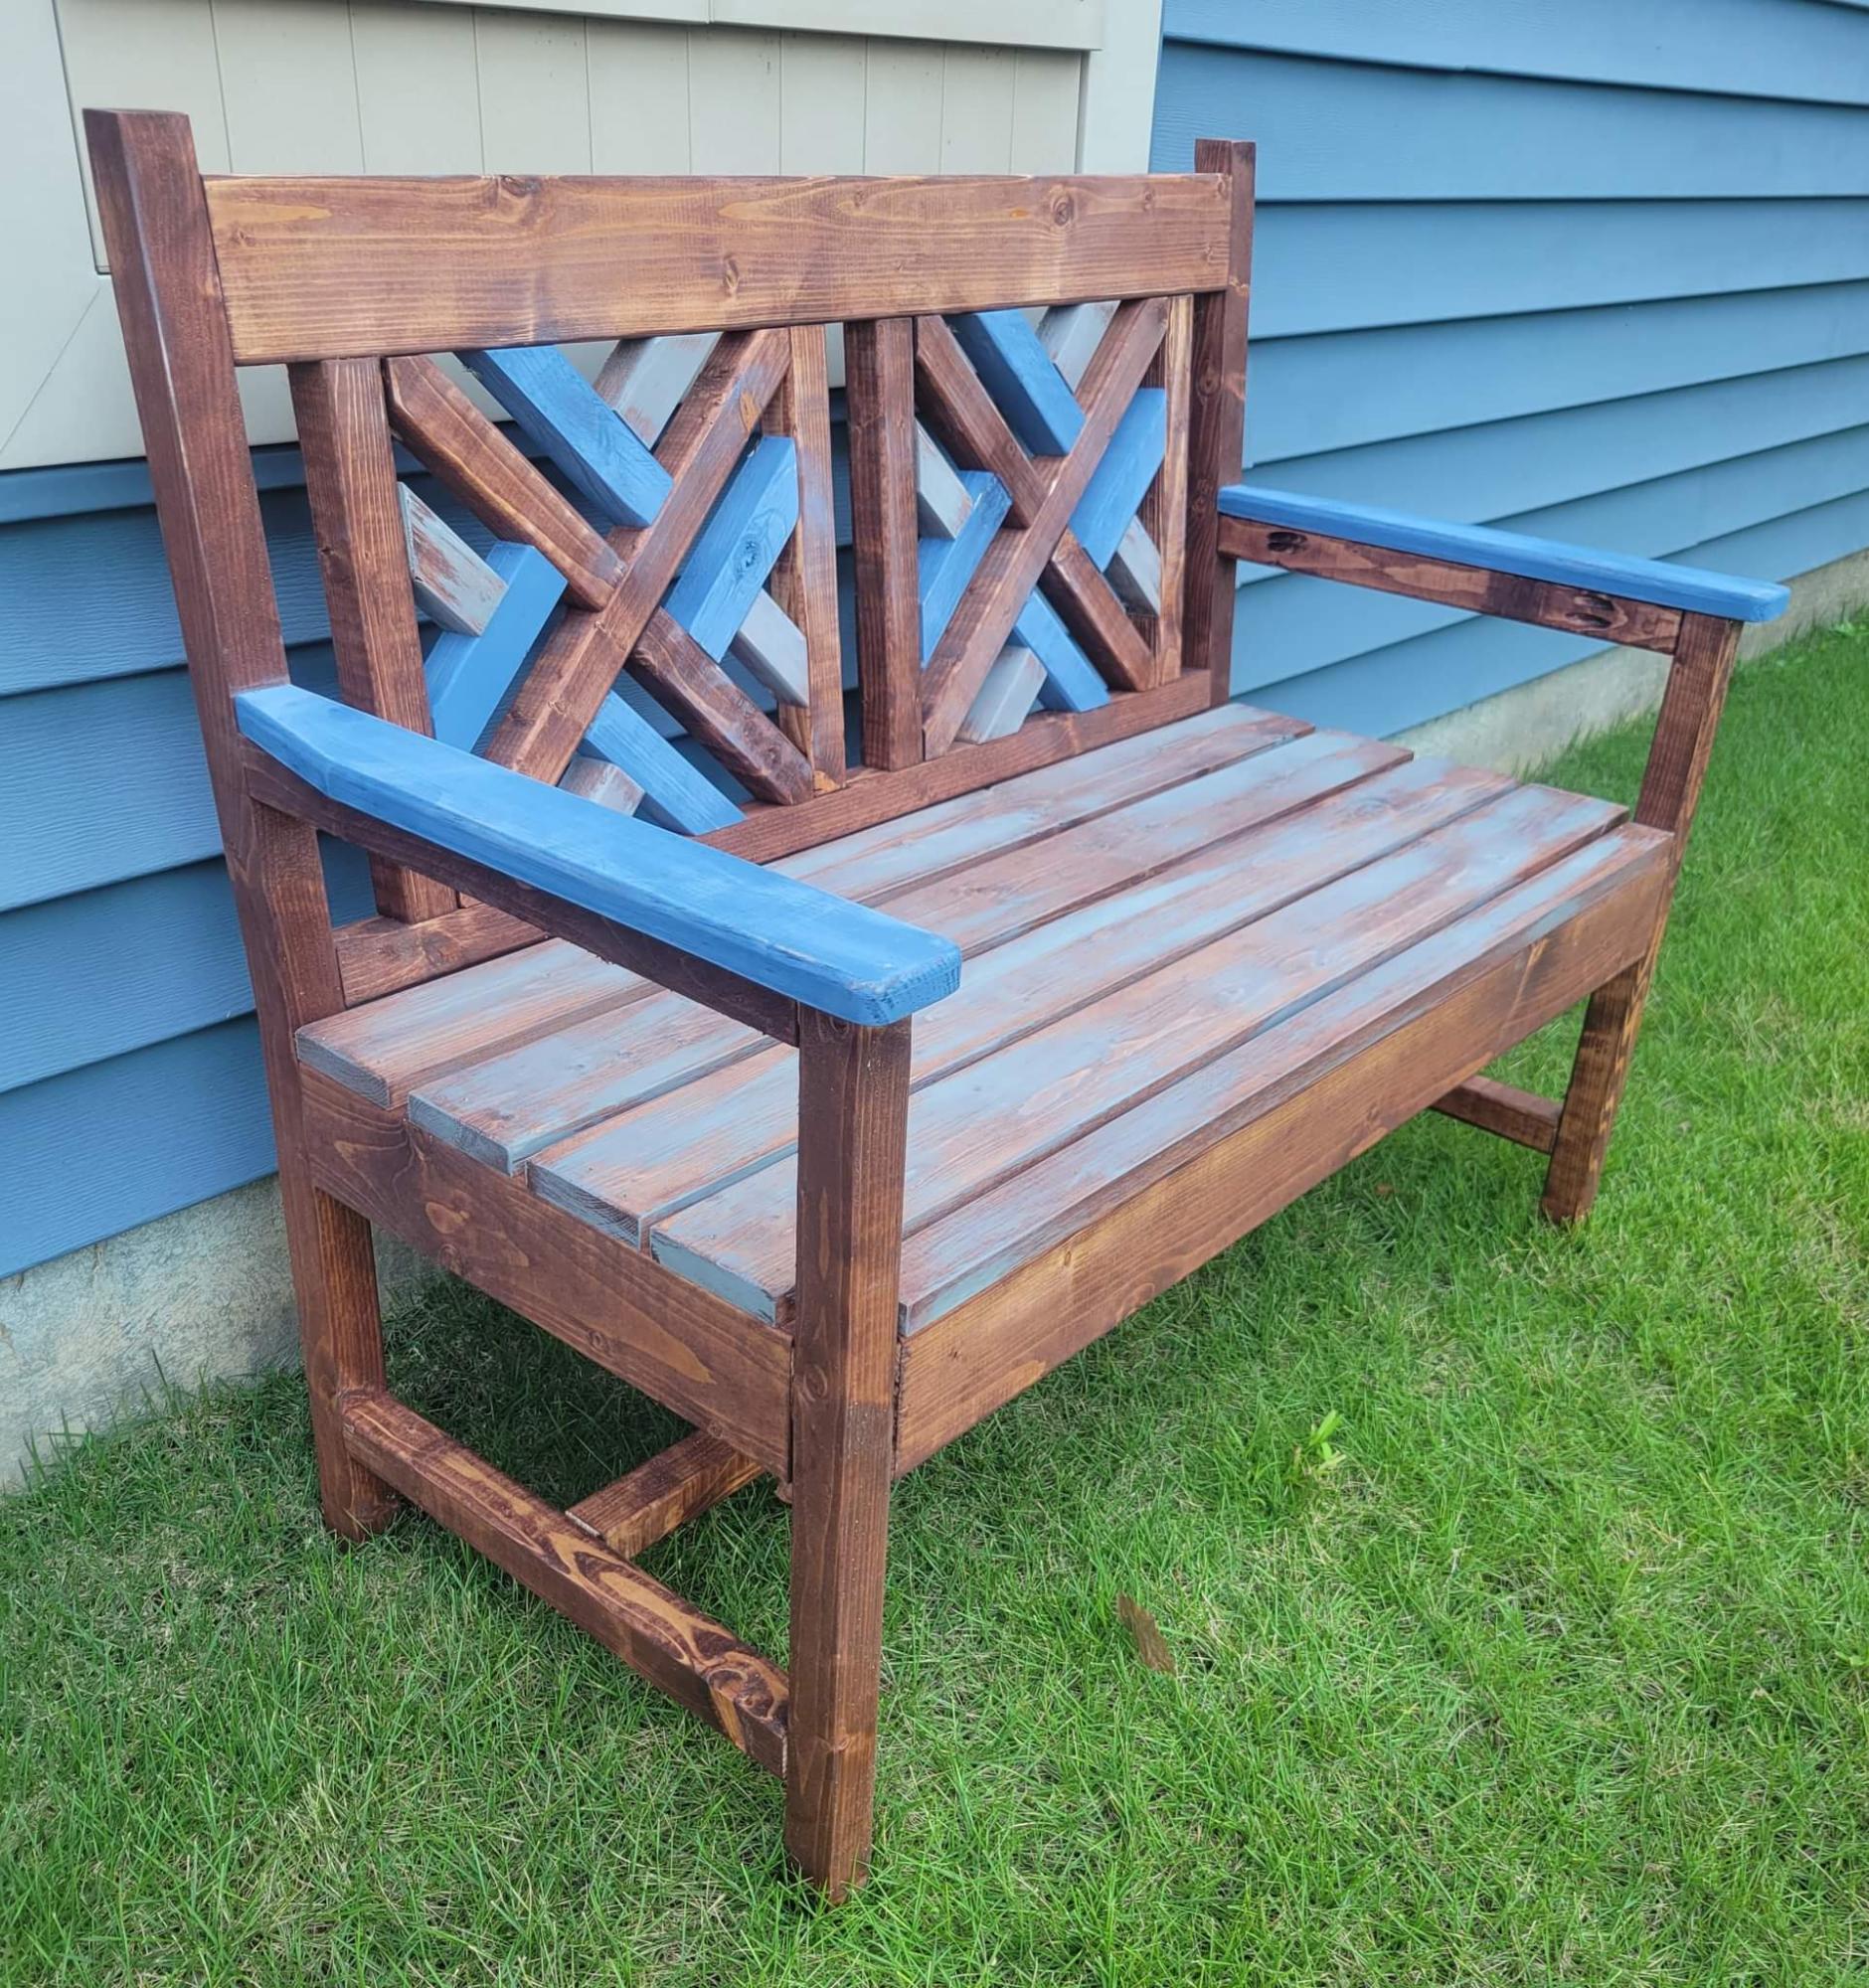
What a fun project! My 2x2 scraps had started to accumulate, and I couldn't think of anything to do with them. Ana White to the rescue! Built this one for the fun of it, and my wife had fun with the colors. Great plan as always. I added 2x2s to support the seat slats, but im sure it'd be fine without
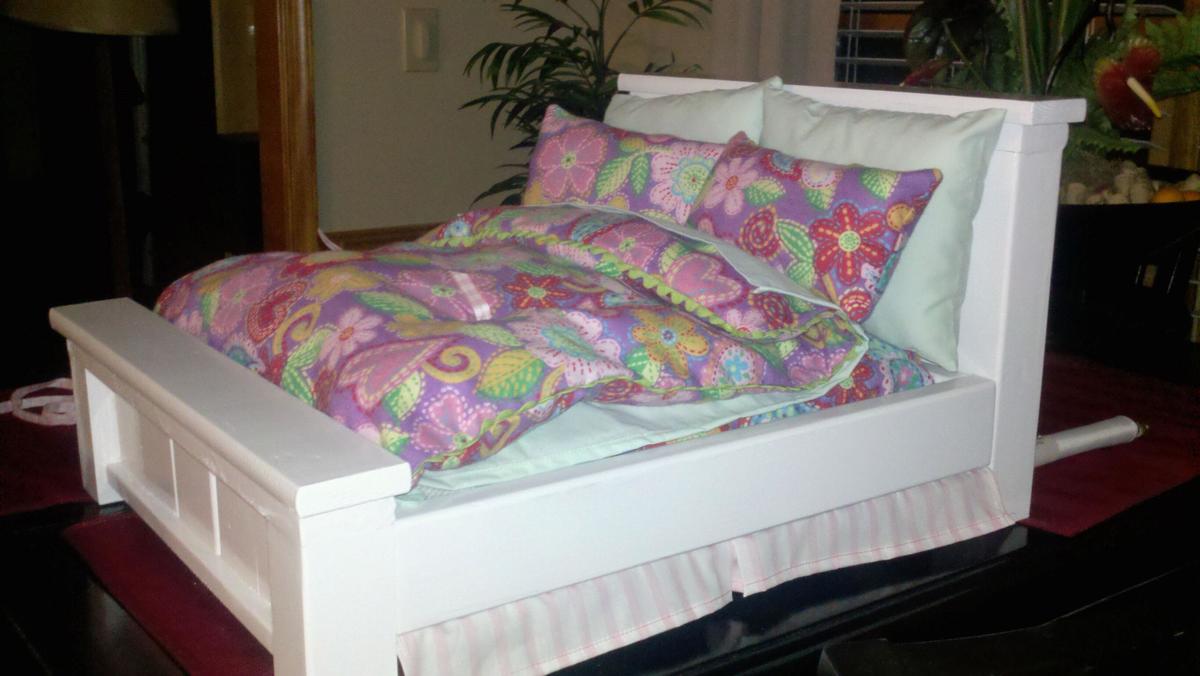
I made this for my Granddaughters 6th Birthday. My husband and I just finished a tree house for the Grand kids and we had lots of scraps left! Very easy to make and the only thing that took time was waiting for the paint to dry.

Fri, 08/12/2011 - 07:44
That bedding is so impressive for a second I thought it was a life size bed!

This was the very first thing I've tackled. It's something I've always wanted to do, but haven't taken the time. A new house that we've moved into has a barn beam mantle above the fireplace (which we love!), so we wanted to incorporate wood that would compliment it. We used knotty pine and tried out the oxidized wood treatment to get the desired color and sealed it with a spray Varathane. Because of that treatment, it took an extra day for all of the drying time from start to finish. I also plan to stencil on the side "Give Thanks", but haven't found a good spot to get a stencil yet.
I am such a fan of these great designs and styles, I will be making many more things. Next on my list, the Oxidized wood X pattern side tables and coffee table! Thank you, Ana!
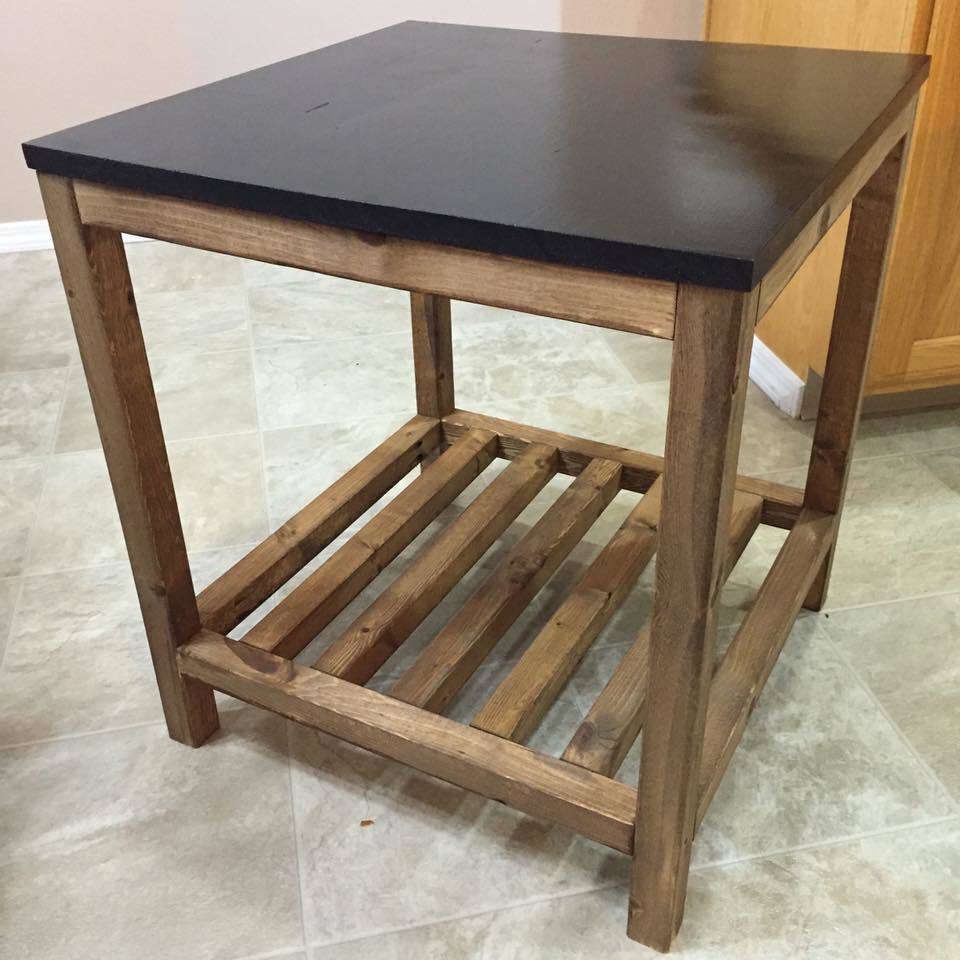
I built this as a way to stay busy on a three day weekend, and it turned out so well my wife wants two more for our night stands.
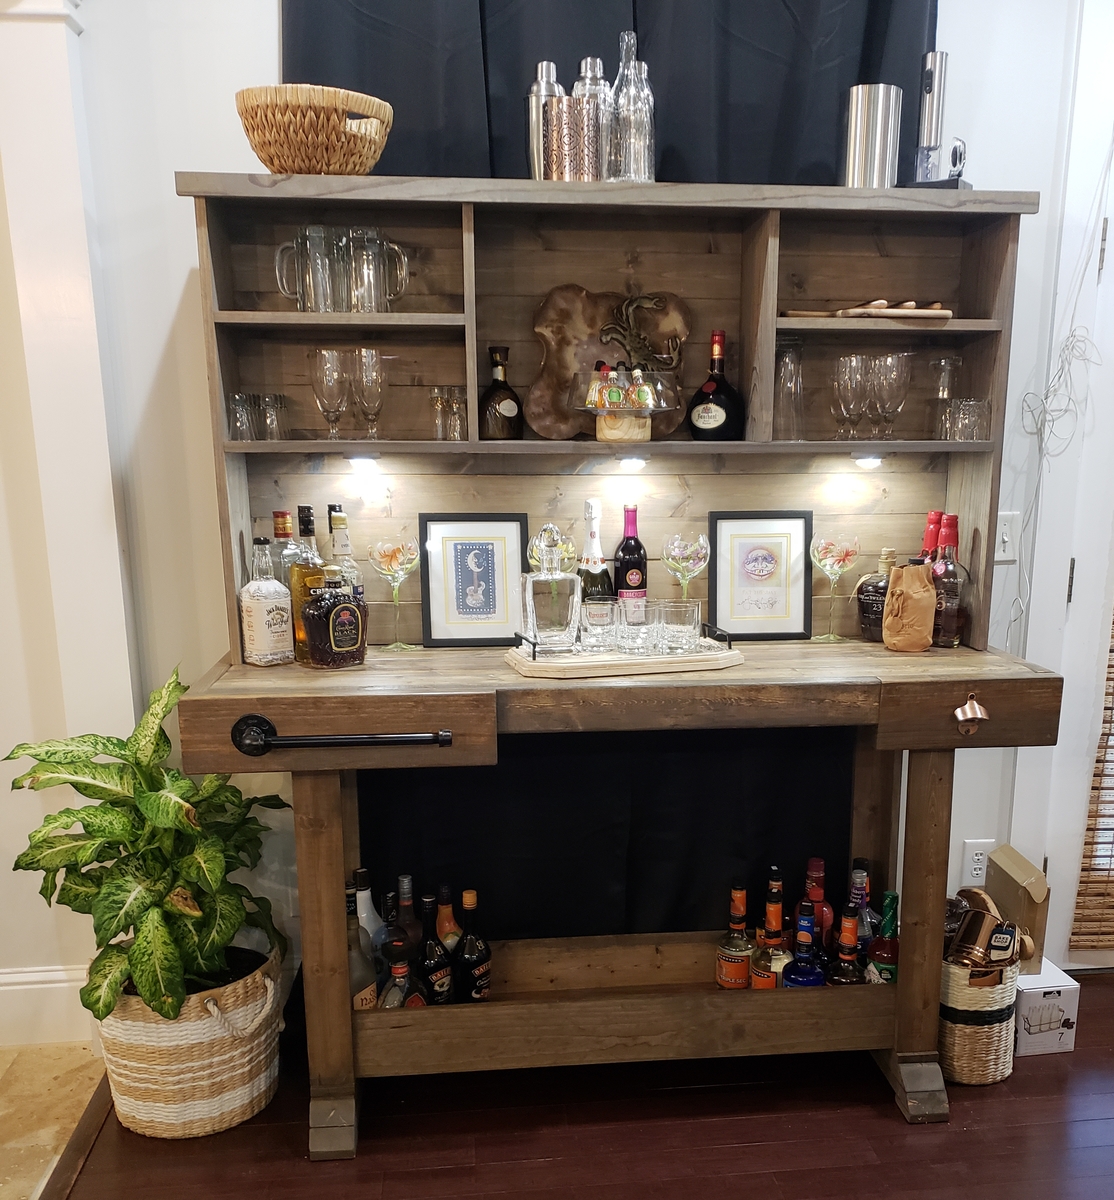
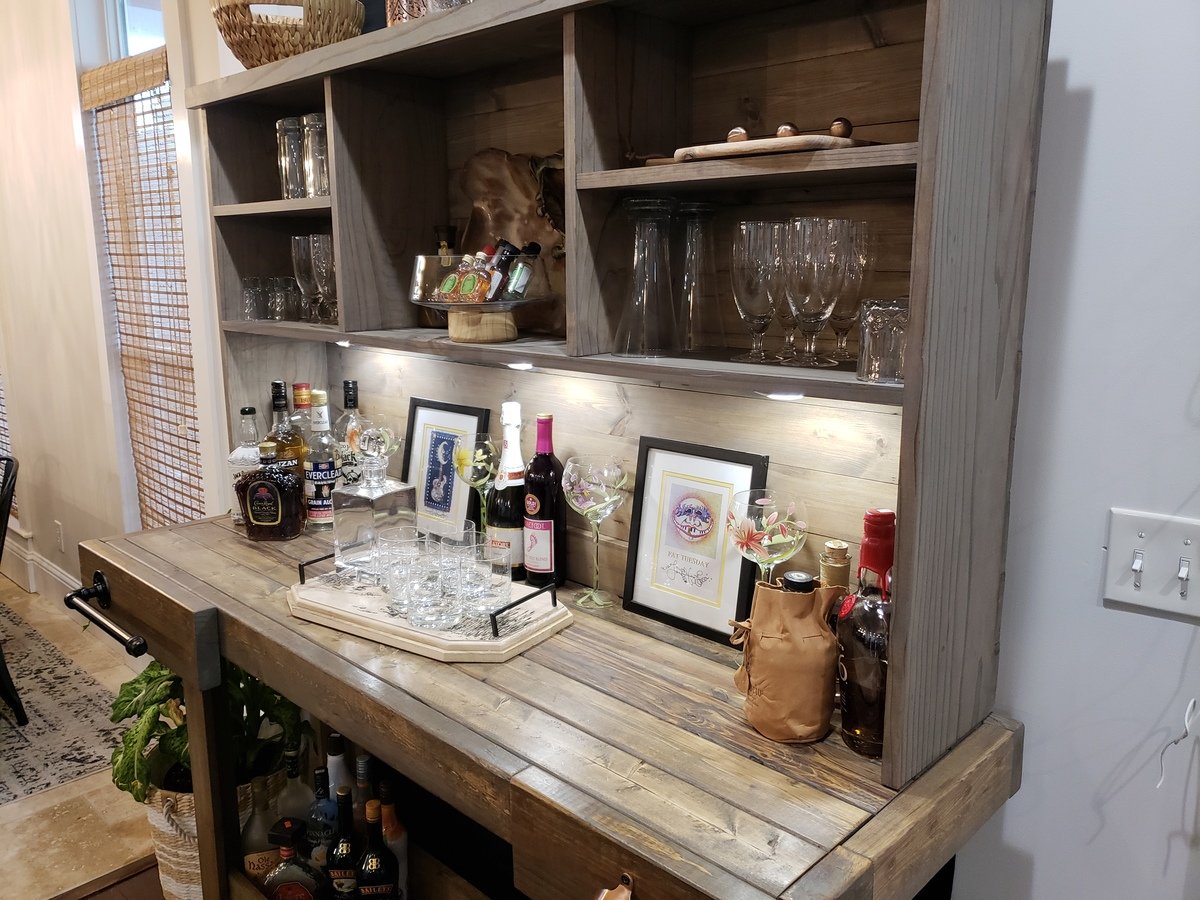
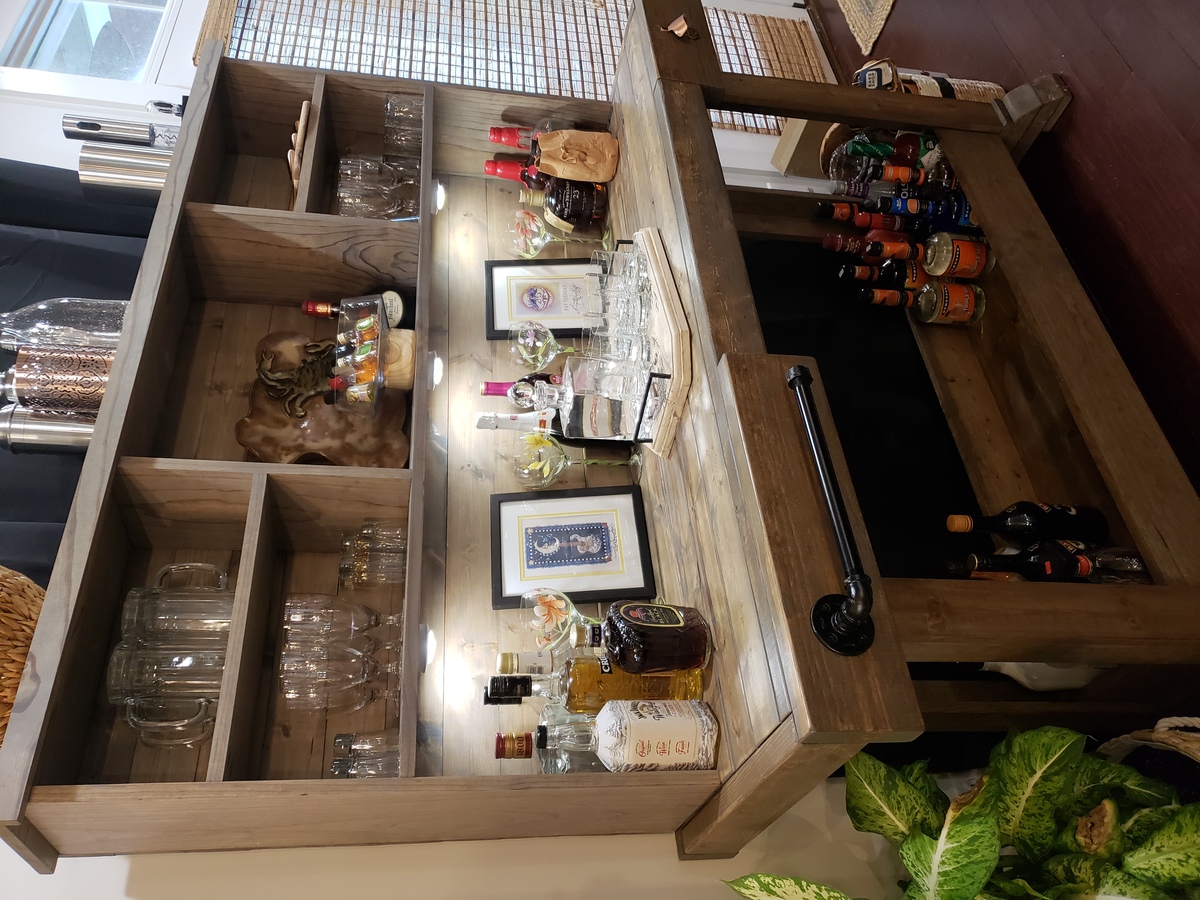
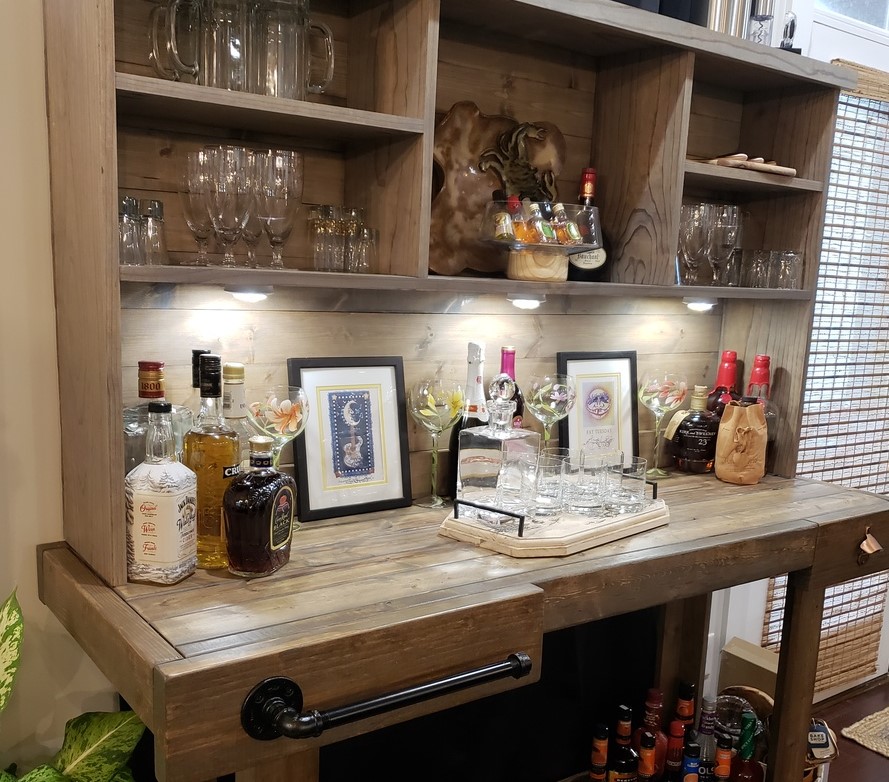
Love my new minibar! Built using select pine for the 1x and stud grade 2x4s.
I used Ana's plan for the Workbench console which is a pottery barn knock off for the Markham Console. The hutch is Ana's plan for the Rustic Hutch. I first stained with dark walnut danish oil and didn't like the color. It was too yellowish. I went over that with minwax grey wash and loved the color. I finished with minwax dark paste wax.
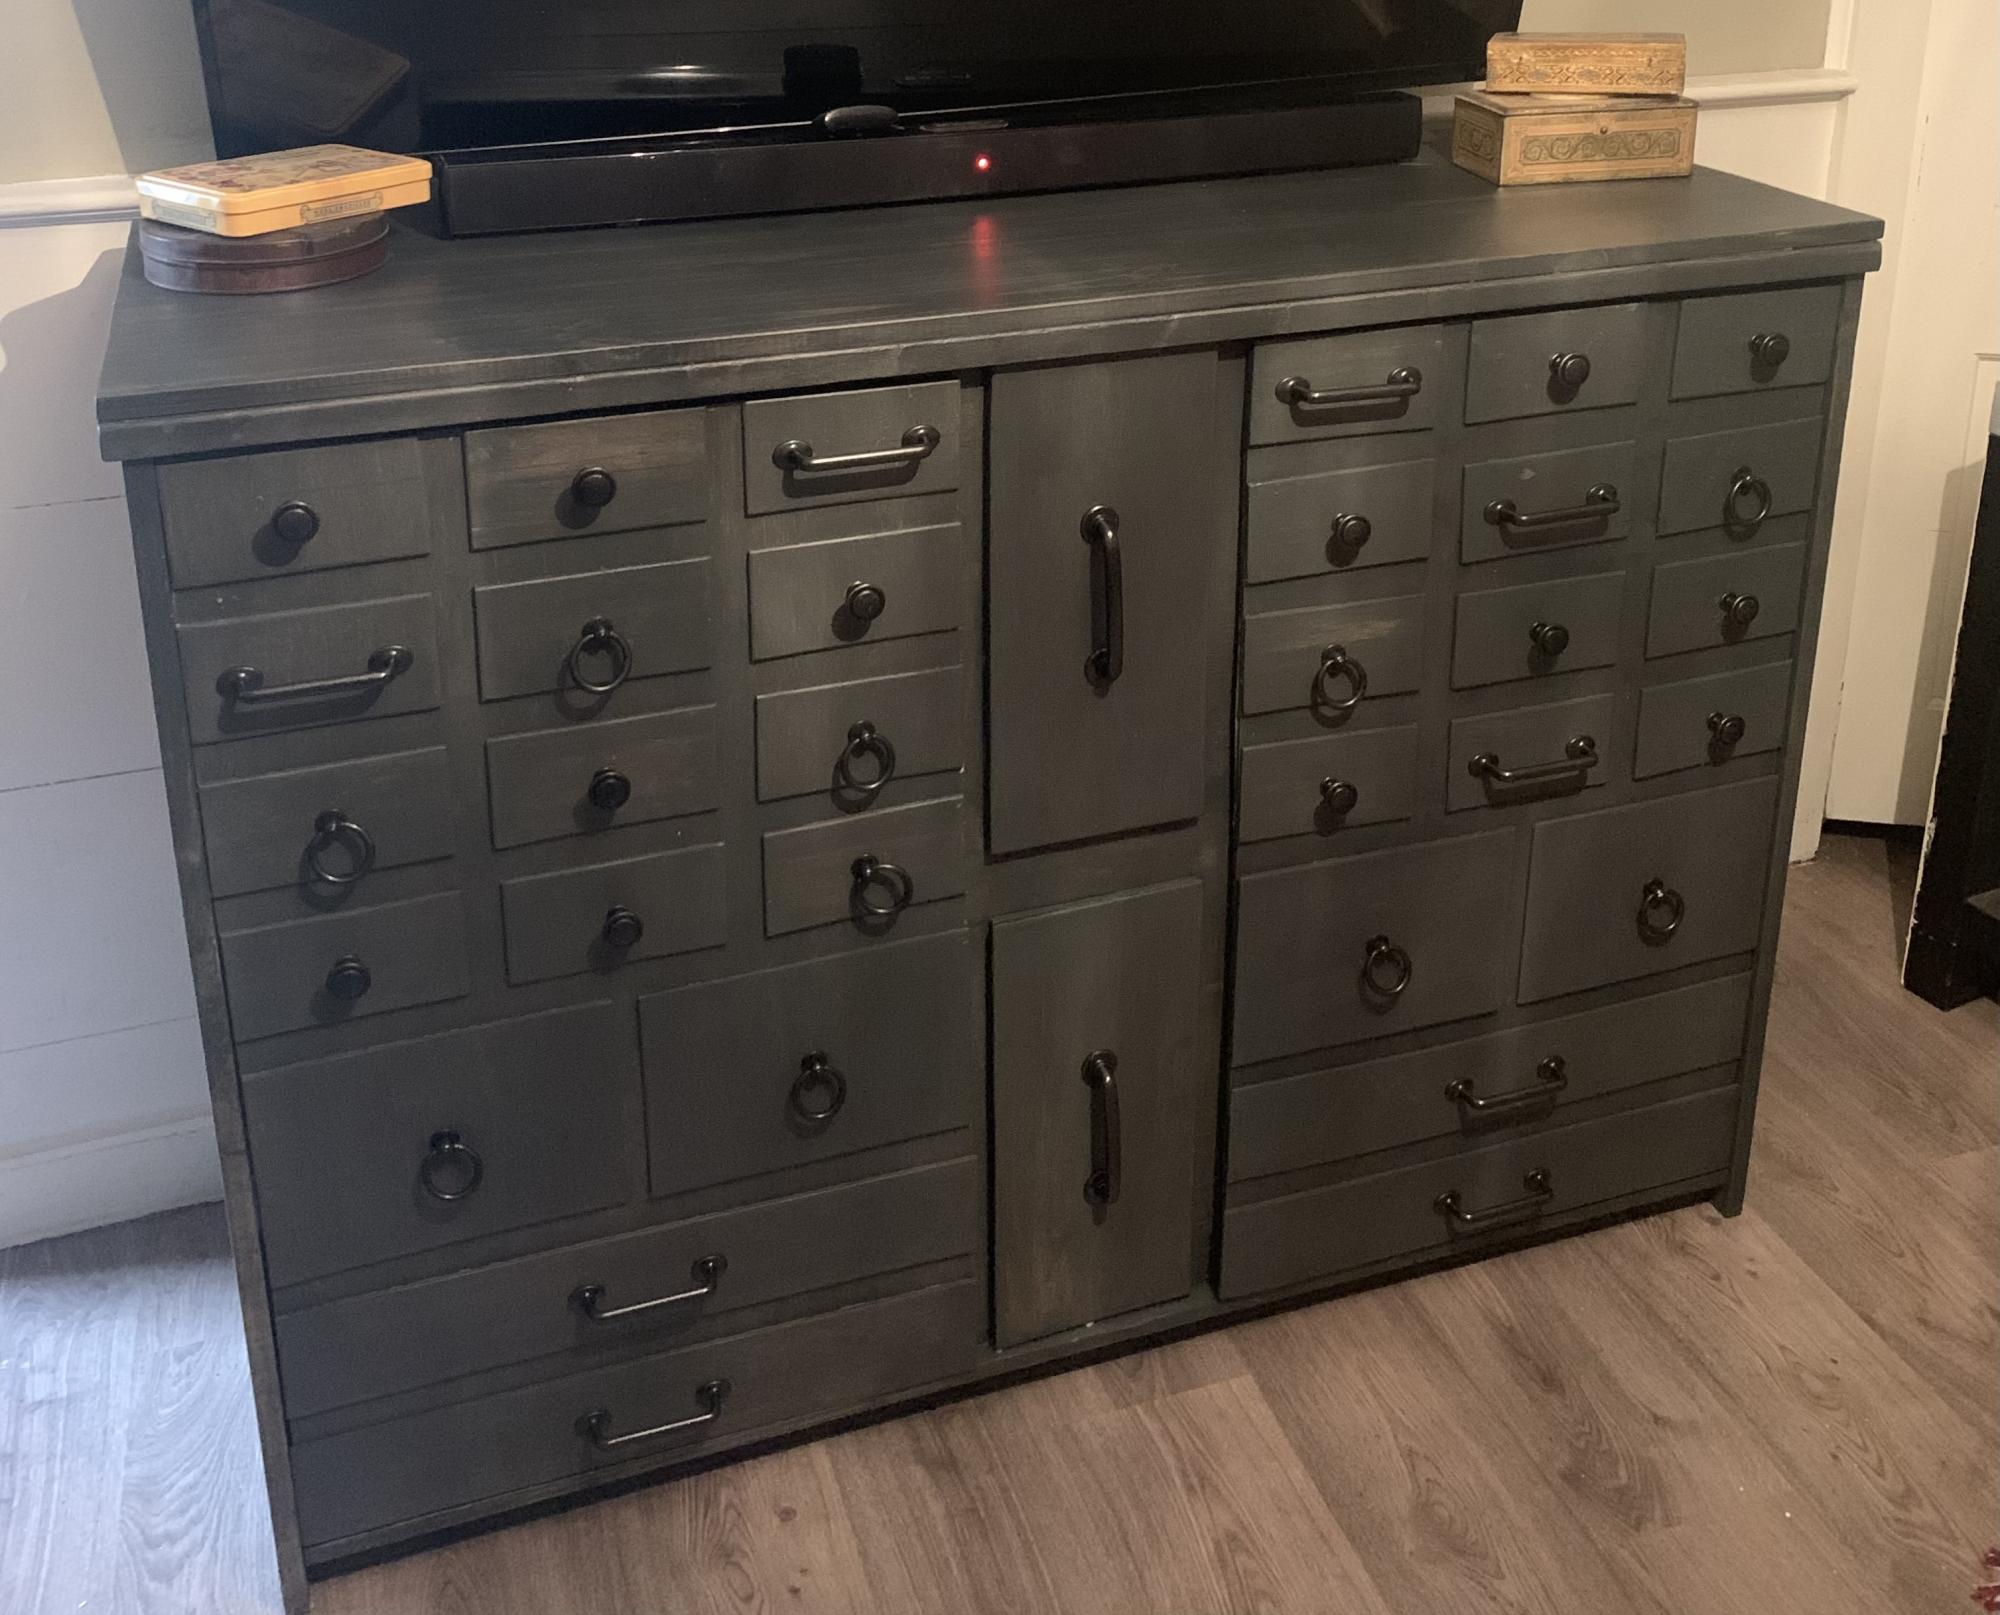
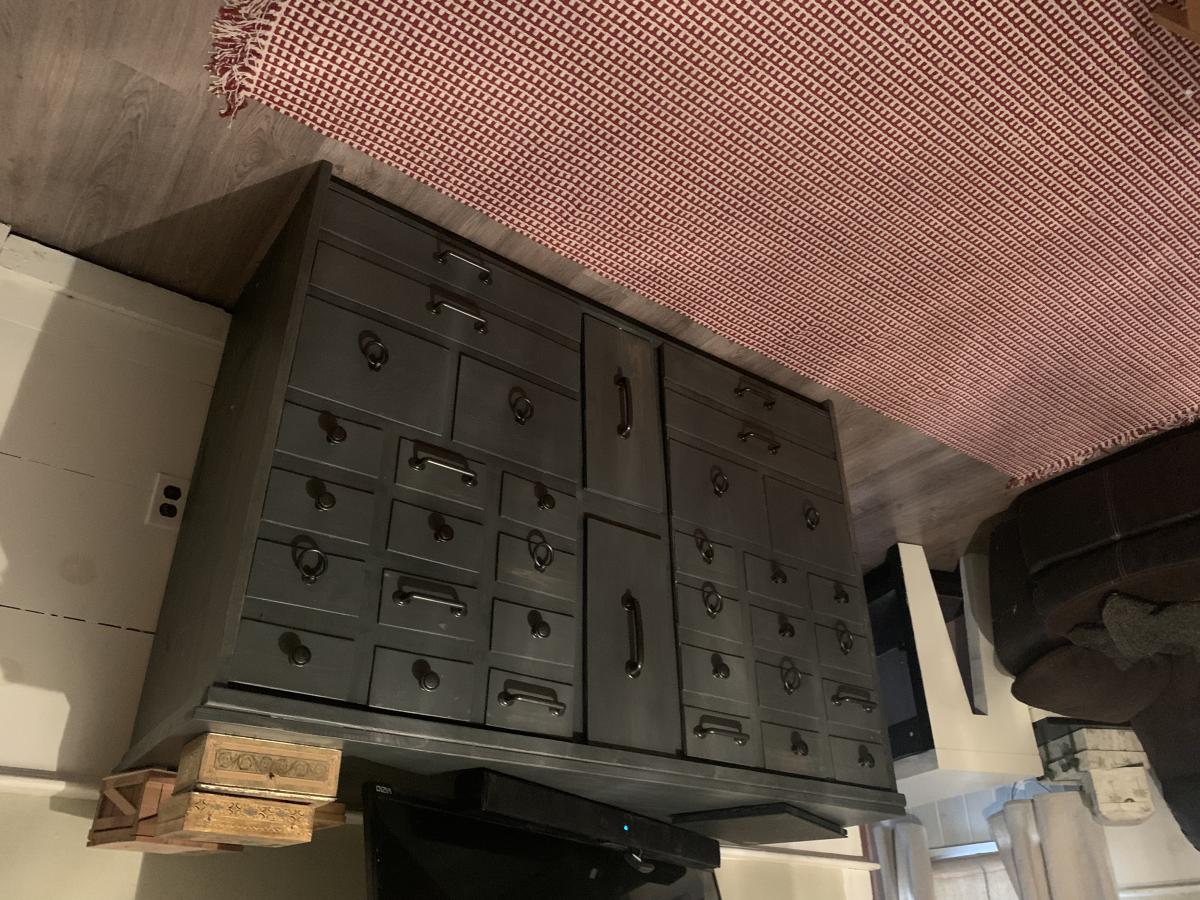
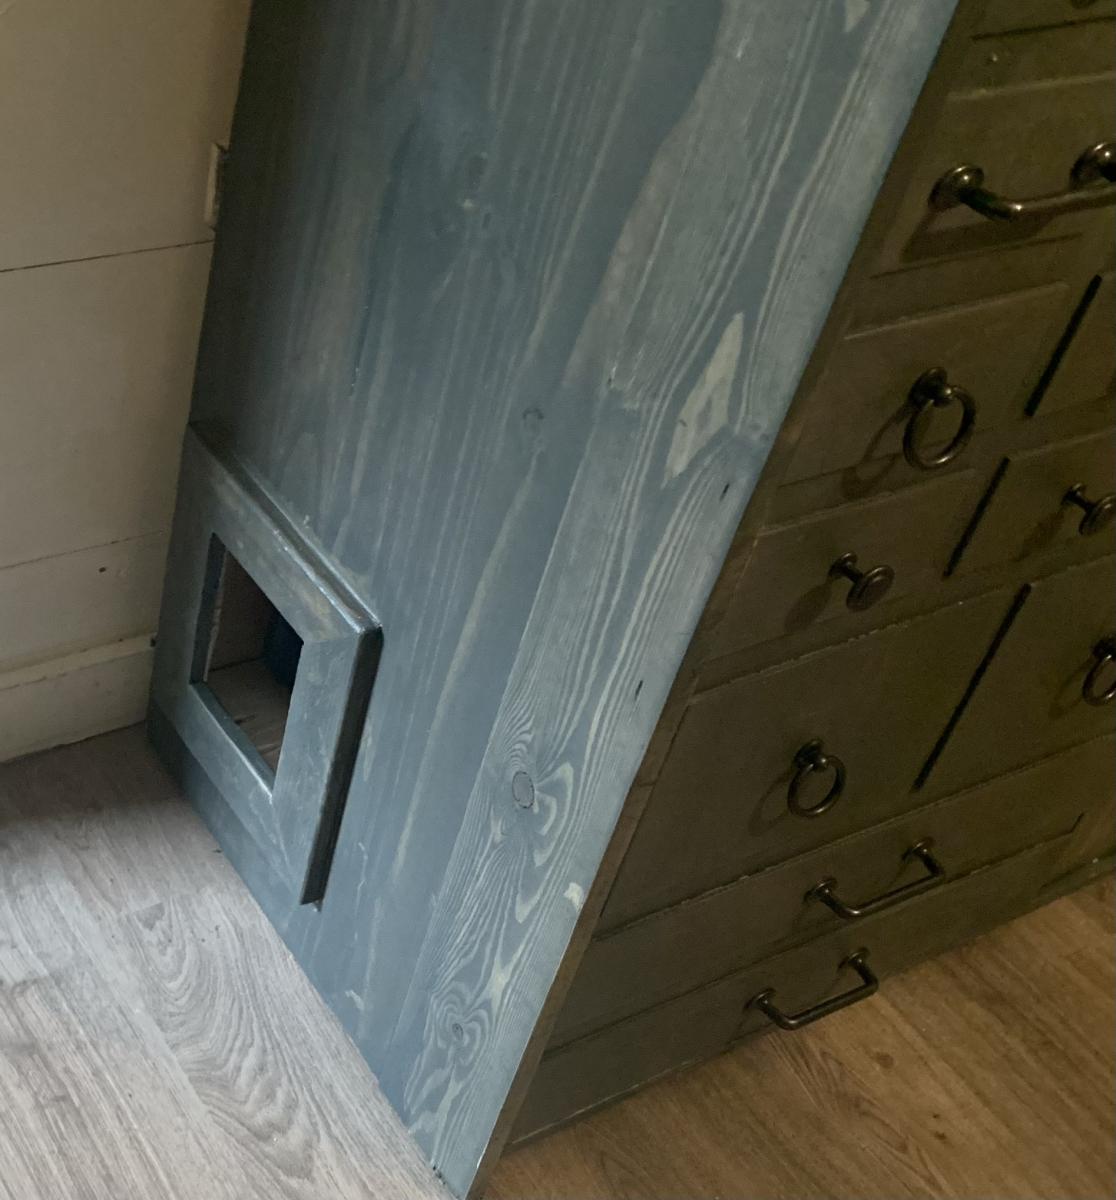
Just used Ana’s plan for apothecary cabinets. Needed mine wider, shallower and taller for use under wall mounted tv and wanted it to reach very high chair rail behind it. As well as hiding tv wires and providing much needed storage I needed to hide a cat box.
Tue, 09/06/2022 - 11:44
Love the look of this, great job incorporating the cat box! Thank you for sharing.
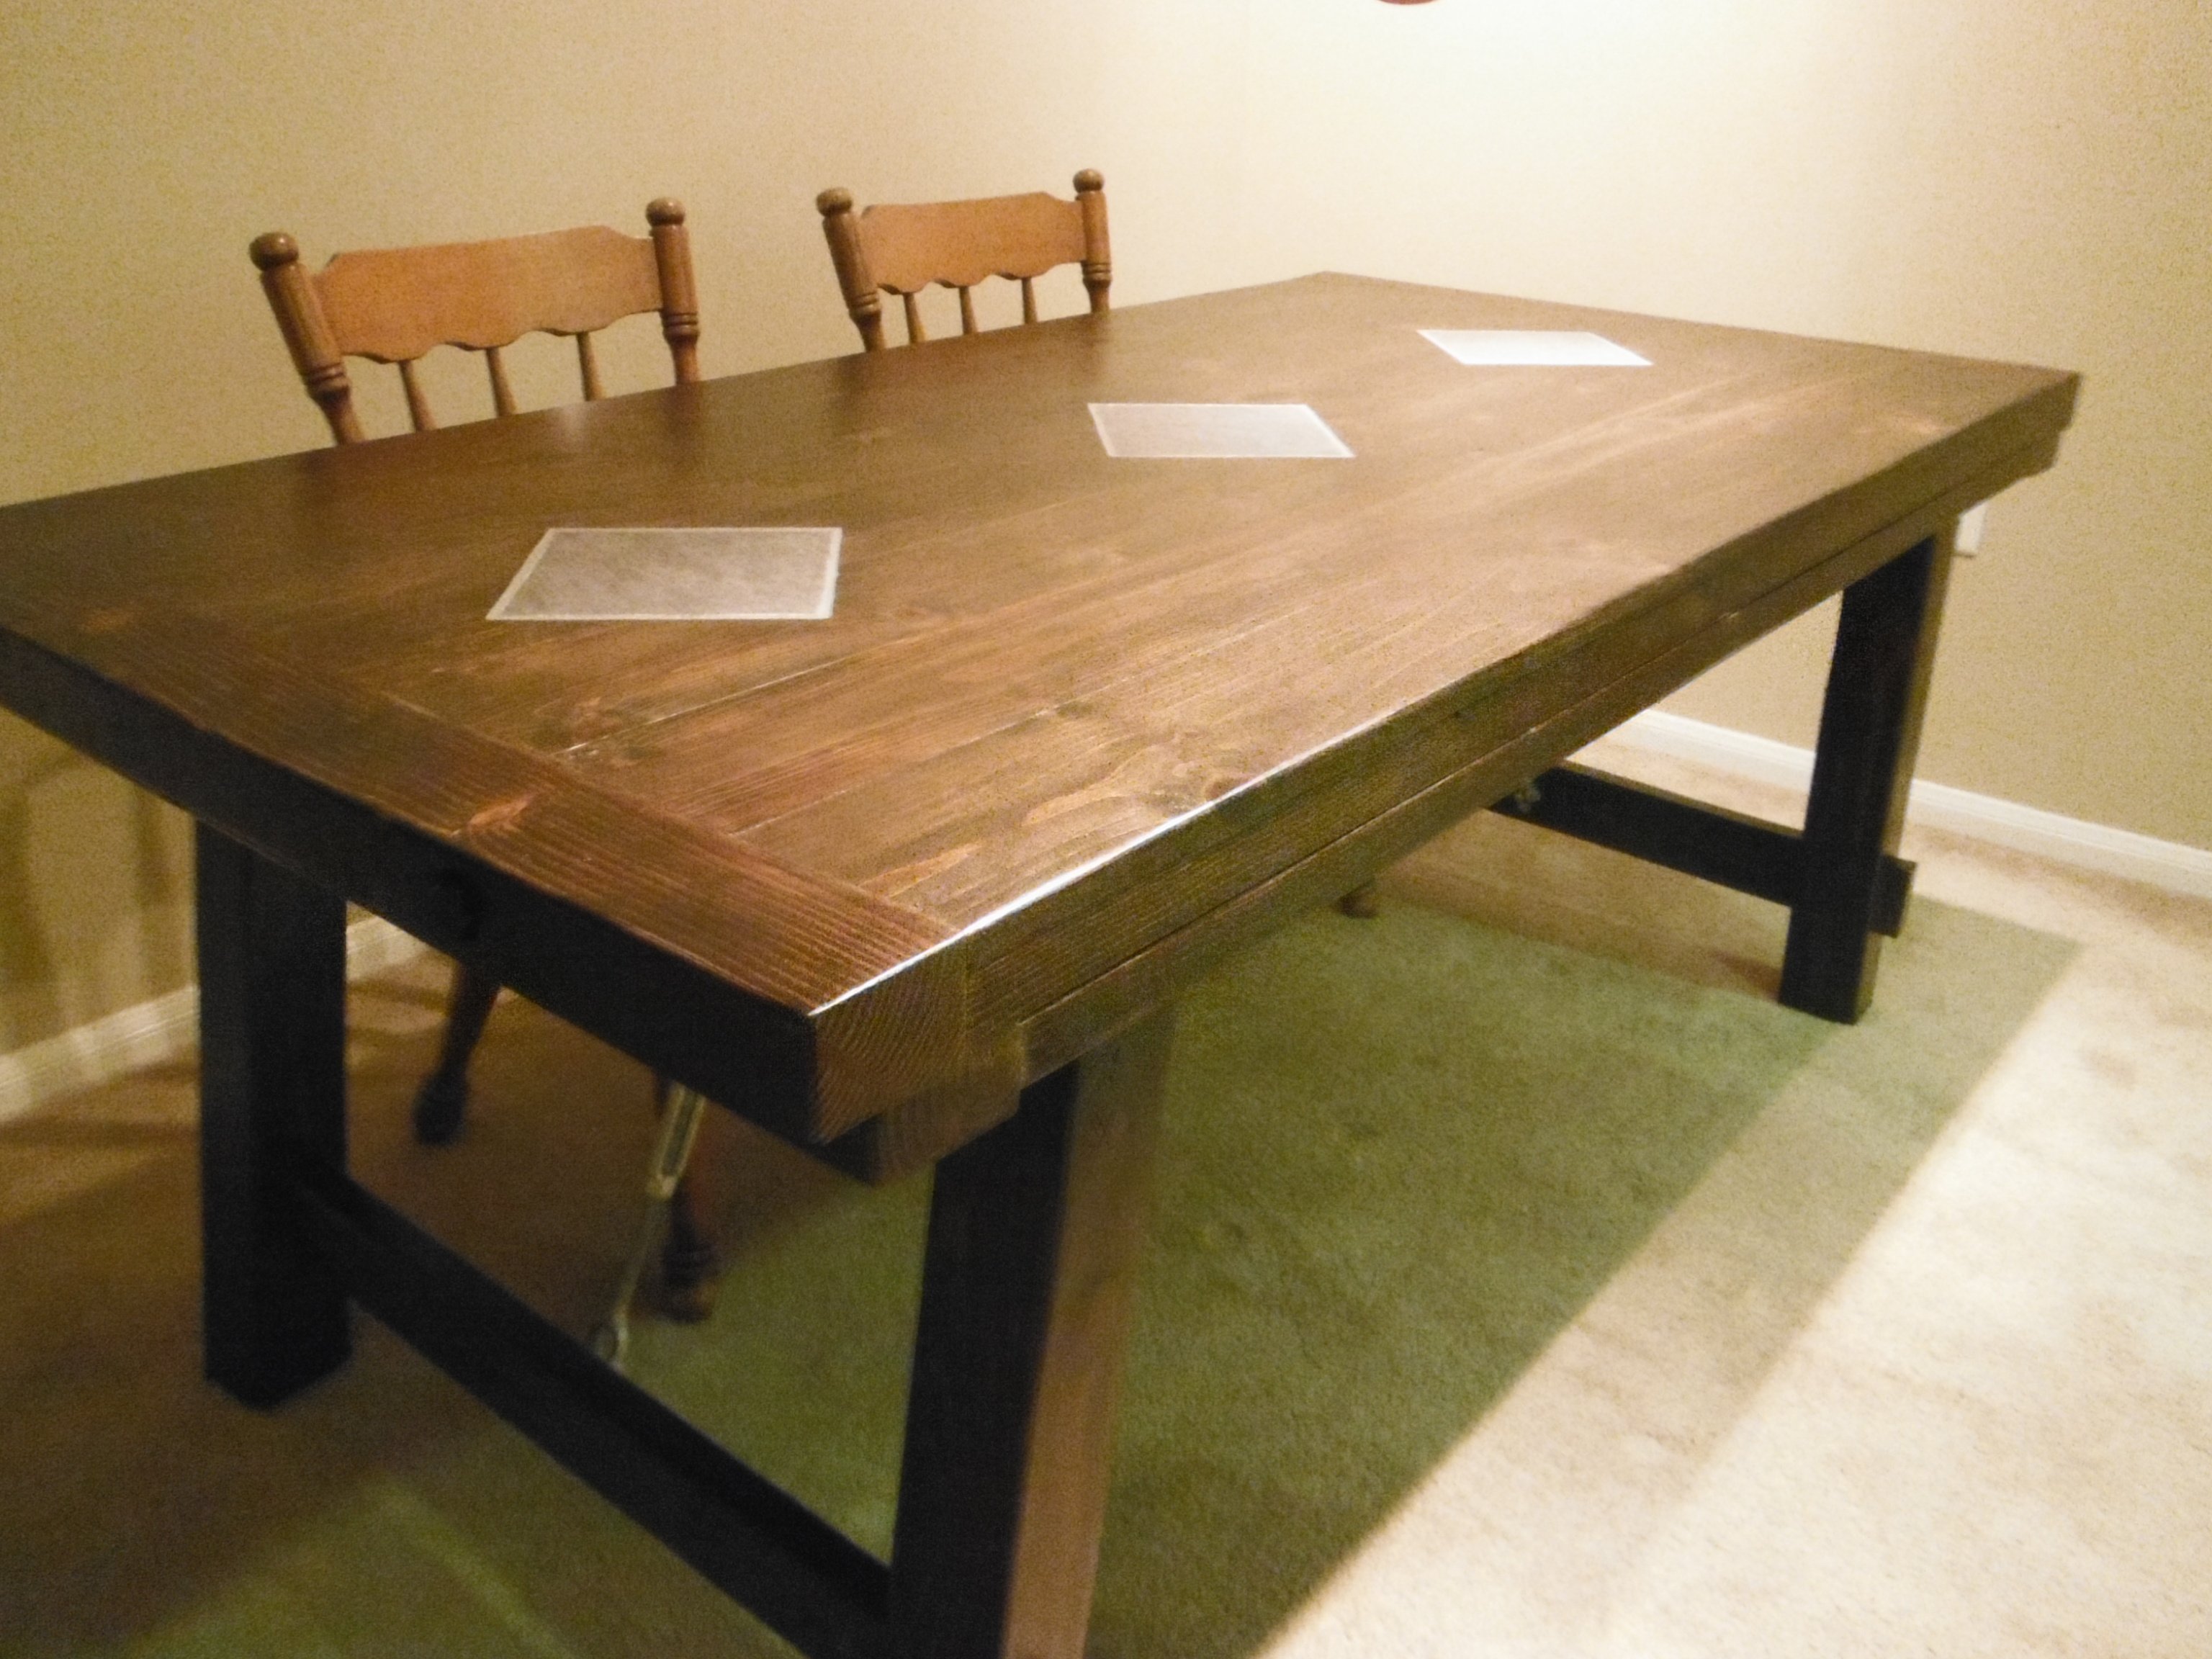
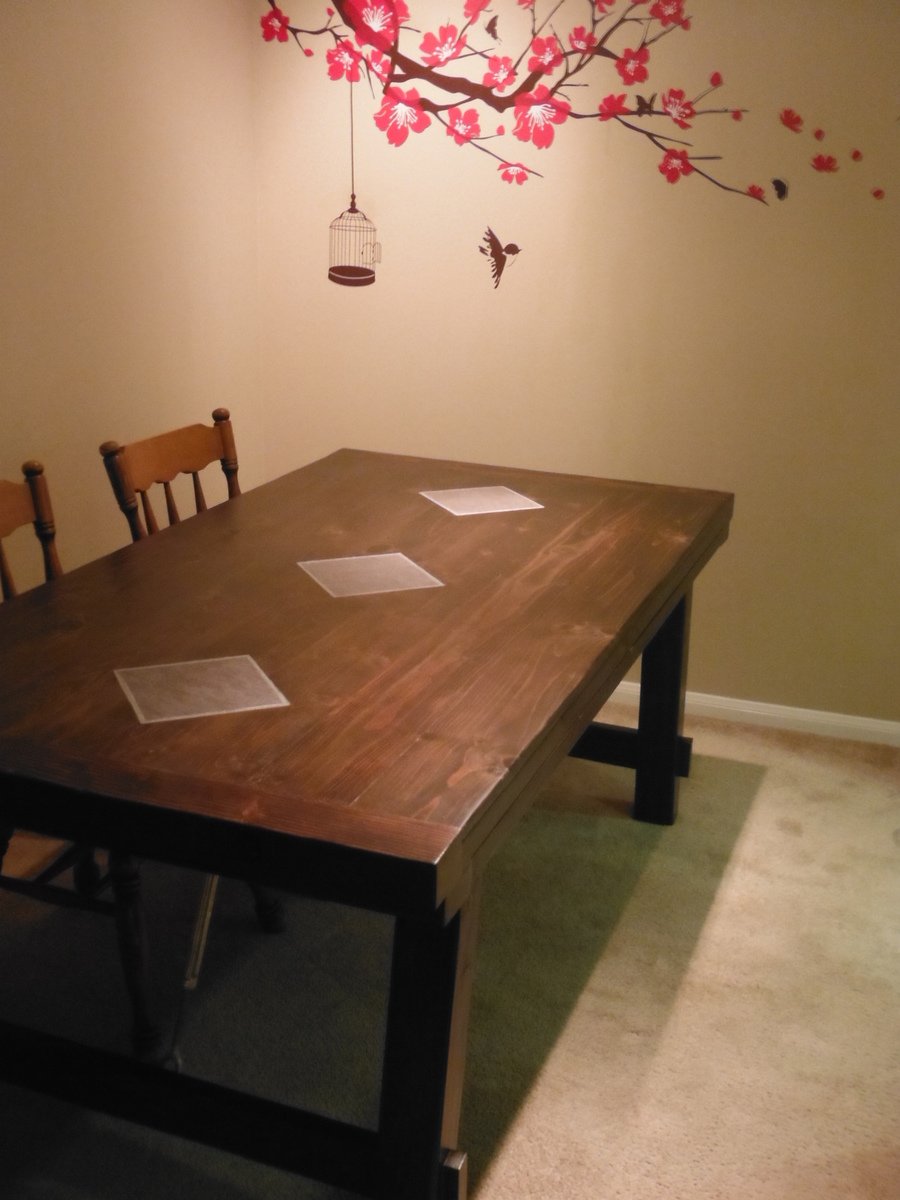
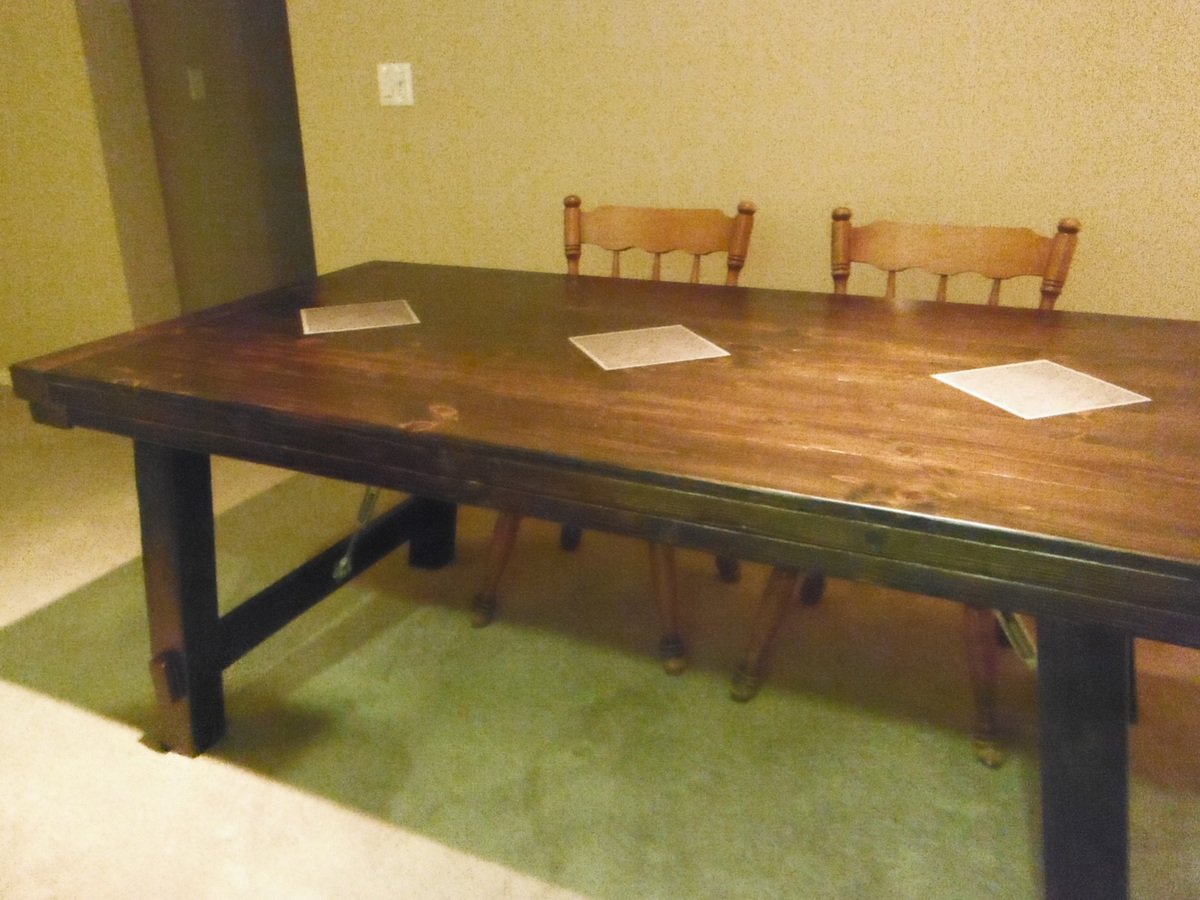
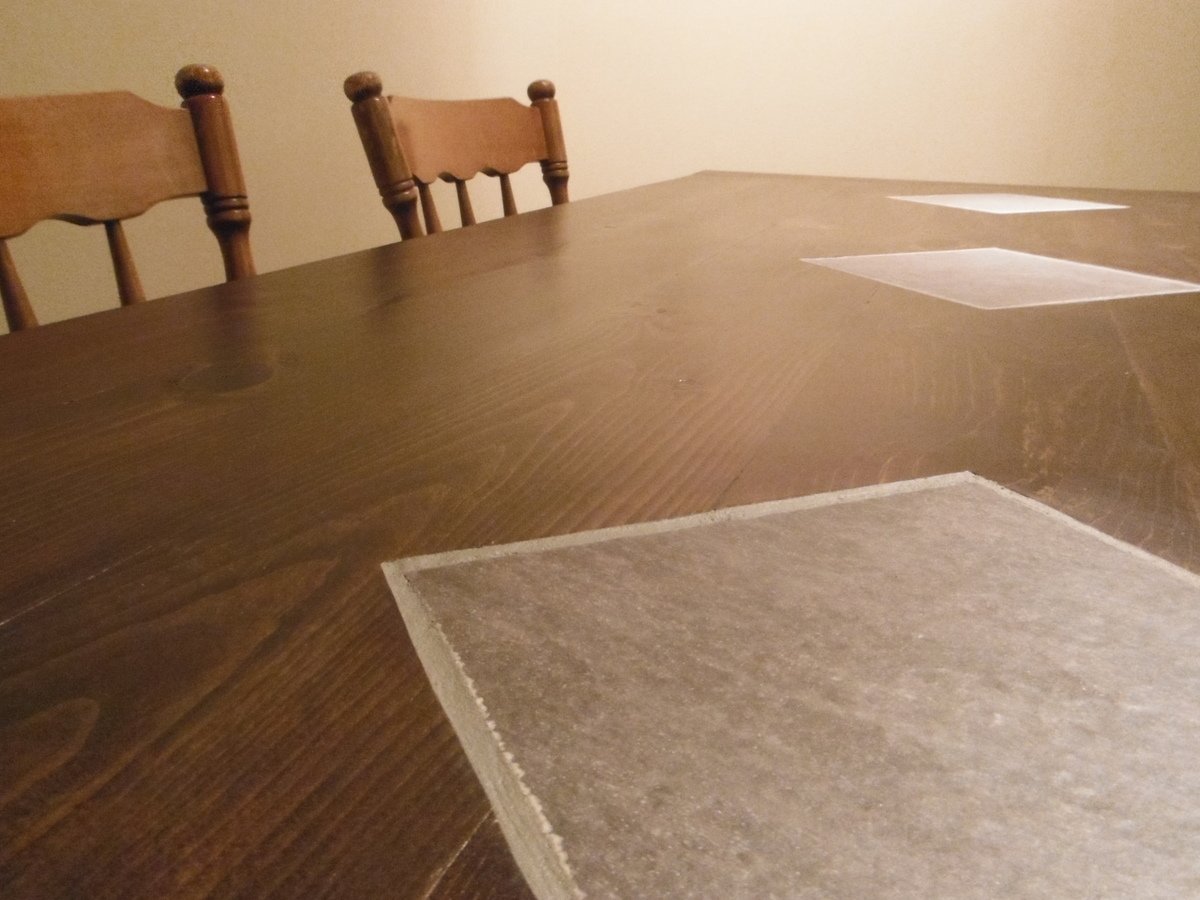
I know, I know, yet another Farmhouse Benchright Dining Table! For this one, I wanted 4x4 legs, angled turnbuckles and removable legs since I know I have to move a lot. The legs are made removable with carriage bolts and with the legs fastened this way, the whole project has a more simplified frame. The finish is dark walnut to try and blend vintage/weathered design with a modern finished project. I added dark gray slate to the tabletop, carved in via router, for a little more design and as a built in trivet if so desired.
Comments
Ana White Admin
Sun, 07/31/2022 - 12:04
Pretty Bench!
Love the two tone finish, awesome job!