2x4 Adirondack Chairs
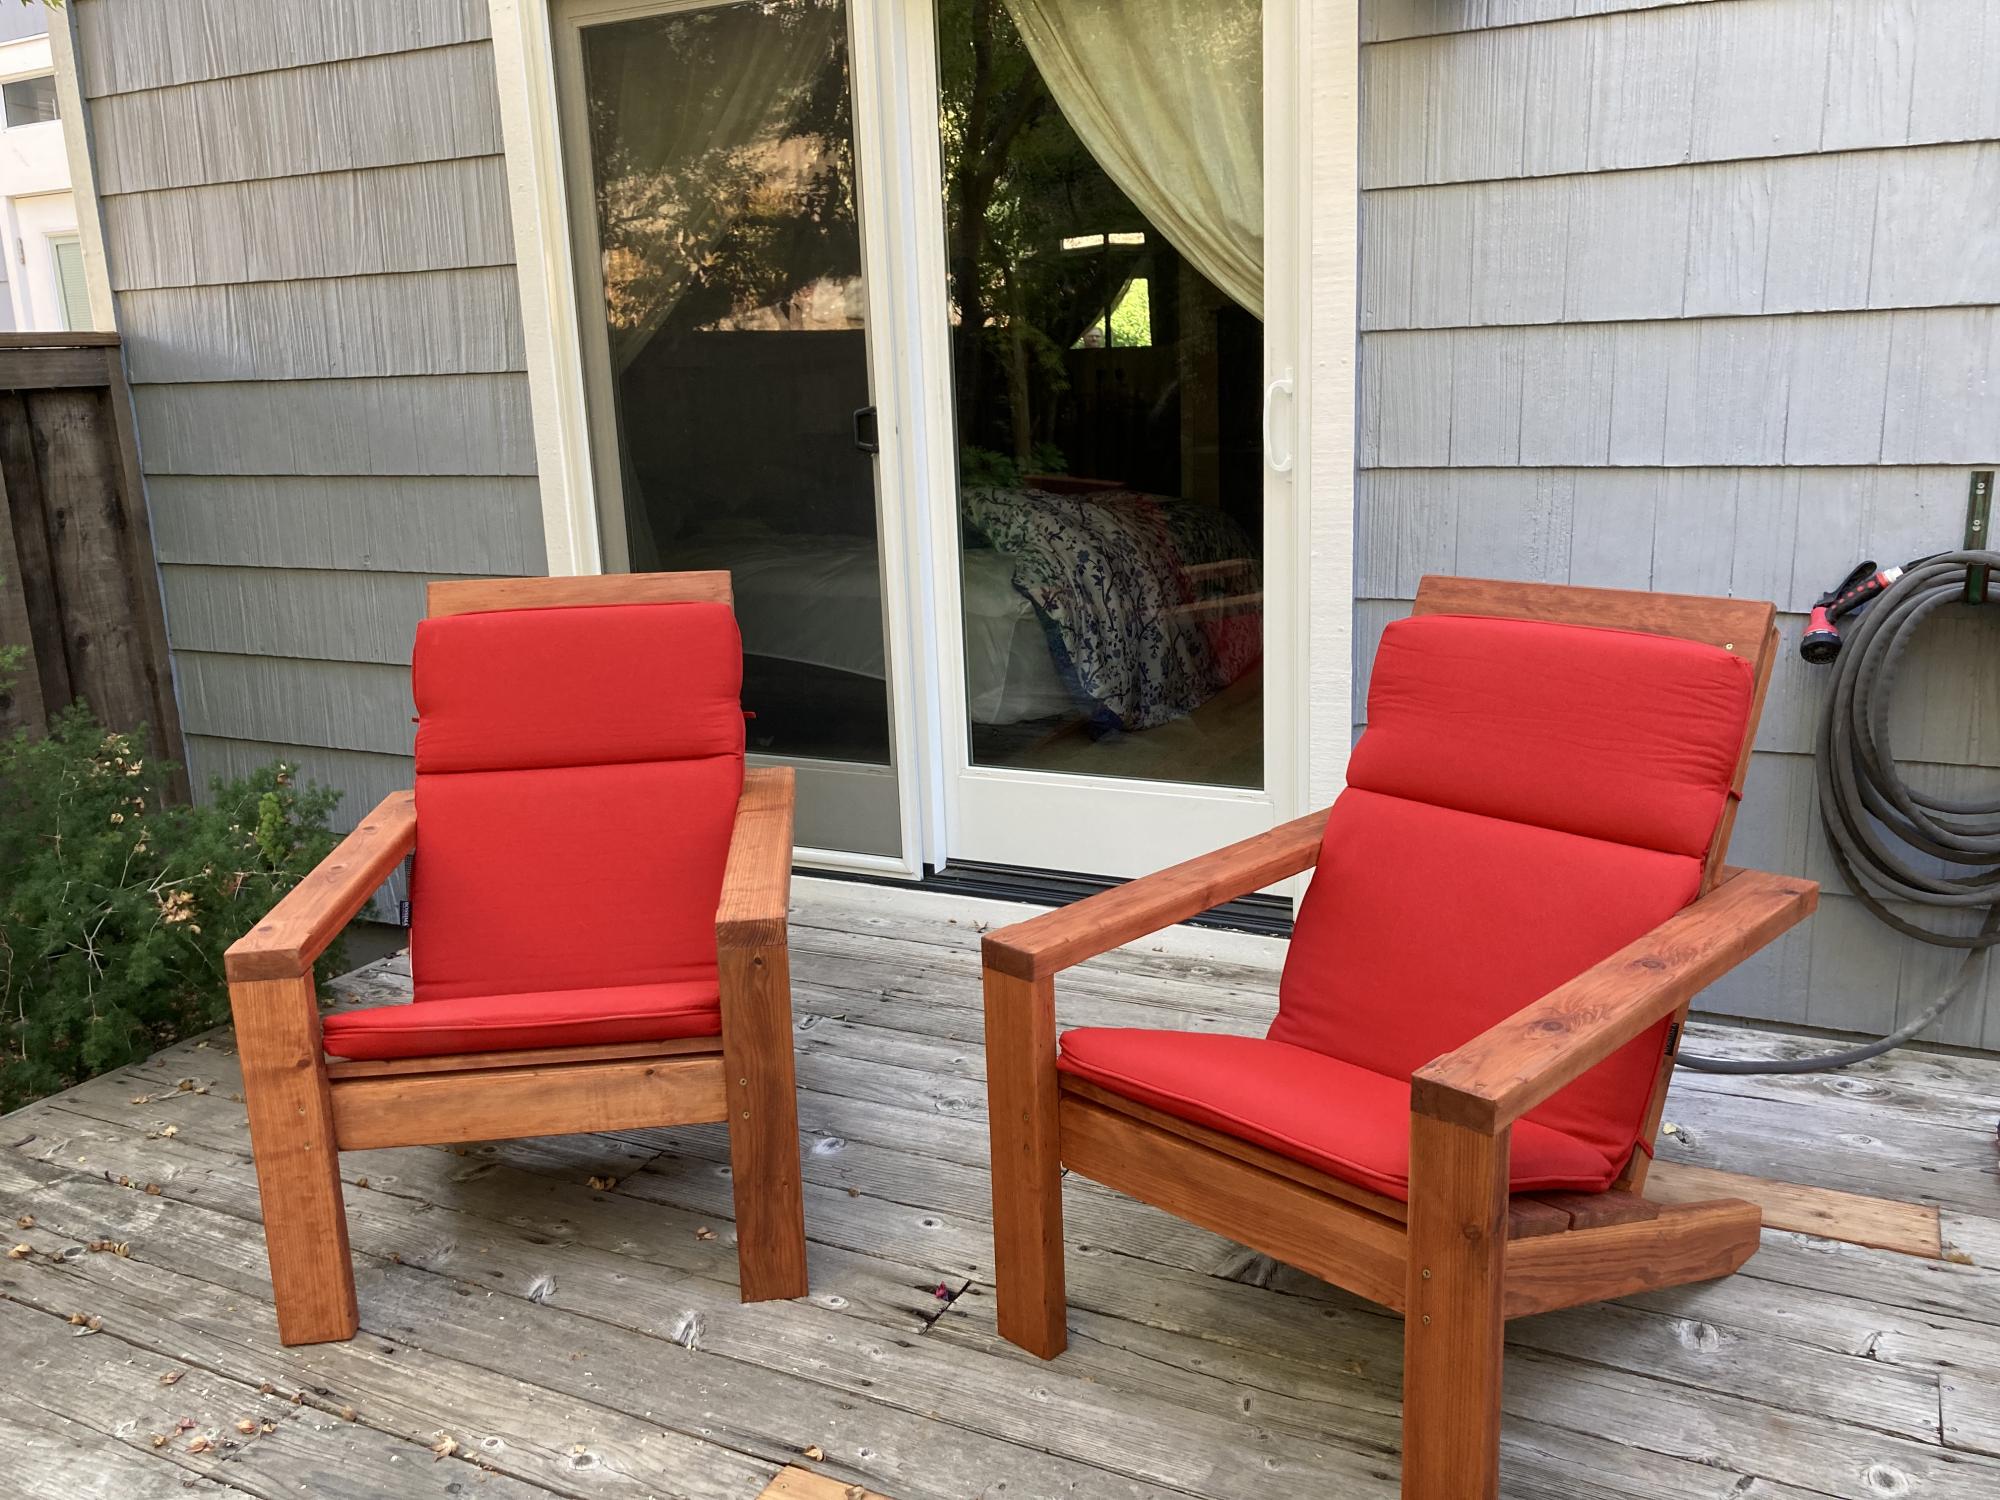
My first “Ana White plans” project. Great plans and easy to follow. Very comfortable chairs.

Built from Plan(s)
My first “Ana White plans” project. Great plans and easy to follow. Very comfortable chairs.
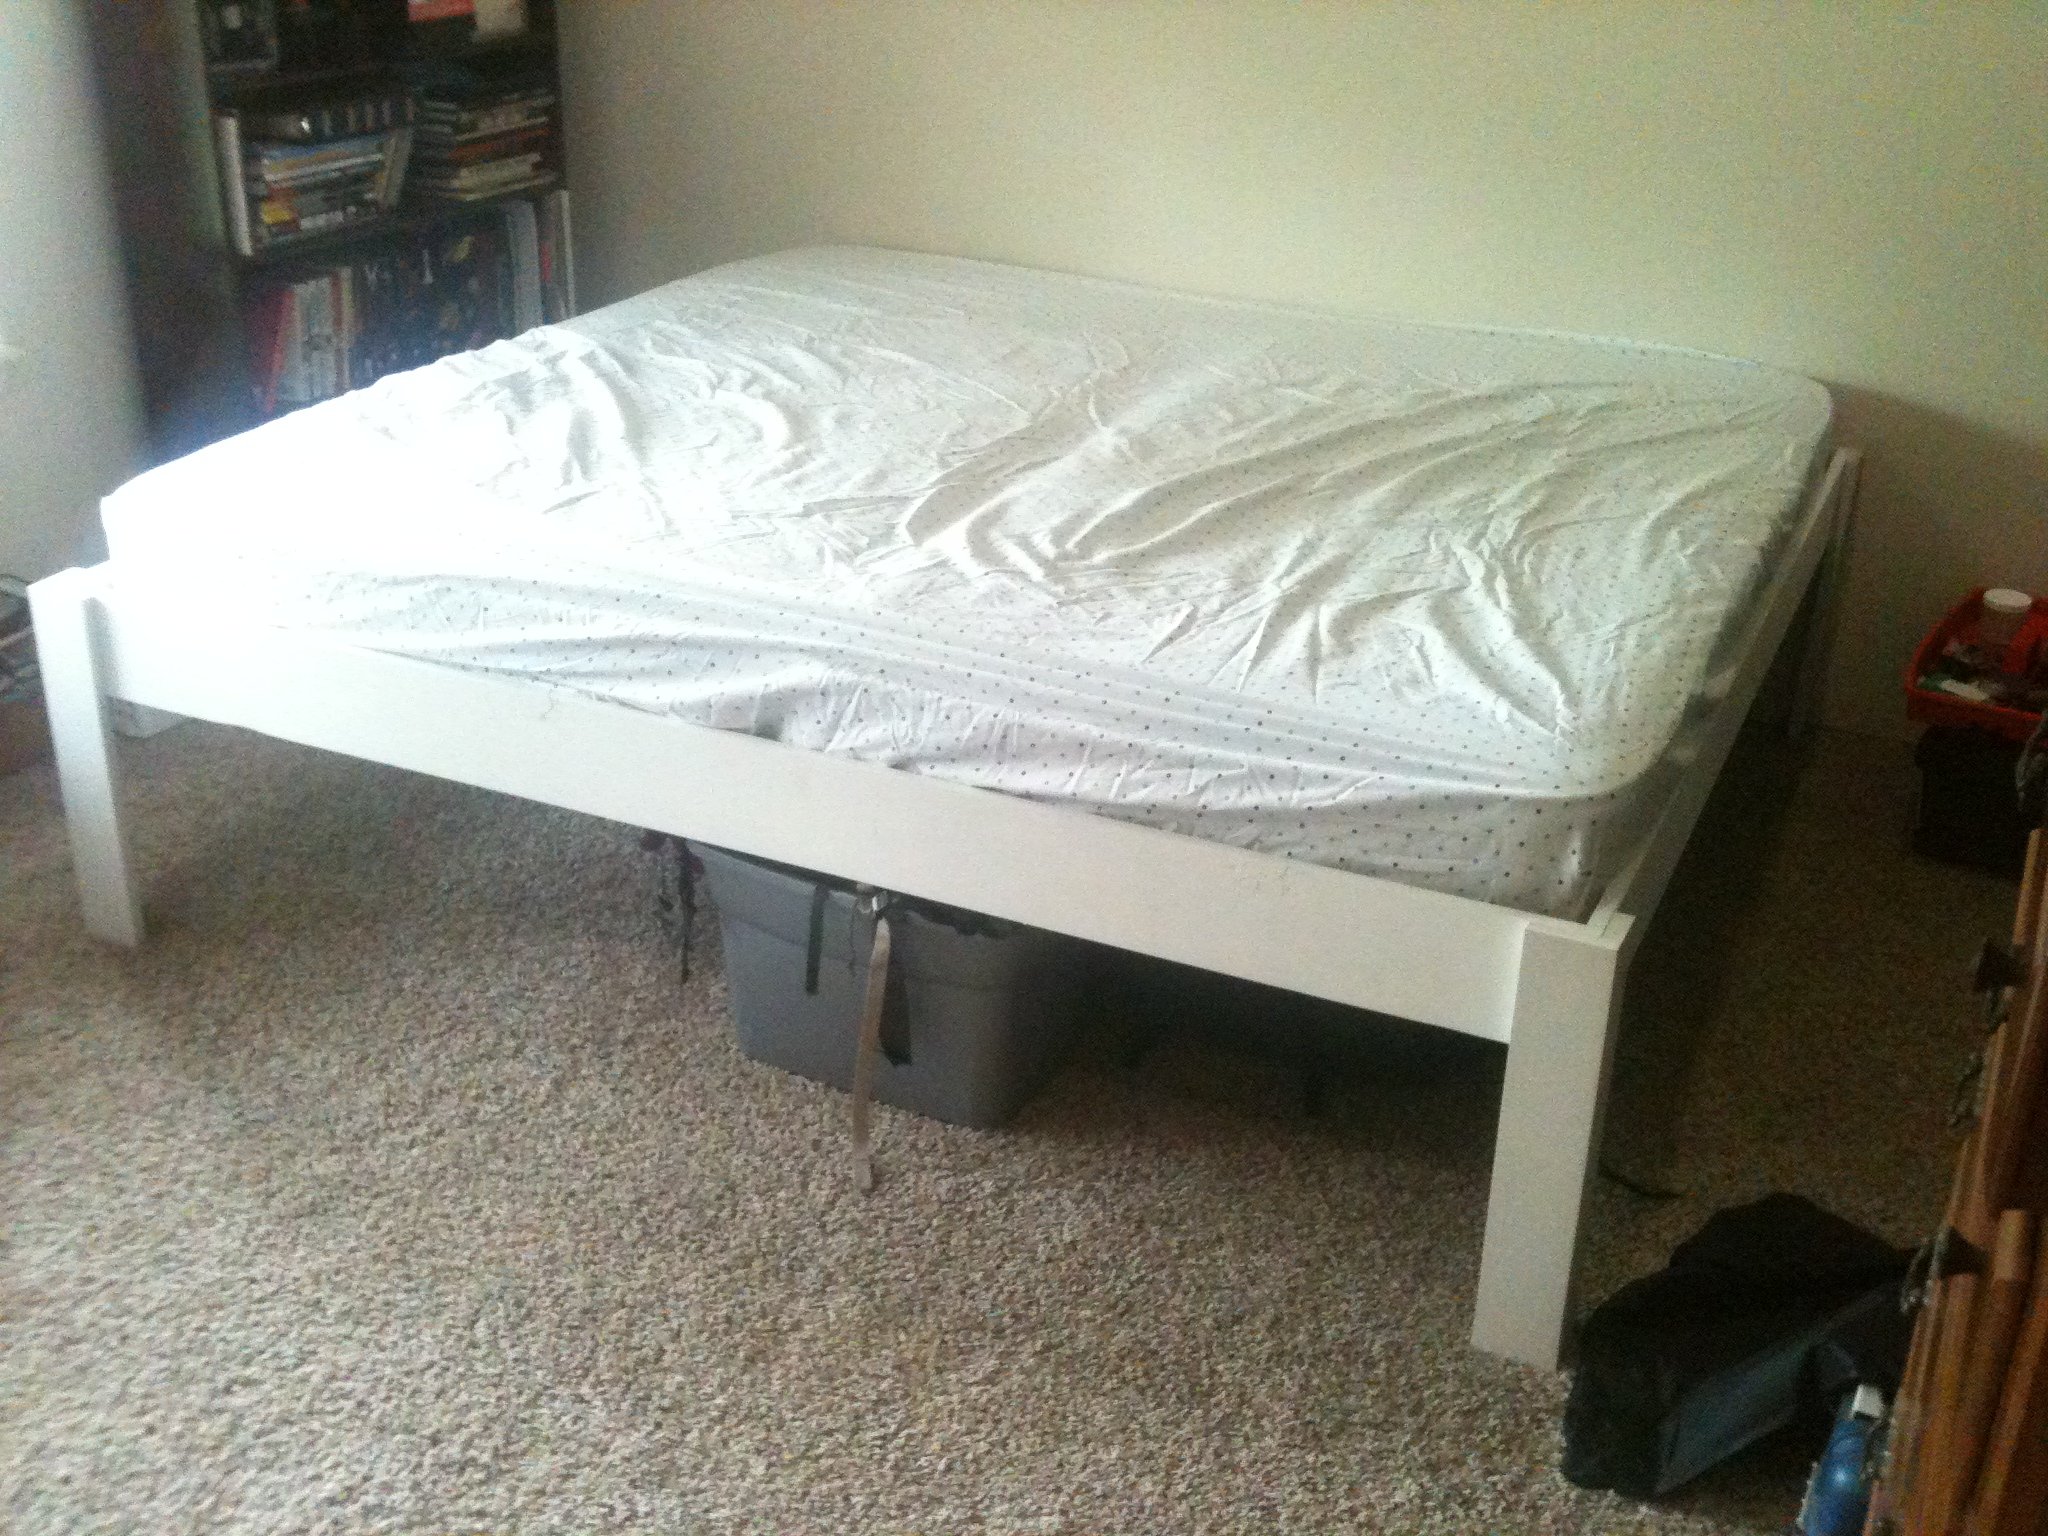
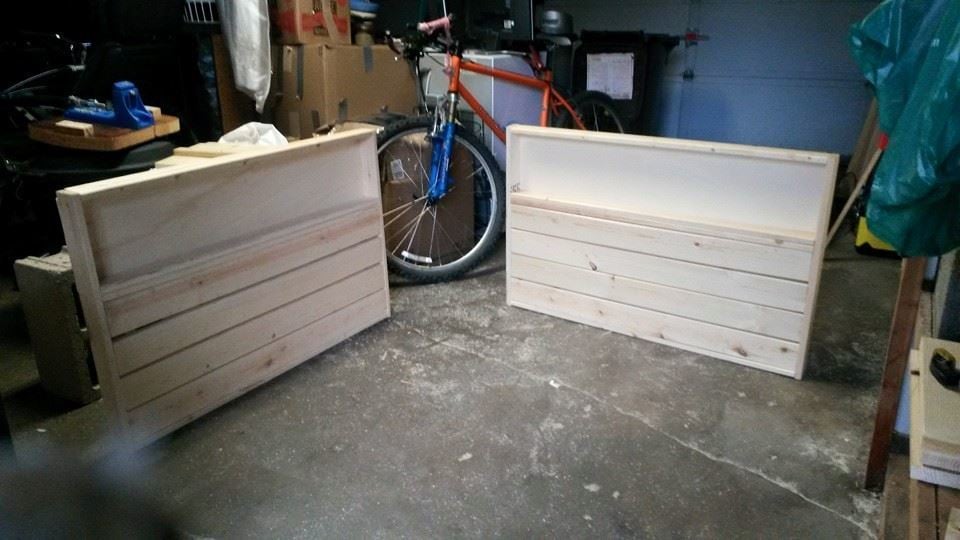
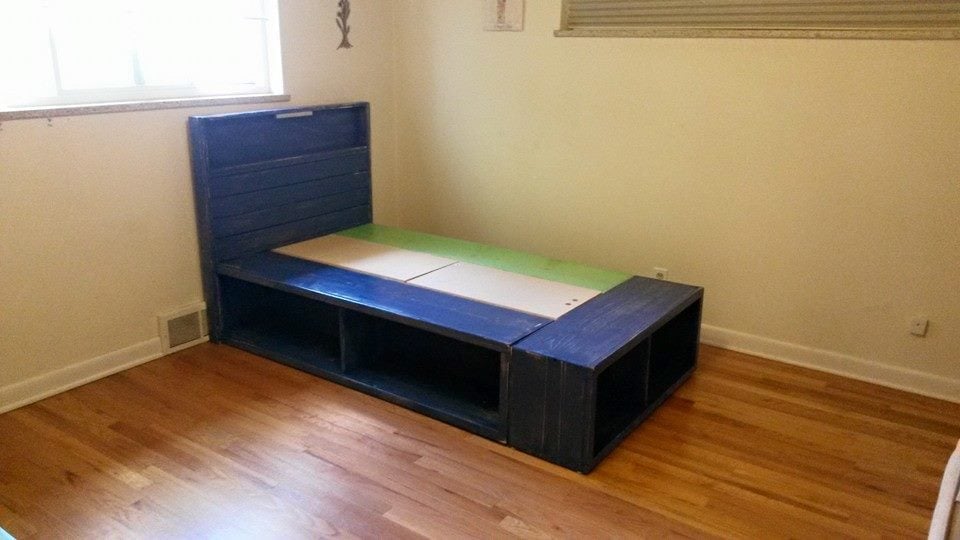
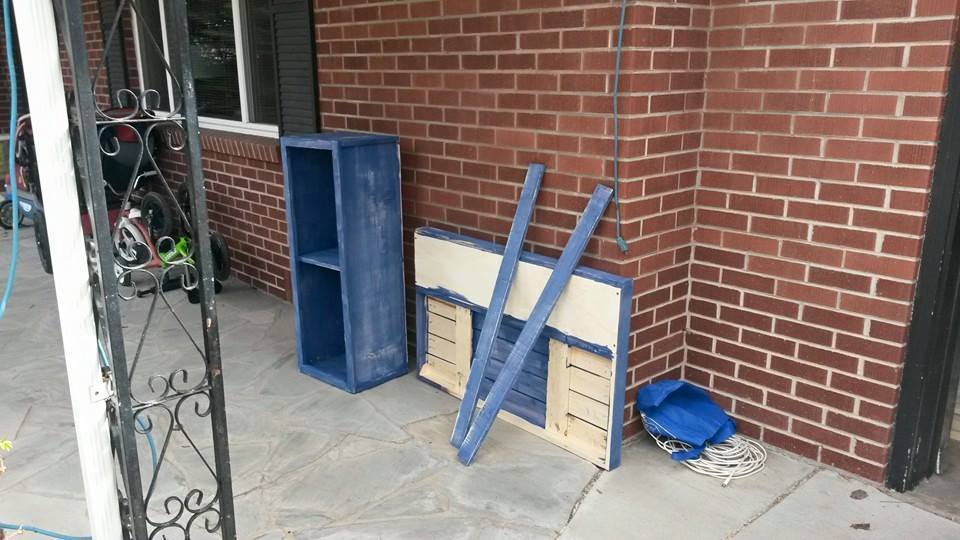
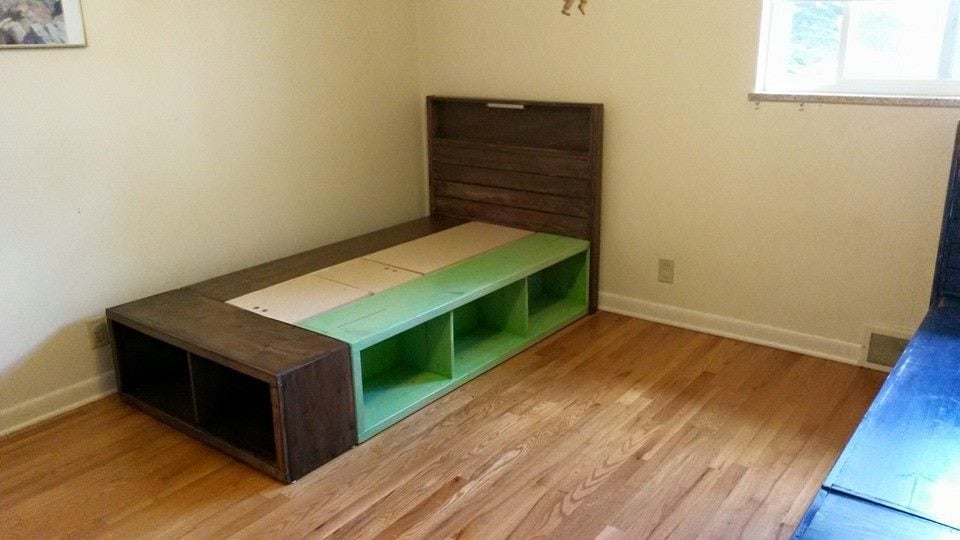
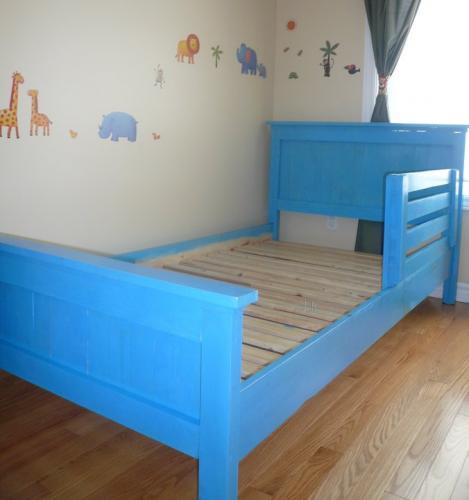
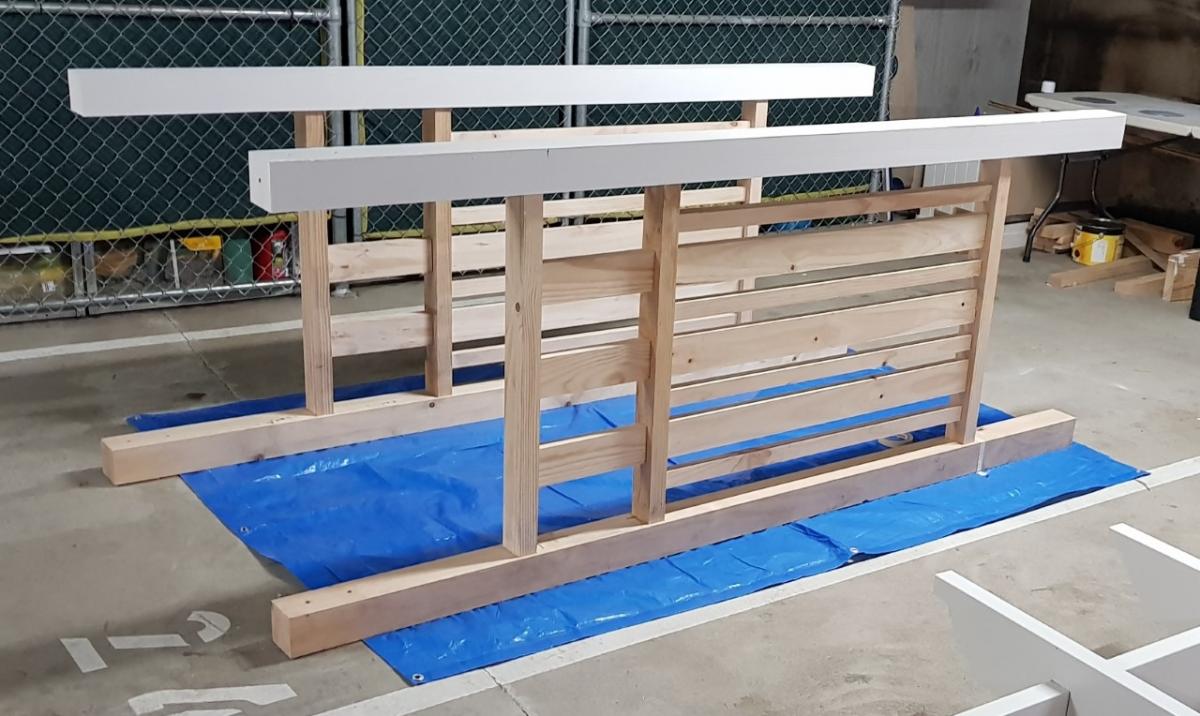
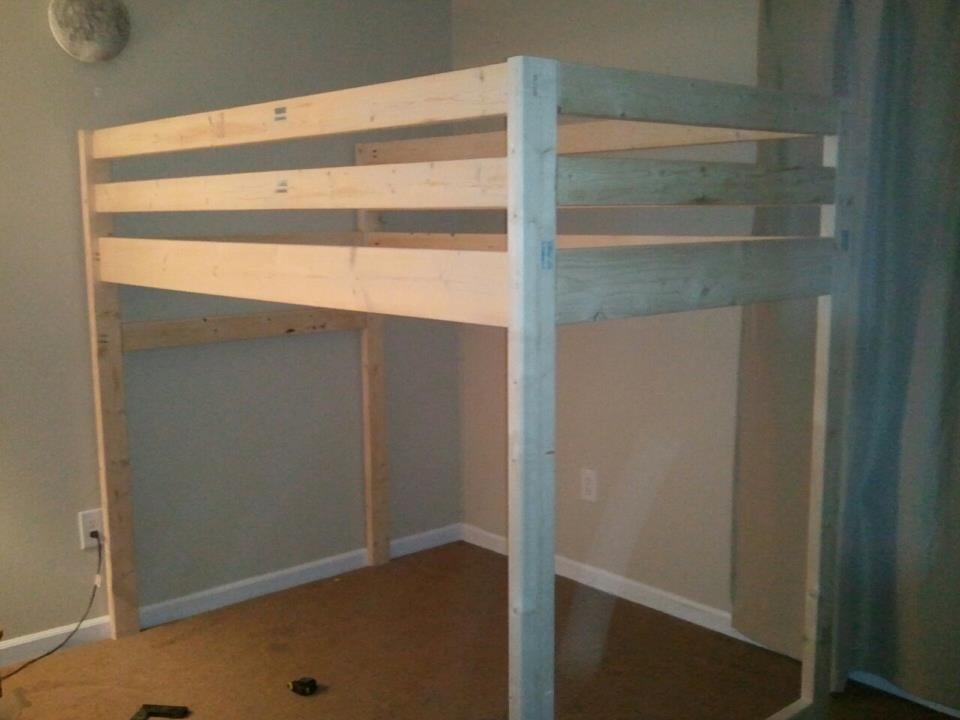
With a child on the way, our house has been undergoing some changes. We were in need of a guest bedroom for family members and needing to store my wife's childhood twin bed with a hidaway twin underneath that was set up in the room that would become the nursery. We also needed to clean all the backpacking gear out of the closet in the nursery room to get ready for it to be taken over by all the baby stuff. I decided a "King-sized" bed out of the two twin mattresses would be a good solution as it would keep us from "storing" the two mattresses and meet the guest bed need. After I came across the plans for the fancy farmhouse bed, I knew if i just added some height to it, I could meet the storage need too! There's 14'' on my version of the fancy farmhouse bed between the carpet and the rails, plenty of room for medium sized plastic tubs to slide in and out (as seen with the "test tub" in the picture. Under my bed there are currently 9 tubs, two large suit cases, a PA speaker, Power speaker head, a large double sleeping bag, and a little room for more. I'll try to add pictures when I finish the room out with night stands (wine crates mounted to the wall), a bedskirt, lamps, and a headboard. Once I got the wood home, it was a fast build. The slowest part was painting
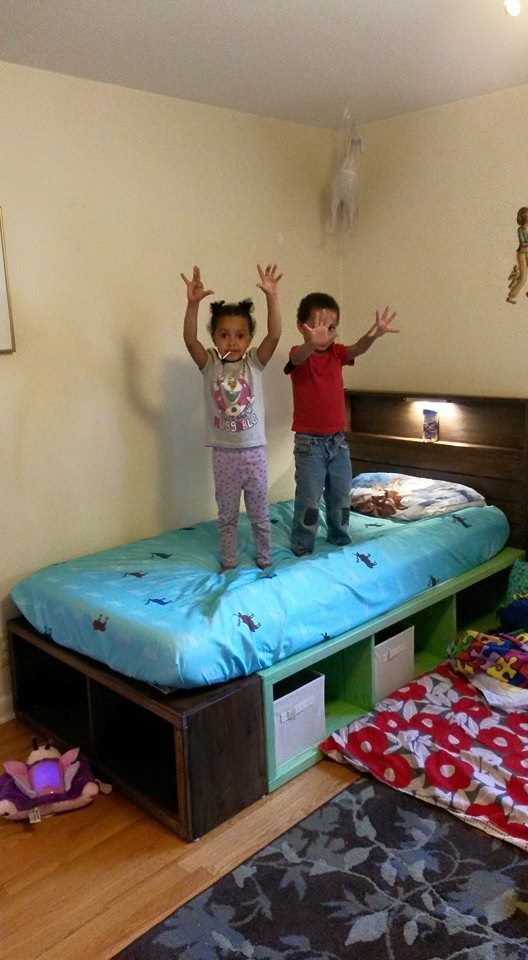
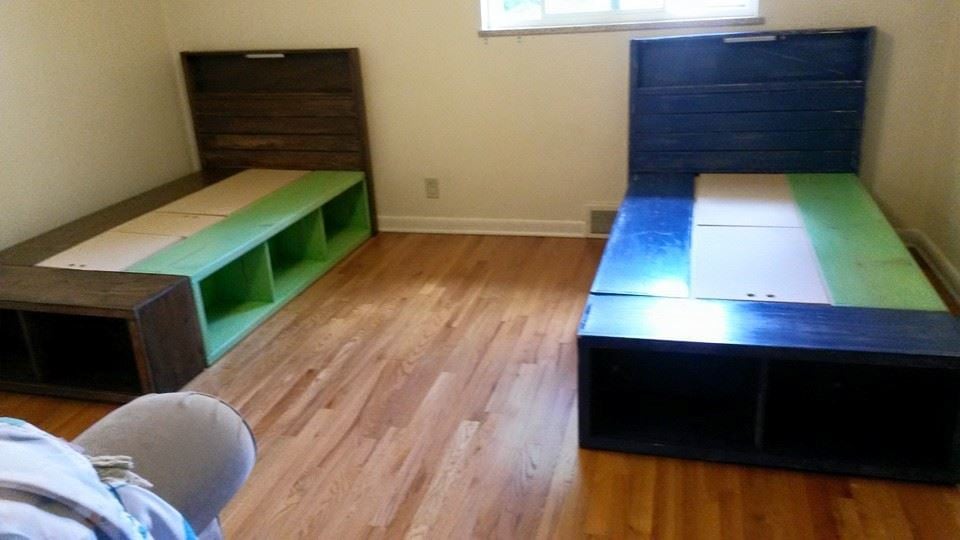
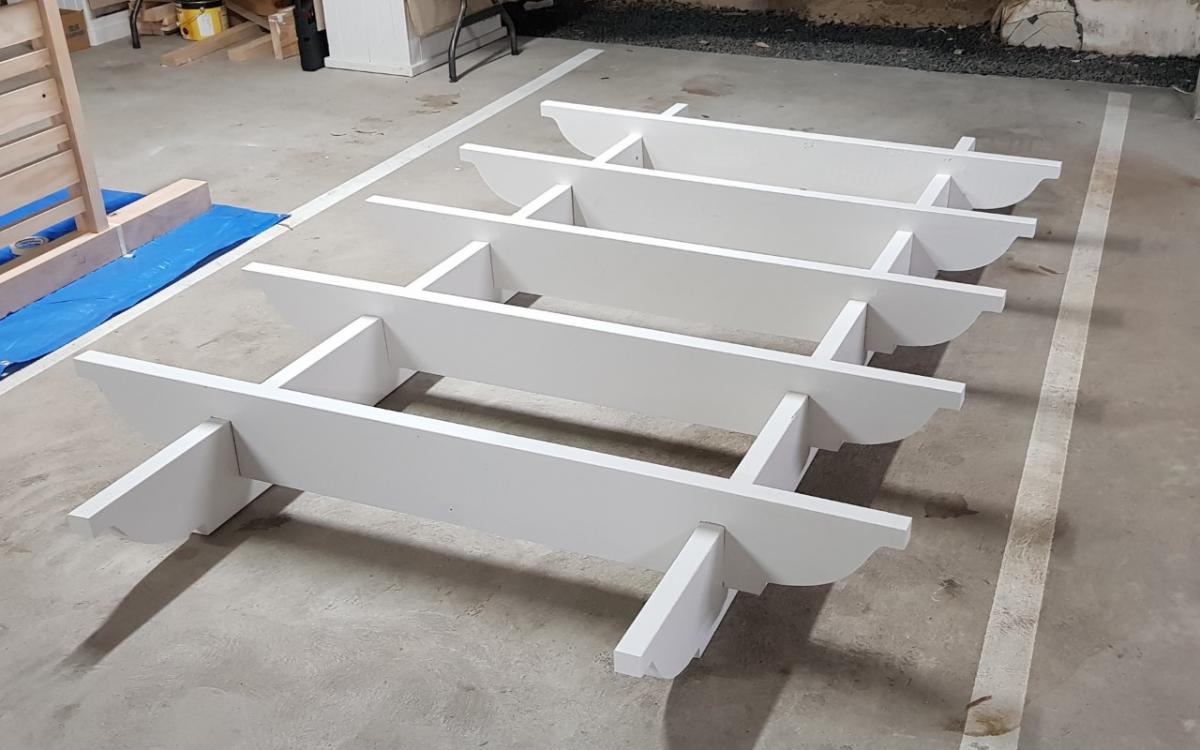
I built the Twin Storage Bed twice in a (very) full week of vacation. The project was big, but straightforward. The headboards are my own design, and are really strong with the addition of a 1x3 on the outsides to support.
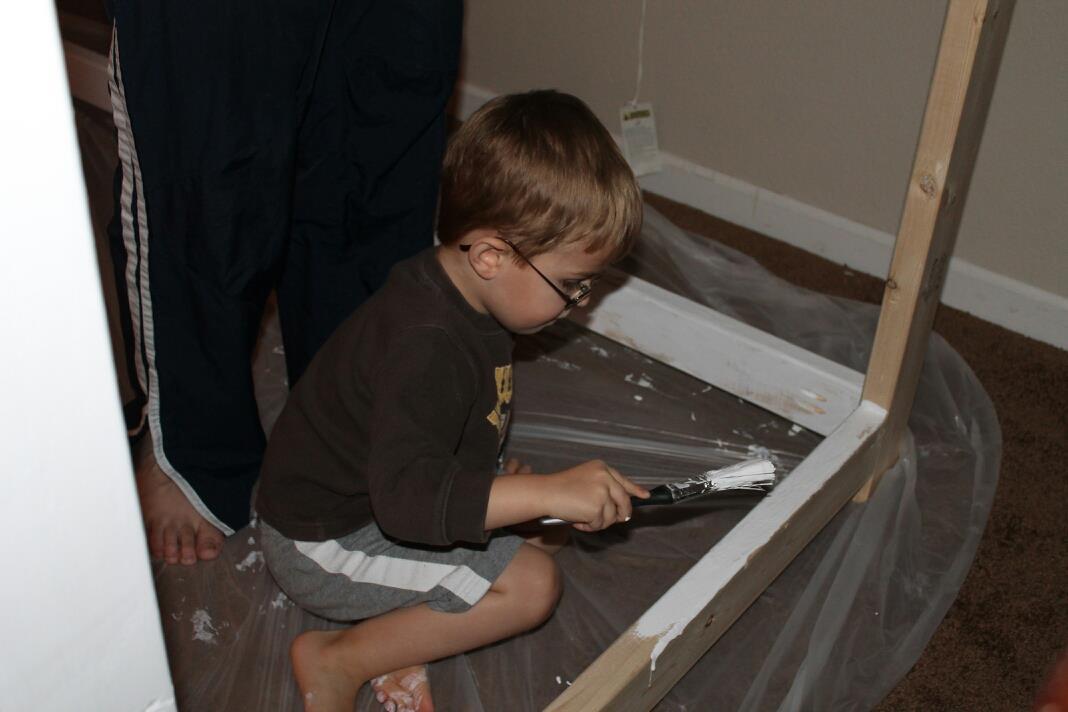
The kids were part of the building, so they were especially excited to sleep in them....over the week I was building them, we moved them out of cribs, onto the floor in crib mattresses, then to bigger mattresses, and finally to their big-kid beds.
What a great set of plans! The only glitch was that I cut the supports for the middle according to plan (15-1/2") and discovered when I assembled the beds they were a little too short for comfort. So I used them to add to the piece on the back of the long boxes, and used pre-fab particle board to make the cover, which probably works better with our foam mattresses anyway. I drilled a couple of holes in the smaller of the particle board sheets to make it easy to lift off and use the middle for storage of some items.
Thanks for the support to do my first big project!
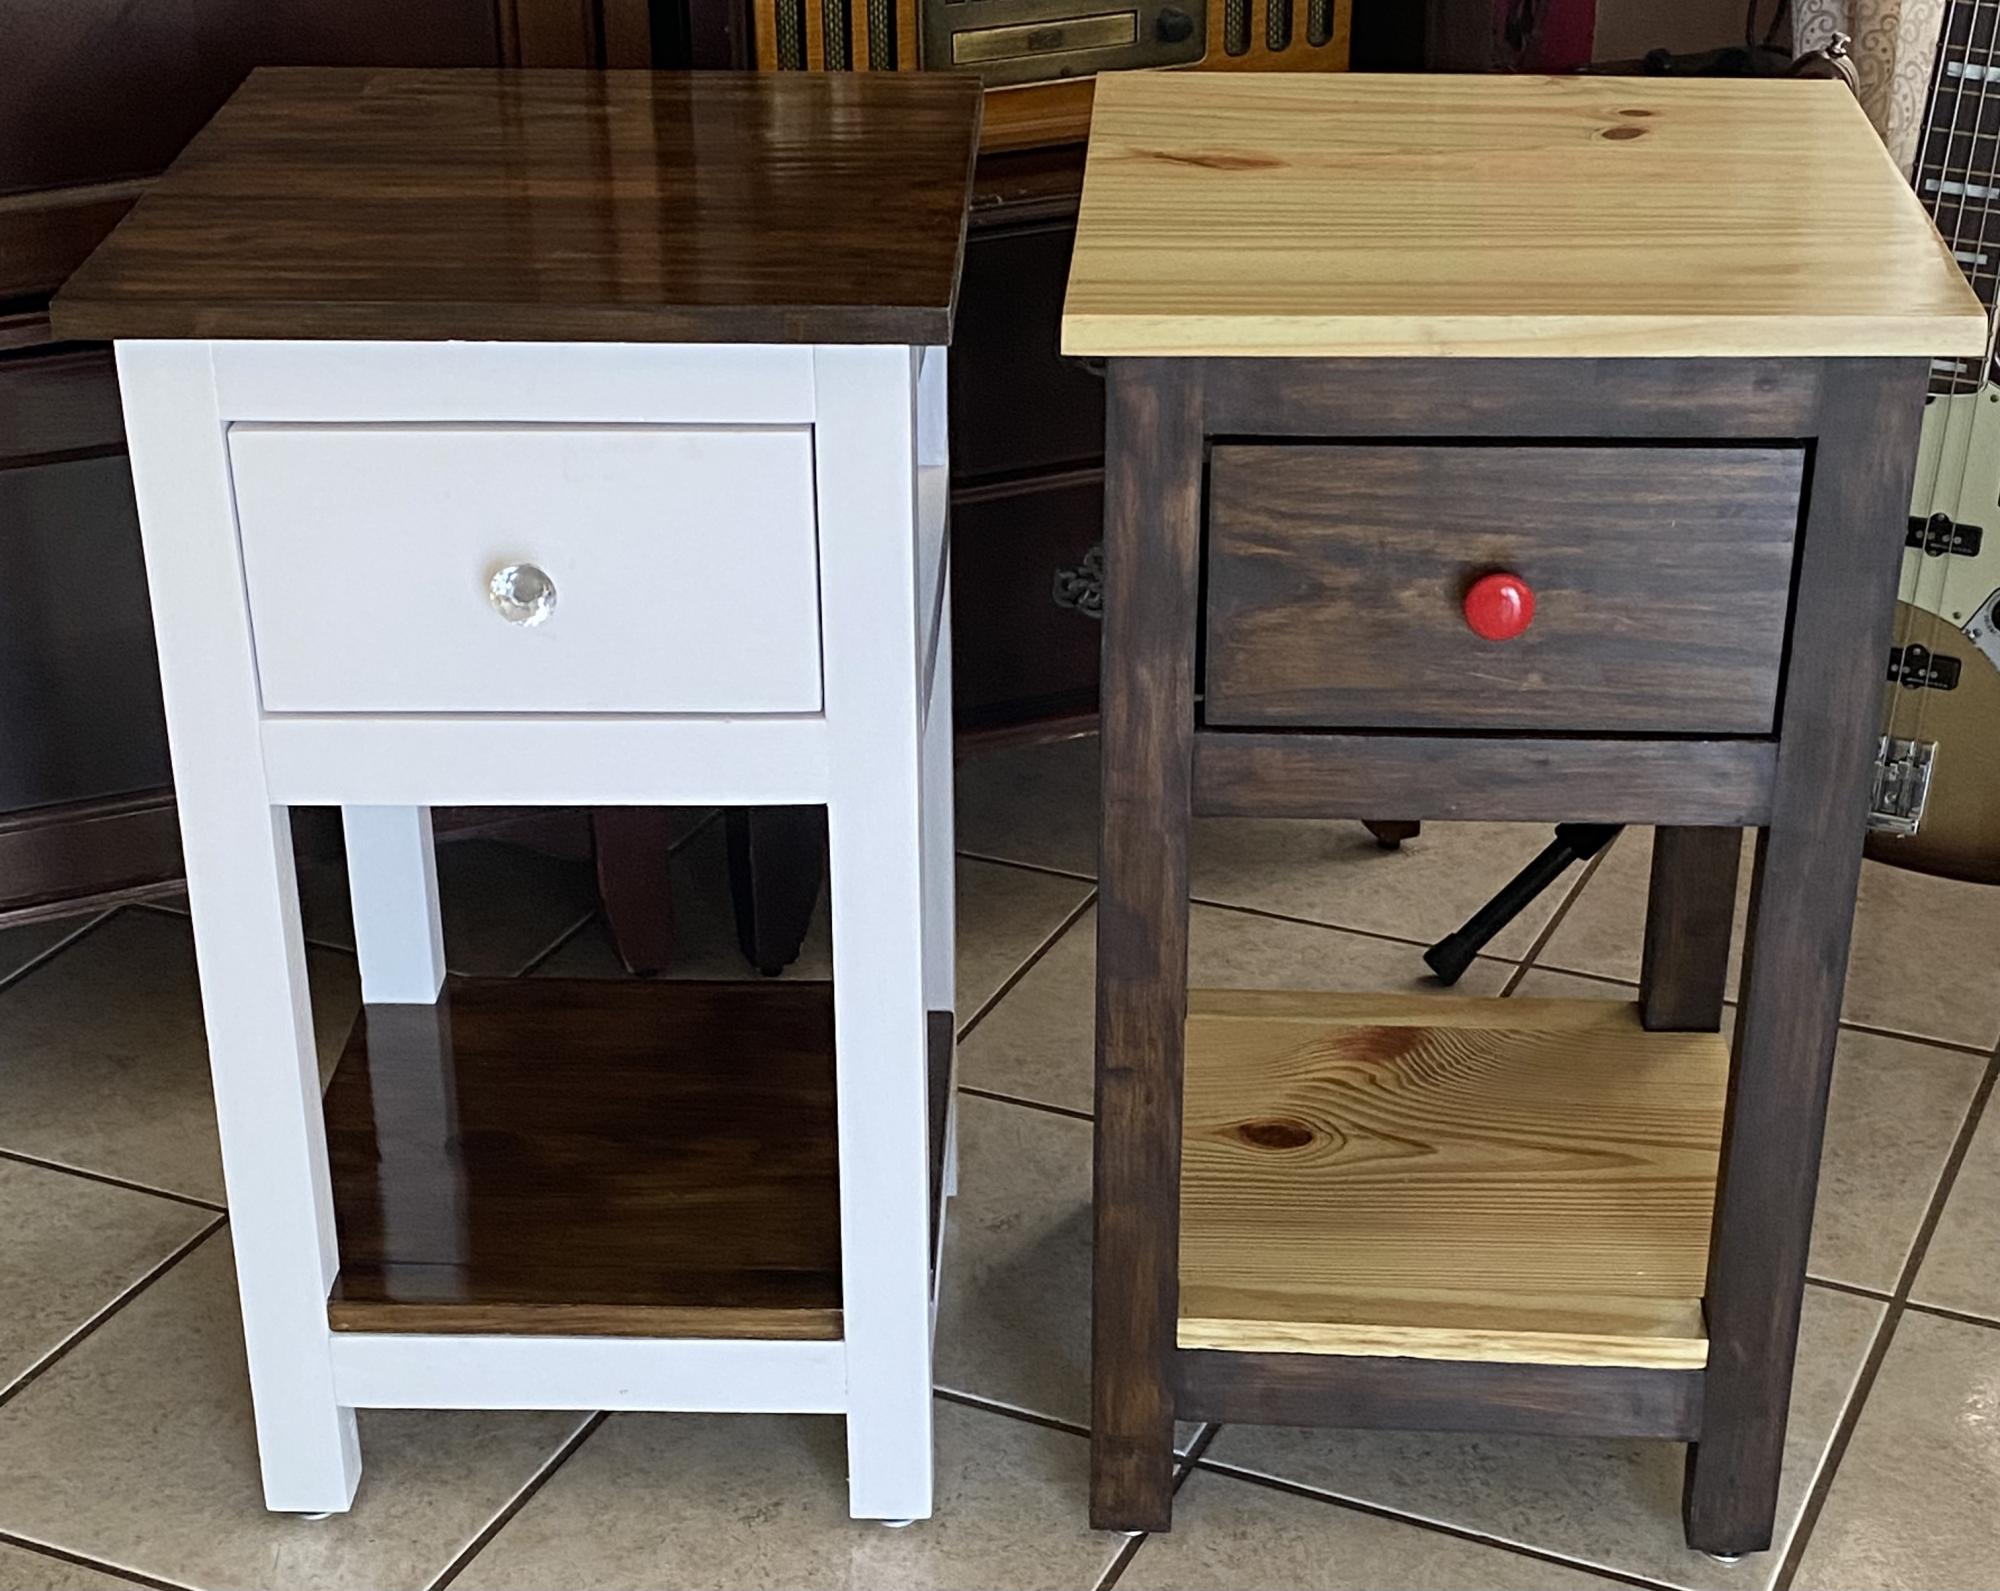
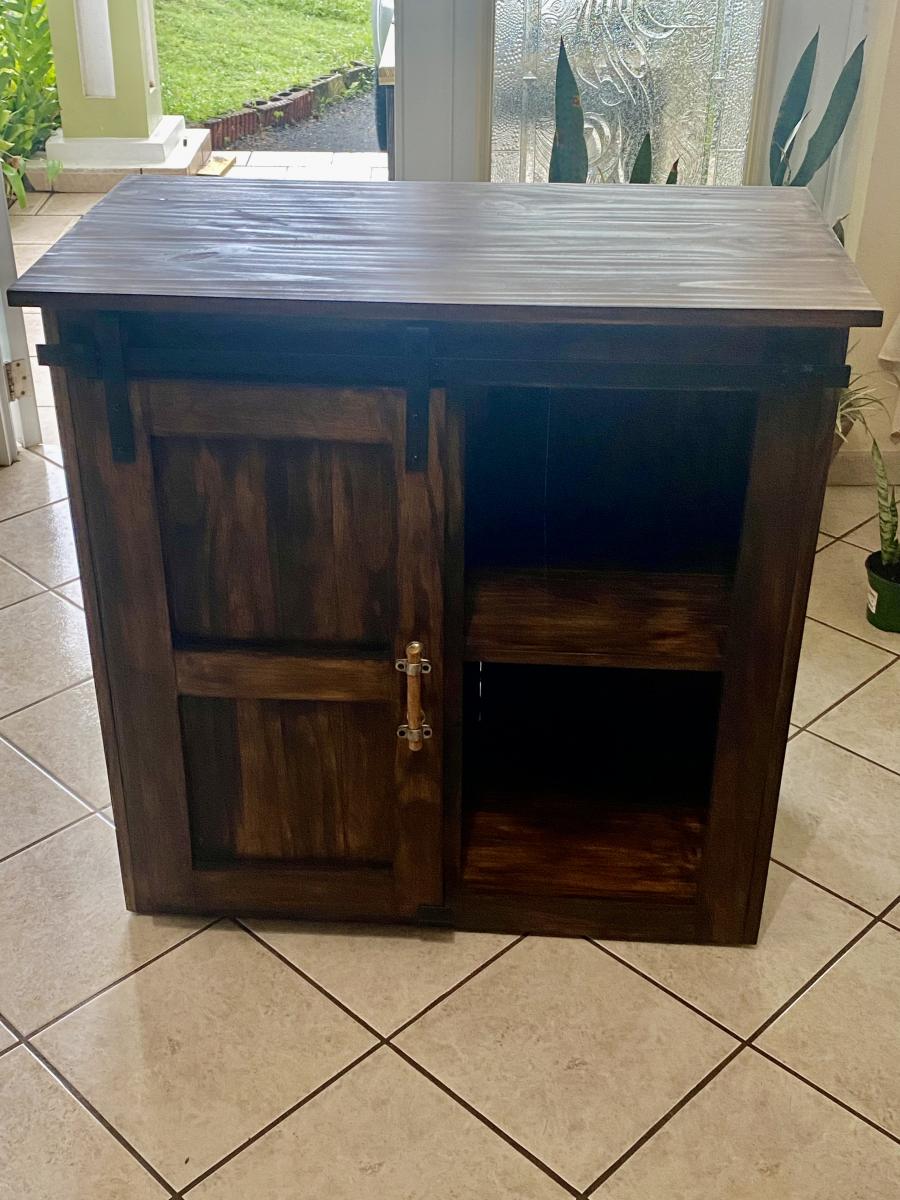
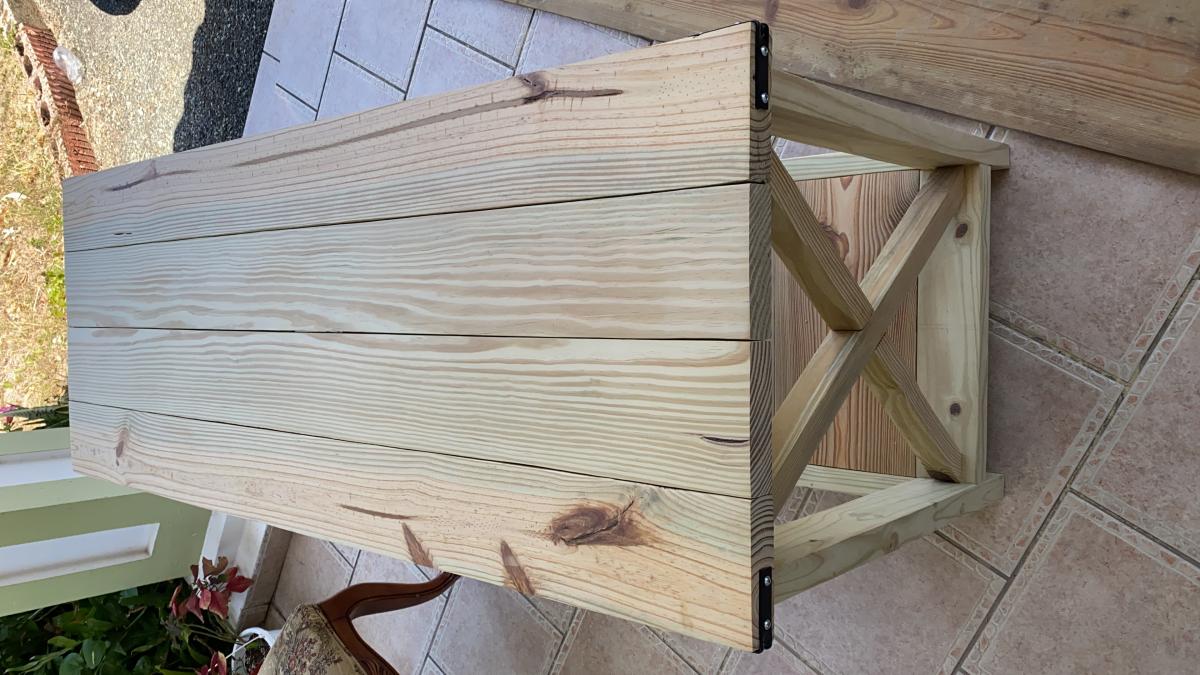
I have built various projects. A work table, a barn door cabinet and couple of Farmhouse nightstands for my grandson and granddaughter. It was fun!!
Just finished the Twin-sized Farmhouse bed, I love the easy to do plans. The only power tools I used were a jigsay & drill.
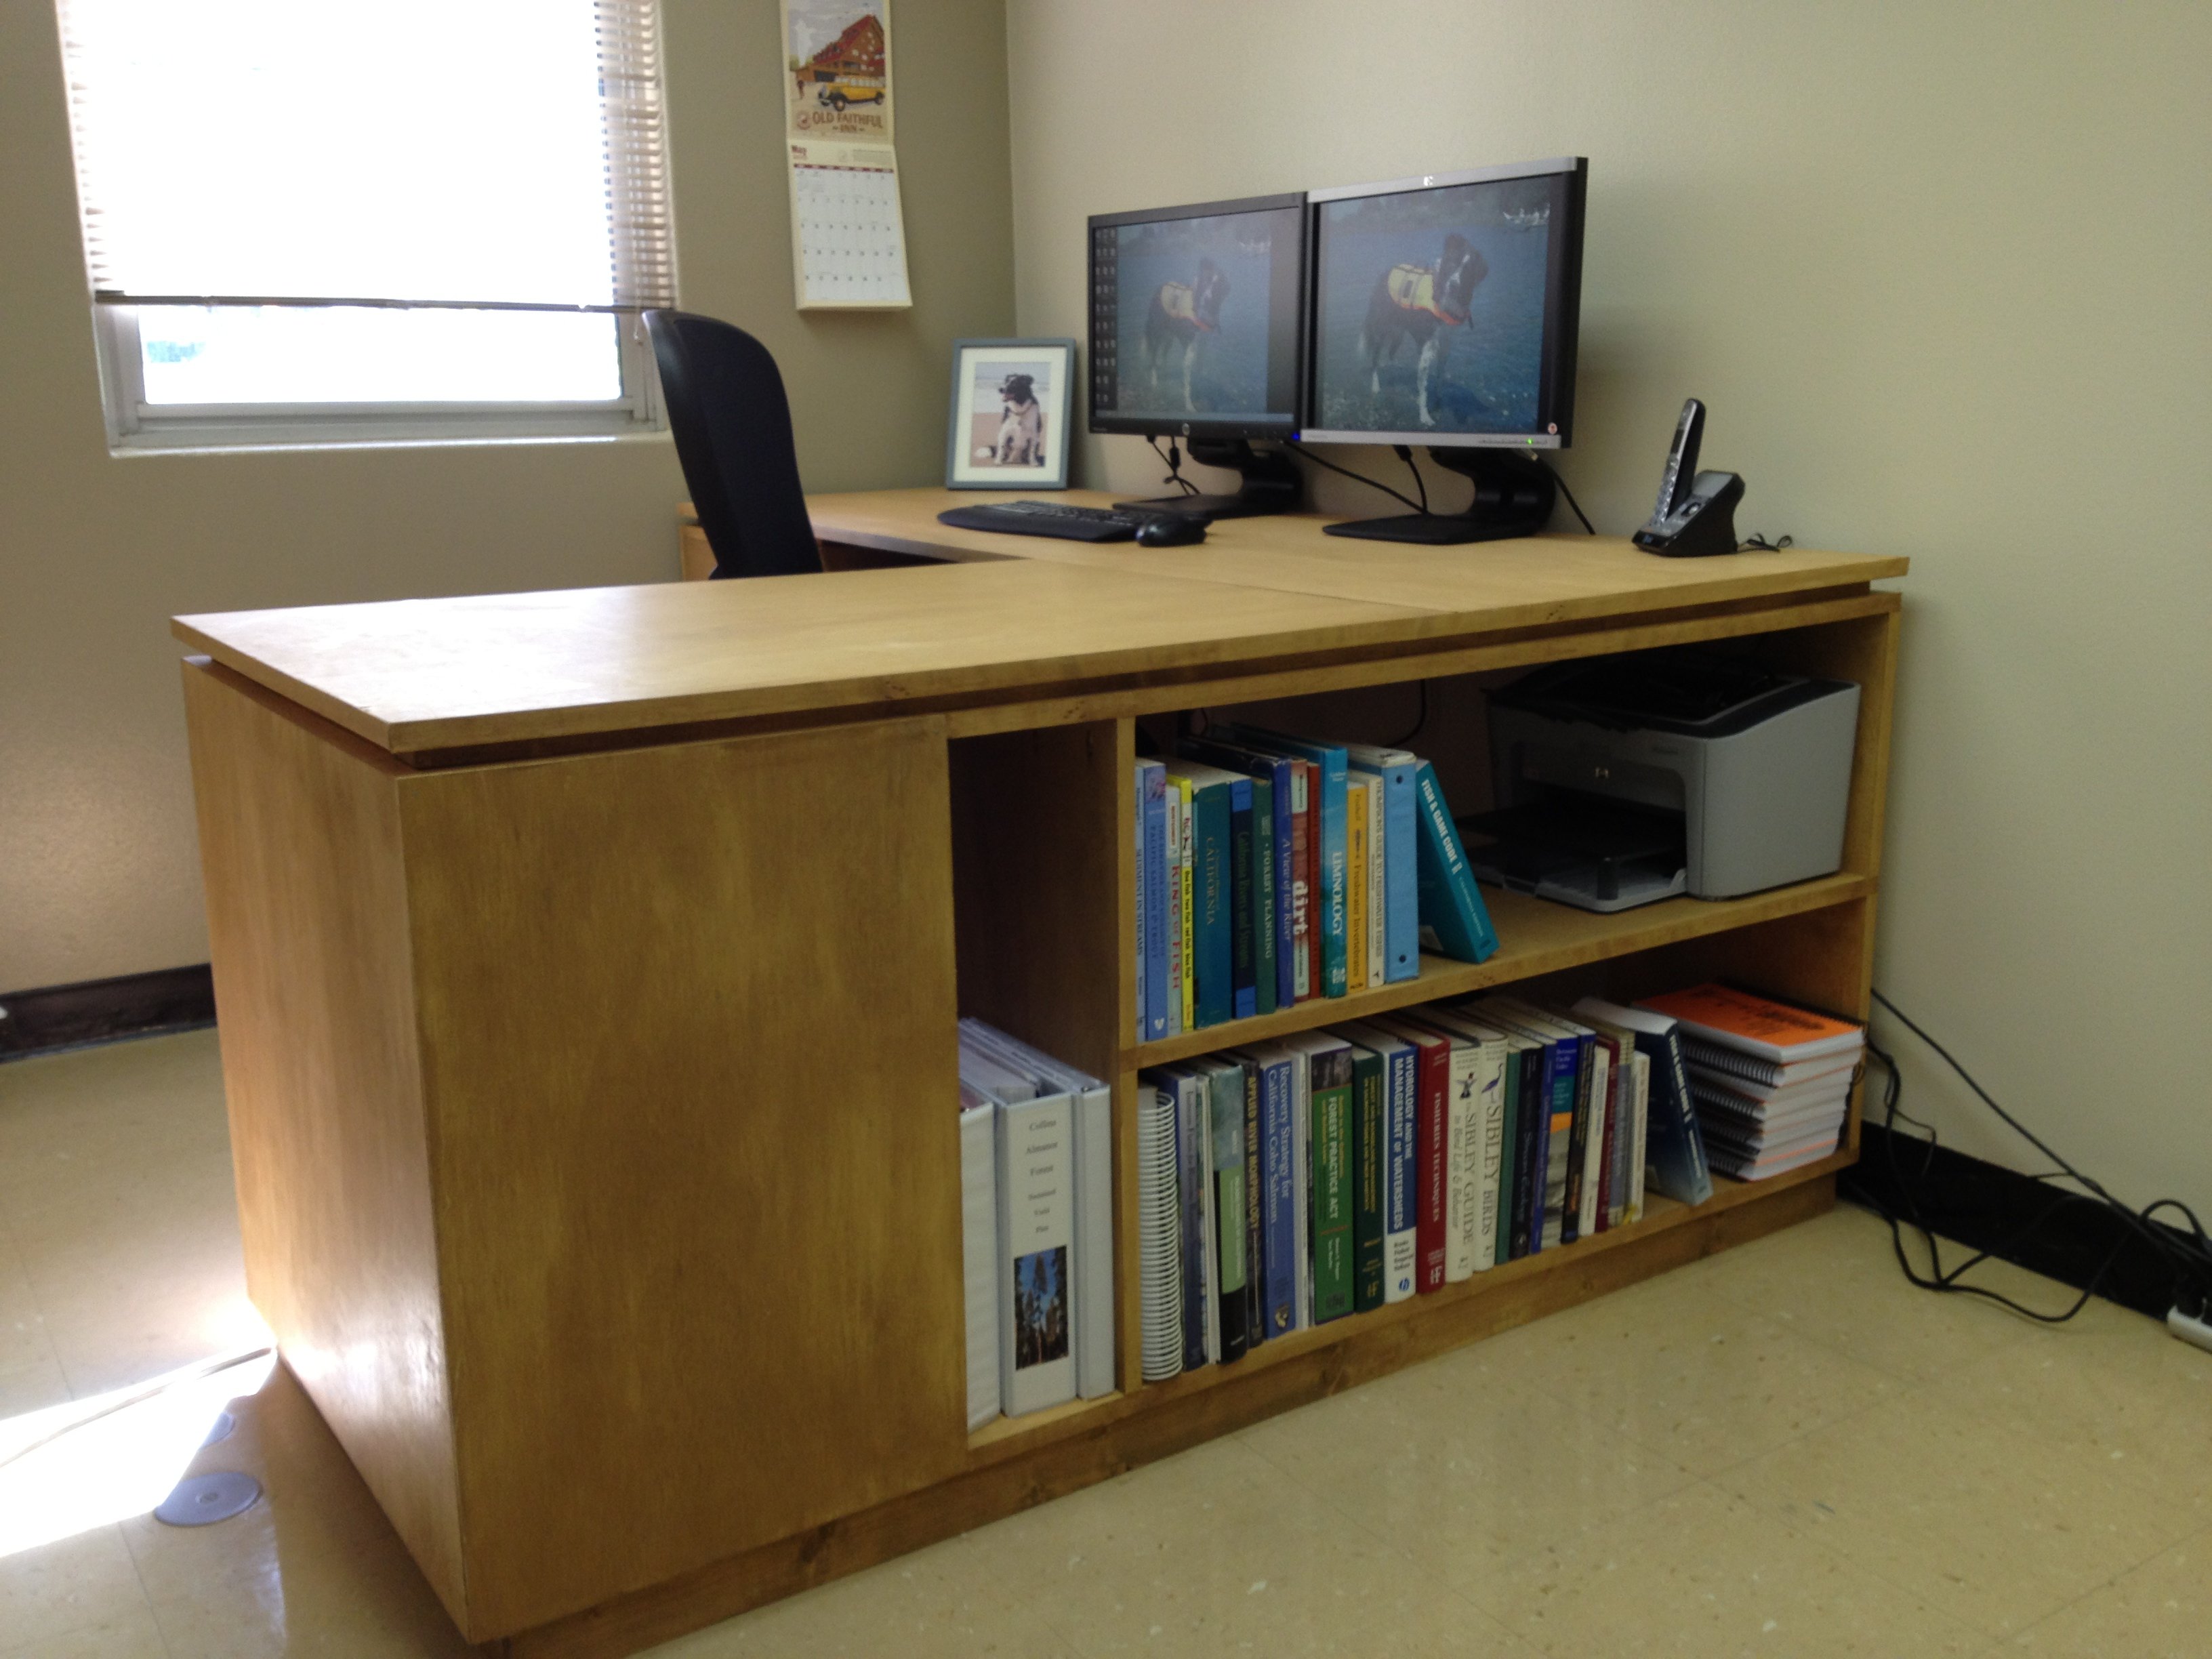
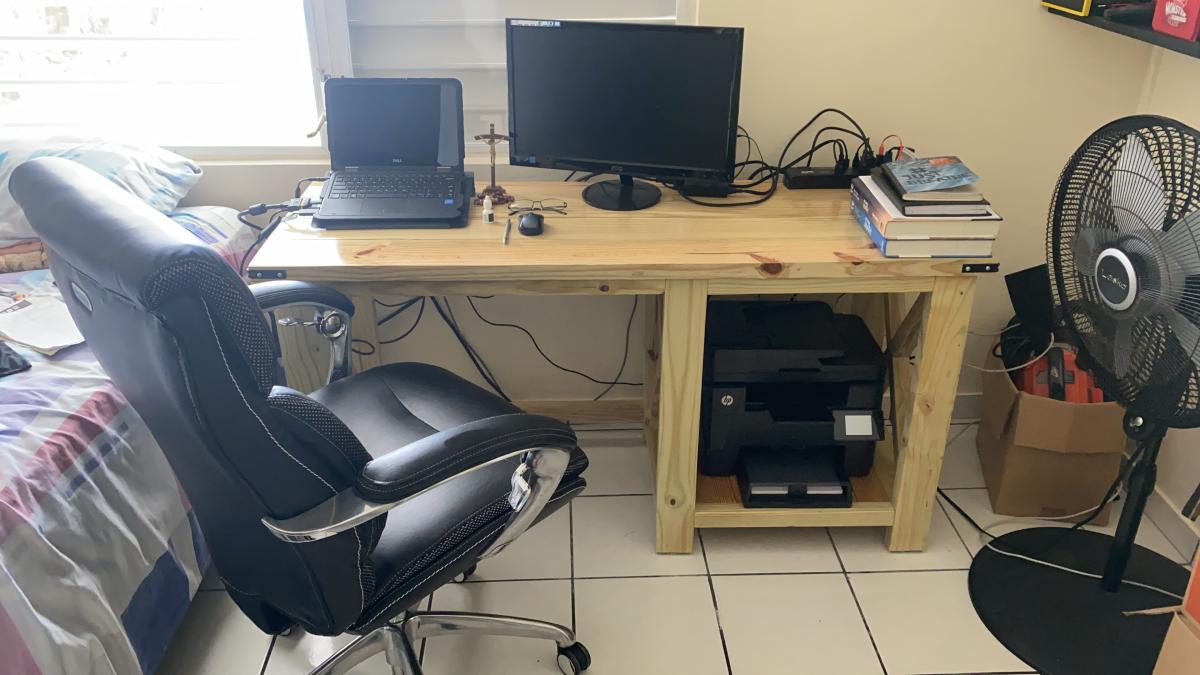
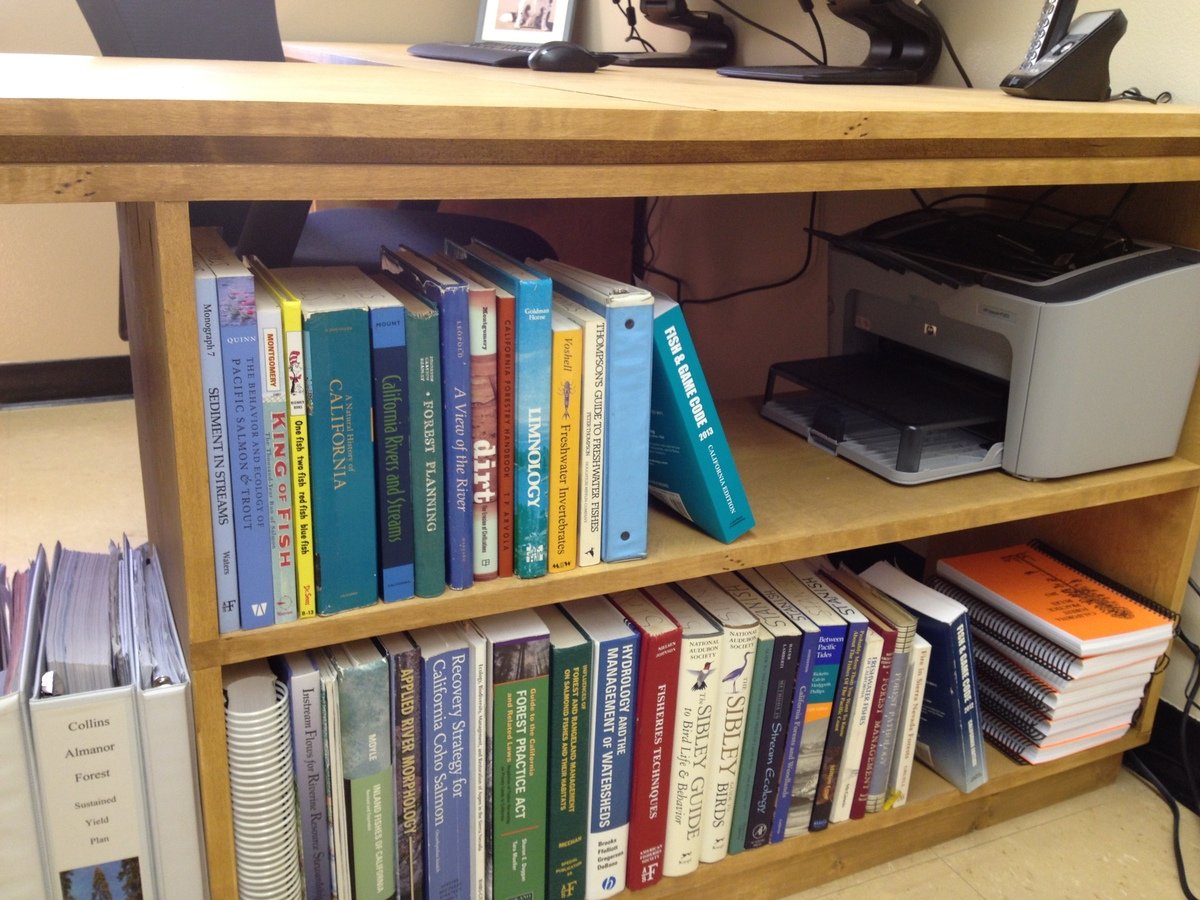
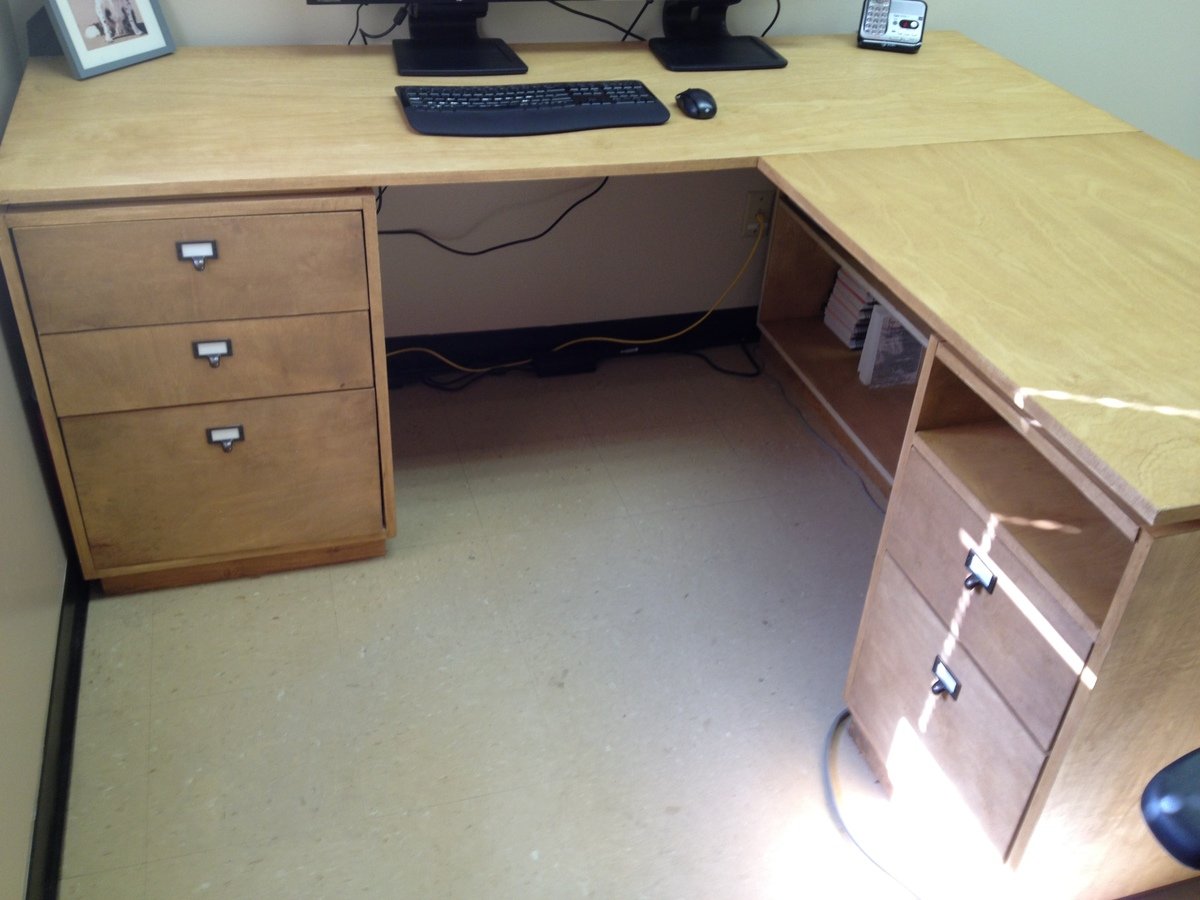
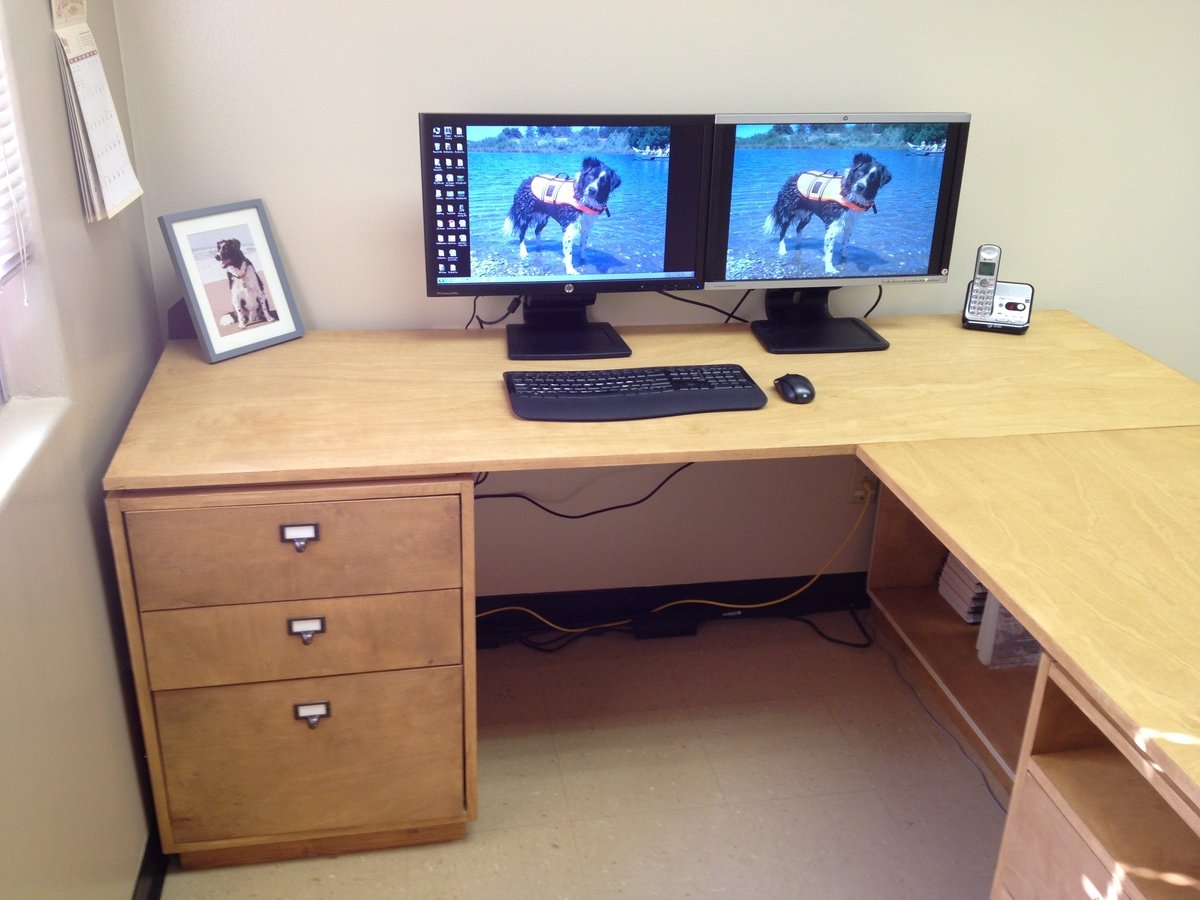
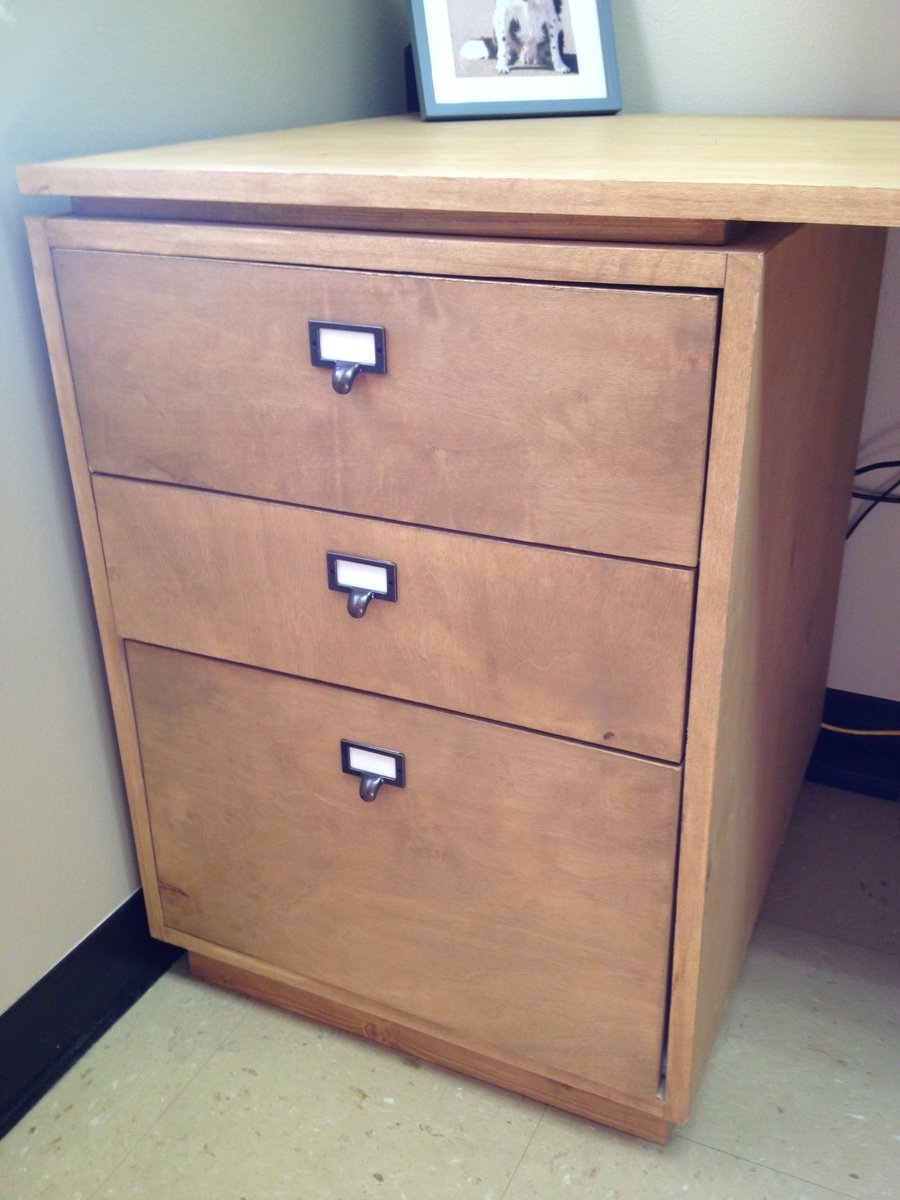
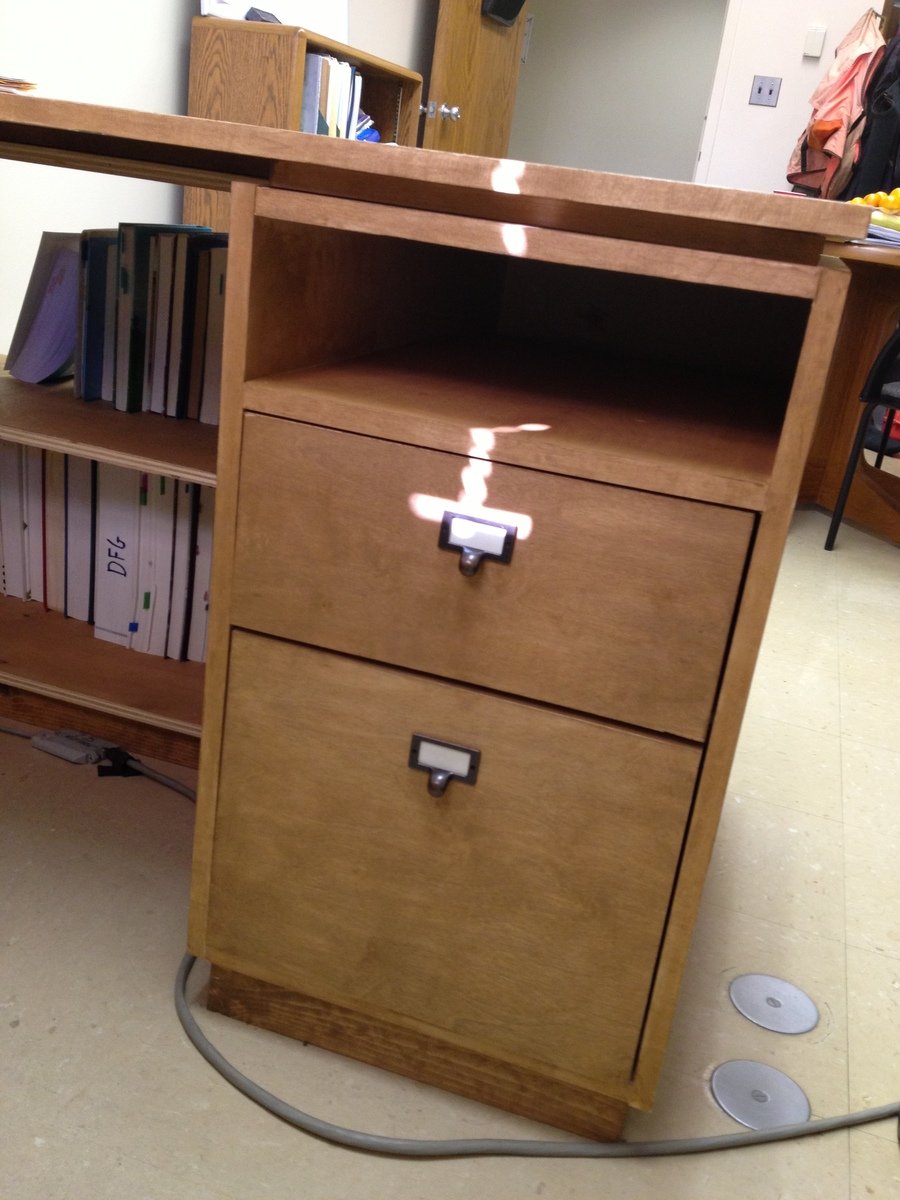
I've been meaning to build my own desk for my office and I wanted to stay true to the Eco Modular design. But, then I was offered a huge promotion with a larger office in a city 3 hours away. The space already had the "executive style" desk made by prison industries, so I thought I would replace it with with the "executive style" based off the Eco Modular design. I used Purebond plywood, cut all of the pieces at my house, put them in my car, drove them 3 hours to the new office, and crossed my fingers that it would all fit...and it did! The drawer faces were a bit more of a challenge, getting everything sized properly, but it's all come together. I like having the shelf on the one side to get my printer off the desktop. More room to spread out.
Just a classic looking tv stand. Way cheaper than buying at the store....
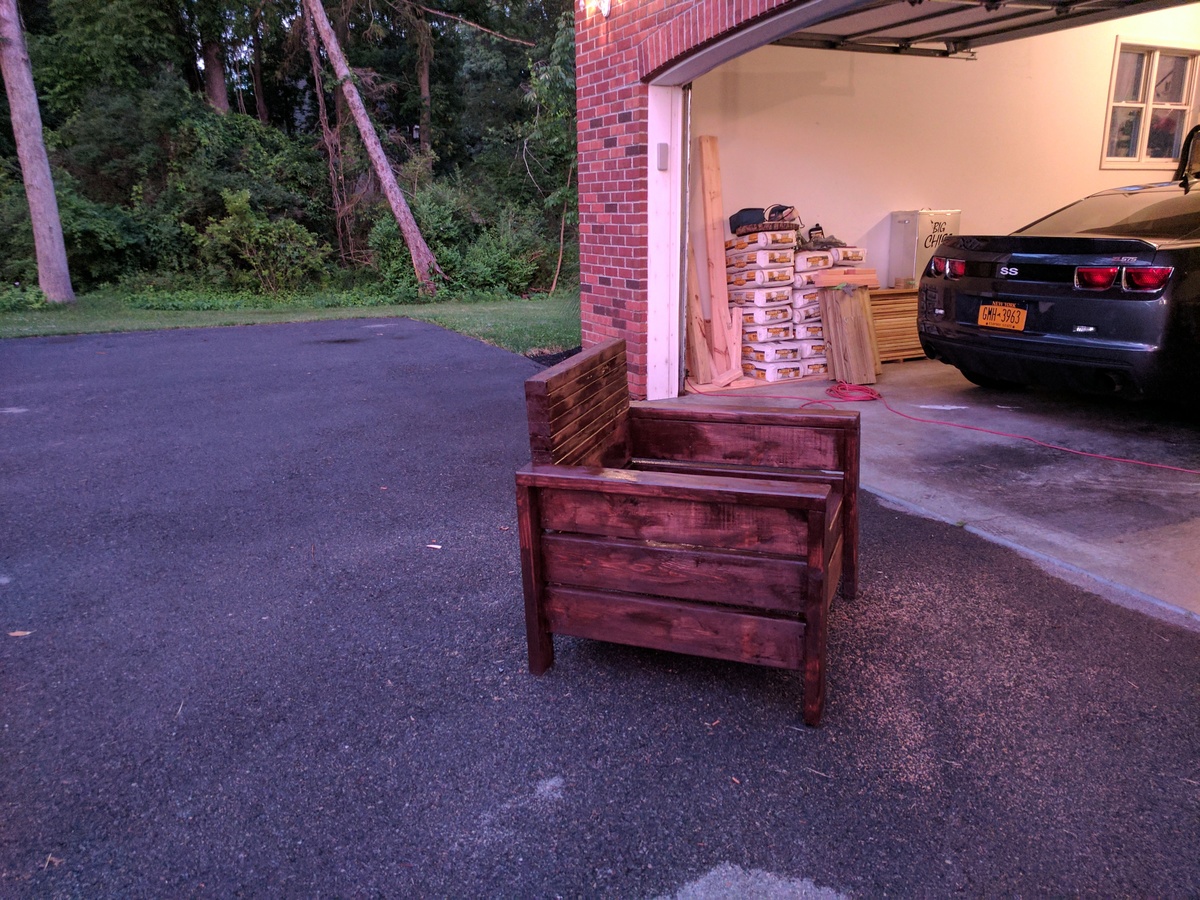
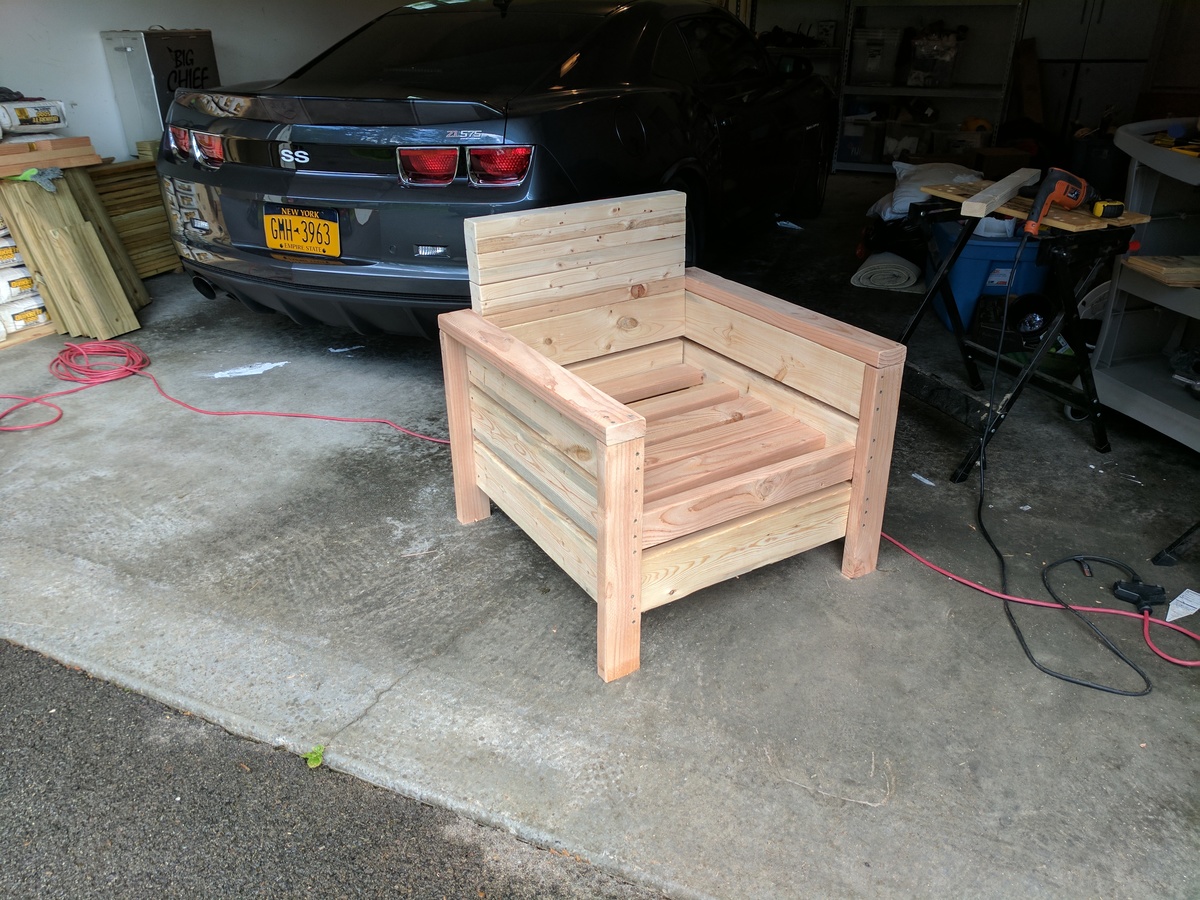
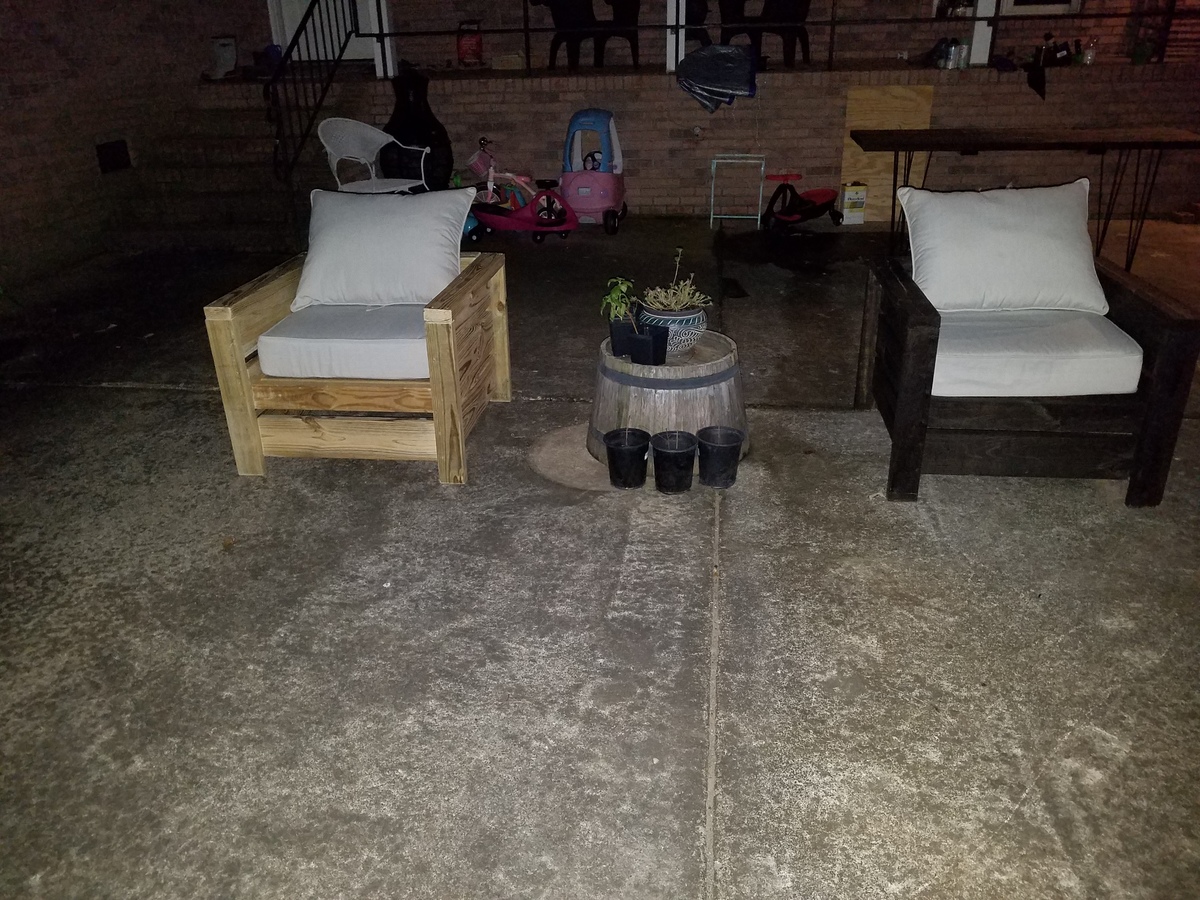
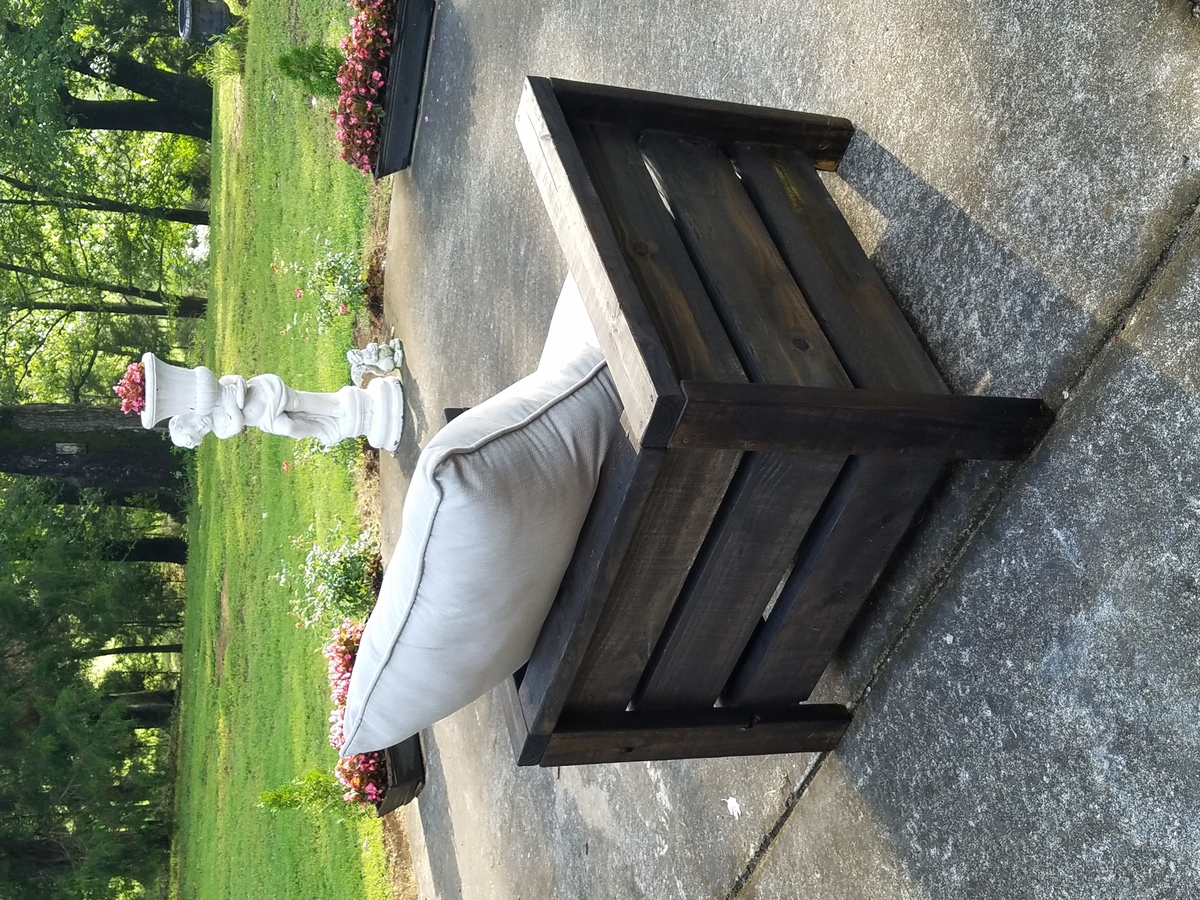
I'm making this for my wife, I added a little Riser on the back because it won't be leaning up against the house and I didn't feel back was high enough.
If you find yourself in the 6-foot range I would recommend increasing the leg height and adding a 4th 2x6 or even a 5th to increase the bsckrest.
My daughter found this plan on the Ana White website and now, we have made 3 tables total. Pictured is the 2nd one we built together and is currently in her house now.
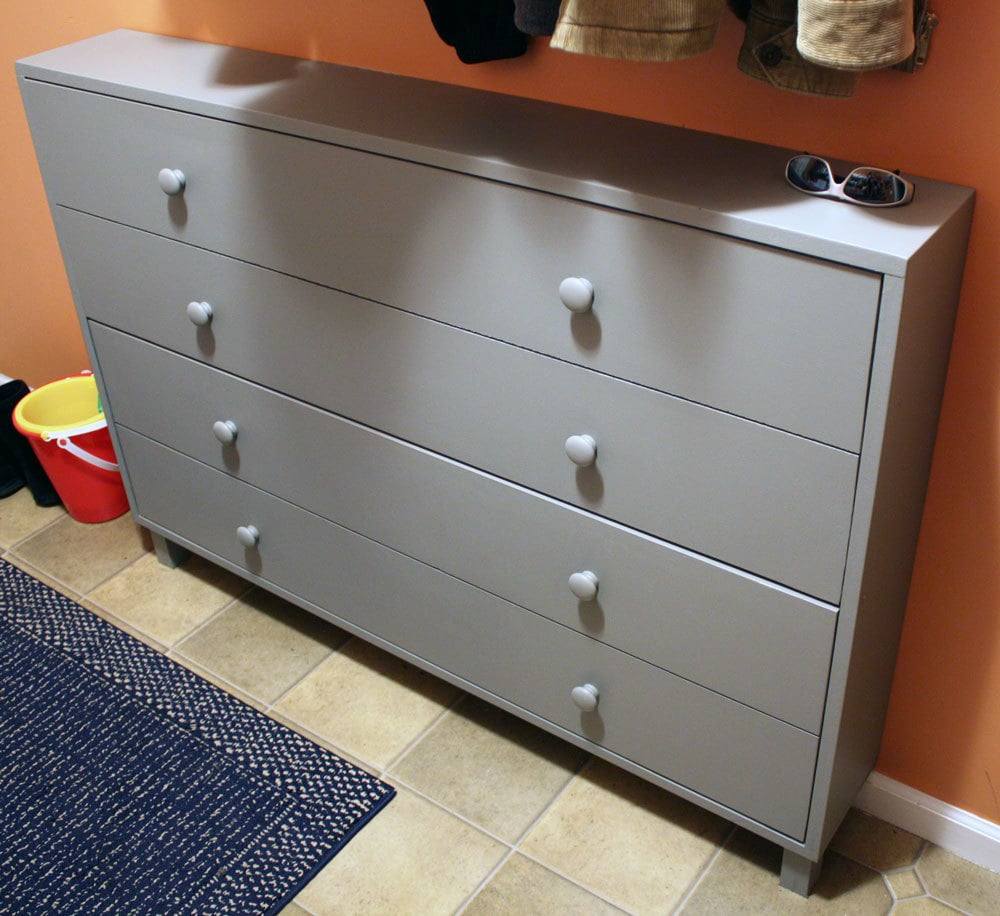
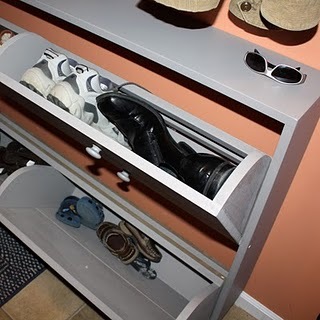
We have two young kids who don't want to take their shoes and put them away (as well as two adults who are the same way) so I asked my hubby to make Ana's shoe dresser. He did a great job and we were so excited with how it turned out!
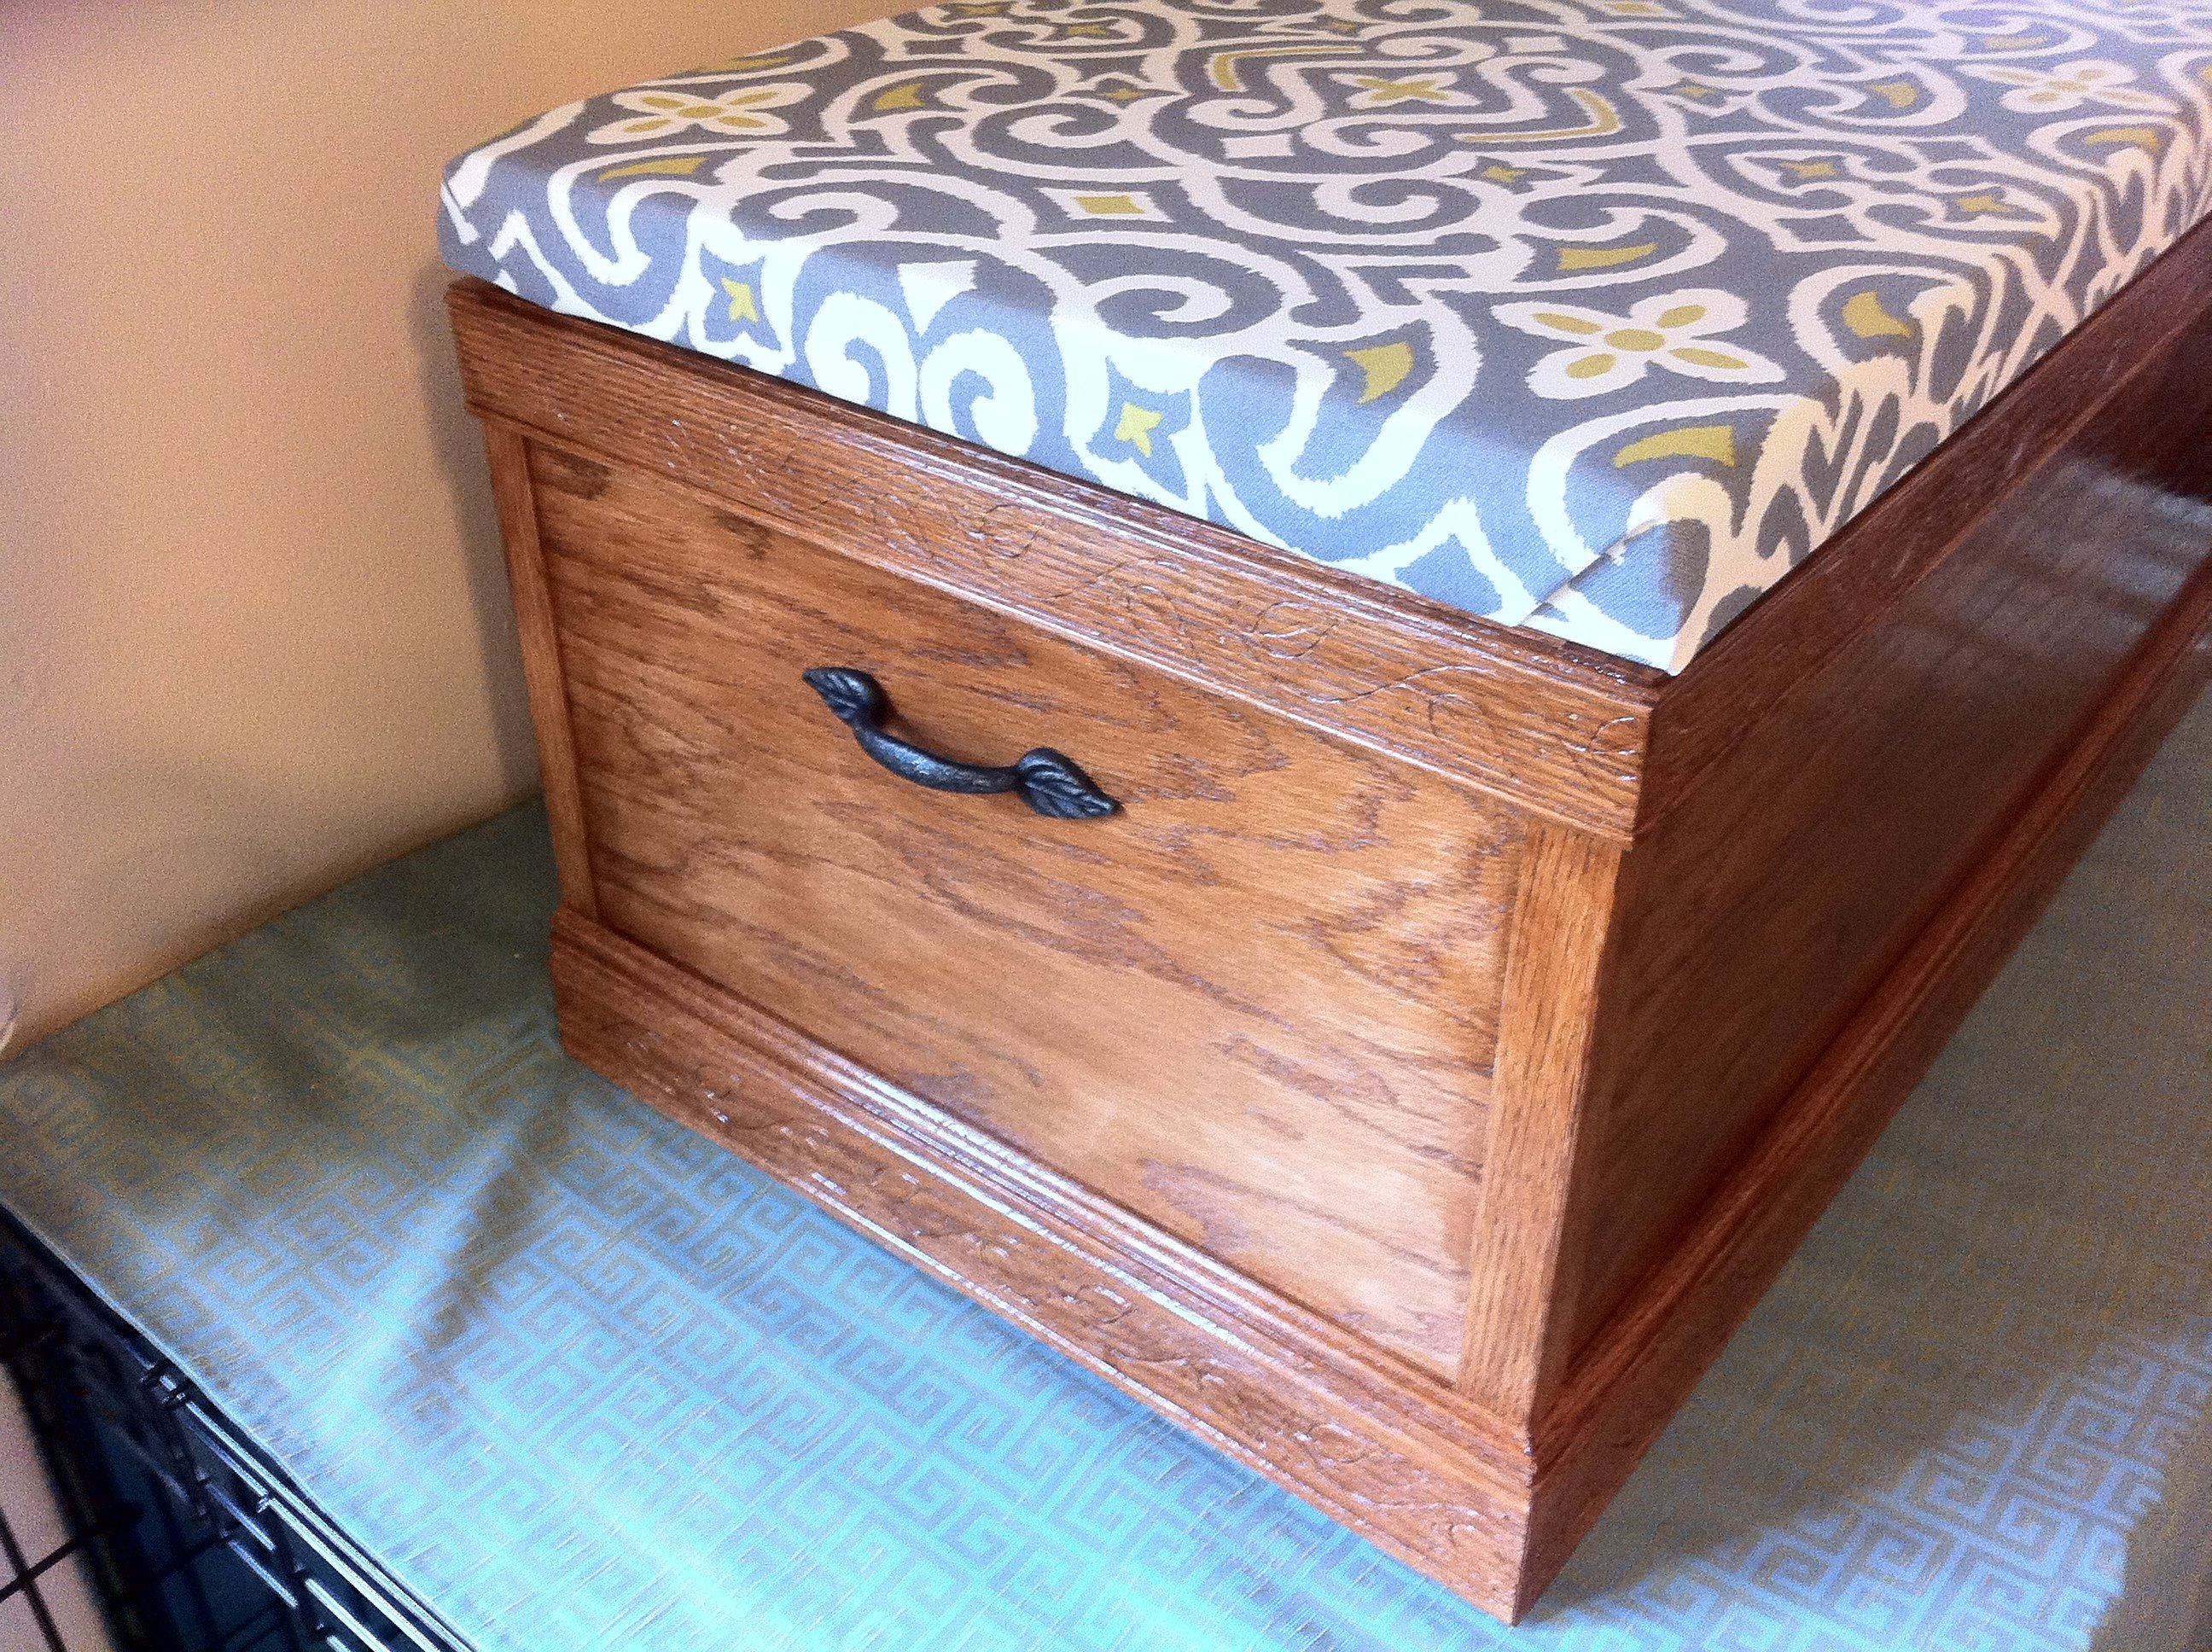
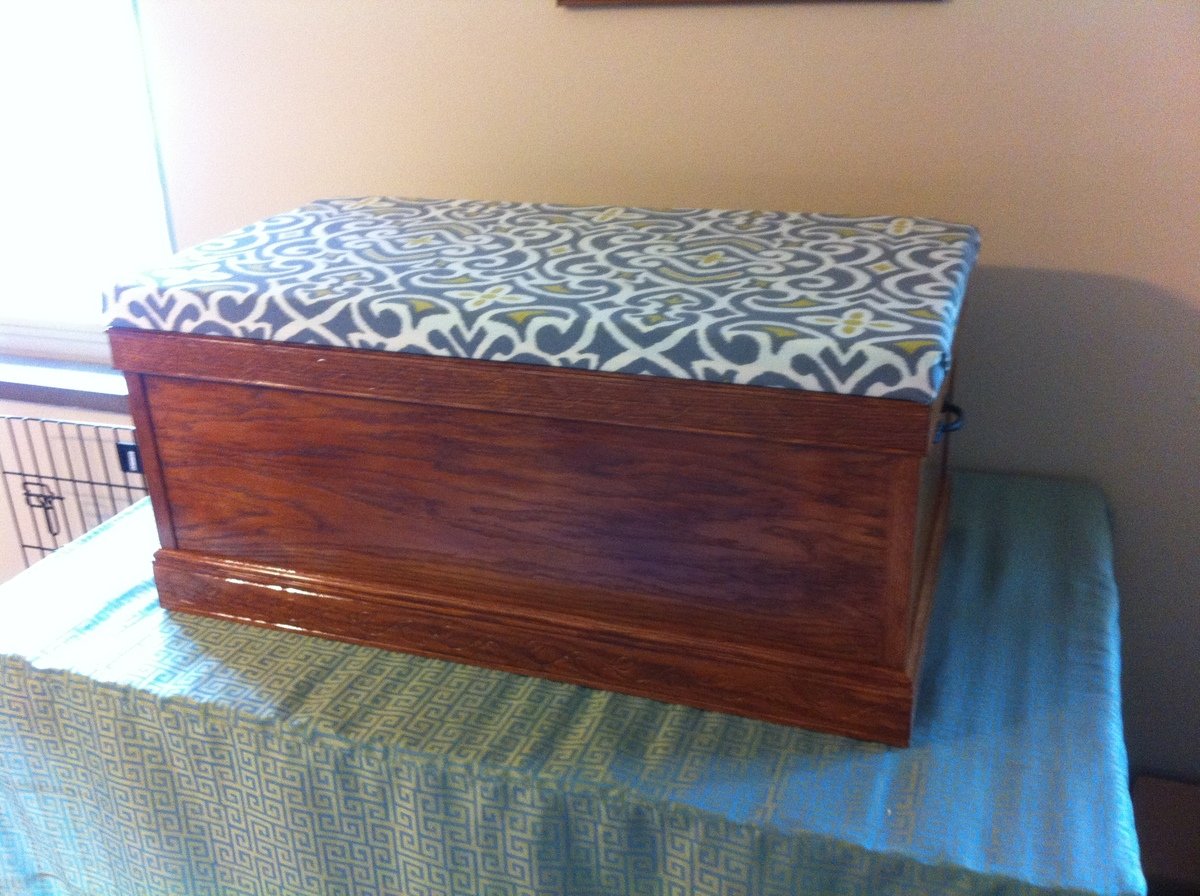
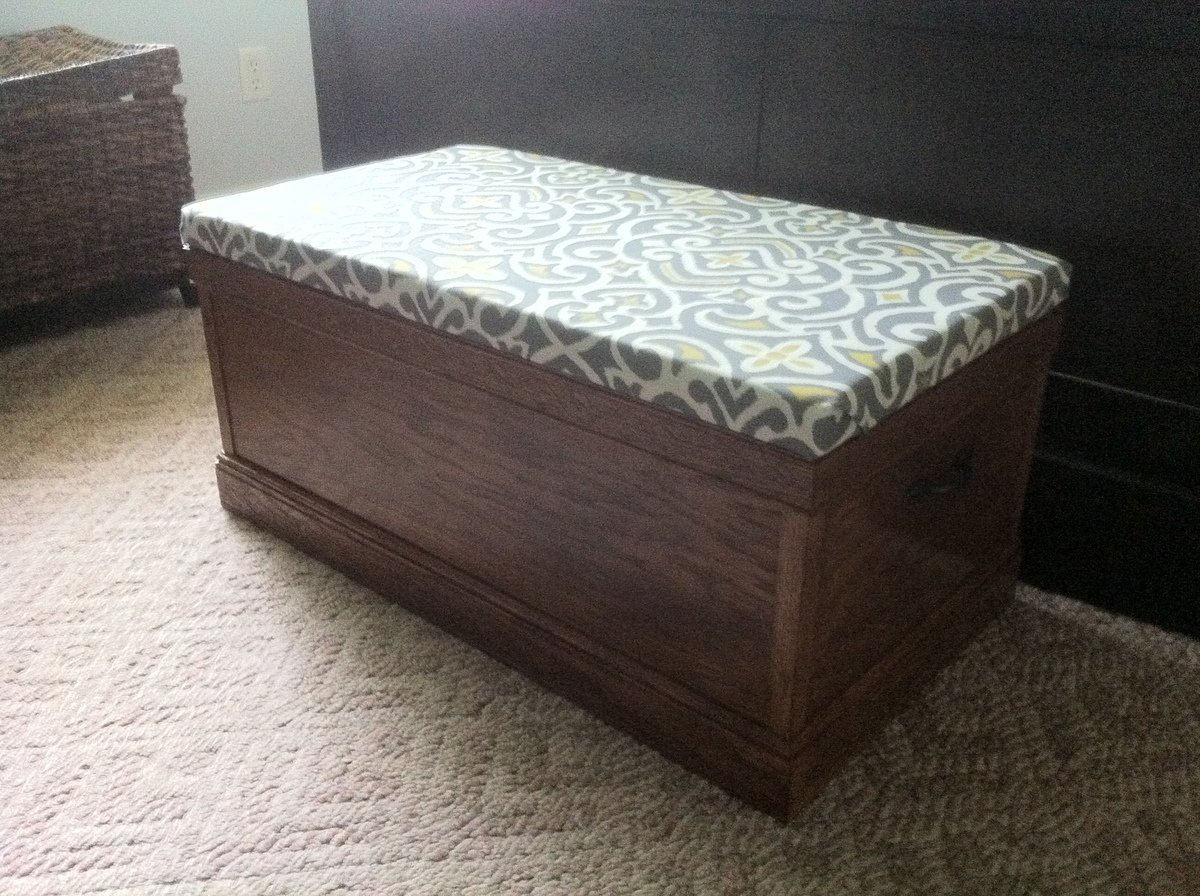
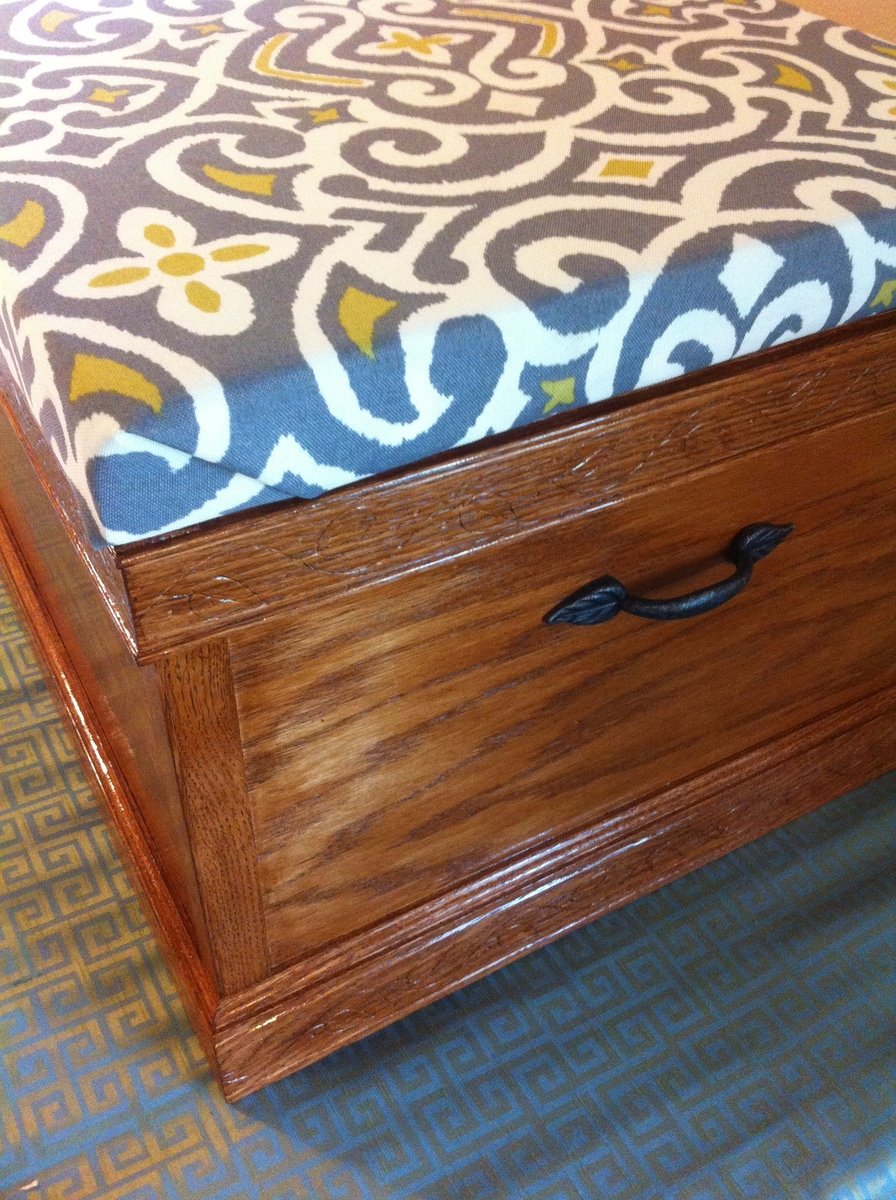
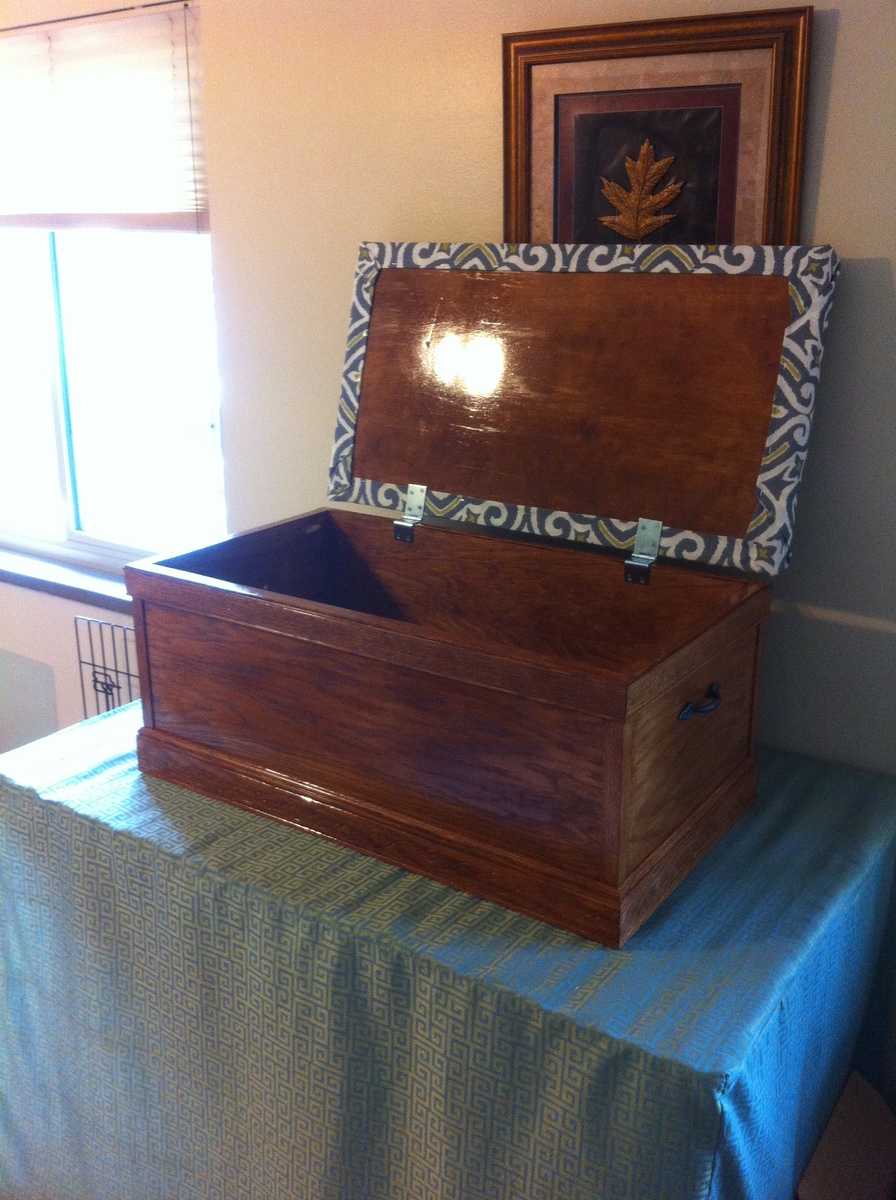
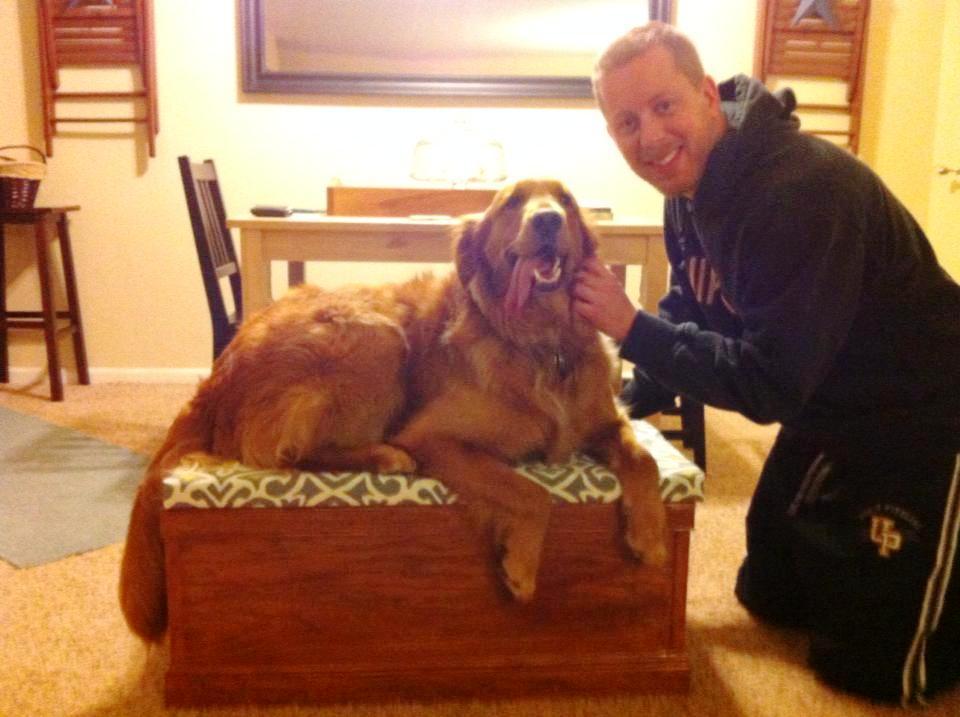
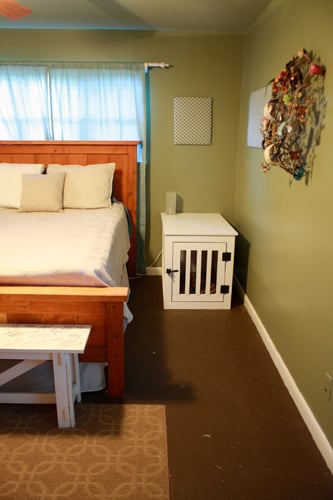
My wife and I have a 2 year old, 85lb, golden retriever named Lily. She has a tough time jumping up on our bed and has hurt herself on a few occasions. I was inspired to build her a step, but also wanted some storage. When I saw the Becca Trunk I knew I had to build it!
I used oak ply and solid oak for the trim, including some decorative leaf inscribed trim for the top and bottom. My wife and I picked out some outdoor furniture fabric that was stylish and would hold up to a big dog jumping on it. She used some firm padding and staple gunned the fabric to create a really neat and clean look (I am lost when it comes to that stuff, but she is a genius with scissors).
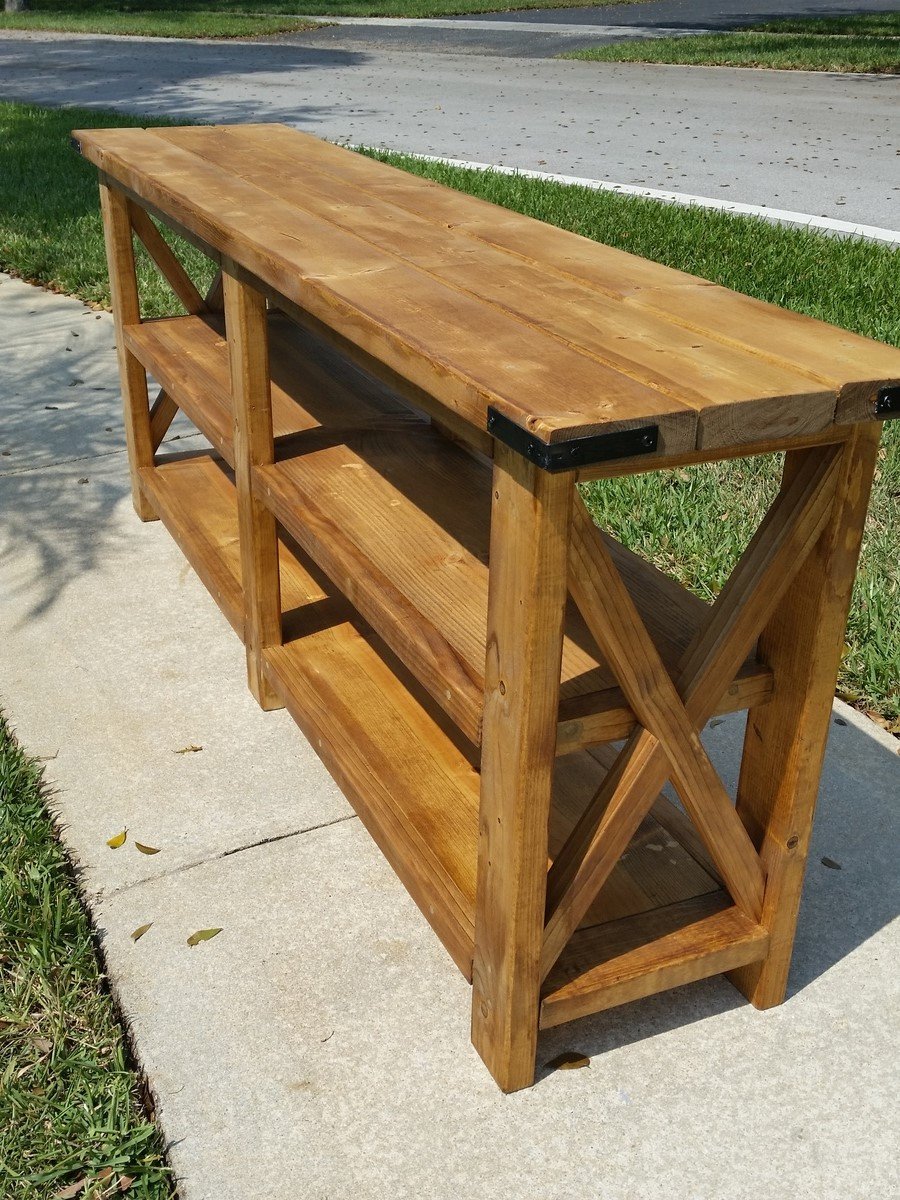
I am a beginer and I am following my dream of having my own tools and workshed. As a result of finding your site Ana I believed I could achieve it and now I have.
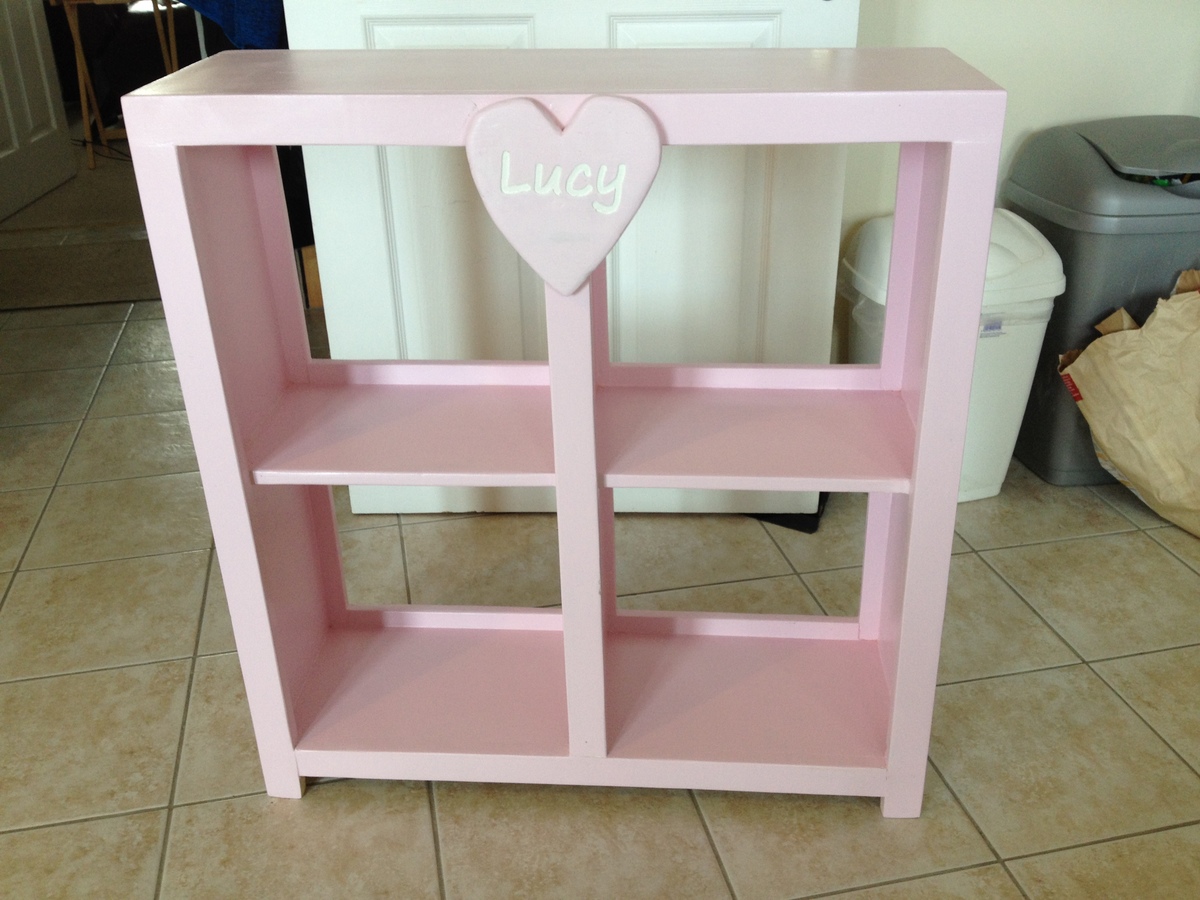
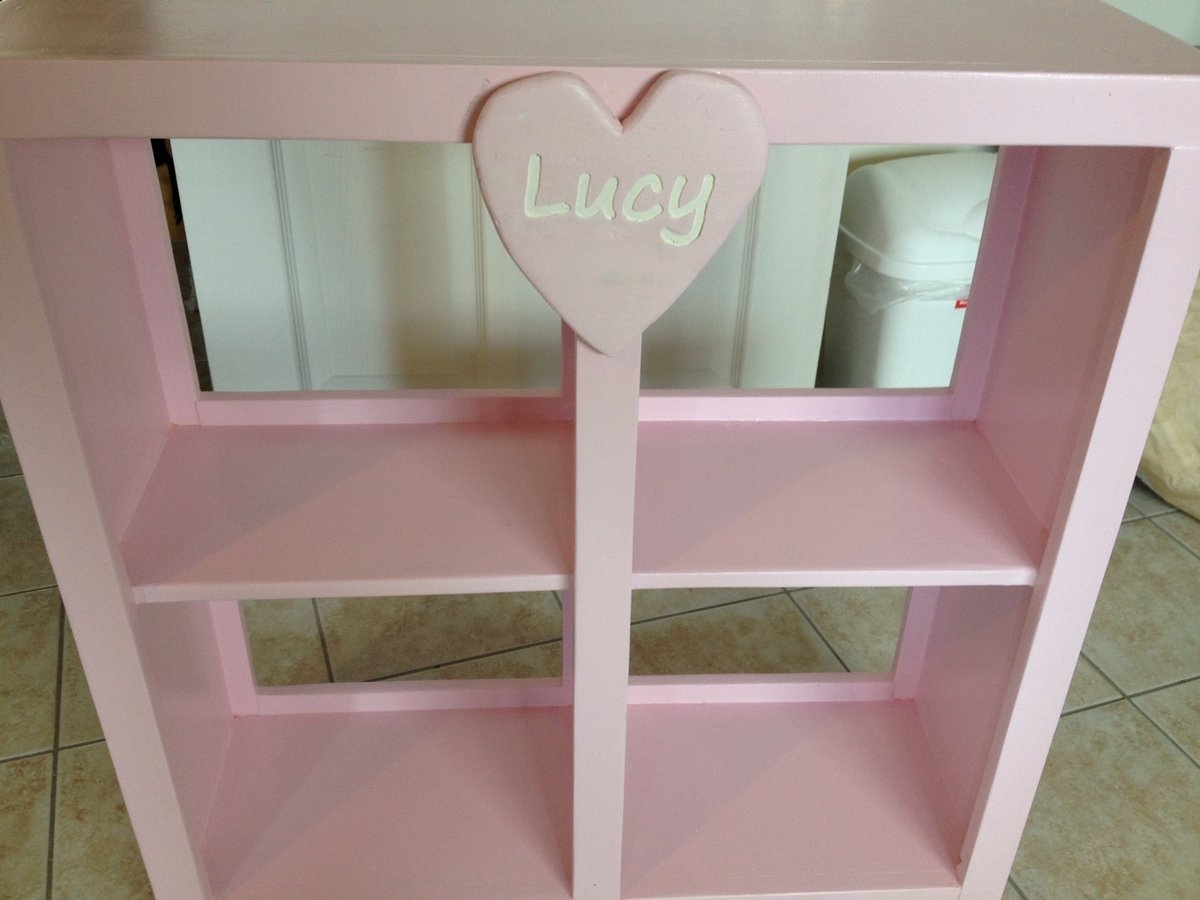
Thanks so much for your great plans and inspiration. This bookshelf is my third project from your site.
I will post the two other projects pictures when they are finished, they need paint touchup.
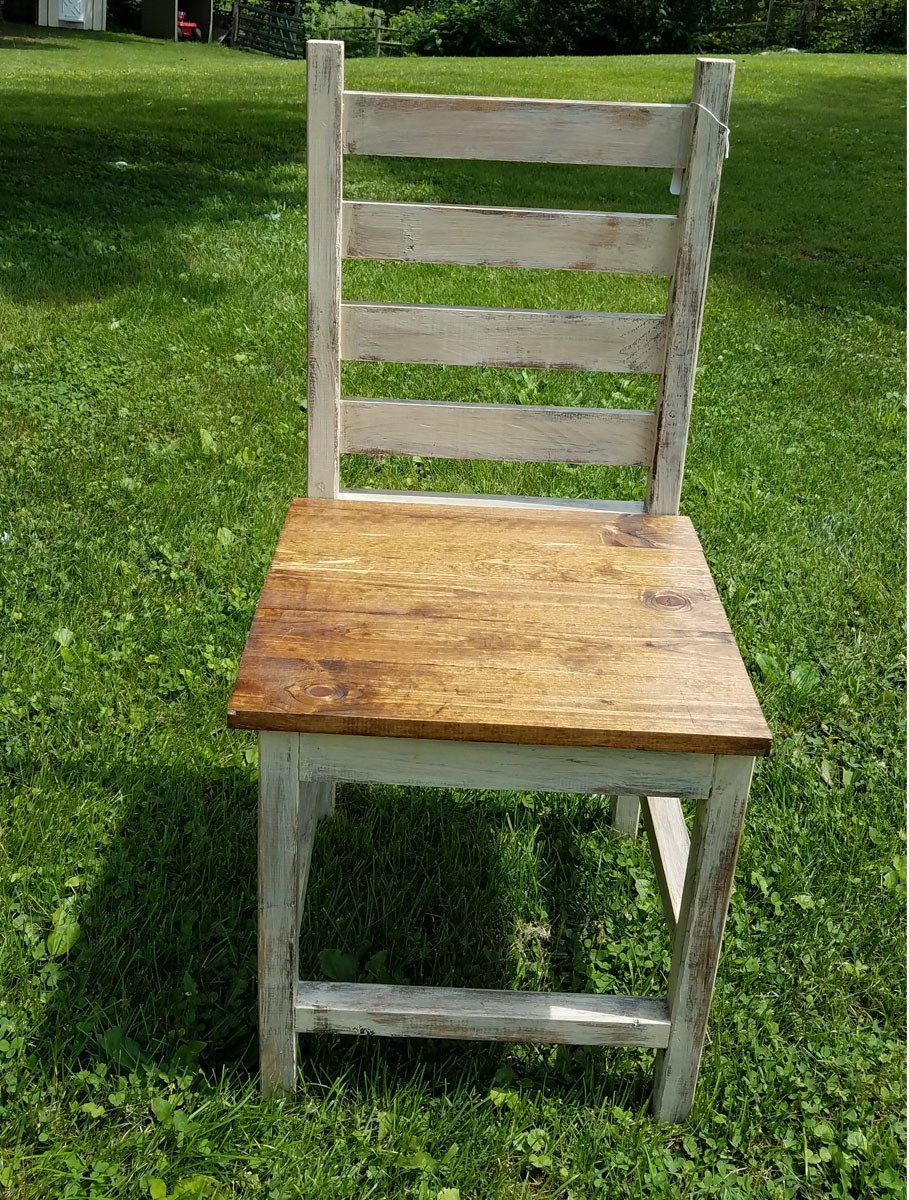
I adjusted the plans to make this a chair that would fit under a regular table. The front legs are 19" and the back legs are 40". Then I followed the plans as written.
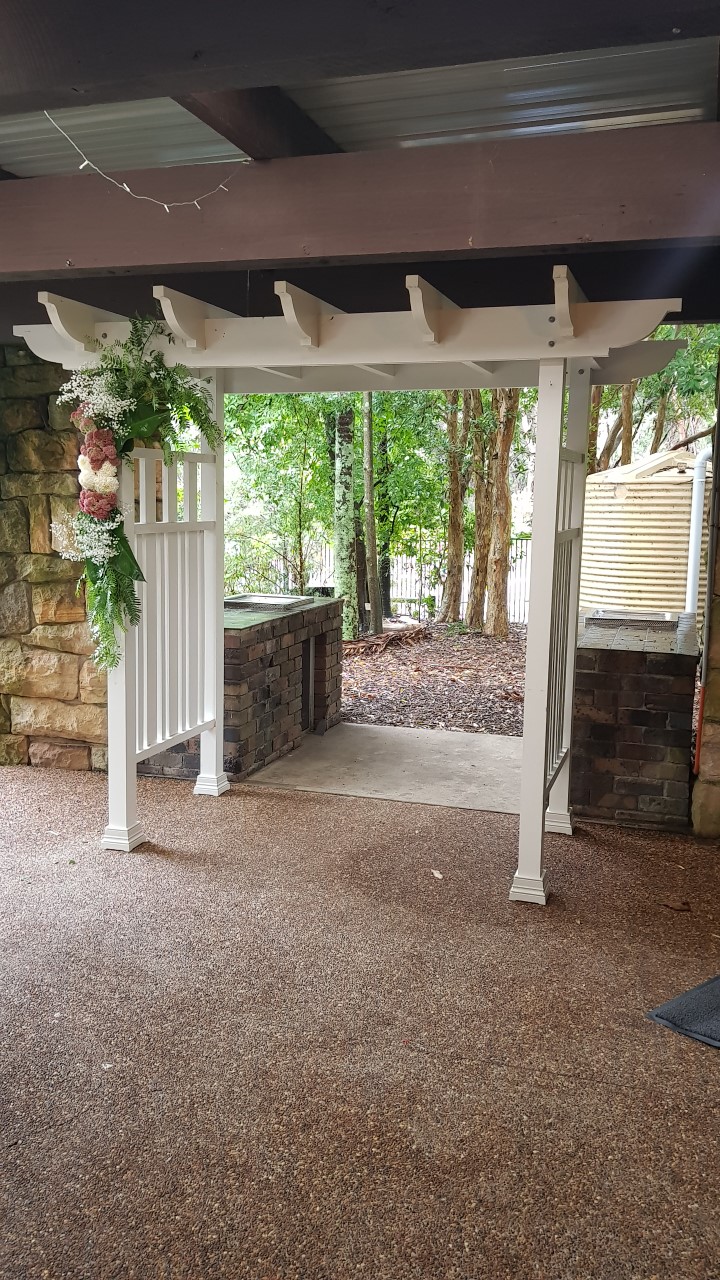
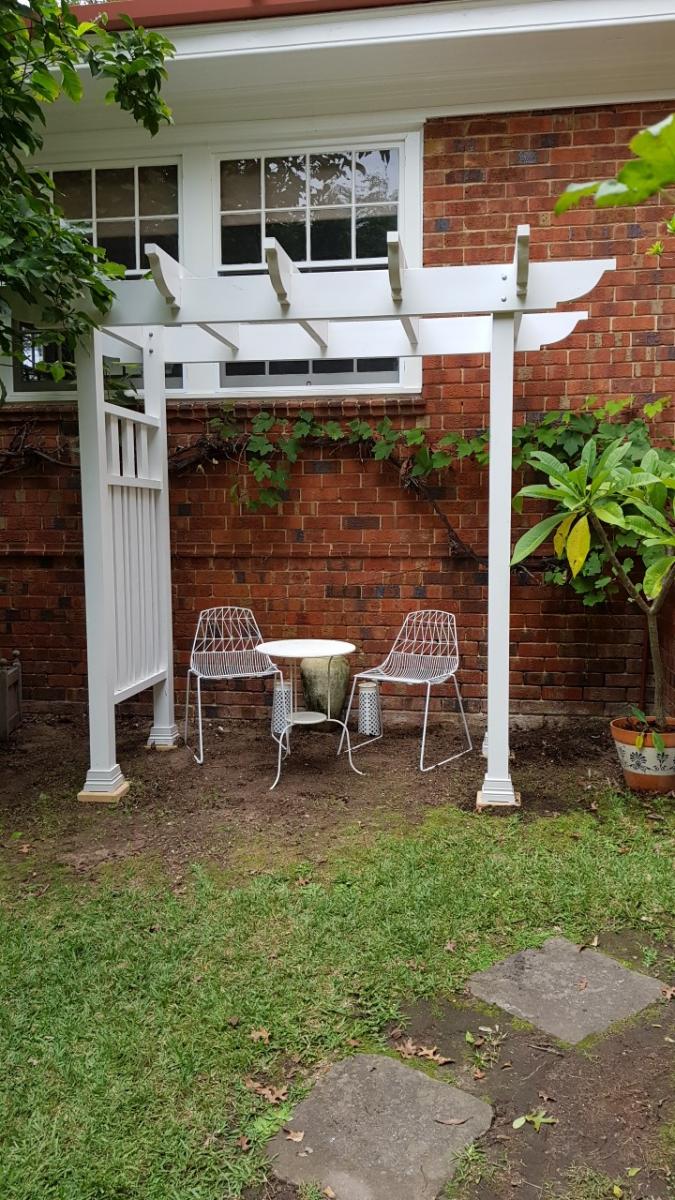
Hi, I built this wedding Arbour for my daughters wedding a while ago and unfortunately, I have no plans as I built from my head. It now sits in pride of place within thier garden as arch for thier garden.
I built this with a drop saw, hand saw, router, drill and hammer only.
I follow Ana's plans every release and save her plans for when I retire in two years to build for our house as well as try to run a small business from my shed.
Thank you Ana for you continued plans and wonderful advice.

Tue, 10/05/2021 - 10:40
WOW, such a sweet gift and reminder of their special day! Thanks for sharing:)
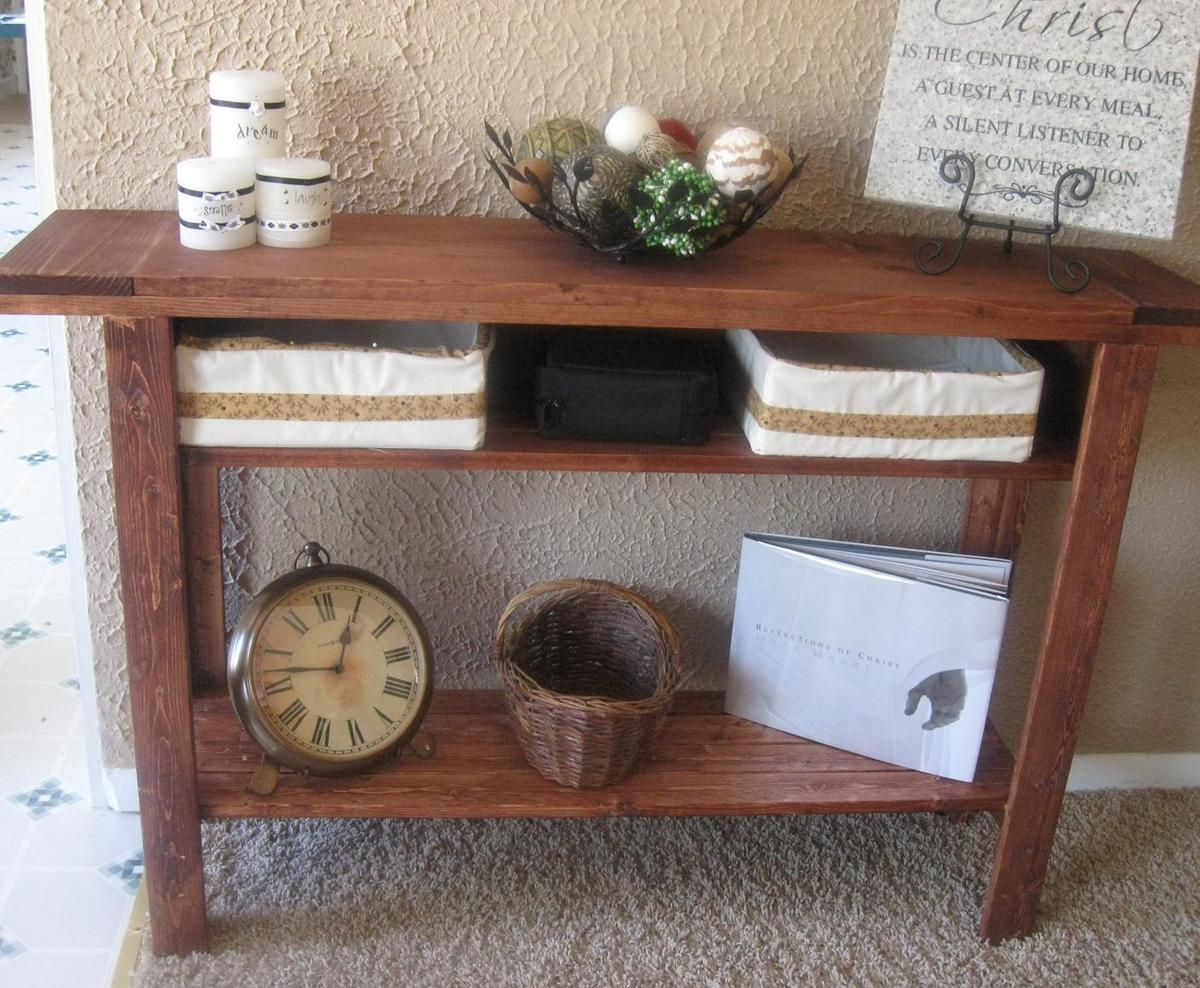
I added the bottom shelf by using (4) 1x3's. I also swapped out the 1x4 back for a 1x6 to give the top shelf more height. Lots more details on my blog.
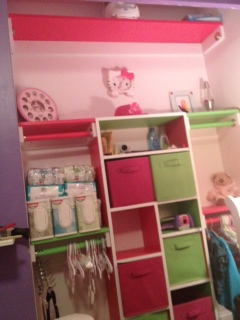
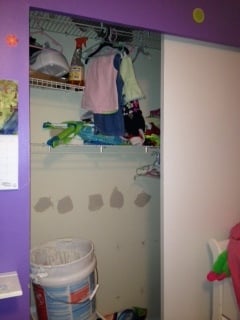
This one took a while in between taken care of the baby and working full time this one took me prolly 2 weekends or longer to do if I didn't have to do all that stuff lol. I had this horrible wiring rack if you can see that went top to bottom and these stupid sliding doors that I really hate bc with the dresser there it's like I can't get in so I just took them off I really want to put in a bifold dorr there but can't so I prolly will hang bead's instead. Kadence really enjoyed picking out the colors and helping me paint. I started off on debating for awhile what I was going to paint what color. I was gonna paint it all pink and do a design of something in green but I think this turned out pretty nicley and really compliment's there purple room. Yay I saved my office from going to the basement!!! Kadence is really happy to get to share her bedroom and I am really happy to be able to get into the closet and actually want to use it so hopefully the room will stay clean and I can get ride of some furniture and get rid of the piles of clothes in my living room lol. I also am glad she can put her own clothes away bc it's just her size. I don't think I am done yet with it tho. I want to put some things on to hang her day hat's on and some ledges towards the out side I think to hold her books. This one cost a little bit more for everything almost about 200 prolly with all the extra's we got for it and the expensive pine. It also took longer bc I had to tear out the old rack and mudd the hole's and tear out the carpet in the closet so I could see the old wood floor and place this in correctly needed to get rid of the carpet eventually any ways. The painting took awhile also of course because I had to prime then paint if I would have used one color it prolly wouldn't have taken that long.


Mon, 05/13/2013 - 13:03
I finally figured out how to do the blog!! So this is my very first blog!!!! I was so excited to be able to publish my great work!

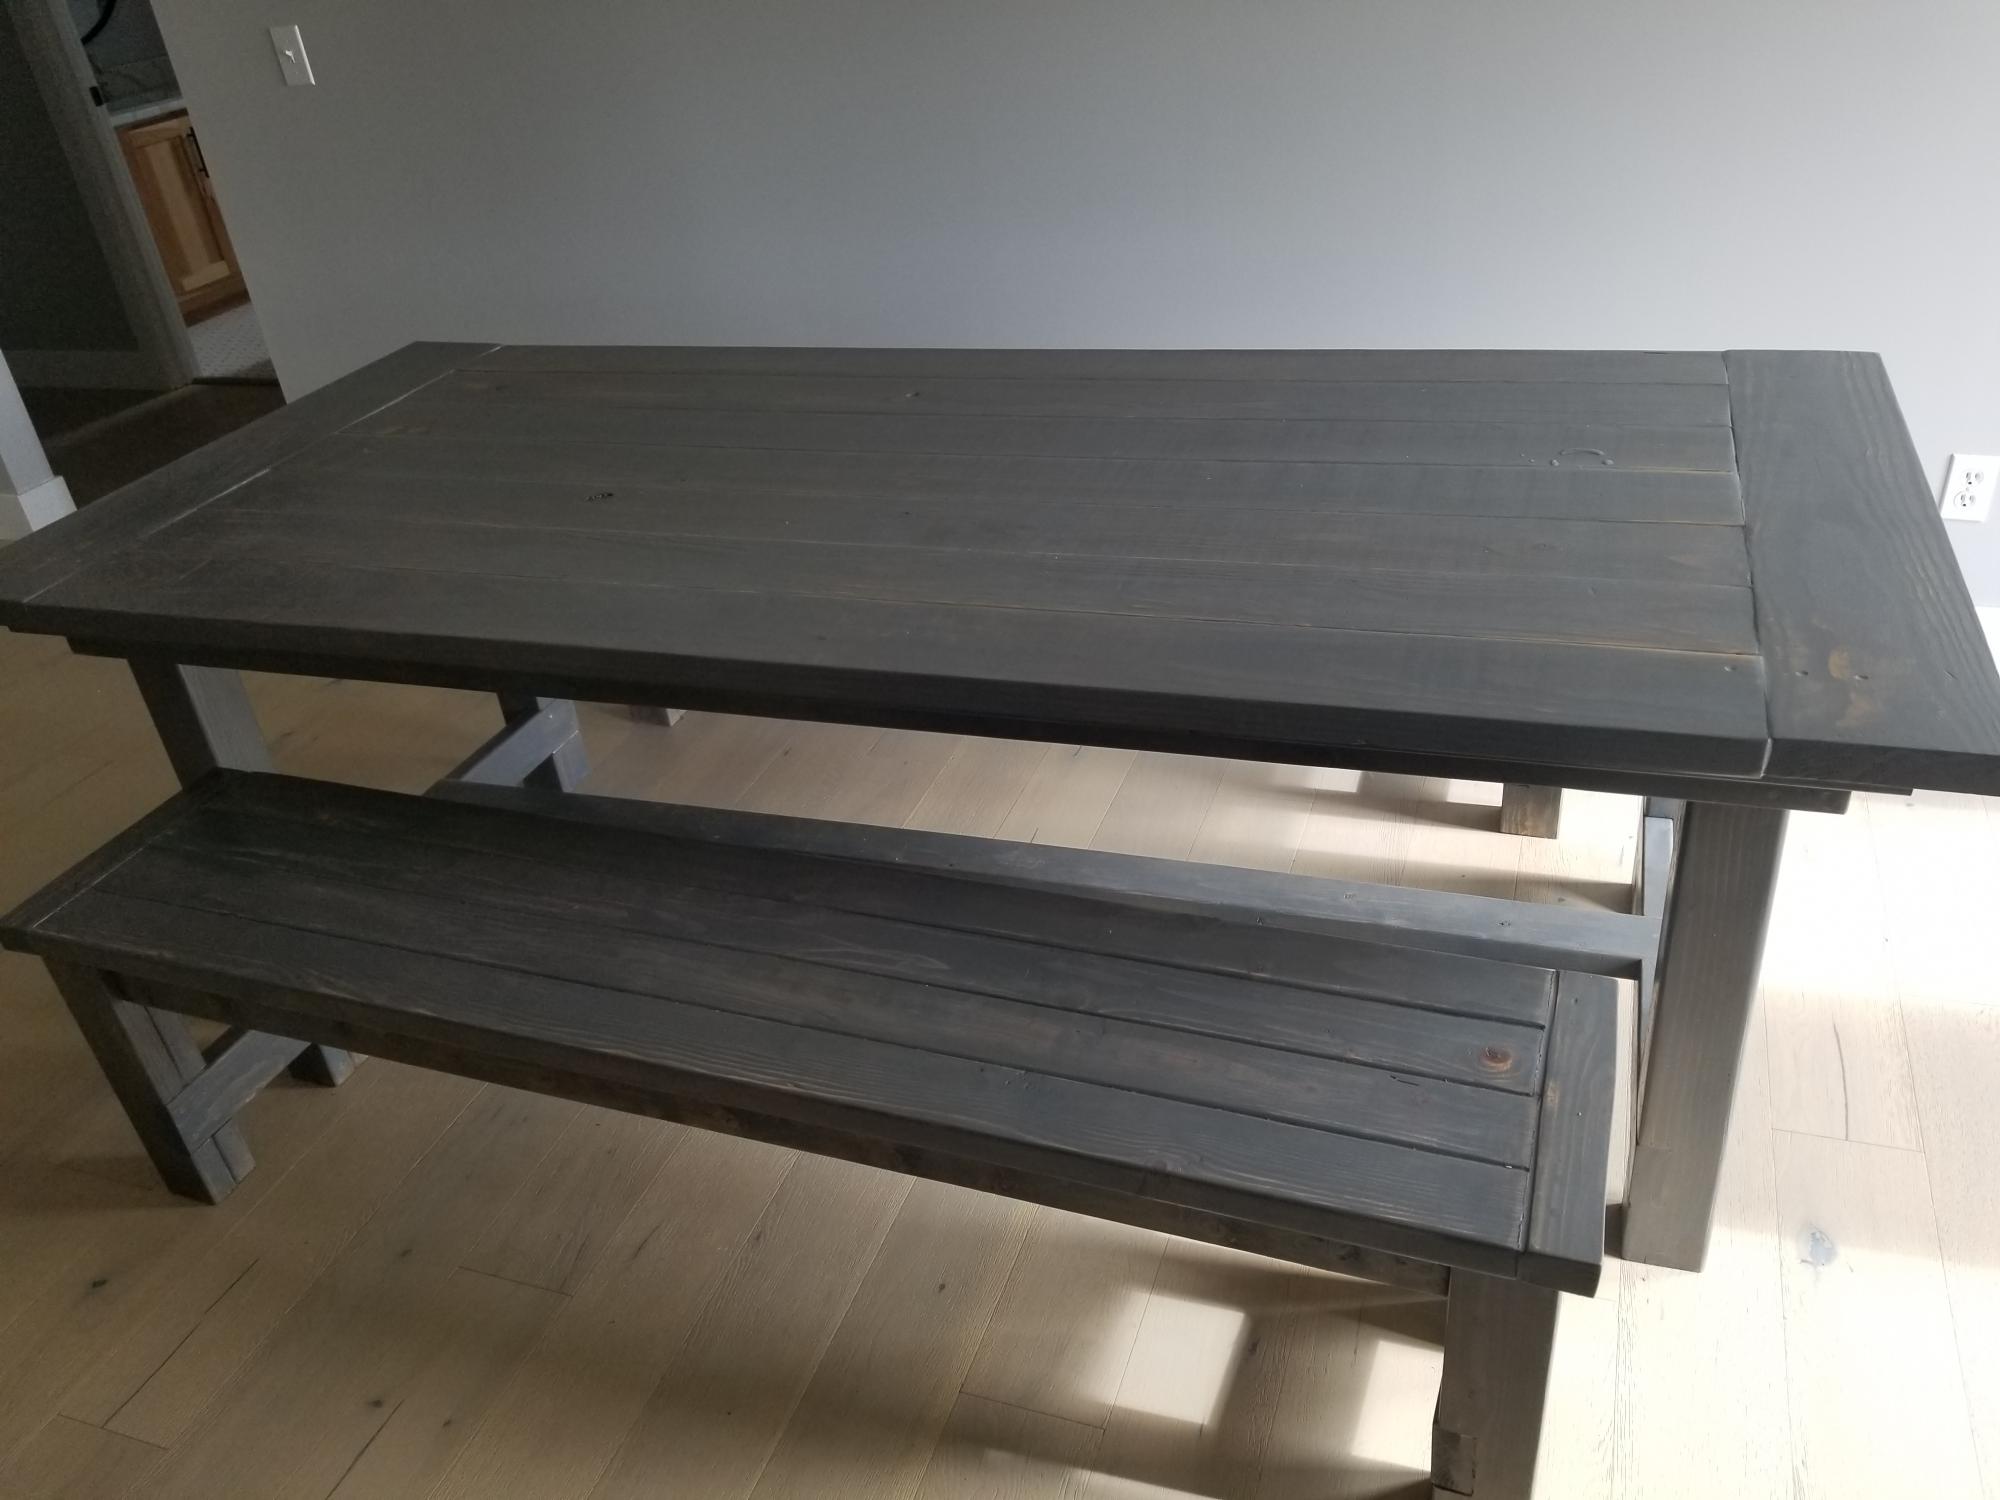
I made this for my wife. I used 2x3 glue and screw together for the table top. I have a conception that a heavy table top create a sturdy table. I used redwood 2x3 with lag screw. The sitting bench is completely made out of 2x3.

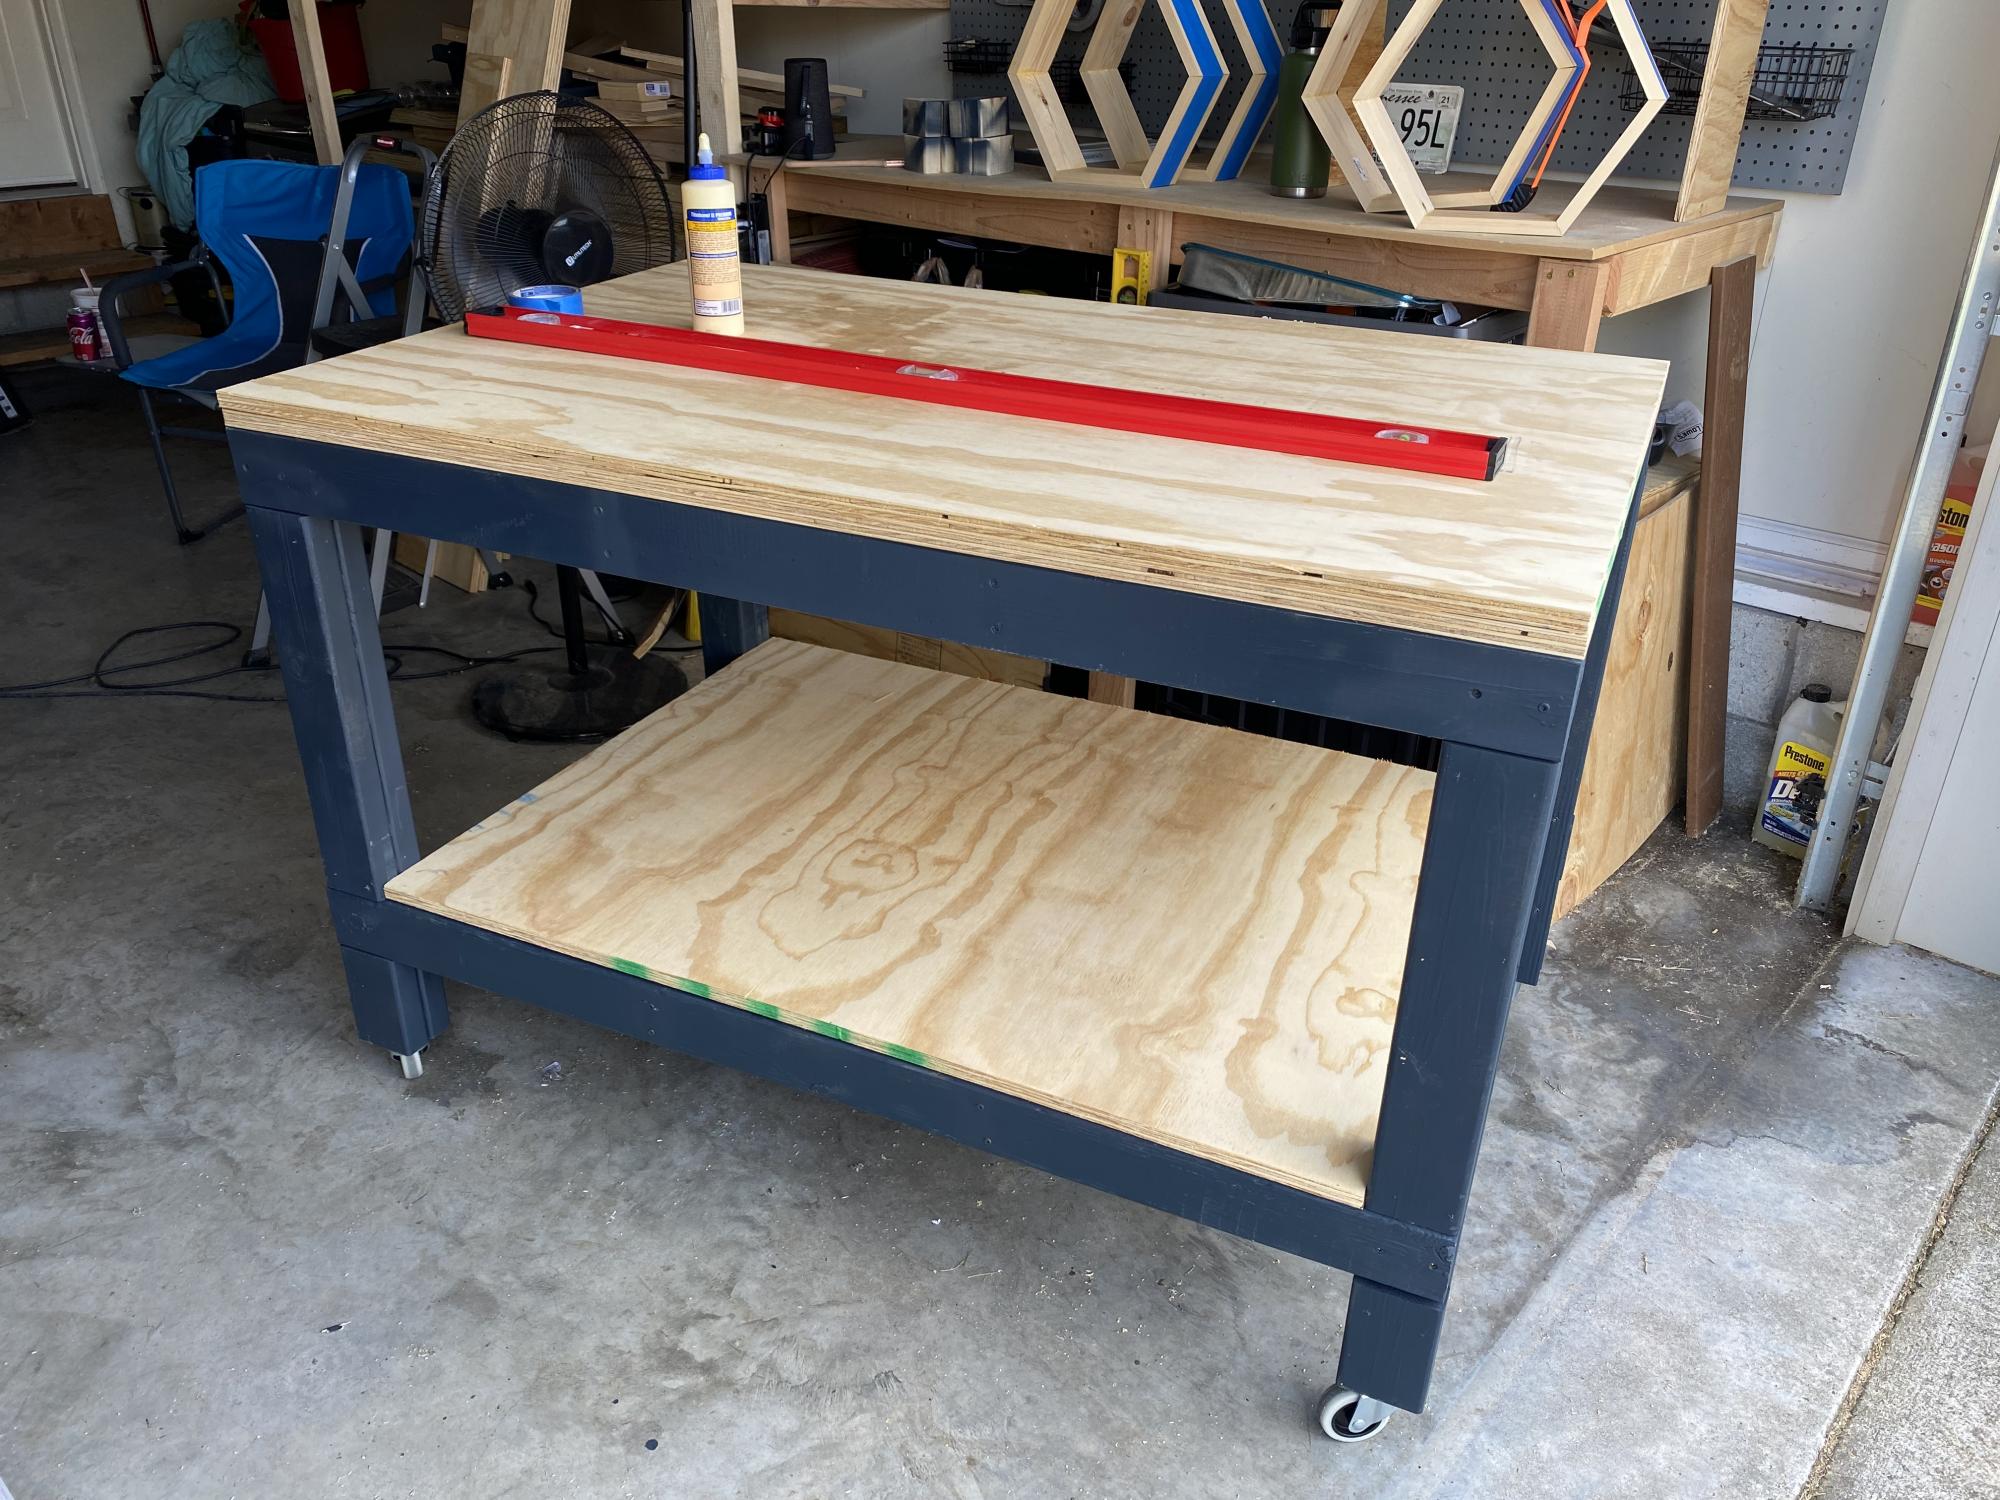
Ana I’m new to wood working and I really love your plans. They are so much easier to follow than a lot of other plans that I’ve seen. It makes me feel like I can build almost anything. Thank you.
Brandy
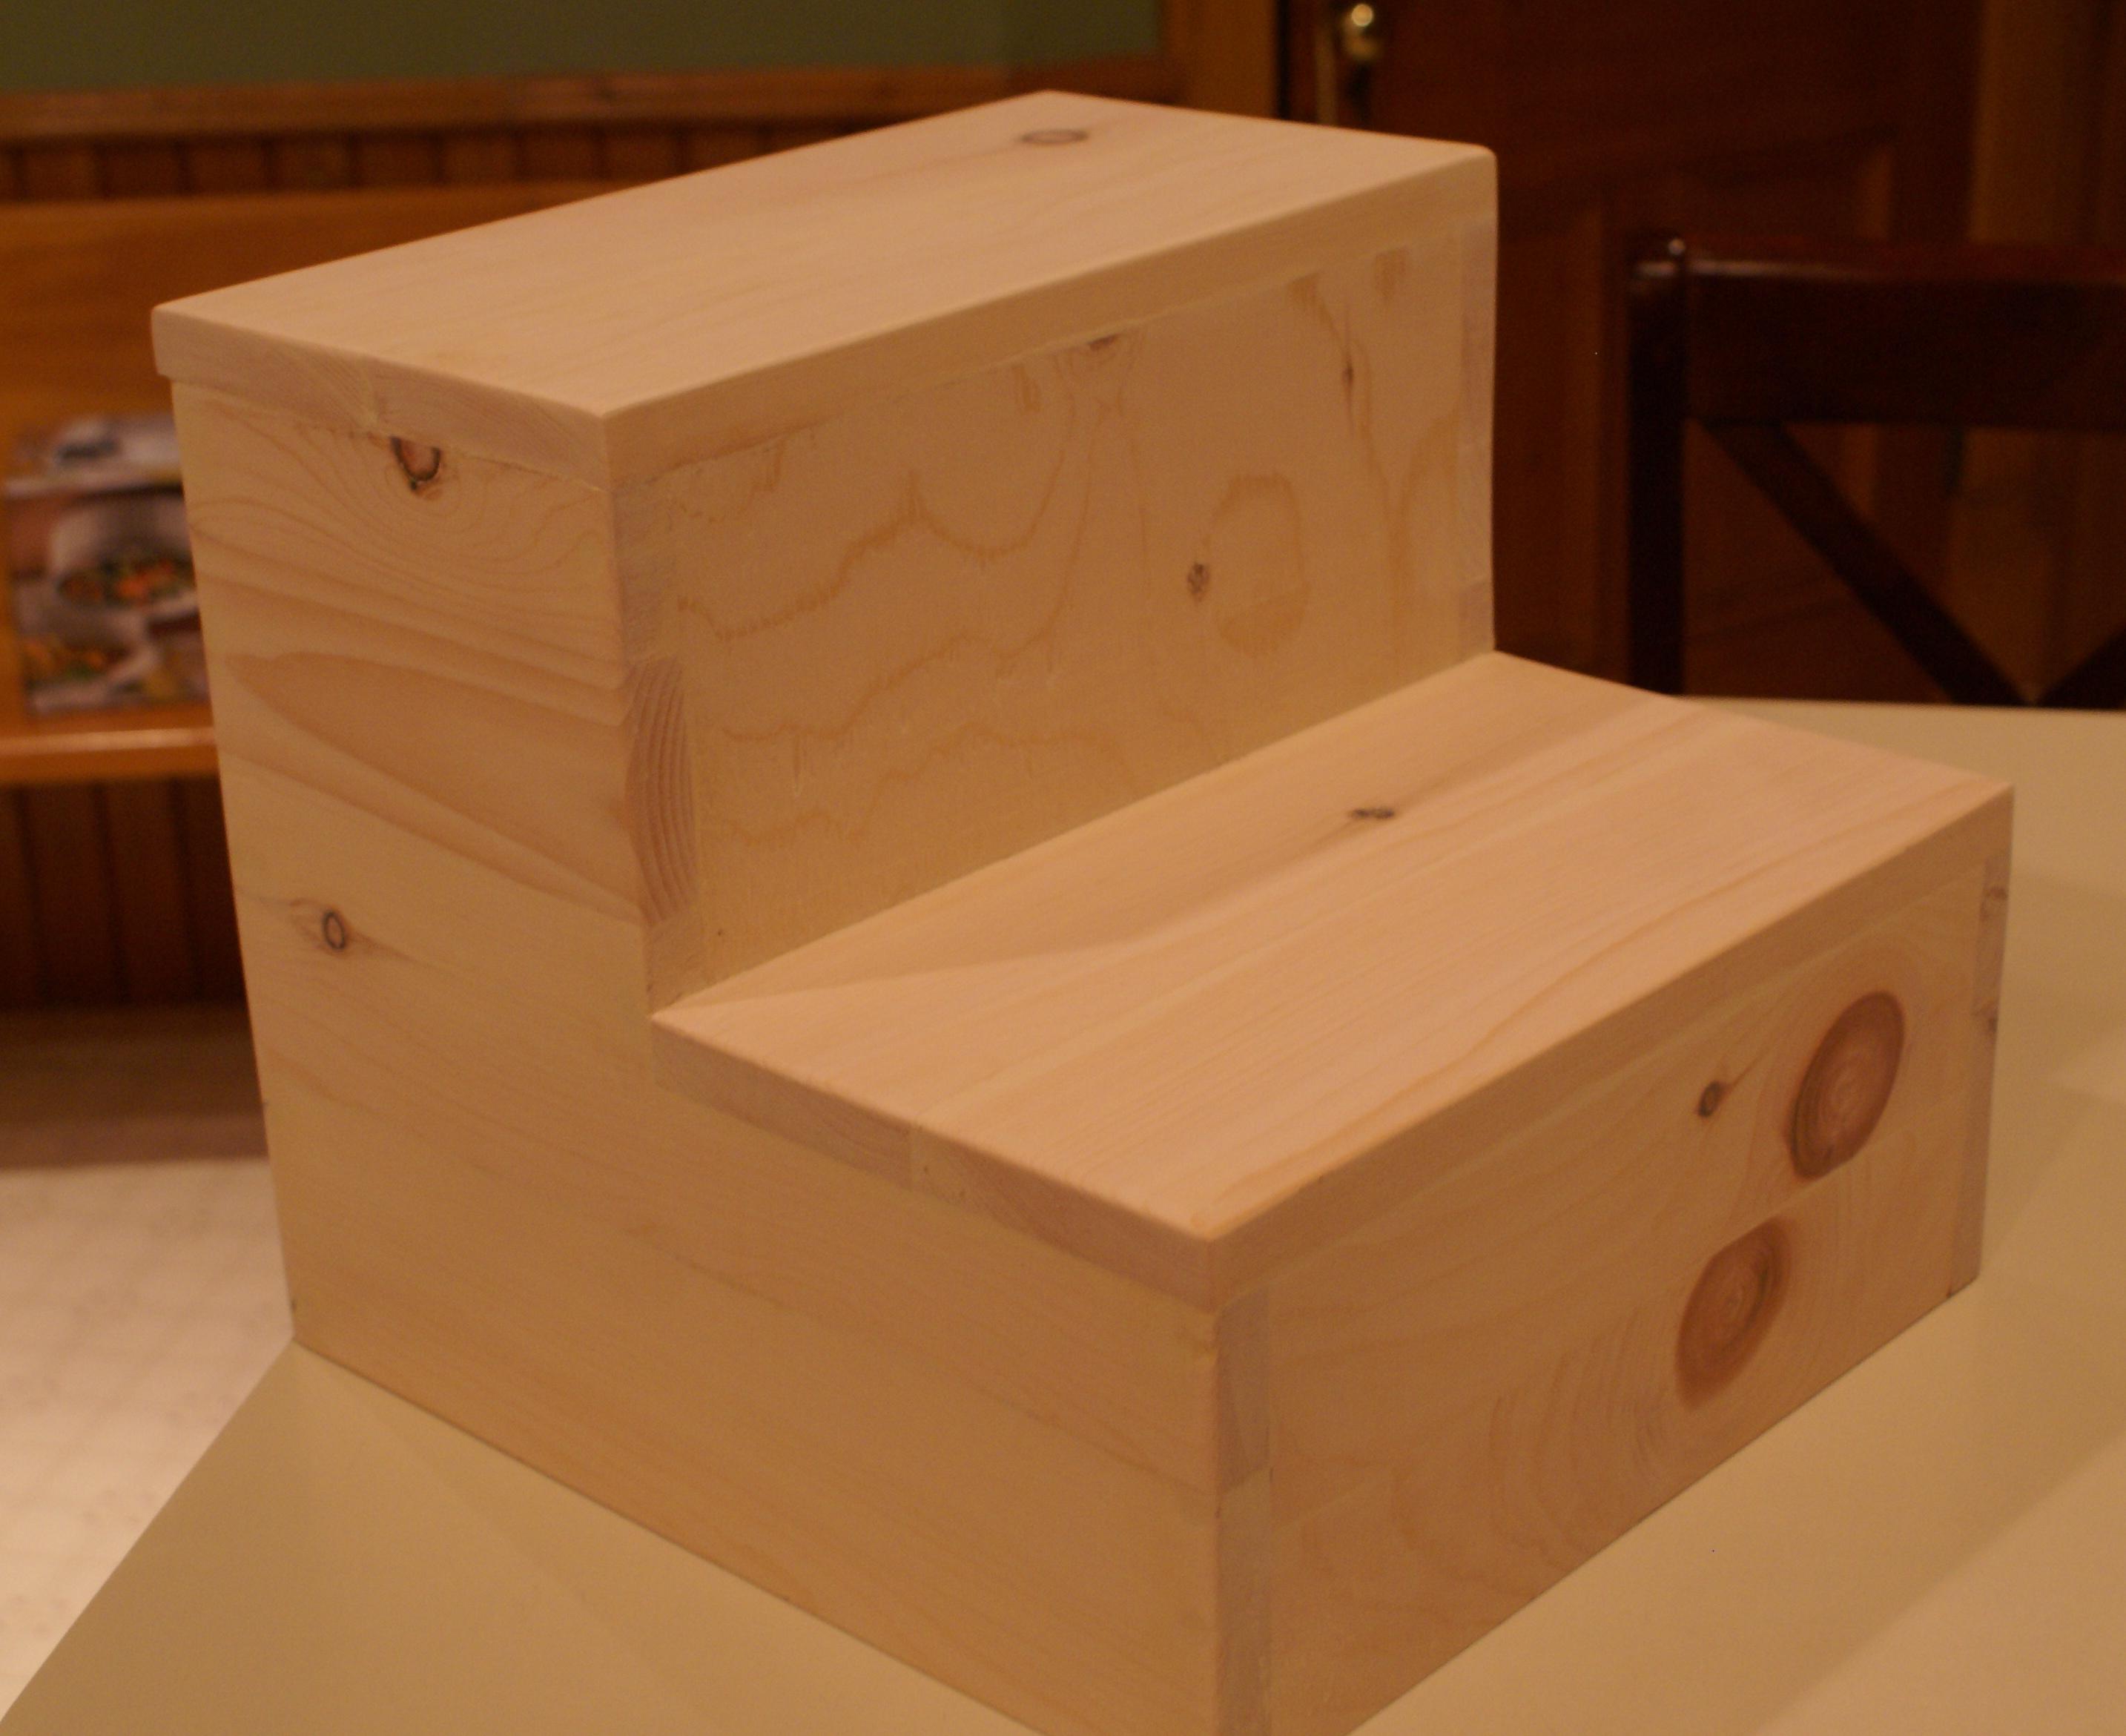
So, here is my unexciting step stool. It became a hodge podge of material because I didn’t have practically ANYTHING on the cut list in my shop! So the sides are made of 2 1×4′s a 1×3 and a 1×2 pocket holed together! The bottom kick is two 1×3′s and the top is a piece of 5/8″ plywood. The back is plywood too, and the treads are two pieces (each) of 1×4! Talk about a weird way to build Ana’s simple plan!
I decided not to do the storage step since I really didn’t need it, and I was tired of scrounging for wood too! It still needs a touch-up of putty (especially the opposite side because I forgot to mirror the pieces and all the pocket holes are on the outside! whoops!) and then some sort of easy to clean paint.
Took me a couple hours to put together on a cold Christmas afternoon while my son was sleeping and my mother-in-law and guy were watching Shrek on tv.
Very unexciting. Not nearly as exciting as the lockers I’ve been coveting…
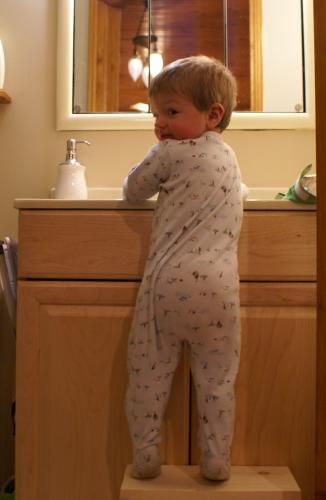
Except…. when you see just how happy my lil guy was when he got up from his nap….
… and then it becomes a WHOLE LOT more exciting!
Merry Christmas everyone!
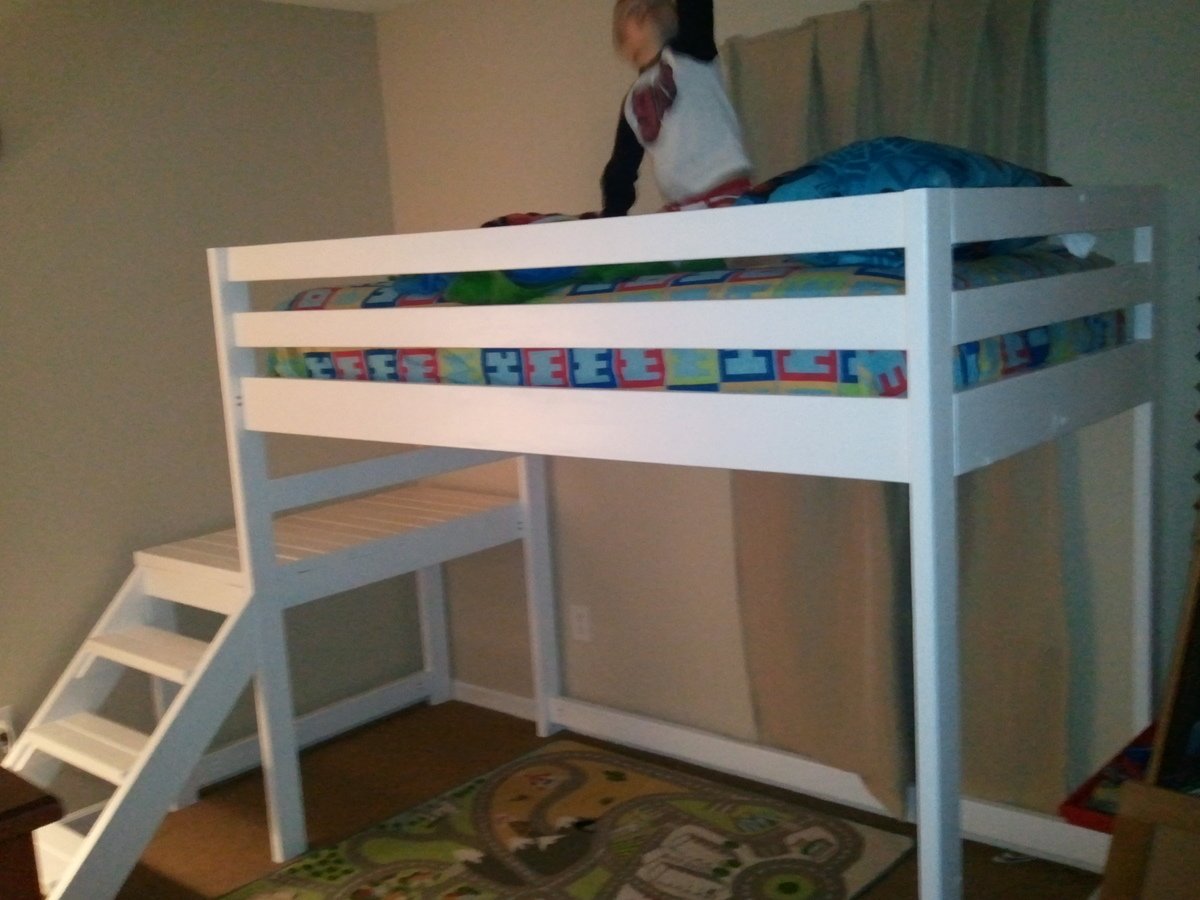
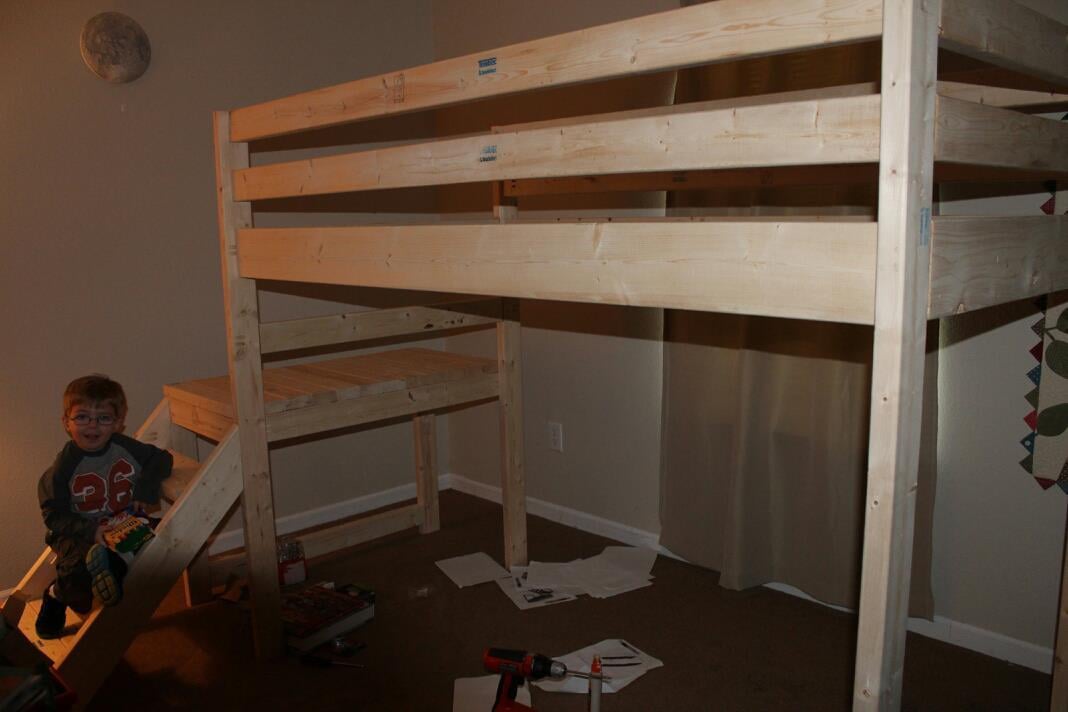
This was my husband's first project, to build our son a new big boy bed. For being his first project, it went pretty smoothly. He worked on it off and on for about a week, but didn't take longer than 12-14 hours or so. We painted it with a semi-gloss white paint, and I'm currently working on curtains (made to look like a barn) to hang on the bed. Noah loves his new bed!


Comments
Ana White Admin
Tue, 10/05/2021 - 11:41
Great added cushions!
Those look amazing and super comfy!