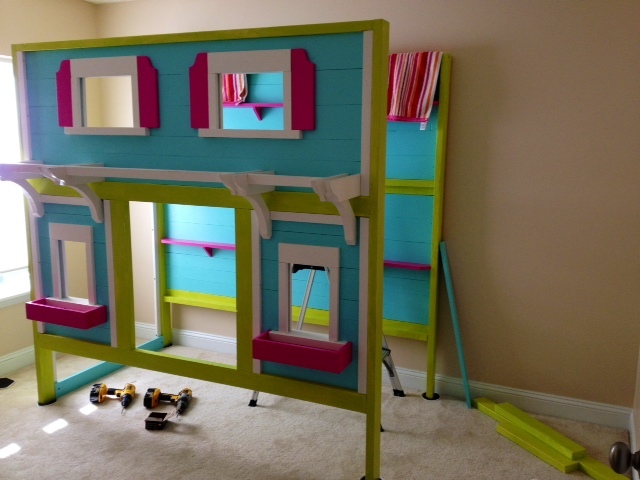
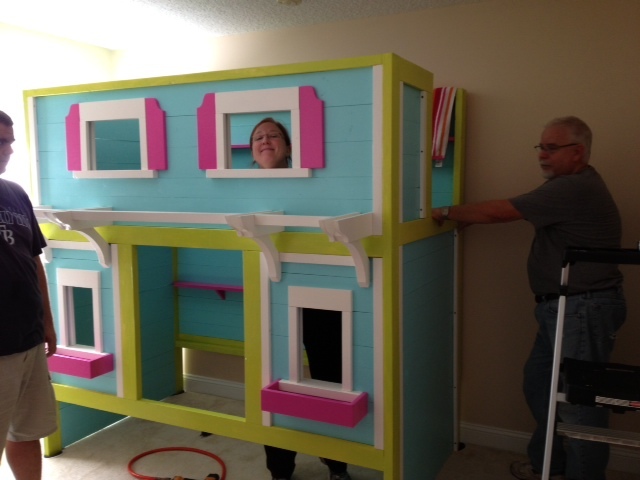
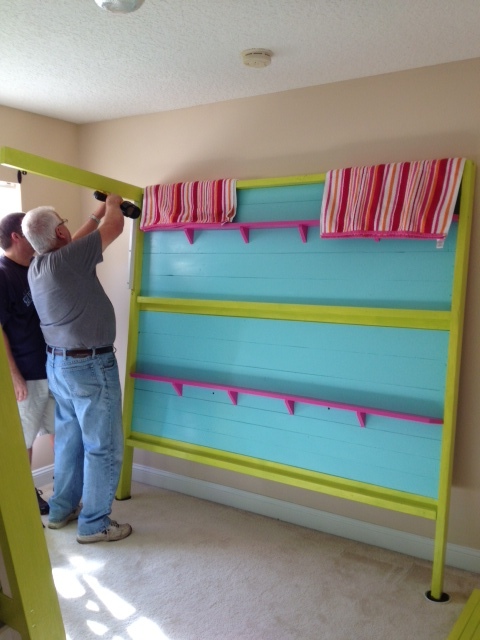
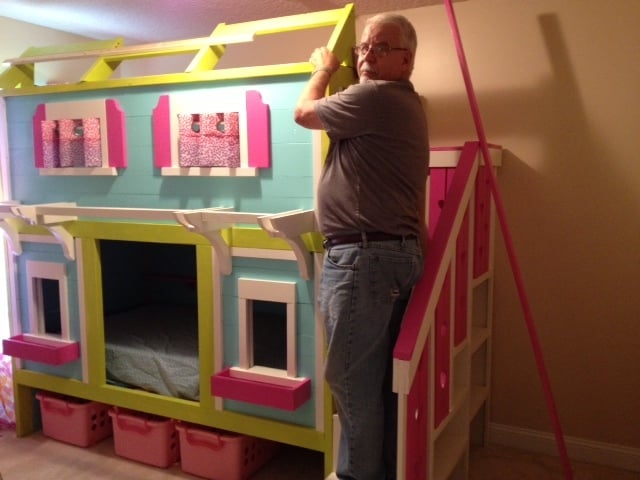
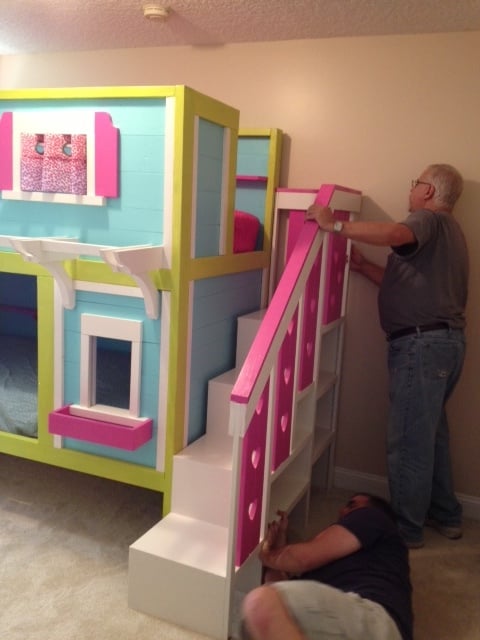
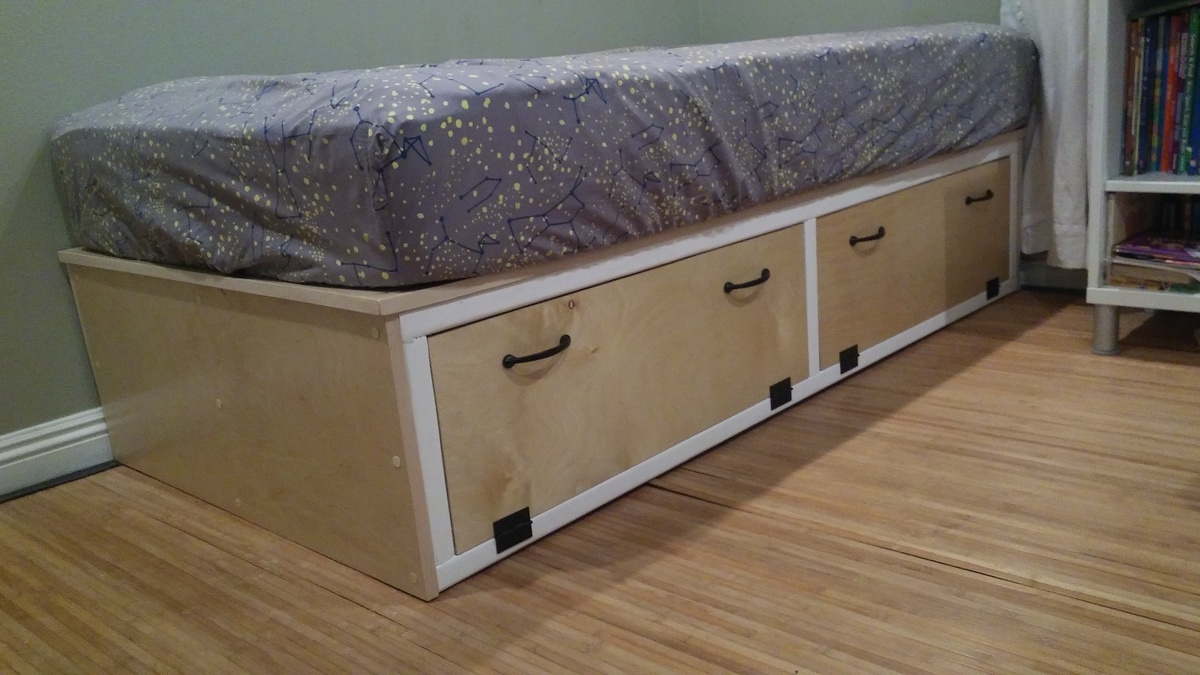
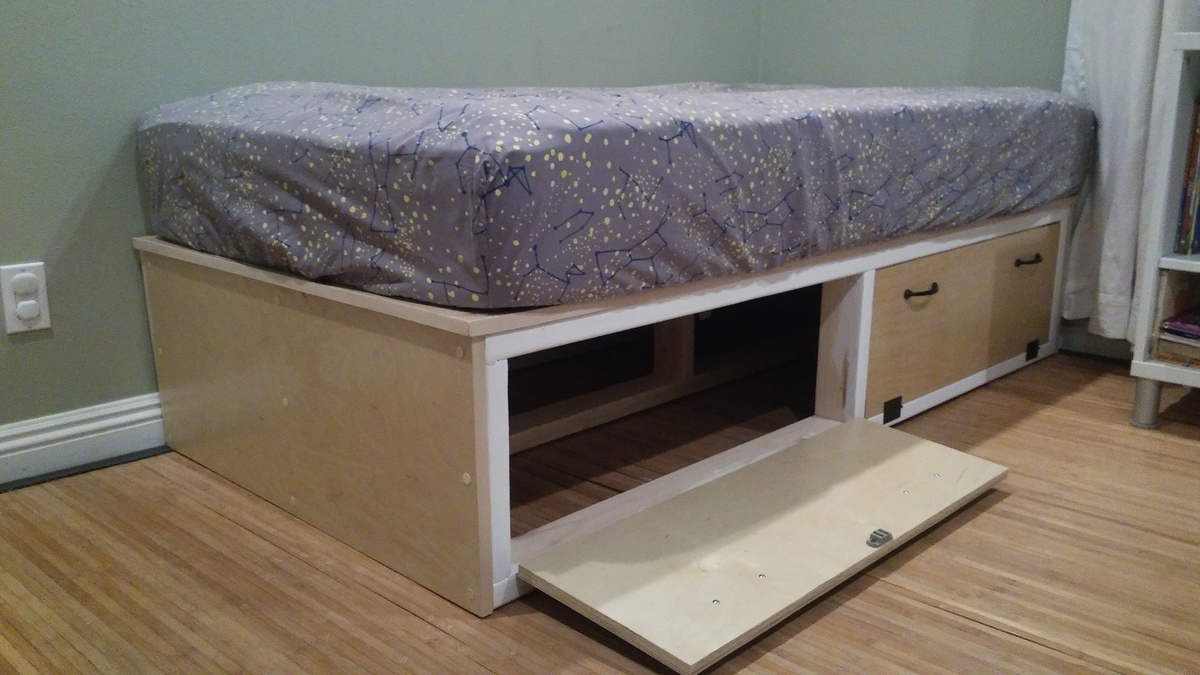
Our Sweet Pea Bunk Beds
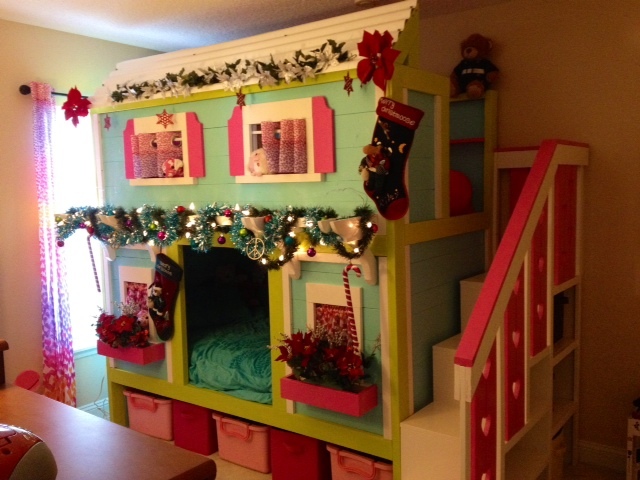
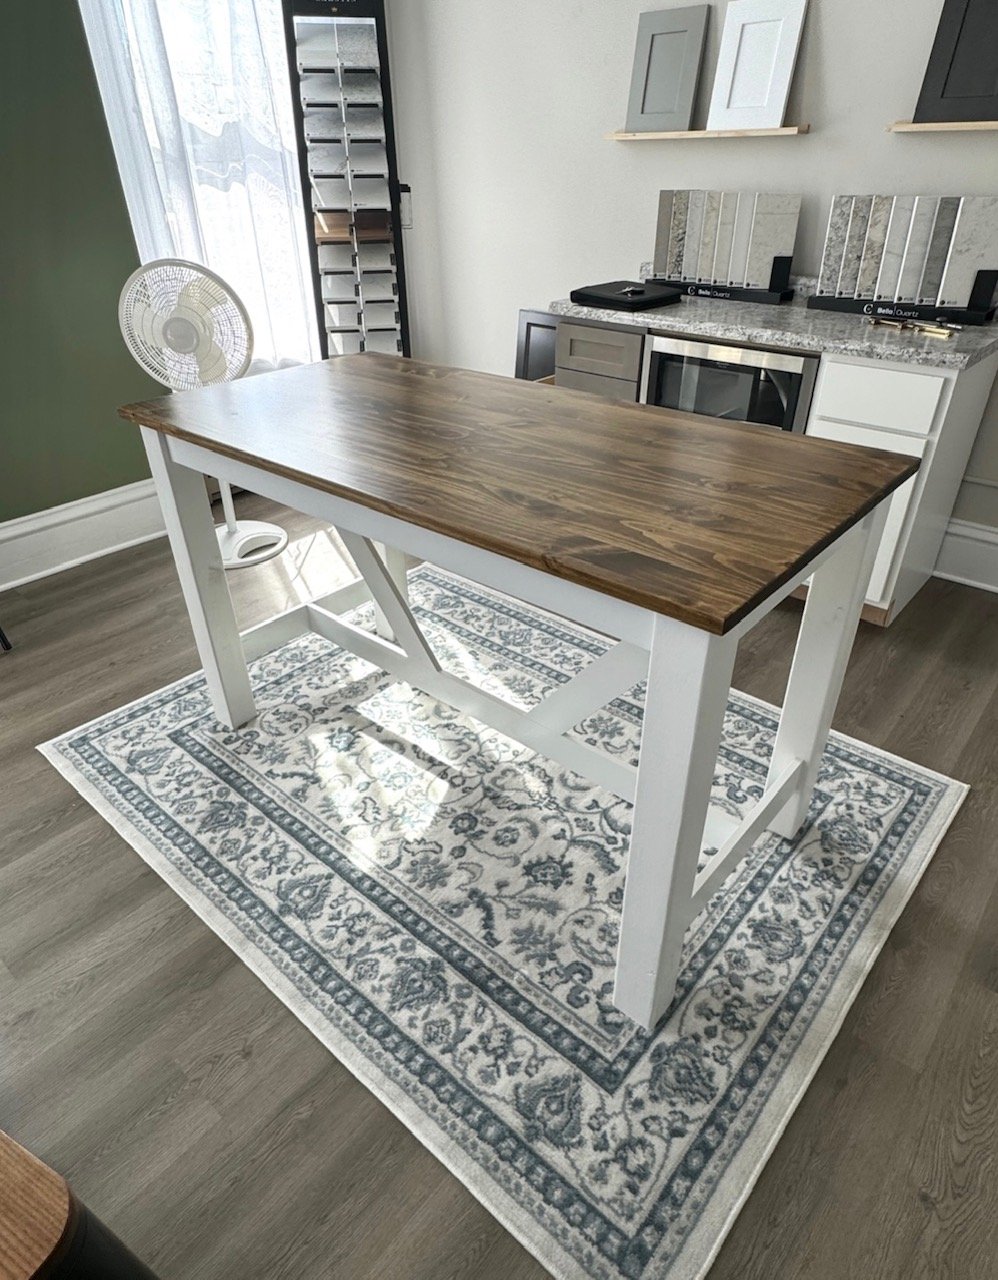
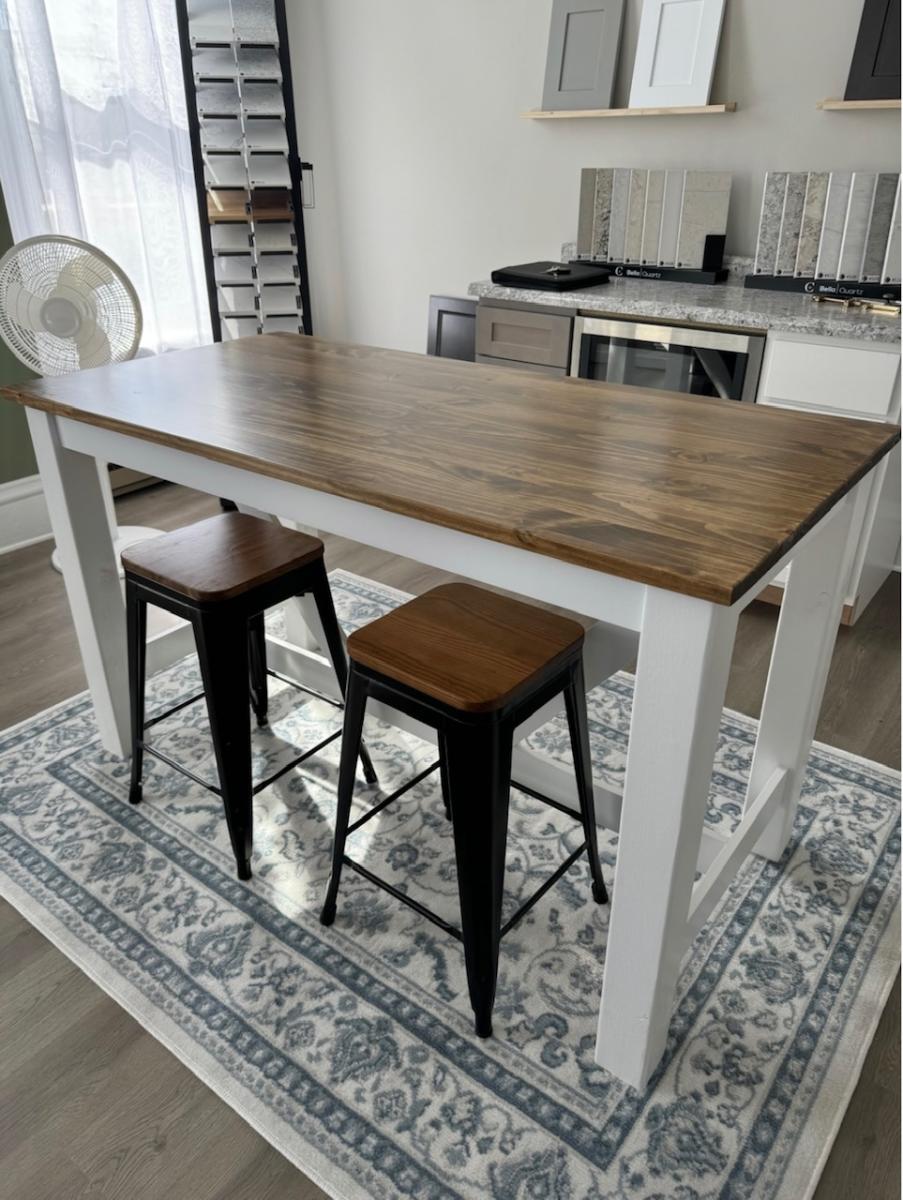
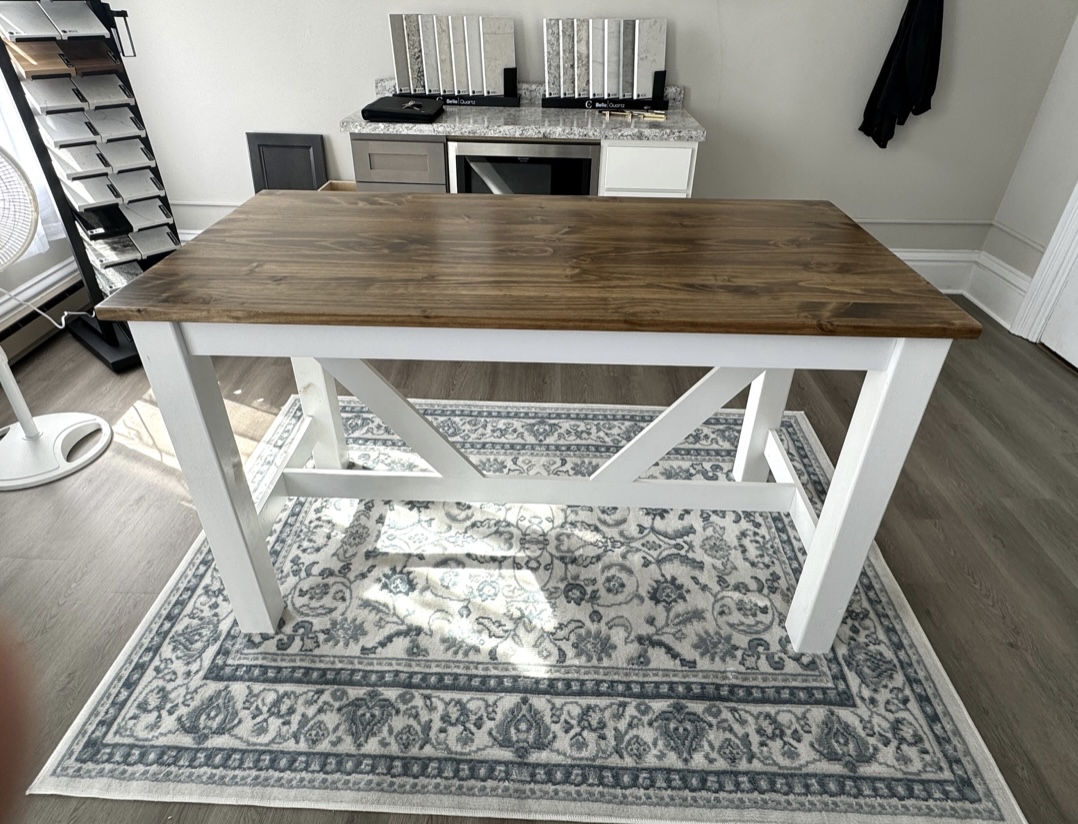
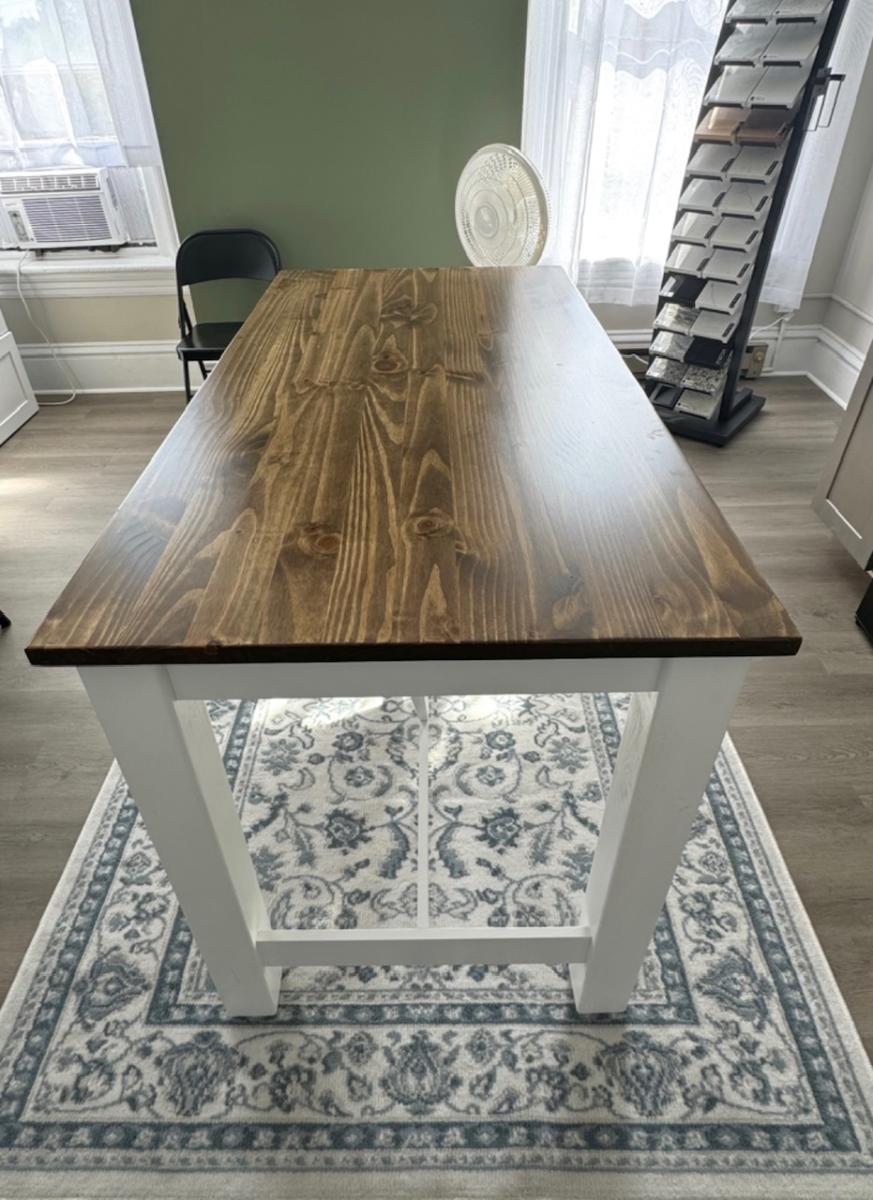
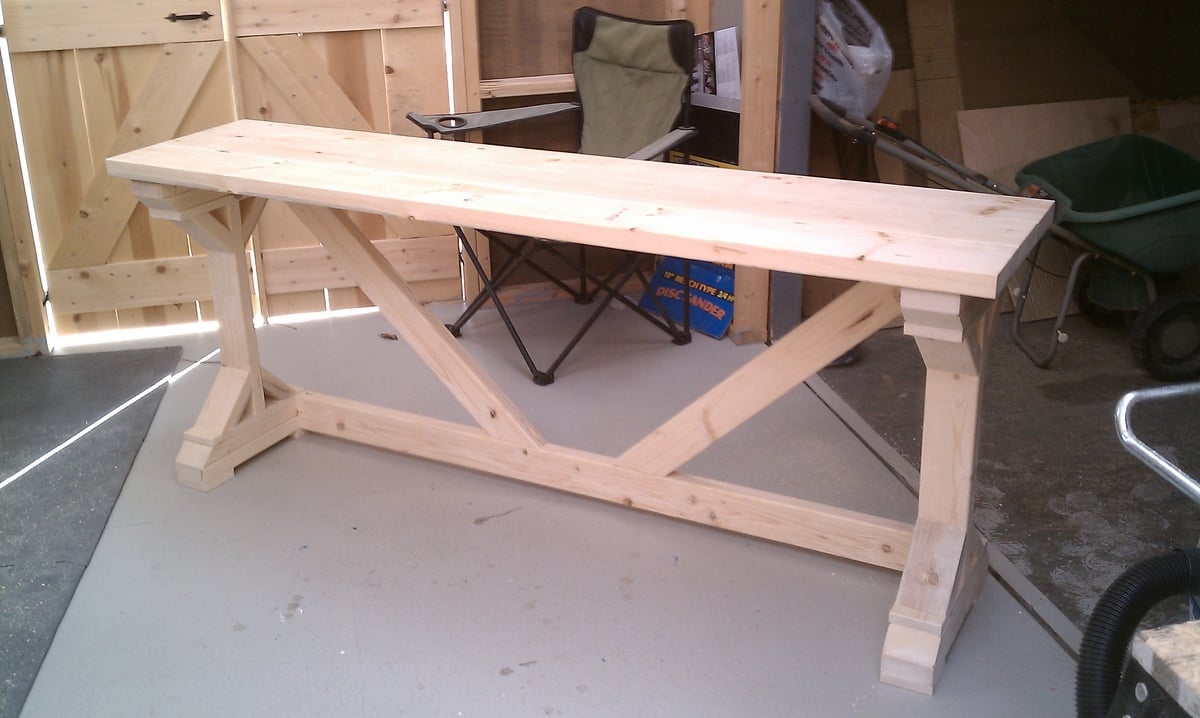
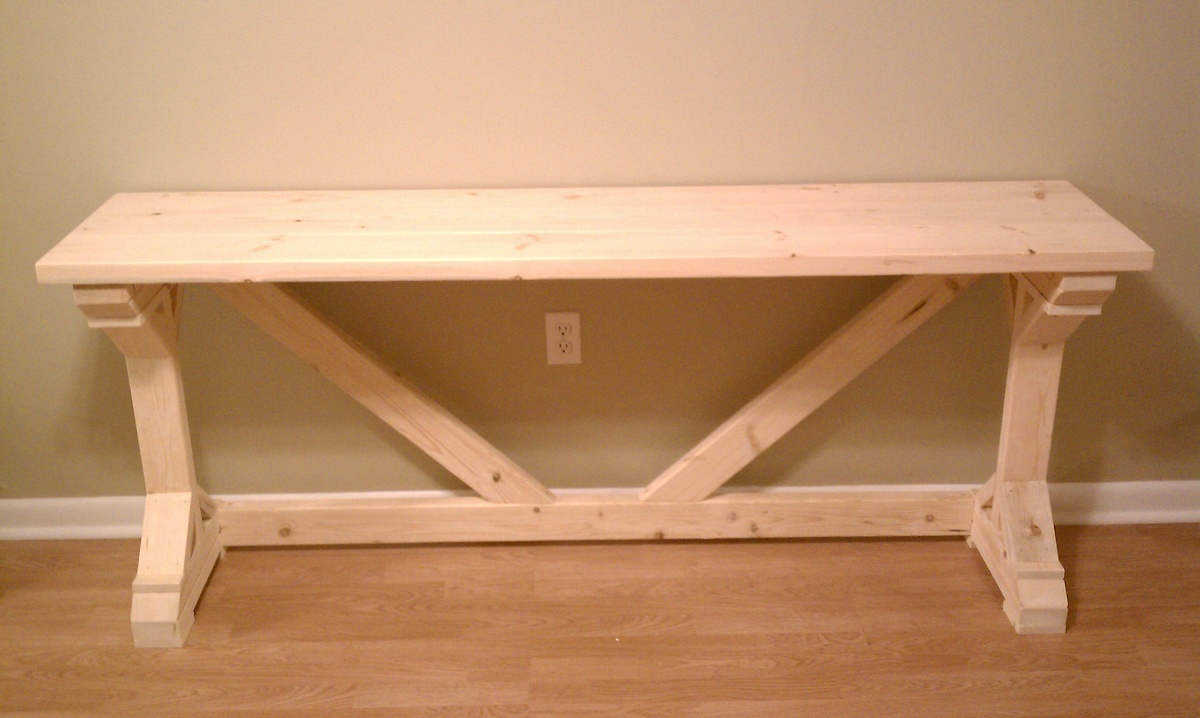
I went to my dad and said I wanted to build bunk beds for my girls. I showed him an easy set of plans and he said no problem, he is handy. Then I pulled the switch on him and told him I wanted to build the Sweet Pea Bunk Beds. Ha ha. Three weeks later, only weekend work, we have the final product. I have to say I think they look pretty awesome.
Built from Plan(s)
Estimated Cost
$400-$500
Estimated Time Investment
Week Long Project (20 Hours or More)
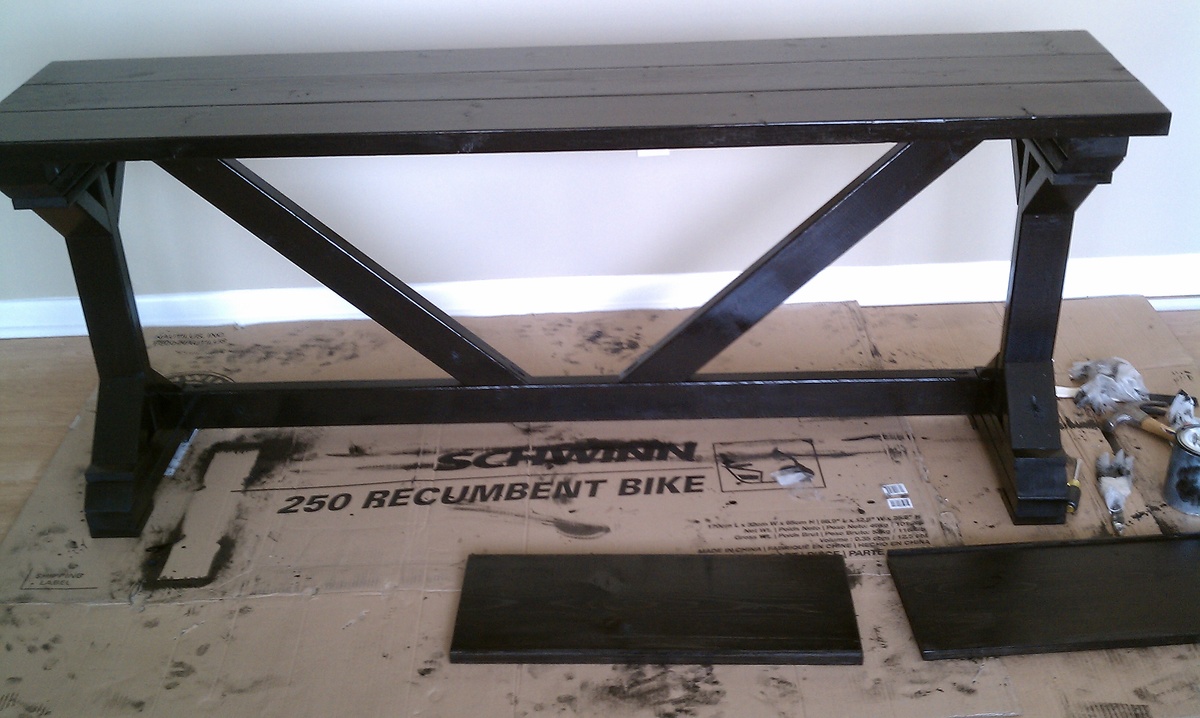
Finish Used
Olympic One Paint and Primer Semi-gloss
Recommended Skill Level
Intermediate


Comments
birdsandsoap
Sat, 12/08/2012 - 22:16
This is so awesome!!
Your Dad did a great job, these beds turned out beautiful. It took me all summer to build them! 3 weeks-unbelievable! Nice work, I hope your children love it!!
Claudine (not verified)
Sun, 01/06/2013 - 14:14
Sweet Pea Bed
My husband came home with a pic of this bed..and I fell in love..We started ours on Thurs morning..by mon night it was being set up in the bedroom..It is an amazing bed..Yours looks great too..I like the totes under the bed. We havent done anything under yet I will be getting some totes like that..Thanks for the idea!