Community Brag Posts
Easy DIY Workbench
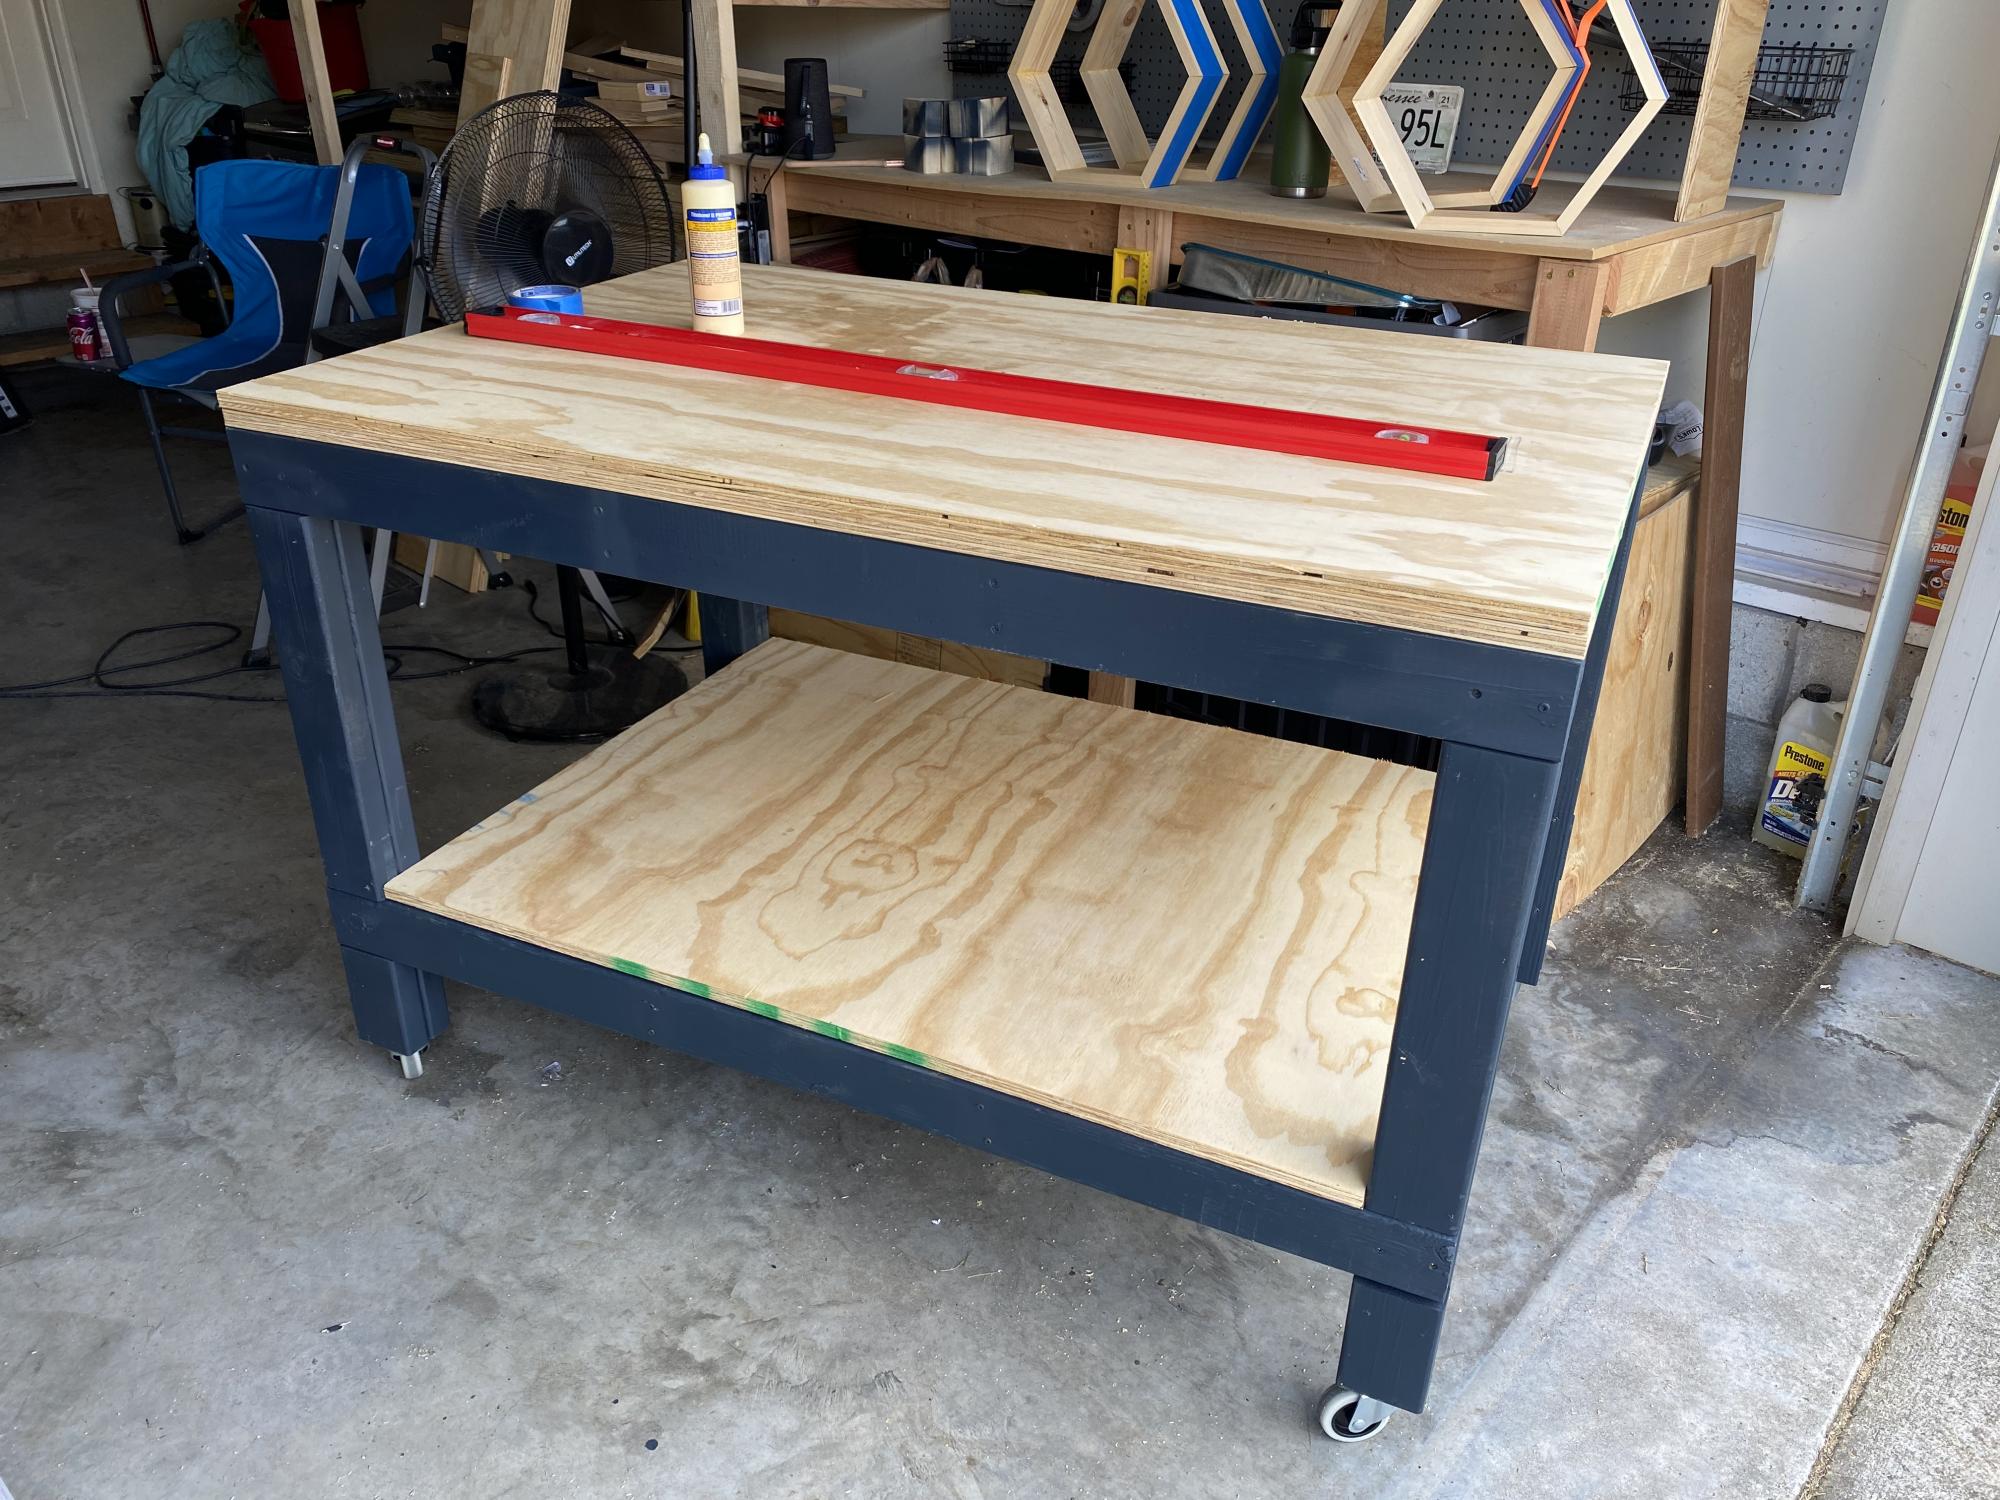
Ana I’m new to wood working and I really love your plans. They are so much easier to follow than a lot of other plans that I’ve seen. It makes me feel like I can build almost anything. Thank you.
Brandy
Comments
An Unexciting Step Stool
So, here is my unexciting step stool. It became a hodge podge of material because I didn’t have practically ANYTHING on the cut list in my shop! So the sides are made of 2 1×4′s a 1×3 and a 1×2 pocket holed together! The bottom kick is two 1×3′s and the top is a piece of 5/8″ plywood. The back is plywood too, and the treads are two pieces (each) of 1×4! Talk about a weird way to build Ana’s simple plan!
I decided not to do the storage step since I really didn’t need it, and I was tired of scrounging for wood too! It still needs a touch-up of putty (especially the opposite side because I forgot to mirror the pieces and all the pocket holes are on the outside! whoops!) and then some sort of easy to clean paint.
Took me a couple hours to put together on a cold Christmas afternoon while my son was sleeping and my mother-in-law and guy were watching Shrek on tv.
Very unexciting. Not nearly as exciting as the lockers I’ve been coveting…
Except…. when you see just how happy my lil guy was when he got up from his nap….
… and then it becomes a WHOLE LOT more exciting!
Merry Christmas everyone!
Camp Loft Bed with Stair, Junior Height
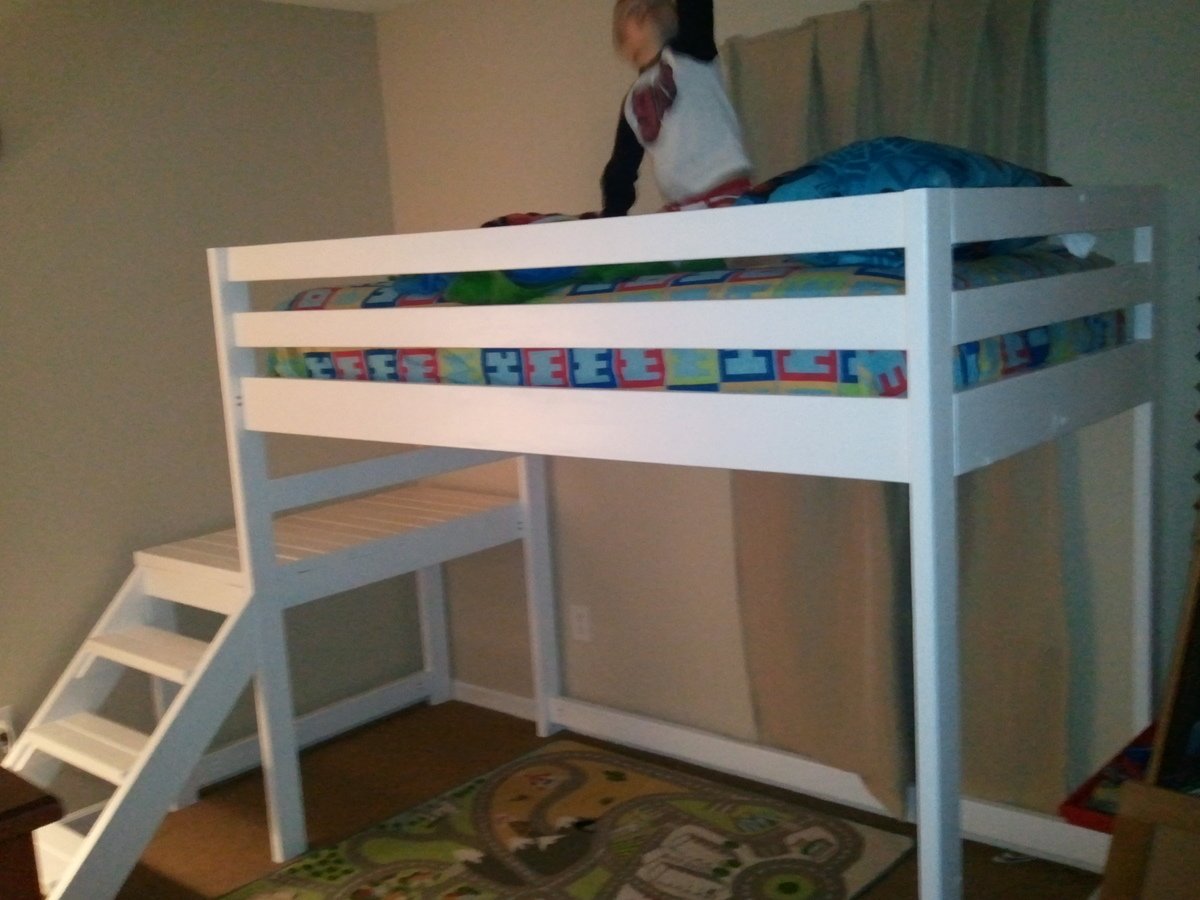
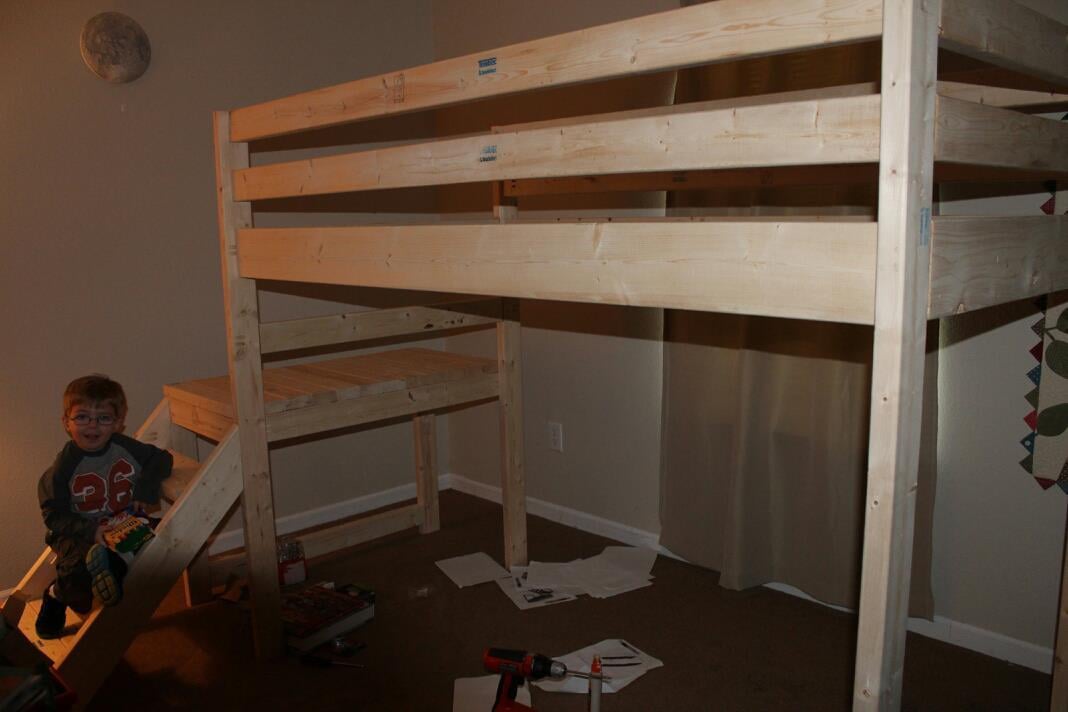
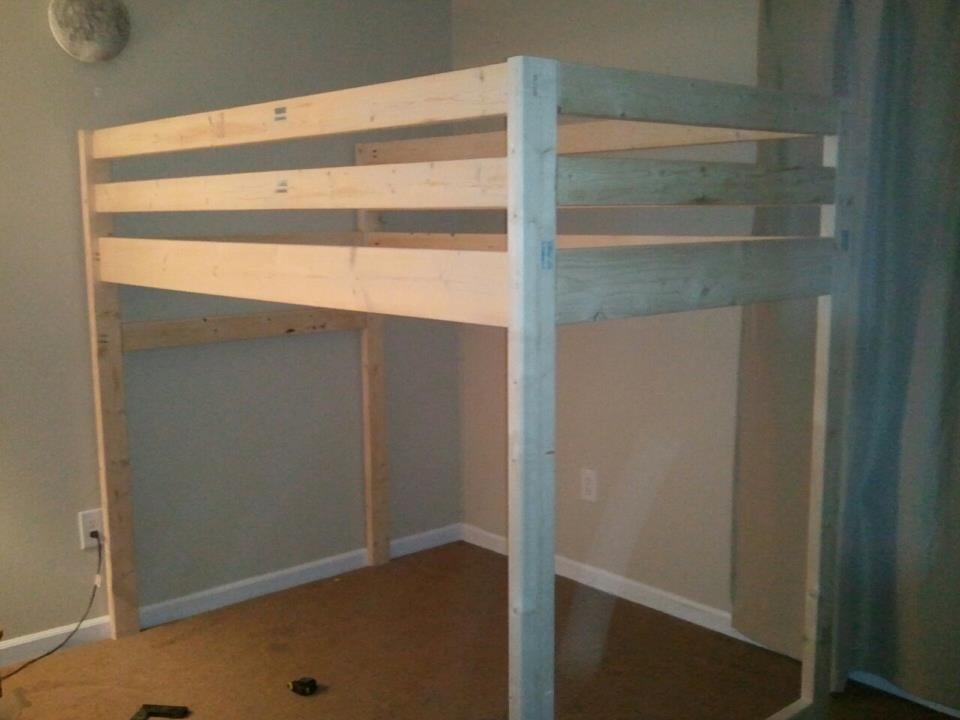
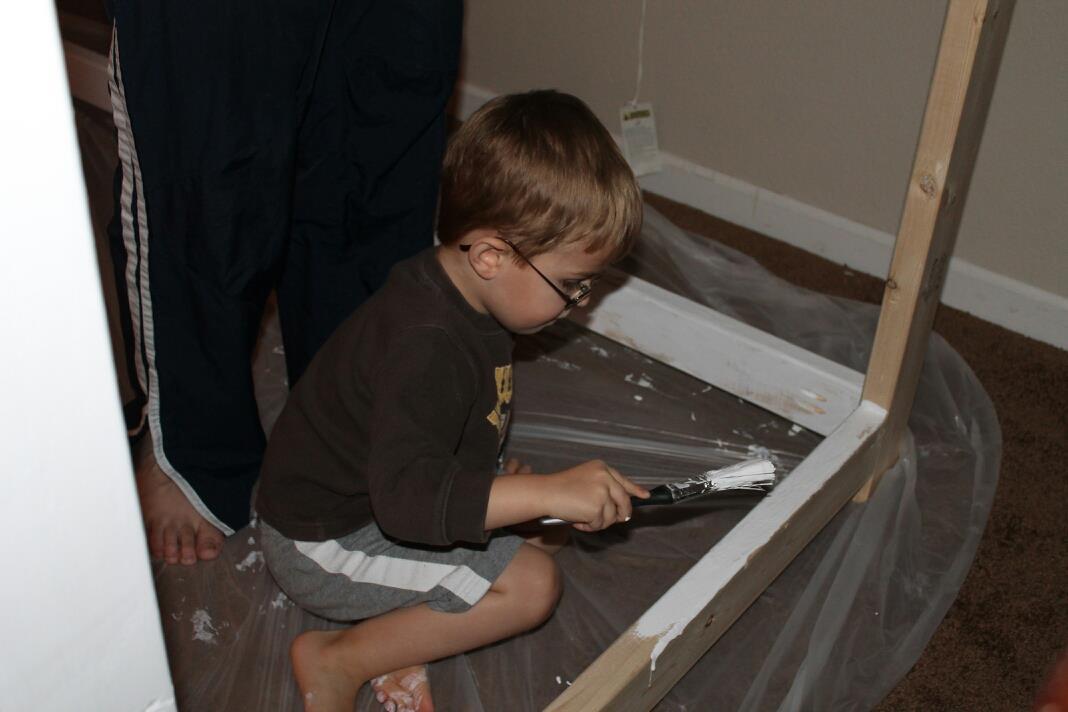
This was my husband's first project, to build our son a new big boy bed. For being his first project, it went pretty smoothly. He worked on it off and on for about a week, but didn't take longer than 12-14 hours or so. We painted it with a semi-gloss white paint, and I'm currently working on curtains (made to look like a barn) to hang on the bed. Noah loves his new bed!
Comments
Kitchen Lazy Susan
This is a sample of what I have done using Ana's plans. Thanks Ana!!! I will be posting my entire kitchen Reno in the near future.
Comments
Farmhouse Table for 10(ish)
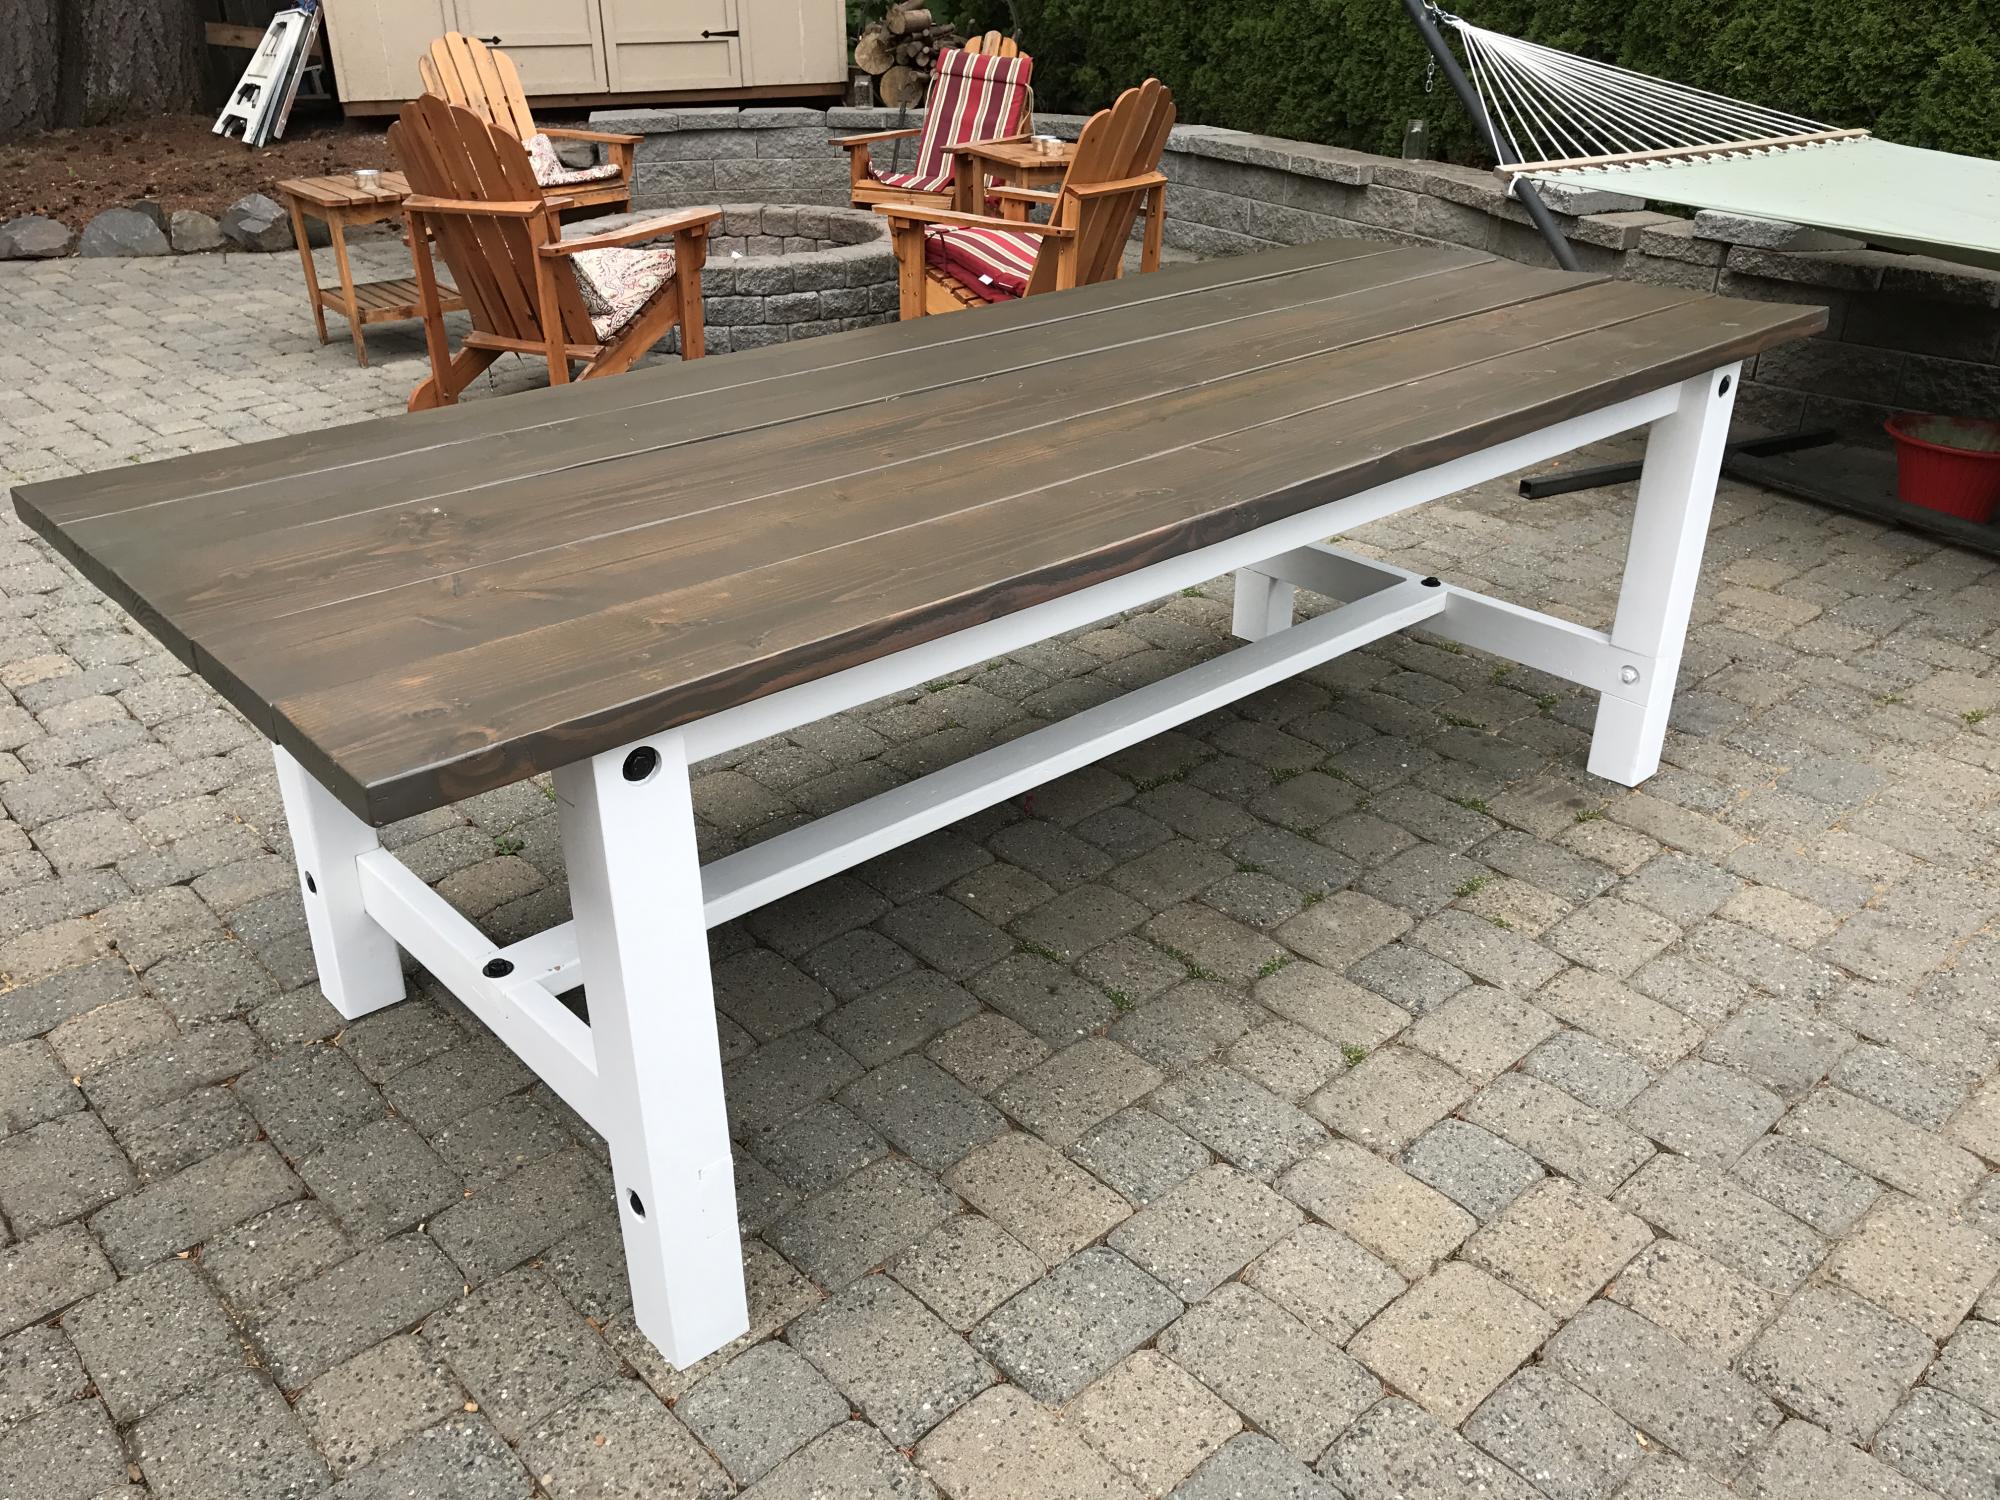
We wanted a patio table to fit up to 10. Done with a mix of pocket holes & 1/2" hex bolts. Made small changes to the stretchers. Moved them inside because we liked that aestetic better. We made the top longer because we didnt want to do the breadboard ends. Used big 4" hex bolts & washers and painted them with "hammered steel" paint to give them a more vintage look.
Will be making the matching benches next. We wanted the benches to fit perfectly underneath the table for storage, so Ill be cutting the bench seats to fit under table leg to leg.
(i didnt have a kreig jig, so that was another $40 at HomeDepot)
- Varathane Briar Smoke
- Varathane Spar Exterior - satin (i shoulda used natural/matte, to reduce shine, but its gonna hold up well outside)
Helper Tower
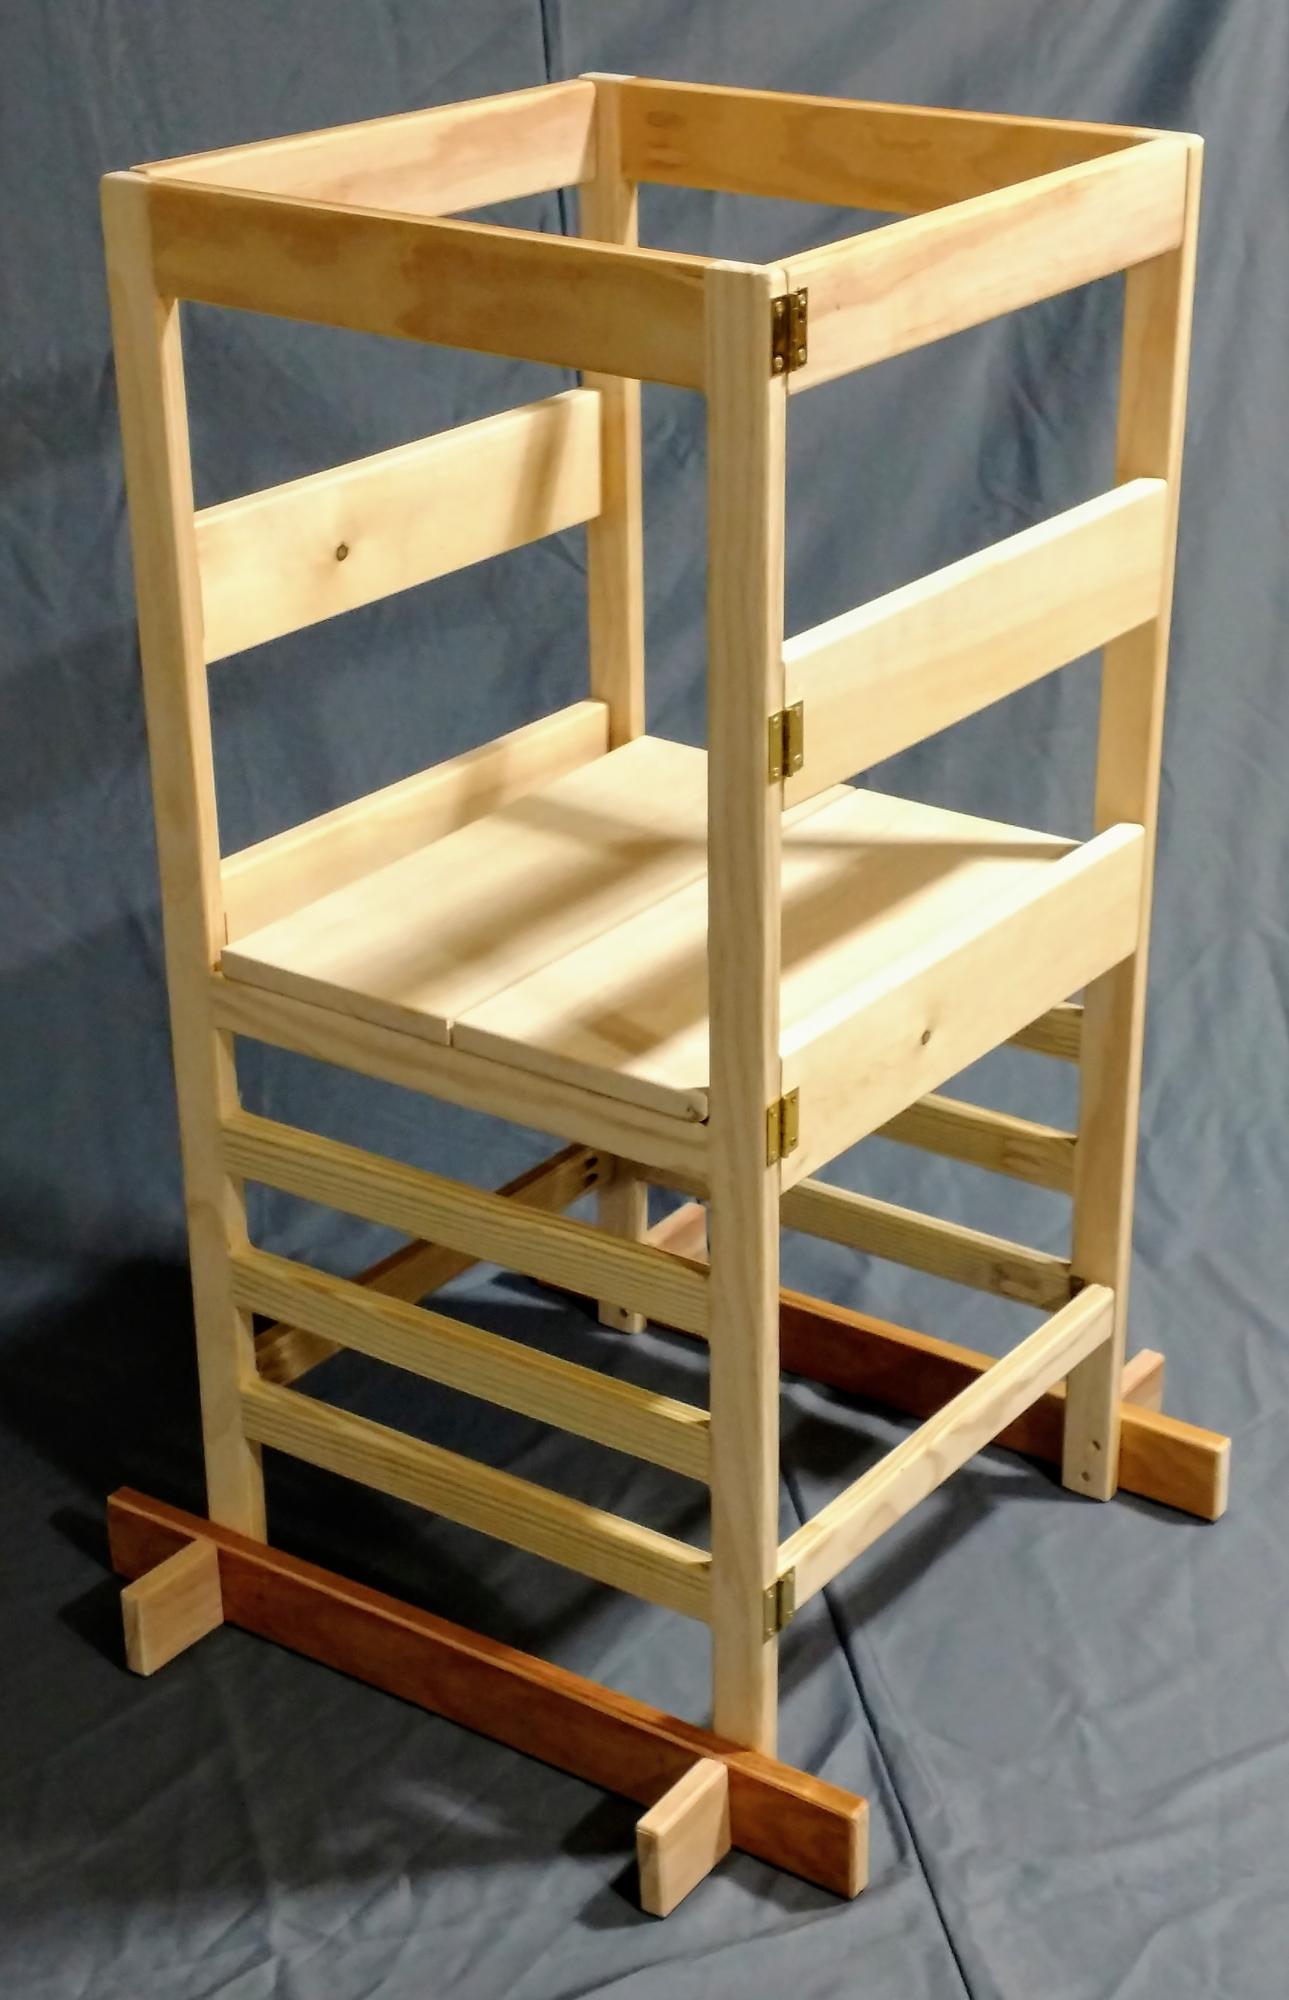
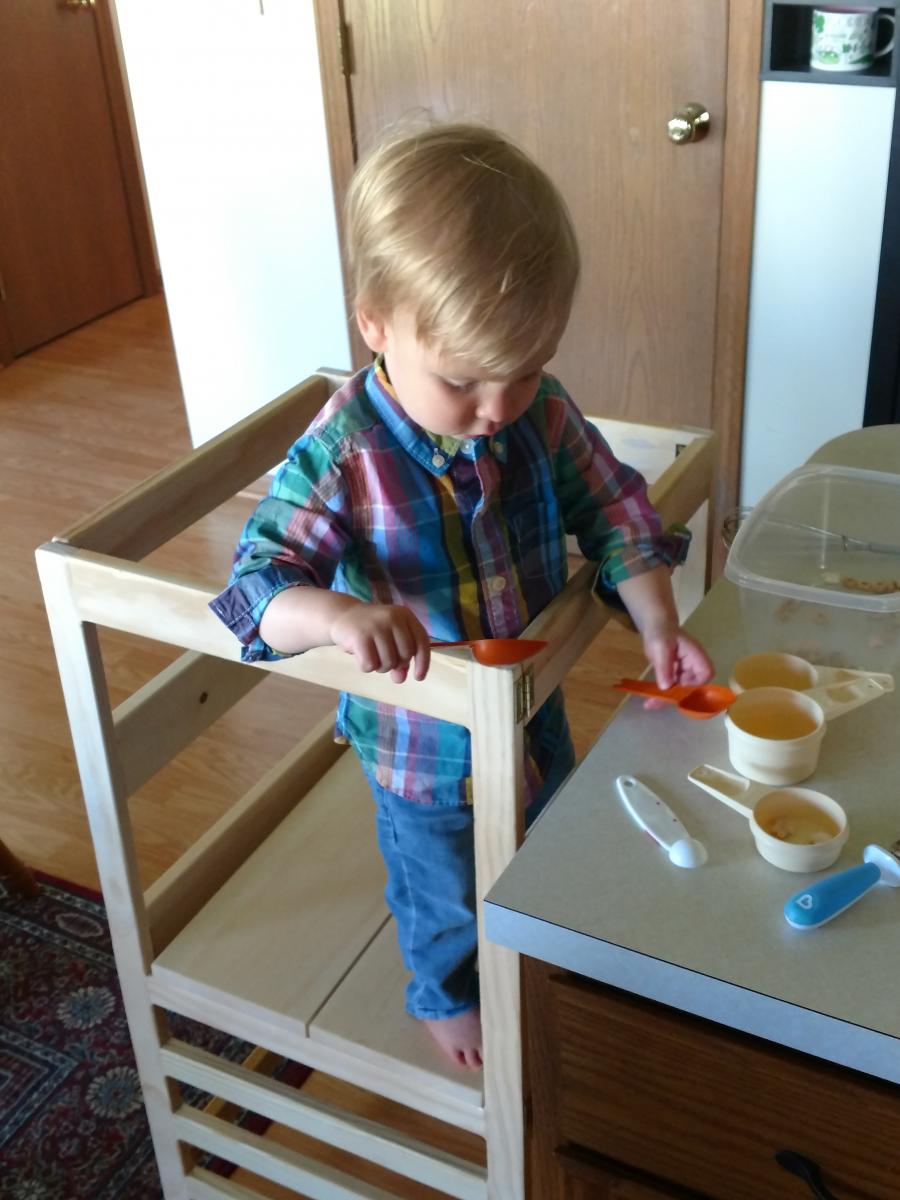
Built the Helper Tower for my grandson. It's the optional hinged version. He uses it every time he visits, and will get a lot of use out of it - platform is at its highest setting.
Comments
Mon, 10/04/2021 - 16:51
YAY for little helpers!
This is such a great way to include the children in learning and fun! Thank you for sharing, it looks amazing!
kids picnic table
Kids picnic table made from pallet and scrap wood.
Adirondack chair
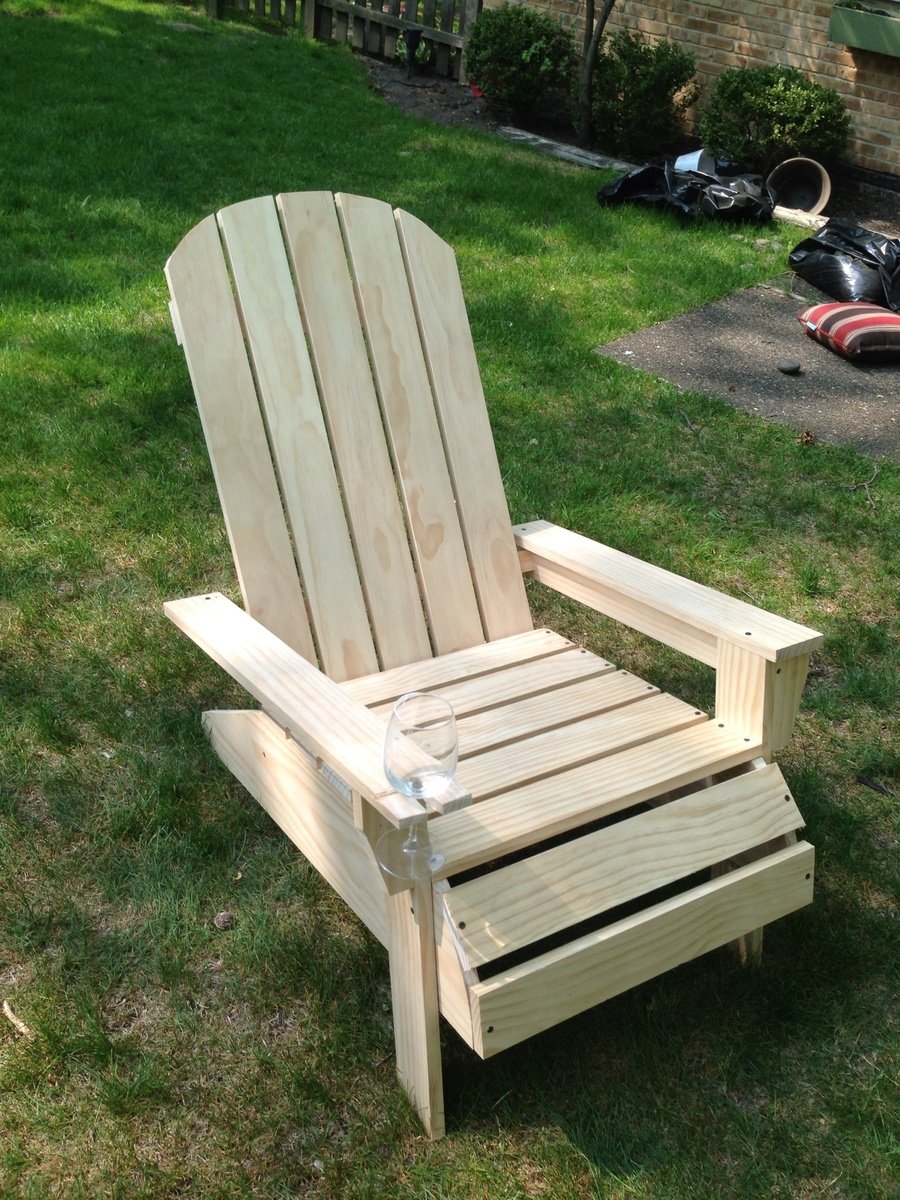
The only thing I did different to the plan was add 4.5 inches to the back slats so I could round the edges and 3 inches to the right arm rest so I could cut out a track to rest a wine glass. One thing I highly recommend is to create a stencil of the stringer. I did and now I have it for the next one so the next chair will be consistent. Thanks Ana white, this site is very therapeutic for me. Already built 3 projects in the last month.
Comments
Thu, 06/06/2013 - 06:38
AWESOMENESS
The mods on this make me now want to build a set of these, the wine glass holder is genius! love the rounded front and back, so much better than original plans, thanks for inspiration!
Coffee Table - First build!
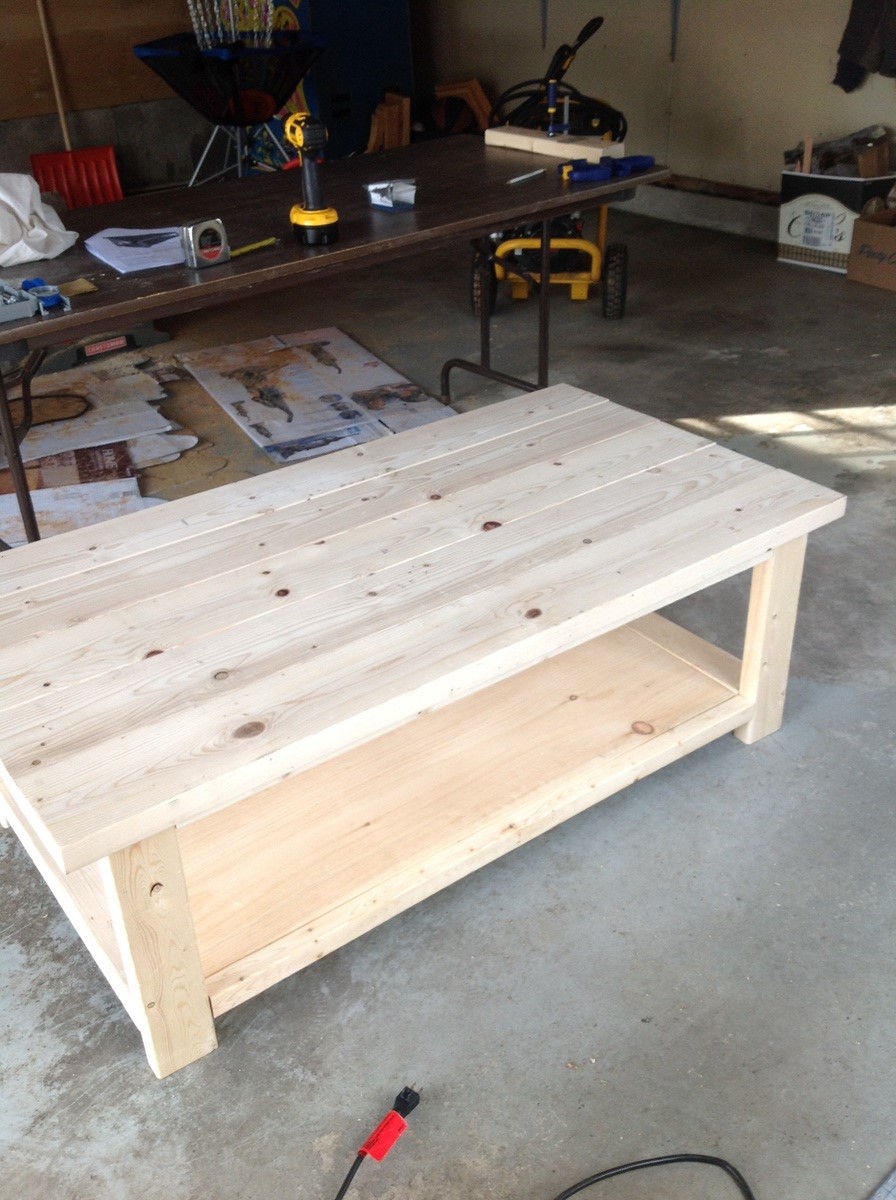
This was my first build and I loved making it! I wasn't able to make the 60 degree cuts needed for the x's but I hope to be able to add them in the future!
Queen Cassidy Bed
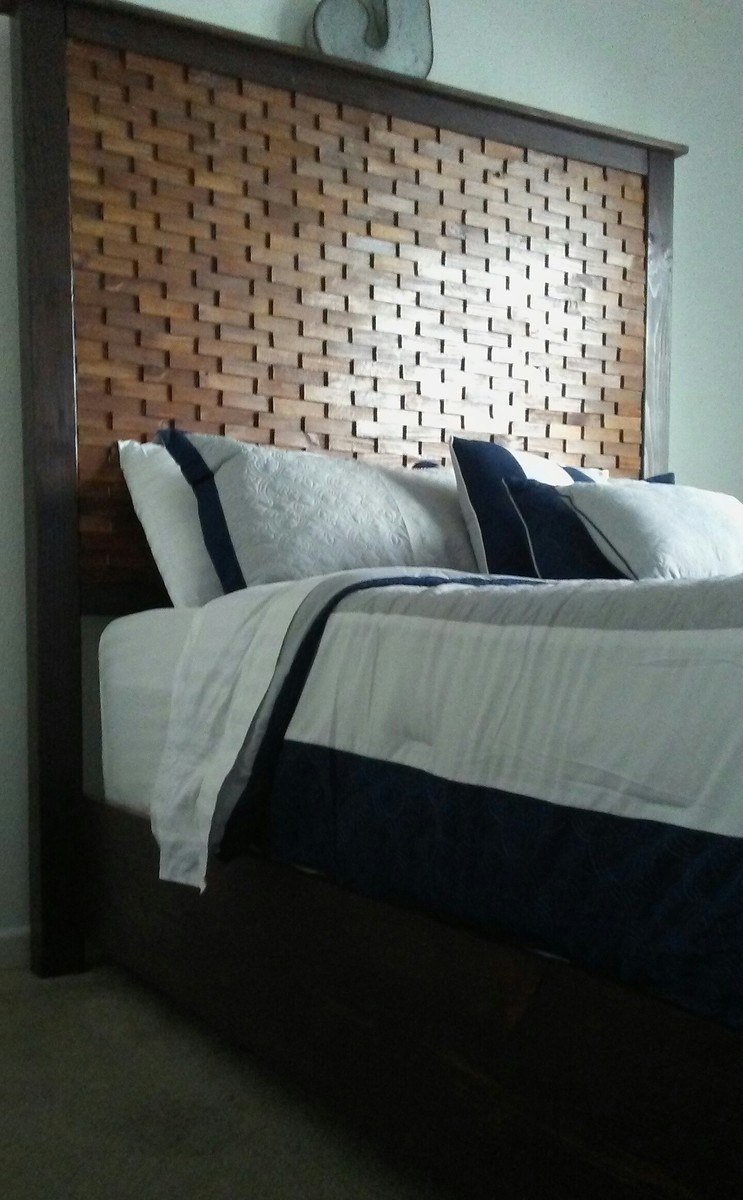
My oldest son grew out of his twin bed and we found the plans for the Cassidy bed and thought it'd be perfect. He couldn't think of a " theme" for his room so we decided to make the headboard taller to keep from having a "blank wall" to have to decorate. It turned out great! We used Colonial Maple, American Walnut and English Chestnut stains for the shims & Colonial Maple + Kona for the border. This was my first time building a queen bed. I am so excited with the way it turned out. This project was so much easier than I had anticipated. It took about 3 days for me because we had triple digit weather and that limited the amount of time I could work outside. I needed help with the final assembly, but other than that, it was a breeze. Thanks again for the awesome plans!
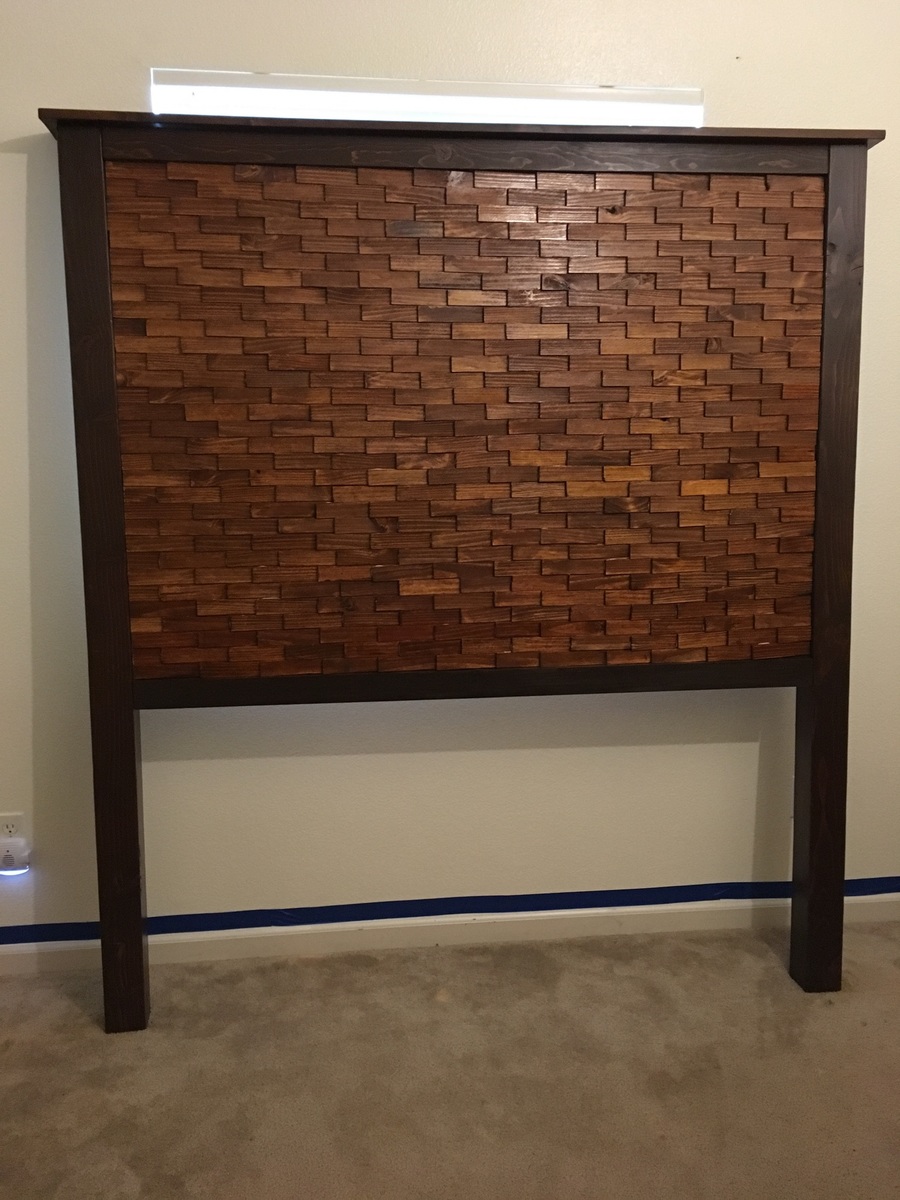
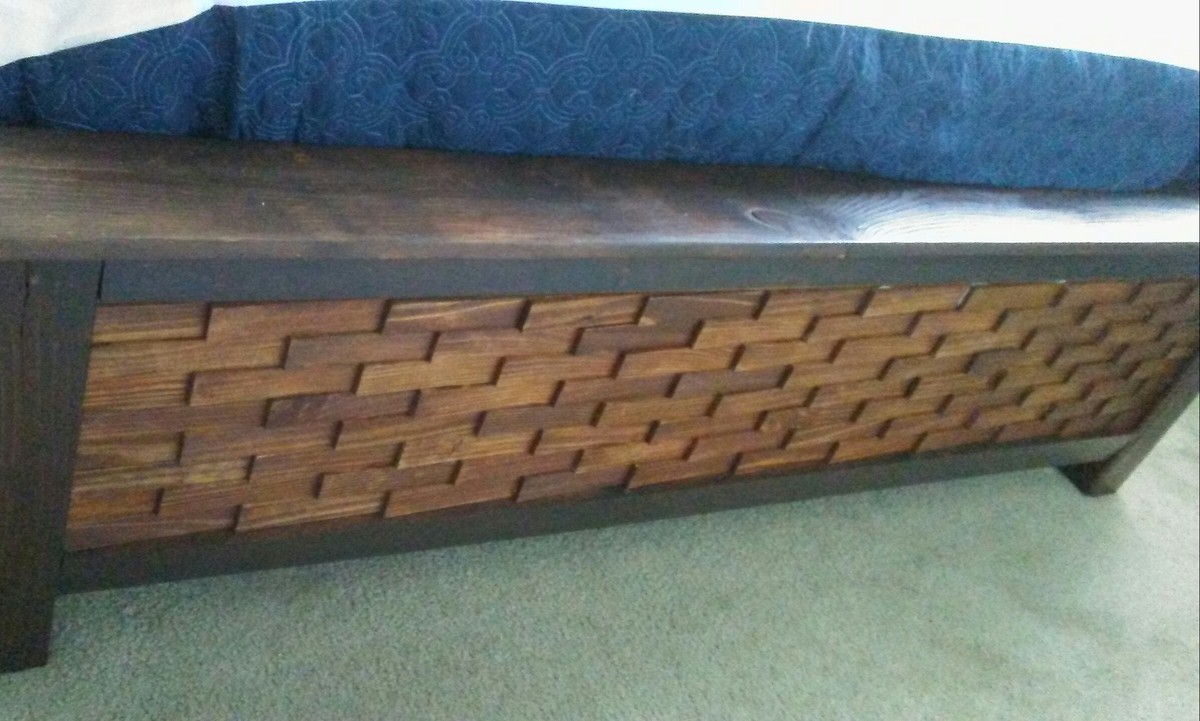
American Walnut +
English Chestnut on wood shims
Colonial Maple + Kona on border pieces
Polyurethane, Clear Semi Gloss
Comments
Laundry Room Organization
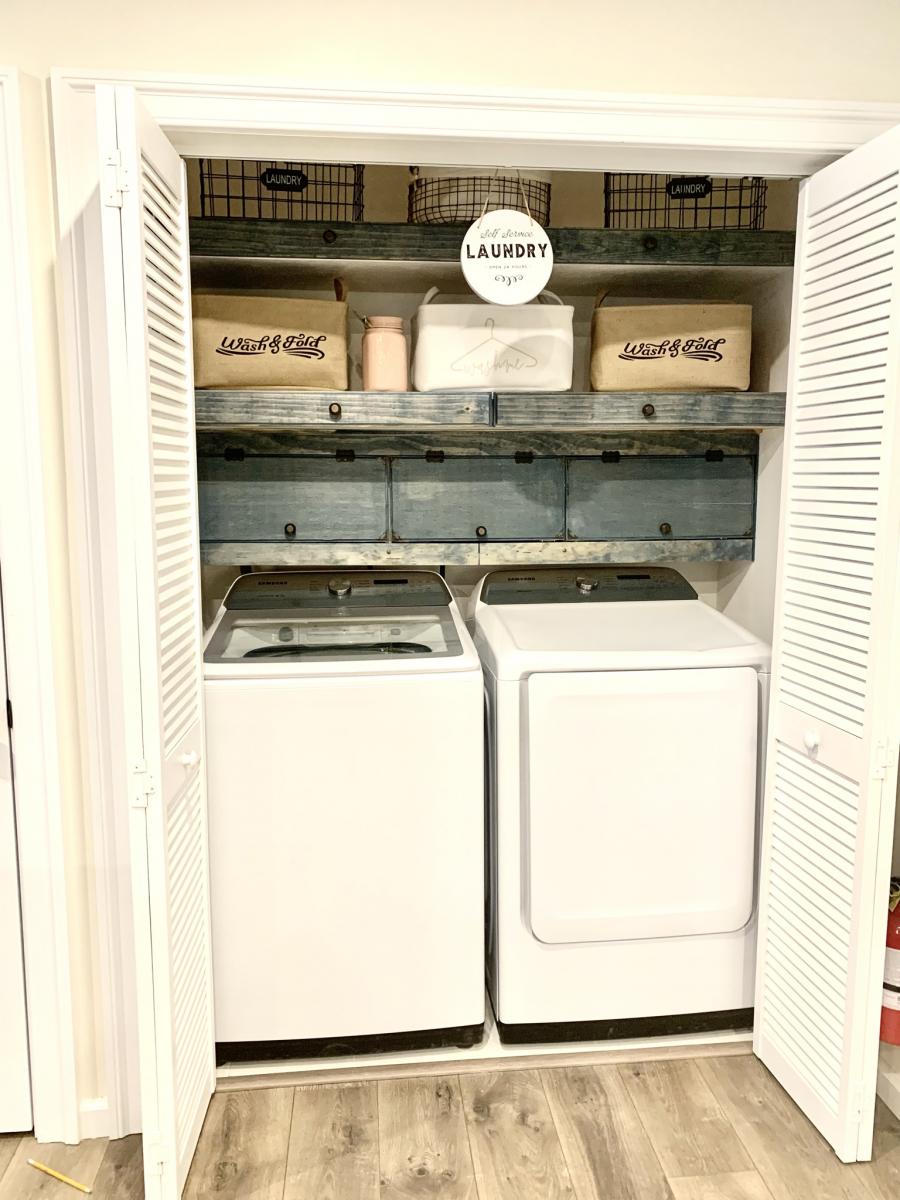
Check out the free plans for these laundry room projects!
Scrapbooking Table!
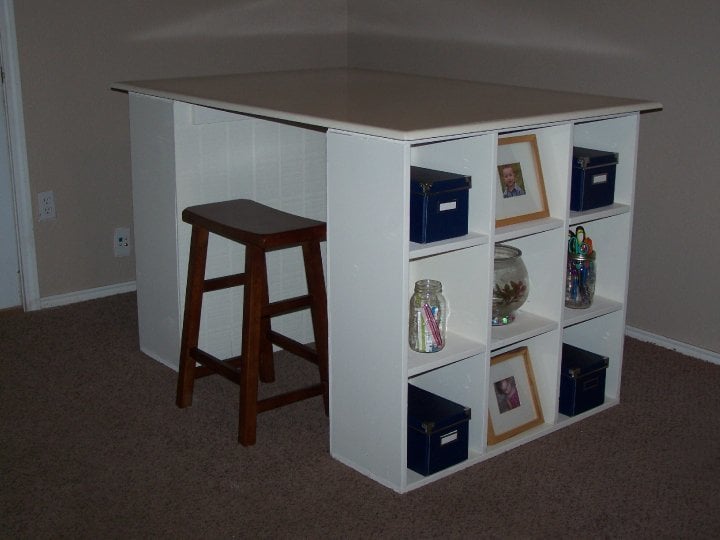
This is my favorite piece we have in our home. We added a wood edging around the desk top to give it a nice finished look. We had a hard time locating the right size drawer slides and ended up buying a lot of them online, so if anyone needs a set of drawer slides, please let me know lol.
Hanging Headboard
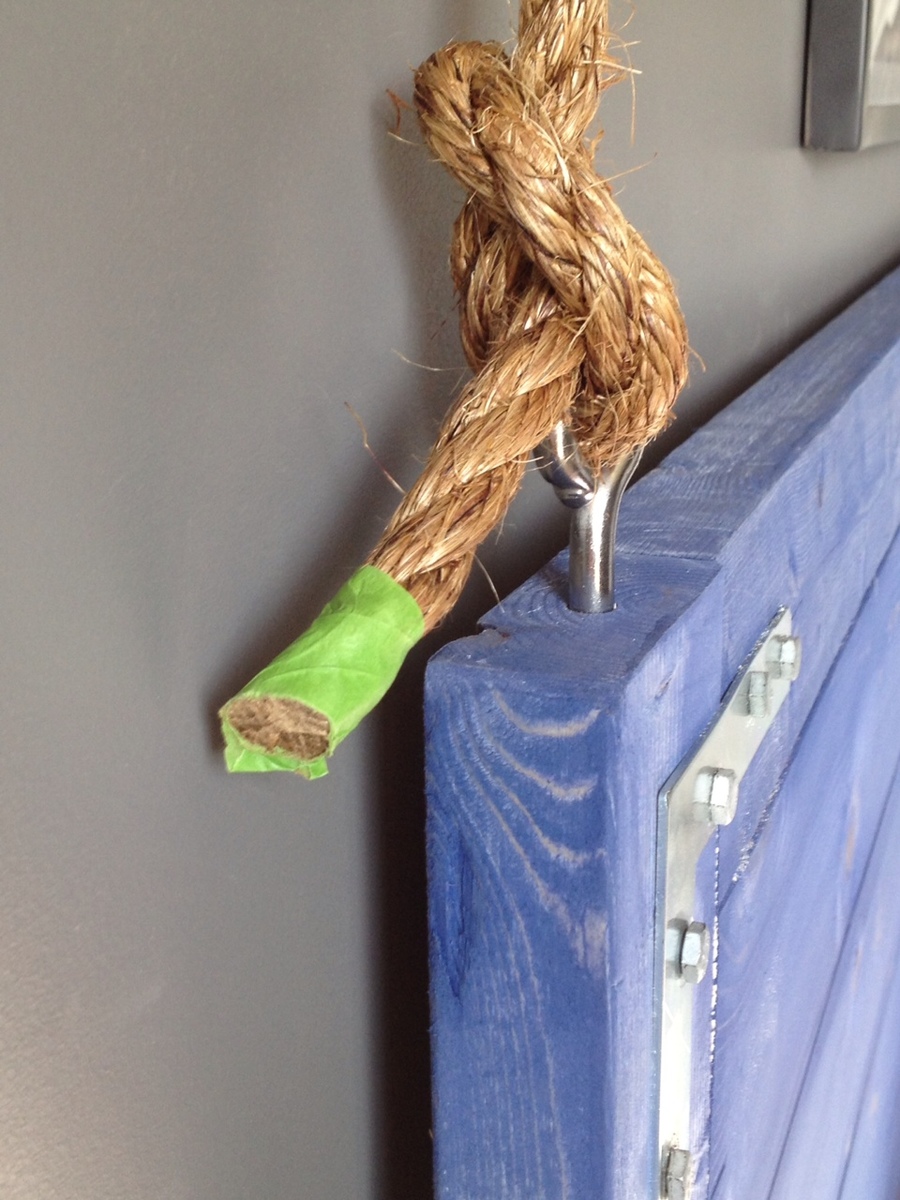
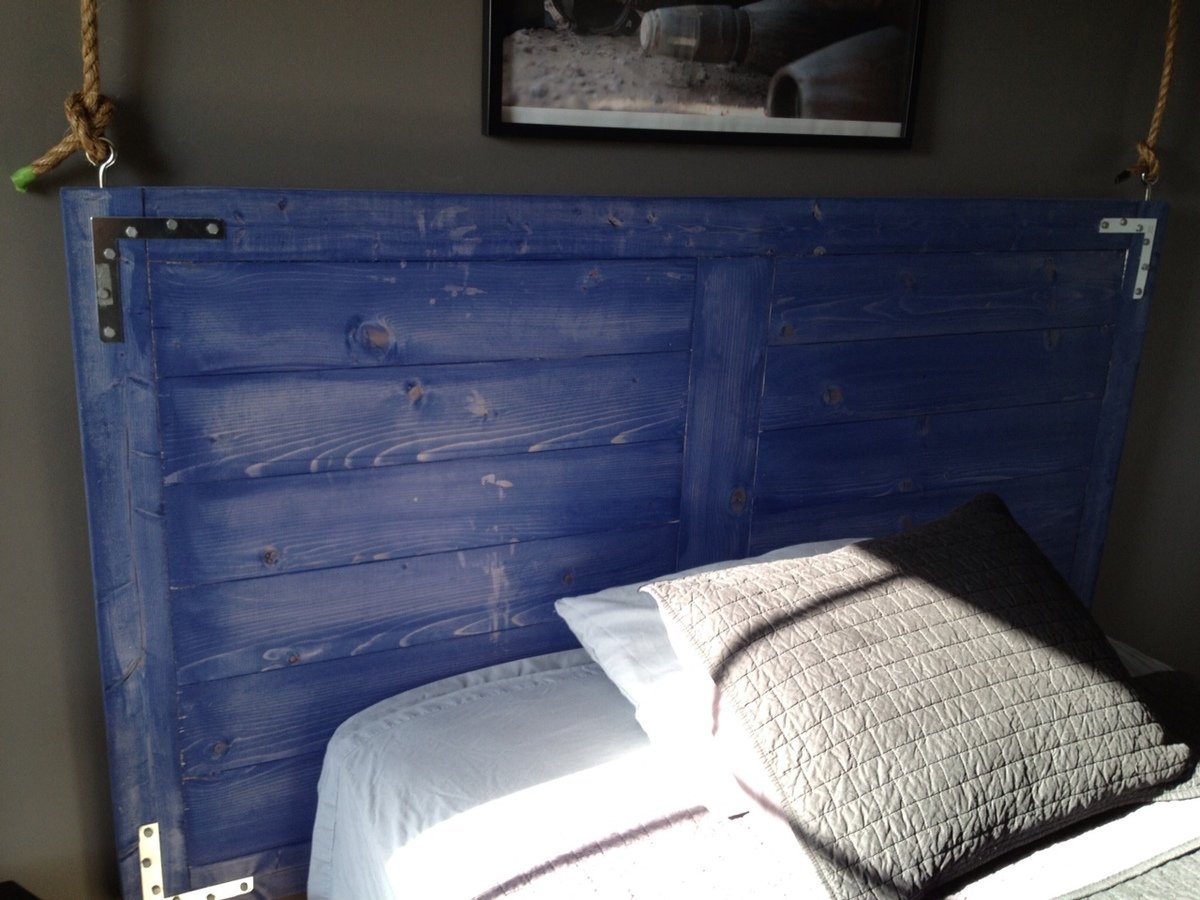
This was supposed to be a table top, however I screwed up a corner so we stained it and turned it into a headboard. We decided to add eye bolts and make it look like it was suspended from the ceiling with rope.
Comments
French Cleat Sanding Station
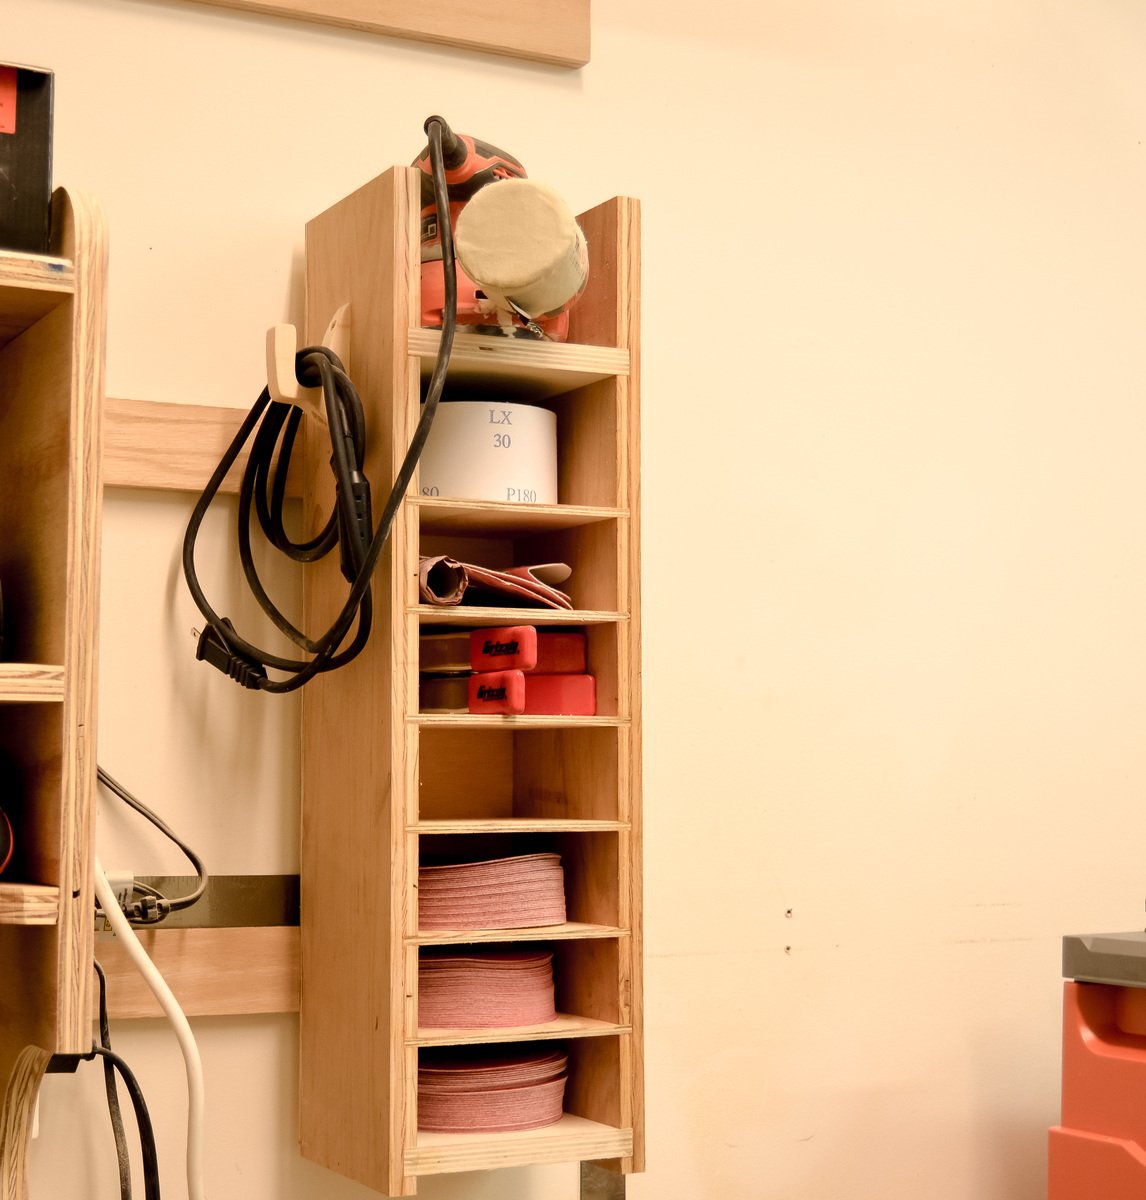
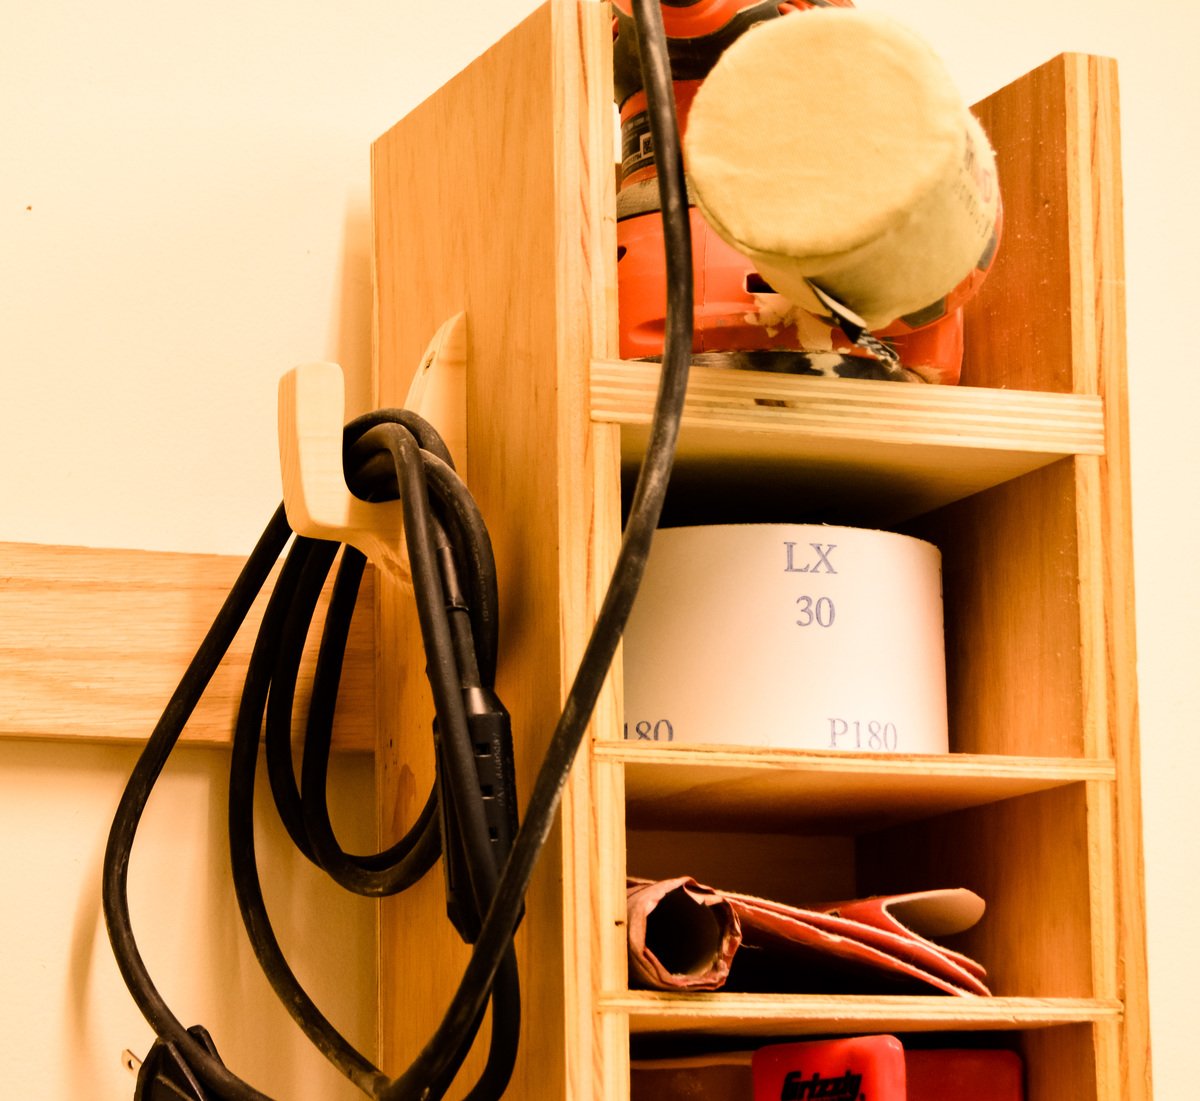
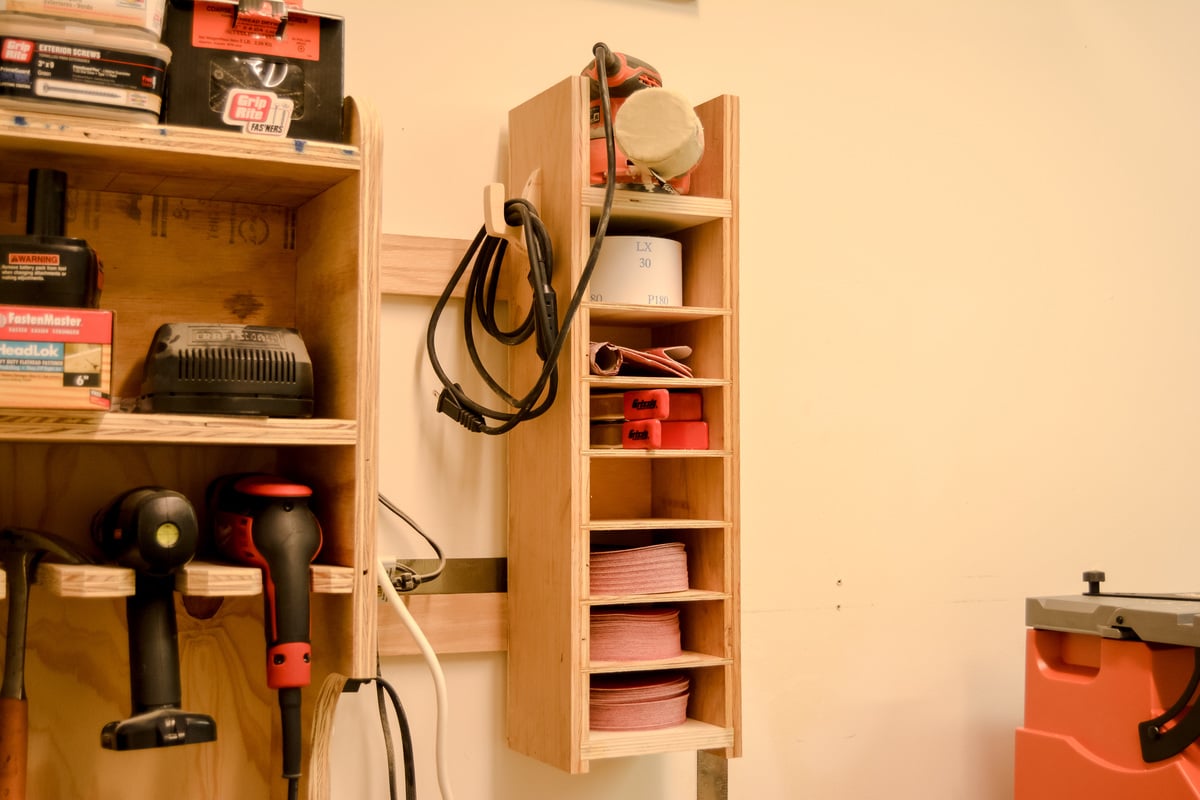
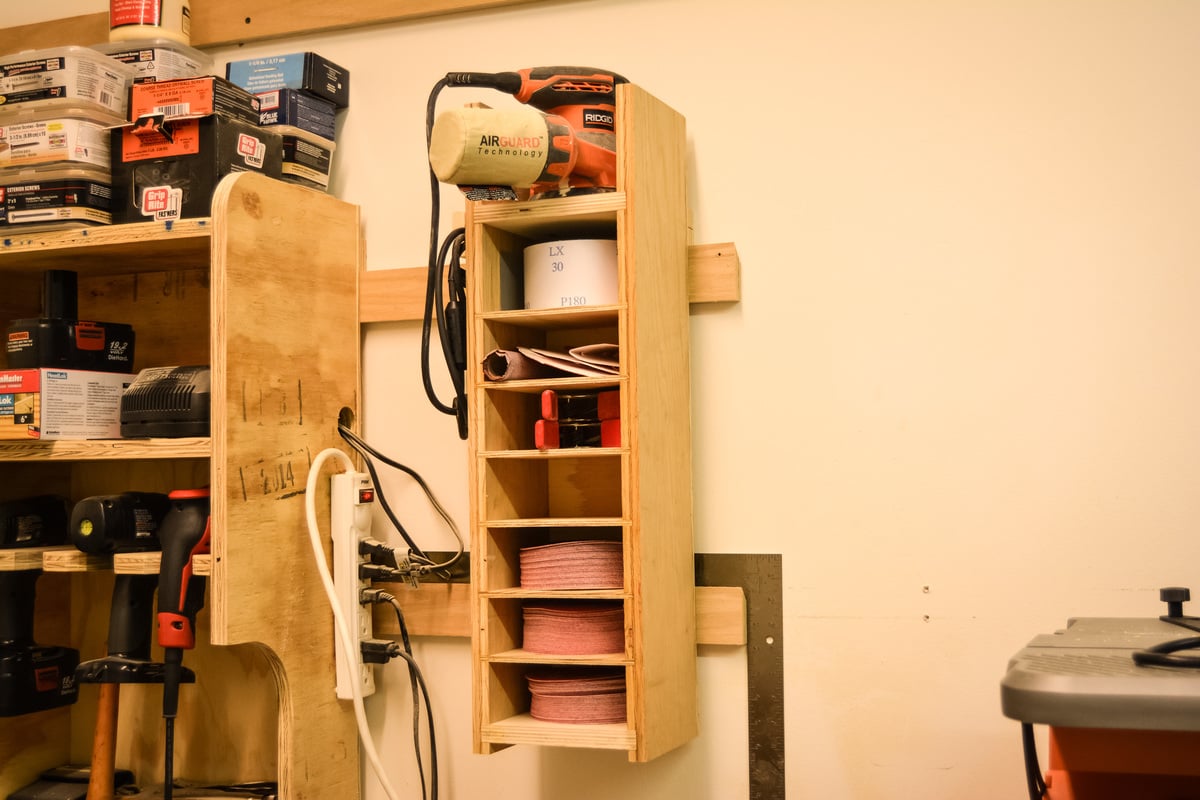
This week I built a french cleat sanding station to house my orbital sander and sand paper!
Blog: http://www.lanebroswoodshop.com/2015/04/french-cleat-sanding-station.ht…
Plans: https://drive.google.com/file/d/0B_RQfvQzkmz3OENtUWdmMENCYlk/view?usp=s…
Barn door closet build
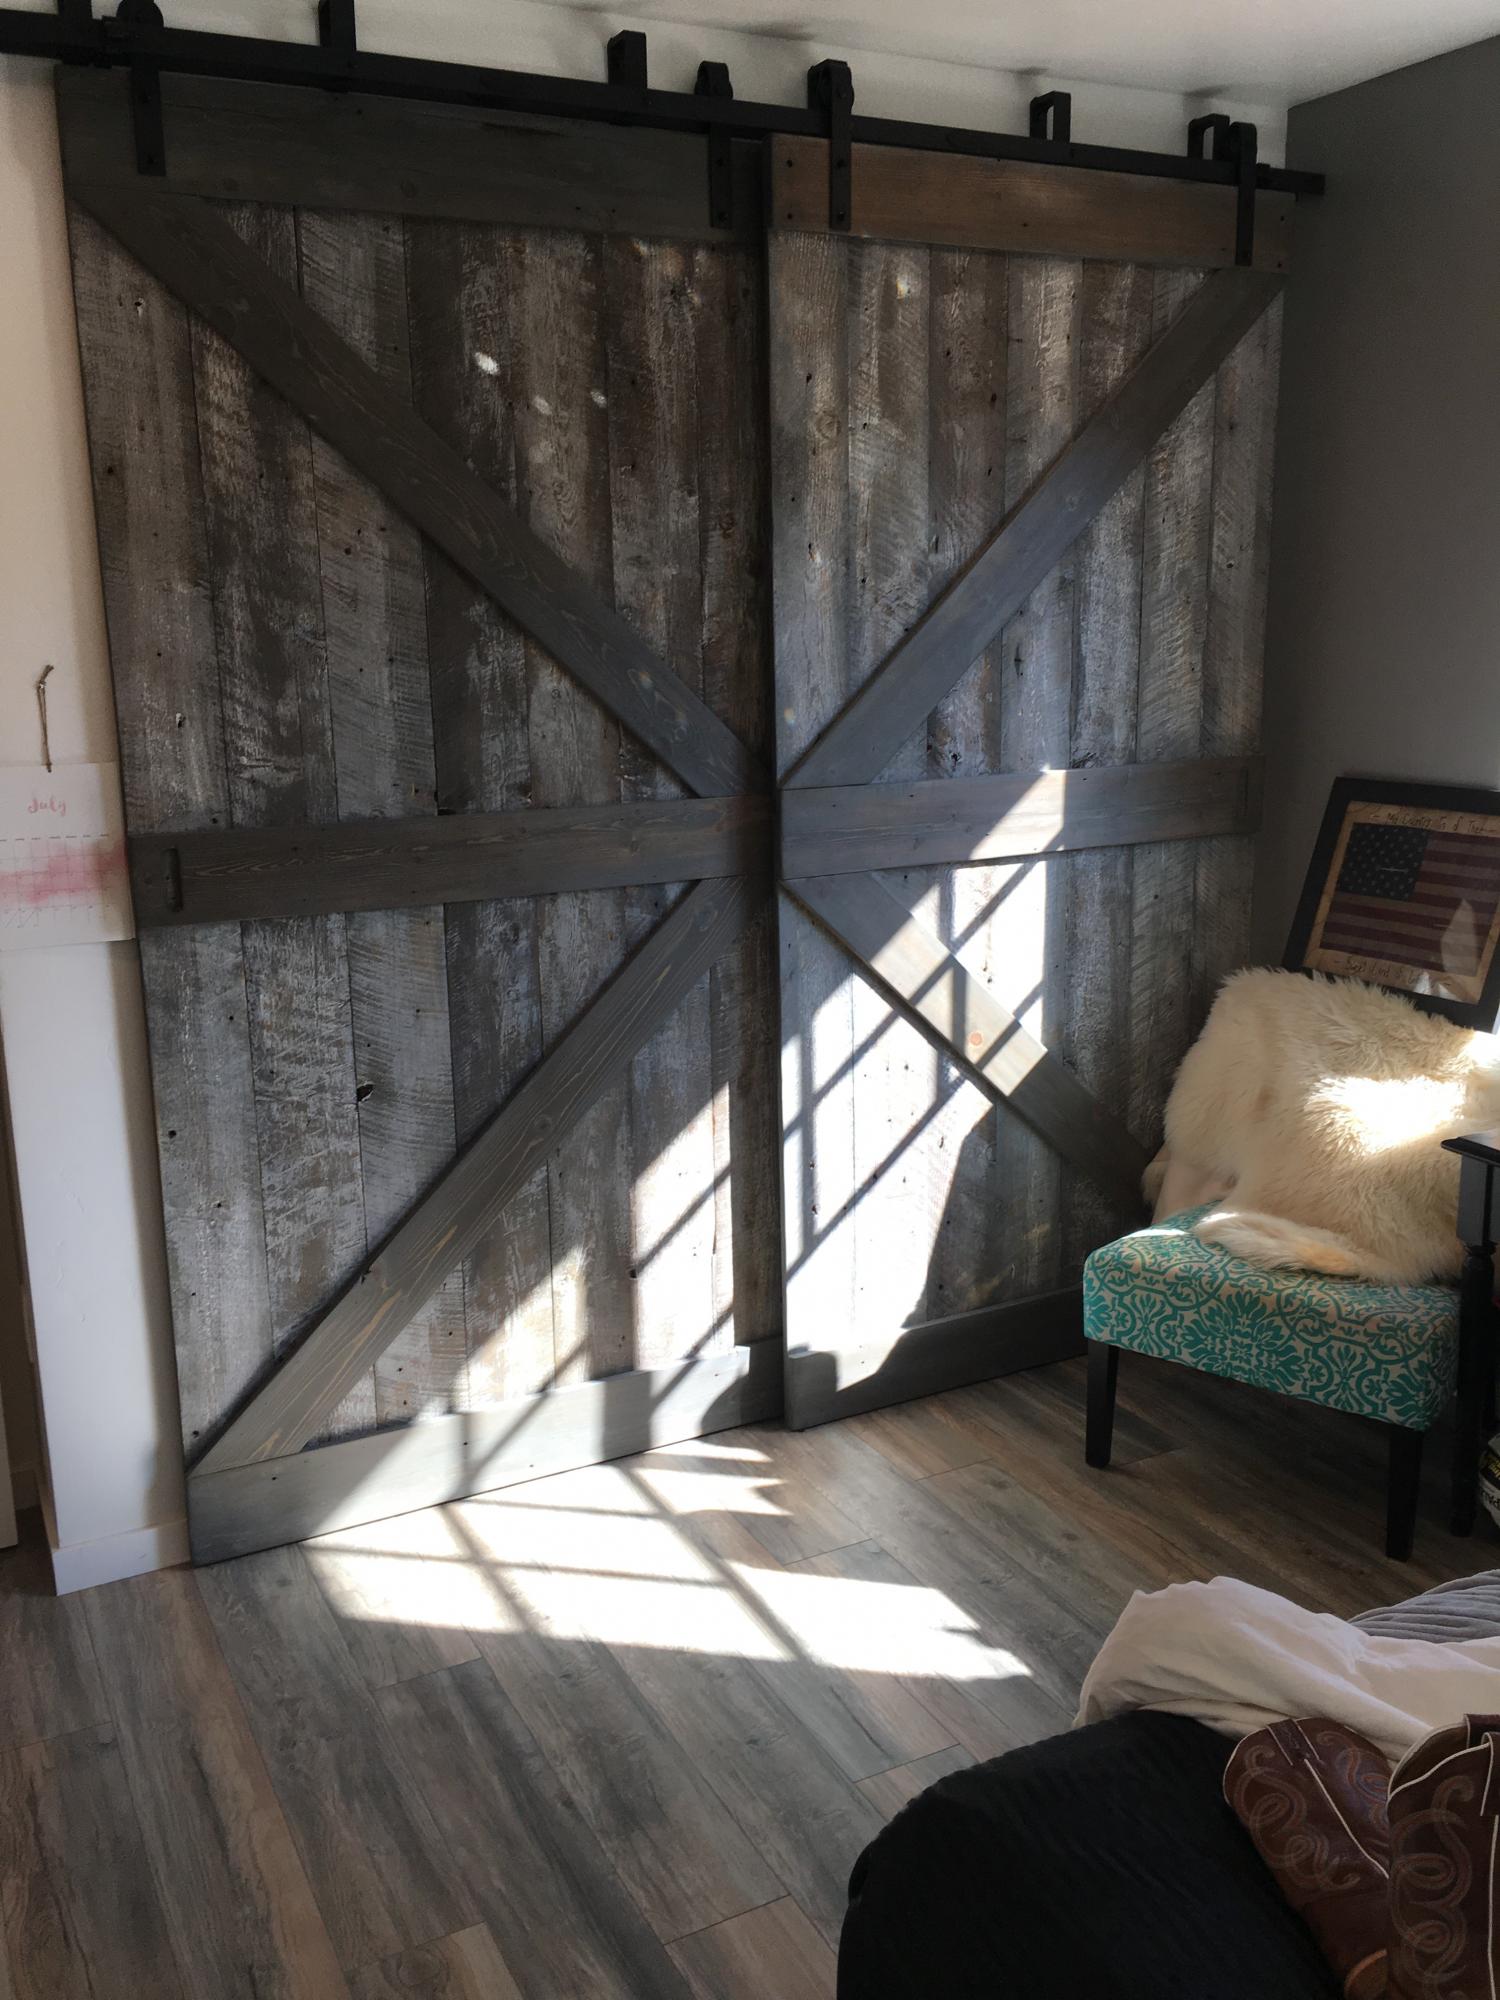
Double closet door build I did for a relative. He provided the stack of barnwood. Used a carbon gray stain. Fun and rewarding build!
Comments
Clara Table
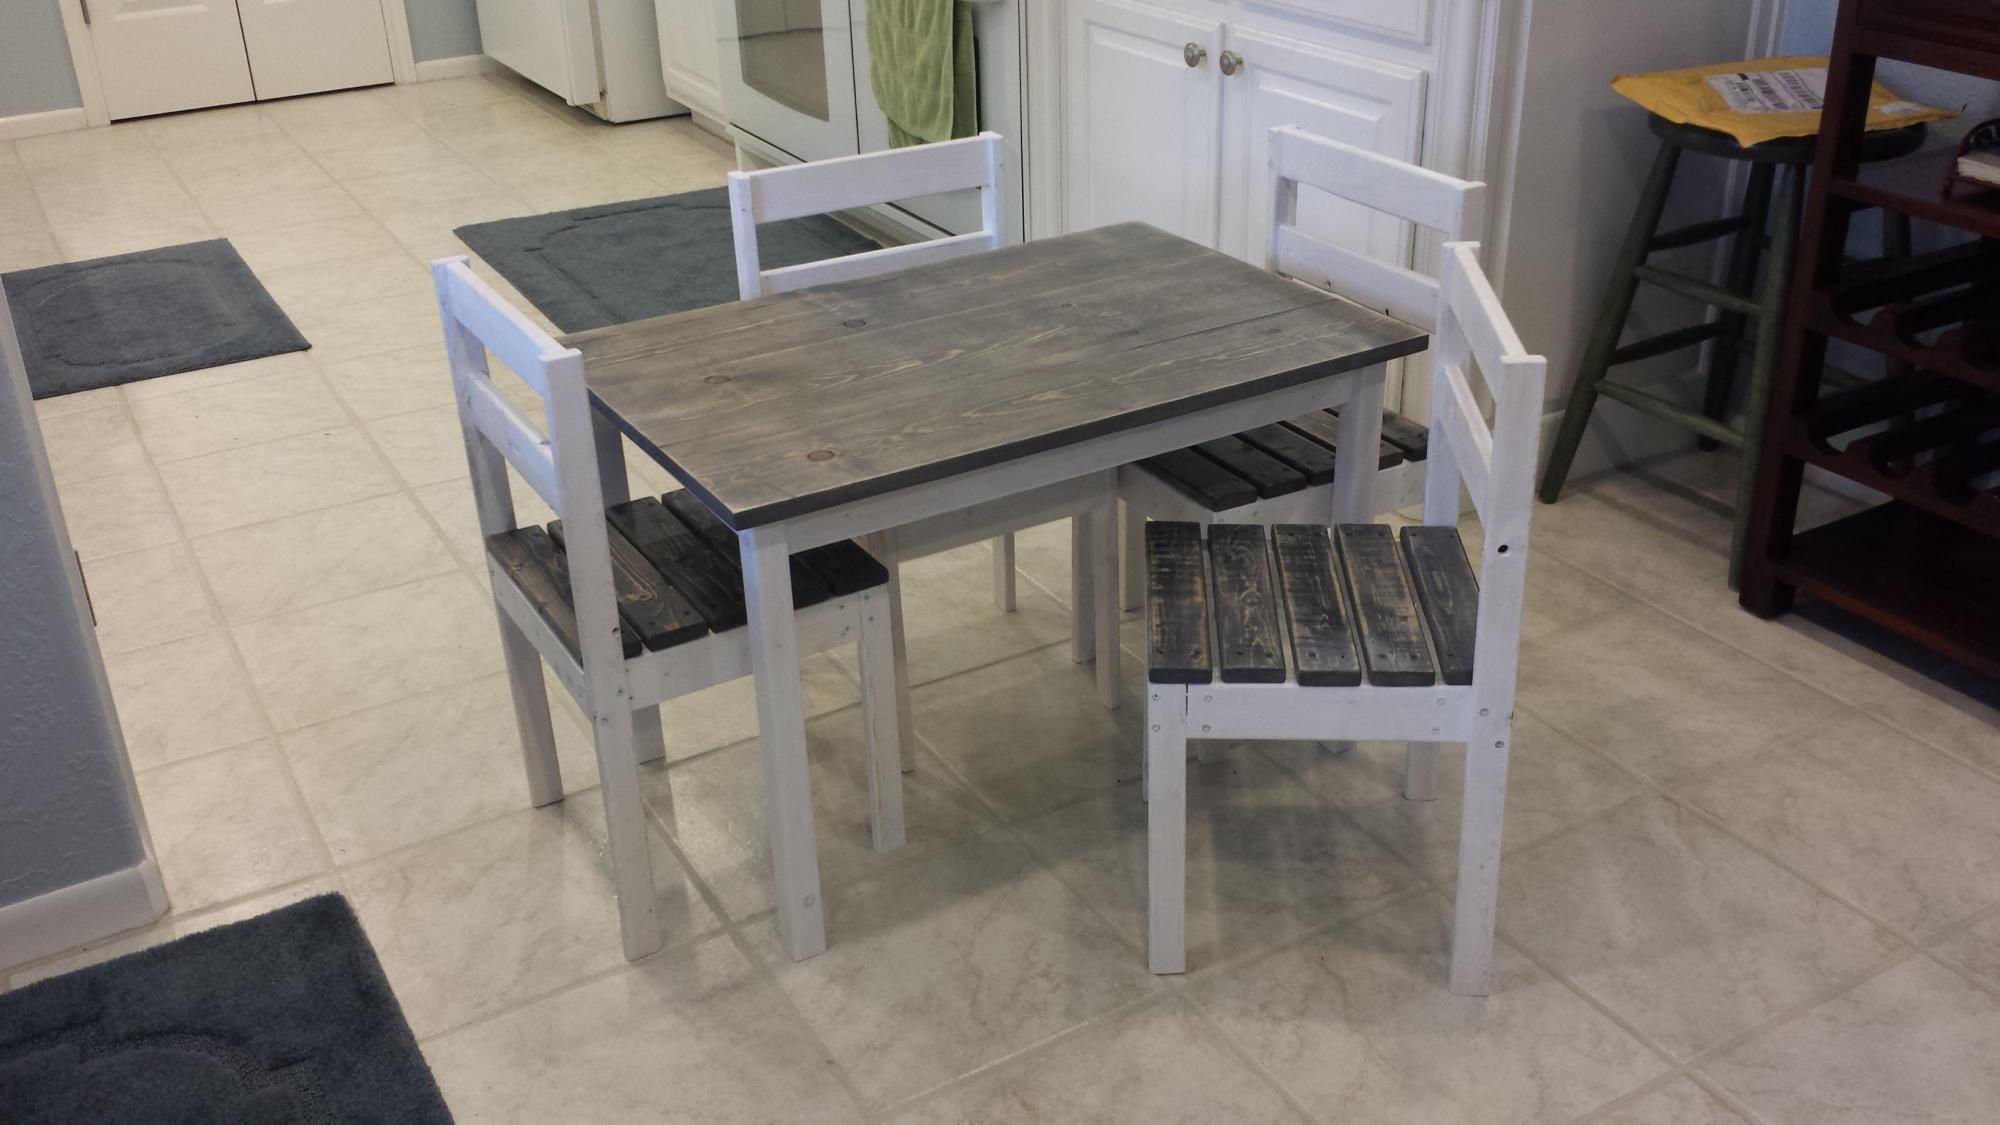
Another cute, easy project!
Comments
Wed, 10/06/2021 - 20:11
Very cute!
That's a great little set, love the finish! Thank you for sharing:)
Thu, 10/07/2021 - 21:43
Thanks Ana ... and thanks…
Thanks Ana ... and thanks for all you do! You're the best!!
Closet Organized!
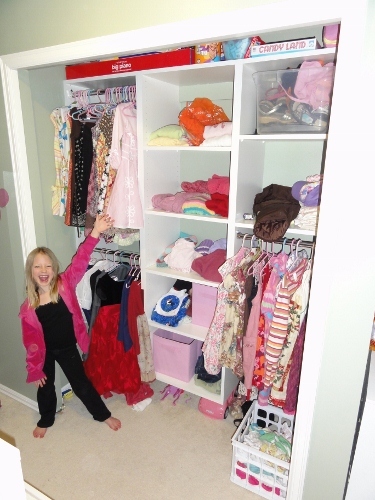
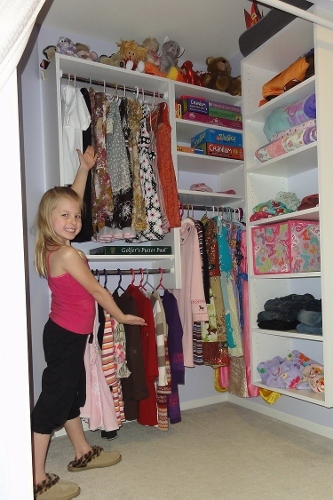
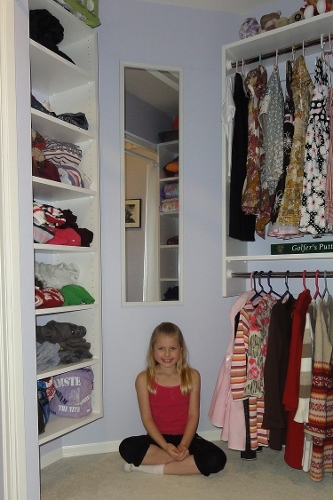
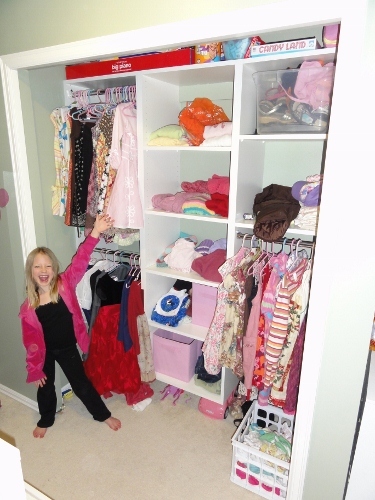
I used Ana's 'Simple Closet Organizer' plan as a starting point and then went a little nuts. :) If you read the comments below the plan, a wonderful, professional closet designer gave some fantastic tips and then another person shared EasyClosets.com.
So I plugged all of the dimensions into the Easy Closets website and used the plan I drew up based on its recommendations and my daughter's needs. :) She has three usable walls.
This was also my very first time using my Kreg Jig. I got it for my birthday months ago, but wasn't sure which project to "learn" on. :) I did quite a few tests on scrap before starting. Melamine coated particle board is SLIPPERY stuff so have LOTS and LOTS of clamps or your joints will not be square. Wow!
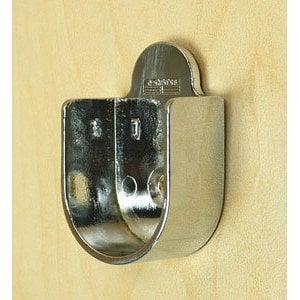
I got these chrome closet rods at The Container Store – so cheap and they'll cut them to size for you! Like $3~ a rod!? In the photos below, I'm using large, plastic closet rod flanges that I found at Orange, but I have these pretty chrome (peg-friendly) flanges ordered from Amazon. They're really cheap too! They will fit the 1-inch diameter rods I bought much better than the plastic ones and are made specifically for the pre-drilled 32mm closet boards. :) Yay!
Only other thing I did differently was use 1x4 boards to square the closet boxes up. I just cut them to the same width as the shelves and pocket-screwed them into the very top and very bottom of each box. Then I painted them to match her purple wall color.
I was so happy with how it turned out that I did my other daughter's closet that next weekend! I used the same website to design it too. LOVE IT!
Anyhoo, here are the finished closets for both of my daughters! Thank you Ana! I would never have done this if you hadn't have posted that plan! Totally inspired me! Can't wait do do our master closet! EEEK!
My Coop!
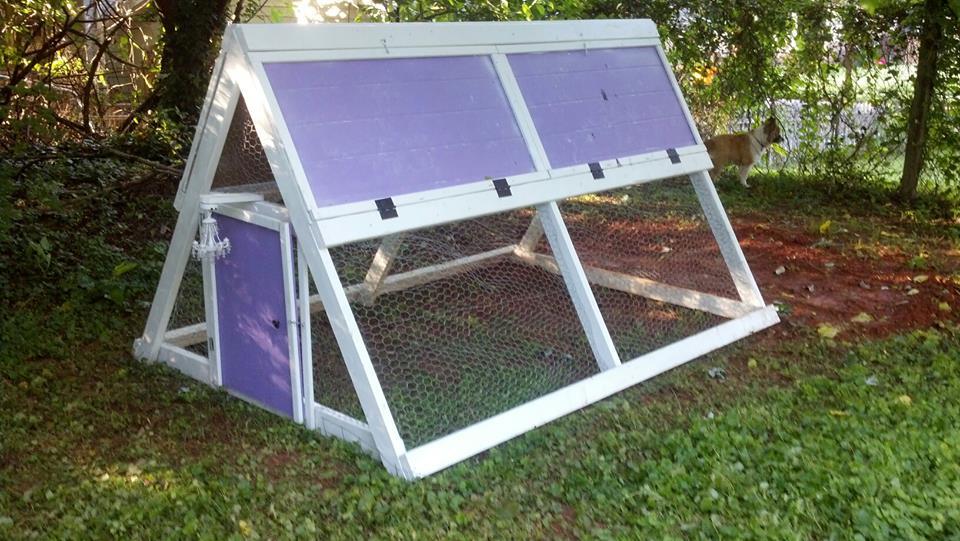
We're adding our chickens this weekend!
Modified Ten Dollar Floating Ledges
I love these shelves. So simple to build and still make a big impact. I built mine just a little different from the plan. I used 1x3 furring strips for the bottom and back pieces instead of 1x4's and then ripped a 1" strip from another 1x3 for each shelf to create the front trim piece instead of a 1x2. The shorter front trim piece gives me just enough ledge to keep the frames from slipping off the ledge, but provides maxium display area for the art work.
For three shelves just like these you need:
- 7 - 1 x 3 x 8' furring strips
- Special Walnut Stain from Minwax
- Satin Poly for finish (I also used Minwax for this too)
They were assembled using 2" fiinishing nails and lots of wood glue.
kids bench

I built this bench for my niece on her birthday. It as easy and fun to build. My niece and everybody at the party loved it.
