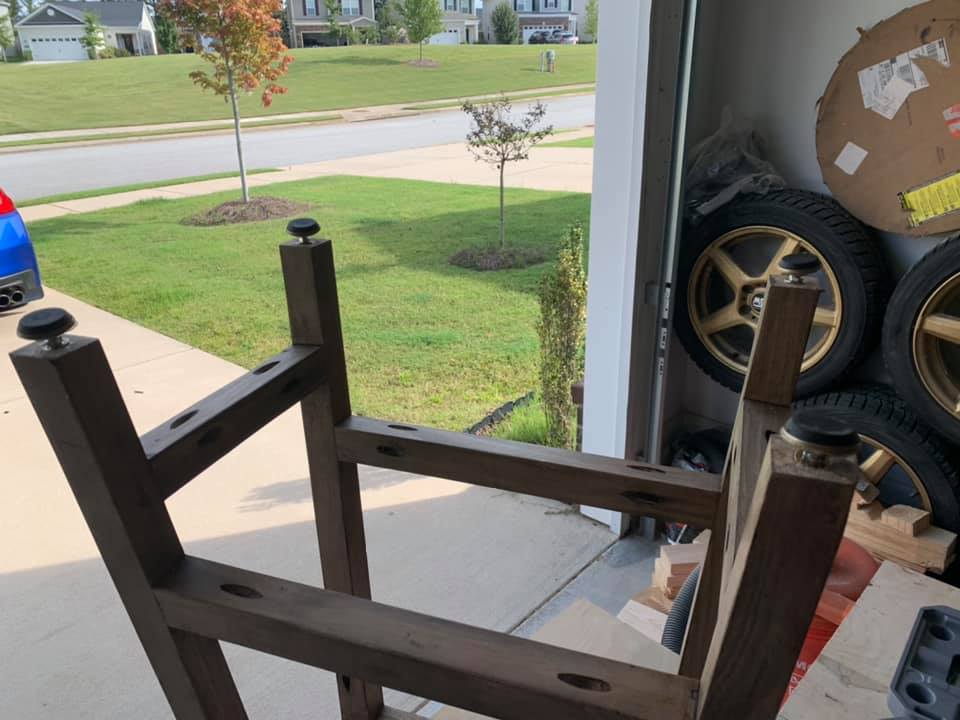
Simple Modern End Table
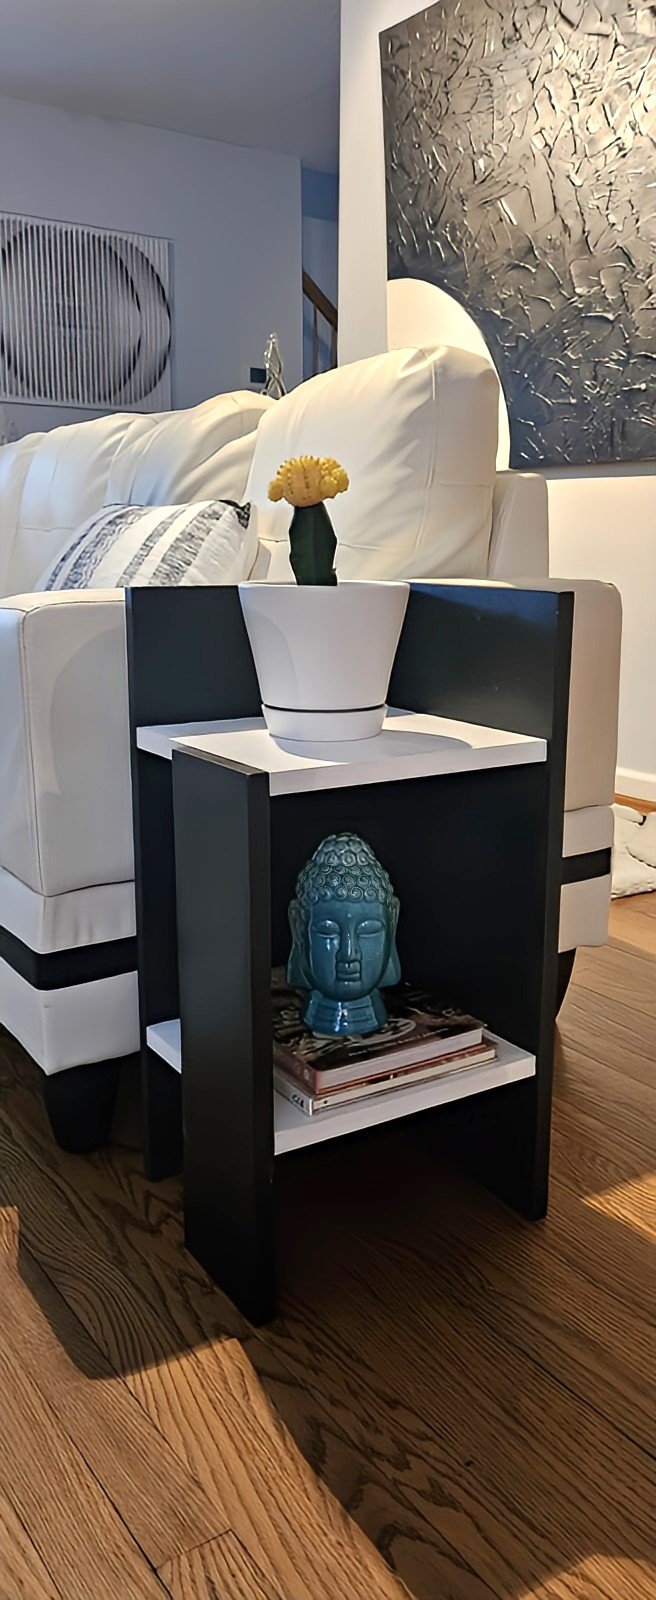
Modern plant stand/end table. - James from Virginia Beach VA
Built from Plan(s)
Modern plant stand/end table. - James from Virginia Beach VA
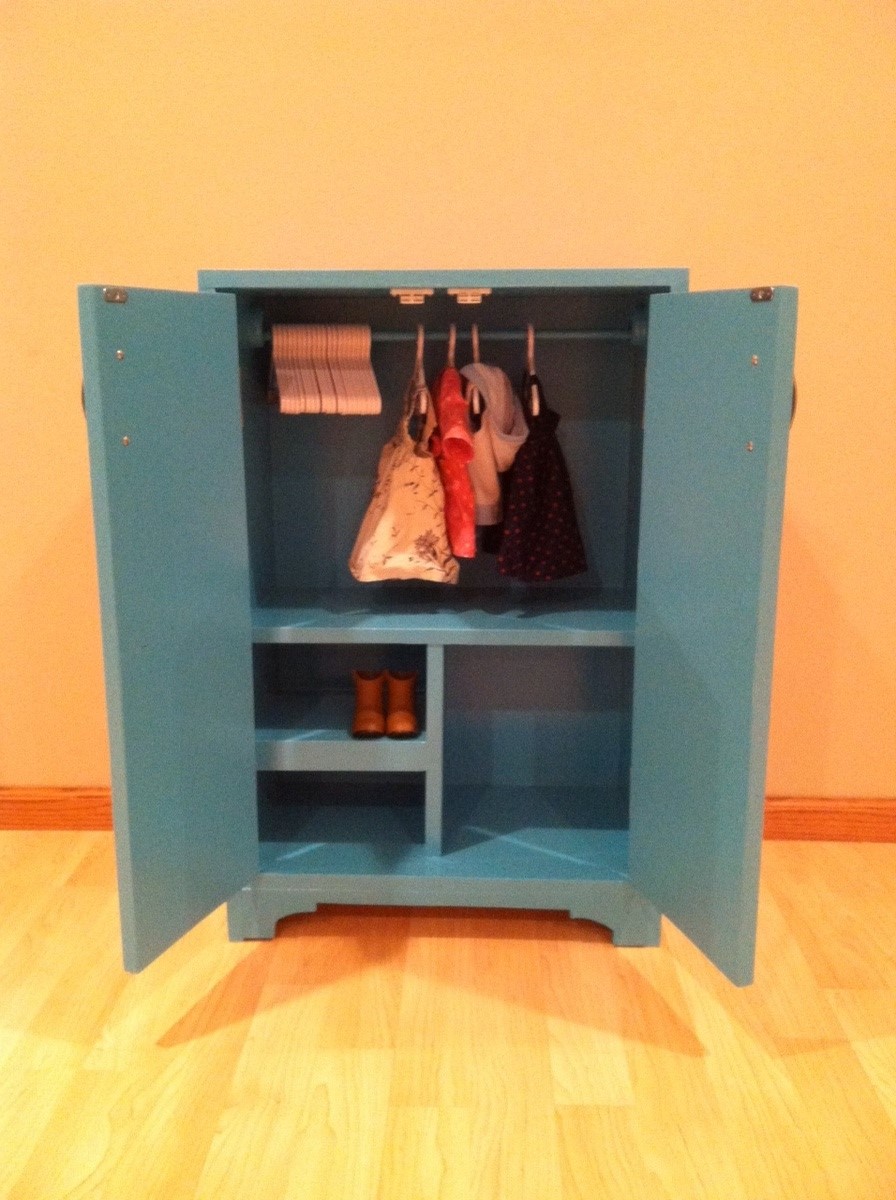
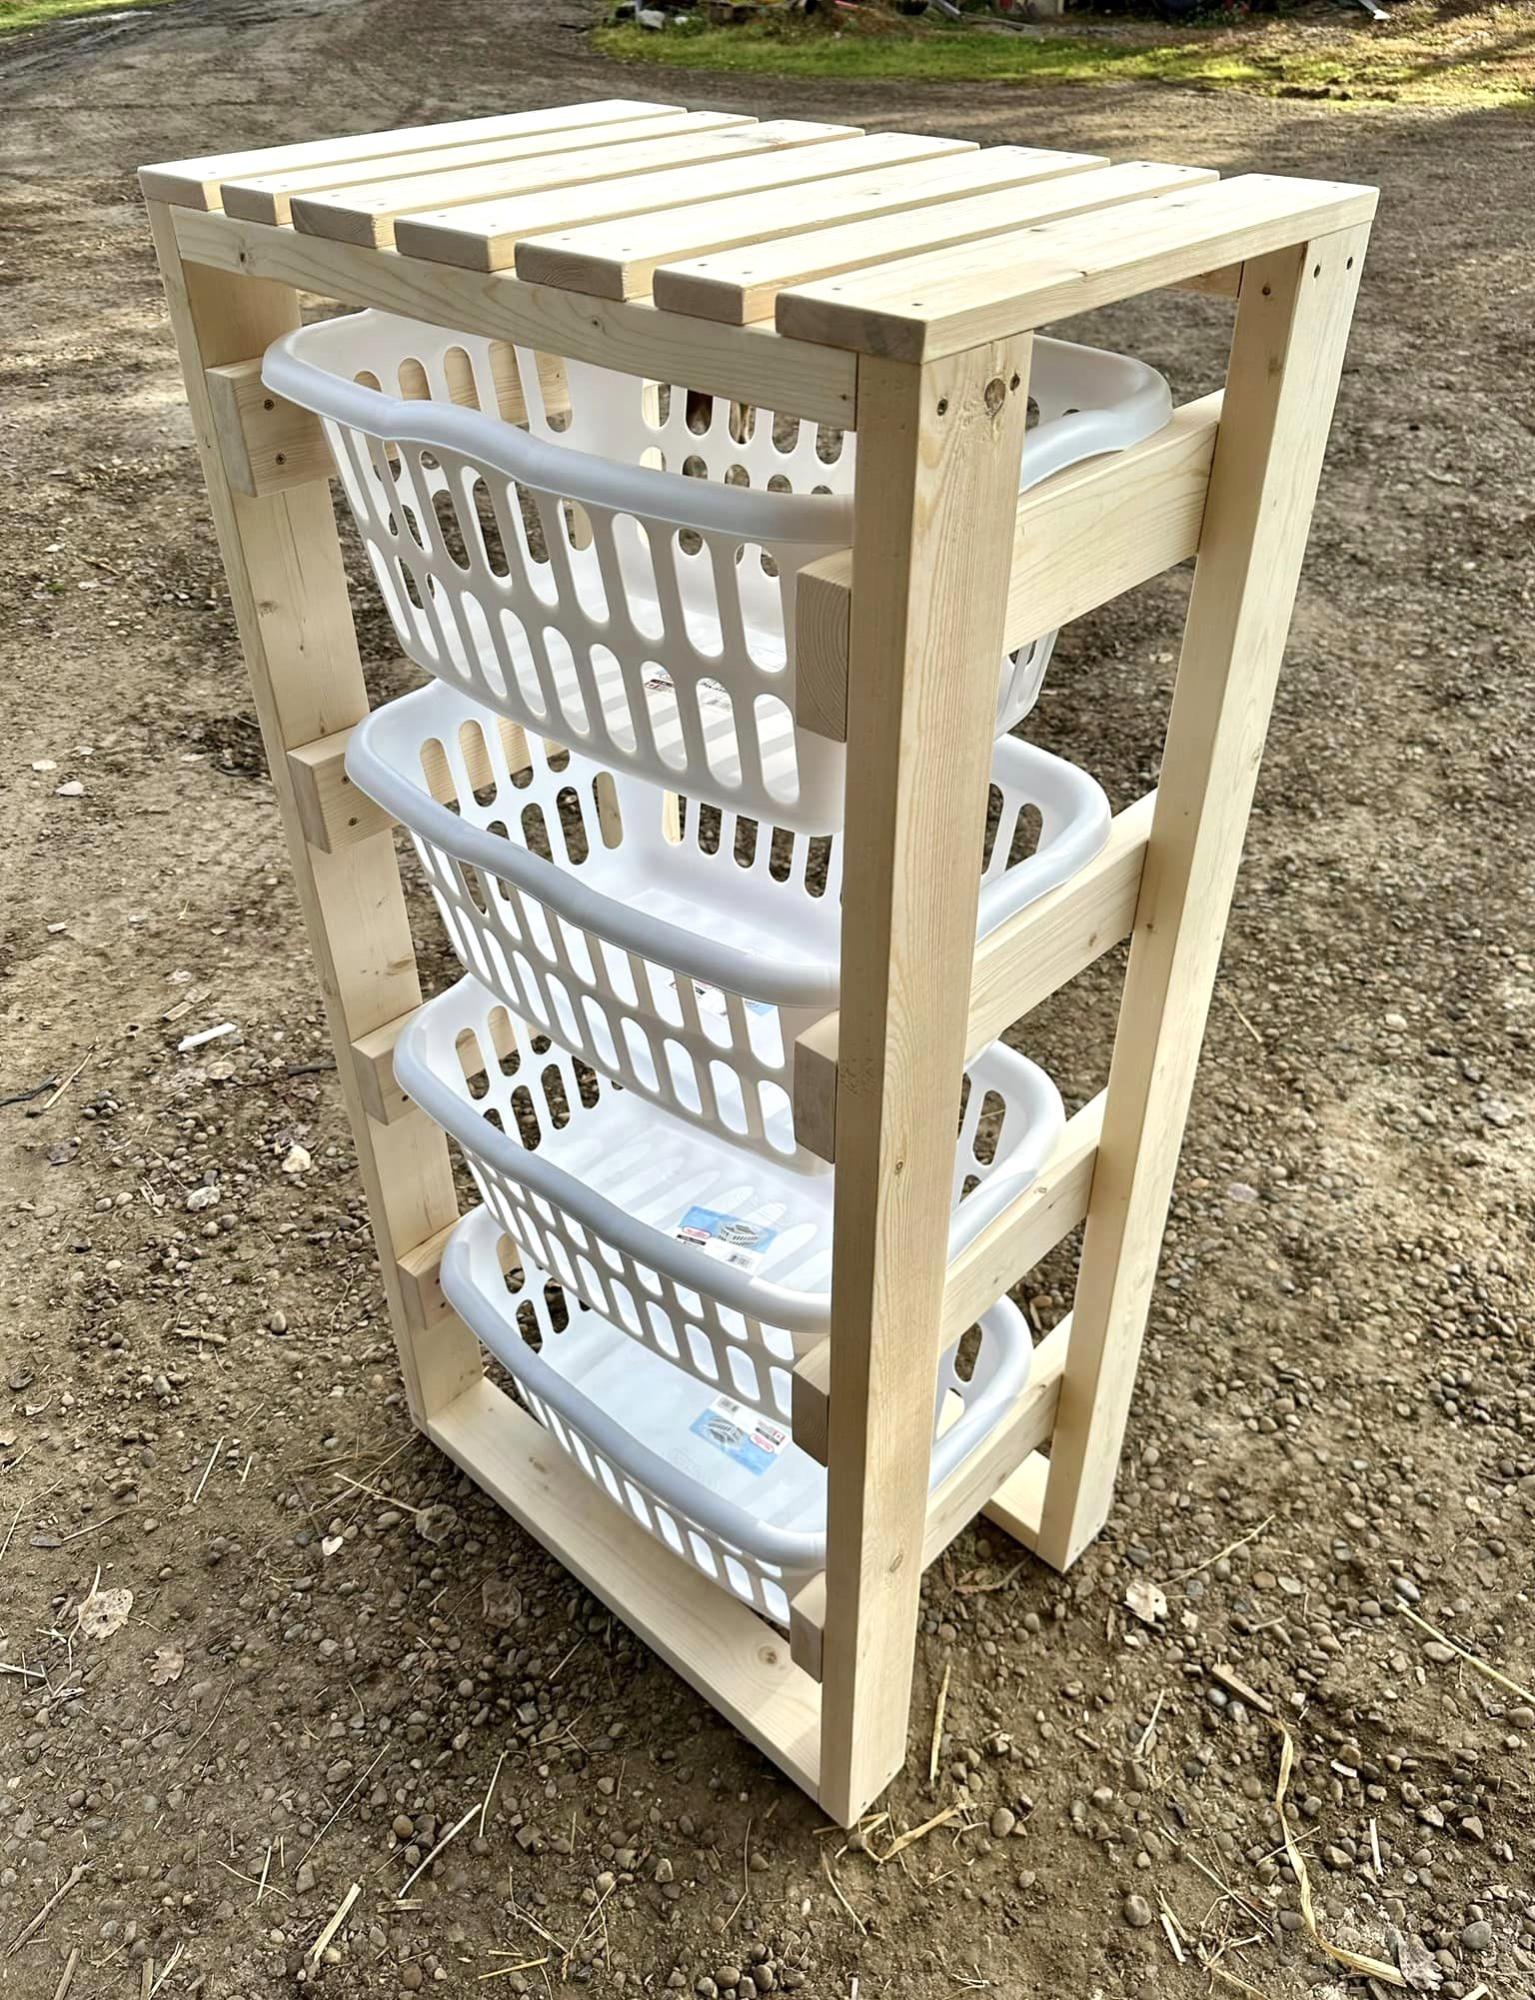
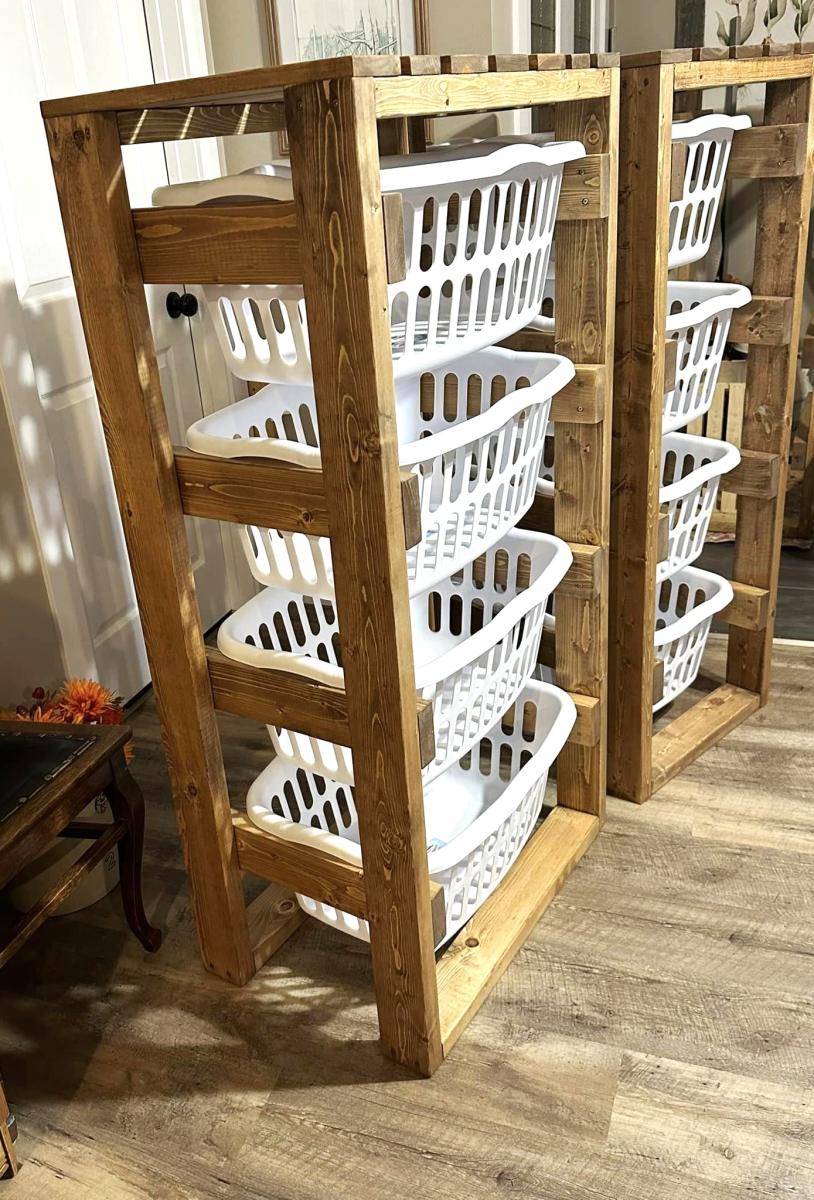
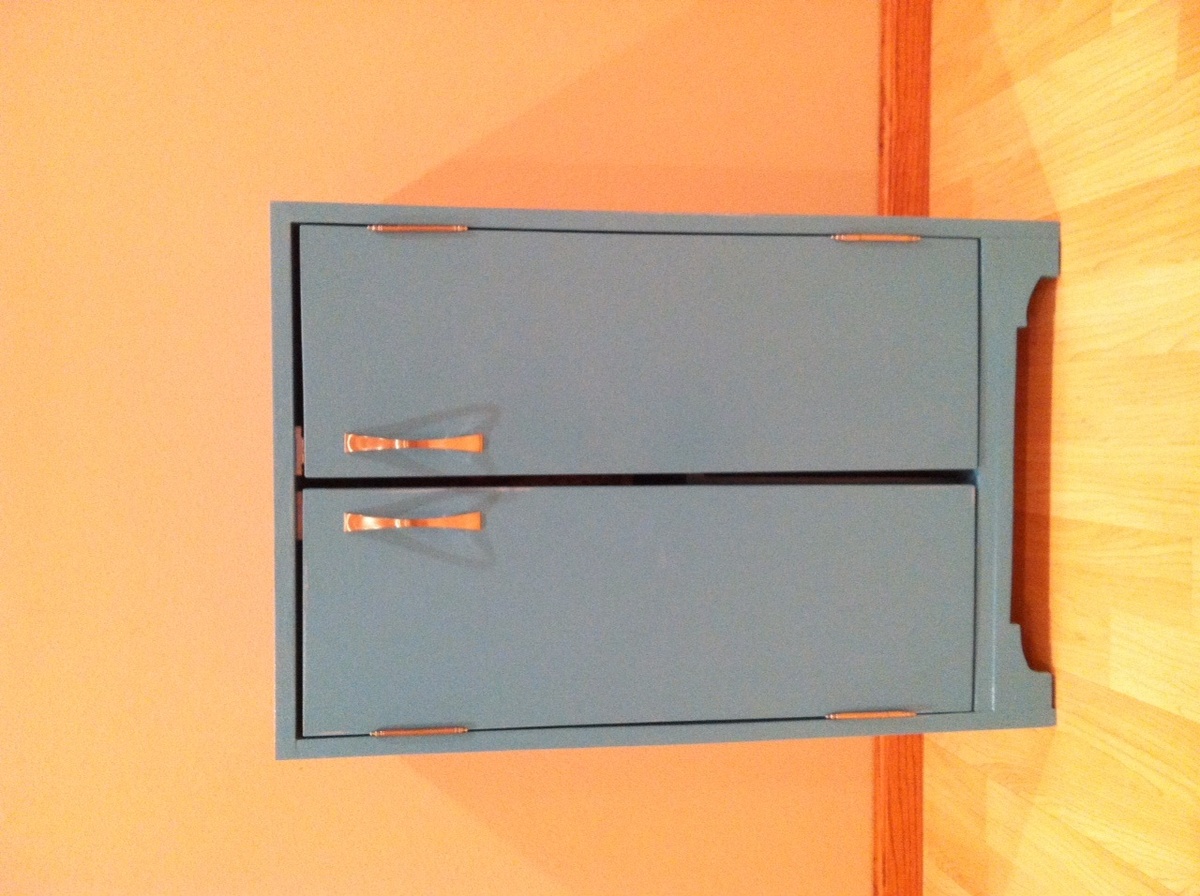
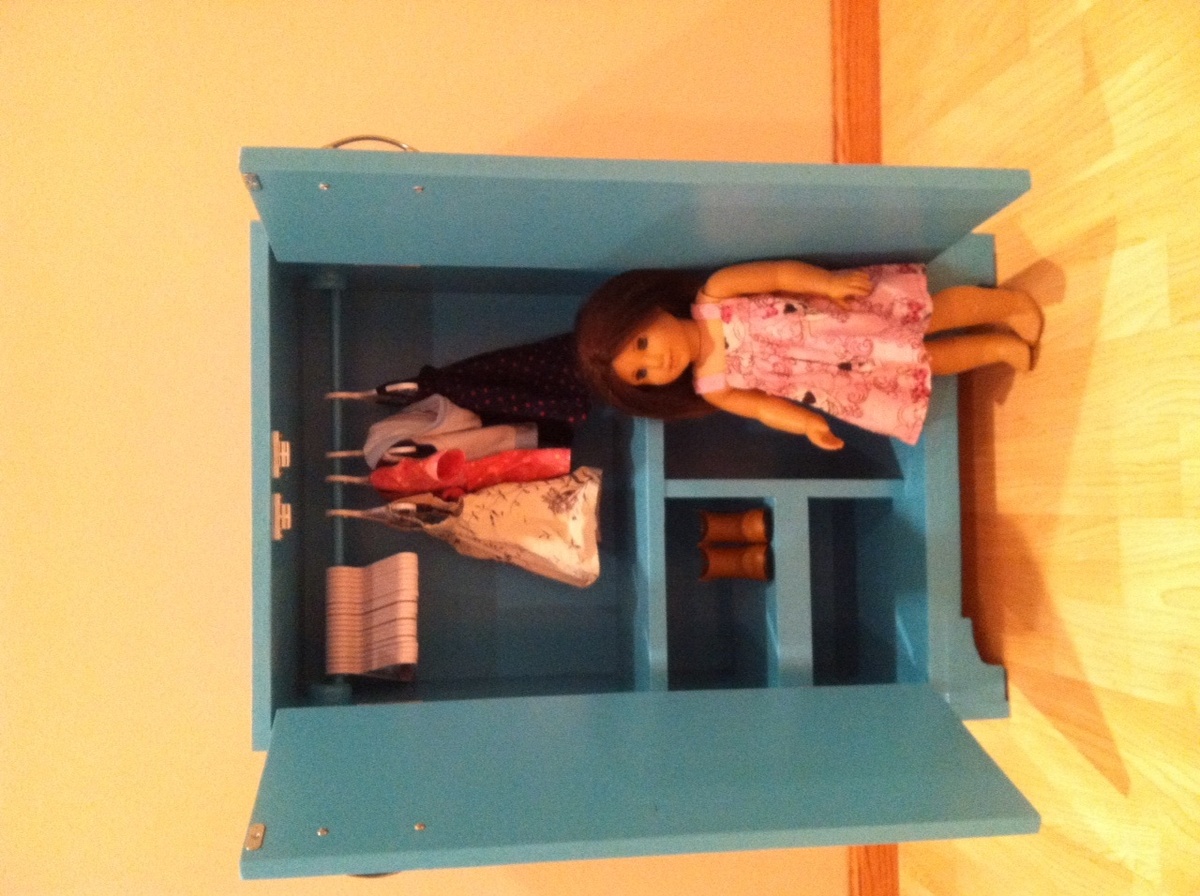
My Girls are having an american girl doll christmas this year. They're each getting a doll, with cars, horses, clothes, gymnastics bar, whatever you could want to go with it, lol. I decided last minute to make this closet for them as well to help organize their stuff. I made it 2" taller and added some more shelves. On the two little shelves, I am currently making a box out of the plastic embroidery sheets (I'm embroidering it with pink satin ribbon, instead of yarn to make it prettier). Walmart had a bunch of shoes for these dolls for just $1.50 a pair so I got them a lot of shoes for their stockings and needed little bins to hold all the shoes they are getting. I had fun building it. Because it was last minute and because I still need to install the quarter round on our laminate floor (hopefully before christmas), I was making this as quick as possible to I opted to not do the star cut out and just spent the $5 more to get the two handles. I also did easier hinges. We only have the washing machine for these dolls so I didn't need all the room on the bottom.
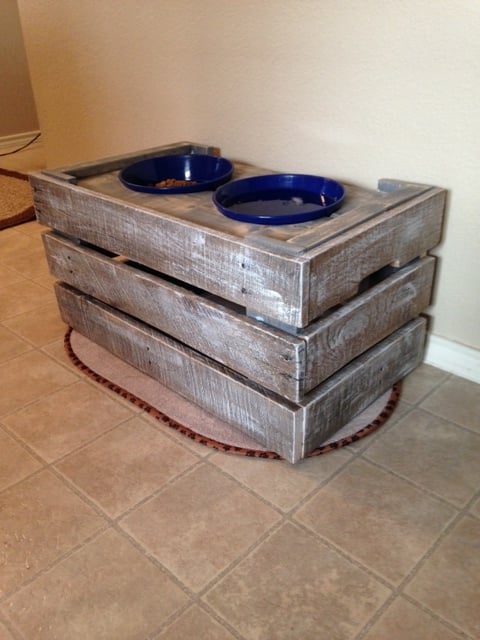
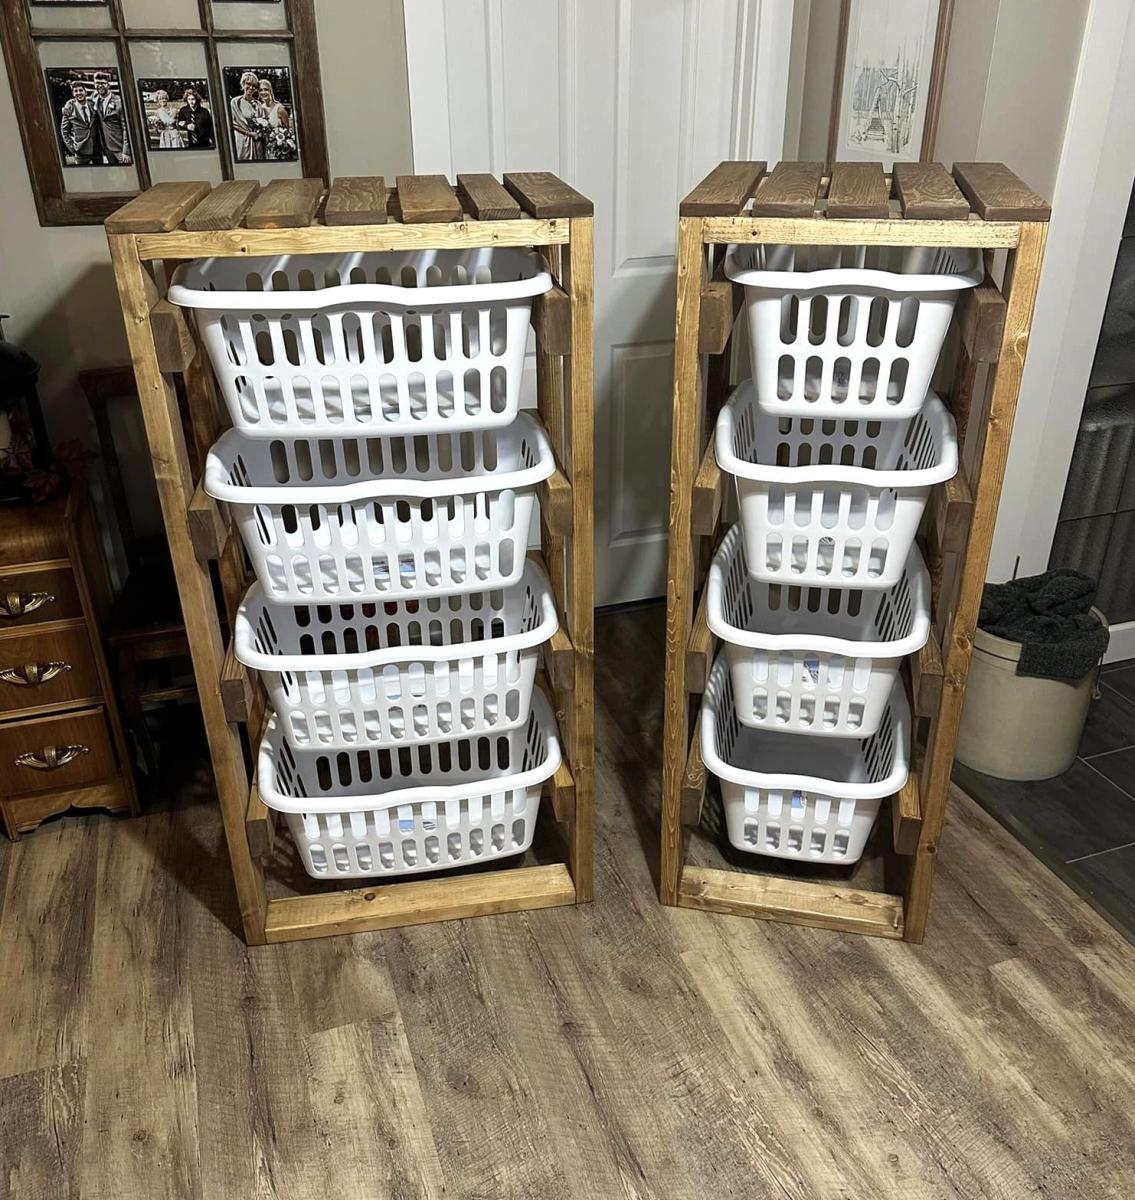
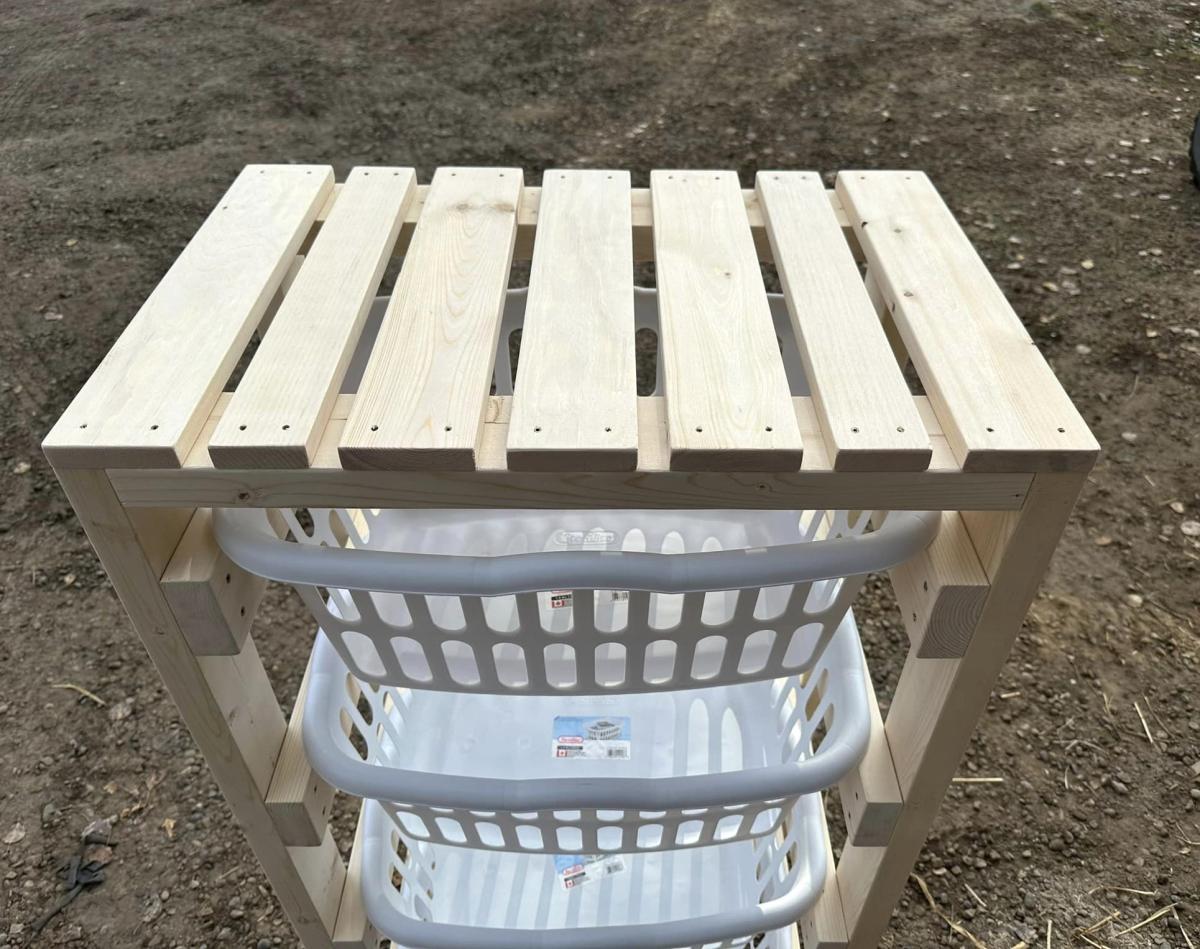
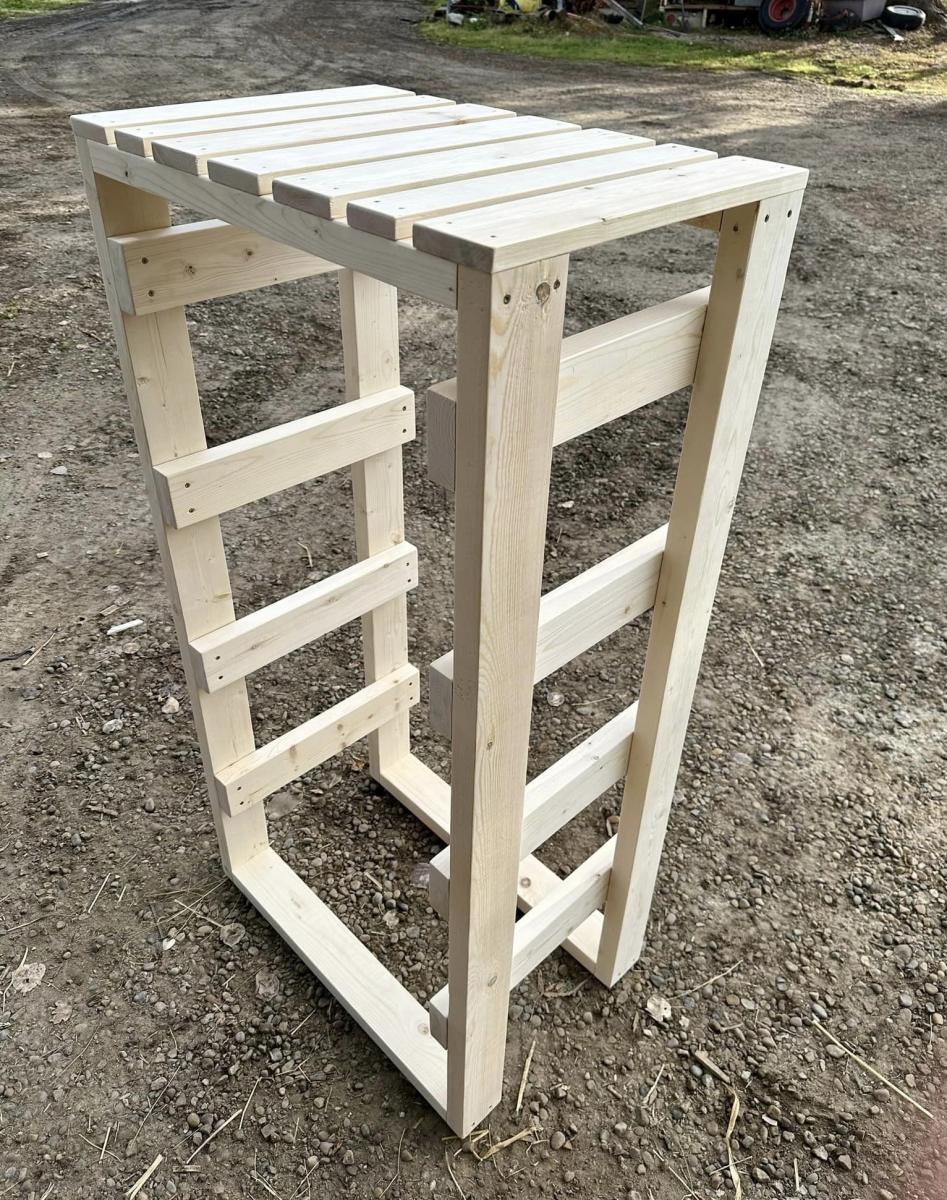
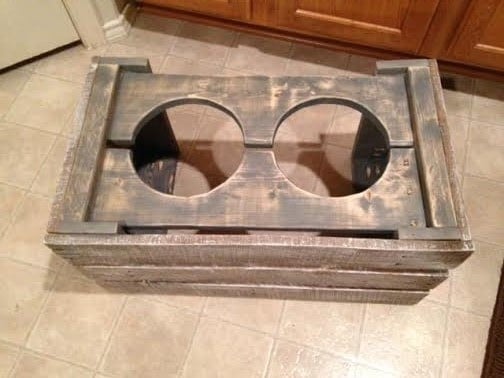
Used some cool old pallet wood to put together a dog food bowl stand I've been meaning to make. My big 10 year old lab is getting a lot slower and struggling a little bit so I thought this could help him out some and get his food and water closer to his face. Winged this one. Had a vague idea in my head that sort of evolved as it progressed. Used some left over 1x4 lumber to build a simple frame, and encased it in the pallet wood to give it the wood crate look (jigged some hand holds in the side to give this same look) . Used jig saw to cut the holes out of the 2 top boards for the bowls.
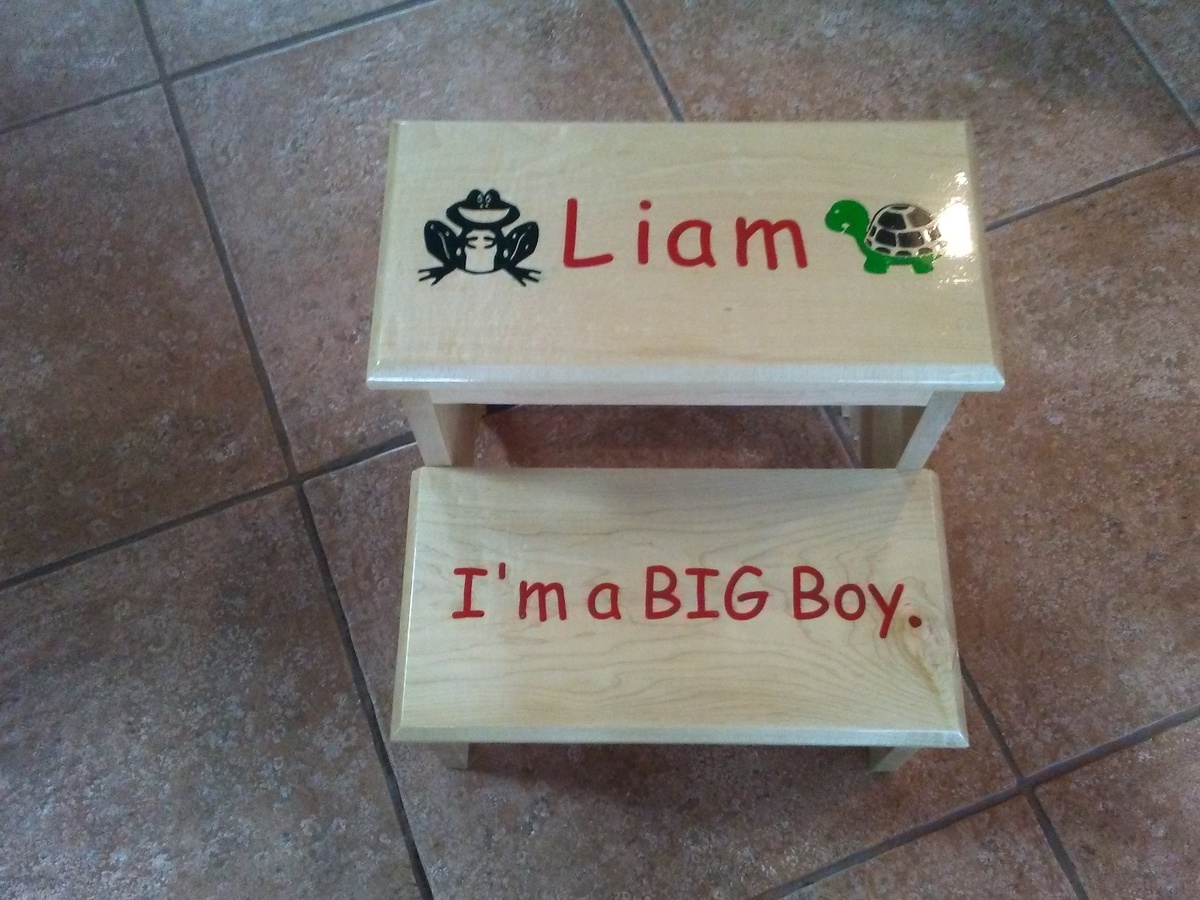
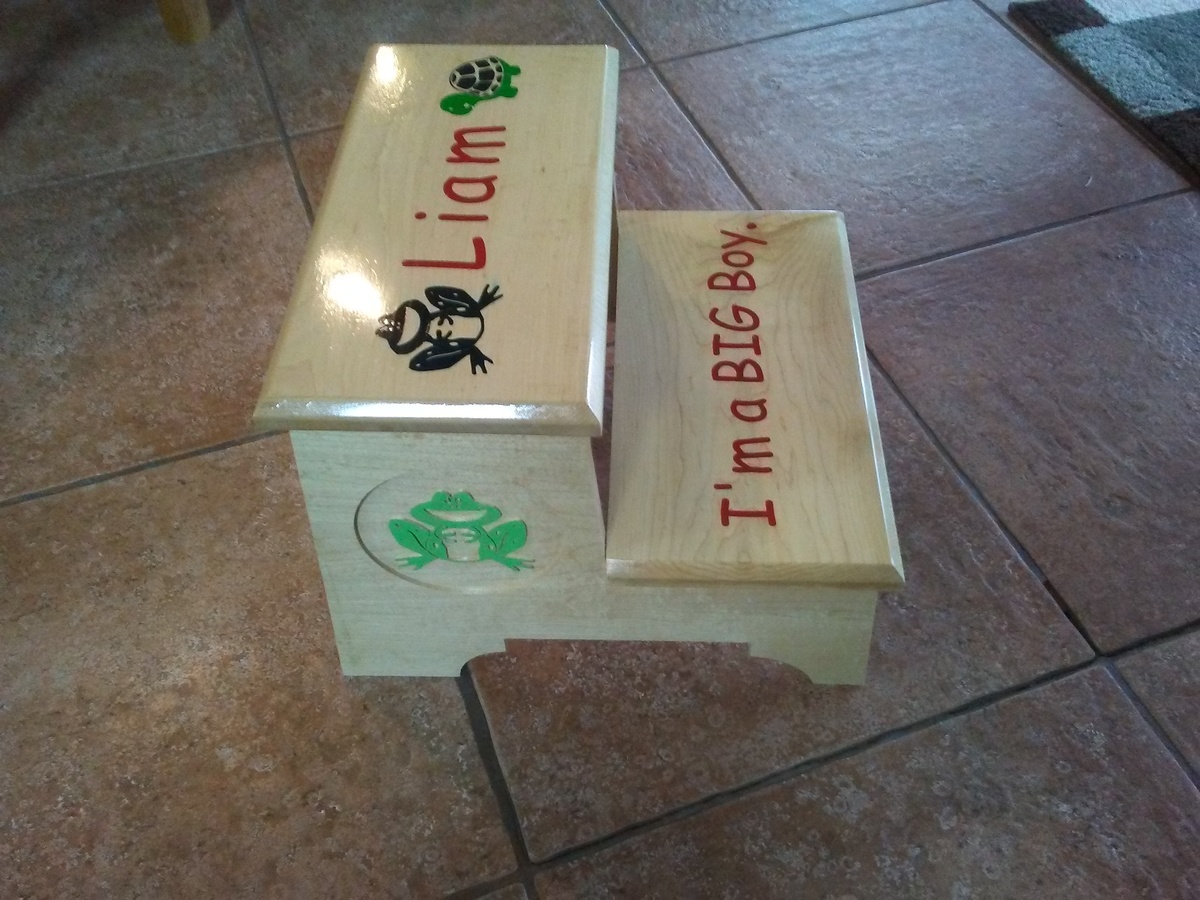
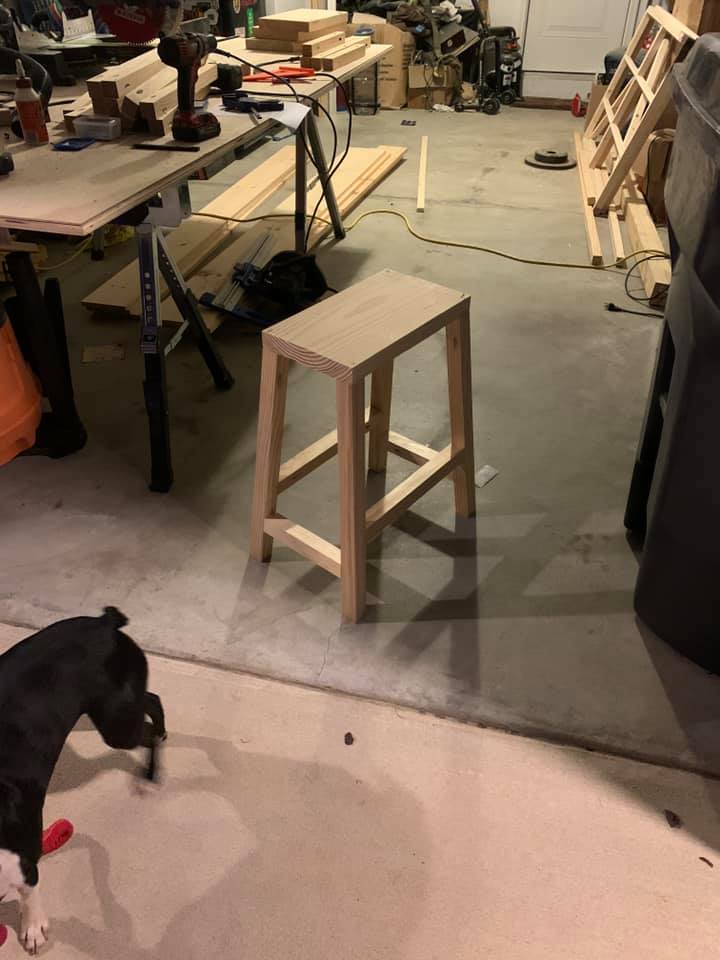
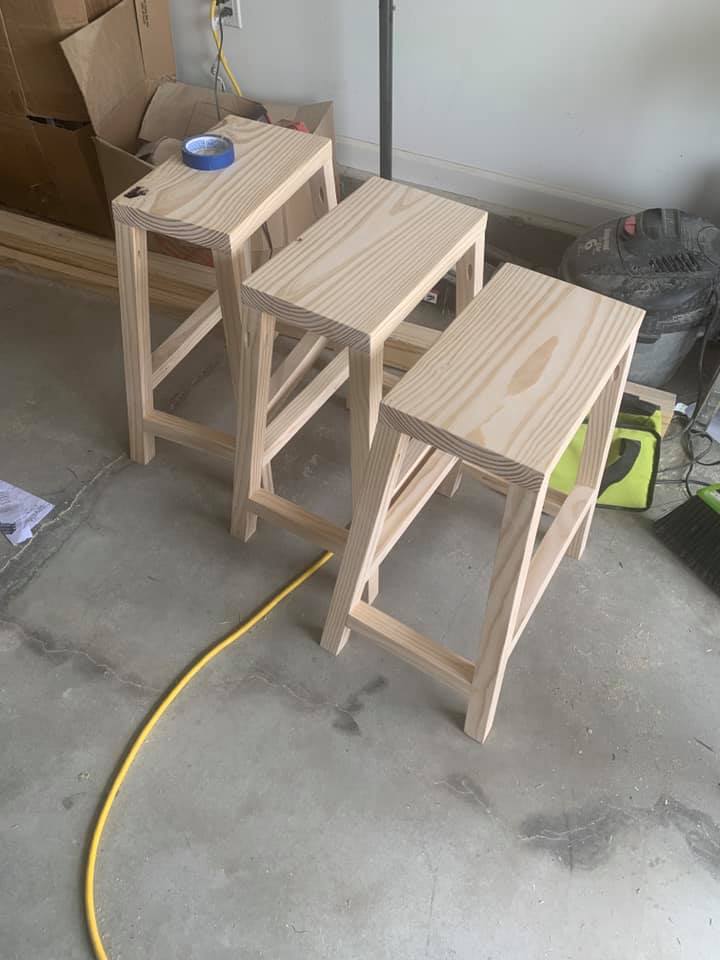
LOve your site for basic plans, easy to follow and modify. Used the step stool and created personalized ones for clients.
Keep the good ideas coming
John
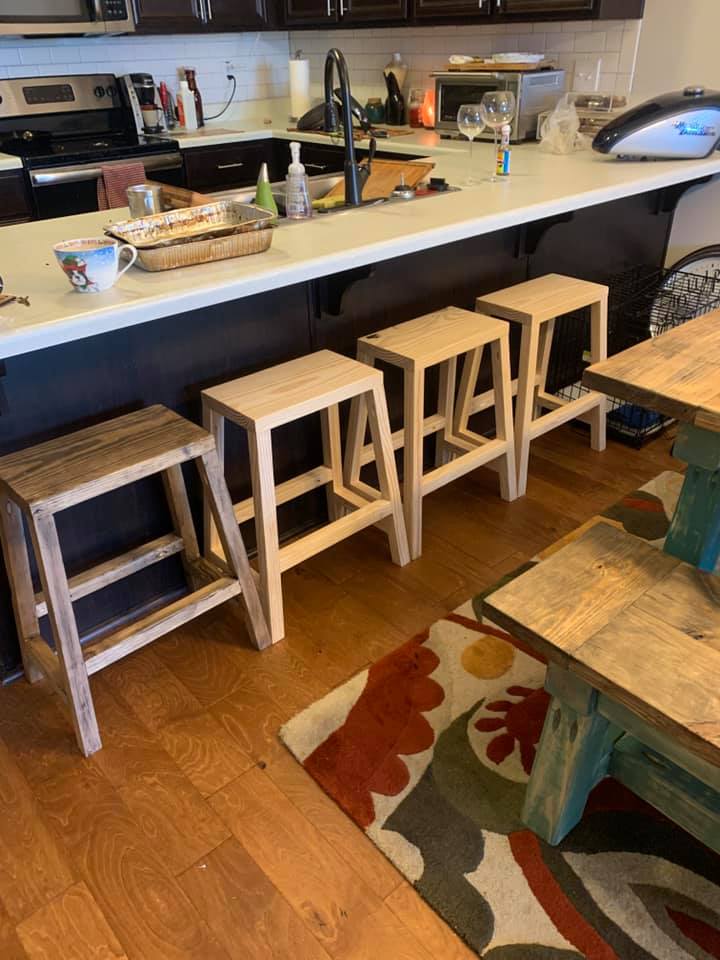
This was a pretty strait forward project, the only change i made was the wood used. I did not use the 2x2 furring strips i opted for the upgraded Select Pine Boards. So it changed from 3 bucks to 12 a board. I also used metal nylon feet.

Wed, 09/23/2020 - 11:37
You've been busy! Thank you for sharing all of your amazing builds!
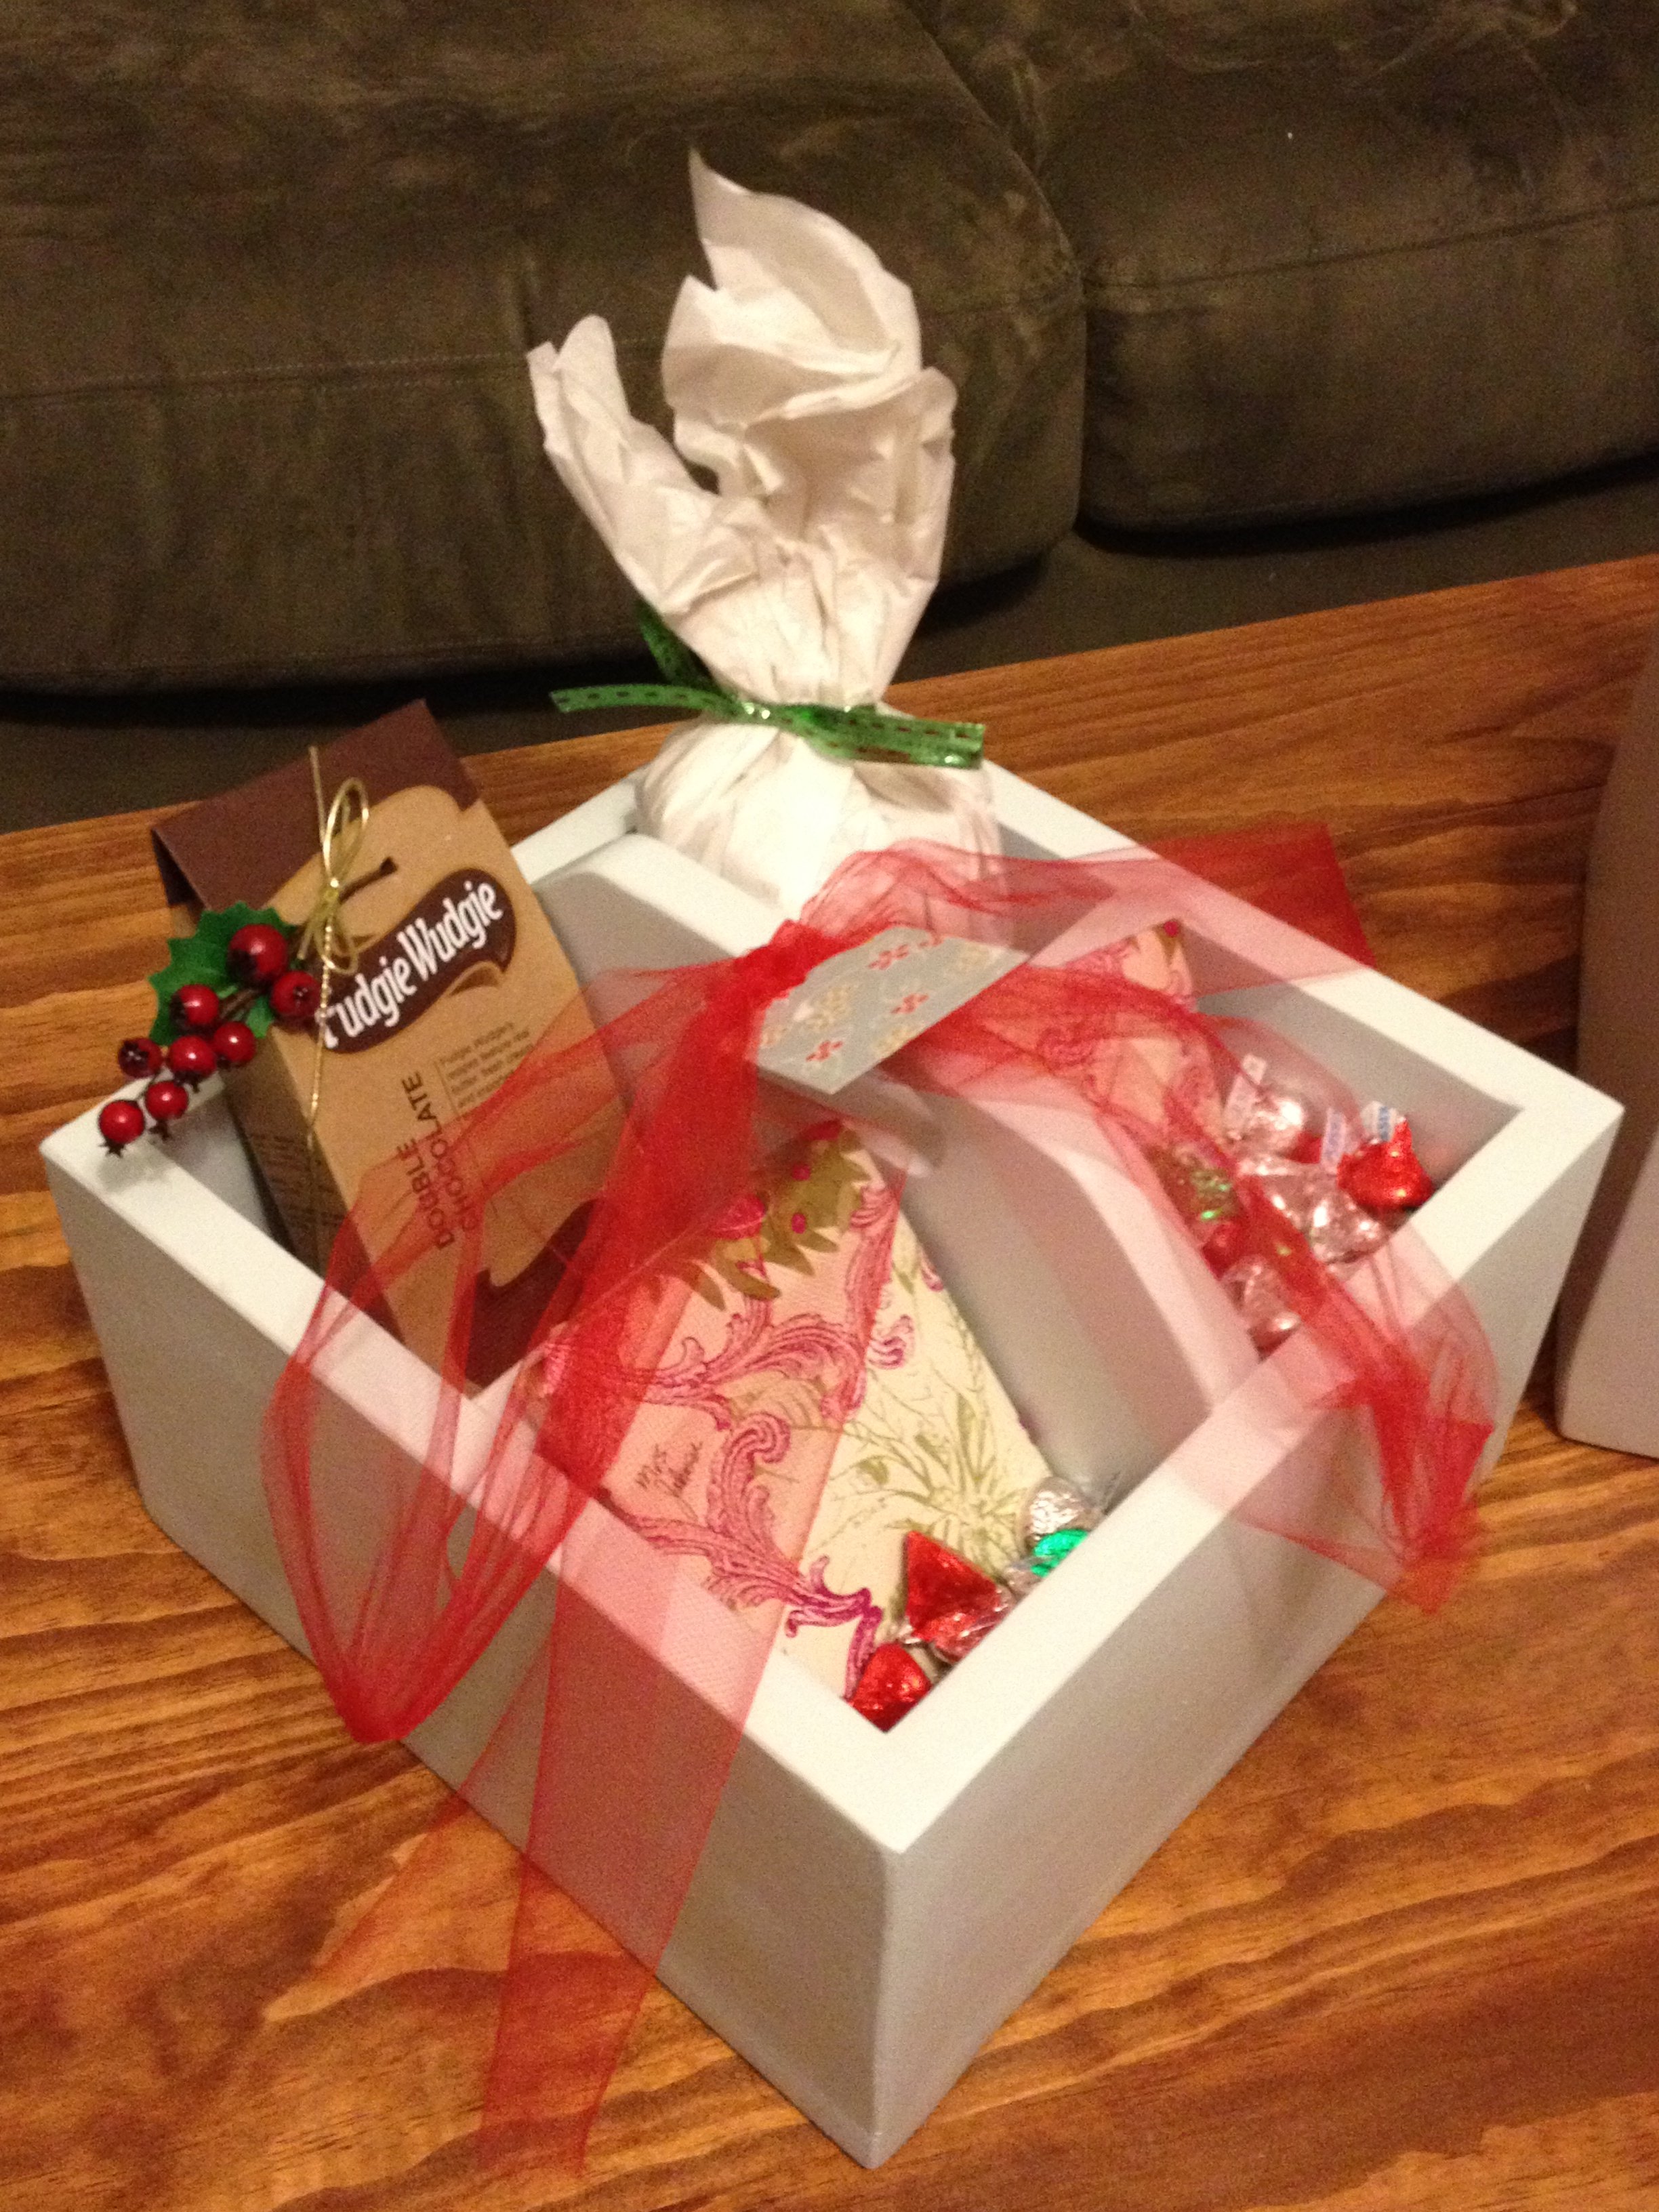
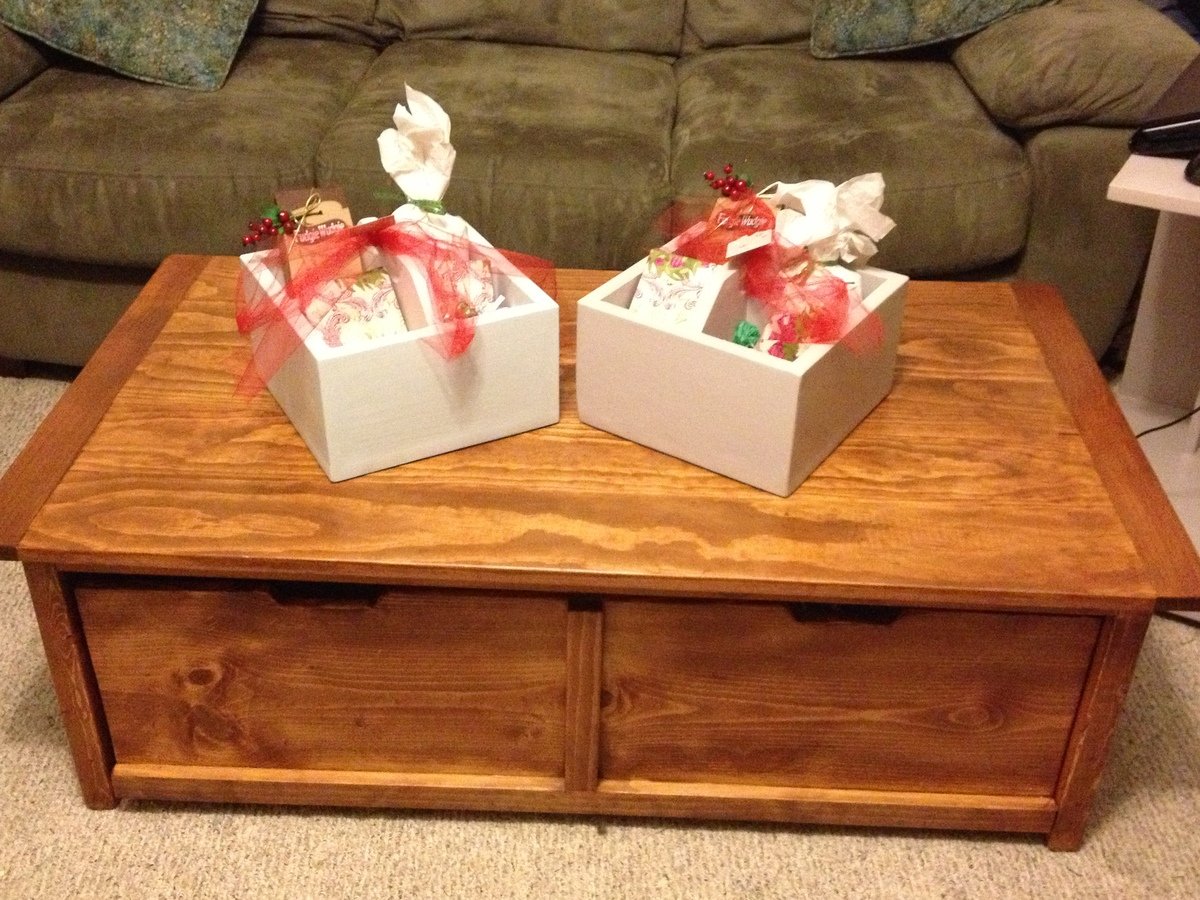
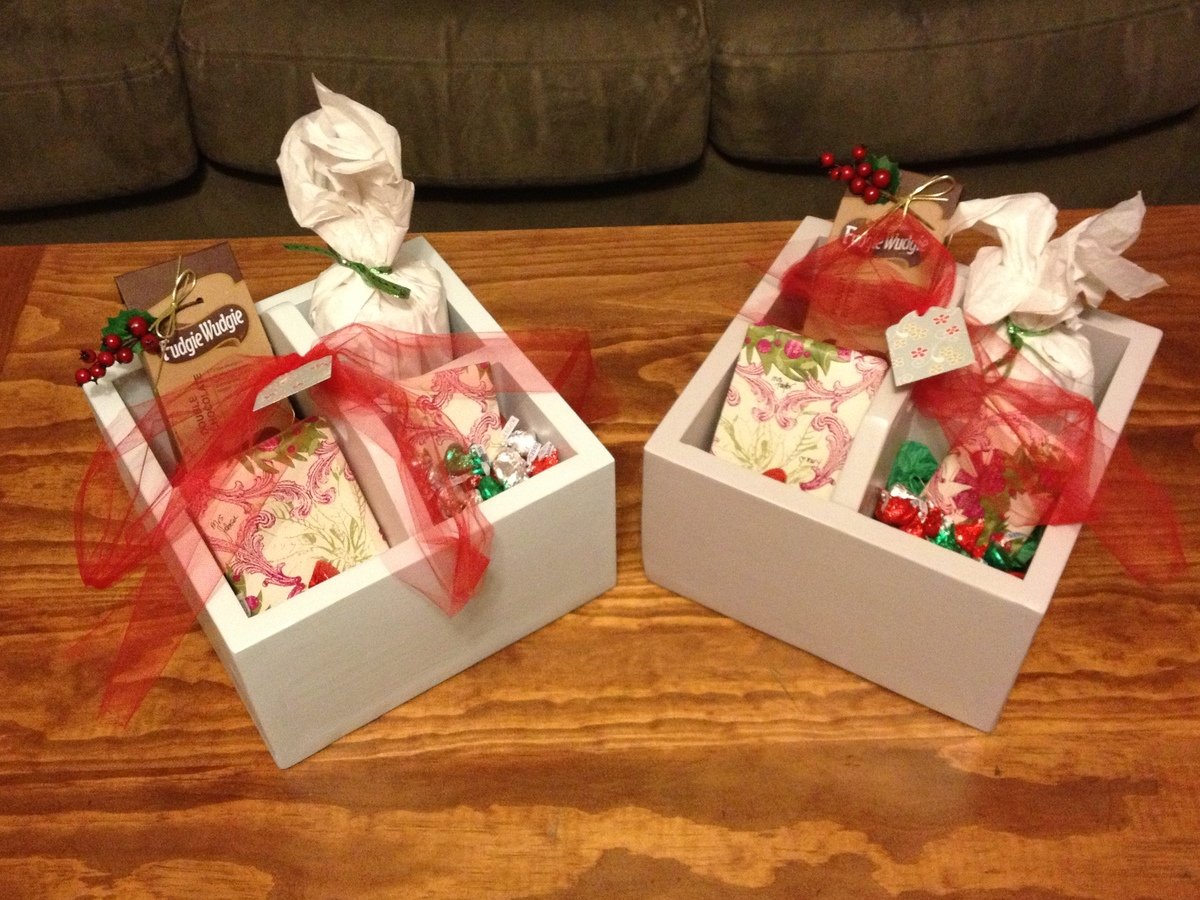
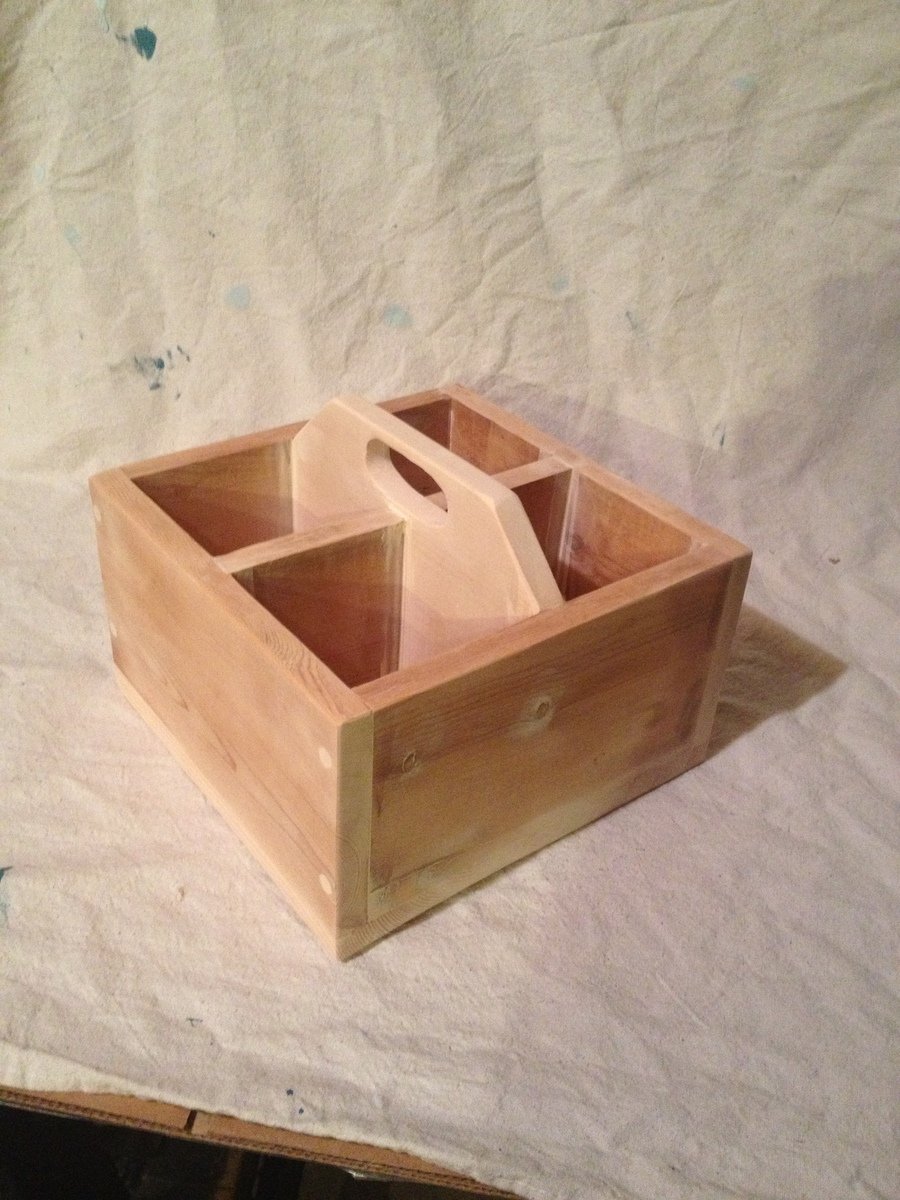
I loved how these little crates turned out. I used scrap wood that I've had for so long..It's 2 different kinds of wood though which is why I painted them. I ran out of 1x6 boards so I used a 1x12 for the bottom. I hope my daughter's teachers will like them. I filled the cubbies with various little things like candy and Christmas ornaments.
I made the coffee table earlier this year and love it. It holds so much and it's filled to the brim with toys.
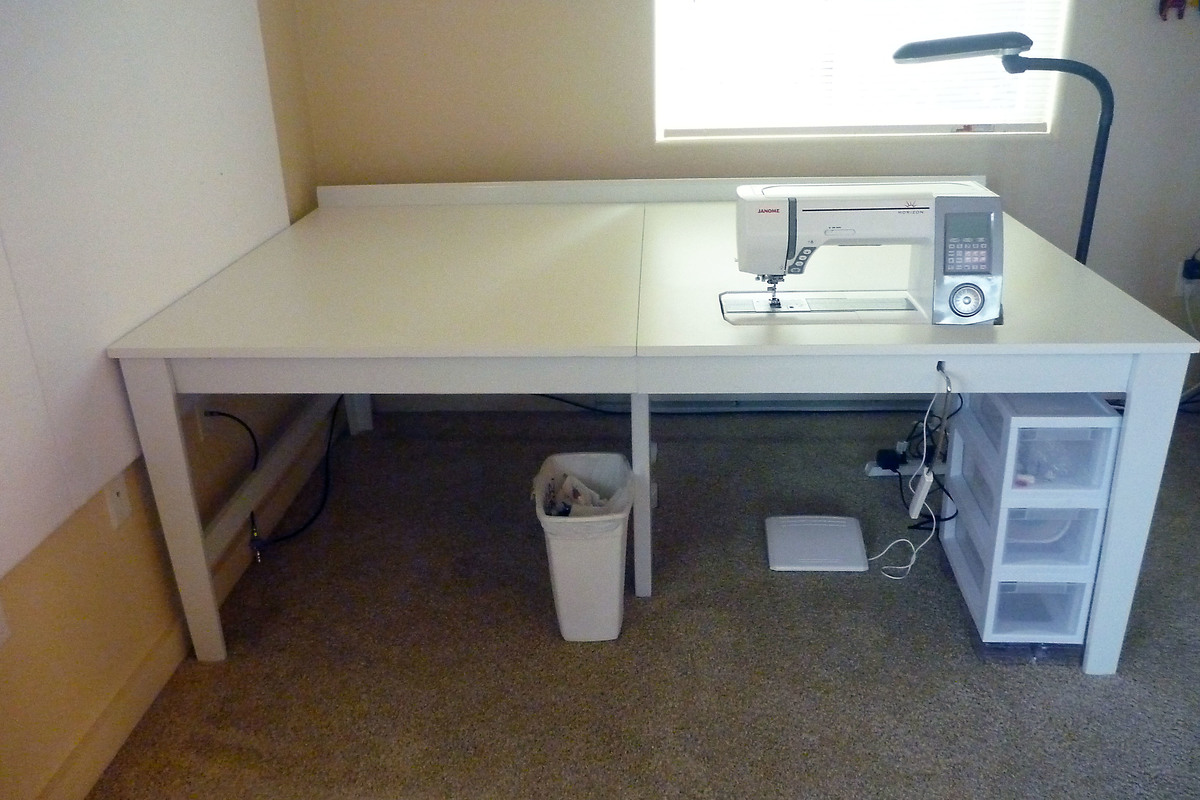
I combined the Narrow Farmhouse Table plan with some changes and Bluedinosaurs tutorial for making a sewing table. http://bluedinosaurs.com/diy-platform-sewing-table/ It came out beautifully!
Thanks for the great plan!!
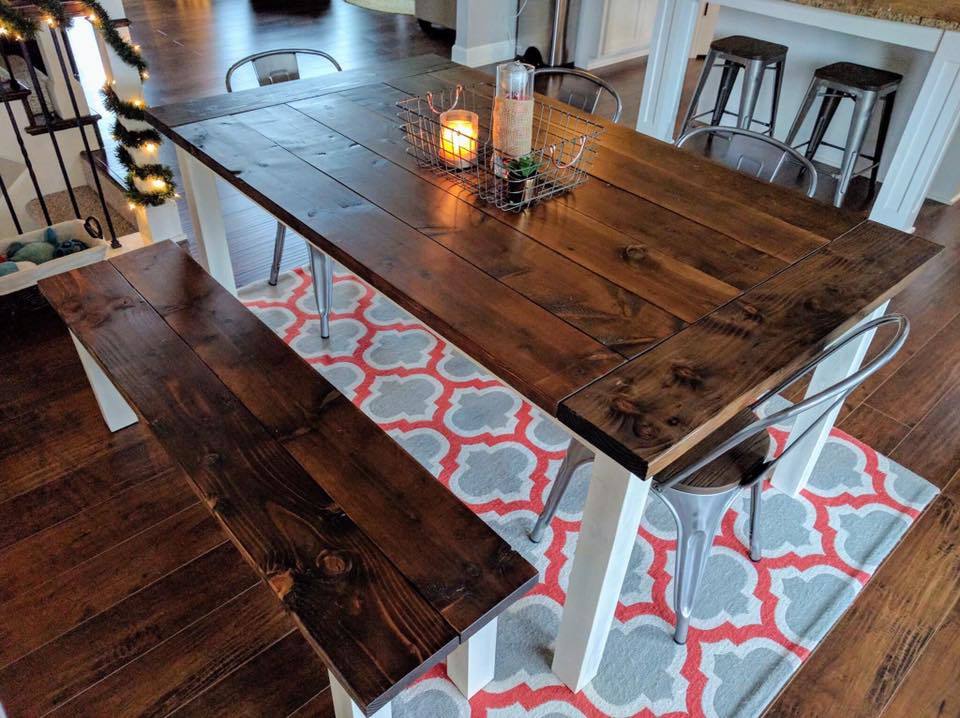
2x4's and 2x8's kept my cost way down! The top was finished with minwax provincial stain and a few coats of minwax polyurethane to finish it off. Joined with my Kreg jig throughout. A very fun project!

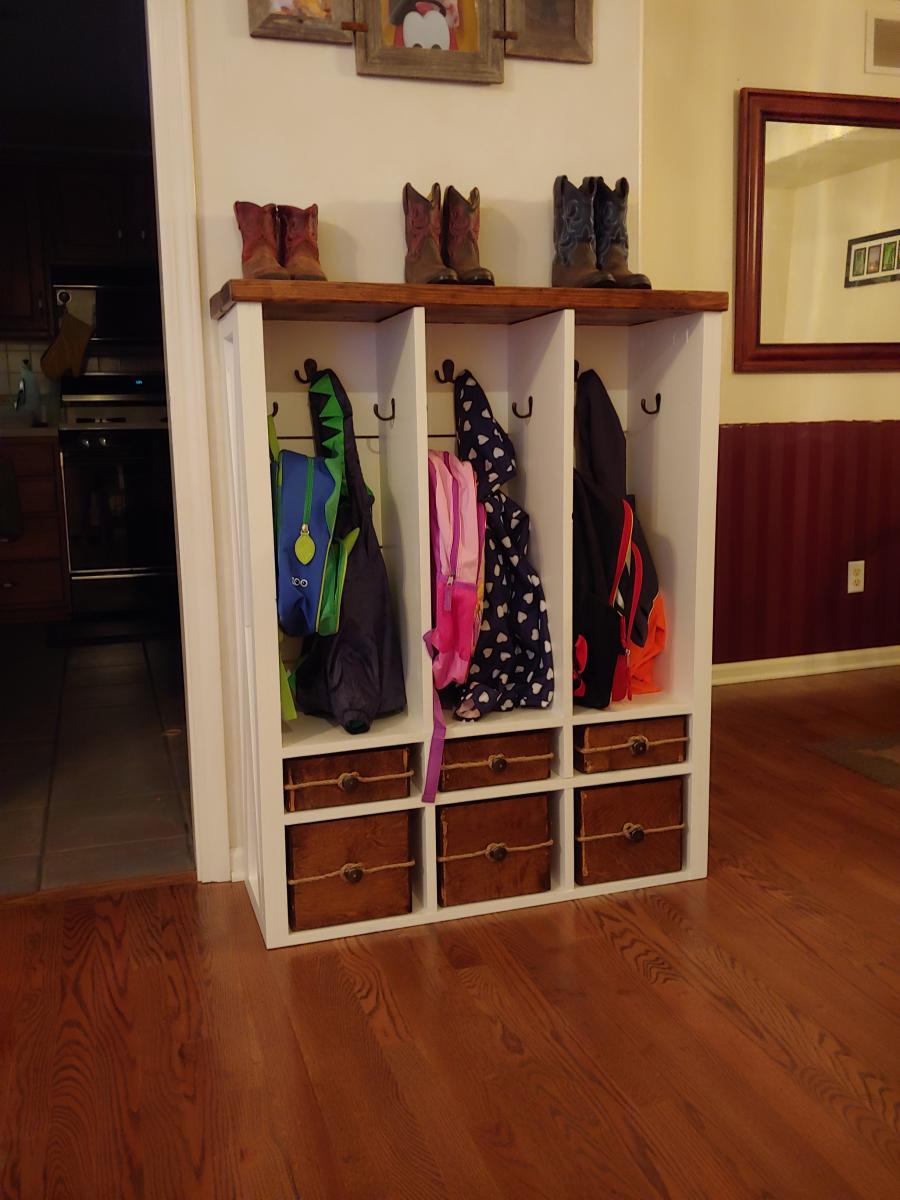
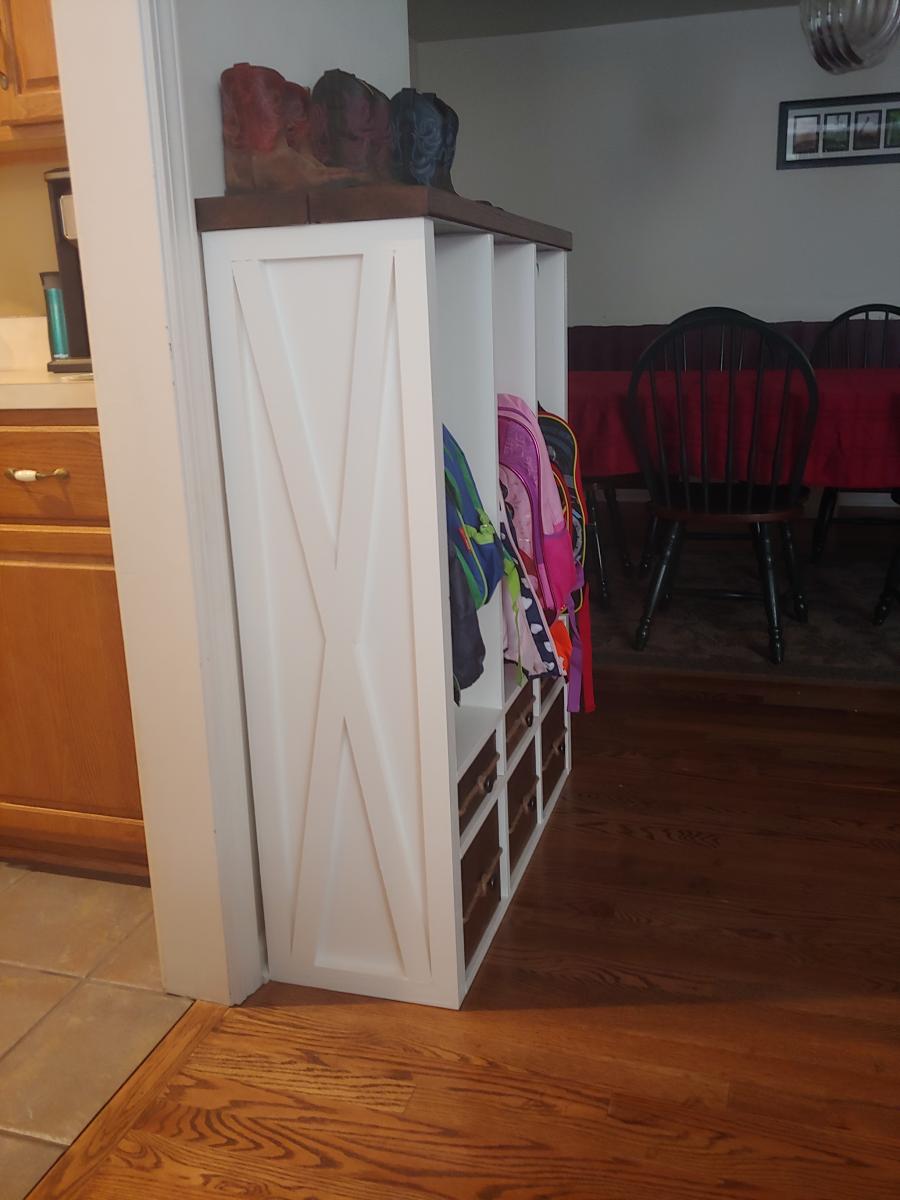
I don't have a mudroom so I needed better organization for shoes, coats, and whatnot. I wanted it to match the Farmhouse Barn Door Entertainment Center I built, so I used the same paint and stain. My sizes were a tad smaller than most storage boxes, so I had to custom-build the cubby boxes. I added a rope around the whole perimeter as well as felt on the bottom to prevent scratching. The kids love it!
Sat, 09/26/2020 - 09:33
Thank you for sharing your awesome project, love all the details!
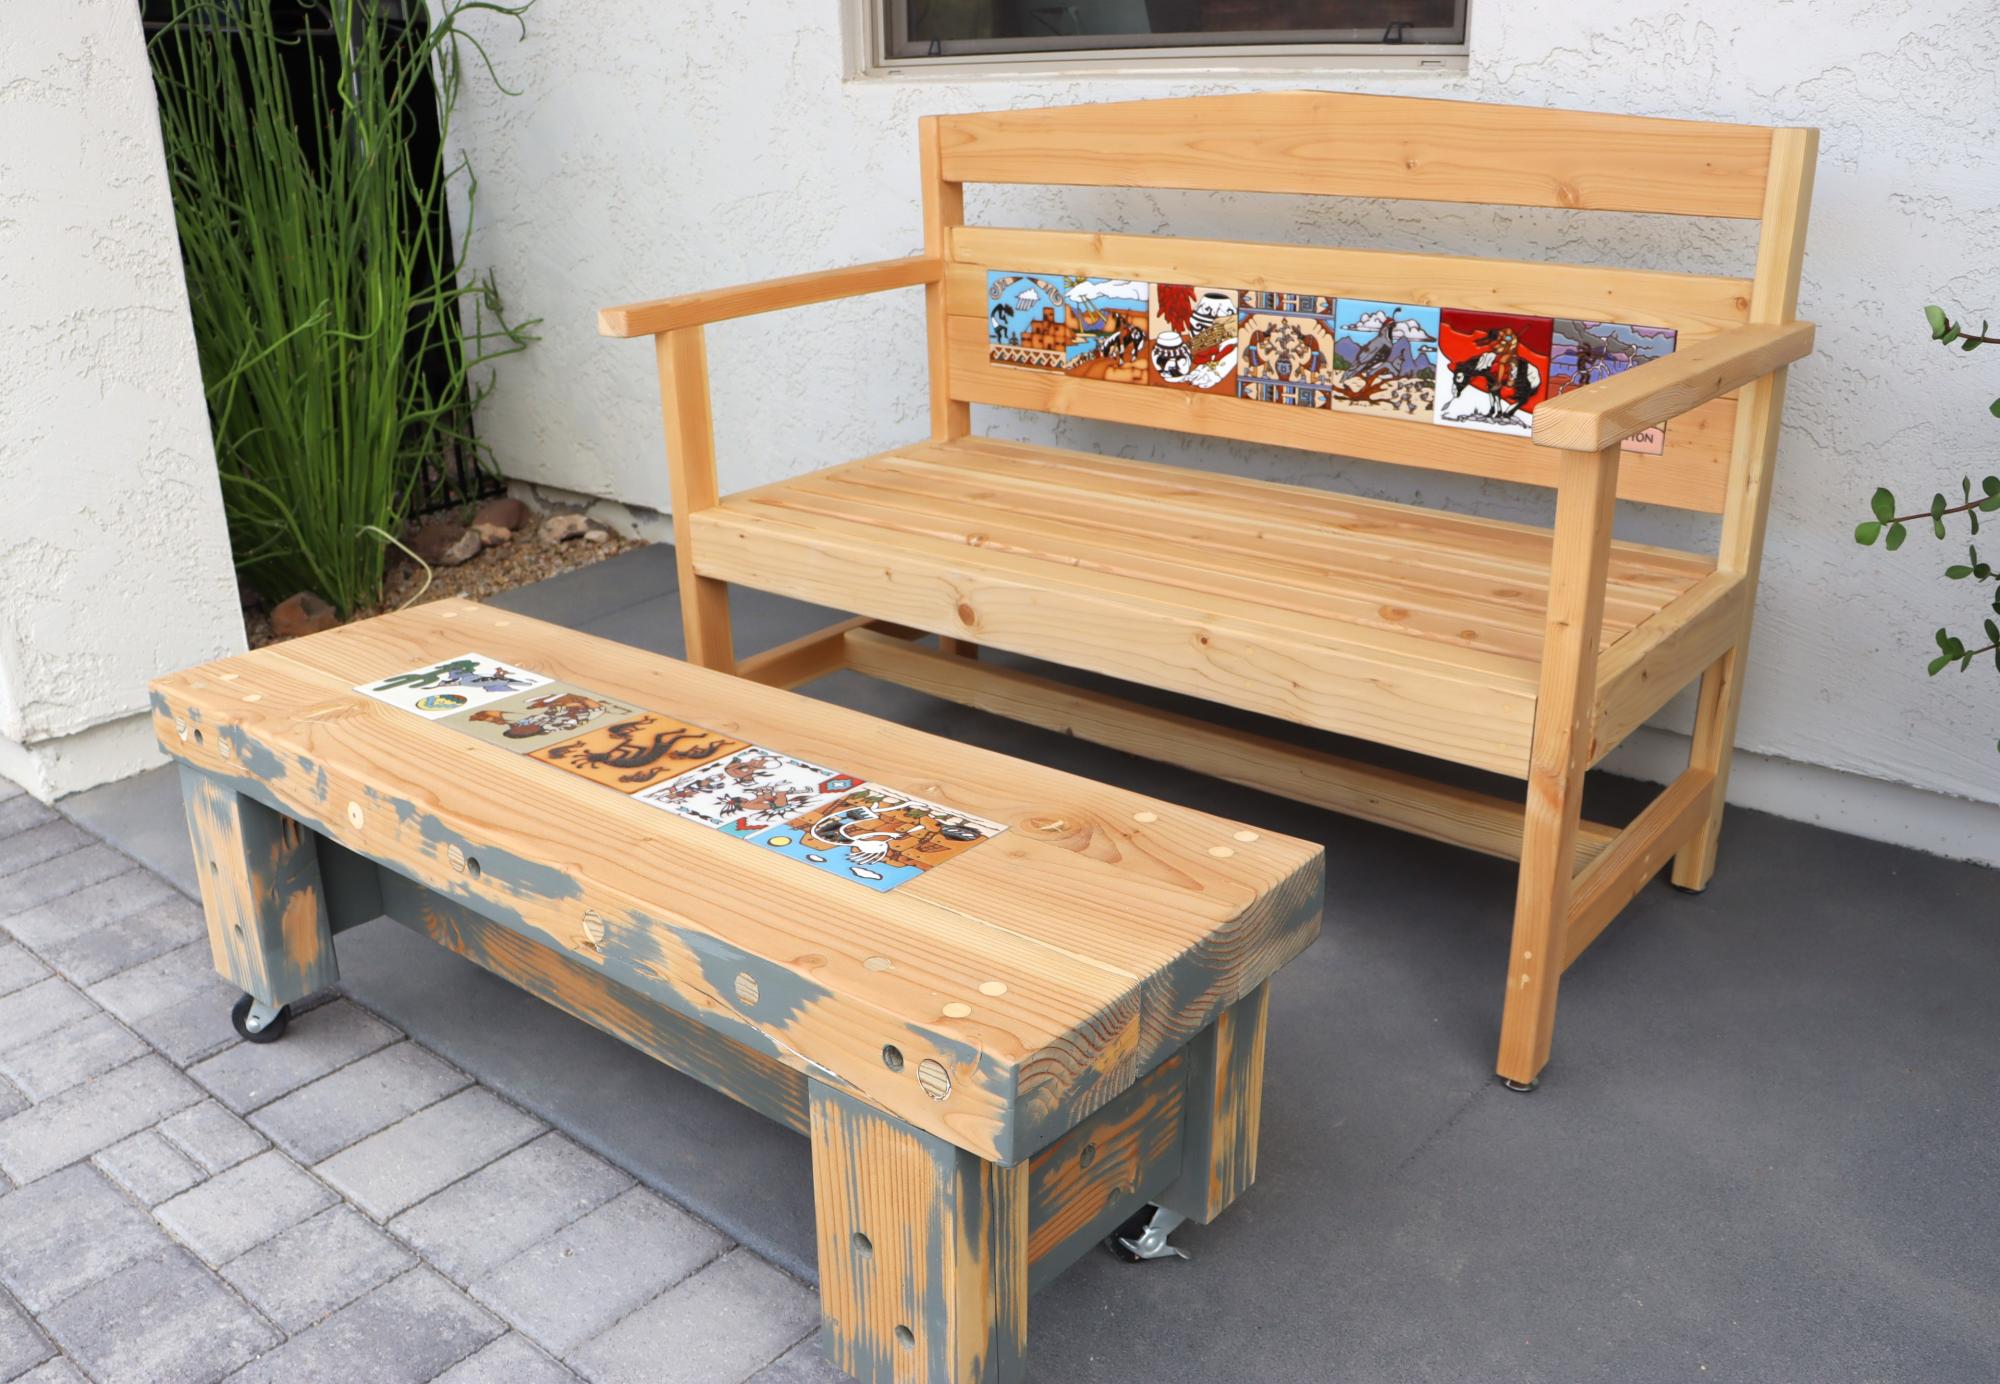
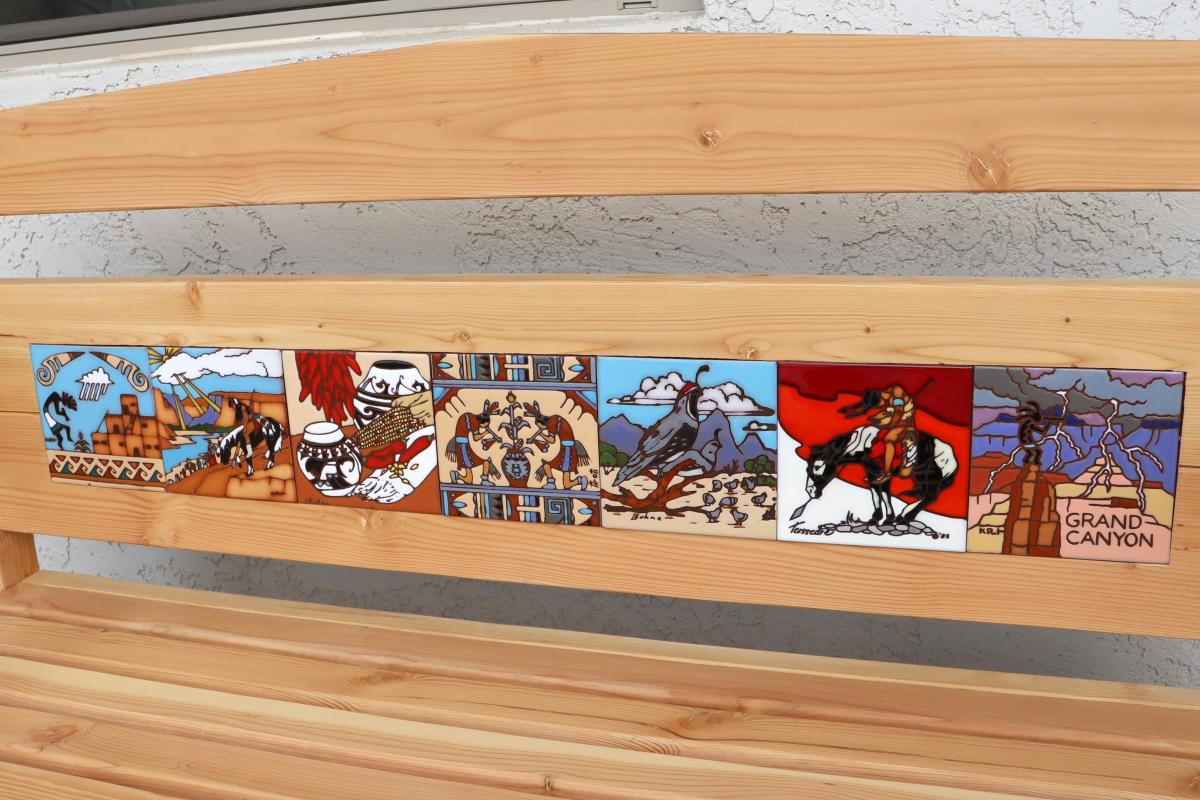
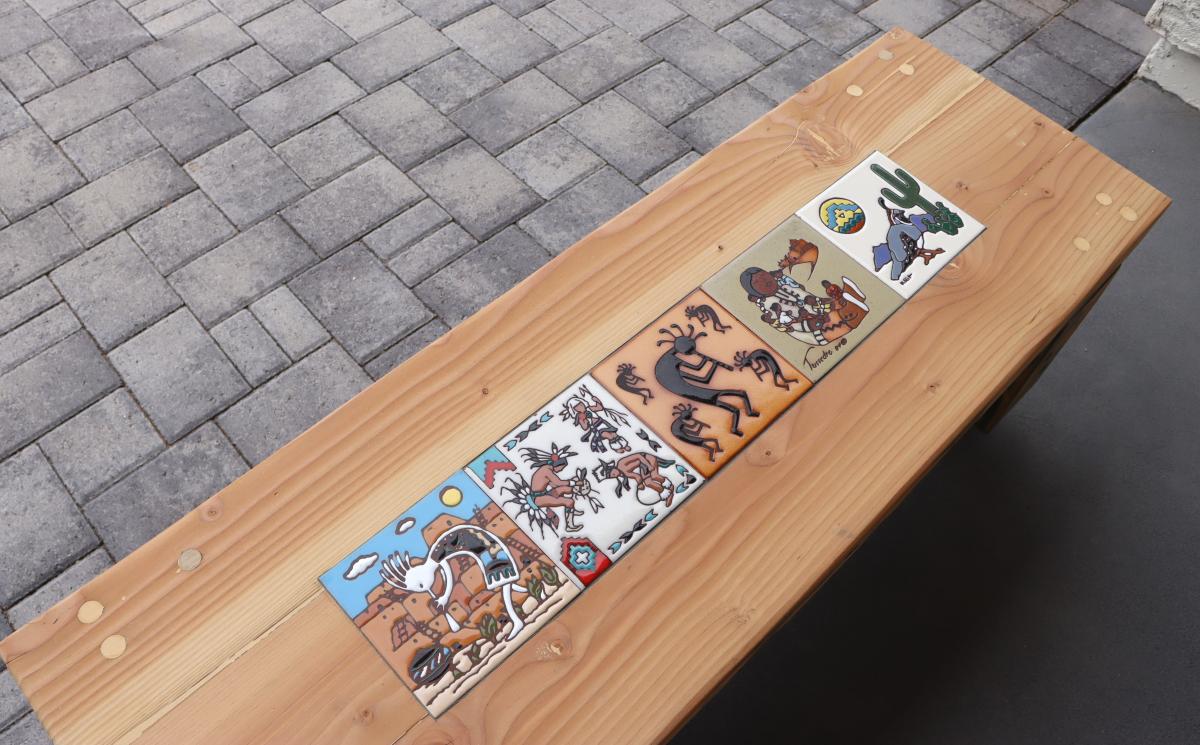
This is a Memorial Bench for my mother who loved collecting Arizona/Southwest tiles.
I used my router to clear a recess so that I could inset the tiles in the back (two 2''x6") of the bench, as well as the top of a re-purposed old table. I used HD Construction Adhesive to attach the tiles as well as grout to fill in the differences in tile sizes.
I finished it with Olympic Clear Sealer. - G D Goodwin
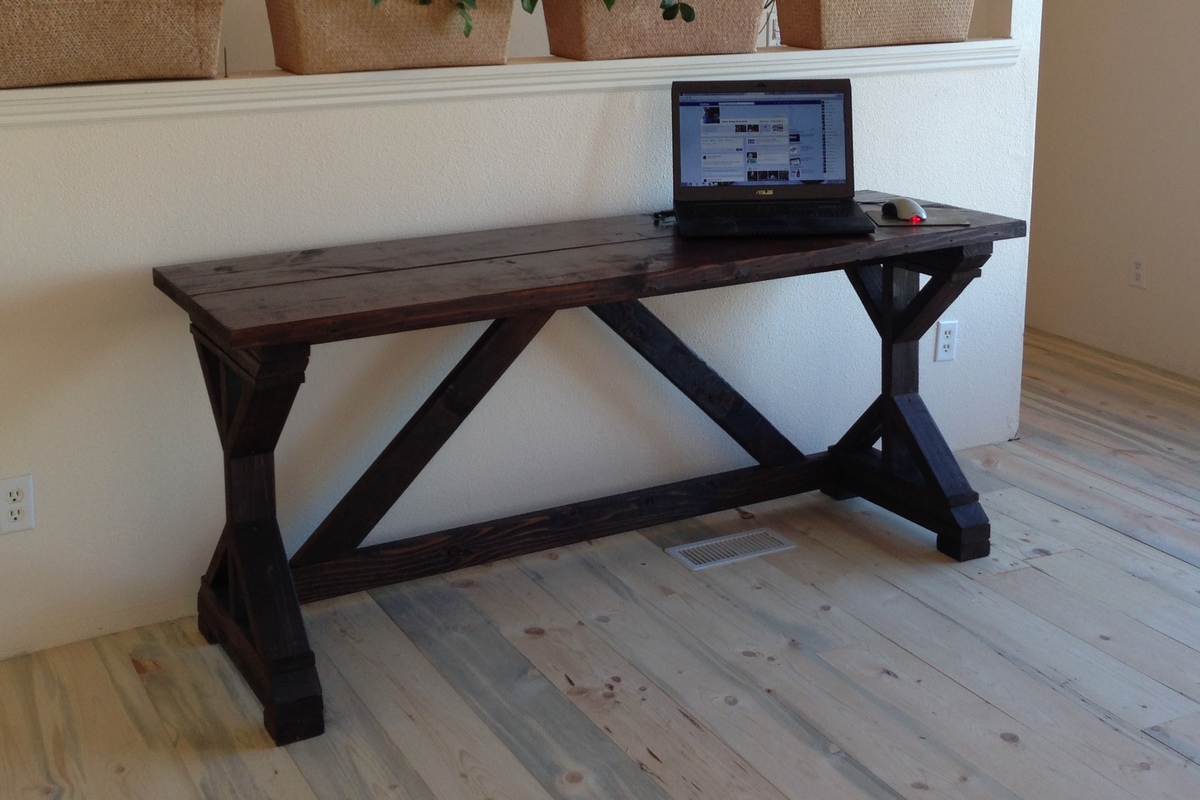
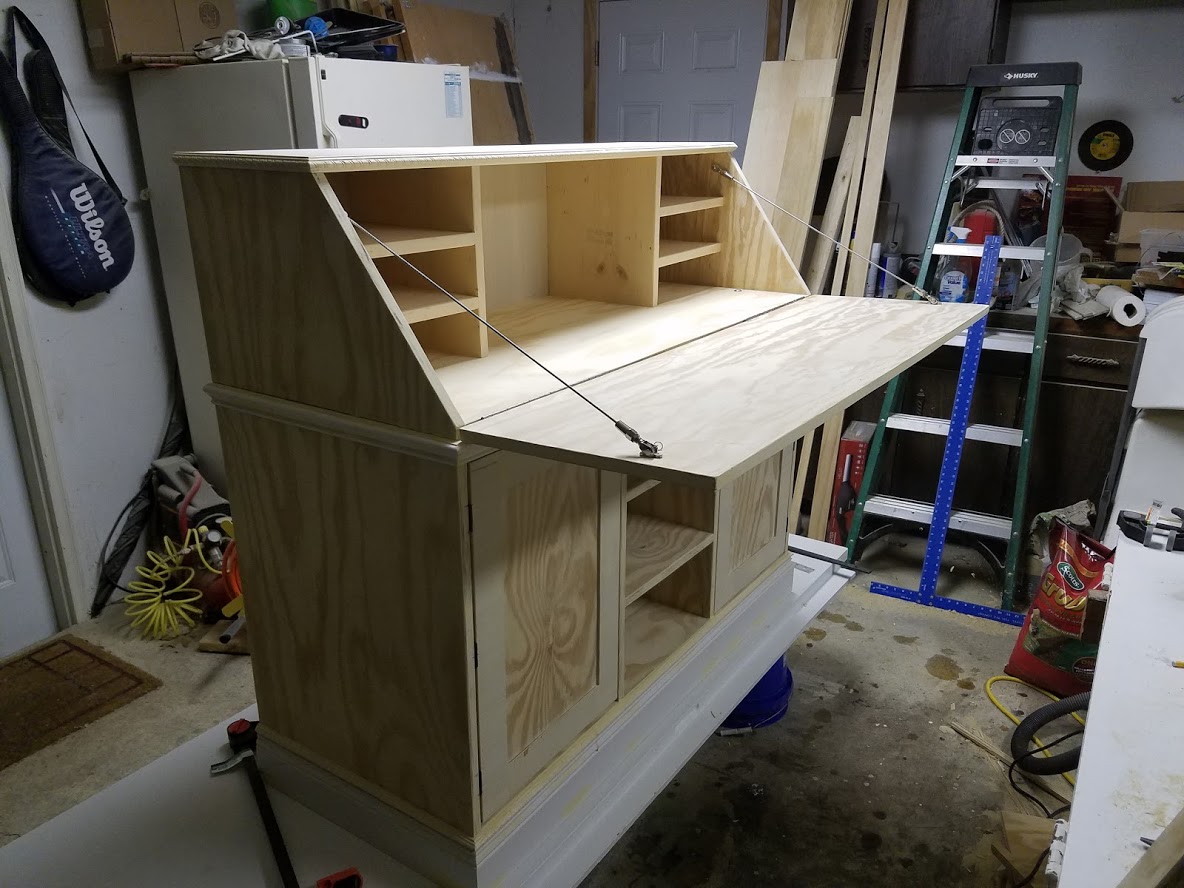
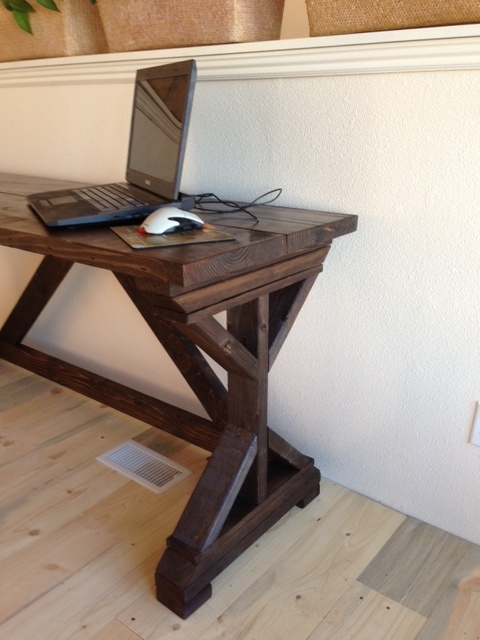
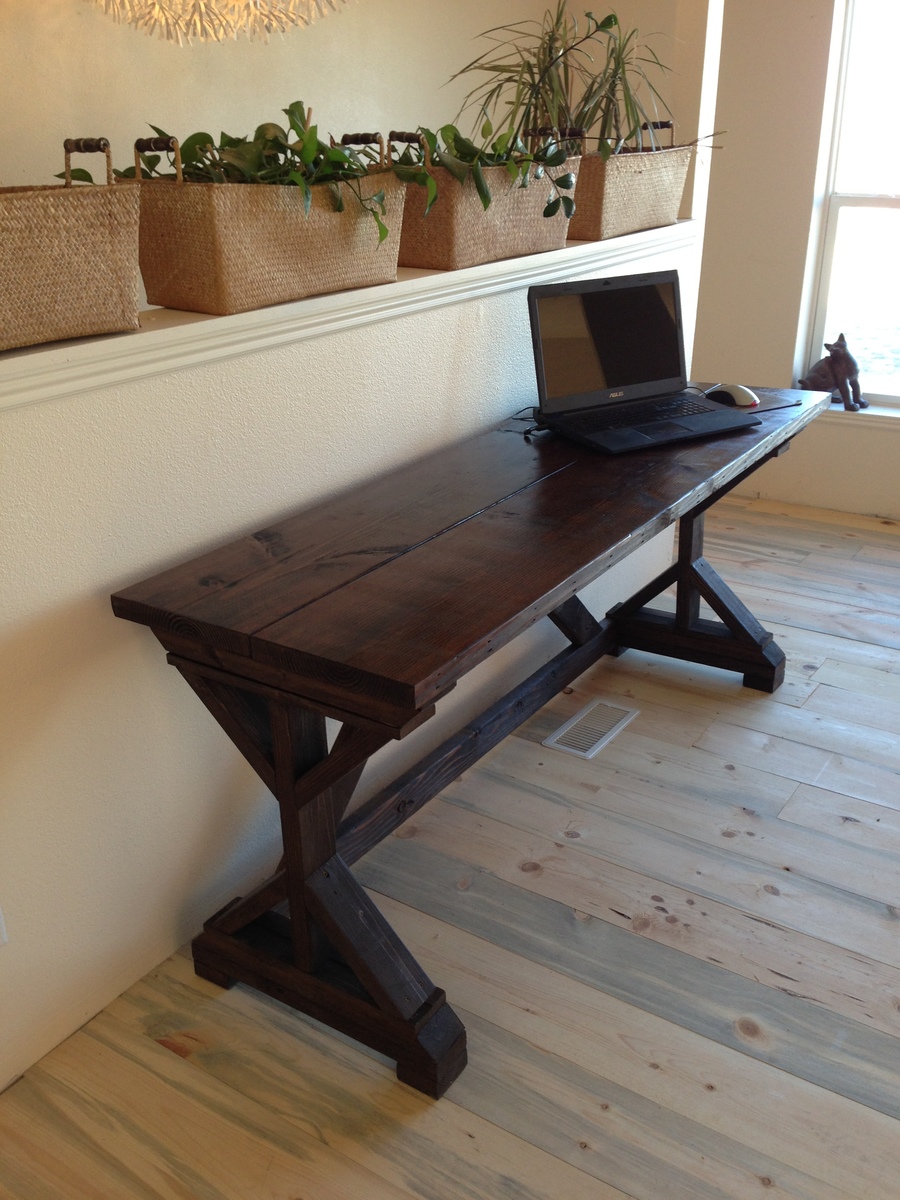
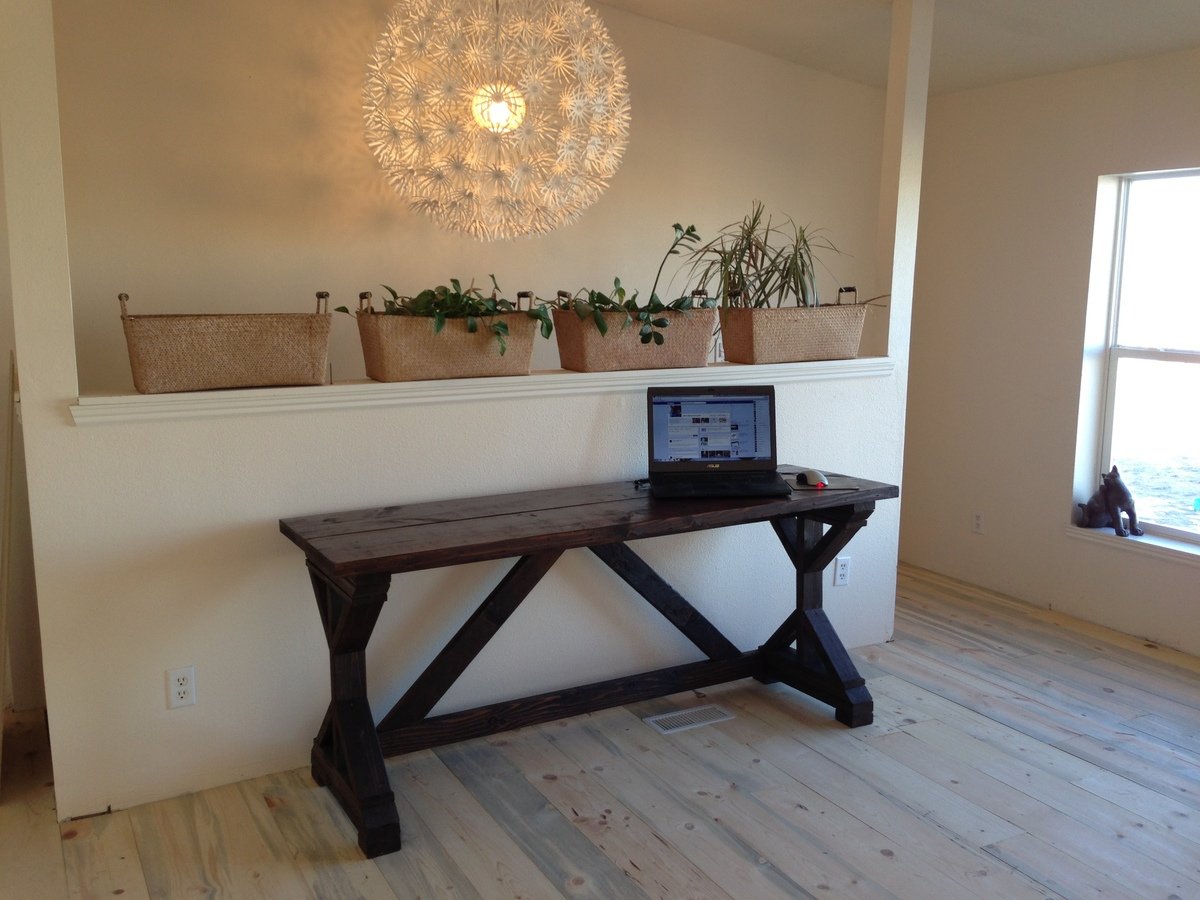
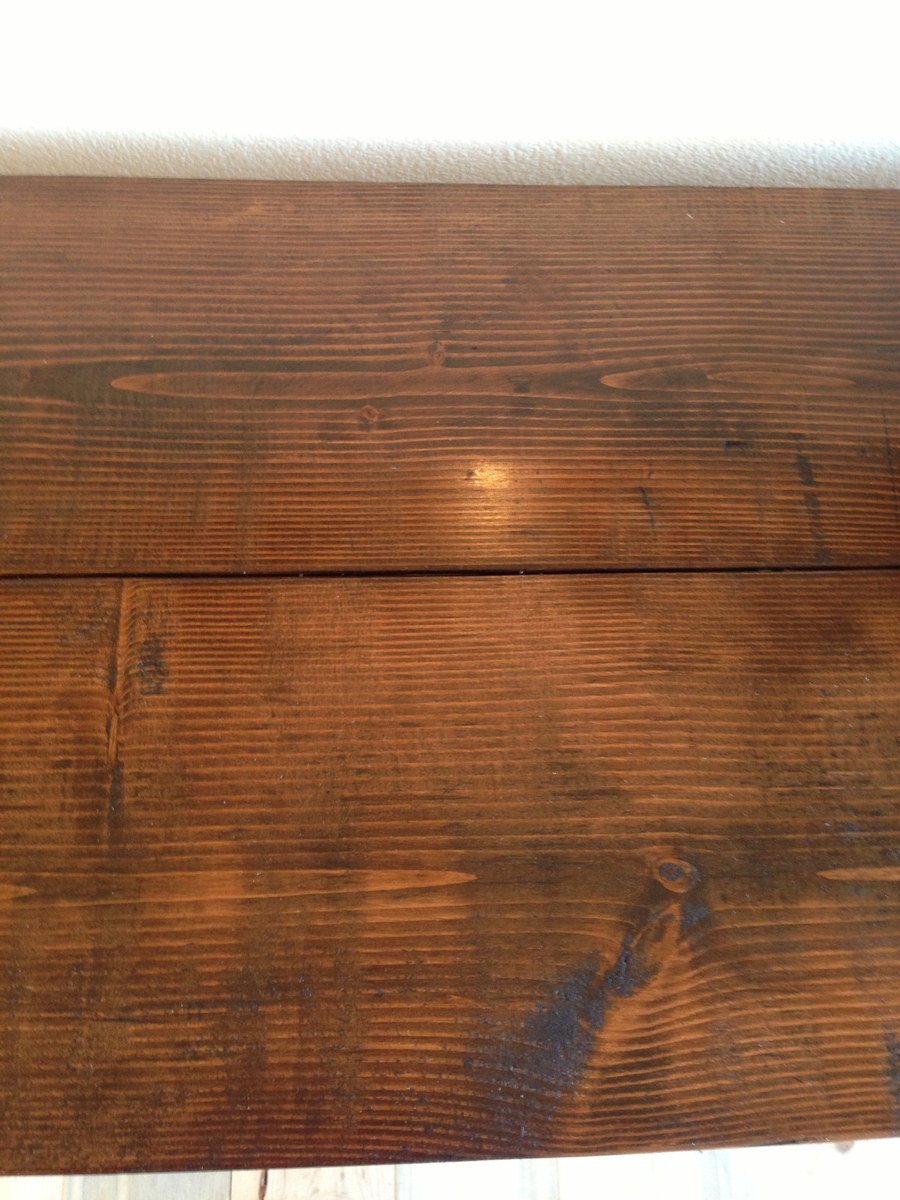
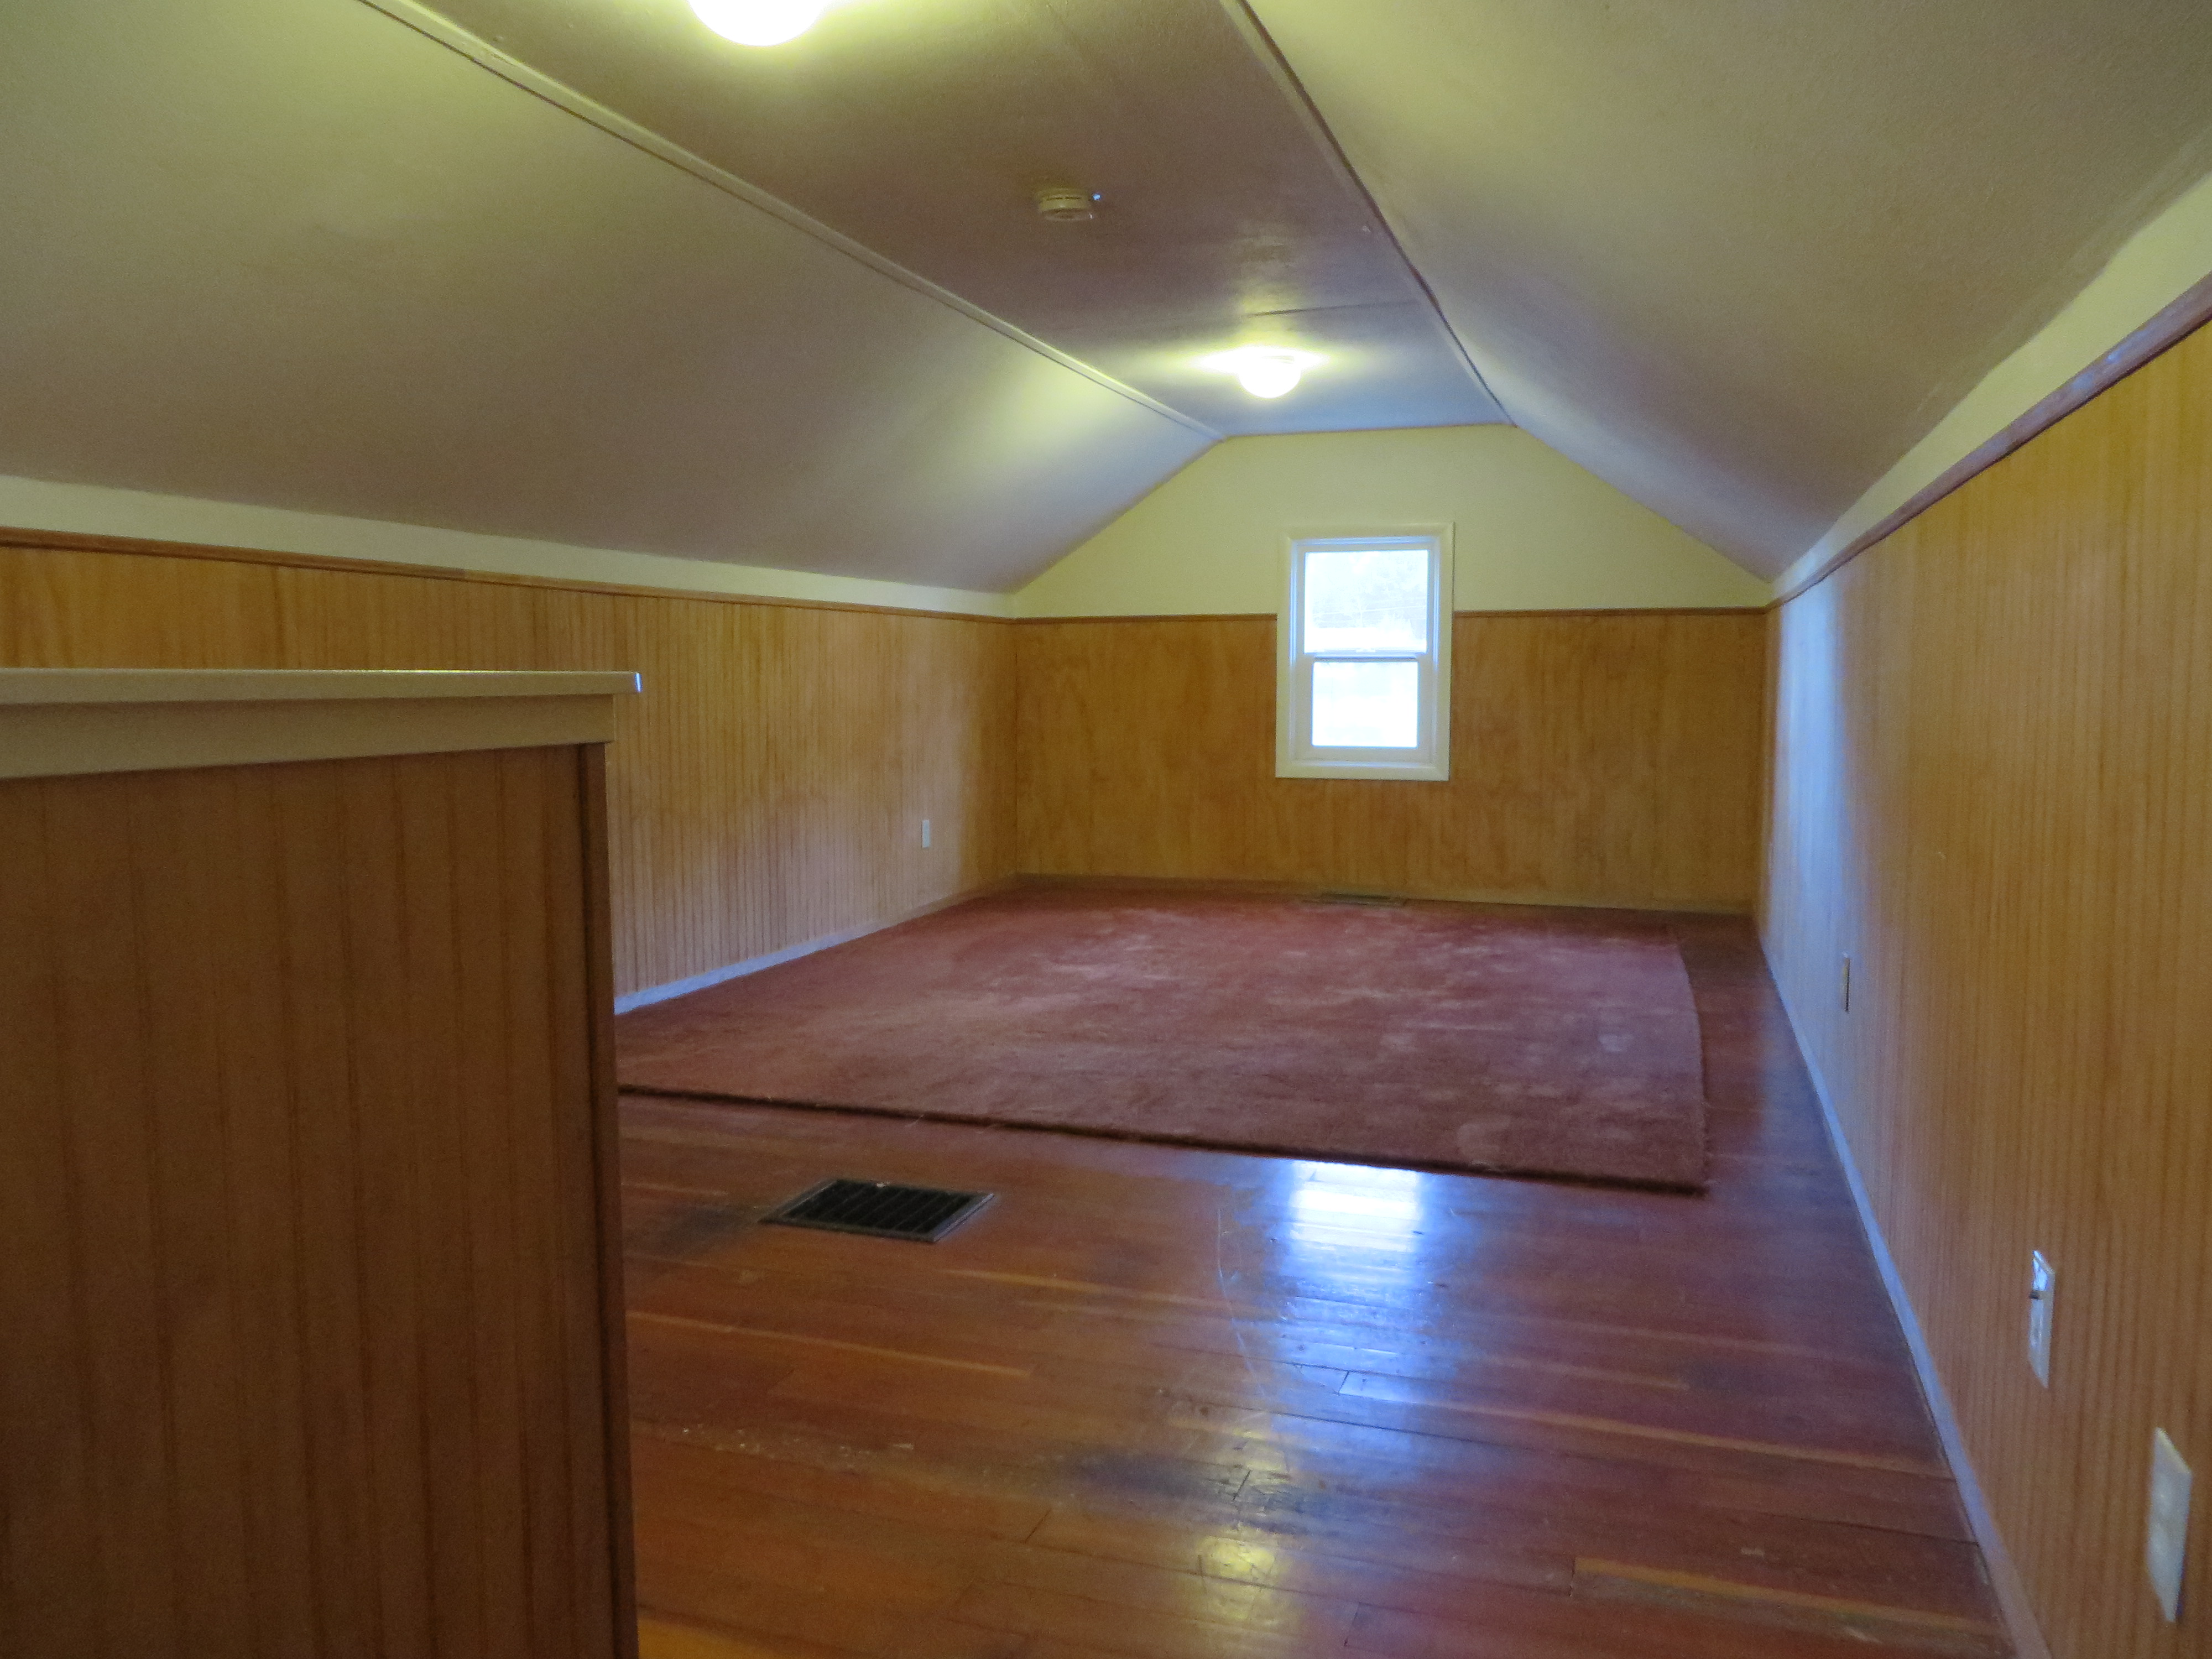
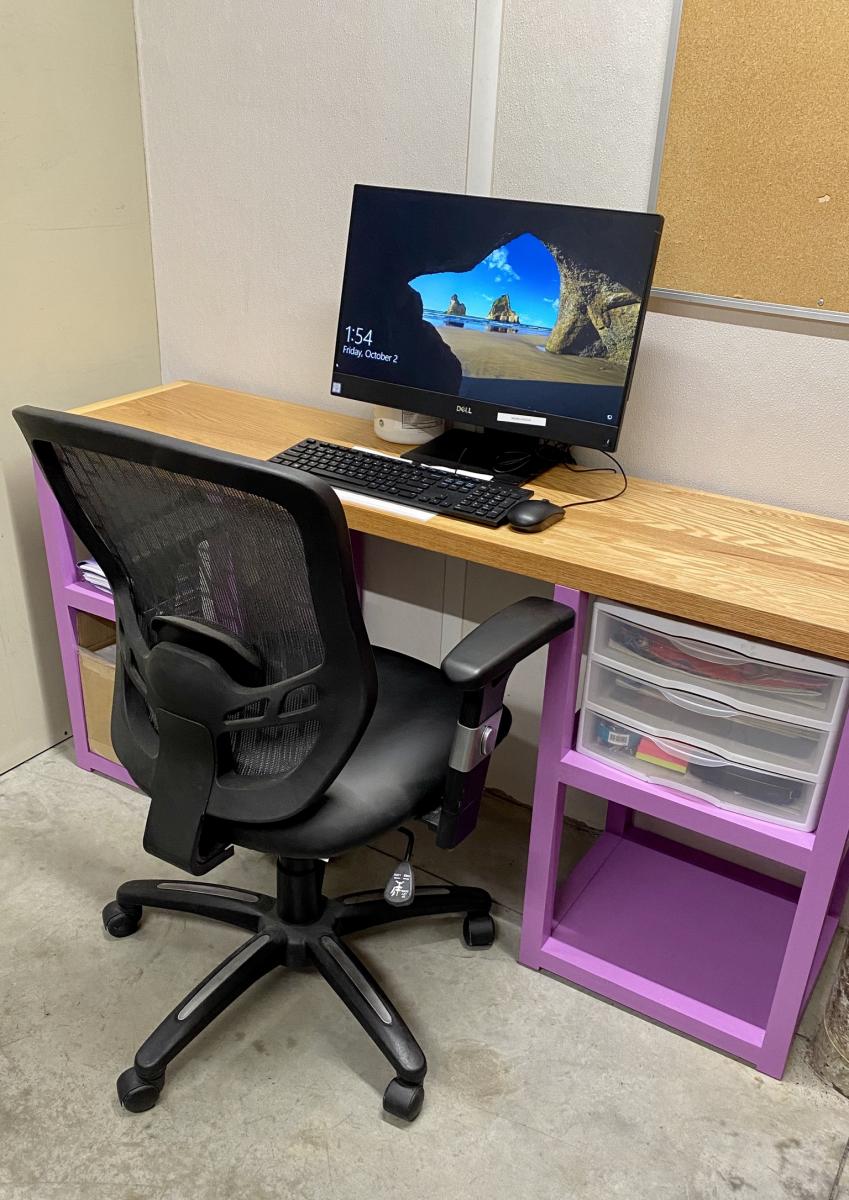
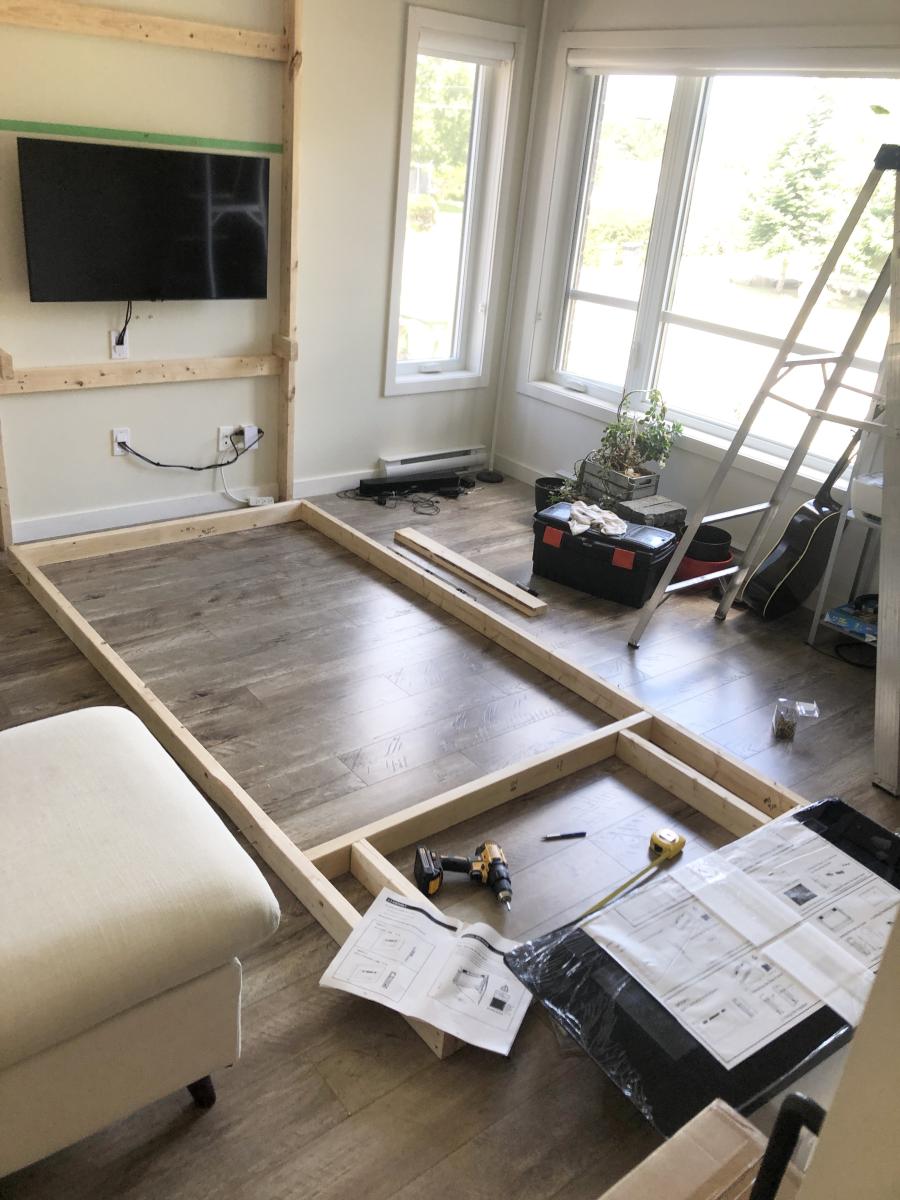
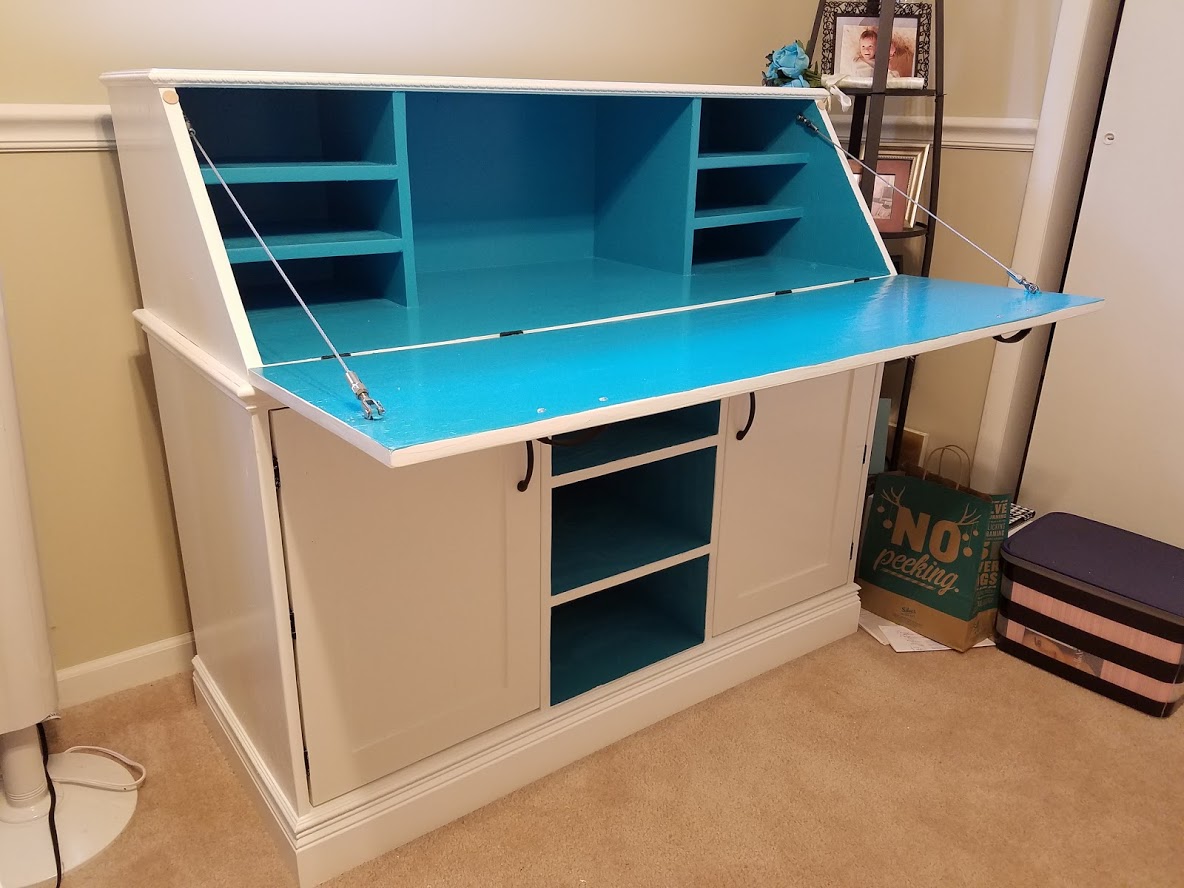
We recently purchased a foreclosure on thirty-five acres and have been diligently rehabbing the property. (That's why the picture shows missing wall trim and unsealed floors!) We needed a desk in order to reclaim our dining table so I decided to build this one. I love how it turned out and it is perfect for our needs.

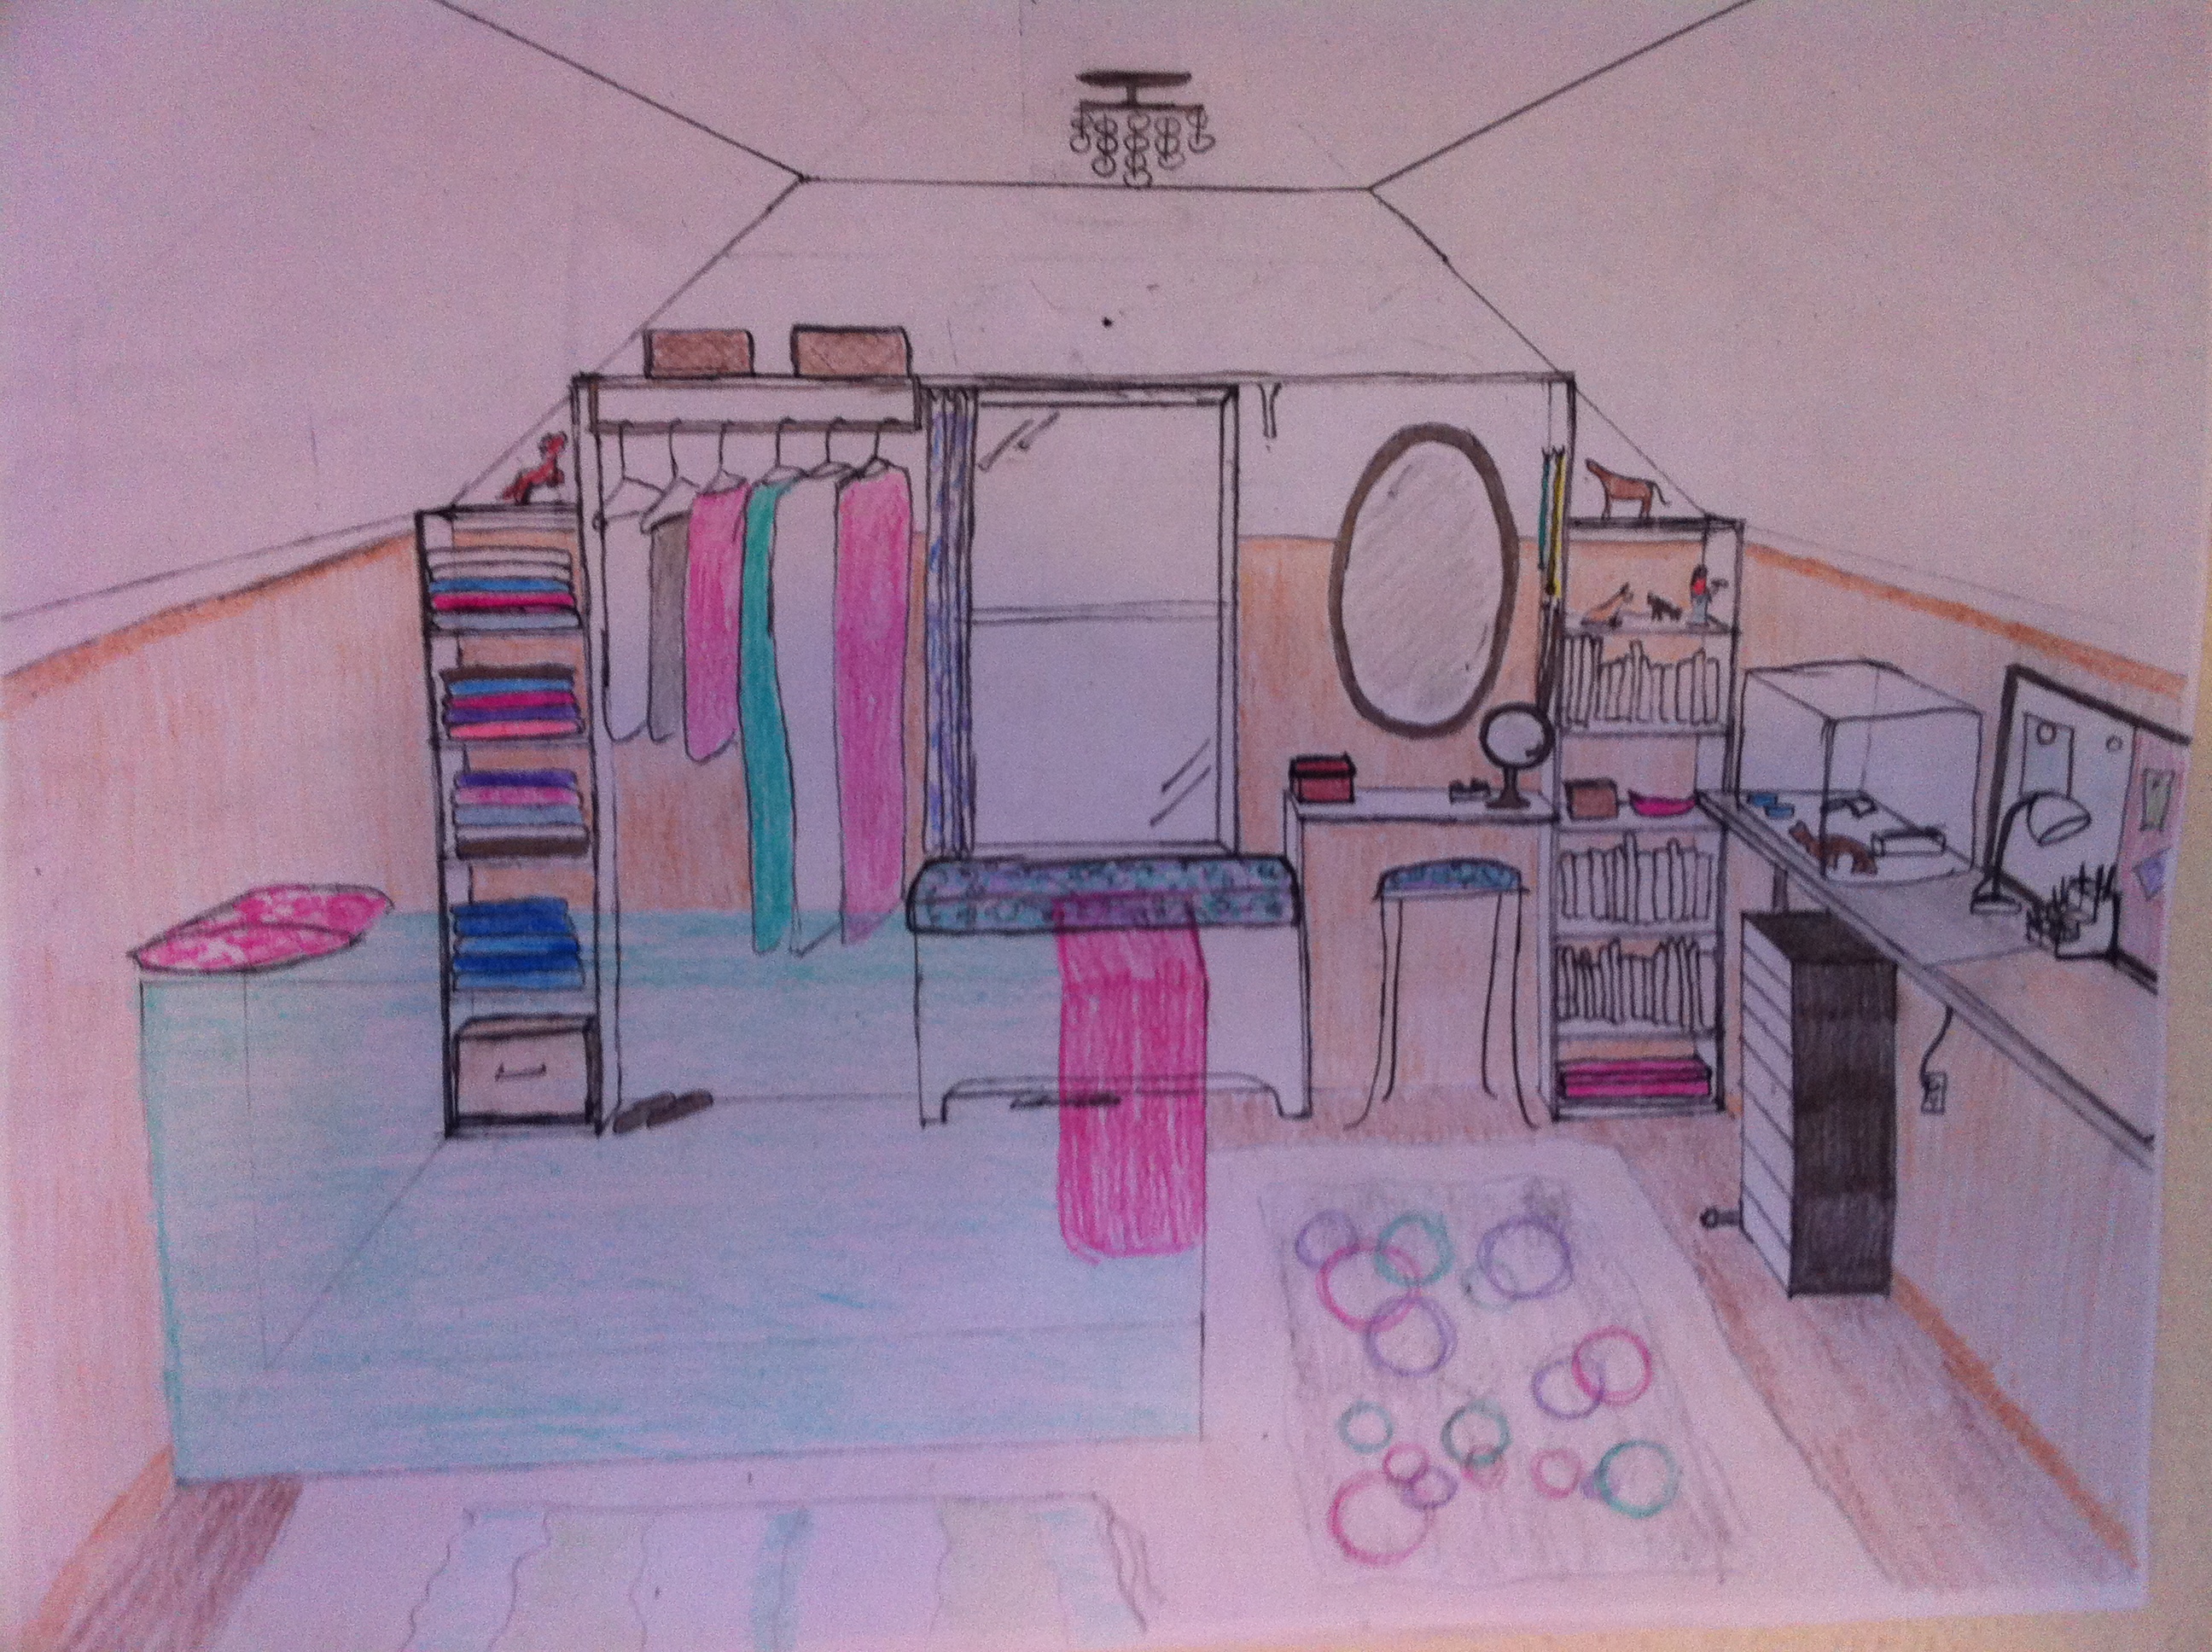
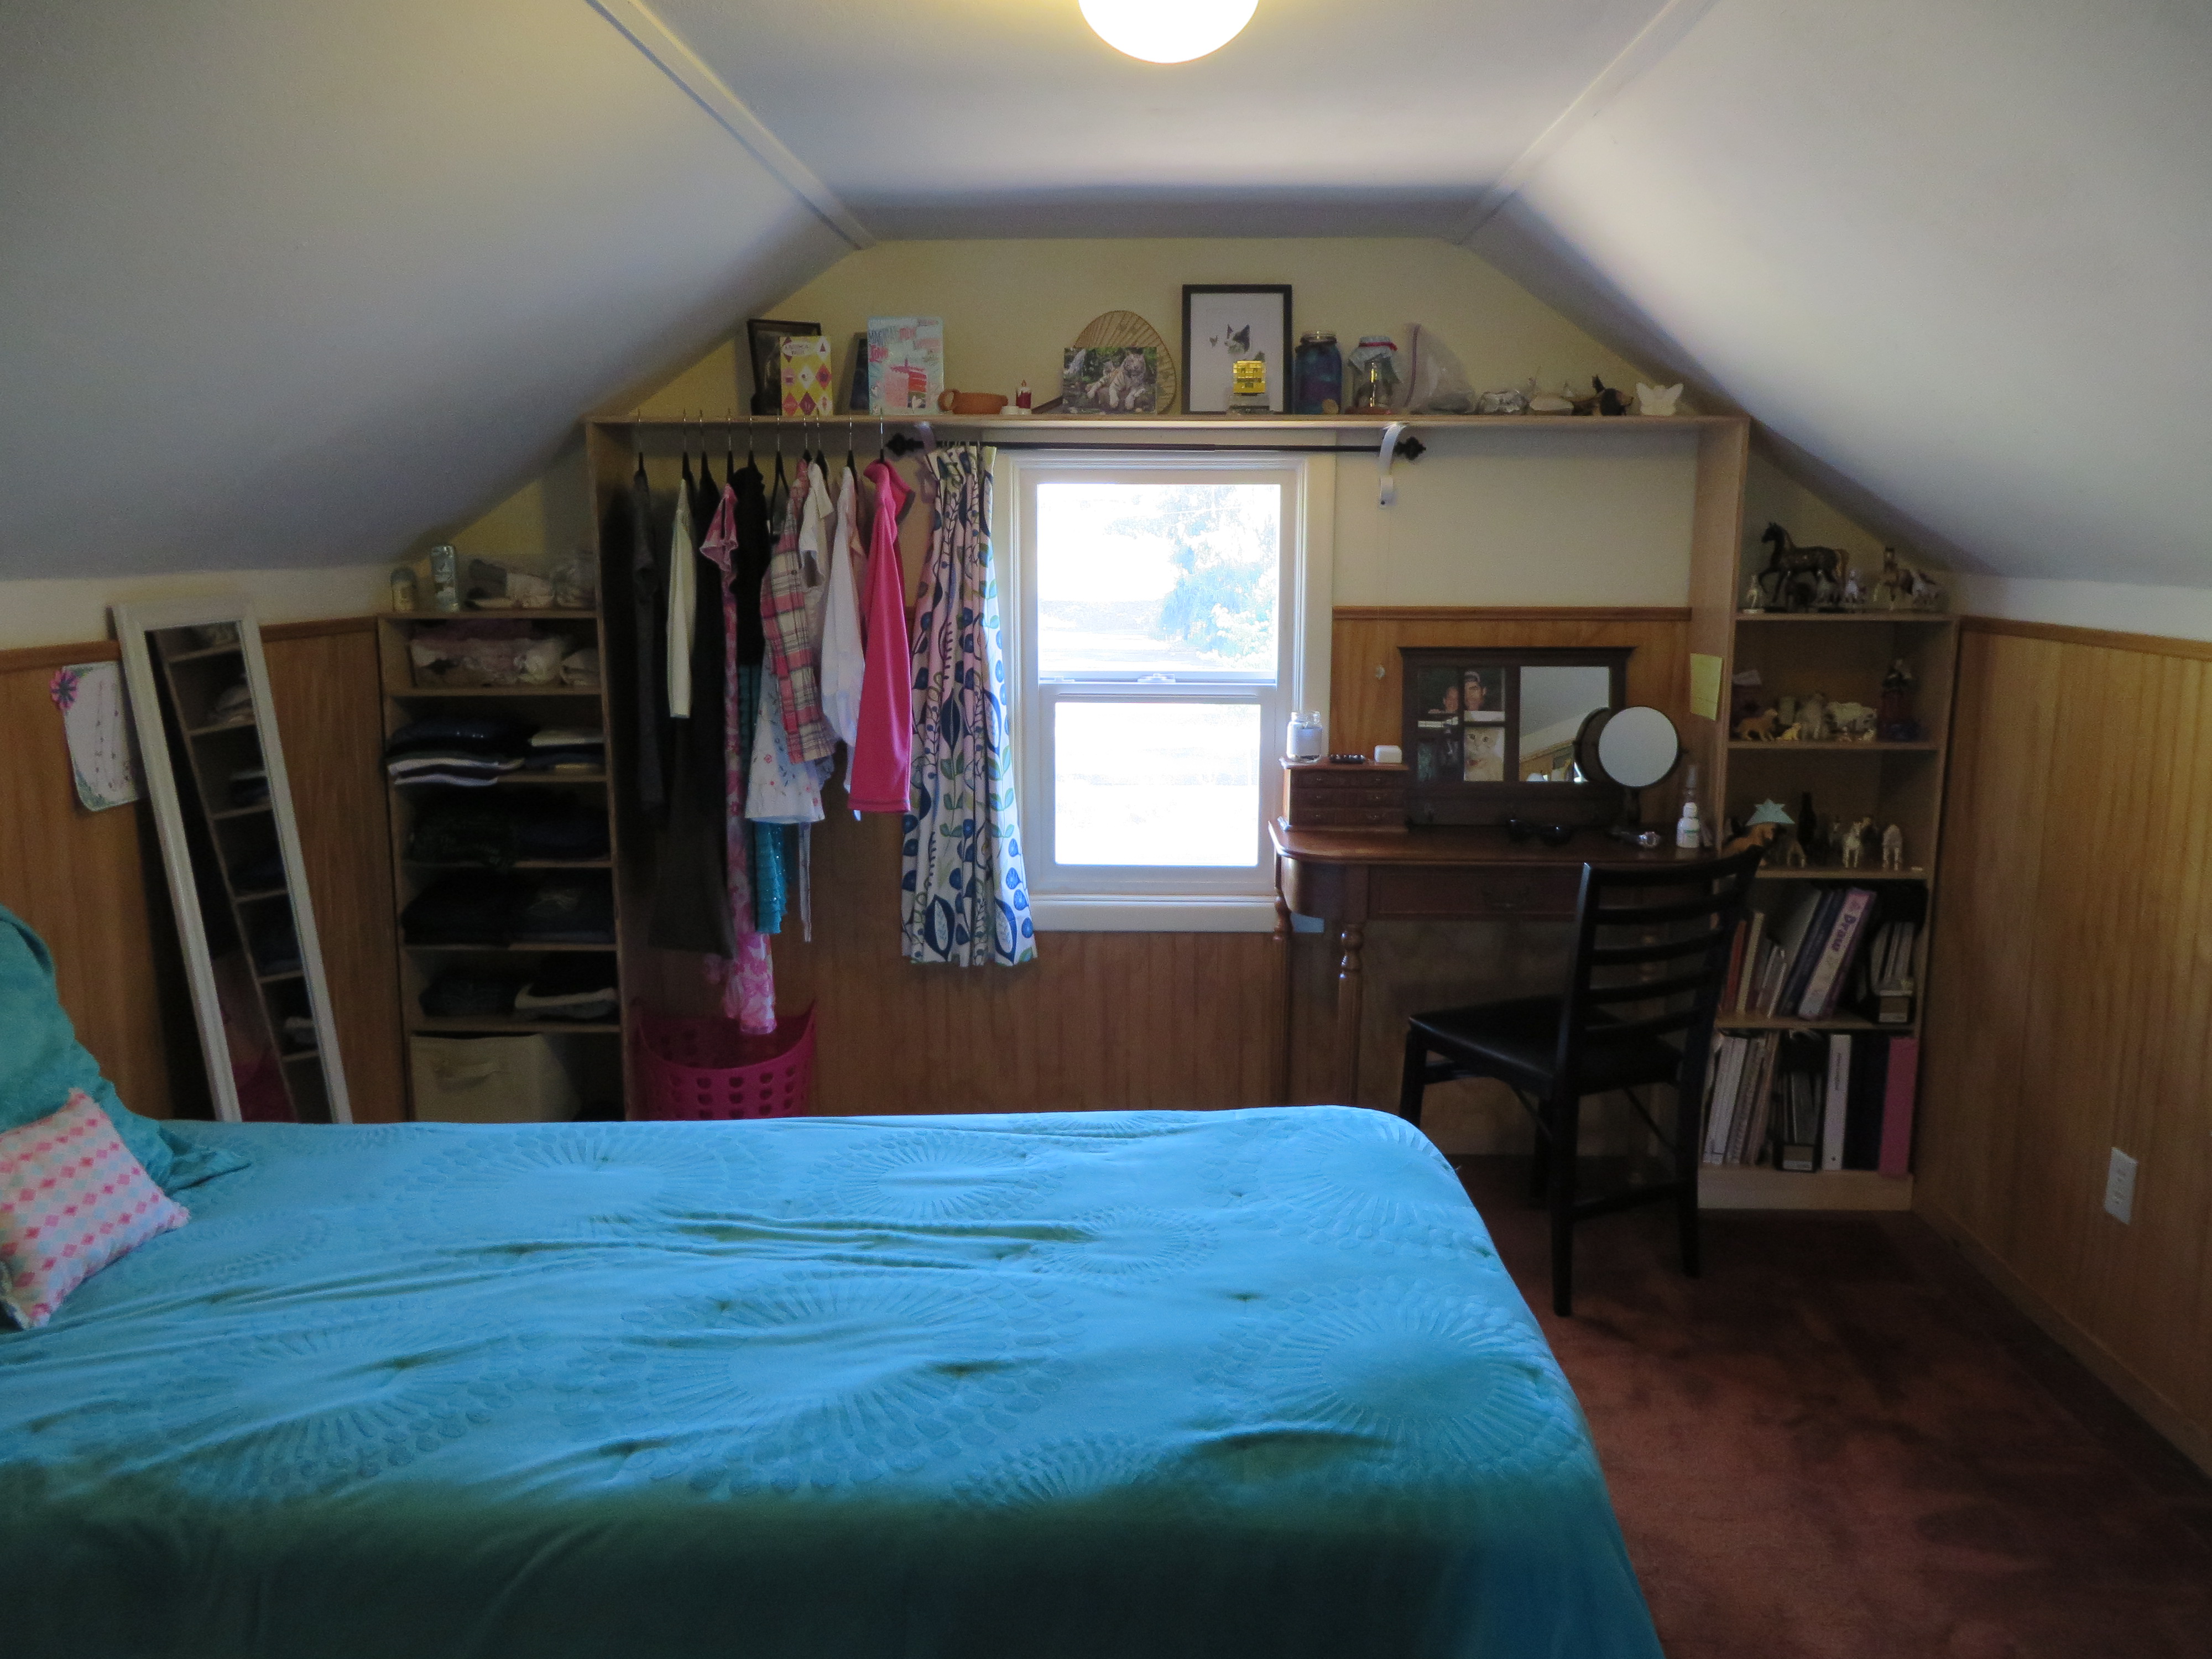
Our attic bedroom had no closet space or storage. I designed a system with shelves and hanging space along one end wall. A freestanding vanity table was discovered at a Habitat ReStore, which fit the space perfectly. One side of shelves is for clothing, the other side is for books and display. A long shelf across the entire top serves as the closet rod as well as display space.
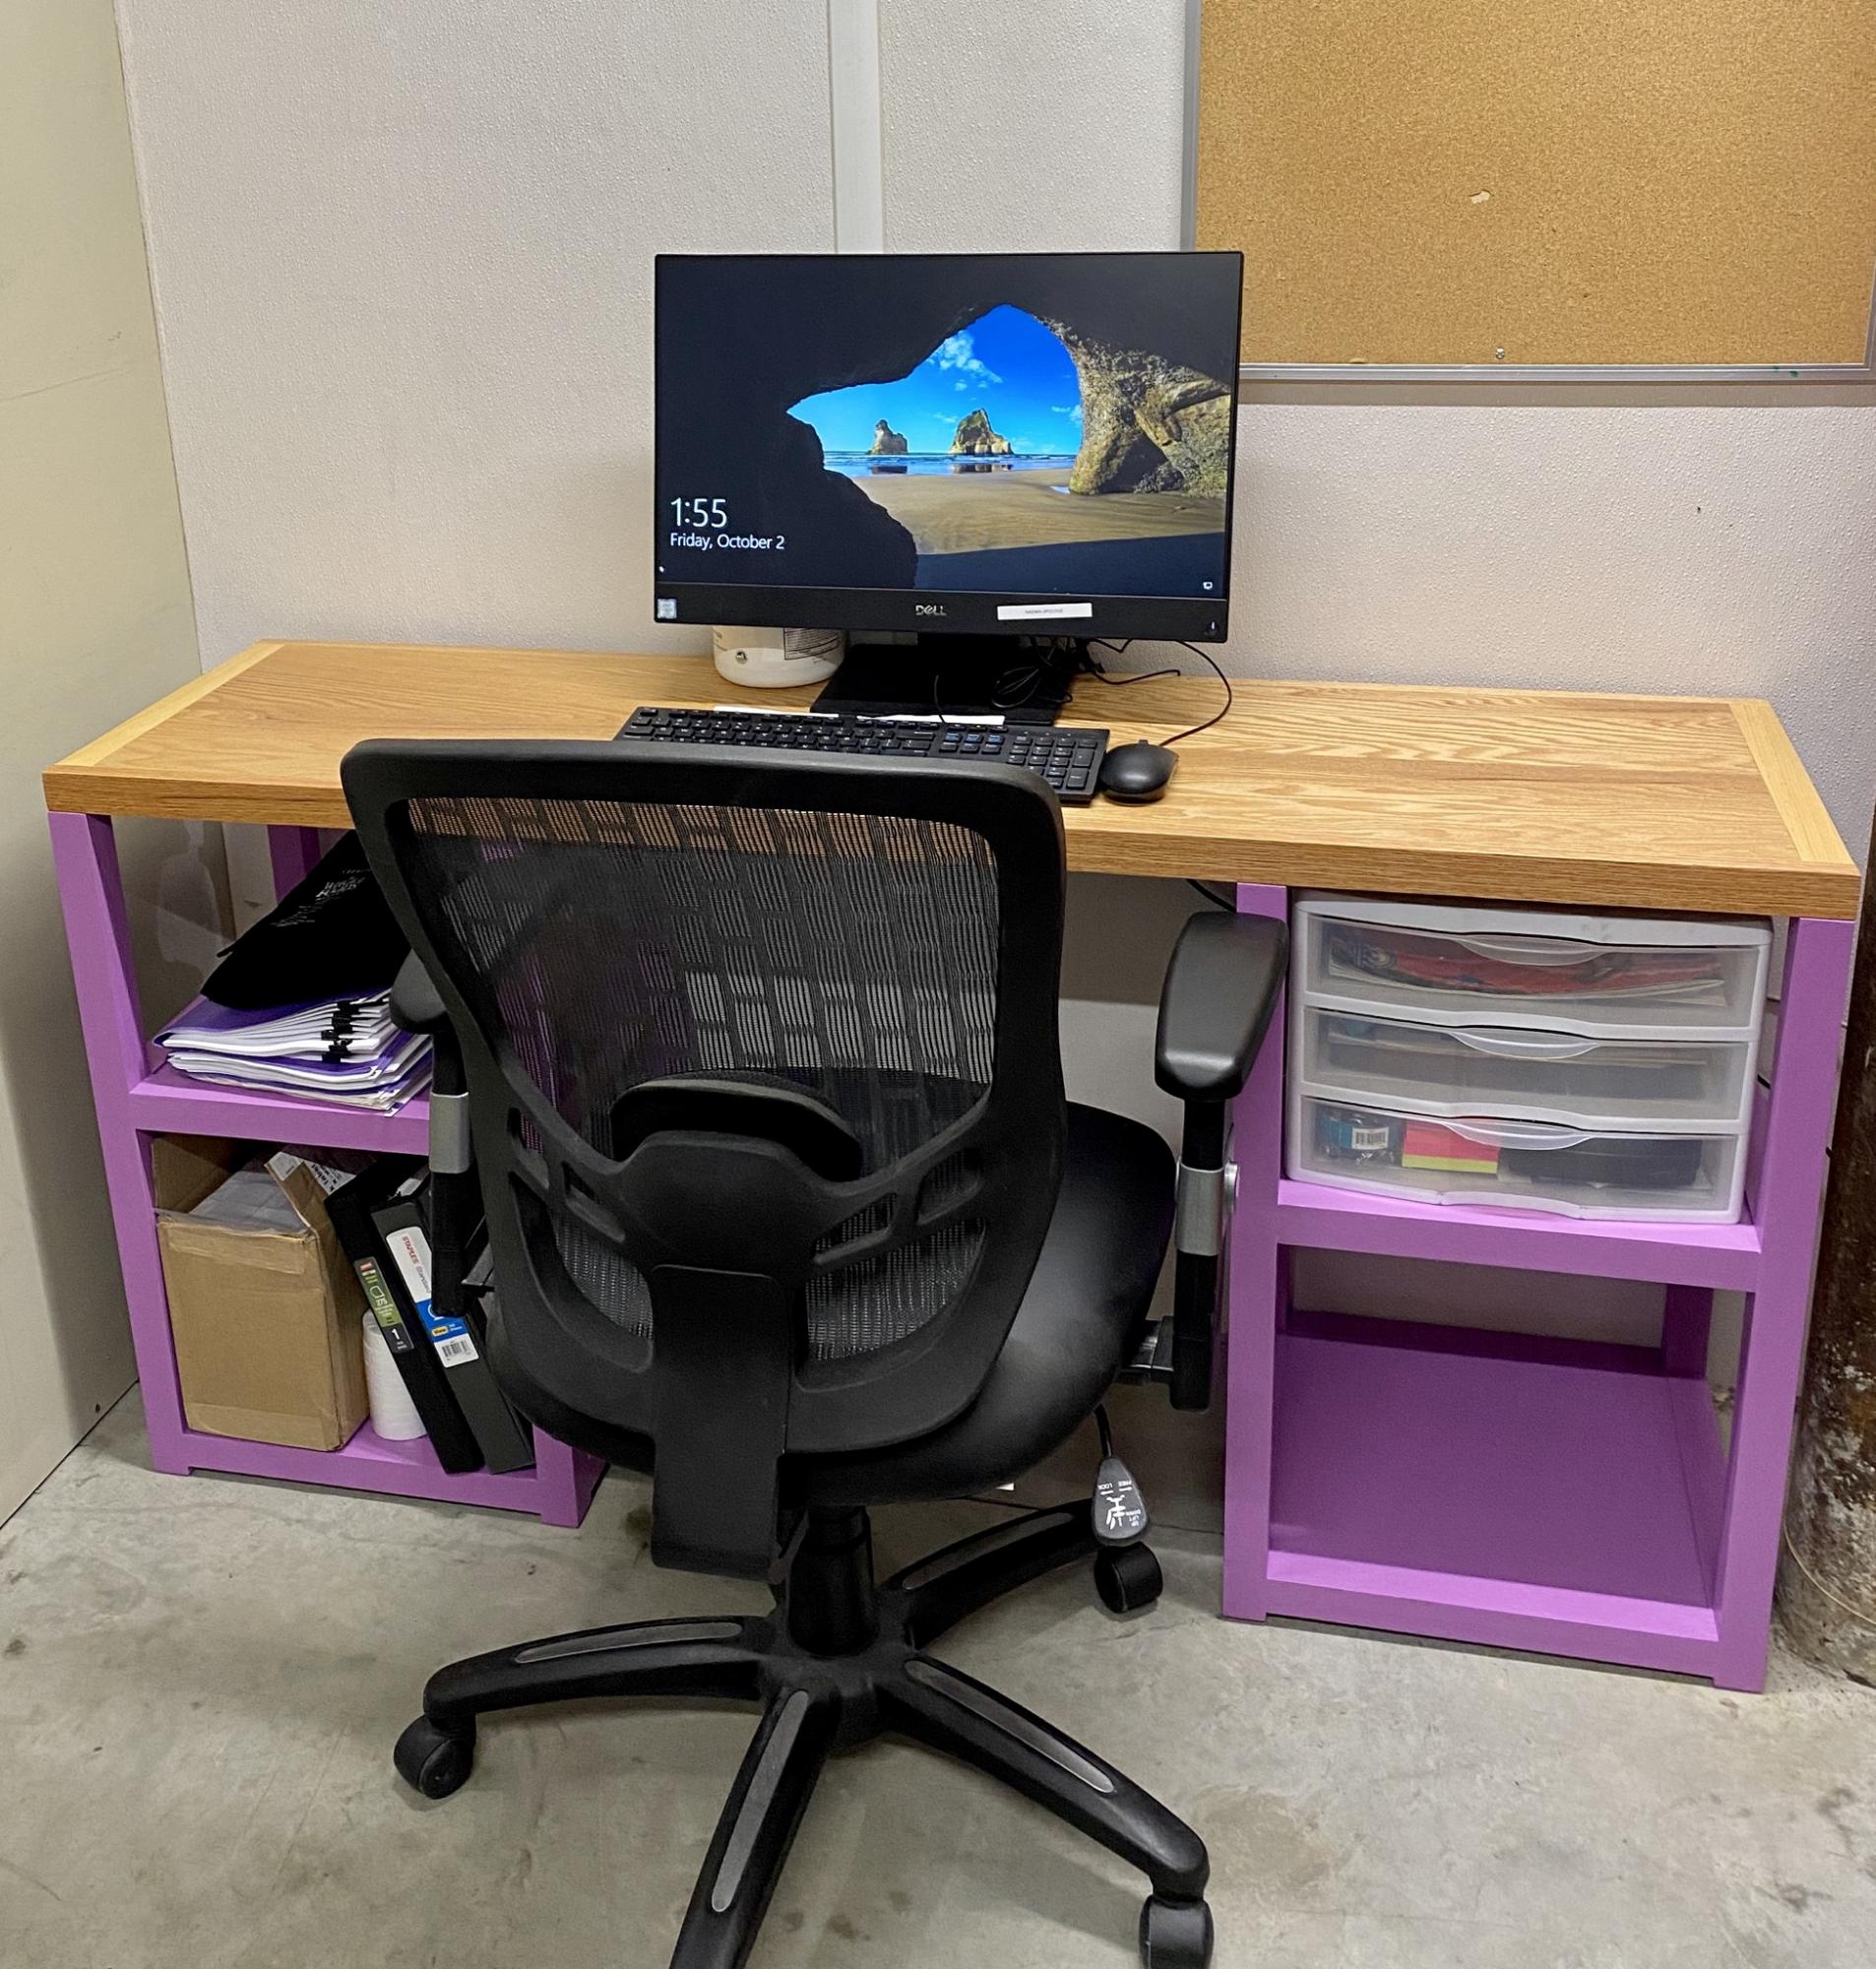
Built for a small office at work. Finished in their favorite color! Beautiful pieced together oak top
Dear Ana,
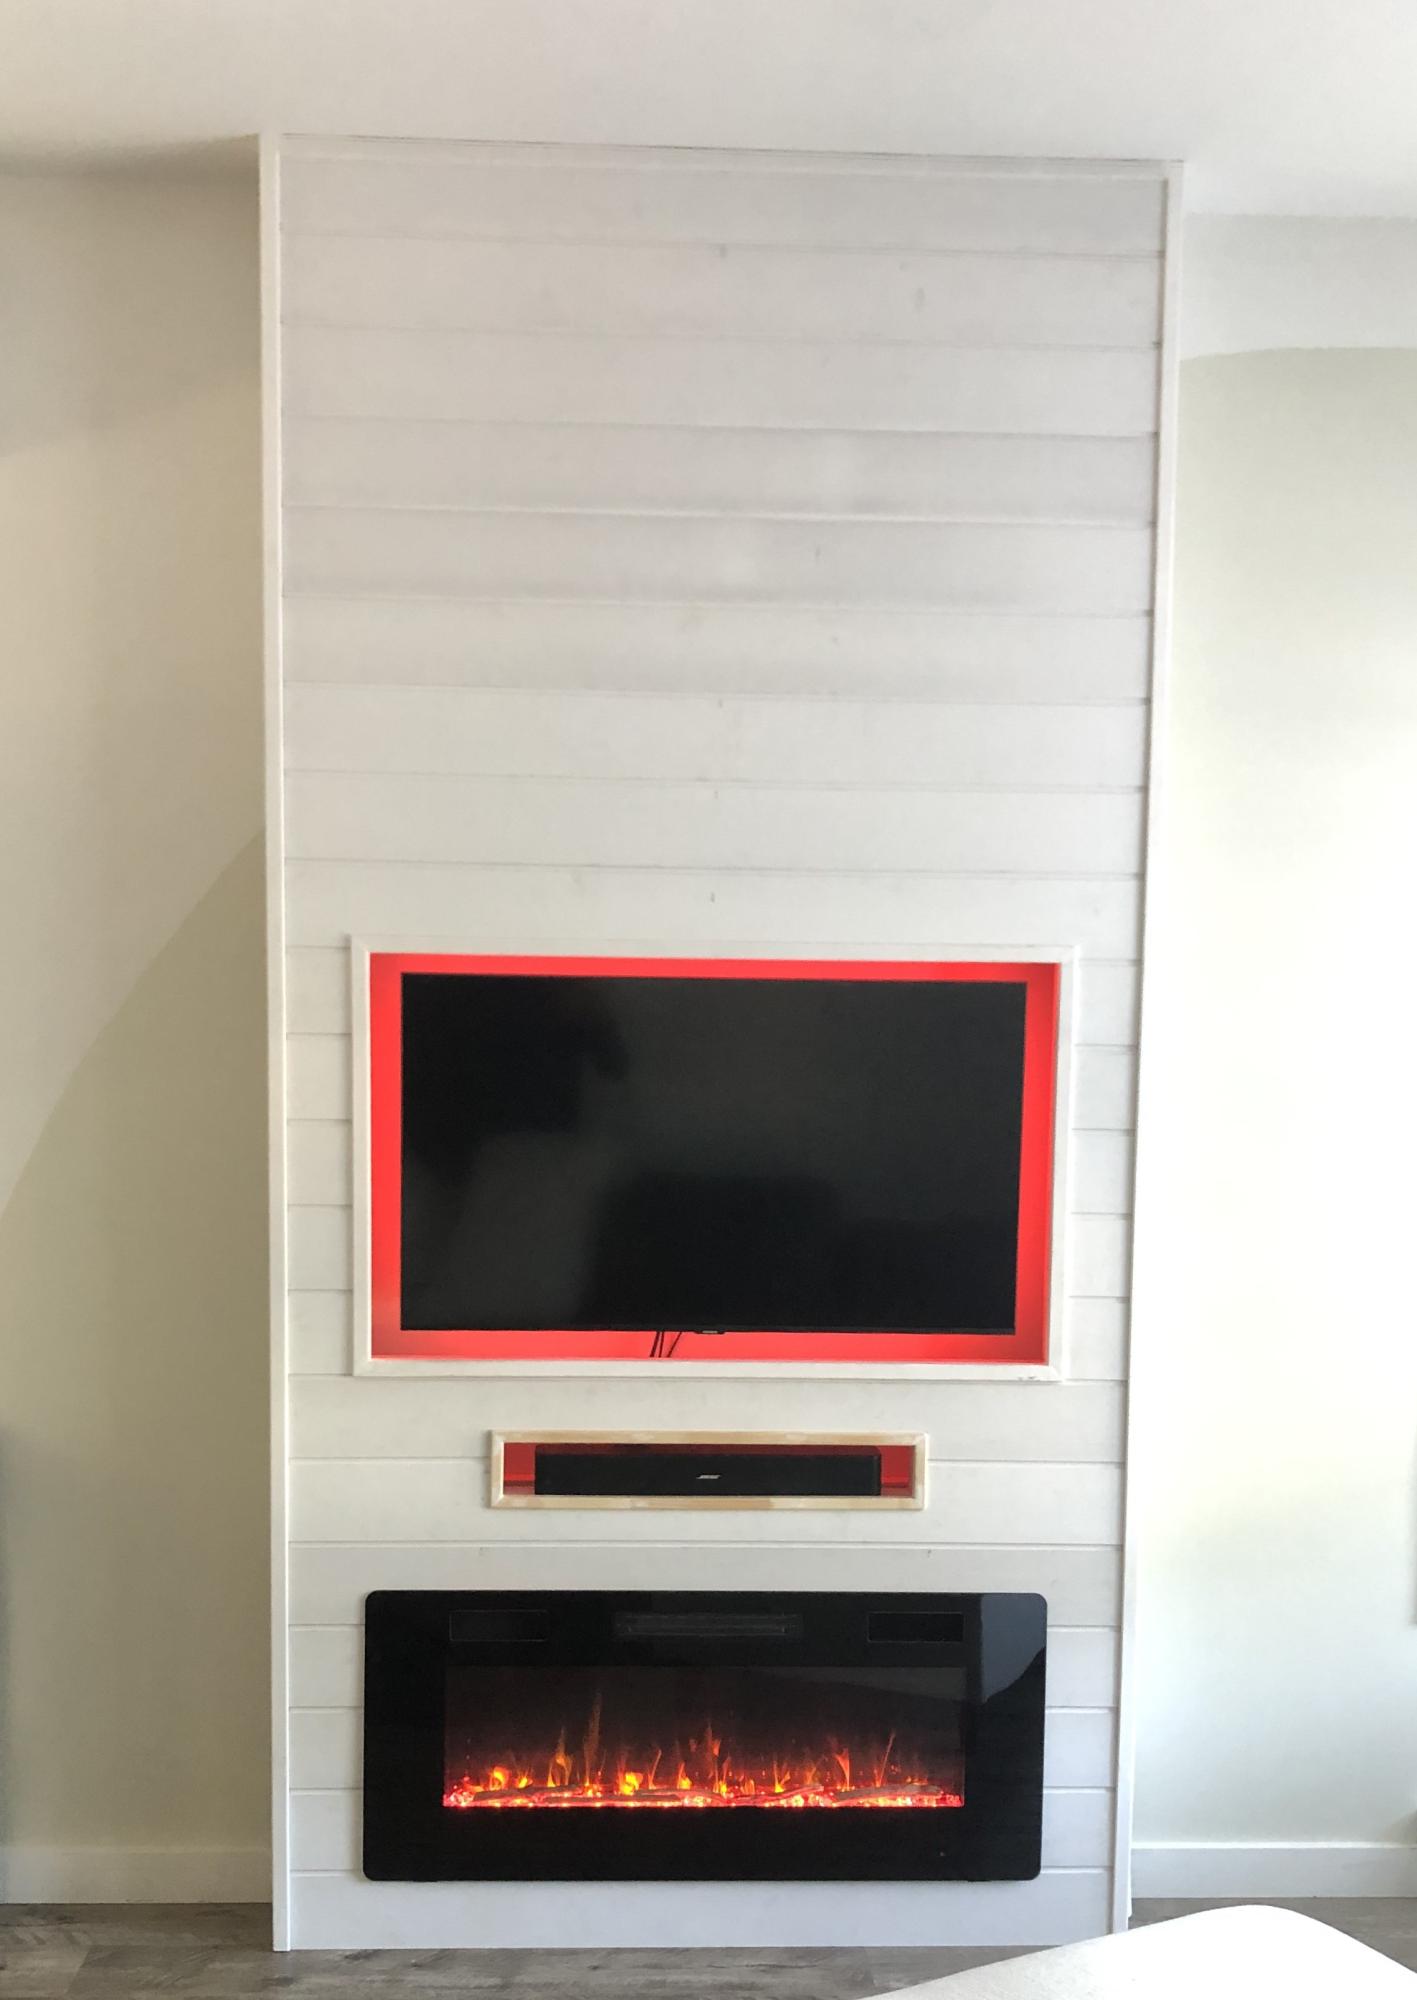
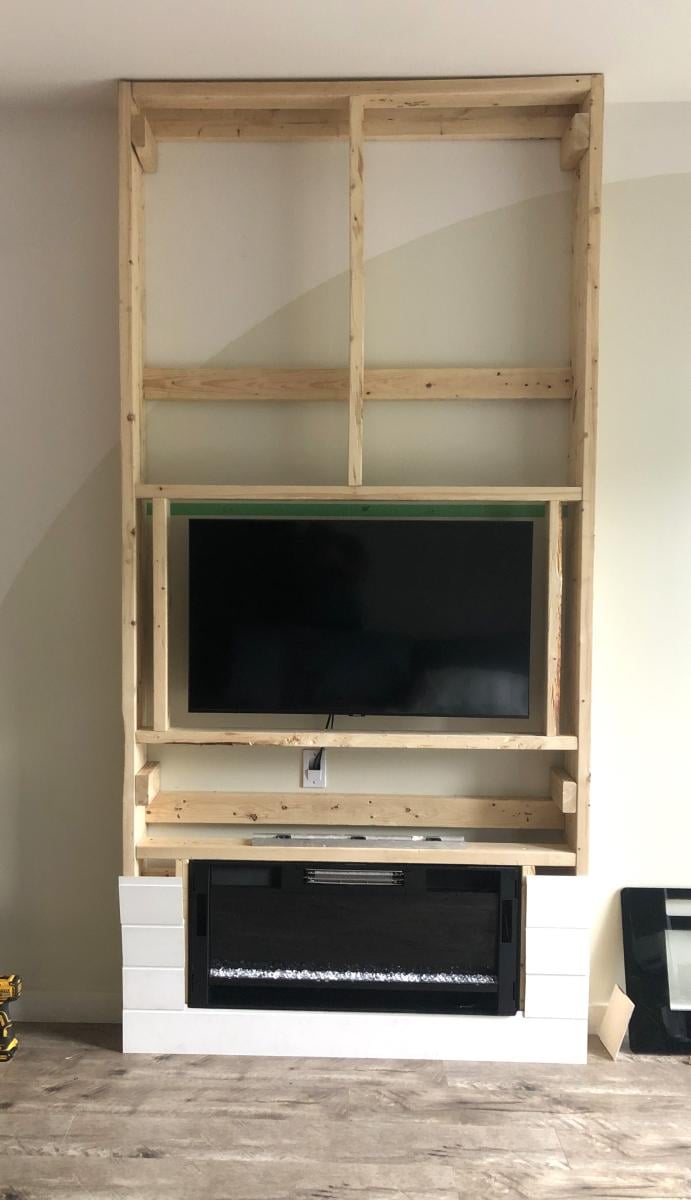
I was absolutely inspired by your fireplace shiplap wall project. After pondering a couple of years to get started on it, I finally brought it to life.
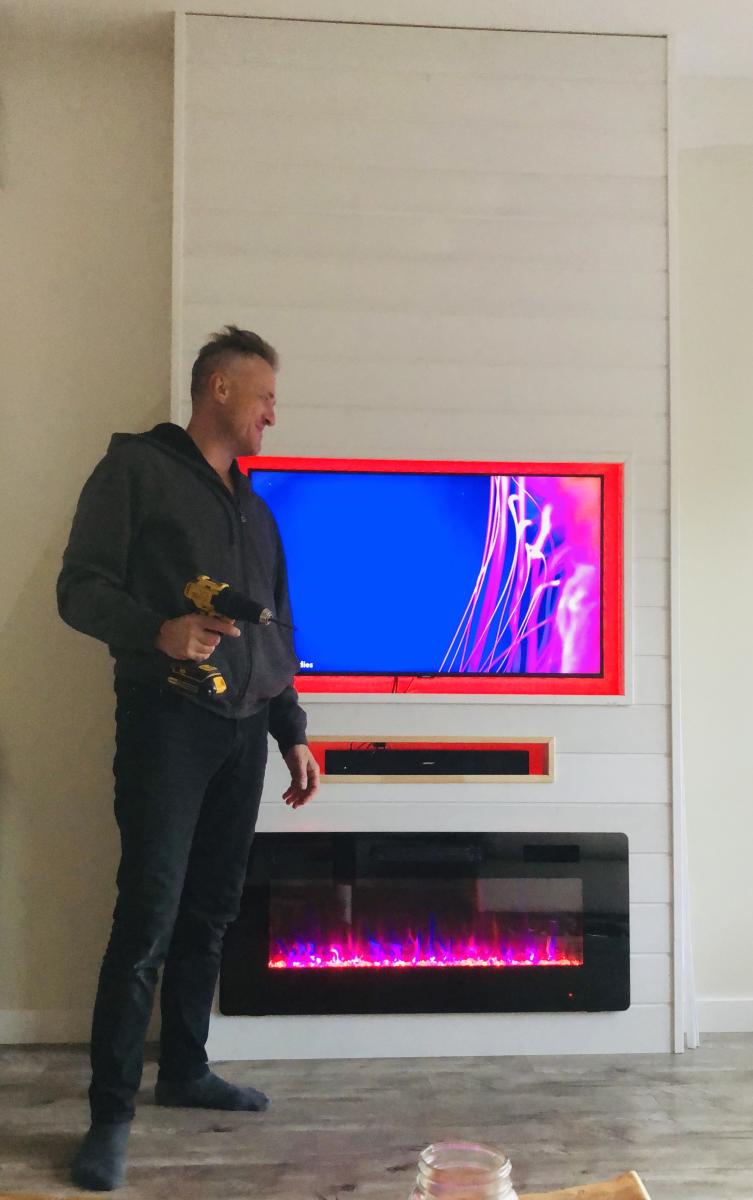
I wanted a rather thin design so I modified it to my taste creating a depth of only 7” inches (2 x 3 1/2 studs). Included a cutout frame for a soundbar and added rear LED lighting.
Very proud of it! Thank you for the motivation, your plans and guidance.
Cheers!
Ron
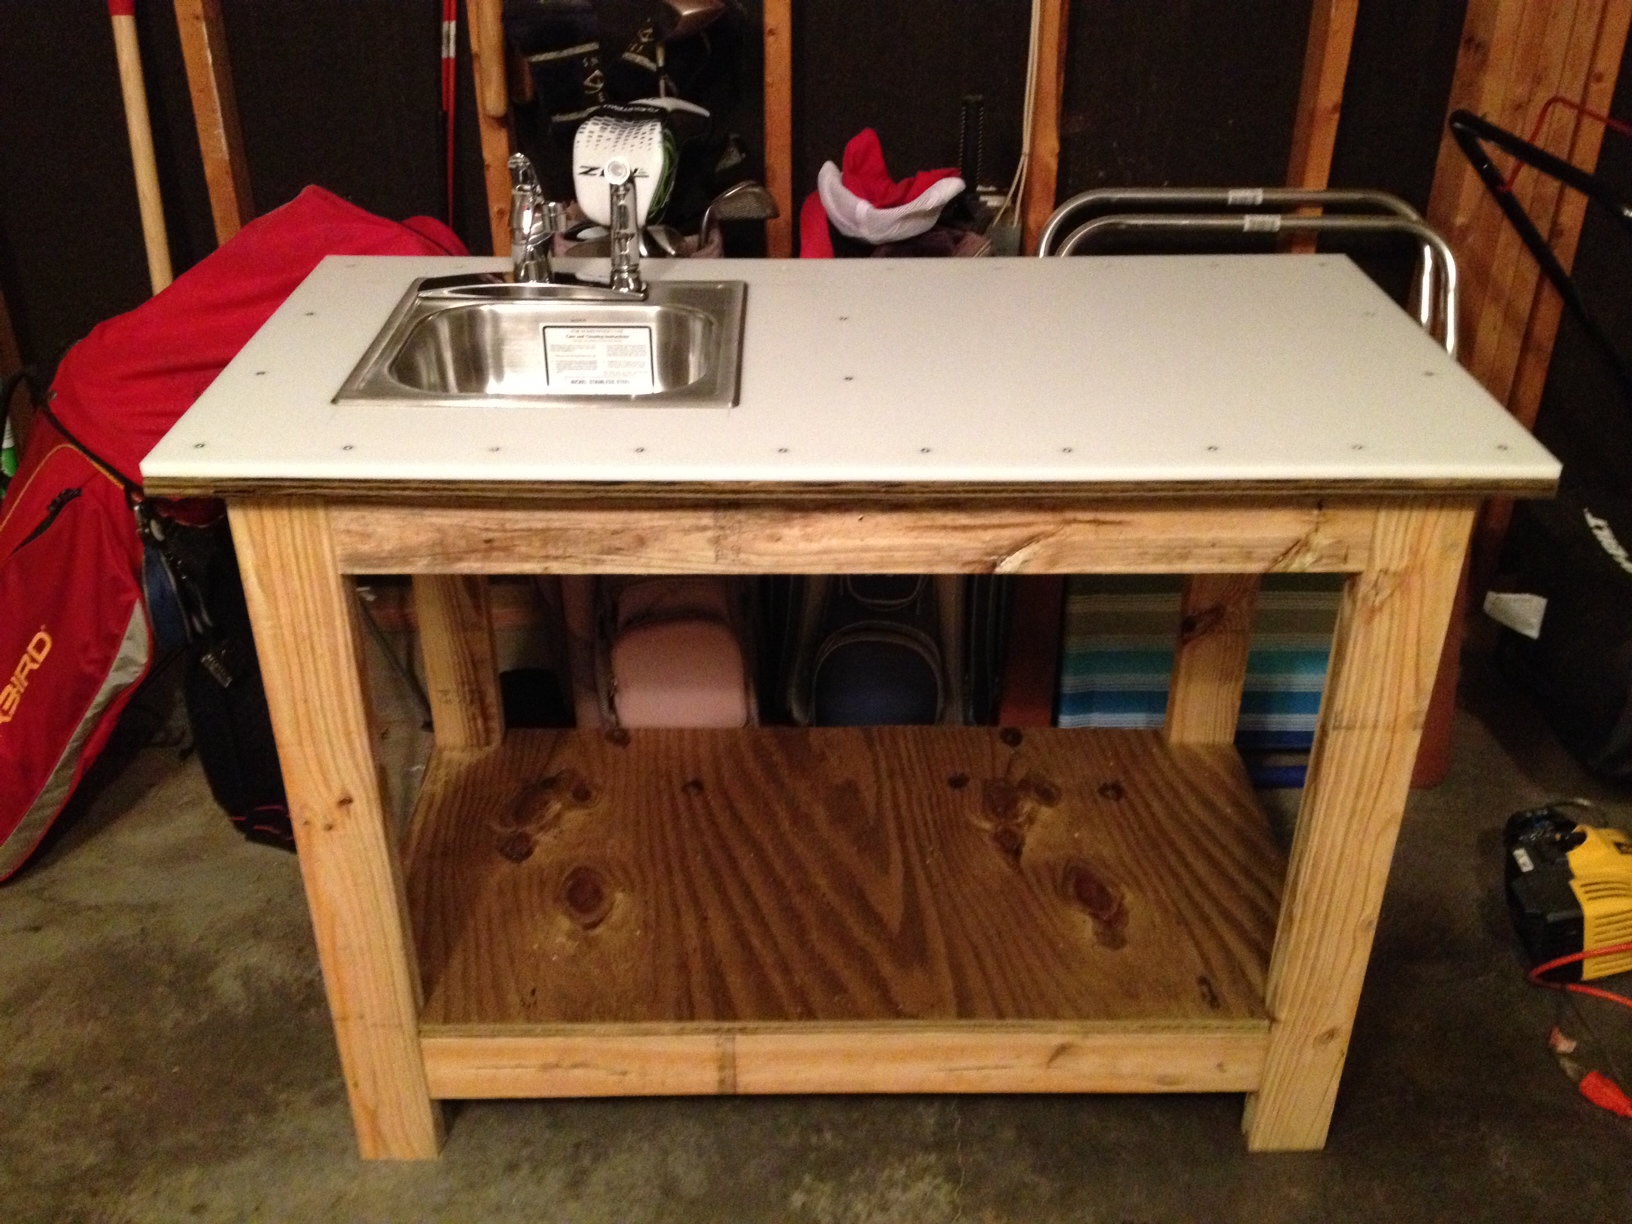
My inlaws were building a beach house on the coast of NC. After years of going to the beach for family vacation and always renting houses that had water access and boat access, but no where to clean fish when we would return from the pier or boat, I decided to embark on a mission. I was introduced to the Kreg Jig work bench plans and felt that I could adapt this plan into what I wanted to do. I used all pressure treated lunber (including the plywood) and stainless steel fasteners. This did increase the cost, but was necessary for the intended location. I purchased a slab of cutting board material from USplastics.com (24" x 48") and glued and screwed it to the plywood bench top. I then mounted a bar sink and faucet for cold water access and it can either be set up on a dock to drain directly back into the water, or a 5 gallon bucket can be placed below the drain, obviously it could be piped to the drain system of the house also. It came out great. Father in law loved it, and I can't wait to see it get good use.
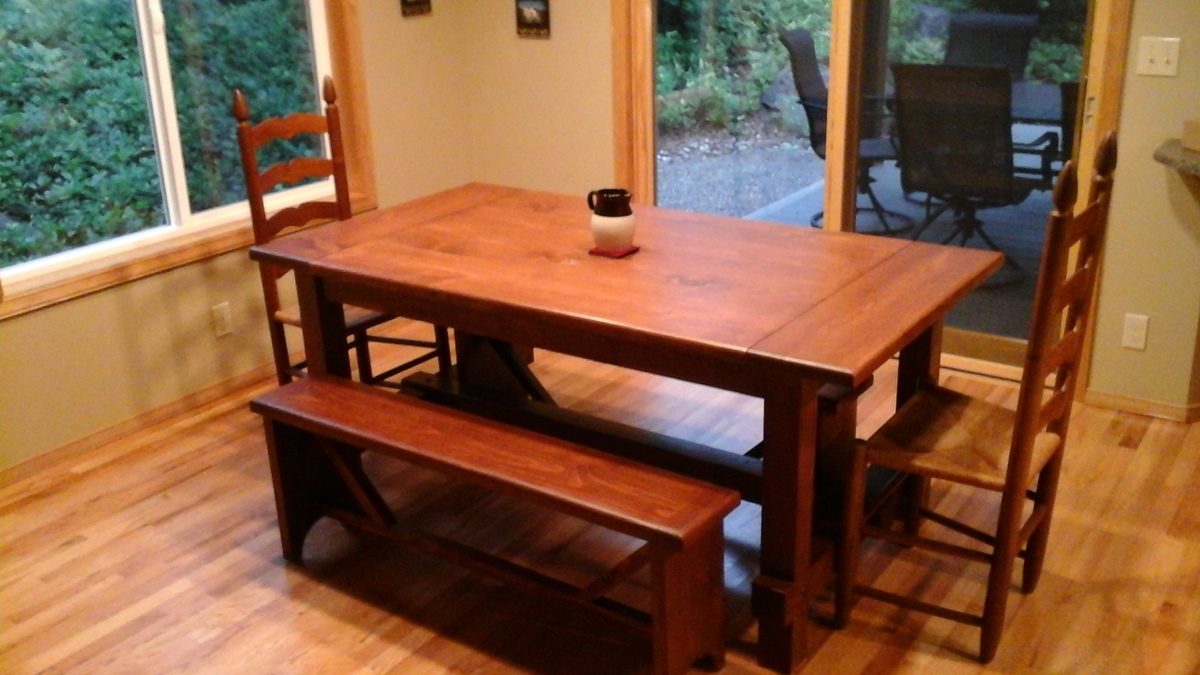
This is my second table which I built for our new home in the Olympic Penninsula. Moved closer to our kids when we retired. It was wonderful to have our kids, their spouses and friends gathered around the table for dinner, conversation and laughs.
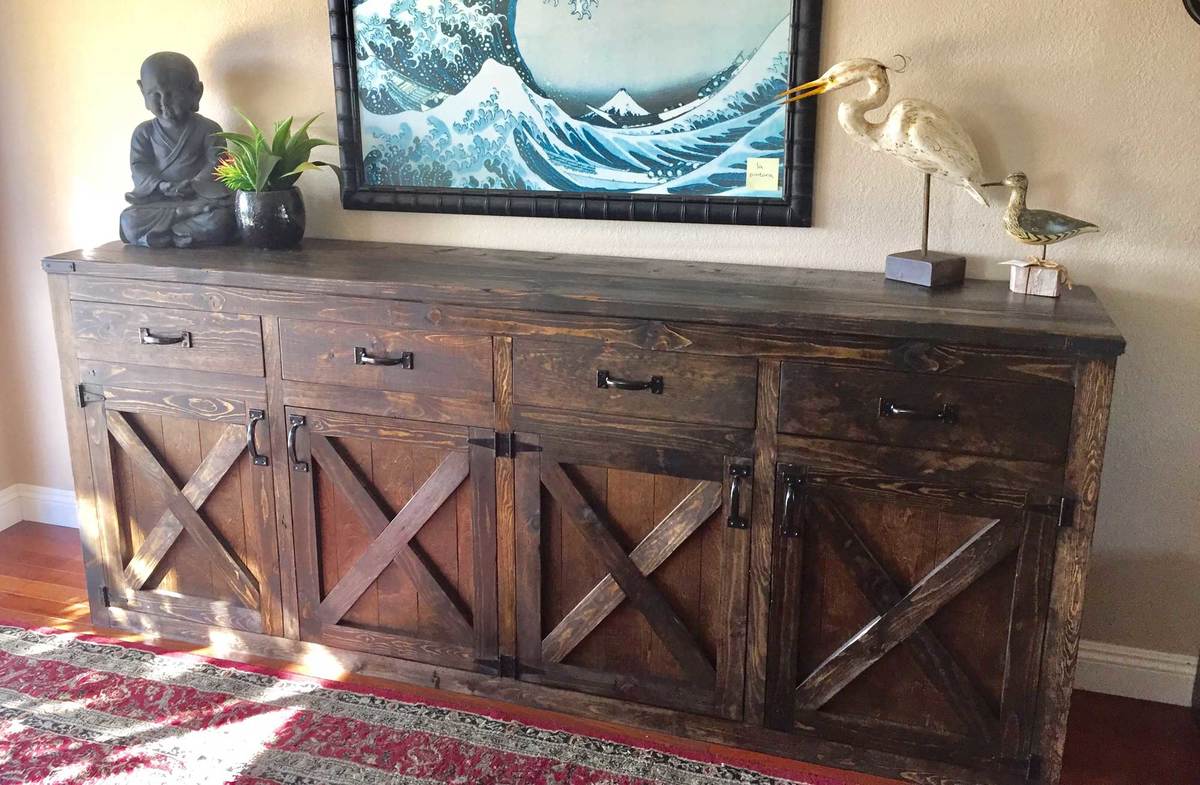
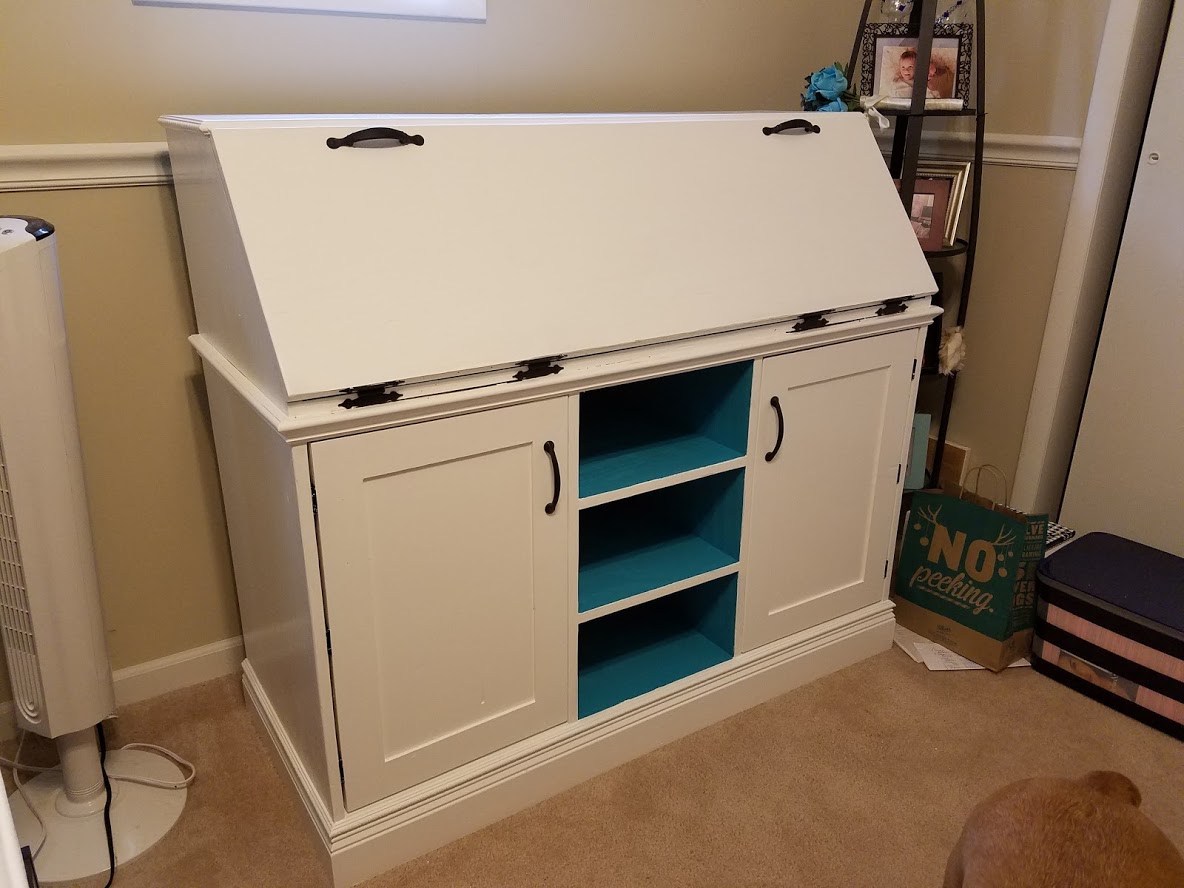
This was a custom build for one of my clients in San Diego, CA (Encinitas). She wanted a 9 foot buffet to store all of her kid's toys in :).
We came up with the design, and I built it right before my wedding (probably my most stressful build! haha).
I never got around to building the top hutch section, but my wife loves this desk.