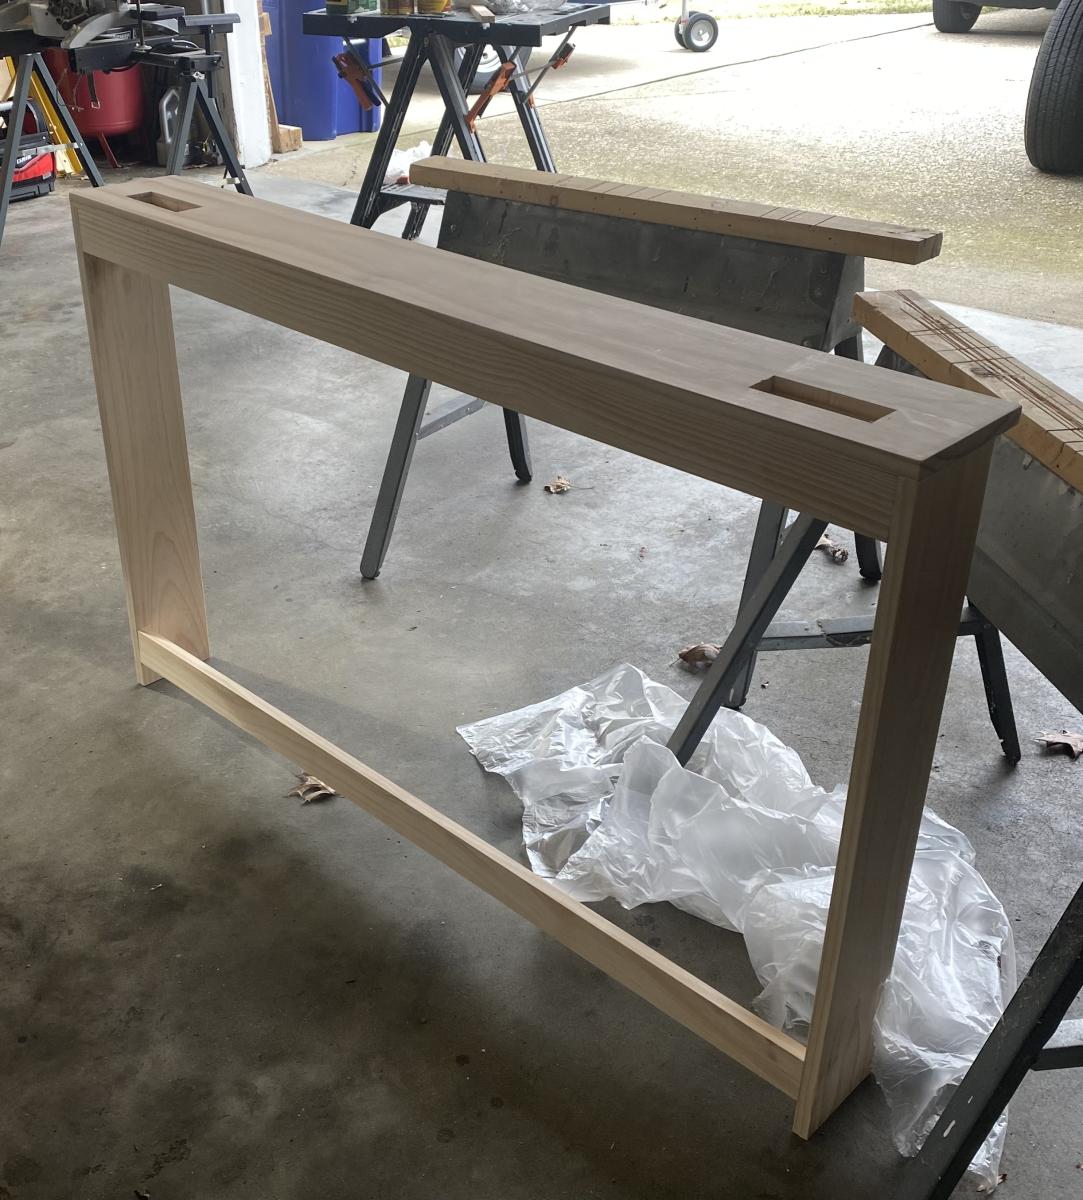
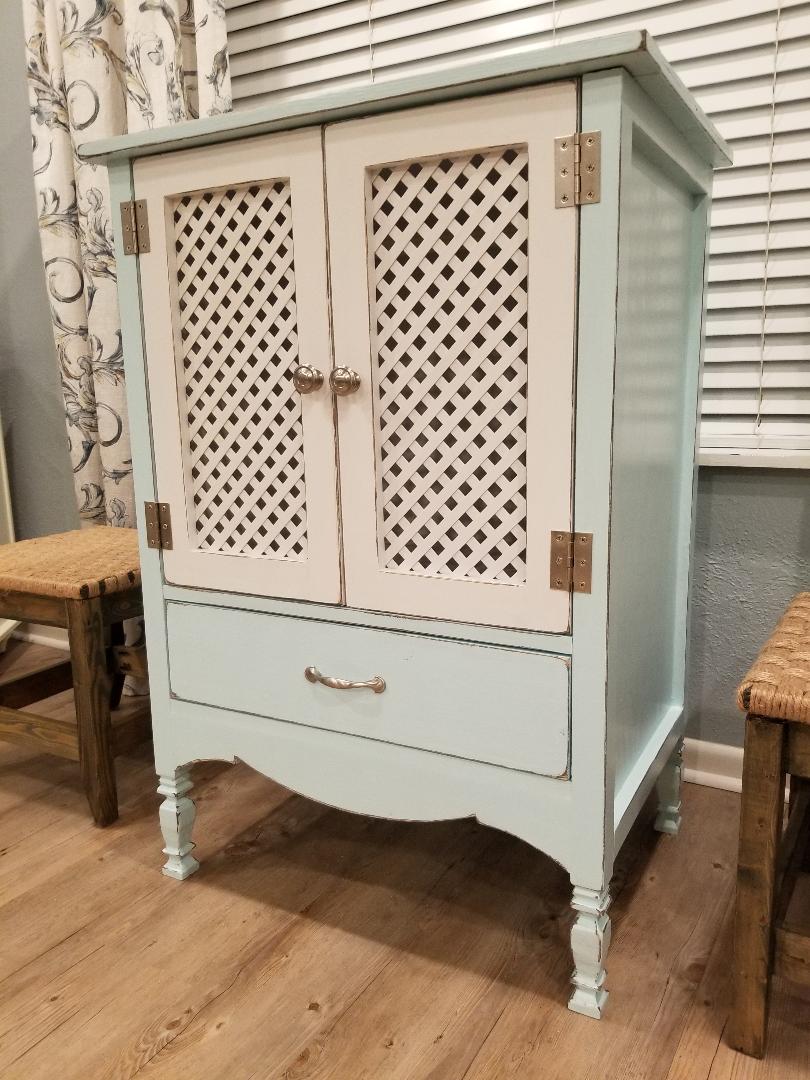
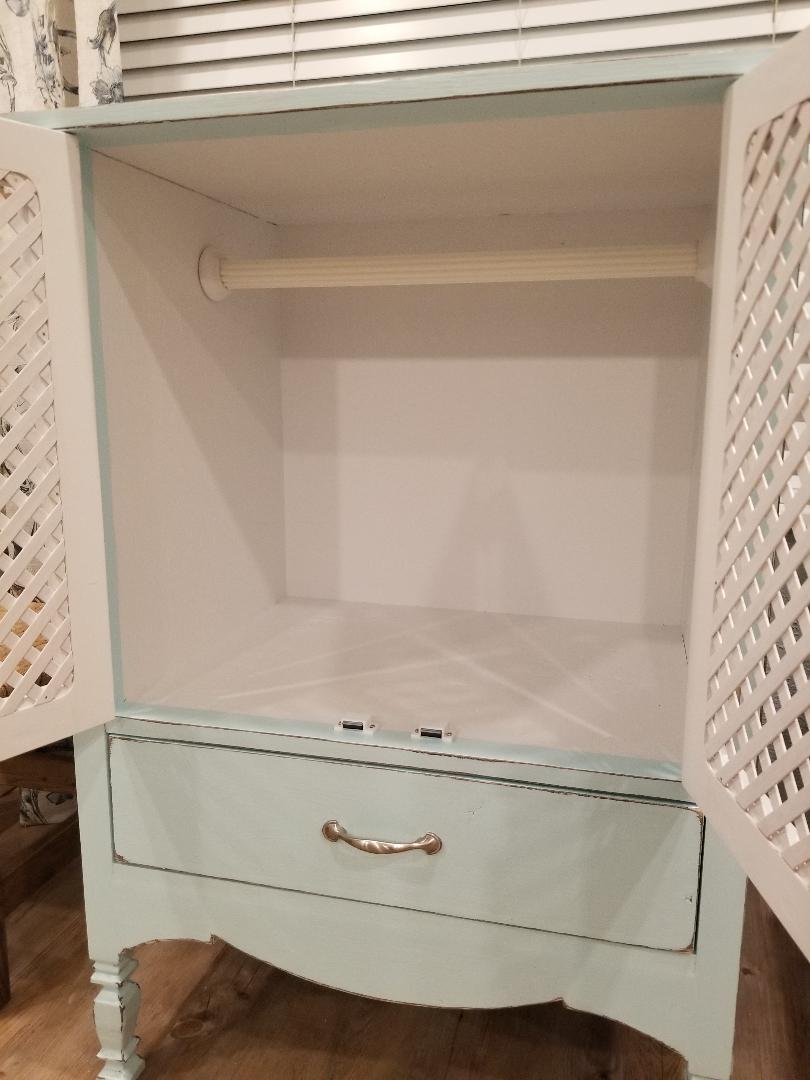
When a plan calls for a 2 x 2, you may be able to add a little extra detail by including spindles. I was able to with the Farmhouse Bedside Table! The top of each leg is a plain old 2 x 2, to accommodate the drawer section. Just below that is a spindle with the top squared-off section cut off. The bottom of that spindle is attached to the top of another, where both were squared off and the same dimensions. This "ugly" joint is why the piece of furniture is painted instead of stained--even then, because of variable grains, this specific seam can be seen on close inspection. You can potentially stain furniture that has spindles if you can match the grains and are not connecting two ends that have exact dimensions, which would create an even more obvious seam on stained furniture. Where I joined two pieces of differing dimensions (example: circle to square), there is no visible seam.
To accommodate the specific spindles I wanted to use, the main dimensions that had to be changed were merely the height of the cross bars and shelf. However, with cuts, I waited and cut them (and had larger ones cut at stores) as I went, to help get them to be more exact since the 2 x 2s were slightly off from the spindles' squared-off area.
This all may sound complicated, but it wasn't!
To get the correct leg height, I first cut one end off two spindles and put them together with the two intact ends meeting. The resulting dimensions were subtracted from the required leg height of 26 1/4", leaving the length to cut the 2 x 2 at. This required a lot of measuring, being sure that the legs would be "squared off" in the areas for the drawer and shelf.
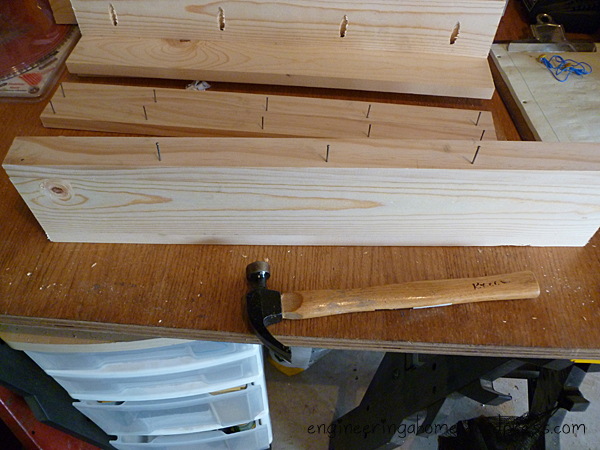
To make the "joints" between the legs--each of which is three pieces (!), I used 1/4" x 1 1/2" dowel pins. These are readily available even in craft stores. These aren't the same as dowel rods--they have grooves in them. Next, drill holes the dimensions of the dowels in the exact middle of each leg piece, and put glue inside the hole and around the top of the smallest-dimensioned piece. Connecting and clamping as you go, this will create stronger joints than just using glue.
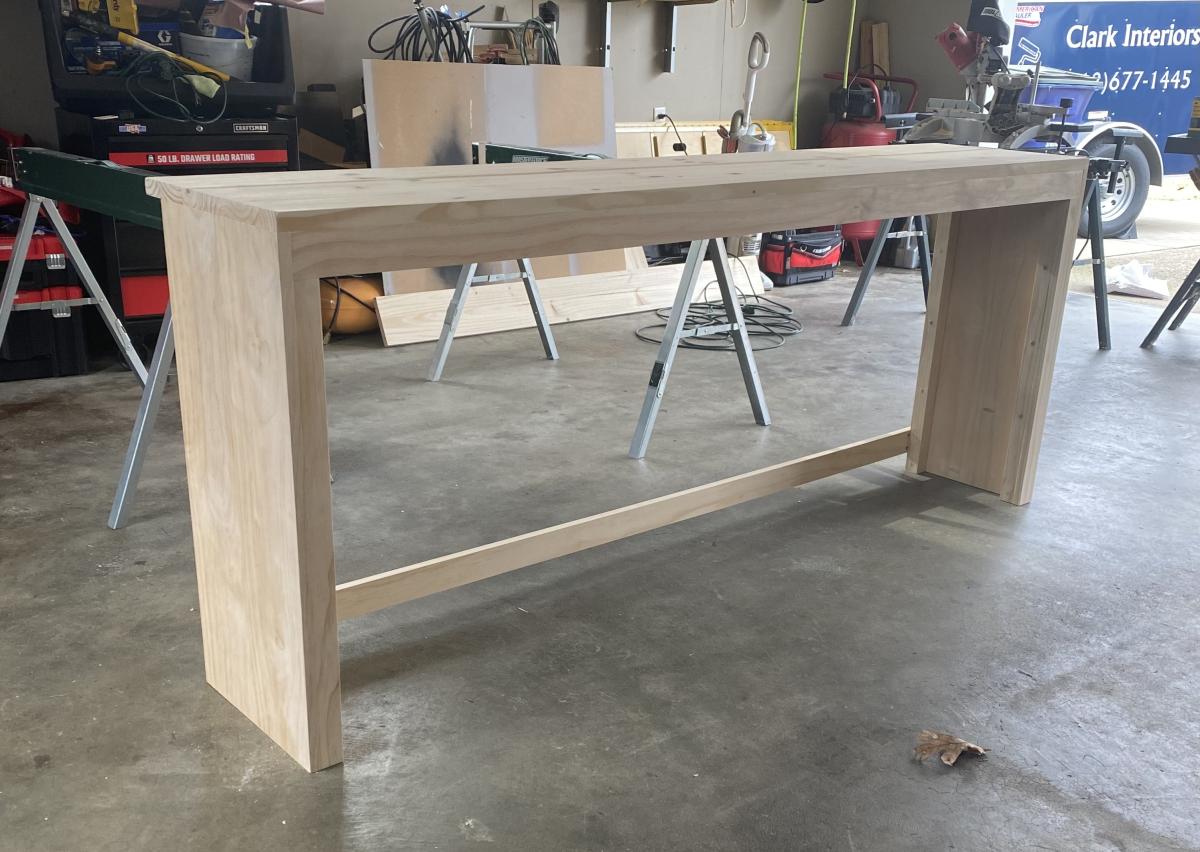
After the legs were made, I followed the instructions as indicated, being careful to measure before each cut and adjust the measurements where needed.
For another example of how you can use spindles, here's a cat feeder I designed and built back in January:
http://flattops.webs.com/petfeeder.html (Purchased ones in real wood are usually over $100!)
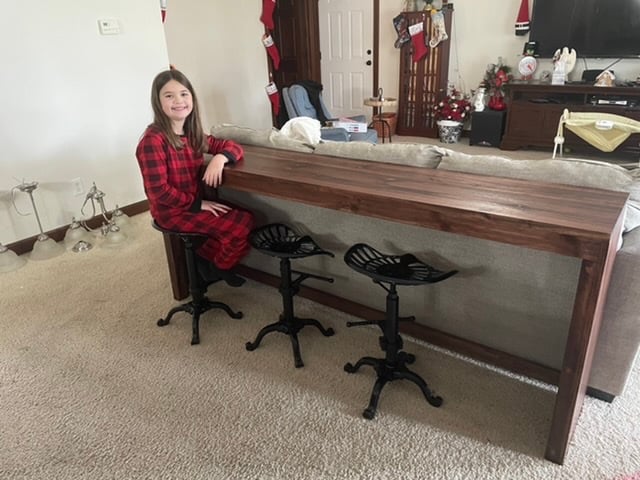
Though it's far from perfect, I'm really happy with how the table turned out--and hope that my experience may inspire you to give spindles a try! I'd love to know how you use them!


Comments
Ana White Admin
Mon, 01/03/2022 - 10:33
Great design!
Thank you for sharing, you did an awesome job!