Rustic Display End Tables
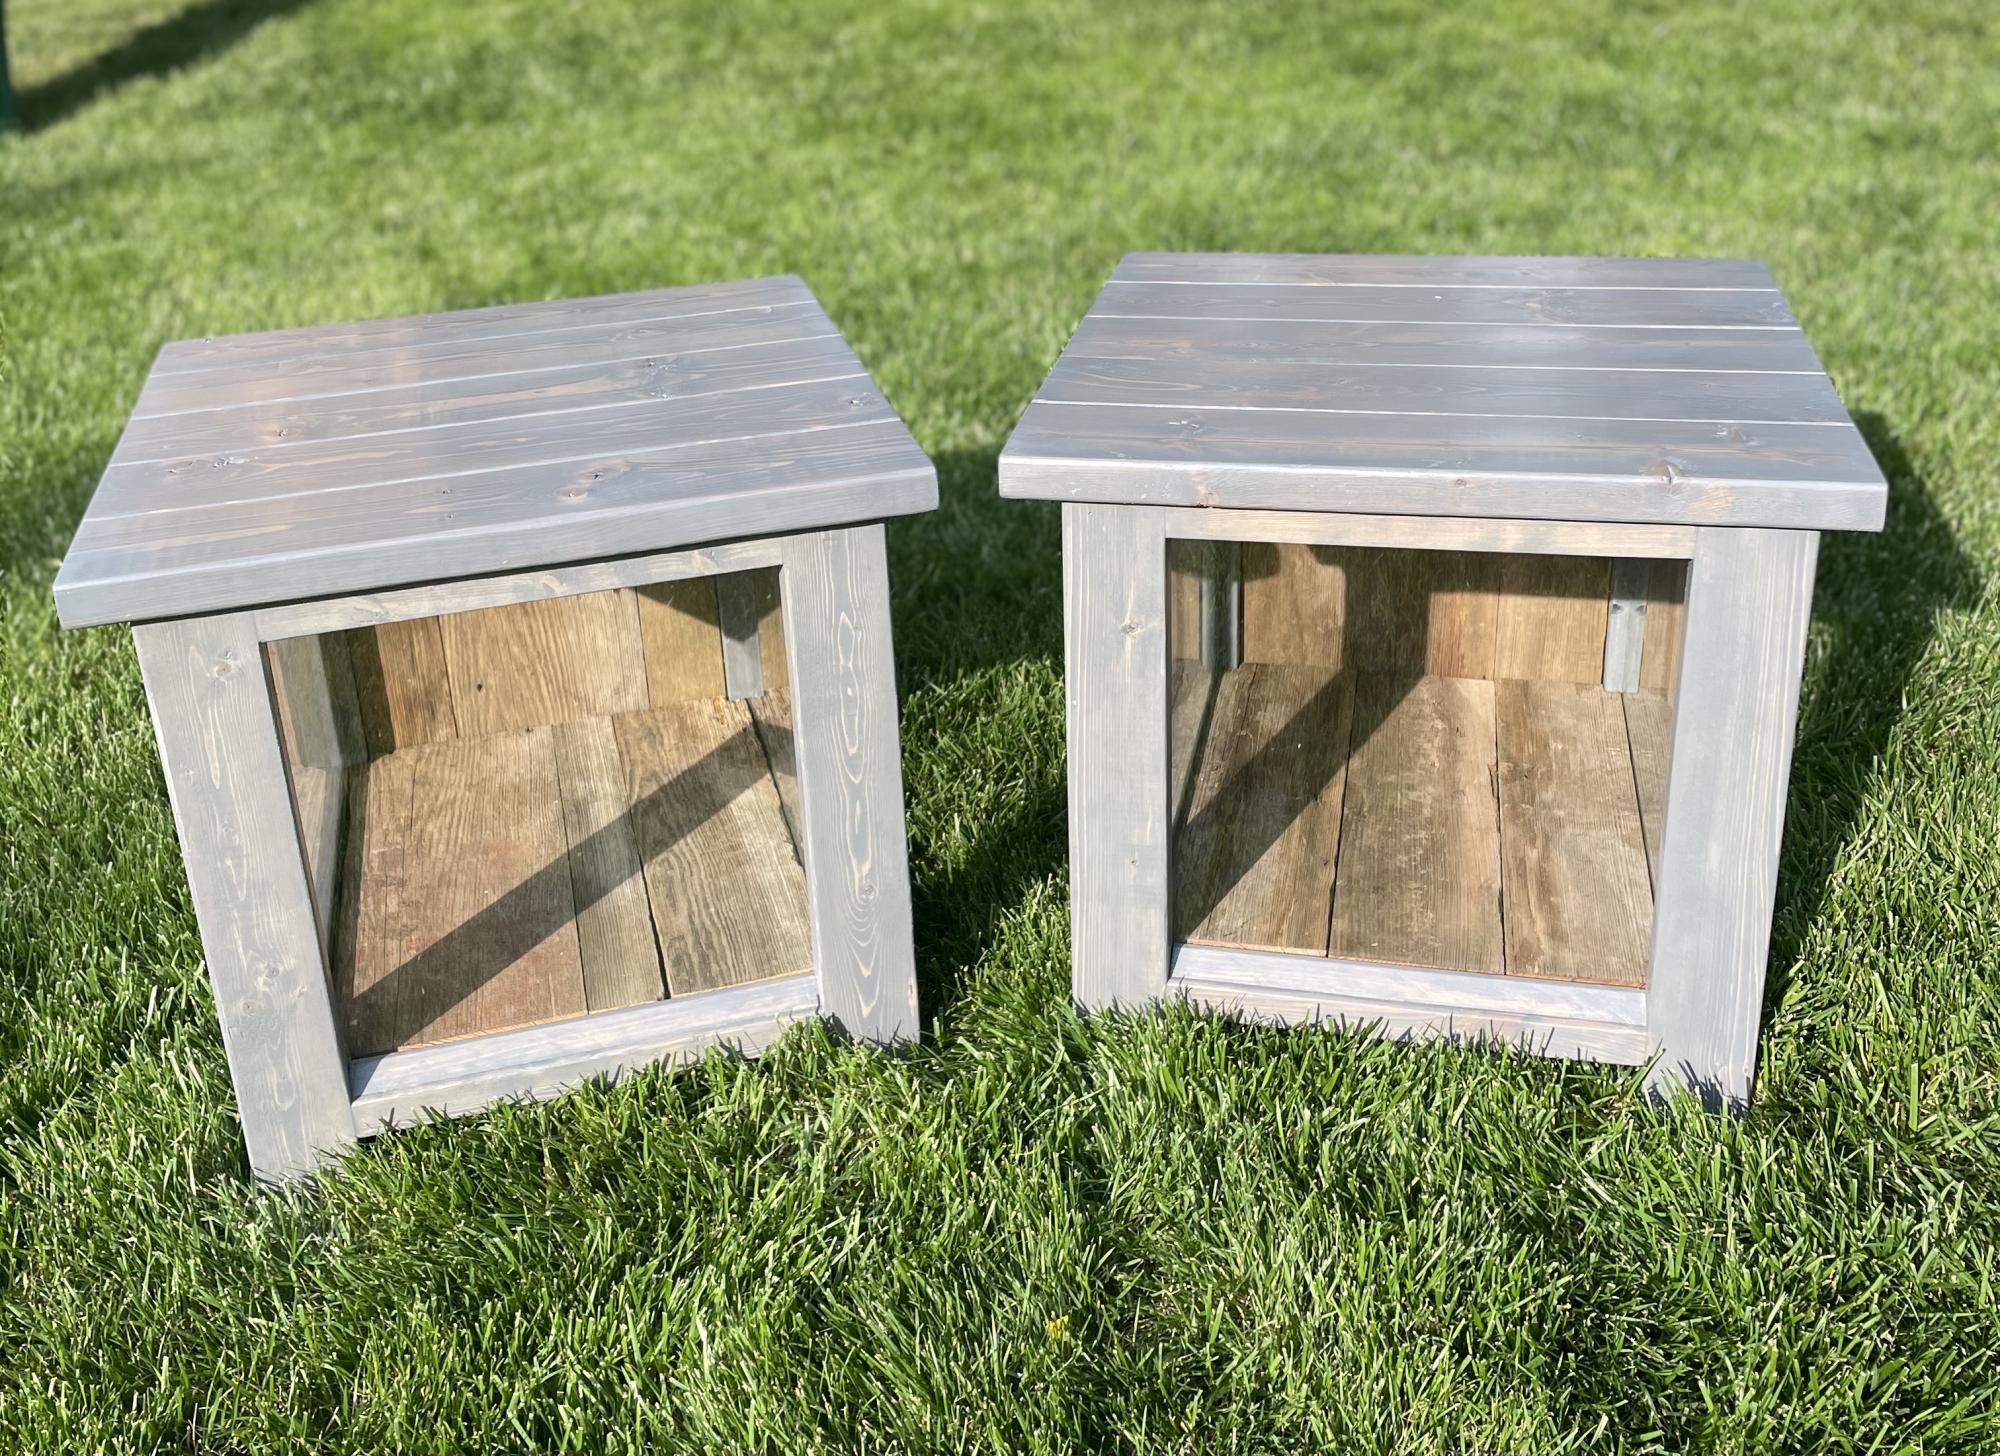
These rustic display end tables were built using the “Rustic X End Table” plan, with an added twist! The fronts and two sides are all glass enclosed with barn wood backdrop and bottom.
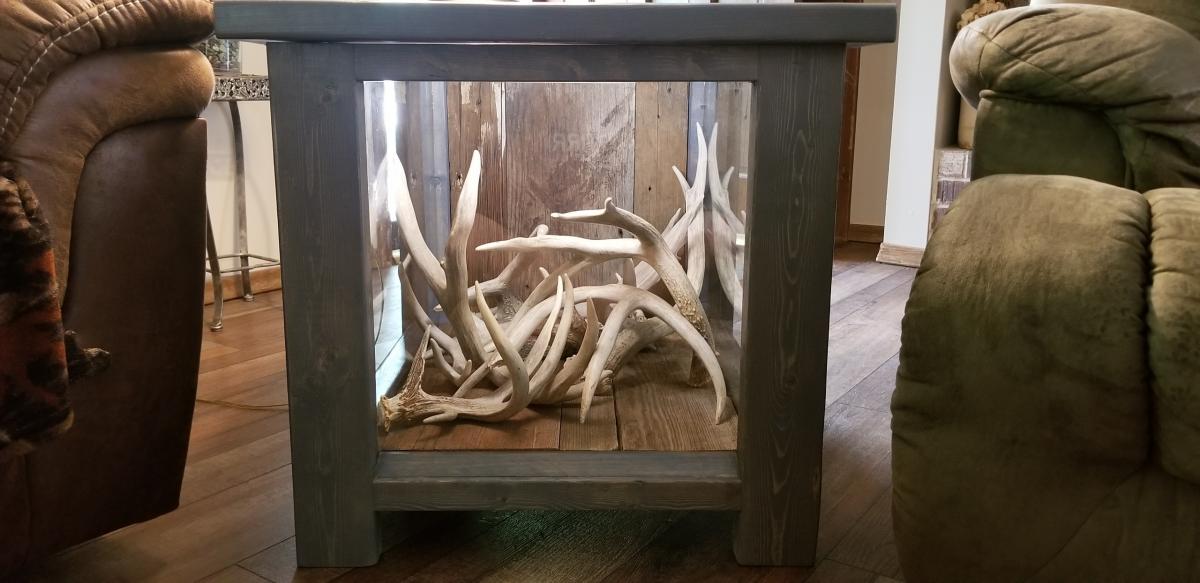

These rustic display end tables were built using the “Rustic X End Table” plan, with an added twist! The fronts and two sides are all glass enclosed with barn wood backdrop and bottom.

This was my first build- it went pretty smoothly. The most time consuming part was the finish since my time between coats took longer to dry due to the weather.
This is how we modified your plans. The project was built on the school campus then transported to the final site. We made this in frame sections and then assmbled with let in bracing to give ridgidness to the structure. We coverd with corrigated metalm and corrigated clear PVC glass. THe edges were covered with 2" x 2" dripedge. We will set it up on block and fill the middle with gravel to support water runoffand to give a solid walking surface. Our goal was to make a good quality movable greenhouse at the lowest cost possible.
Notes: If i was not concerned about cost, I would have used cedar 2x4 and would have used a heaviedr guage metal and glass. these two changes will raise the cost to around $1200.00
I've been needing a patio table for some time and this fit what I needed. Ready for next project!
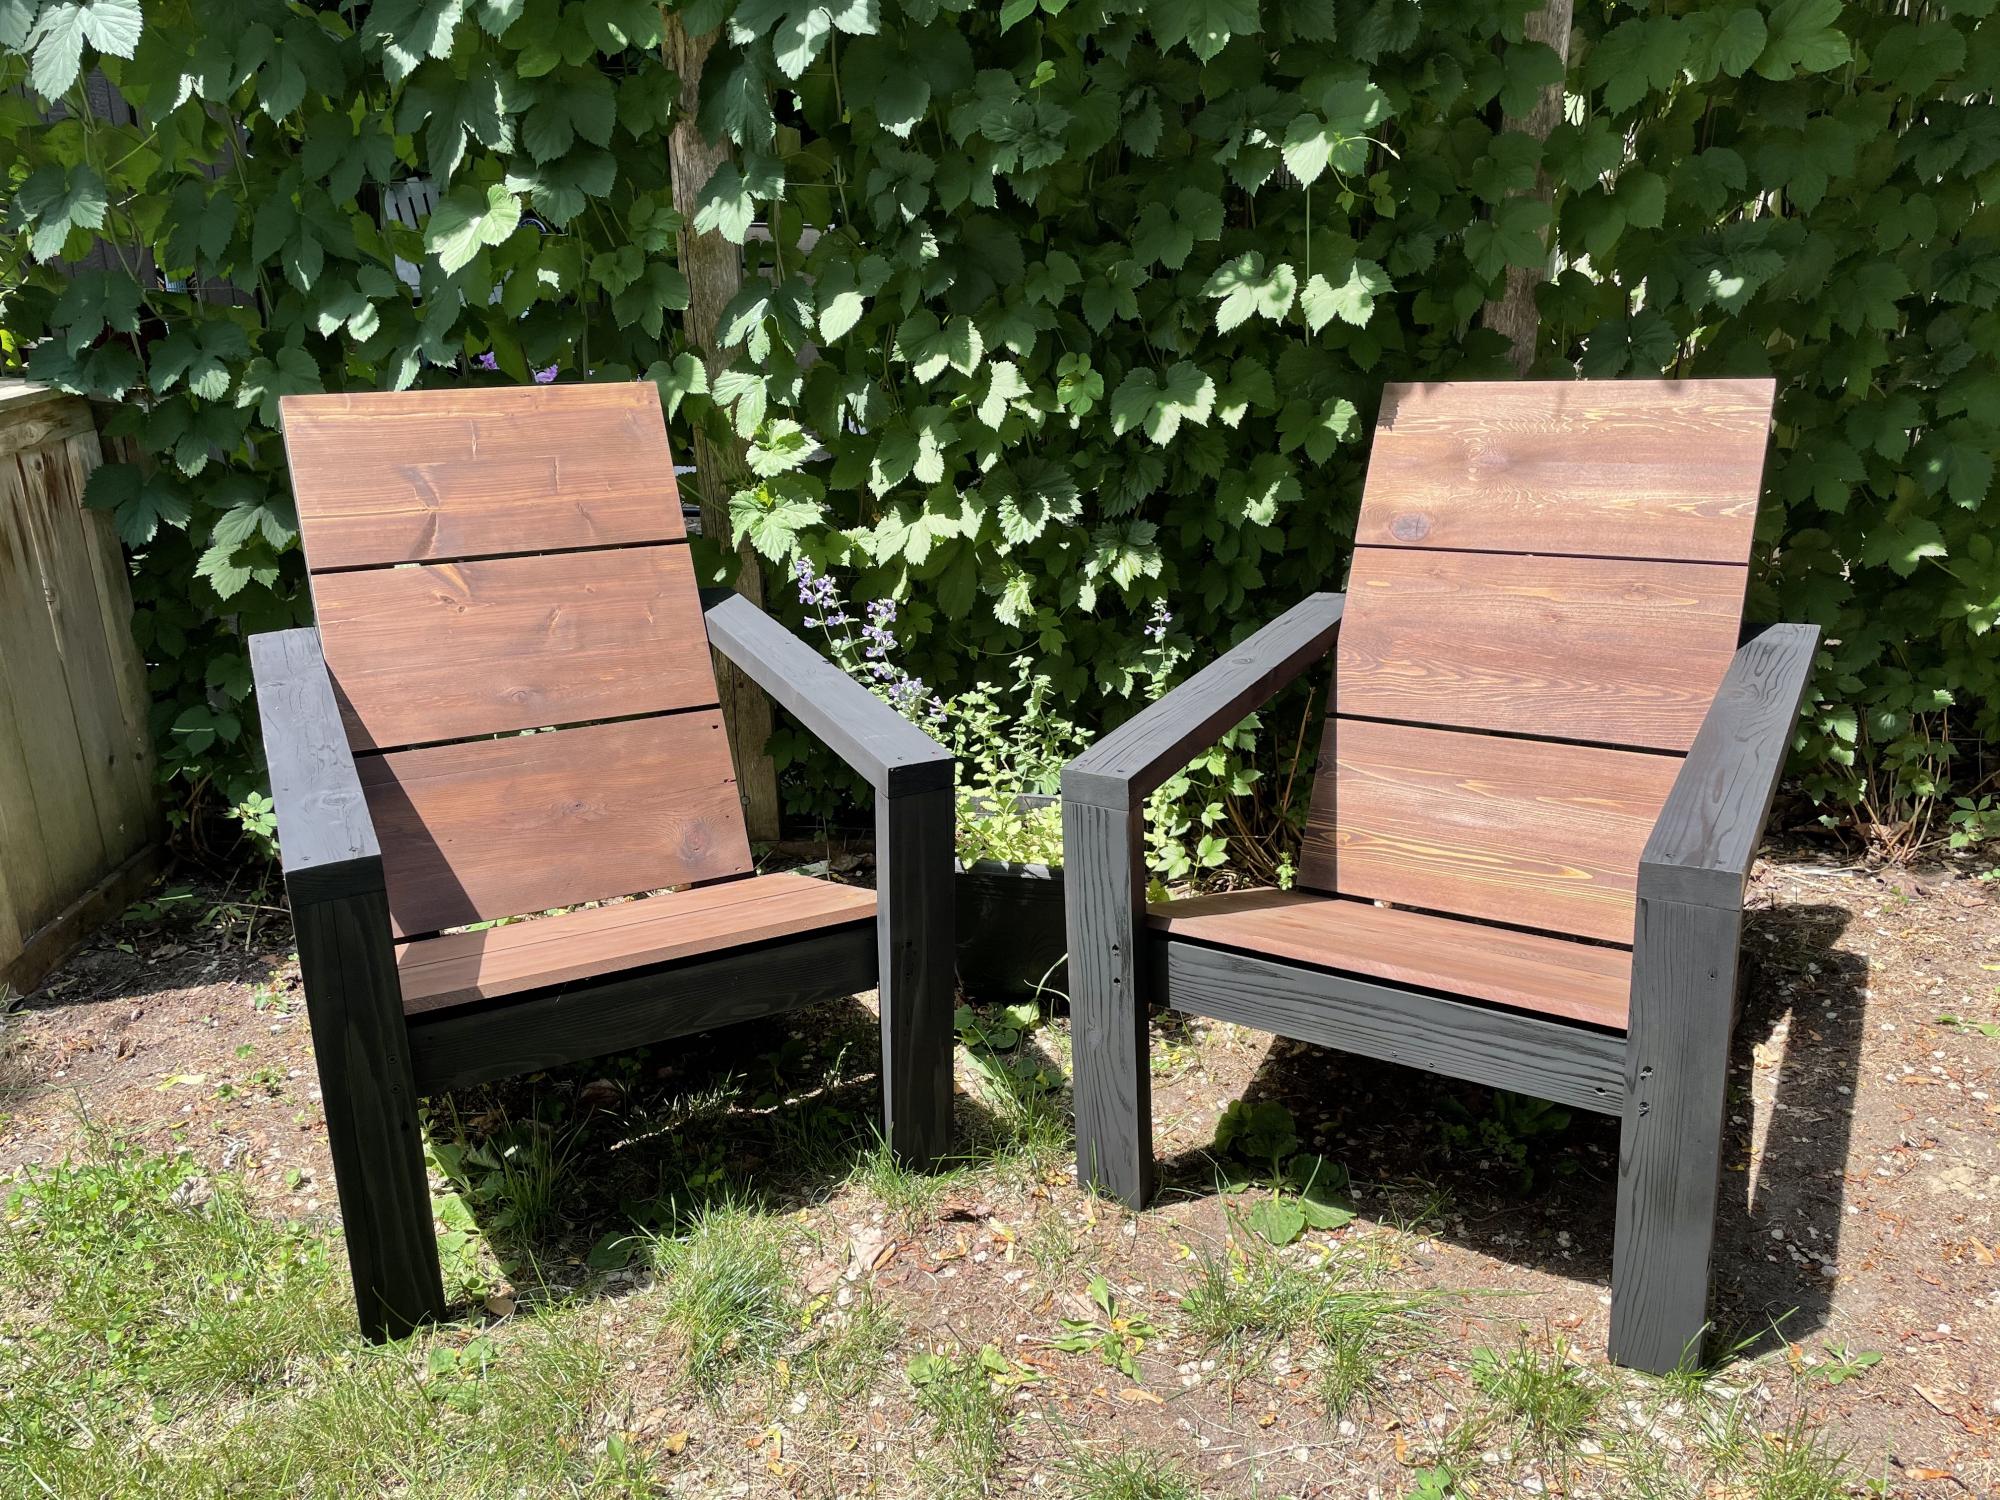
Given the crazy price of wood (2021), I'm glad I saved some old deck boards and fence panels we replaced last year, so I could build these! Love the design.
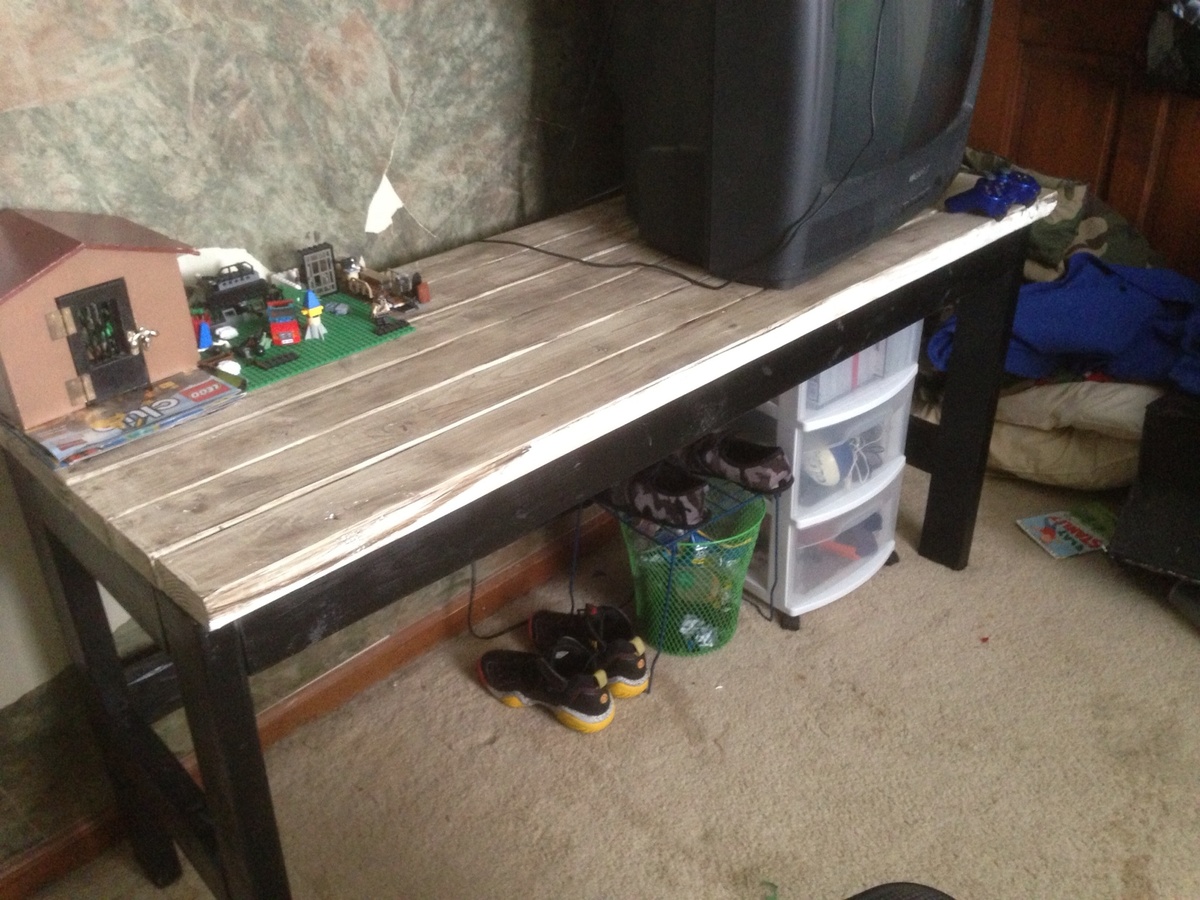
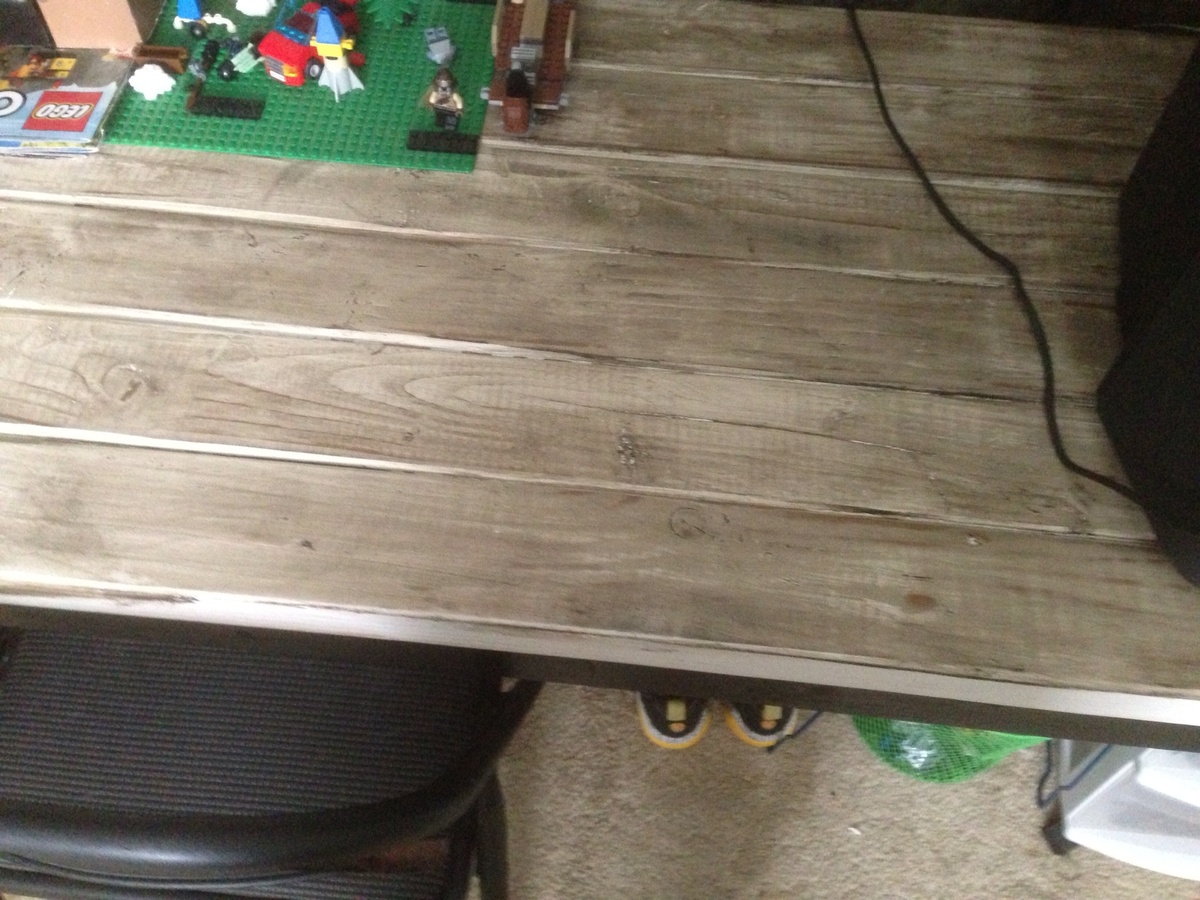
I built this desk so my son would have a place for his old school tv and to do his homework! It was super easy and I love how the finish came out! His room is a huge work in progress but this is the first step:)
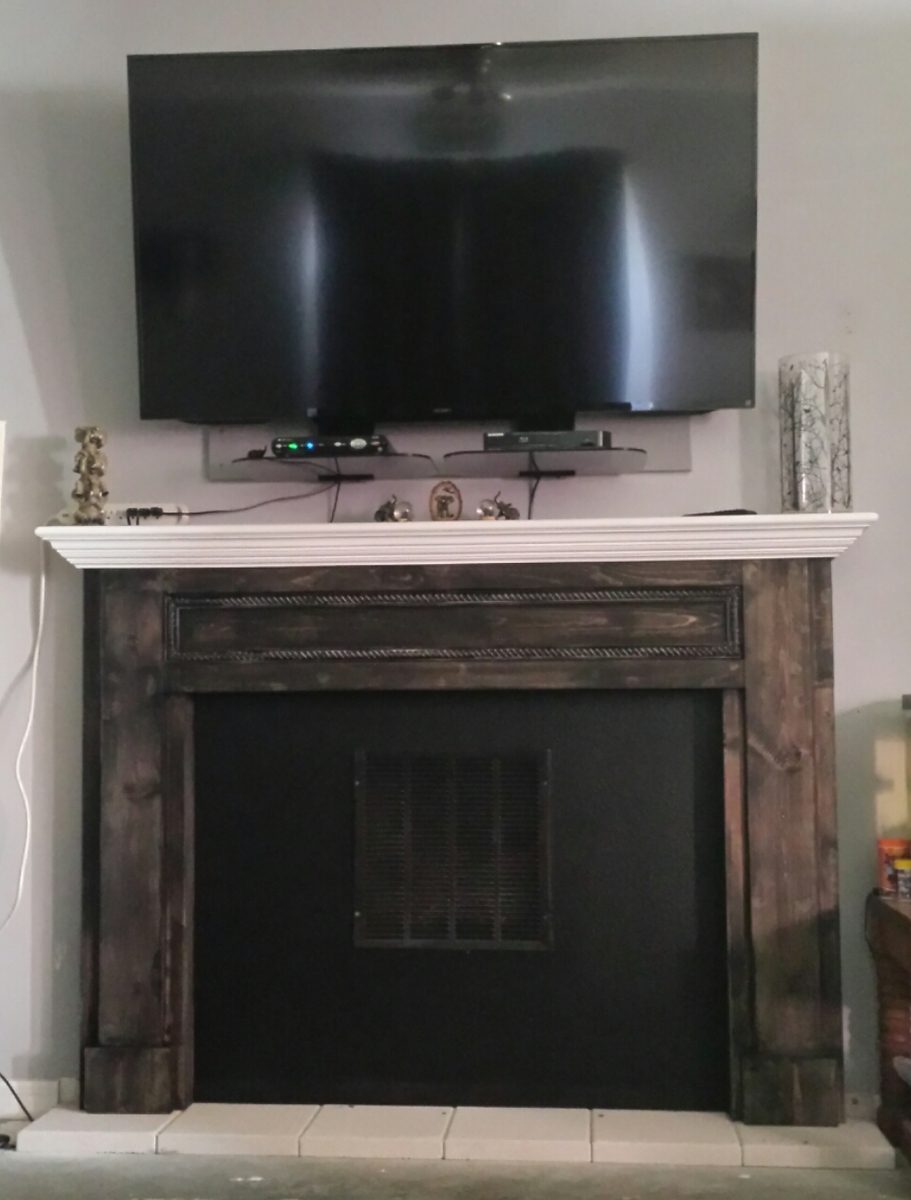
So easy! We need to hide a return vent on the wall and a faux fireplace was an excellent solve!
Plans make this a fairly easy project. Im looking forward to making a dresser to match as time allows. The bed ends up being a bit higher than i expected but still very happy with it. This made for a good 4 day father son build.
I built 6 of these chairs to go with my Farmhouse Table I built. I did change them a bit. I changed the angle on the back legs and the seat. I posted some pictures of the process and went a little more into detail about my changes on my blog.
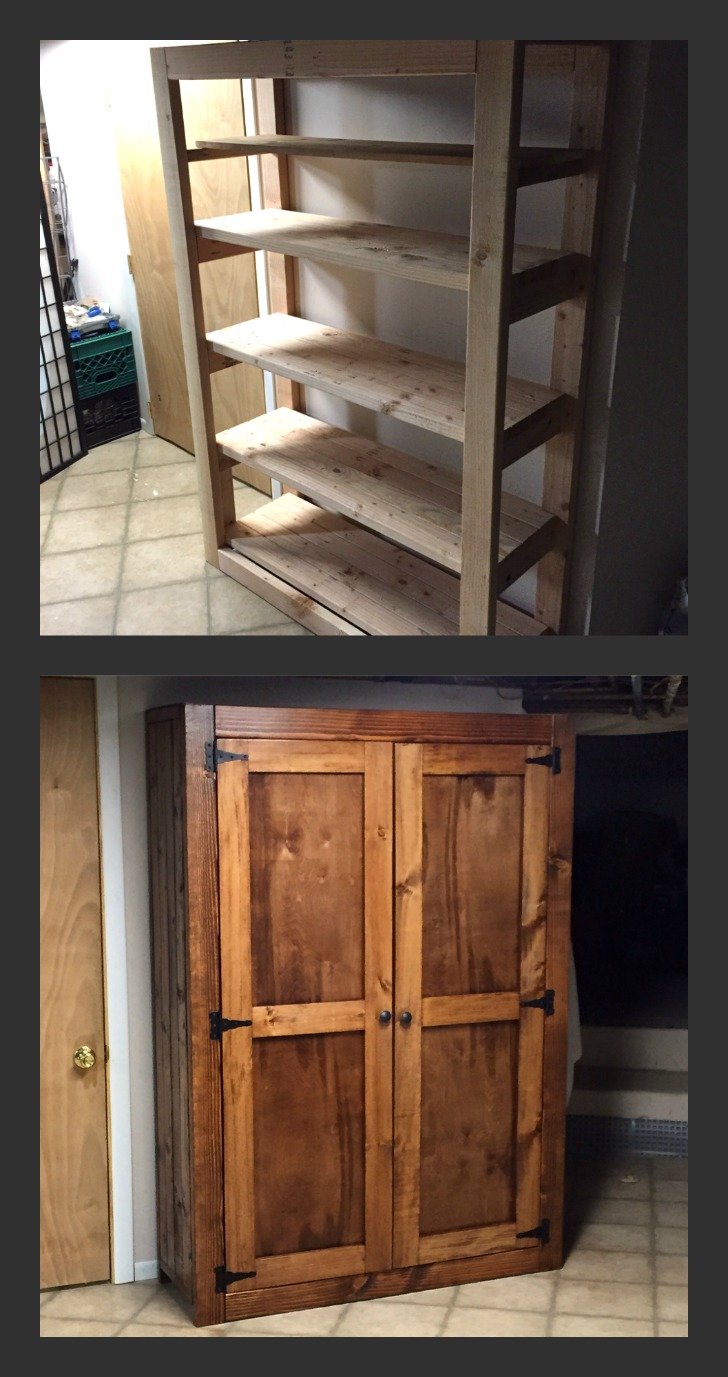
Anything is possible when you put your mind to it. This is my 4th DIY furniture project. First time working on cabinet/doors. Installing them straight was the biggest challenge. The side of the pantry is actually four 2x4's. I measured the frame so tightly that I had to use a hammer to bang in the fourth 2x4 on each wall, also adding a distressed look in the process. The pantry is very large, 48in wide and about 17 inches deep. Our kitchen lacks storage space and we could use a little more space for food and also pots, pans etc. The staircase to our basement is off our kitchen, so I placed the pantry right at the bottom of the staircase for easy access. I am thrilled with how this came out considering the time and effort it took. Very gratifying. Build on!
Thu, 03/05/2015 - 06:24
I really love how the finished turned out. I need to build something like this too! My current pantry just isn't big enough for bulk shopping :)
Thu, 04/16/2020 - 10:55
Building this from your pictures as we speak! What type/thickness of wood did you use for the back panel and door panels??
Sat, 07/23/2016 - 18:21
I am thinking about building one but I am not sure if my skill level is up to this yet. I am going to attempt to build the Kentwood Bookshelf and see how that goes. I am remodeling my office and want real wood shelves instead of that pressed wood junk. Great job on your build. I love this website!
Sat, 01/13/2018 - 18:09
Hey Michael I really love the pantry and would love to make this exact one but there is not enough info on the sizes and what all you used for all the wood. If you have time I would greatly appreciate it if you could give us some more info thank you
Thu, 01/09/2020 - 06:19
Is the top of this a single piece of plywood. Pictures are a bit vague. Trying my hand with this
Wed, 04/28/2021 - 16:38
Love it! I am in need of one too. Can we get the plans for this pantry?
I mostly followed Ana's plans but used 1 5/8 screws and had a problem with wood splitting so for the ceder I used a finish nailer instread which worked great. I also painted before nailing the ceder pieces so they would really stand out and I also cut a few inches off the front ceder piece as I think 5.5in is too high and covers too much of the entrance.
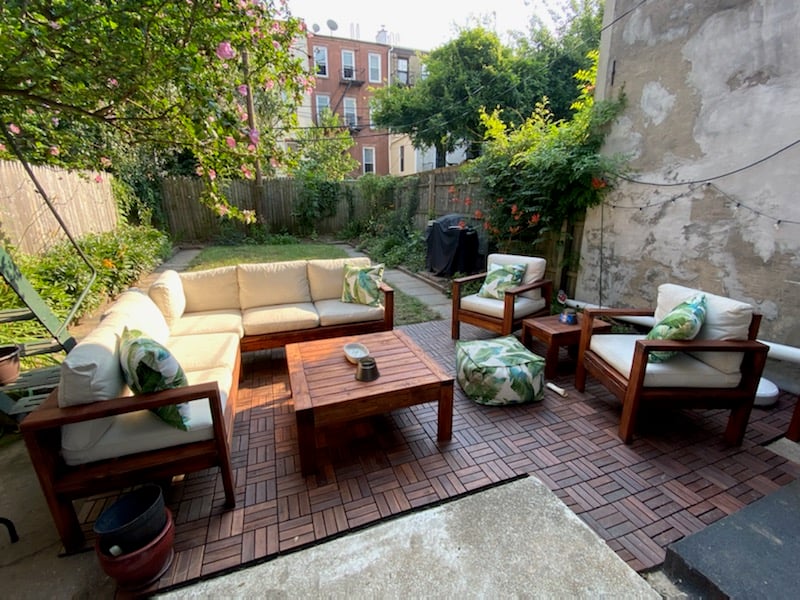
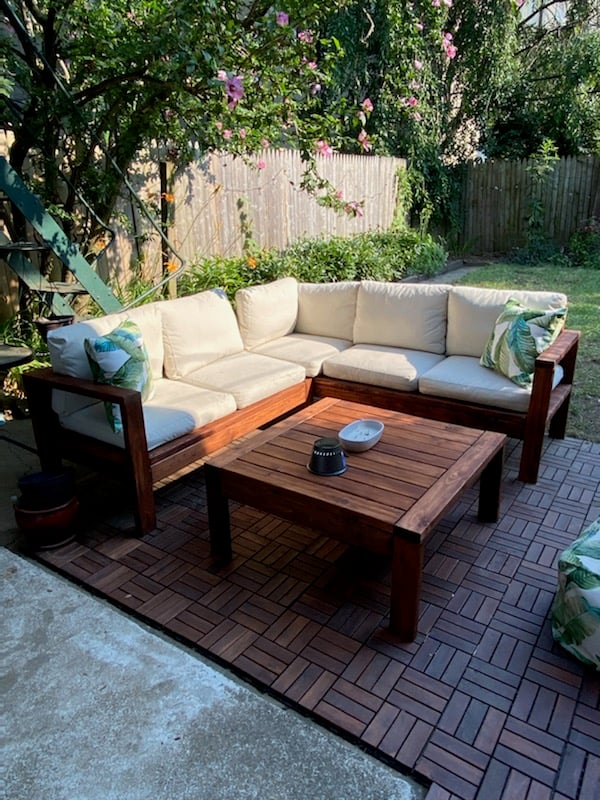
Used the plans for the 2x4 outdoor sofa. Modified the dimensions to better fit my personal needs. Made the coffee table a square instead of the rectangle plans posted here
Wed, 07/07/2021 - 10:16
That is amazing, love the square table for the space! Thank you for sharing:)

This is my first project working with wood. My husband and friends are very amazed by what I built.
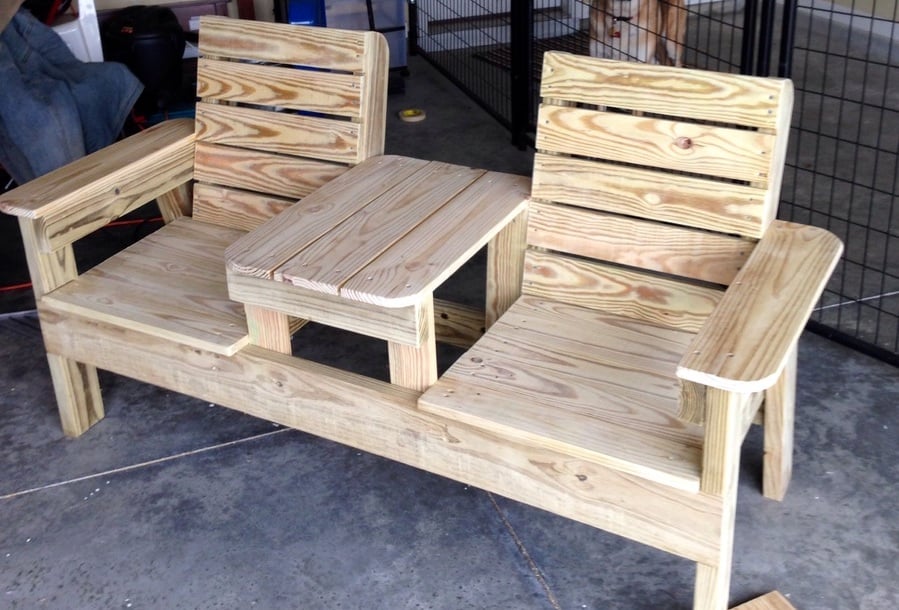
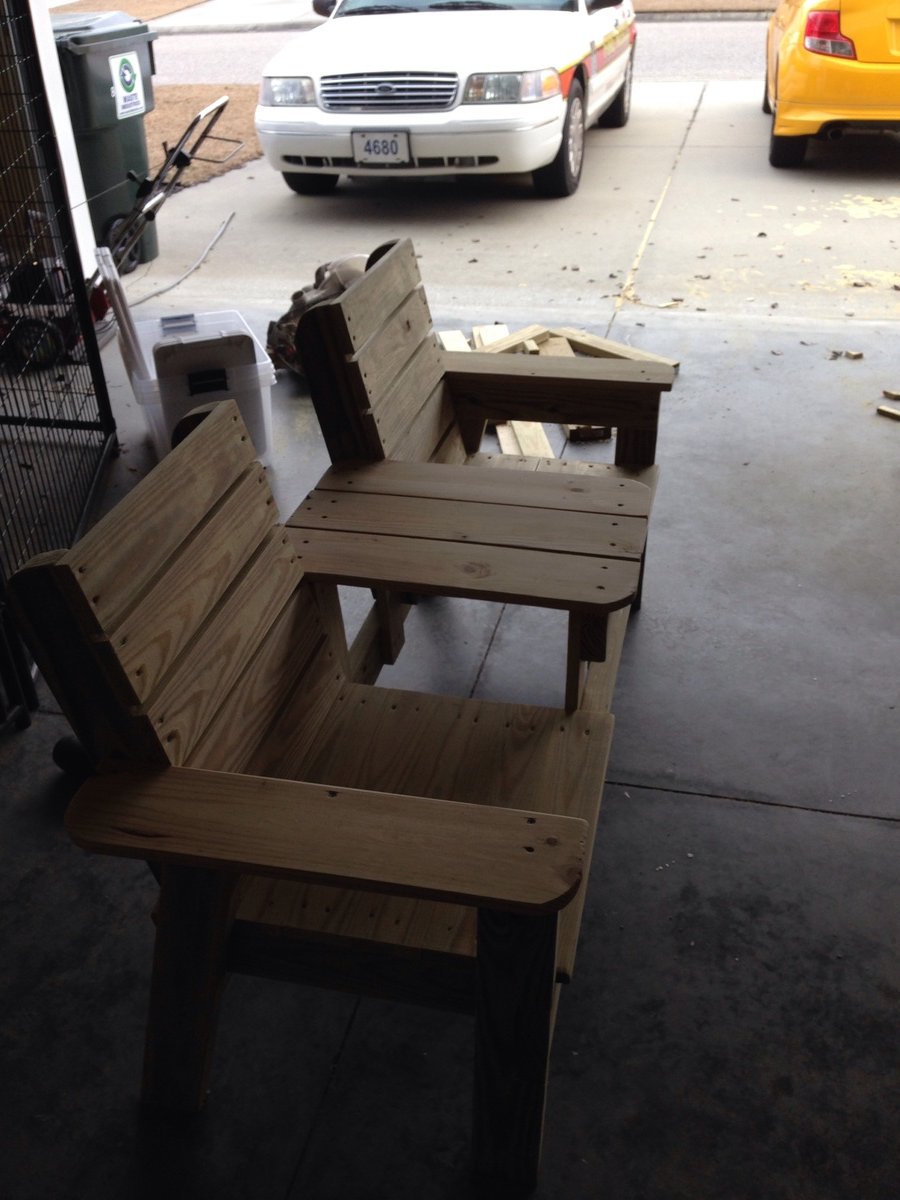
Thanks for the awesome, easy to follow plans!! All that's left to do is stain it and build another one- I'm going to have 2 on my back patio! A successful first project! Thanks!!
Sat, 03/07/2015 - 12:27
So awesome!!! Especially for your first project! Super inspiring for those of us who would like to attempt a project like this! Thank you for sharing!
Mon, 07/20/2020 - 07:15
Niiice...I'm thinking about this for my next project. Great work.

I probably took this project on at a bad time (final semester of college, planning to move for my first job, and getting married) but this was my wedding present to my wife. I modified the plans and made everything (except for the drawer boxes) out of white oak cut from my father in law's farm. The headboard, footboard, and drawer faces are edge glued planks. I made the corner posts by gluing 2x4s together (actual dimension of the post is 3x3). I used threaded inserts to make it come apart into 4 pieces (headboard, footboard, and drawer boxes). This thing is HEAVY (the headboard alone probably weighs ~150lbs) I learned a lot during this project and these planse were a great guideline!


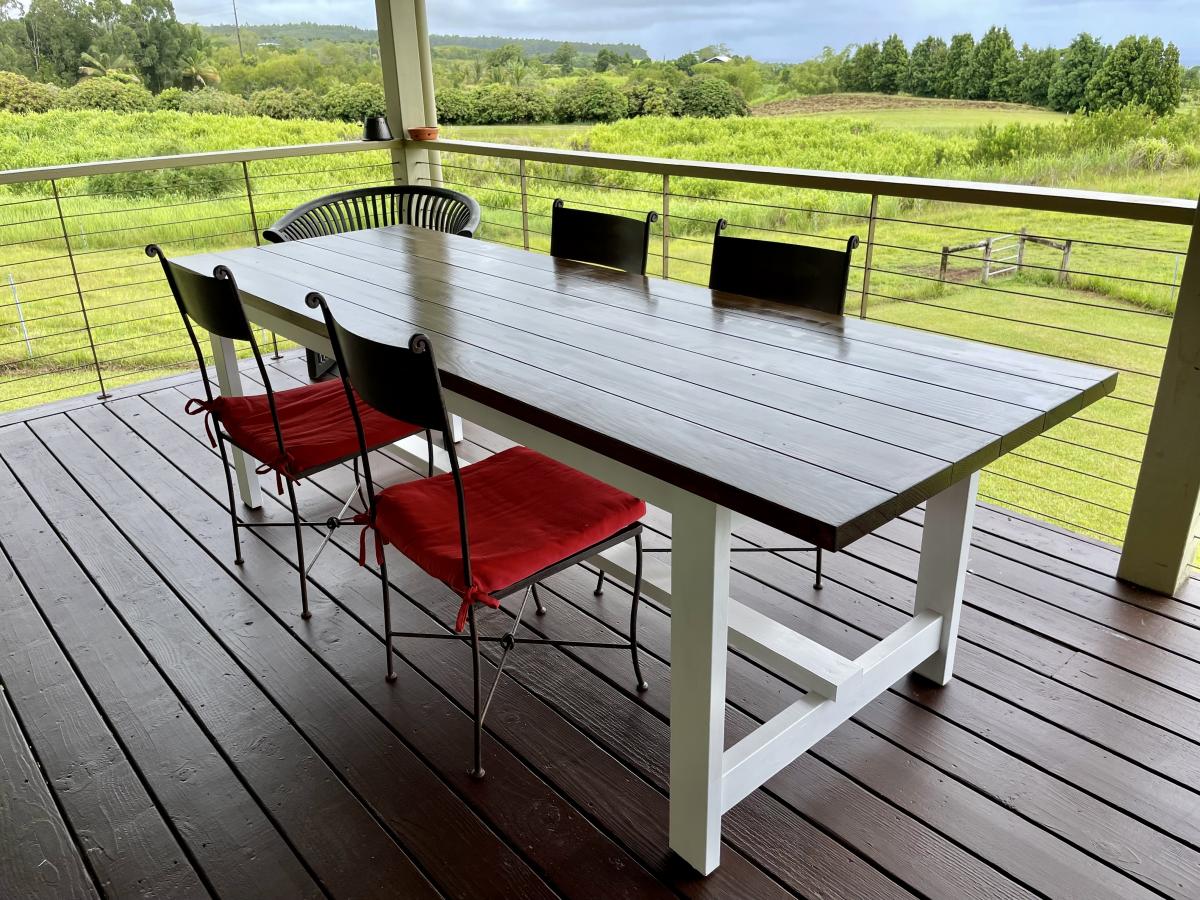
we needed an exterior table big enough for 8 on short notice. It's hard to find nice exterior furniture on the Big Island of Hawaii so we decided to build ourselves using borrowed tools. only wish i had my kreg jig nearby :).
*this is July 2021 (pandemic) so wood prices have shot up. that's the reason the cost of the project is higher than normal.
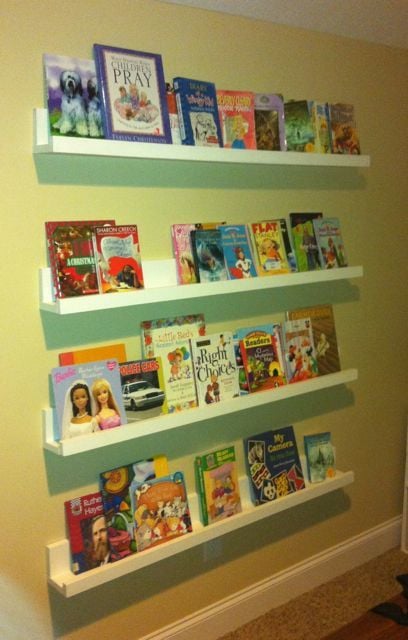
I really enjoyed this project. I would suggest painting as much as possible before assembly. I used pocket screws to hide which are hidden on the back side and a nail gun to attach the front 1x2s. I made a total of 8 ledges.
One thing I did different from the project plan is that I connected the bottom board on top of the back board to give me a little more space on the bottom for layering my books.
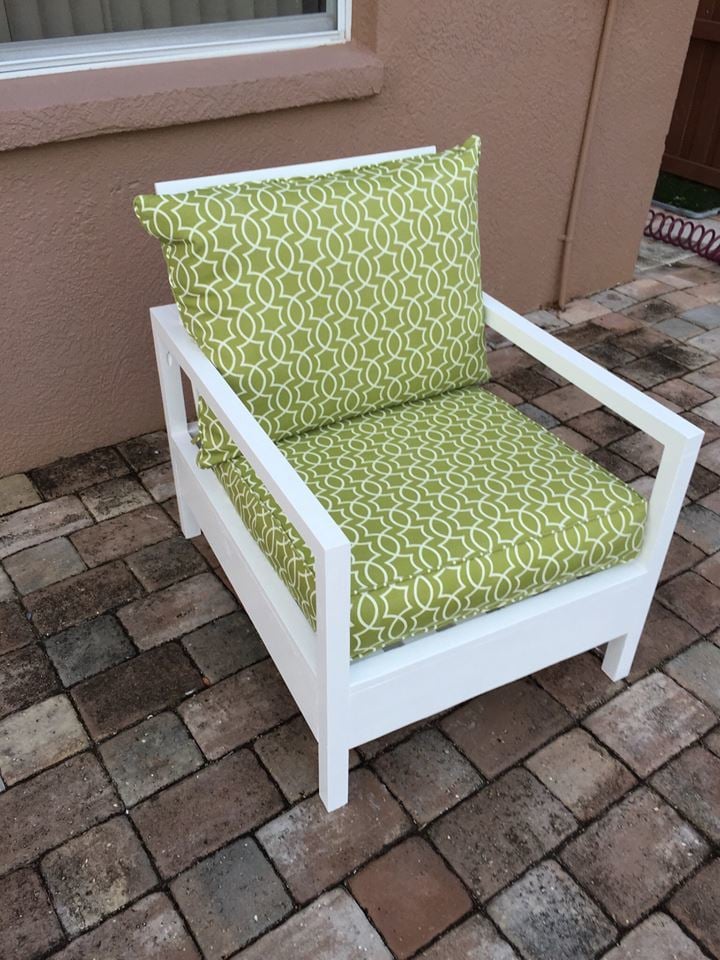
I actually emailed Restoration Hardware and although they no longer carry this chair , it was priced starting at 795$!! Not even close to what it cost me to make it myself. I spent 88 $ on the cushions, 5$ on screws and approx 65$ on the wood so all together this chair cost me about 158$. Thanks Ana!

Great plans allow for versatility and easy customization. Put the whole thing together in a day w/ one other person. My set up is 16' long - 5' on the side shelves and 6' for the workbench. Added a pegboard and fluorescent light under the top middle shelves. I'm also designing a slim drawer to go under the workbencheck area. Thanks a bunch!


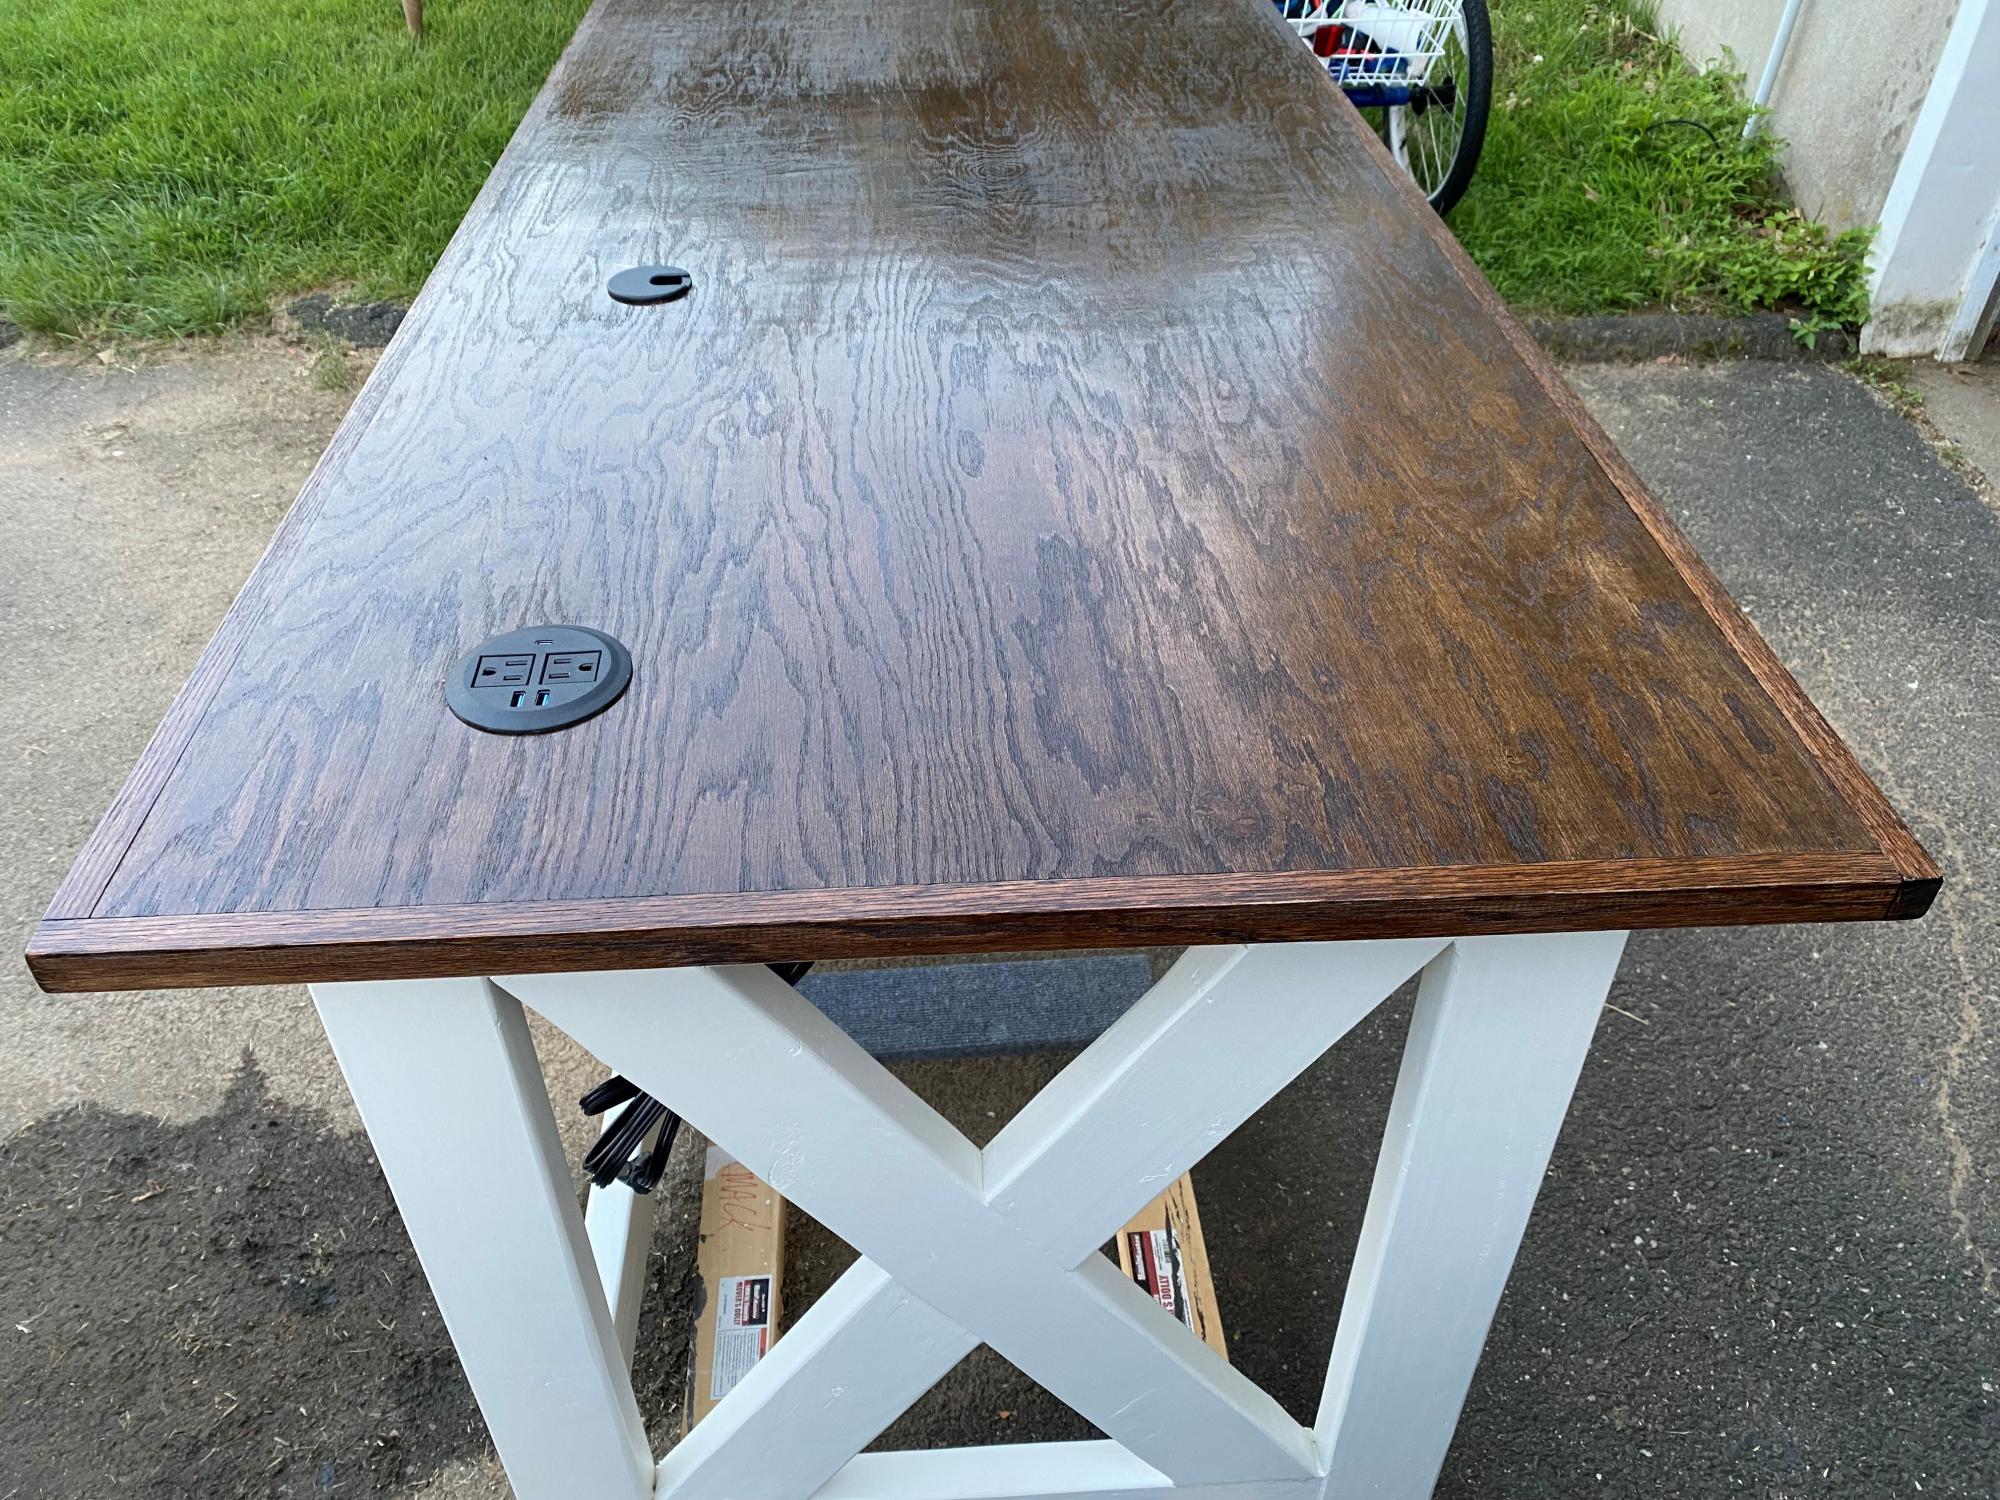
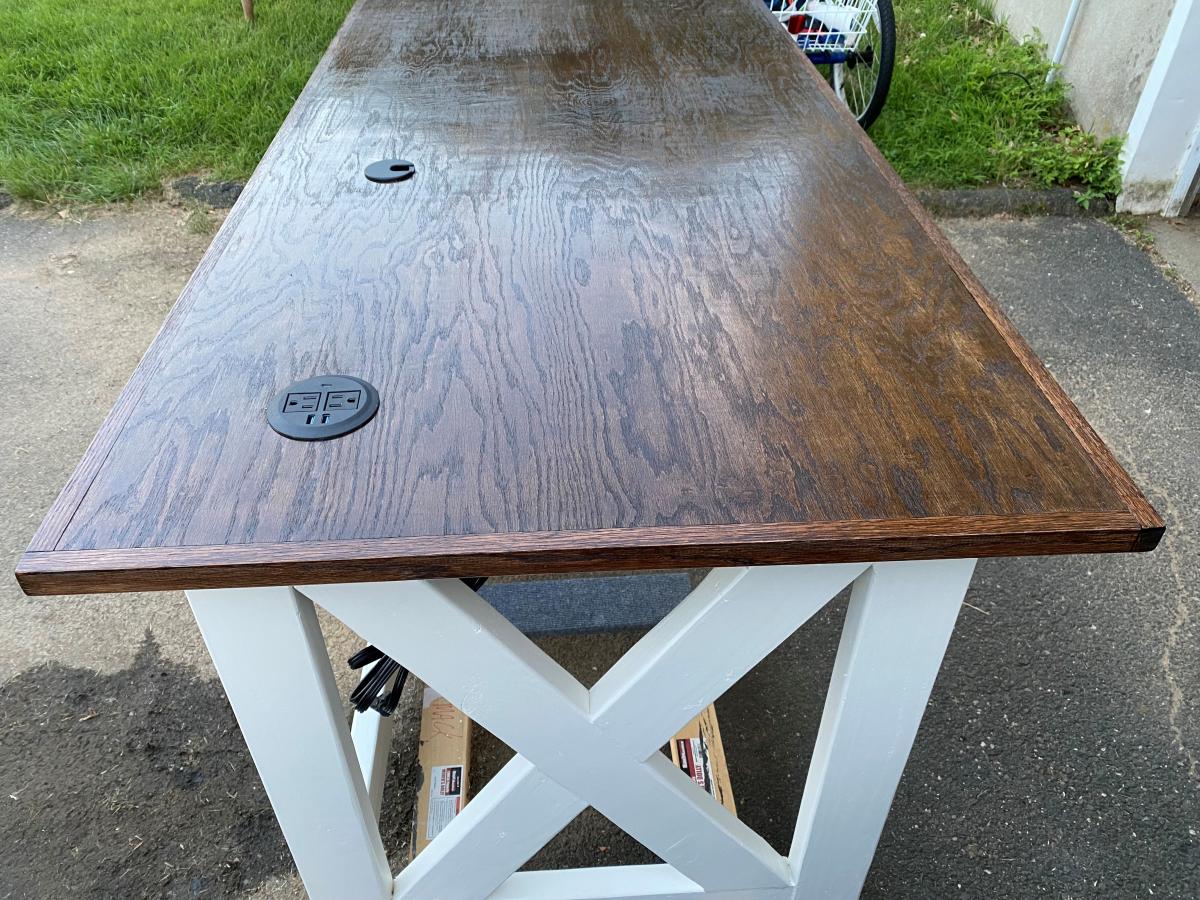
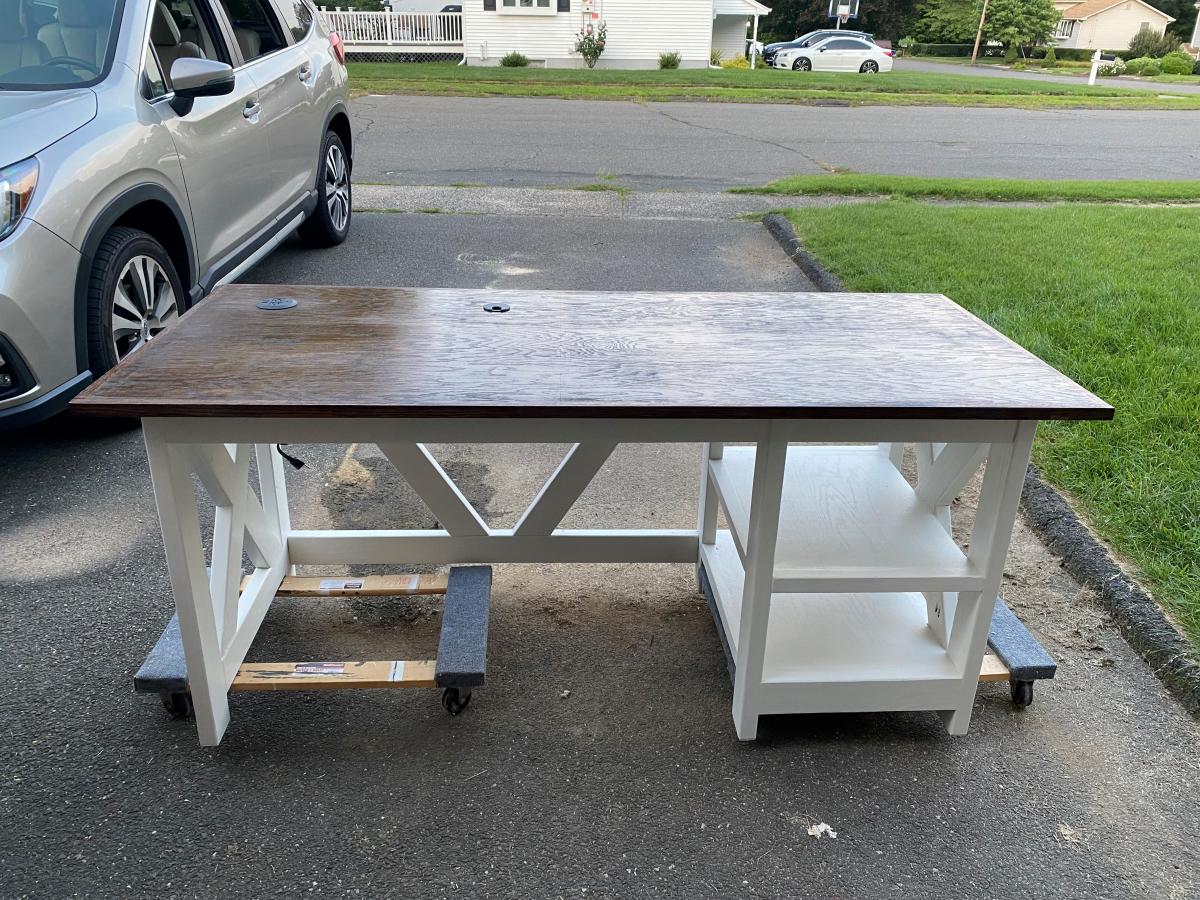
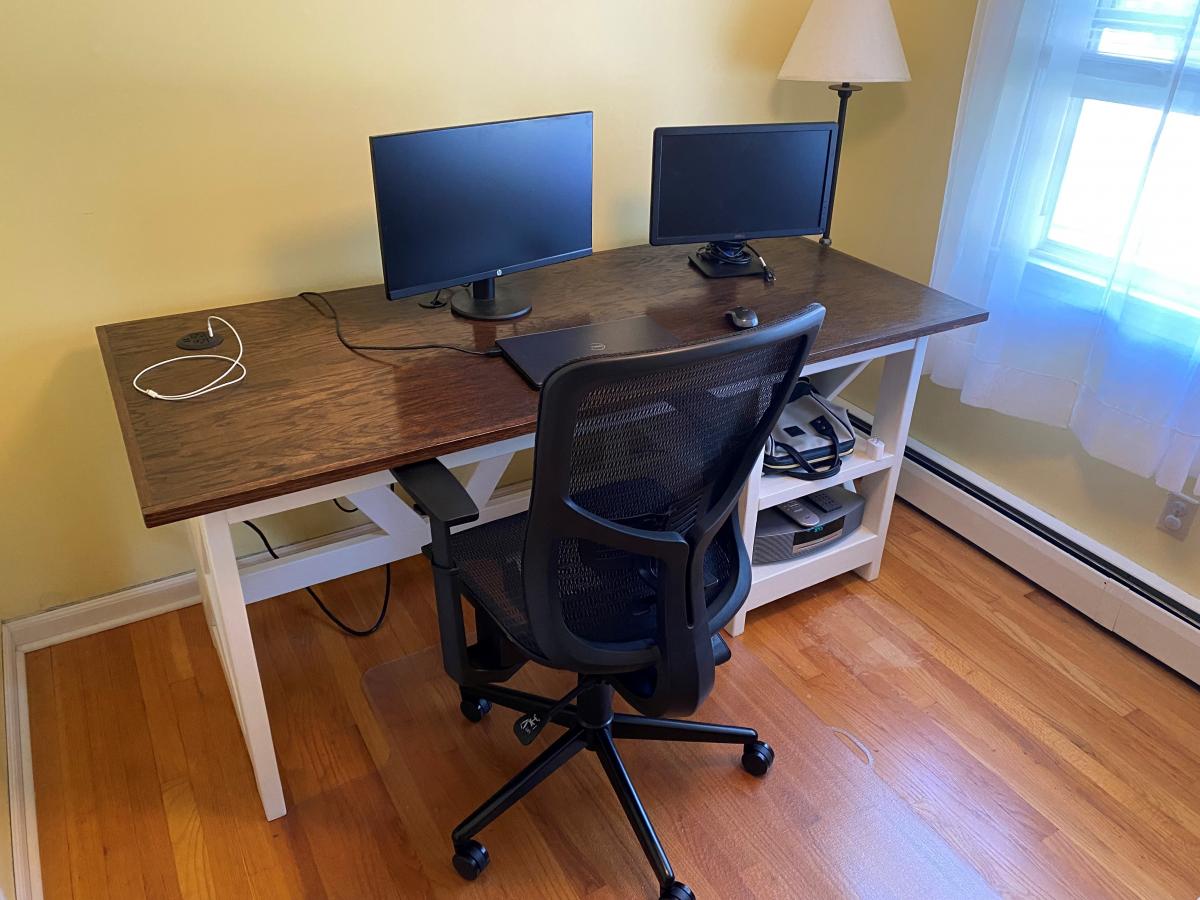
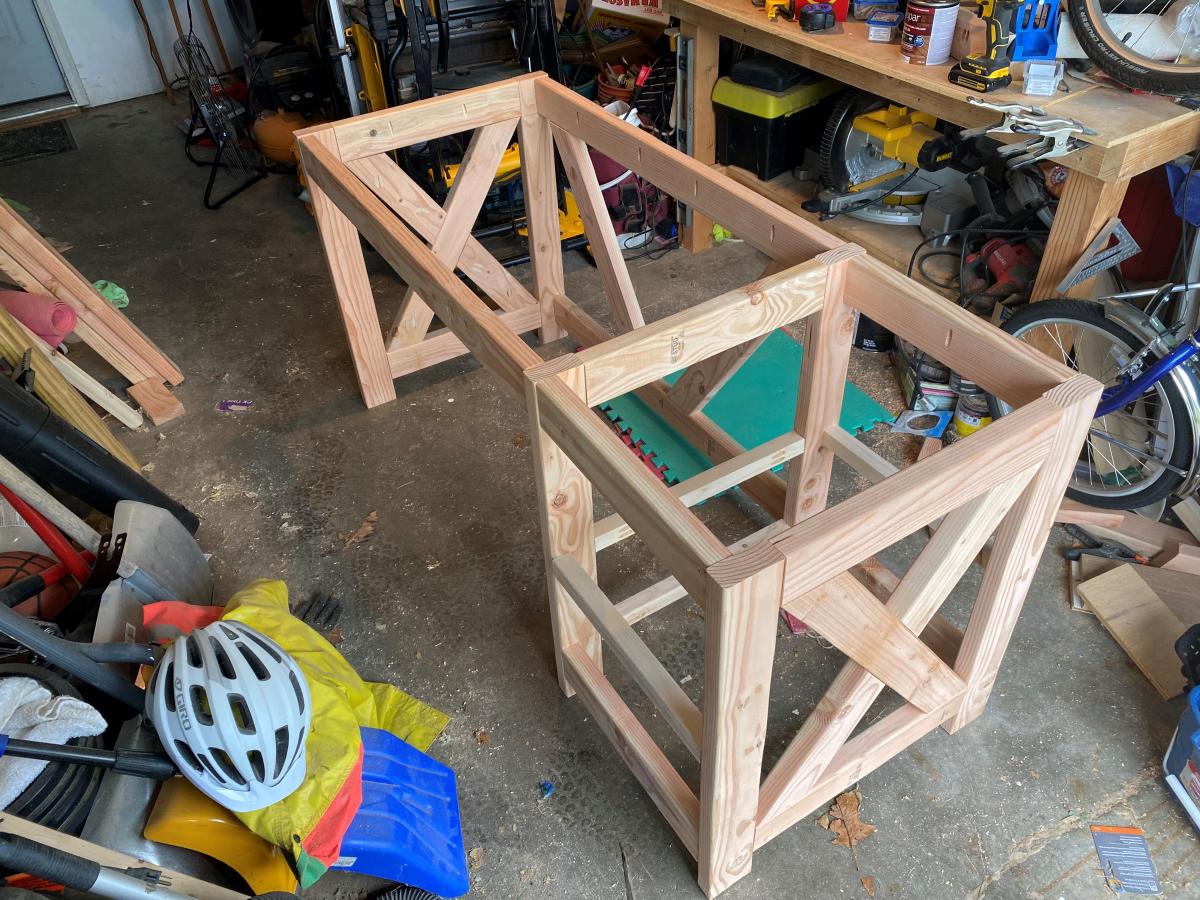
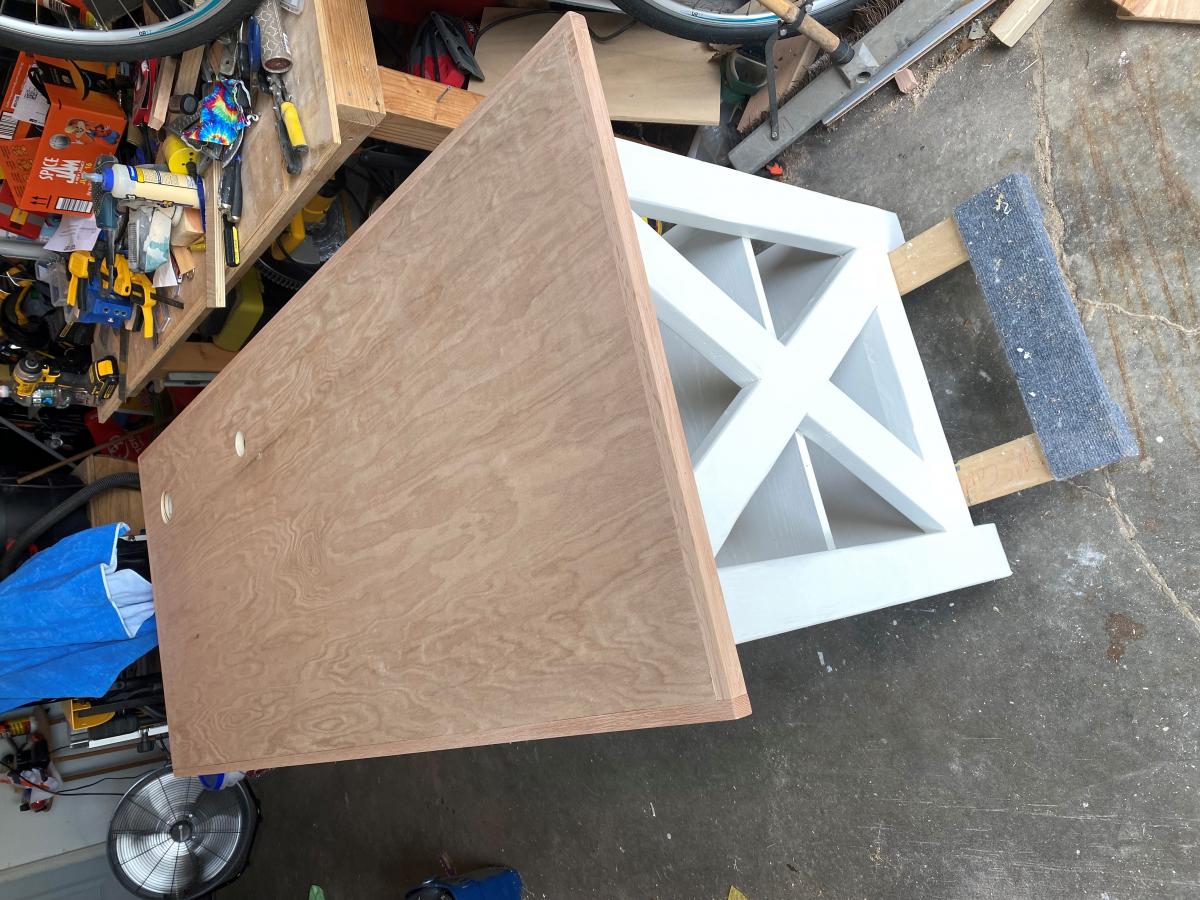
My wife needed a desk to work at home from and nothing on the retail market interested us, so I offered to build one. I followed the plans for a Farmhouse Desk, but with a change for the top. I chose a pre-sanded 3/4" red oak top and trim to cover the plywood edges. We didn't want the lips or edges that may show up using the planned 1x6" planks. The desktop measures 31.5 x 71.5" which is large, but allows for a lot of work to be accomplished. I added a grommet hole for the wires and a 3 1/8" hole for a desktop outlet with 2 USB's, 1 USB-C and two regular outlets. I also added a 9-input power strip / surge protector on the underside of the desk that the desktop outlet plugs in to. So only the power strip plugs into the wall and everything is surge protected.
It took me 4 weeks and about 25 hours, as I made it around my work schedule and family life.
