Haley Platform Bed and Headboard

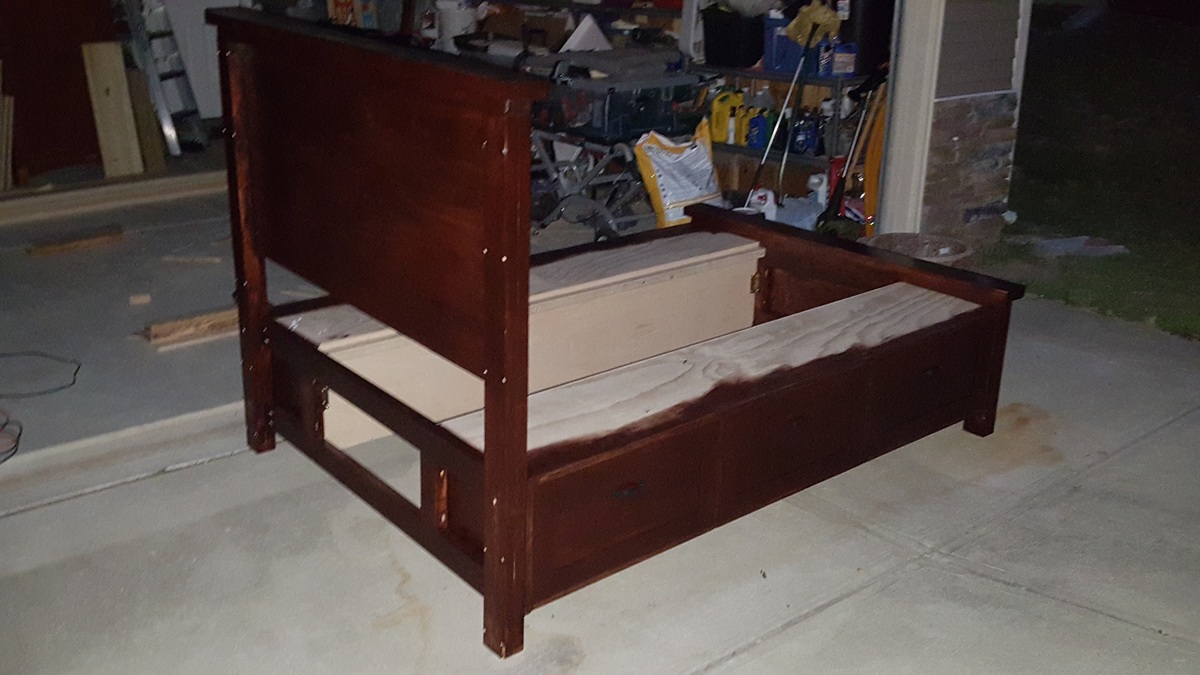
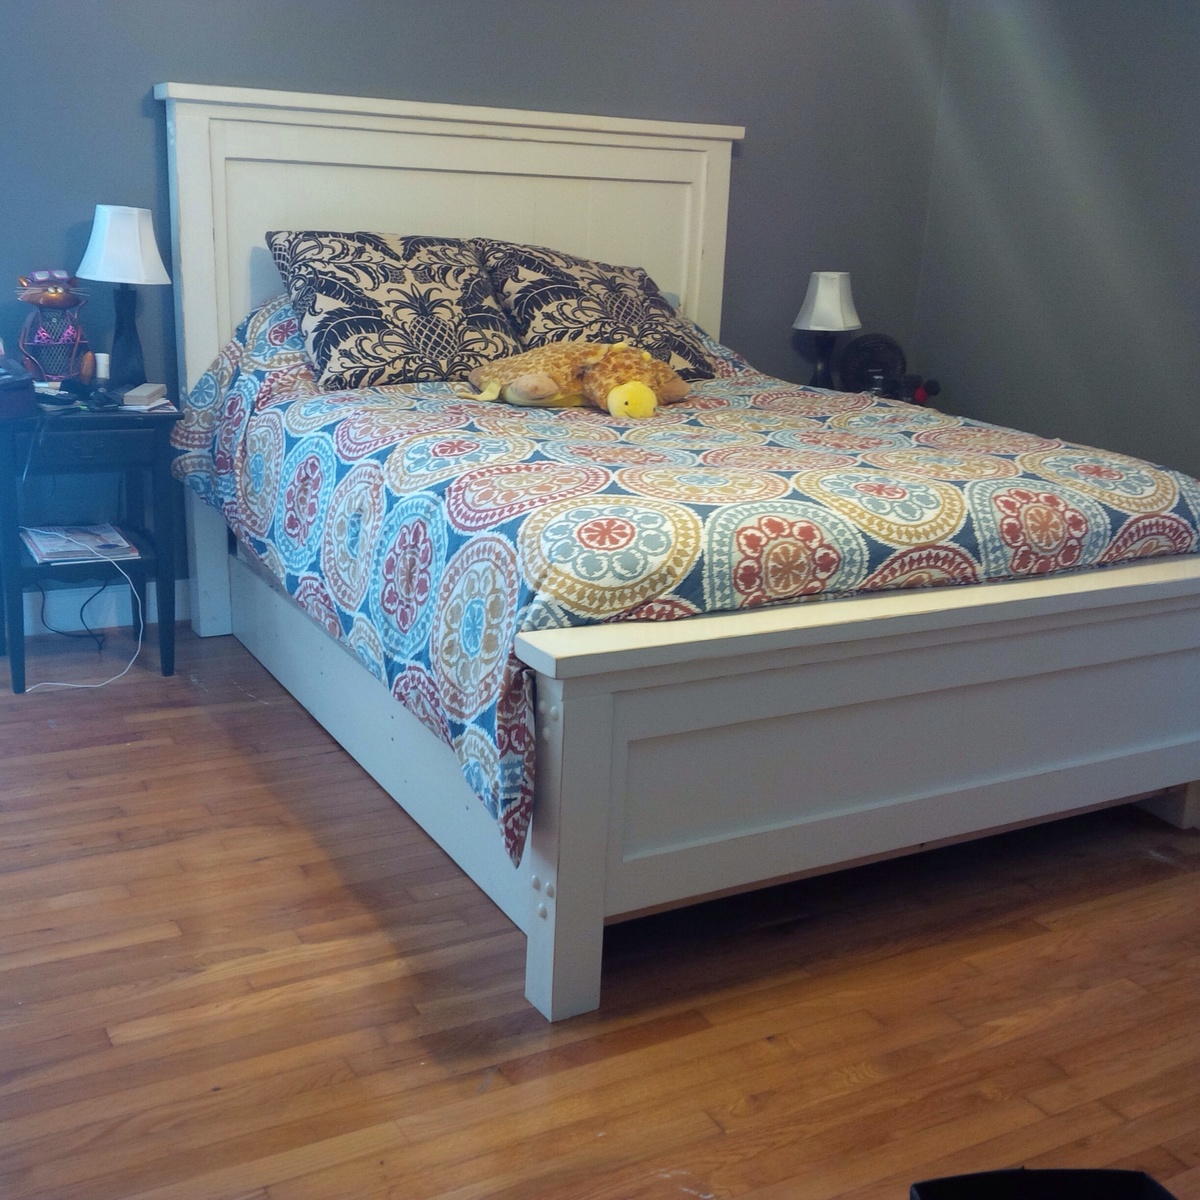
First time building a bed. The plans were spot on and easy to follow. Used my left over flooring to make the headboard planks.

First time building a bed. The plans were spot on and easy to follow. Used my left over flooring to make the headboard planks.
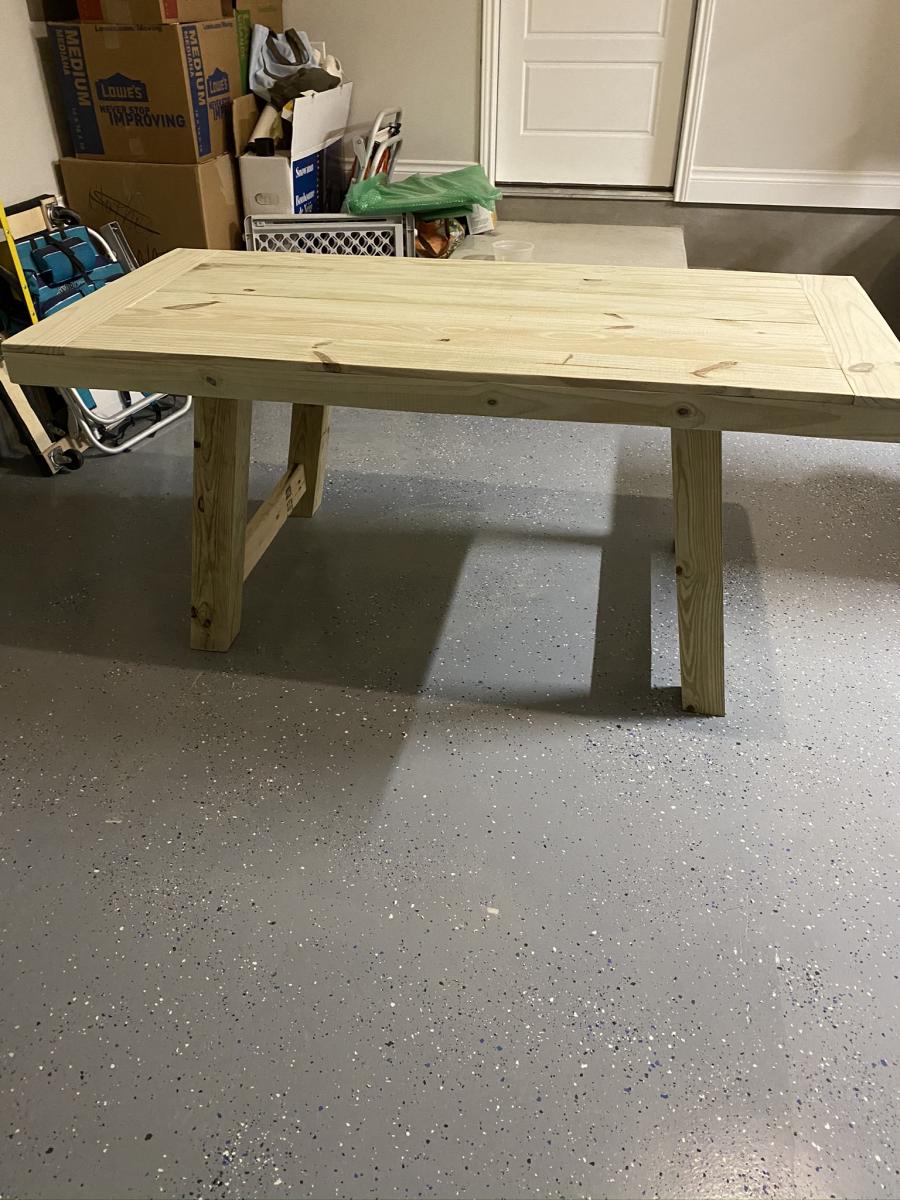
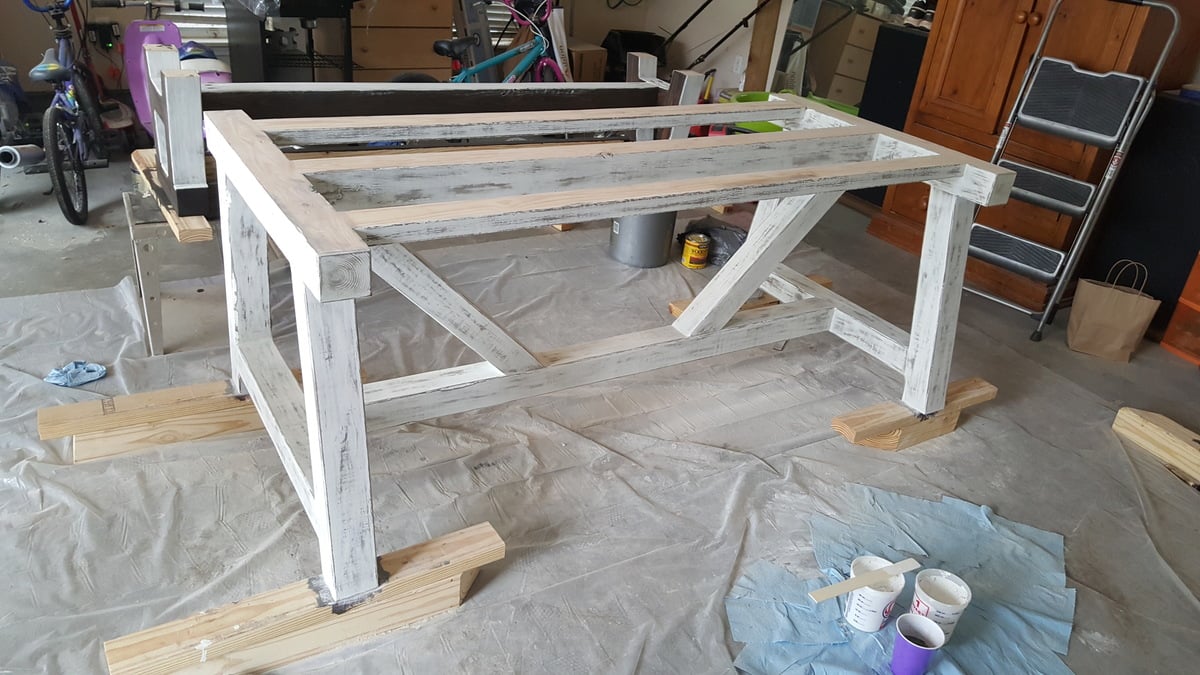
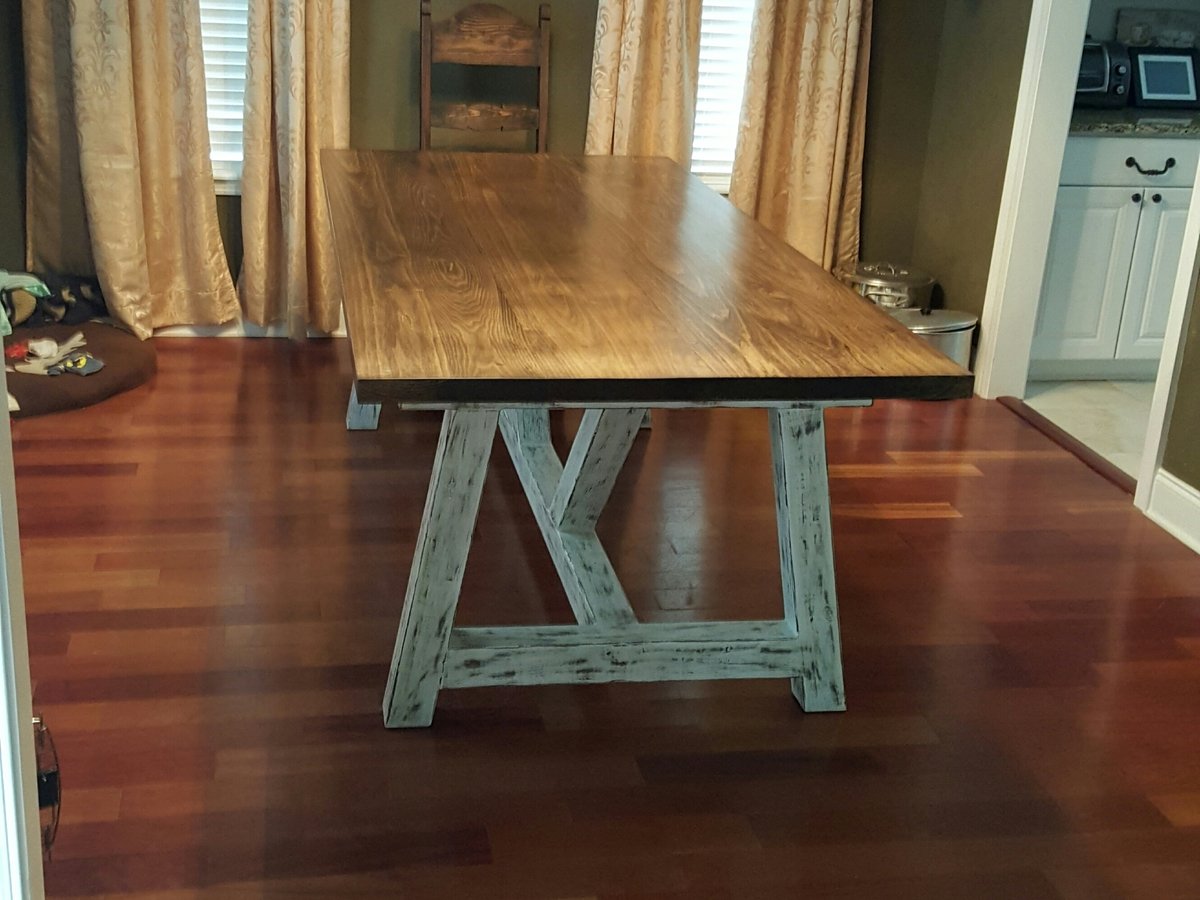
We had been looking for a dining table for our new house that is being built. The dining area is a little small and we needed to find a 60 inch table. However, we were unable to find one that we liked at that size. I found plans for this table through pinterest and thought it would be a lot of fun to try. Plus, we knew that if worked out, then we would be saving a ton of money. The plans call for a much longer table, so my husband and dad reworked the plans to make it fit our space. To go with it we bought 4 Lyle Side Chairs from Crate and Barrel. We love how it turned out and we can't wait to see it in our new house in a couple months!!


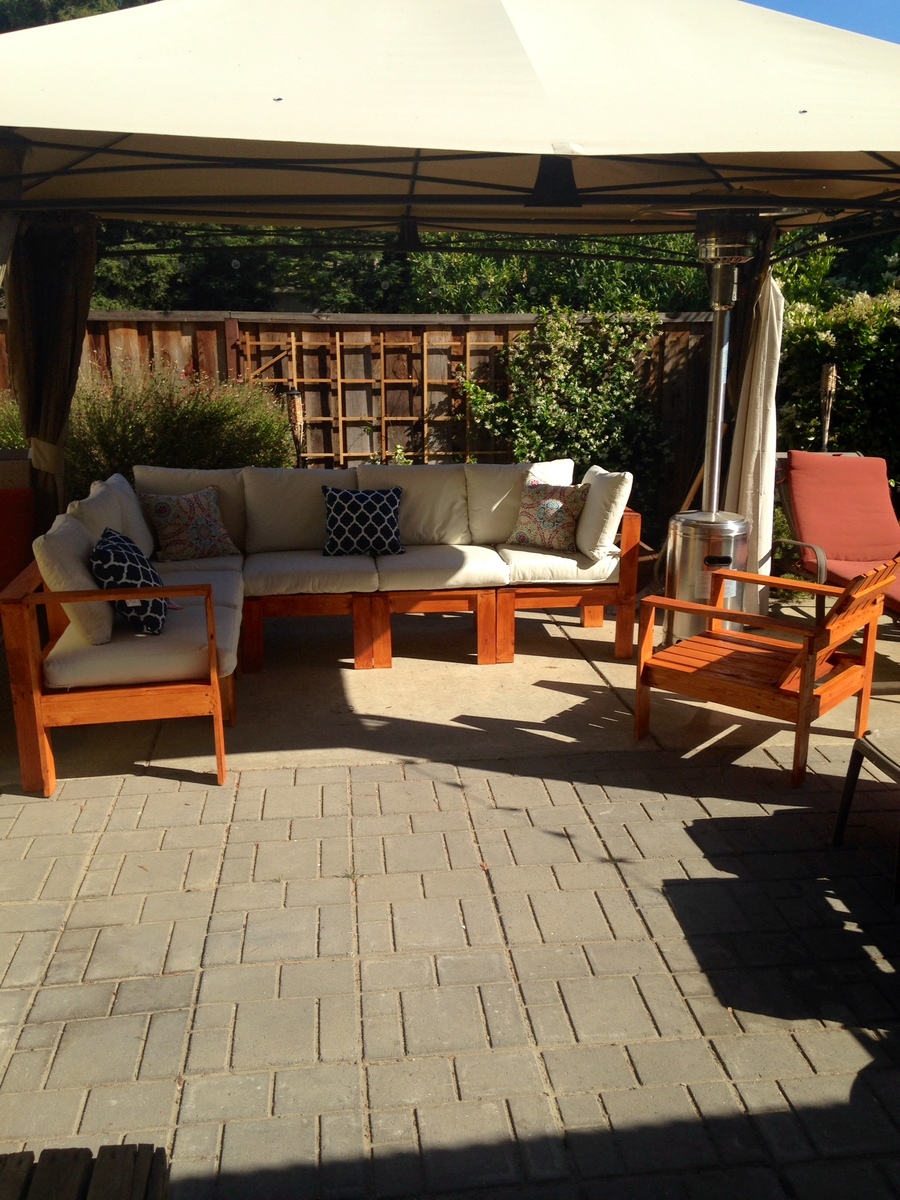
Not as easy as everyone else said online. I had never used a kreg jig and it takes a bit more practice than I had patience for. one thing to note is the instructions screw lengths are for if you are NOT using a kreg. If you use a kreg, use the screw lengths they suggest. I used a deck stain and purchased the cushions on sale at Ikea ($22.50 per cushion)
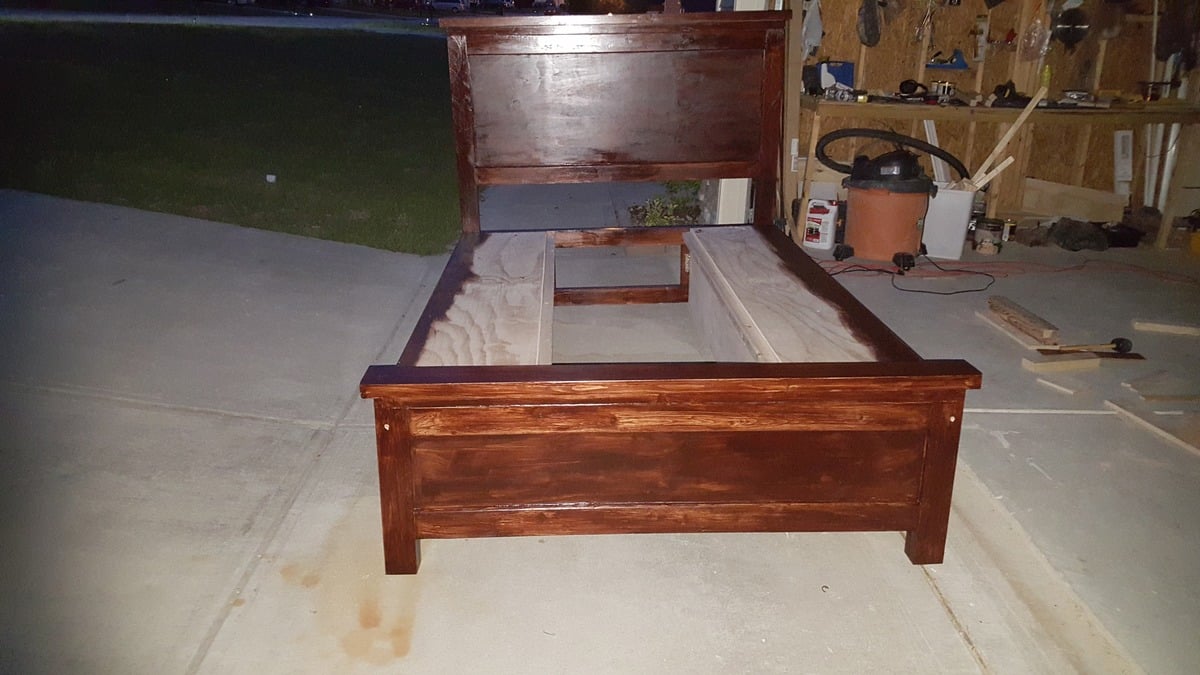
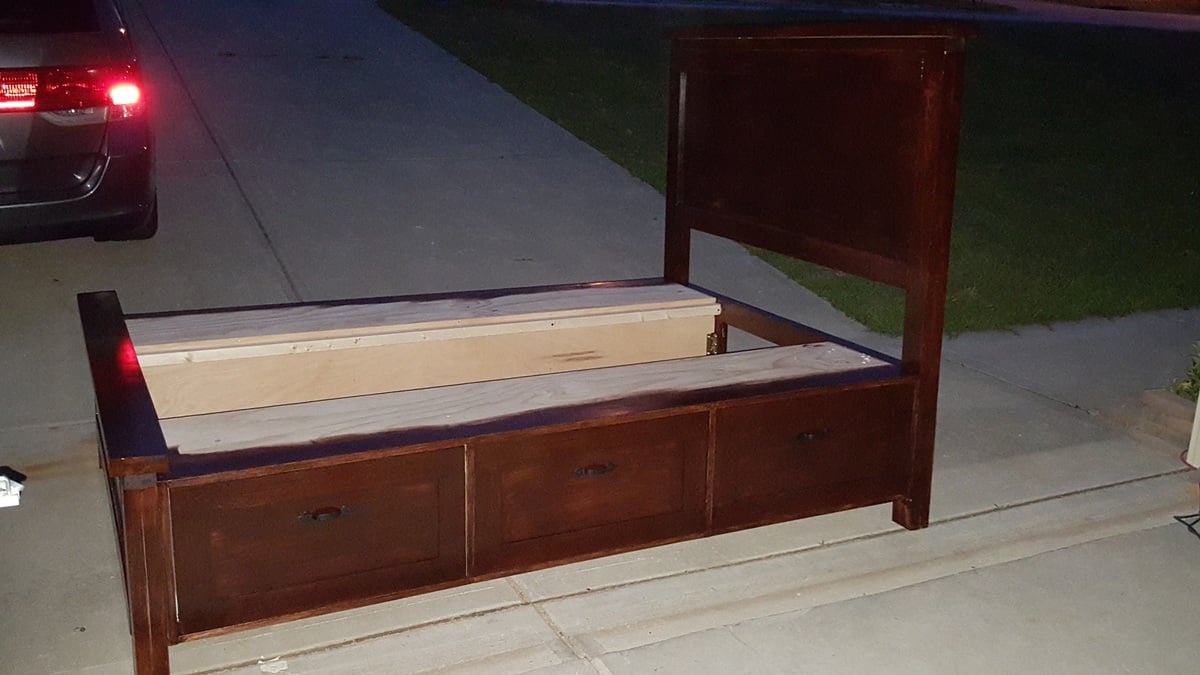
I built this bed to replace one of the kids twin bed. I wanted a solid wooden bed that would be around for a while and I did not wanted to pay Thousands of dollars.
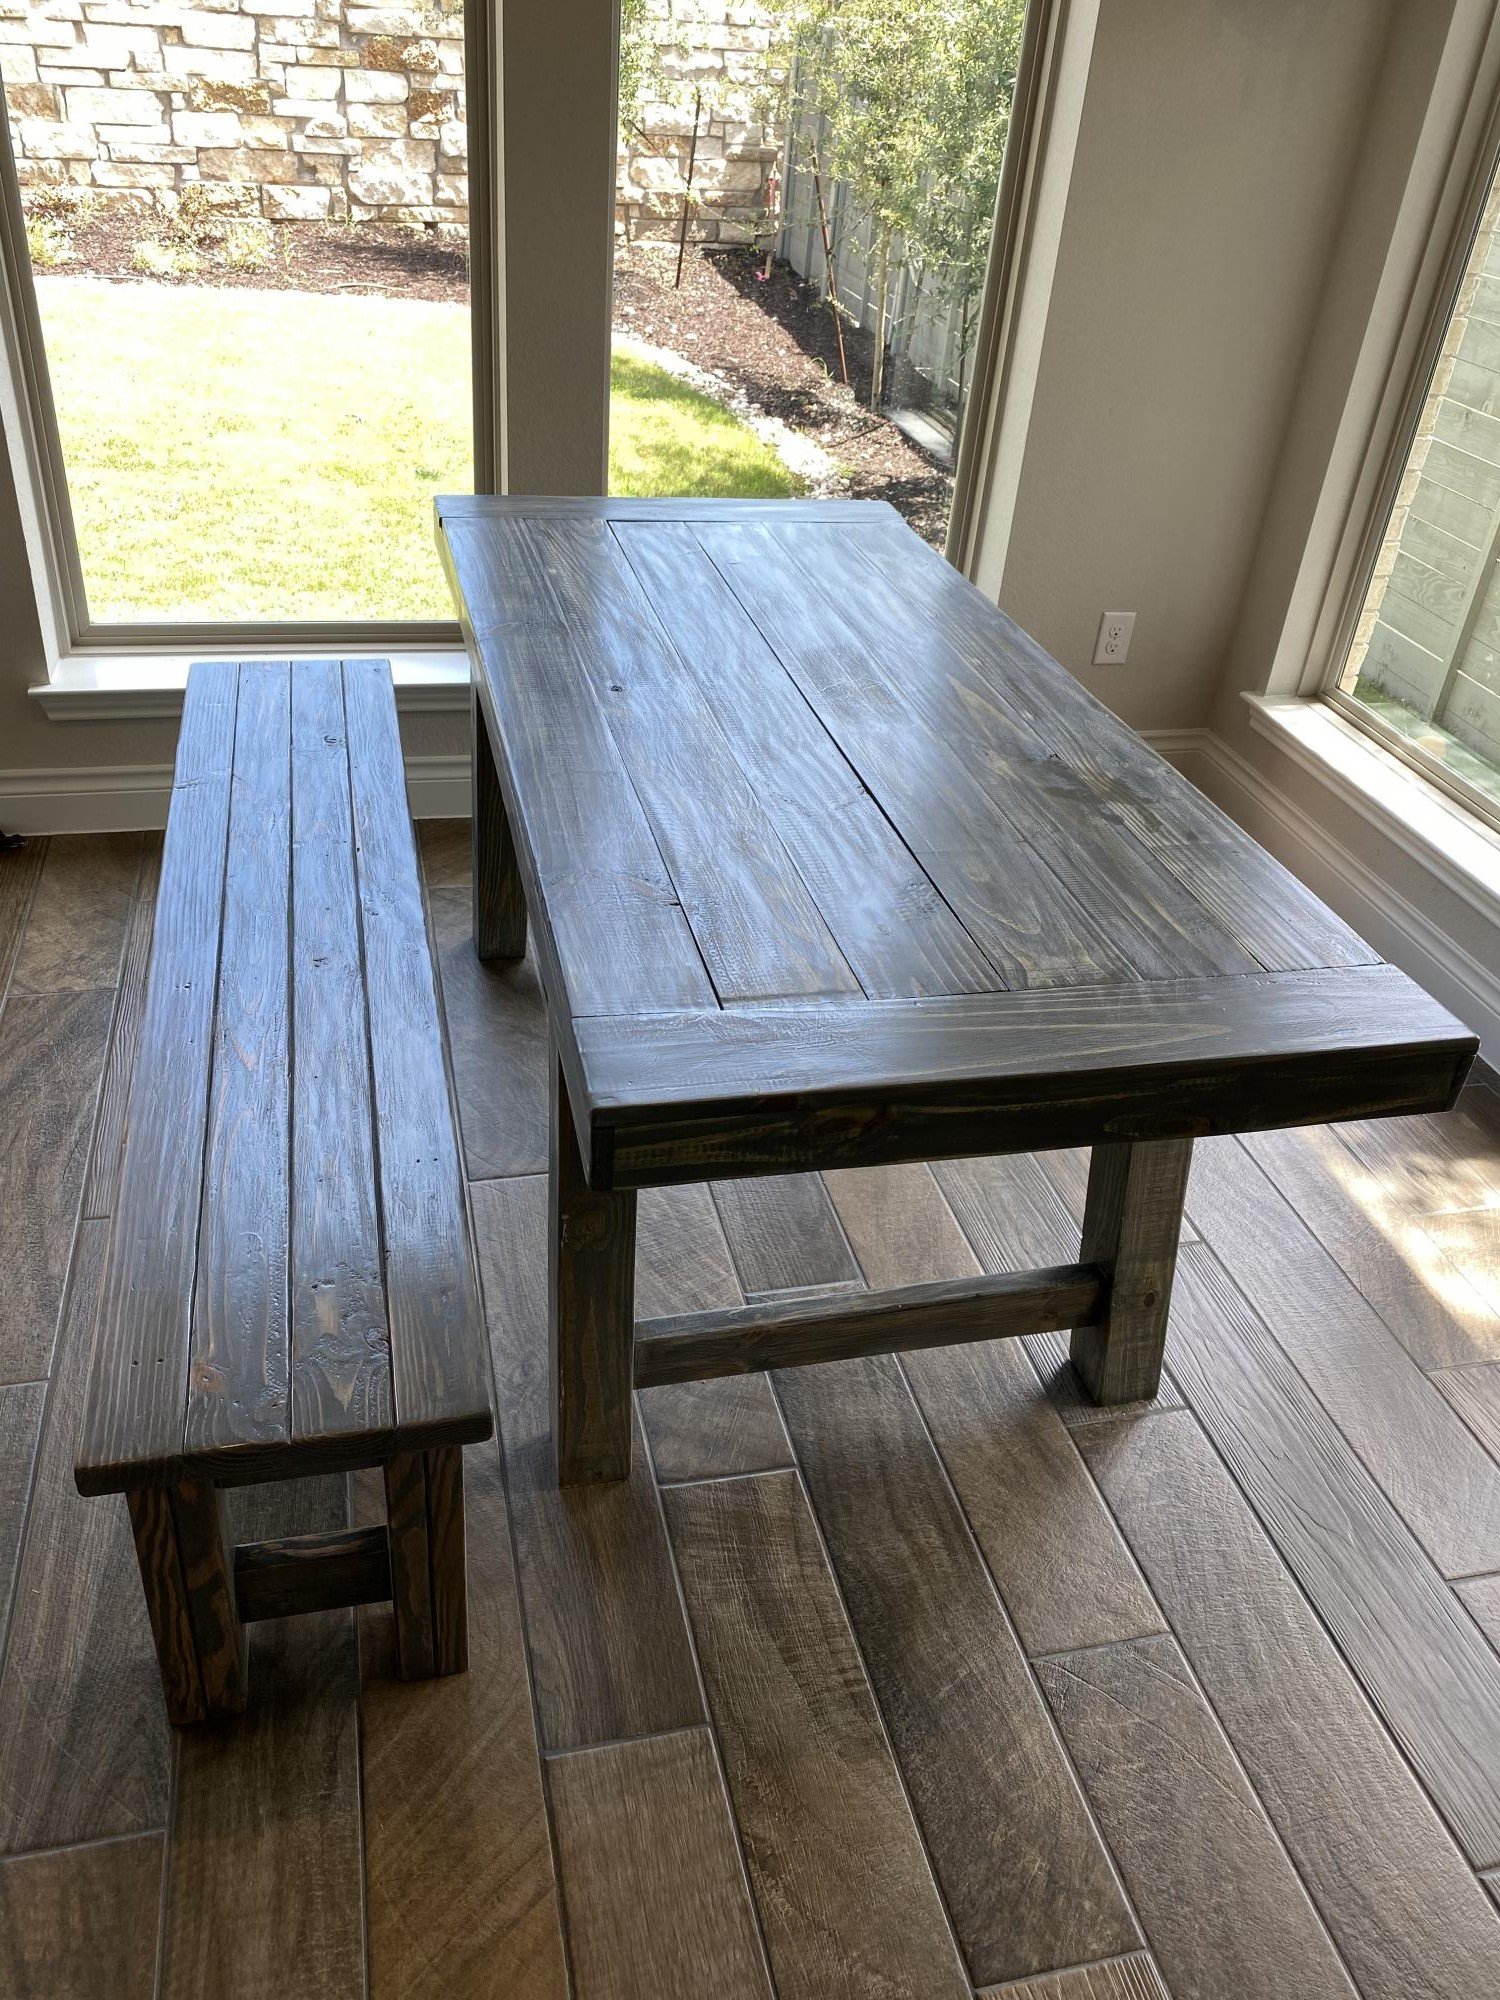
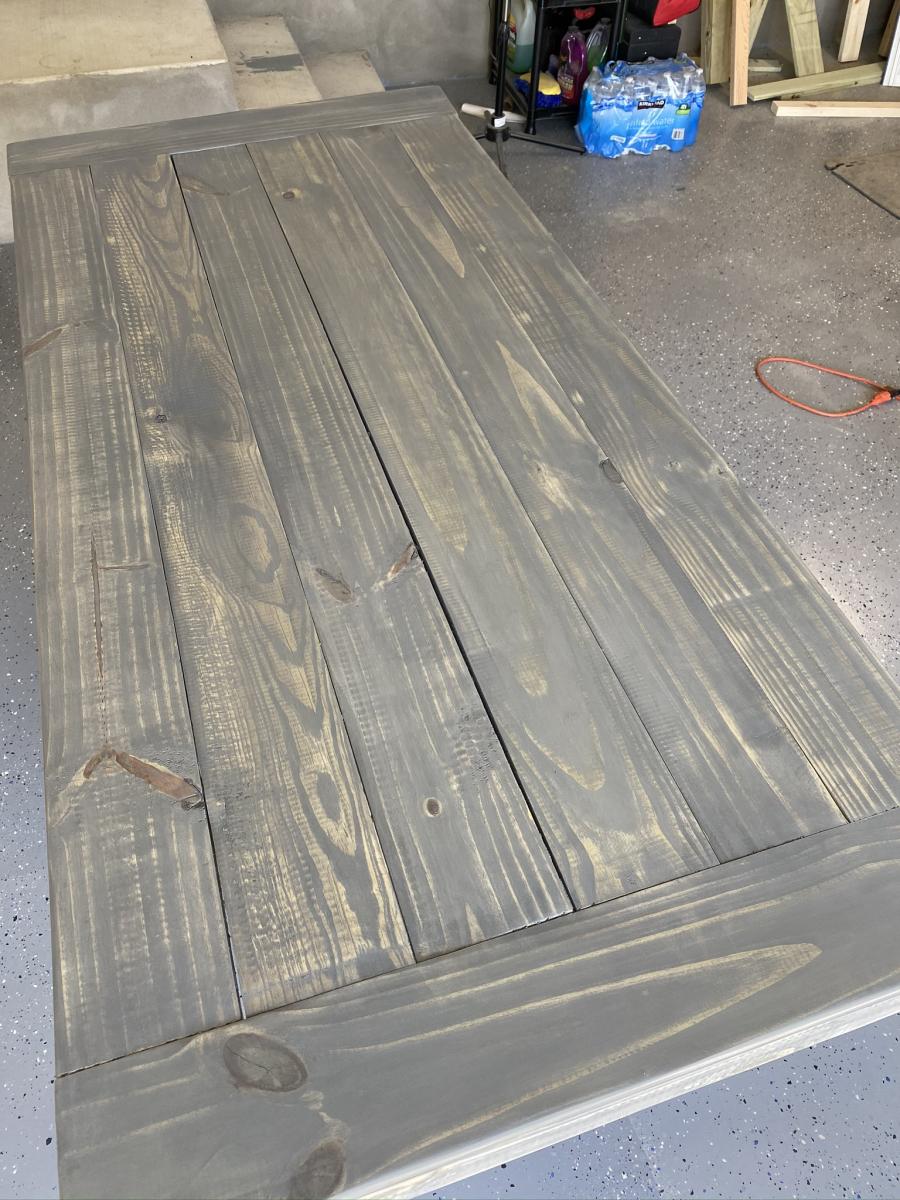
Great plans and a great build. I used 4x4’s for the legs and decided to go with the Farmhouse Bench instead. The color I went with is Weathered Grey. I applied it with a brush and immediately wipes it off with a clean rag, then 2 coats of poly to finish it off.
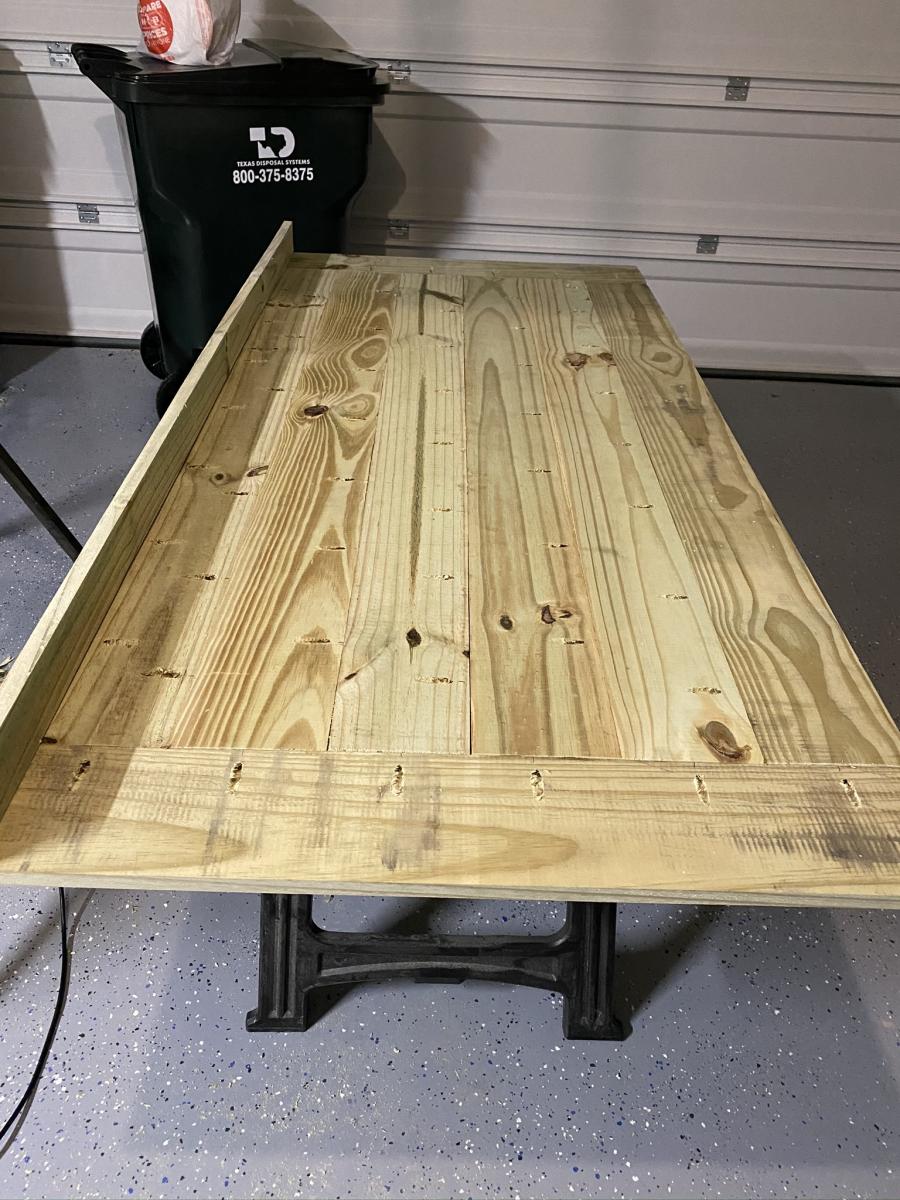
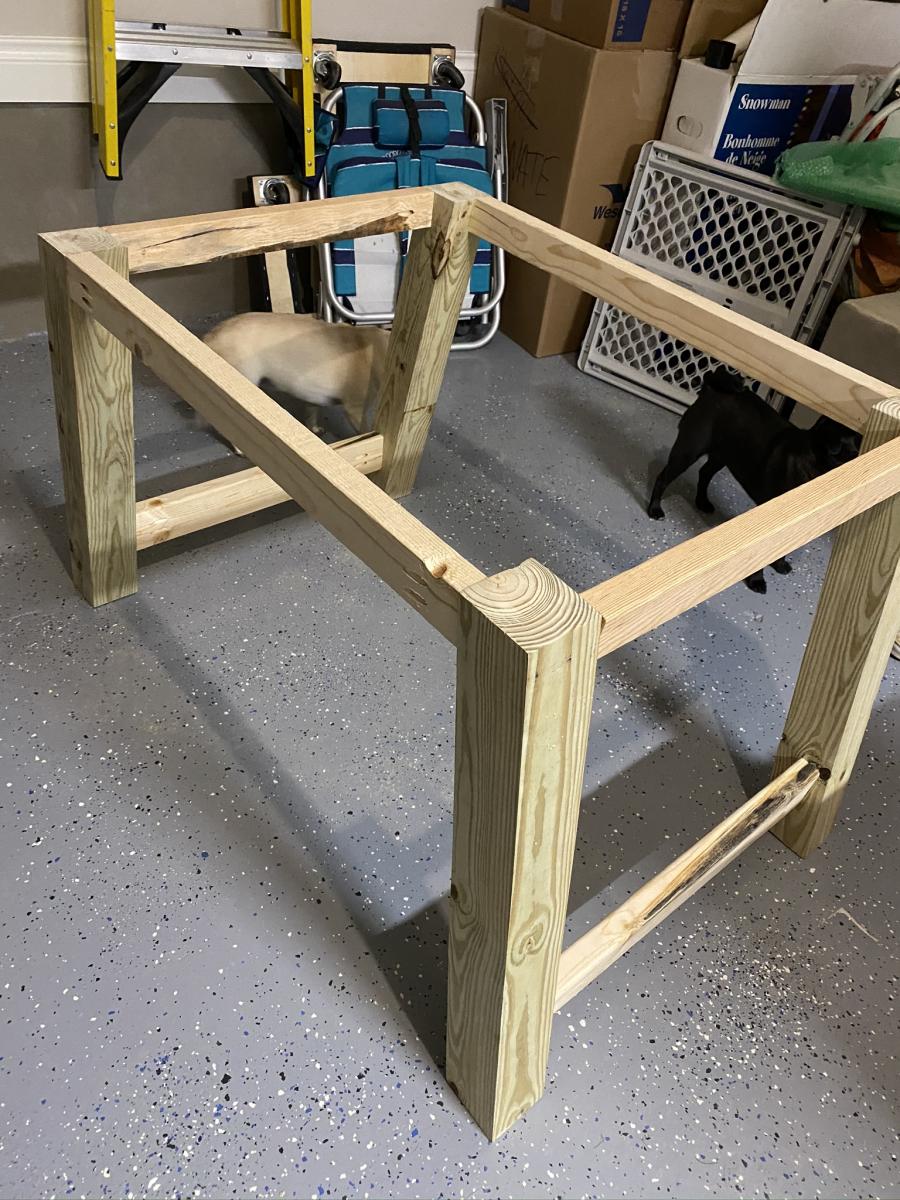
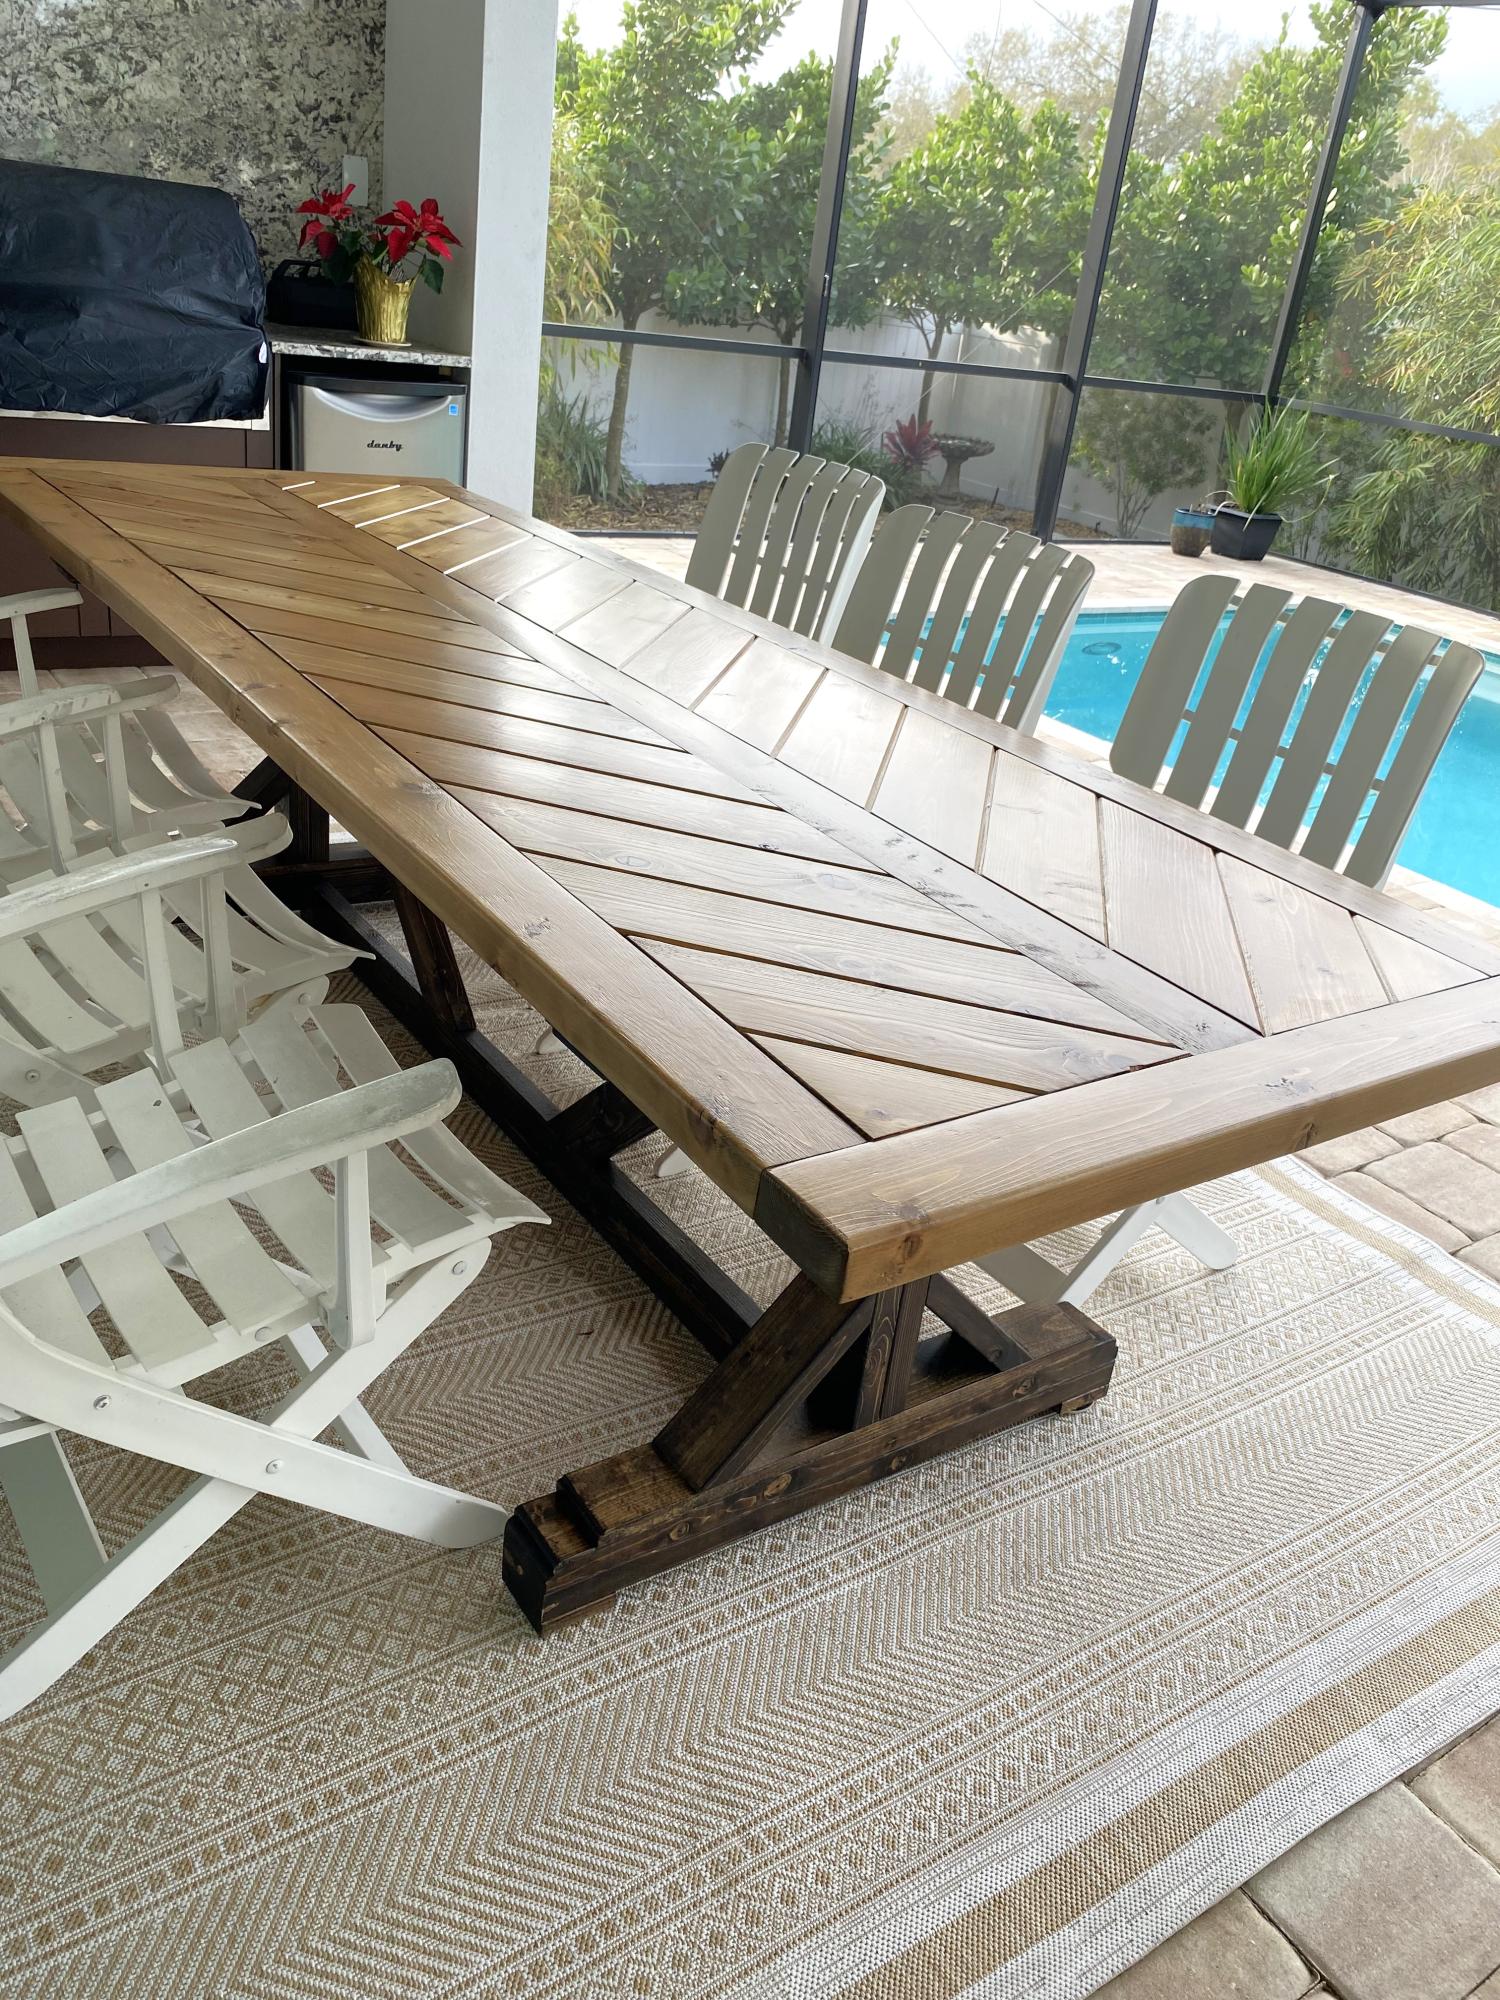
Your beautiful Fancy X farmhouse table. We wanted to seat 8. Used your plan with the top idea from Hint of Home. We used cedar tongue and groove for the top. We are so pleased with it! Now for chairs!

This was a very nice and easy project. I probably could have finished in one day if it had not been 105 degrees outside! I recommend these plans to anybody who knows how to use a saw. I also used all screws instead of nails. Wood- Grade II Pine, purchased from Lowe's FInish- One coat Minwax Dark Walnut oil based stain One Coat Minwax Polyshades Mission Oak After the Polyshades dried, I went over the whole piece with steel wool to smooth it out.


Love the way this came out. My husband and I made it for my son and daughter-in-law to be for their upcoming wedding. The only issue we encountered was the box for the mattress was not large enough for the boxspring. But the kids decided they wanted the platform on the floor so we flipped it over and set up that way. I will be getting a nice bedskirt to hide that siderail. The kids really love it.
This took probably 20 hours all in. I figure a weekend would have done it if we had the time. Head and footboards were built in one day, sanding, finish work took longer as I worked on it after work during the week, and to allow for paint drying time. We ordered a pretty brass plaque to dedicate the bed, and fixed it to the lower back of the headboard. An heirloom in the making!!!
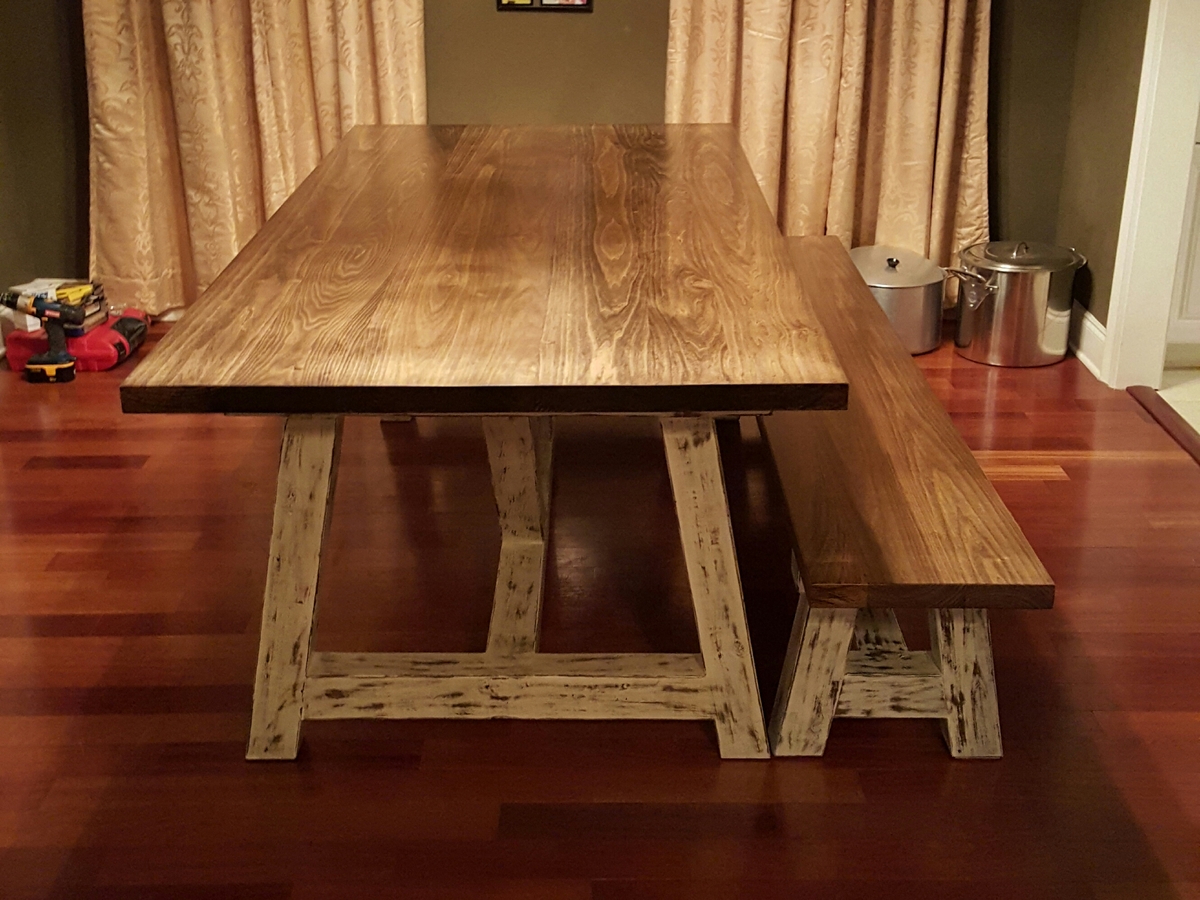
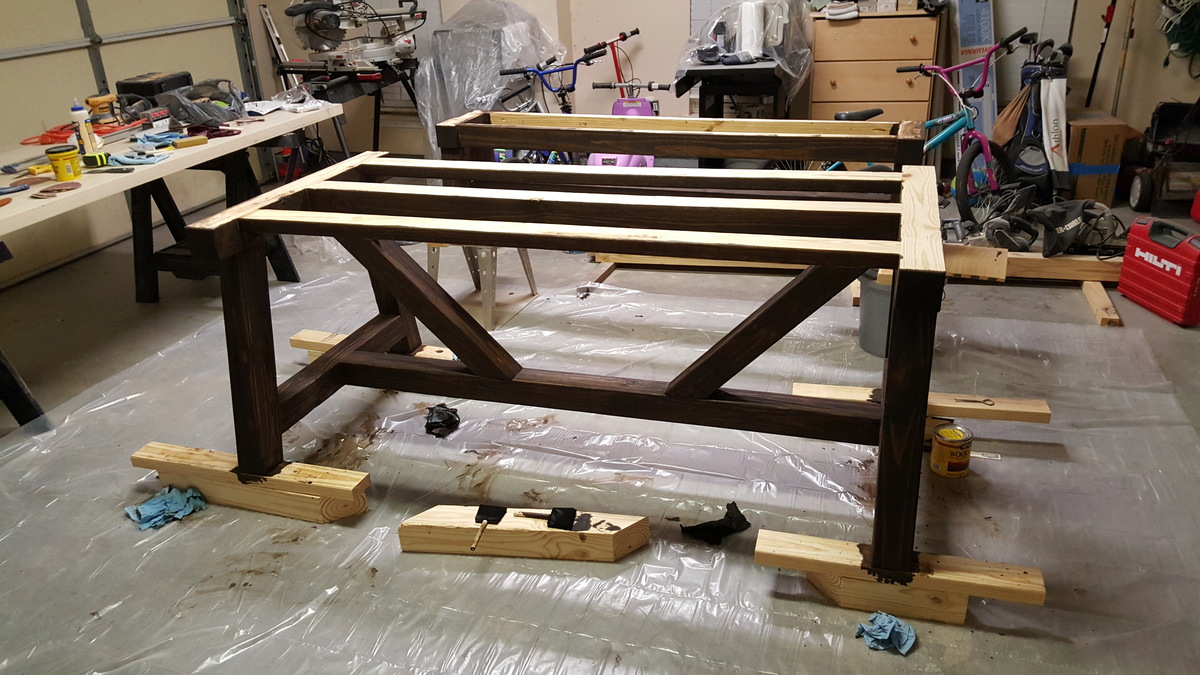
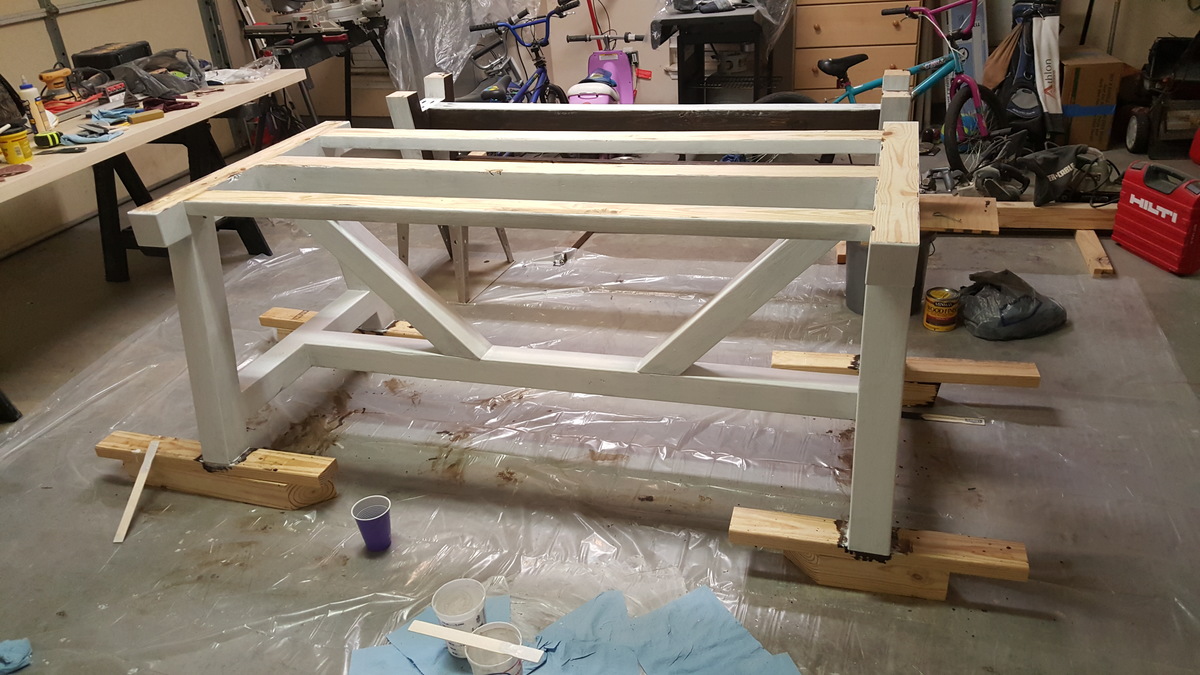
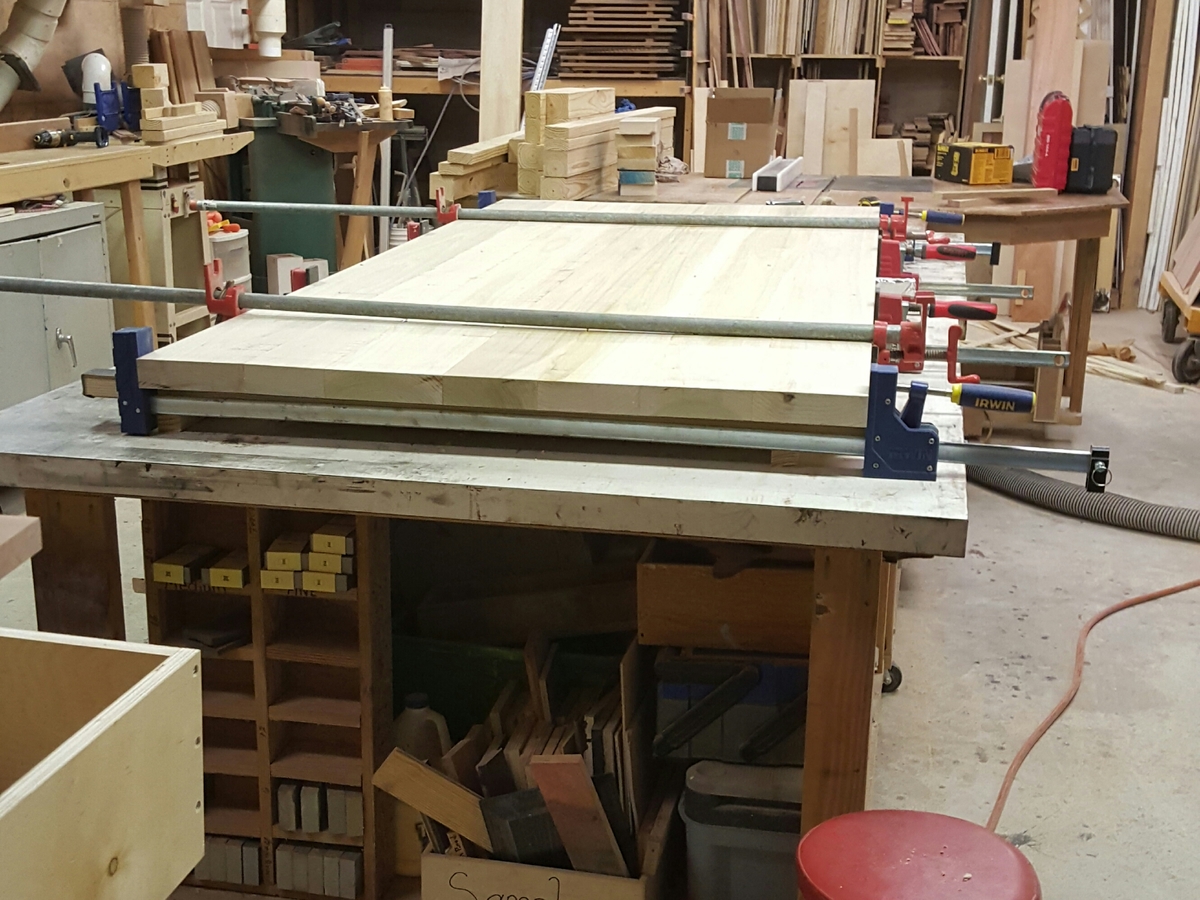
When my wife and I moved we sold our old table and was in need of a new one. We've shopped around and didn't like anything we were seeing. She insisted that I build one but I never had any time due to my job. In the past it would've been easy because that's what I did was woodworking. So she researched and came across ana's plan and she loved it. Keeping the wife happy I made time. I made my material list & cutlist but was concerned with using construction grade lumber for the tabletop due to over time it likes to cup and warp in the right conditions. Instead I went with 8/4 Poplar which will make a solid tabletop and last forever. I was only able to work weekends on the project so it was finished in a month which I added the total hours & it equaled 1 week. She loves her new table and is now shopping for 5 canvas chairs to go with it. With her posting on social media I now have requests to build more. Where will I find the time?
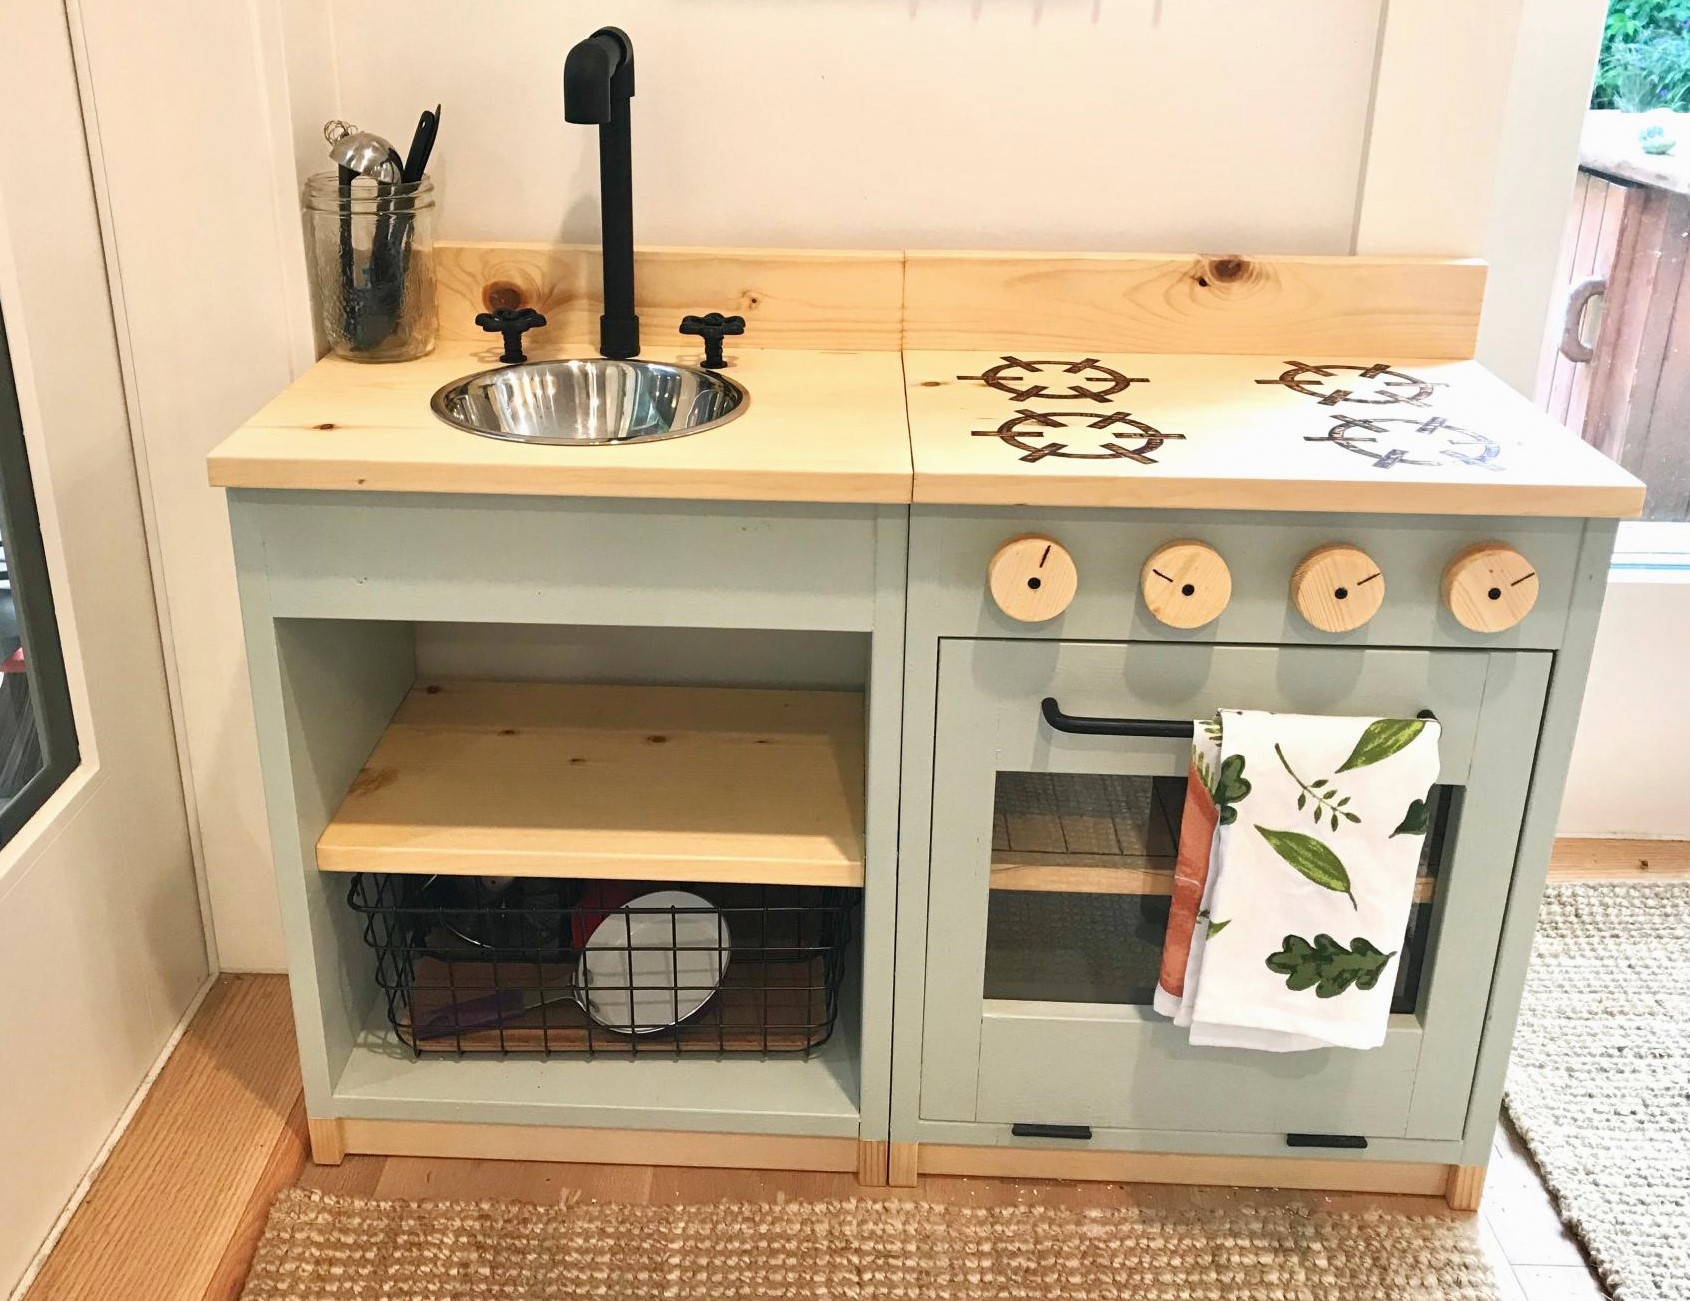
Loved the plans from the site Ana! I got inspired seeing all the lovely play kitchens that everyone had created! Thought I'd share the one I've made for my little one as well, she loves it!
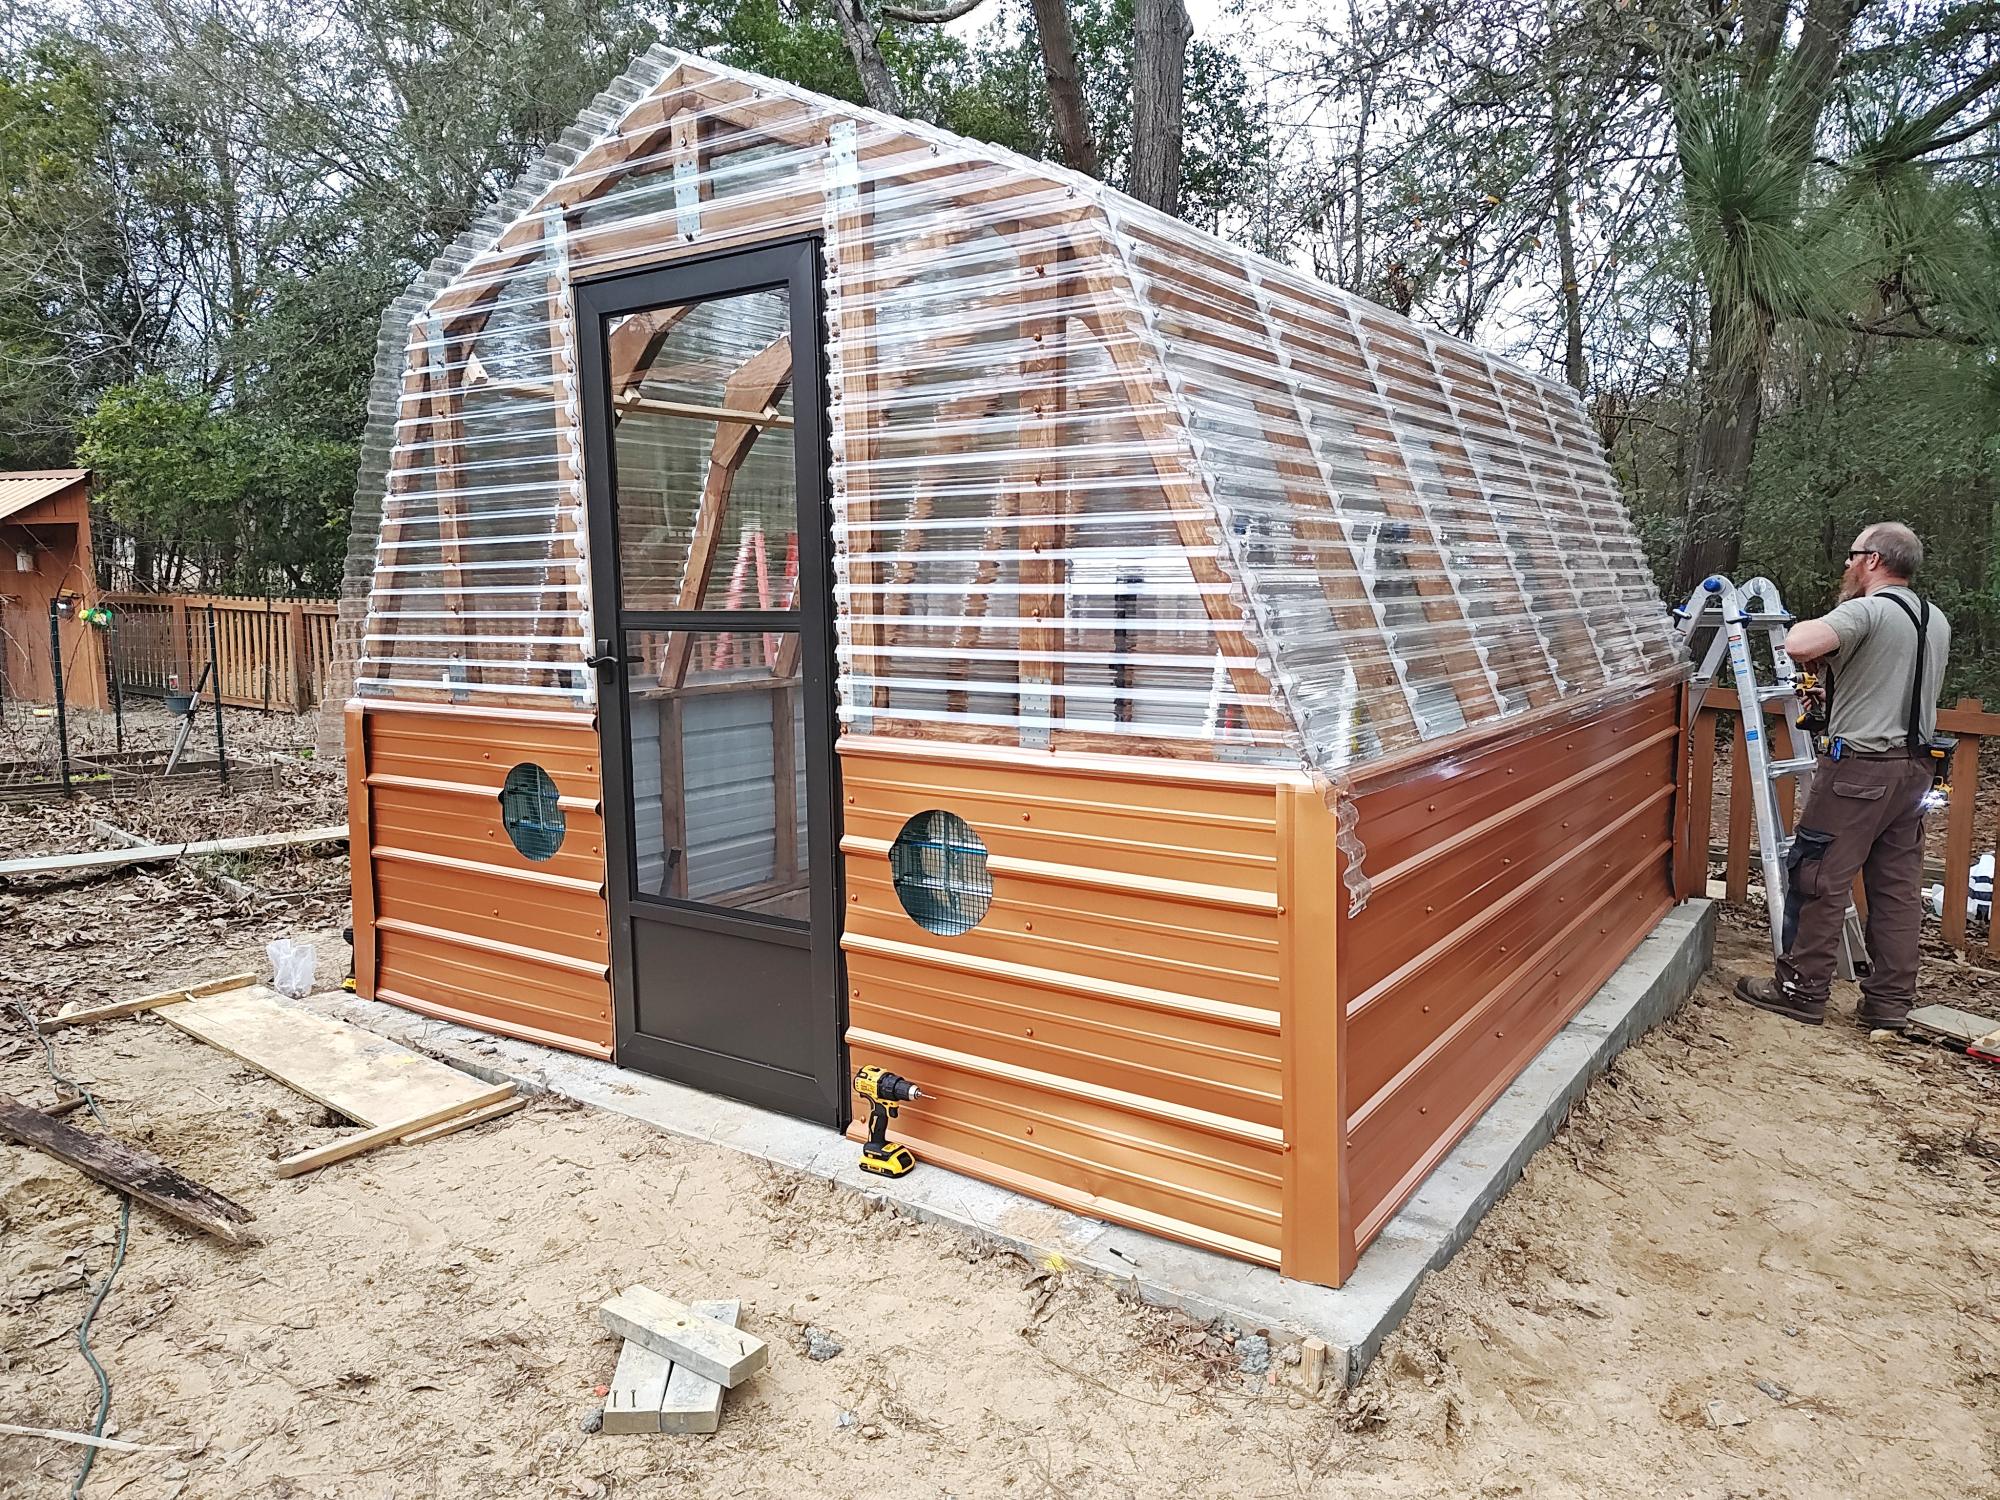
A variation on your barn style greenhouse. I included a cooling fan with intake louvers, temperature controlled heater and grow lights. Also used anchor bolts embedded in concrete footer.
David Buckmaster d [email protected]
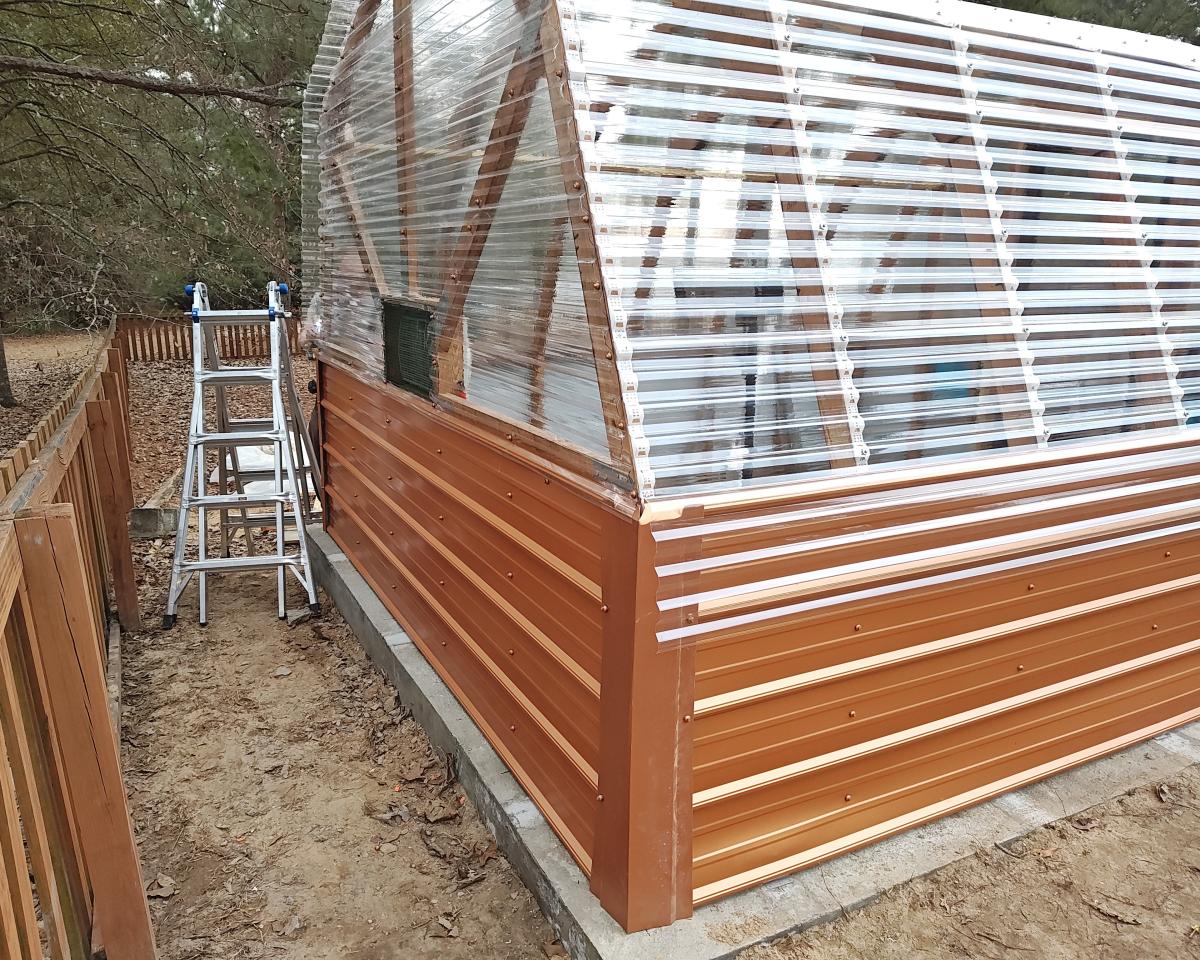
Quick and easy to build, the bit that took the longest was the stain, I used a maple satain and varnish.
The original (project from That's My Letter) was longer, deeper, and had two doors. I needed something smaller and narrower to fit the space and hold a tv. By cutting down the size, I was also able to make this using 1 sheet of 3/4 inch plywood instead of 2. After painting the aluminum hardware and pulley wheels, I learned that I probably could have had them powder coated by a family member. Unless you don't mind some of the paint coming off where the wheels rub, I would suggest trying powder coating or some more durable finish. Since it's a rustic look, I guess it doesn't matter all that much if some paint comes off. I used an off-brand pocket hole jig to construct the stand.
Tue, 05/20/2014 - 21:11
Thanks! You can find all the details on the hardware on the original tutorial at http://eastcoastcreativeblog.com/2014/03/sliding-door-console-table-tut…
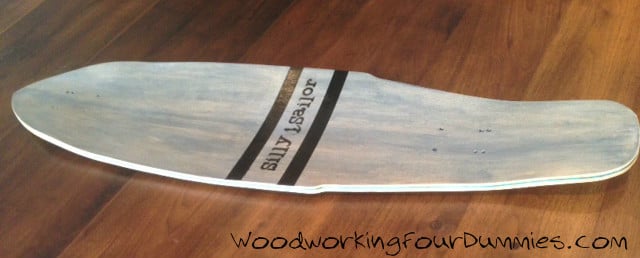
I decided to make longboards as birthday gifts for some of my other nephews. I had made a regular skateboard prior, but I decided to try longboards this time and I'll probably make one for myself down the road since I'm a bit of a child myself :)
More details and photos on my blog:
http://www.woodworkingfourdummies.com/blog/diy-longboard
Cheers,
Ian
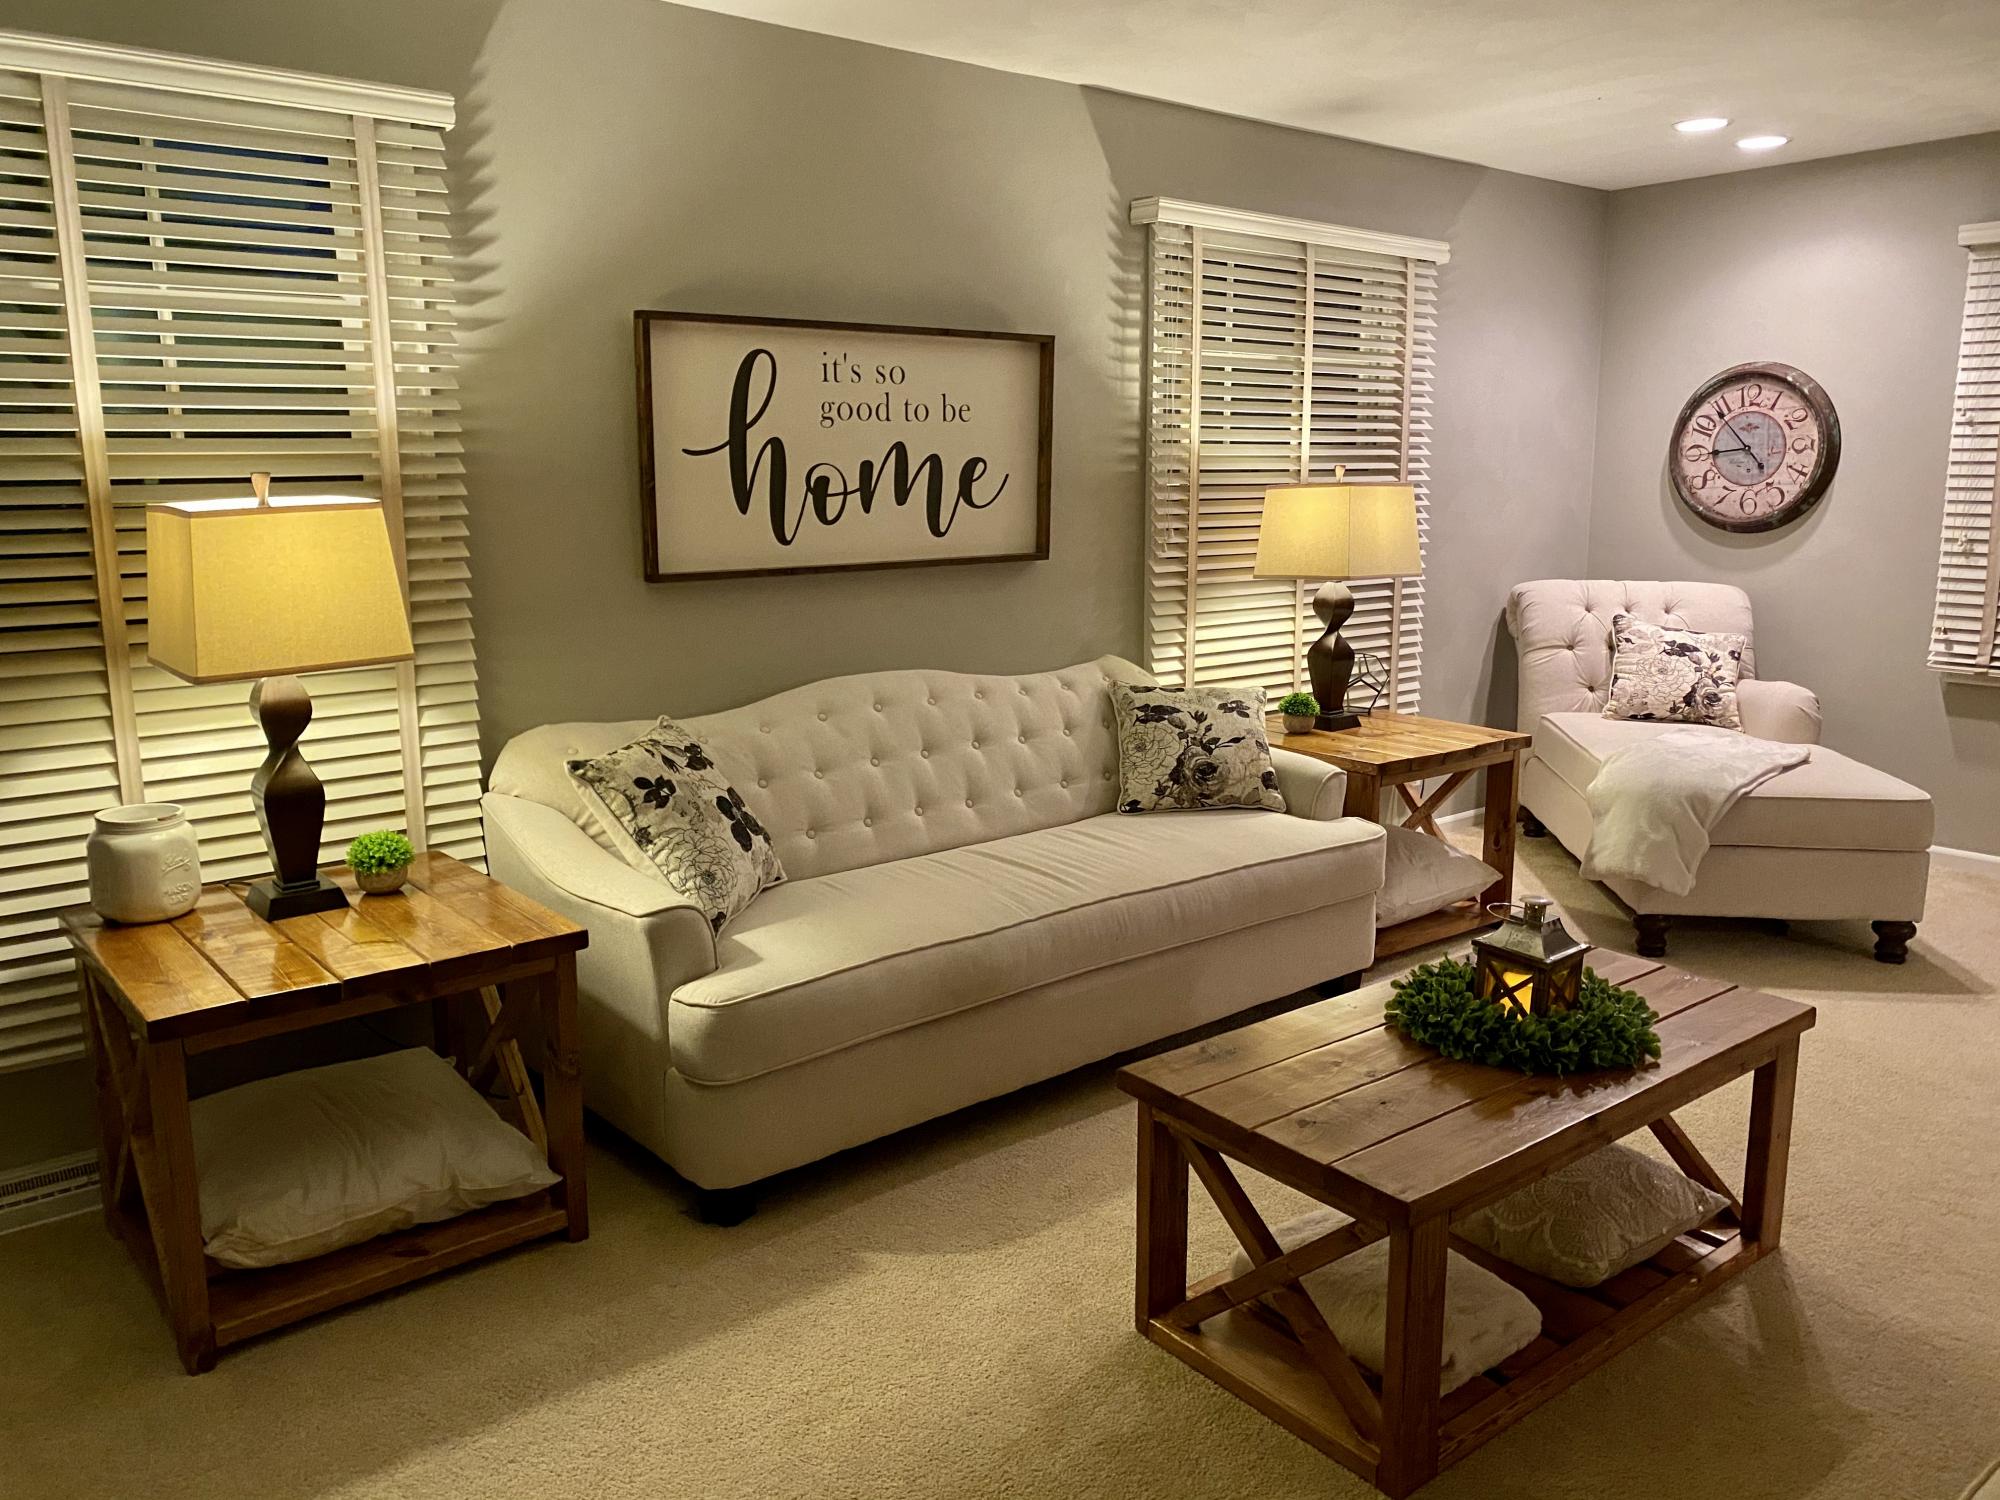
I needed a new hobby and missed going out on date nights with my husband. So we decided to take on a new hobby that we could do together while filling in our new home. (We moved from Florida to Illinois a year ago) I came across the farmhouse coffee table plans and just loved how it looked. With it being a beginner project I was pretty optimistic about how it would come out. I watched videos on how to stain and use polyurethane on YouTube to complete the project. I love that my husband and I built these together and that we can finish furnishing our new house with things we built.
Our cost was higher cause I added in everything it took to get to the end result.
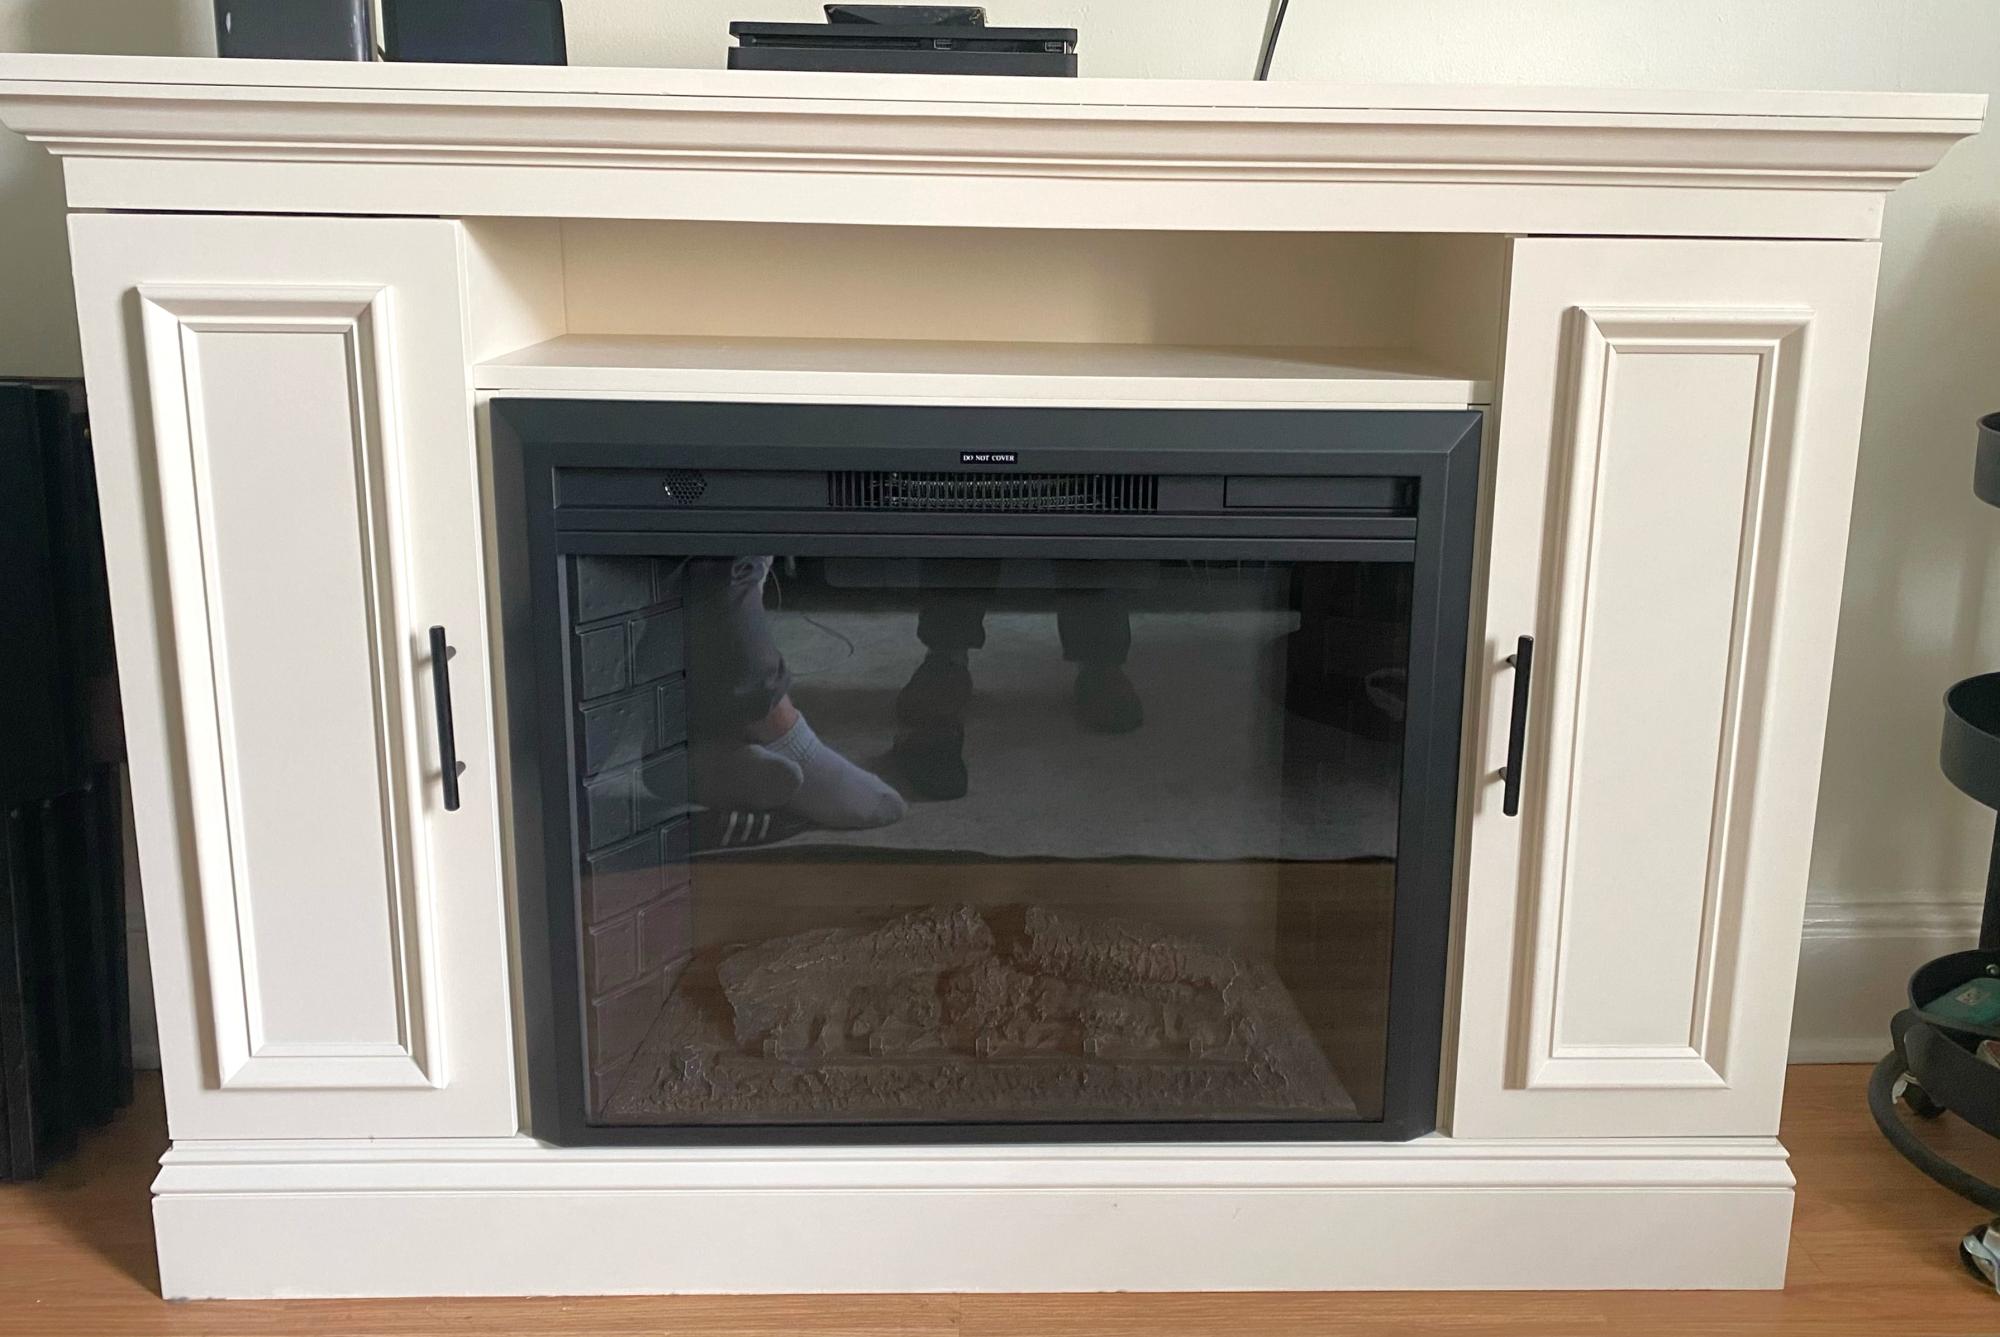
Faux fireplace.
Tim from Philly
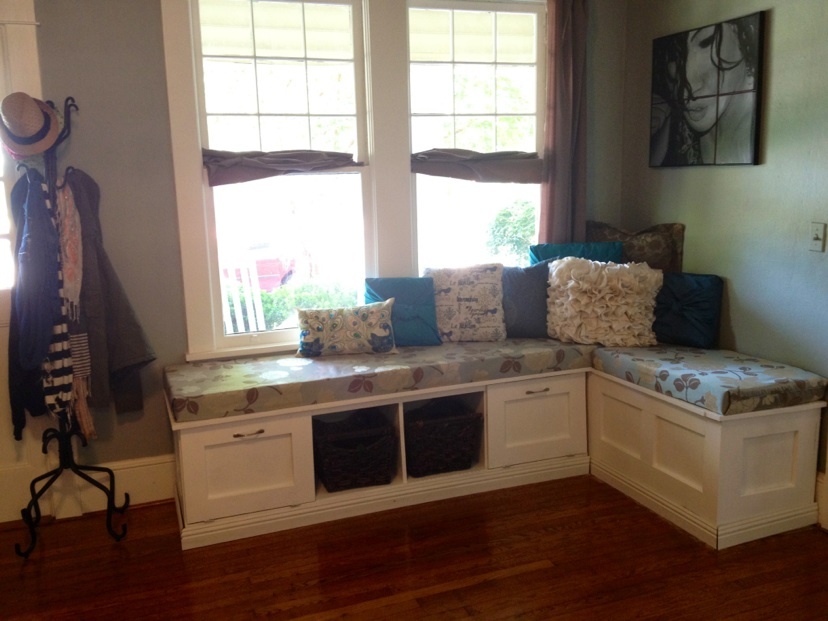
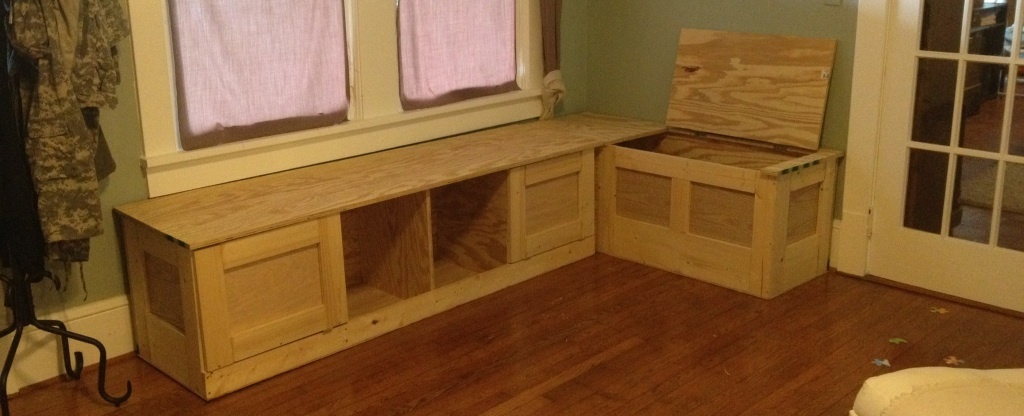
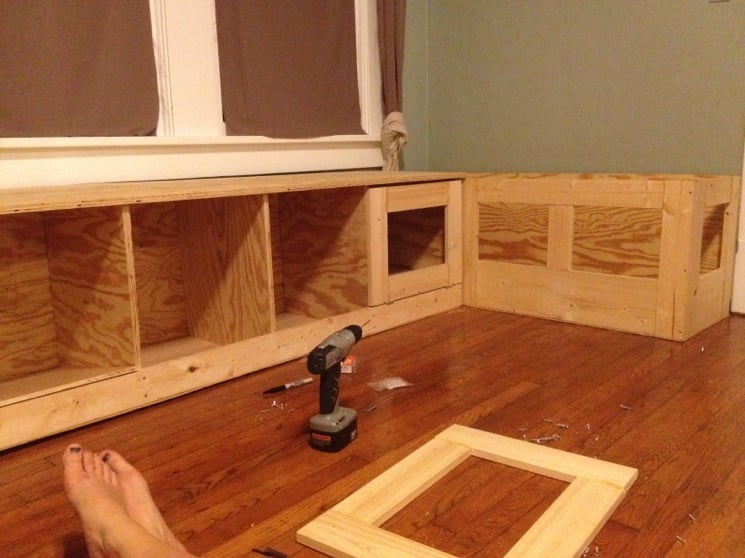
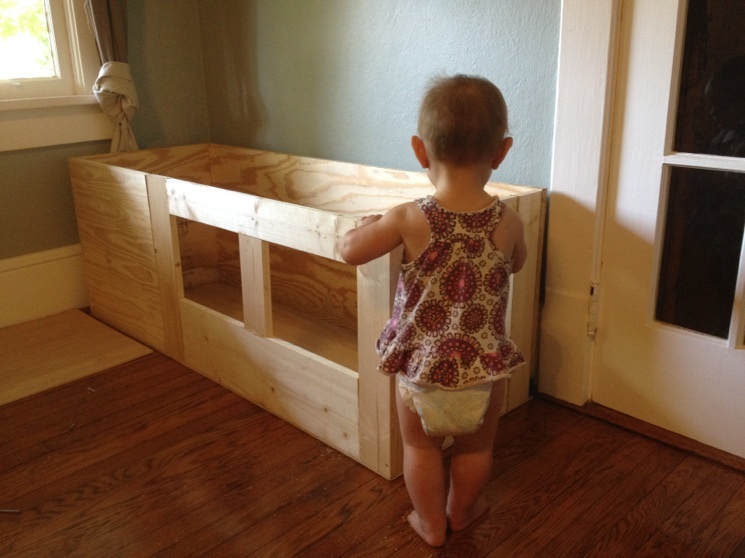
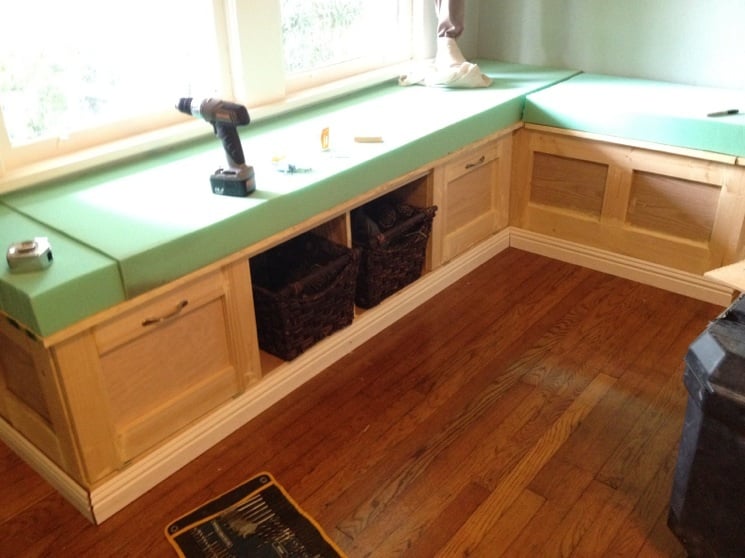
I needed a way to turn my large, open, many-windowed Foyer into a functioning entry way. I Loved Mimi's Storage Bench, but i needed the dimensions to be very different, so I used her bench as a concept guide.
The bench under the window is 76 inches, and the bench on the right that backs into the corner is 58 inches. I used a four inch foam pad. I think the pad might have been excessive- it cost a lot more money than I had intended to spend.
This is my third building project. Previously I built some bookshelves and a set of shed doors.
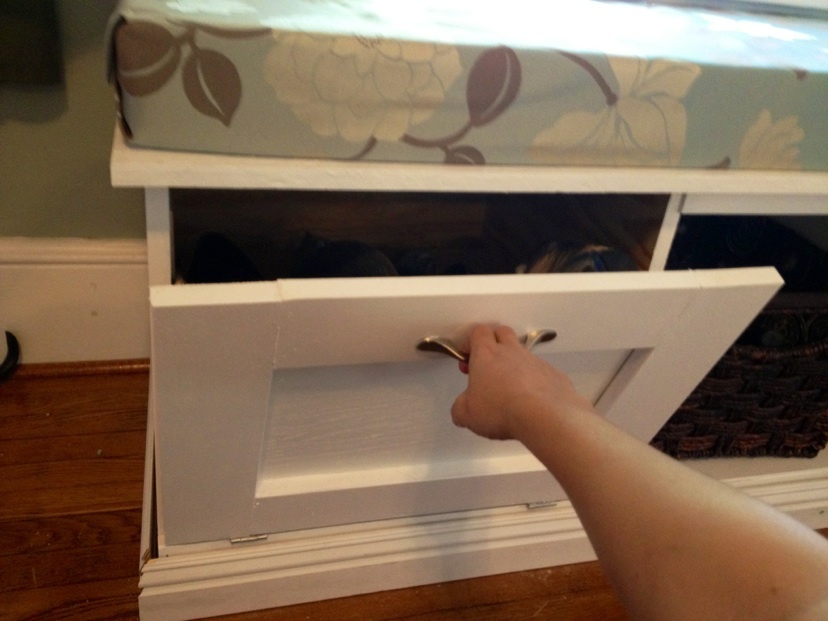
I would consider this an entry level project. The hinges on my fold down drawers were the most aggravating part. The whole project would have been much easier if I had been able to use Mimi's exact plans. As it was, I had to make my own cut list and purchase list.
Thu, 10/25/2012 - 06:46
I love this! It is exactly what I need in my kitchen. Do you happen to have the cut and purchase list you made?? Or other instructions? Thanks!!
Mon, 11/12/2012 - 11:28
This is fabulous! I would like to do this with a similar space that I have.
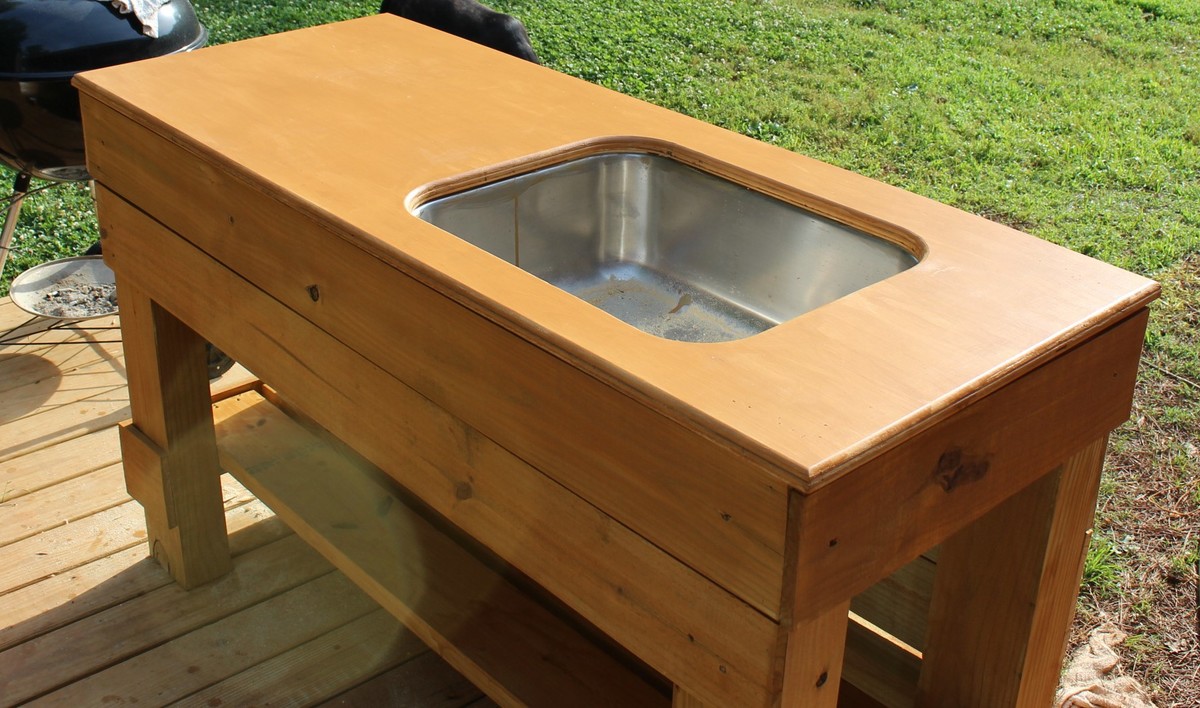
So I was searching for a sturdy table to build for outdoors next to my grill. I came across your plans for the Gaby kitchen Island and decided to give it a shot. Off to the lumber yard and as I am new to this I accidentally bought 4X6 's for the legs which threw me off just a little. No harm no foul just had to adjust and just made it that much more sturdy. I also wanted something I could use to throw some "beverages" into and decided on a basic stainless steel kitchen sink. Put in some plumbing and added a piece of 3/4" plywood to the top cut a hole with a router and routed the edges. Now I just need to close in the sides at the top and I am toying with the idea of making a butcher block as a lid for the sink. Then a little paint and it will be ready for summer.
Fri, 05/23/2014 - 07:47
I had fun making this and learned a few things along the way.
My Father and I worked on this table together and had a blast! I was searching for something that I could customize for a long wall in our Family Room and these plans and resulting table were perfect.
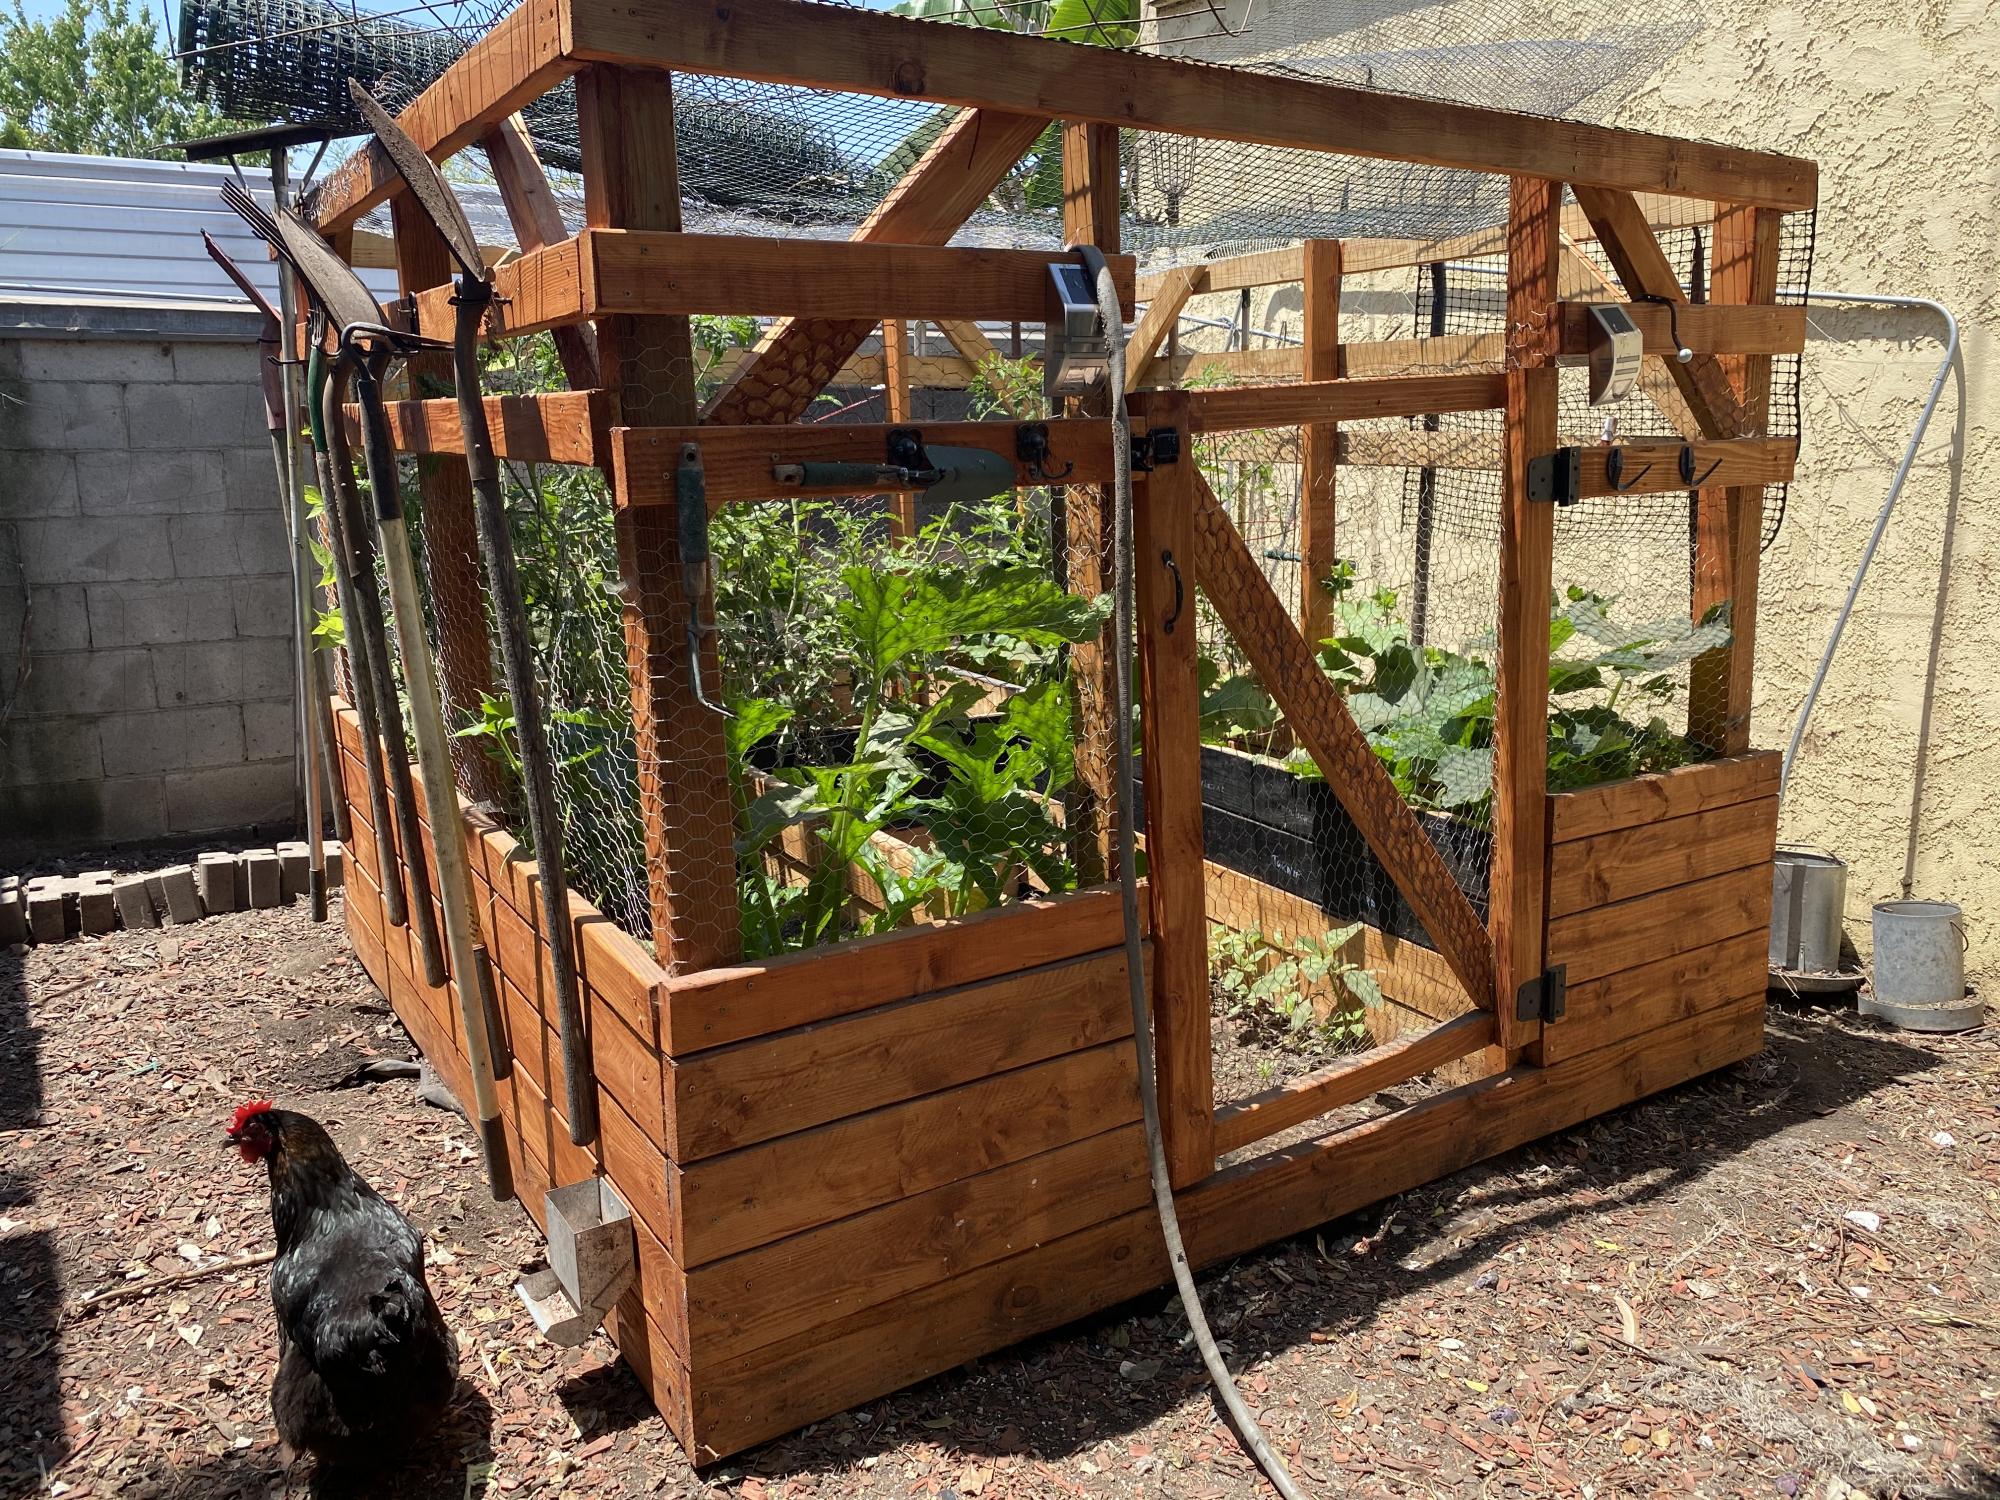
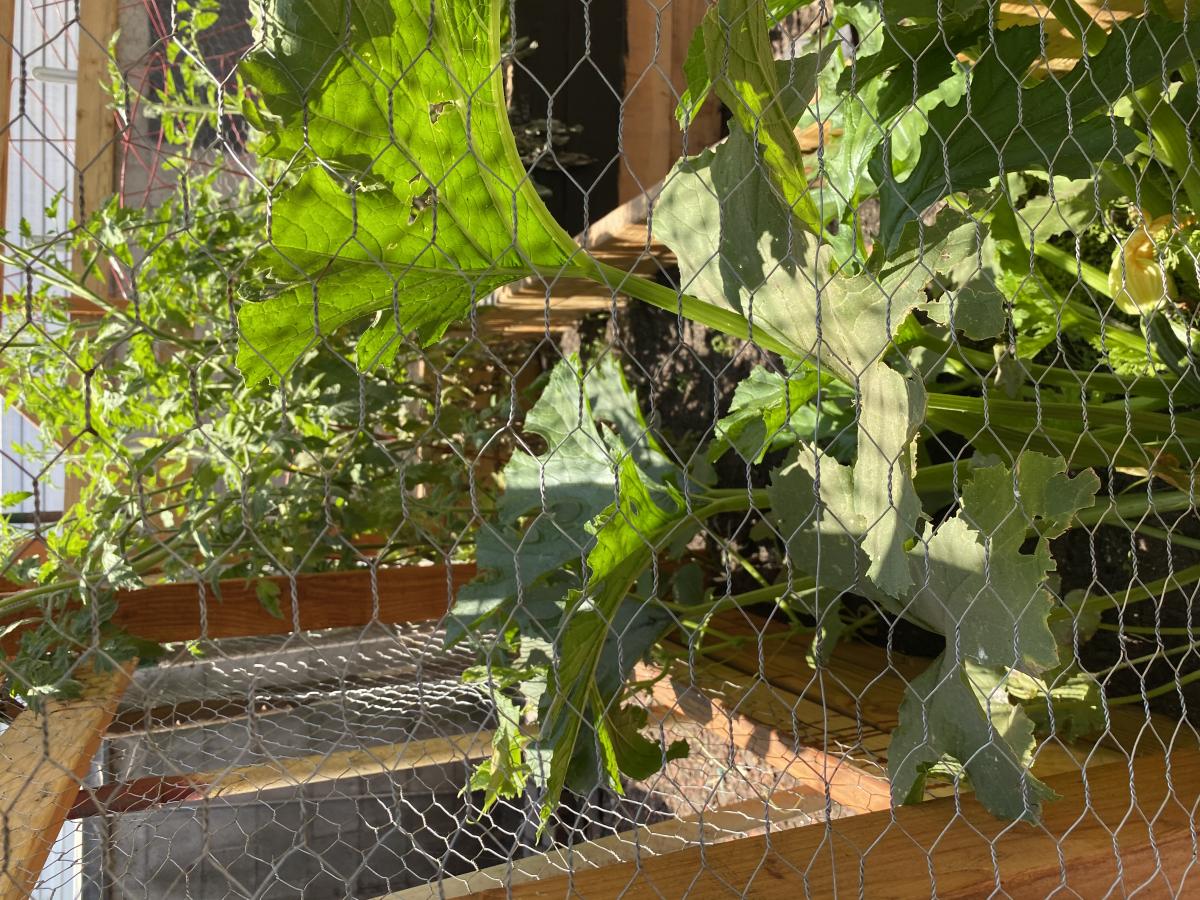
My chickens took over my garden area and being the voracious raptors they are, I needed to build a garden enclosure to keep my veggies safe. I modified a little, making my beds deeper. I also had to stretch chicken wire over the top to keep the great flyers out. I also used it as a way to organize my garden tools (which is possible because I live in Southern California with moderate temperatures and little rain. Thanks for the plans! Yvonne
