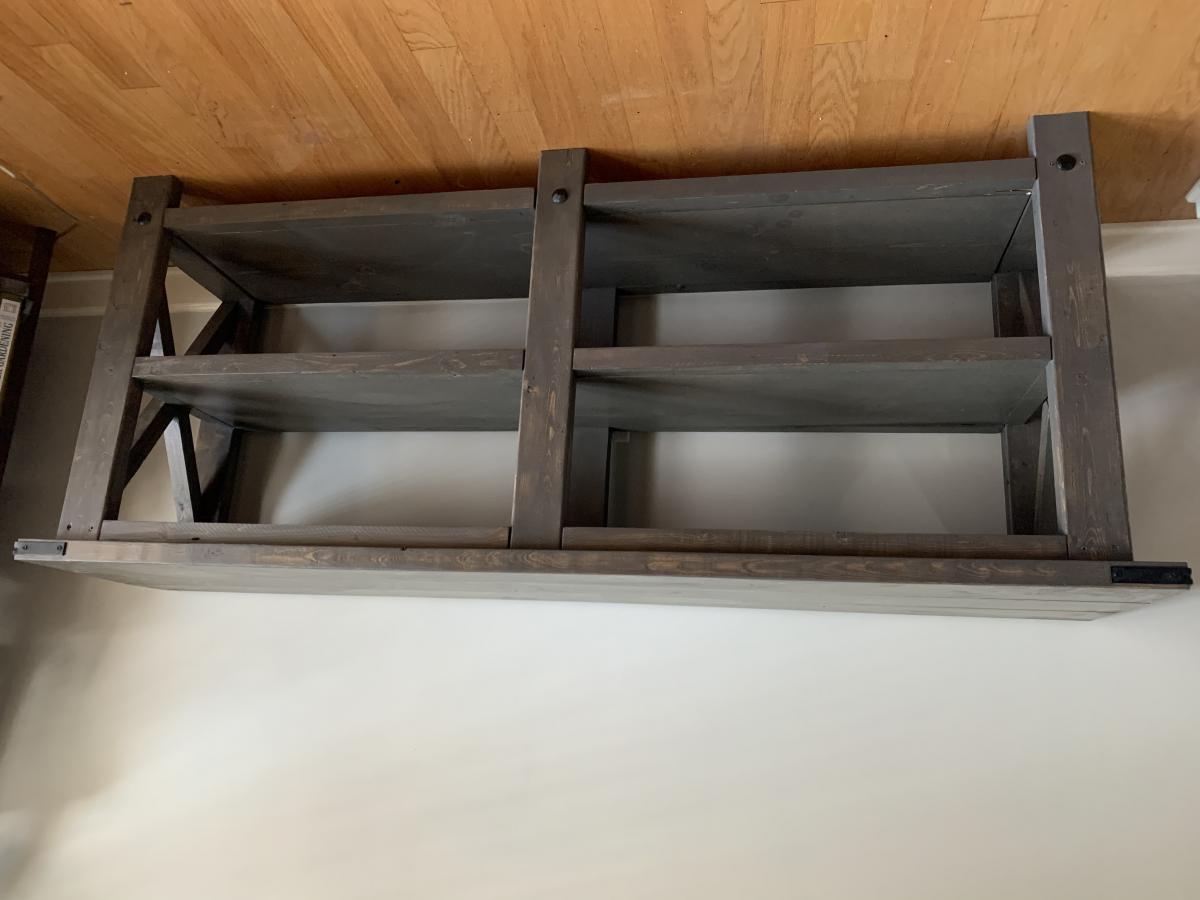
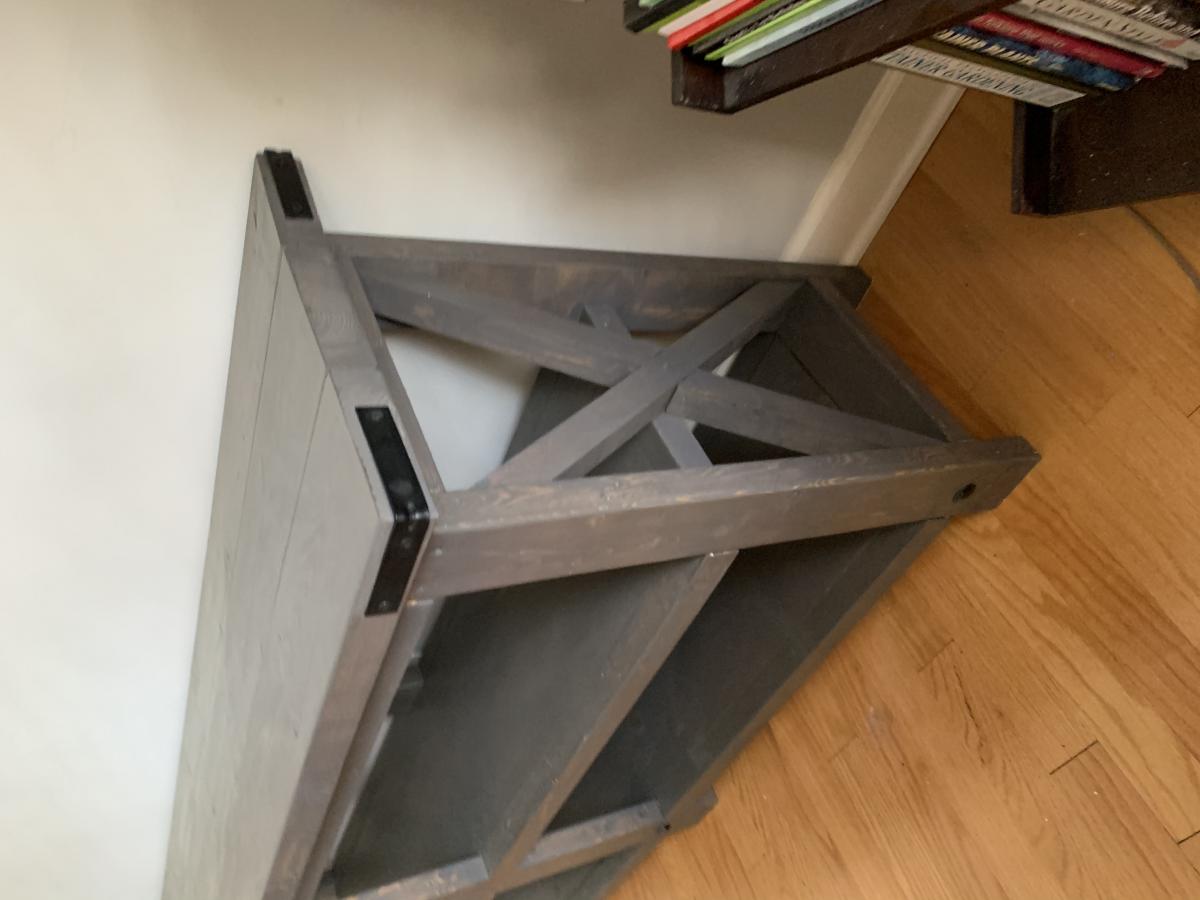
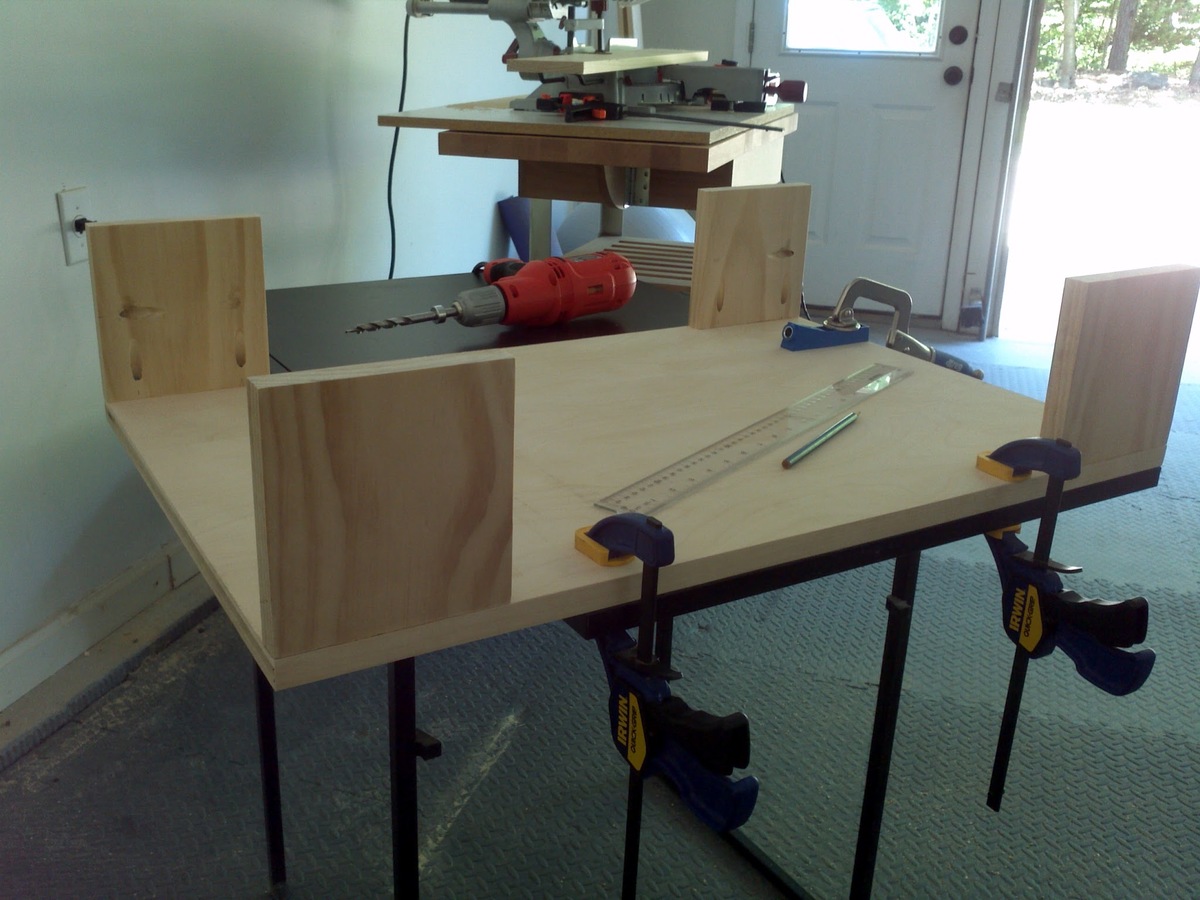
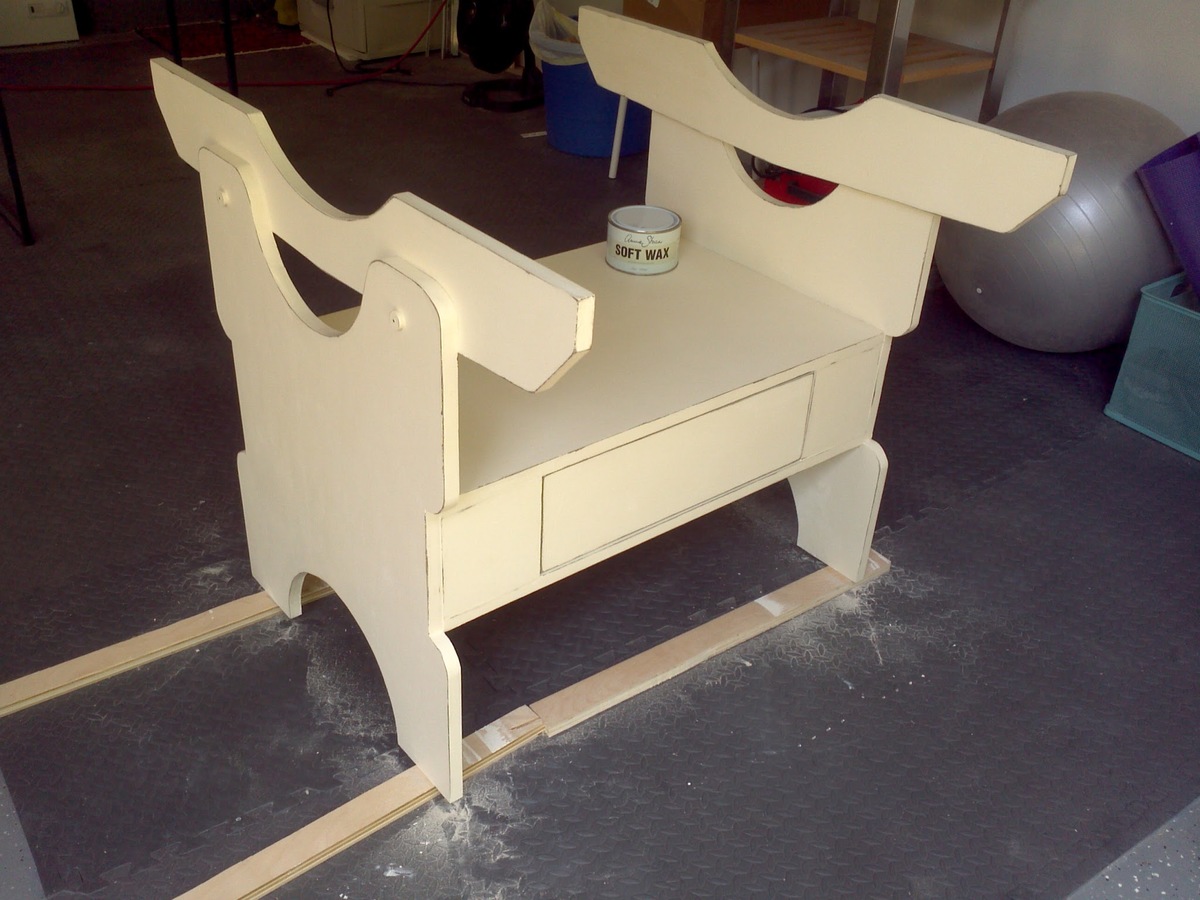
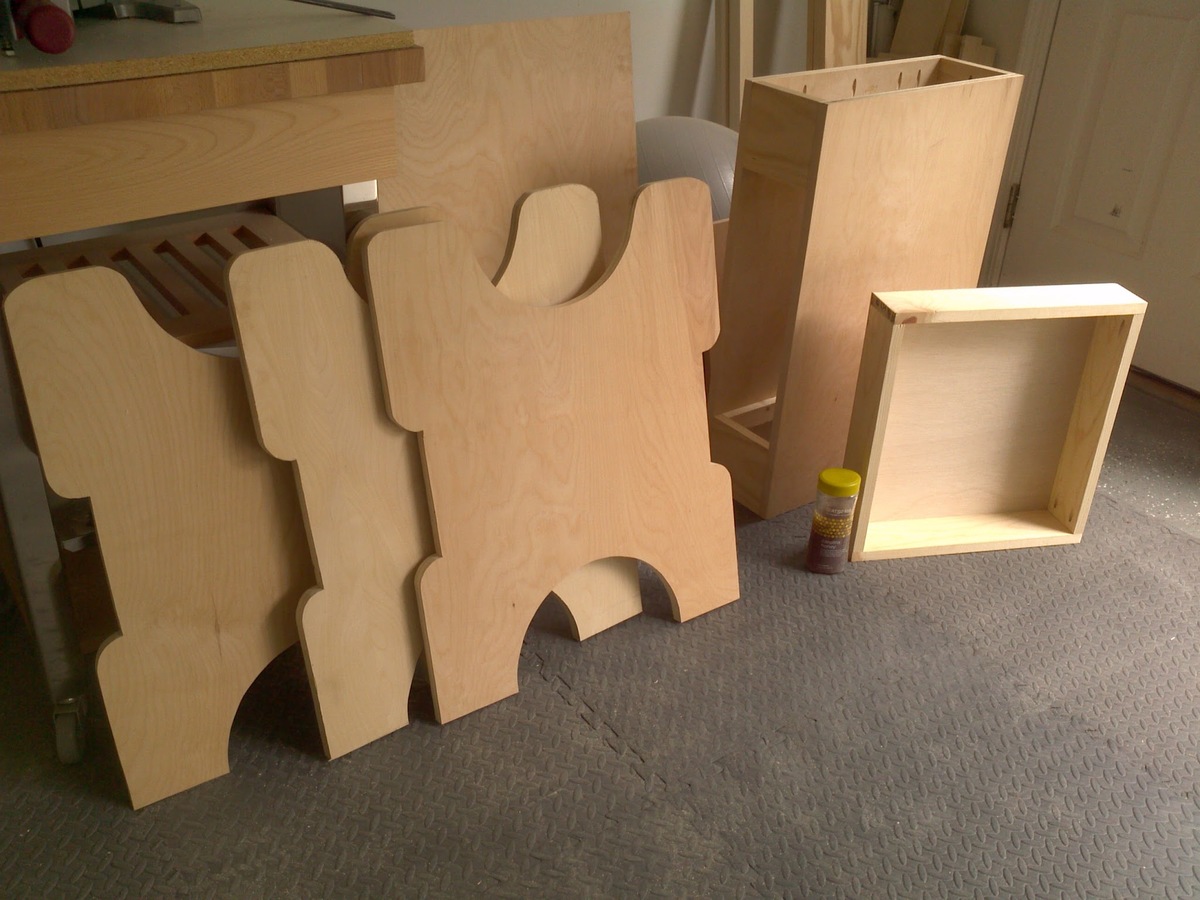
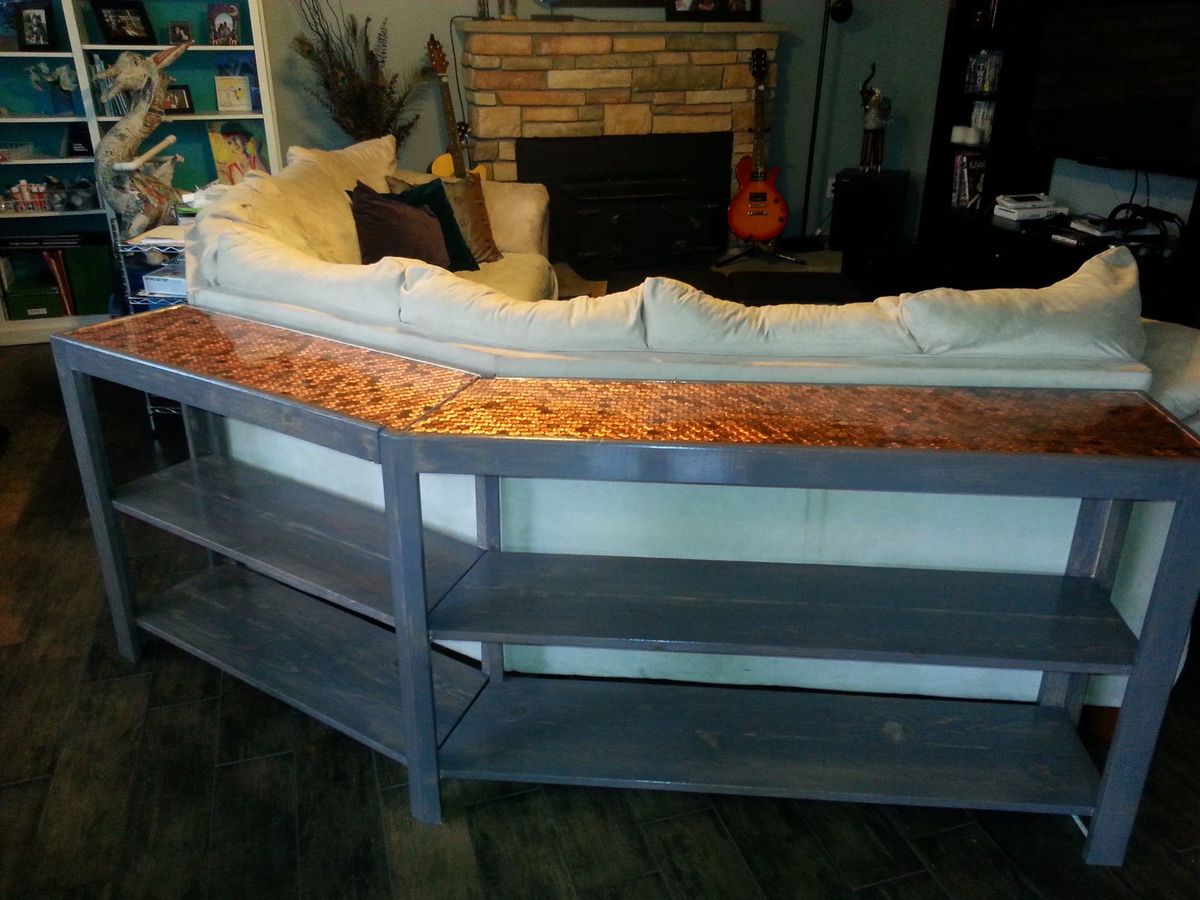
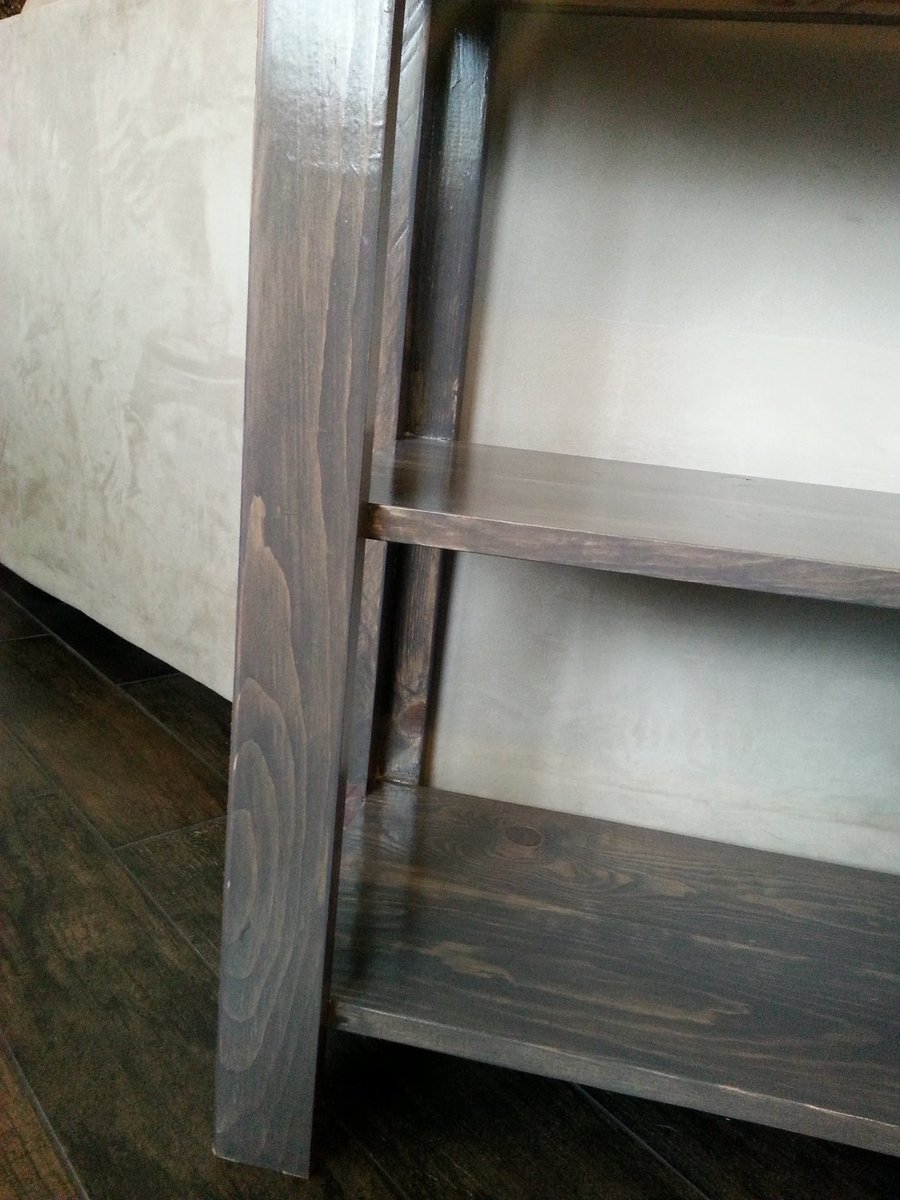
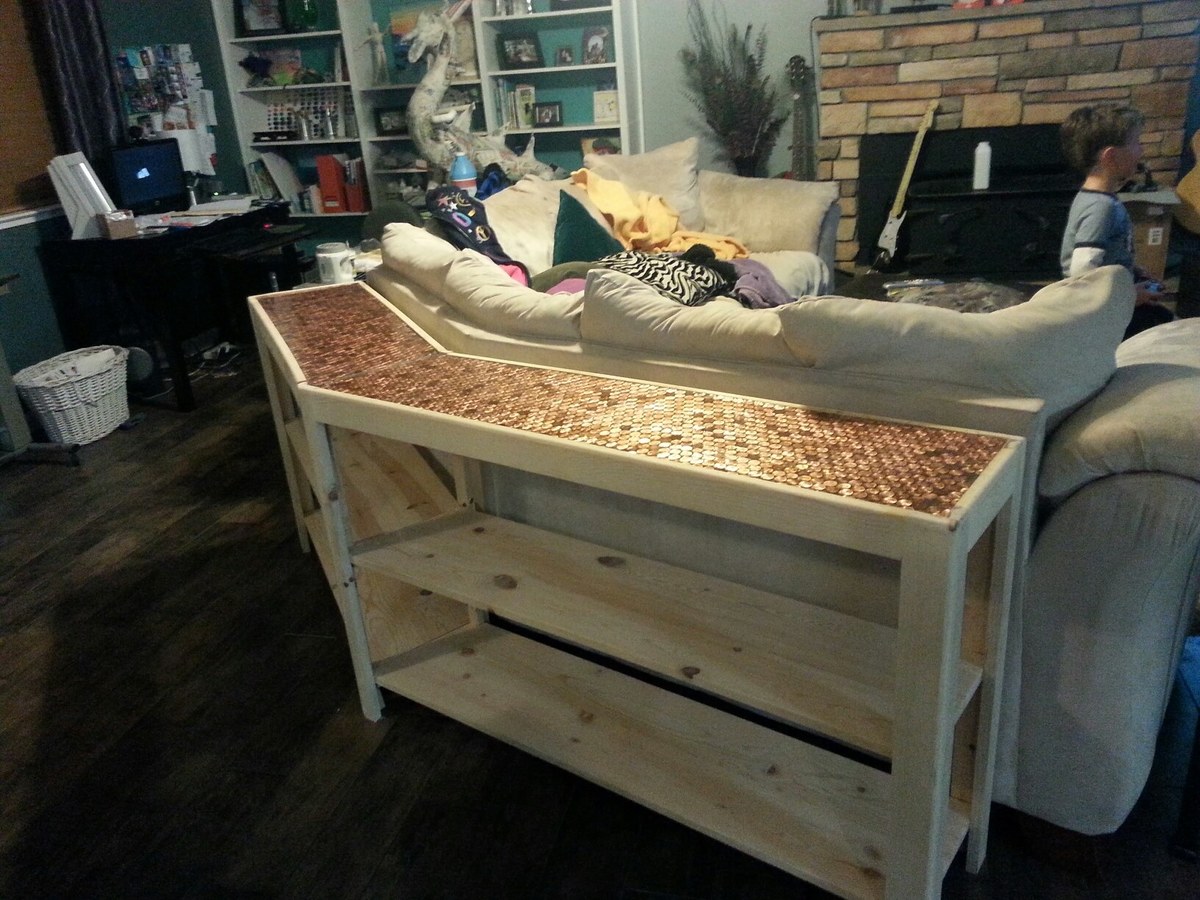
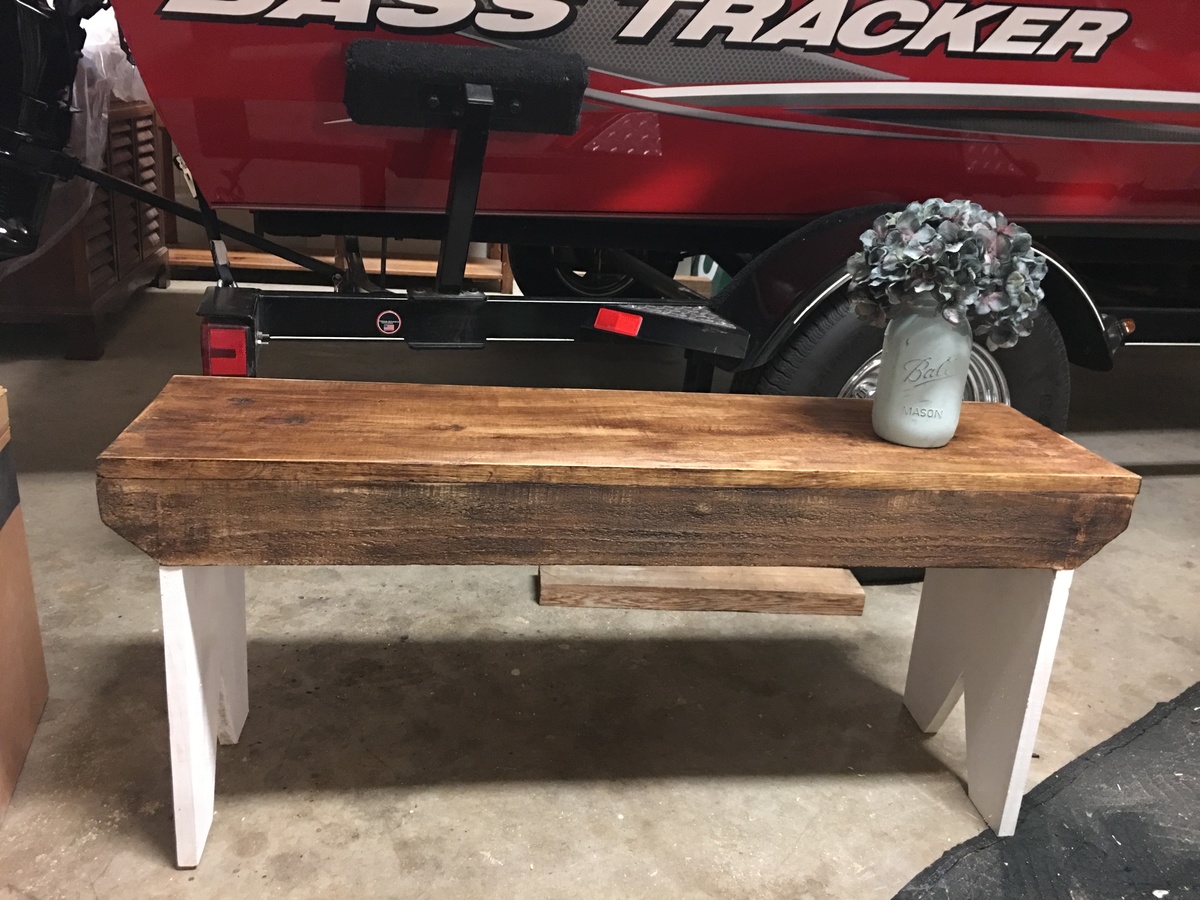
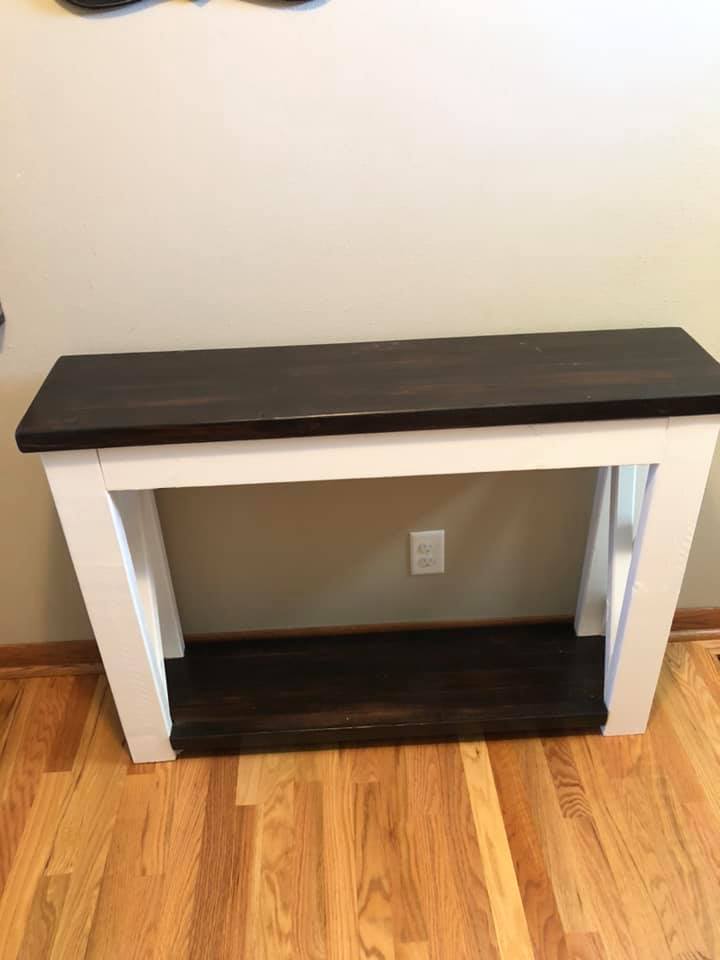
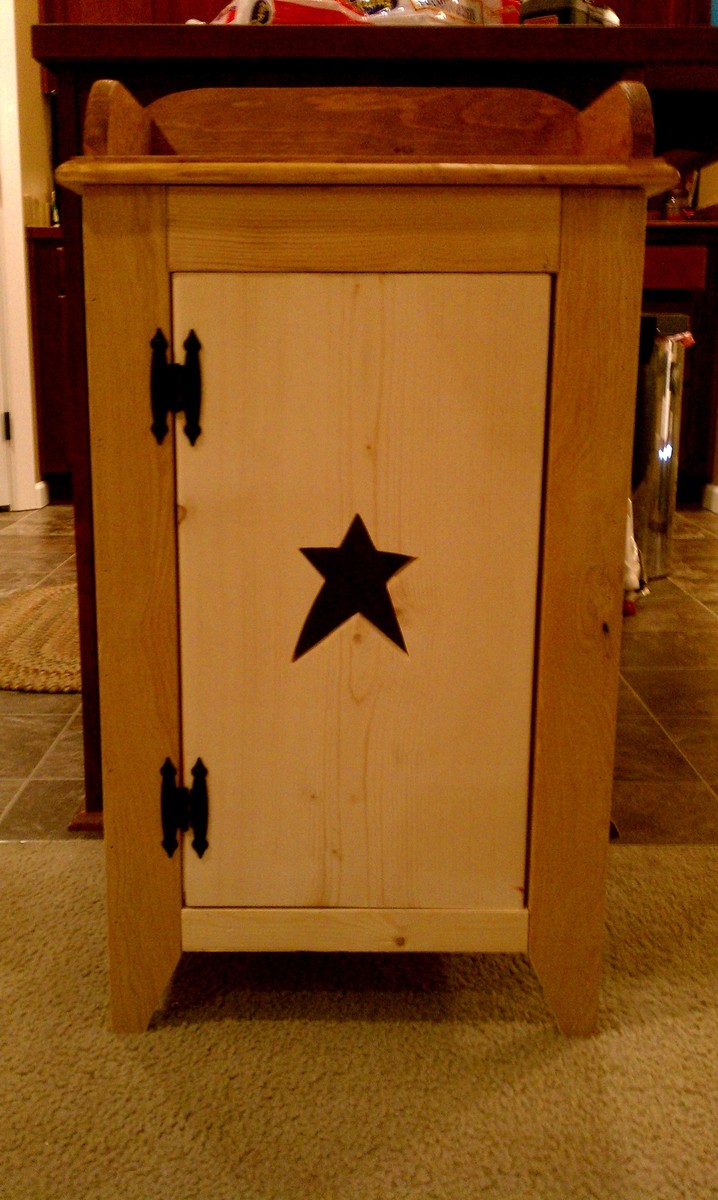
Country Primitive Side Table
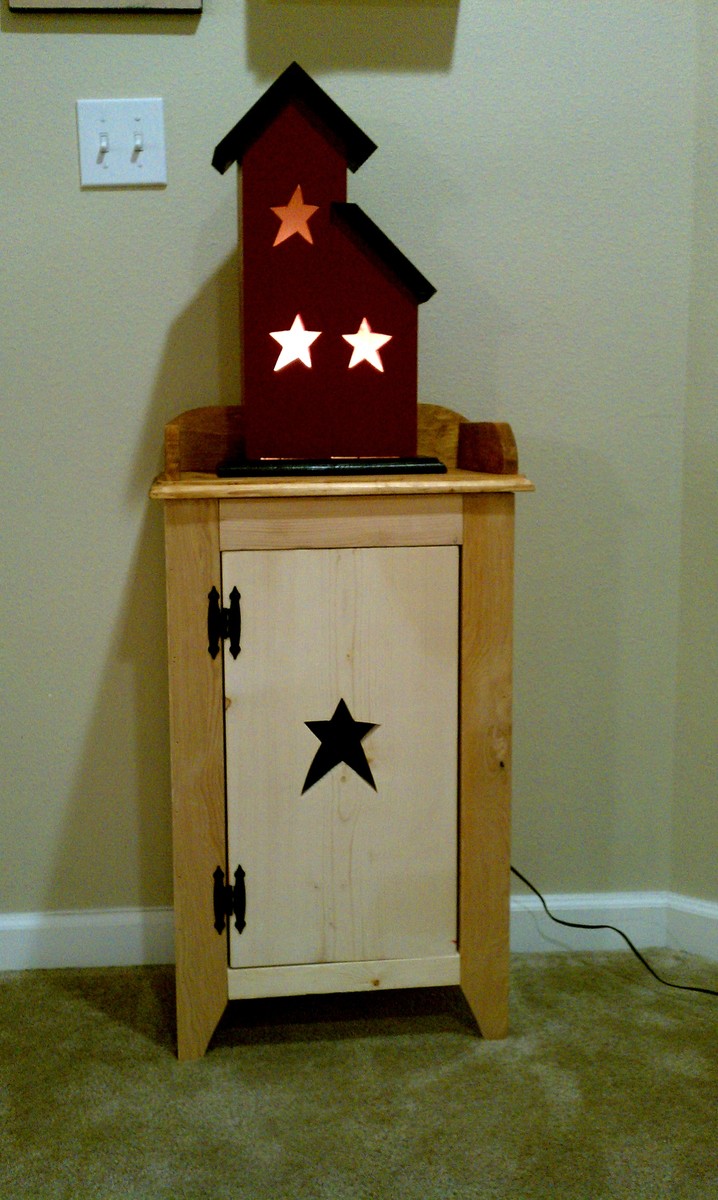
This is another one of those, honey I like this projects. My wife was doing her normal primitive furniture web surfing and came across this end table. It's really not to hard to build. All you need is 8ft of 1x10, 5ft of 1x12, 16ft of 1x3, and some spare 1x2 and 1x4. A few simple cuts and then you have a perfect little primitive side table.
Estimated Time Investment
An Hour or Two (0-2 Hours)
Finish Used
Natural
Recommended Skill Level
Beginner