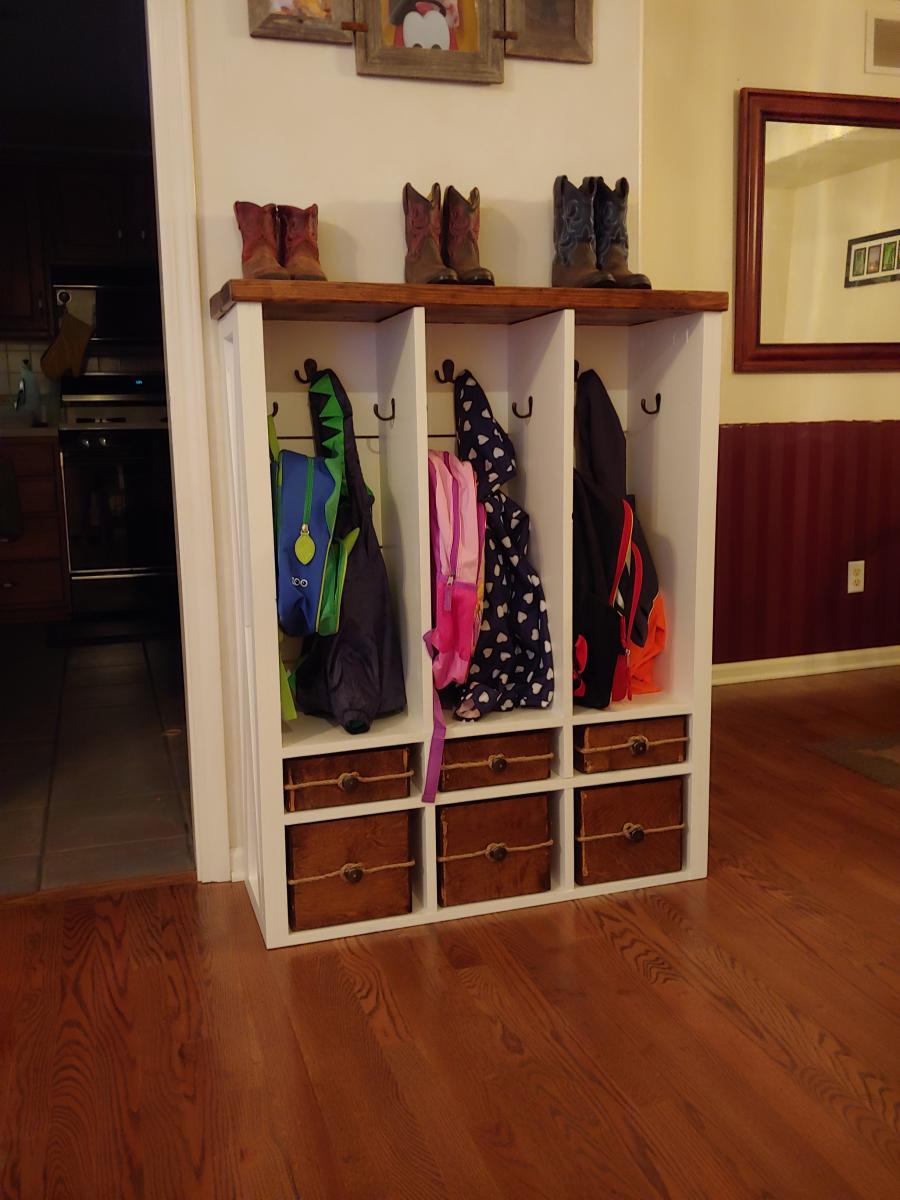
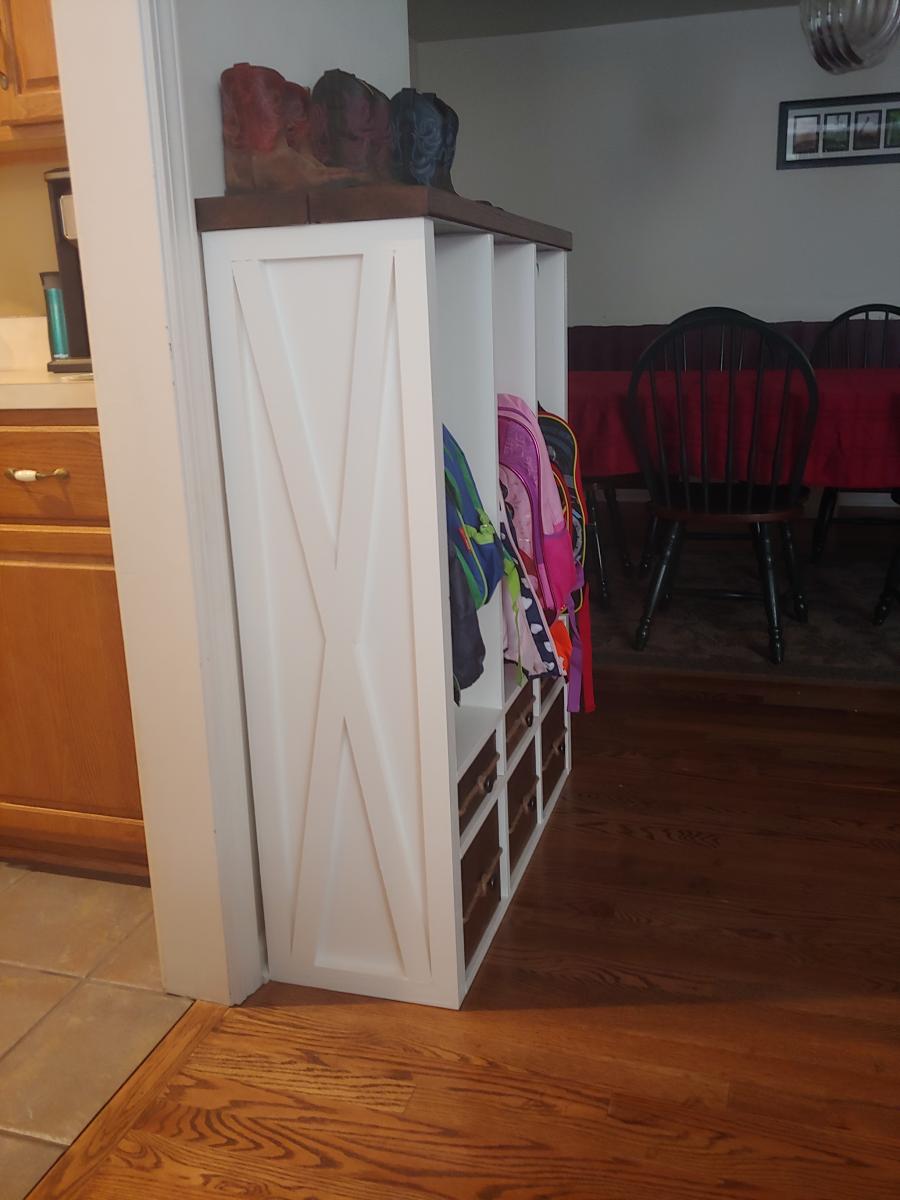
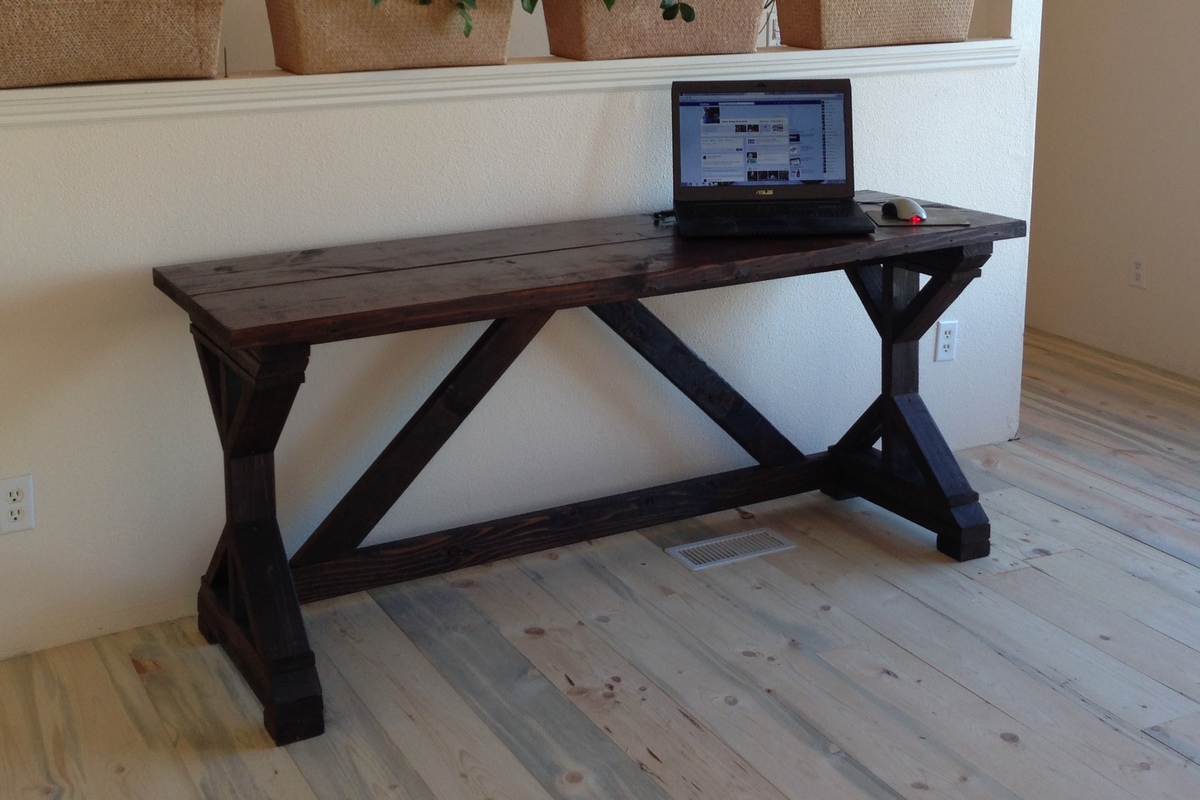
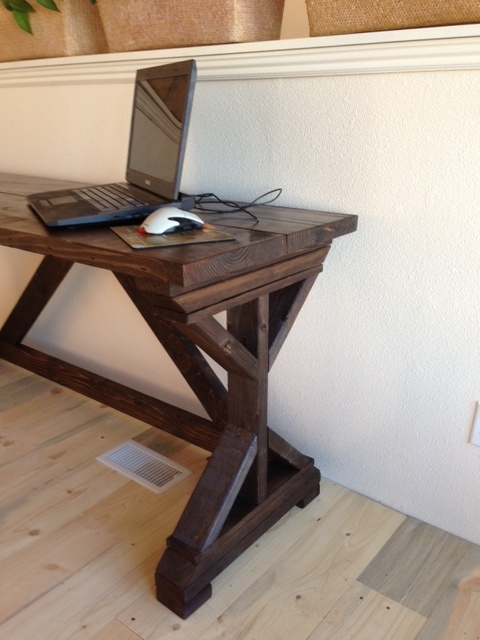
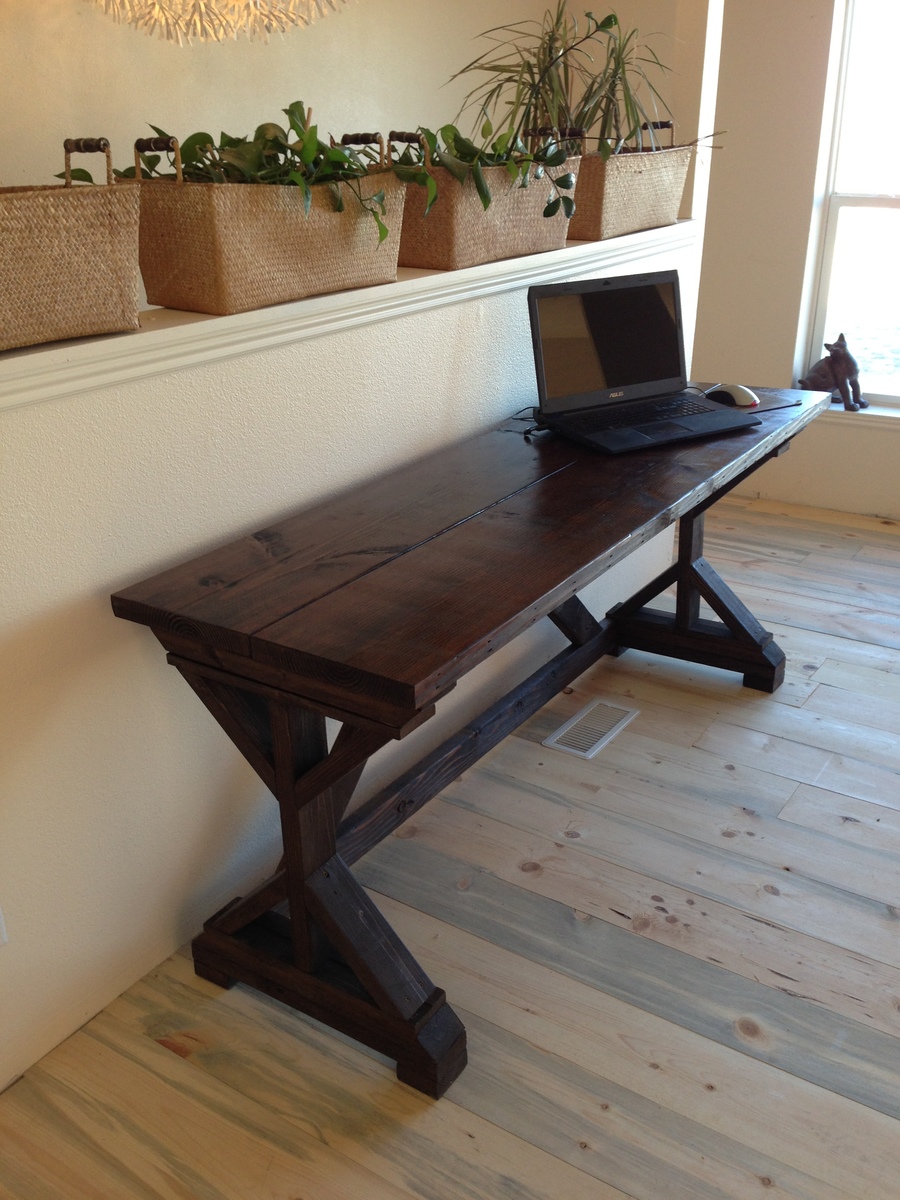
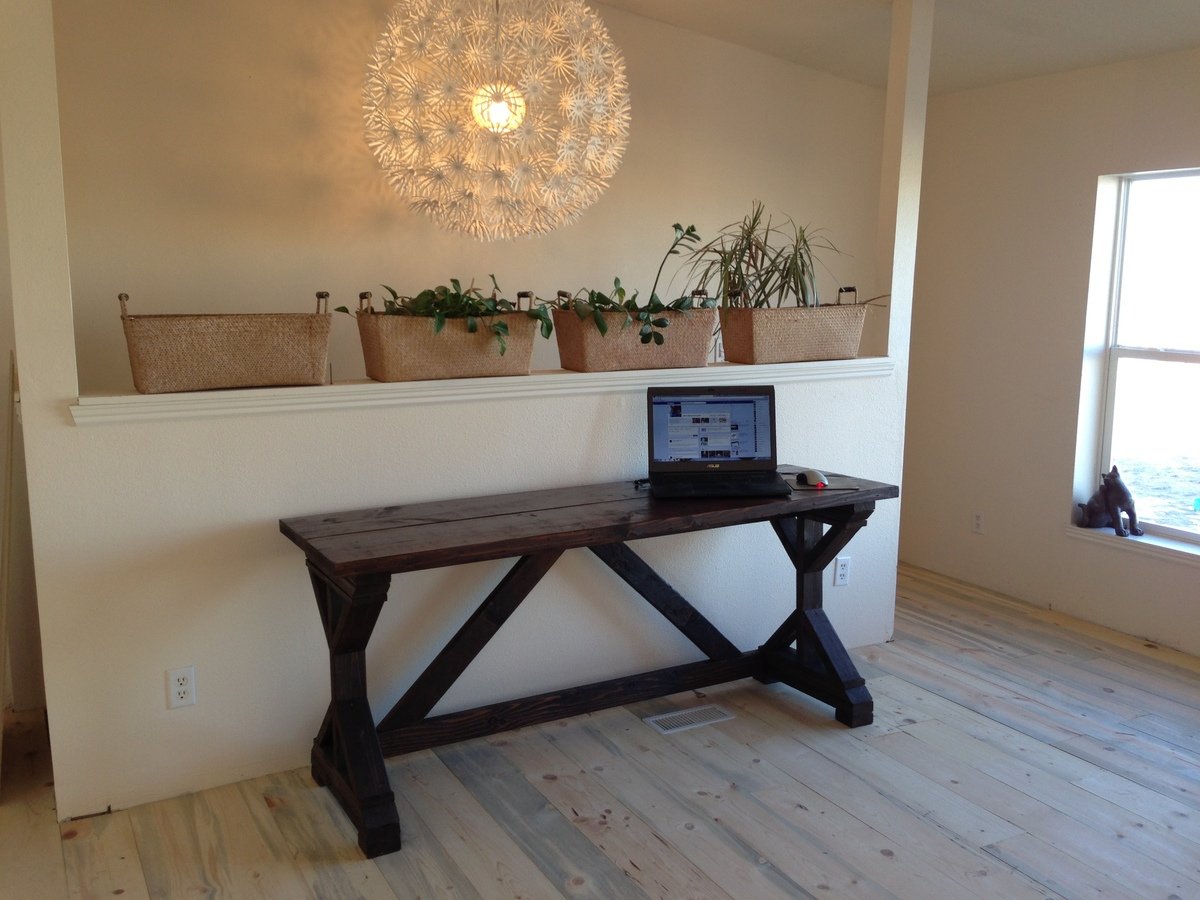
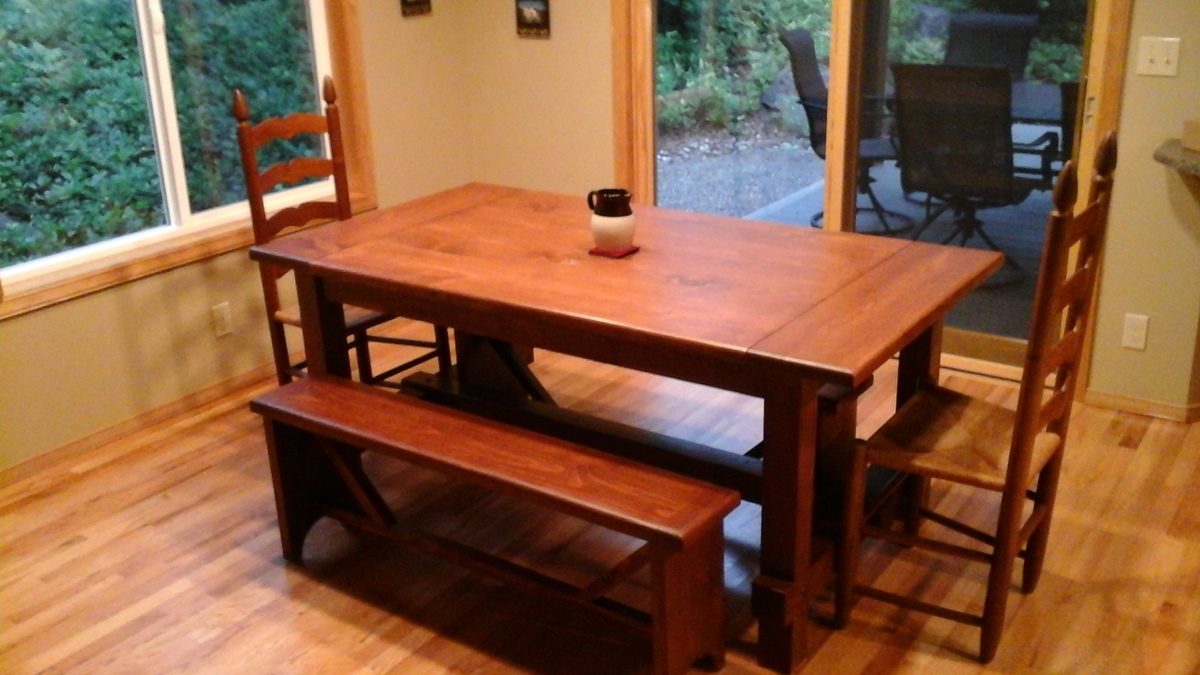
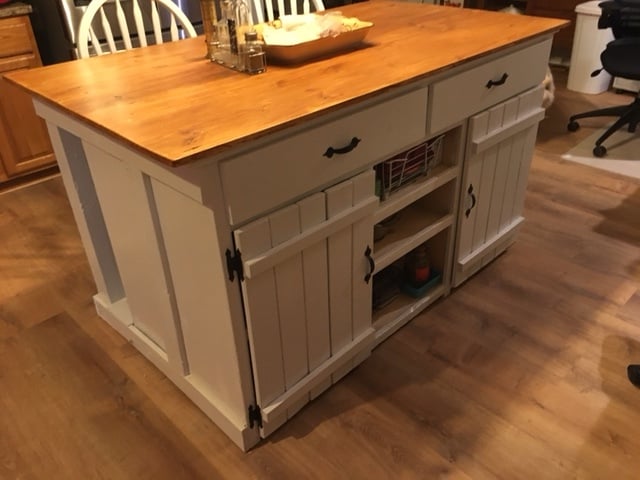
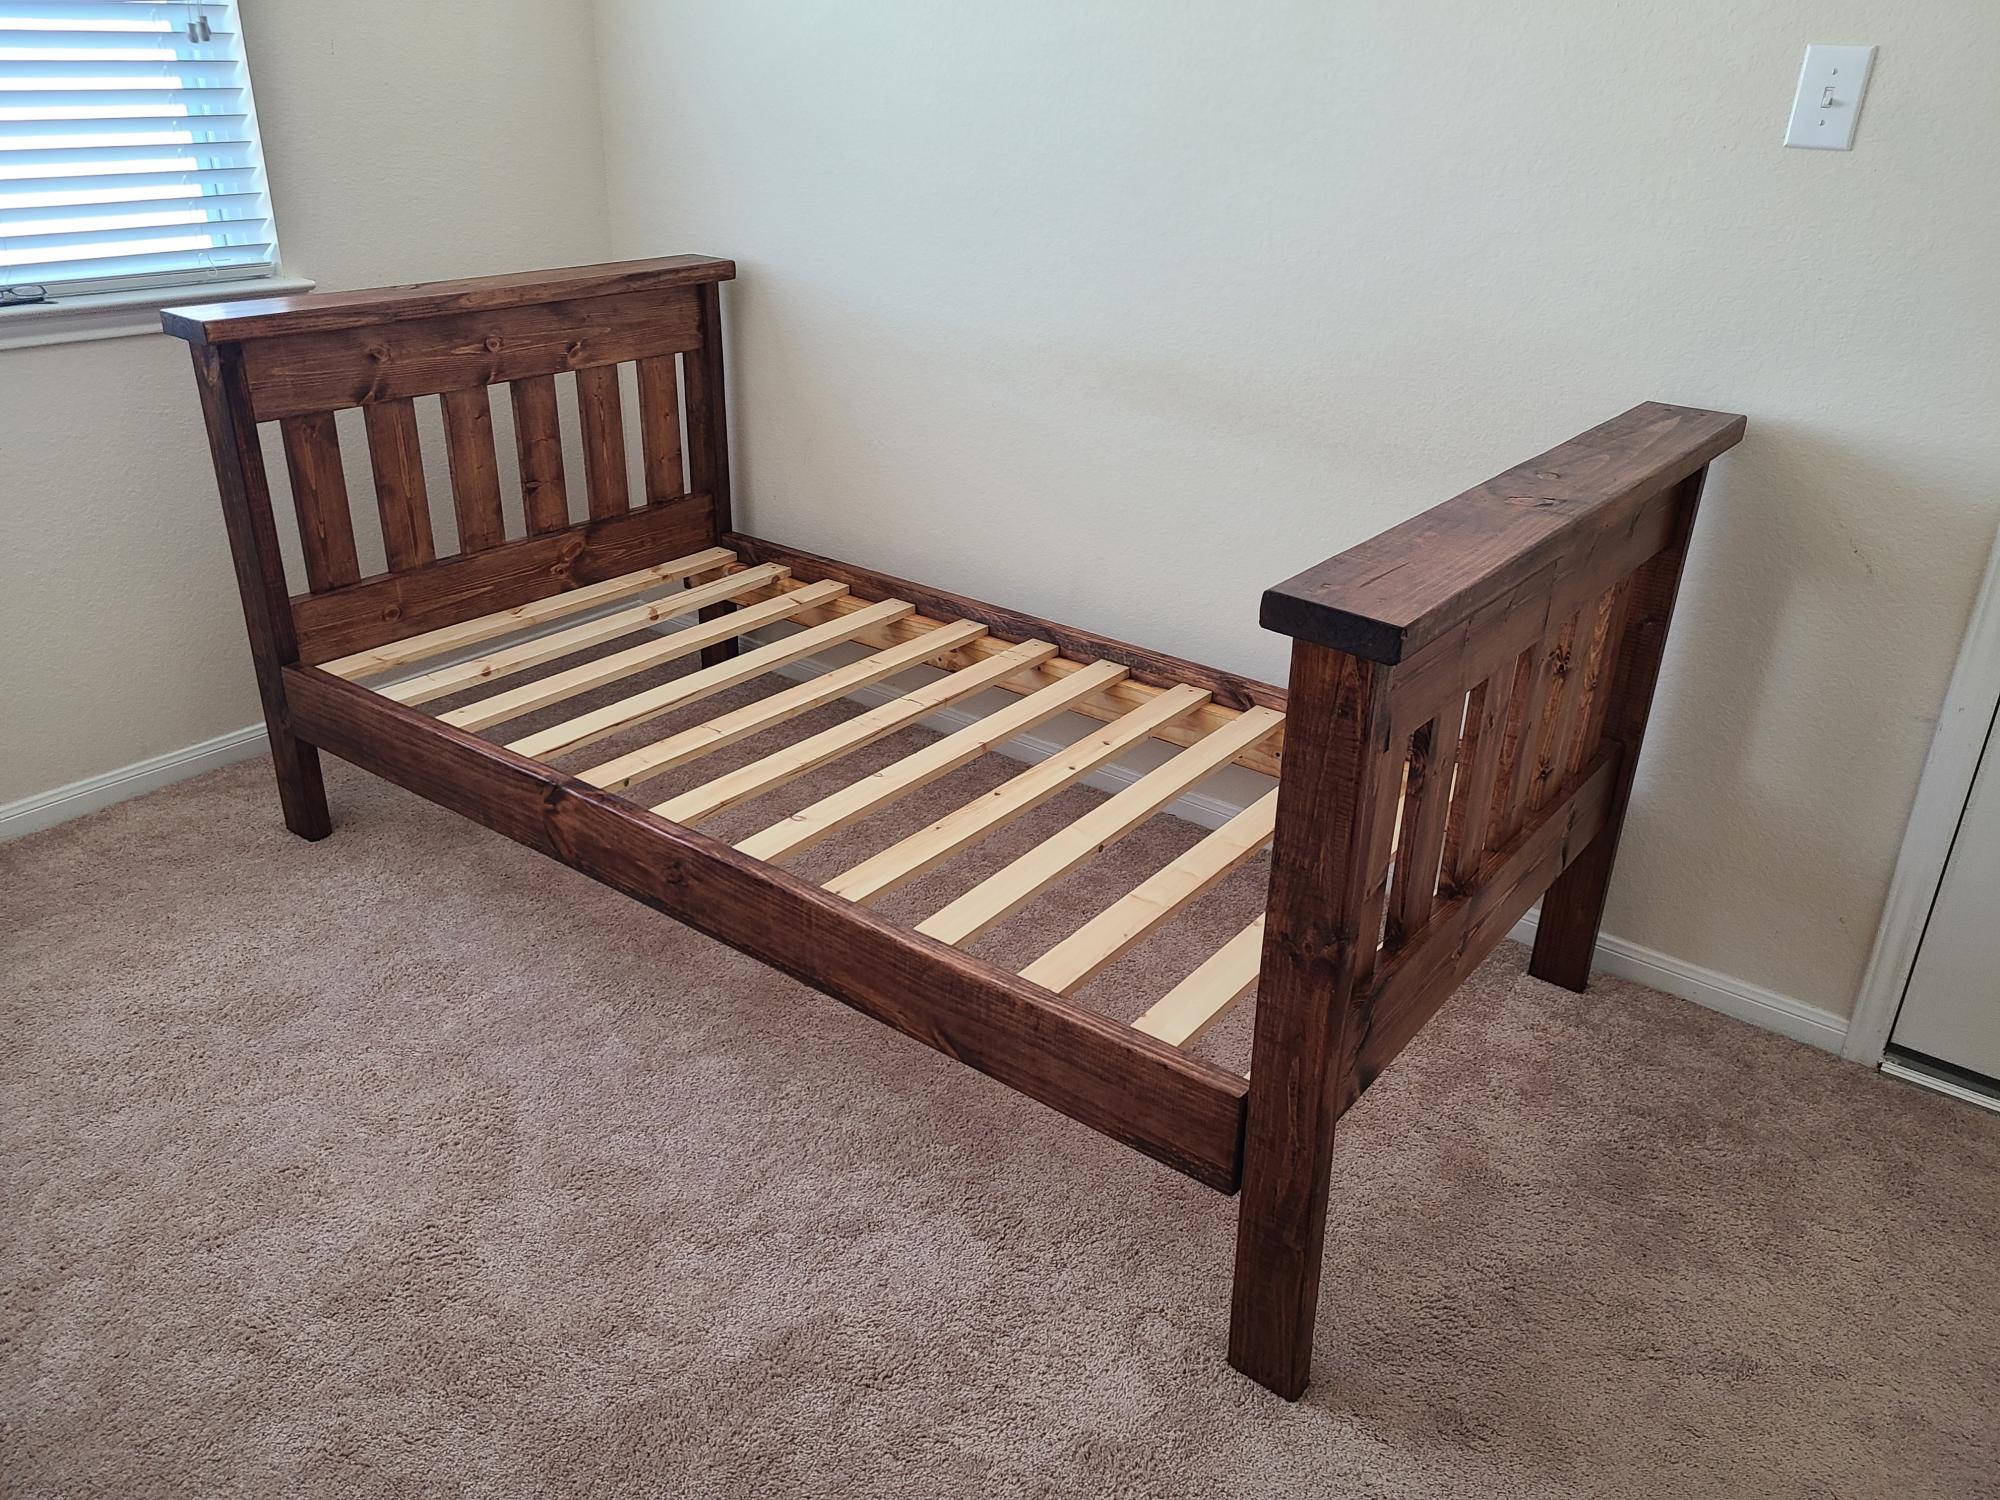
Farmhouse table
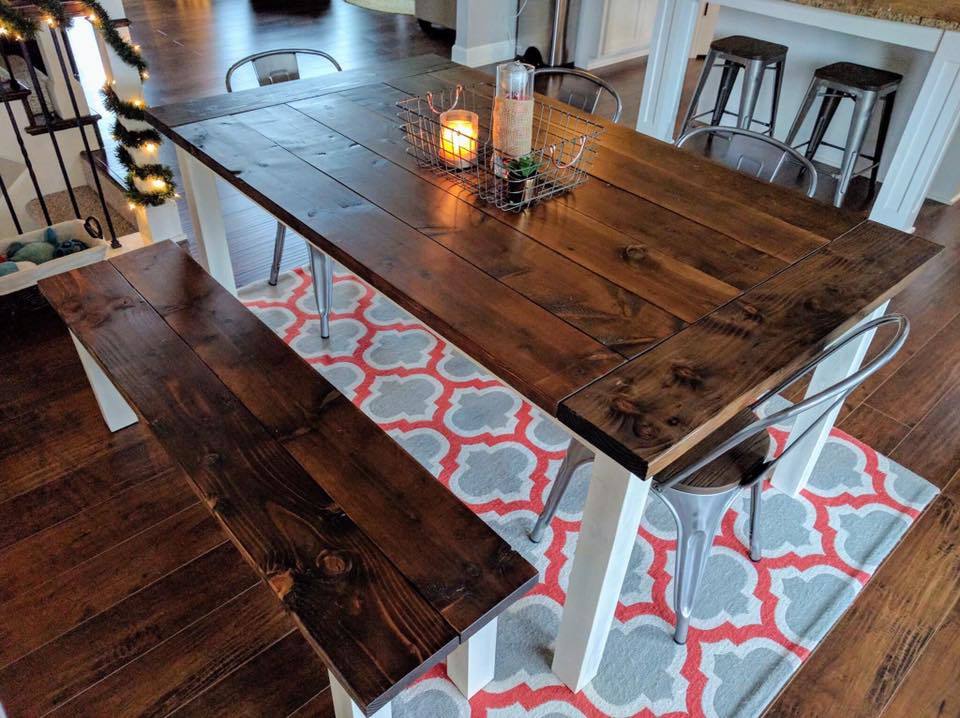
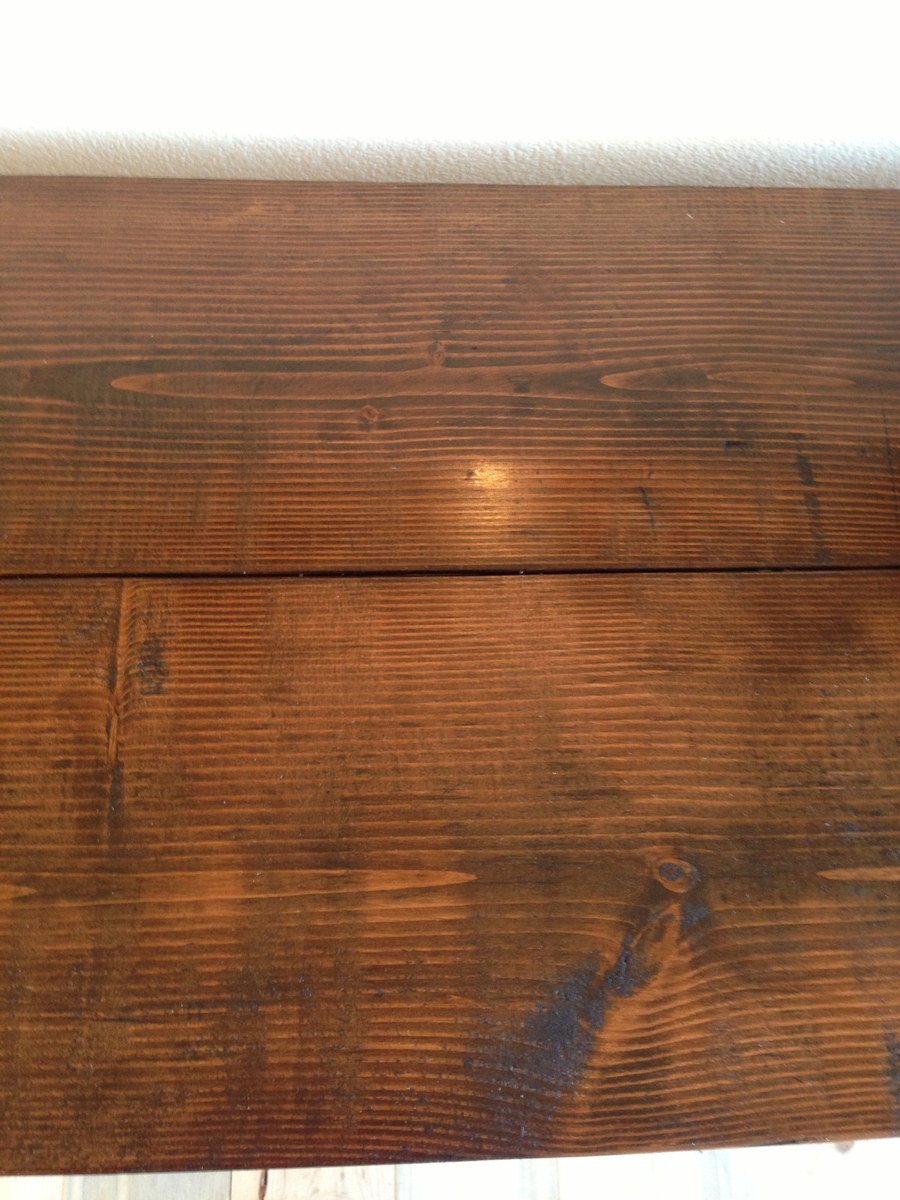
2x4's and 2x8's kept my cost way down! The top was finished with minwax provincial stain and a few coats of minwax polyurethane to finish it off. Joined with my Kreg jig throughout. A very fun project!
Built from Plan(s)
Estimated Cost
$100
Estimated Time Investment
Weekend Project (10-20 Hours)
Finish Used
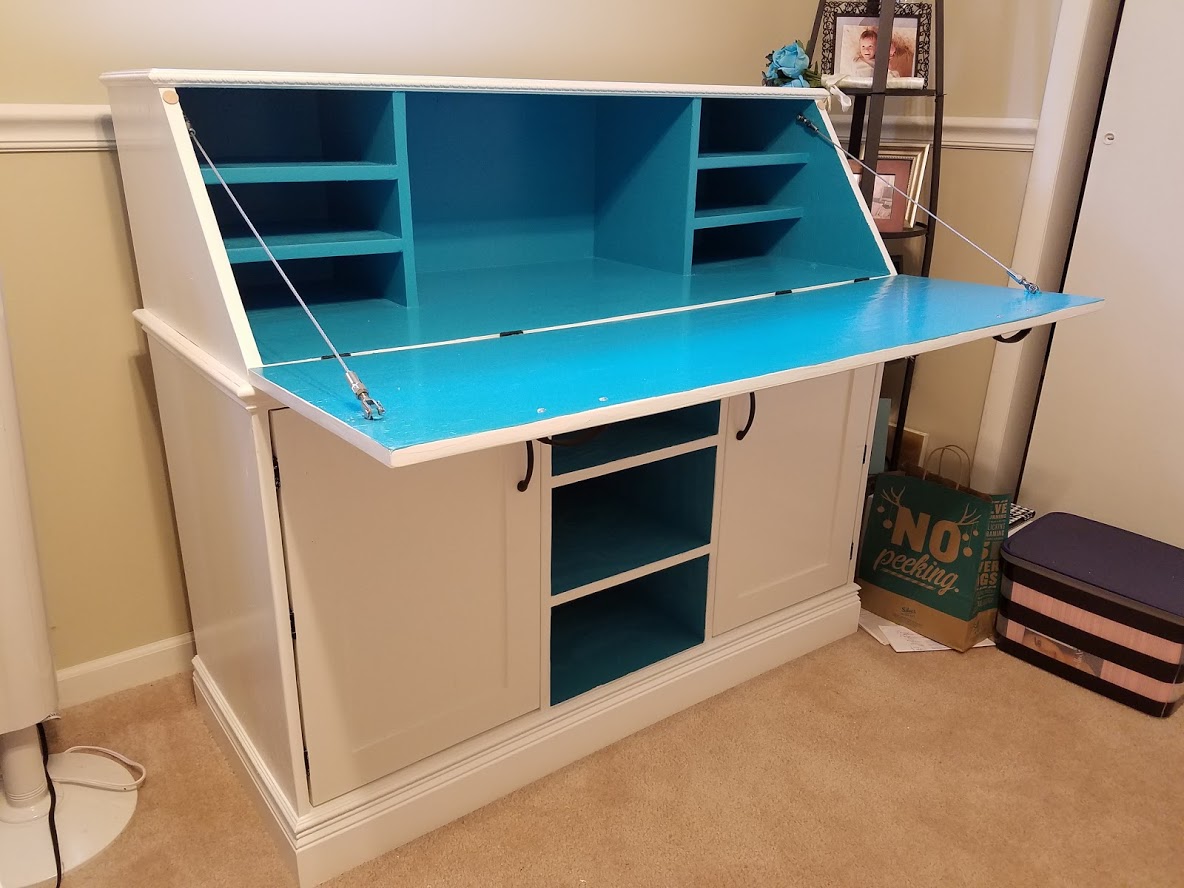
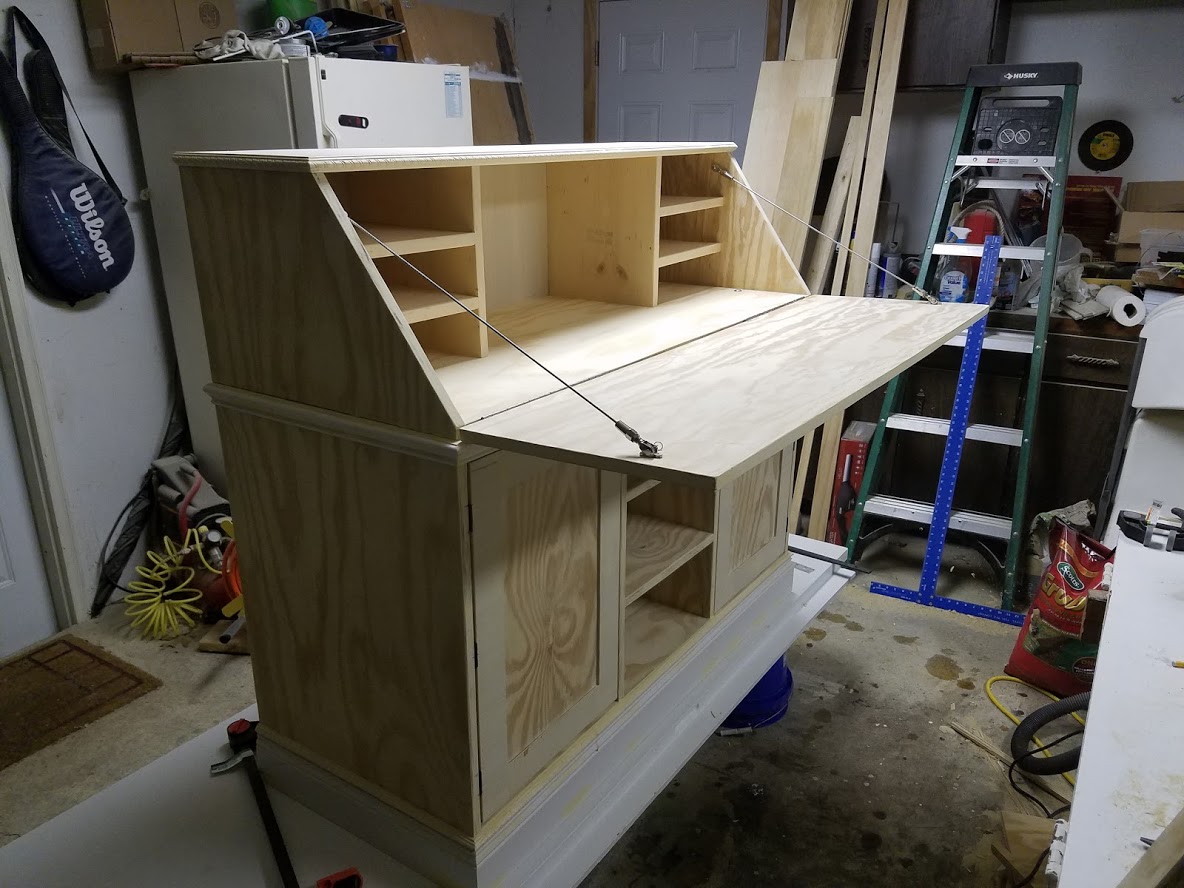
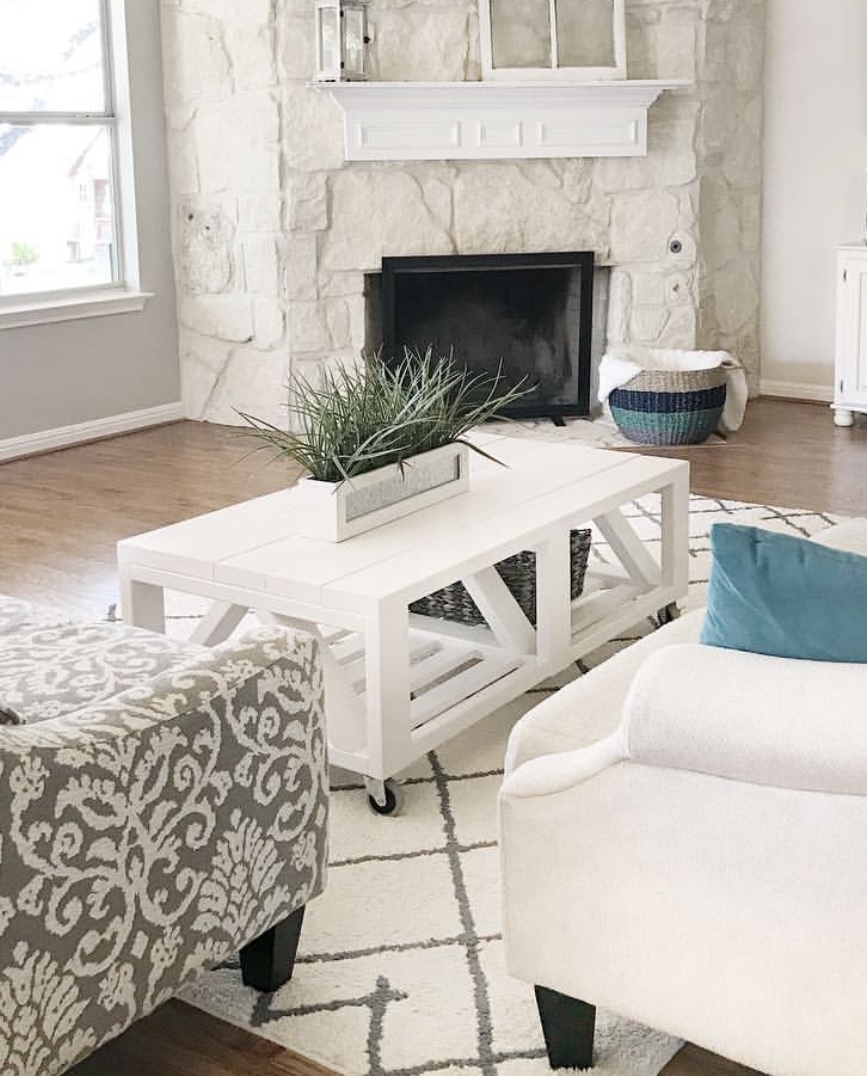
minwax provincial stain and polyurethane. white satin paint
Recommended Skill Level
Intermediate