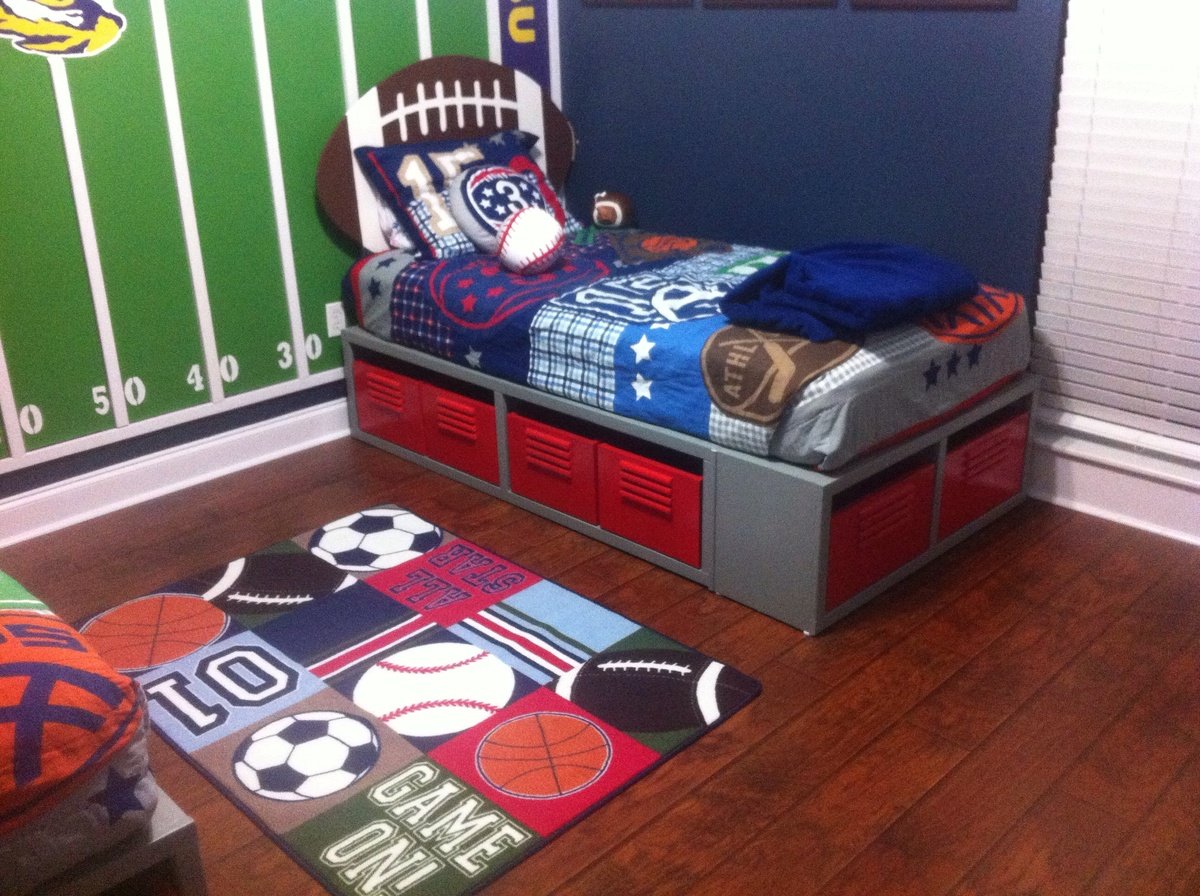
Clara Table and Four Dollar Stackable Chairs
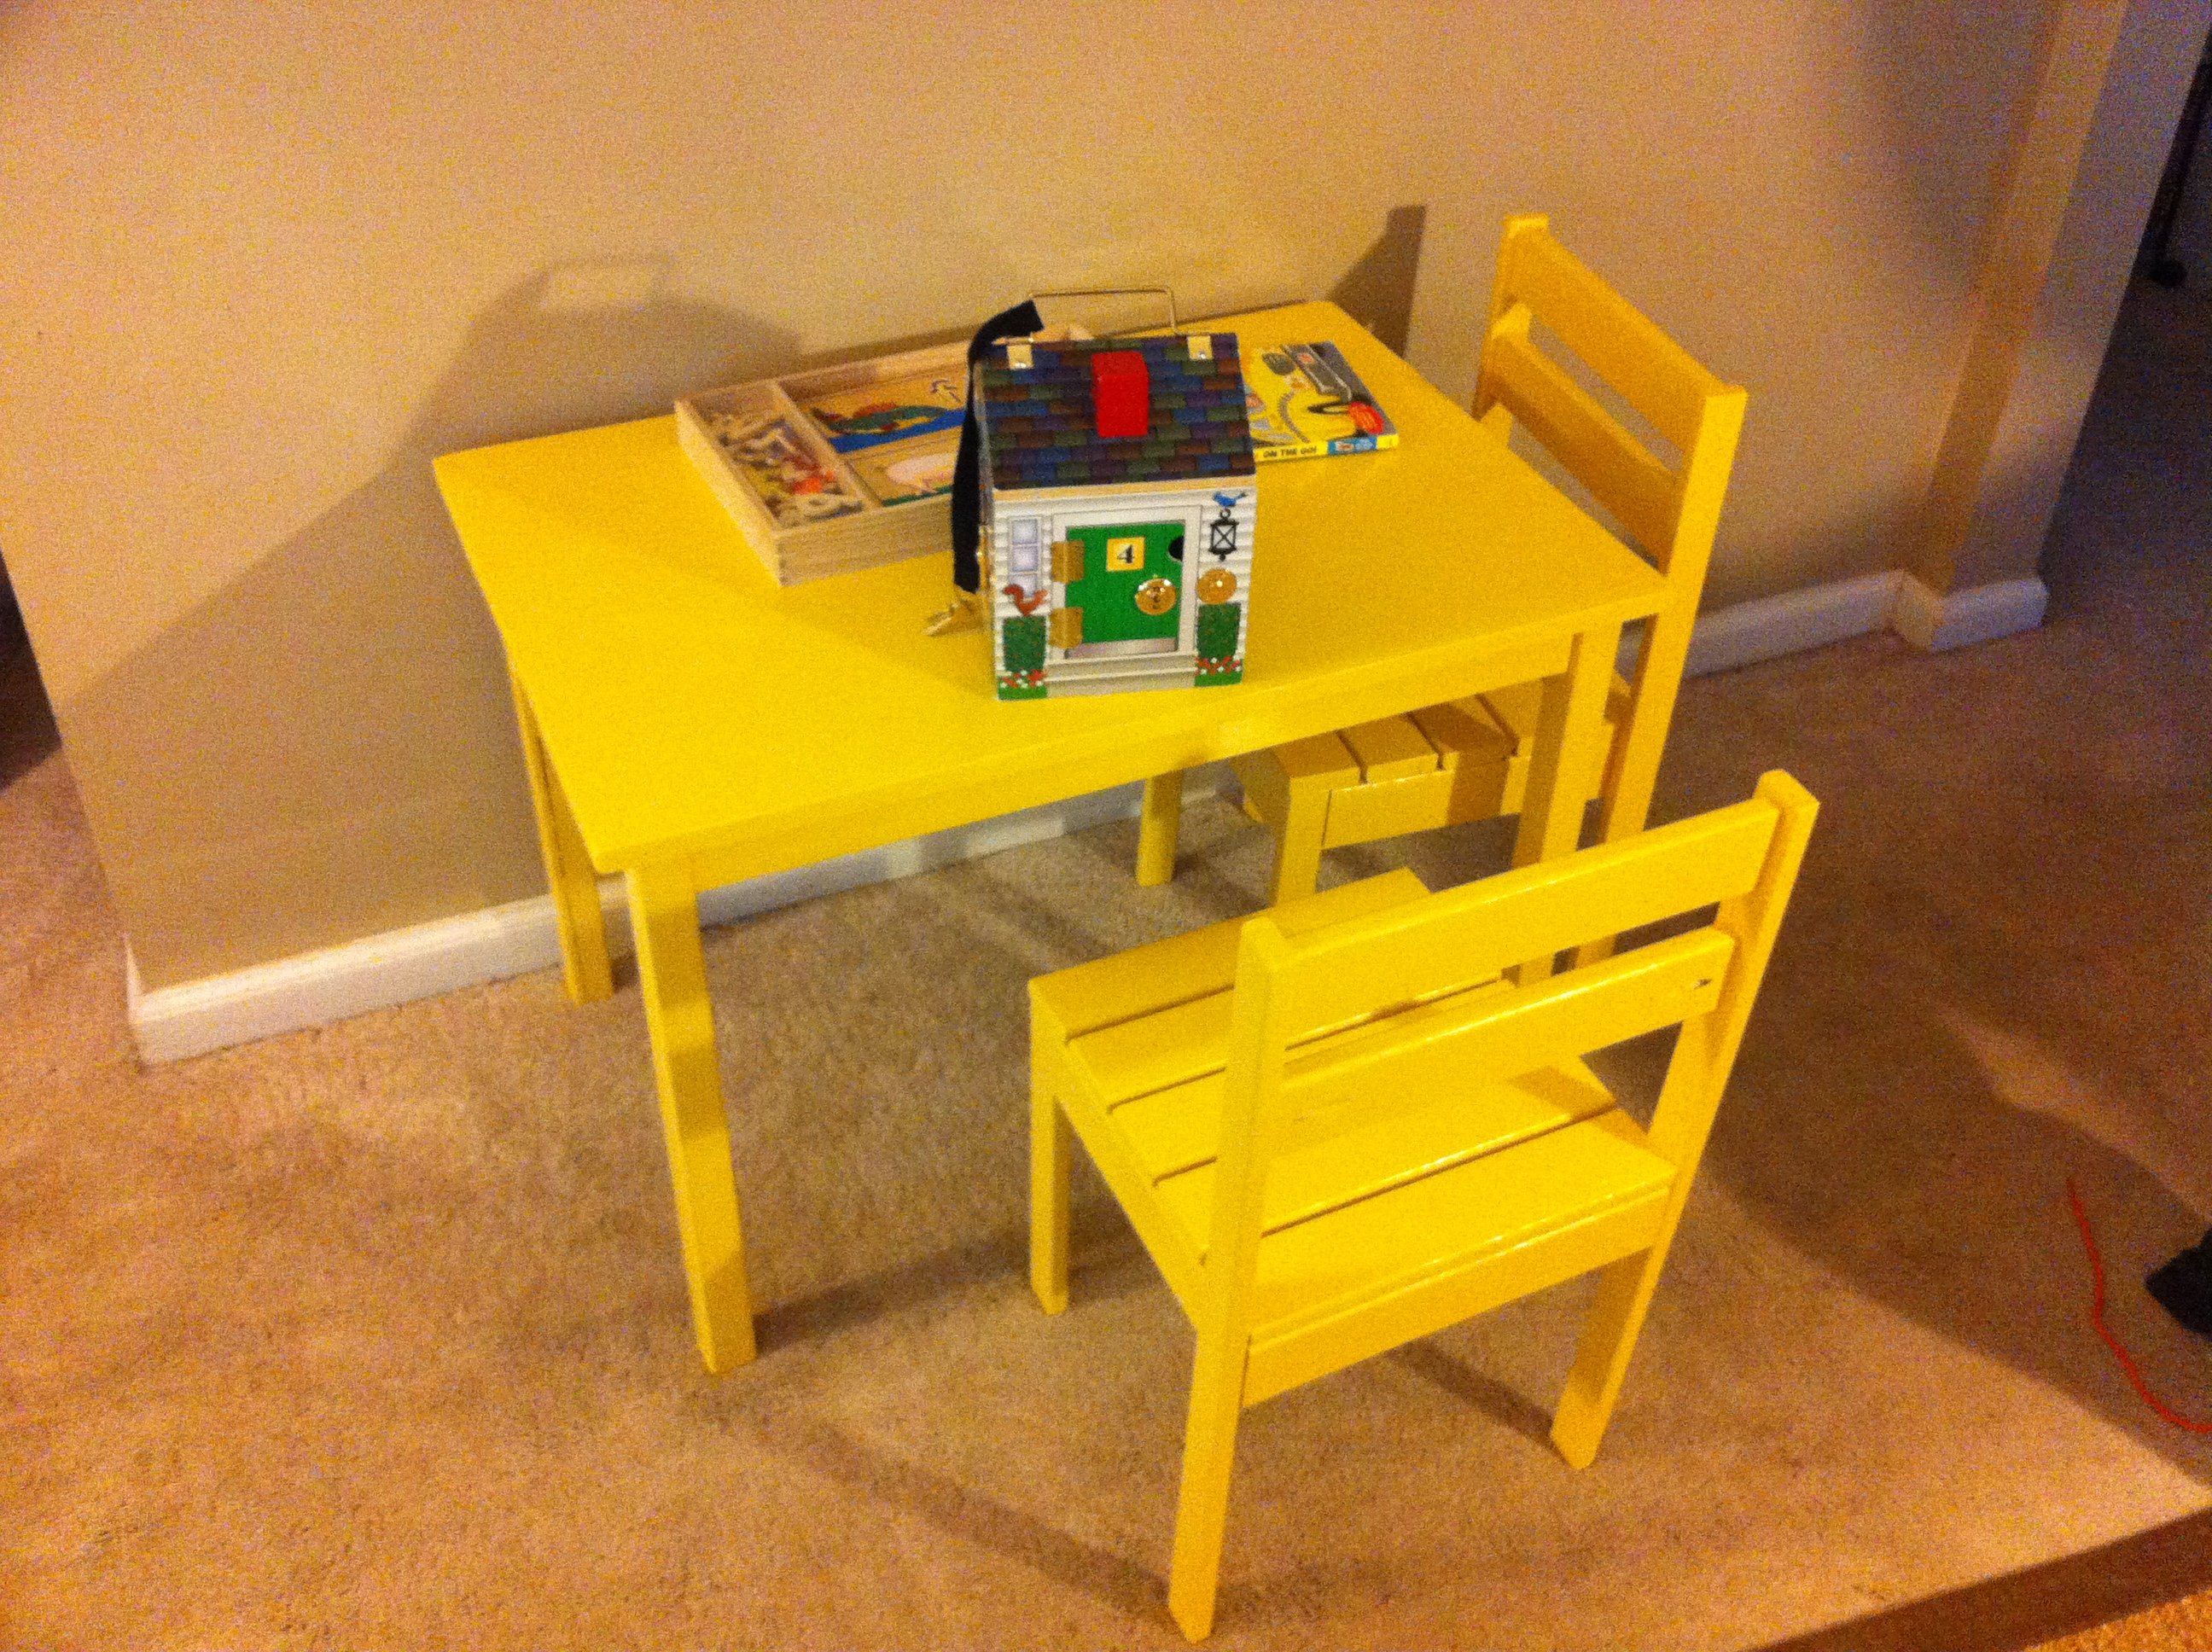
I built these for my son for Christmas. They were very easy to build (the 2nd chair turned out much better than the first, however!) and I am very pleased to have discovered this site. Thanks!
Built from Plan(s)
Estimated Cost
$30
Estimated Time Investment
Day Project (6-9 Hours)
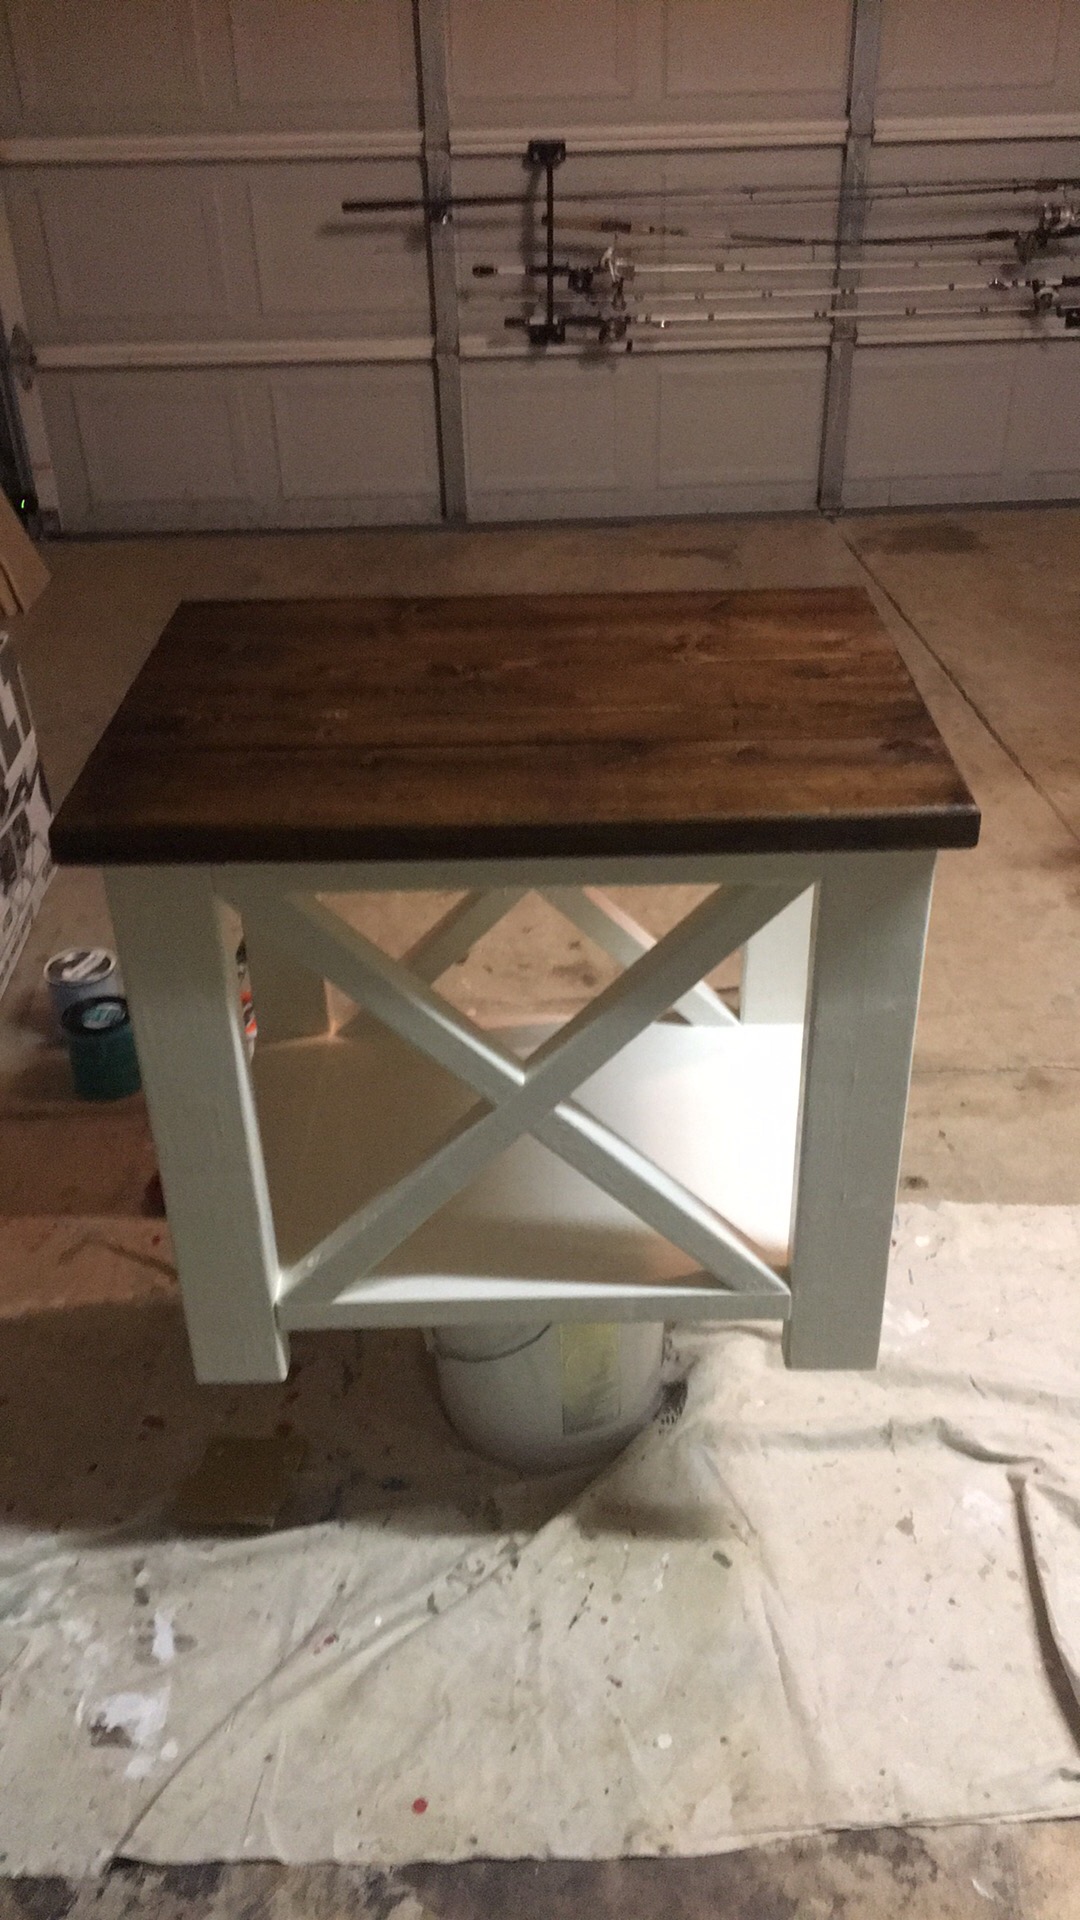
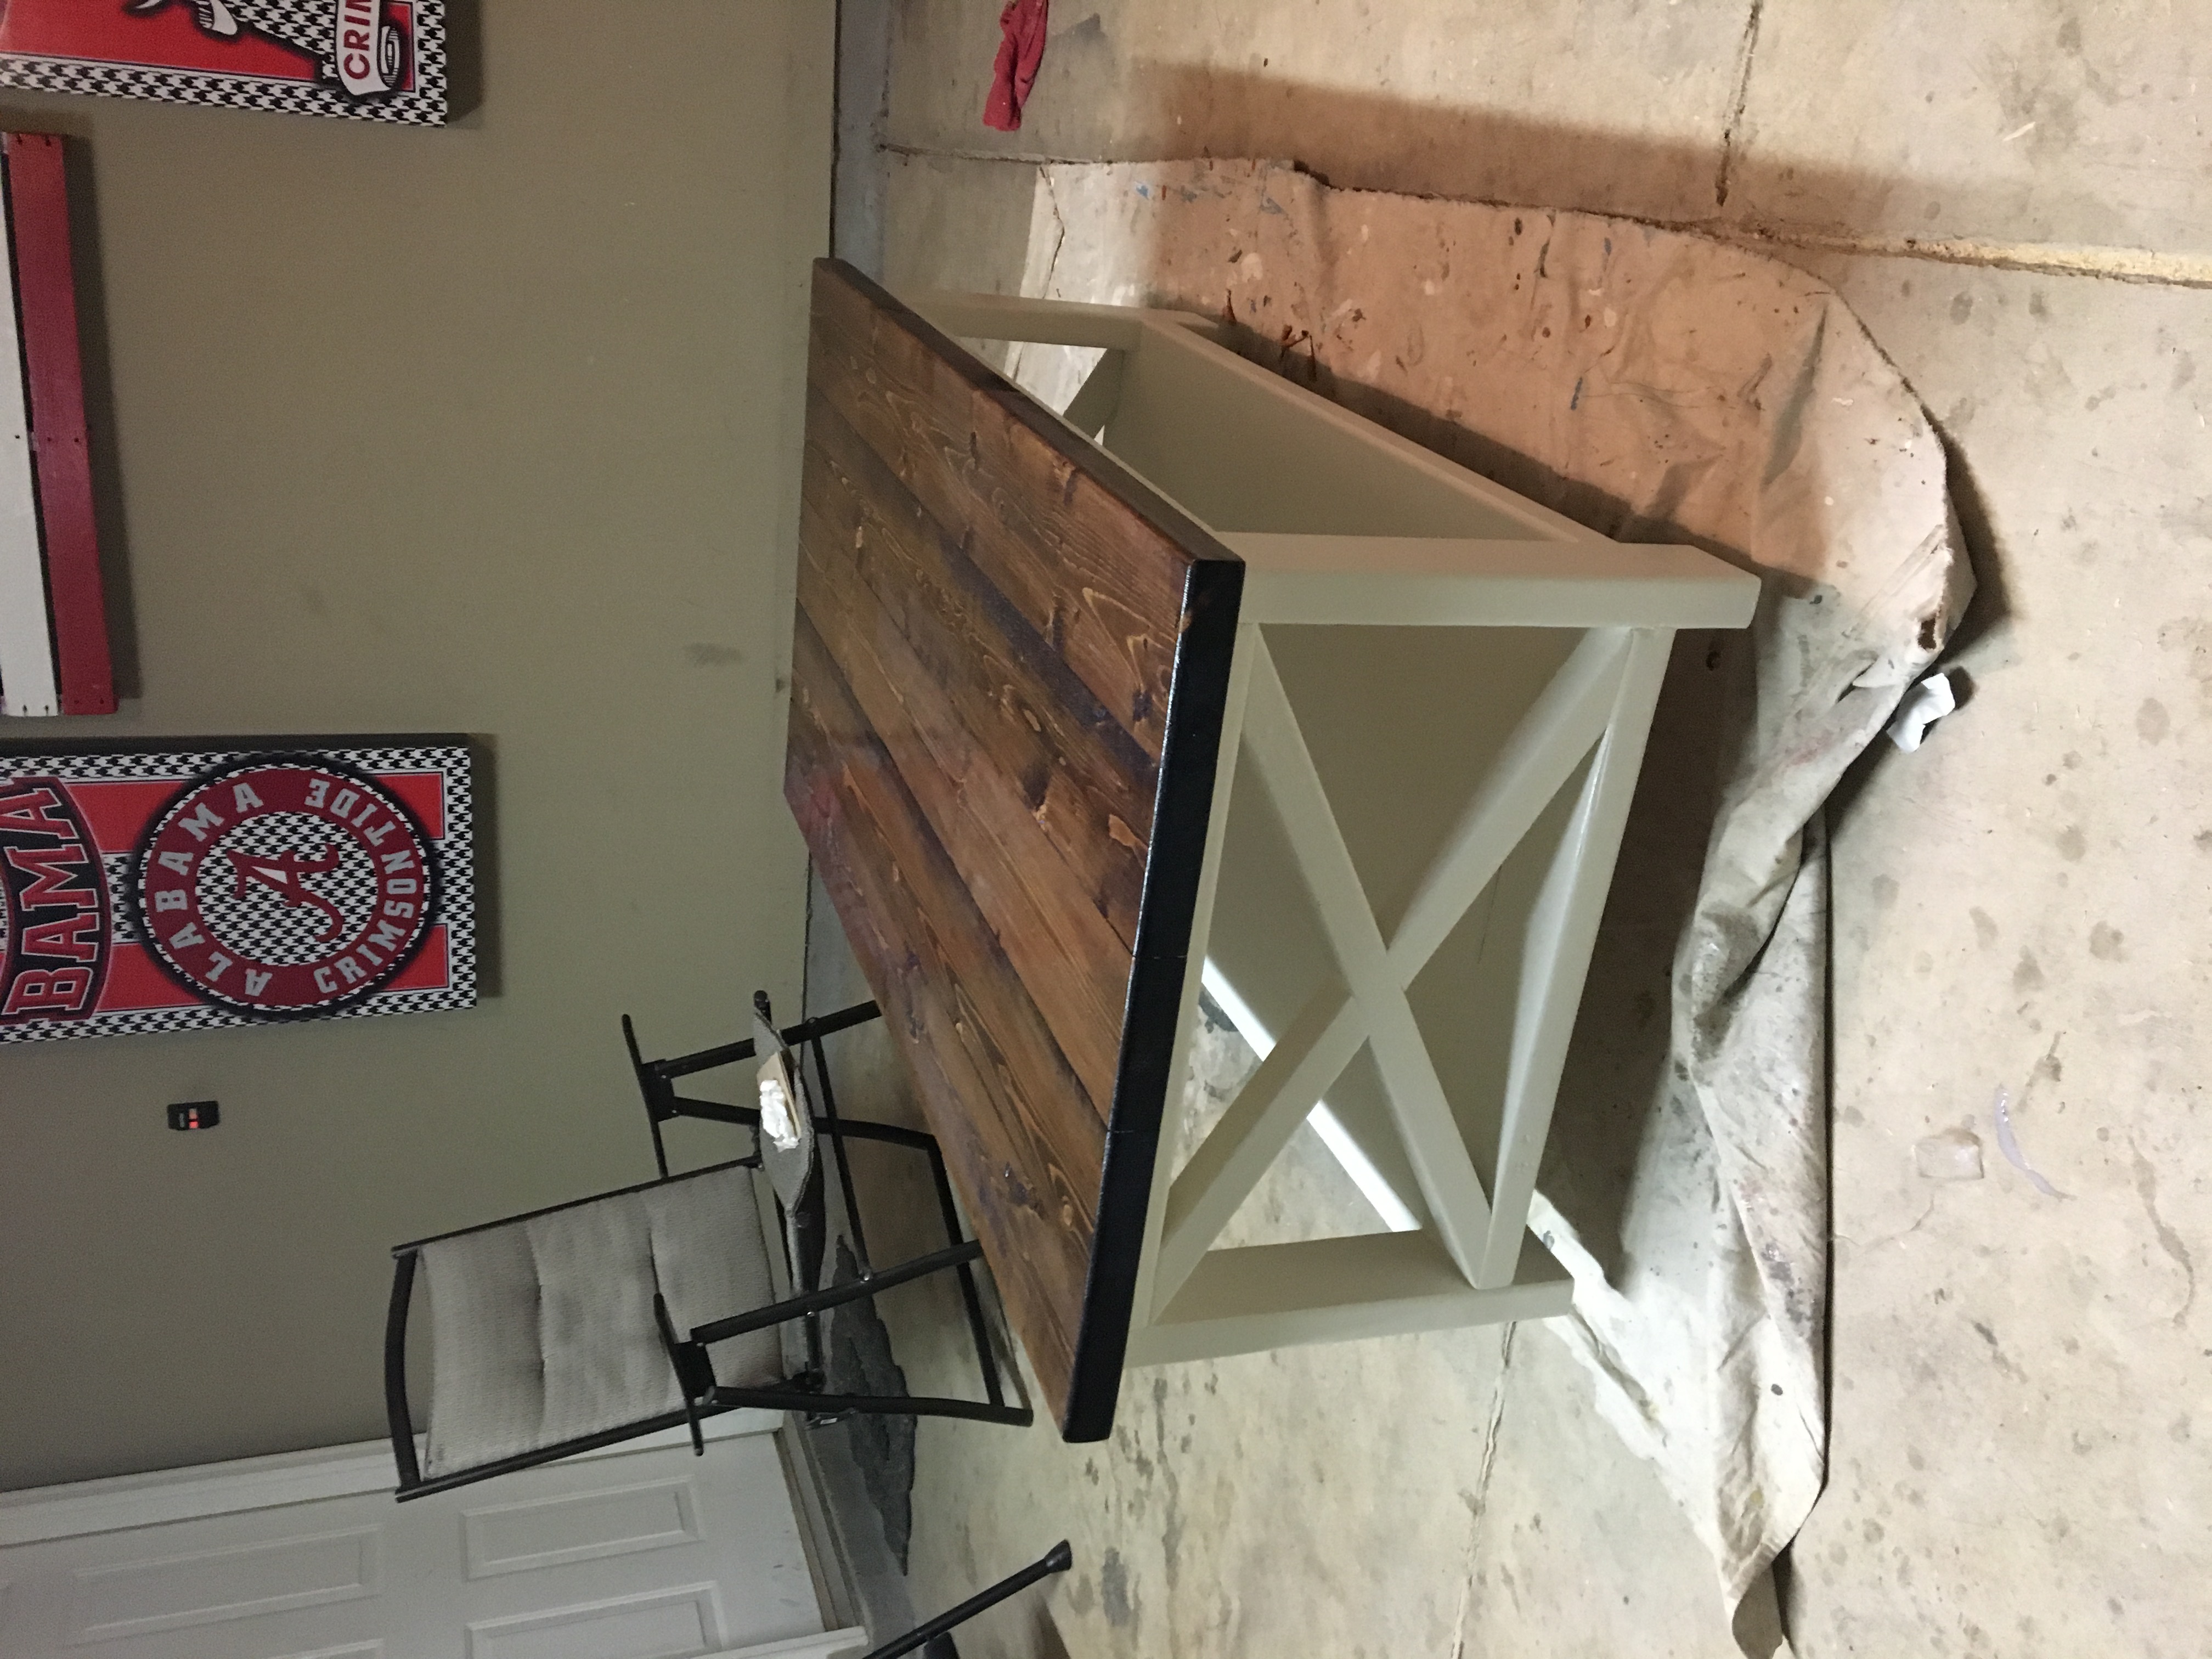
Finish Used
Three coats of flat paint (Valspar color: Summer Solstice) with two coats of Minwax Polycrilic as a top-coat.
Recommended Skill Level
Starter Project