Coffe Bar
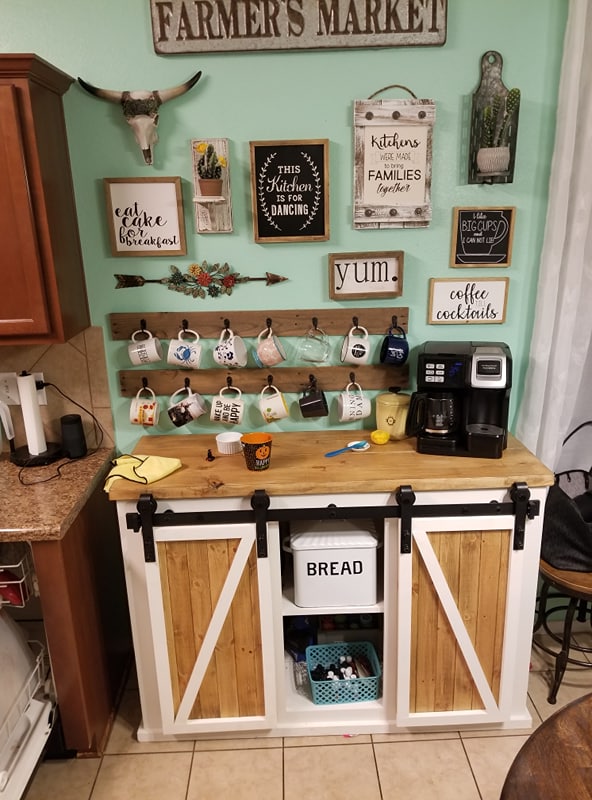
build to fit area

build to fit area
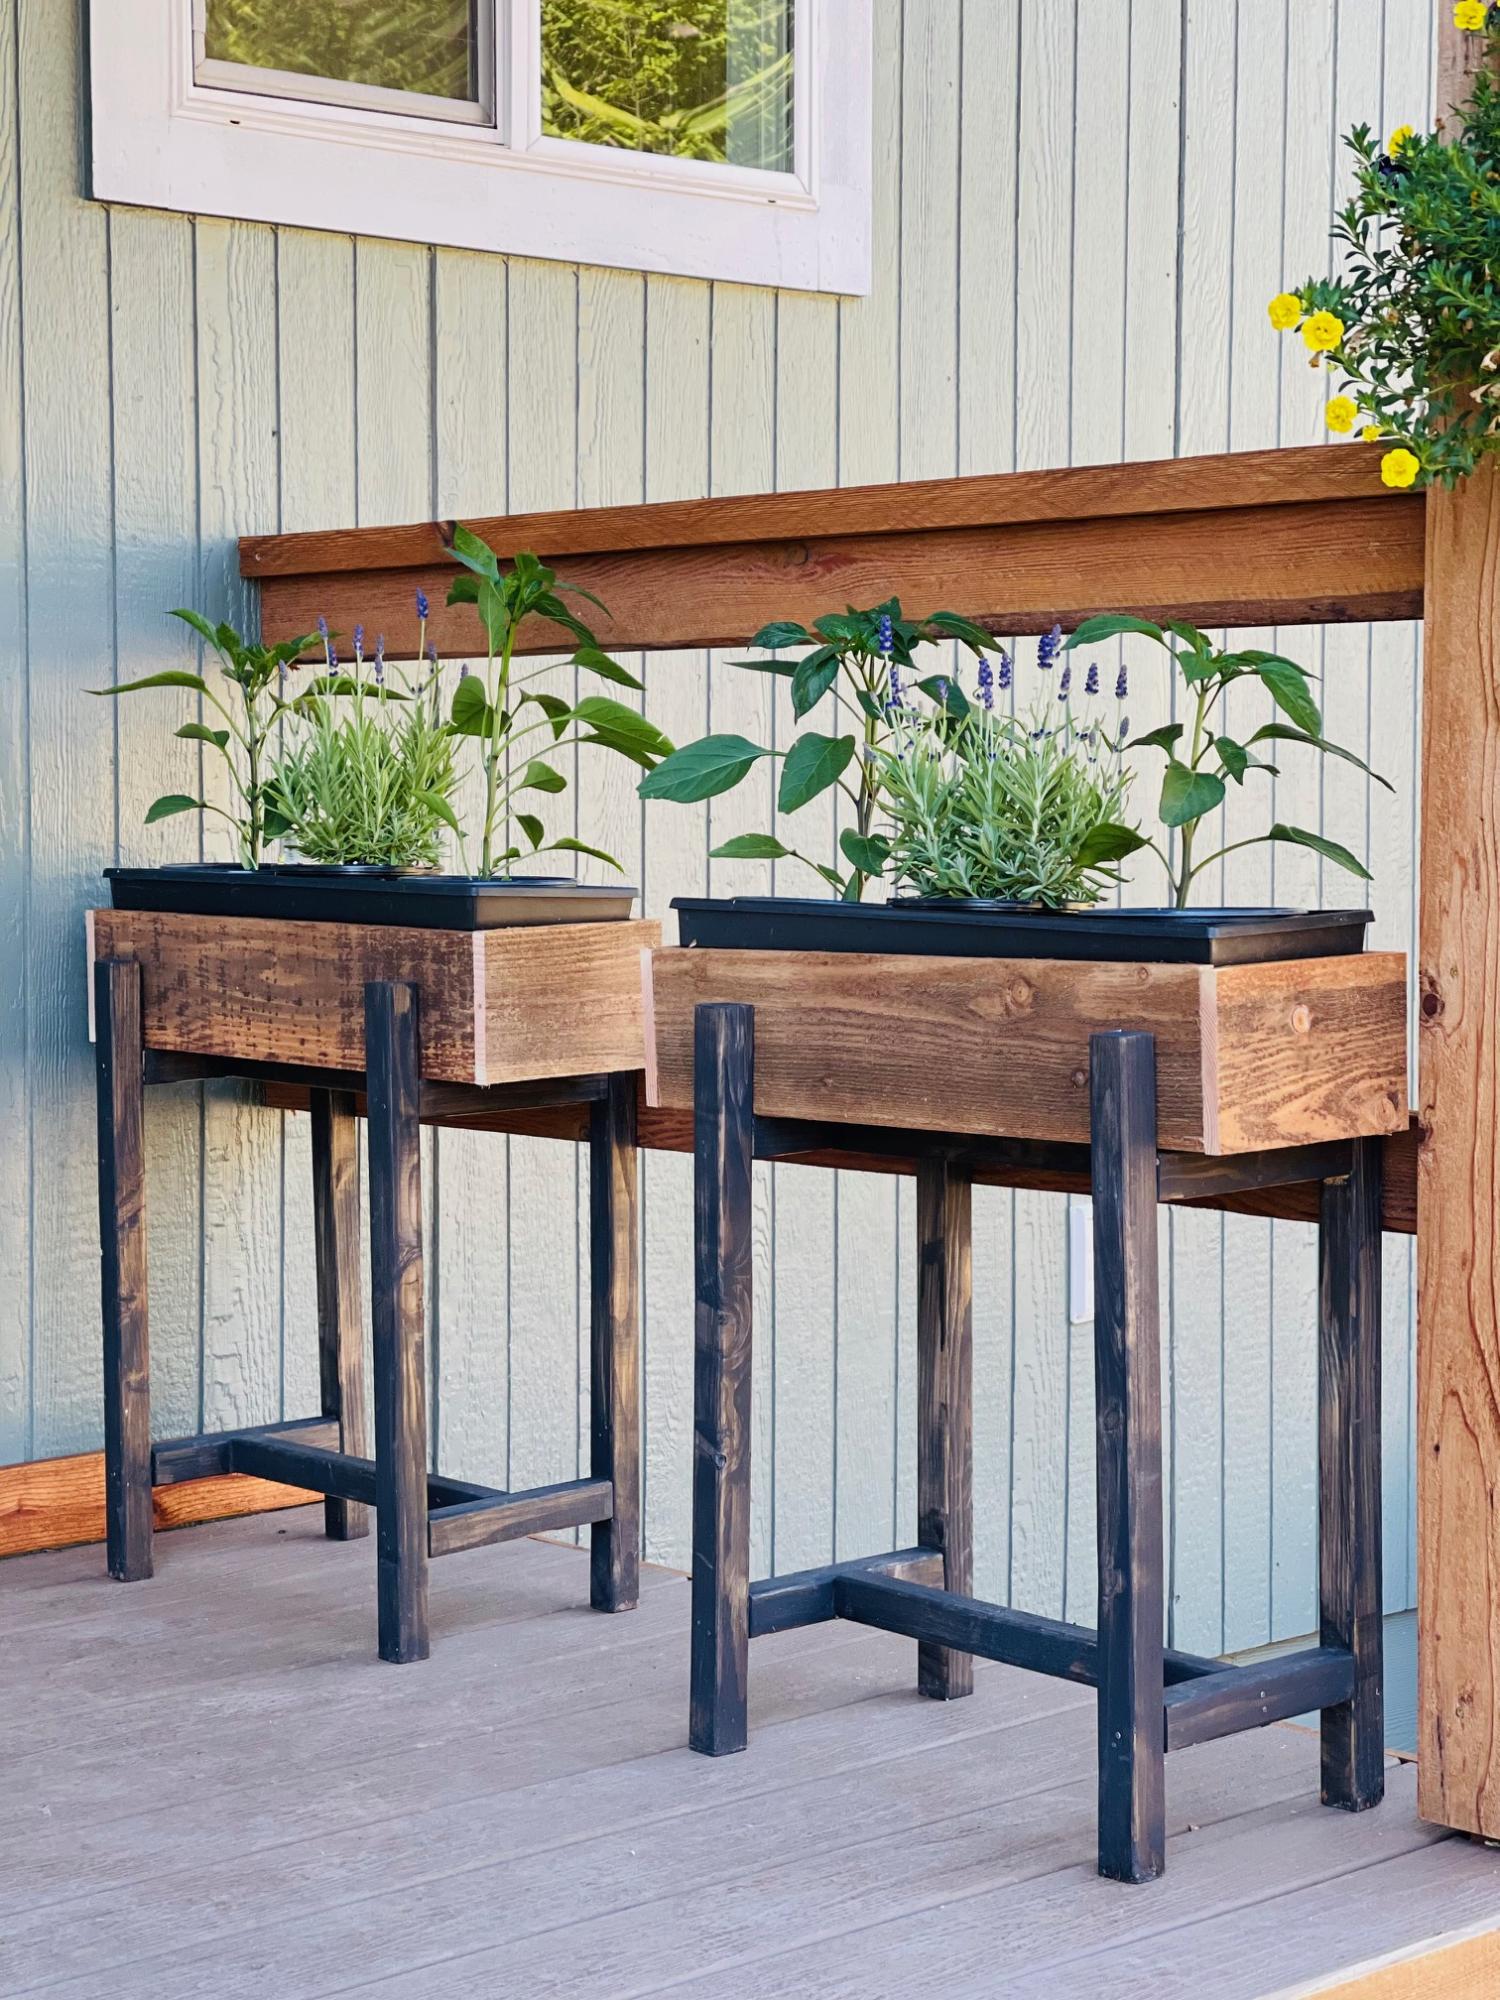
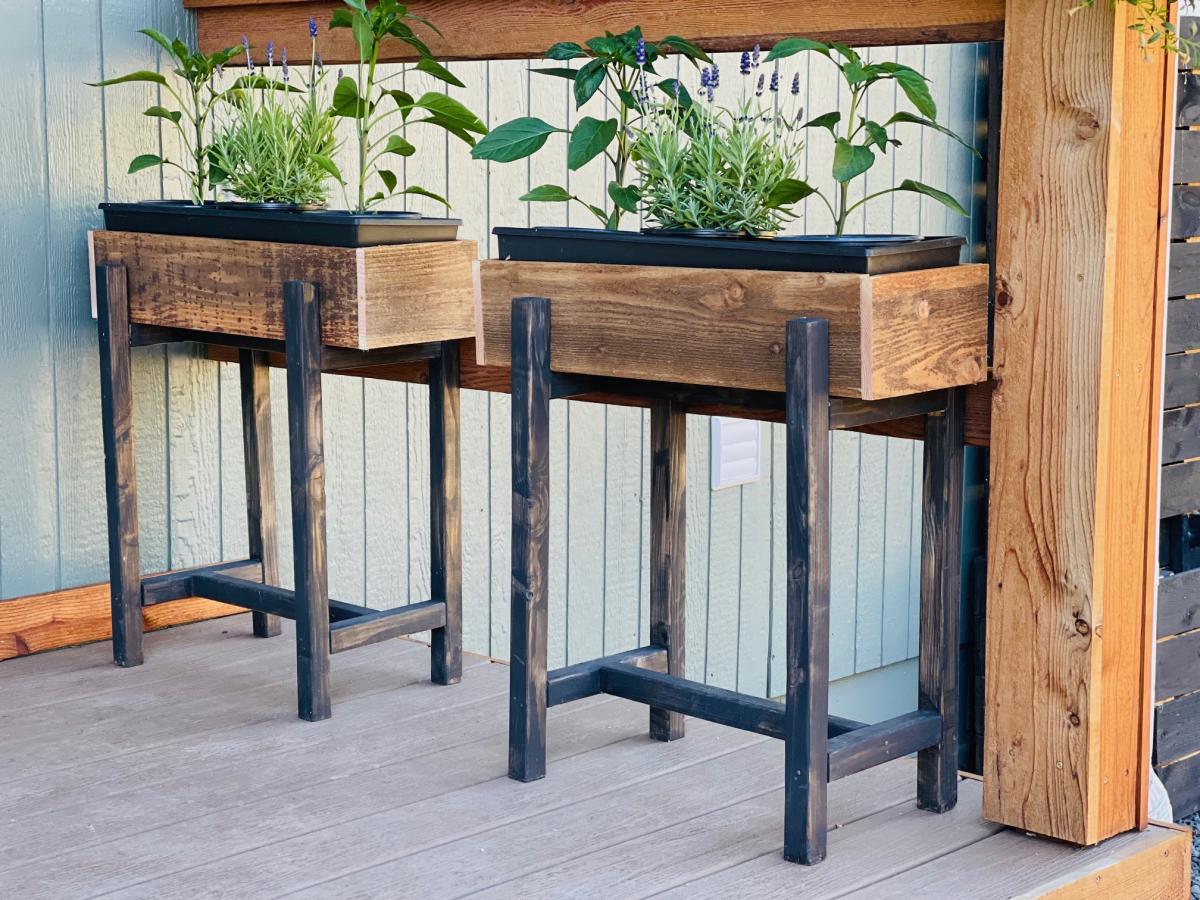
Easy build and I like how I can just set planters inside the top box and change out easily!
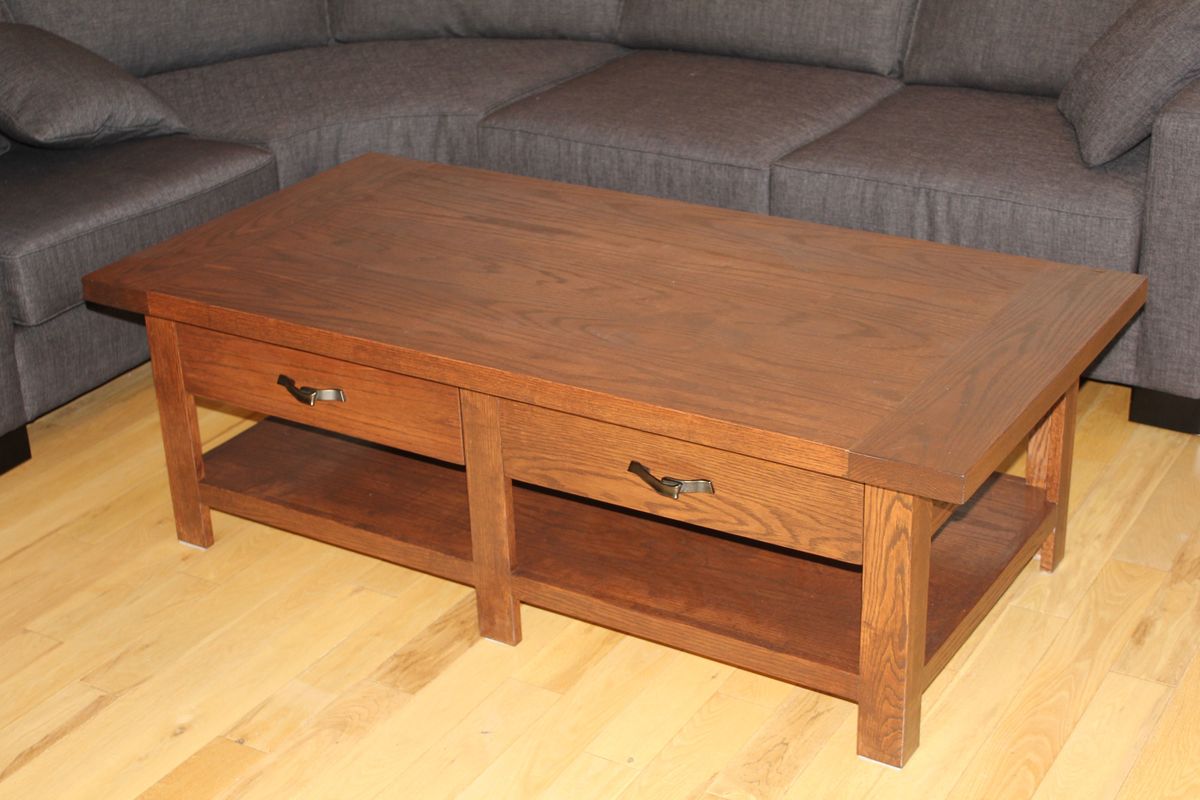
After searching for months for a coffee table I found one and put my DH to work. This is his first time making any type of furniture and I think he did an awesome job. We used Red Oak for the table and it weighs a ton :)
Sun, 03/11/2012 - 17:03
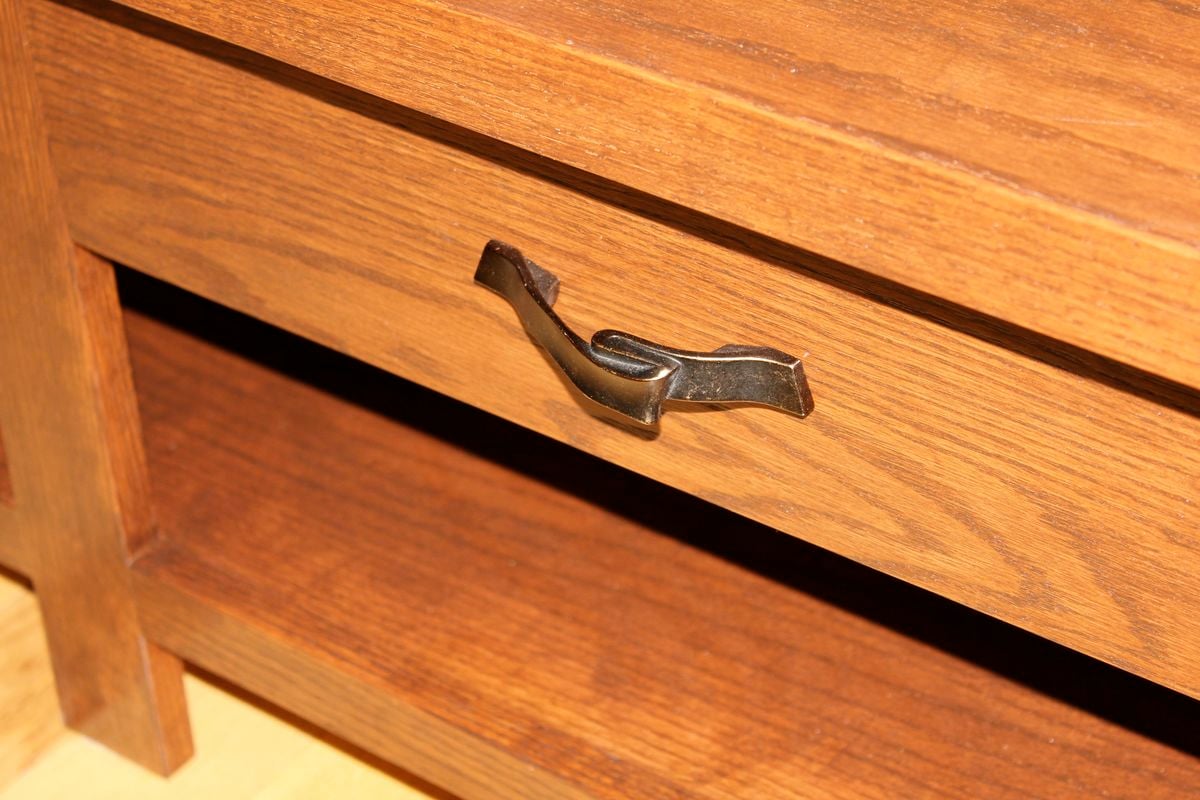
We found the handles at Lee Valley 'Diva Suite'
http://www.leevalley.com/en/hardware/page.aspx?p=52433&cat=3,49938&ap=11
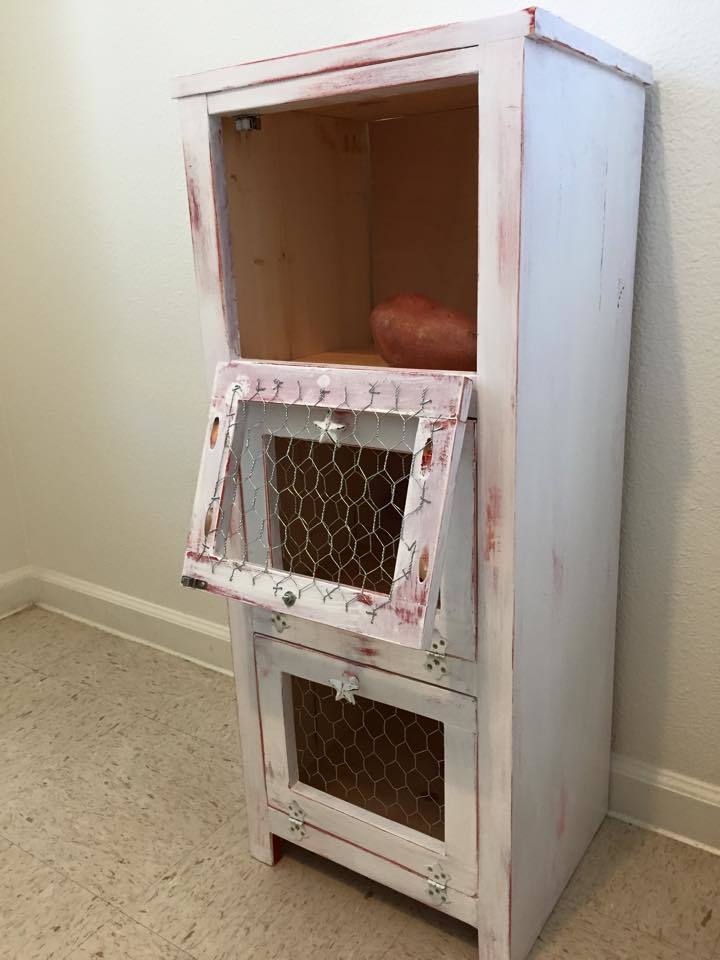
I loved this plan. It was my first build from Ana White plans and a true jumping off point for my imagination. I used pine boards, matte red underneath and semi-gloss white top coat. Steel wool was my tool for the distressing.
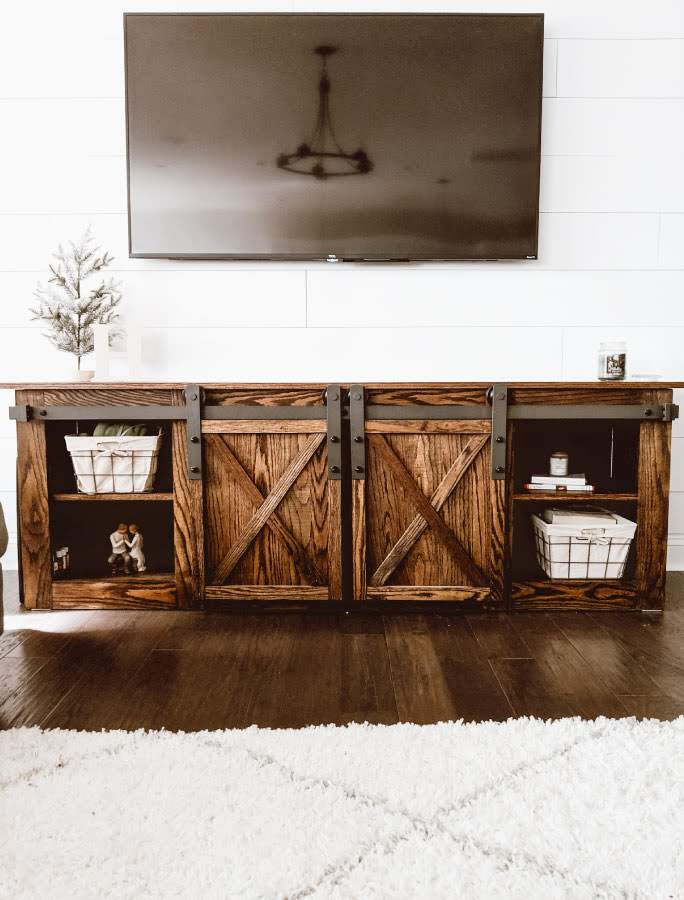
This was the second piece of furniture that my husband and I ever made. We had built a coffee table that had a lift up top so that we could eat dinner on the couch and store all of our board games. Once we tackled that, I thought we could conquer the world (even though the table was pretty basic). So when my now-husband was about to move into his first apartment without a roommate and I saw it as an opportunity to decorate my own place (even though I wasn’t living there). Luckily,he agreed it was time to get rid of his tiny Ikea TV stand that was probably 2ft off the ground and not a great height for a TV, and agreed to build this awesome TV console with me. To this day, it’s still my favorite piece of furniture in our house.
Sat, 11/09/2019 - 14:12
Love this, needing one in my front entry way. How long did it take?
Thanks Ana! Appreciate all the plans and how much I’m learning.
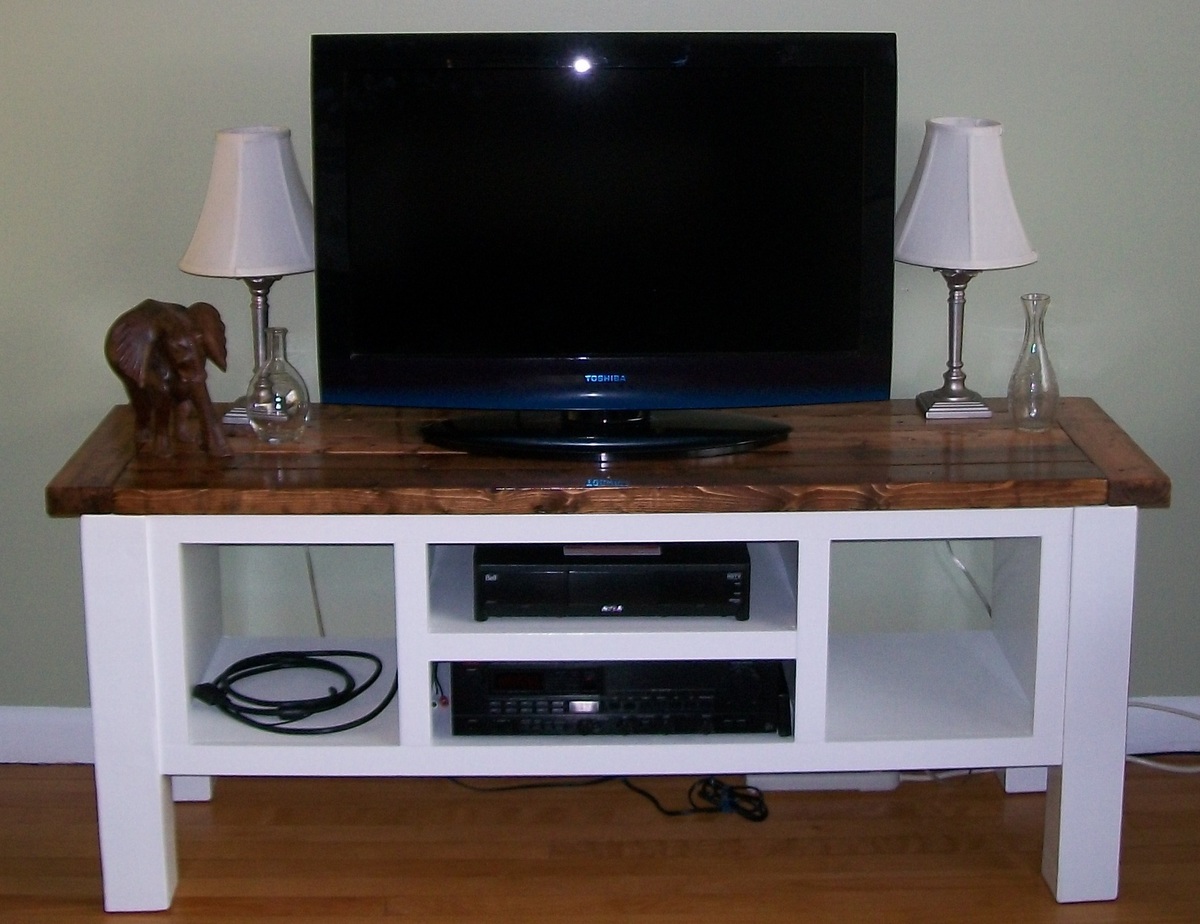
This was our first build, so it was definitely a learning process! We followed the plans pretty closely, with a few minor modifications to suit our needs. The finish was inspired by CreativePineapple's stain/white paint combo - we loved it so much that we had to do our own version!
The center console section was built out of 3/4" MDF - we knew we were going to paint, as opposed to stain, and it was quite a bit cheaper. We primed and painted this section as we went, as we knew that getting our hands/brushes into the cubbies after assembly would be difficult. This added to the time to finish, but it did make for an easier (and probably more even) paint job.
The side panels and back (not shown - we still need to do cutouts for cords before we attach) are 1/4" plywood. The legs are untreated SPF 4x4s, and were definitely where we ran into the most problems. Finidng untreated 4x4's was difficult enough, and when we finally found one that didn't have a ton of chunks and dings in it, we had problems with wood cracking when we got it home. We waited until the wood had acclimatized to our home and stopped cracking, wood-filled the cracks where we could and tried to position the legs so the cracks were facing the console, and hidden. Luckily, this approach was successful, and you can't tell that cracking was an issue. In retrospect, I probably should have just gone with cedar, particularly since we weren't staining it and it wouldn't have mattered that it was different from our other pine boards.
The only placed where we really differed from the plans was adding additional trim to the front section, as opposed to edge binding. The trim was simple 1x2s, similar to the bottom trim.
We primed and painted the entire white bottom section before attaching the top, which was made of stud-grade spruce 2x4's. We used a wood conditioner on the spruce before staining, as it is such a soft wood. The stain was left on for 15-20 minutes before wiping, as we knew we wanted a darker, richer colour. Two coats were required to get the shade we wanted (3 on one board which wasn't soaking up the stain as well). We then finished with 3 coats of Varathane Diamond Wood Finish, to get an especially glossy finish.
Wed, 03/14/2012 - 19:29
You better not stop with this project - absolutely beautiful!! The finish looks amazing...I am wondering if you used a rag or a sponge brush to stain the top? I am very new to staining furniture, so any tips would be appreciated. :)
Sat, 03/17/2012 - 09:22
Thanks! We used a foam brush, as we had a bunch hanging around, and just wiped ta the end with a rag. We also left our wood conditioner overnight, contrary to the package directions, which we heard allows it to sink in and dry more evenly. Other than that...we'd never stained before in our lives, so don't be afraid to just give it a go!
Fri, 03/16/2012 - 16:01
i can't seem to find the detailed plans for the console. do you happen to have them? thanks!
Sat, 03/17/2012 - 09:23
There's a link in the post above (after "From Plan")
Mon, 03/19/2012 - 07:36
maybe safari doesn't like the link for this one. no detailed plans will open
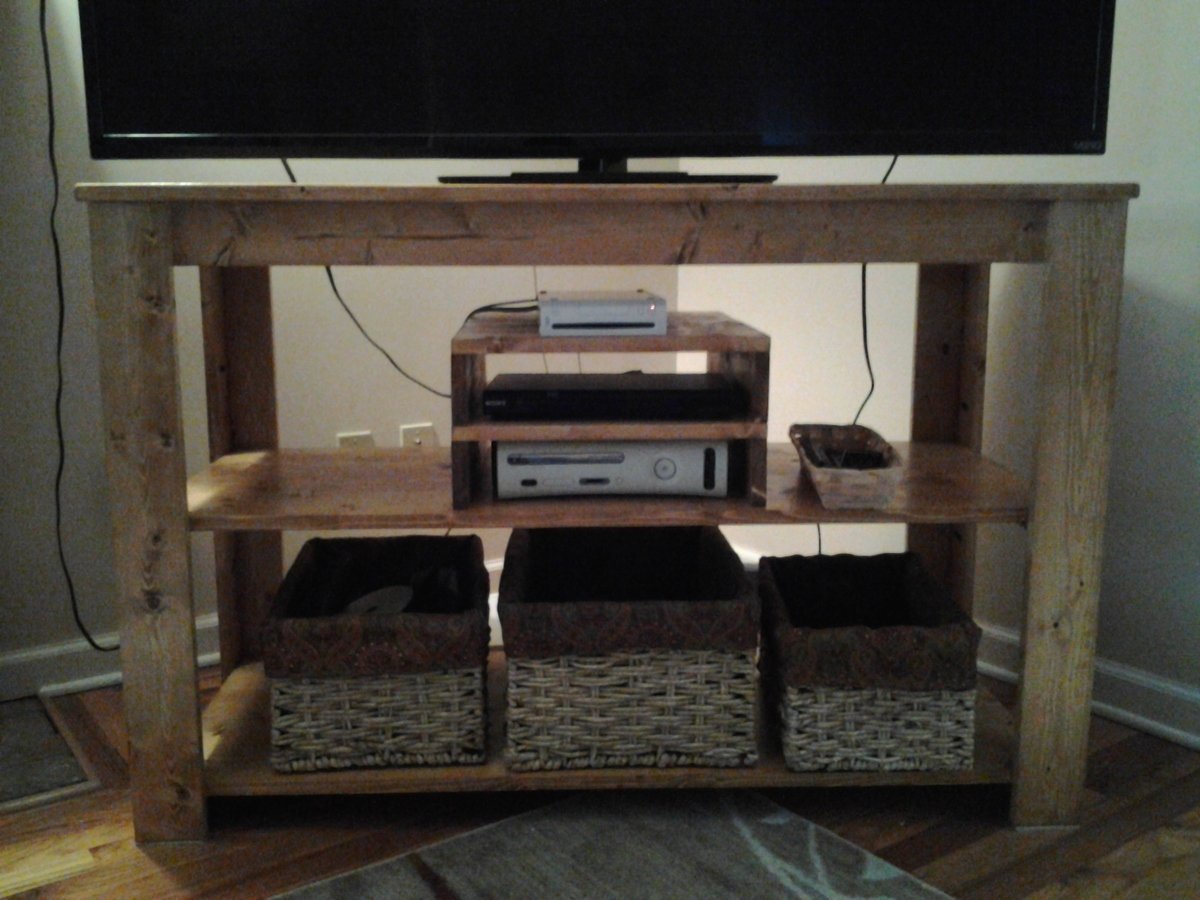
We were blessed with a LARGE TV for Christmas. Totally unexpected. So I needed to build a table for it to sit on. I previously made a narrow farmhouse table and liked the look of it. So I decided to make a smaller version with two shelves underneath. To reduce clutter, I built a couple of "towers" for the x-box, dvd, and wii to sit on (2 half boxes with 1x4 sides with 1x4's nailed across the top.) Dimensions of table are 48 inches long x 22 inches wide x 32 inches tall. (TV is a 60 inch and I think it fits great!) I used pocket holes and 1.25 inch pocket hole screws to attach everything-except I nailed the shelves down to the supports using 1 1/4 inch finishing nails and used 1.25 wood screws to attach legs to apron and supports to legs. I ripped the 1x4's down to 3 inches on the leg front and 2.75 on the sides to make them uniform. Also the aprons I ripped down to 3 inches wide. The shelf supports are about 1.5 inches wide and the shelves themselves are about 18.5 inches wide.
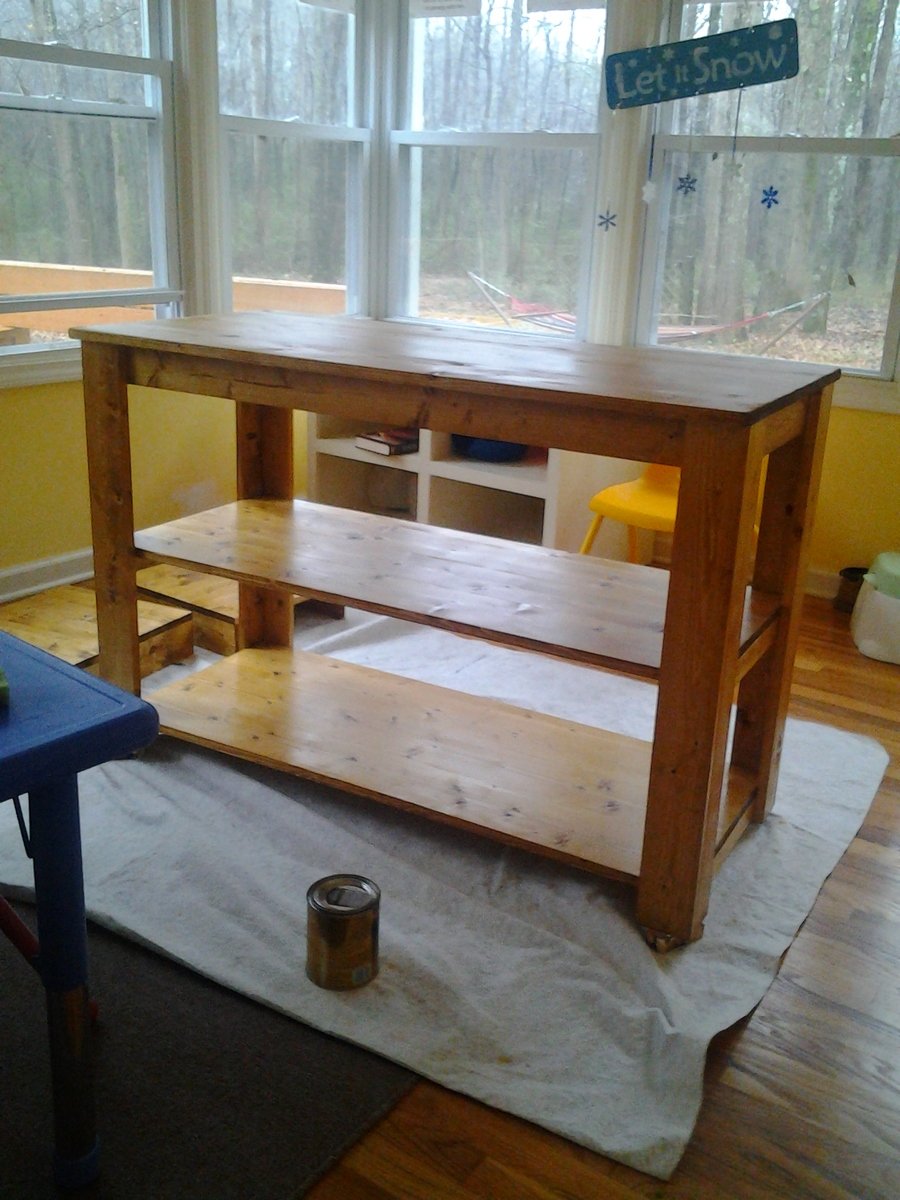
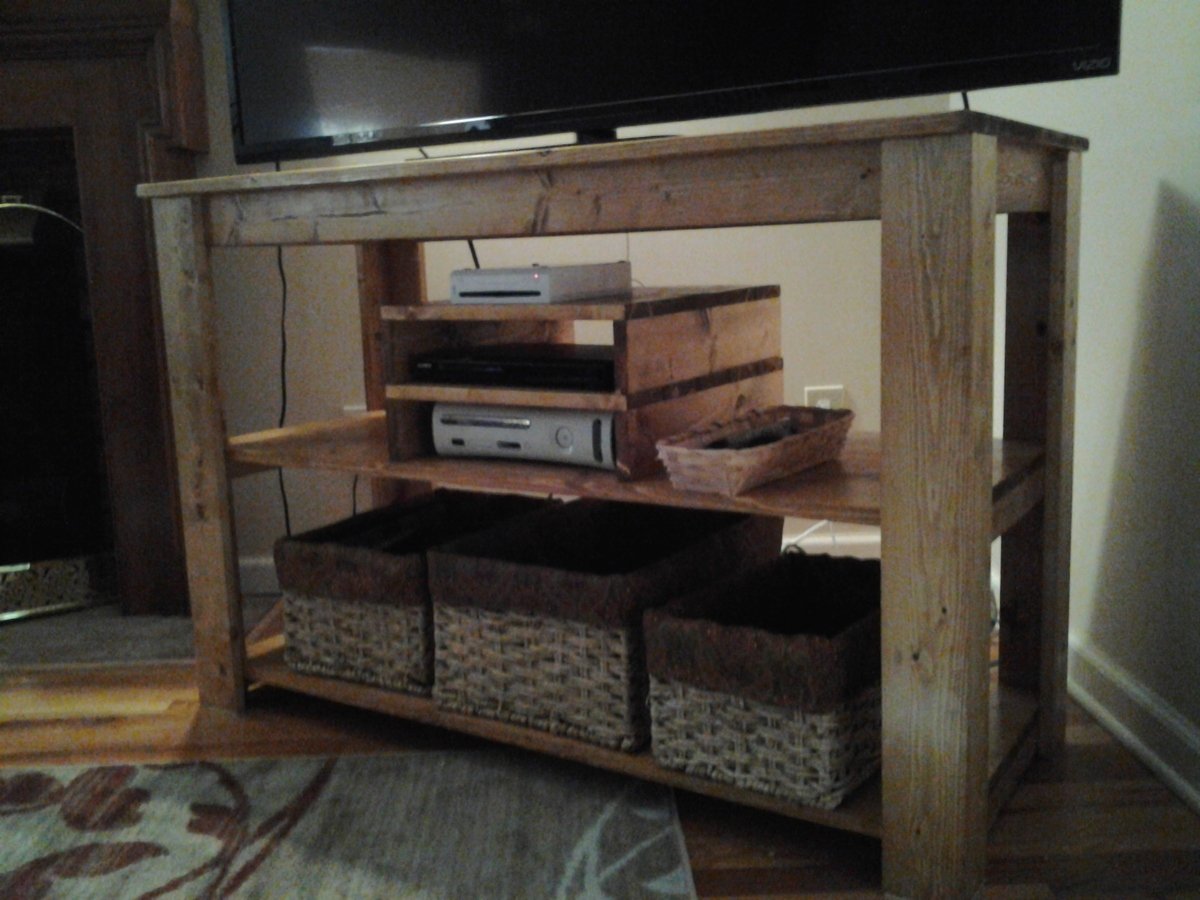
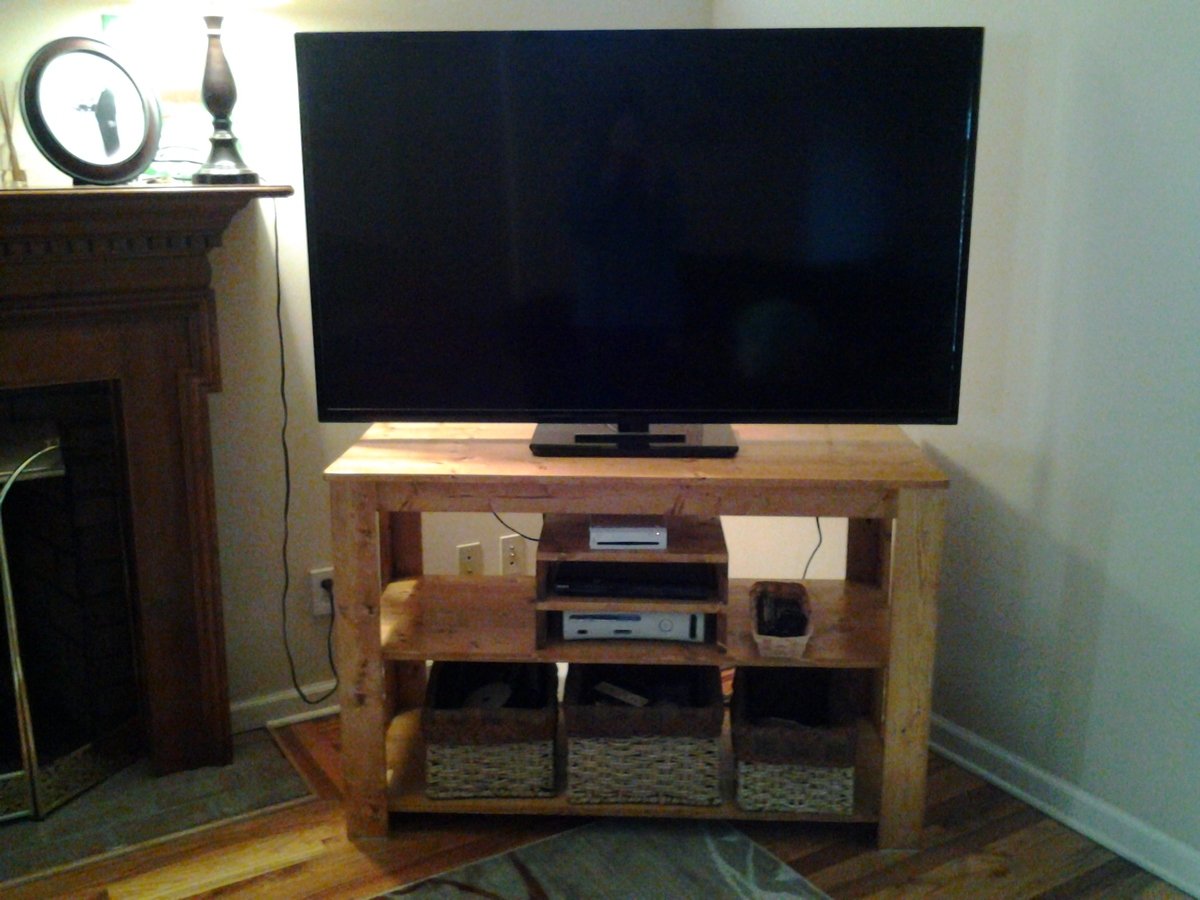
I forgot to add the height of the shelf when I measured for the placement of the two by two shelf supports, but it still turned out well.
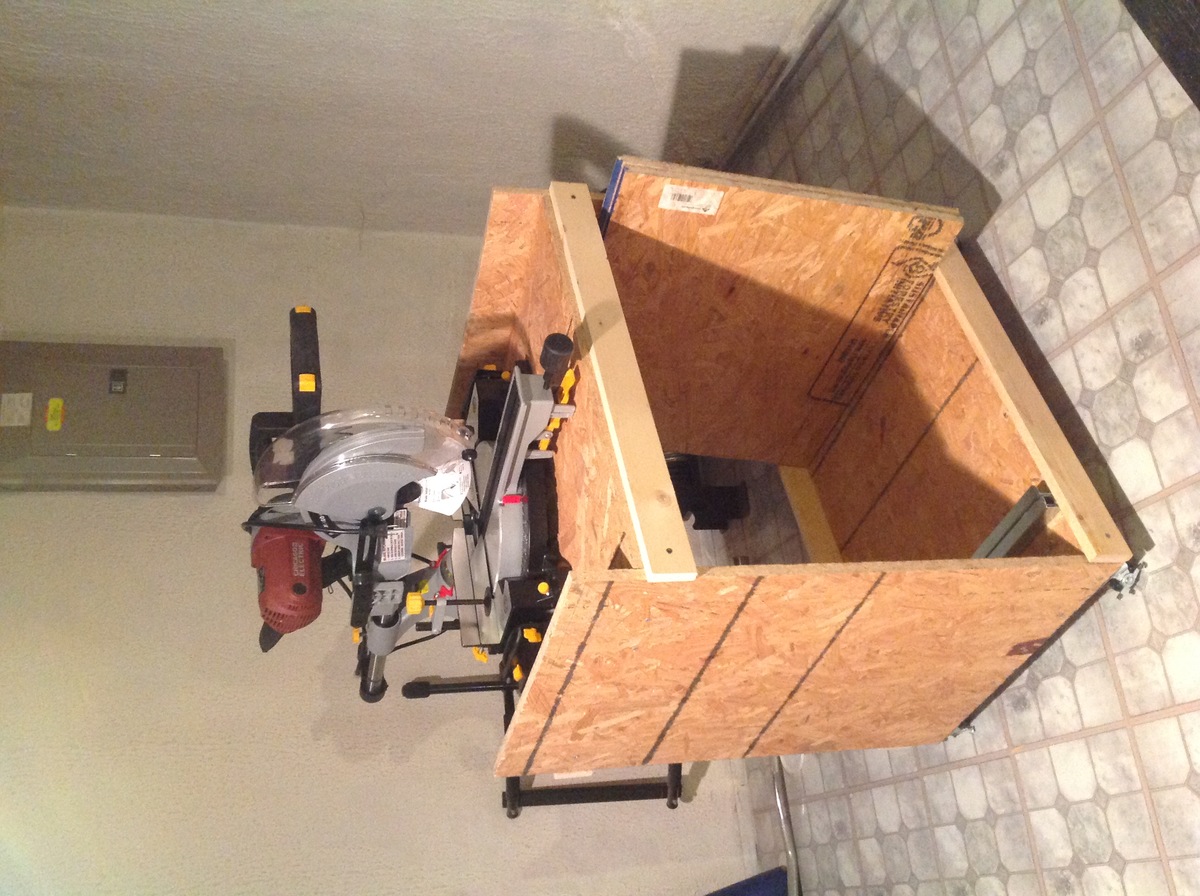
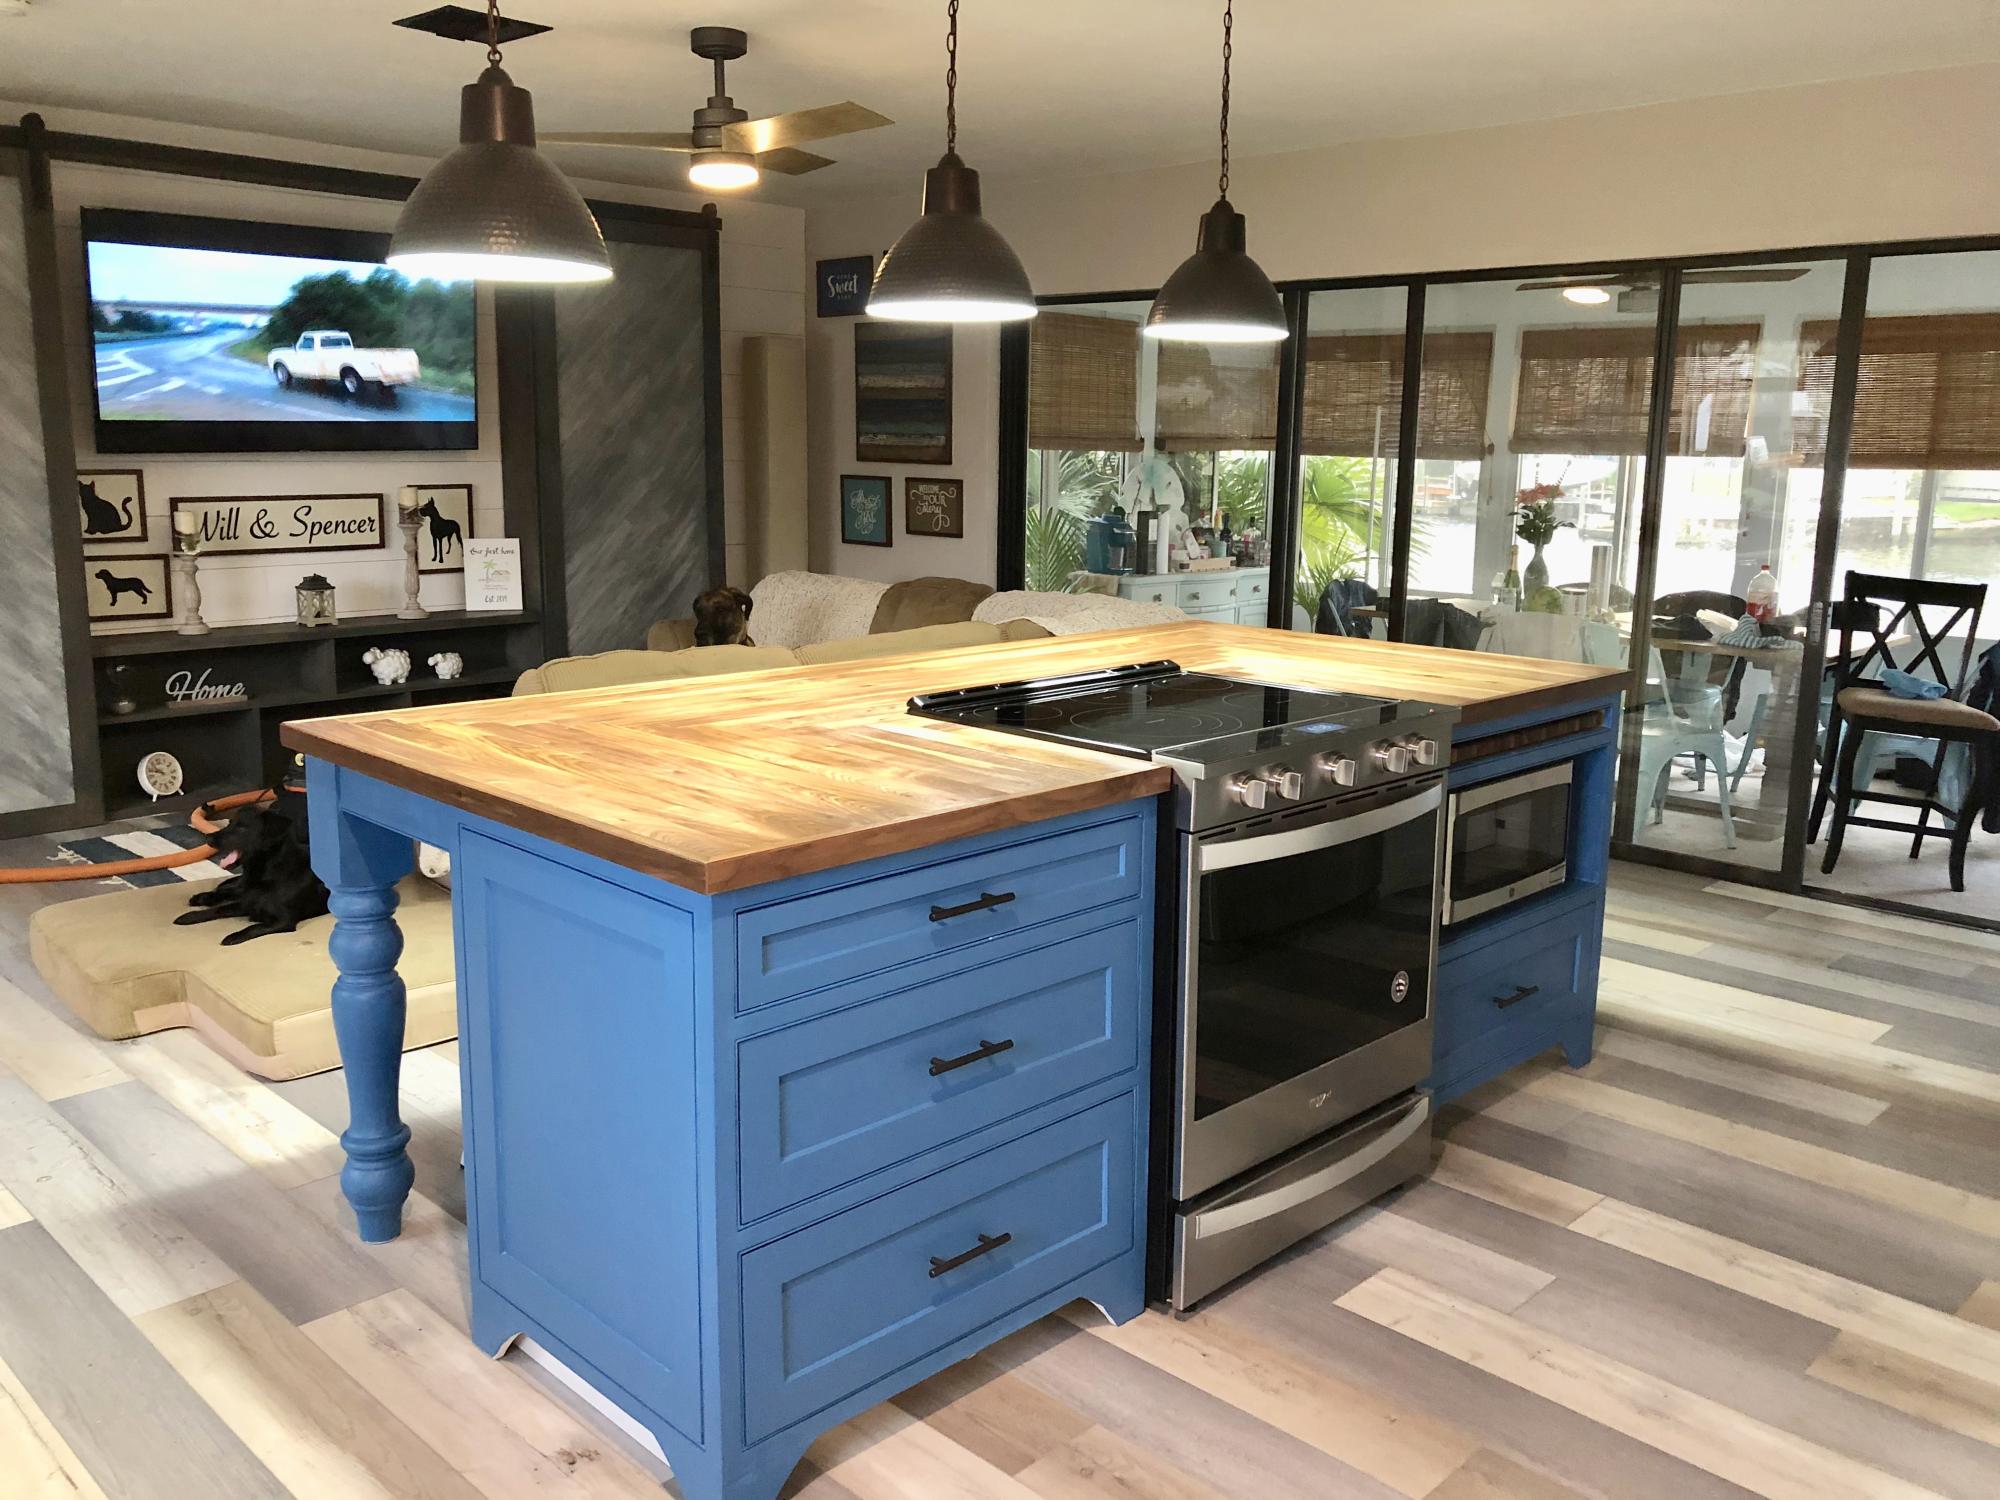
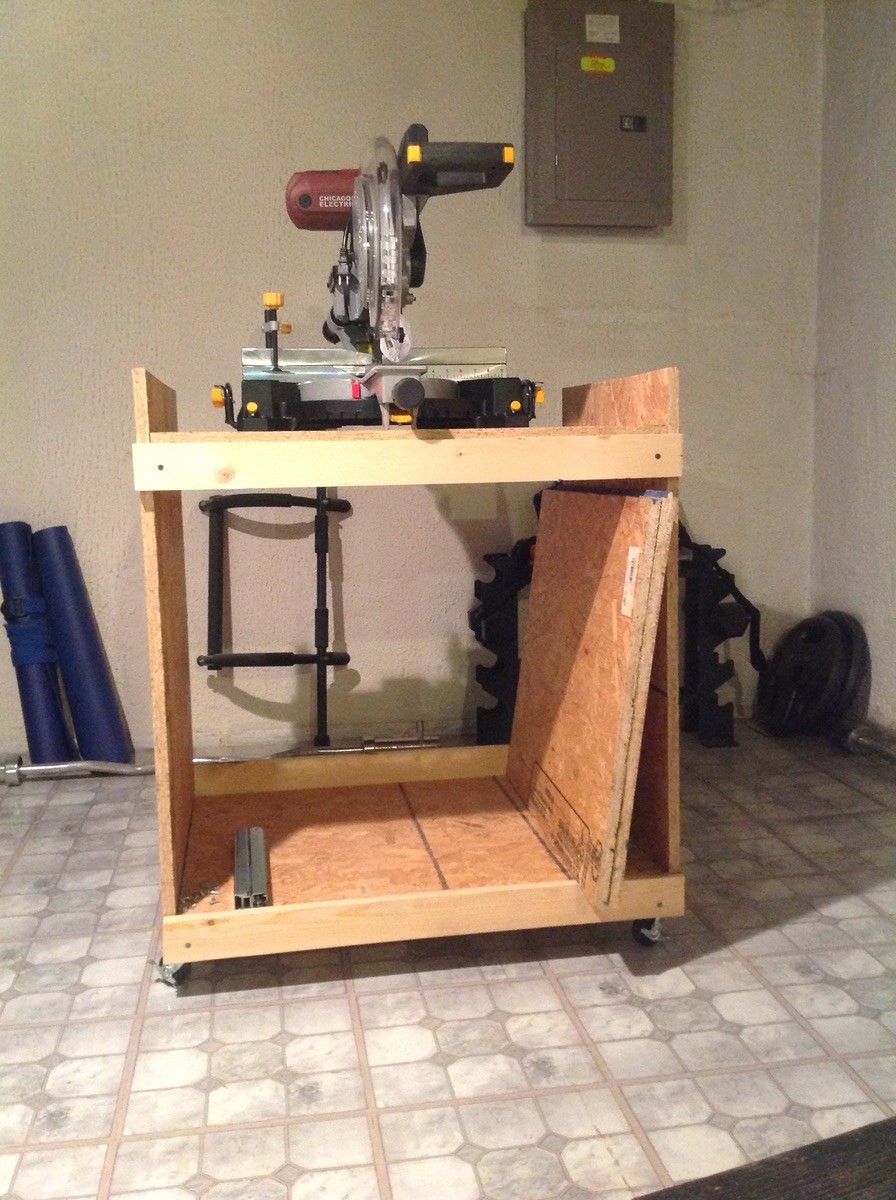
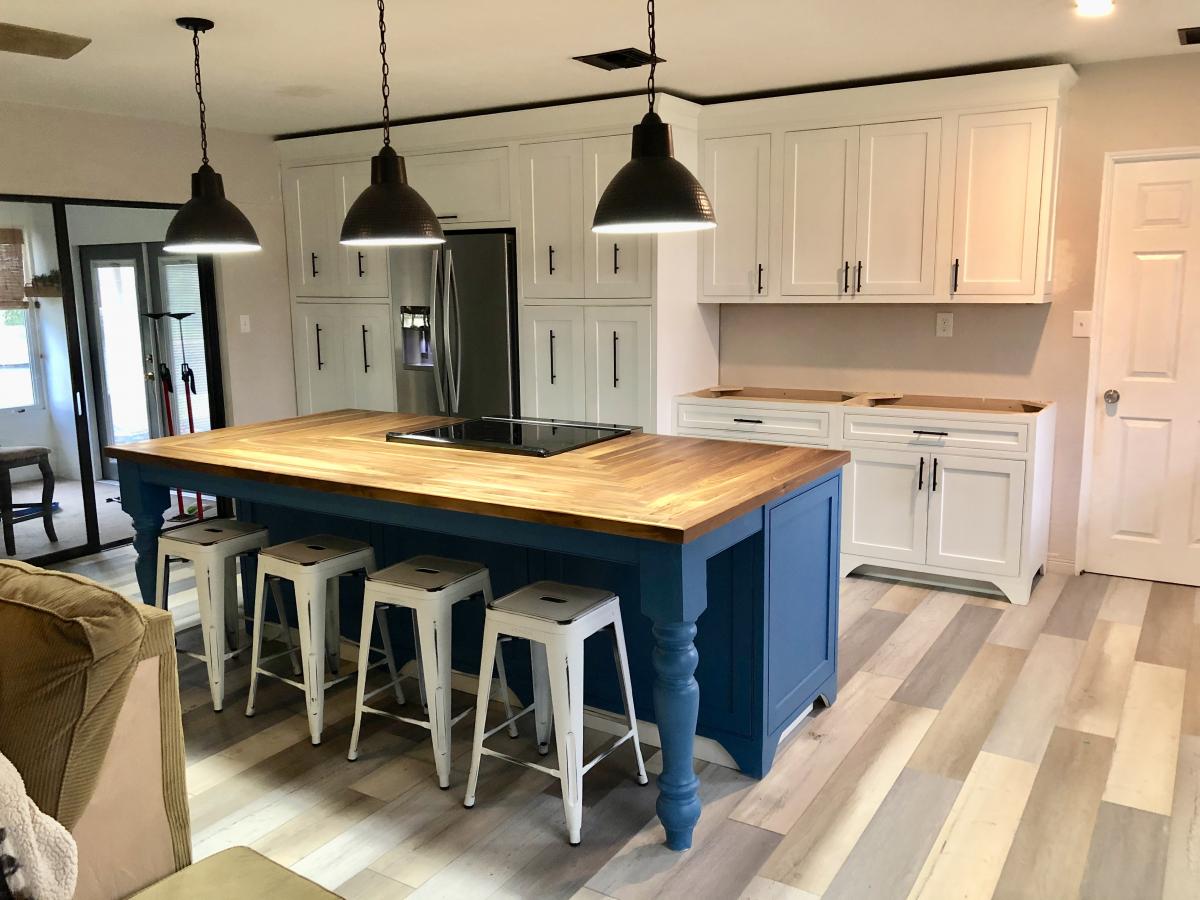
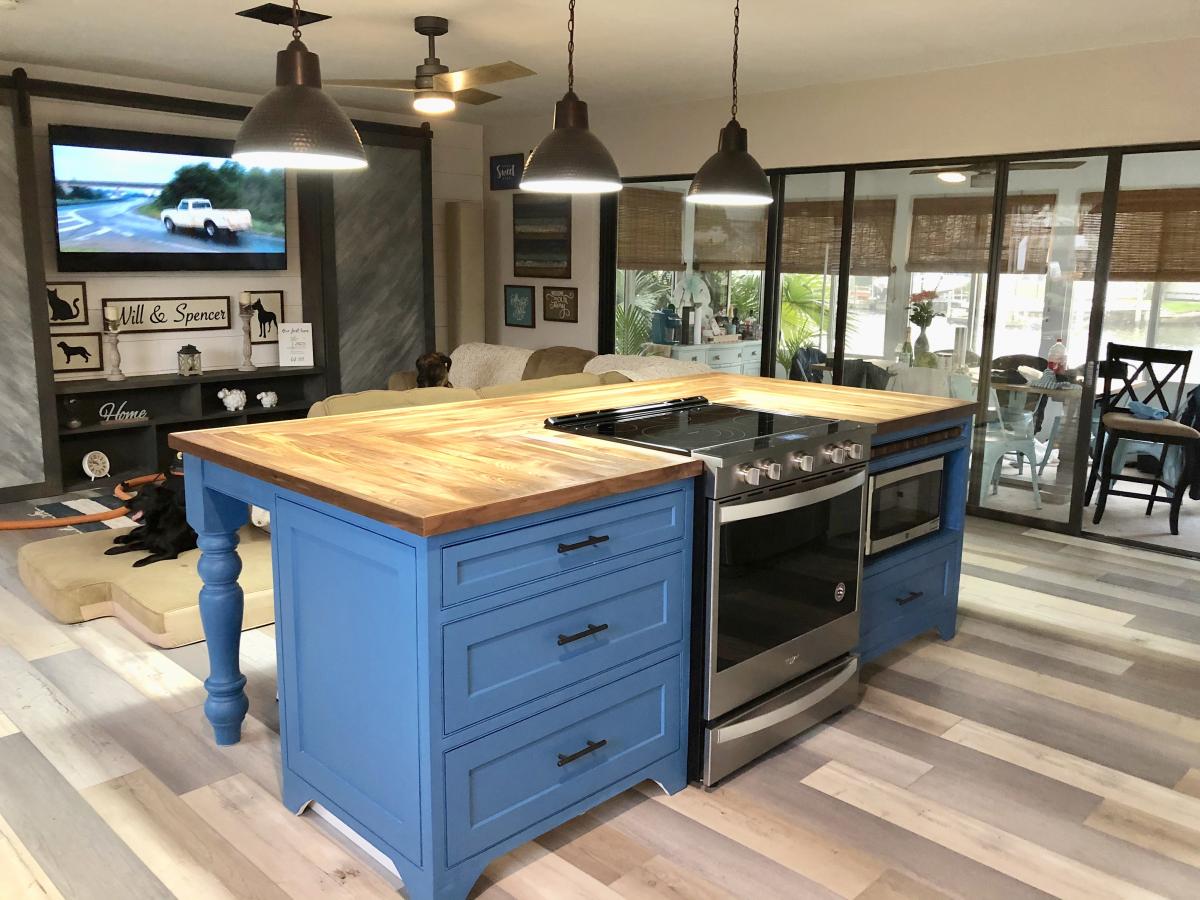
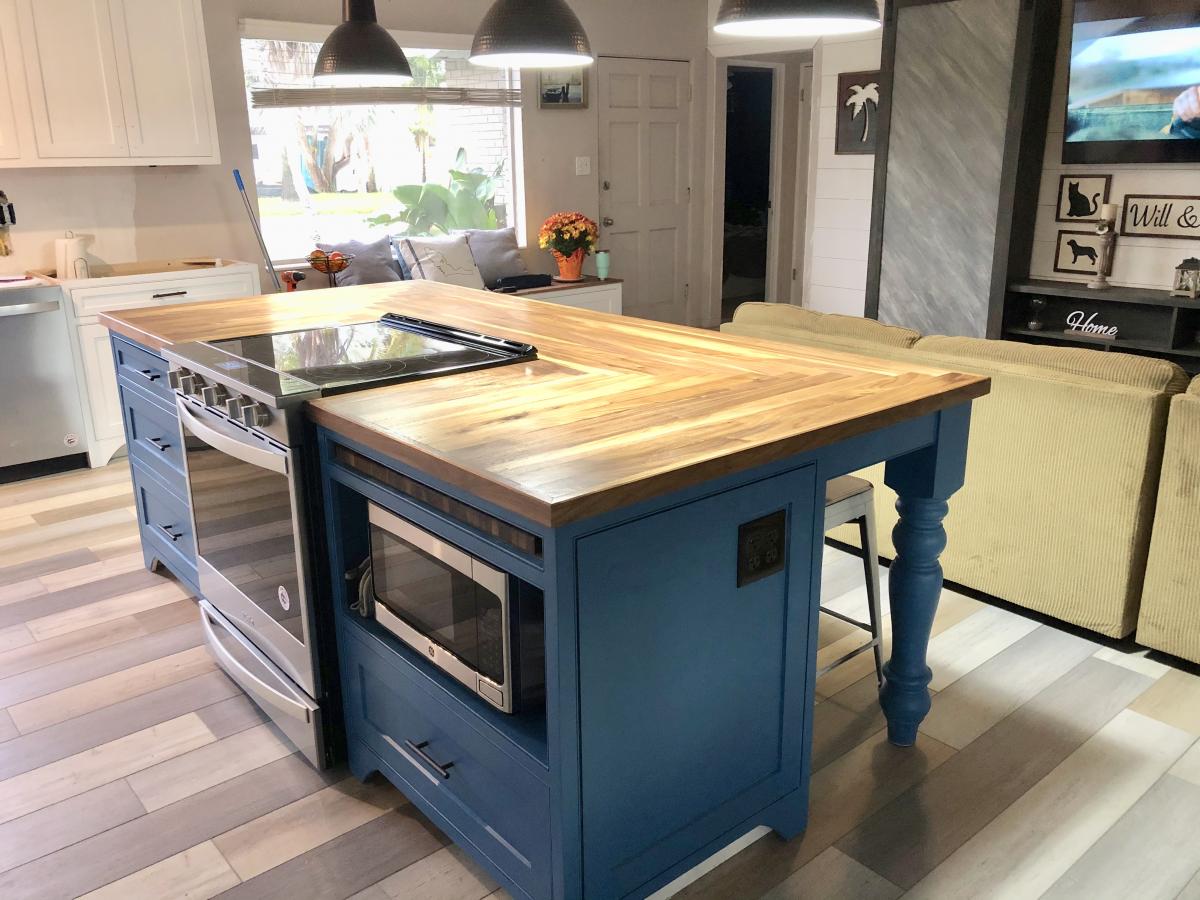
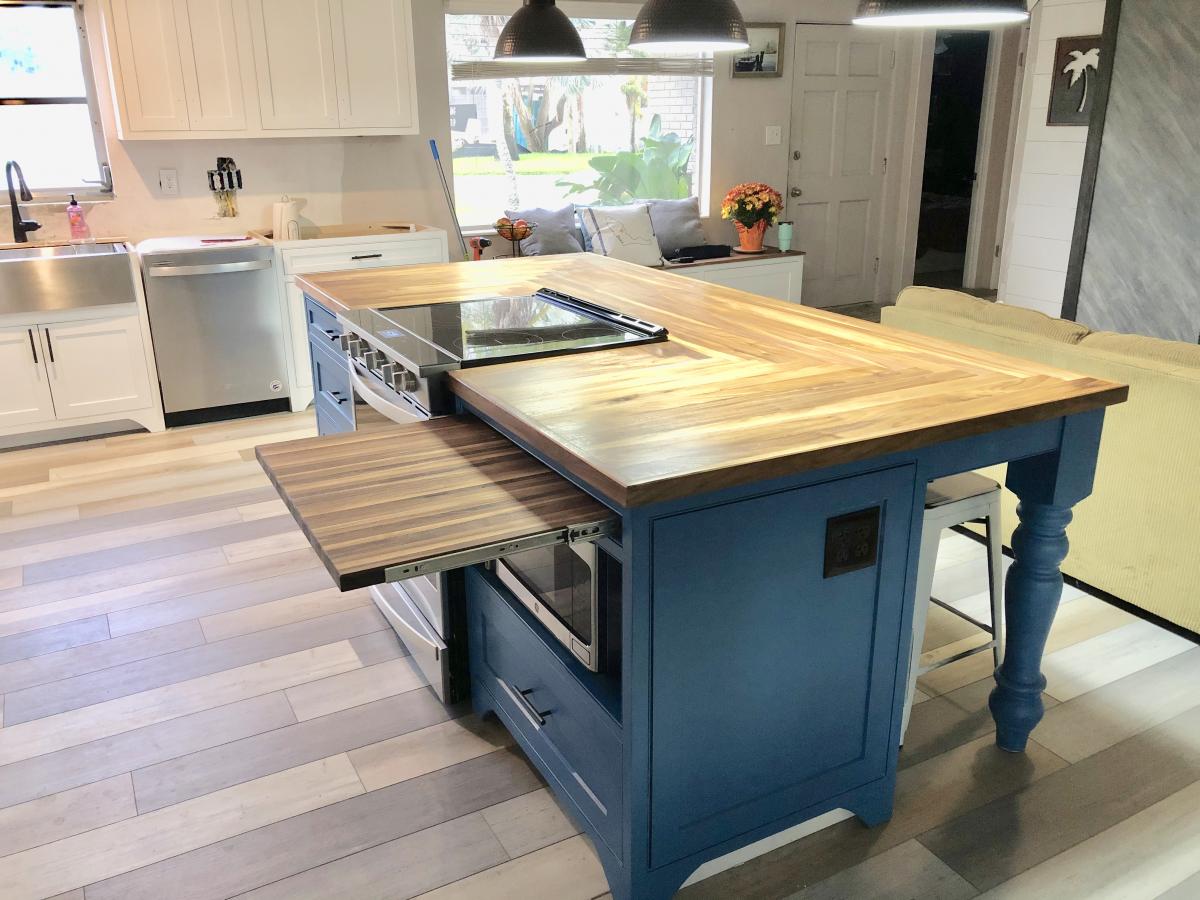
I designed and built this kitchen island for my daughter and her husband along with the cabinets. the island top is made of walnut.
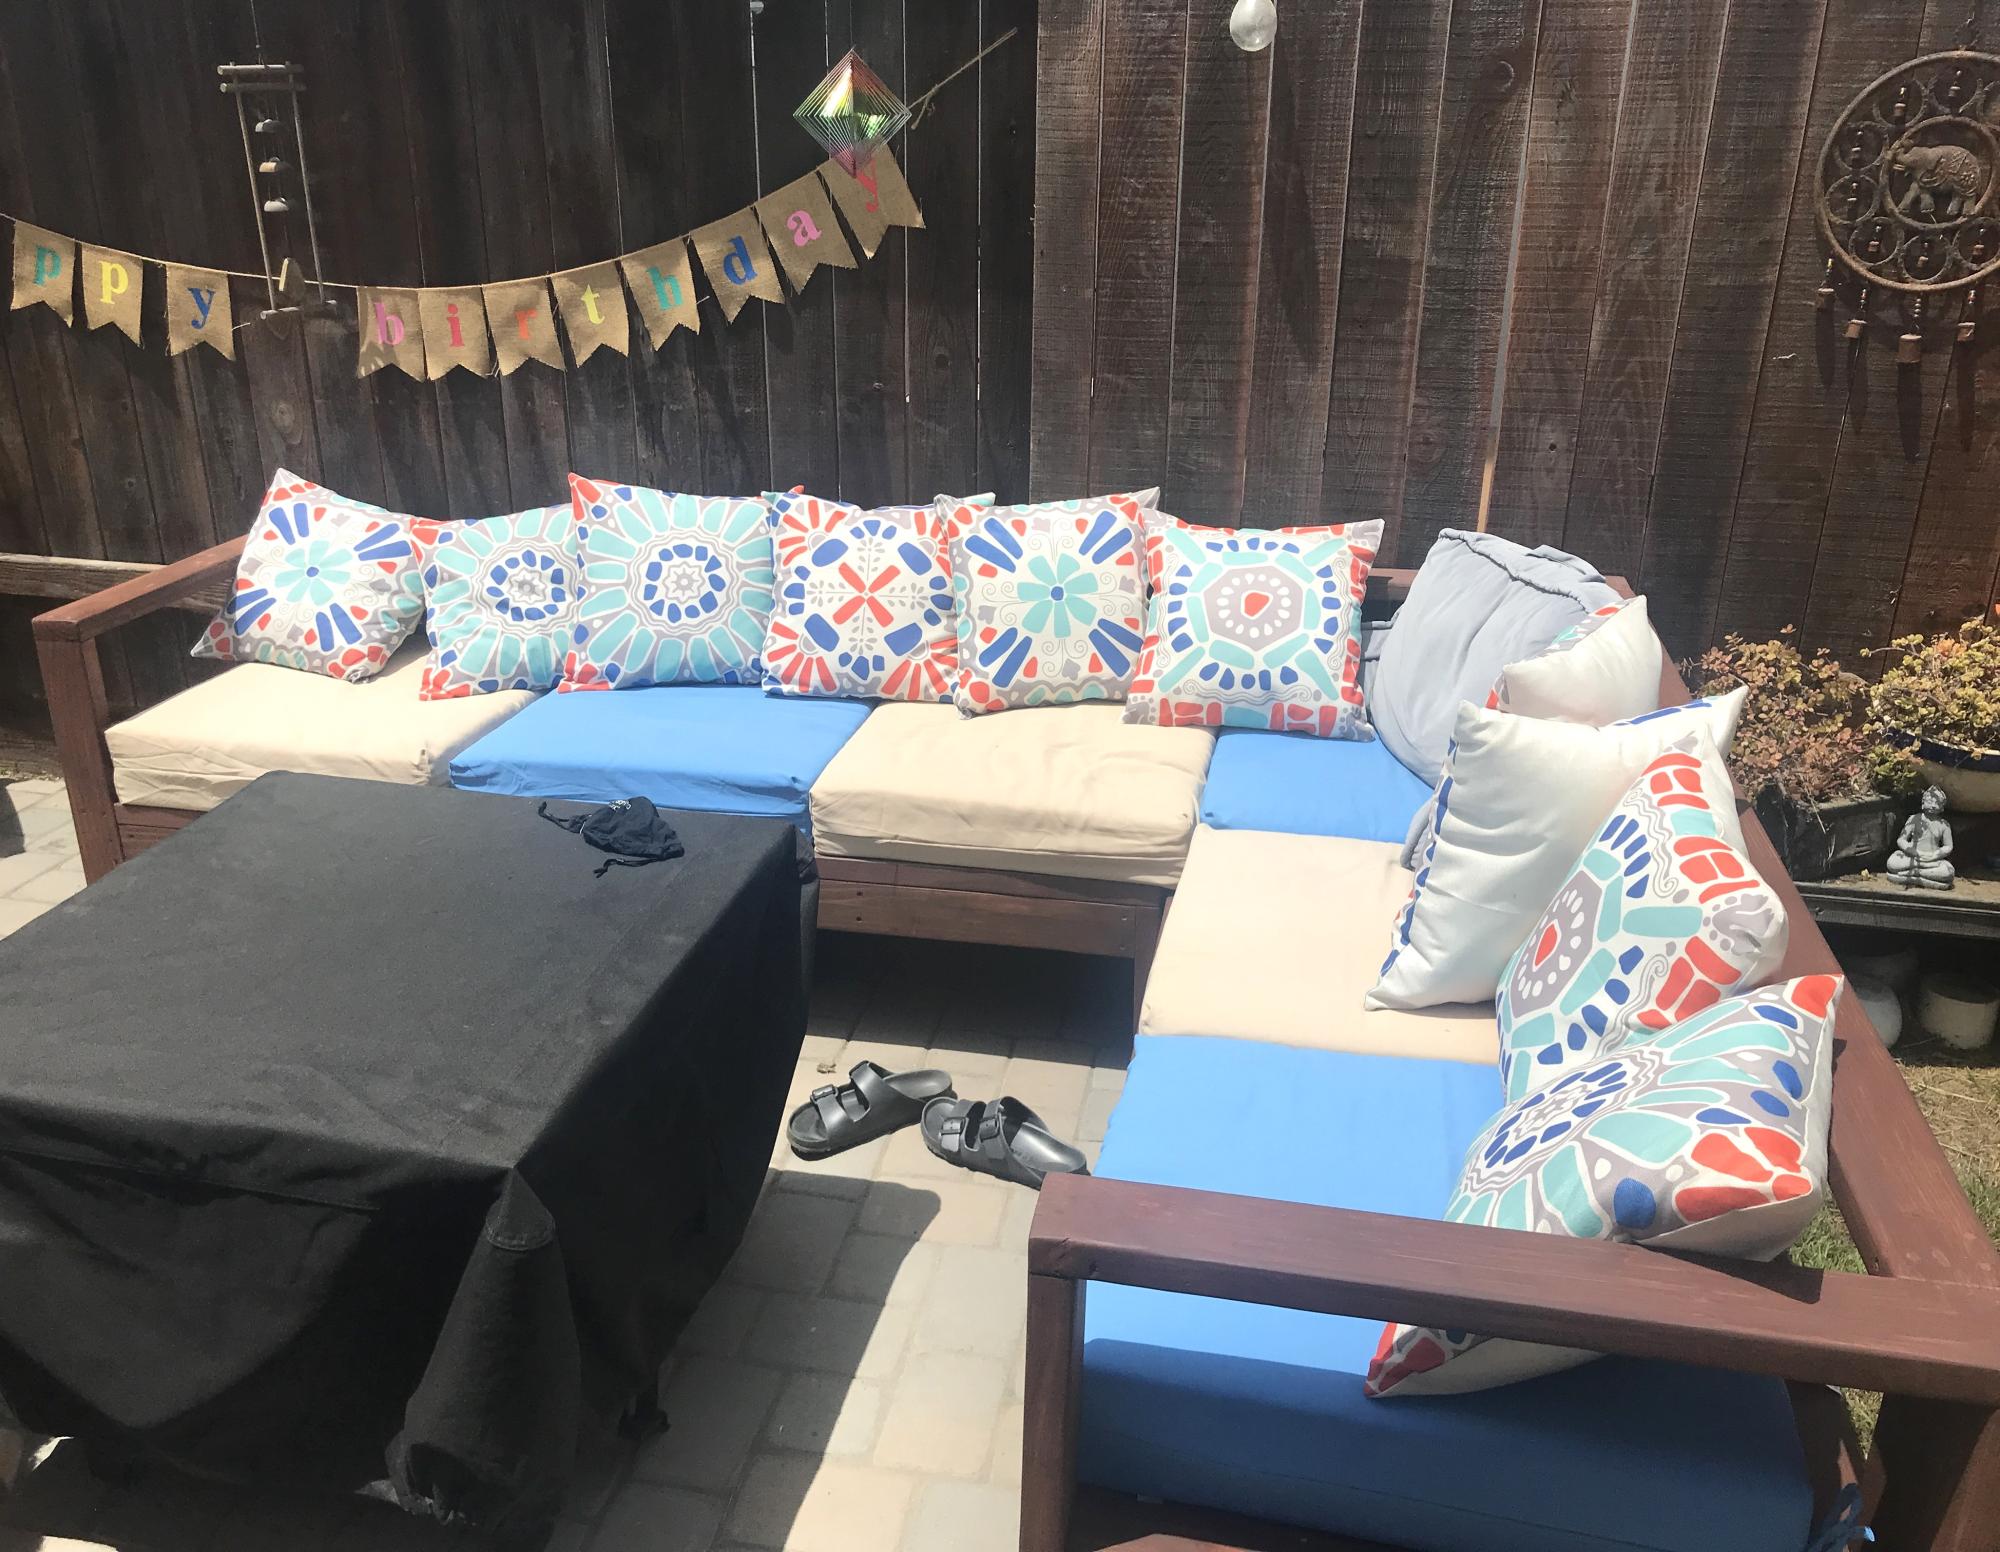
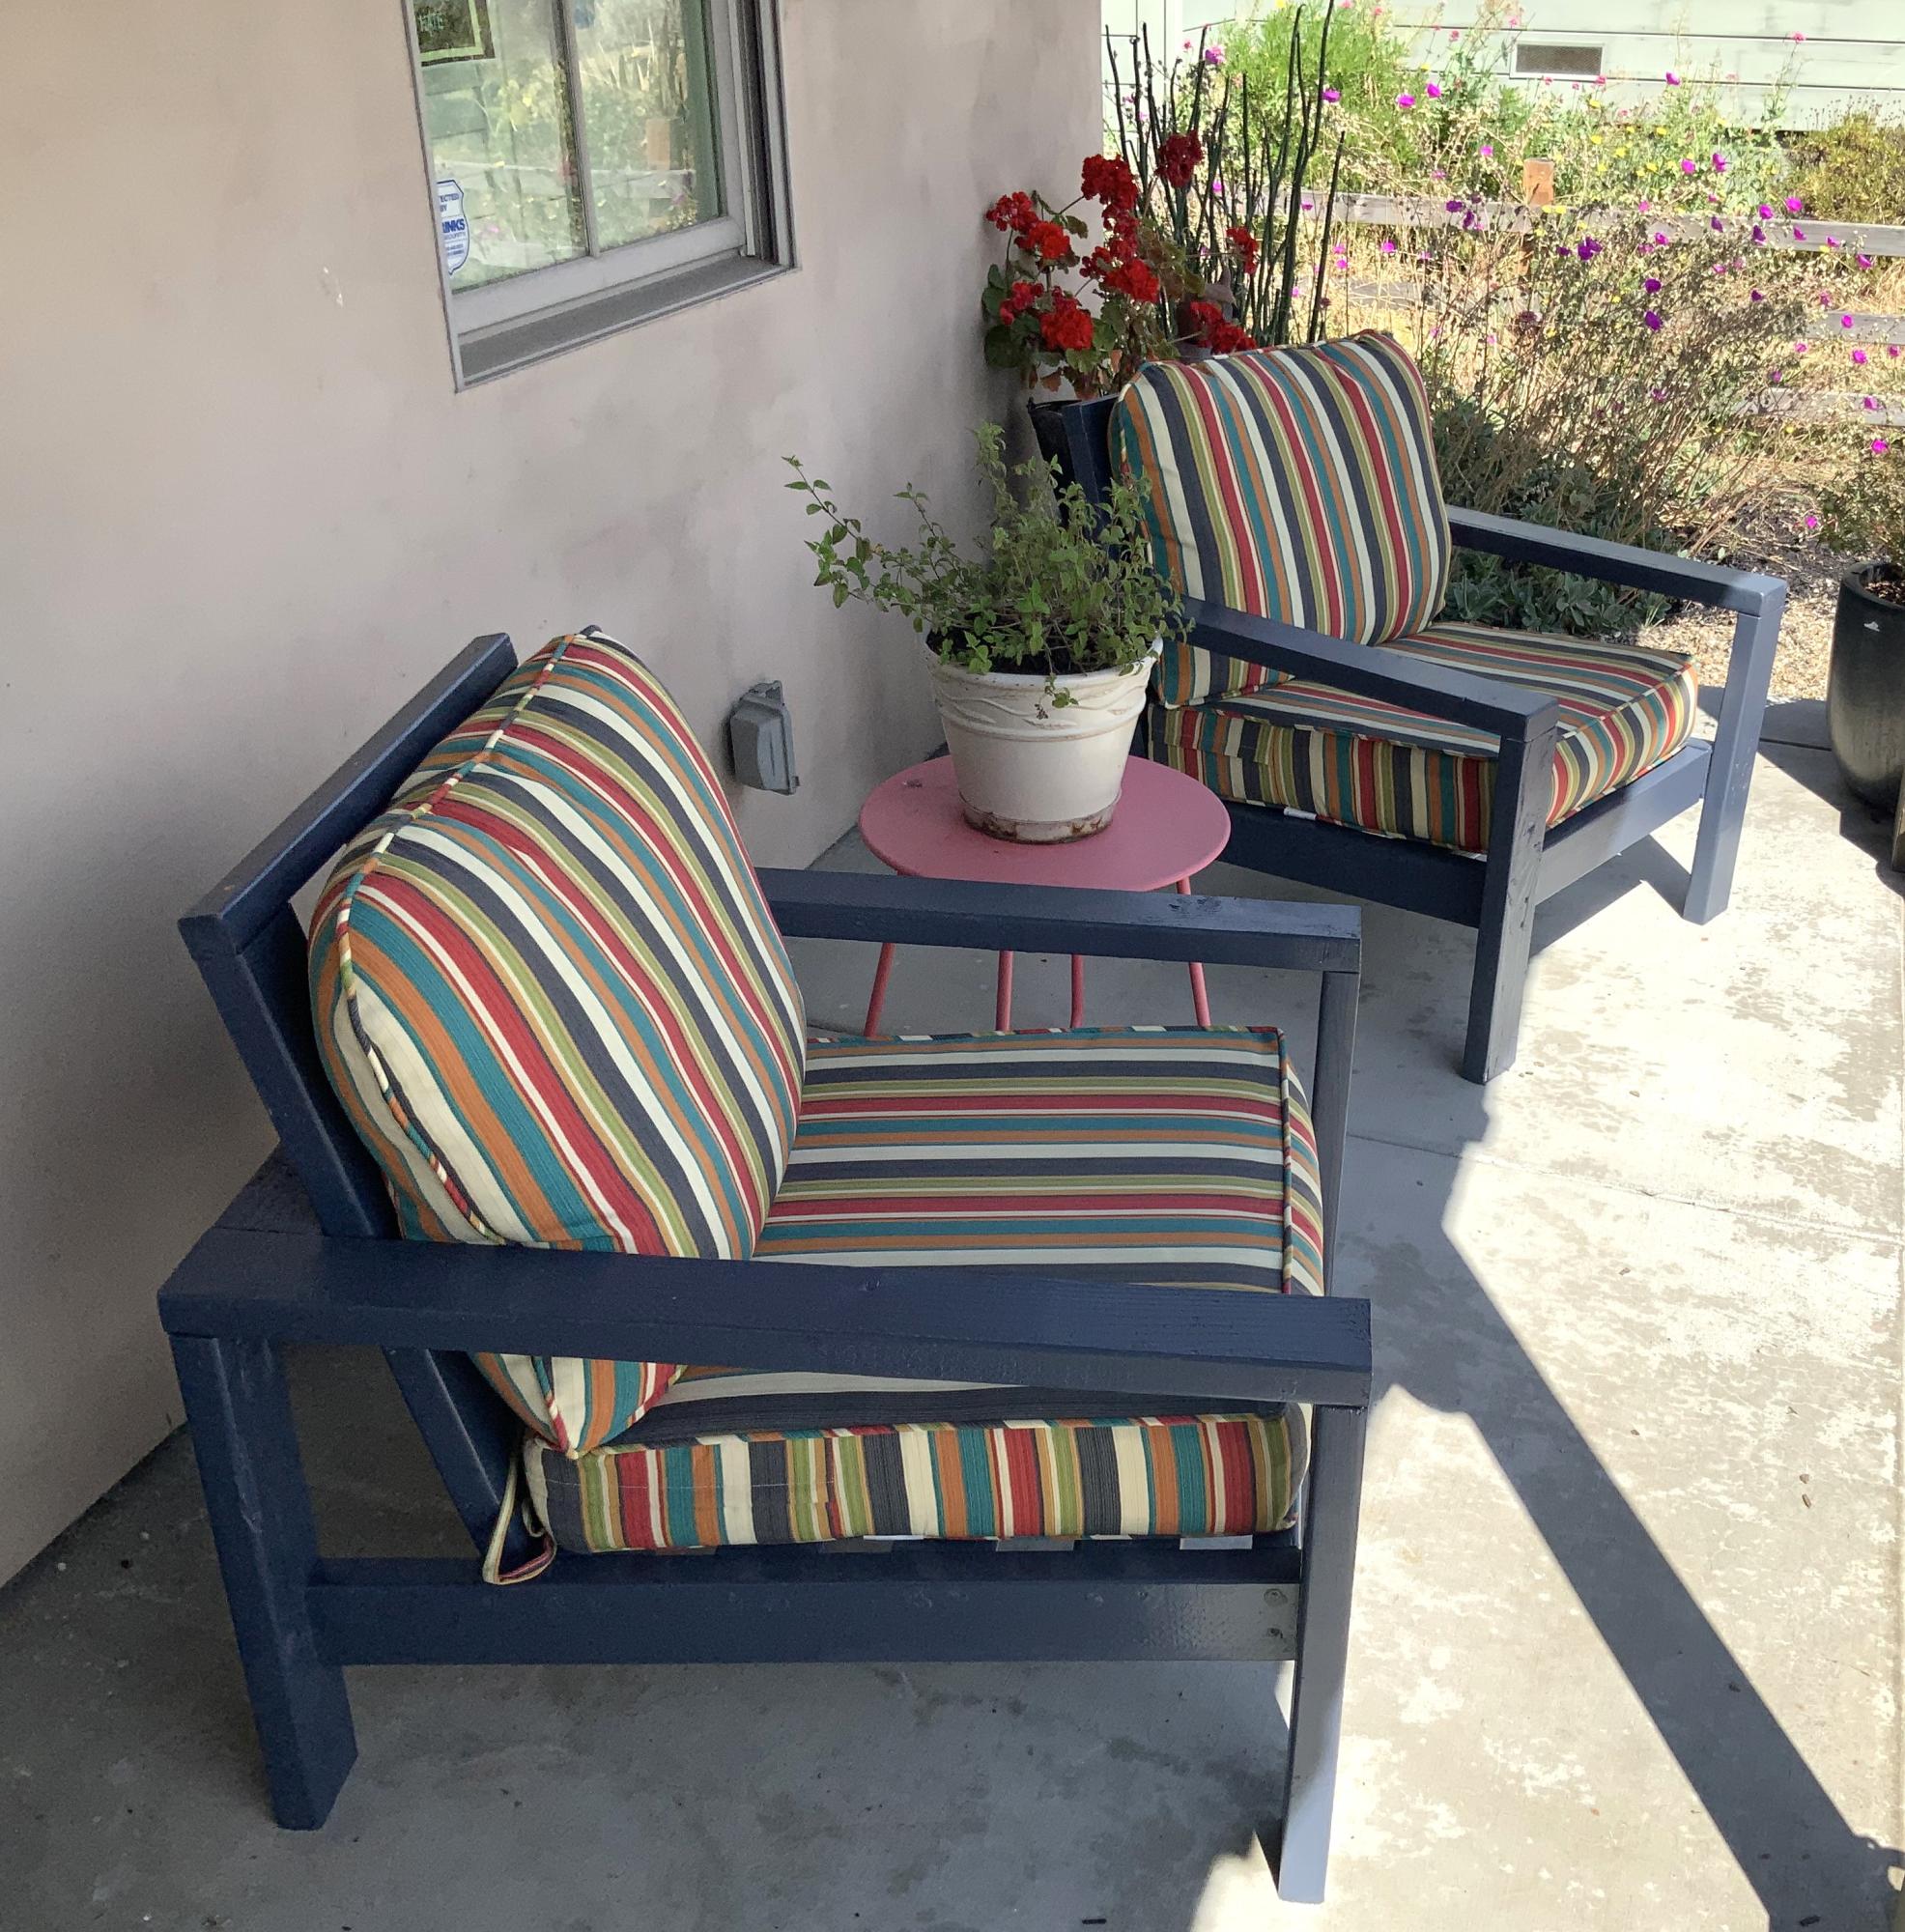
Outdoor couch is a delight.
Damian
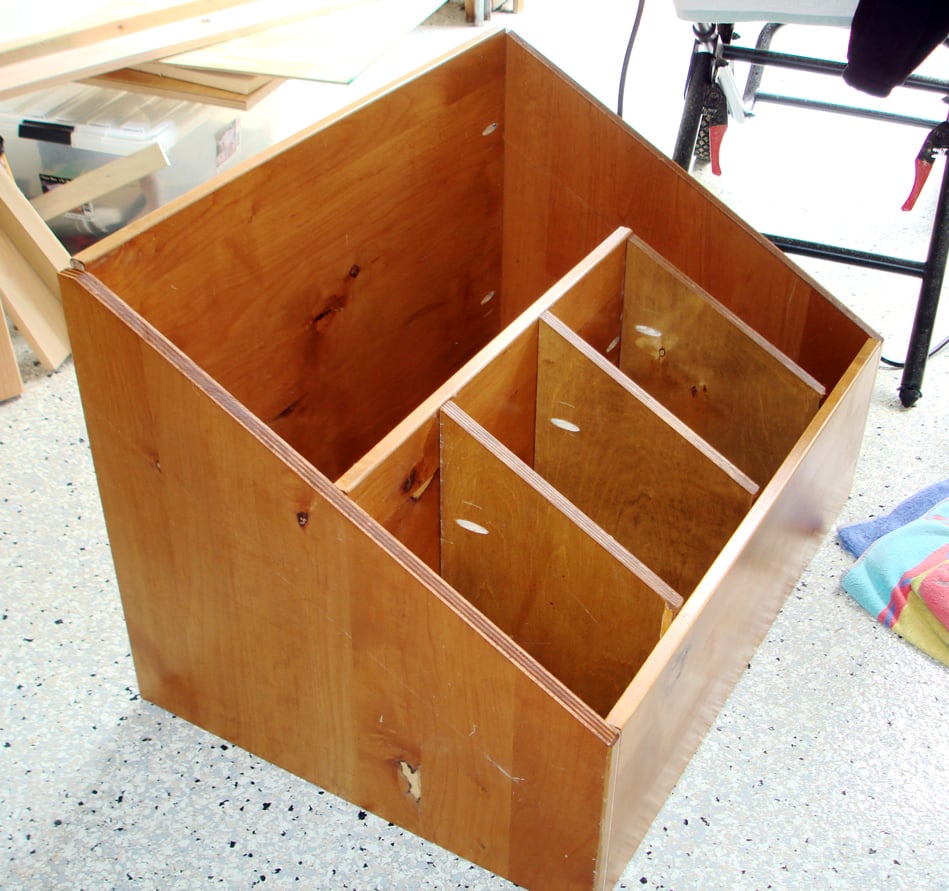
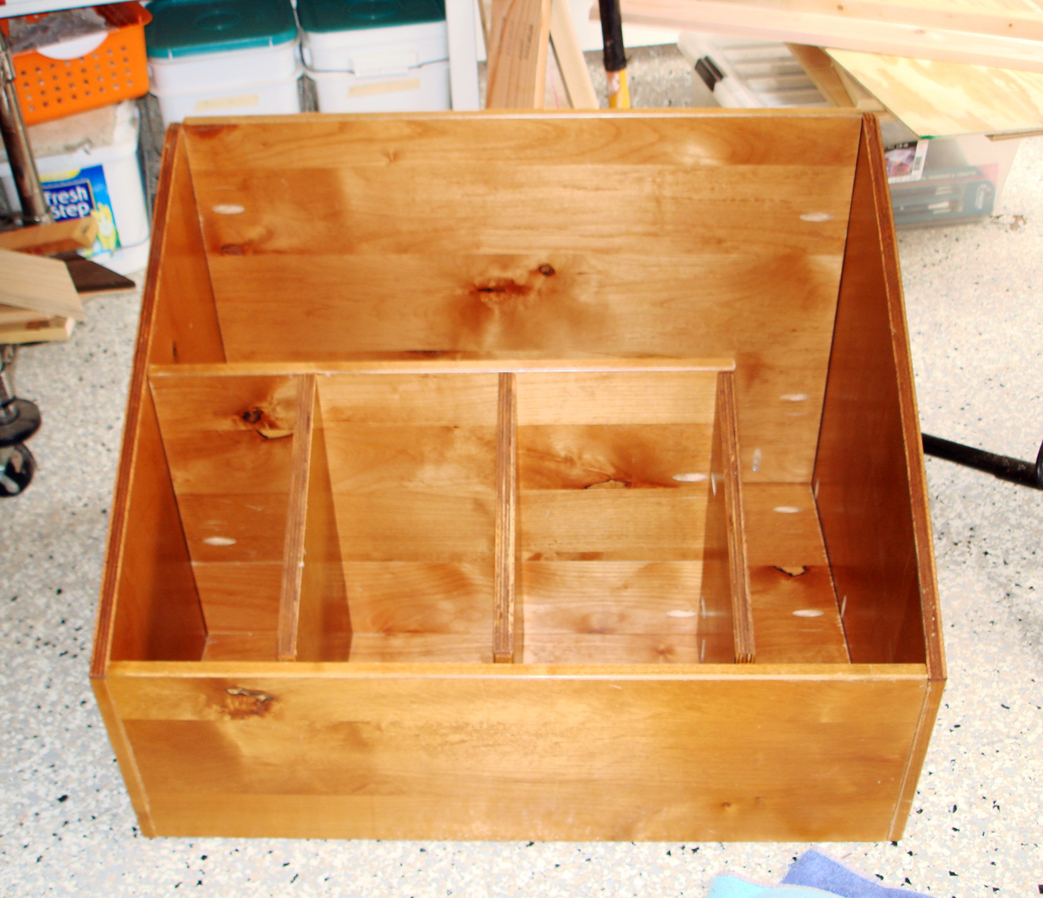
My wood scraps were definitely getting out of control, and I needed something to store the wood vertically. I had some spare wood (free from Craigslist), so I put together a wood storage bin. All in all, the project cost me the price of some Kreg screws.
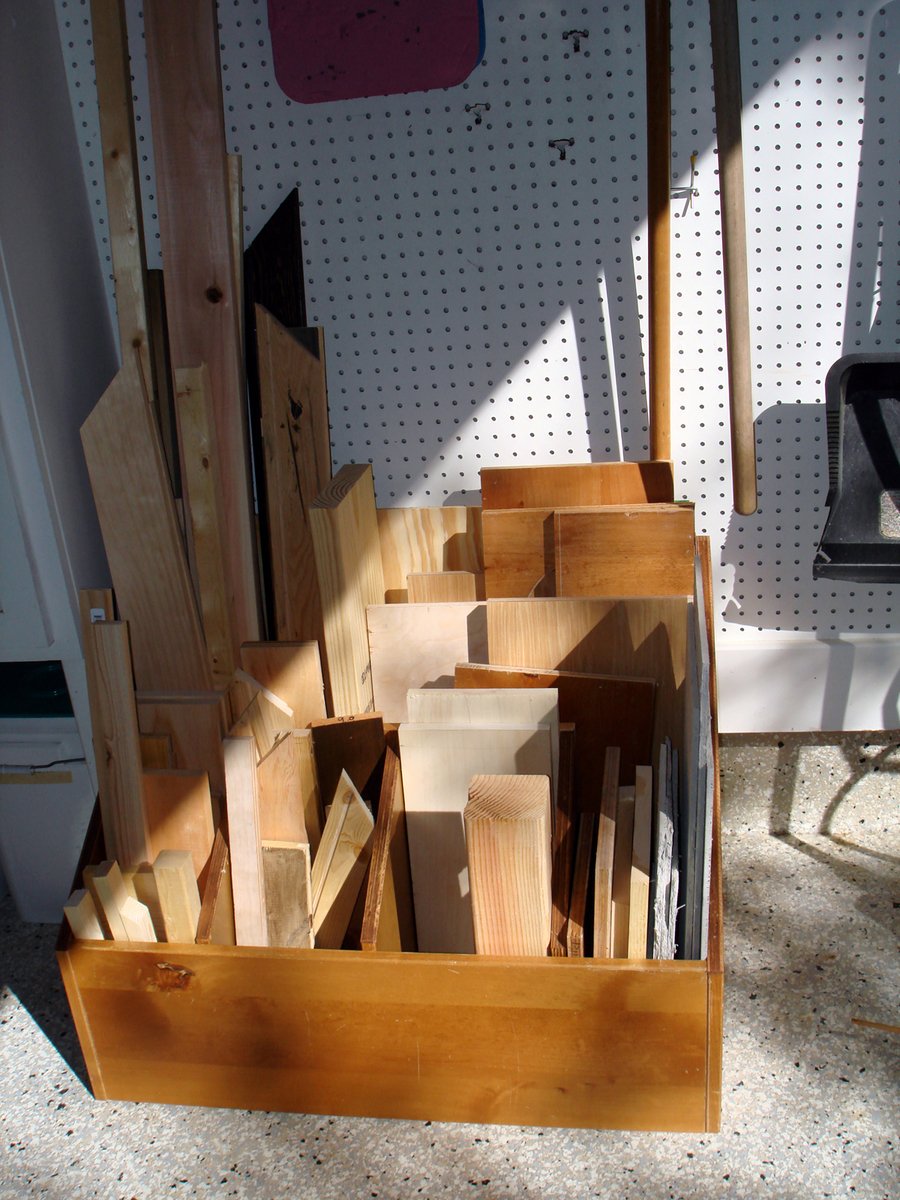
Mon, 03/19/2012 - 20:13
Love it! I'm building some crates from pallet wood to store my scraps in. Your box turned out very nice.
Wed, 06/06/2012 - 13:21
I have been struggling to organize my space because my lumber is on one of my work spaces. I have the perfect space for that, thanks for the great post!
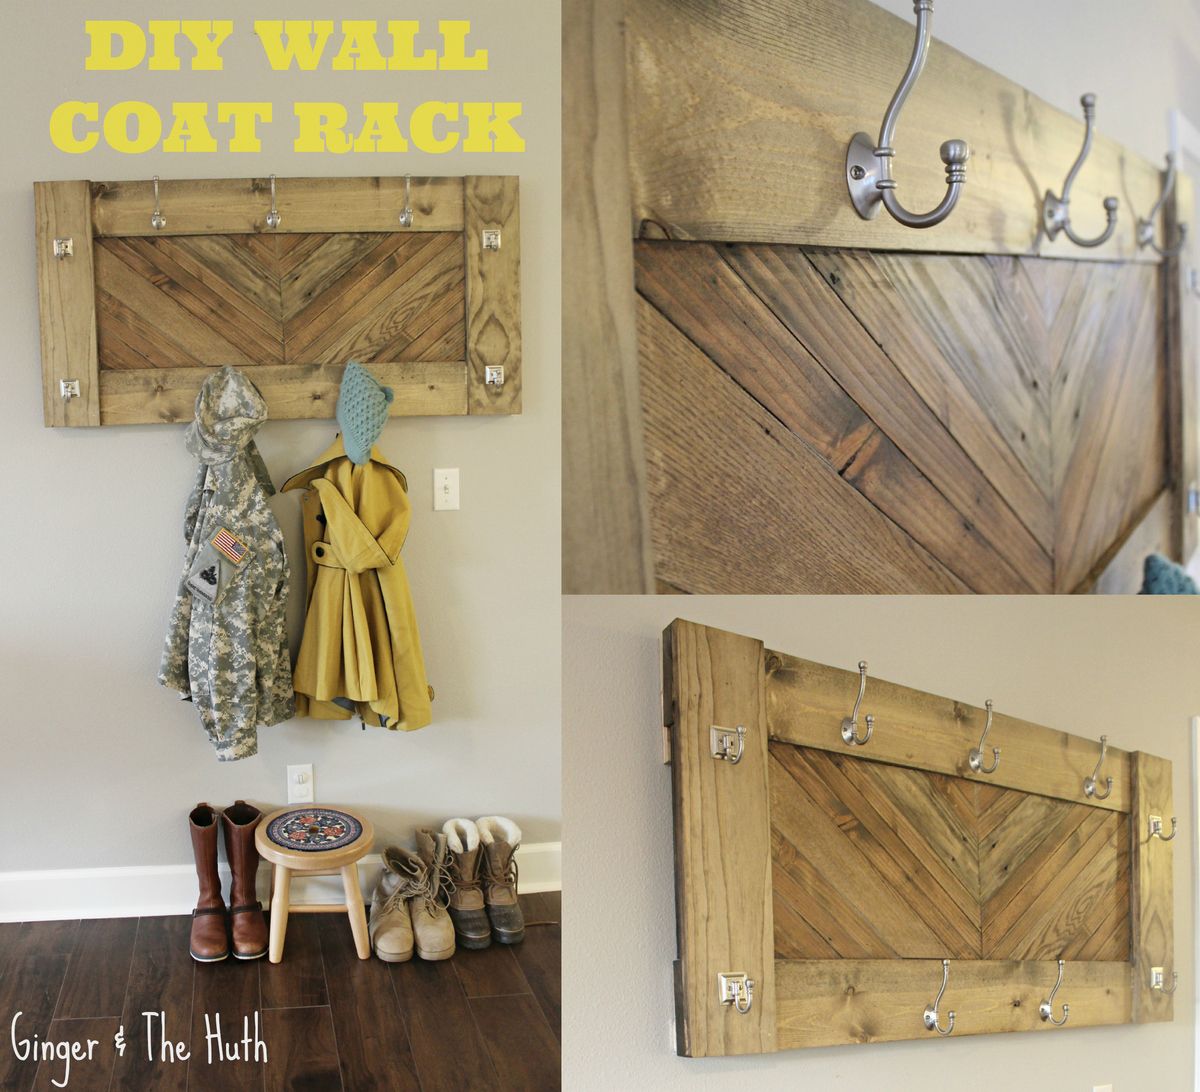
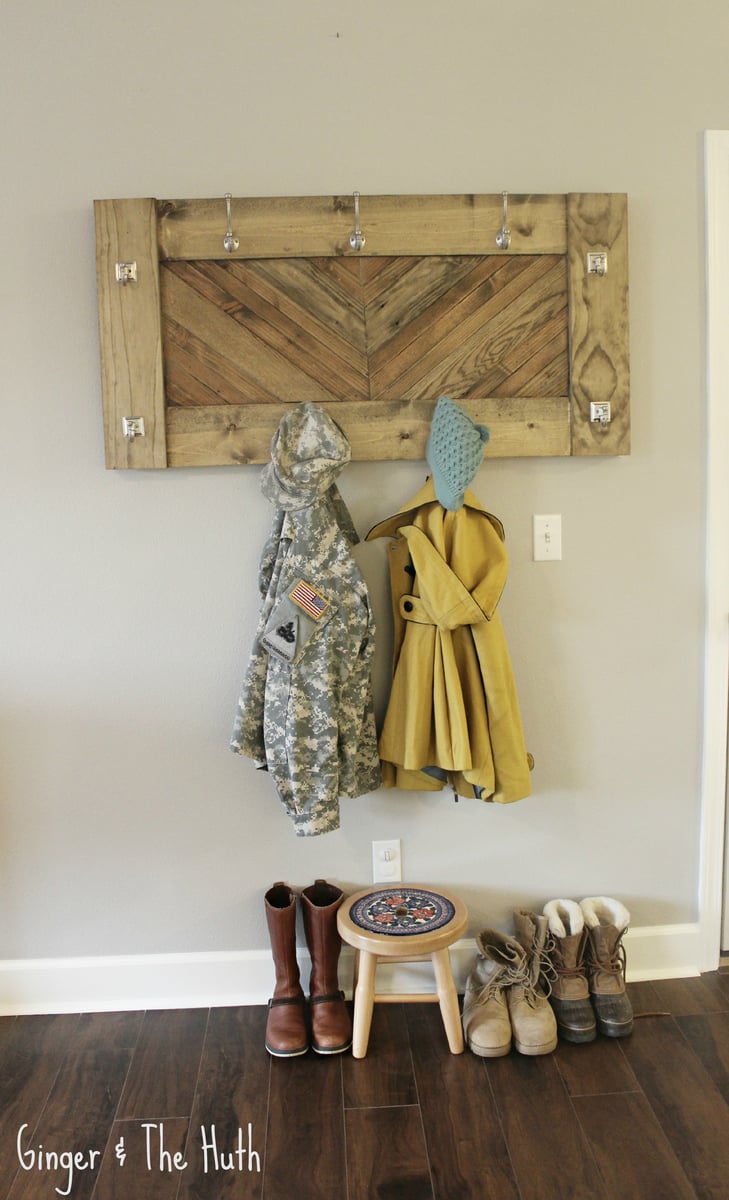
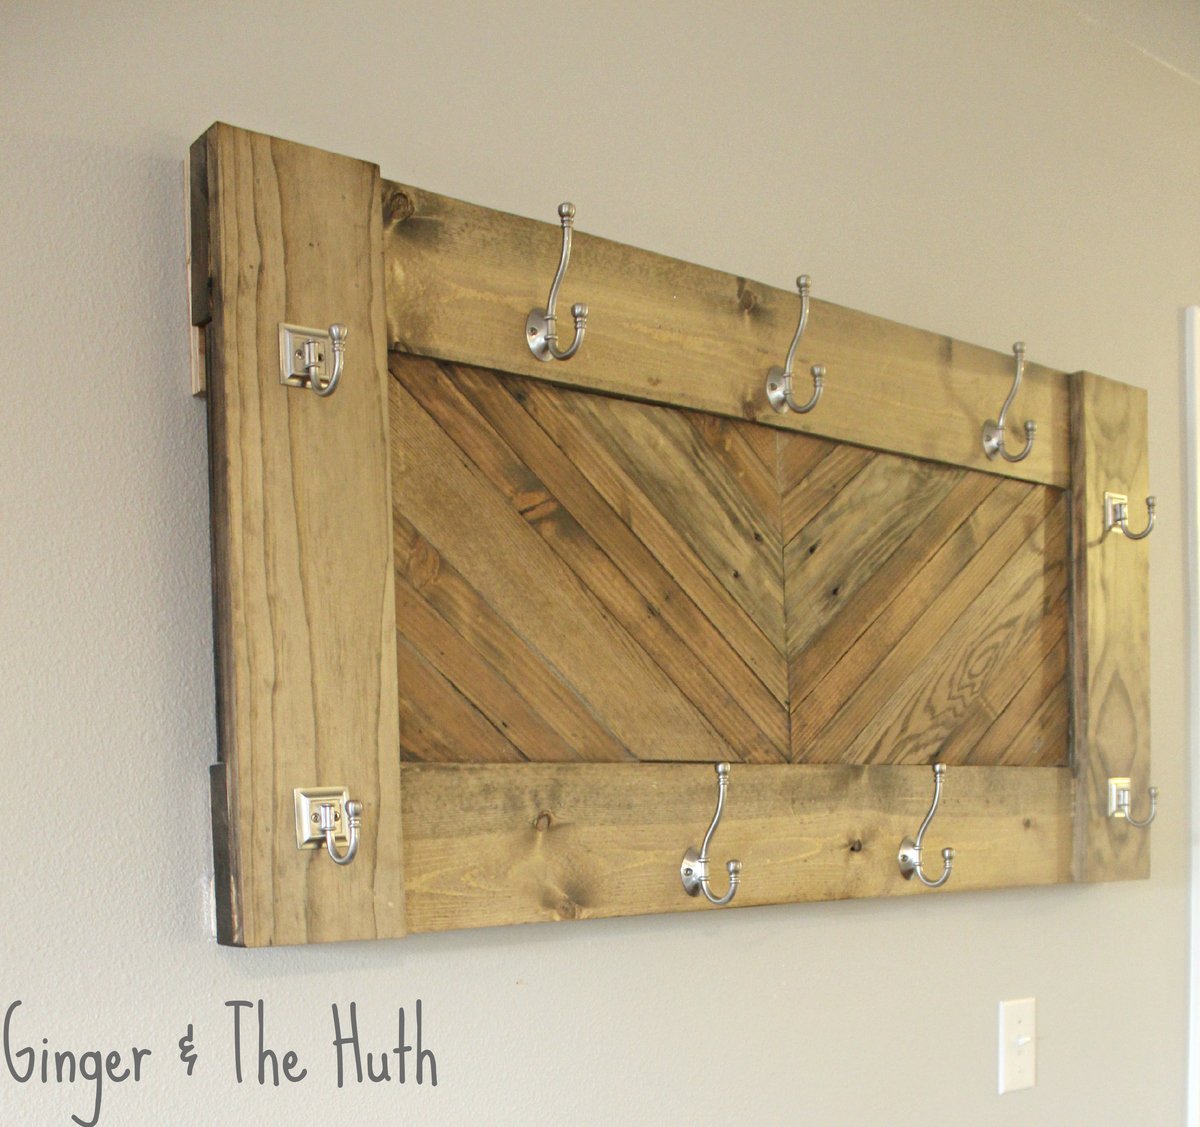
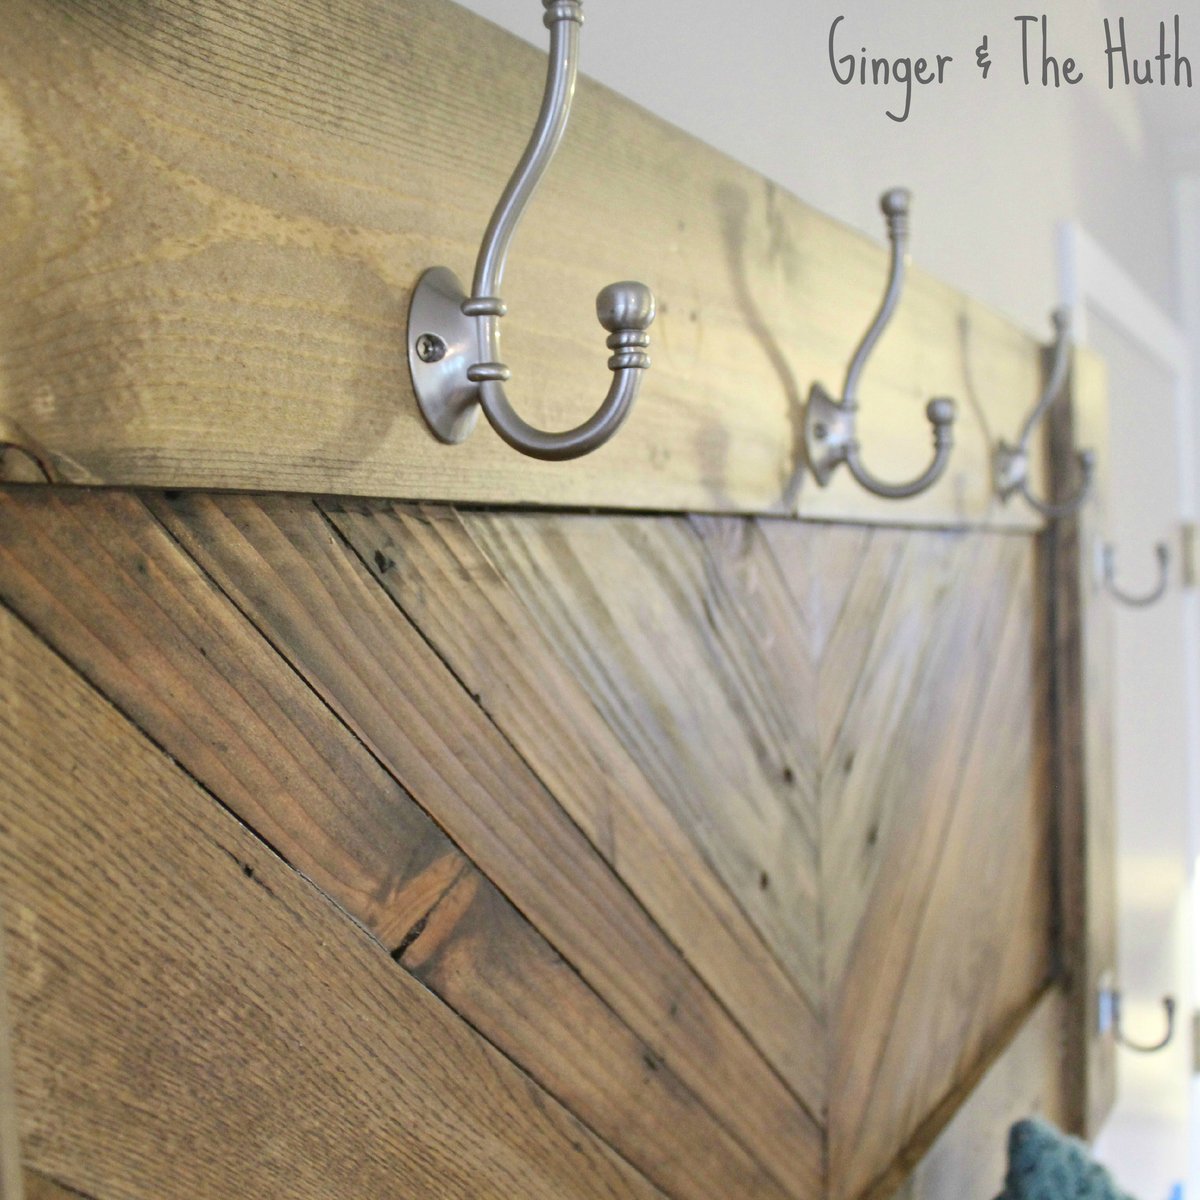
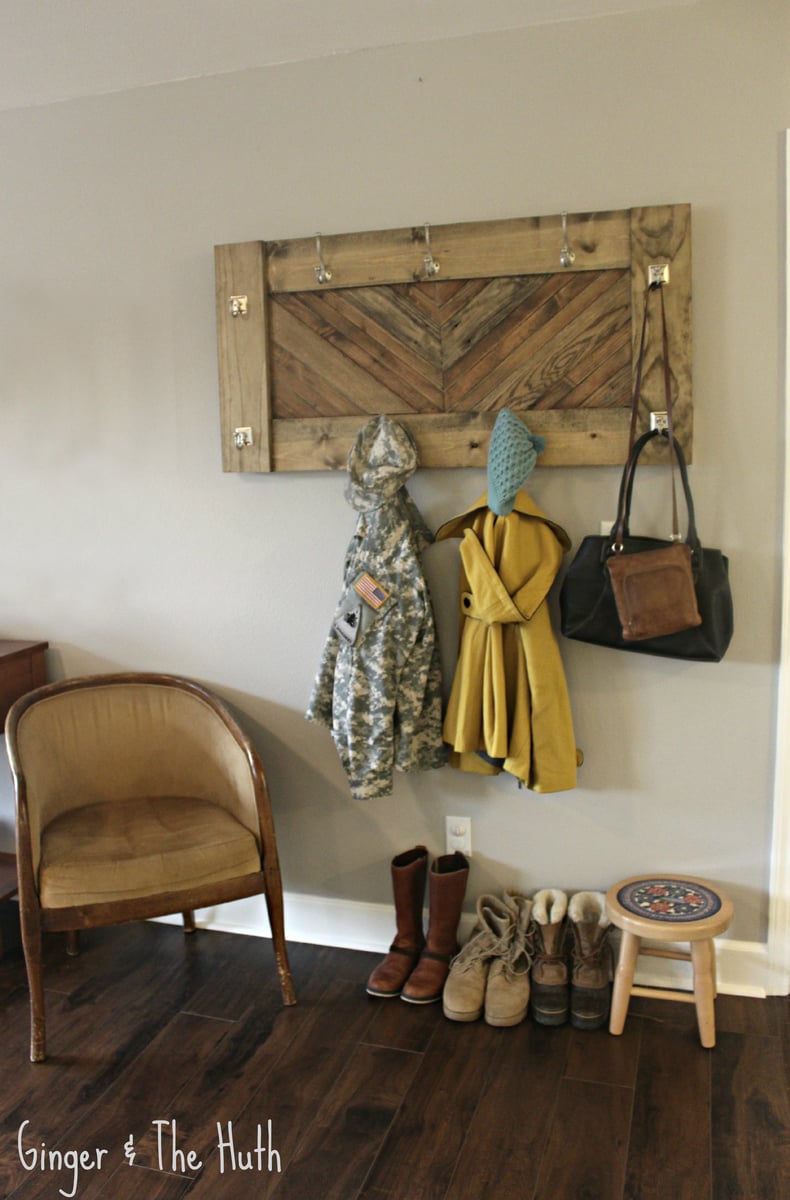
In an effort to cure our current lack of organization downstairs I decided to build a wall coat rack in hopes that it will help keep our coats, diaper bags, uniforms, purses, baby carriers, bags, and who knows what else off the counter, couch and floor.
Going into this project the only thing I knew I wanted to use in some way was some ripped 2x4's we used as floor spacers during our floor installation. Really happy with the end result :-)
For more pictures and a brief tutorial check out the blog post :http://thehuth.blogspot.com/2014/01/diy-herringbone-wall-coat-rack-usin…

This project could take alot less time if I had a wood planer. I use a belt sander to sand all pallet wood and this is what takes the longest. Well applying the polyurethane takes a while to finally get it to the way I like it. Bc I'm my worst critic.

Wed, 03/30/2016 - 00:19
This is probably the coolest brag I've seen on here! Do you think this is something a beginner could pull off with a coping saw? I'm assuming you cut the state out, stain the rest of the board, and then glue/screw it all back together? Seriously this is amazing, kudos to you!
In reply to Seriously too awesome by Malka
Wed, 09/07/2016 - 00:43
Actuall all i did was put duck takp to try to keep stain from leaking under. When i got close to stain I just patted it slowly and that was final result. But thanks for comment.
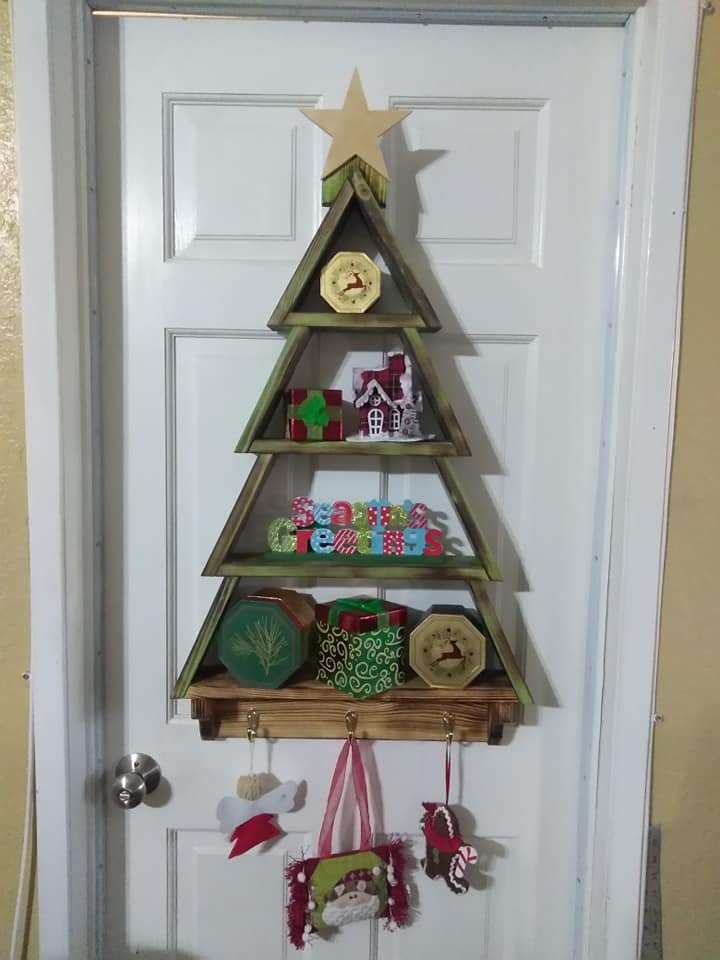
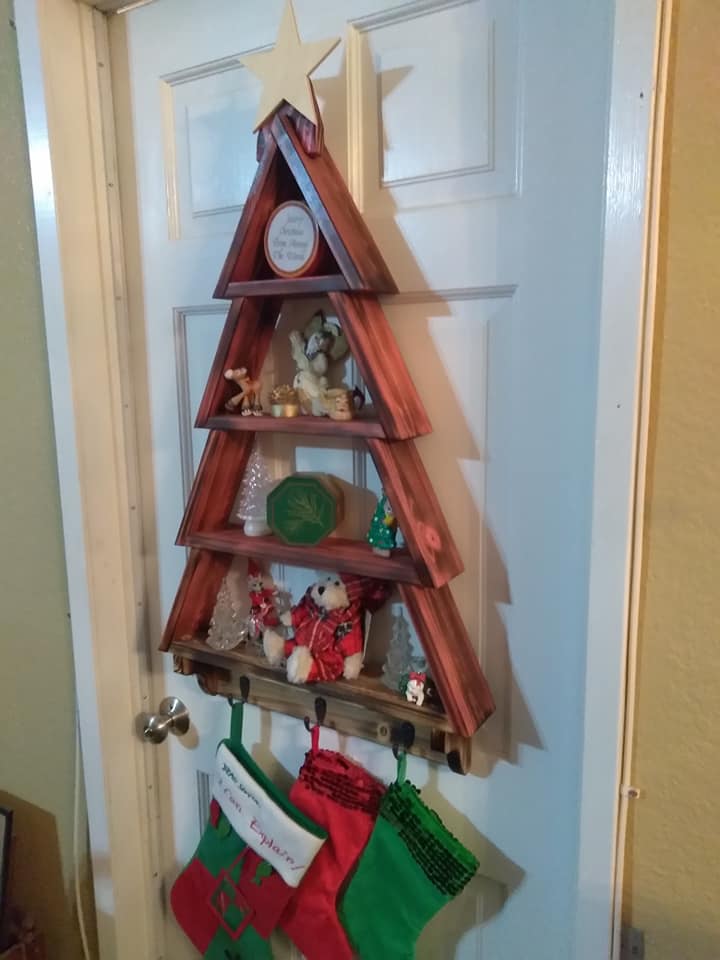
Thank you very much for the Christmas tree plans, was a nice and fun project, I added a star, can be removed if people wants to use the tree year long.
Thank you again
Sergio
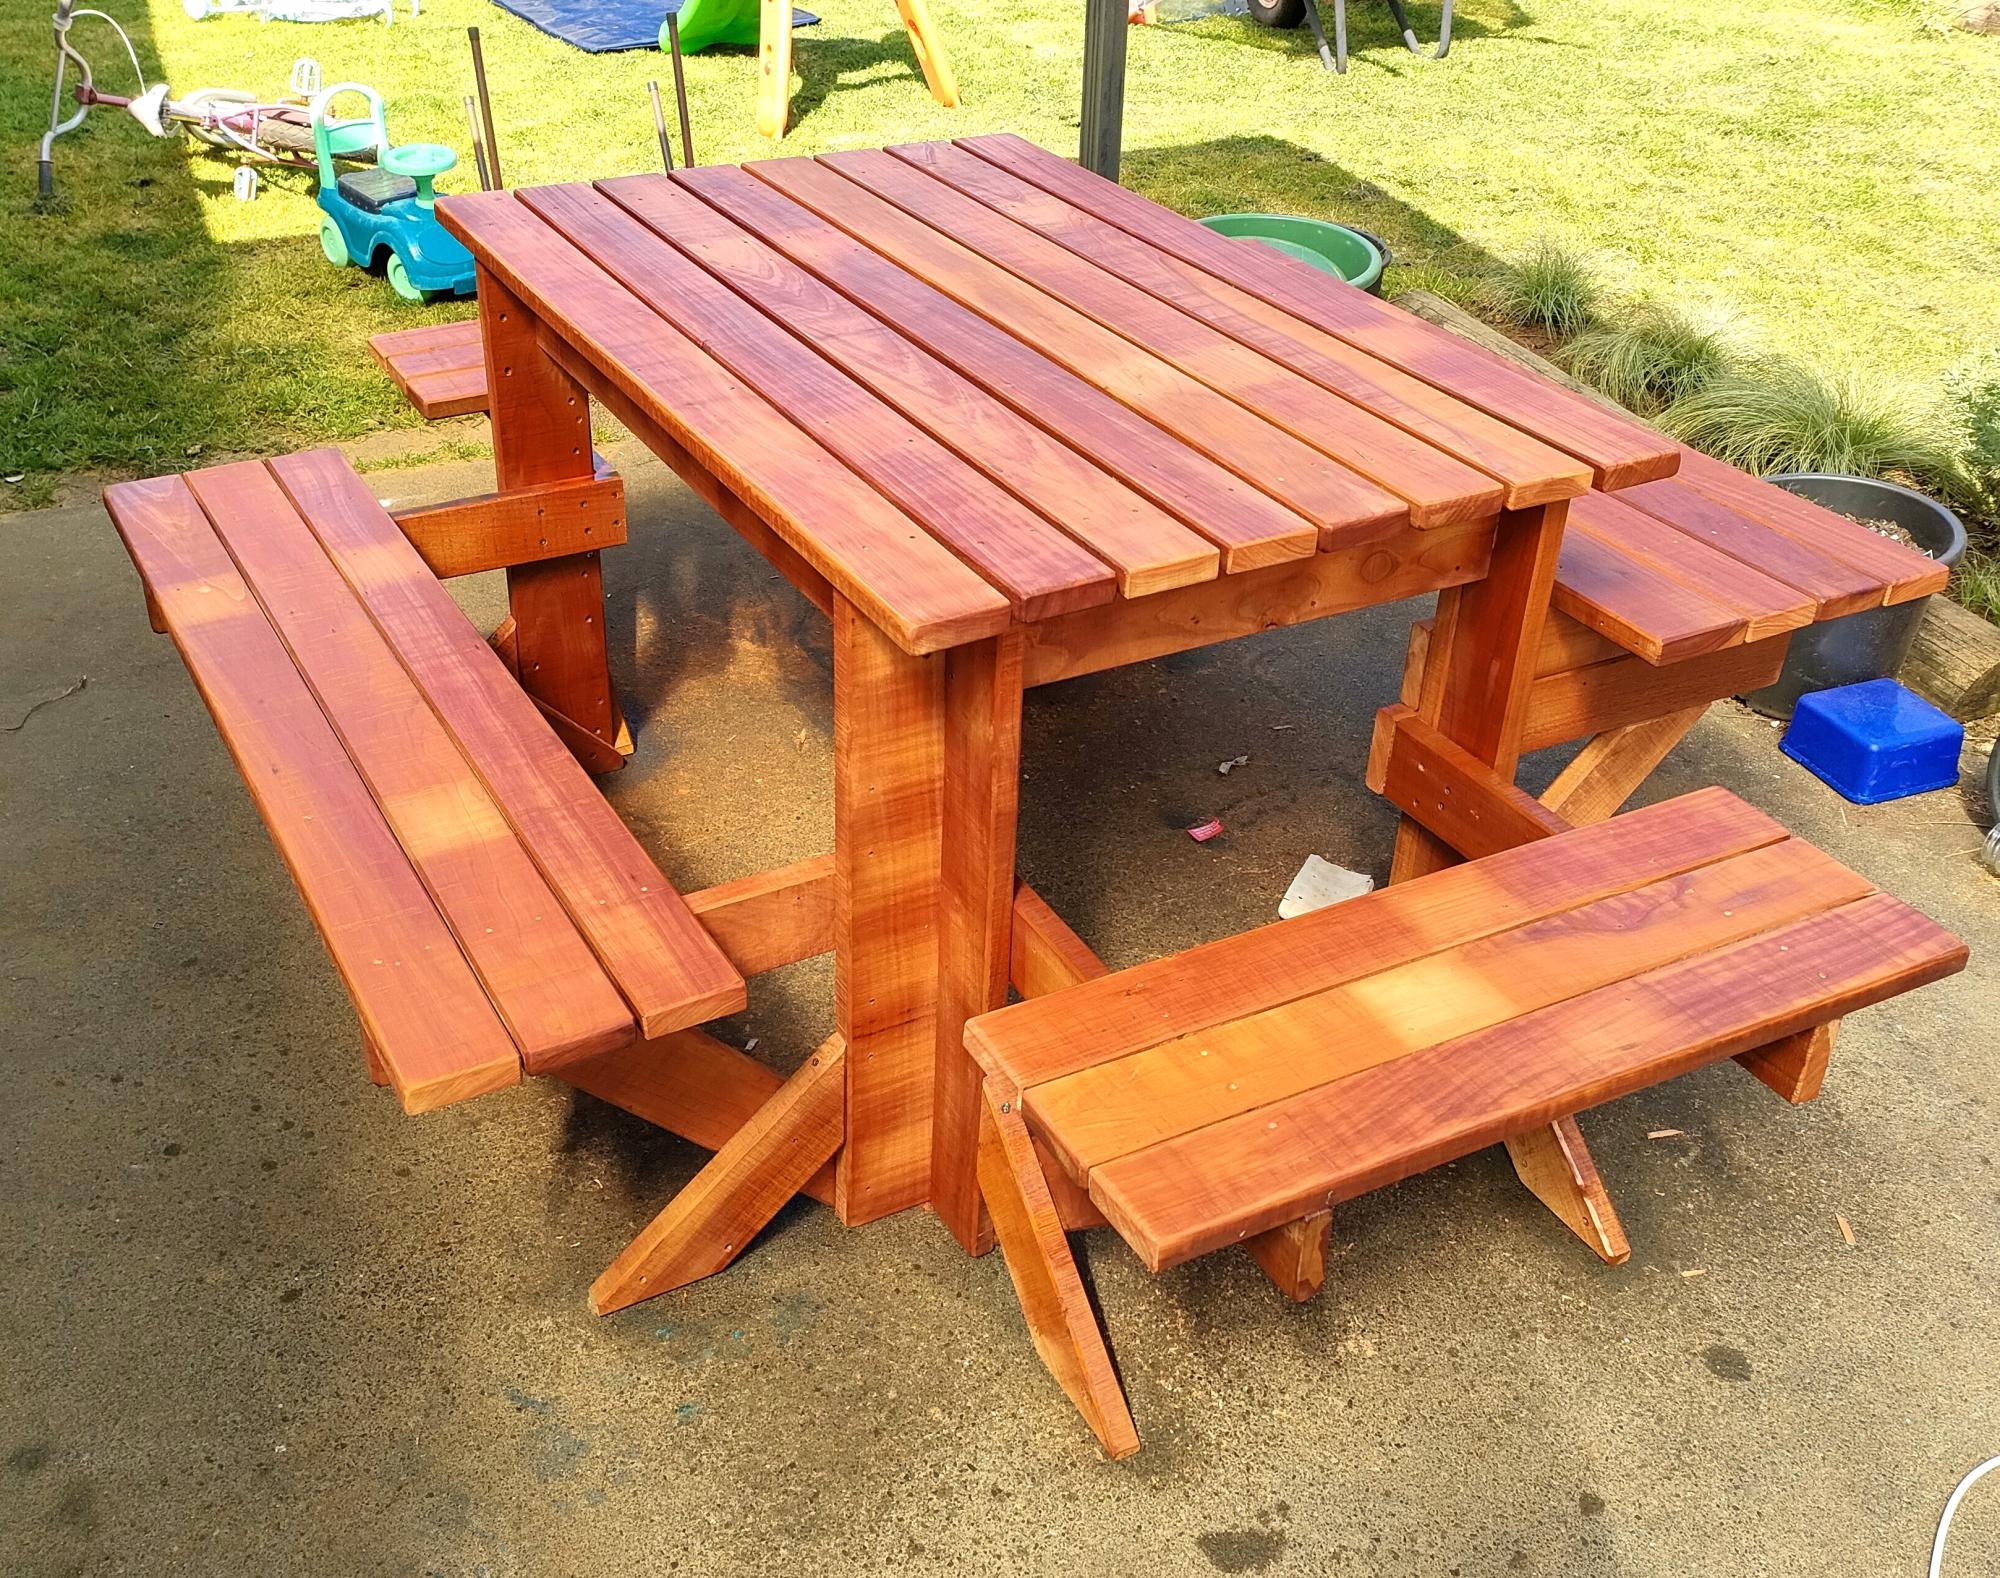
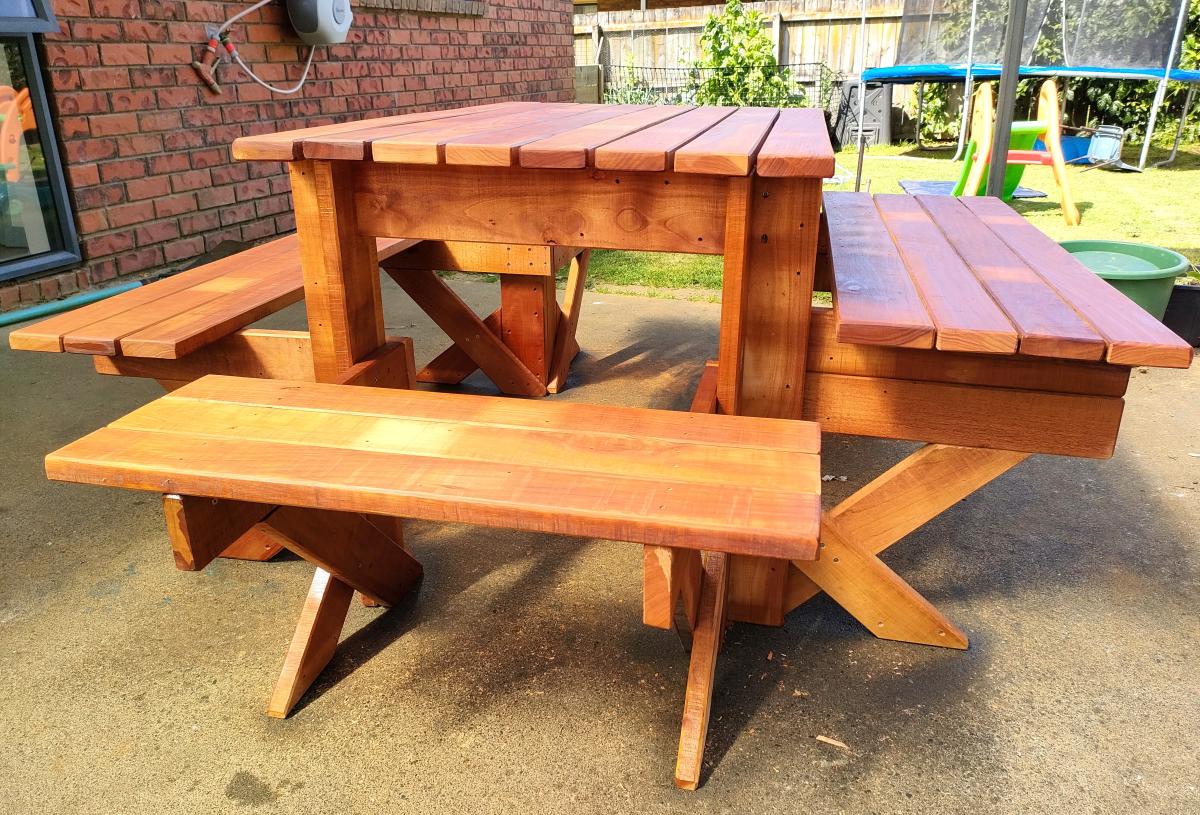
6 seater Recycled Fijian Kauri with extra leg supports, one side higher & closer for kids.
Marty
I built the same bed as for my son for the master bedroom. A queen size bed with storage with paneled footboard and headboard. I love that style and I made board and batten too.
I am very happy and the bed is very sturdy. I didnt make drawers because it's too difficult for me. I am not ready to build drawers! Maybe next time!
Fri, 05/04/2012 - 08:12
I share your fear of drawers! It still looks great with cubbies :)
Sun, 11/25/2012 - 21:27
I love this bed but I am wondering since there is no edge if you have any issue with your mattress sliding side to side?
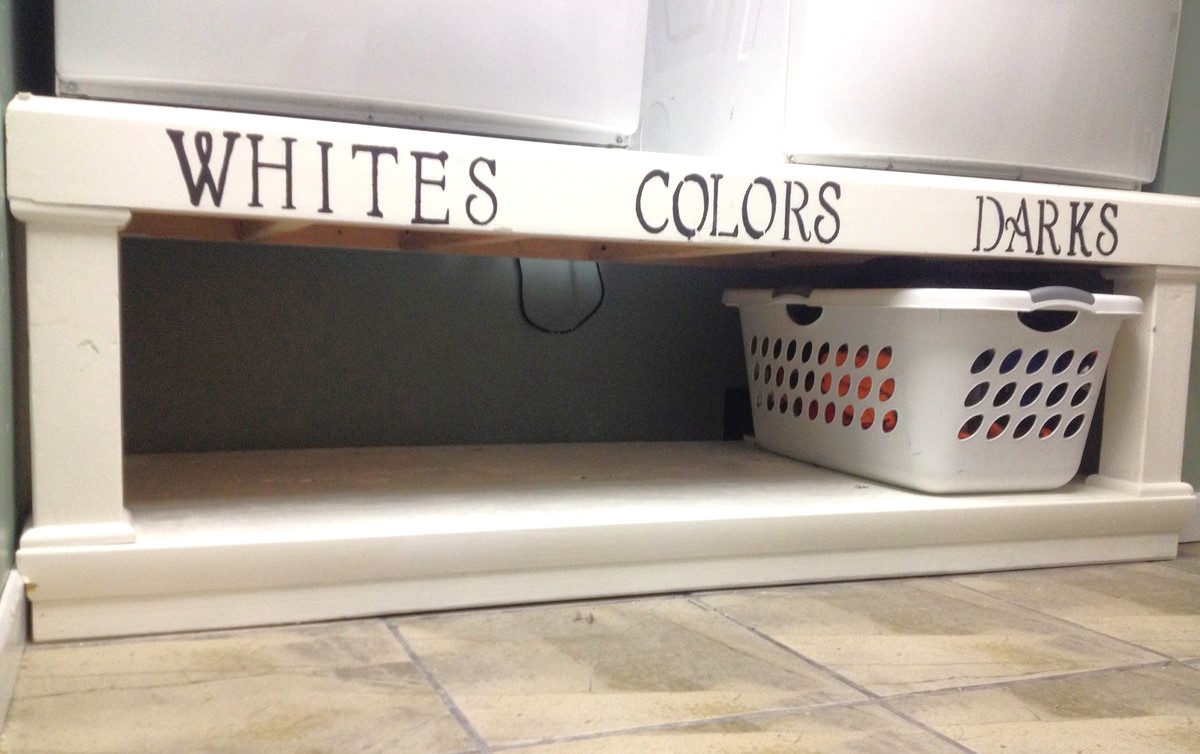
I needed to raise the height to help my wife who has back problems. The plans were simply and easy to follow, I added some length to fit our space and some molding in te front and bottom to "pretty" it up according to my wife. Really proud, thanks for the plans Ana!
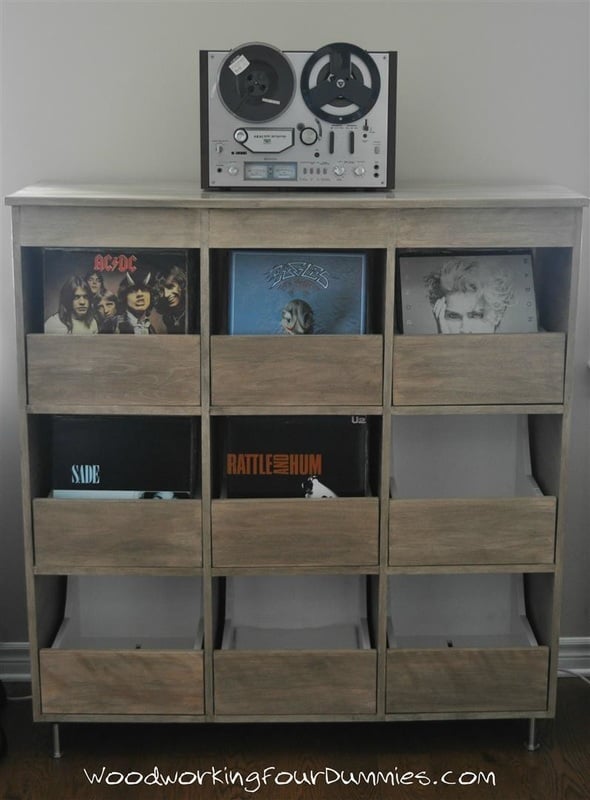
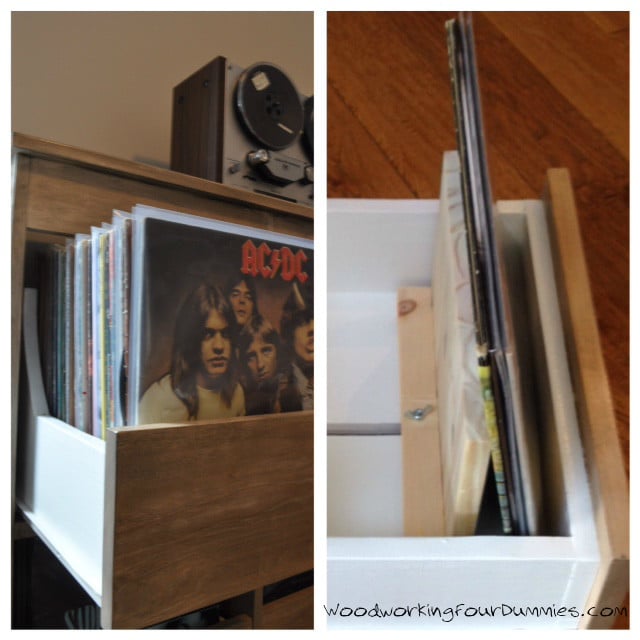
My record obsession was growing rapidly so I needed a solution to store my collection and I wanted some room for growth. I wanted a setup where you could flip through the records like at the record shops. It's often difficult to read the artists and album names when you can only see the spines of the album covers. I decided to make a cabinet with 9 drawers which holds approximately 540 records (60 records per drawer). More details and photos on my blog: http://www.woodworkingfourdummies.com/blog/vinyl-record-storage Cheers, Ian
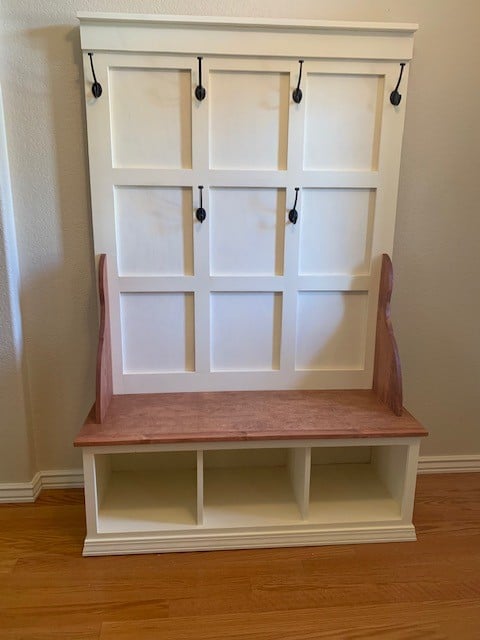
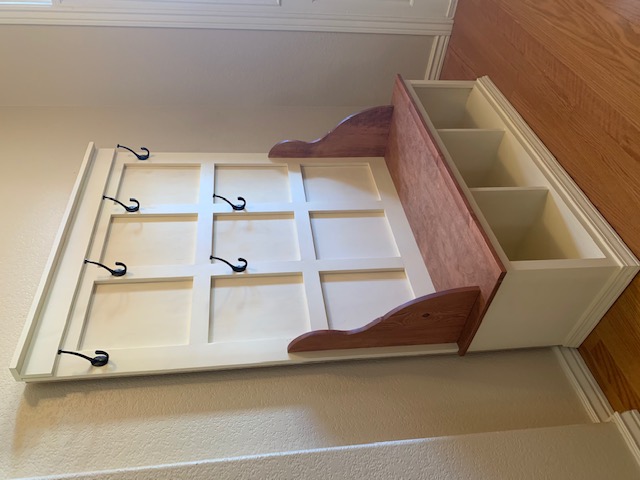
I made this hall tree for my daughter for Christmas . I am a beginner with woodworking and this is the first piece of big furniture I have made.
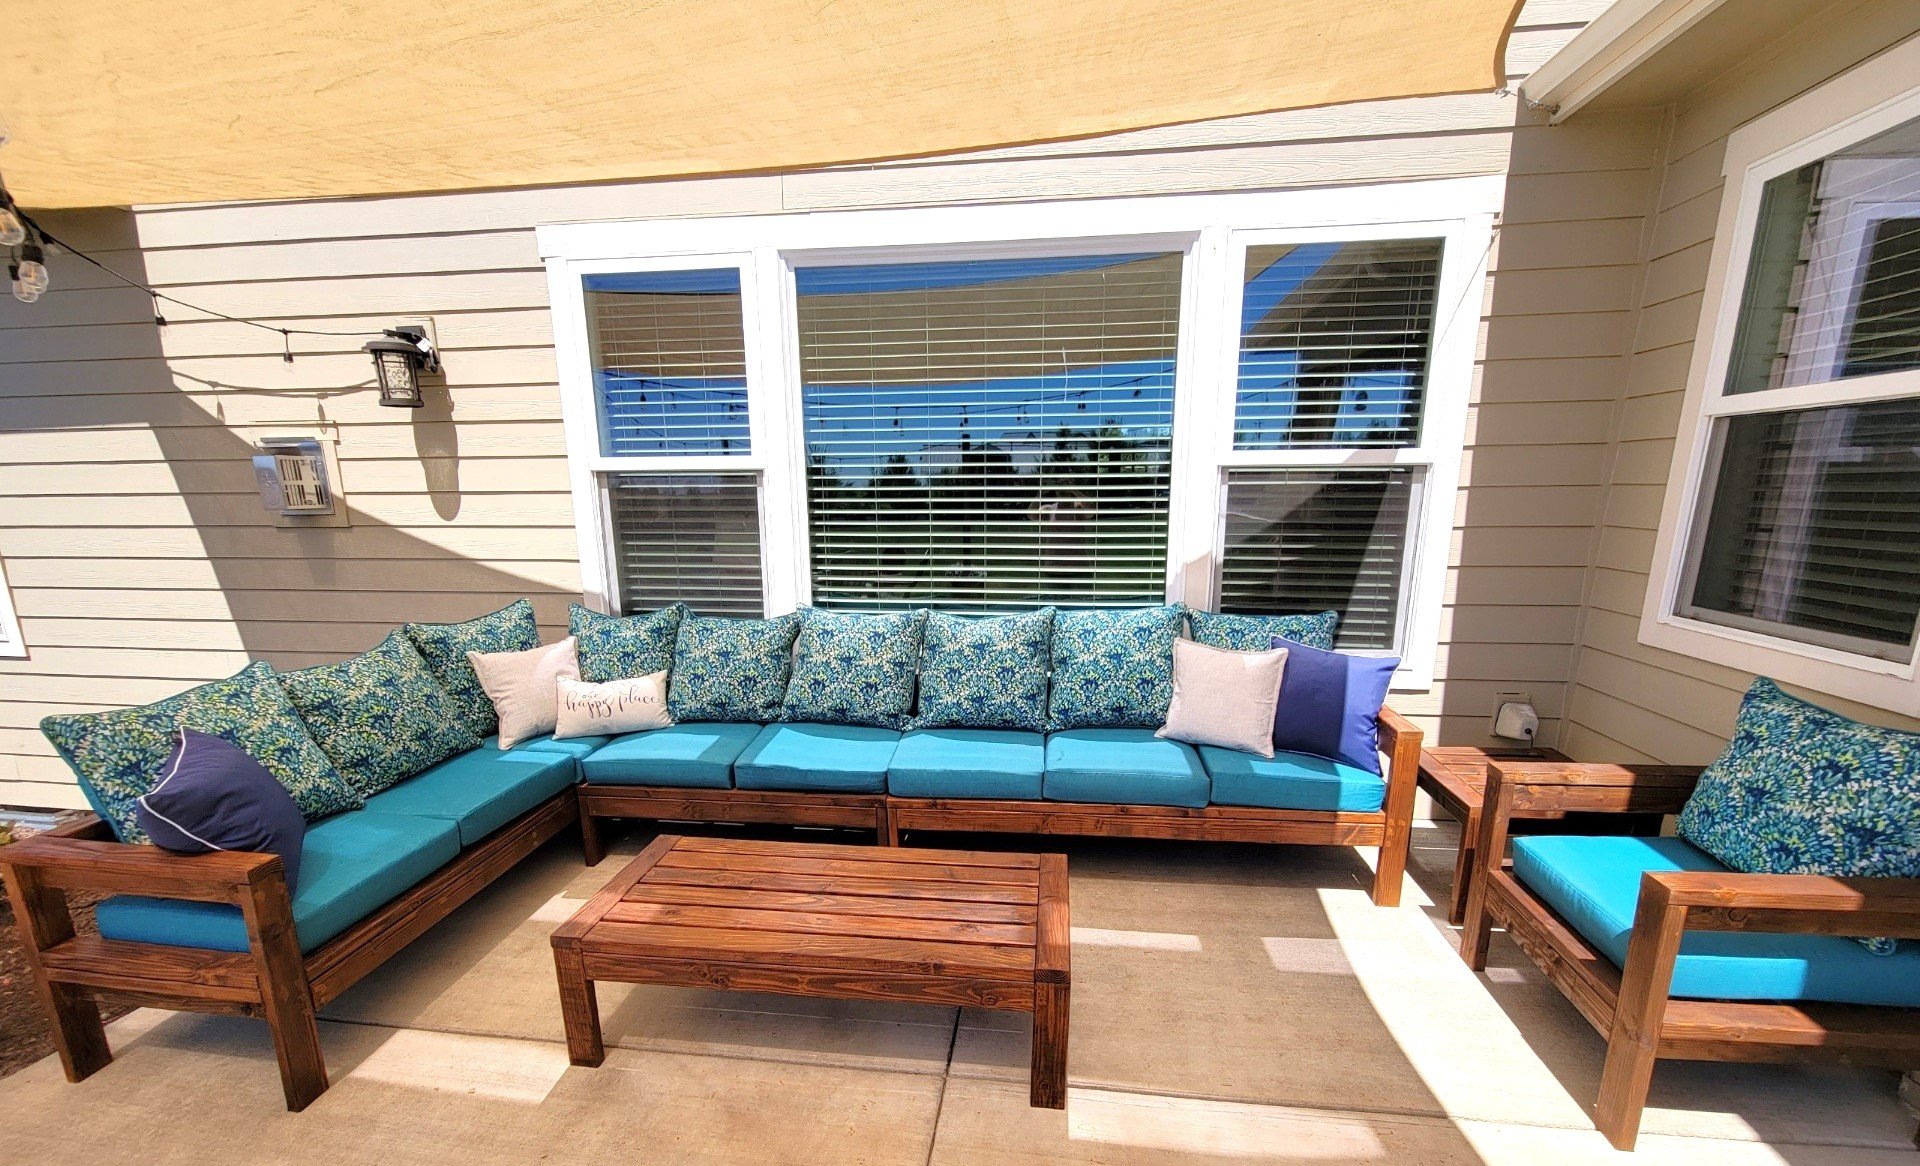
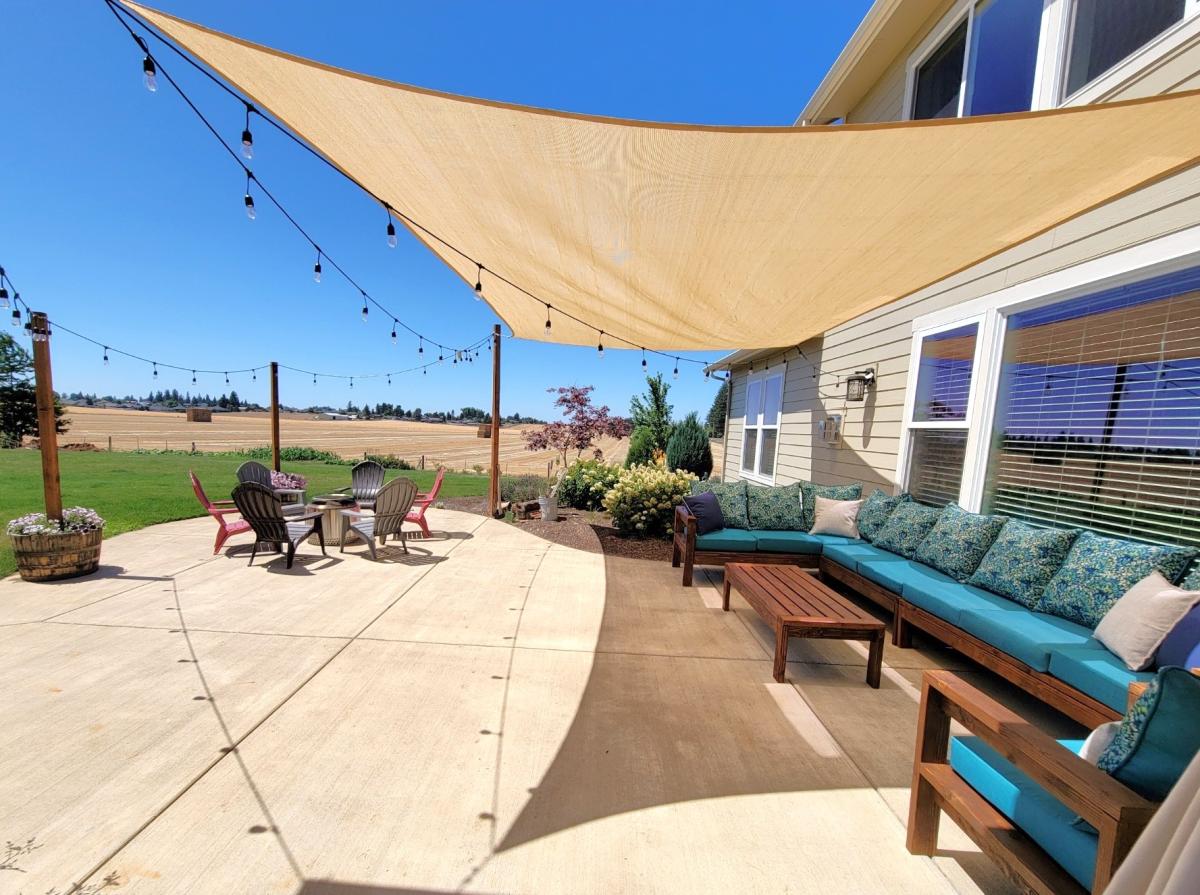
My wife used you patio sectional and table plans to make herself a summer oasis. She built it specifically to fit a corner of our patio that we were never using. Now it is used almost daily for reading, visiting or just sitting outside watching the birds.
Tony for Julie
