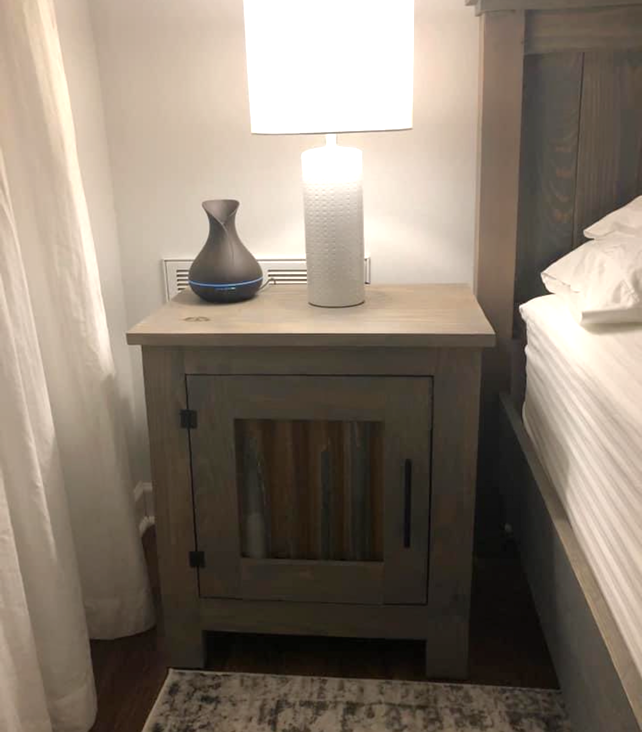
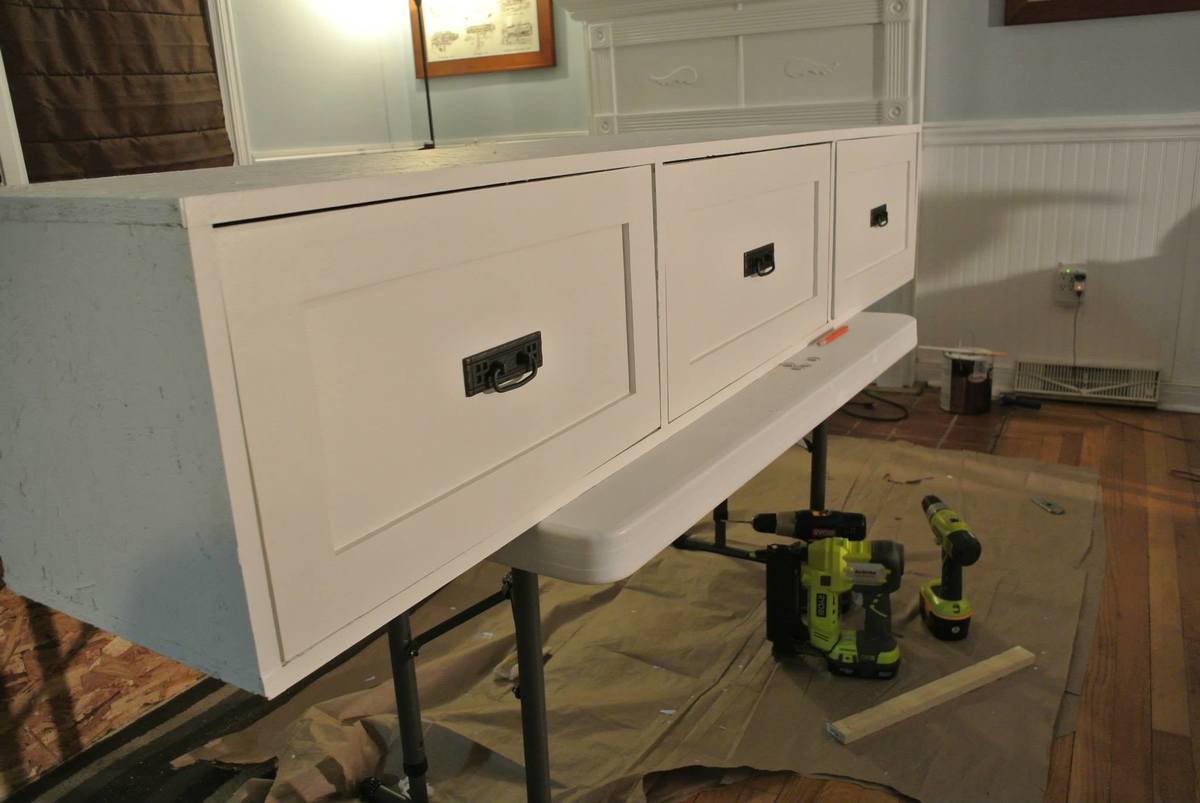
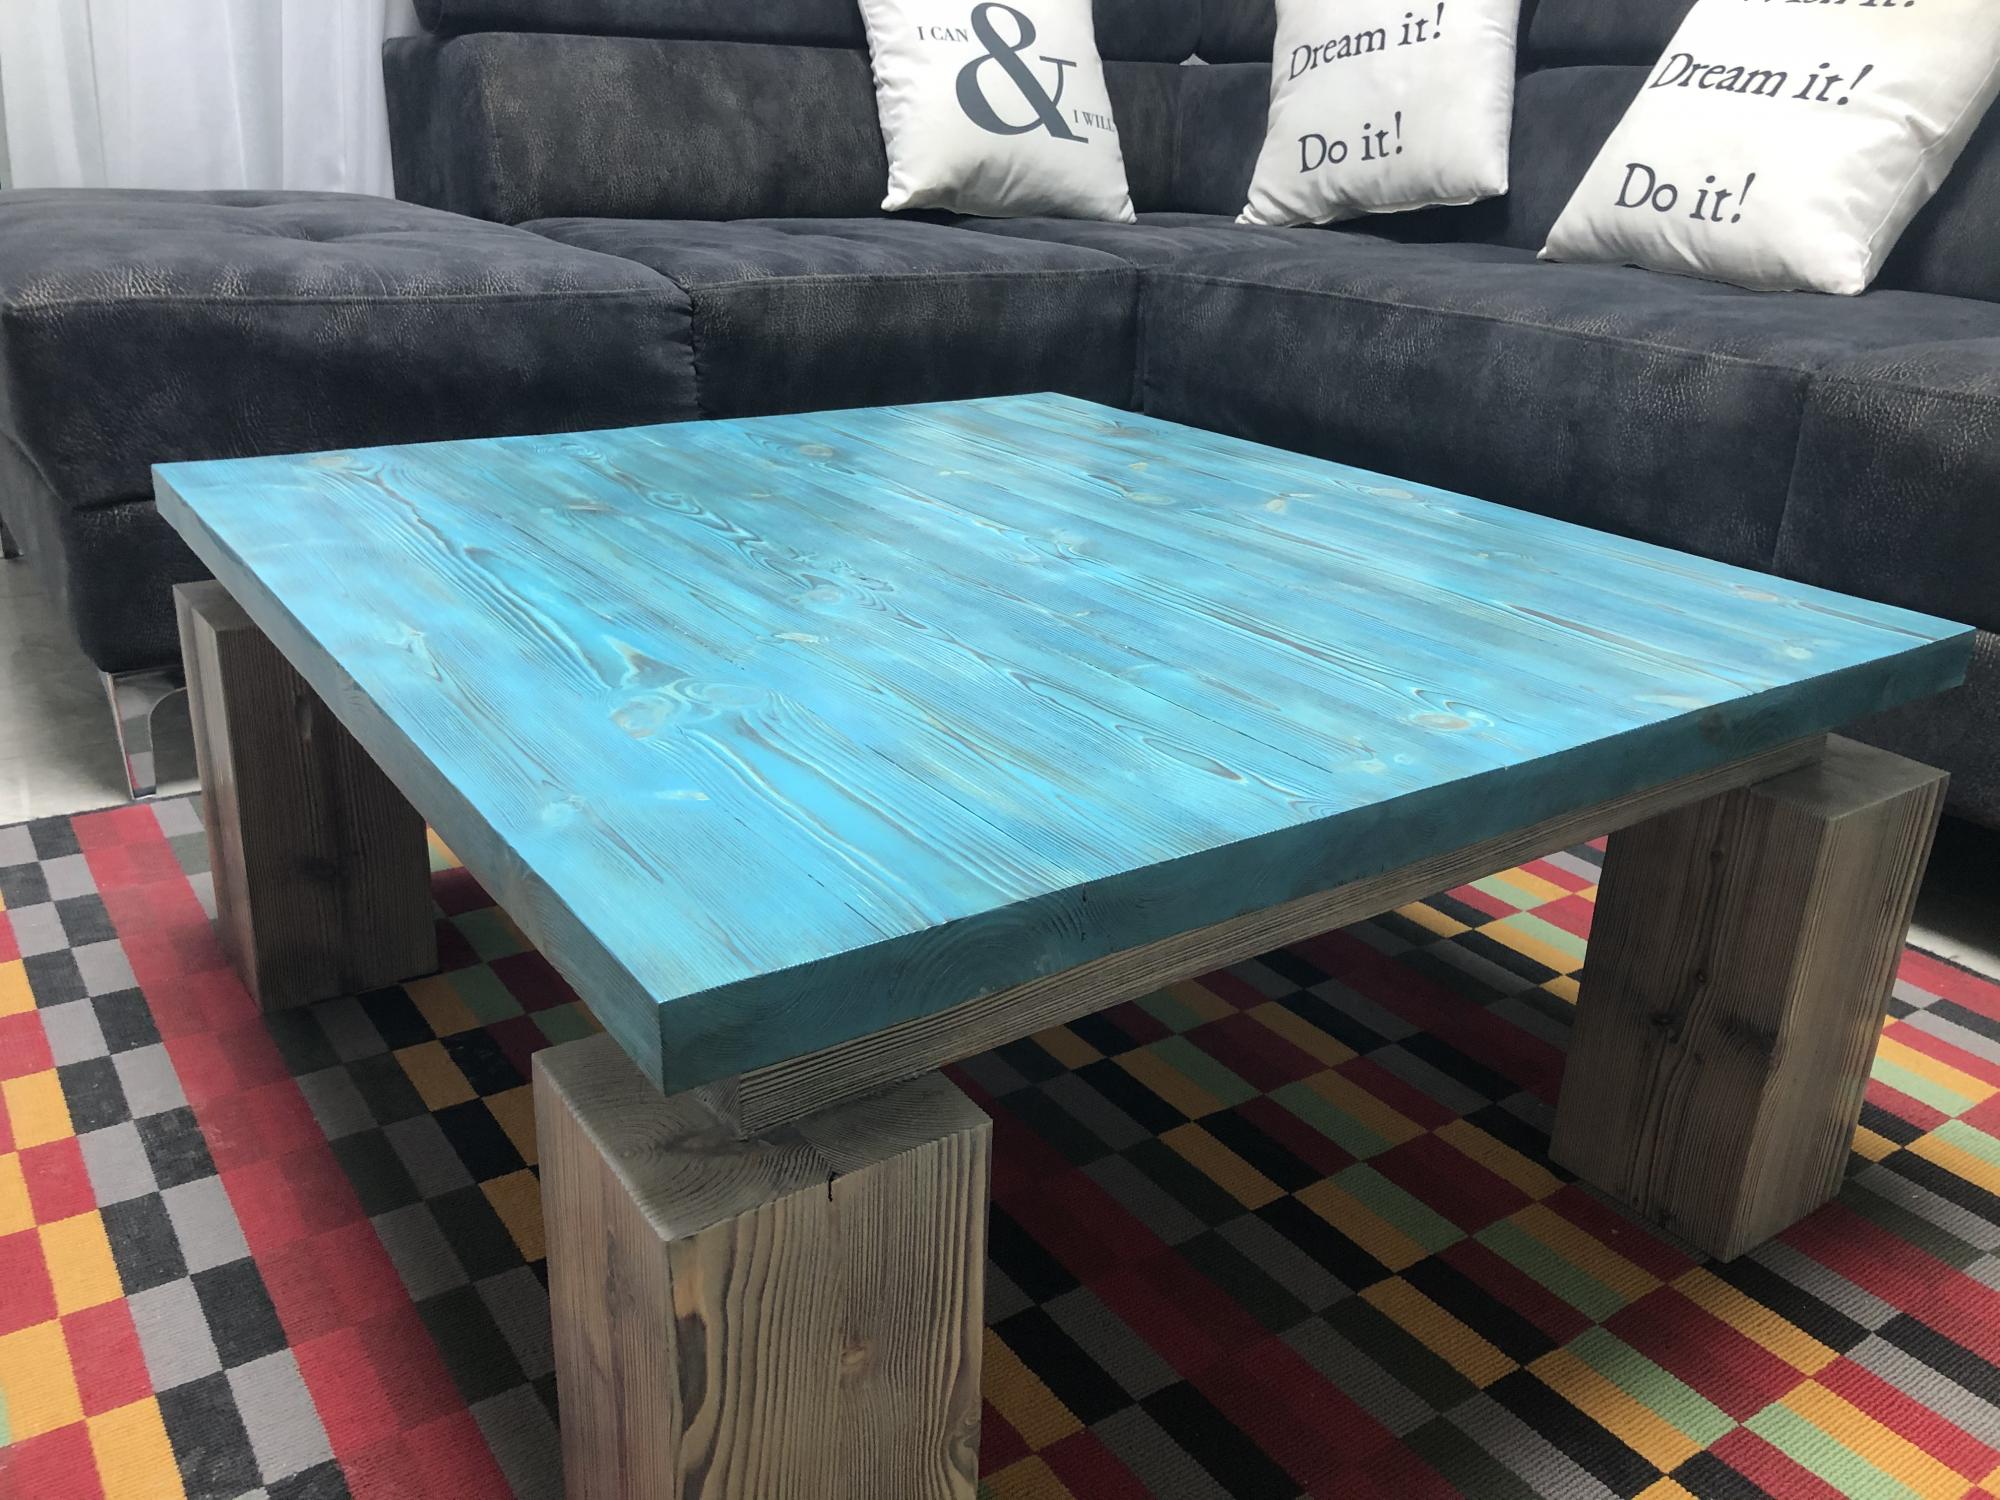
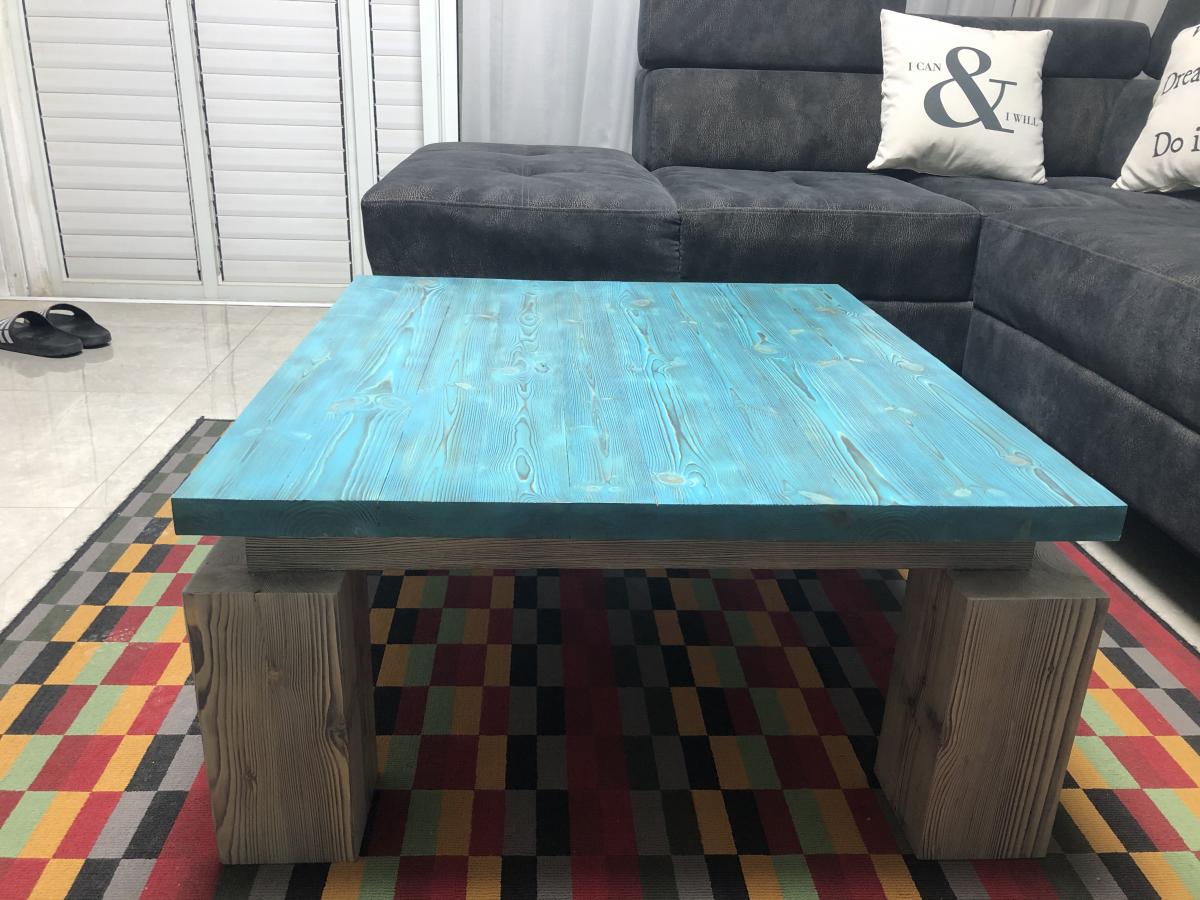
Open Shelf Console with Modifications
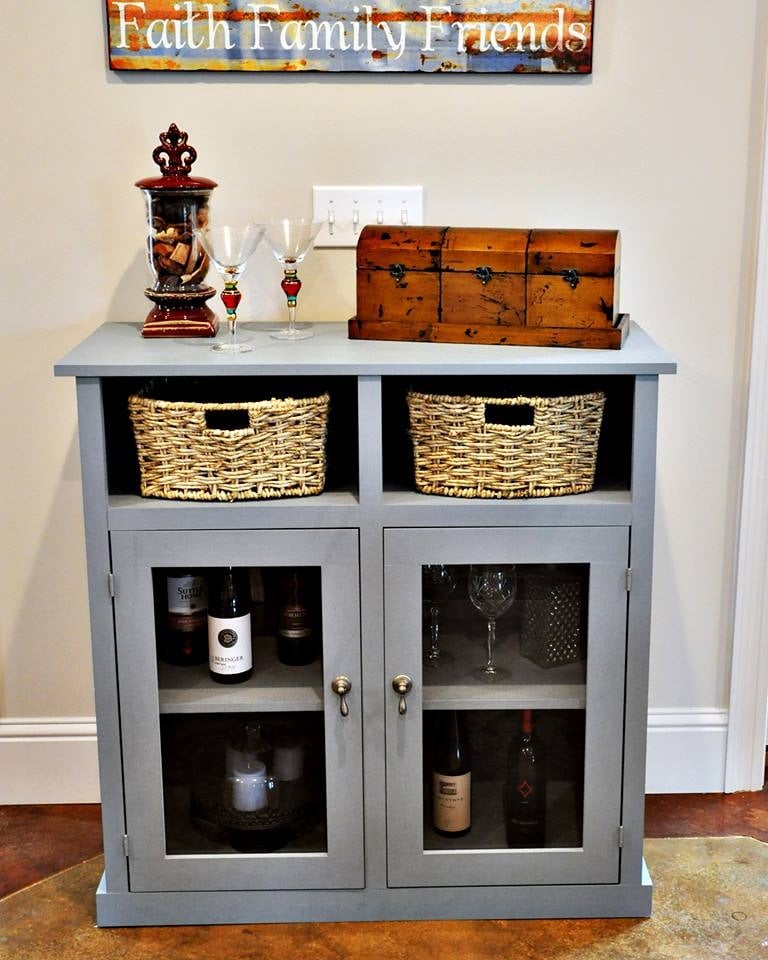
I modified the size of the original plan to better fit the space. It is slightly deeper and taller than the plans. I also used a router to create a rabbet for the glass inserts in the doors.
The finish is a homemade chalk paint followed by multiple coats of furniture wax. The build itself was quick and straight forward, but the finish took the most time.
The console really pops in a room full of stained furniture. I love the look, shape, and versatility of it--thank you for sharing the plans!
Built from Plan(s)
Estimated Cost
$75
Finish Used
I painted it with three coats of homemade chalk paint and followed by 3-4 coats of wax.
Recommended Skill Level
Beginner


Comments
Val Manchuk
Thu, 01/23/2014 - 08:36
Beautiful!
This project looks really good. I love the glass inserts and the color you chose.
Val @ artsybuildinglady.blogspot.ca