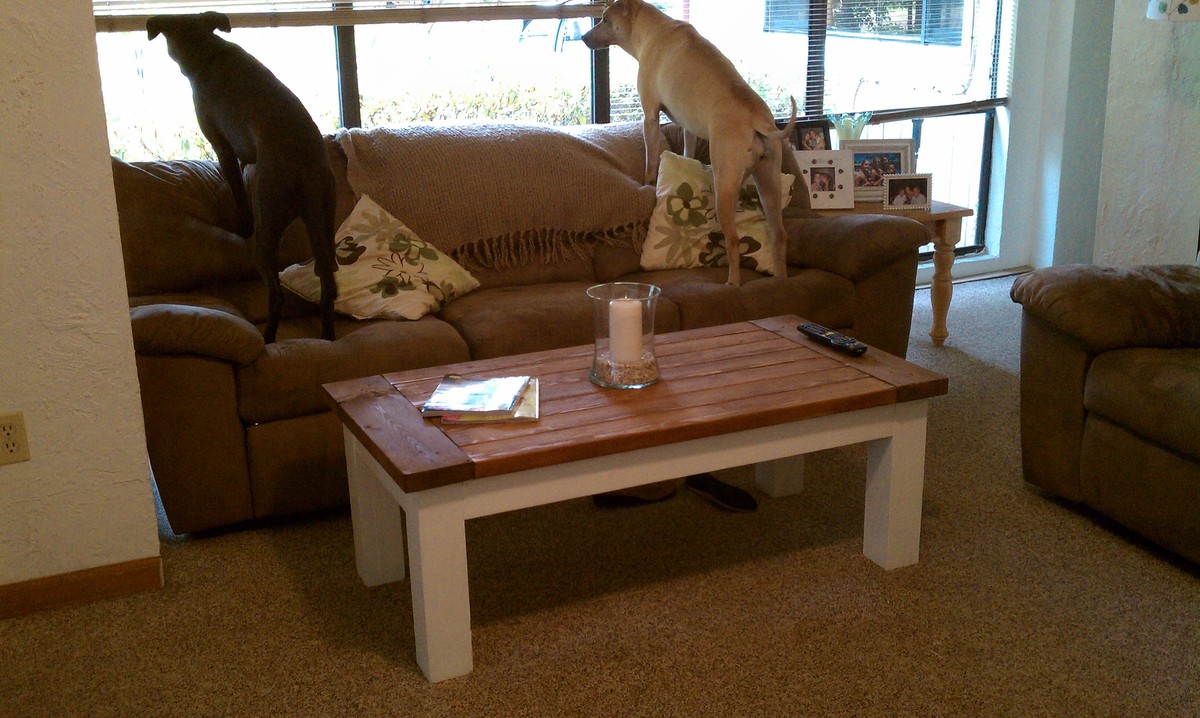
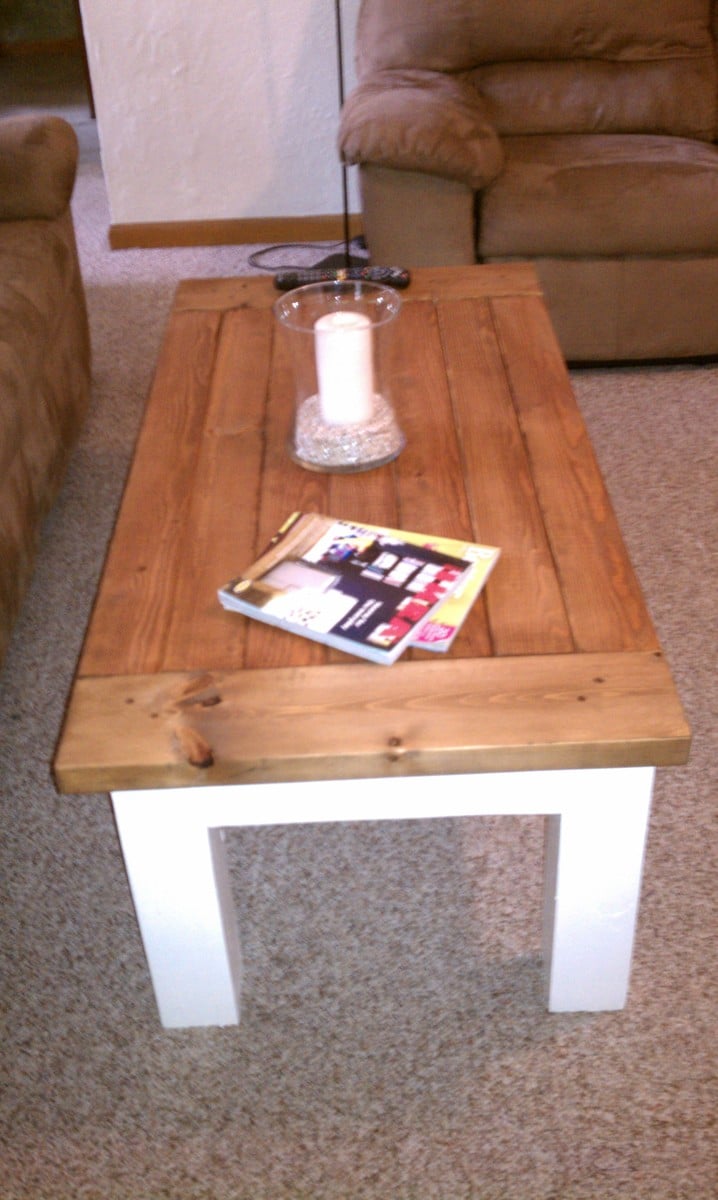
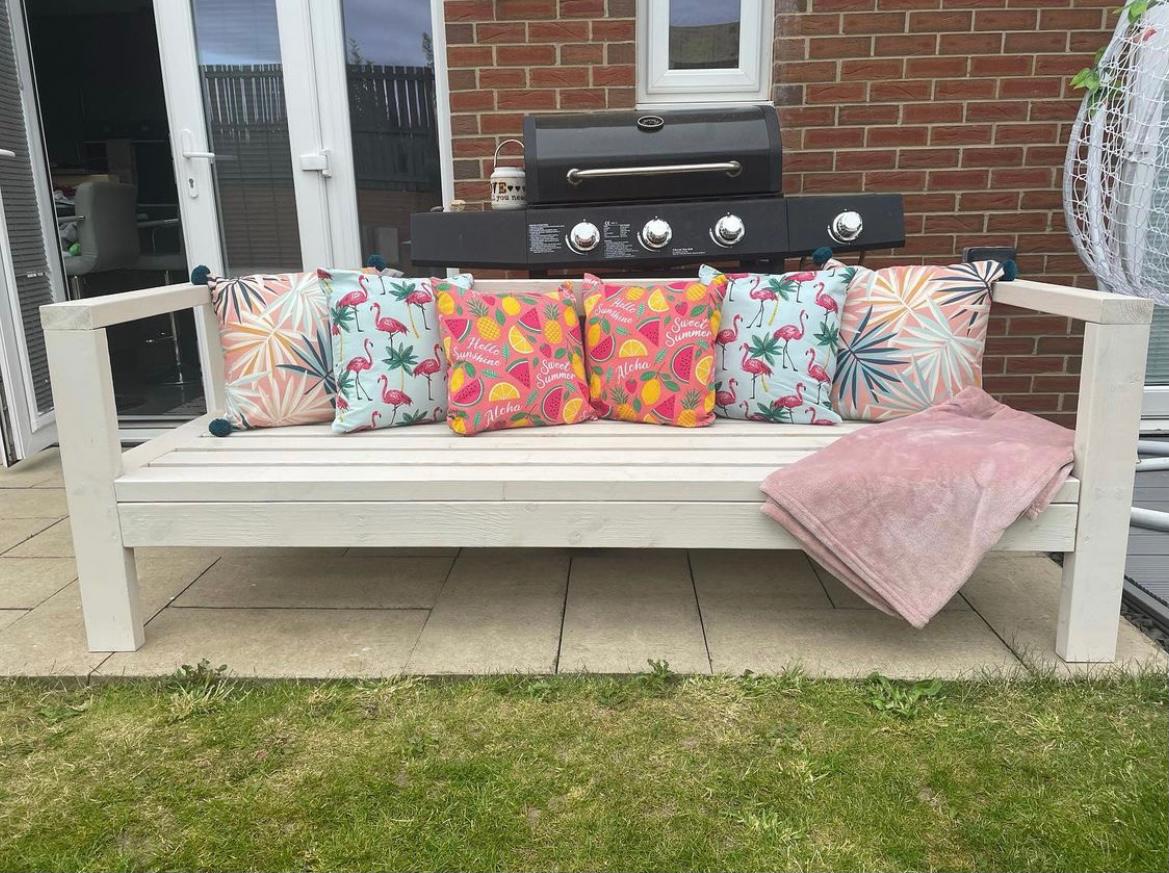
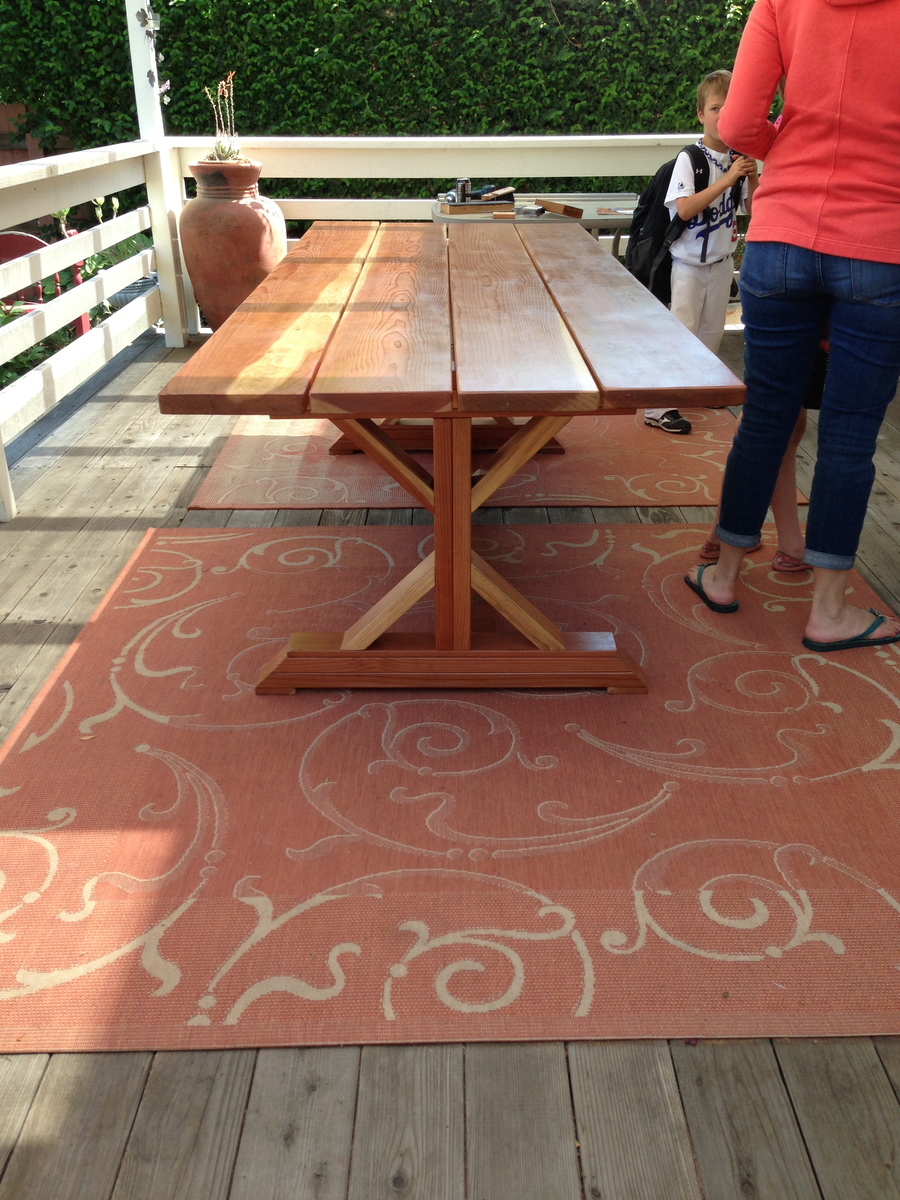
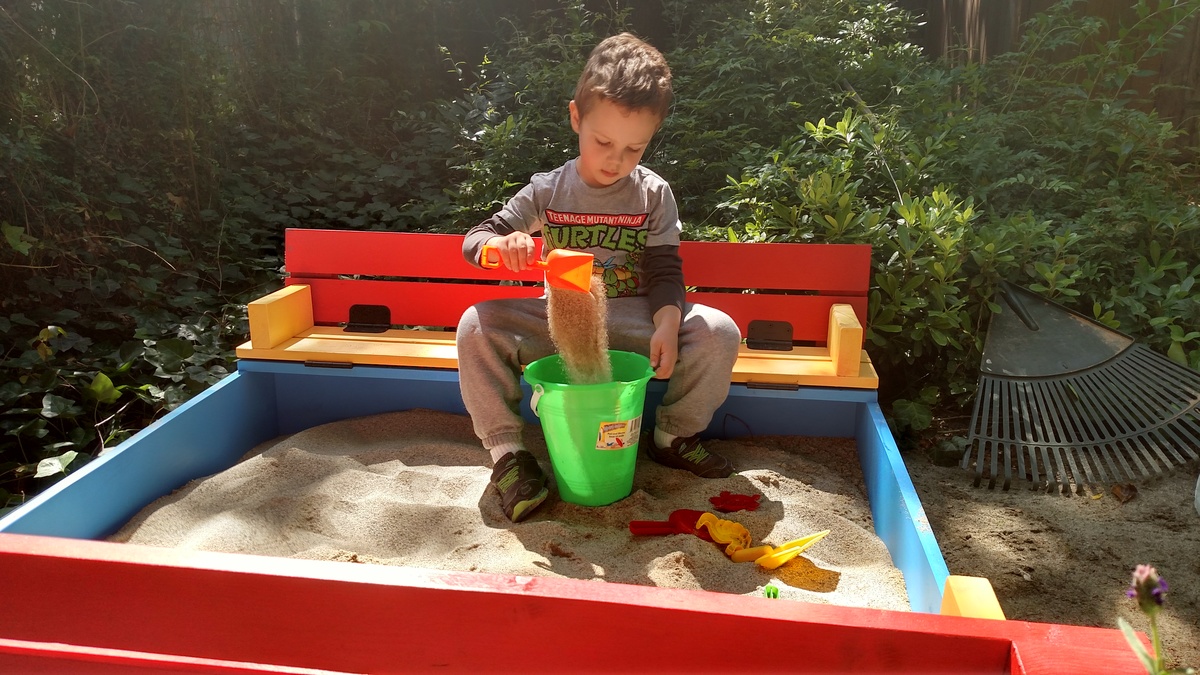
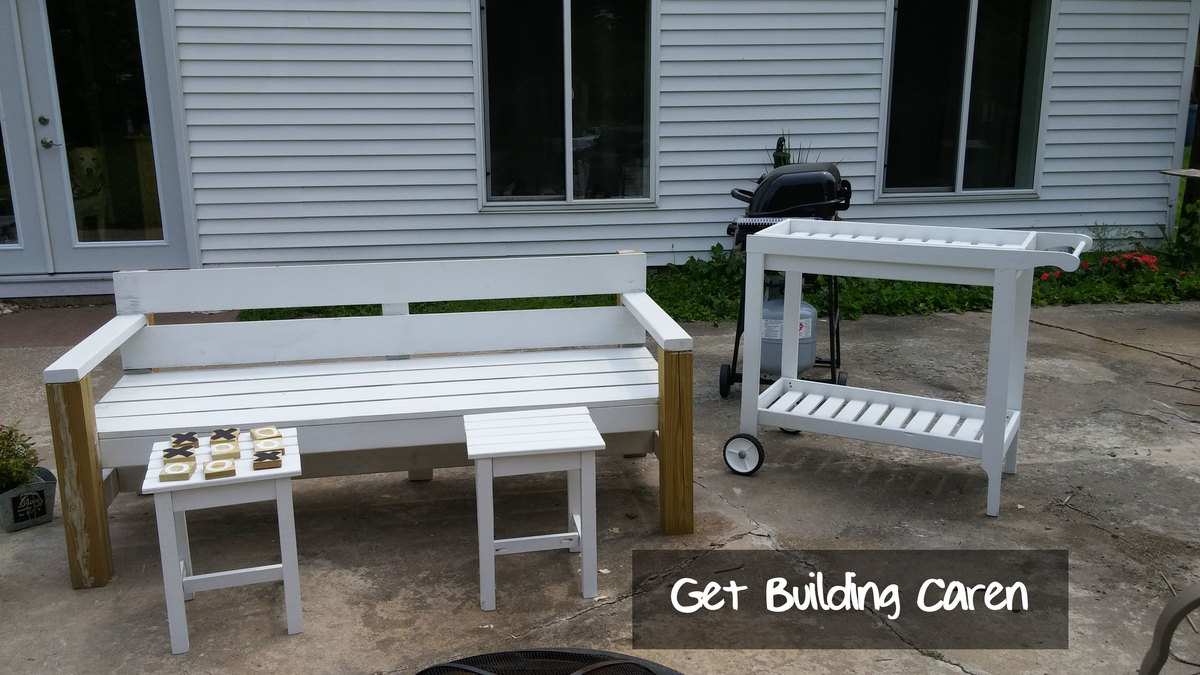
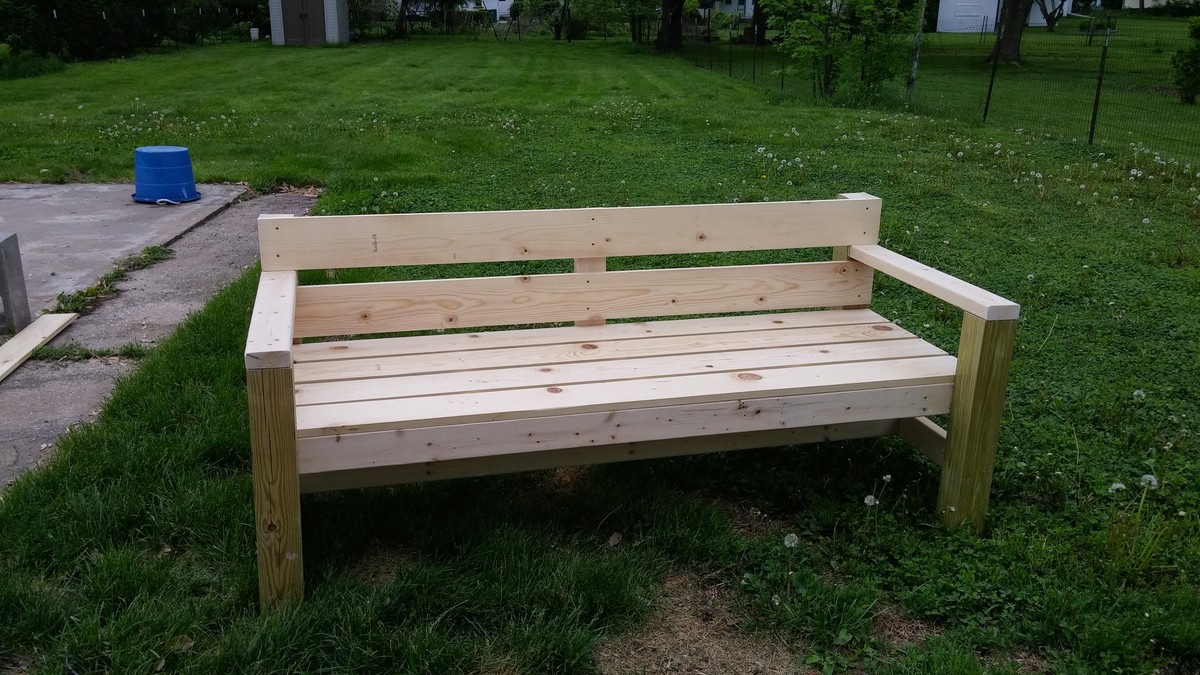
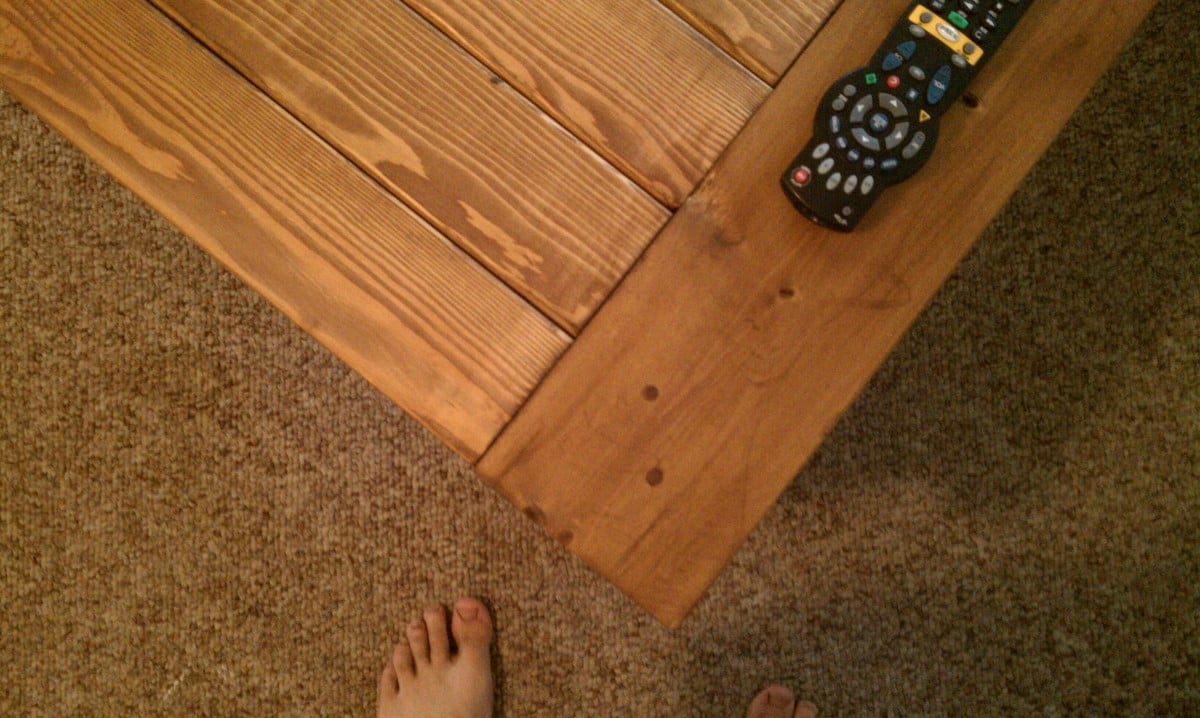
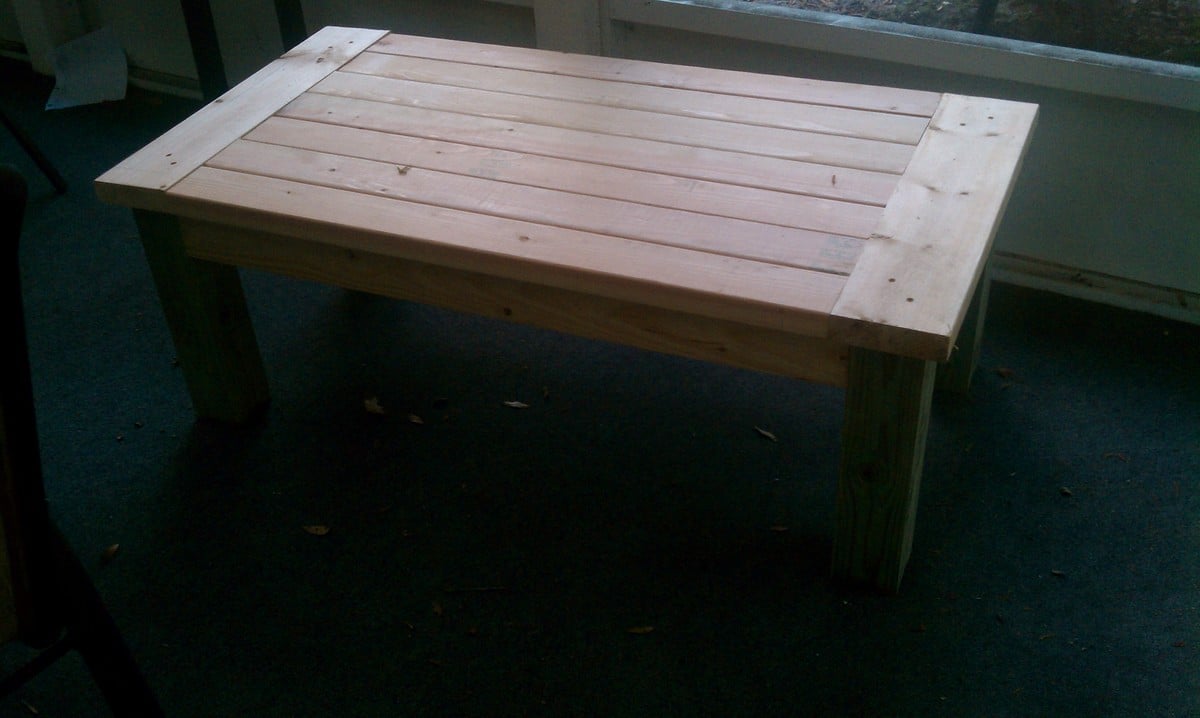
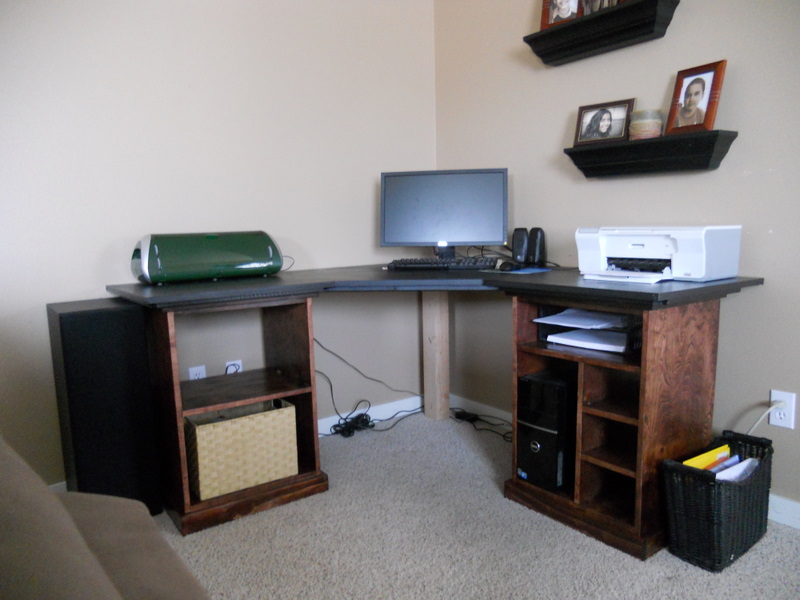
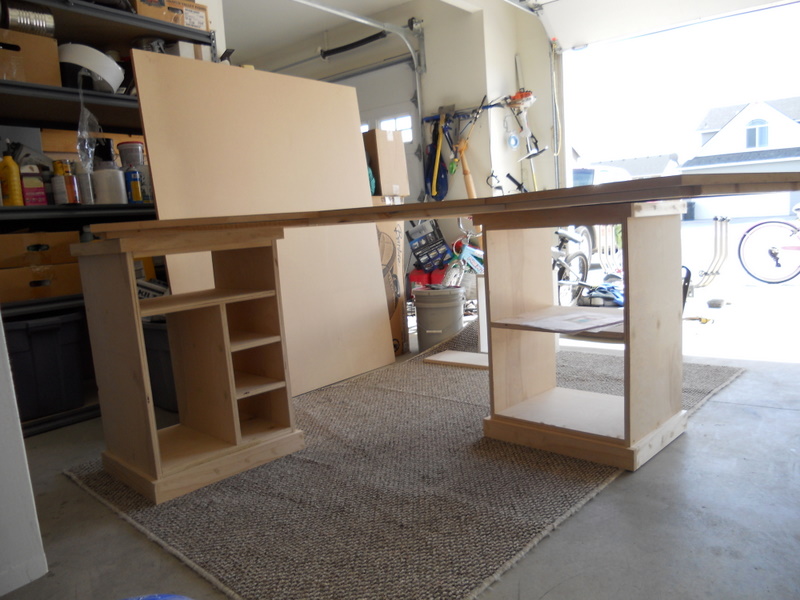
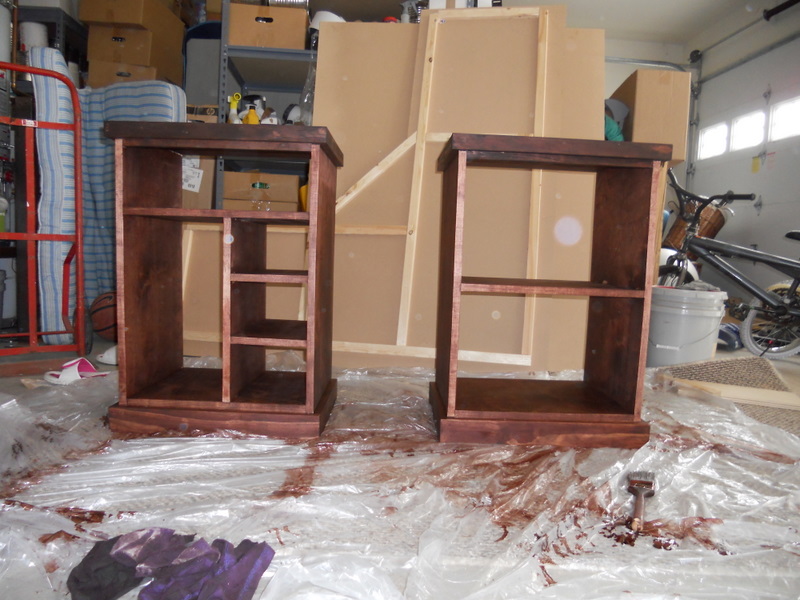
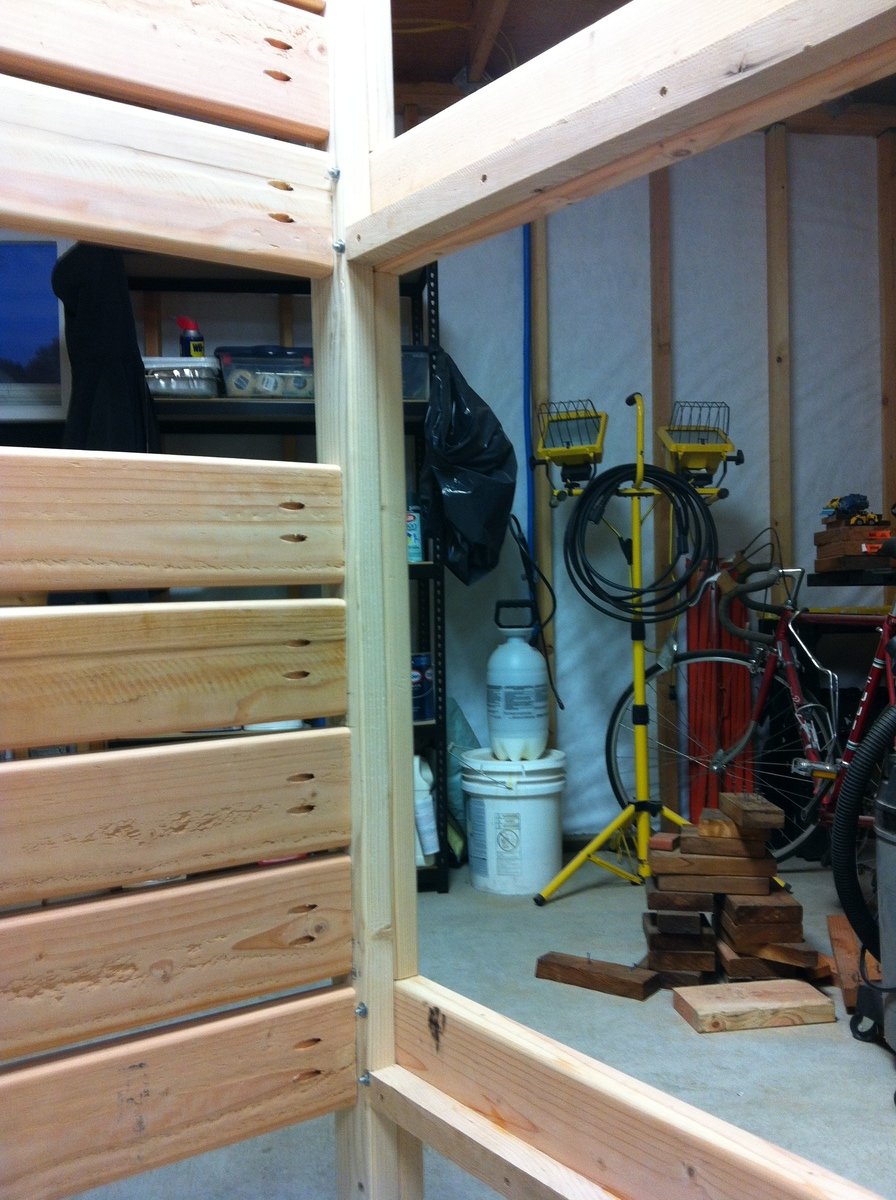
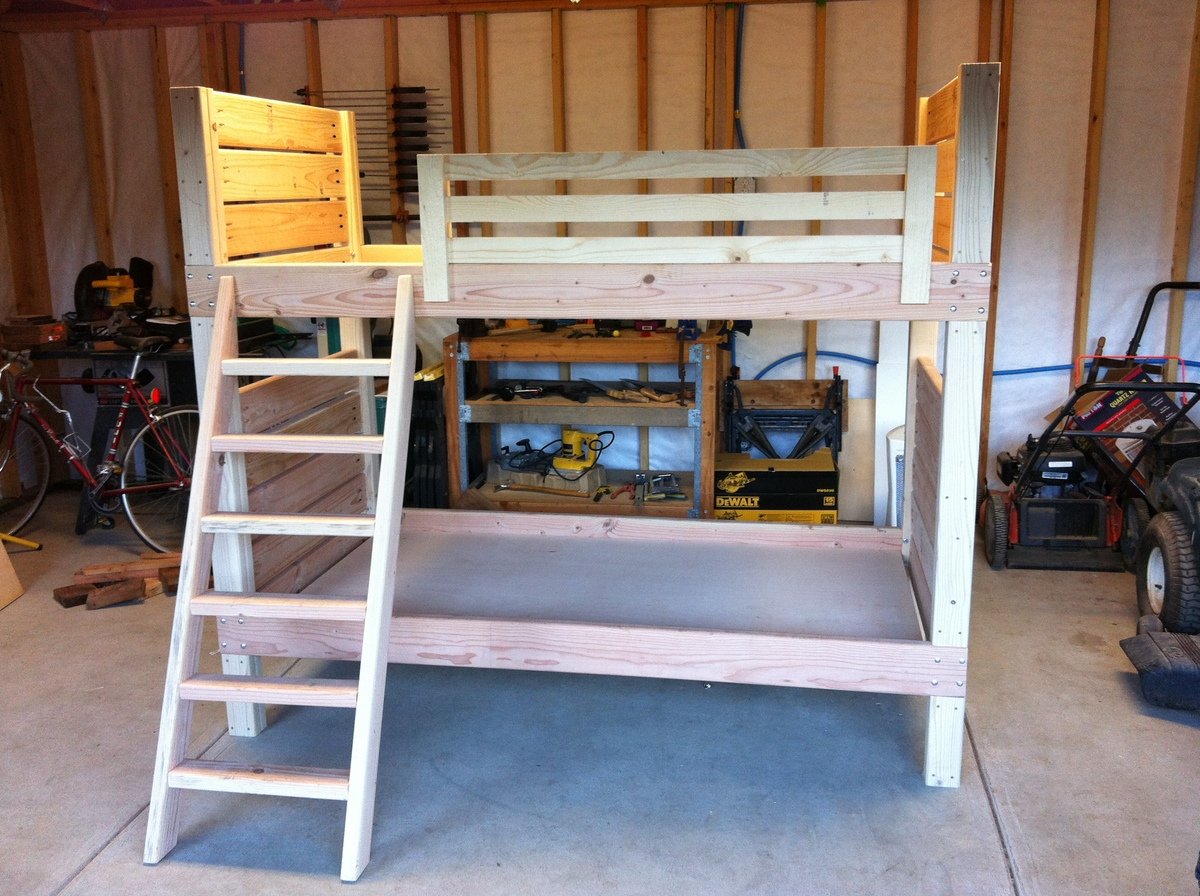
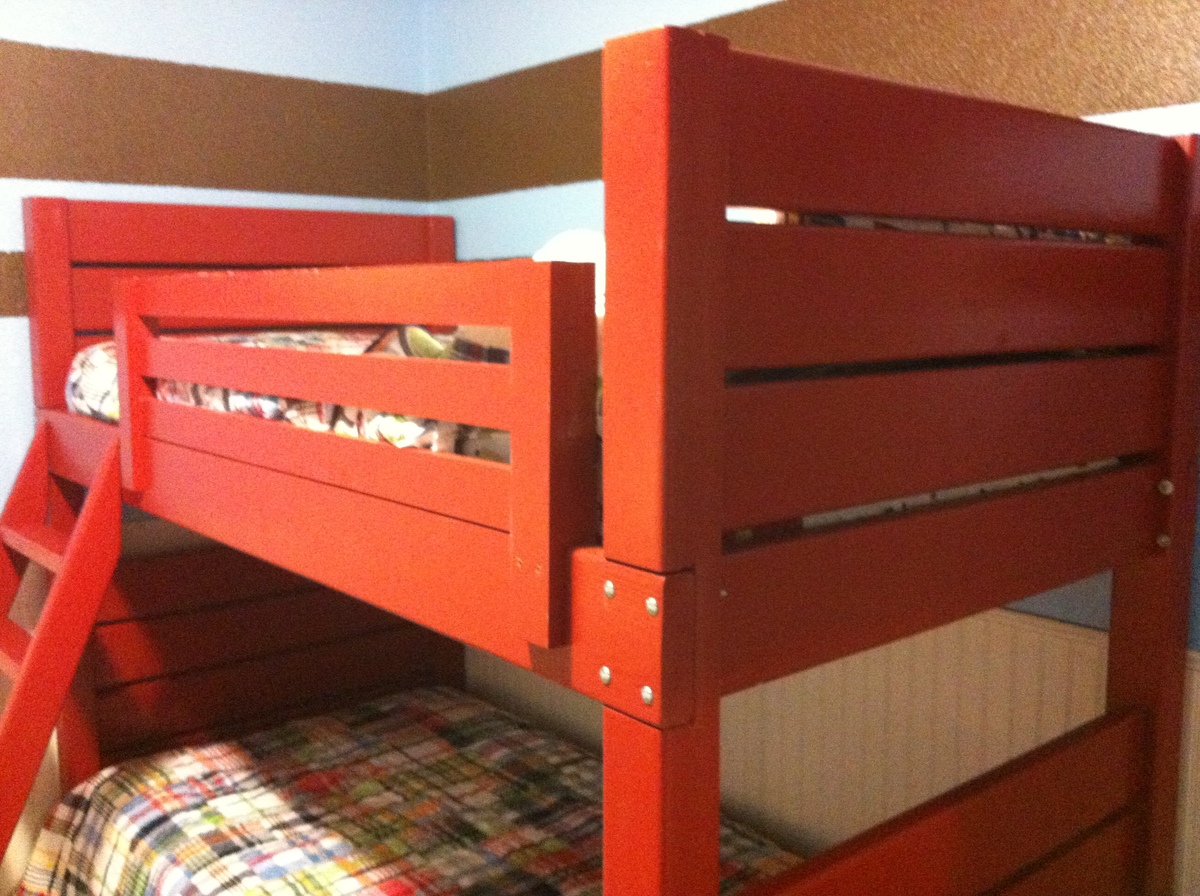
Country Side Tables and Headboard
Great, matching bedside tables and headboard. Made it mostly from pine, and scrap lumber.
Needed a new coffee bar to fit a specific area. Changed the plans to fit my needs and this is the result. Spent a few hours a day over two weekends, probably 8-10 hours in all (paint/stain/poly included)
My son needed more shelves/storage in his room. Modified this a bit shorter in length and with to fit better in his space. Easy to build and love how it turned out!
Ever since I saw this cupboard, I wanted it. So when I got a free day I jumped at the chance to build it. I love it! The only problem is trying to figure out where I want to put it.
Fri, 11/02/2012 - 19:29
In an afternoon? I would have taken a couple of days. You did a great job.
Thu, 02/19/2015 - 19:11
Hi Ana - I dont mean any disrespect but how do you figure this project costs $30-40. I bought just the boards no hardware or plywood and its cost me $60. Pine #2.
Please let me know your thoughts and where you buy your wood from.
Fri, 02/20/2015 - 12:00
The cost estimate is from emilyr, posted almost three years ago. Lumber prices fluctuate, but $30-40 is still quite low. I estimate about $100 to buy the lumber (pine) on the shopping list from Ana's plan at current prices in my area.
This is the first project I have done; we used a couple of different plans to make this bed. I had to change dimensions to make this into a full size bed. Overall I am very happy with the way it all came together. We made this for our 8 year old daughter and now I'm working on a vanity! I used the twin headboard plan made taller and wider for a full, I made a footboard to match and the storage bins bellow are from the modified farmhouse queen made a little smaller to fit a full.
These wood plans were great! Easy to follow and an awesome first project for my hubby and I to build together. Only hitch for us was by choosing to make the longer bench we didn't check the placement of the feet before attaching it. When we were done we weren't able to push the benches under the table so we had to redo that step.
I never built anything before this. I really wanted a sturdy wooden kitchen for my son for Christmas but they were sooo expensive. Then I found this plan and decided to give it a try. And I did it! All by myself with no real experience (seriously, I had to buy a drill for the project). It isn't perfect but my son doesn't know (or care) and I had fun doing it. Note that as we have it placed across the threshold from carpet to tile floor, I currently have a board underneath to level it. I modified to put a door on the sink since I don't sew and thought the curtain might look a bit feminine on my son's kitchen.
Outdoor Sofa
Wood Worker Flames
This bench was perfect for our front porch, but after I bought all the lumber I realized how big and substantial it would be. So, I slimmed it down and swapped out the following: seat slats 1x2, posts and supports 2x2, arms 1x3, backrest 1x6, aprons 2x3. Looks great and feels like a better fit for our porch. Enjoying the afternoon sun in style now, thanks!
Wed, 05/01/2013 - 09:31
I would like to make the bench on a diet since my front porch is smaller aswell. Are the cuts the same as original plans?
we made two of step stools for two little girls for Christmas! we personalized them. we drill some wholes so, it'd be easy for the girls to carry around.
Thank you for a very clear tutorial. Only challenge was the hinges but managed OK. I changed the position of the legs and chose some bit thicker tree and rounded the bottoms to make it more steady and easier to move around.
My handy Dad built this for my daughter using the awesome Plan as a base. Made a couple minor modifications (raised it up so more space under the bed; added brackets so the siderails can easily be removed; etc). Turned out perfectly!
I bought a campaign dresser off of CL that I wanted to use as a TV stand, but it was too short. I searched Ana's plans for "Hutch" and figured out how she builds hutches, and made a simple hutch for the dresser. That's my favorite part about Ana's site...I'm gaining knowledge and experience to be able to build whatever I want!! I used 1 x 10 boards for the body of the hutch, 3/4" plywood for the back, and a 1 x 2 for the trim.
I made this for a friends daughter. I attached the wheels with 3/8" aluminum rods, washers, and axle caps. It can be tricky to get the rods the exact length you need, but it allows the wheels to roll very well. The wheels were cut with a 5" hole saw and then sanded smooth. For sanding, I attached each wheel to my drill and spun them over sand paper. This allowed the wheels to maintain their circular shape.
Needed a small workbench to fit in a tight space, but still wanted something sturdy as it supports a 1-ton arbor press. Your plans were so helpful!
Fri, 09/08/2023 - 09:39
Thank you for sharing your project, it looks like it will get the job done!
We got some new furniture and realized that the TV stand we currently have just wasn't going to work. We found a media console at Restoration Hardware that we really liked (http://www.restorationhardware.com/catalog/product/product.jsp?productI…). Well, we liked everything but the $1,300 price tag. With a couple sheets of 3/4 plywood, some 1x3's, 1x4's and 1x6's we built this for a fraction of the price. We even modified it so the two side doors have speaker mesh instead of solid panels so we can enjoy the sound without the eyesore of the speakers.
The stain is still drying so I don't have a final installed photo.
Fri, 09/05/2014 - 11:23
I was curious if you had any kind of plans for this peice or if you could at least tell me what sizes of wood you used. I am very interested in building this!
Thnak you,
Meghan
Wed, 02/11/2015 - 10:25
I would also love plans if you are willing to share them. Great work!
Sat, 03/14/2015 - 08:18
I am trying to build a similar style cabinet with the middle part coming out. Could you please let me know, since the middle section of the cabinet comes out, is the bottom and top cut out of one piece of wood? You can email me at [email protected]. Any help would be greatly appreciated. Thanks so much! Erika
Sun, 10/16/2016 - 20:00
Hello! This is a beautiful piece. Would love to see the plans, if they are available. Please let me know! Thank you!
I built this book rack using scrap wood and modified plans from the Full Length Plate Rack. It was a really straightforward build, and functions very well as vertical storage that takes up little space. I predrilled, screwed and glued all of the joints, vs. stapling.
I built this for my second son who was tired of "being in jail", he's almost 3. His older brother is now jealous!
Was a nice easy build - the hardest part was paint spraying for the first time! I would cut the slats pieces about 1/4" smaller to give a bit more wiggle room when lining up the pieces, and make sure to keep the headboard and footboard square when lining up.
The cost was higher for me being in the Bahamas. I used fir for the frame and spruce for the planks, why, I thought it would save some money but didn't really.
I used pocket holes to attach the bed rails to the headboard and footboard.
Using Ana's Cassidy bed plans, I made this king sized bed. I substituted scrap pieces for them shims.