Work Bench
I'm new at this so I started with the work bench. SUPER easy. I built it by myself. Bought the wood around 8 AM and was DONE by 11. Thanks Ana!
I'm new at this so I started with the work bench. SUPER easy. I built it by myself. Bought the wood around 8 AM and was DONE by 11. Thanks Ana!
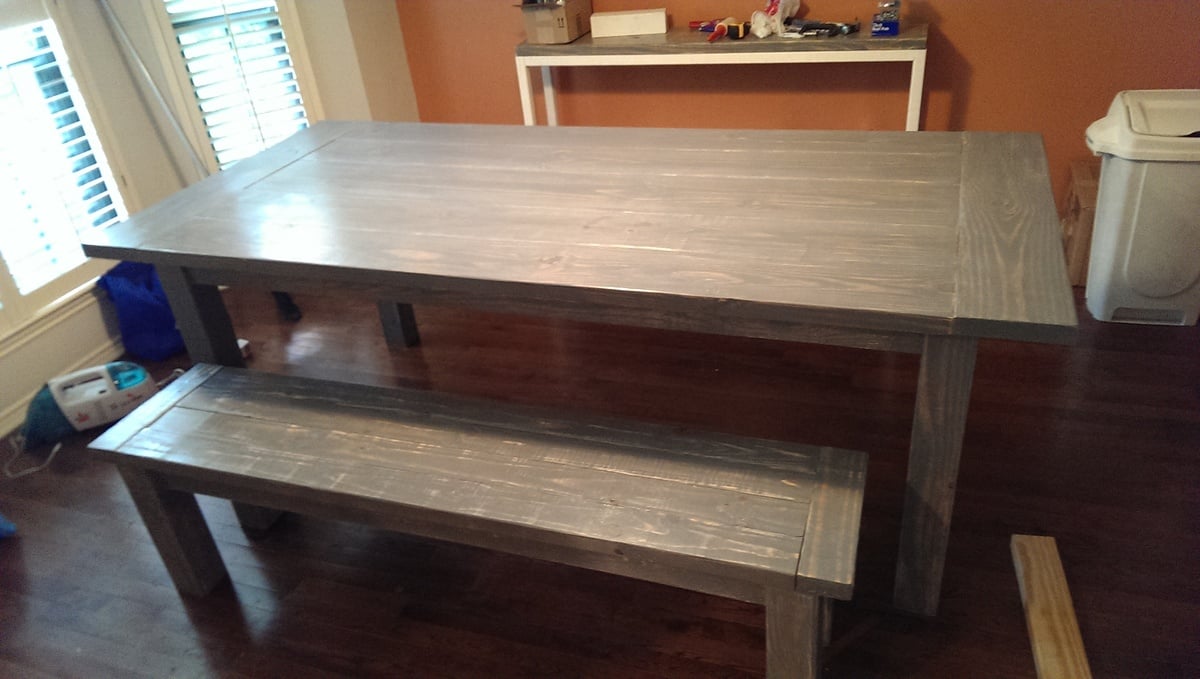
I really wanted to build something for our first home so 3 months after moving in (and 7-8 months pregnant) I started on our dining table. To fit our dining room, the measurements were modified to have a 7ft-table, with the bench just long enough to slide all the way under the table. The legs are made of 4x4s of Douglas Fir and everything else is pine. I also removed the stretchers underneath because I wanted to be able to have chairs on the ends. The table seats 8 people very comfortably. It took me a little longer than anticipated, since I couldn't do any of the lifting until my husband came home, and he stained it with 2 coats of Rustoleum Weathered Grey stain and 2 coats of poly (with my light sanding in between each coat).
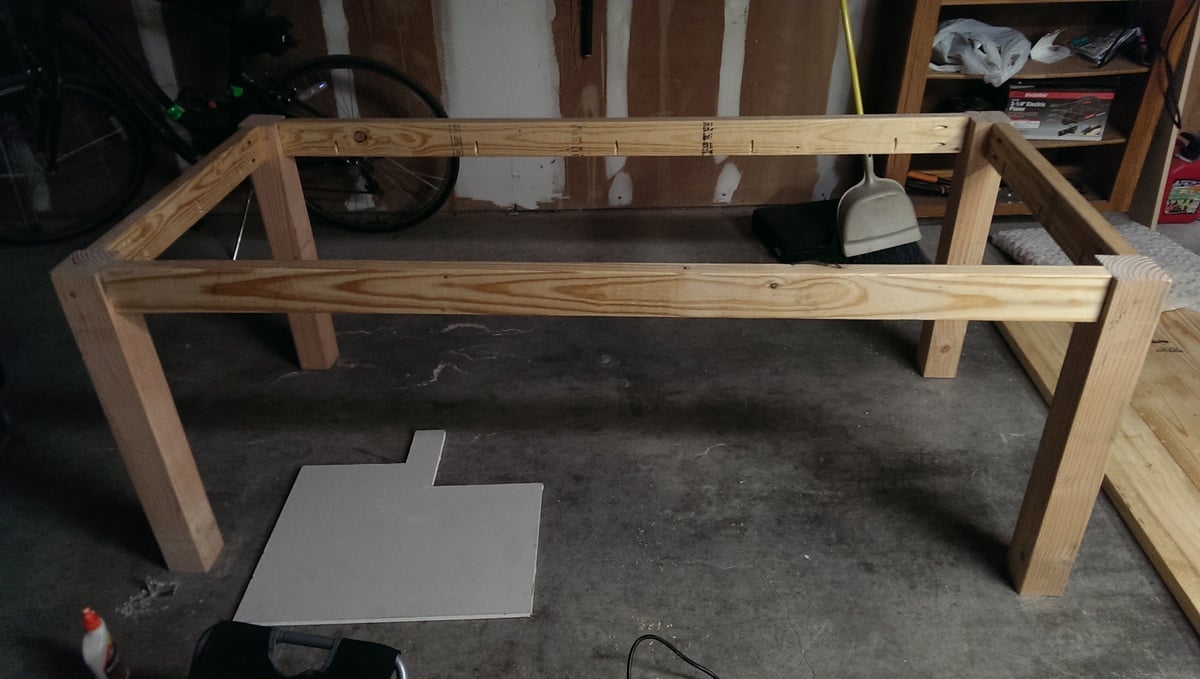
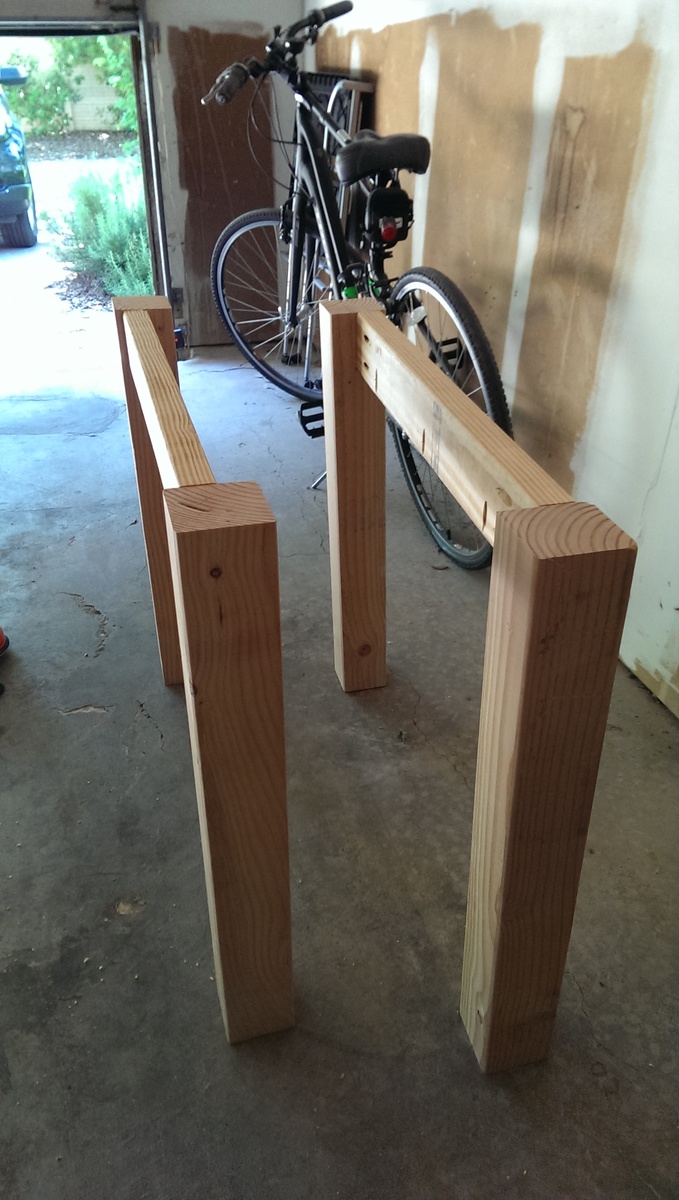
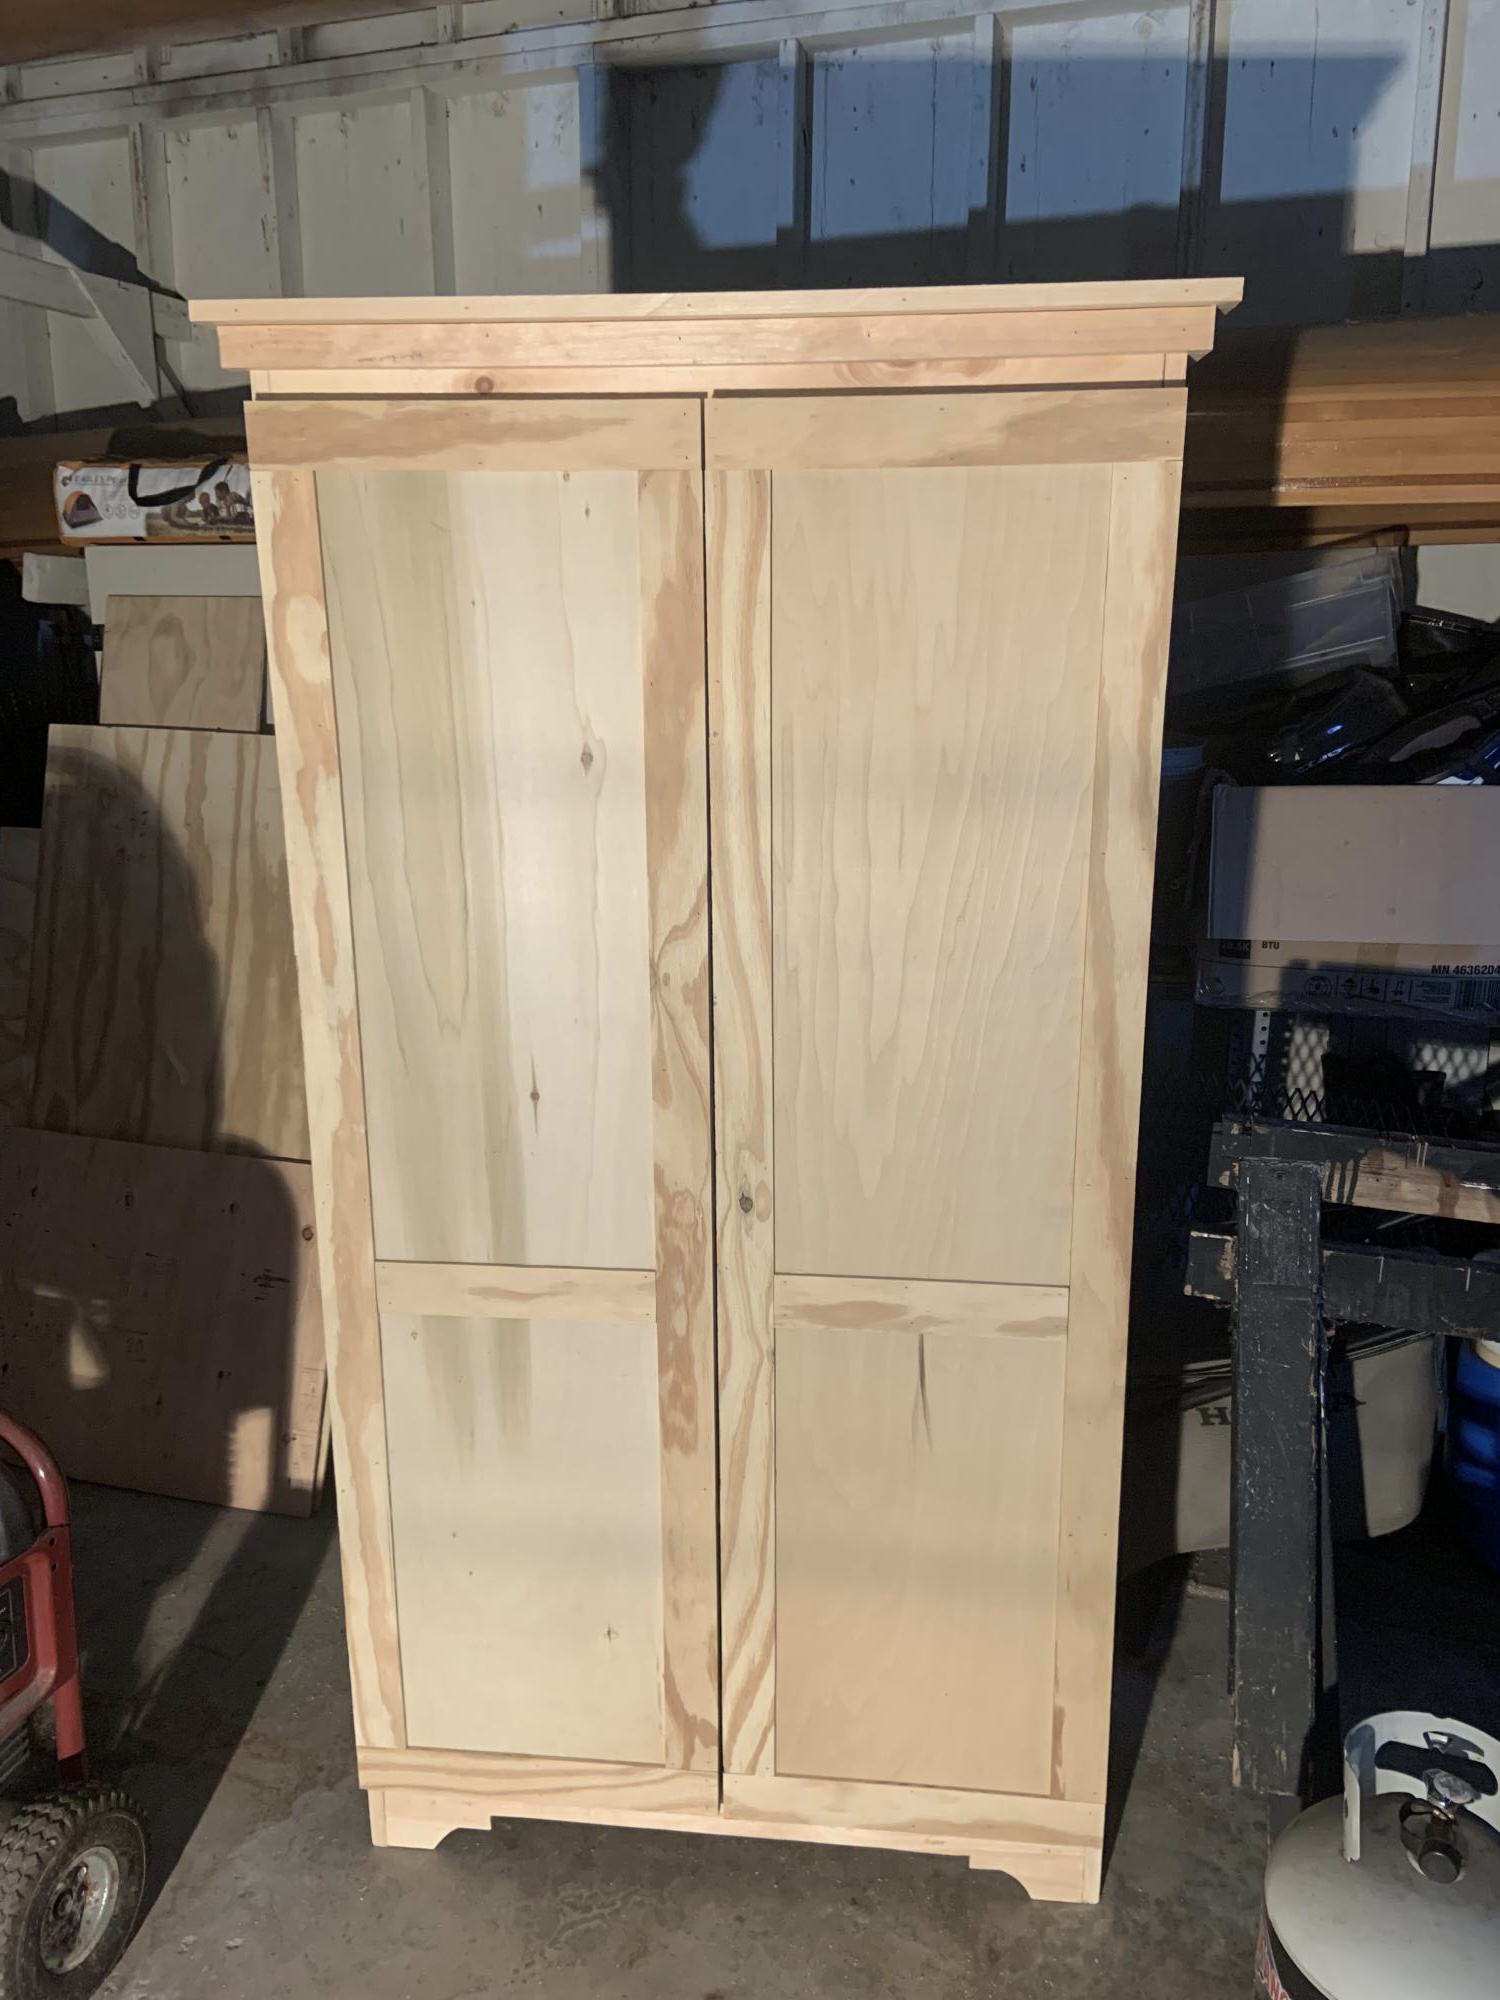
For Christmas made this to hold all her kitchen appliances. Still waiting to get it painted. Very close to being finished. As my second project that I have attempted, I found it quicker as I learned how to use some of the tools I acquired from the first project I did in May. Thanks for great ideas.
I was in need of a good footstool for my nursery rocker, and after not finding anything on Craigslist or in consignment shops, decided to build my own! I'm glad I chose this footstool, since it helps me reach the top of the closet in the nursery, and will also be useful when my little girl will need a boost to brush her teeth and wash her hands. I love the way it turned out, it's such a unique, adorable plan!
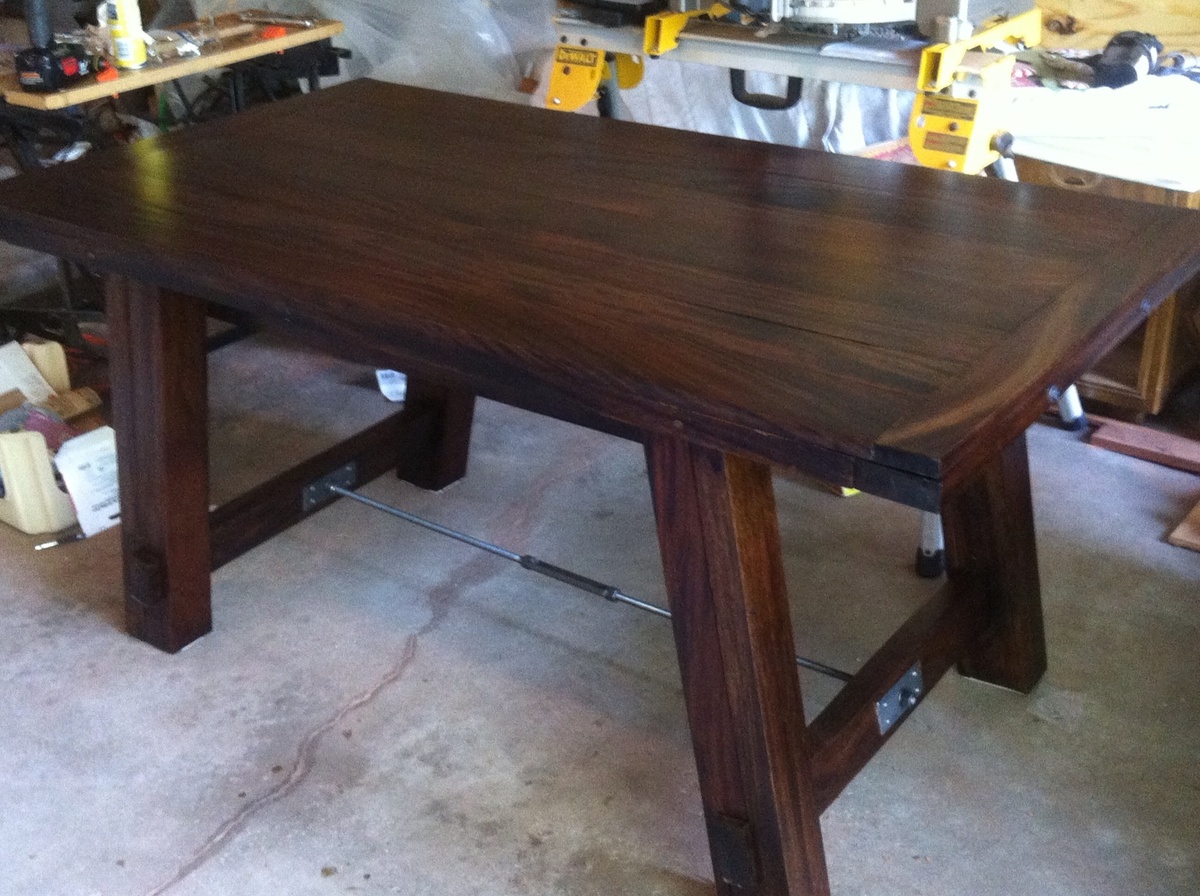
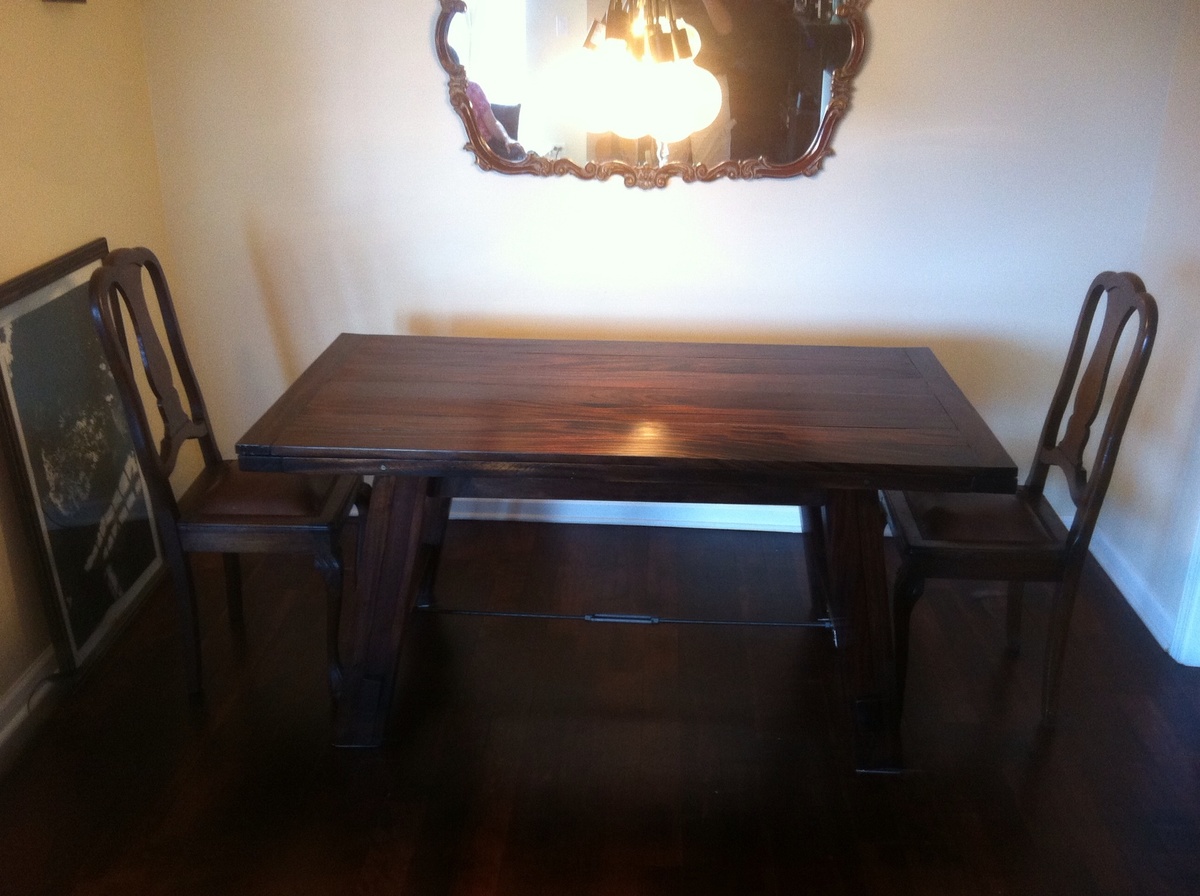
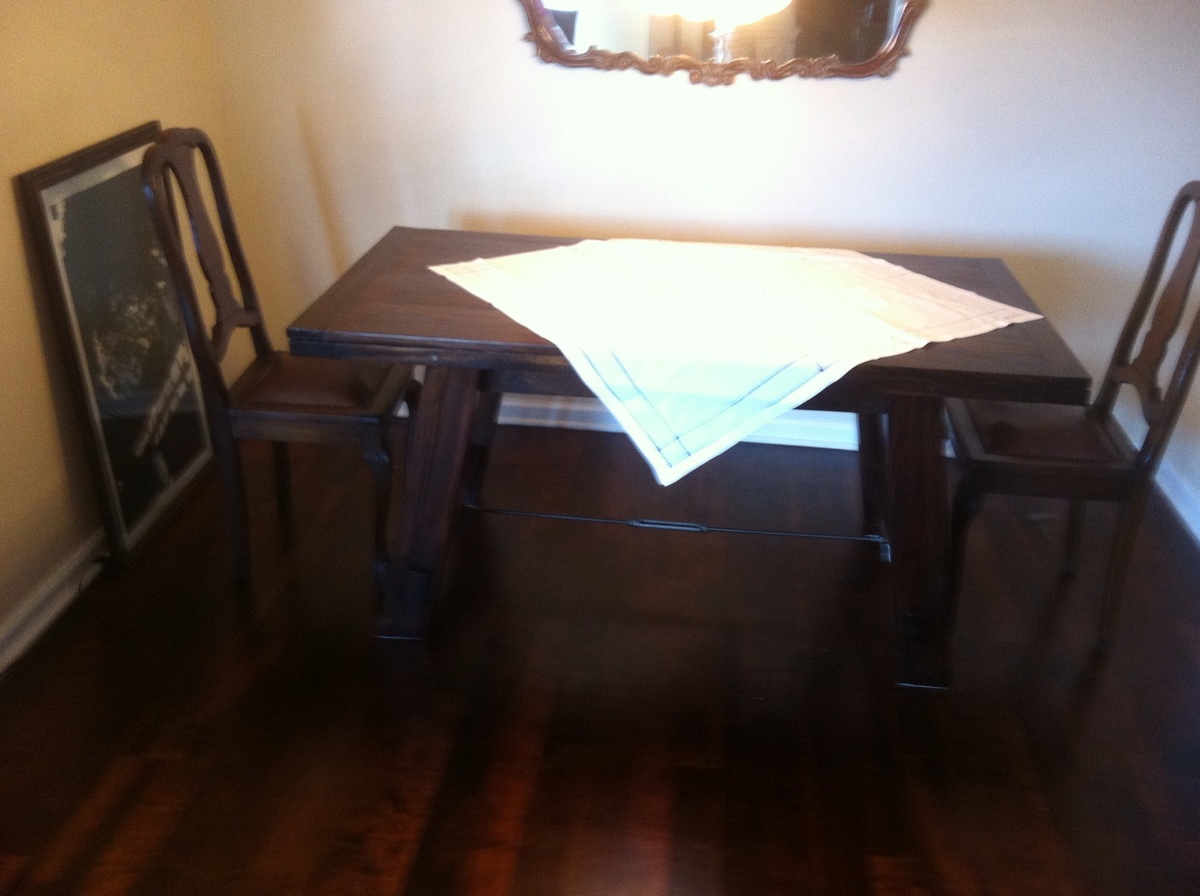
My daughter and I built this table from African Mahogany. We modified the Anna White Benchright Farm table to meet our size requirements. It was our first attempt at building a table. We took our time. We think it looks great.
Sat, 06/29/2013 - 05:54
What area of the country do you live in? That Mahogany is just beautiful. Does it come in dimensional lumber sizes? You guys did an excellent job.
Sat, 06/29/2013 - 08:13
Thank you, we live in the Chicagoland area. We purchased the wood from Owl Lumber. Owl Lumber has an excellent selection of hardwood. The wood comes in a variety of dimensional lumber sizes. The table top we made has several different widths, 1x5, 1x6 and 1x7.
Sat, 06/29/2013 - 08:20
Thank you, we live in the Chicagoland area. We purchased the wood from Owl Lumber. Owl Lumber has a variety of hardwoods in dimensional sizes.
Wed, 07/10/2013 - 14:22
Hello,
We love the look of your table. Can you let us know the size of the bolts you used for the table top? Also where you found them would be super! Thanks!
In reply to Bolts for table top by CoreyOrvold
Thu, 07/25/2013 - 14:25
I used 1/4" bolts that were 6" long. I purchased the bolts at Fastenal.
This is the first time I've ever taken on a project of this scale. The pergola is 12 x 11, and I was able to get it all done for $235 by having Lowe's price match a lumber yard in the next town over. I skipped out on the fancy base covers because I'll eventually make those pretty with limestone stacking rock - and because the lumber for those alone would cost about $121.
Once the treated lumber seasons, I'll stain it a darker color.
Fri, 05/28/2021 - 18:56
Looks great! I am hoping to build a simple one, too.
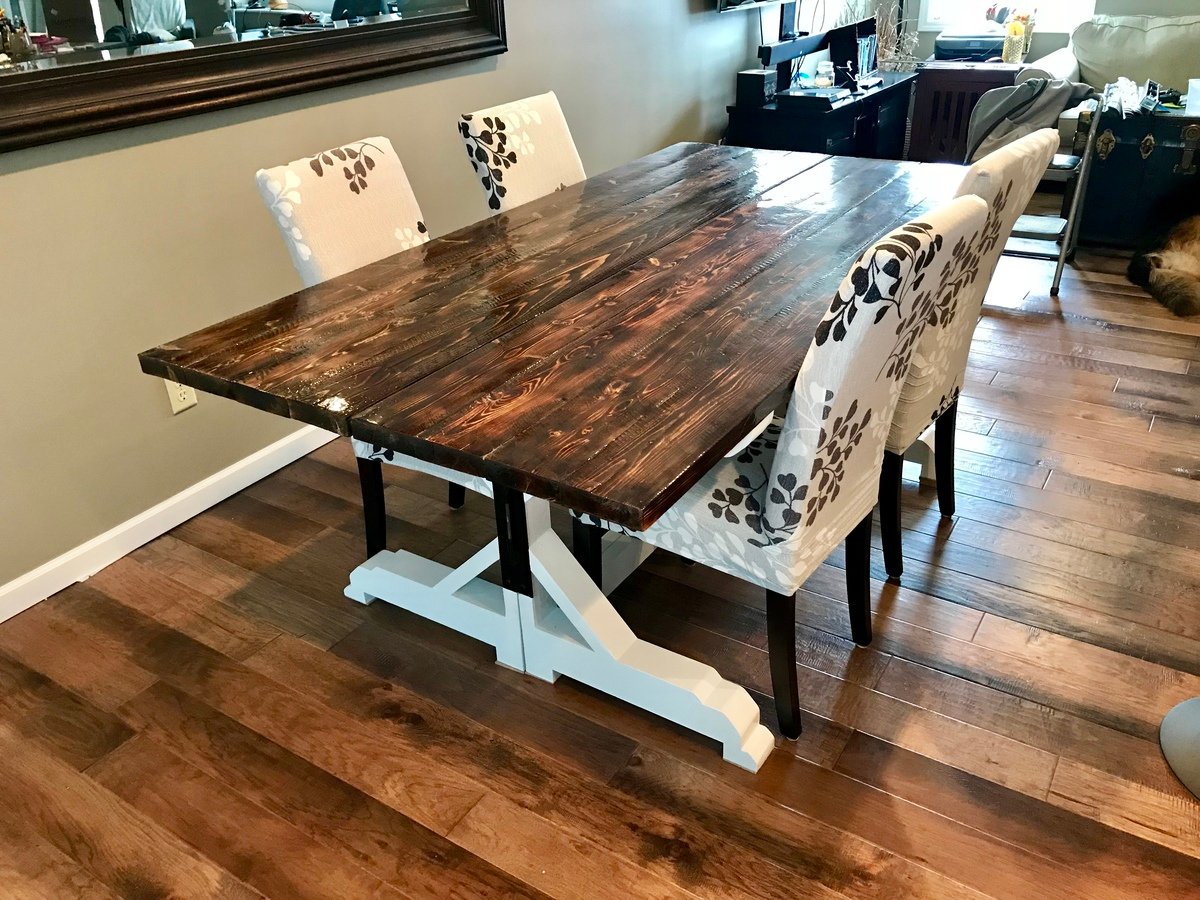
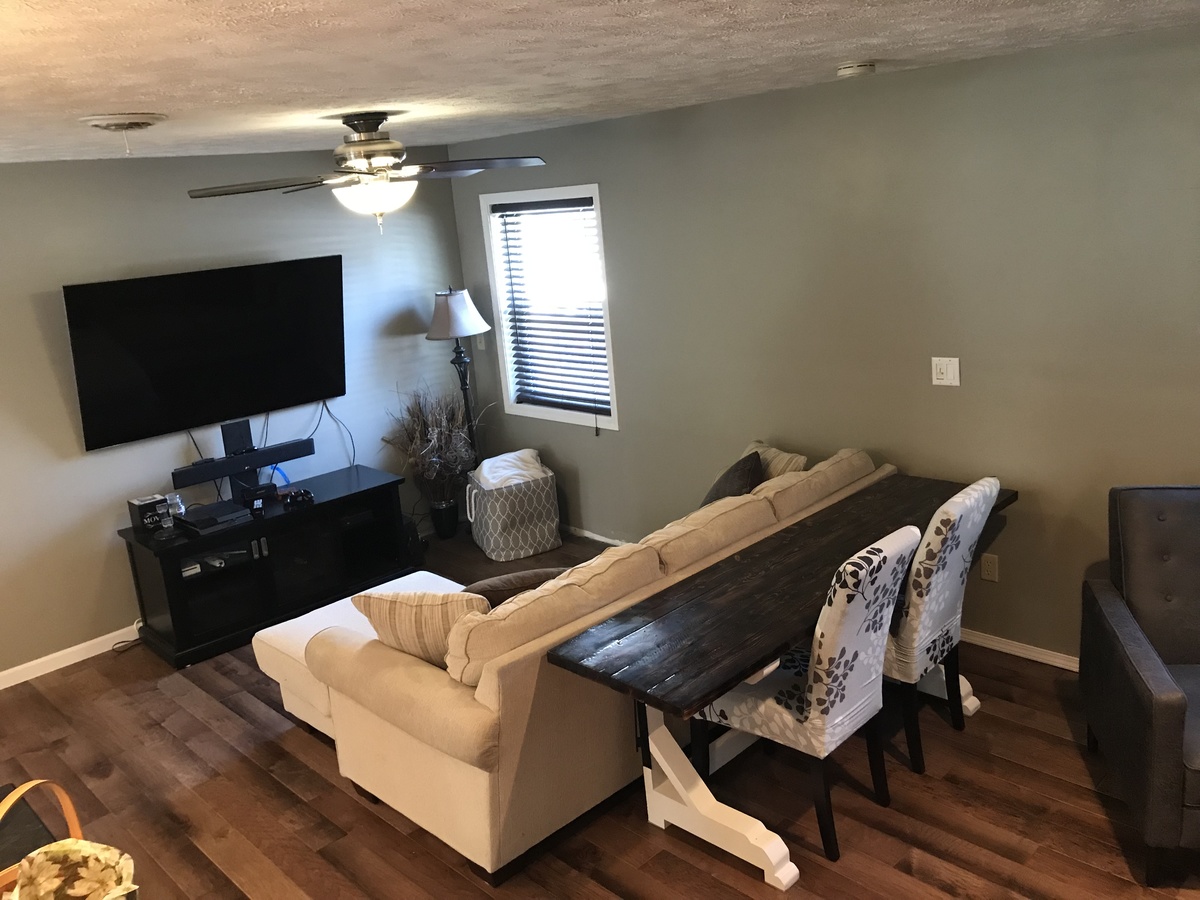
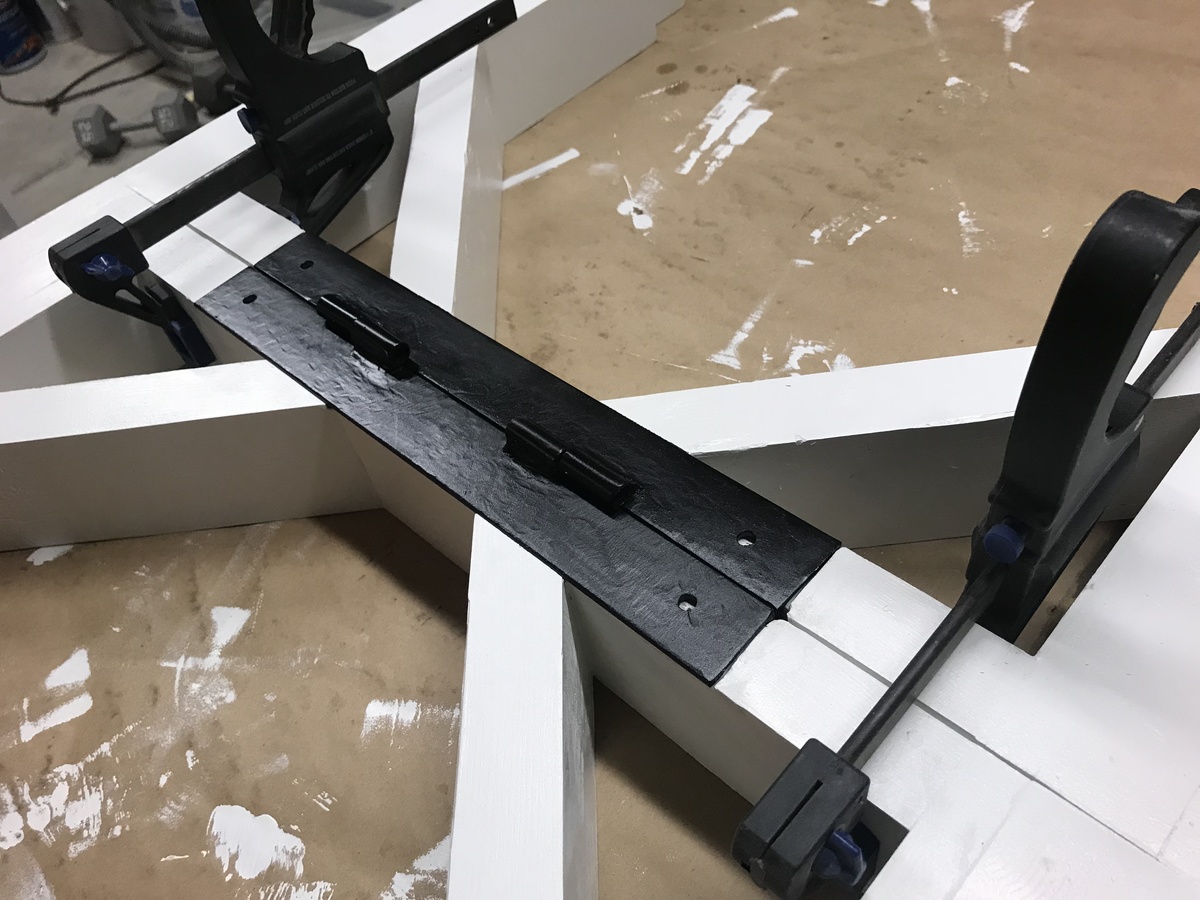
We have a smaller house and wanted a dining table as well as a table behind our couch. So, we got the best of both worlds with this minor customization. I simply split the two legs and tabletop in half, added additional feet, and built two supporting braces instead of one. For an added touch, I welded tubes to steel angle iron to make a hinge-style locking mechanism with steel pins. This locks both halves together (when using as a full table) and adds a little rustic black metal to the overall look.
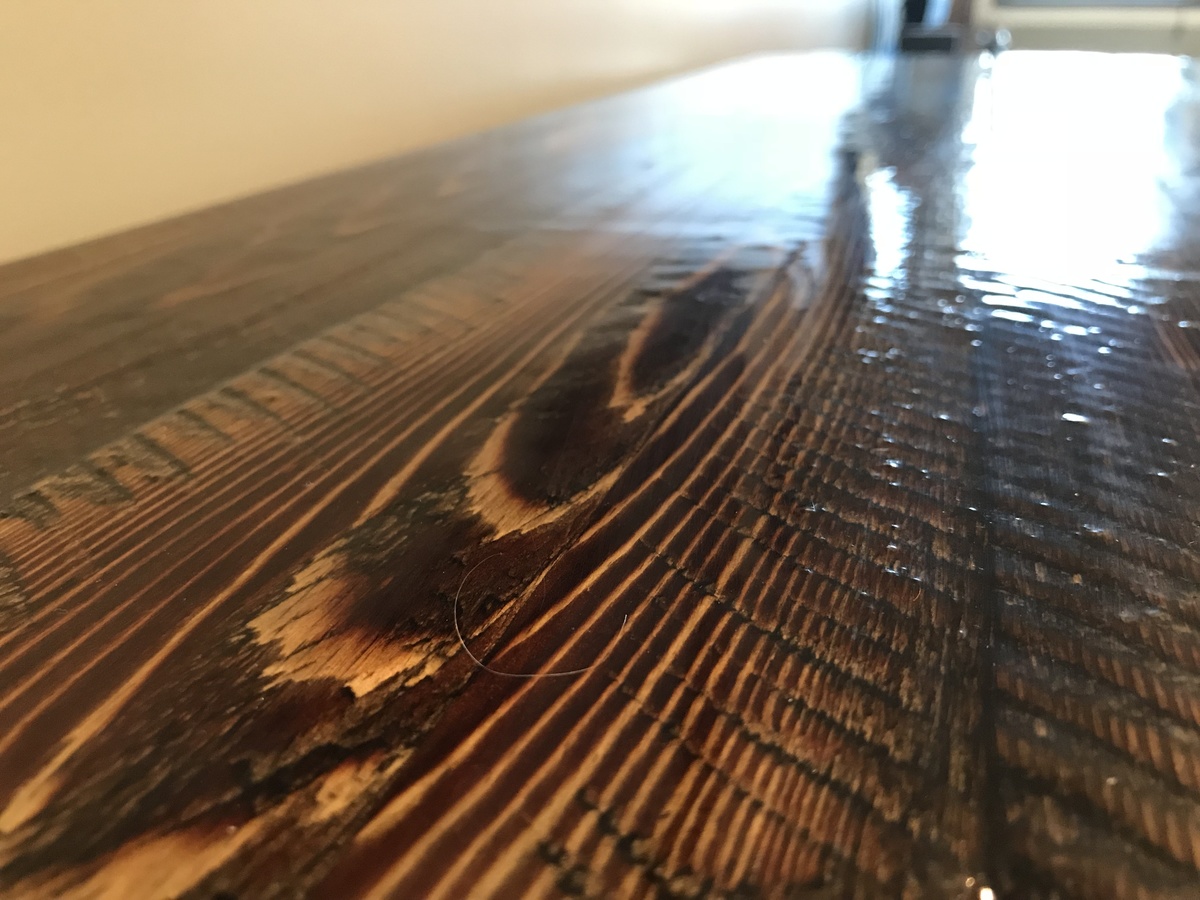
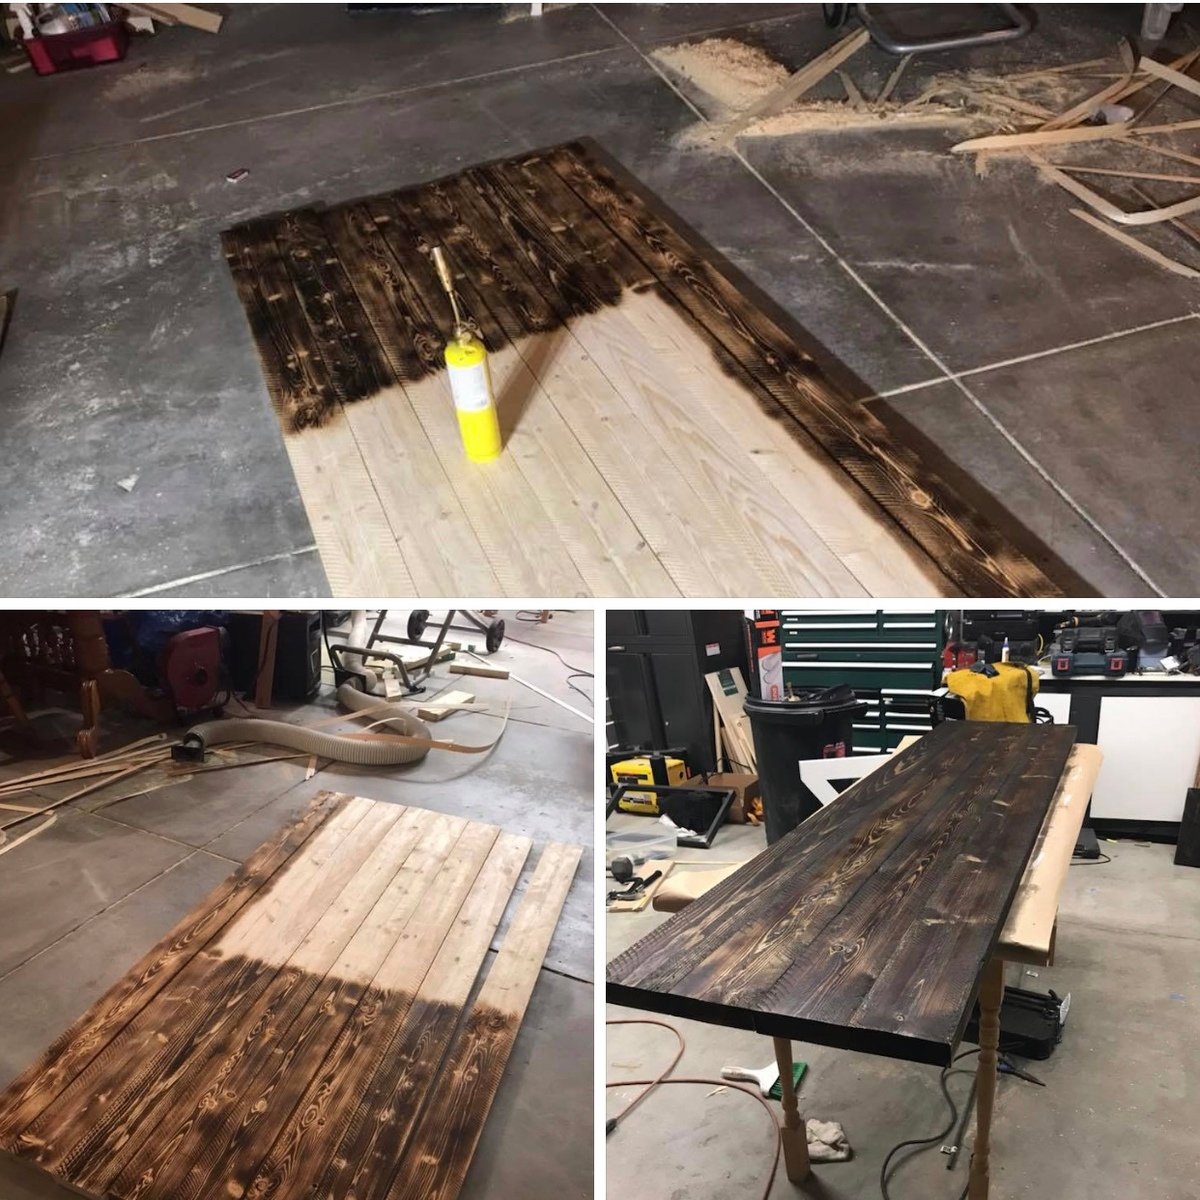
For the tabletop, I cut the sides off the lumber to get the square look. I then bent one tooth in my tablesaw and quickly cut the face of the lumber to give it a rough sawn look. I then belt sanded it all to smooth out the really rough spots. Then I shou sugi ban (burned) the top to burn off the splinters and make the grain really pop. I added a little stain to smooth out the light spots. Lastly, I put about 64oz of epoxy and lightly sanded with 0000 steelwool after it set.
Please excuse the floor trim or lack therof. I just installed the new floor and decided our table was the higher priority. :P

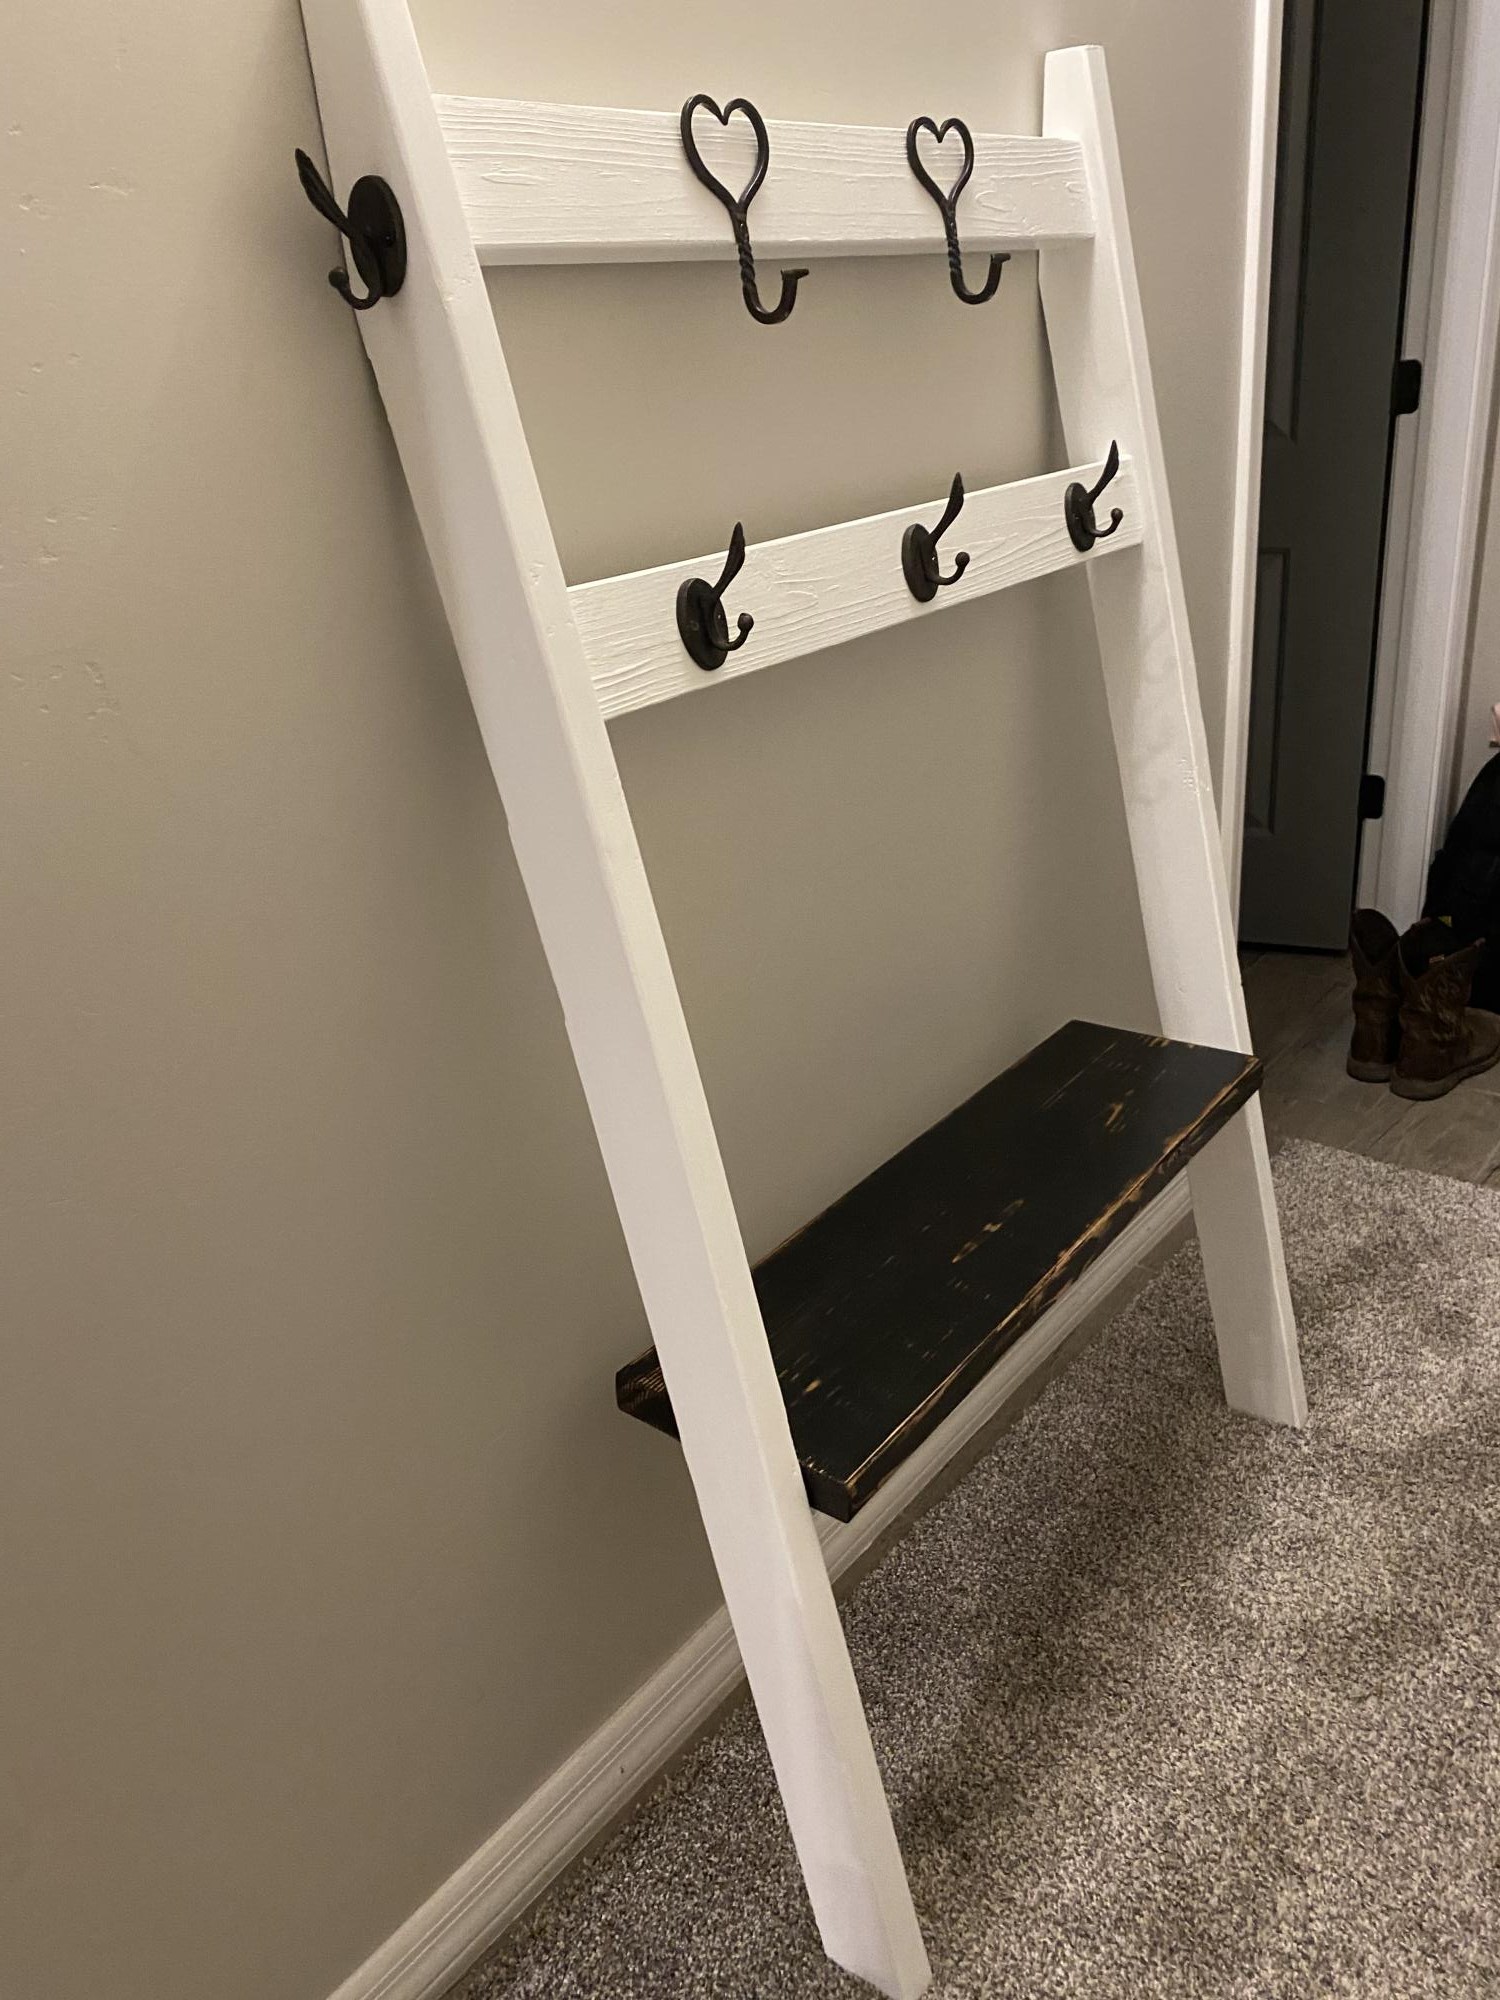
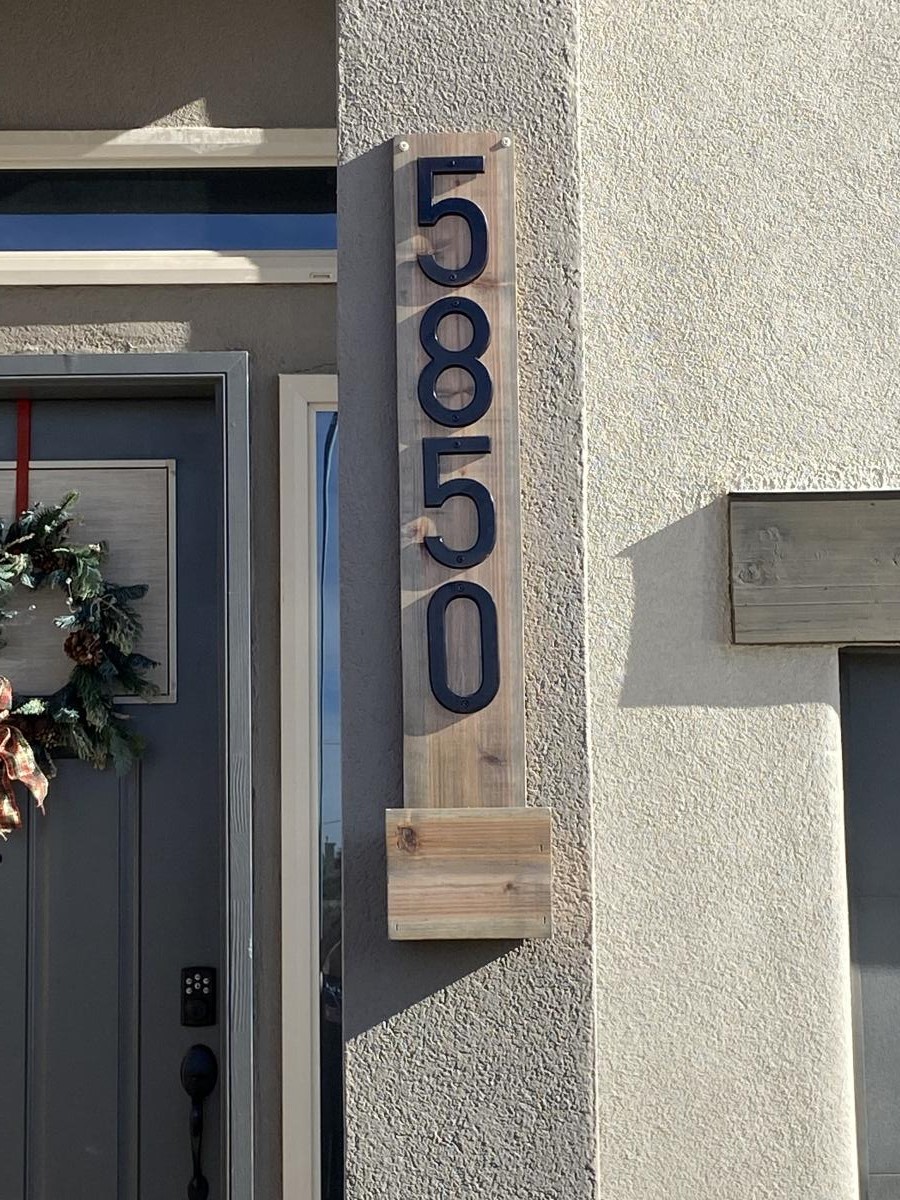
Hi Ana, I recently made two of your posts. First, the 2”x4” hall tree and then the house number planter. We found some unique hooks at Hobby Lobby for the hall tree. This is great to keep the kids’ backpacks off of the floor. On the house number planter I stained it with Antique Beige, but is more gray than beige. I then put 3 coats of spar urethane on it to protect from the TX sun.
Sun, 12/26/2021 - 17:58
Those are both great, thank you for sharing! I will need to check out that Antique Beige finish, just gorgeous~

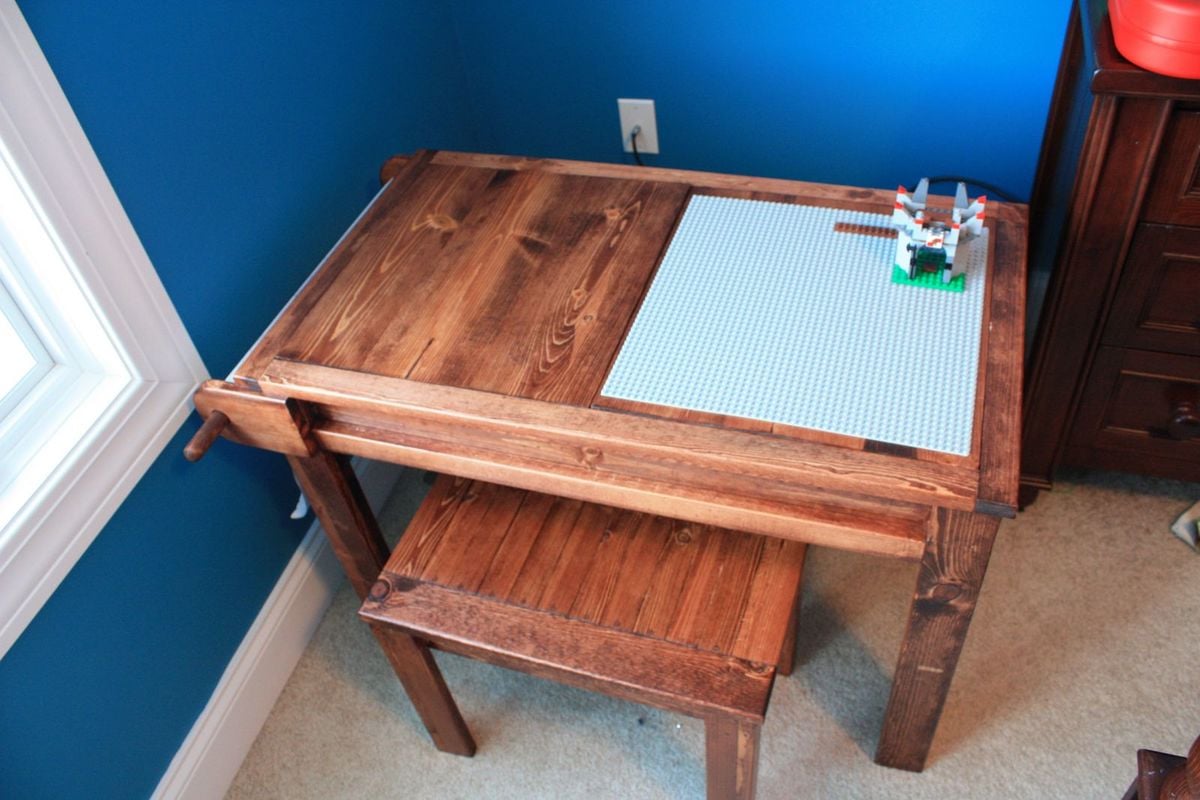
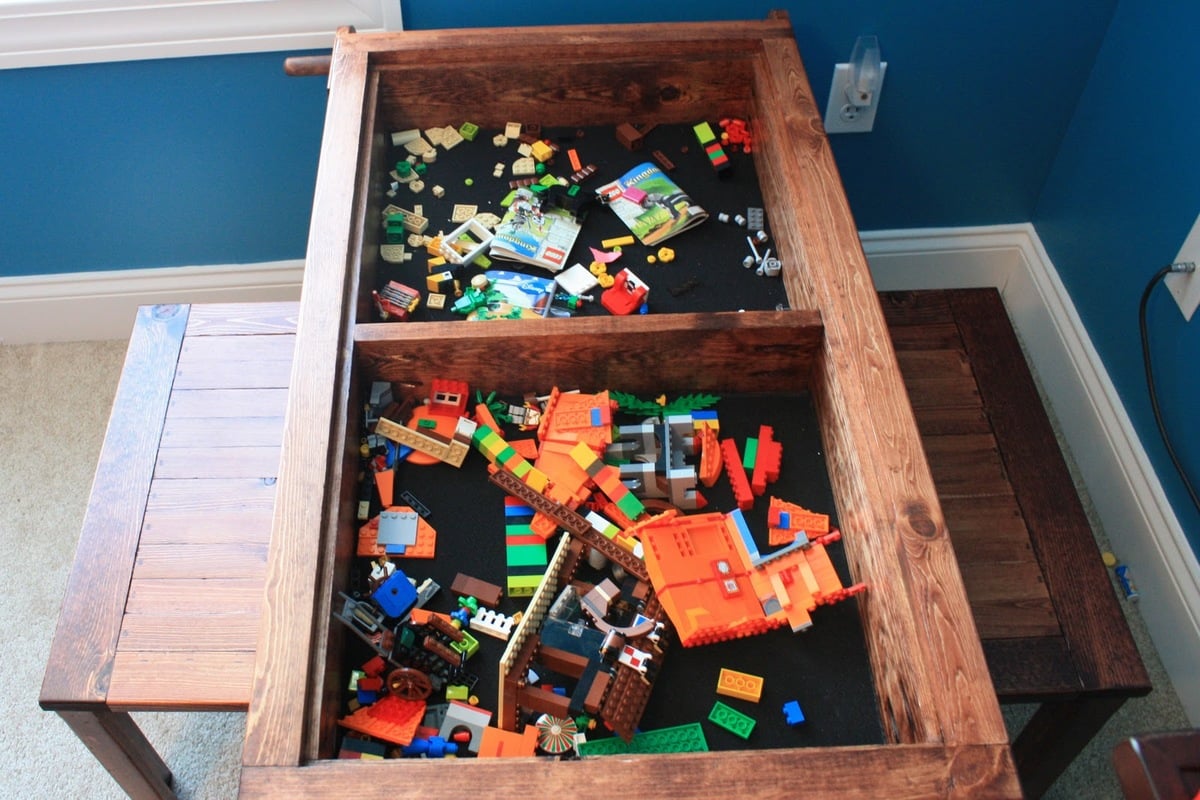
We built this activity/lego/art desk. We added a Lego base plate under one side of the table top and a paper roll to the side. We also built two little benches that fit right under the desk. These pull out and hold two kids on each side.


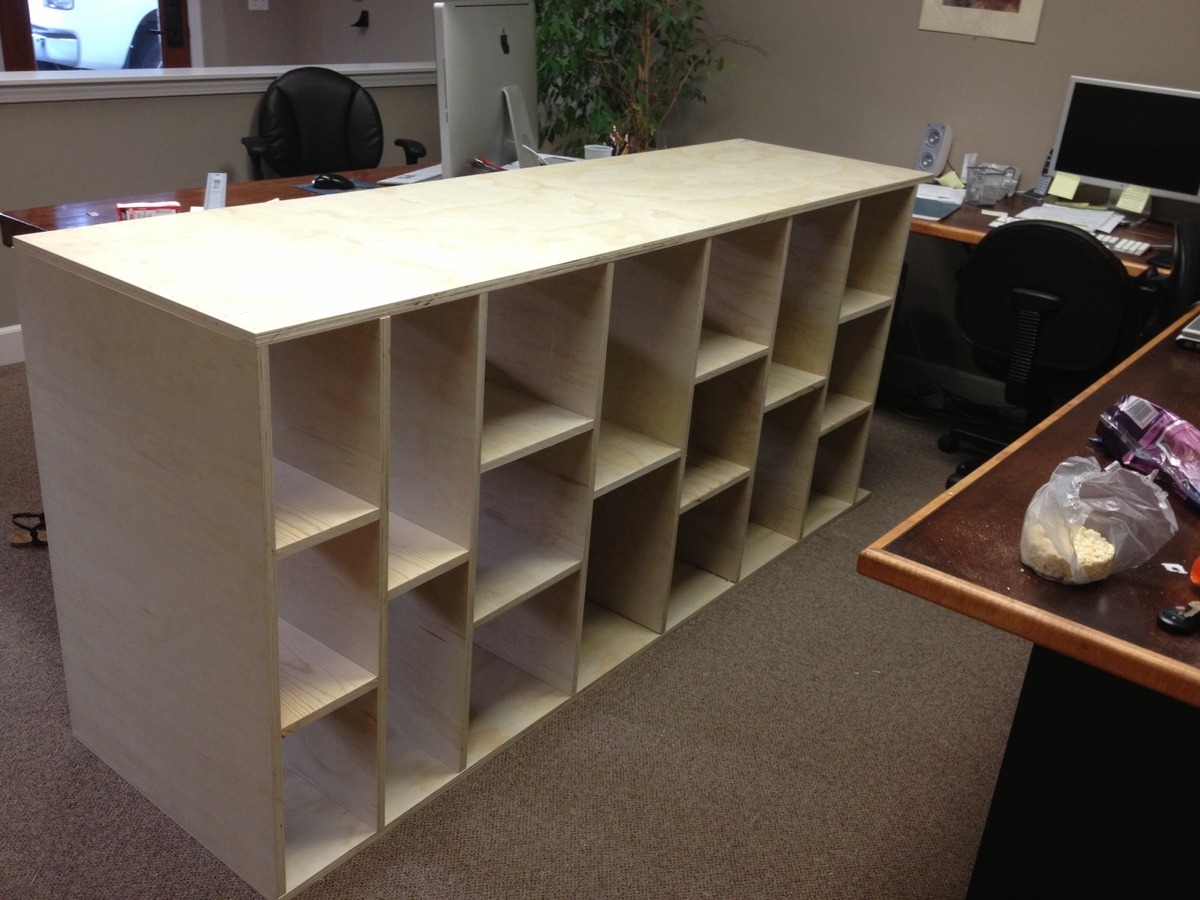
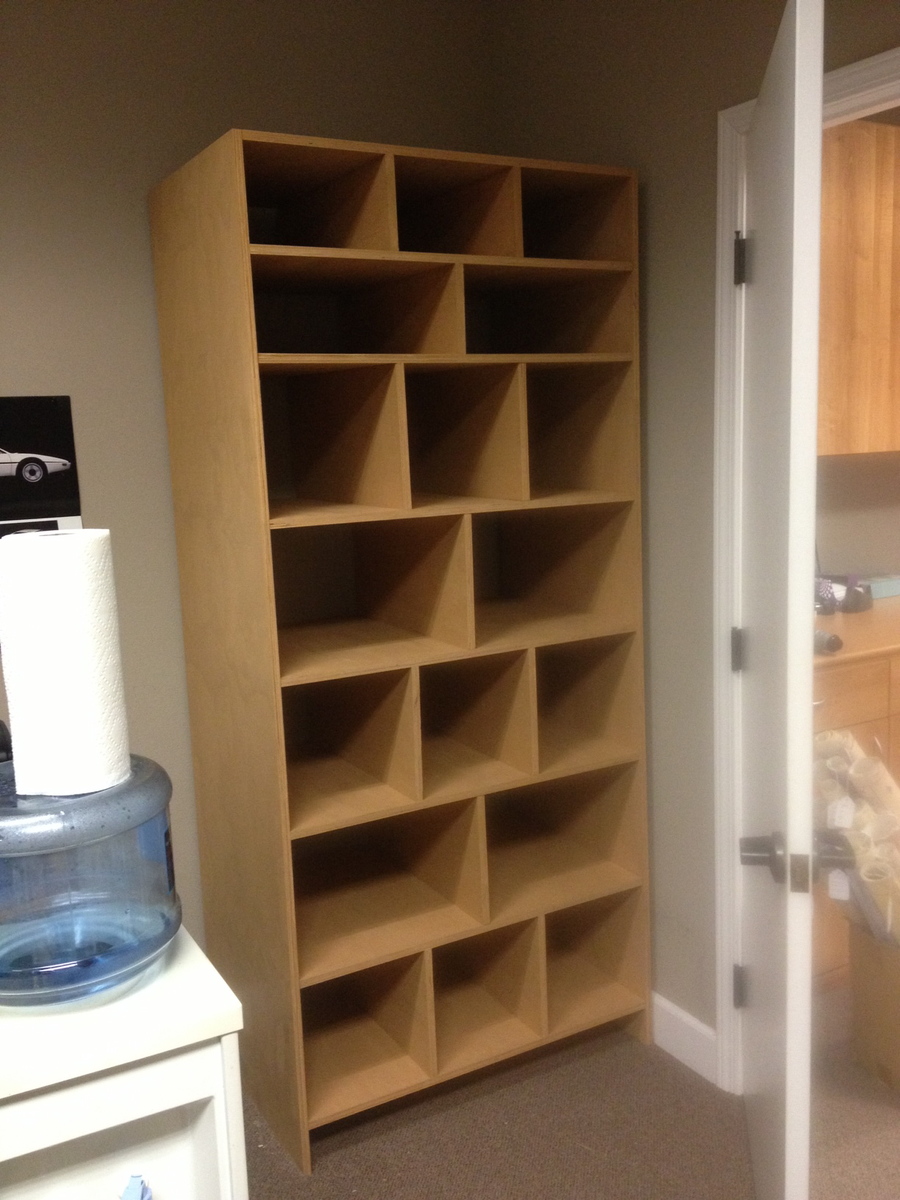
I looked high and low for something to store the plans at my office. Everything was outrageously expensive. Then I came across this plan and it is perfect. I did make some modifications though. Took 4-hours to build (not counting the wood cutting, I had that done at Home Depot). Then it took another 4-hours to stain it. Overall, I am really excited to give it to my boss when she gets back from vacation (it's a surprise).
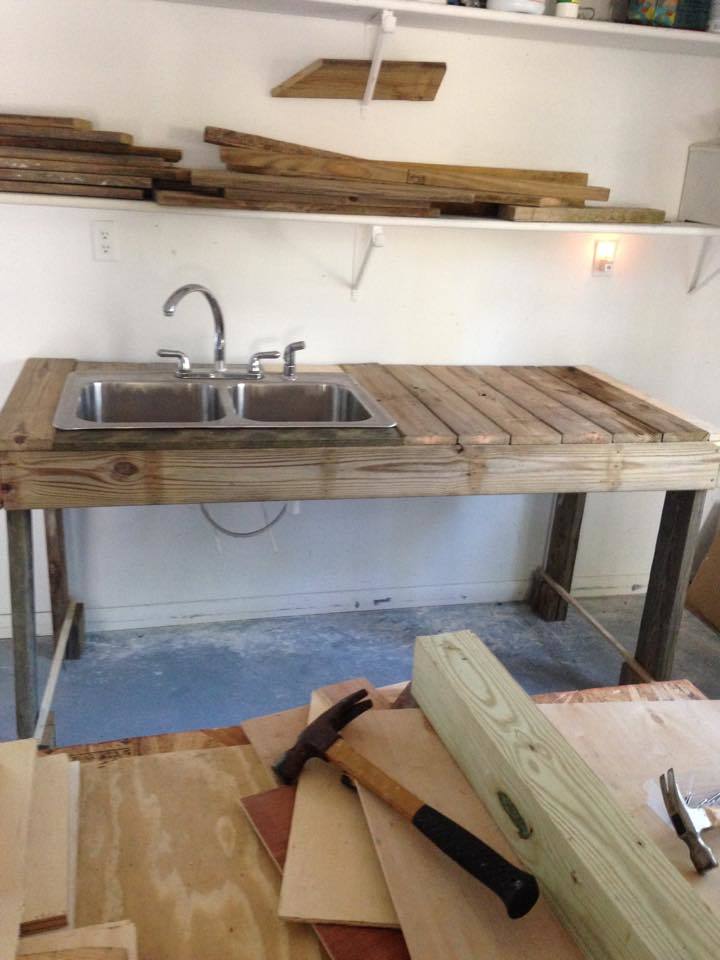
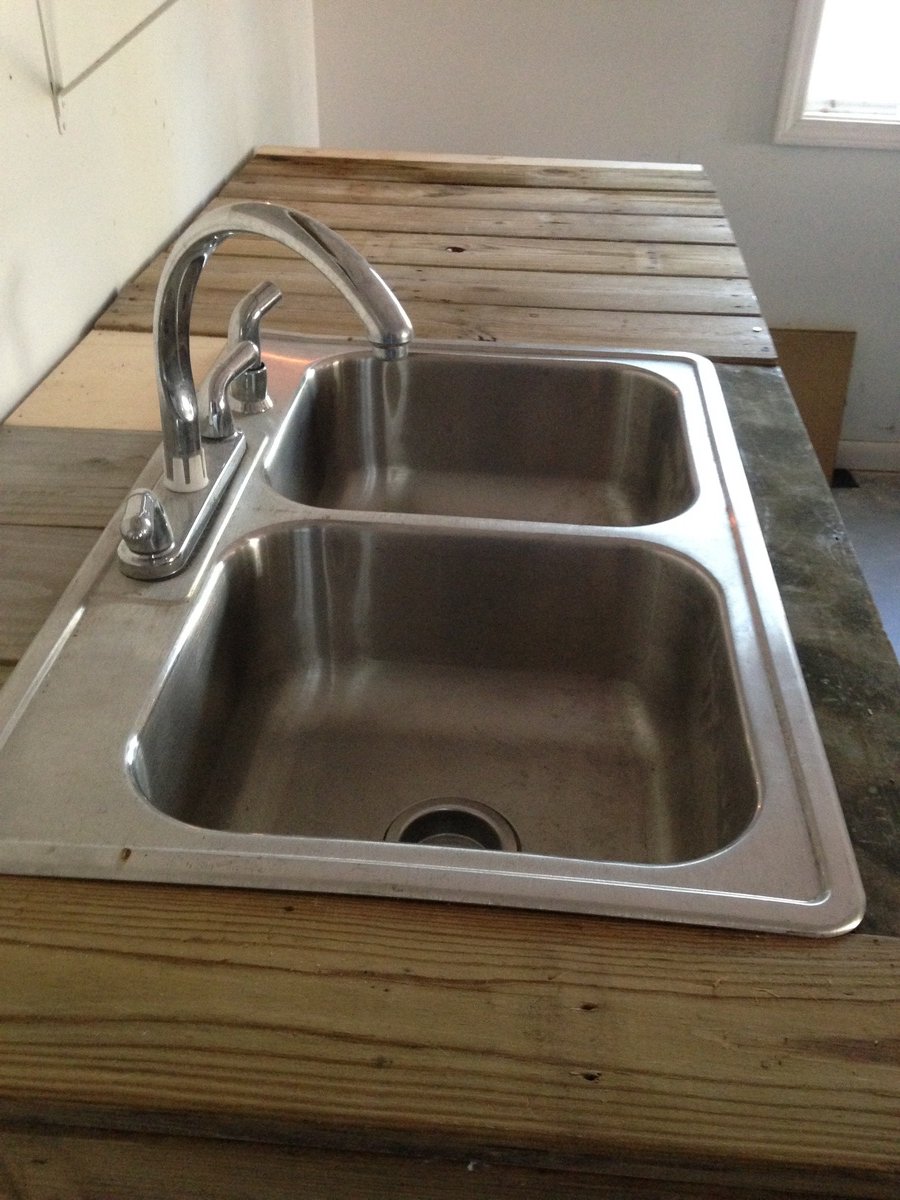
I made this sink from a sink that I saw on here one time and can't find now. Just improvised didn't follow a plan. I have it in my garage and plan to stain it and add some touchs soon.
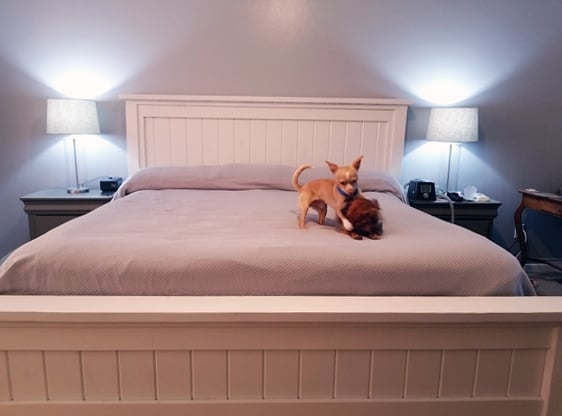
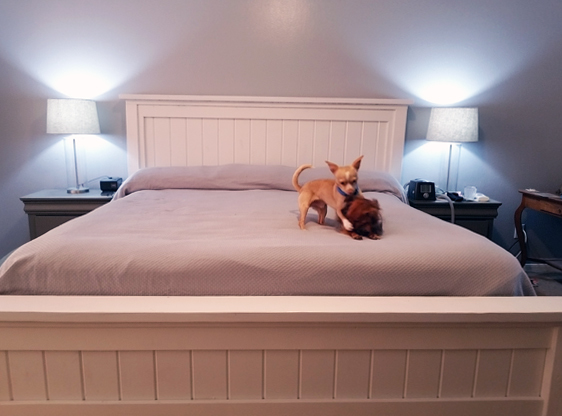
Thanks for the plan and the inspiration to do the job, it turned out great! Luckily, I didn't put the new bedding on yet, as the little ones needed some wrestling time.
Thanks!
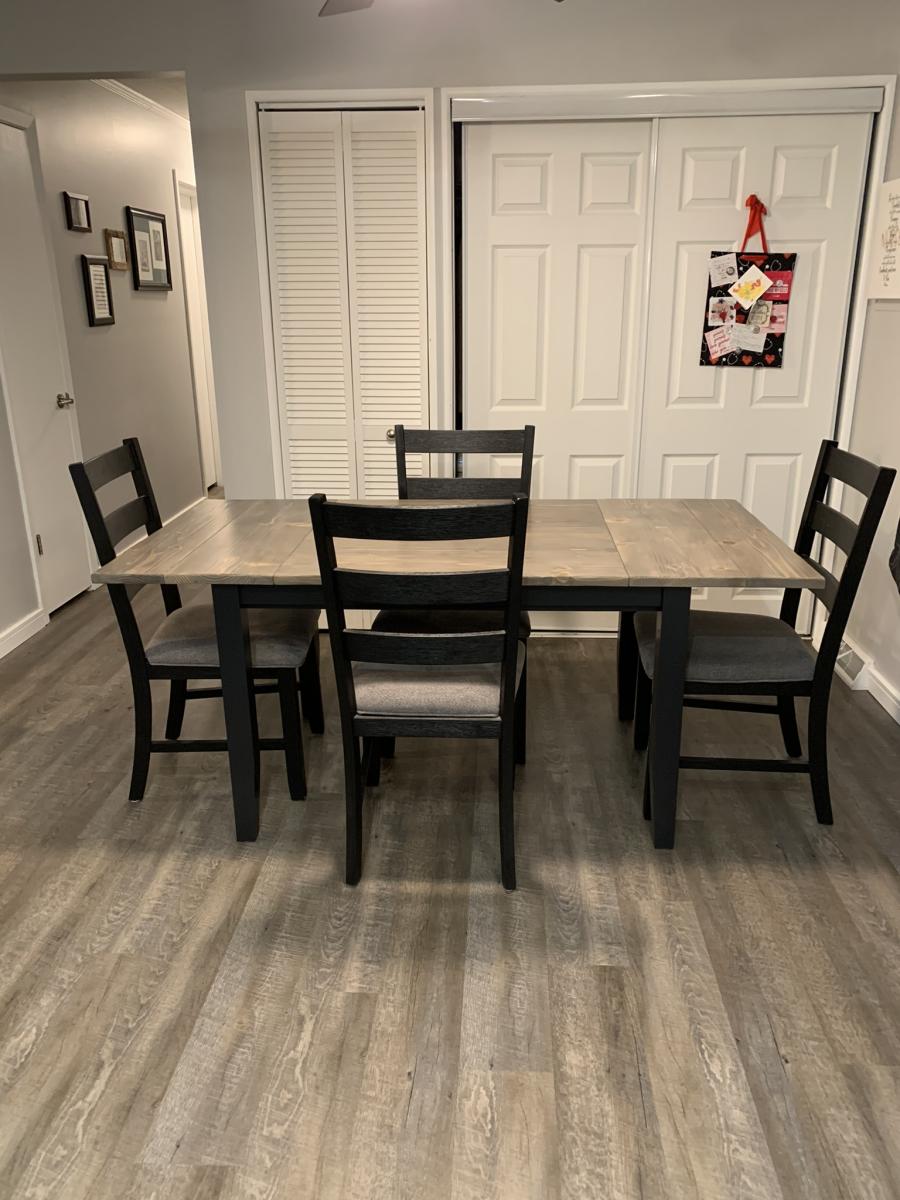
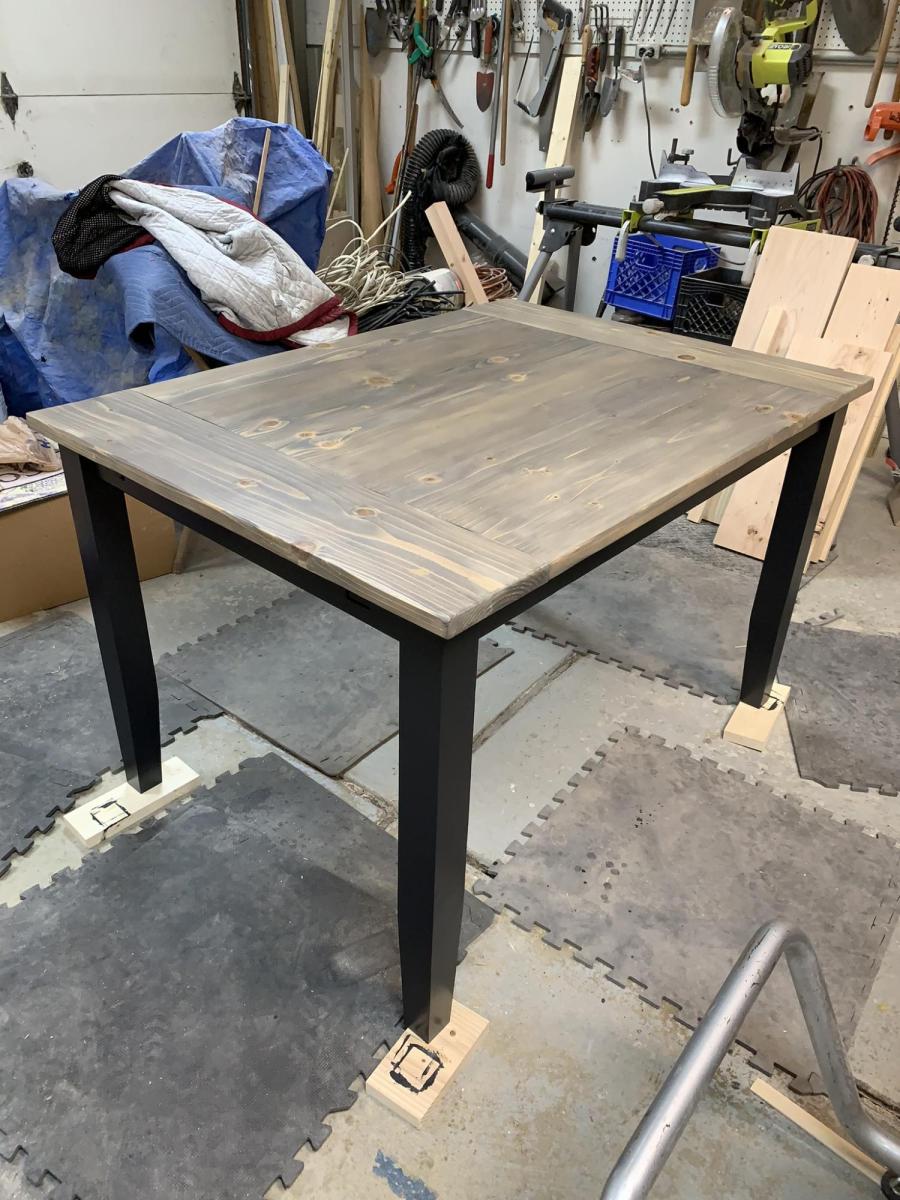
I built this farmhouse table with leaves for my daughter. I wanted a farmhouse look but with a modern twist, and I also wanted breadboard ends that would pull out so she could insert leaves on each end to increase the size of the table for company. I used the plans for concept, and actually used the updated farmhouse table plans with pocket holes but couldn't find the plan link again for this post but made several modifications to achieve what I wanted. I planed all the lumber down to a true 1 inch for the top and also the trim to reduce the weight and chunky feel. I planed 4 x 4 untreated lumber for the legs to 2 1/2 inches and then tapered the bottoms as well to reduce weight and chunkiness and create a more modern feel. I built actual channels on the base for the extension bars which attach to the breadboard ends and I attached table aligners to the table, breadboard ends and the leaves so things would stay straight and even. I also glued together 2 x 4 and 2 x 3 pieces that had been planed down to a true 1 inch for the skirting and treated them as one piece when attaching to the legs so I didn't have so many screws going into the legs. I painted the base black with furniture paint and then put 2 coats of polyurethane over that and stained the top gray, then used a and 'wash' of watered down black paint over that and then 5 coats of polyurethane on the top. The table is 36 x 48 without the leaves and extends to 70 inches when both leaves are in place. I'm quite pleased with how it turned out.
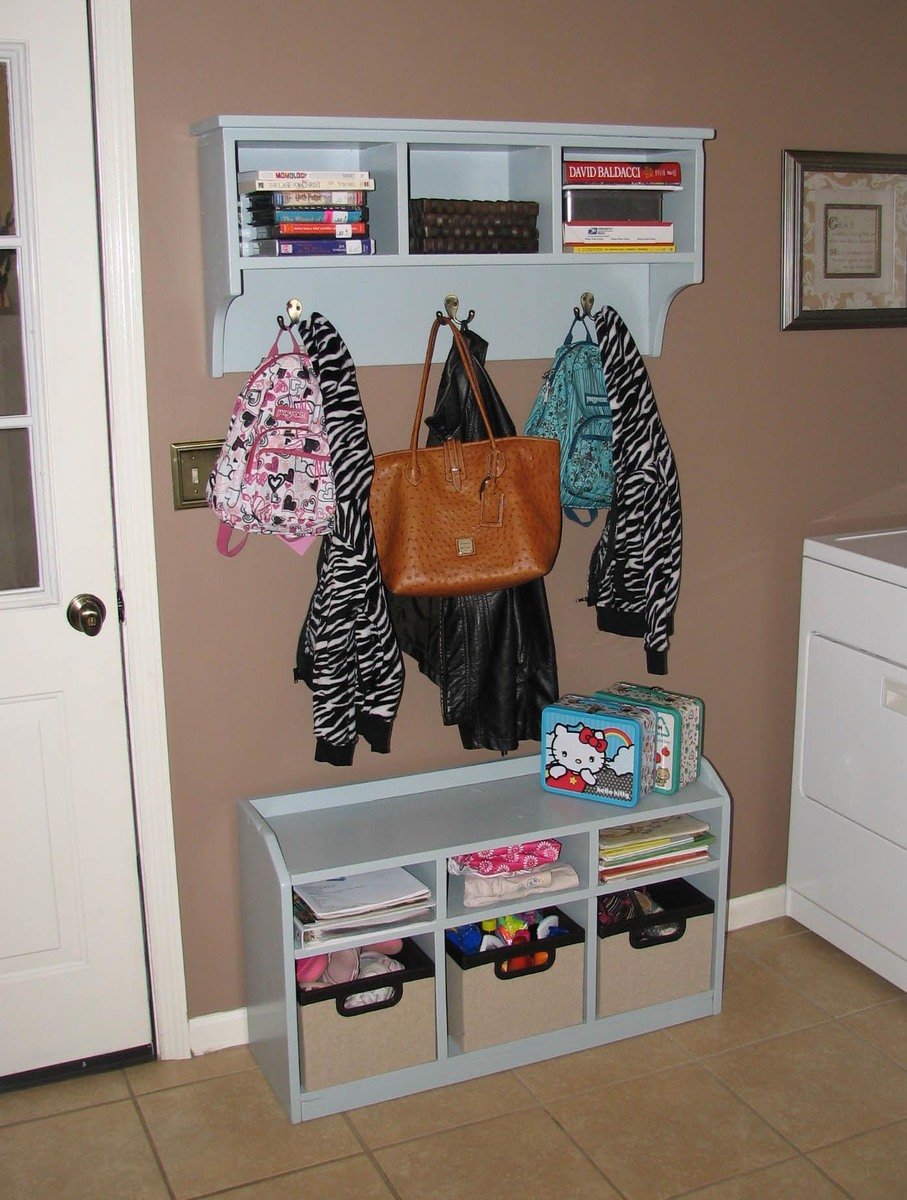
This was my first build! I first stumbled upon plans for the cubby bench while Googling storage options =)
I combined plans from the Perfect Cubby Bench and Entryway Storage Shelf with Coat Hooks. I made slight changes to the dimensions; most of them were intentional. Both are only 36" which is perfect for my small space which doubles as the back-door entryway and laundry room. It manages the abundance of clutter created by a two kids and my husband.
I have shopped and shopped for the perfect entryway solution for this small space. Never have I found one until I came across the plans on this website.
Thank you, Ana! You've given me an excuse to start building...I had all the tools...just needed the motivation =) Now I have a ton of plans to get me started!
From a stay-at-home mom only one year into the job, I have discovered a new sense of personal enjoyment! The crafting, cooking, etc. is great and all, but this is my kinda thing!
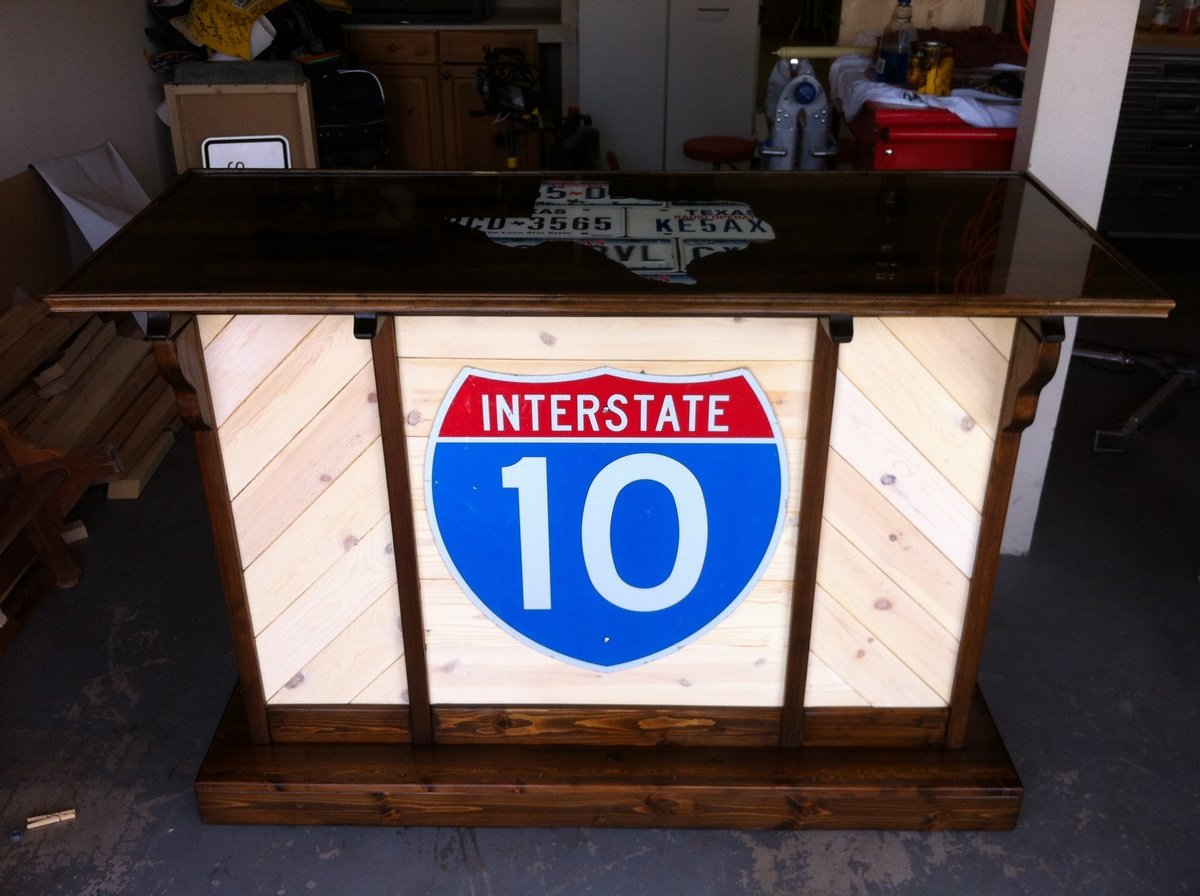
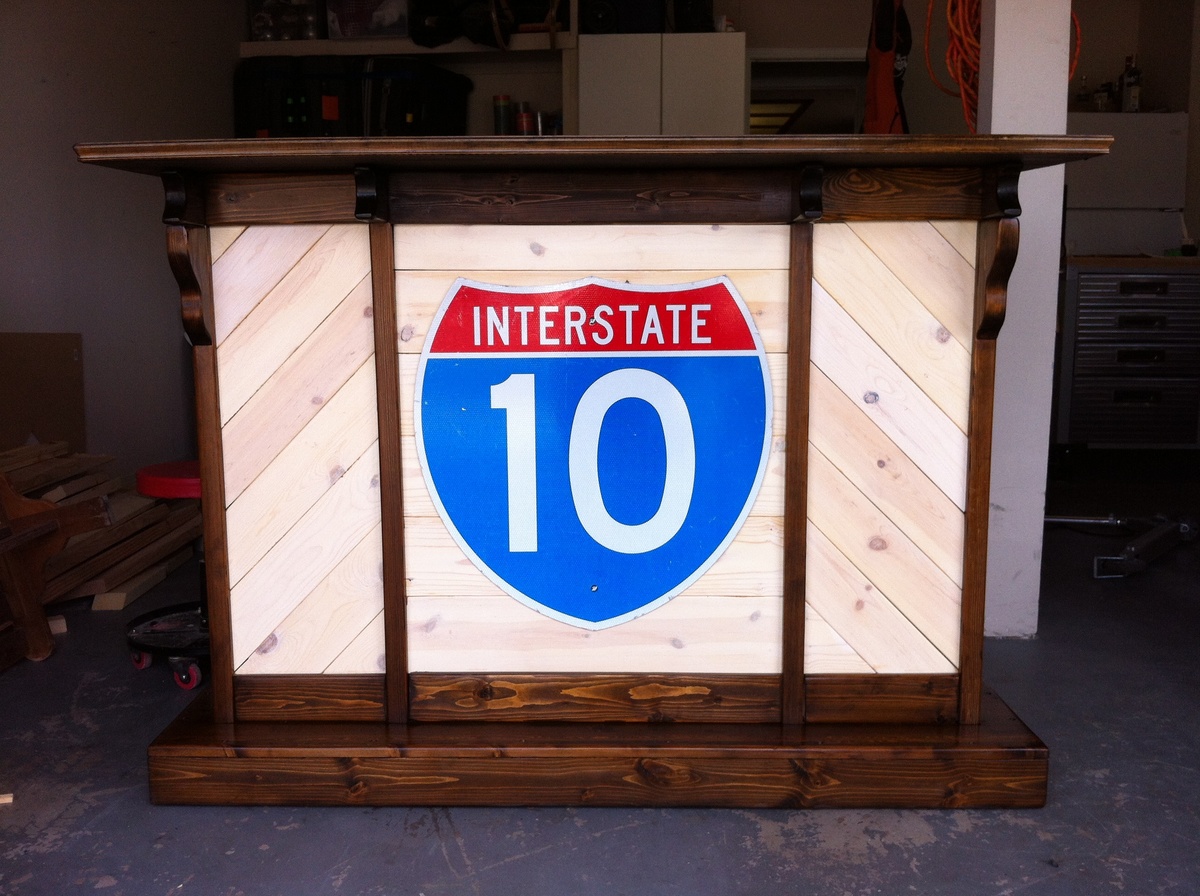
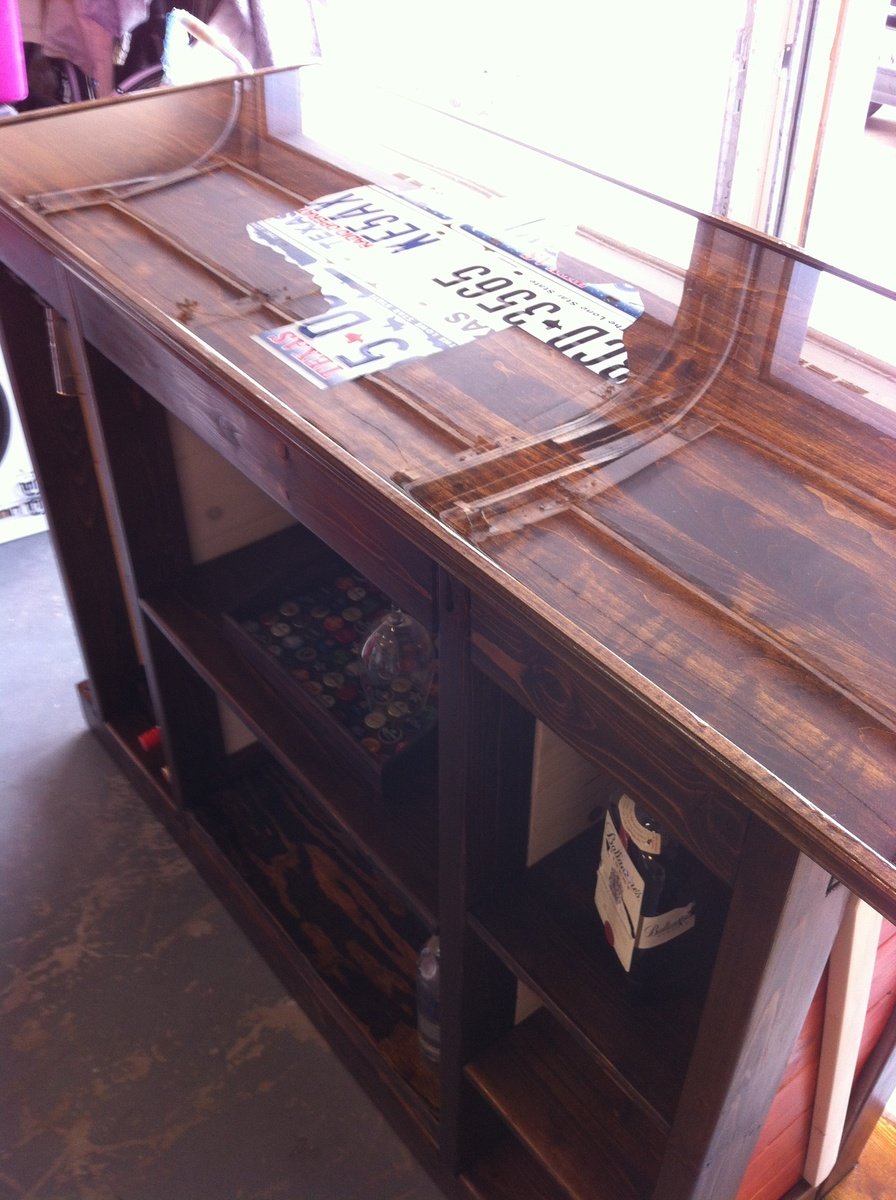
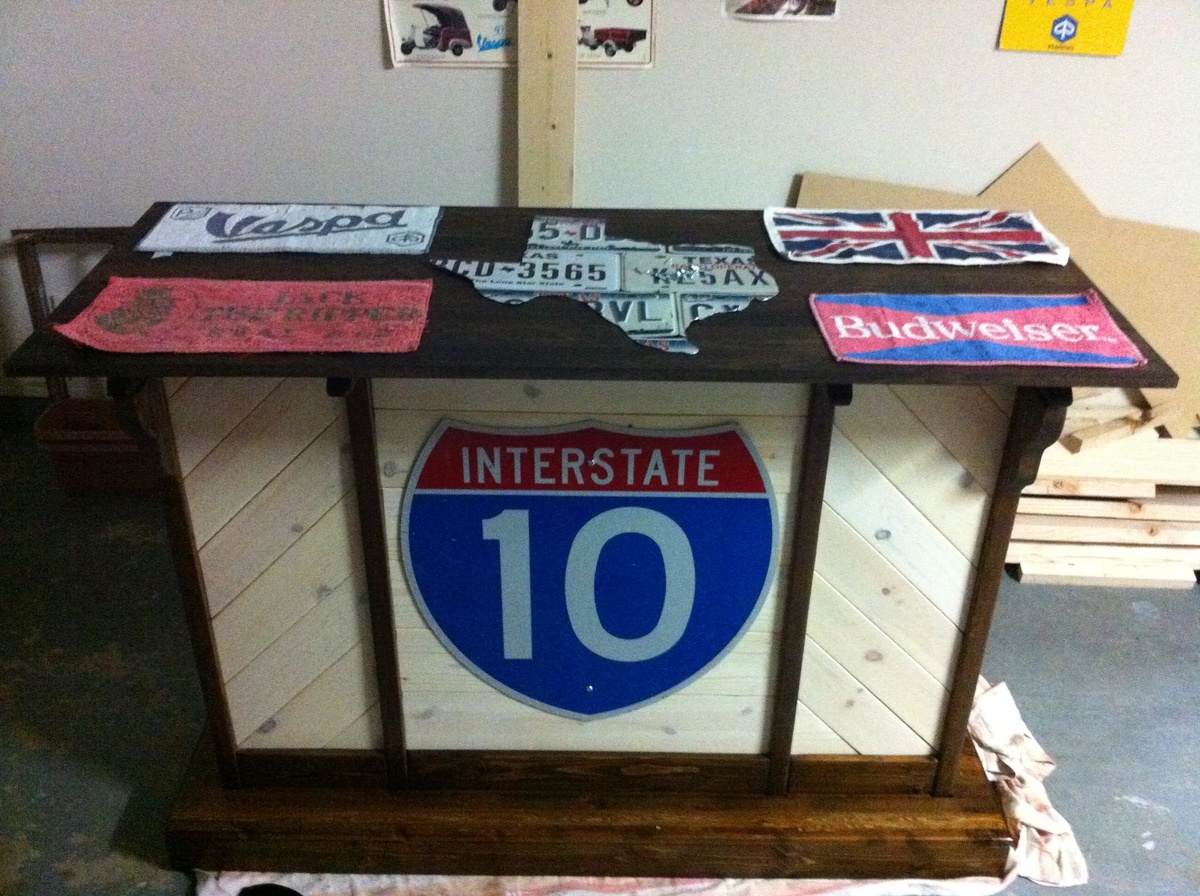
This is our Texas Style Home Bar.
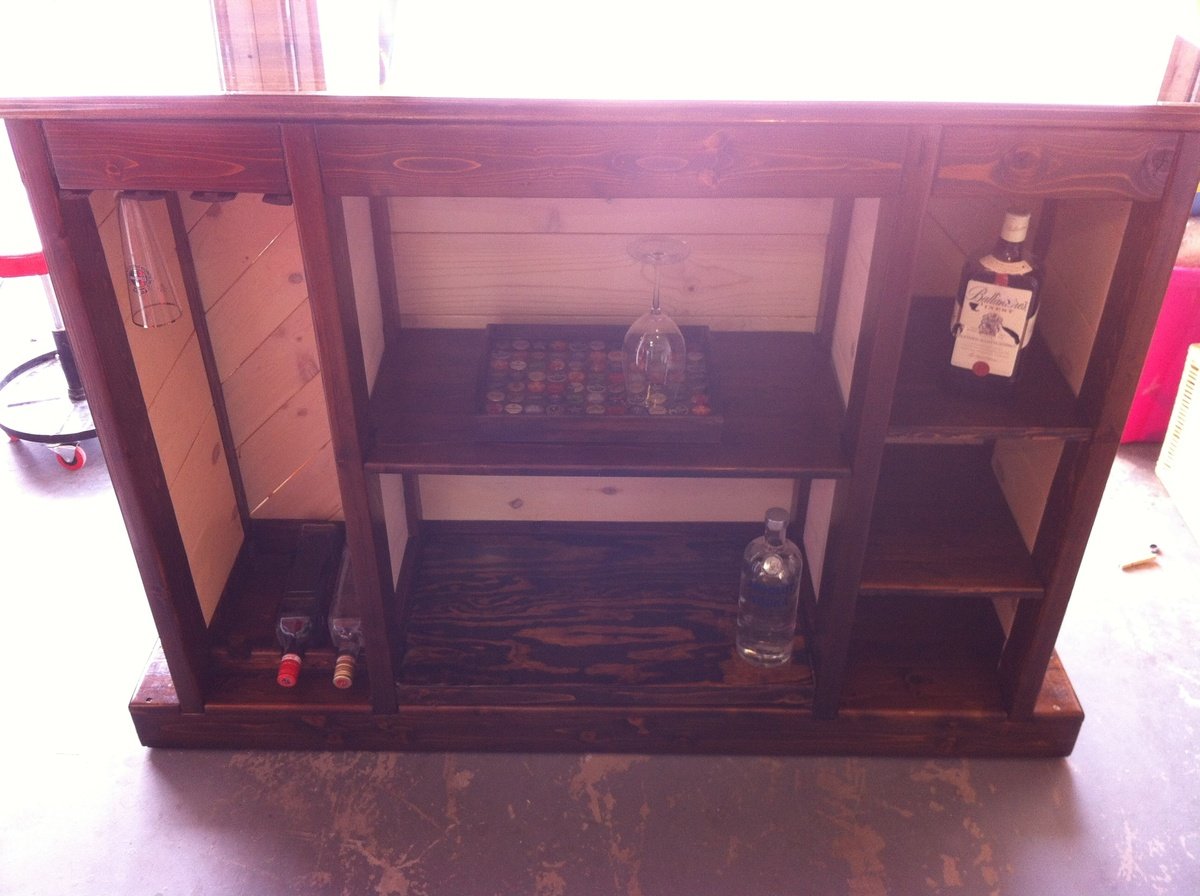
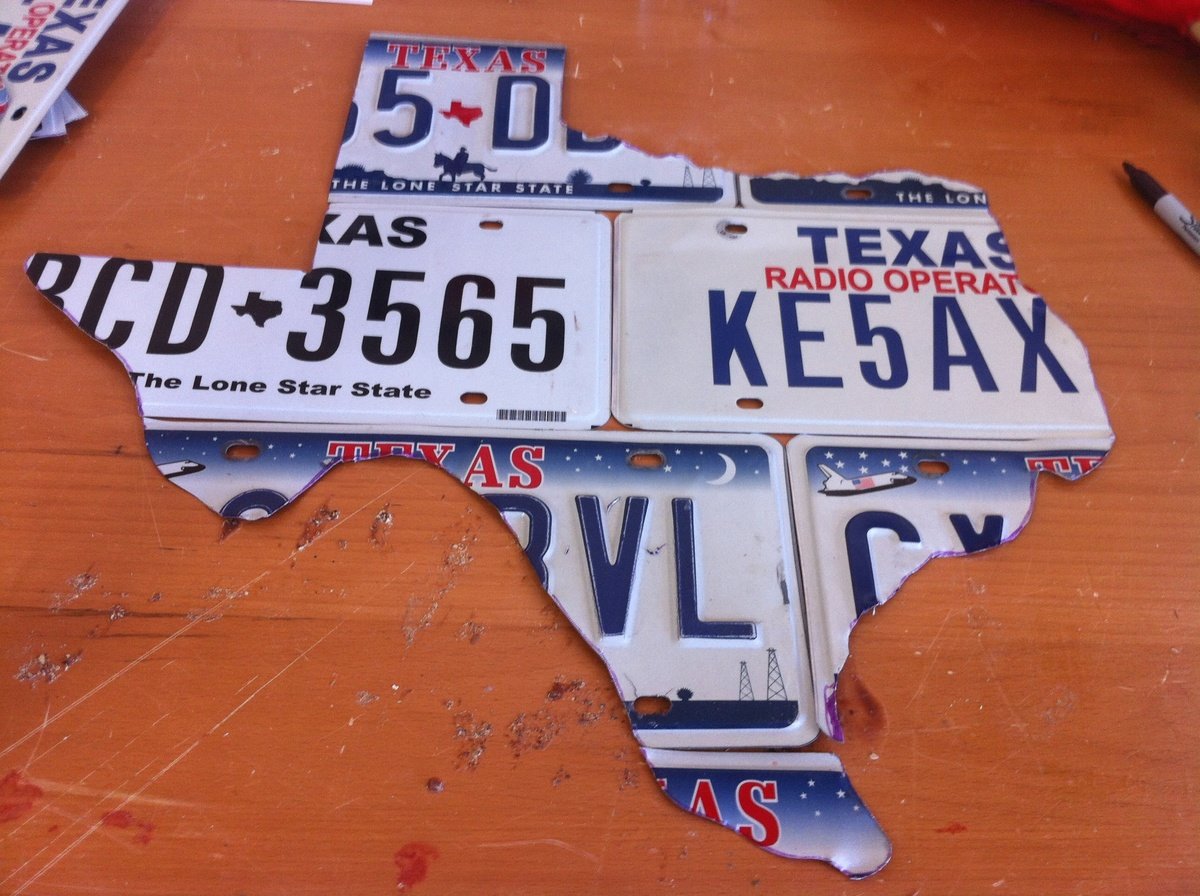
It is build out of 2x4s, 1x6s. The Base is 1,50m x 0,50m. The Top is 1,50m x 0,60m. It was build as a Tribute to the State of Texas where we lived the last 3.5 Years. The Base is made of 2x4s and some Edge Glued Boards. The Posts are also 2x4 and i routed a notch in there to fit the Boards. Problem was to rip the 45 Degree Boards so they fit the middel part. The Sides a Red with a White Stripe to look like a Barn Door. Top is made of Edge Glued Board. I made "Texas" Out of old License Plates and filled the Top with Epoxy Ressin Glaze Table Top. Was quite some work. I used Espresso Stain for the Dark Parts and White Wash for the other Parts. I also used China Red Stain for the Sides. The Dark and Red Parts are covert with shellack. All other with Polyurethane. The Top looks fantastc, and i had some old Beer Towels accomondate it. Most Problem where to made it with no plan. I sketched up what we wanted and start building from that. Difficult and Nerv wrecking. Had good help from my Family. I put casters to made it move better. The Glas Holder are made from T Molds. Bottle Holder are from scratch Material. Some decorate items are still missing but for now the Beer tastes Perfect from this Bar.
To be honest - this was my Second Big Project after the Farmhouse Table..
Thanks for commends!
Jann
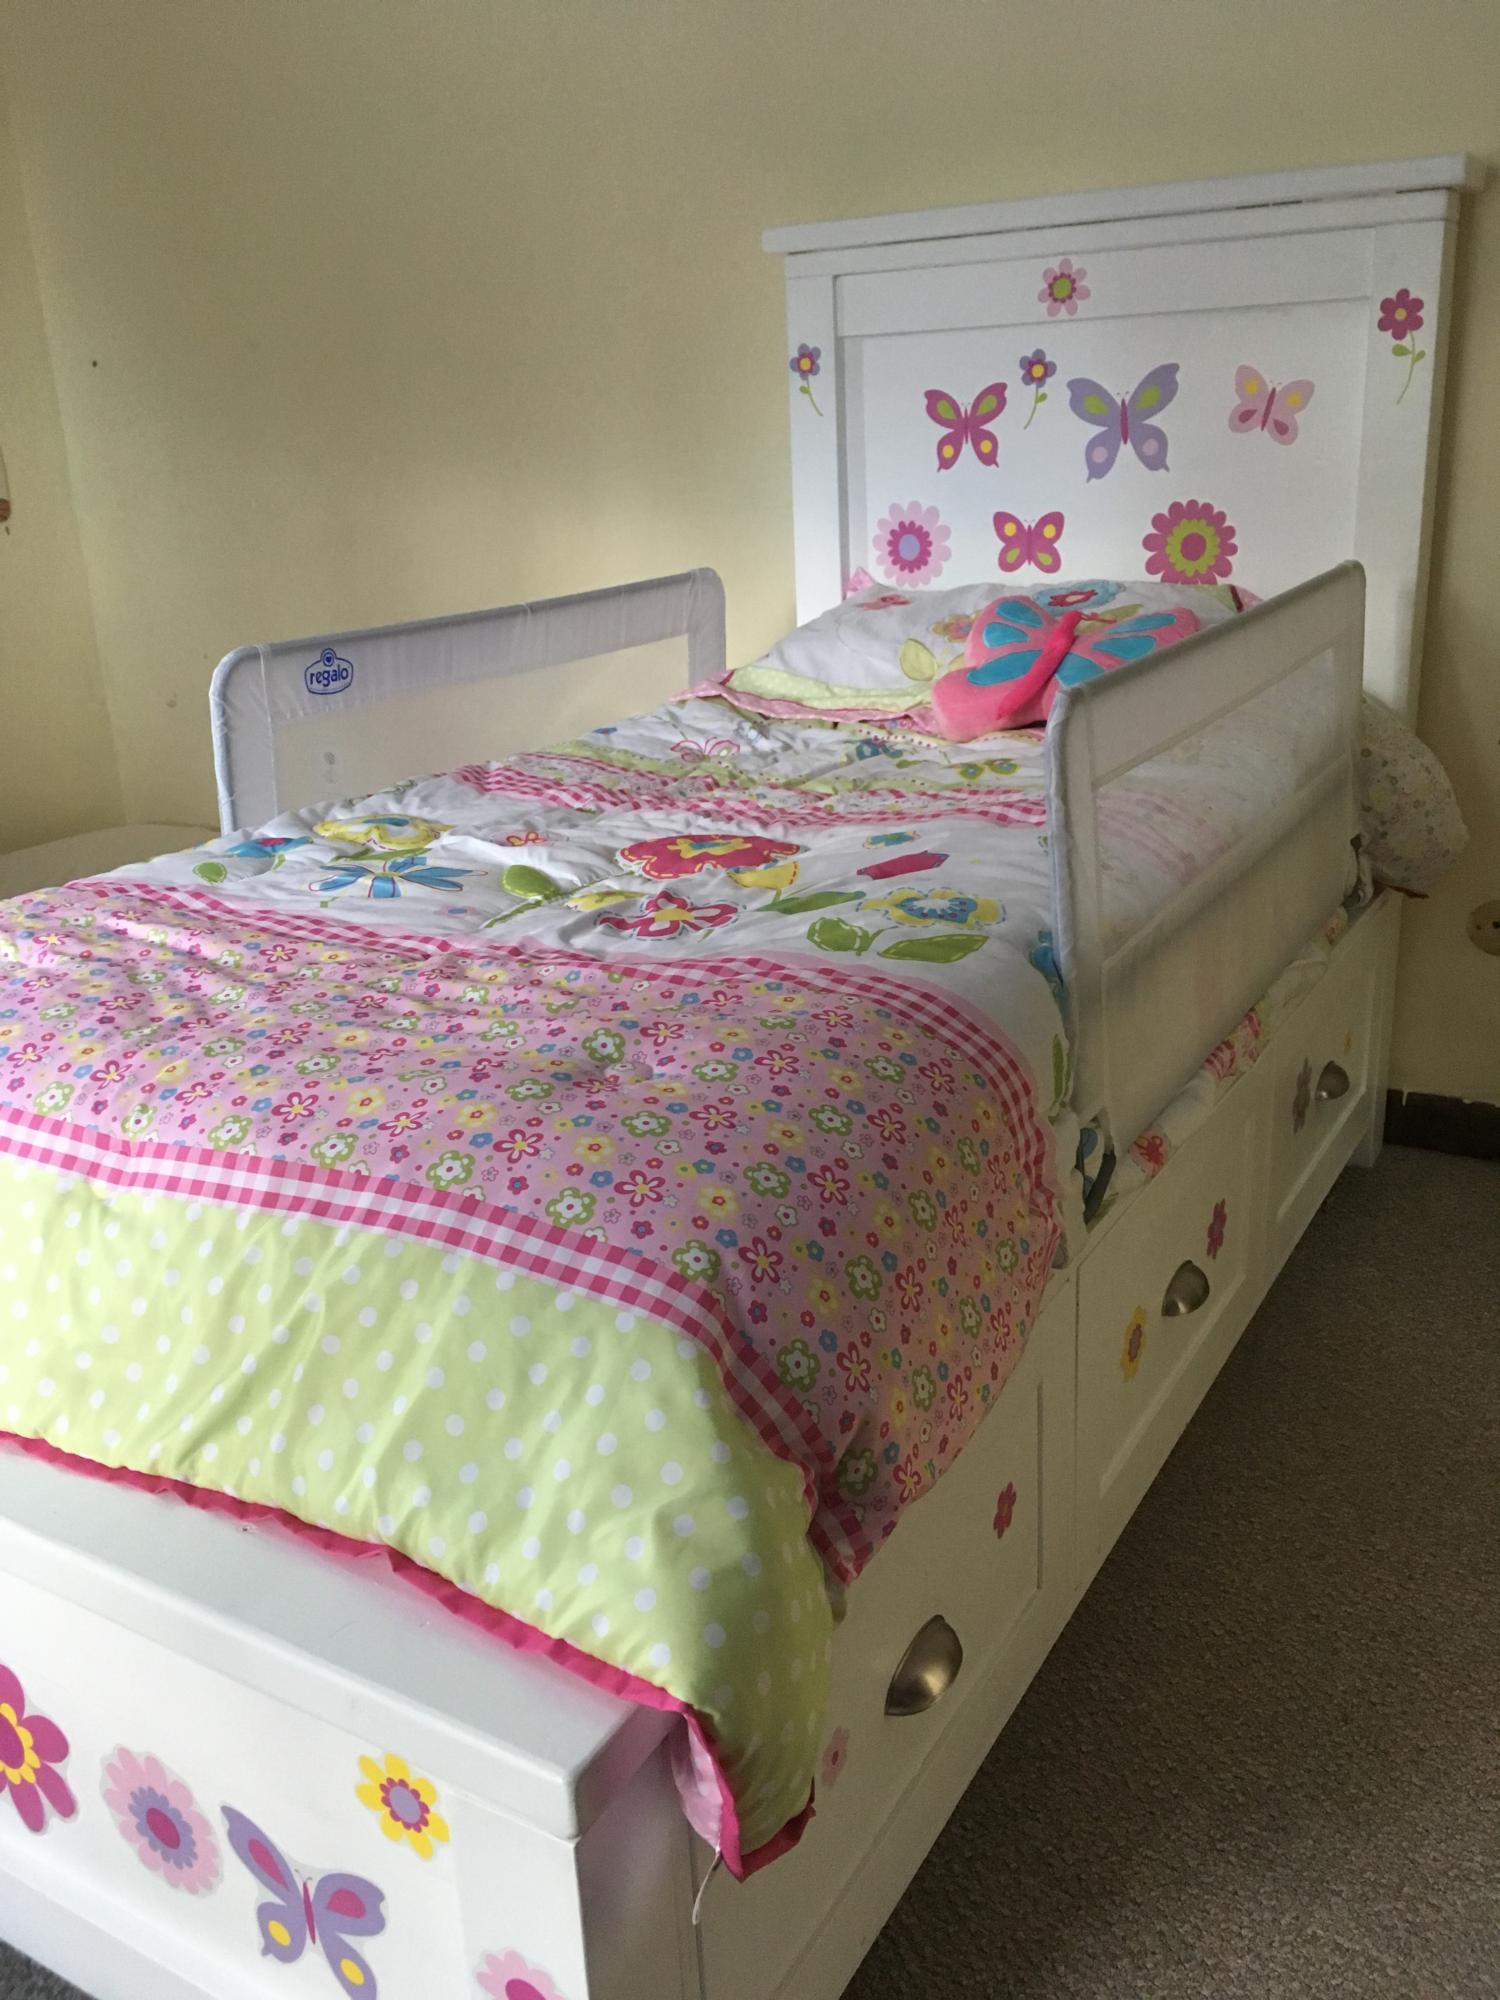
My daughter loves her new bed! The plans were easy to follow and didn't take very long to build. It took me about 2 weeks to finish. I suggest measuring your mattress first and adjusting dimensions accordingly. My daughter's mattress is a bit longer than usual, so I added about an inch to the length. I added drawers to one side and left one side as open cubbies. I also added a 2x4 base below the storage boxes for support. Ana has plans for this in one of her kitchen cabinet plans. I'm so glad I did, as I've already found 3 kids hiding on the cubby side, and one of them is 14! I didn't run the 2x4 base all the way to the head/footboard, so it wouldn't show. This changes the height where the storage boxes attach by 1/2 an inch. The bed may suprise you at how high the mattress sits, but I think that is normal with a storage bed. My daughter loves sleeping up high. Thank you so much for this wonderful plan! I love Ana's website and have learned so much!
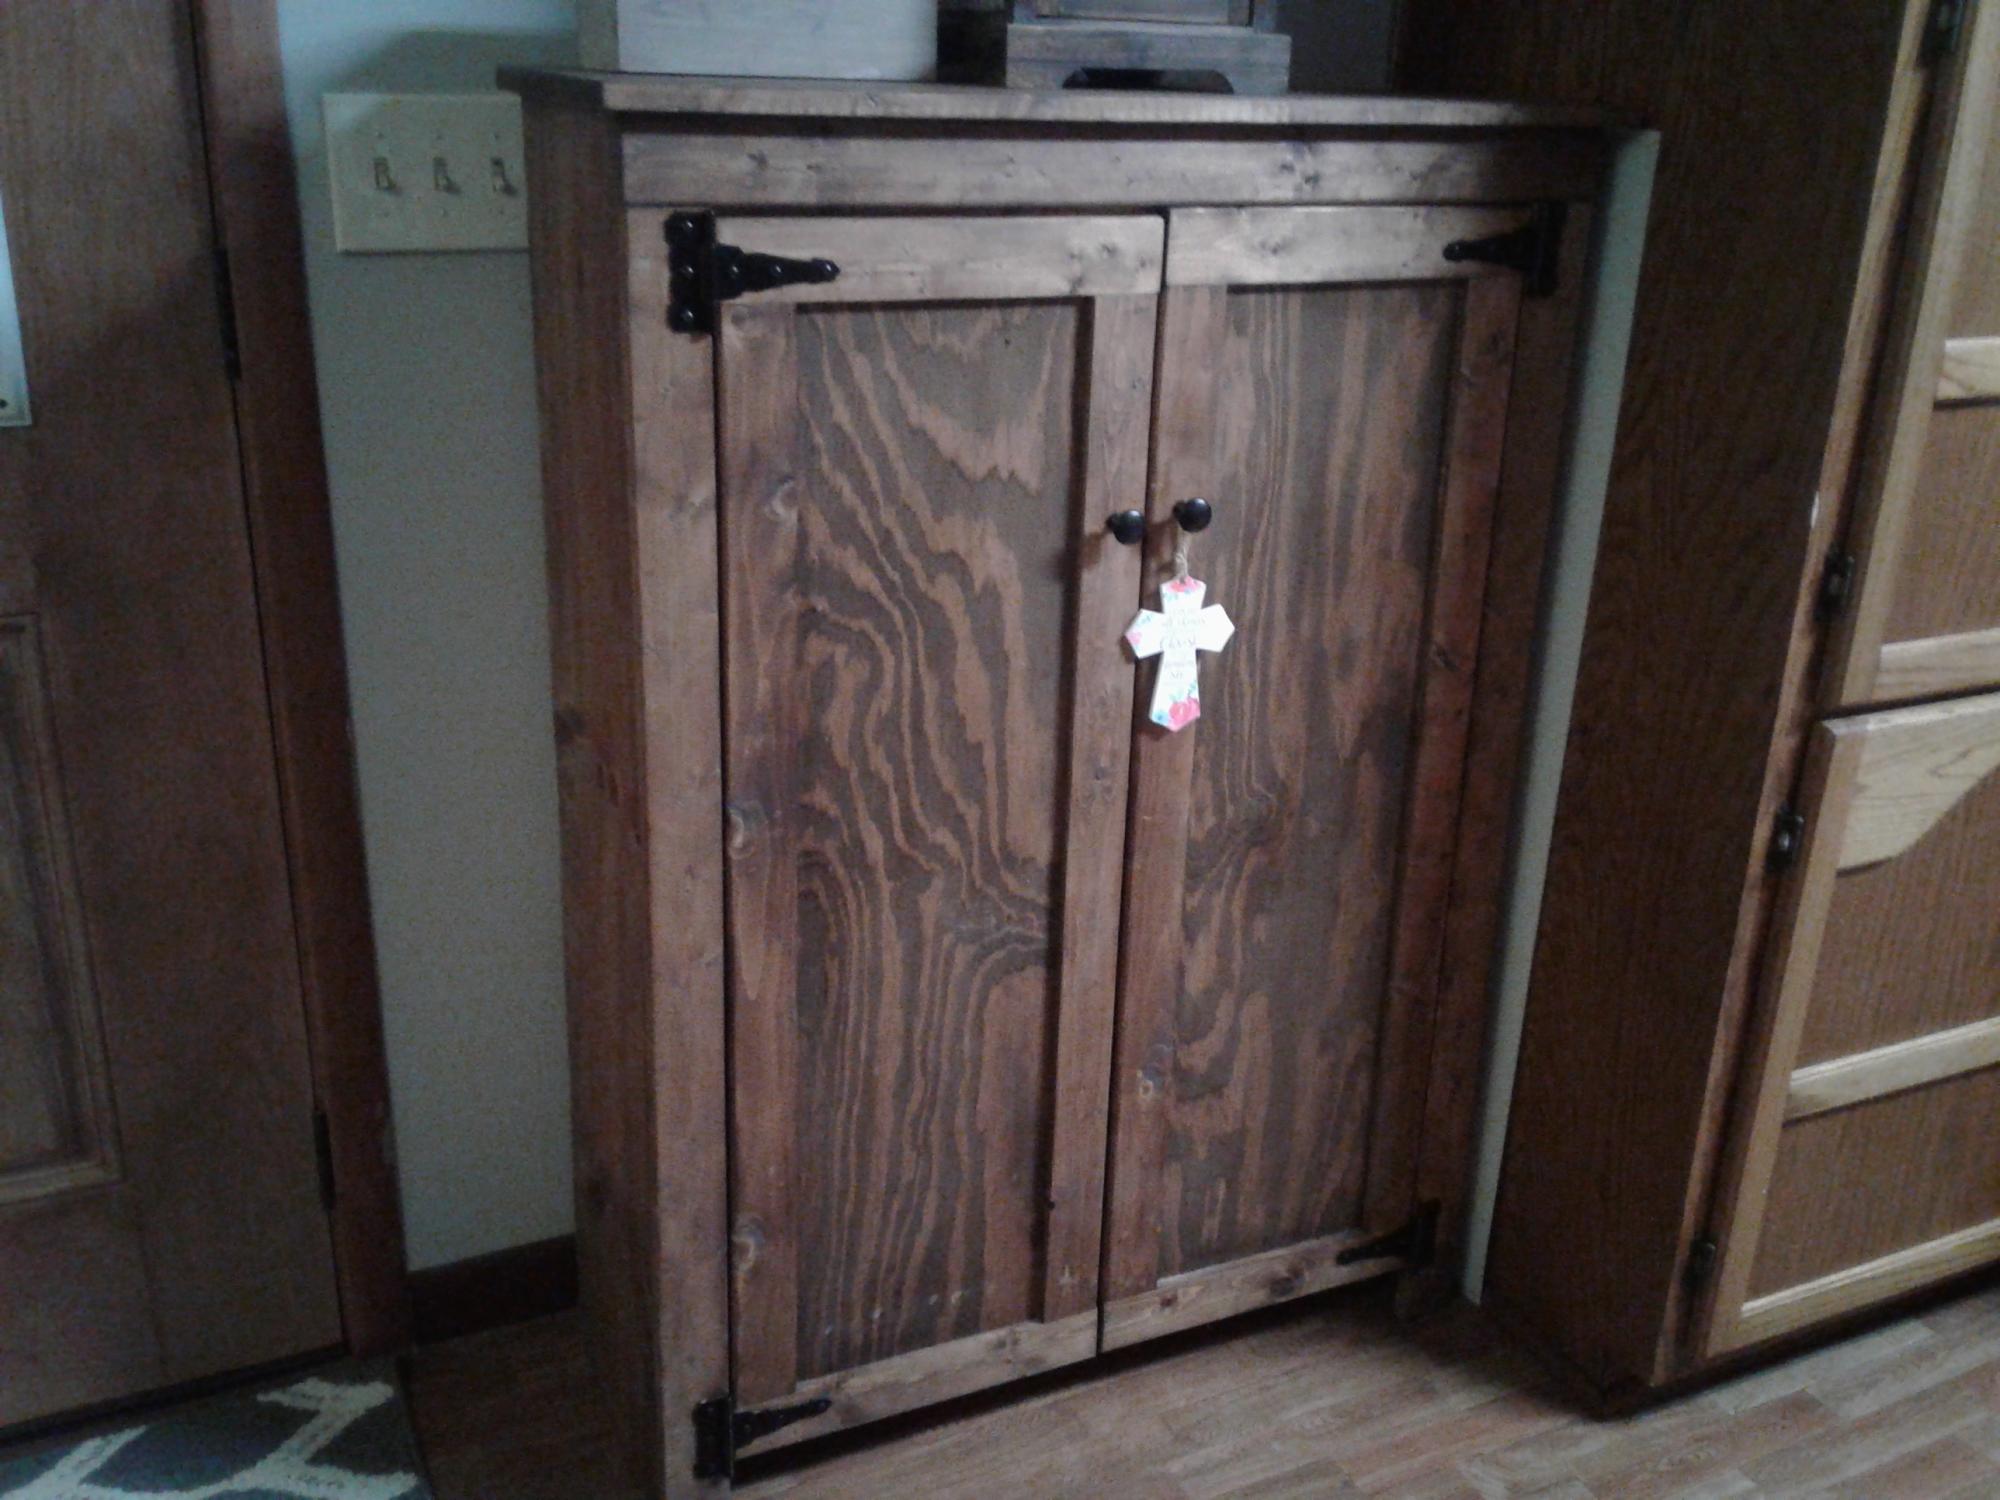
Made from Ana White `s plan. Thanks for the help.
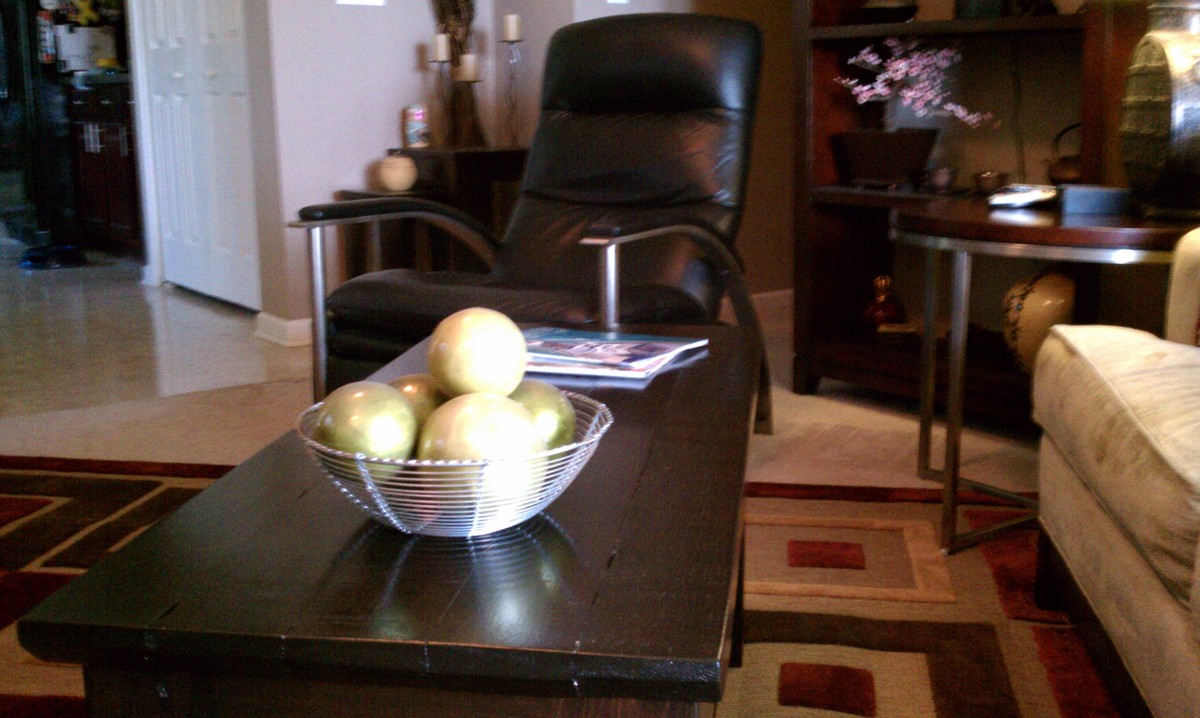
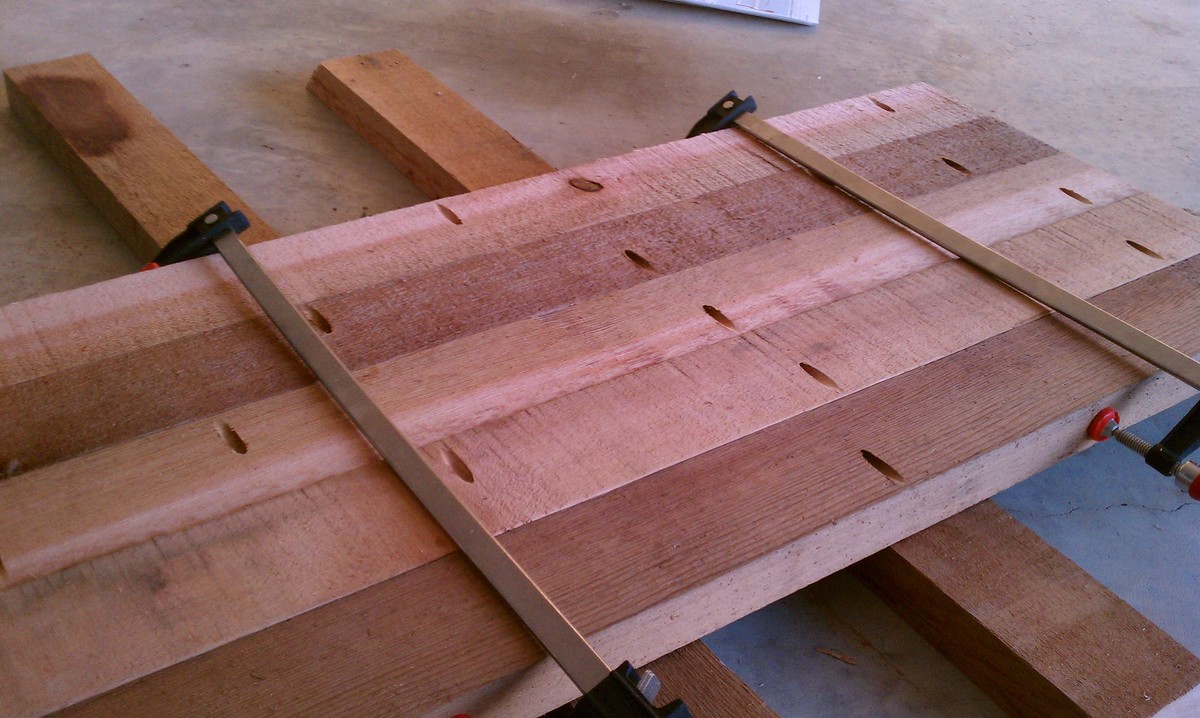
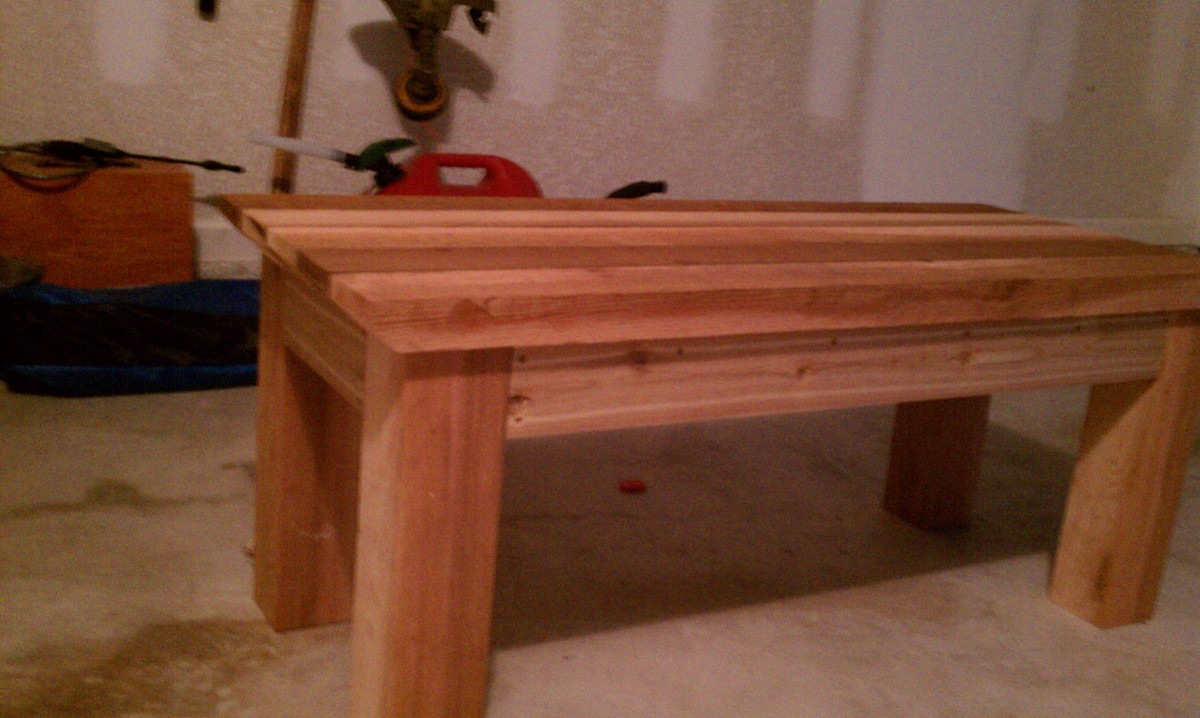
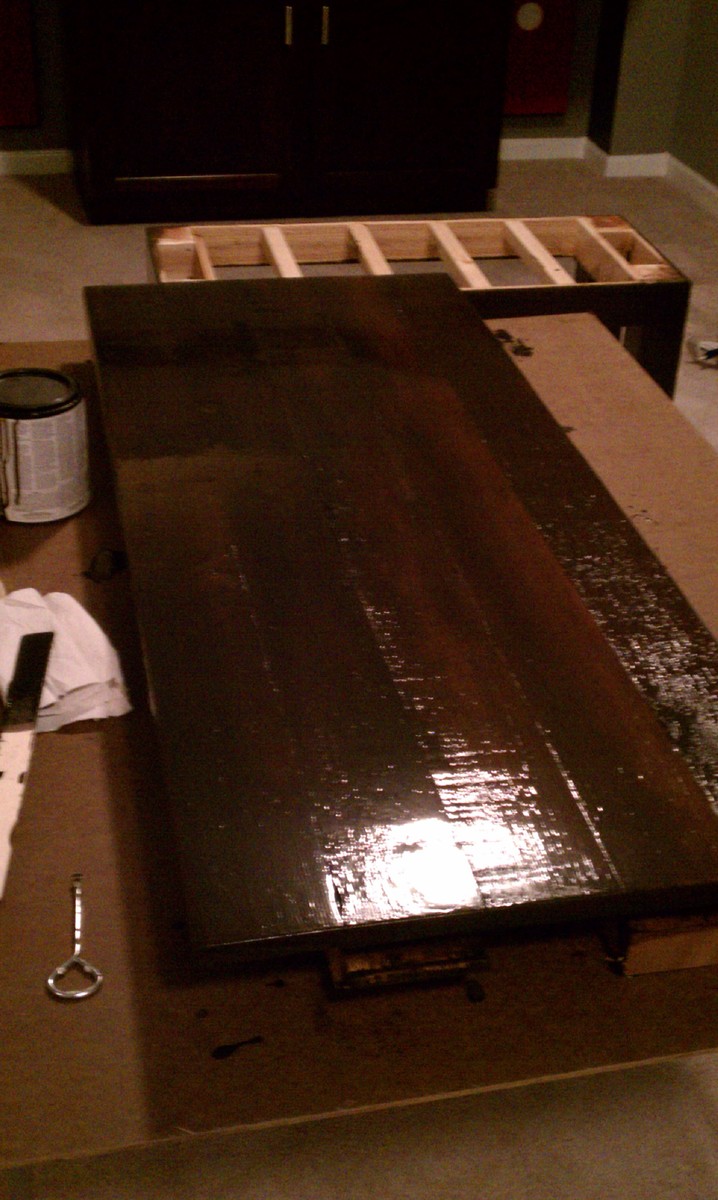
This is my first project attempt from Ana's plans. I had to modify it greatly to fit my space accordingly. The room where it made its home only has a love seat and a recliner. The space also isn't that deep, so i made the table aprox 45" x 19" x 18" high. I also built a completely different top to this table as well. I felt this fit our personal style a little bit better. So being that this was my first project, it was a little more challenging due to all the measurements had to be changed. I wish that I could have just folloed Ana's plans to the tee, would have been a little easier. So after I assembled the basic frame, i assembled the top using pocket hole screws, glue and clamps. I used three coats of stain, with sanding between coats, two coats of clear Satin laqcuer and finished it off with a paste wax. Buffed the table with a cheesecloth and microfiber towel and then introduced my living space with a new, handmade table. My next builds should go a little quicker because I will follow the building plans exactly as they show. I hope you all like the table and look forward to hearing your comments on them, good or bad. Any suggestions to help me along the way would be greatly appreciated. Thanks for taking time out of your day to read this and again, I hope you enjoyed my first real, finished furniture piece.
Dennis
Check out all pics from this project in my Google Web Album by clicking on the blog link
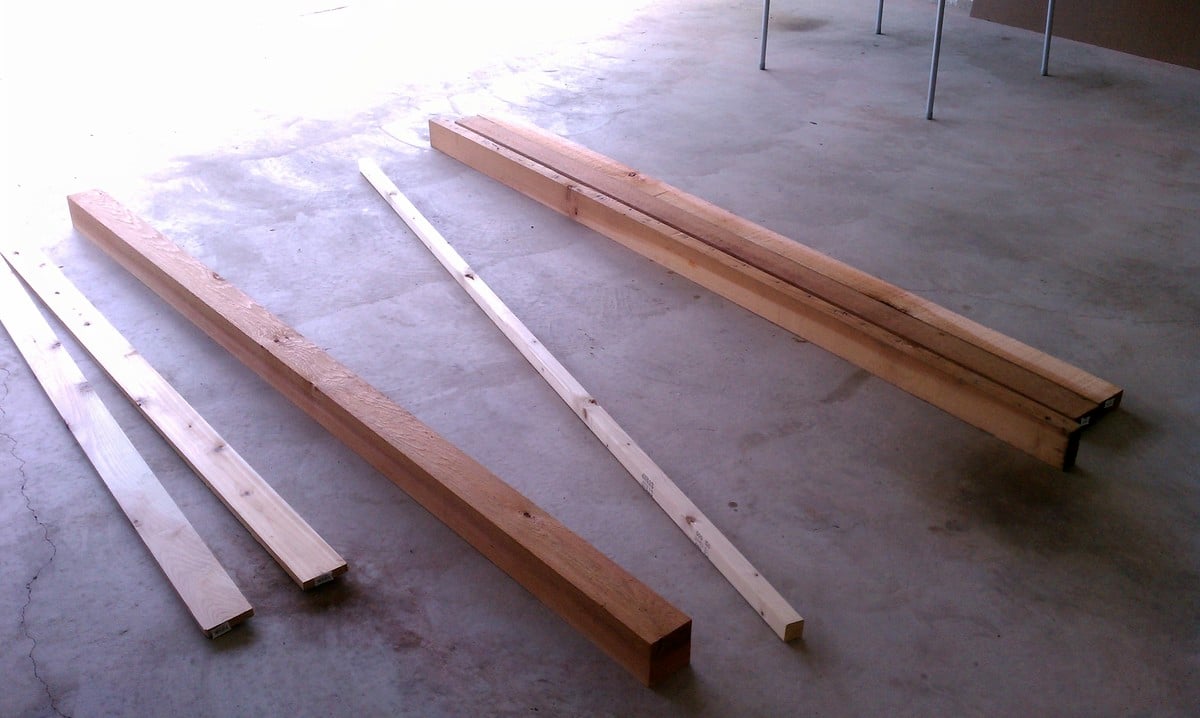
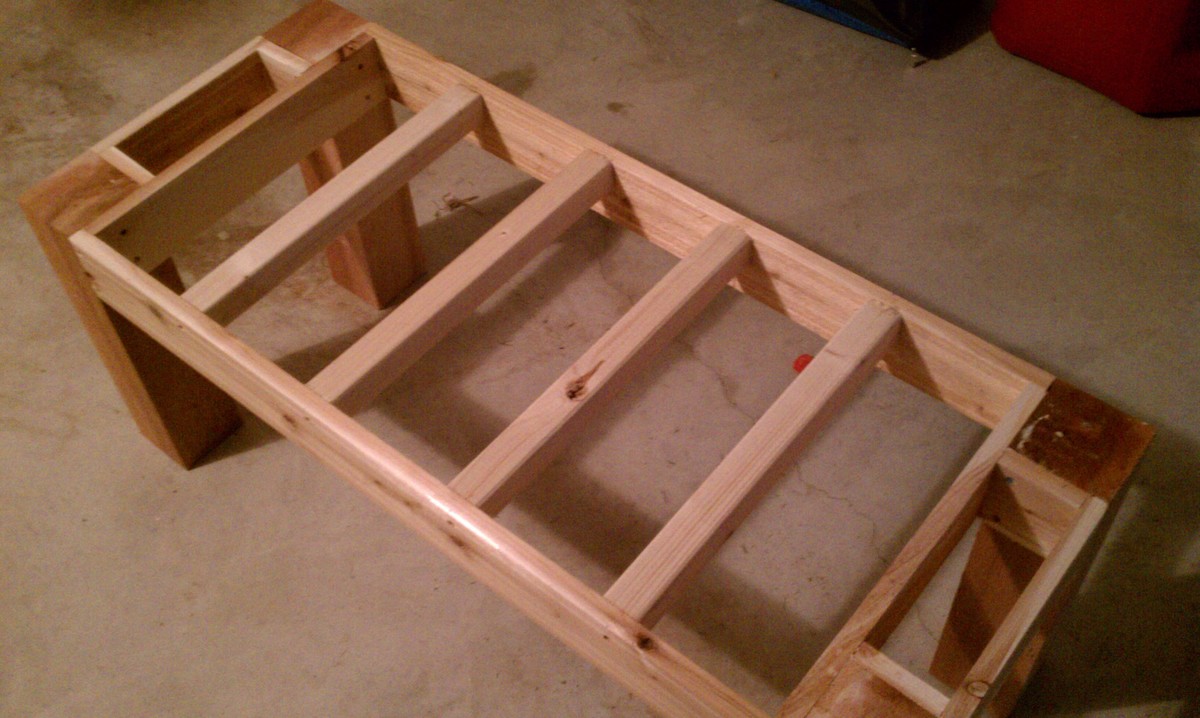
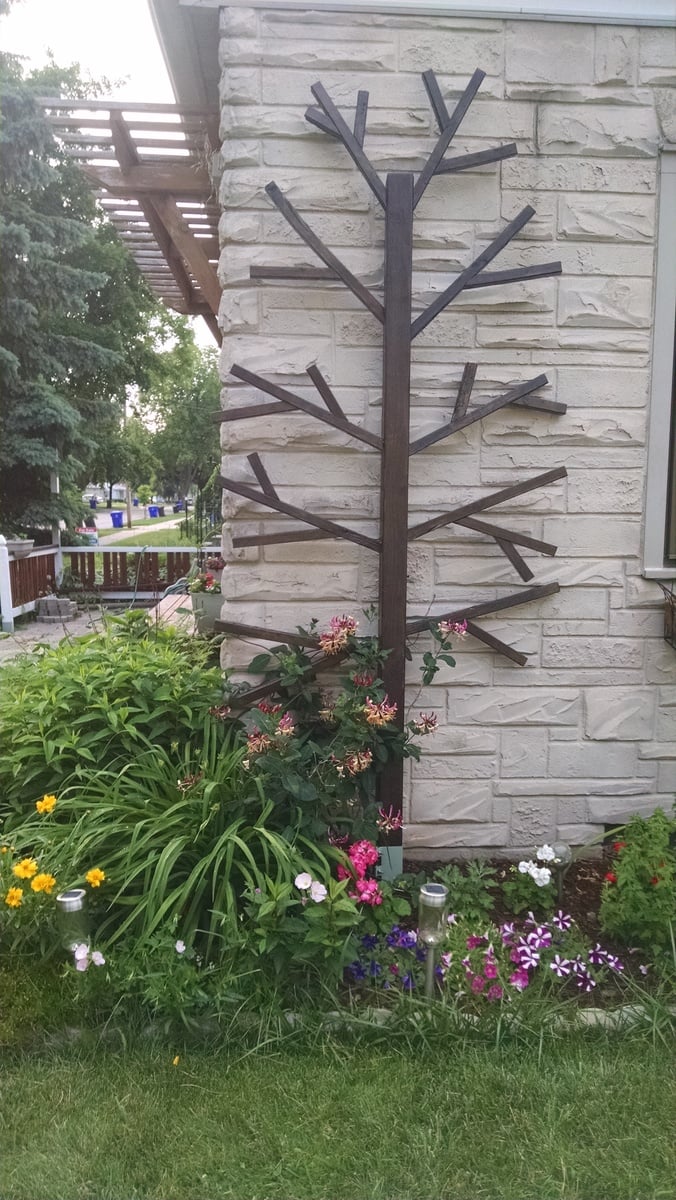
I could not find a big enough, awesome enough trellis in stores, so I built my own out of cull lumber [the stuff on super-clearance no one else wants] for about $12 and a left-over post pocket. Thanks for the inspiration!!