Farmhouse Bed Frame- Standard King
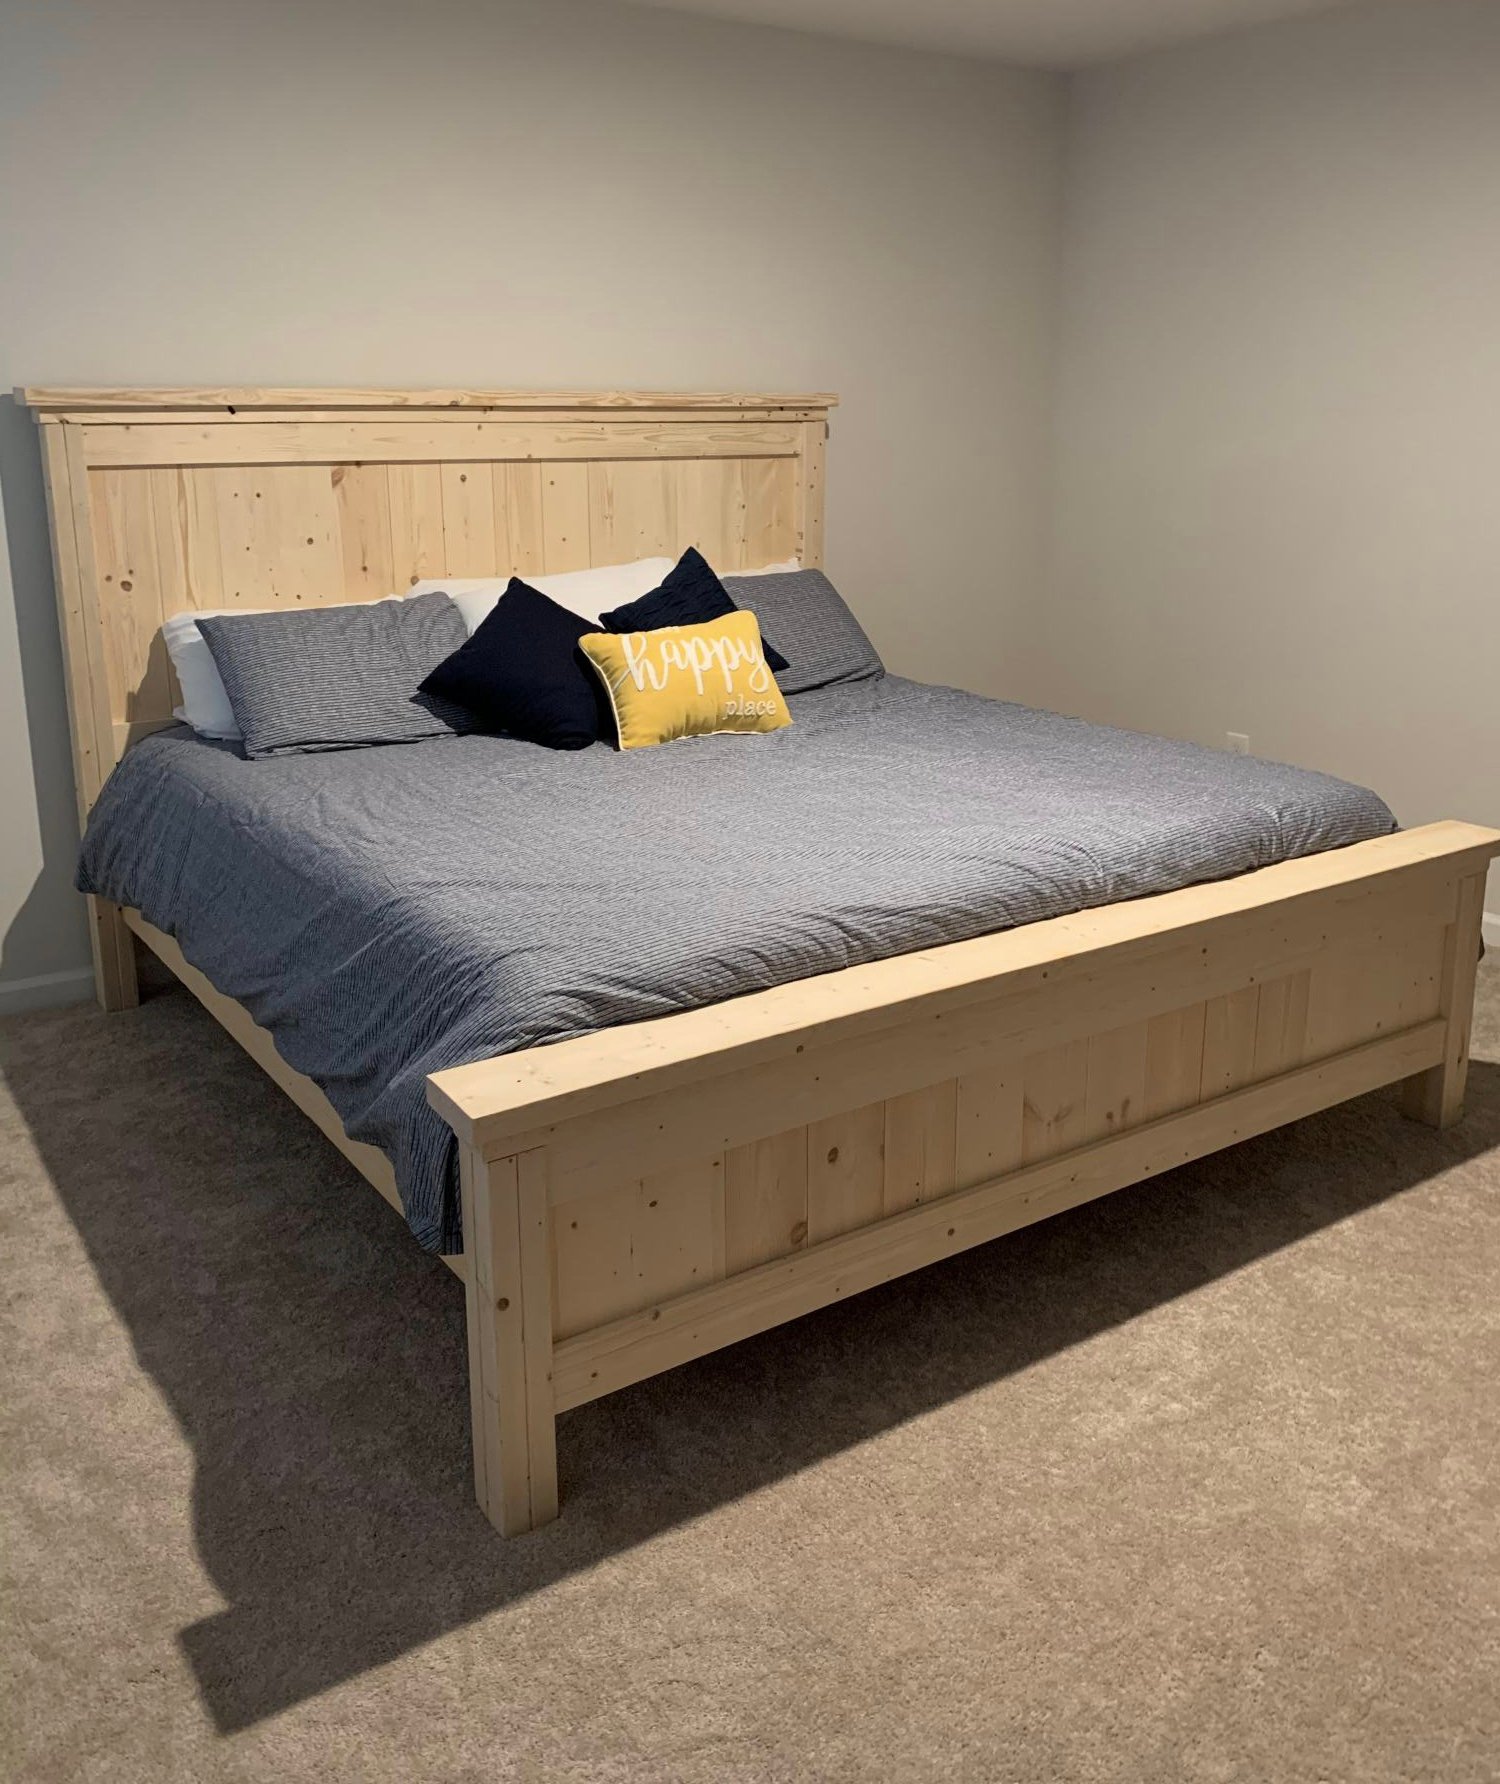
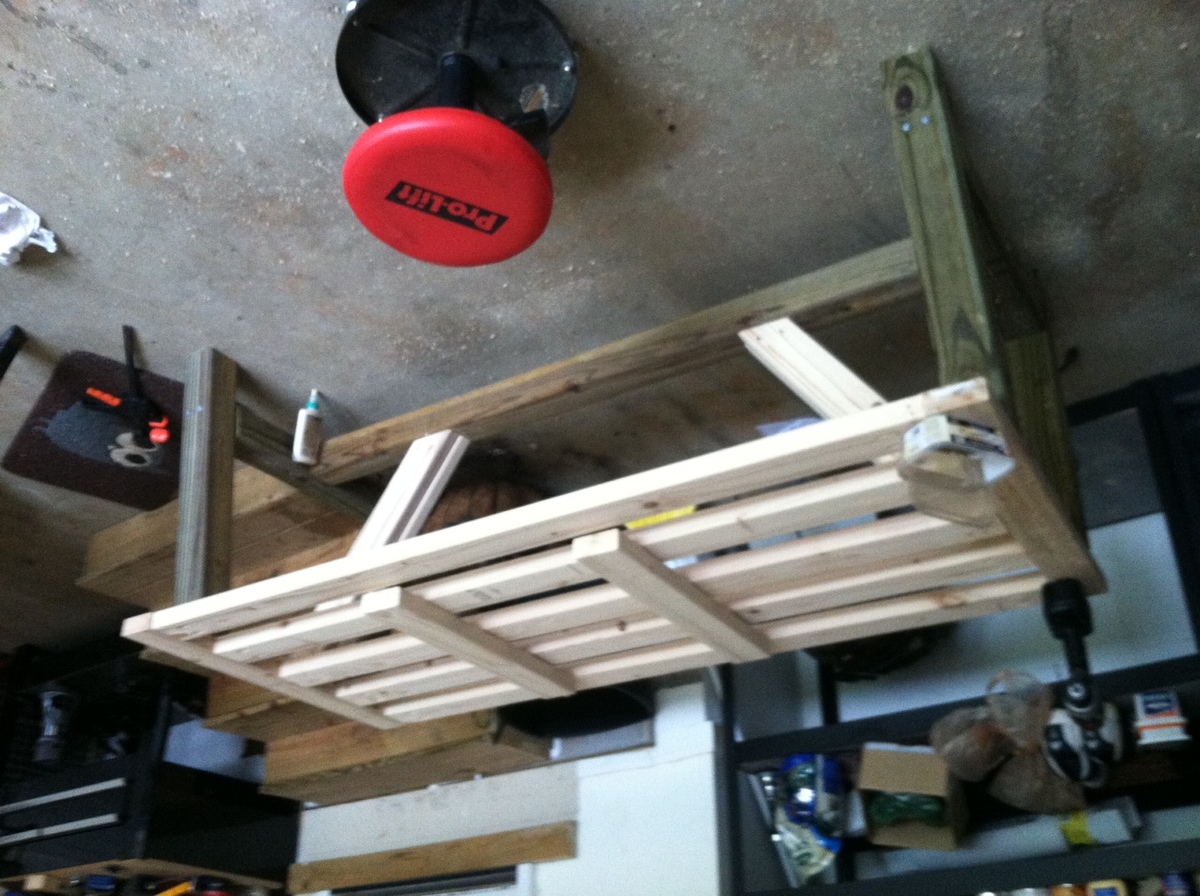
Loved this plan! I felt it needed one extra 2x4 for a slat, but the rest was great!
Built from Plan(s)
Estimated Cost
150
Estimated Time Investment
Day Project (6-9 Hours)
Recommended Skill Level
Intermediate