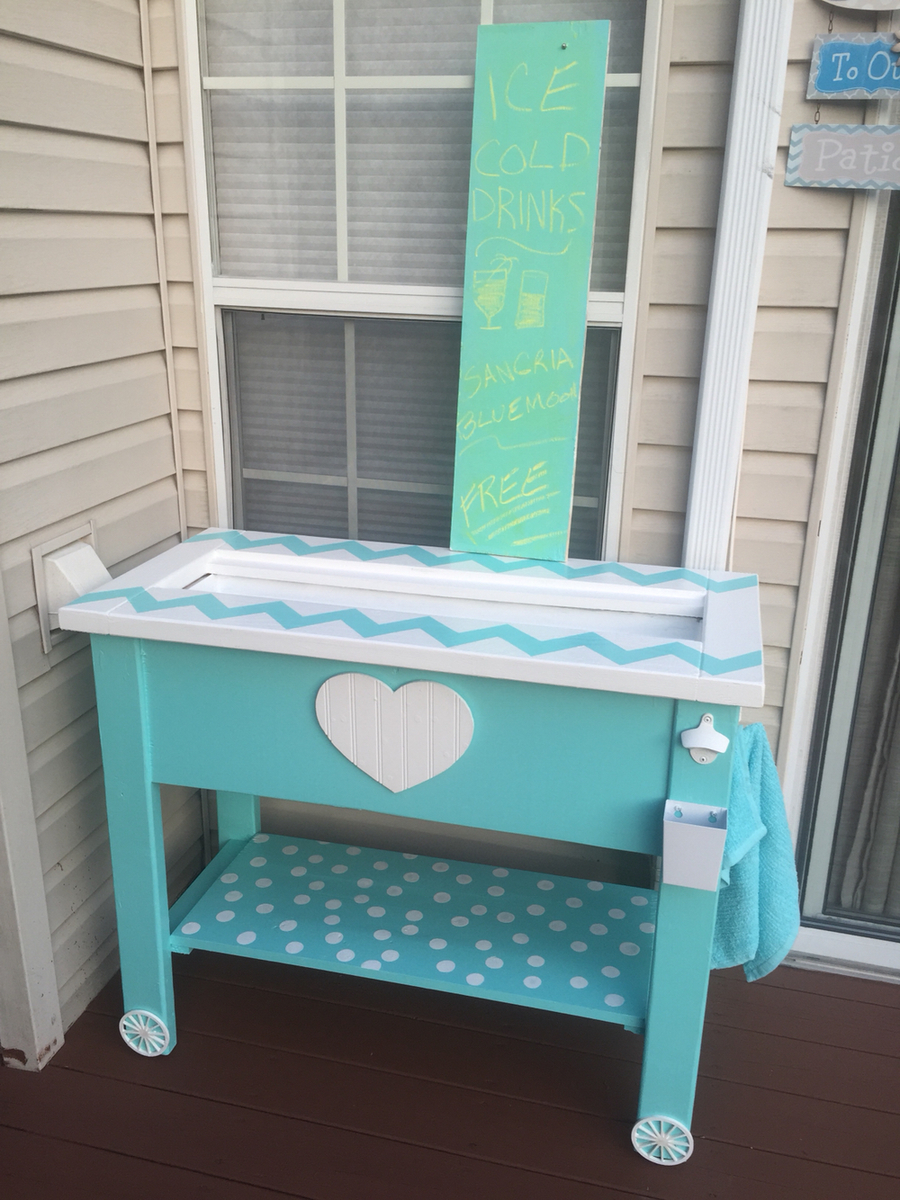
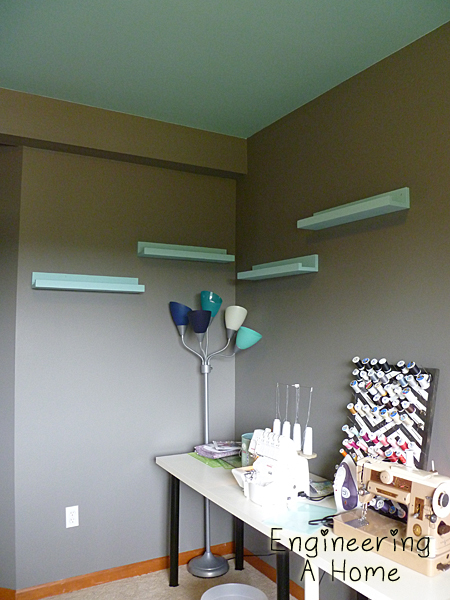
Teal Blue Picture Ledges

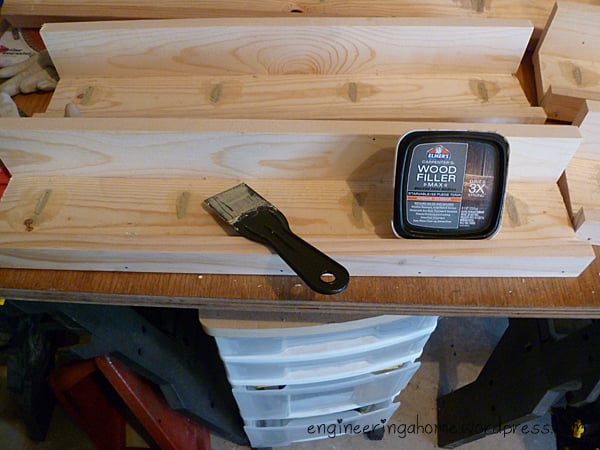
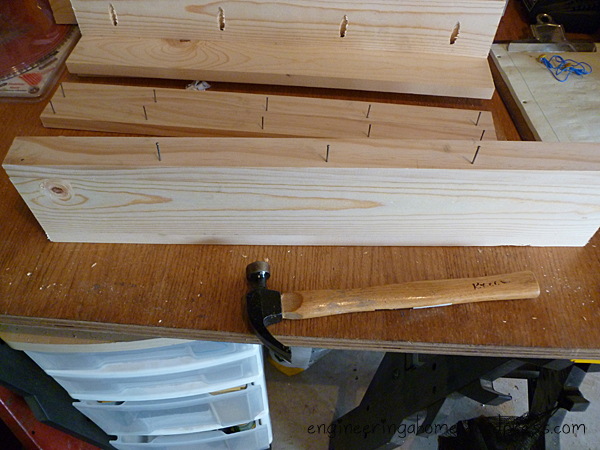
At first I was going to stain these ledges so I only used pocket holes to attach the back of the shelf and I attached the front using small finish nails. The back and the bottom are made from a 1x3 and the front is a 1x2.
Check out my blog post for more information.
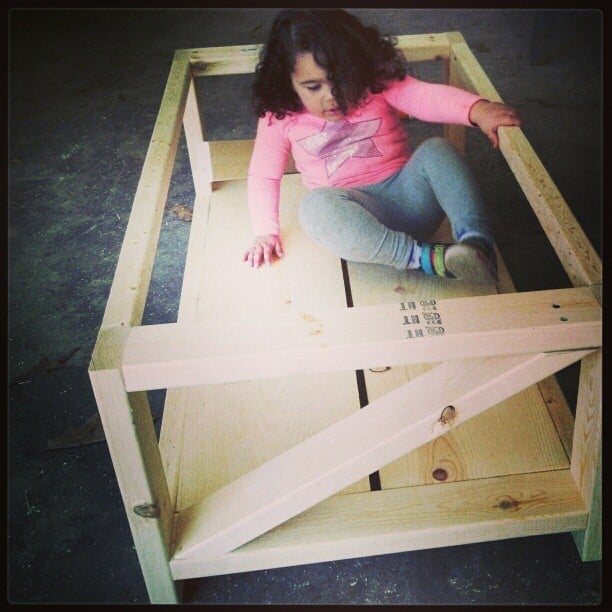
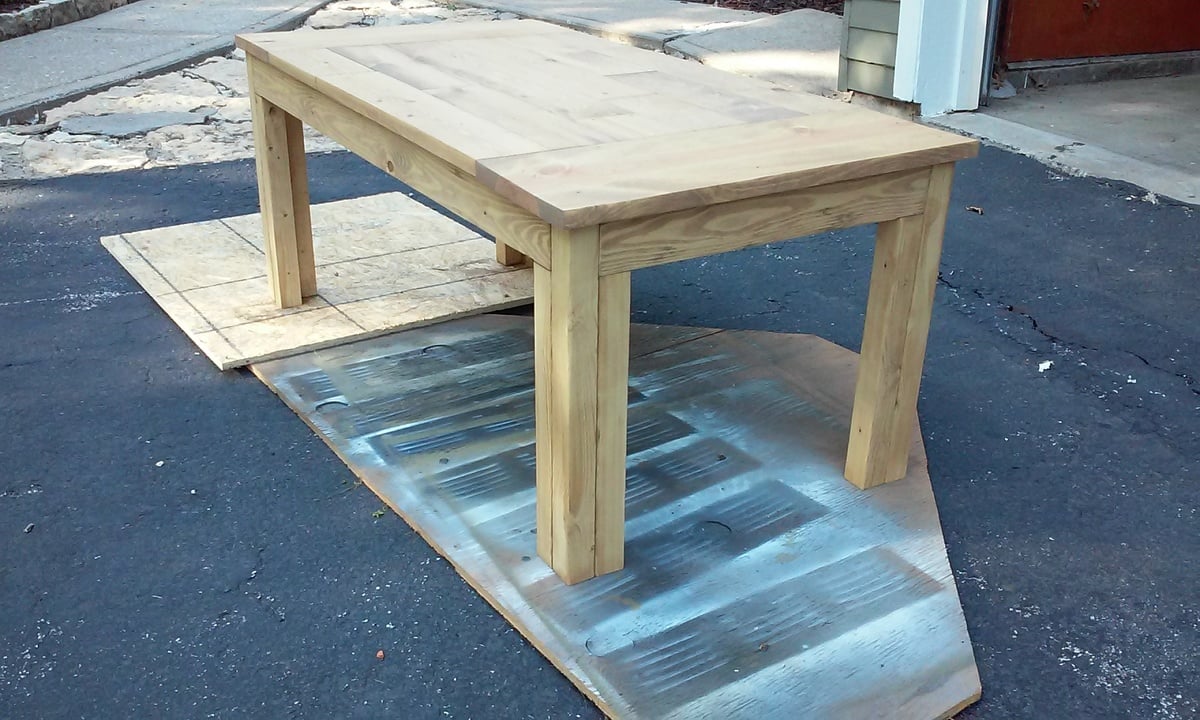
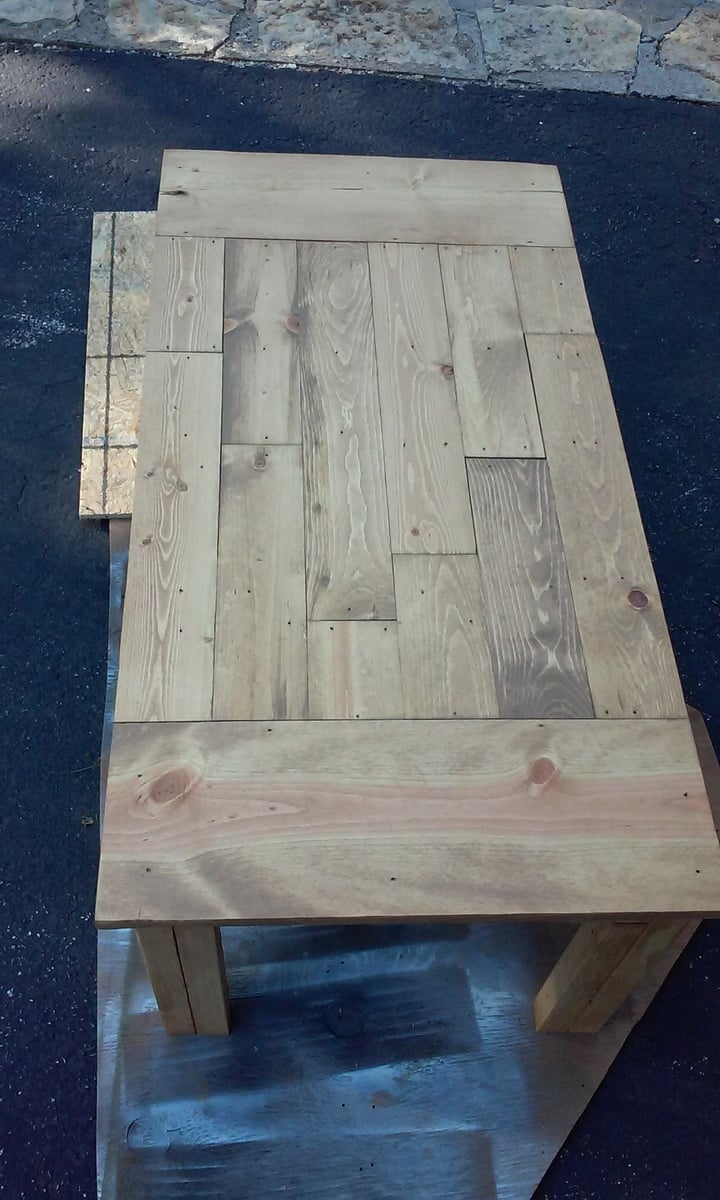
Built from Plan(s)
Estimated Cost
$15
Estimated Time Investment
Afternoon Project (3-6 Hours)
Finish Used
Eggshell Interior Paint
Recommended Skill Level
Starter Project