Outdoor Couch
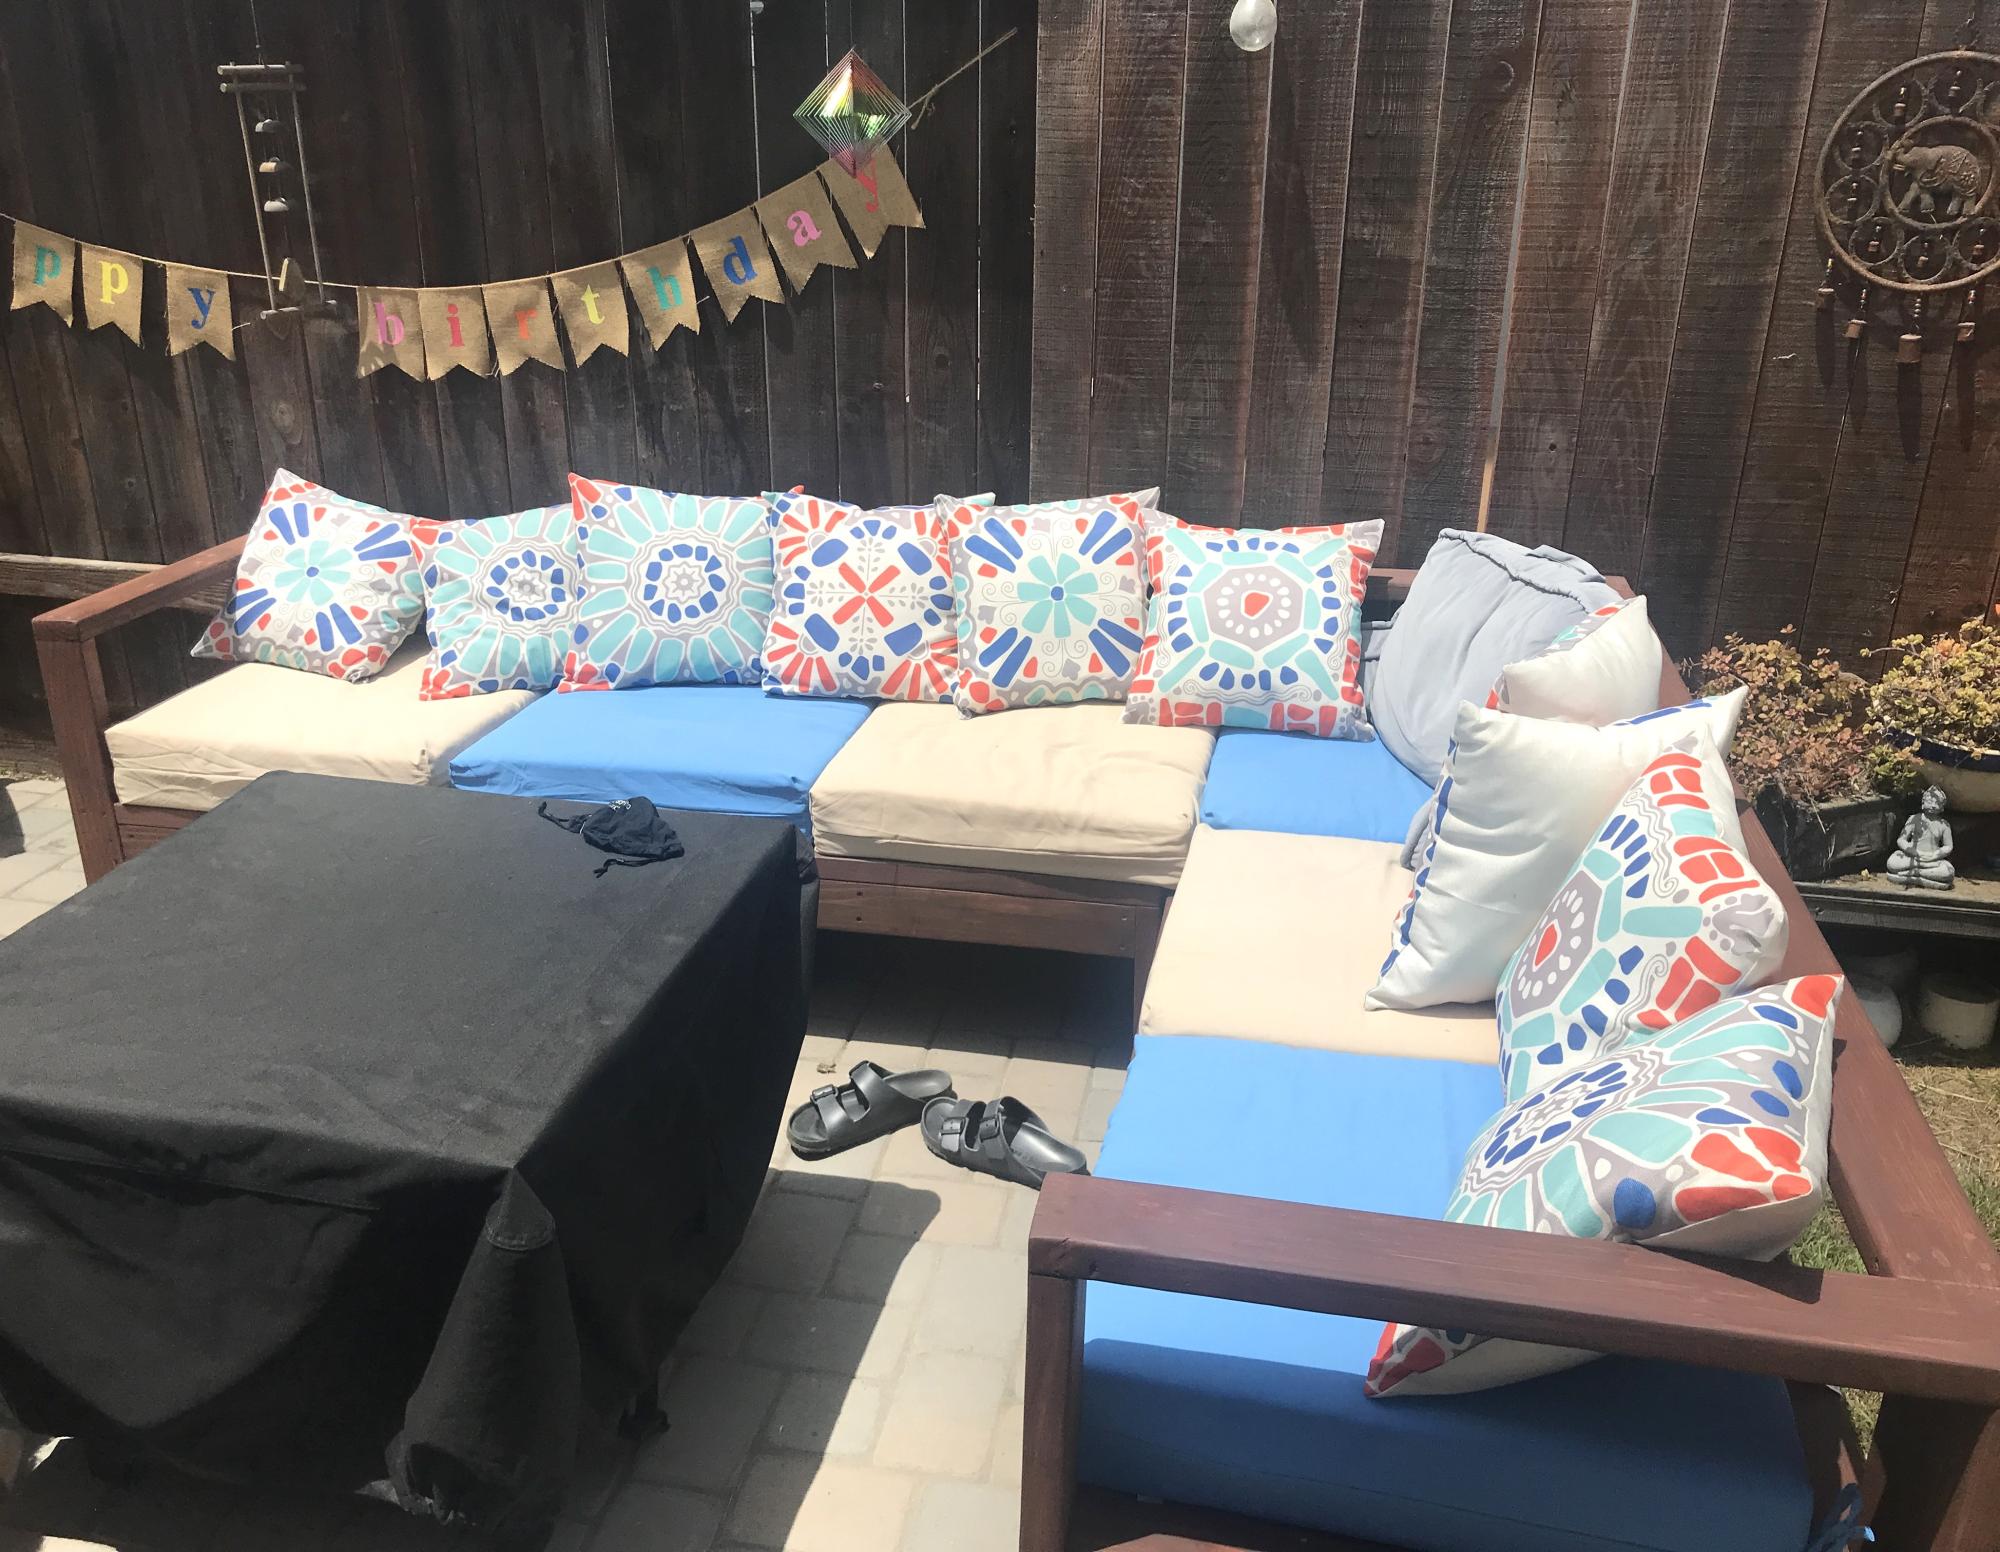
Outdoor couch is a delight.
Damian

Outdoor couch is a delight.
Damian
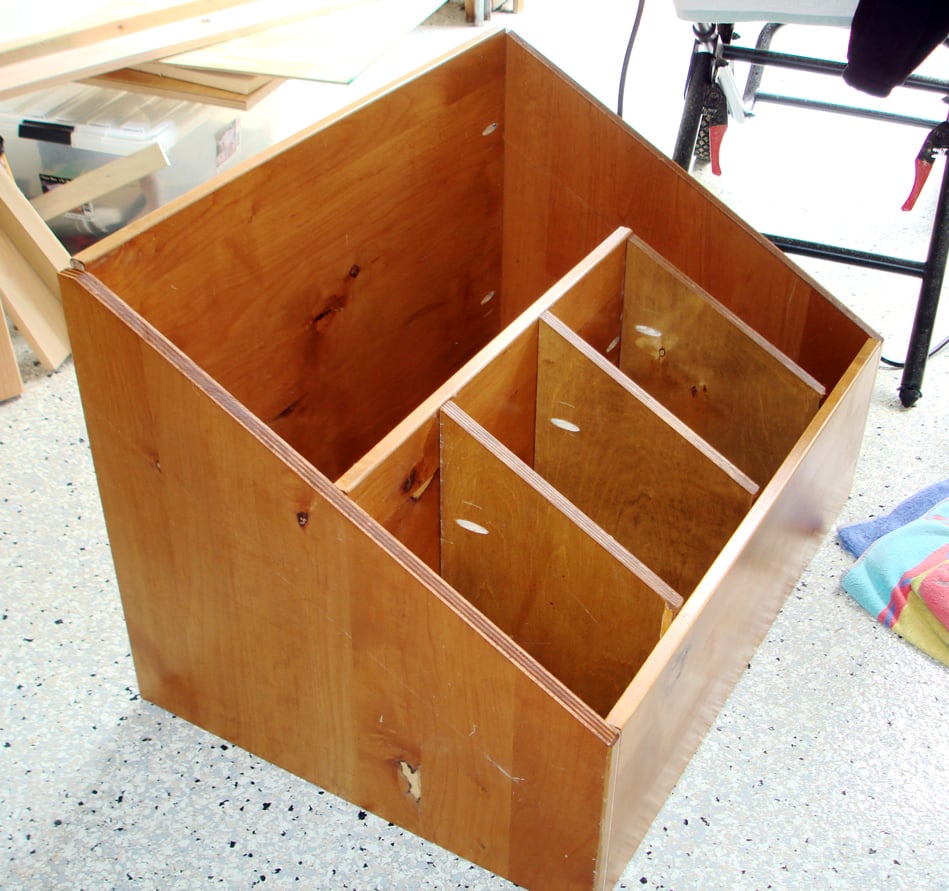
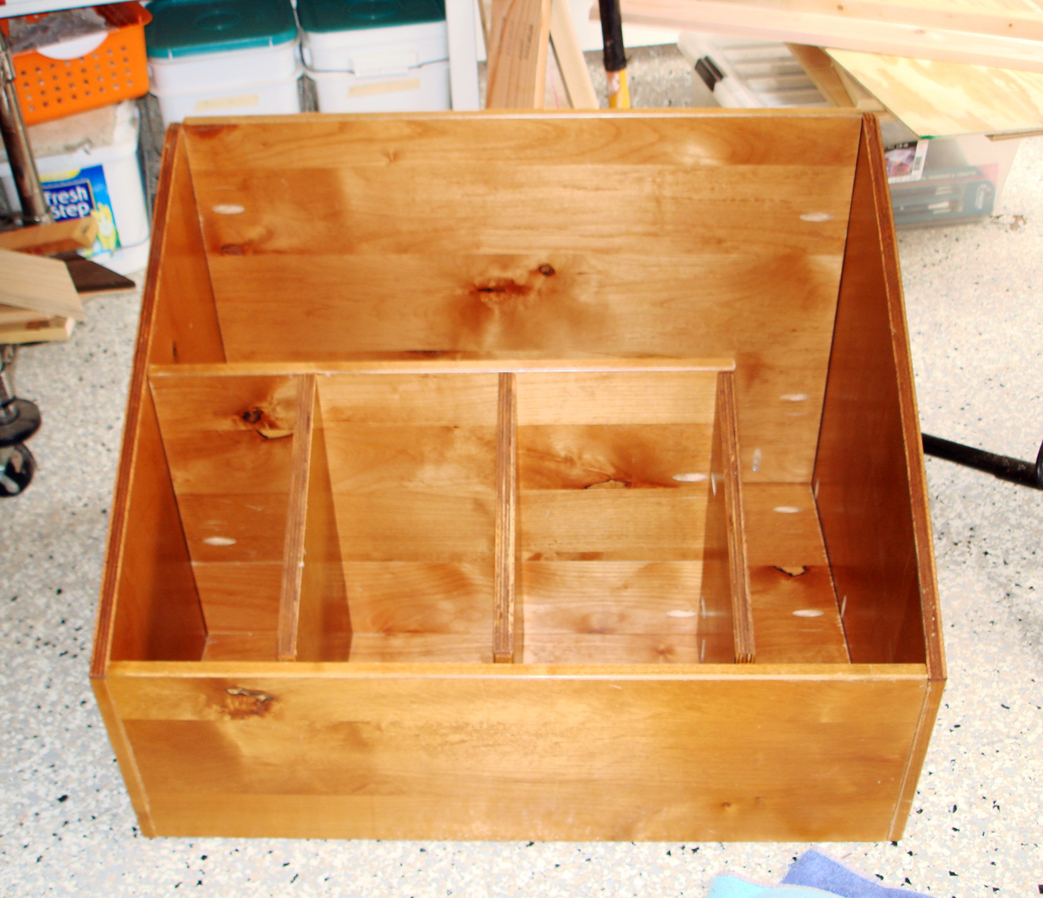
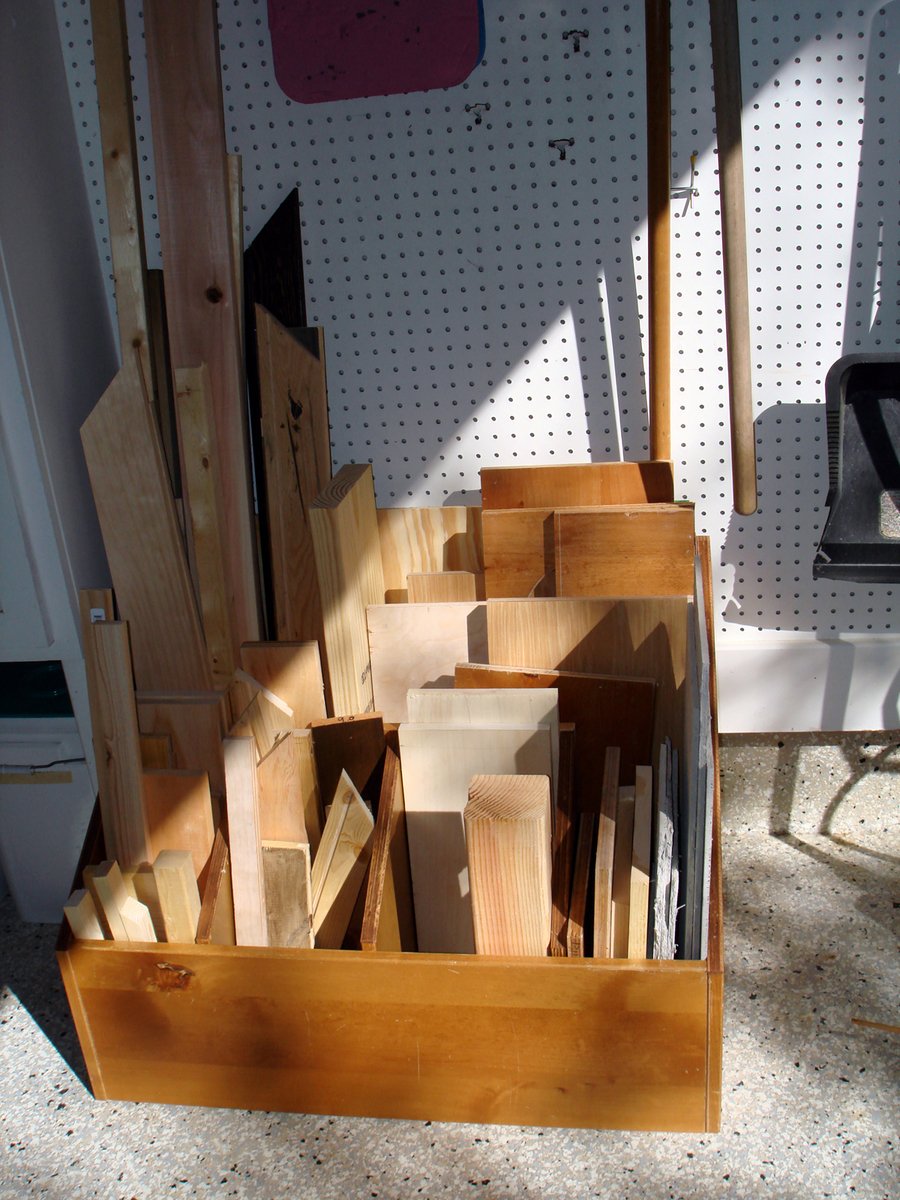
My wood scraps were definitely getting out of control, and I needed something to store the wood vertically. I had some spare wood (free from Craigslist), so I put together a wood storage bin. All in all, the project cost me the price of some Kreg screws.
Mon, 03/19/2012 - 20:13
Love it! I'm building some crates from pallet wood to store my scraps in. Your box turned out very nice.
Wed, 06/06/2012 - 13:21
I have been struggling to organize my space because my lumber is on one of my work spaces. I have the perfect space for that, thanks for the great post!
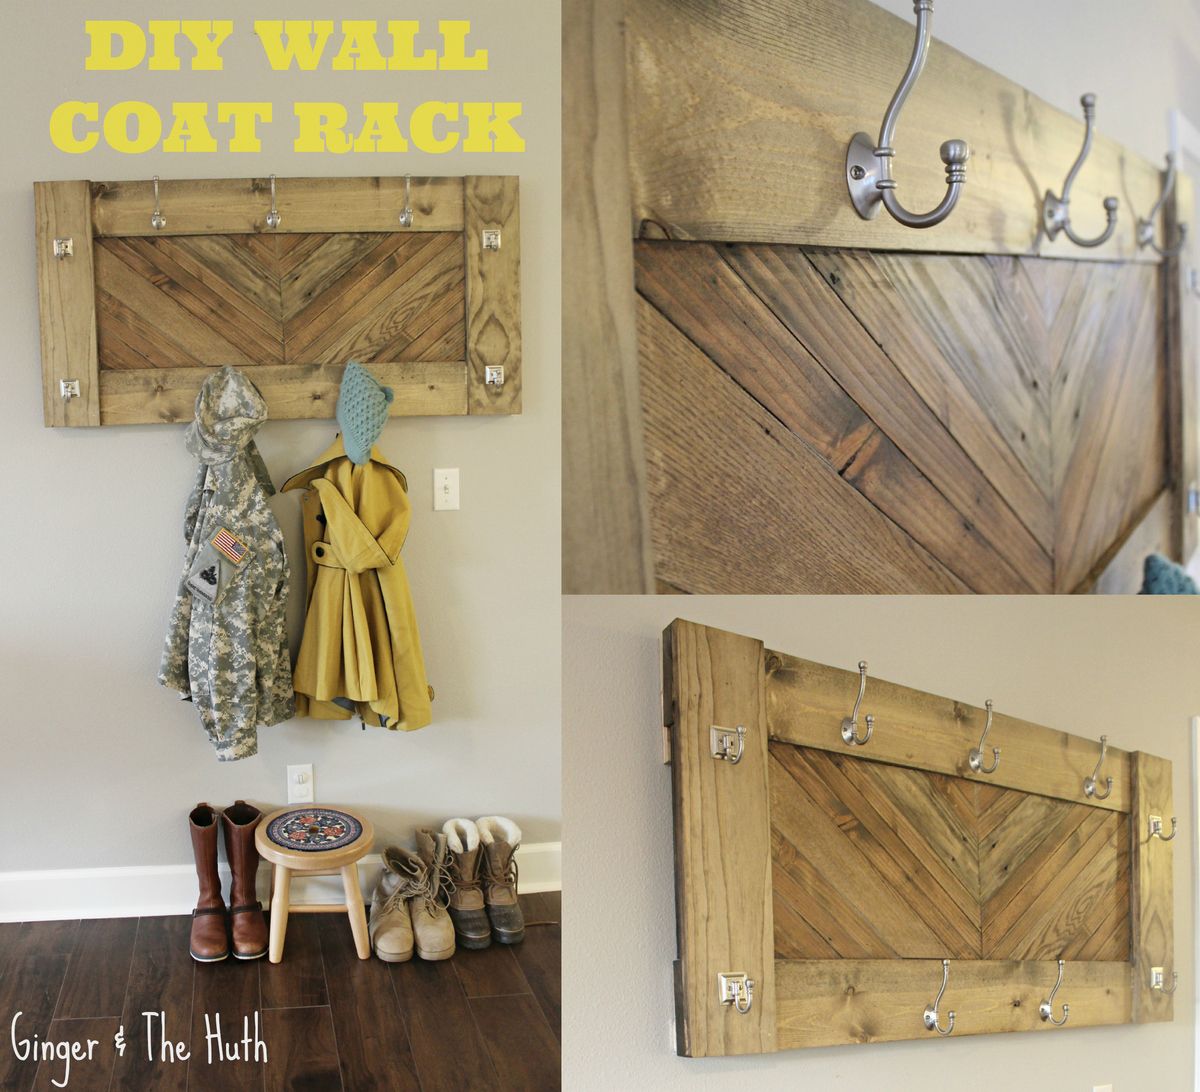
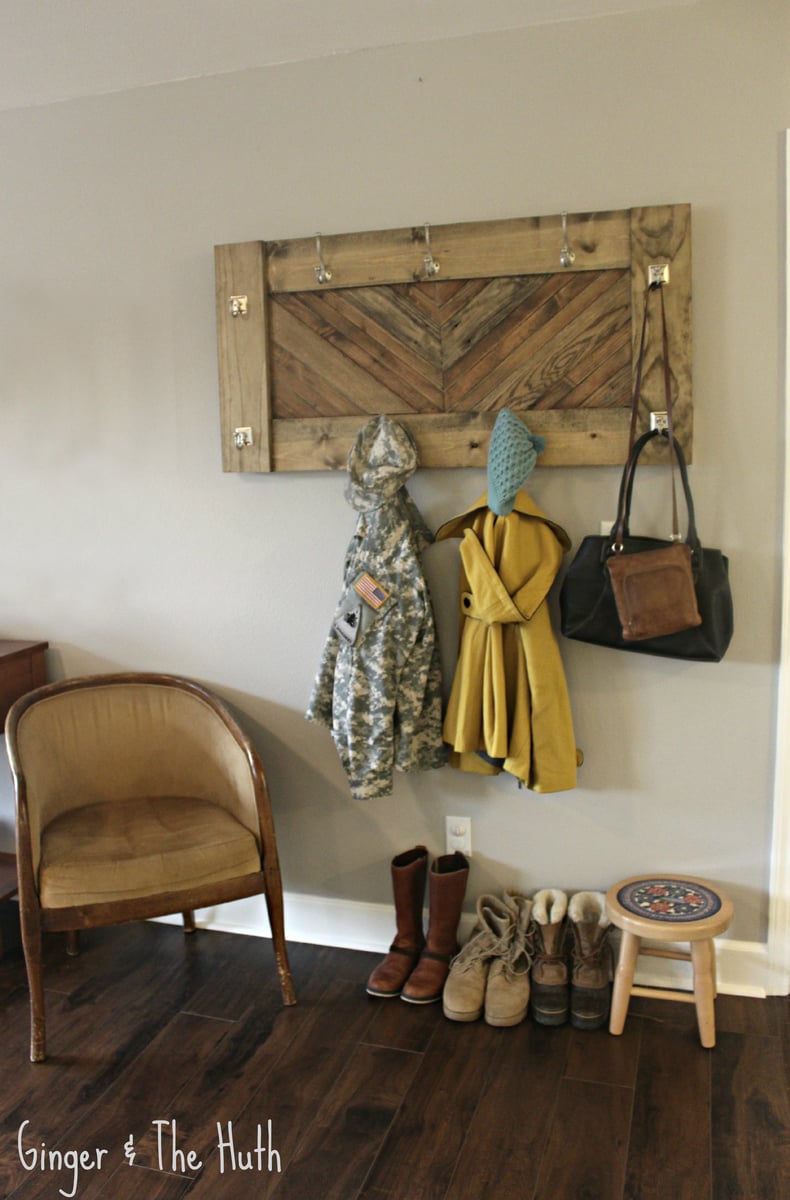
In an effort to cure our current lack of organization downstairs I decided to build a wall coat rack in hopes that it will help keep our coats, diaper bags, uniforms, purses, baby carriers, bags, and who knows what else off the counter, couch and floor.
Going into this project the only thing I knew I wanted to use in some way was some ripped 2x4's we used as floor spacers during our floor installation. Really happy with the end result :-)
For more pictures and a brief tutorial check out the blog post :http://thehuth.blogspot.com/2014/01/diy-herringbone-wall-coat-rack-usin…
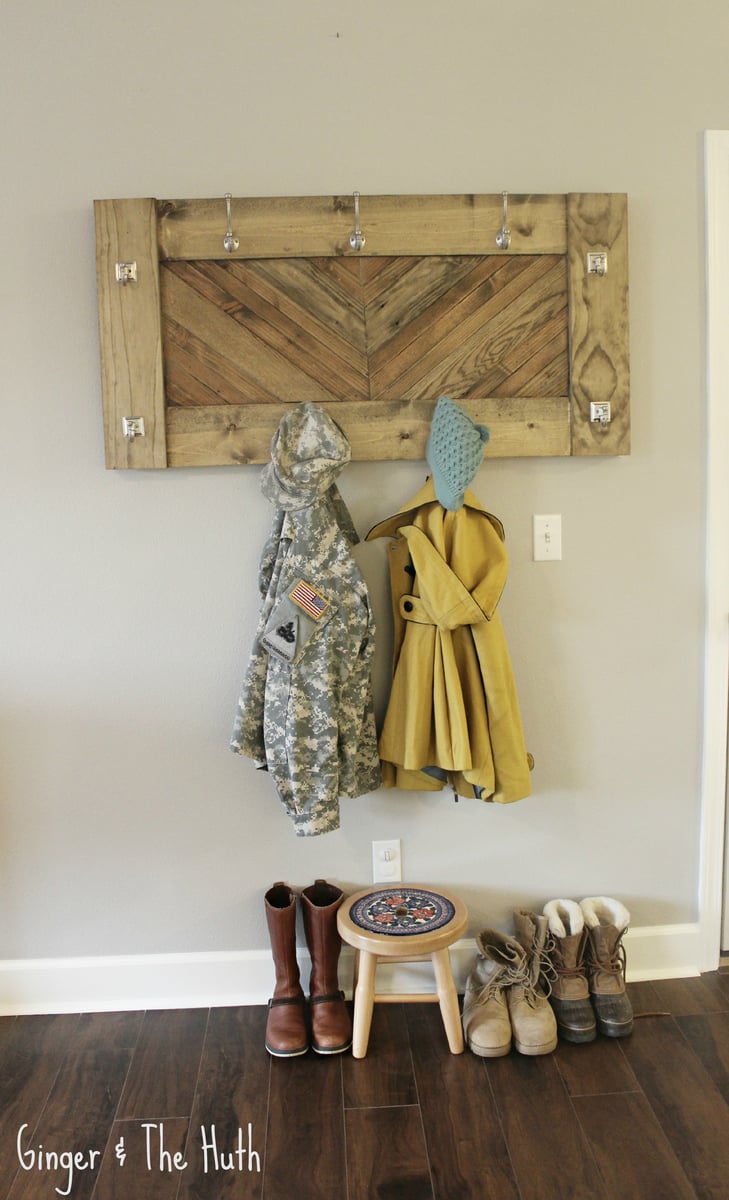
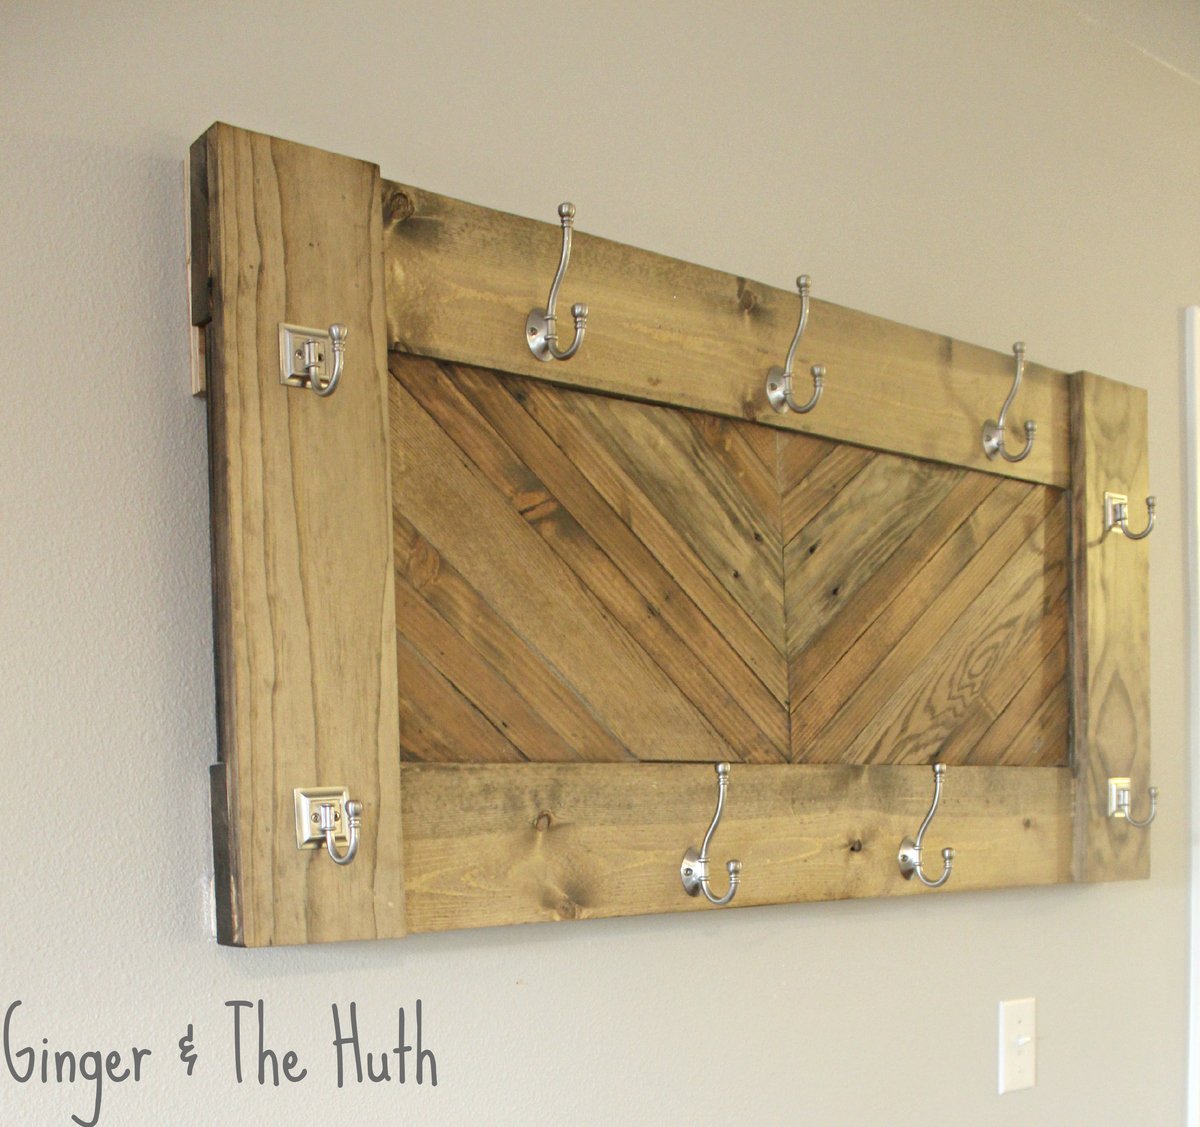
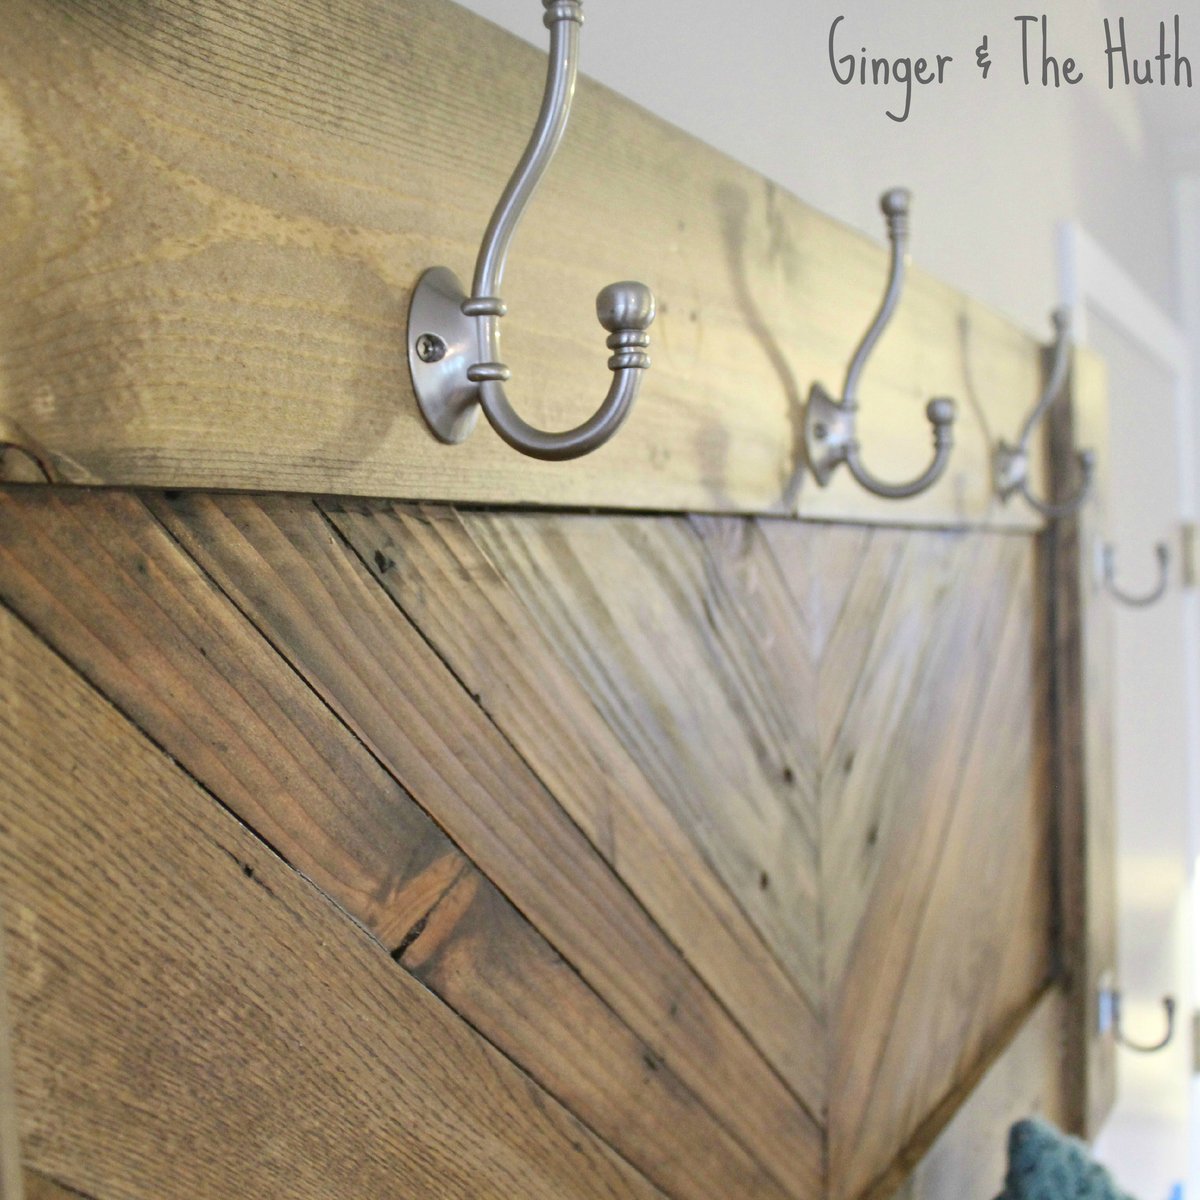

This project could take alot less time if I had a wood planer. I use a belt sander to sand all pallet wood and this is what takes the longest. Well applying the polyurethane takes a while to finally get it to the way I like it. Bc I'm my worst critic.

Wed, 03/30/2016 - 00:19
This is probably the coolest brag I've seen on here! Do you think this is something a beginner could pull off with a coping saw? I'm assuming you cut the state out, stain the rest of the board, and then glue/screw it all back together? Seriously this is amazing, kudos to you!
In reply to Seriously too awesome by Malka
Wed, 09/07/2016 - 00:43
Actuall all i did was put duck takp to try to keep stain from leaking under. When i got close to stain I just patted it slowly and that was final result. But thanks for comment.
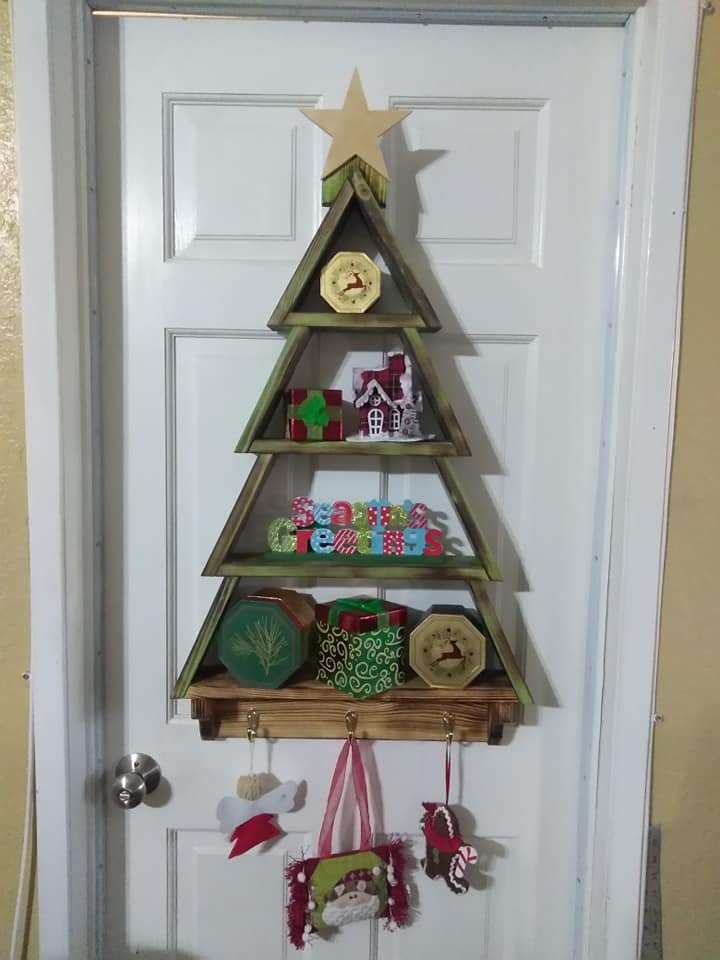
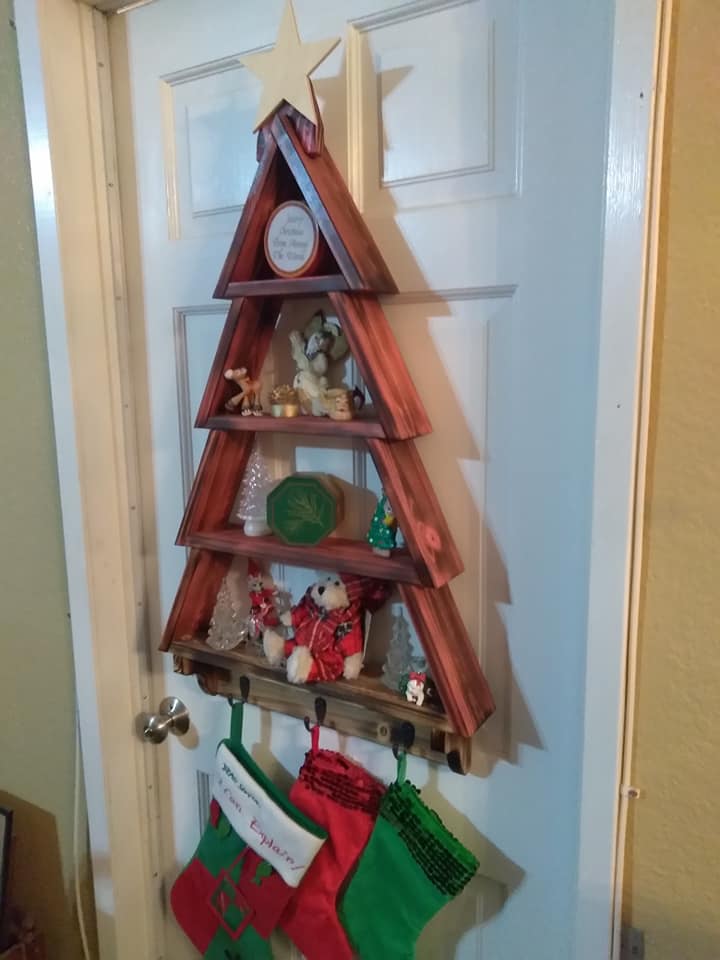
Thank you very much for the Christmas tree plans, was a nice and fun project, I added a star, can be removed if people wants to use the tree year long.
Thank you again
Sergio
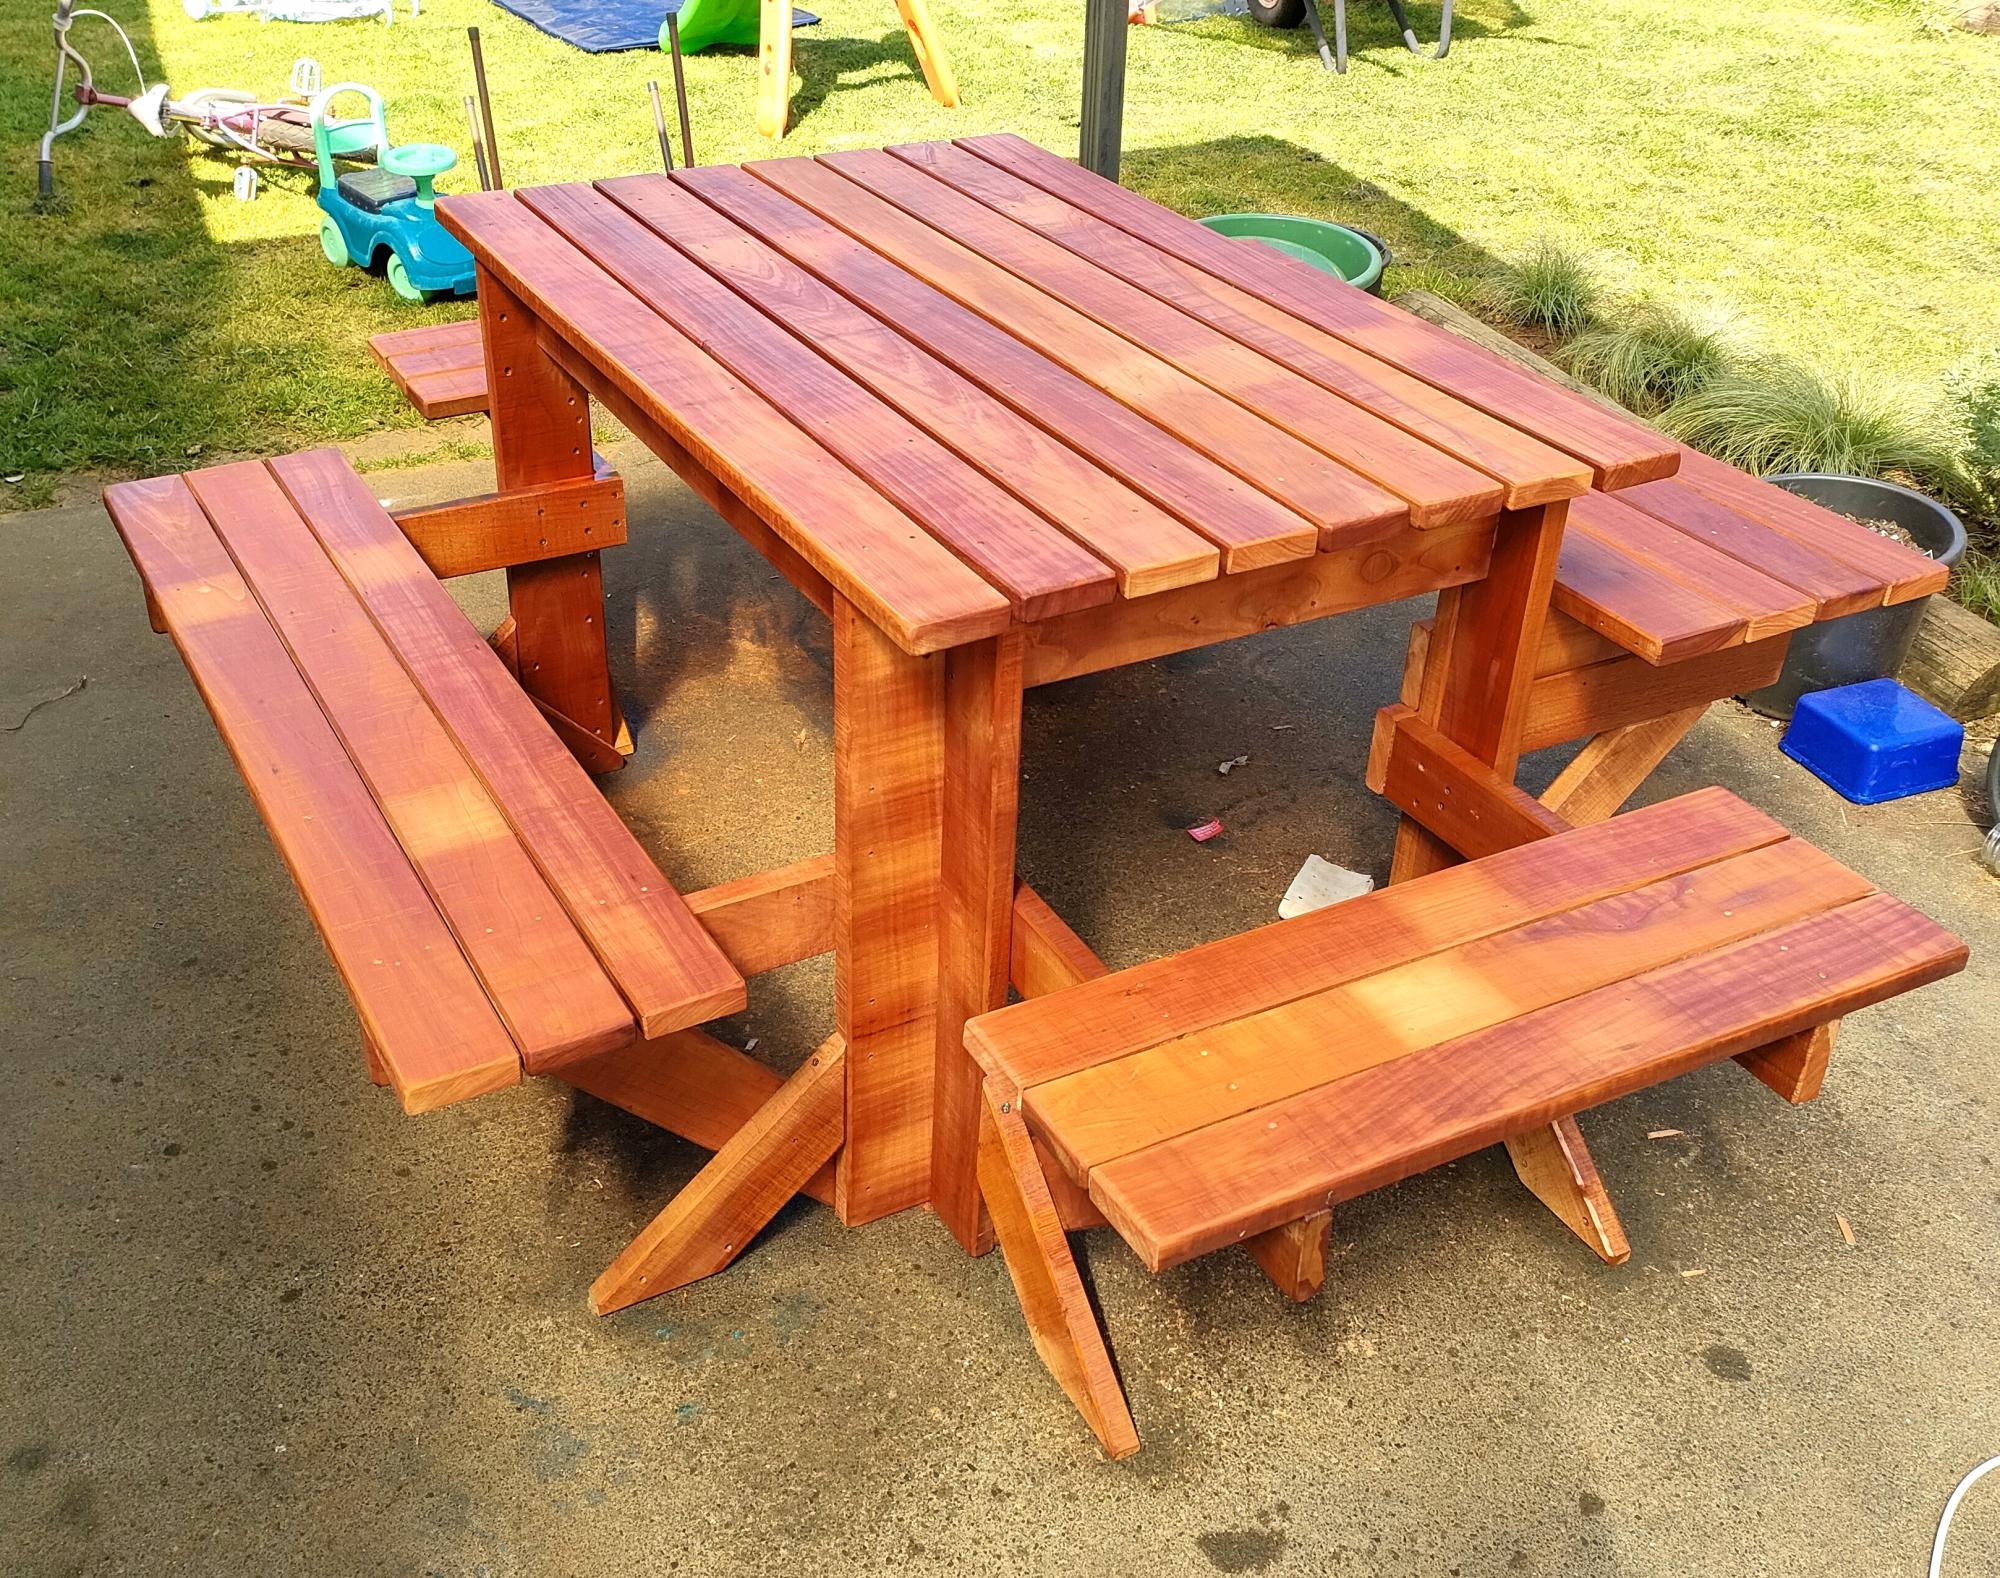
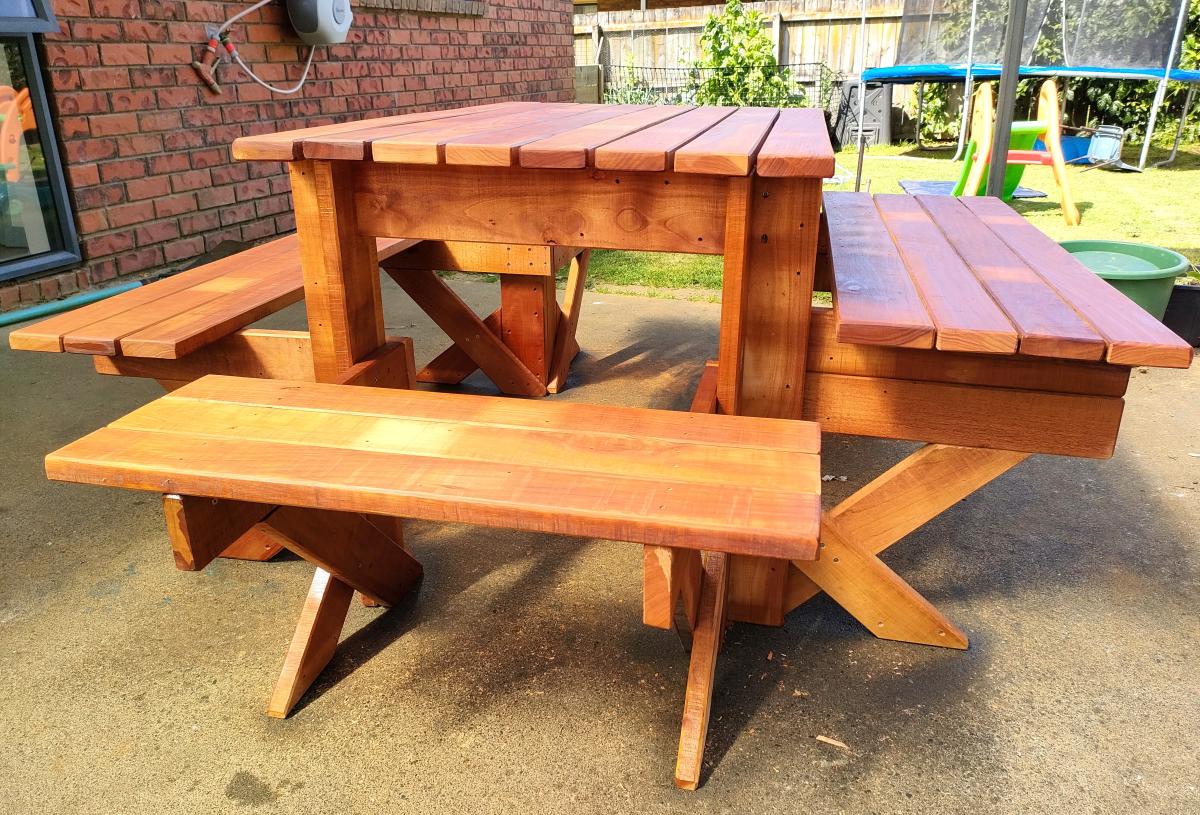
6 seater Recycled Fijian Kauri with extra leg supports, one side higher & closer for kids.
Marty
I built the same bed as for my son for the master bedroom. A queen size bed with storage with paneled footboard and headboard. I love that style and I made board and batten too.
I am very happy and the bed is very sturdy. I didnt make drawers because it's too difficult for me. I am not ready to build drawers! Maybe next time!
Fri, 05/04/2012 - 08:12
I share your fear of drawers! It still looks great with cubbies :)
Sun, 11/25/2012 - 21:27
I love this bed but I am wondering since there is no edge if you have any issue with your mattress sliding side to side?
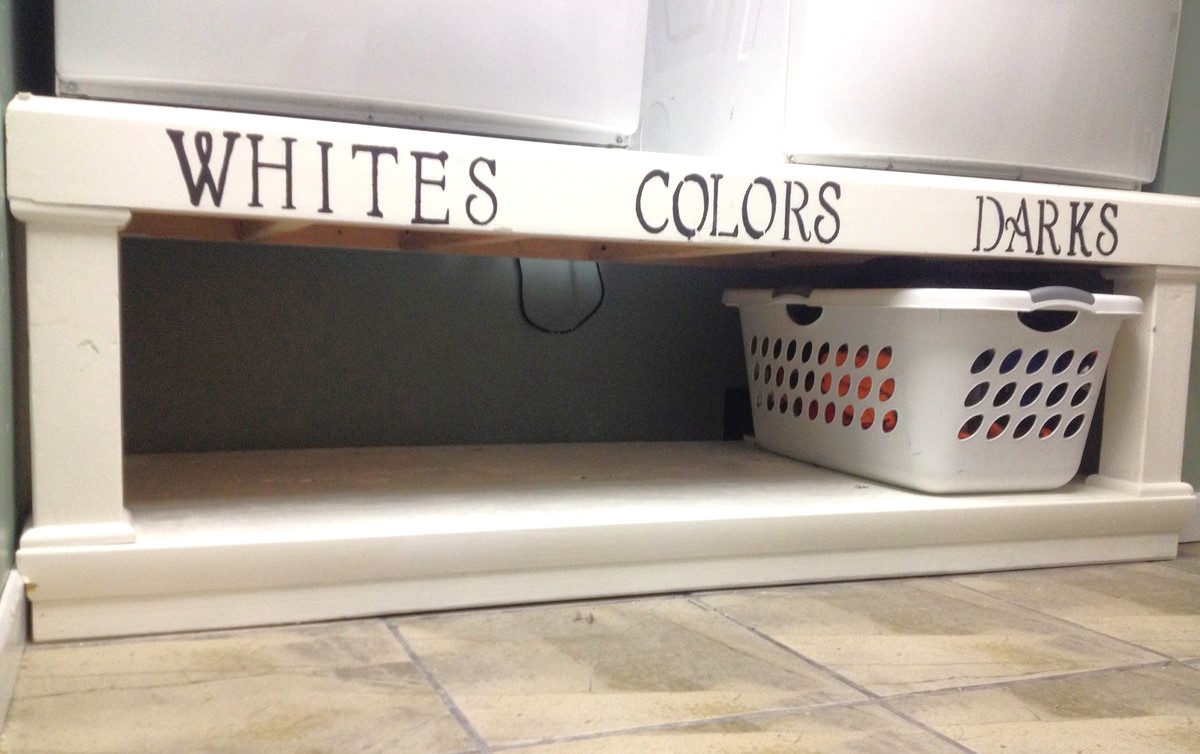
I needed to raise the height to help my wife who has back problems. The plans were simply and easy to follow, I added some length to fit our space and some molding in te front and bottom to "pretty" it up according to my wife. Really proud, thanks for the plans Ana!
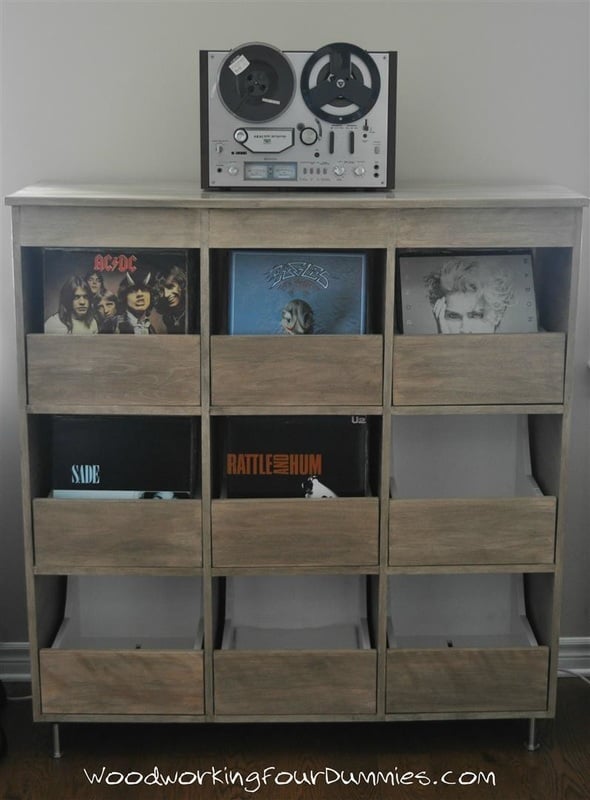
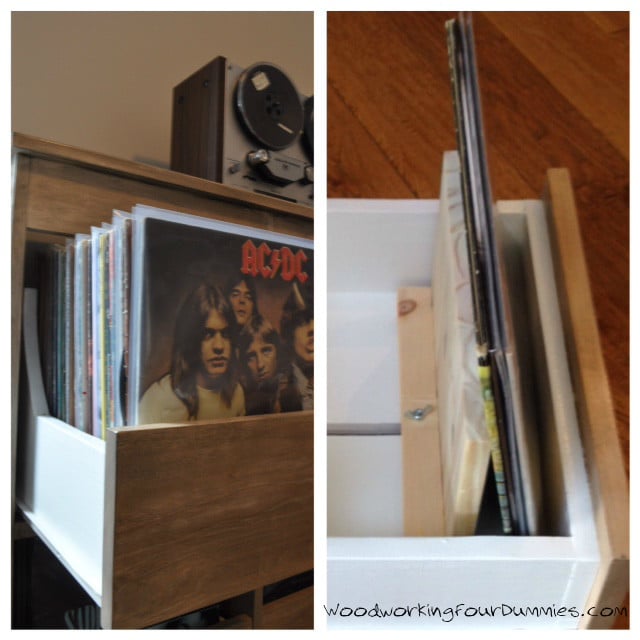
My record obsession was growing rapidly so I needed a solution to store my collection and I wanted some room for growth. I wanted a setup where you could flip through the records like at the record shops. It's often difficult to read the artists and album names when you can only see the spines of the album covers. I decided to make a cabinet with 9 drawers which holds approximately 540 records (60 records per drawer). More details and photos on my blog: http://www.woodworkingfourdummies.com/blog/vinyl-record-storage Cheers, Ian
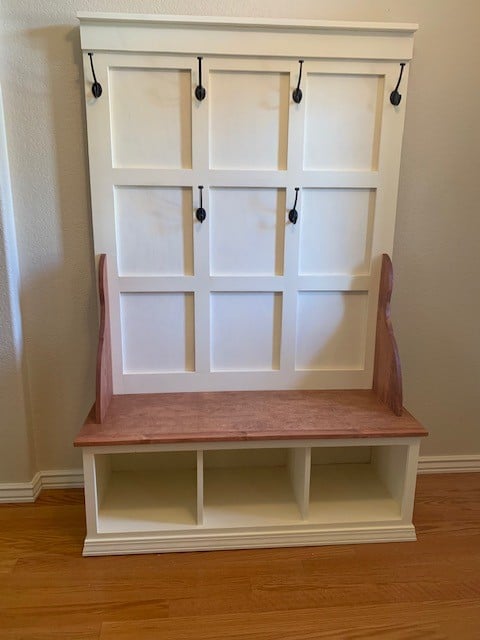
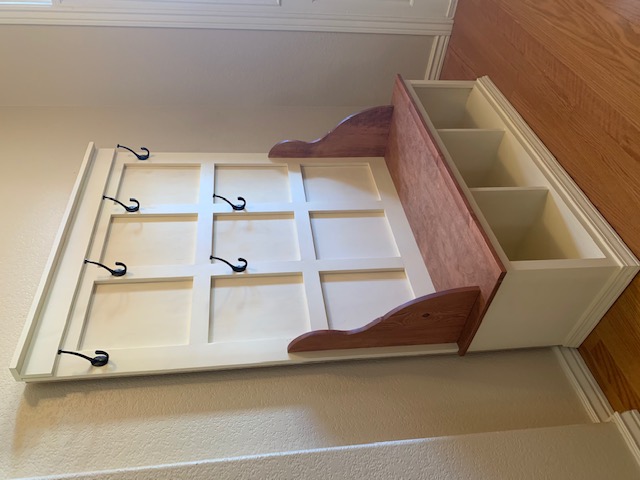
I made this hall tree for my daughter for Christmas . I am a beginner with woodworking and this is the first piece of big furniture I have made.
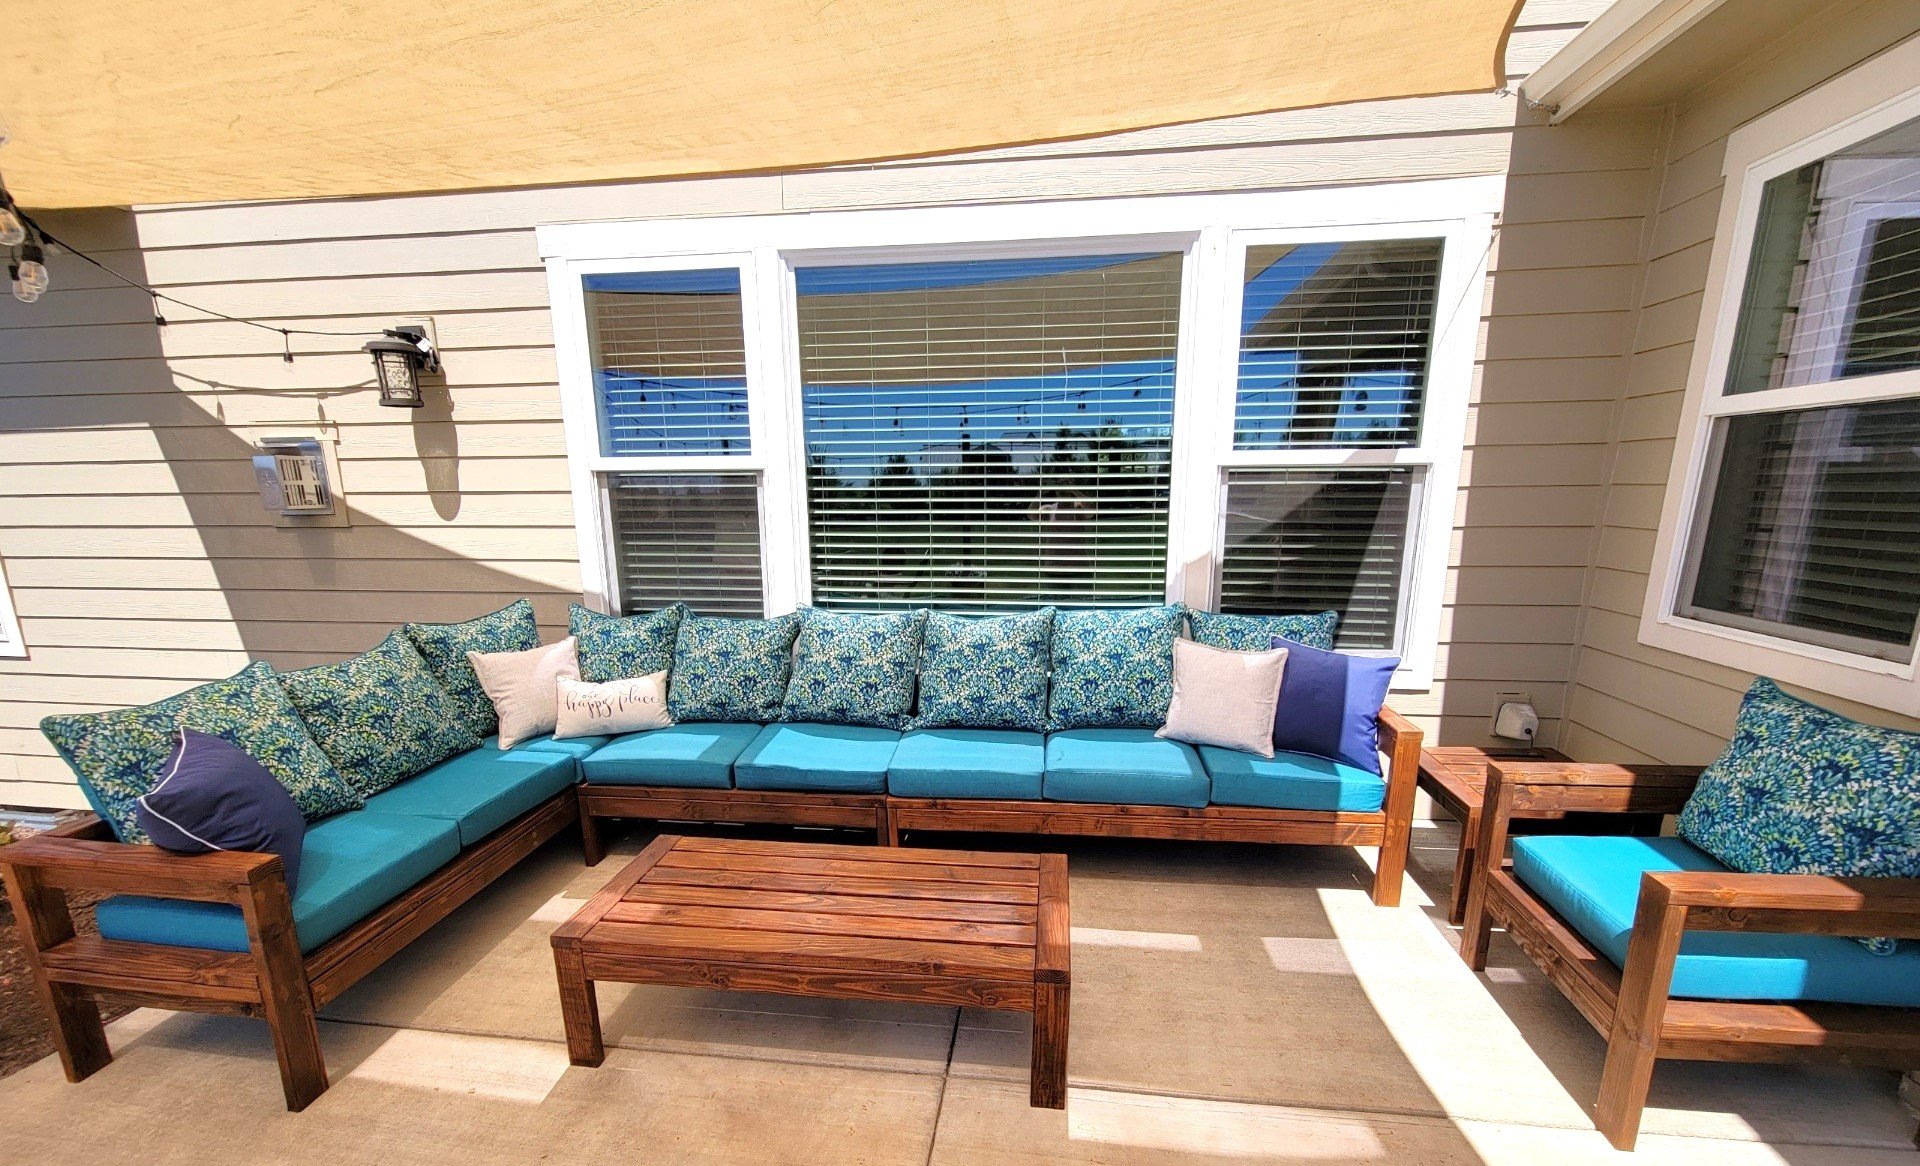
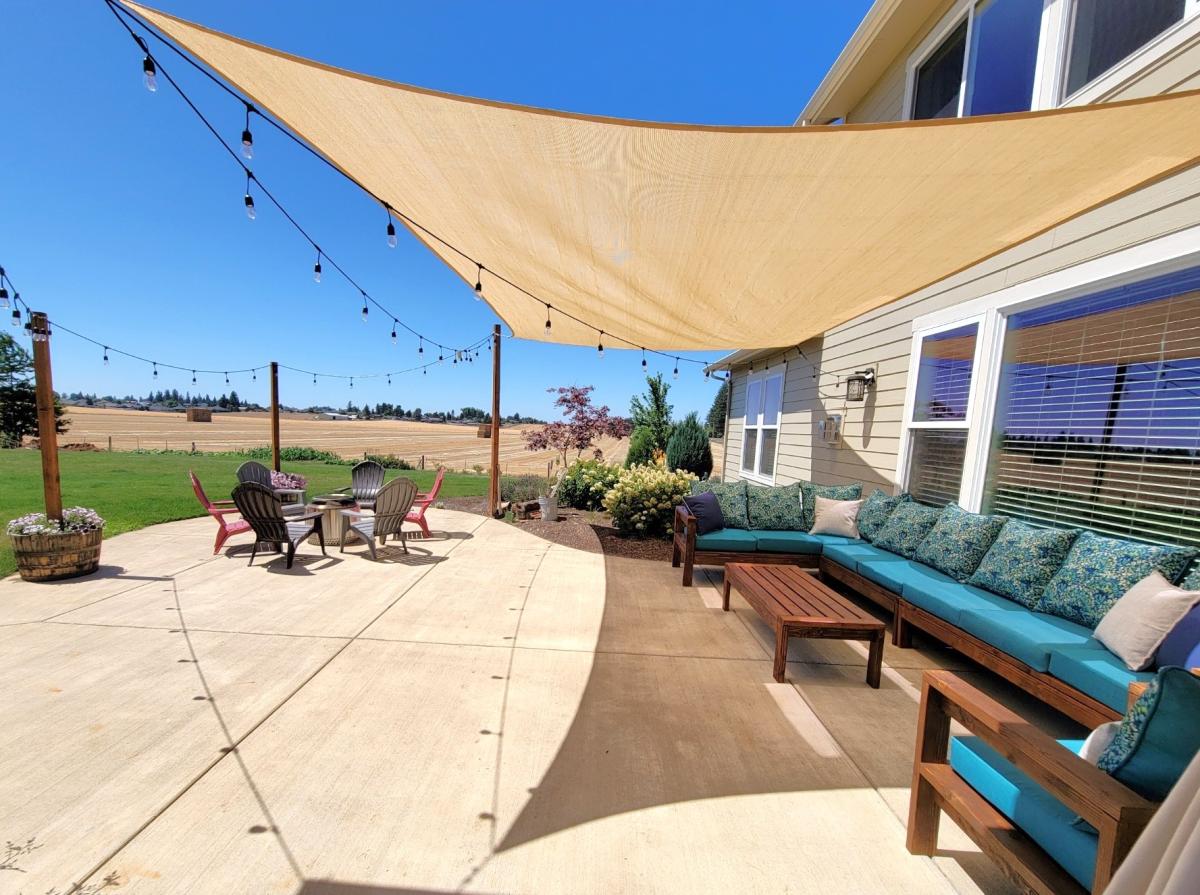
My wife used you patio sectional and table plans to make herself a summer oasis. She built it specifically to fit a corner of our patio that we were never using. Now it is used almost daily for reading, visiting or just sitting outside watching the birds.
Tony for Julie
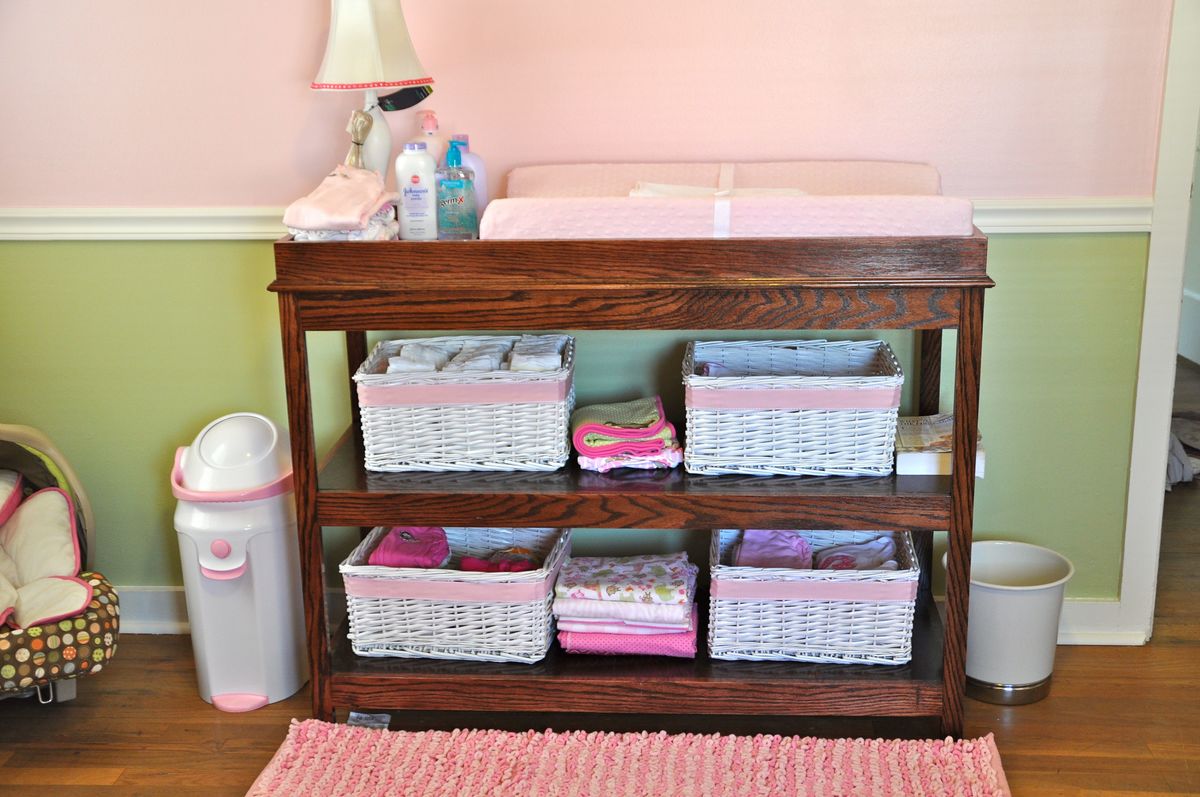
I took the advice from another user who commented that the depth of the changing table was not suitable for a standard changing pad (16" x 32"). Turns out he was correct, so I modified the design to have a depth of 16 1/4" (as opposed to 15.5" in the original plan). Really not sure how someone could have made this and a standard pad worked as is. If I did it over again, I probably would have made it just a touch deeper for a perfect fit because the pad slightly flares out and is not 100% square. My wife also wanted a larger space beside the changing pad, so I increased the width of the table by 5" and it worked nicely as you can see in the picture with the lamp and other items.
Fri, 03/23/2012 - 14:44
The plans for this table (created by another) show 3/4" for the top of the table and shelves as well as the topper. It seems like a little bit of overkill to me. Did you attach the sides of the topper straight to the table or did you have a 3/4" piece for the table and the topper?
I was thinking I would use my Kreg Jig and just attach it straight to the top of the table. I am also thinking that 1/2 plywood would be enough for the shelves with a 1"x2" intermediate support. I am trying to lessen the cost and the weight; oak can get pretty heavy and pricey.
Mon, 04/16/2012 - 21:35
I did have both 3/4" for the topper and the table. Is it overkill?, probably so, but my thought when making it with Oak was that I want it to last forever. I actually made a small table/night stand to go by the glider. I had some scrap of 1/2" that I used and it looks great, but I can tell that it is not as solid as the other, although still plenty solid for a small table.
Sat, 03/24/2012 - 08:50
I think 1/2" on the shelves would be fine, but definitely at least one 3/4" for the top. You could maybe skip the second layer and just add some 1x2 supports from below? I'm not sure. I went with the overkill method because I'm a worry wart. My baby is now 7 months old and extremely wiggly, so I'm glad for the extra support! Then again I used MDF for the shelving and white wood trim. I also skipped out on the dividers at the top, since wipes have their own boxes and I wasn't sure what else I'd be storing on top.
Mon, 04/09/2012 - 14:37
You did a nice job. Do you think making the shelves 16 1/2 would be perfect? I noticed that to that the size was not correct.
Mon, 04/16/2012 - 21:31
Thanks for the compliment. I think 16 1/2 would be pretty close. When I used 16 1/4, it wasn't bad by any means, but another 1/4" would likely do it.
Sat, 02/22/2014 - 13:15
What trim did you use and where did you find it? It looks great, but I can't find anything like that. Thanks!
Sat, 02/22/2014 - 13:17
What did you use for trim and where did you find it? It looks great, but I can't find anything in oak like that anywhere!
Sat, 02/22/2014 - 15:40
I got the trim at Lowes, maybe HD..it was just basic oak trim...stain grade.
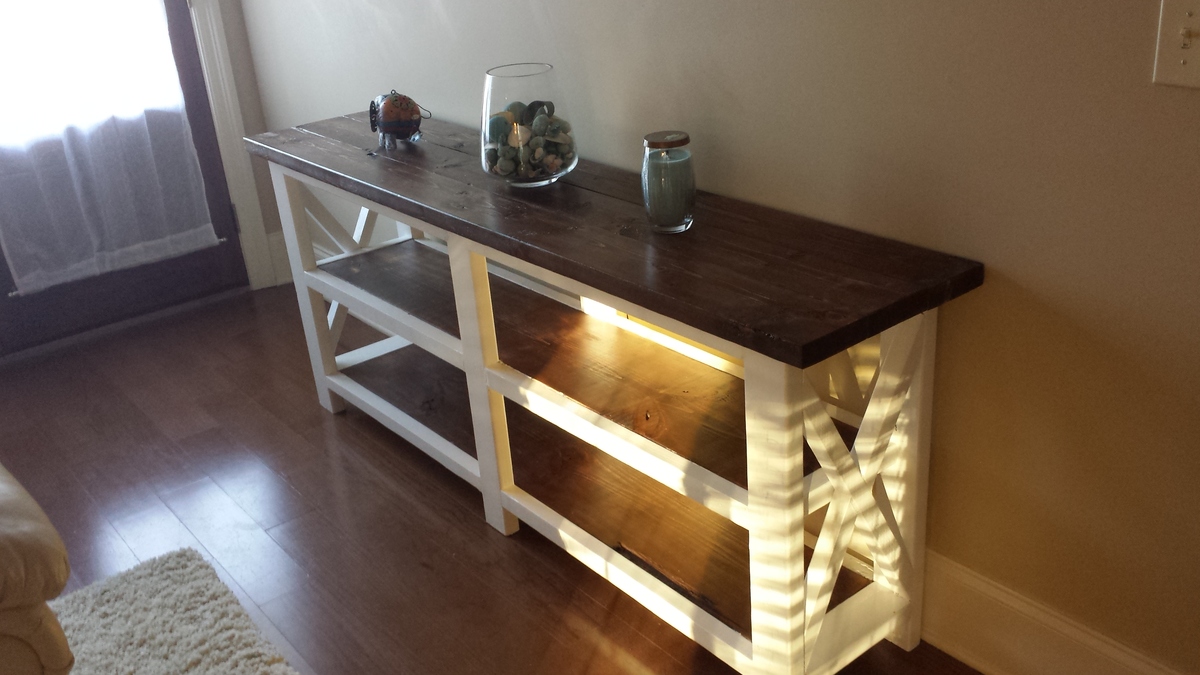
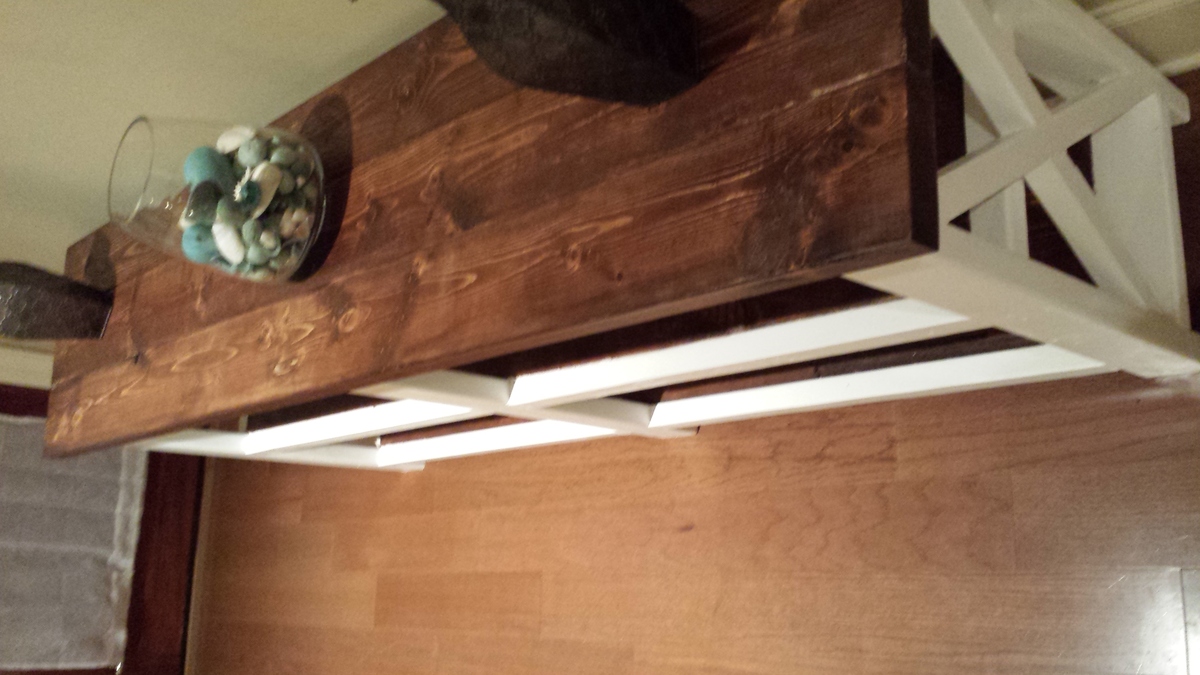
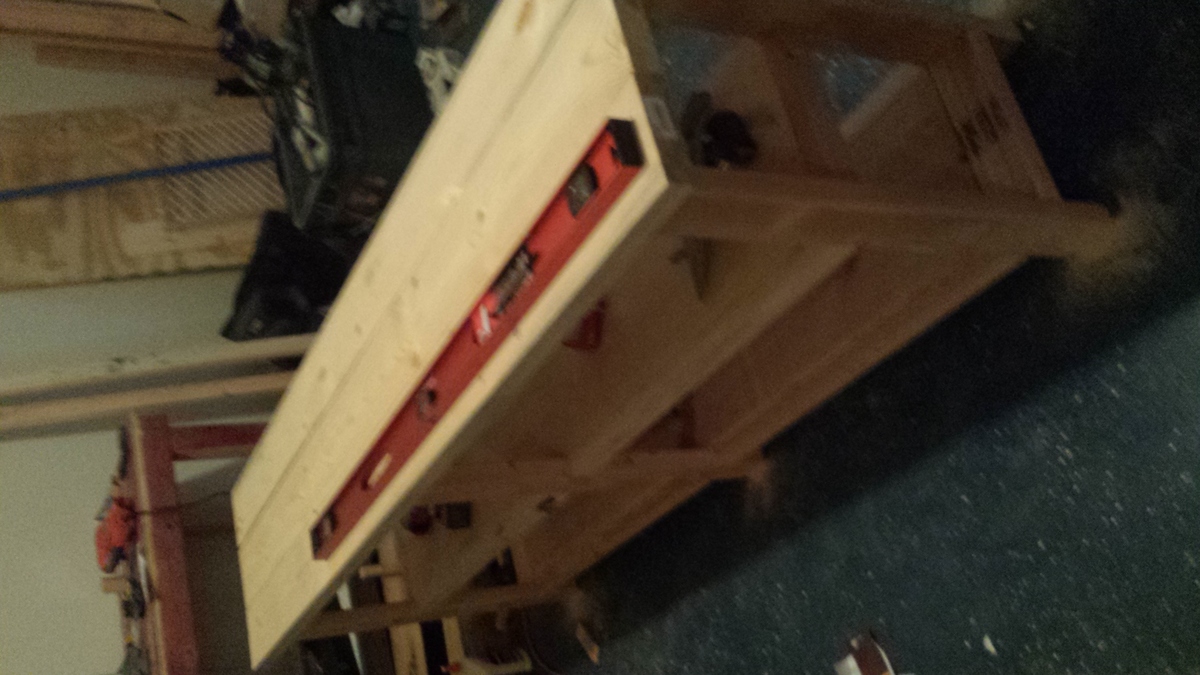
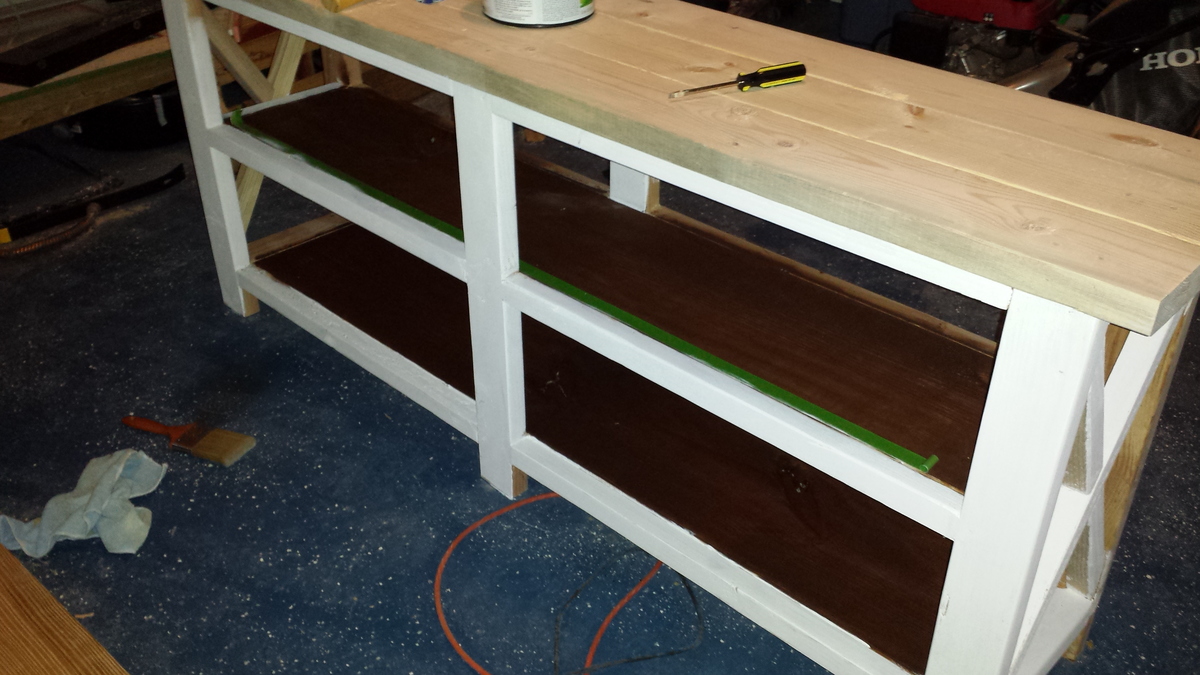
This was my first project and love how it turned out. I have gotten compliments on it, but I unfortunately continue to look at the flaws in it and want to build another one. It was a great project though and I am in the middle of building the coffee table and end table as well. Here it is before we added all the odds and ends on to shelves and top

Tue, 01/14/2014 - 08:37
I love how you finished your console table - I'm now wishing I finished mine like that. I think we all see the flaws in our own work, but this looks fantastic and very professional.
Tue, 01/14/2014 - 08:37
I love how you finished your console table - I'm now wishing I finished mine like that. I think we all see the flaws in our own work, but this looks fantastic and very professional.
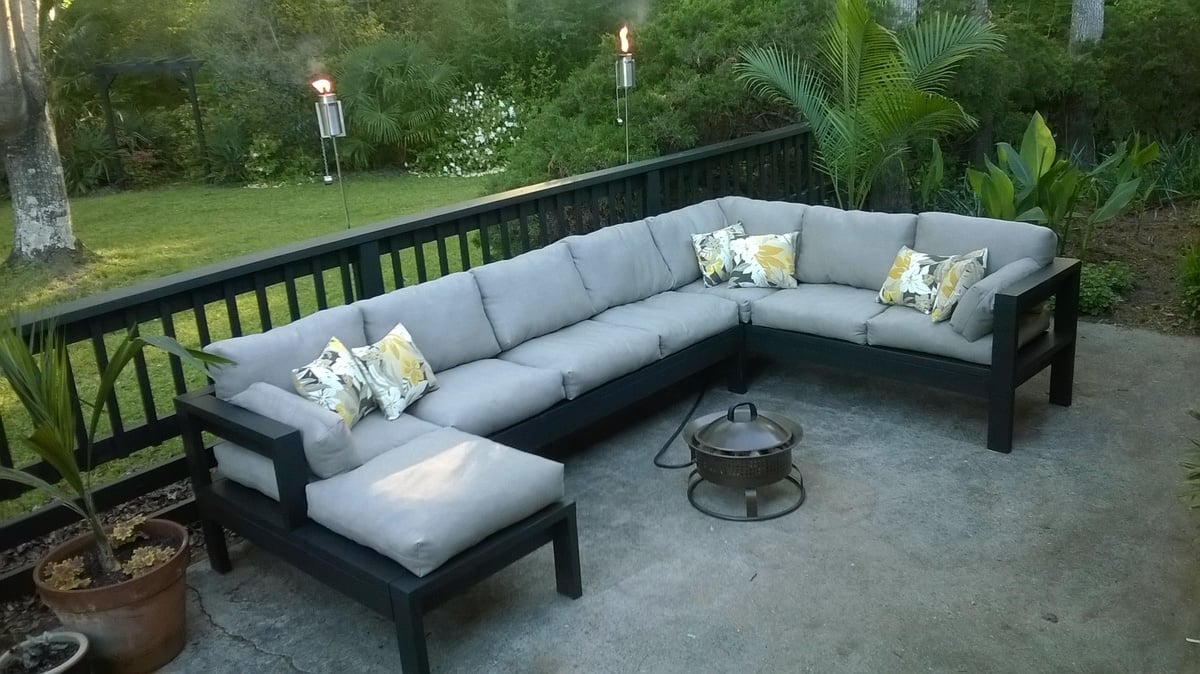
I modified the plans slightly, reducing the overall seating depth by 1.5" so I could use 8' lumber with minimal waste, and make 2 cushions out of one 54" width of fabric. I also tweaked the design to make a chaise lounge on one side. I used bargain priced sunbrella fabric (has a few imperfections) and recycled soda bottle fill for the cushions to keep cost lower. Building the wooden part was quick and easy (took an afternoon including two trips to the store), but this was my first sewing project so the total project time reflects my learning curve making and stuffing cushions.
Tue, 04/05/2016 - 06:45
This looks like a very lovely place to relax, can't believe that was your first sewing project!
Wed, 04/06/2016 - 06:34
This looks really great! You have inspired me to stop procrastinating and get started on our outdoor sectional. Every time I think about doing it the building part seems fun but, I'm overwhelmed by the task/cost of the cushions. I'm interested in learning more about the fill you used. Where did you find it and what was the approximate cost? Thanks and great work!
Wed, 06/29/2016 - 20:25
Whoops - sorry about that. This looks amazing, and the detail on the fabric is quite fantastic. I have been wanting to replace some old furniture that is falling apart, and this would really be a wonderful addition to the outdoor space. Kudos on the great work.
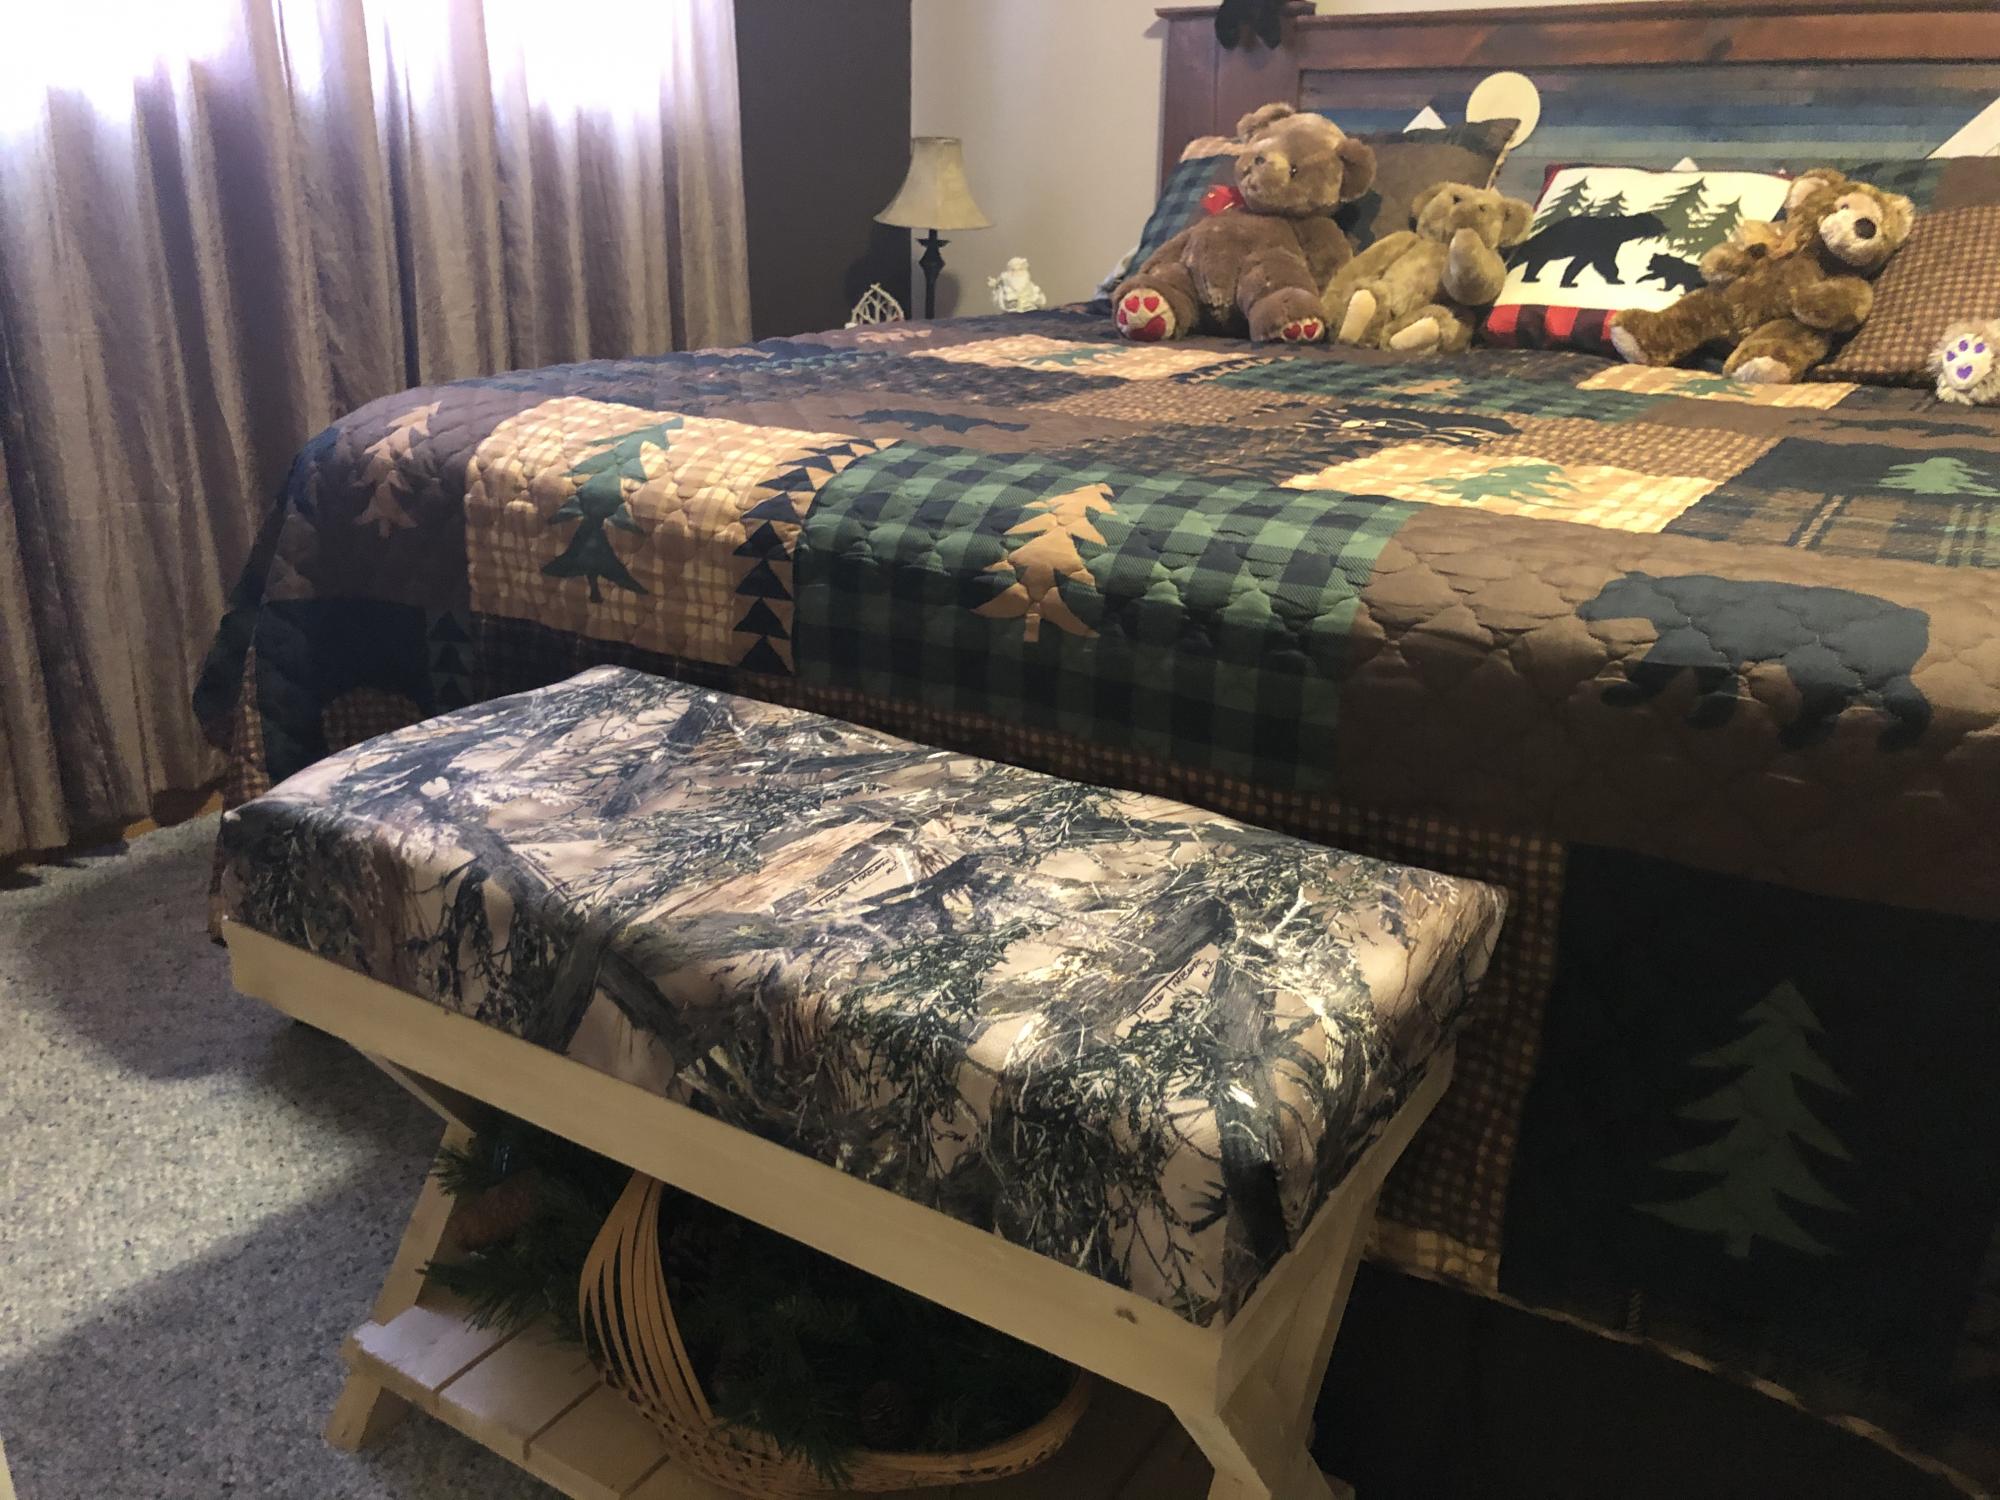
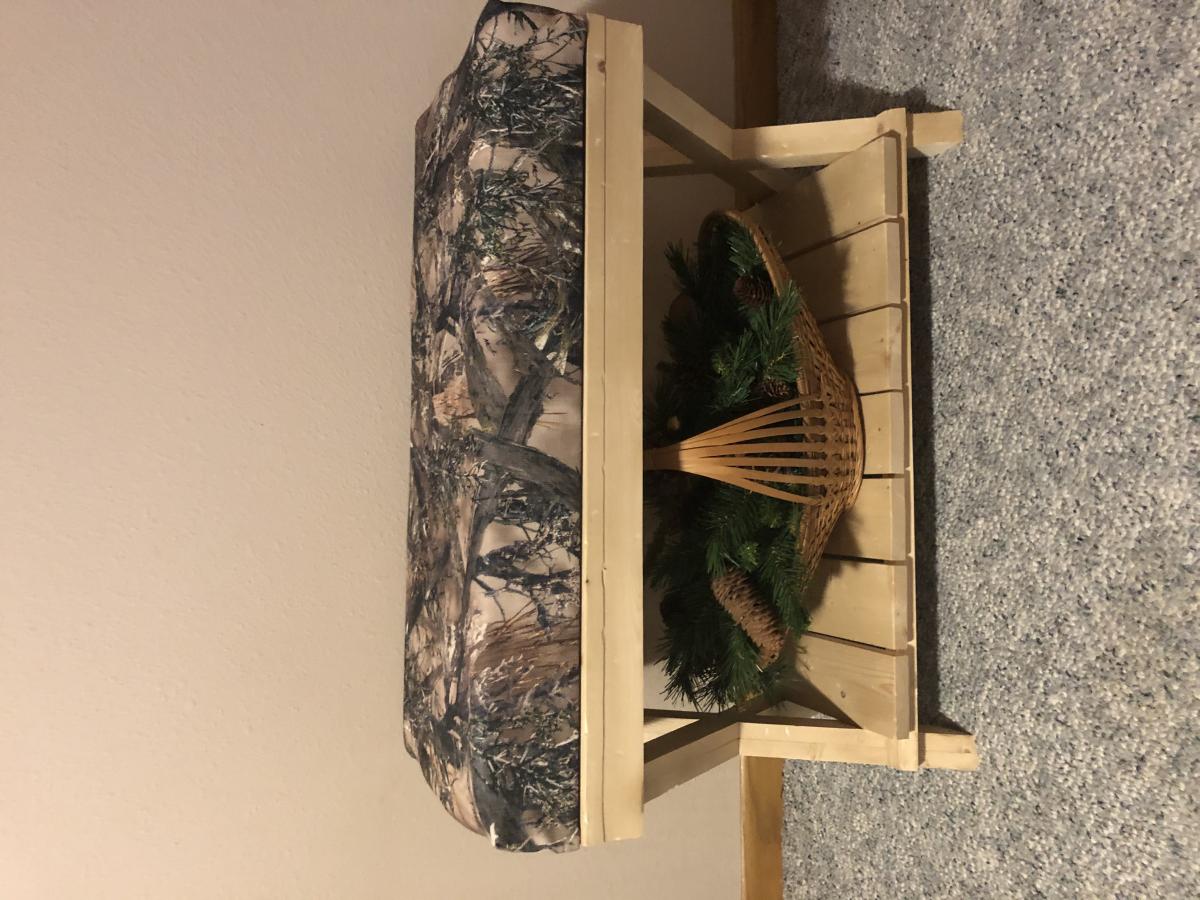
Made from
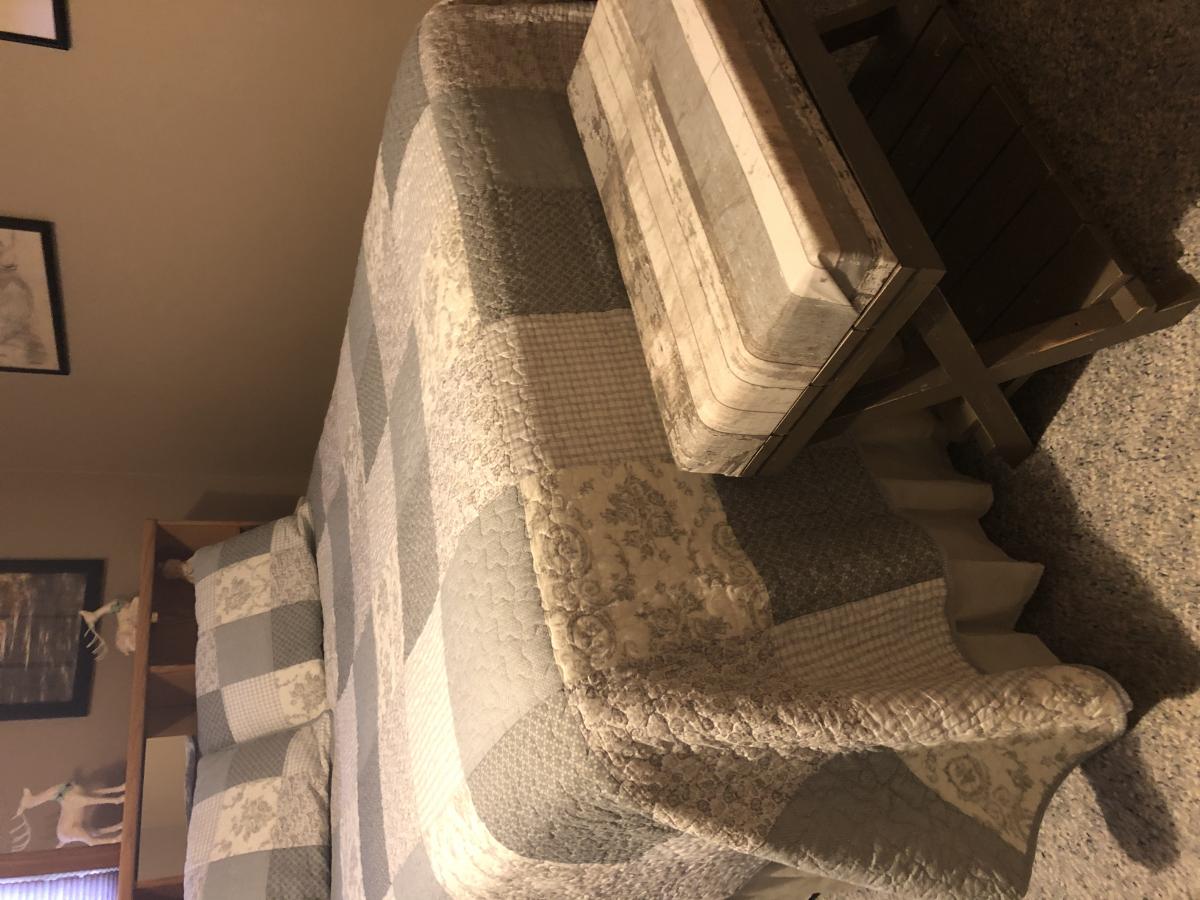
Upgraded Luggage Rack or Suitcase Stand Benches
just added the seat cushions

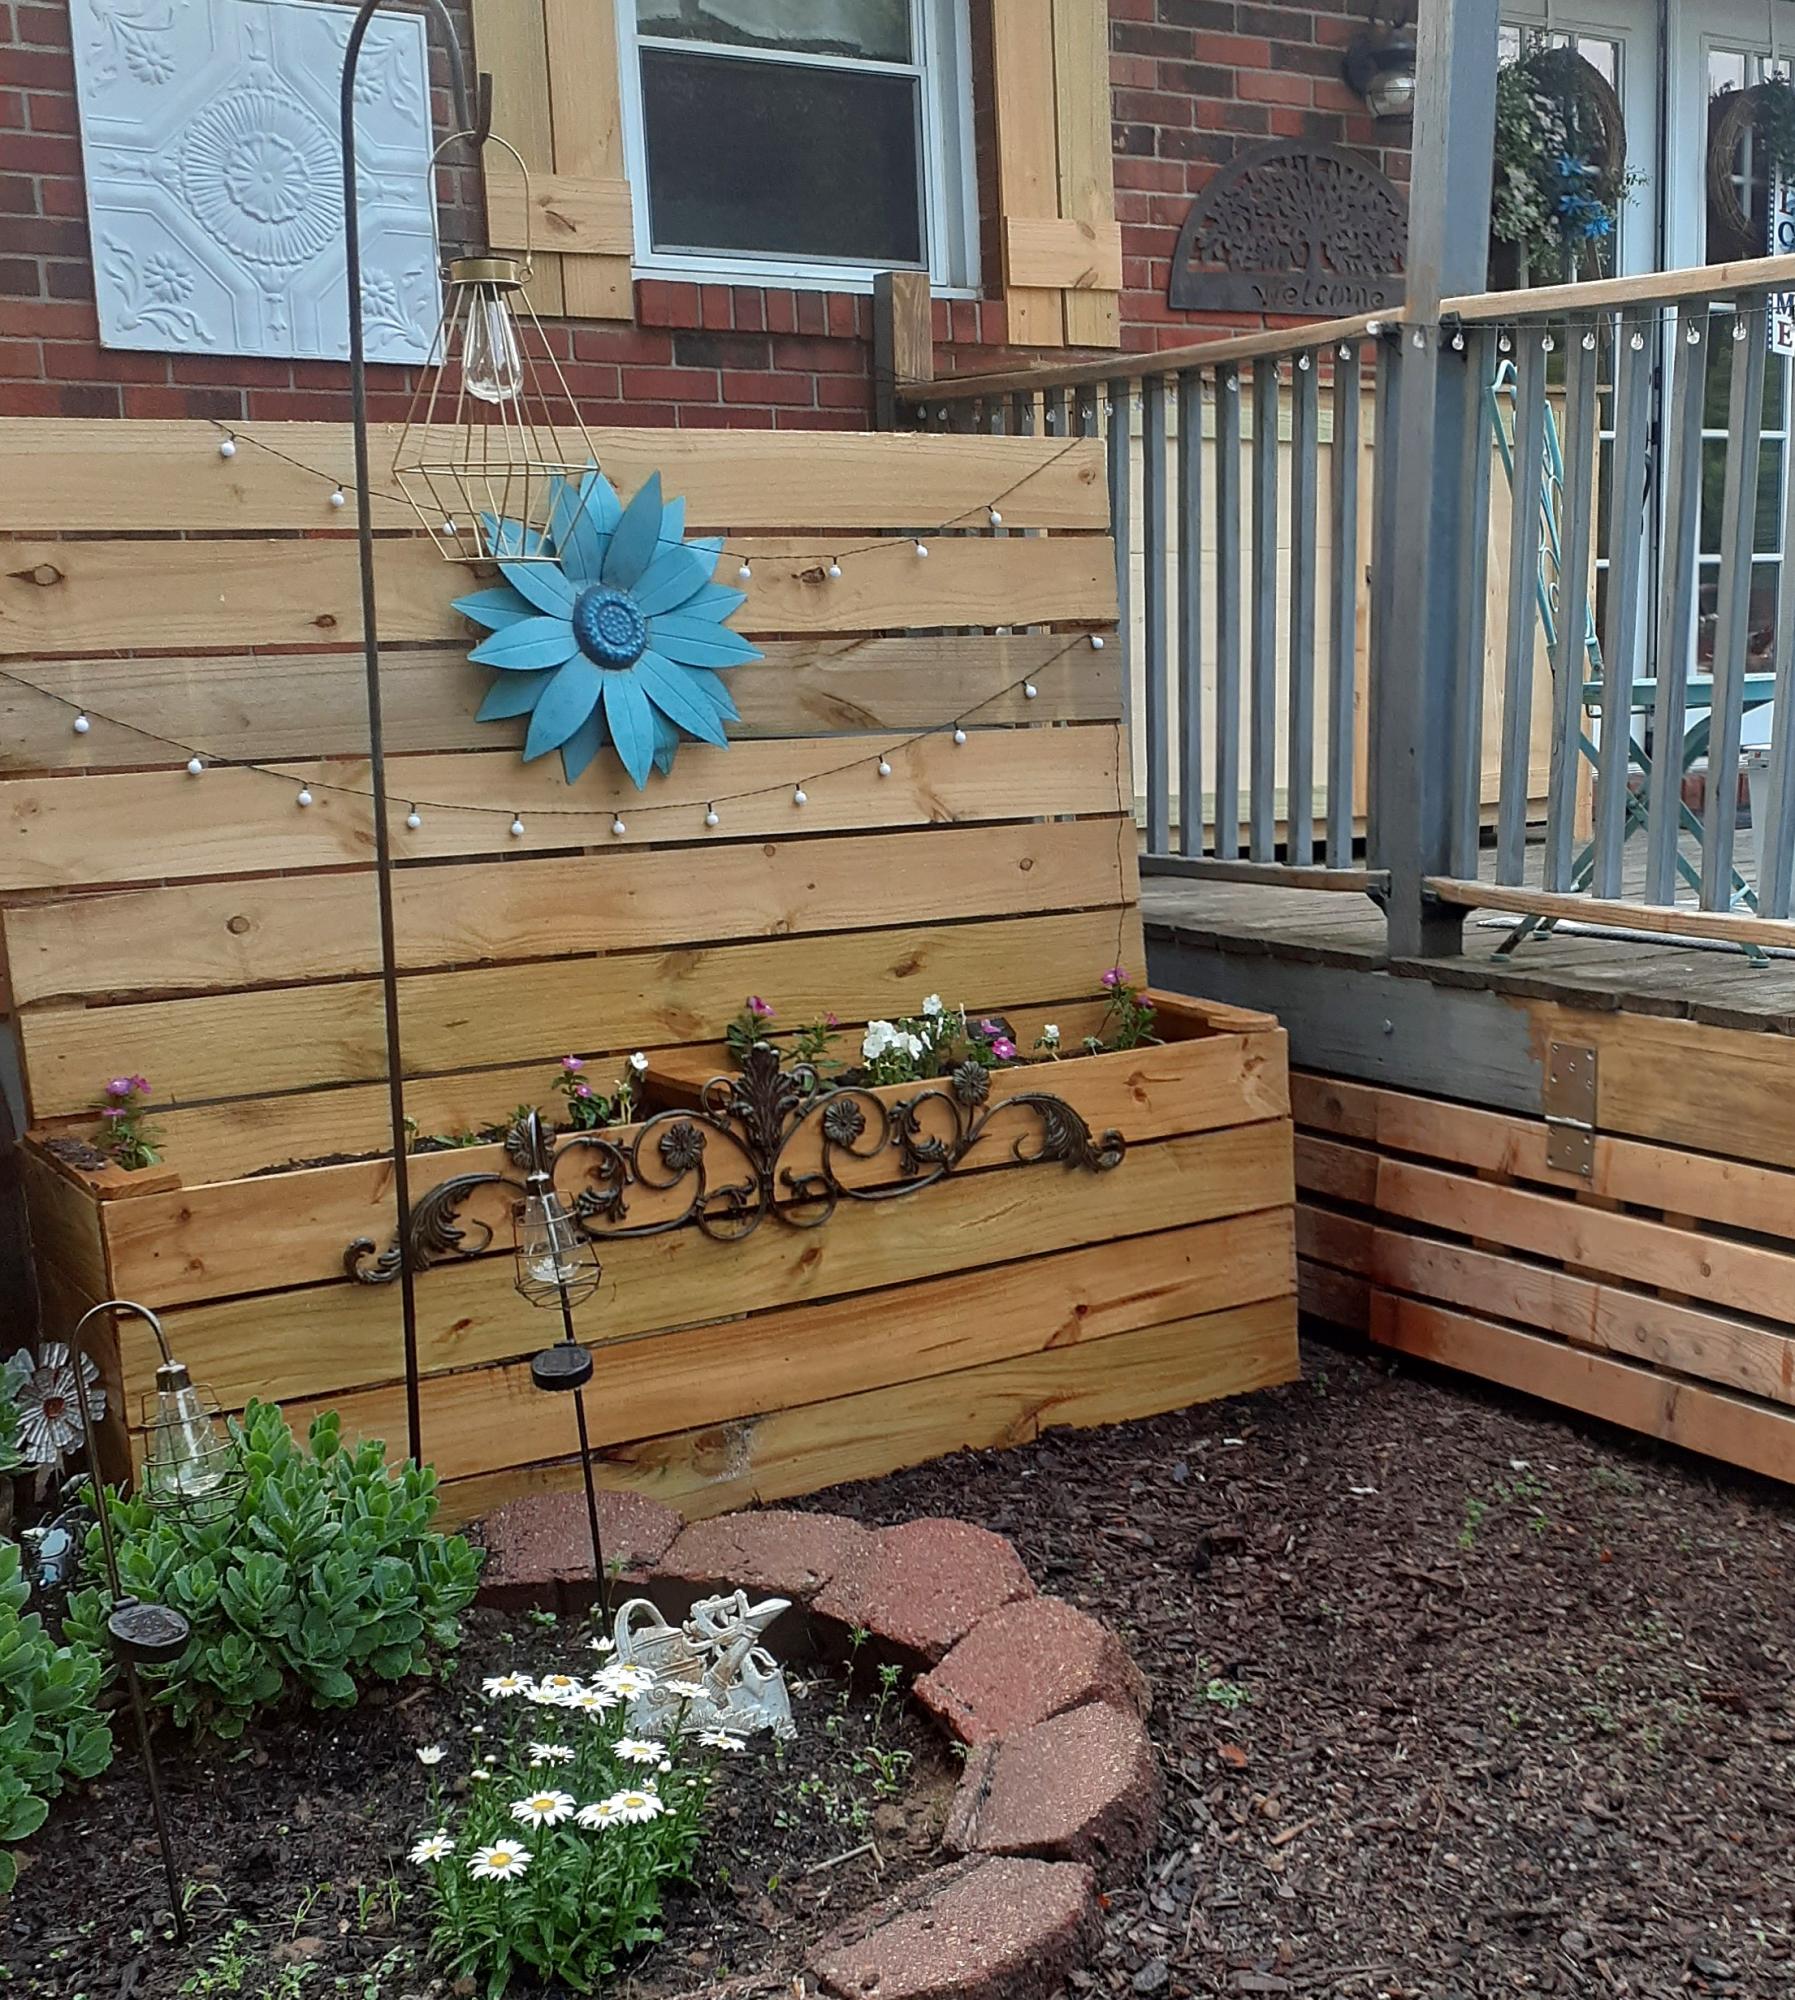
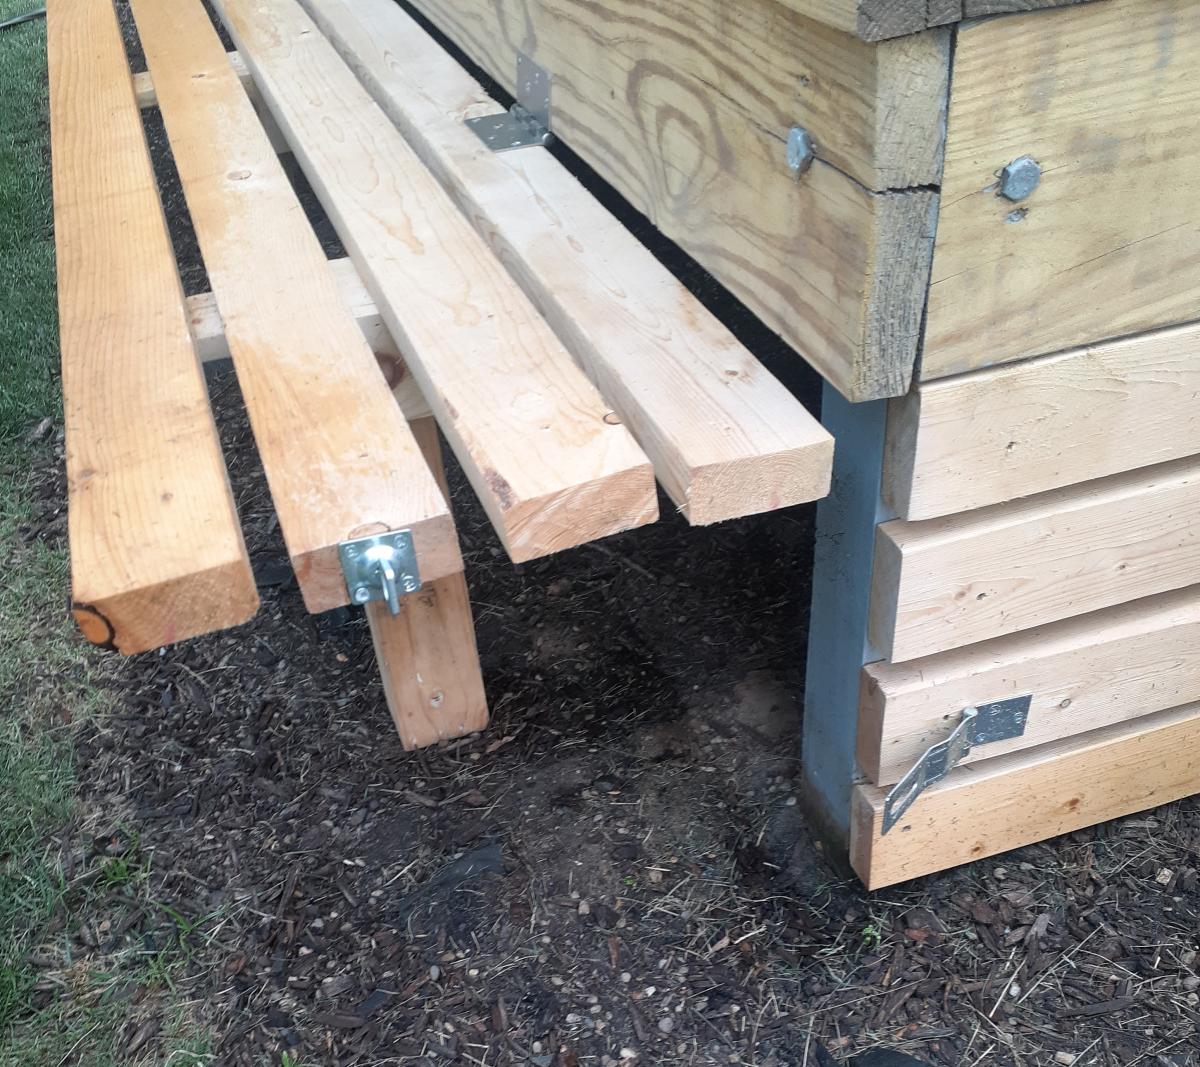
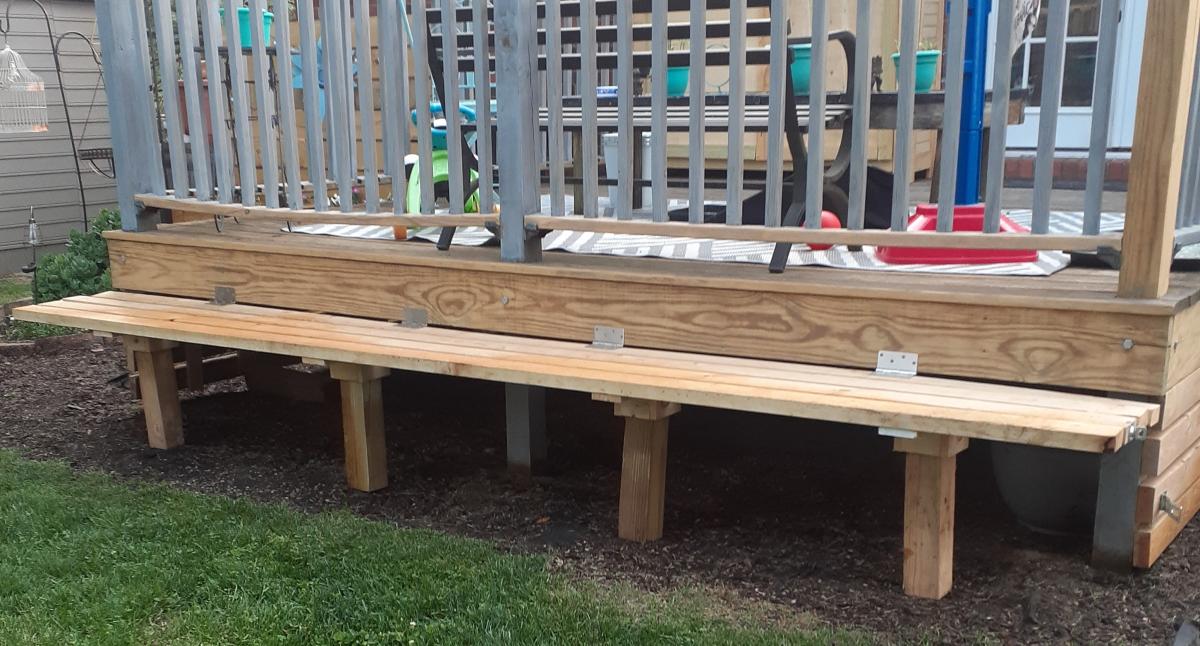
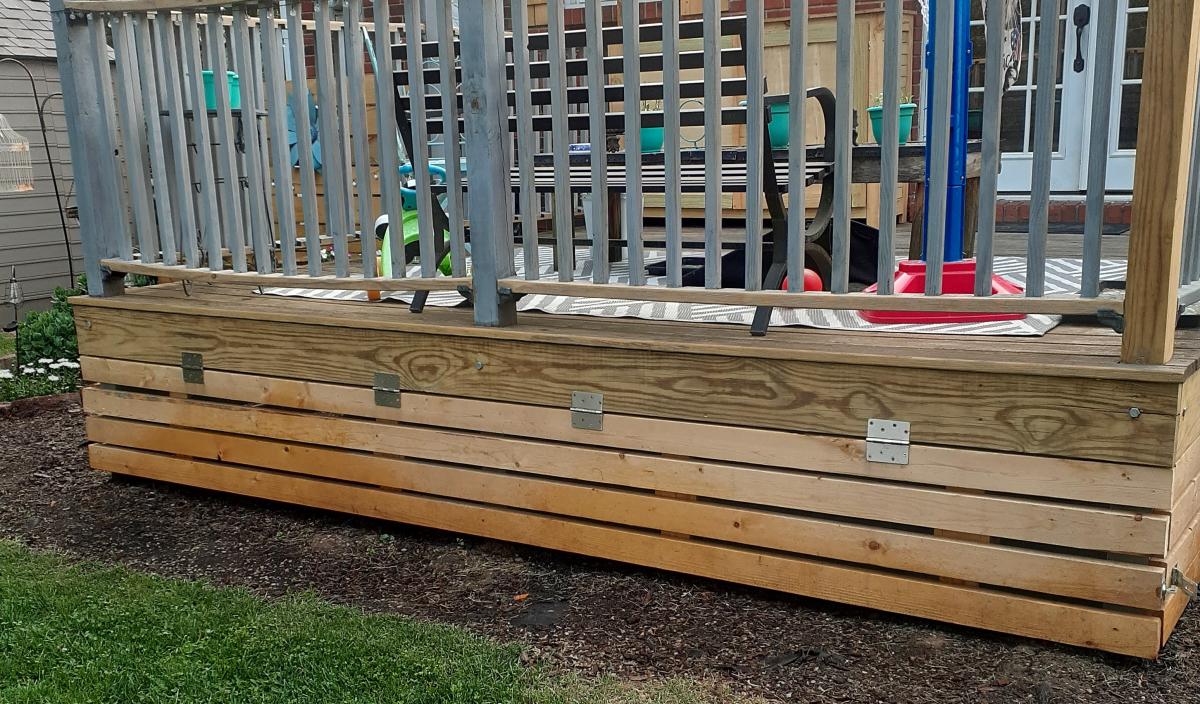
In the middle of a much needed makeover on our back deck! We did not have skirting around the deck and decided that we would like to close it in for extra storage(ladders,compost bin...) and we came up with this little something as a bonus. We are always hosting backyard get togethers and seating is a challenge. Setting up and putting away chairs,ugh. This has been the perfect solution. This was completely an "as we went" plan but the biggest need to know is, heavy duty hinges! (As I said,the deck is getting a makeover so go easy on the appearance:)
Jodi and Matt B.
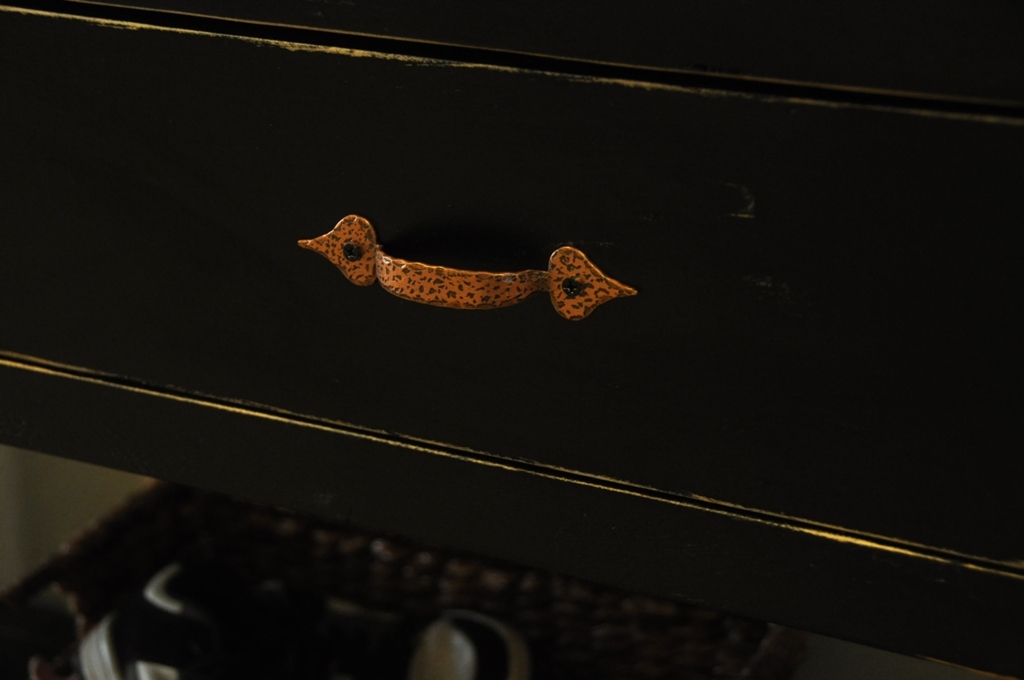
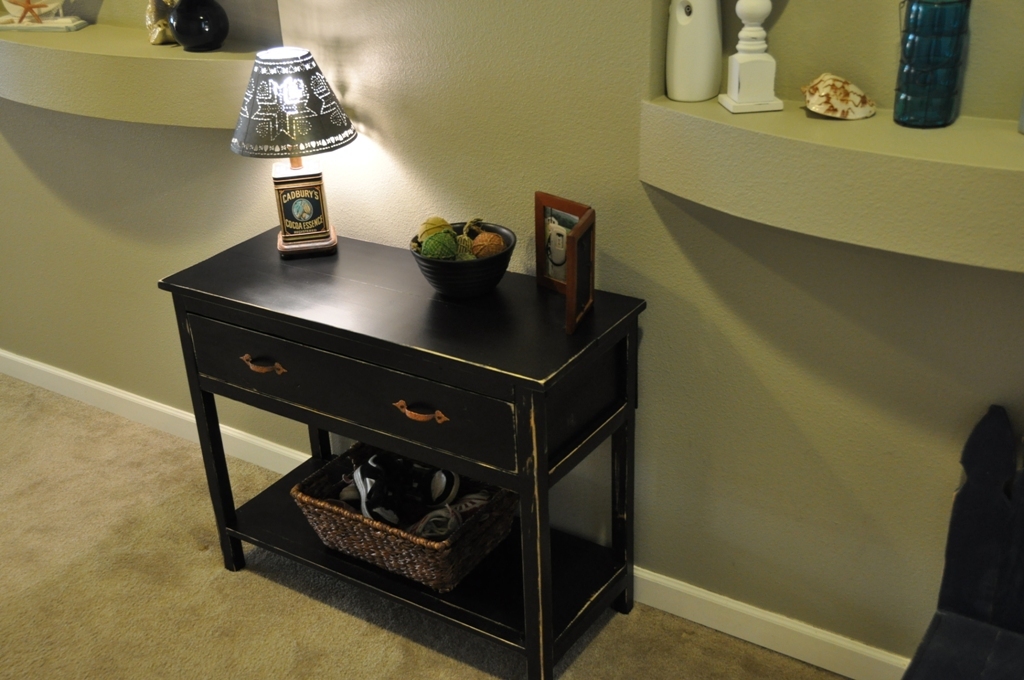
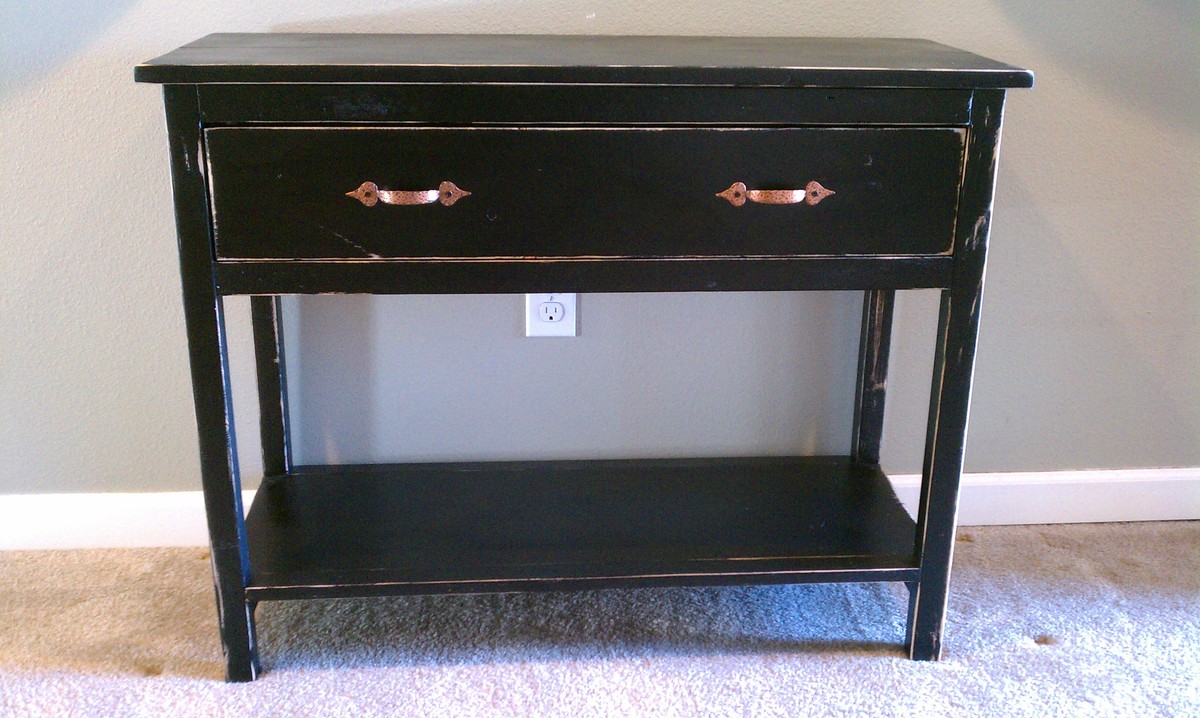
I saw the Farmhouse night stand on this website and decided to super size it so we could have a new entry table in the house. I added 1 1/4 inch to the height and extended the table top out to 36 inches. We decided to paint it black and distress it.
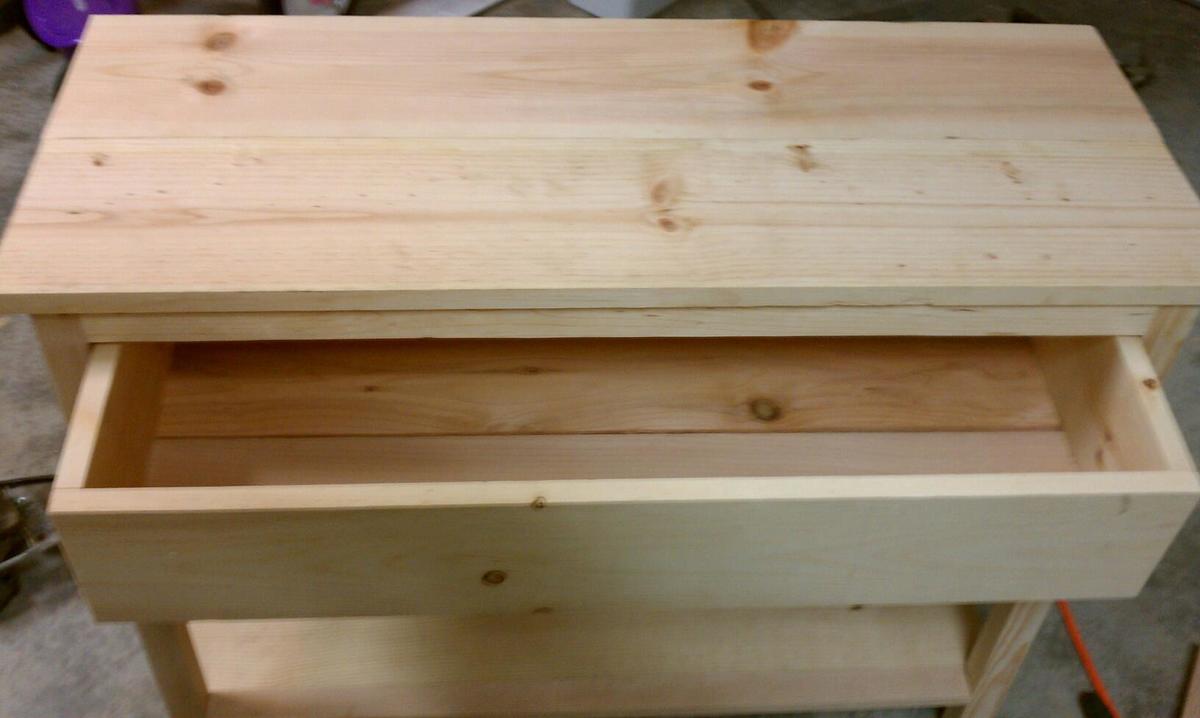
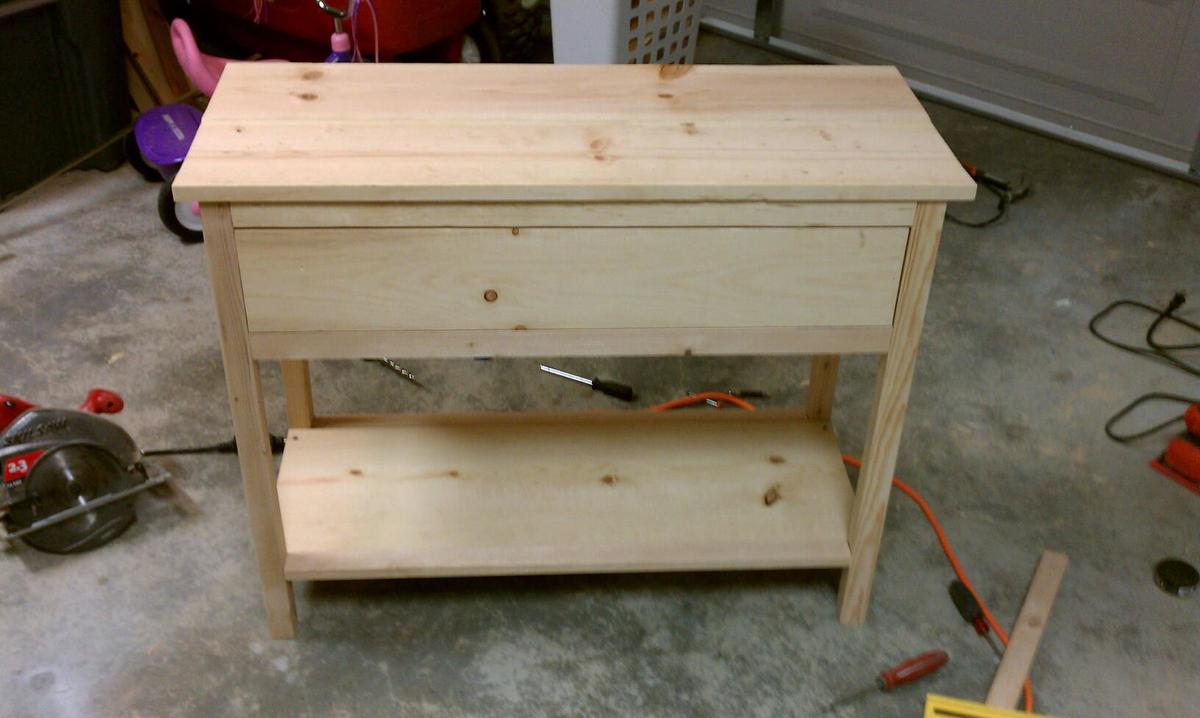
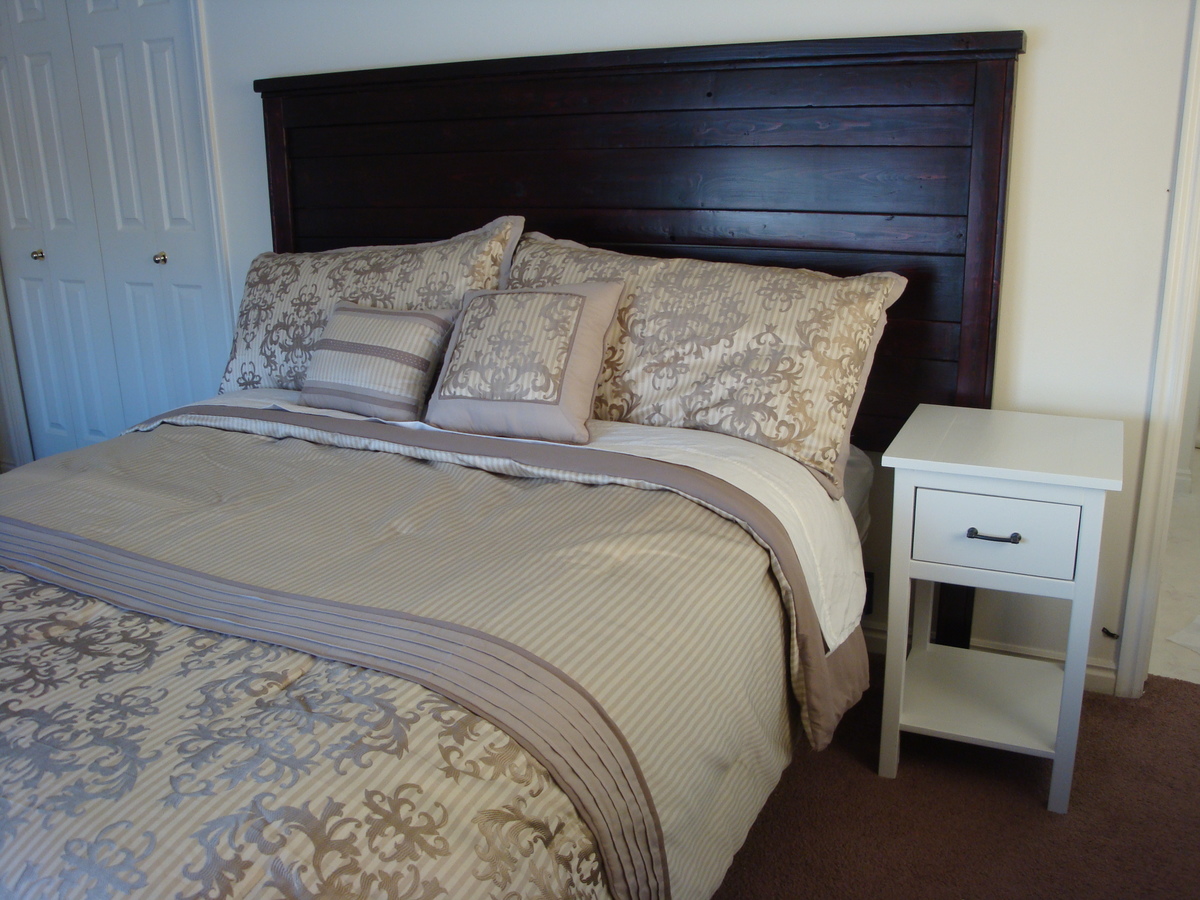
I made two of these bedside tables for our master bedroom and I LOVE how they turned out. Really like the white with my red mahogany headboard. These weren't too difficult to build. The only problem I ran into was trying to fit my drill in some of the tight spaces to get some of the screws in. I had to do a few of them by hand with a small screwdriver. I mostly used leftover scraps to build them. The tops are made of several boards kreg jigged together rather than one big piece. I was a little nervous about the drawer because I have never made one before, but it wasn't as bad as I thought and it came out just about perfect! yay.
Tue, 01/14/2014 - 16:39
Love this nightstand, it's the perfect size, not too big or too small. Your white finish looks great, and the drawer looks perfectly even. Great job!
Sun, 02/09/2014 - 10:47
Awesome job with your drawer! I just finish build my mini table now and getting ready to cut up another woods for the drawer part, what size is your front drawer? Is it 11 1/4? What about the length? I want to make sure I measure it right before I cut em soon.
Tue, 02/11/2014 - 18:29
Sorry, I just saw your questions! Yes the drawer front is 11 1/4 wide, and the length of the drawer is 11 1/2. I just followed Ana's cut list exactly for the mini farmhouse bedside table. Since you already have the table built you can measure the opening for the drawer to make sure it will fit.
This was my first project building something from this site. I absolutely love it! We didnt add the X's because the miter saw was at my dad's house, which I was kind of sad about, but I think it still looks good. Not too bad for mine and my husbands first build!

Wife loves her desk. She works from home and loves the simple look

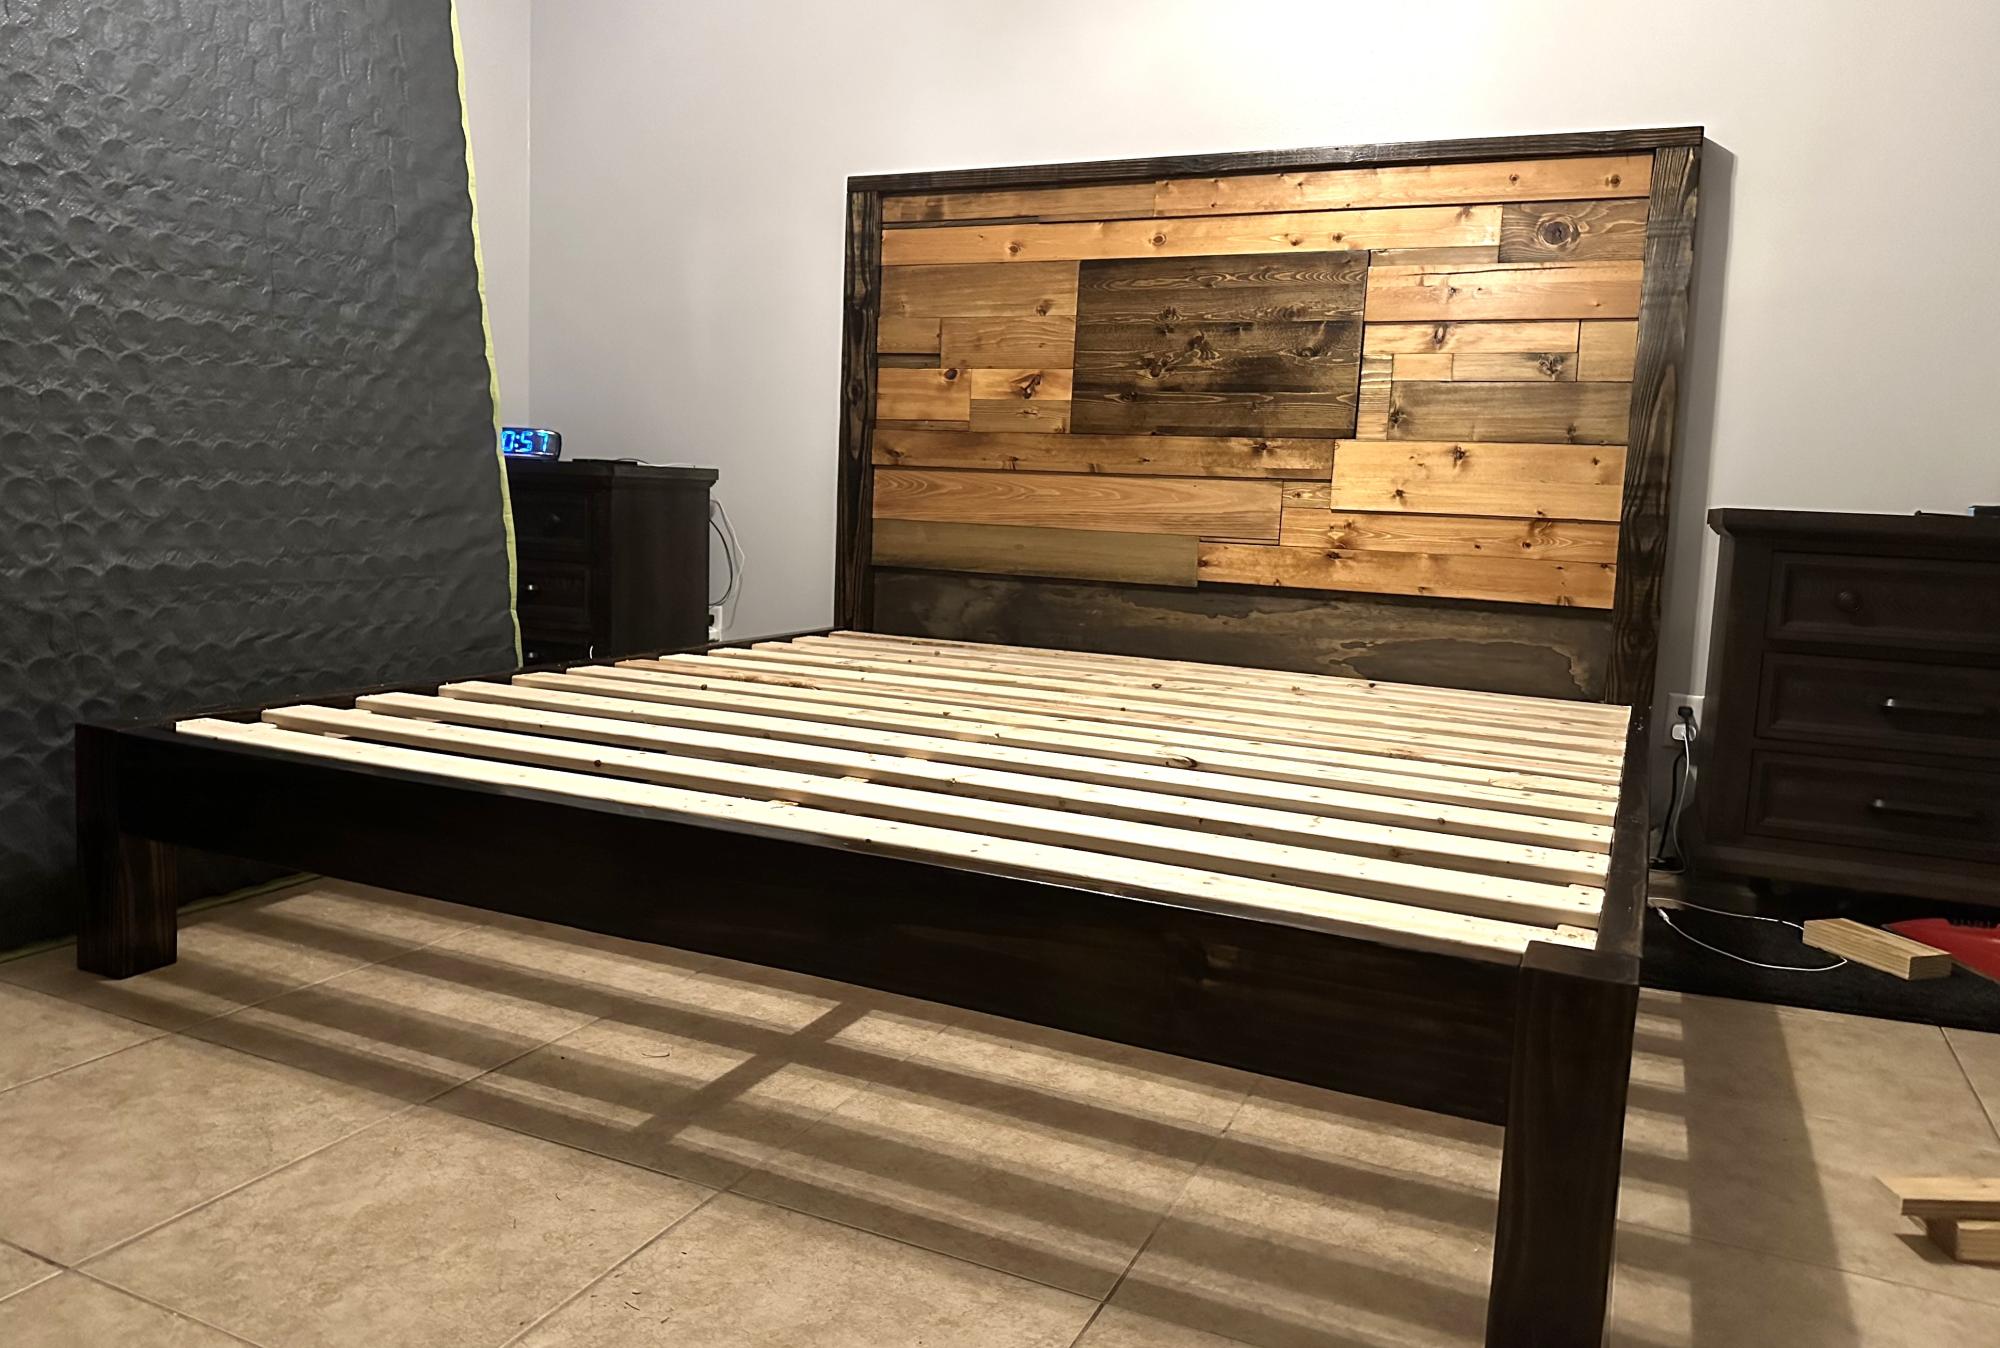
This was definitely a project, but totally doable for anyone.
We had a bunch of scrap wood so we decided to do a different style for the headboard, everything else is to the plans.
Absolutely in love with it! Thanks to Ana for the plans!
Different style headboard
