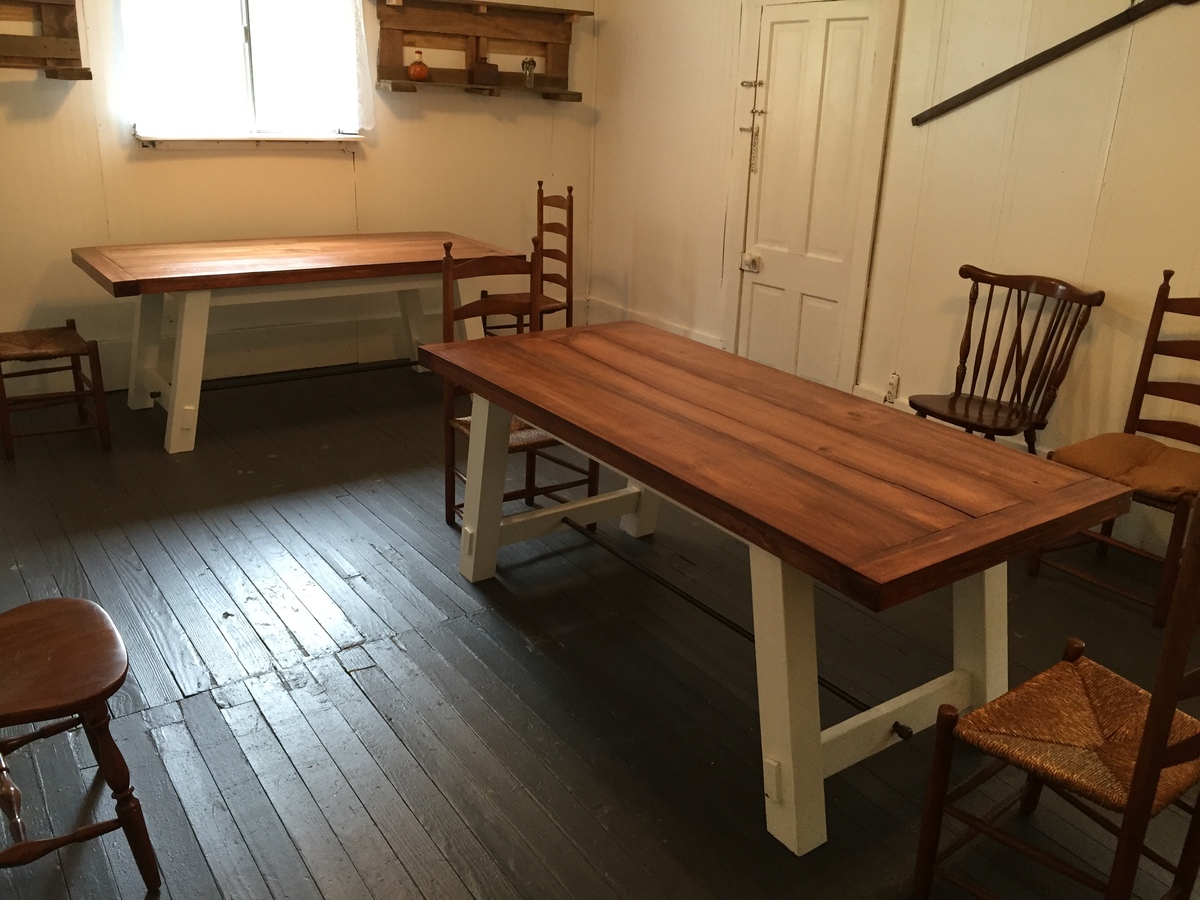
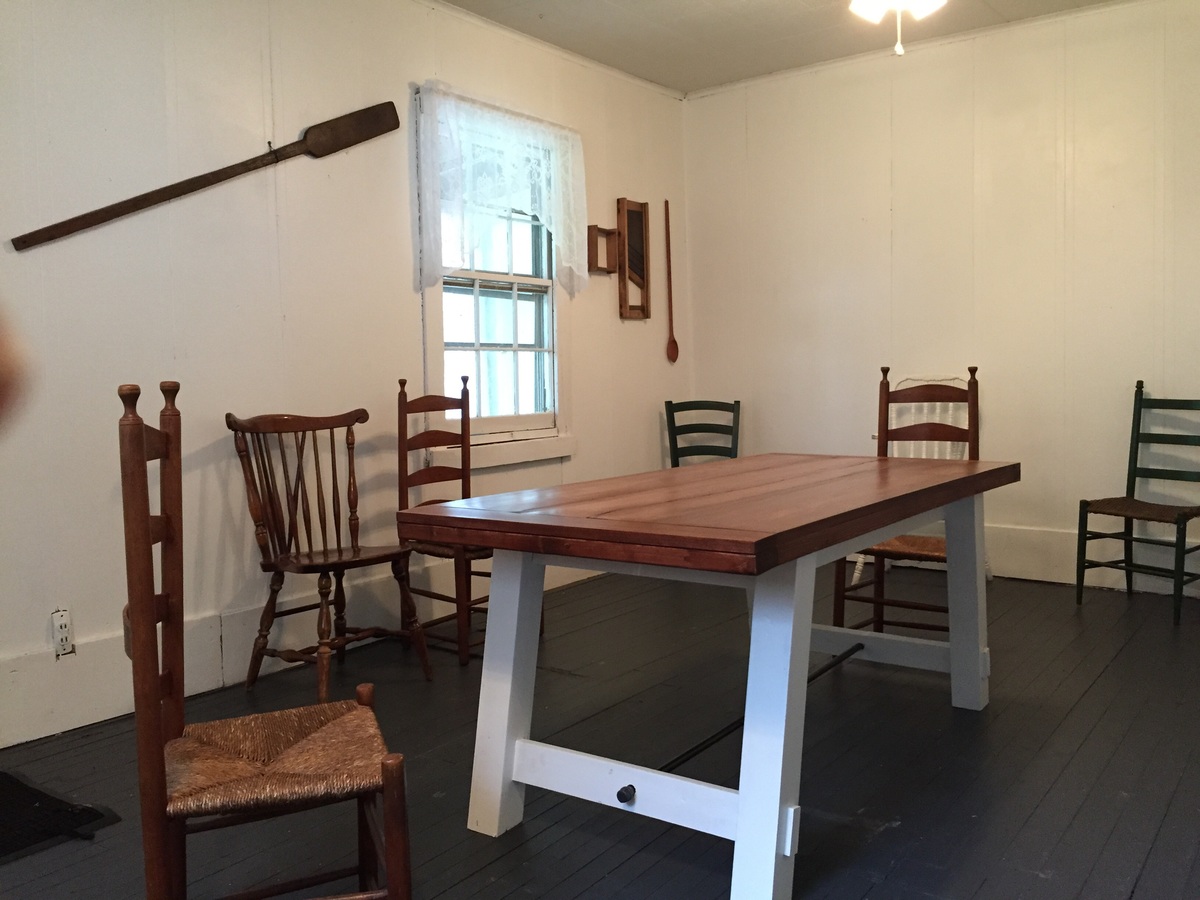
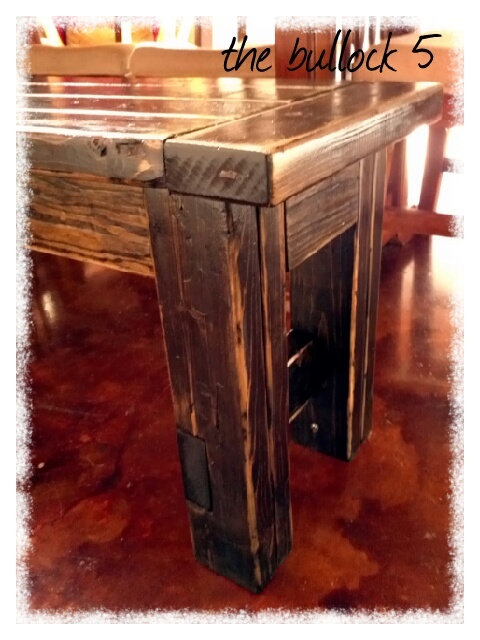
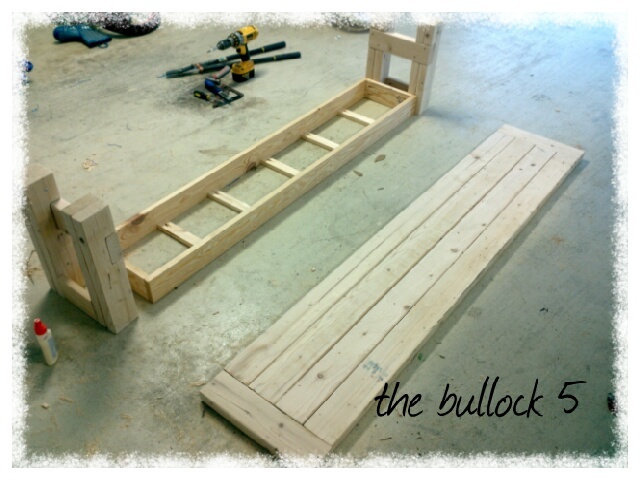
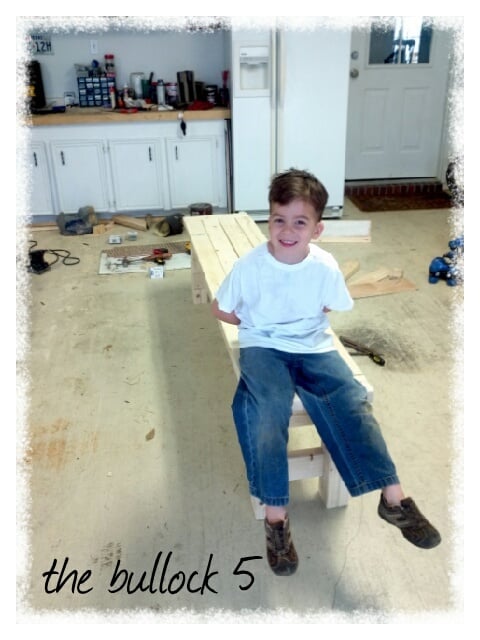
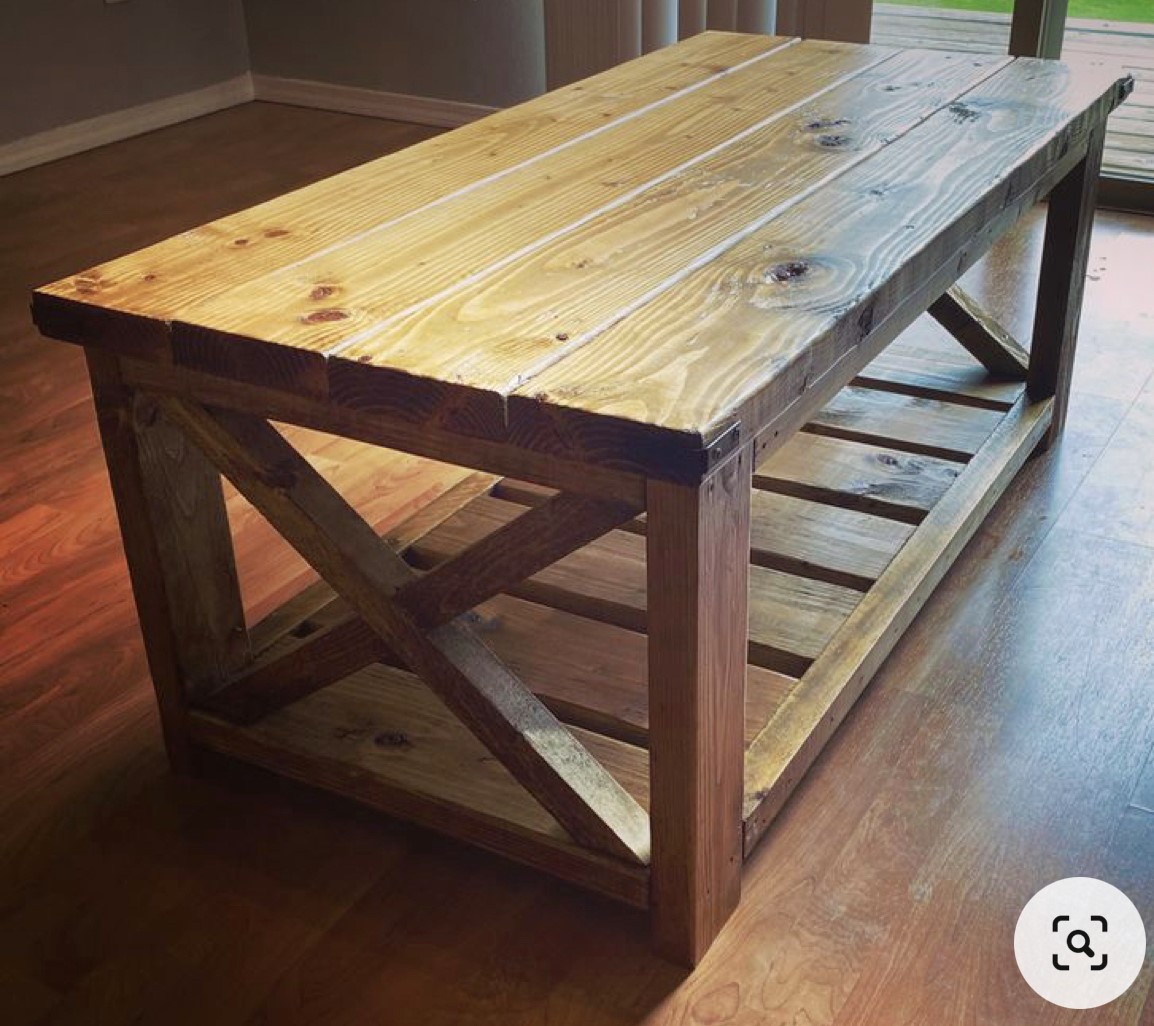
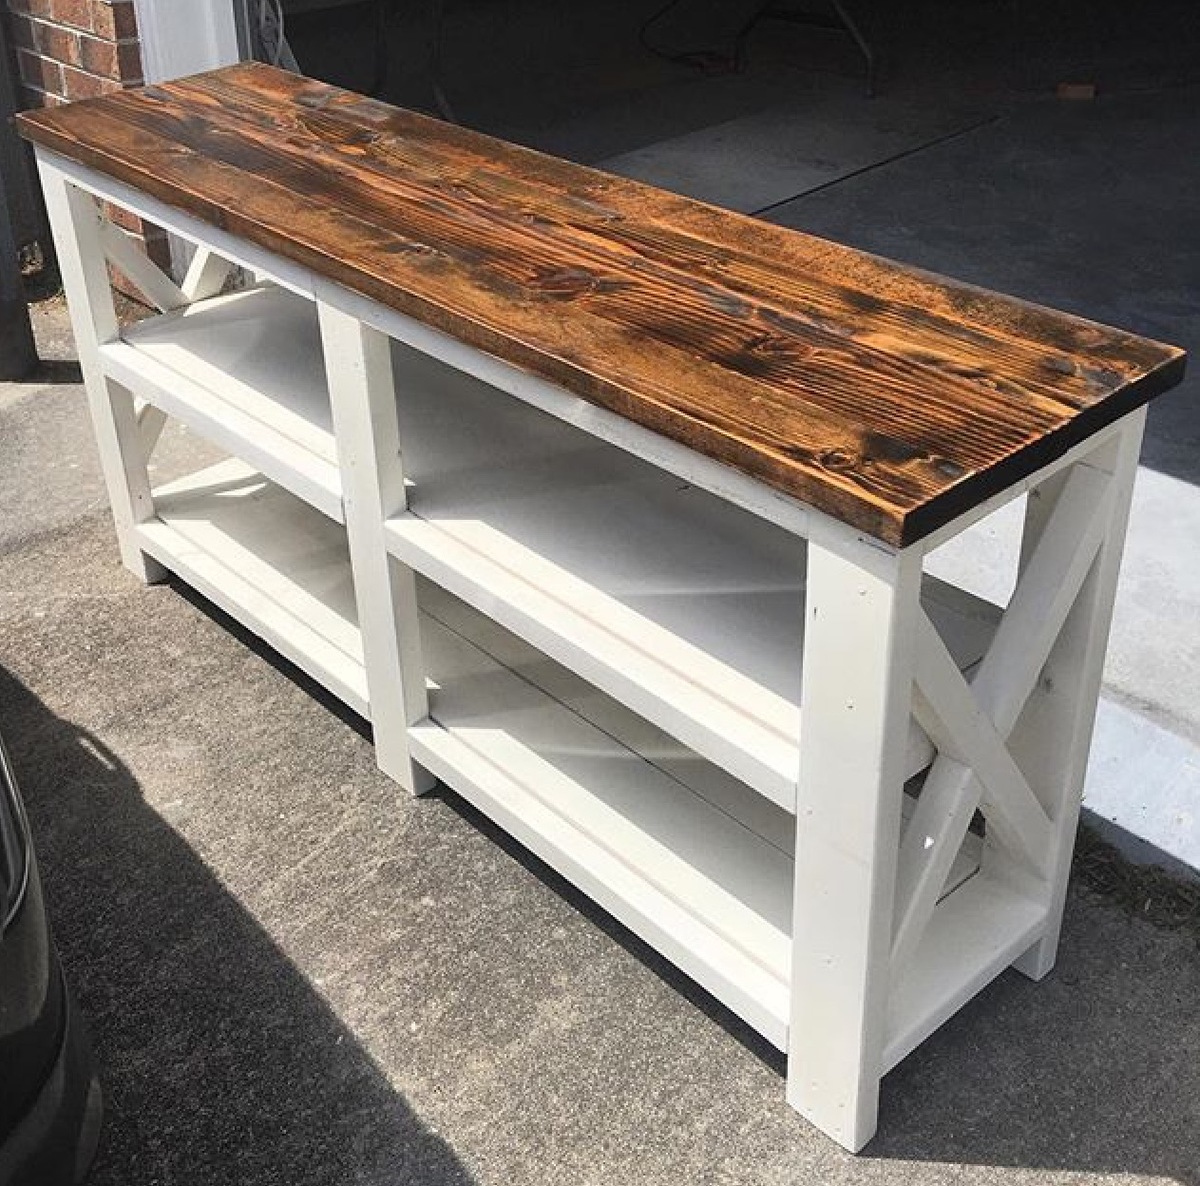
Communion Table from truss Sofa table plans

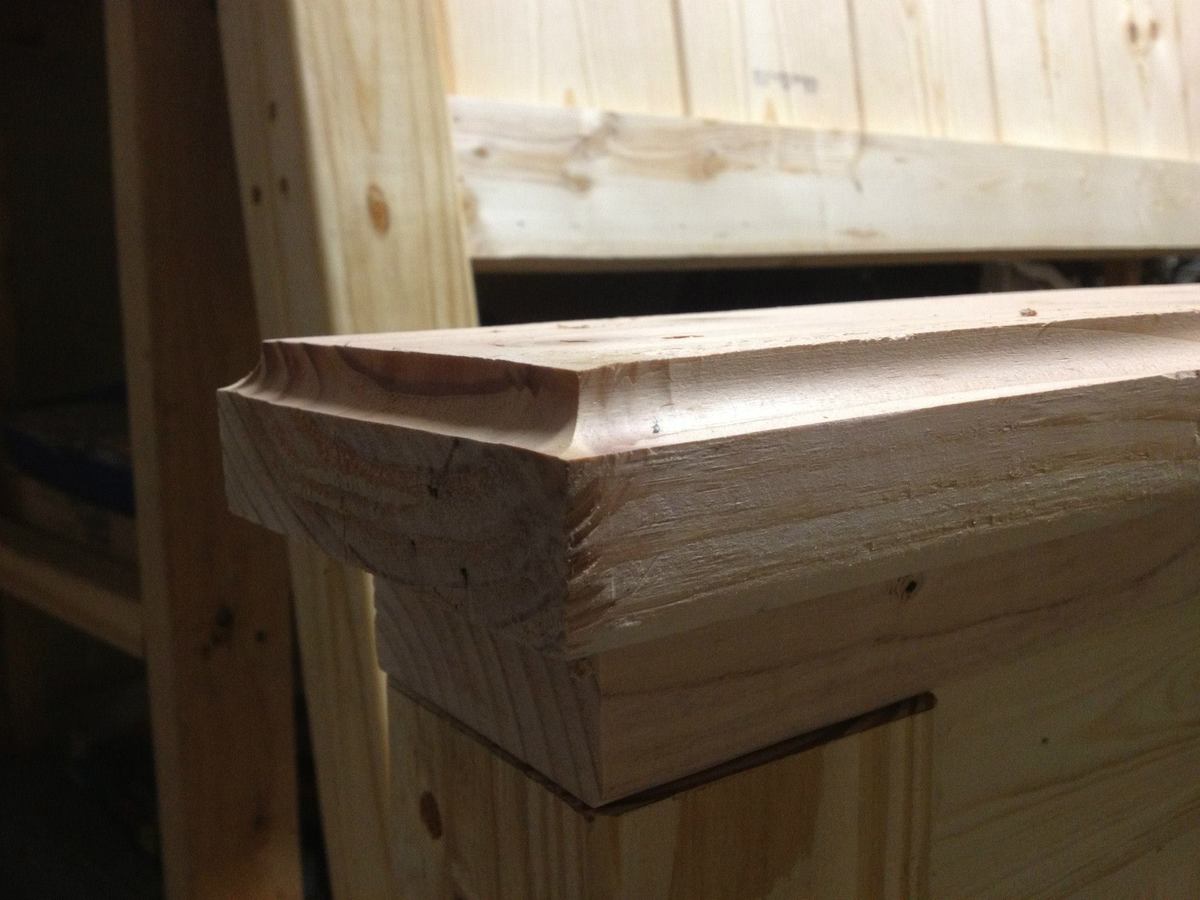
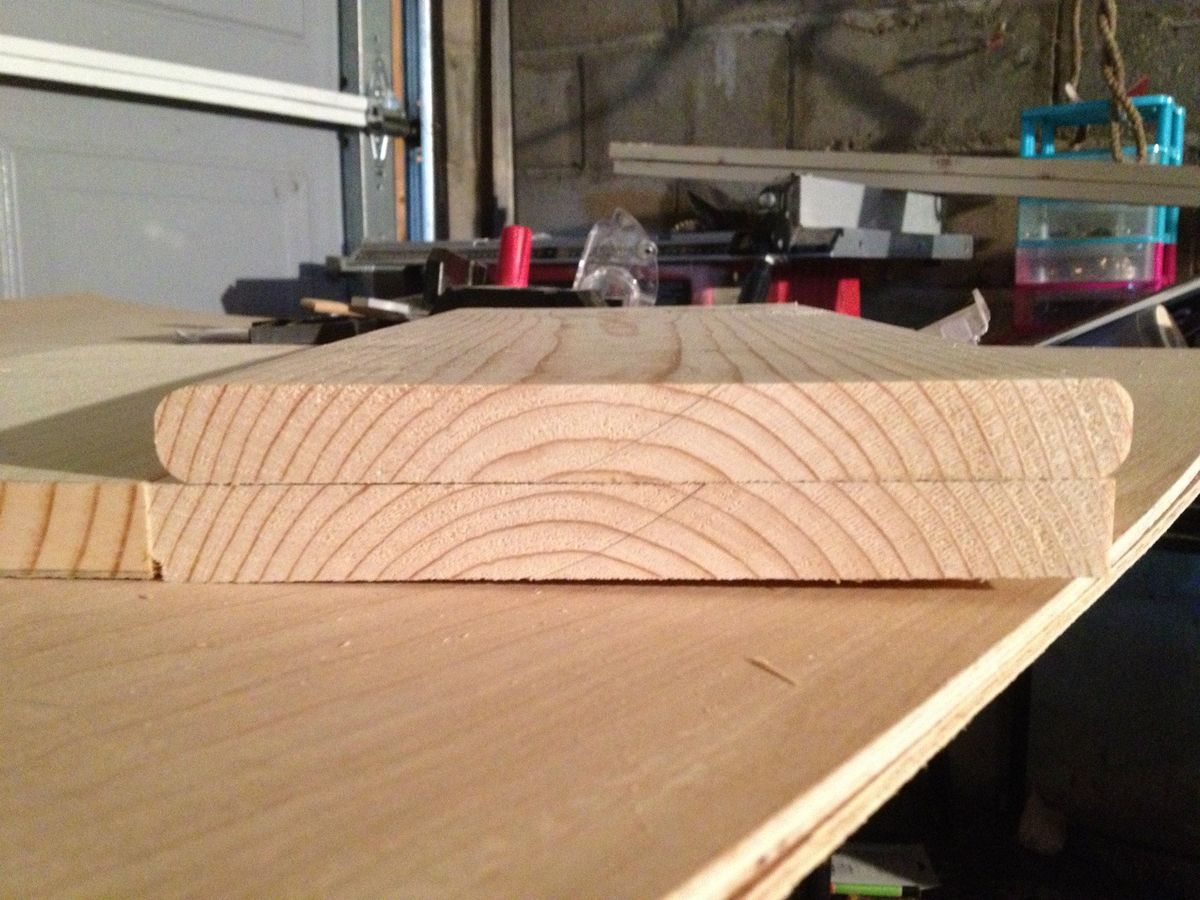
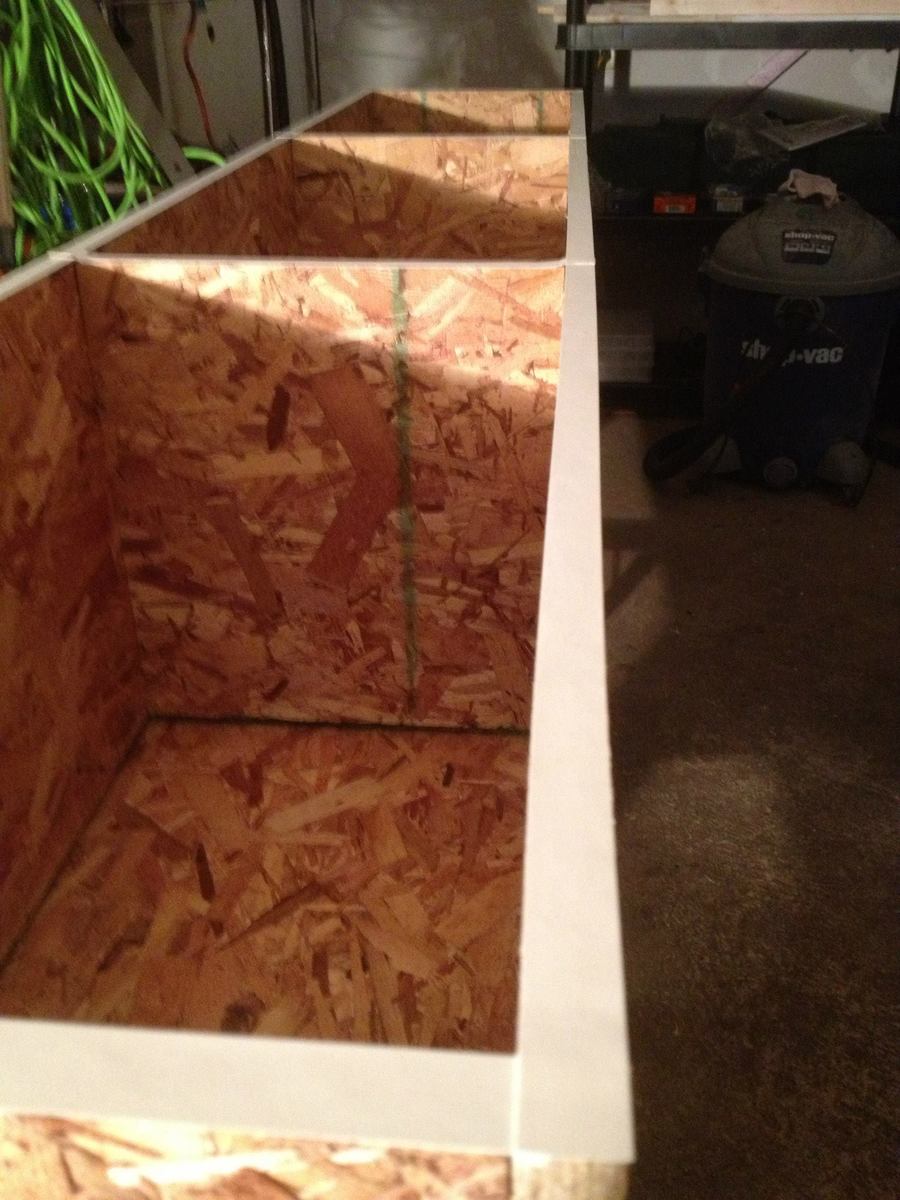
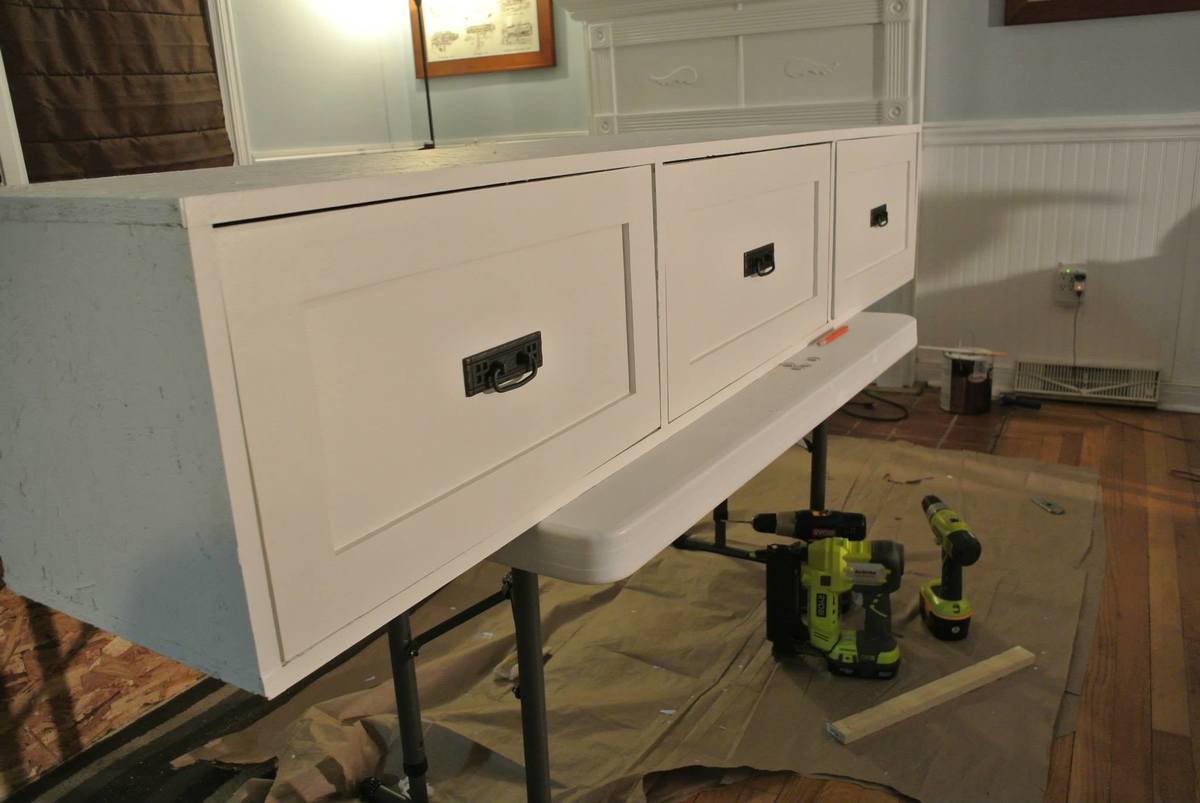
Wanted to make a Communion Table for church found these plans here on Ana White and just had to use it. I modified them to make the table 24 inches wide and only 52 inches long. I had fun making this and had help from all five of my kids with the oldest being 11 and the youngest 3. Thanks for recommending these plans they were awesome. 👍
Estimated Cost
$250
Estimated Time Investment
Week Long Project (20 Hours or More)
Finish Used
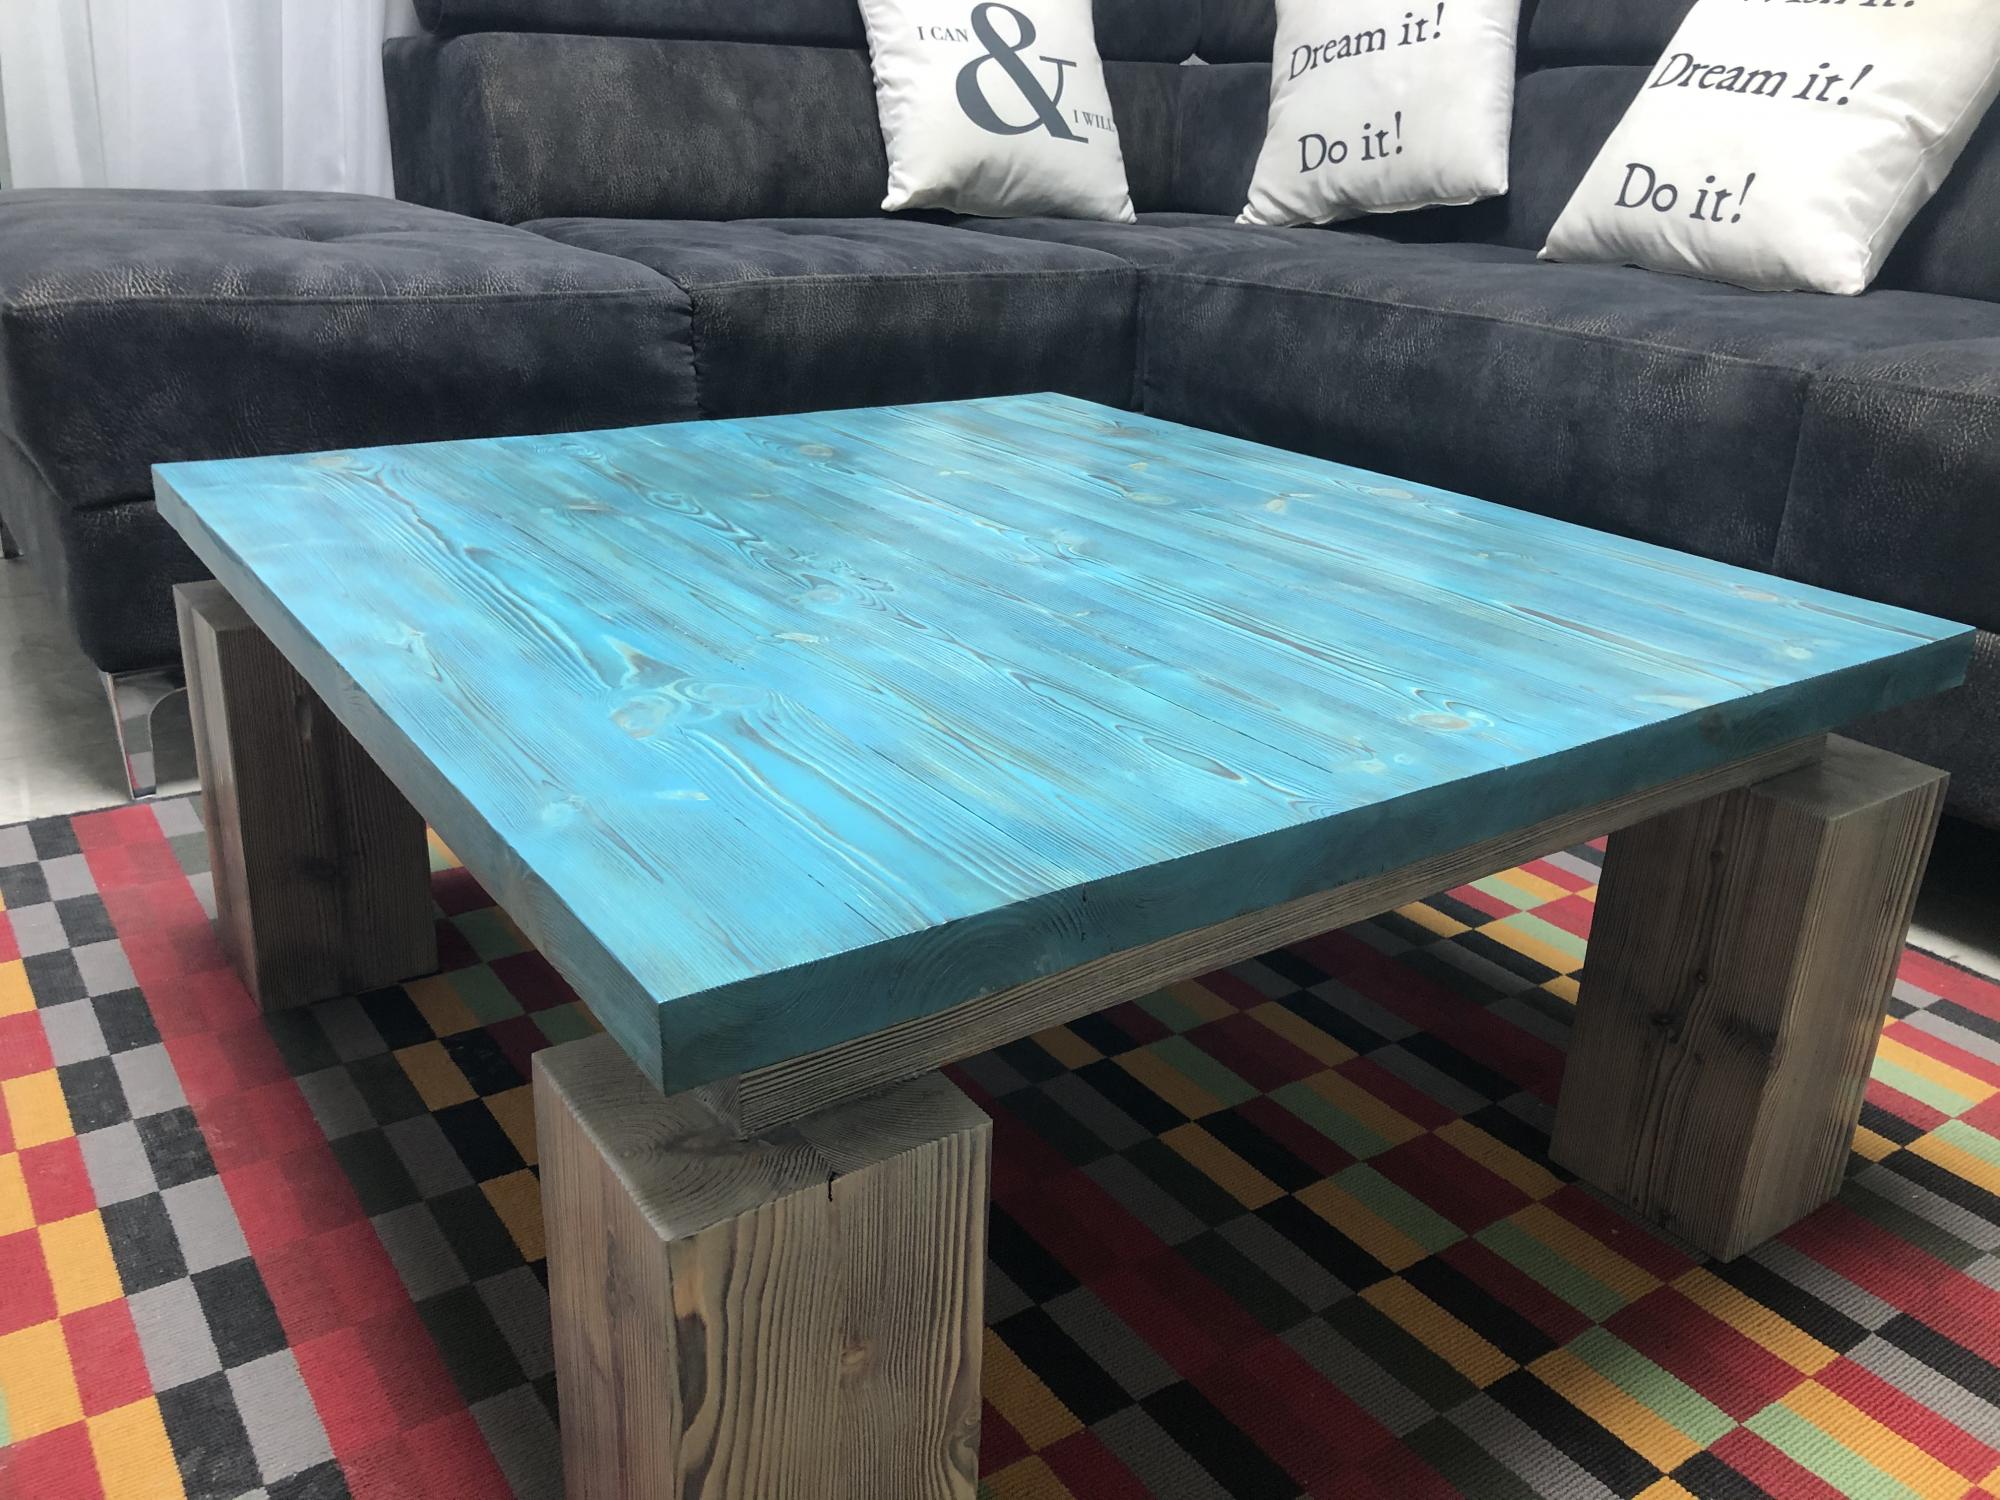
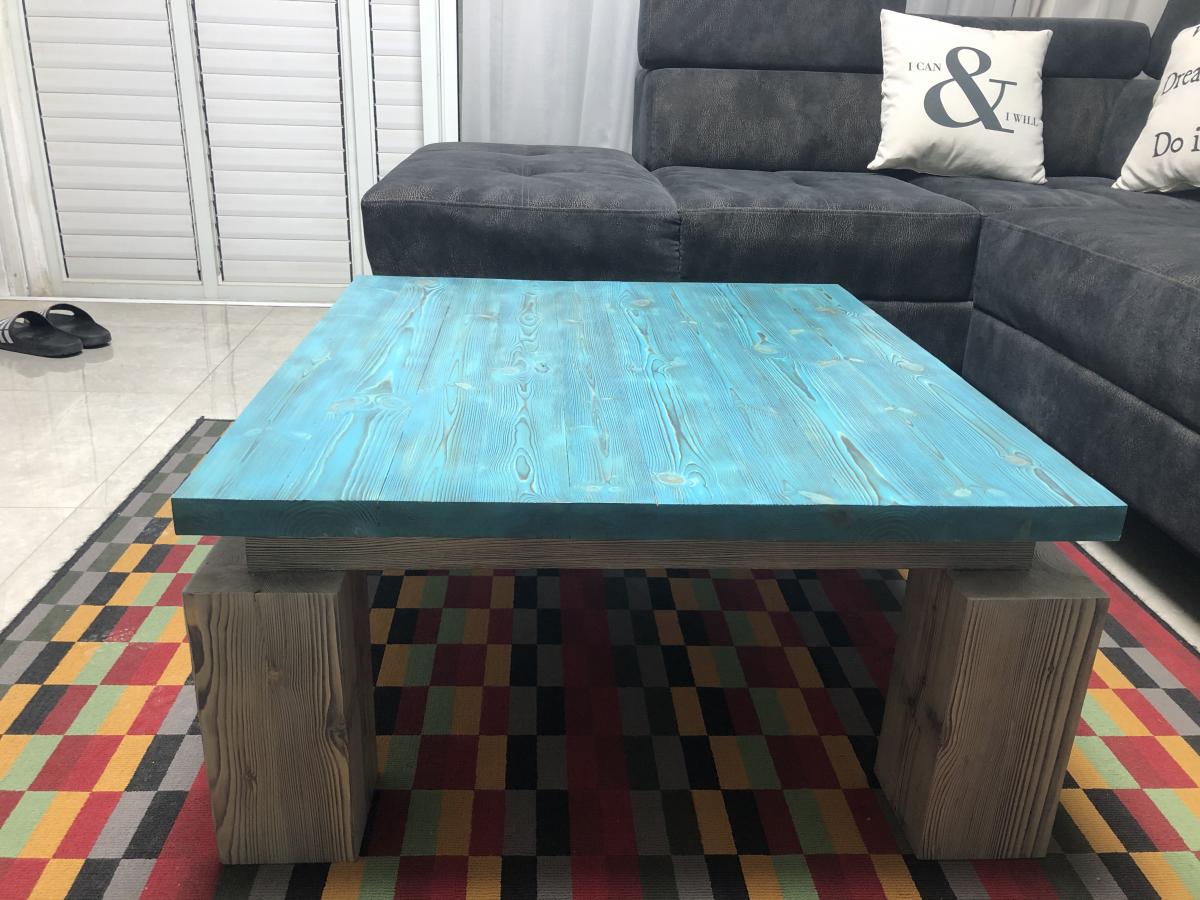
Shellac on top white paint with coffee glaze finished with polyurethane
Recommended Skill Level
Beginner