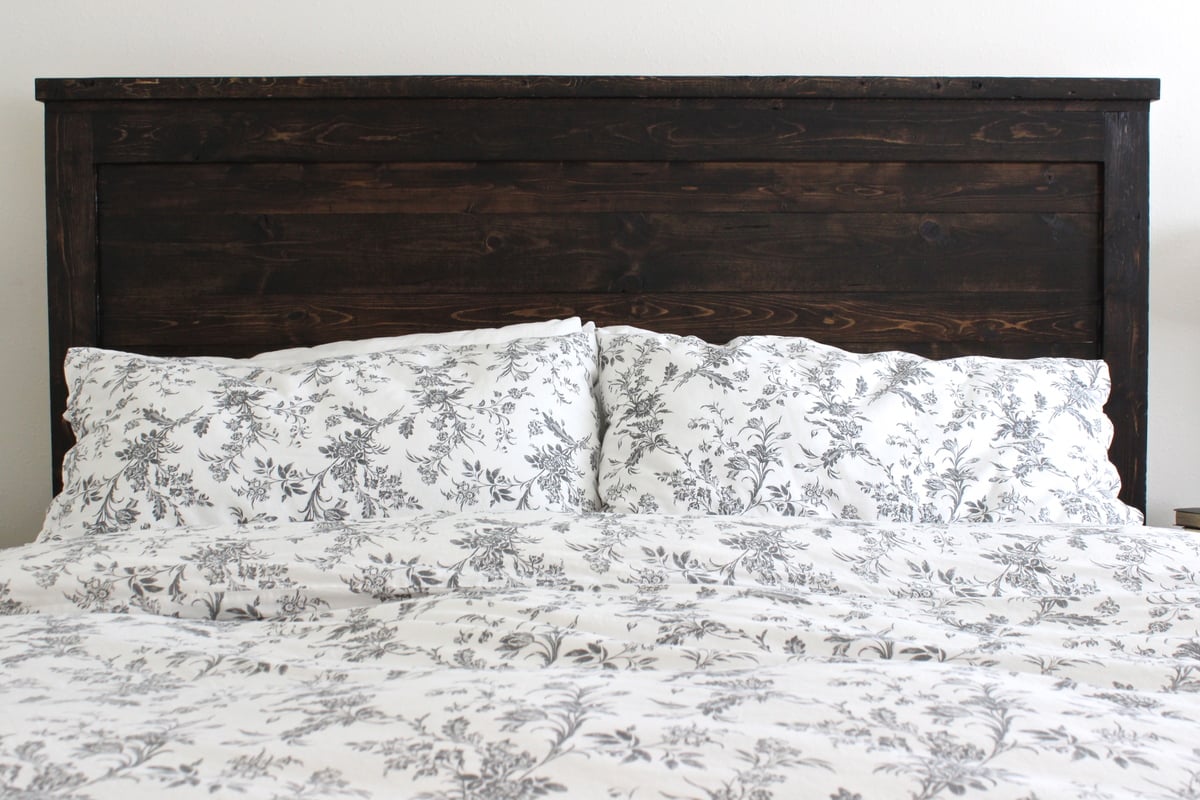
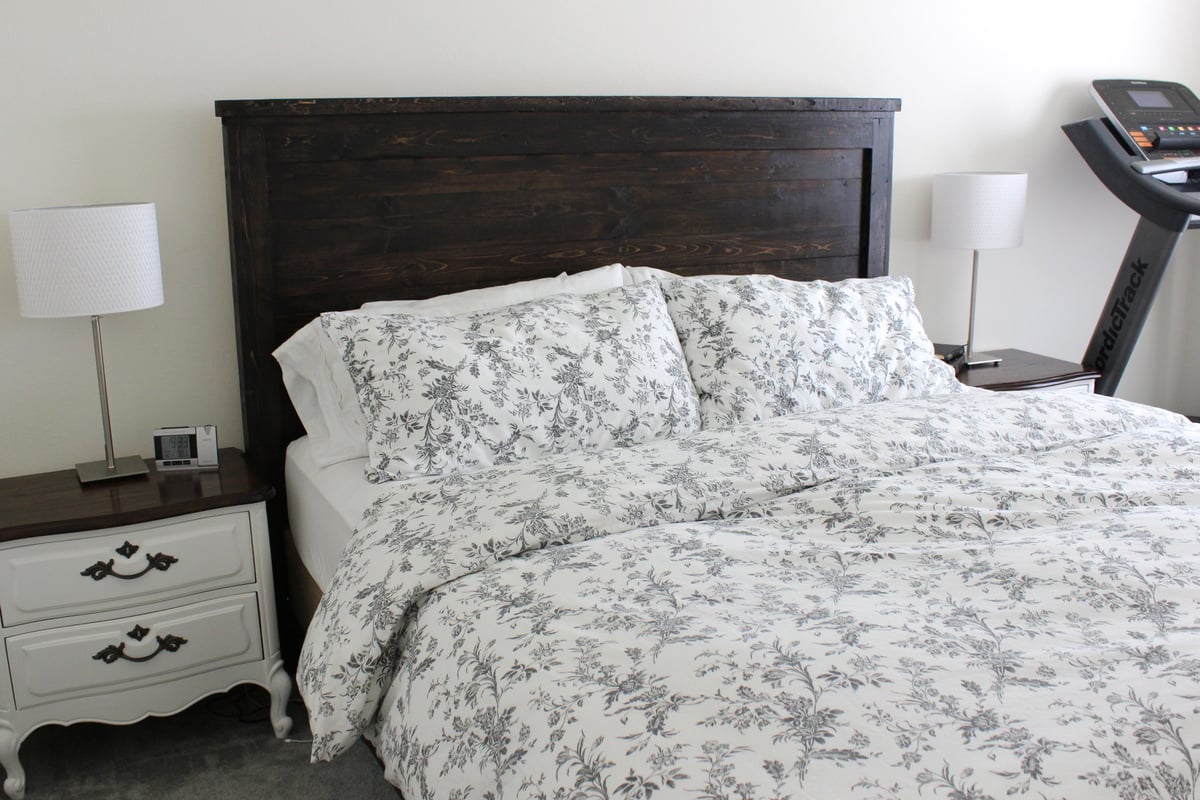
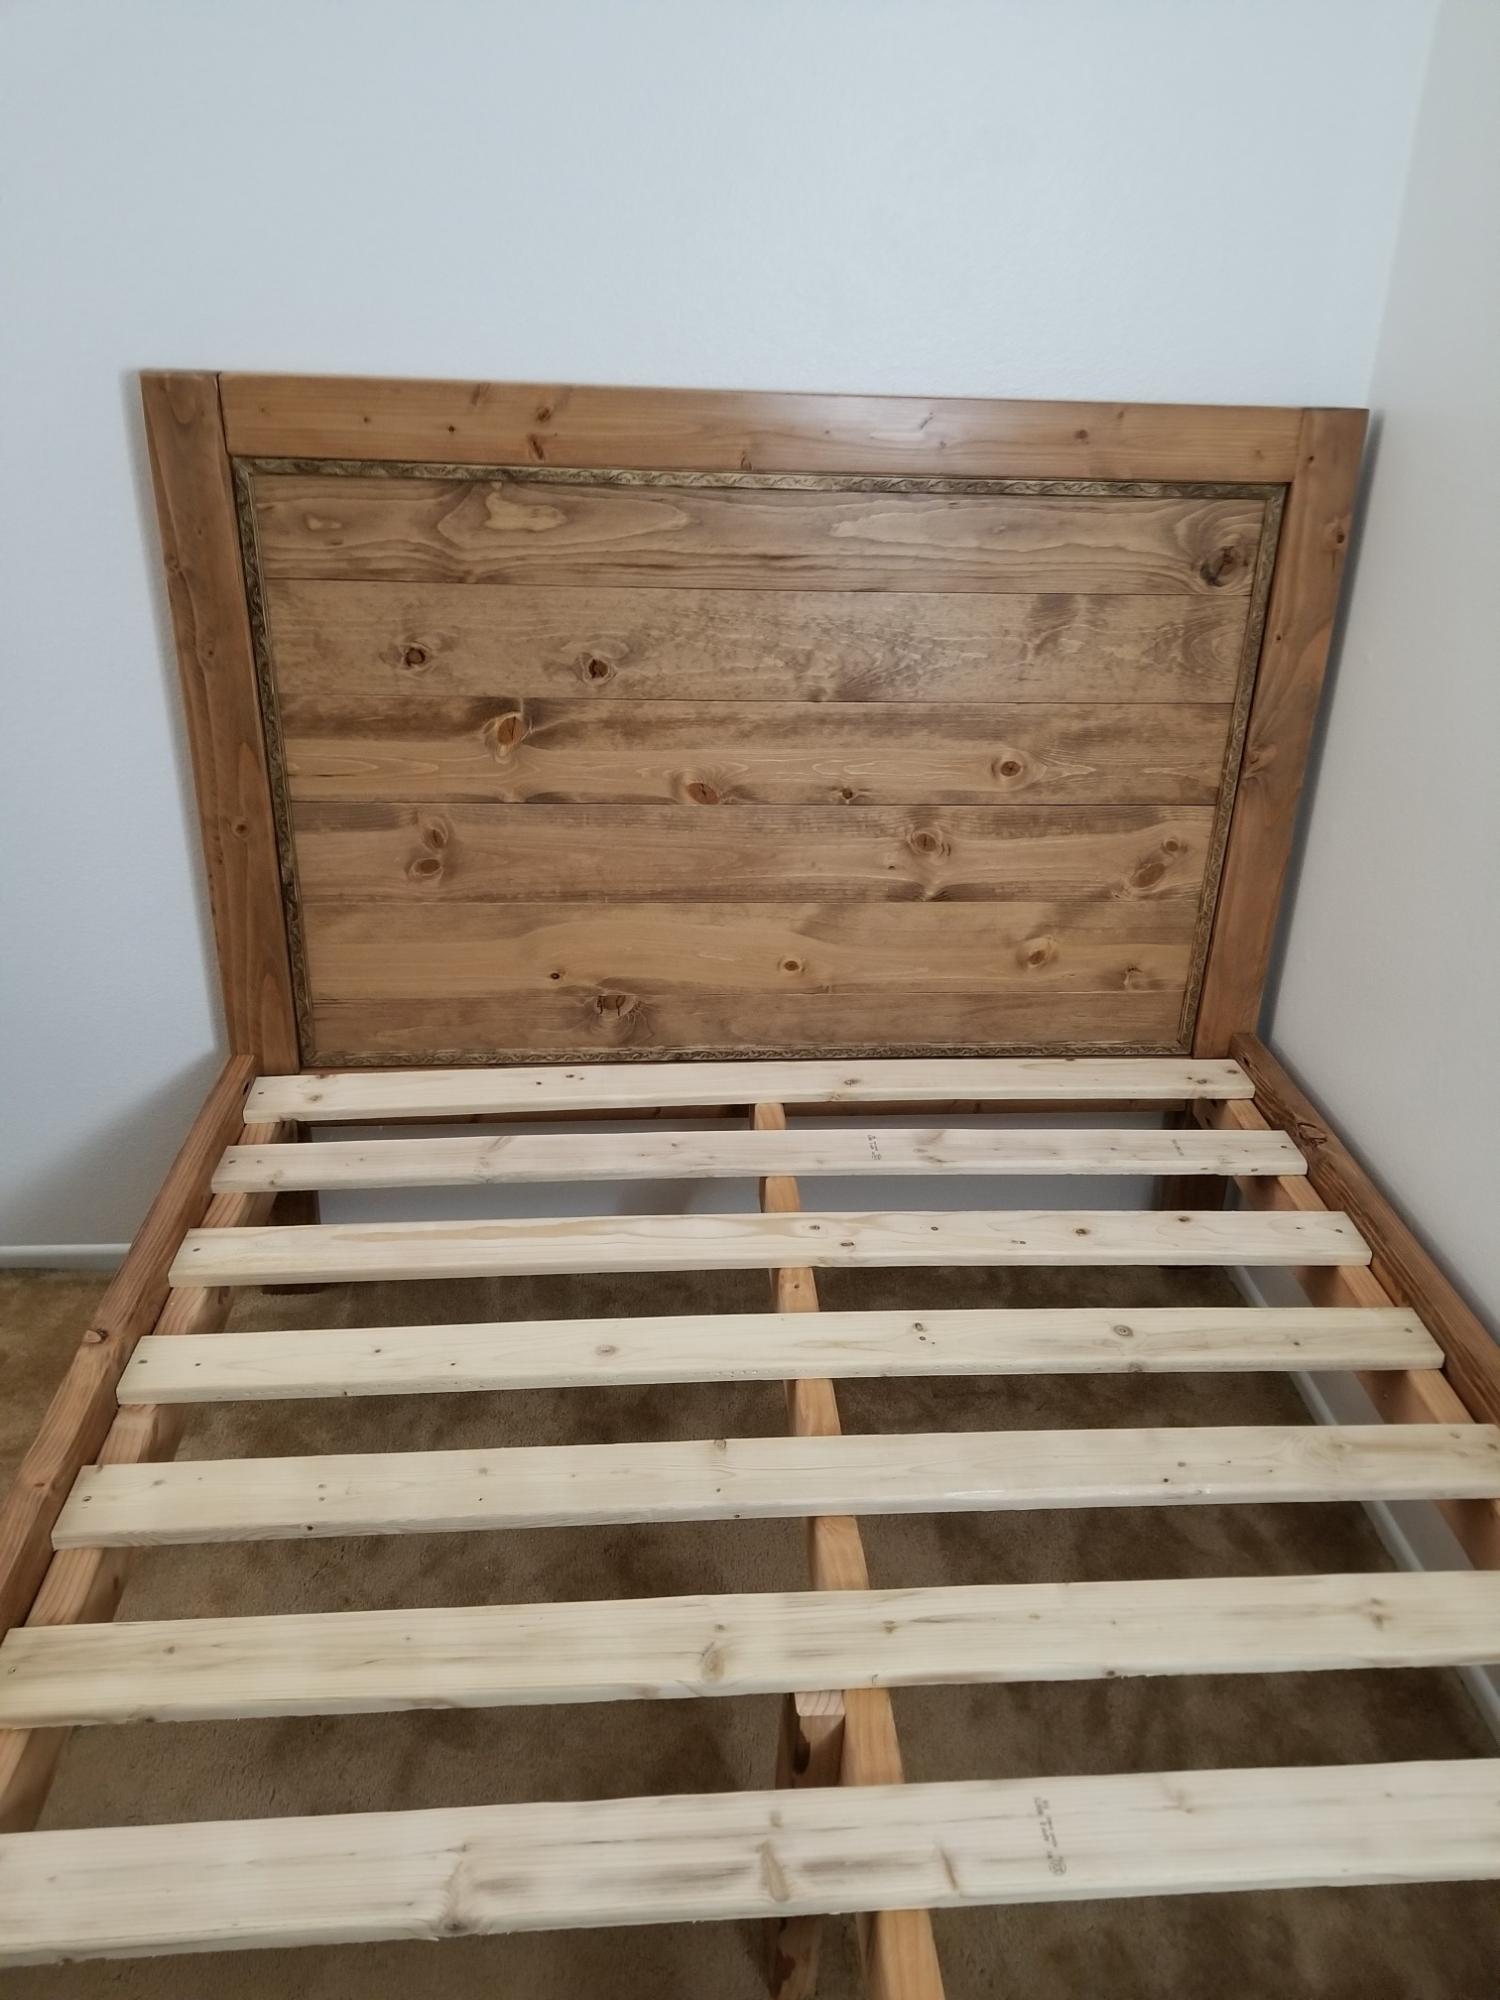
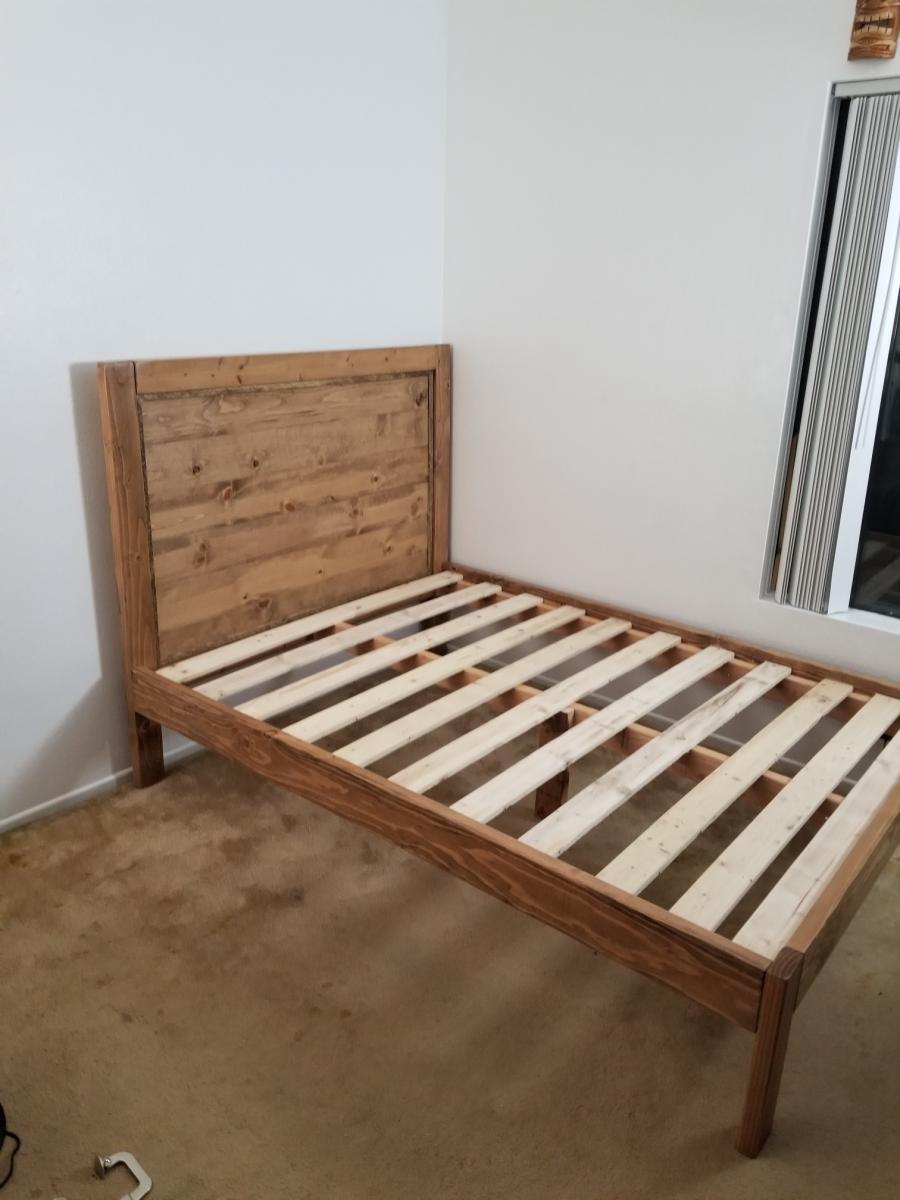
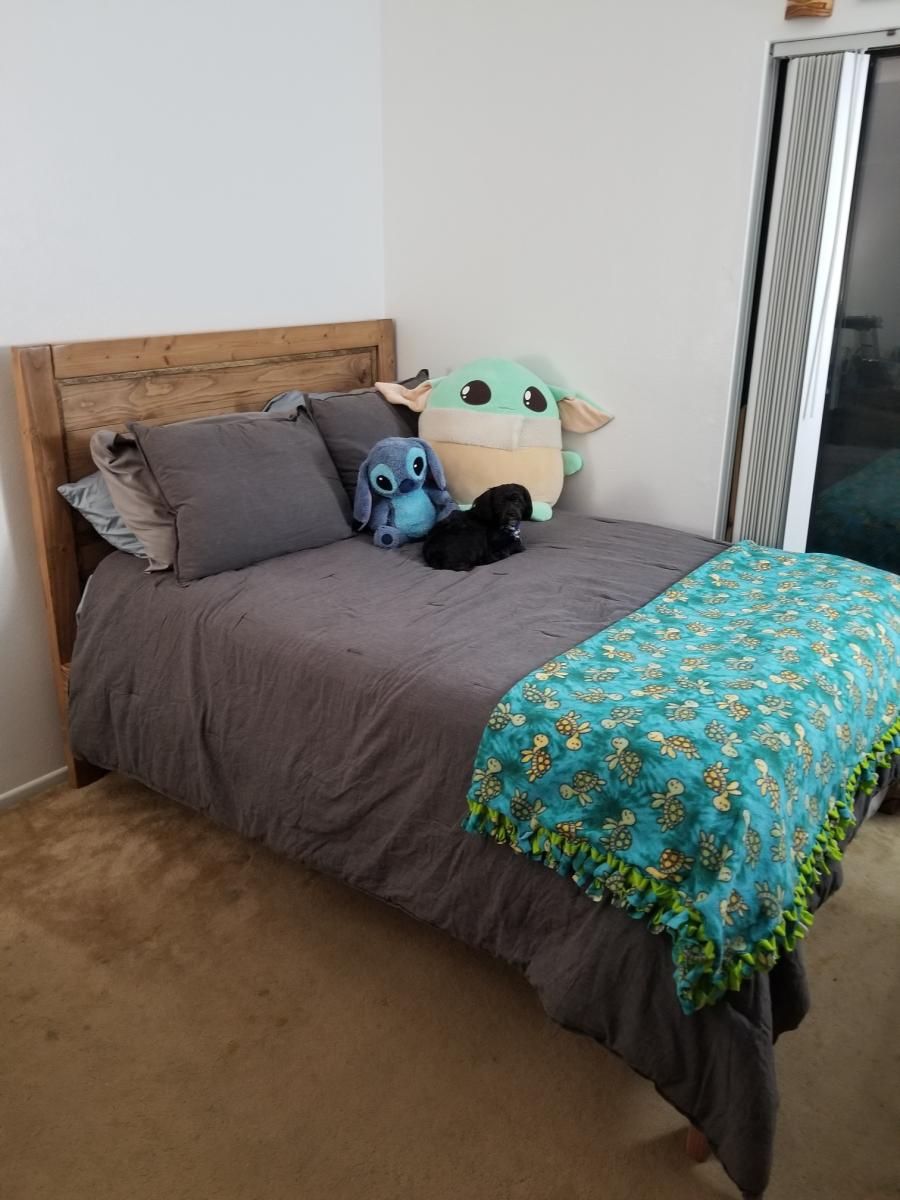
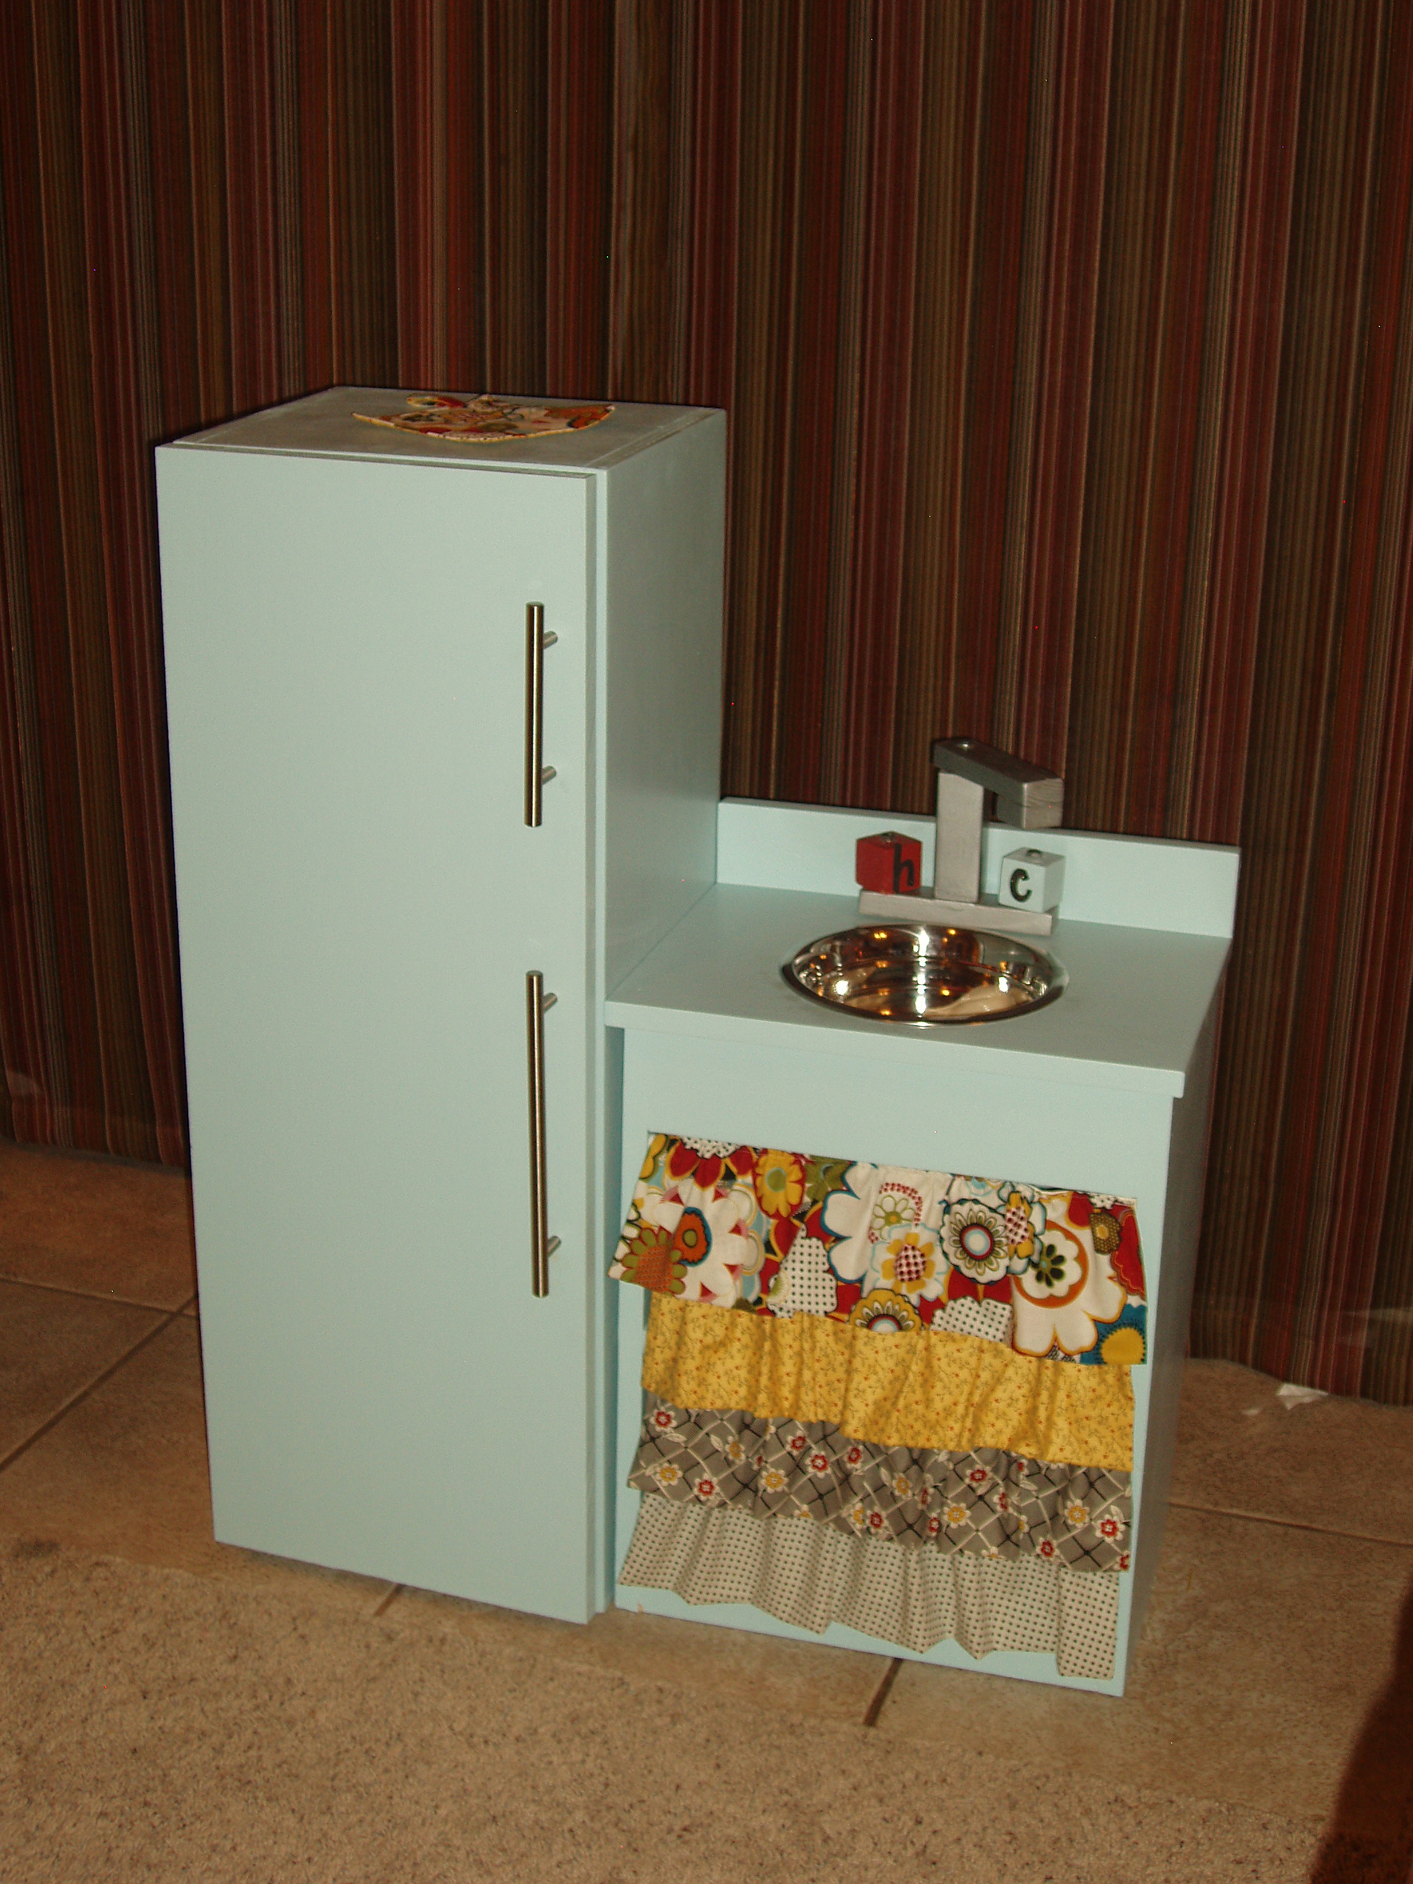
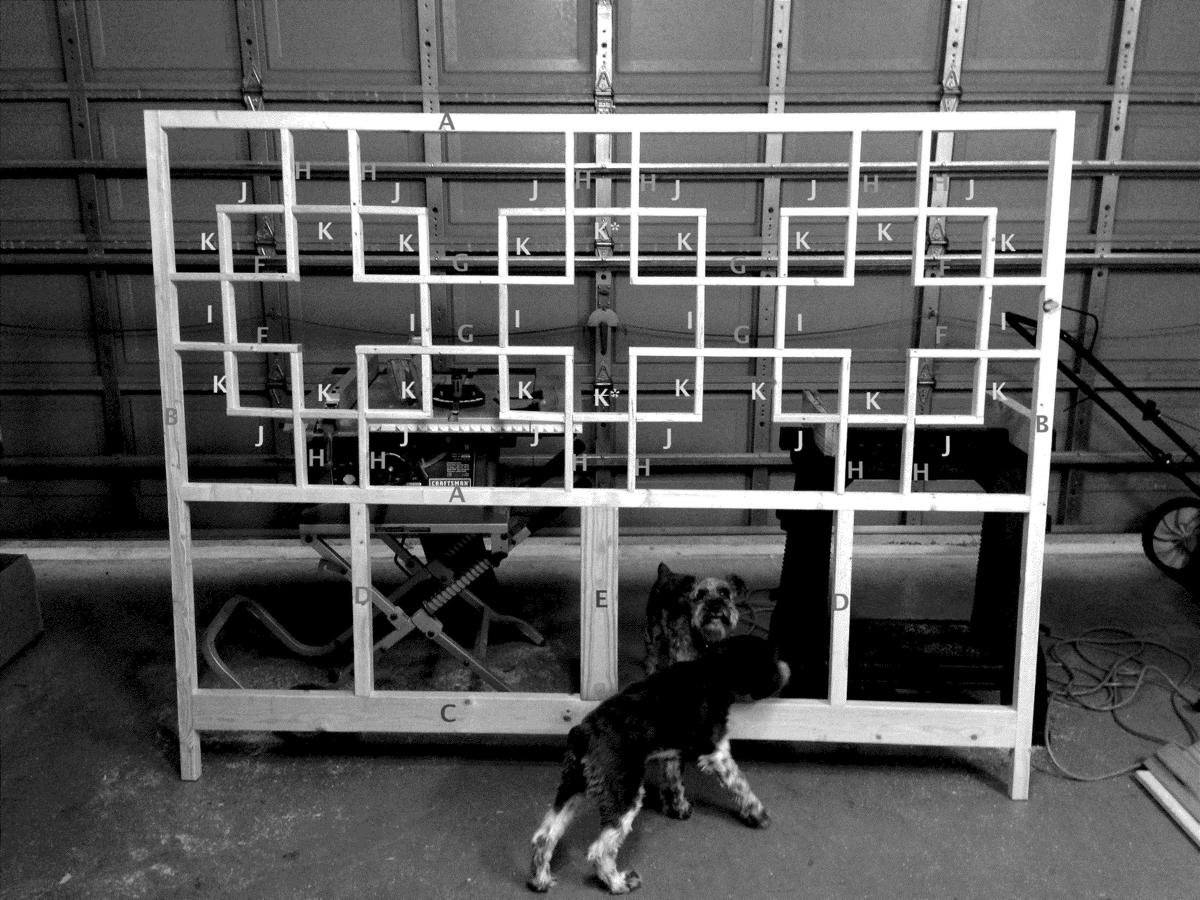
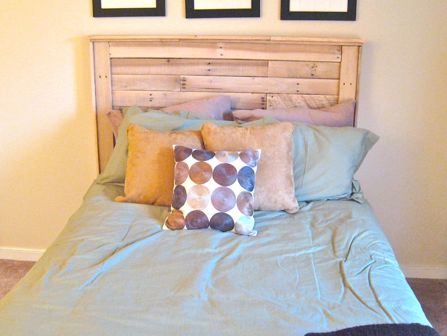
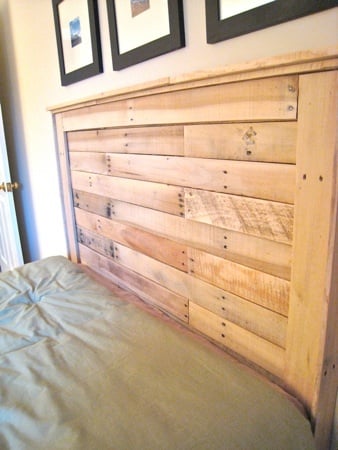
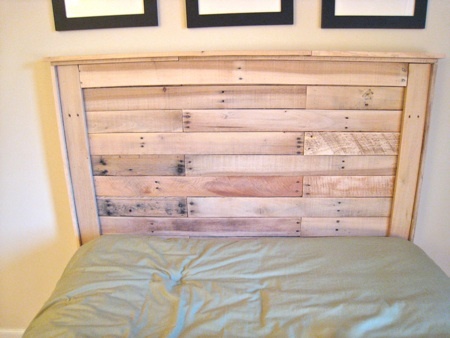
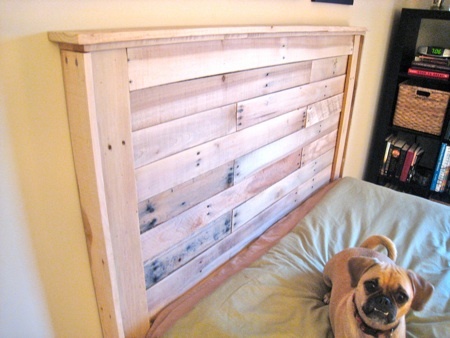
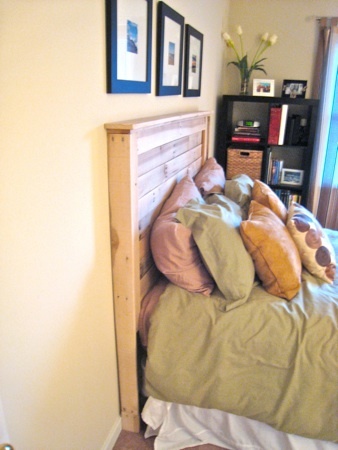
Easy Build Wood Headboard, Cal King
This was my first project and I loved every second of it. I did the whole thing by myself (with the "help" of my two-year-old) and I'm 5 months pregnant! THAT is how easy it is.
Built from Plan(s)
Estimated Cost
80 bucks
Estimated Time Investment
Weekend Project (10-20 Hours)
Finish Used
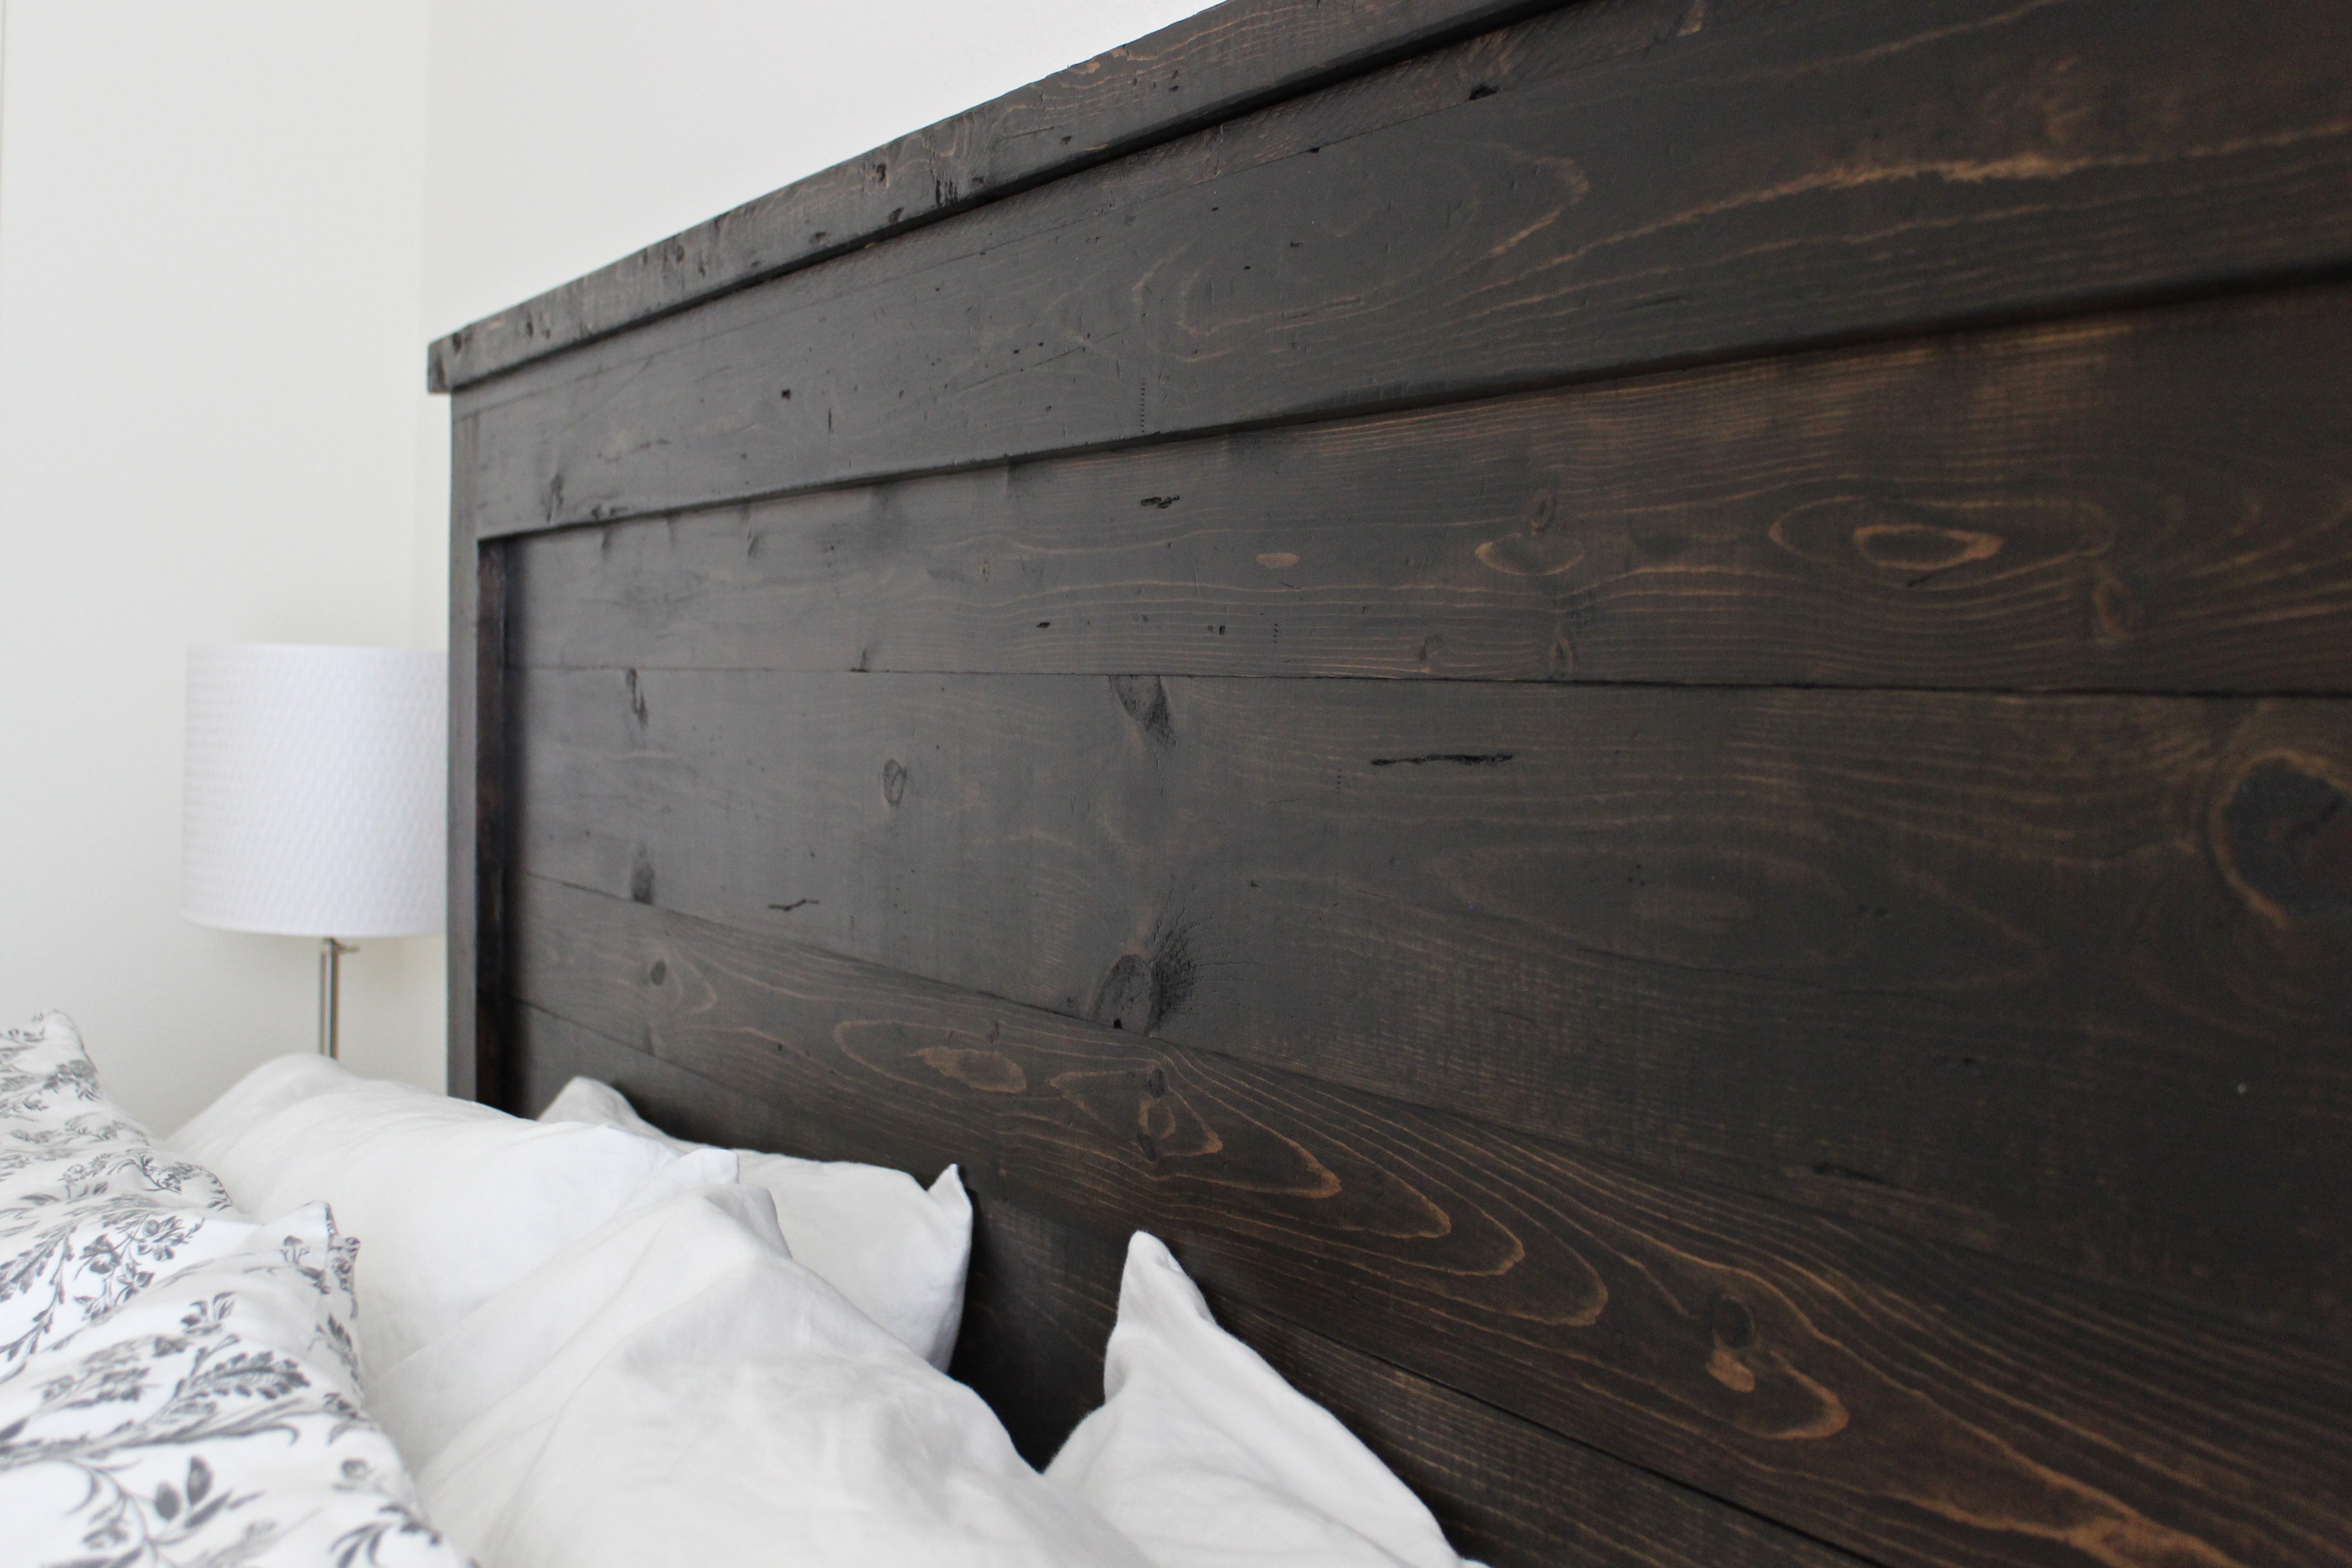
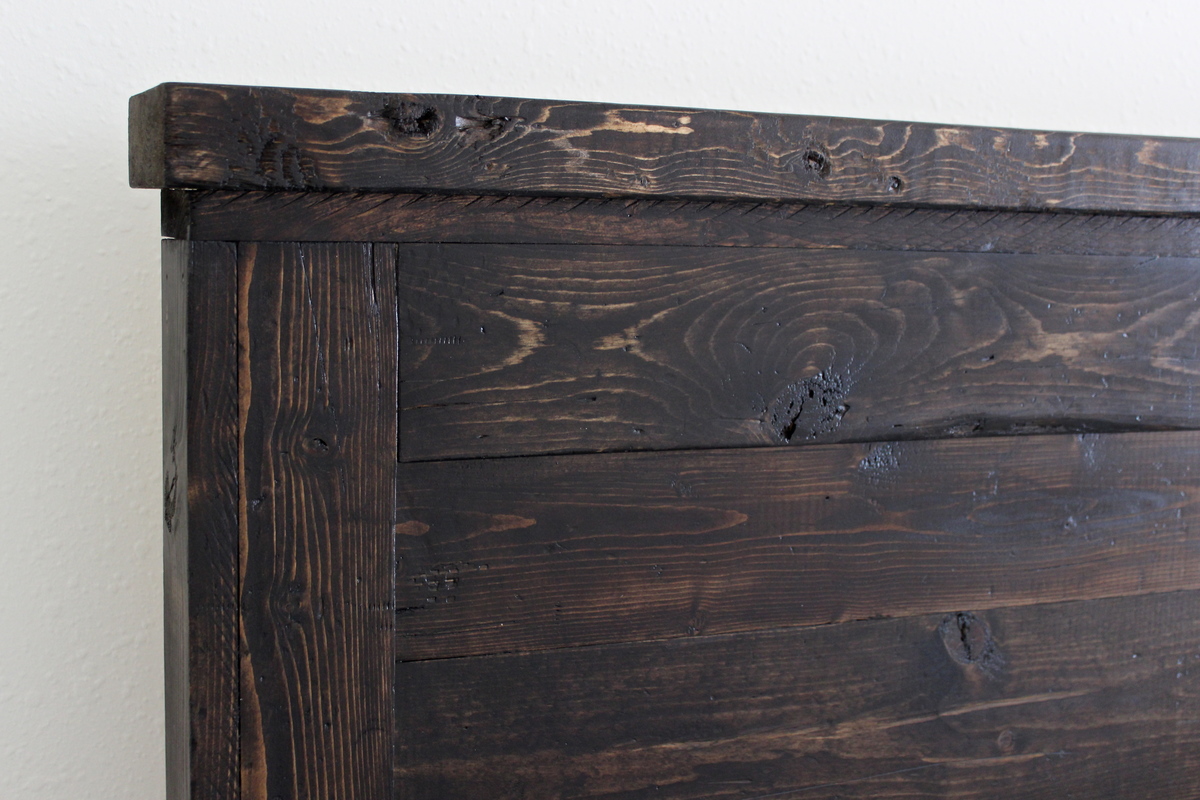
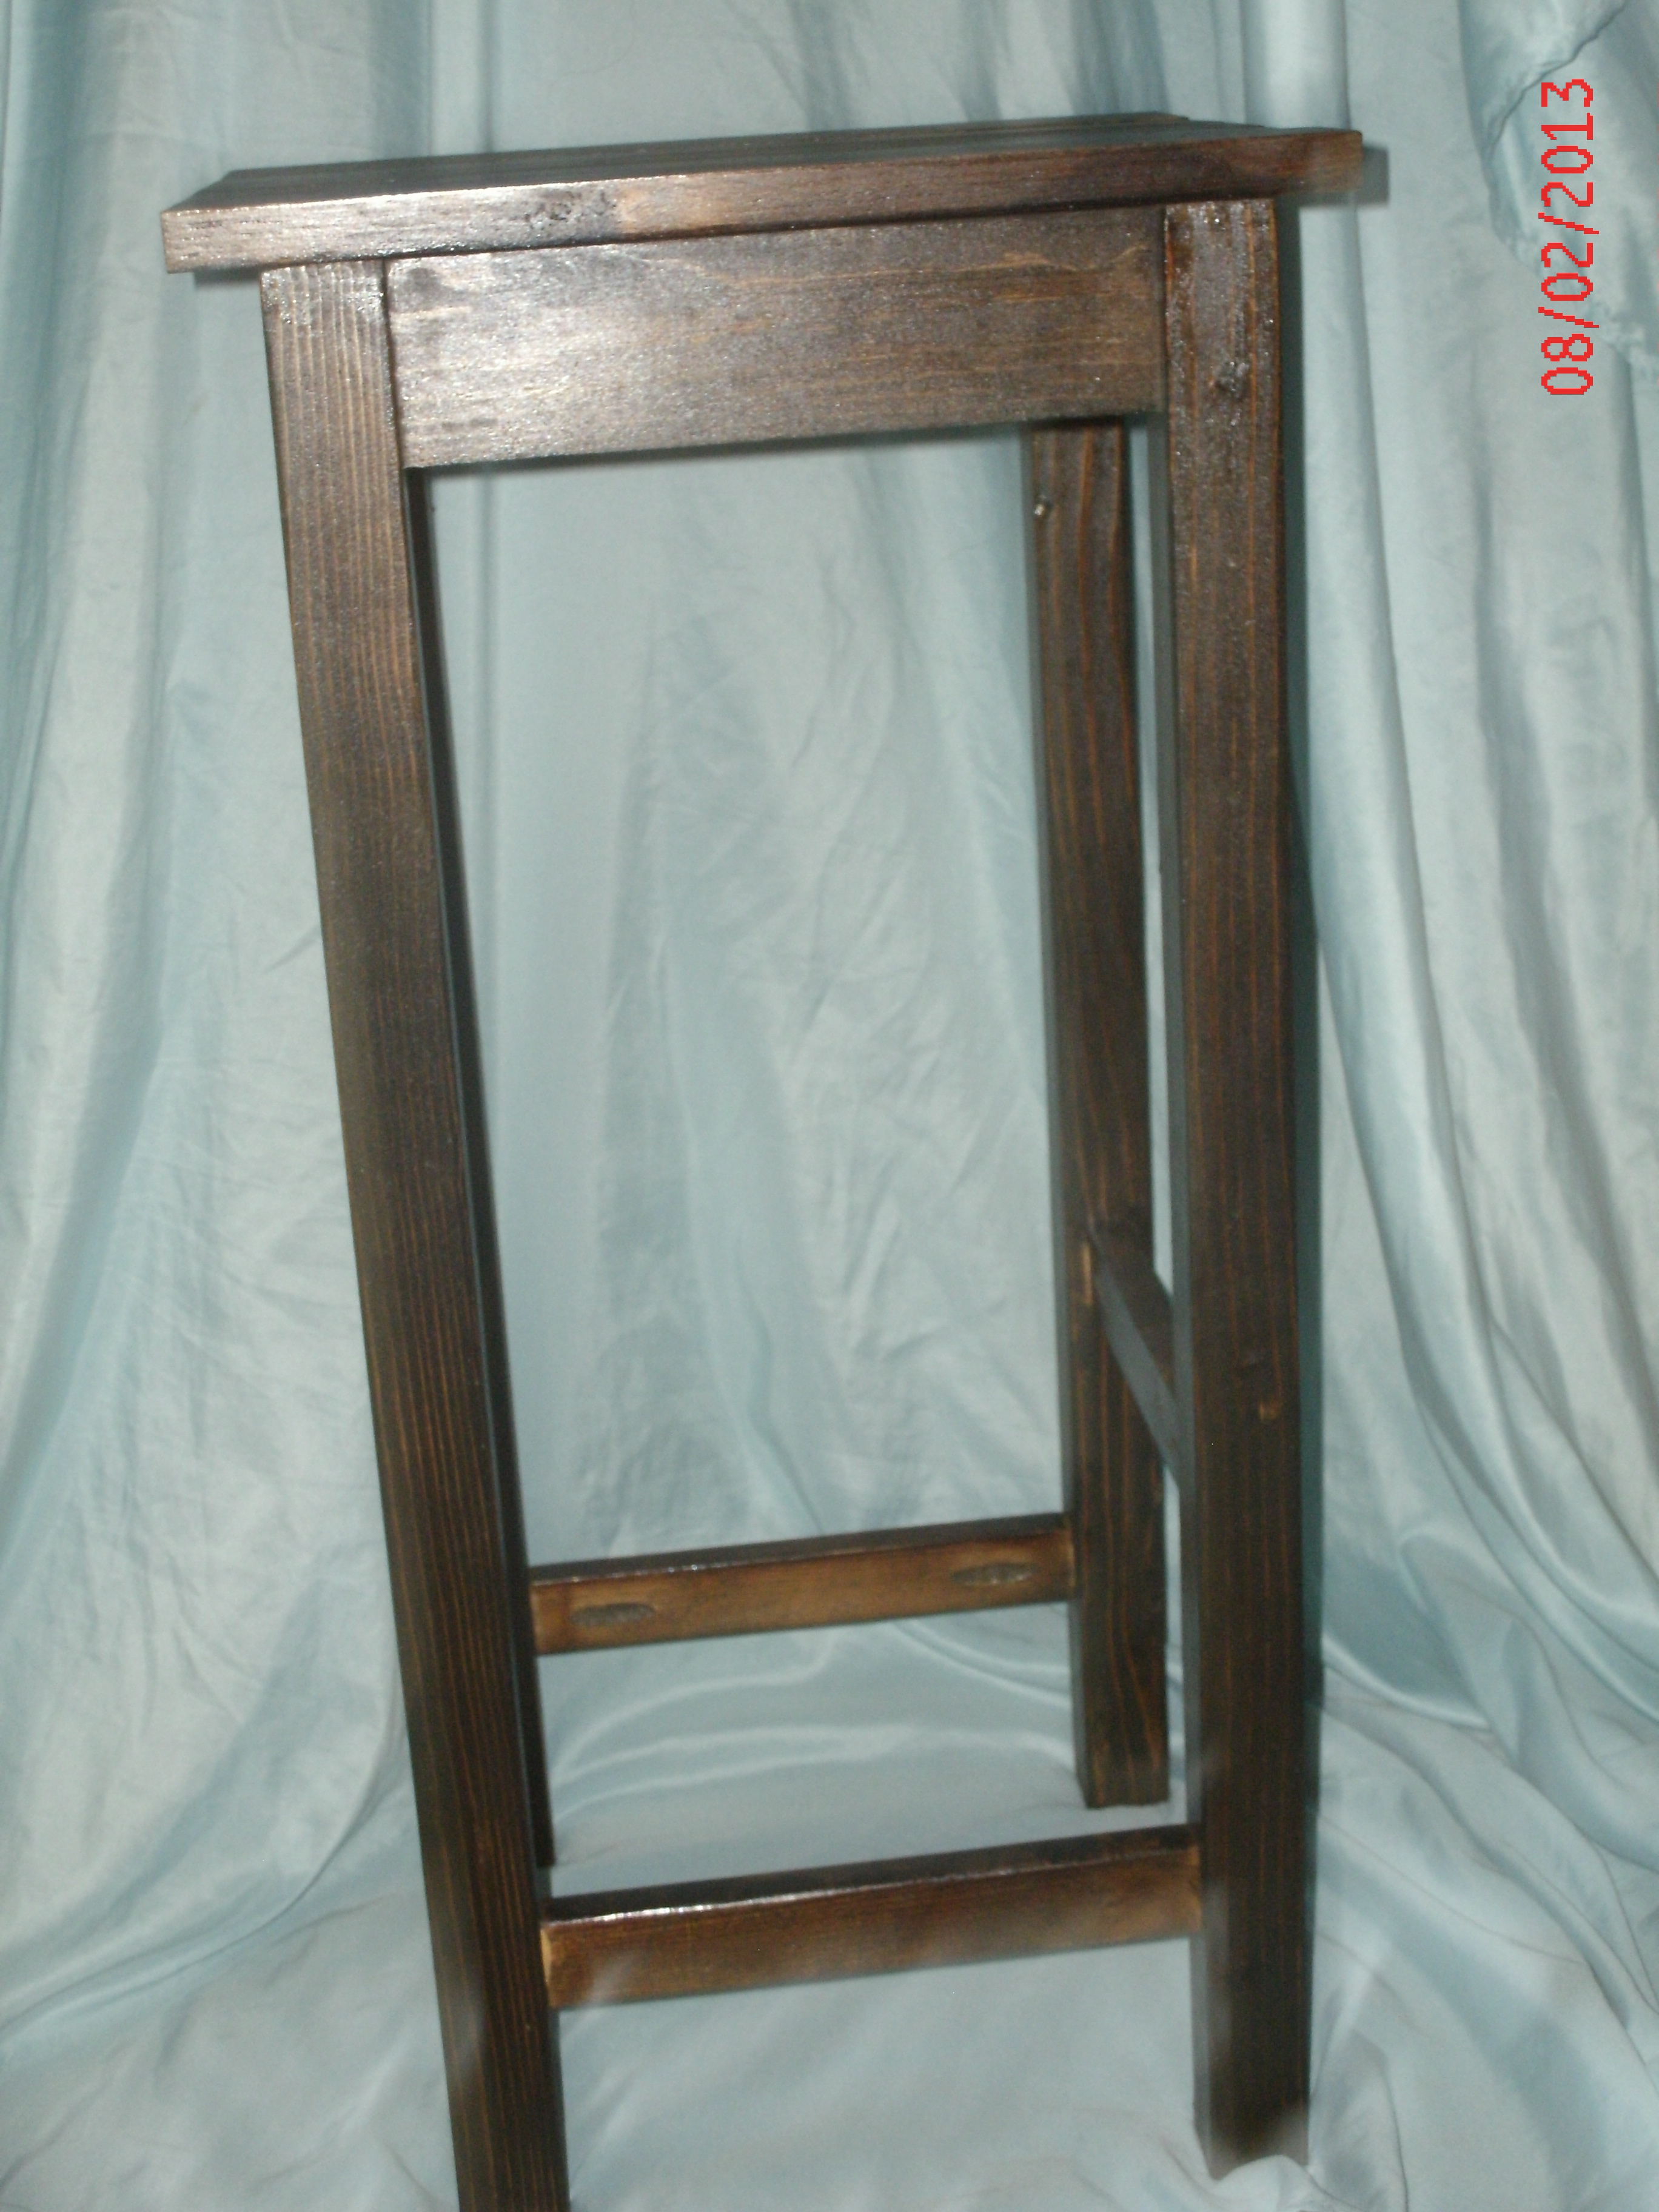
I distressed it a little before staining so it didn't look too brand new. I filled a sock with bolts and screws and beat it up and scratched it with a steak knife to make fake cracks.I did one coat of Minwax Jacobean and it was really blotchy. I should've conditioned my wood, so I lightly sanded the whole thing and added a second coat and it evened out the blotchiness a lot, but it did turn out darker than I wanted. I added only one coat of Minwax Polycrylic Finish in satin because I wanted it to look rustic and not glossy. The cutting and assembly only took about 4-6 hours. The staining and sanding and distressing and finishing took a couple days.
Recommended Skill Level
Starter Project


Comments
yurra-bazain
Sun, 08/11/2013 - 20:41
Power to the mama!
How awesome is that? =D It looks gorgeous, and I applaud you for tackling it with your 2 year old and baby on the way. =D When I was pregnant, the only thing I considered doing was putting furniture together. Now that I've built furniture, I now realize how much harder it was to follow the assembly directions than it is to make your own assembly directions. Keep it up!