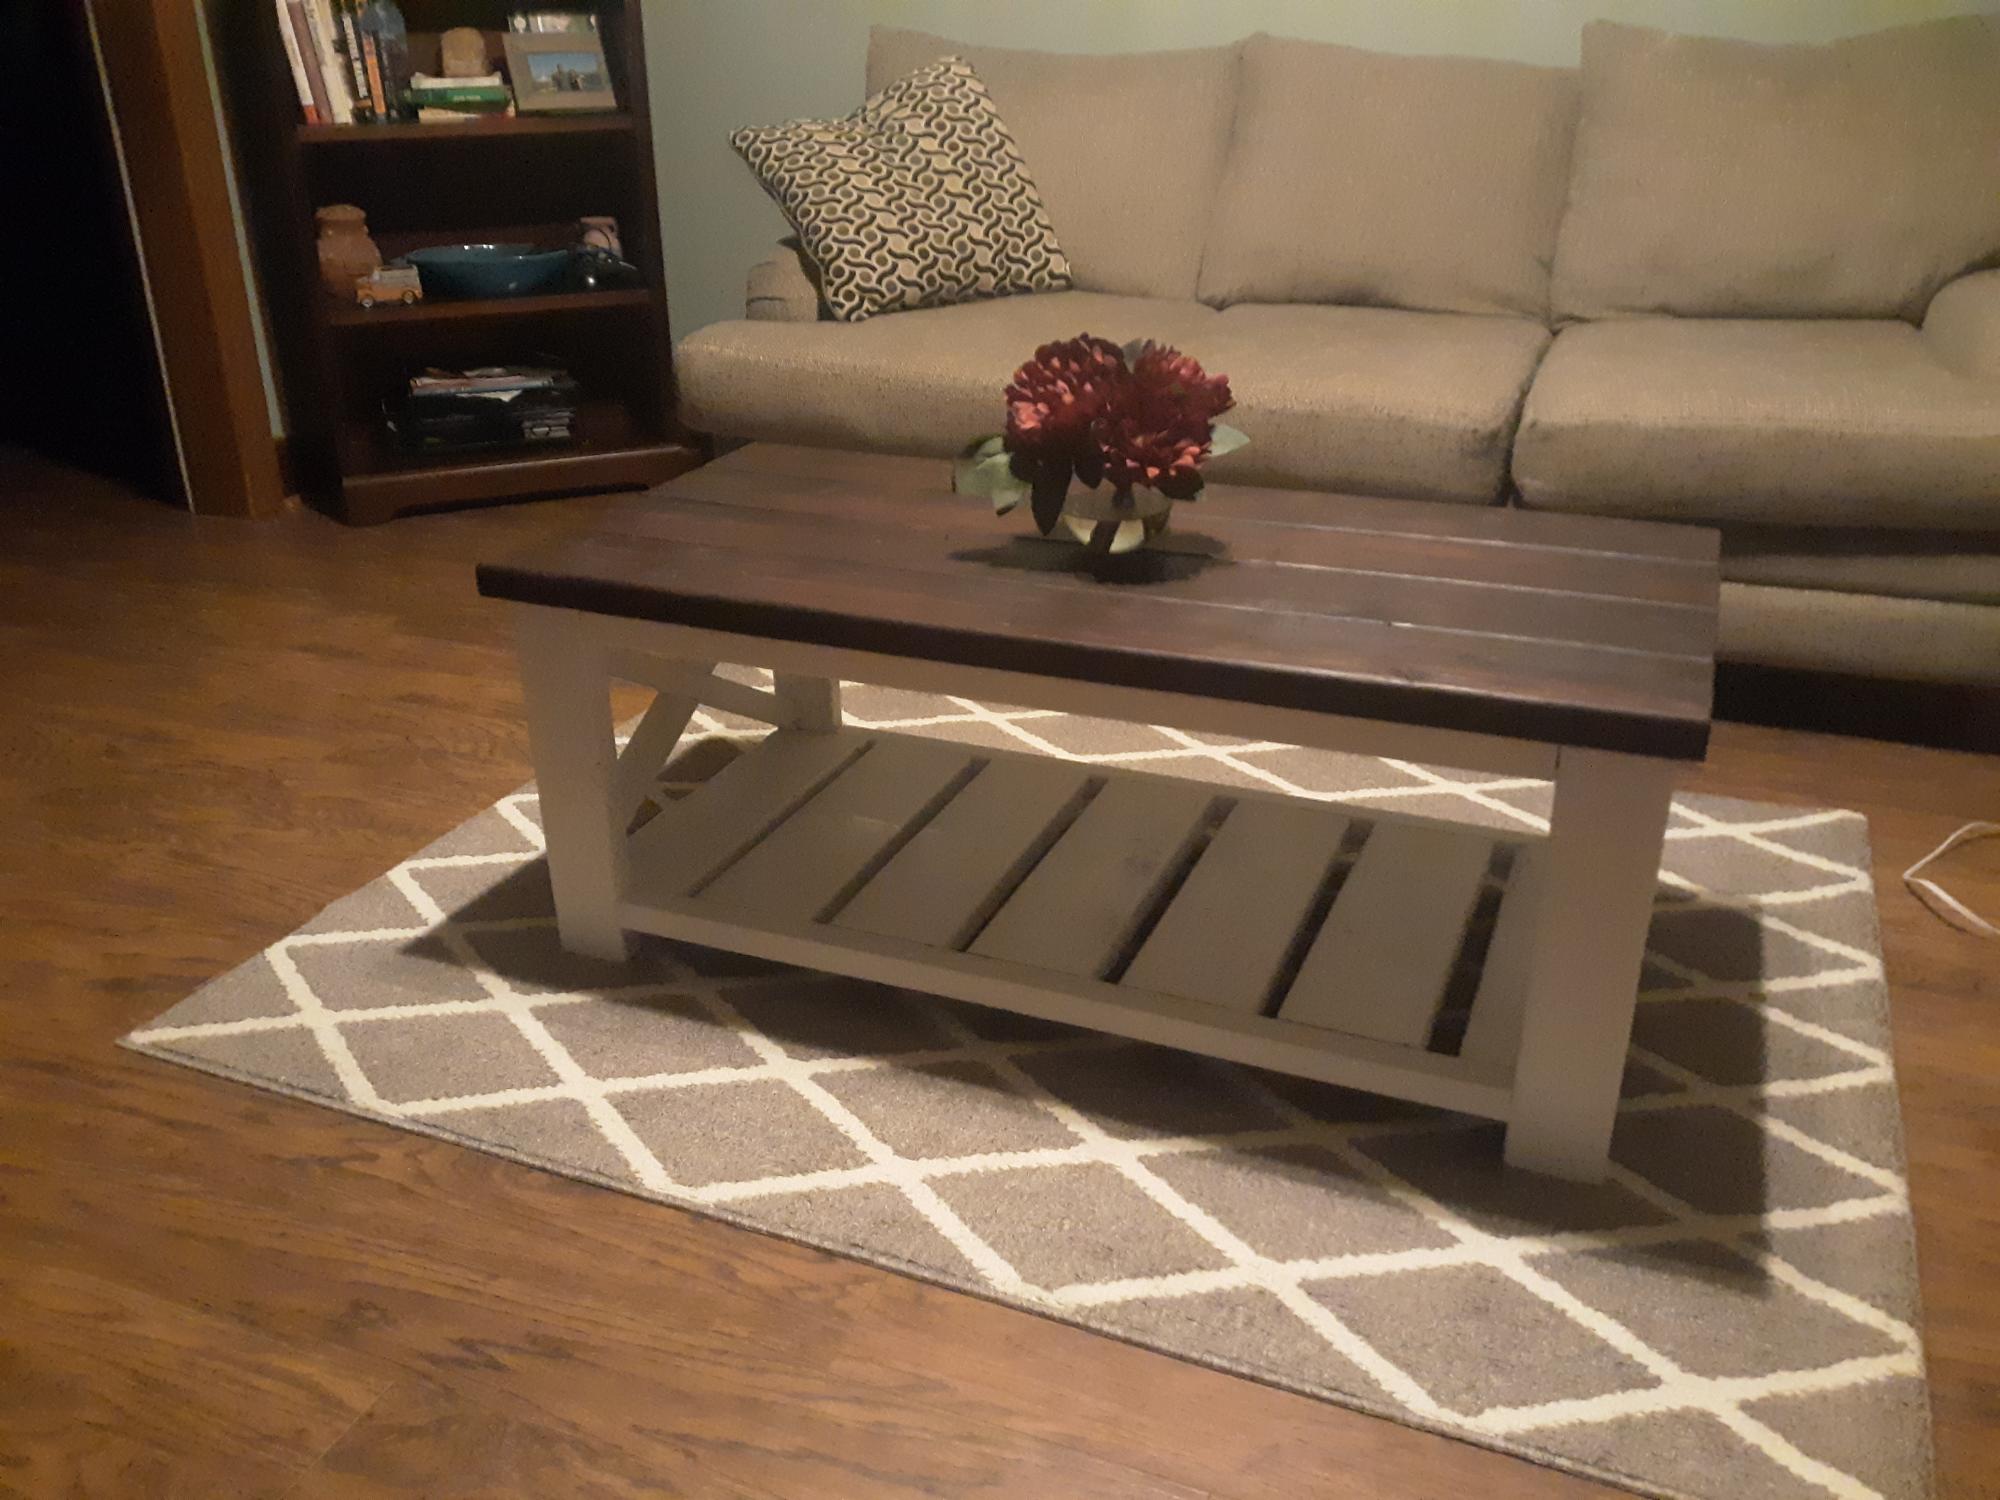
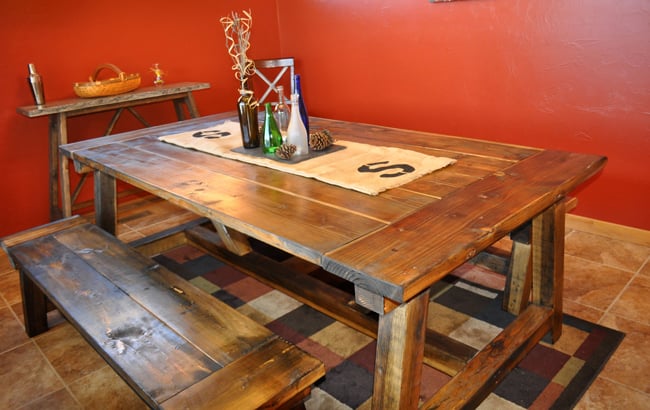
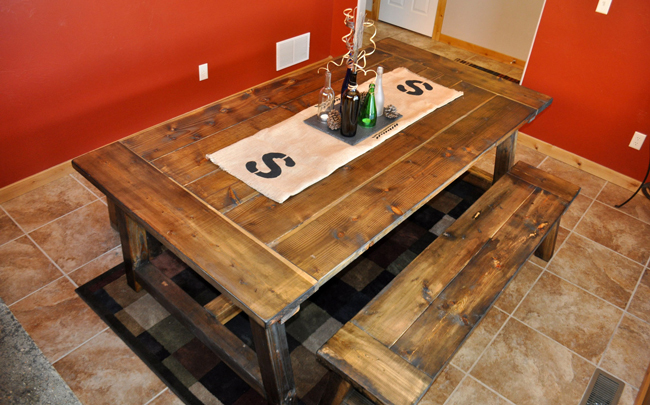
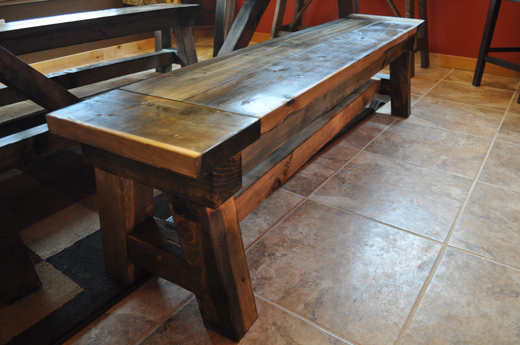
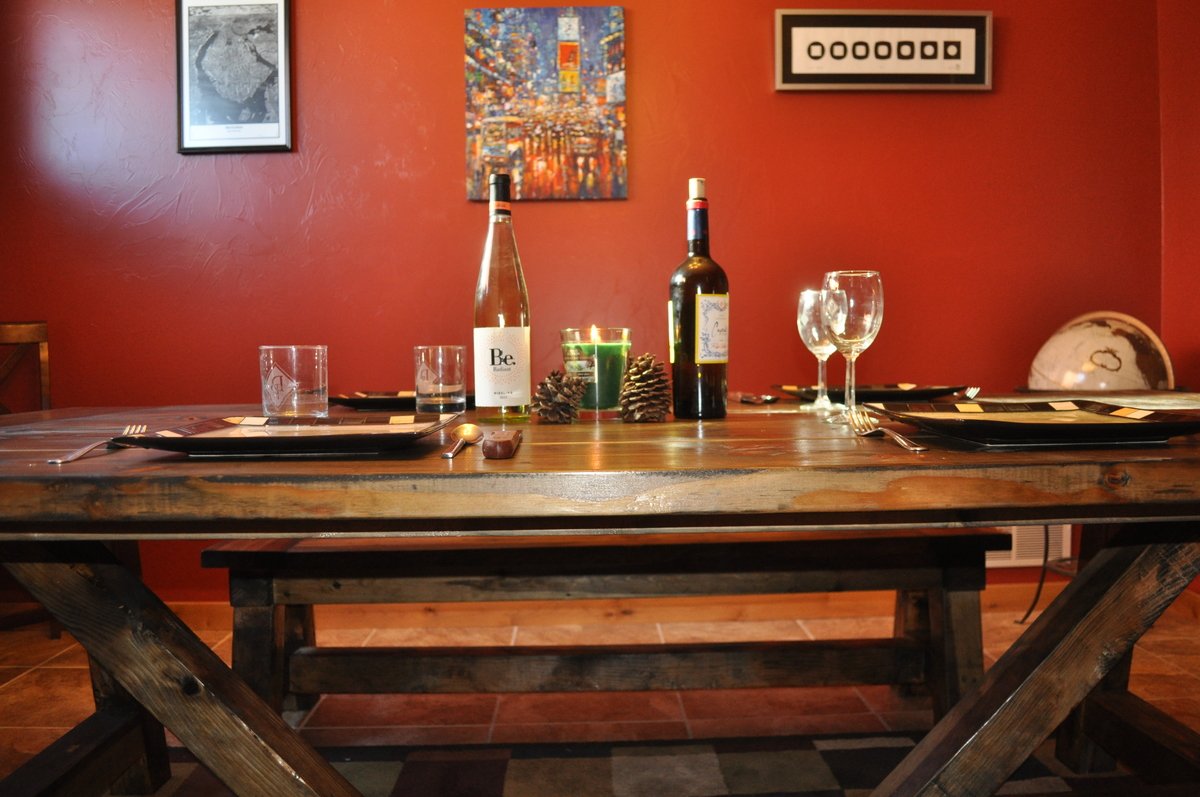
Maple Mission-Style Farmhouse Table
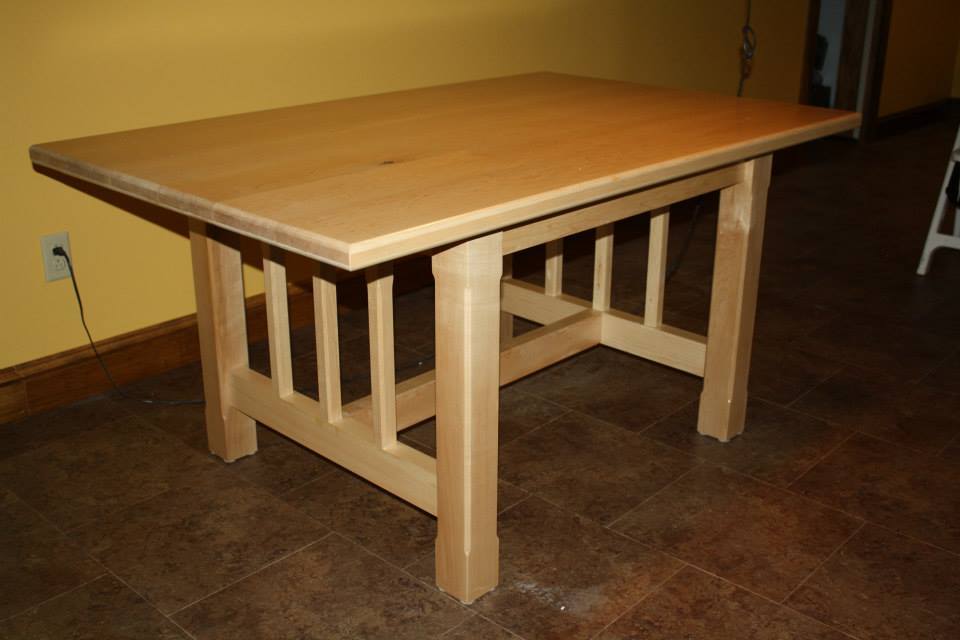
Using the Farmhouse Table plans I just modified them to the dimensions I thought would be best for my space. Tried mortise/tenon joinery on the legs and that took a lot of time since it was my first time. The table top is put together with pocket hole joinery. I love my Kreg Jig.
Recommended Skill Level
Intermediate